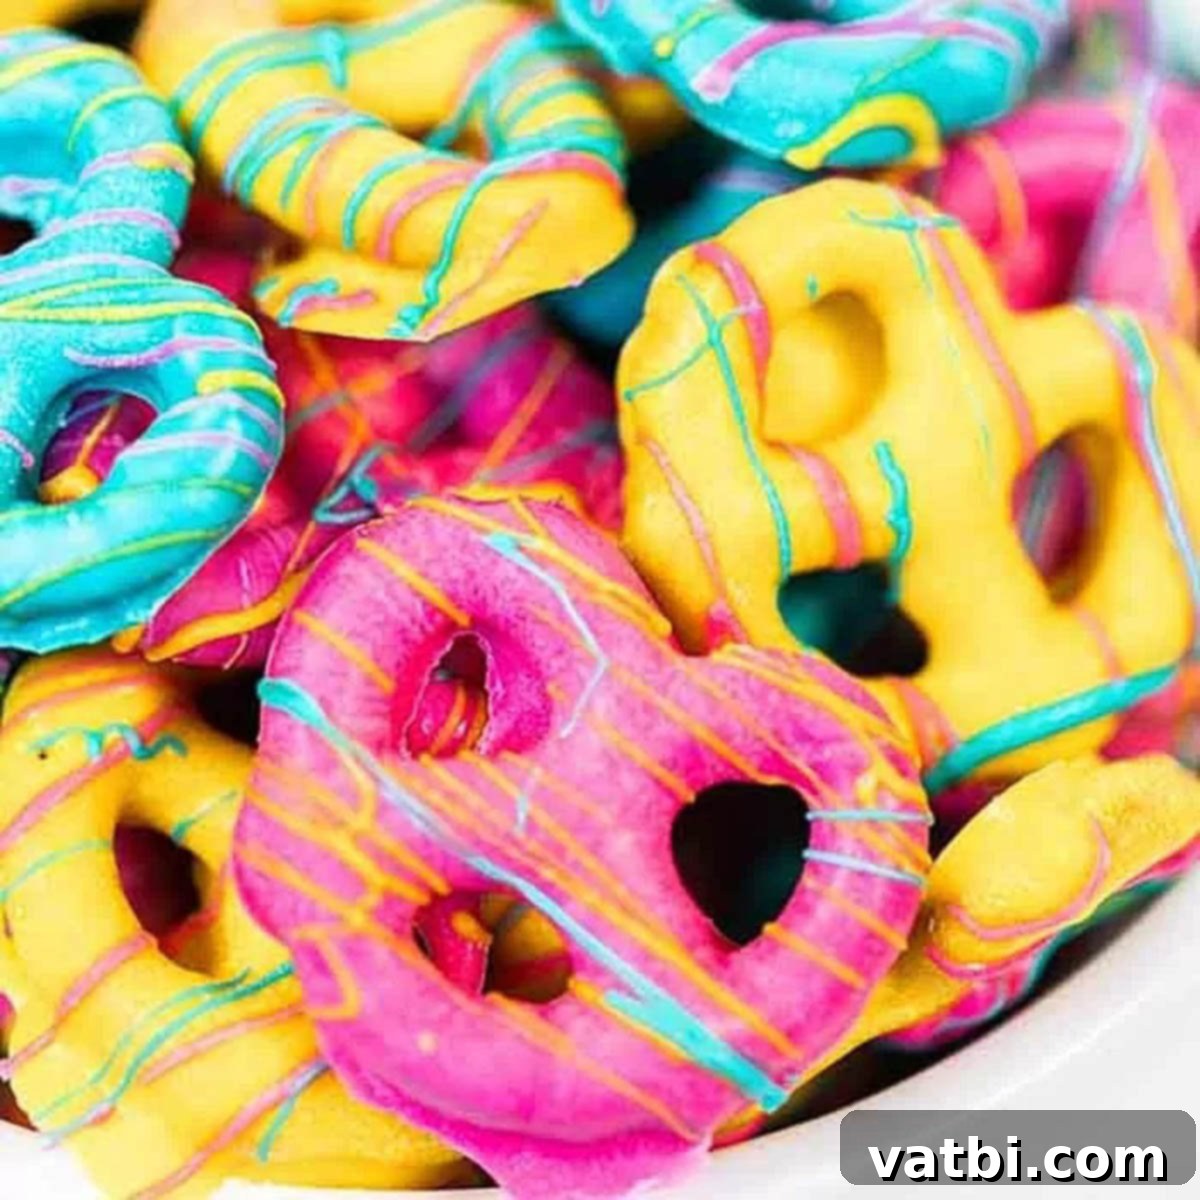
Irresistibly Easy & Festive Easter Chocolate Covered Pretzels: Your Ultimate Guide
There’s something truly magical about the combination of salty and sweet, especially when it comes to a festive treat that everyone adores. Our Easter Chocolate Covered Pretzels are precisely that – an incredibly easy, delightfully delicious, and visually stunning dessert that brings joy to any spring gathering. For years, this simple yet impactful recipe has been a cherished annual tradition in my family, disappearing almost as quickly as they’re made! The crunch of a salty pretzel perfectly balanced by a sweet, vibrant chocolate coating is an experience that appeals to all ages, making it a guaranteed hit for your Easter celebrations or any springtime event.
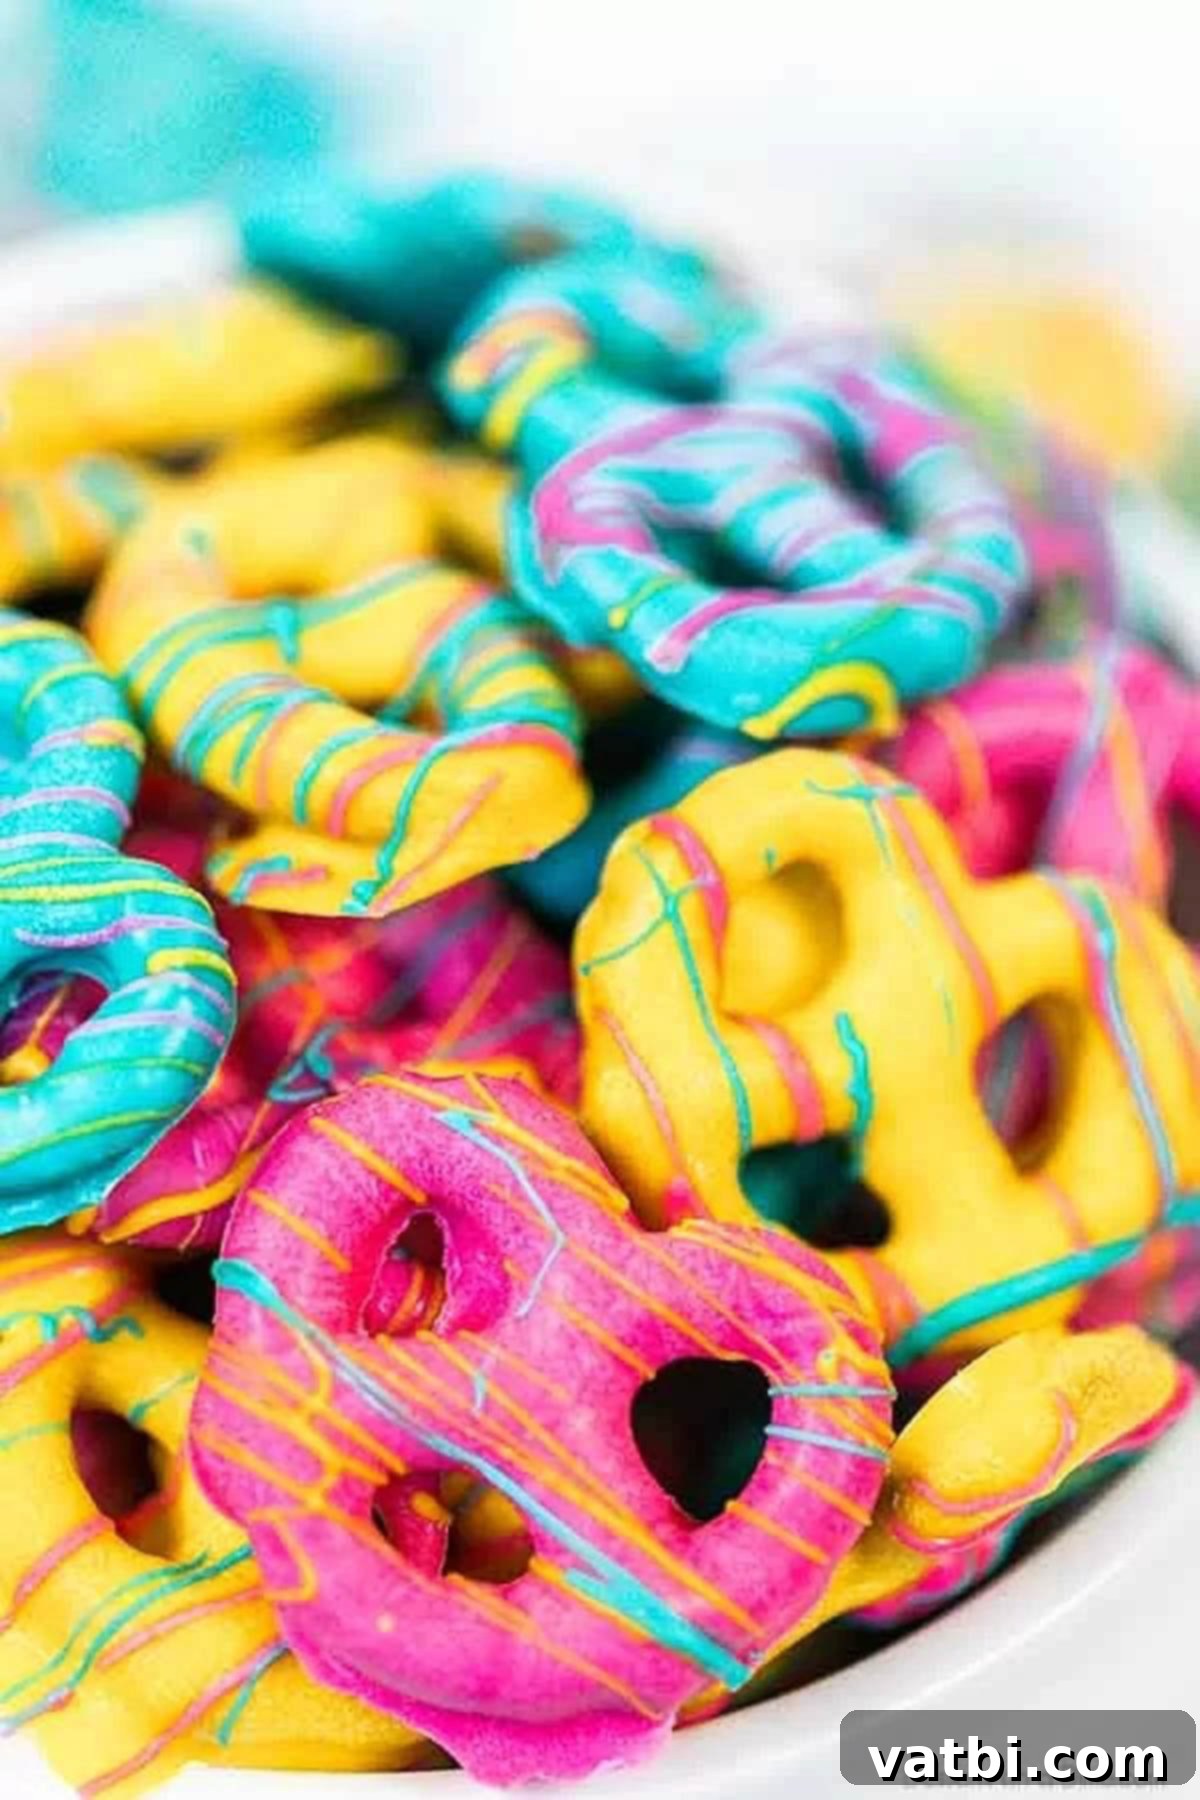
Easter, for many, is synonymous with vibrant colors, new beginnings, and, of course, an abundance of delectable treats. Our family looks forward to creating and sharing these chocolate covered pretzels every single year. They stand out as one of our most beloved Spring Desserts, offering that irresistible salty-sweet crunch that always leaves everyone reaching for more. What makes them even better is their incredible simplicity. Requiring just a few ingredients – typically miniature pretzels and colorful candy melts – you can whip up a batch (or several!) in no time, making them a perfect last-minute addition to your Easter menu.
These Easter pretzels aren’t just easy to make and super tasty; they’re also remarkably beautiful. Their cheerful pastel hues and fun shapes make them an ideal centerpiece for your next Easter brunch or spring party dessert table. Imagine a platter of these delightful treats alongside your other holiday favorites. Because they are so straightforward, you’ll have plenty of time to also prepare other fantastic Easy Easter Desserts, such as a fun Easter Bunny Bait Recipe or adorable Birds Nest Cookies. If you’re a true fan of the sweet and salty flavor profile, you might also enjoy our classic Strawberry Pretzel Dessert for another delightful experience.
Table of contents
- Where Can you find Candy Melts?
- Ingredients for Chocolate Dipped Pretzels
- Creative Variations and Toppings
- How to Make Chocolate Covered Pretzels for Easter
- Expert Tips for Perfect Pretzels
- Proper Storage for Freshness
- Can you Freeze Chocolate Covered Pretzels?
- More Decadent Chocolate Covered Treats
- More Easy Easter Desserts:
Where Can you find Candy Melts?
Candy melts are a fantastic secret weapon for anyone who loves making easy, vibrant candy recipes. They are specifically designed to melt smoothly and evenly, providing a beautiful, glossy coating without the fuss of tempering real chocolate. The best part? They come in an incredible array of colors, making them perfect for themed holidays like Easter, where bright pastels are a must. Beyond their visual appeal, candy melts offer a rich, chocolatey flavor that complements the saltiness of pretzels perfectly.
Finding candy melts is becoming increasingly convenient. While they used to be primarily found in craft stores like Michael’s or Hobby Lobby, many local grocery stores now stock them in their baking aisles, especially around holidays. This makes it super easy to grab everything you need in one quick trip. If you can’t find them locally, or if you’re looking for a wider selection of colors or specific brands, online retailers like Amazon are an excellent resource. You can often find a great selection of options, from classic pastel pinks and blues to more unique shades that will make your Easter pretzels truly stand out.
Ingredients for Chocolate Dipped Pretzels
The beauty of this recipe lies in its minimal ingredient list, proving that you don’t need much to create something truly special and delicious. Here’s what you’ll need to gather:
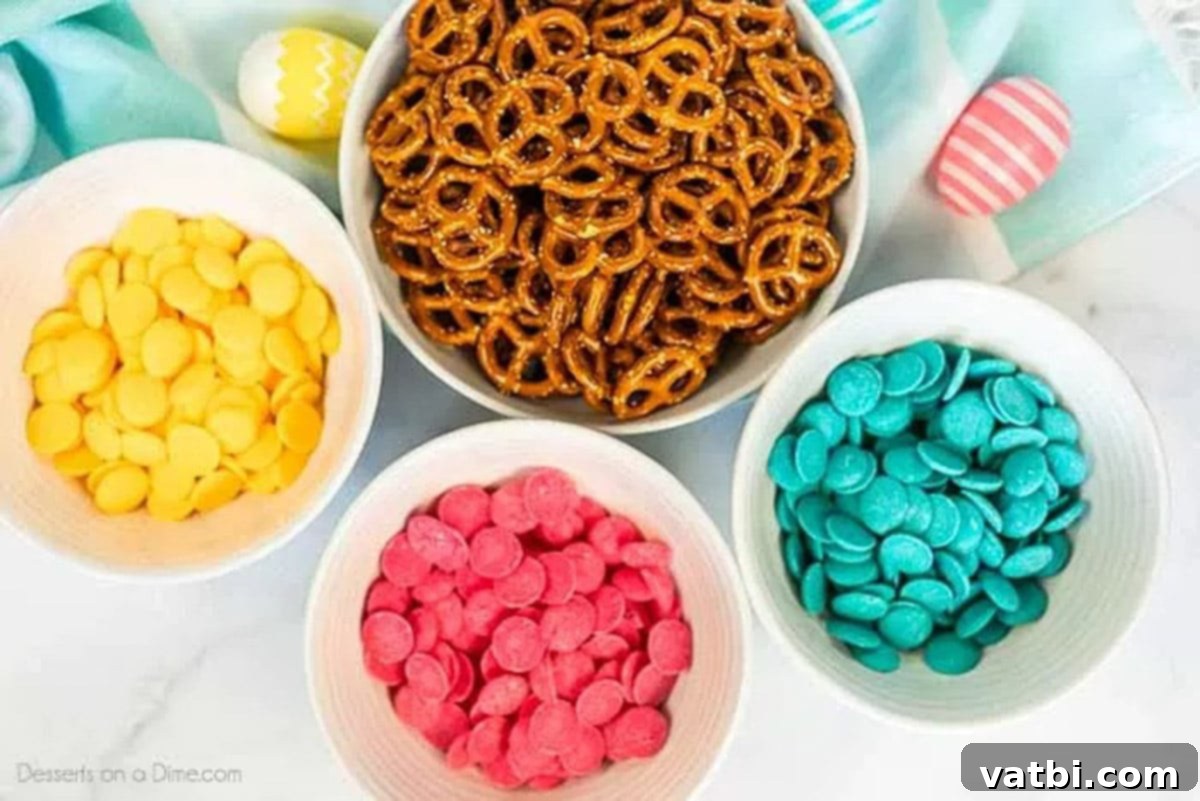
- Miniature Pretzel Twists or Pretzel Rods: For this recipe, we opted for the charming miniature pretzel twists, which are perfect for a bite-sized treat. However, feel free to use pretzel rods for a more substantial, elongated treat, or even pretzel snaps for a different shape. The key is to choose a pretzel that offers a good salty crunch to contrast with the sweet chocolate.
- Candy Melts or Chocolate Chips: The vibrant colors are a hallmark of Easter, and candy melts make achieving them incredibly simple. We used delightful shades of yellow, pink, and blue, with 4 ounces of each color. This amount provides enough variety and quantity for a decent batch. However, the beauty of this recipe is its flexibility – choose your favorite Easter or spring colors! If you prefer a more classic chocolate flavor or want to use what you have on hand, good quality chocolate chips (milk, dark, or white) can also be used. For white chocolate, you can even add a few drops of food coloring (oil-based, not water-based) to create your own pastel shades.
You’ll find the complete, detailed ingredient list with exact measurements at the bottom of the page in our printable recipe card.
Creative Variations and Toppings
While classic Easter Chocolate Covered Pretzels are wonderful on their own, there are endless ways to customize them and add your own creative flair. Here are some fantastic variations to inspire you:
- Experiment with Melting Chocolate: Instead of candy melts, you can use various types of high-quality melting chocolate for your coating. Dark chocolate offers a rich, slightly bitter contrast to the salty pretzel, perfect for adult palates. Milk chocolate provides a familiar, creamy sweetness that’s always a crowd-pleaser. For a truly festive look, consider using White Chocolate Covered Pretzels. White chocolate is also a fantastic base for adding oil-based food colorings to create custom pastel shades that perfectly match your Easter theme.
- Add a Splash of Color with Sprinkles: Sprinkles are perhaps the easiest way to elevate the festive appeal of your pretzels. There are so many adorable options available, from classic nonpareils and jimmies in spring colors to intricate Easter-themed sprinkle mixes featuring bunnies, eggs, and chicks. Simply sprinkle them over the wet chocolate coating immediately after dipping. You can find a wide variety of themed sprinkles here.
- Drip Any Kind of Pretzels: This recipe is incredibly adaptable to different pretzel shapes. While we used mini twists for their classic charm, pretzel rods are excellent for a more elegant, elongated treat, perfect for party favors. Regular-sized pretzel twists work just as well, providing a larger canvas for your chocolate and toppings. For something truly unique and adorable, try using pretzel snaps – their square shape makes for a neat, uniform treat.
- Top with Your Favorite Candy or Crumbles: Don’t limit yourself to sprinkles! Once the chocolate is dipped, you can press various toppings onto the wet coating for added flavor and texture. Think colorful M&M’s in pastel shades, crushed Oreos for a cookies-and-cream twist, bits of Heath bars for toffee crunch, or crumbled Butterfingers for a peanut buttery delight. Chopped nuts (pecans, walnuts, almonds) also add a lovely crunch, and even shredded coconut can give a tropical twist.
- Flavor Infusion: Add a few drops of food-grade extract (like peppermint, almond, or orange) to your melted chocolate or candy melts for an extra burst of flavor. Be sure to use oil-based extracts if working with candy melts to prevent seizing.
- Marbled Effect: After dipping in one color, lightly drizzle another color over the wet pretzel and use a toothpick to swirl them together for a beautiful marbled design.
How to Make Chocolate Covered Pretzels for Easter
Creating these delightful Easter chocolate covered pretzels is a straightforward process, making it an excellent activity for both seasoned bakers and beginners, or even for getting the kids involved!
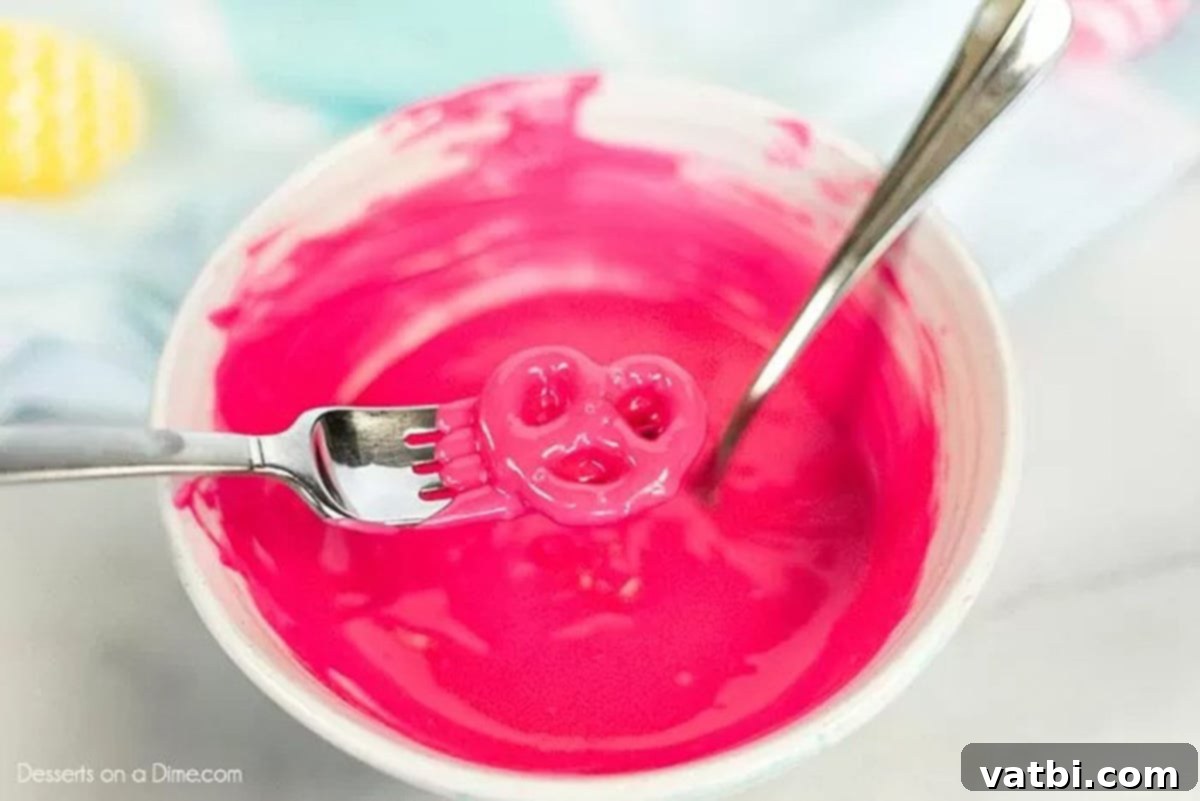
Step 1: Melt the Chocolate. Begin by placing your chosen candy melts (or chocolate chips) into separate microwave-safe bowls. Keeping each color in its own bowl is crucial to prevent mixing and ensure vibrant, distinct hues. Microwave each bowl in short, 30-second intervals, stirring thoroughly after each interval. Continue this process until the chocolate is completely smooth and free of lumps. Once melted, carefully dip each mini pretzel twist into the candy melt or chocolate, ensuring it’s fully coated. A fork works wonders for dipping and allows excess chocolate to drip off easily.
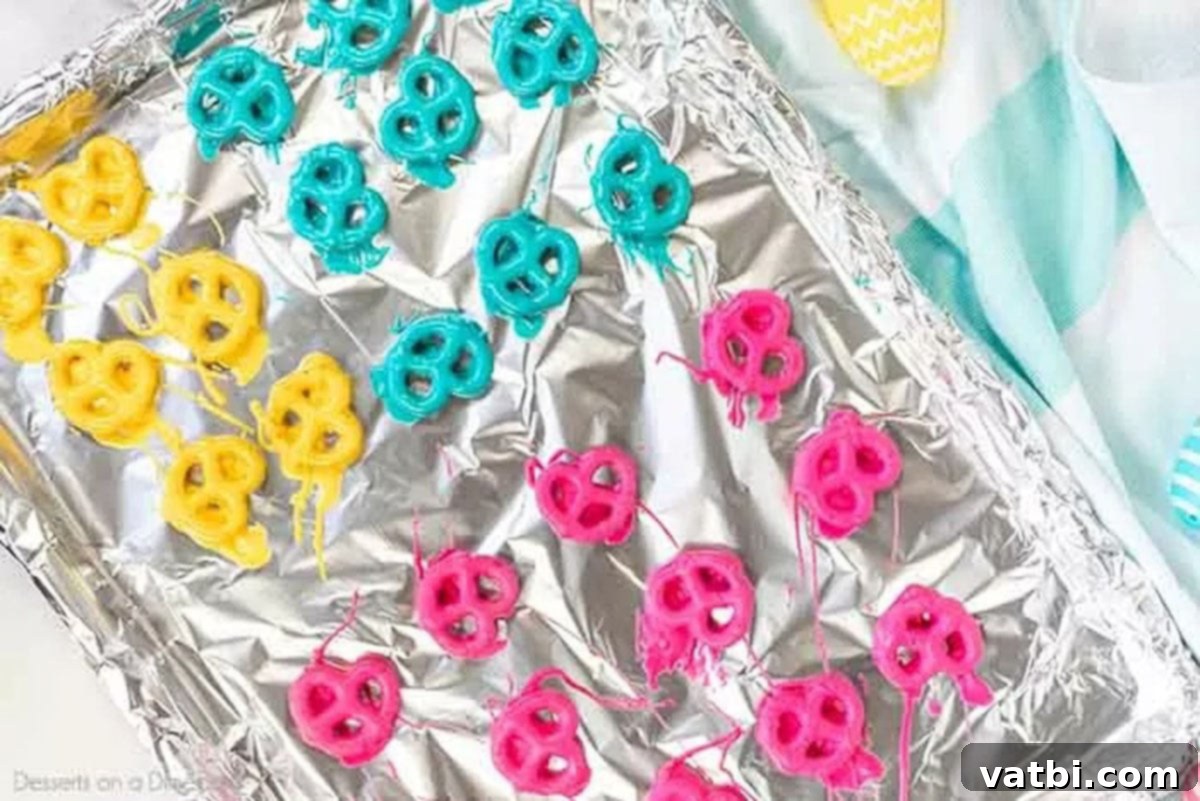
Step 2: Arrange on Baking Sheet. After dipping, carefully transfer the chocolate-covered pretzels to a baking sheet that has been lined with parchment paper or foil. This non-stick surface is essential to prevent the pretzels from sticking once the chocolate sets, making for easy removal and cleanup. Allow some space between each pretzel so they don’t touch and fuse together.
Step 3: Drizzle with Additional Colors. Once the initial coating has slightly set (after about 10-15 minutes, when it’s still tacky but not fully wet), it’s time to add a decorative drizzle. Take a different color of melted candy melt and, using a fork, spoon, or even a small piping bag, artfully drizzle it across the pretzels. You can create zig-zags, swirls, or random patterns to add another layer of visual appeal. If adding sprinkles or other toppings, do so immediately after drizzling while the chocolate is still very wet.
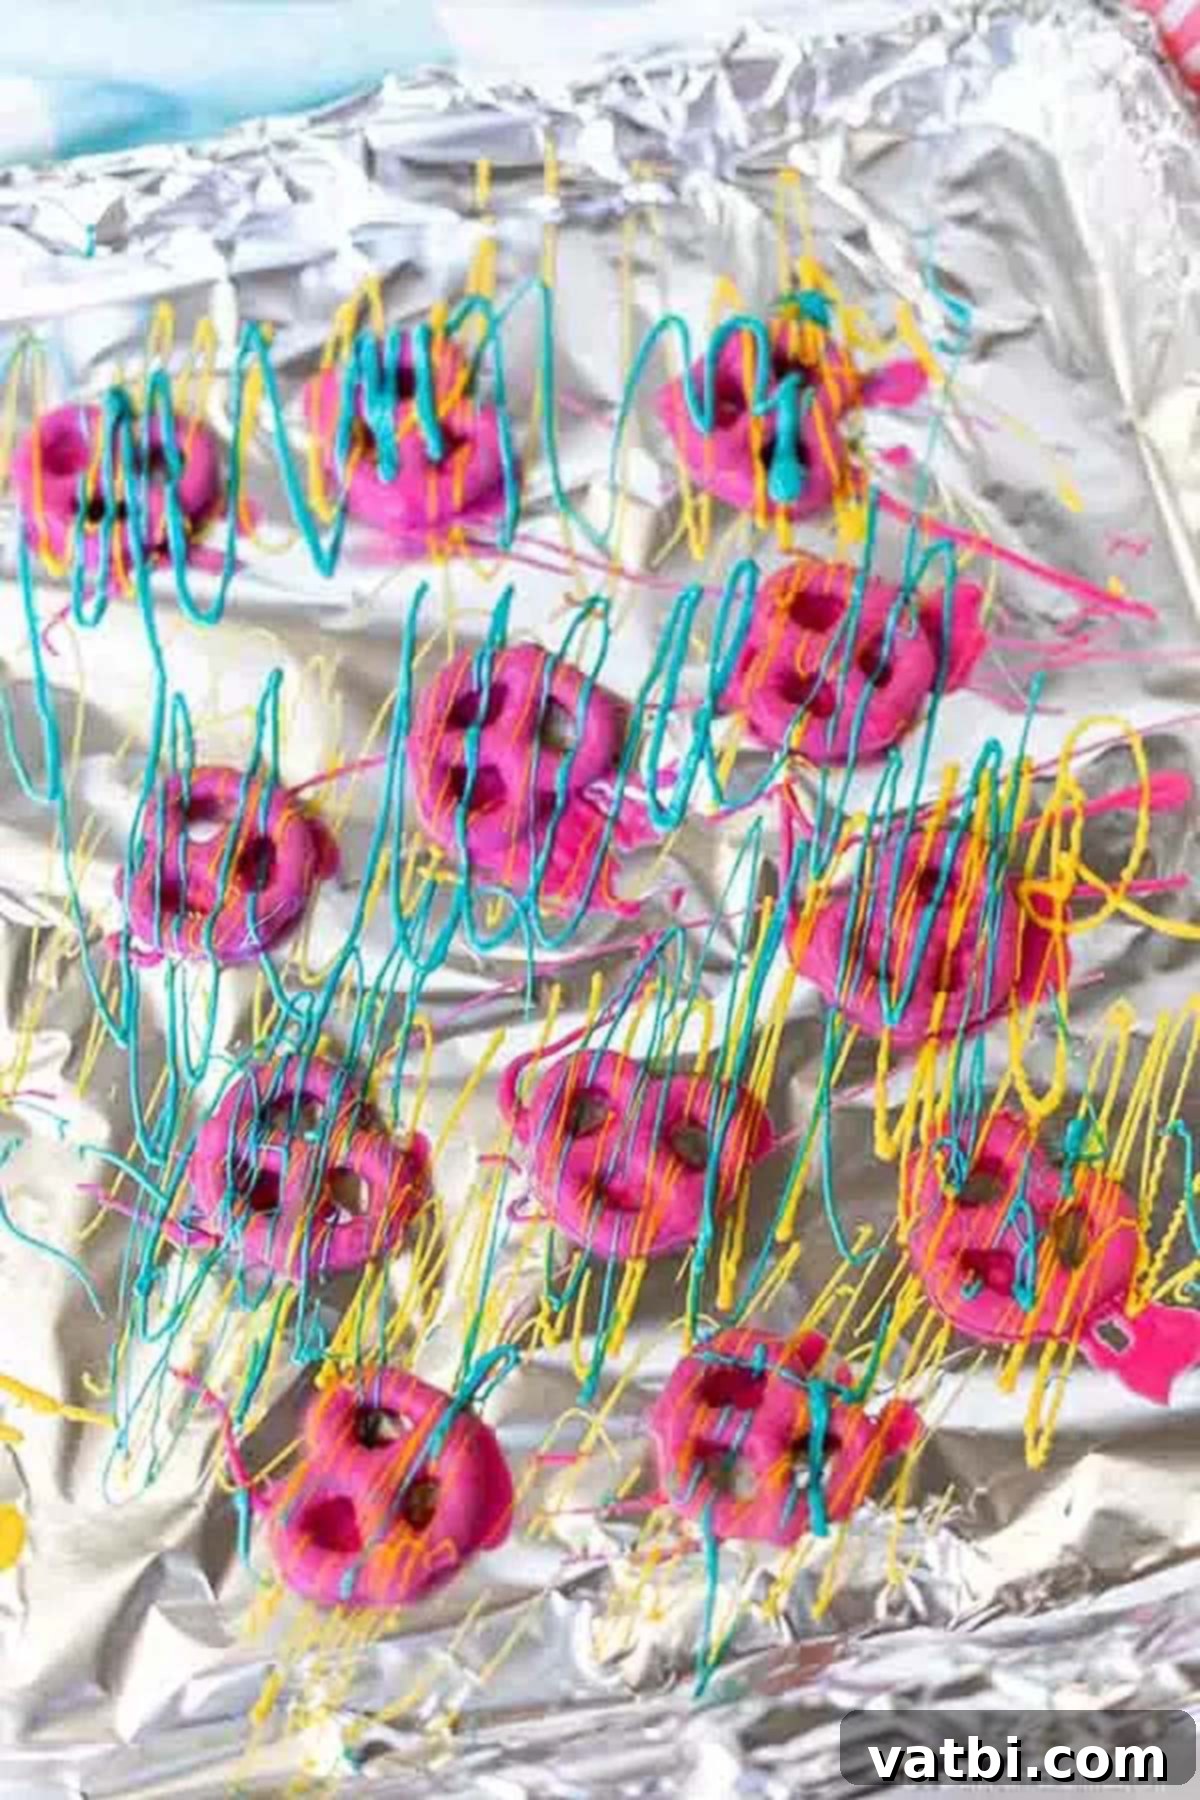
Step 4: Allow to Dry. The final step is to let your beautiful creations set completely. This can be done by simply leaving the baking sheet at room temperature for about an hour, or until the chocolate is firm to the touch. If you’re in a hurry, you can place the baking sheet in the refrigerator for 10-15 minutes to significantly speed up the setting process. Once fully hardened, your festive Easter Chocolate Covered Pretzels are ready to be served or stored!
Expert Tips for Perfect Pretzels
Achieving perfectly coated, beautifully set chocolate pretzels is simple with a few insider tricks. Follow these expert tips for the best results every time:
- Mindful Melting of Chocolate: Whether you’re using candy melts or chocolate chips, ensuring they are completely and smoothly melted is paramount. The microwave method in 30-second increments, with constant stirring, is quick and effective. Alternatively, a double boiler offers a gentler, more controlled melting process, reducing the risk of overheating. Remember, water is the enemy of melting chocolate, so ensure your bowls and utensils are perfectly dry.
- Achieving Smooth Chocolate Consistency: If your melted candy or chocolate appears too thick or isn’t as smooth as you’d like, a small addition can make a big difference. Stir in about ½ teaspoon of vegetable oil or coconut oil (not water or milk, which will cause it to seize). This will help thin the chocolate to a silky, dippable consistency, ensuring an even coating on your pretzels.
- Avoid Overheating: This is a crucial step! Overheating chocolate or candy melts can cause them to seize, becoming clumpy, grainy, and difficult (if not impossible) to work with. Always melt in short intervals and stir frequently. The chocolate will continue to melt even after it’s removed from the microwave due to residual heat, so err on the side of caution.
- Immediate Use is Key: Melted chocolate hardens quickly as it cools. For the best results and easiest dipping experience, be prepared to coat your pretzels immediately after the chocolate reaches the desired smooth consistency. If the chocolate starts to thicken during the process, you can microwave it for another short 10-15 second burst and stir.
- The Fork Method for Dipping: When it comes to dipping pretzels, a fork is your best friend. It allows you to fully submerge the pretzel without getting your fingers messy and, more importantly, facilitates the removal of excess chocolate. Gently tap the fork against the side of the bowl a few times after dipping. The prongs allow excess chocolate to drip off, preventing puddles and ensuring a cleaner, more professional finish compared to using a spoon.
- Prepare Your Baking Sheet: Always line your cookie sheet or baking pan with parchment paper, wax paper, or foil. This non-stick surface is vital for easy removal of the finished pretzels without any sticking or breakage, and it makes cleanup a breeze.
- Strategic Drizzling for Multi-Colors: For a beautiful multi-color effect, allow your initial chocolate coating to set partially for approximately 15 minutes before drizzling with other colors. This ensures the drizzled chocolate sits on top of the first layer rather than blending into it, creating distinct and appealing stripes or patterns. If you want a marbled effect, drizzle immediately while the base layer is still very wet.
- Temperature Matters: Ensure your pretzels are at room temperature before dipping. Cold pretzels can cause the chocolate to set too quickly and unevenly.
- Work in Small Batches: If making a large quantity, consider melting your candy melts in smaller batches. This ensures the chocolate remains at an optimal dipping temperature and consistency throughout the process, preventing it from hardening or becoming too thick.
- Get Creative with Gift Giving: These chocolate covered pretzels make fantastic homemade gifts! Once completely set, arrange them in clear cellophane bags tied with a festive ribbon, or layer them in a decorative box. They are perfect for Easter baskets, hostess gifts, or party favors.
Proper Storage for Freshness
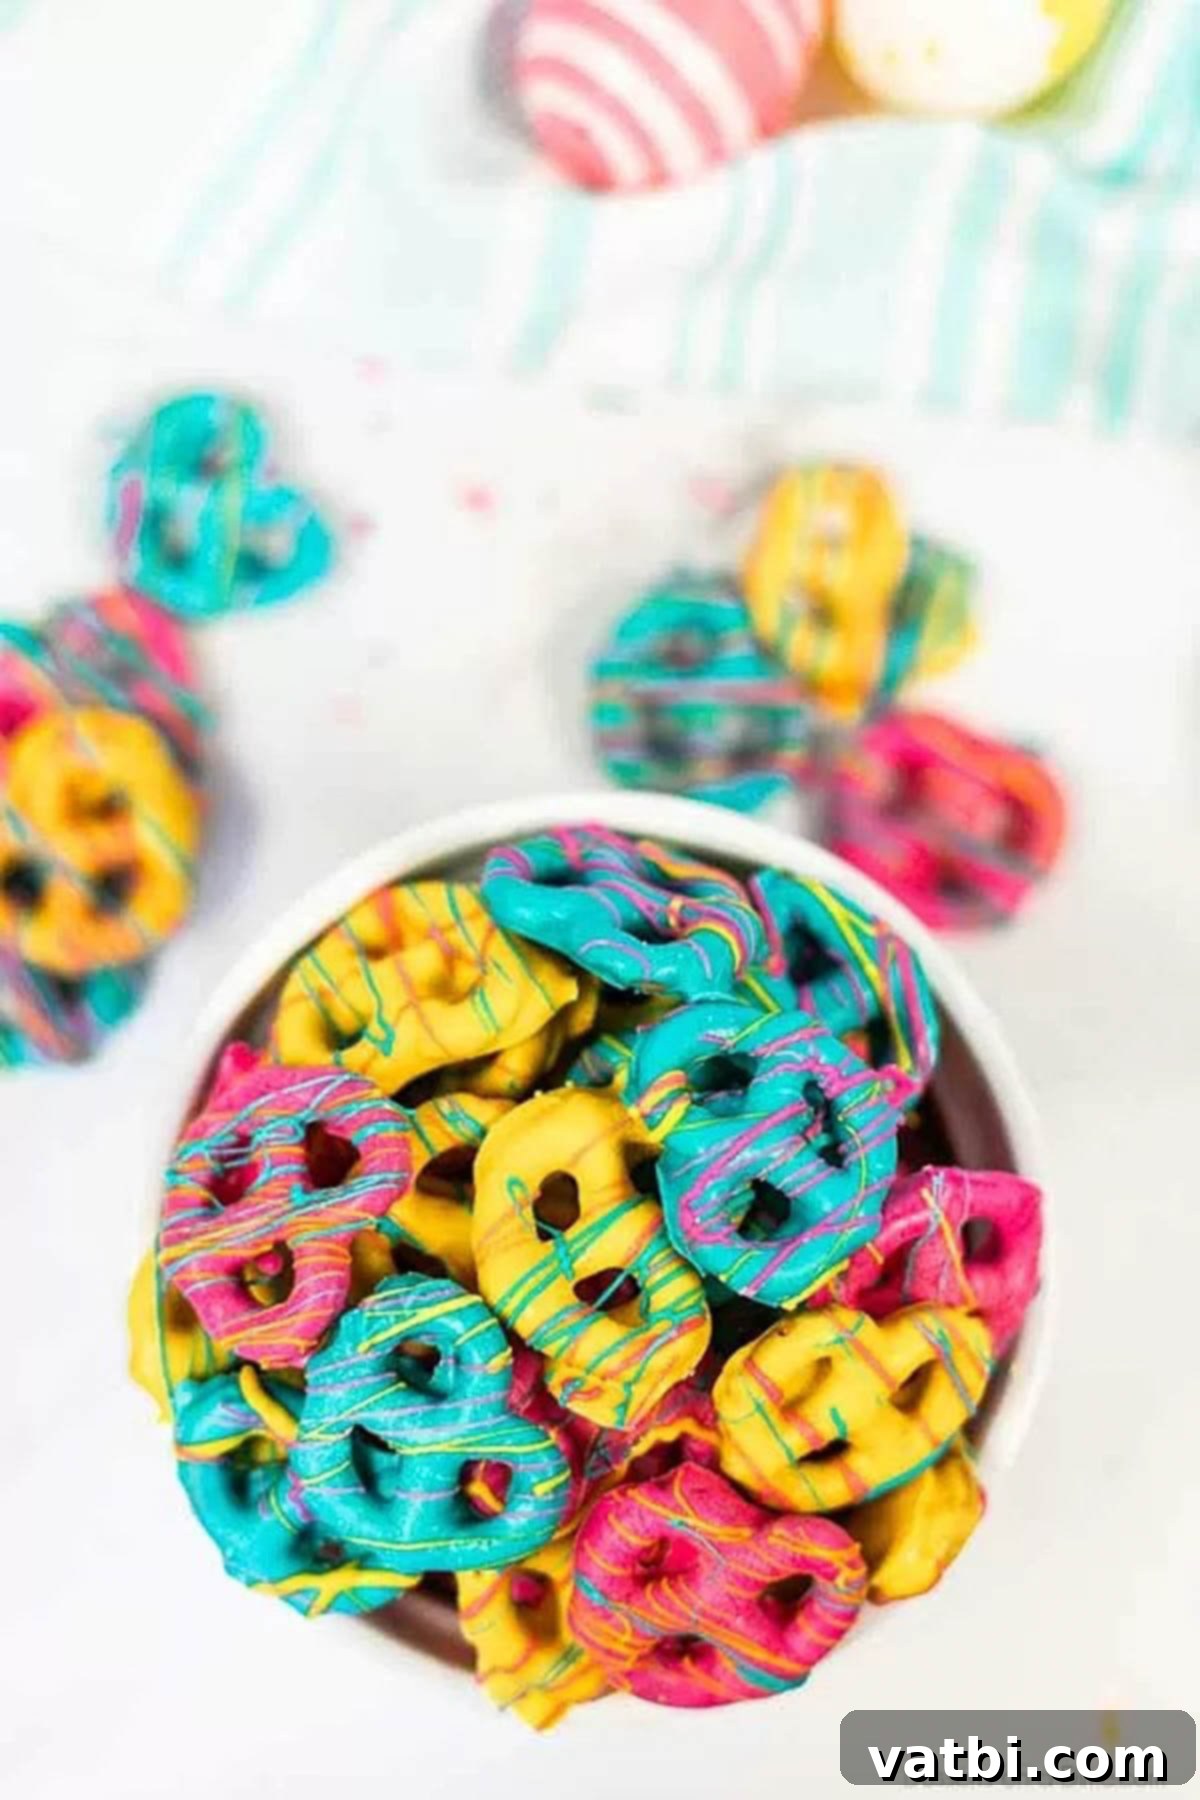
Once your Easter Chocolate Covered Pretzels are fully set, proper storage is key to maintaining their delicious crunch and fresh flavor. I’ve found that these pretzels store wonderfully at room temperature when placed in a sealed ziplock bag or an airtight container. This helps to prevent them from becoming stale and protects them from absorbing any unwanted odors. They should easily last for up to 2 weeks, although in my household, they rarely last that long because everyone devours them!
For best results, keep them in a cool, dry place away from direct sunlight or heat, which can cause the chocolate to melt or become sticky. Avoid storing them in humid environments, as moisture can make the pretzels lose their crispness.
Can you Freeze Chocolate Covered Pretzels?
Absolutely, you can freeze chocolate covered pretzels, which is fantastic news if you like to prepare treats in advance or have leftovers (if that ever happens!). Freezing them is a great way to extend their shelf life significantly.
To freeze, first ensure the chocolate coating is completely hardened. Then, arrange the pretzels in a single layer on a baking sheet and flash freeze them for about 1-2 hours until solid. This prevents them from sticking together. Once frozen, transfer the pretzels to a freezer-safe container or a heavy-duty ziplock freezer bag. Make sure to remove as much air as possible to prevent freezer burn. When you’re ready to enjoy them, simply take them out of the freezer and let them thaw at room temperature. Avoid thawing them in the refrigerator, as condensation can form on the chocolate, creating a white bloom or sticky texture. They should be ready to eat in about 15-30 minutes, maintaining their delicious taste and texture.
More Decadent Chocolate Covered Treats
If you love the versatility and deliciousness of chocolate-covered delights, you’ll definitely want to explore these other fantastic recipes:
- Peeps Chocolate Covered Pretzel Rods: Combine the iconic Easter Peeps with chocolate-covered pretzel rods for an extra festive and fun holiday treat.
- Peanut Butter Balls: These no-bake, chocolate-covered peanut butter confections are rich, creamy, and undeniably addictive.
- Chocolate Covered Rice Krispie Treats: Take classic Rice Krispie treats to the next level with a generous coating of chocolate for an even more indulgent dessert.
More Easy Easter Desserts:
Planning your Easter dessert spread is a joy with these additional easy and delightful recipes. They pair perfectly with our chocolate-covered pretzels and will ensure your holiday table is bursting with flavor and fun:
- Easter Dirt Cups Recipe: Layers of chocolate pudding, crushed cookies, and gummy worms create a playful, kid-friendly dessert that’s perfect for spring.
- Easter White Chocolate Bark Recipe: This simple yet elegant bark, studded with colorful candies, is incredibly customizable and makes a beautiful edible gift.
- Easter Basket Cupcakes: Transform ordinary cupcakes into adorable Easter baskets, complete with edible grass and candy eggs, a guaranteed hit!
- How to Make an Easter Bunny Cake: A classic and charming Easter centerpiece, this bunny cake is easier to make than you think and brings smiles to every face.
- Adorable Peeps Cupcakes: Top vibrant cupcakes with fluffy Peeps marshmallows for a sweet and whimsical treat.
- Easter Chocolate Bark: A quick and impressive dessert, this chocolate bark can be loaded with your favorite Easter candies and colors.
Don’t wait! Make these yummy, festive treats today for a fun surprise that your family and friends will absolutely adore. We’re confident they’ll become a new Easter tradition in your home. Then, be sure to come back and leave a star recipe rating and comment to let us know how much you loved them!
Pin
Easter Chocolate Covered Pretzels
Ingredients
- 50 miniature pretzel twists
- 4 ounces Pink Candy Melts
- 4 ounces Blue Candy Melts
- 4 ounces Yellow Candy Melts
Instructions
-
Place the candy melts in a microwave safe bowl. Use different bowls for each color.
-
Microwave each bowl in 30 second increments or until the candy is melted. Stir between each interval until the candy is smooth.
-
Dip the pretzel twists in the candy melt or the chocolate, use a fork to coat each pretzel in the candy, then tap the fork against the side of the bowl to remove excess chocolate.
-
Then place the pretzel on a baking sheet lined with parchment paper, wax paper or foil. Then drizzle with the other colors.
-
Let the pretzels sit until dry. They will need to sit at room temperature for approximately 1 hour or you can put them in the refrigerator to speed up the process.
-
Serve or store!
Recipe Notes
Nutrition Facts
Pin This Now to Remember It Later
Pin Recipe
