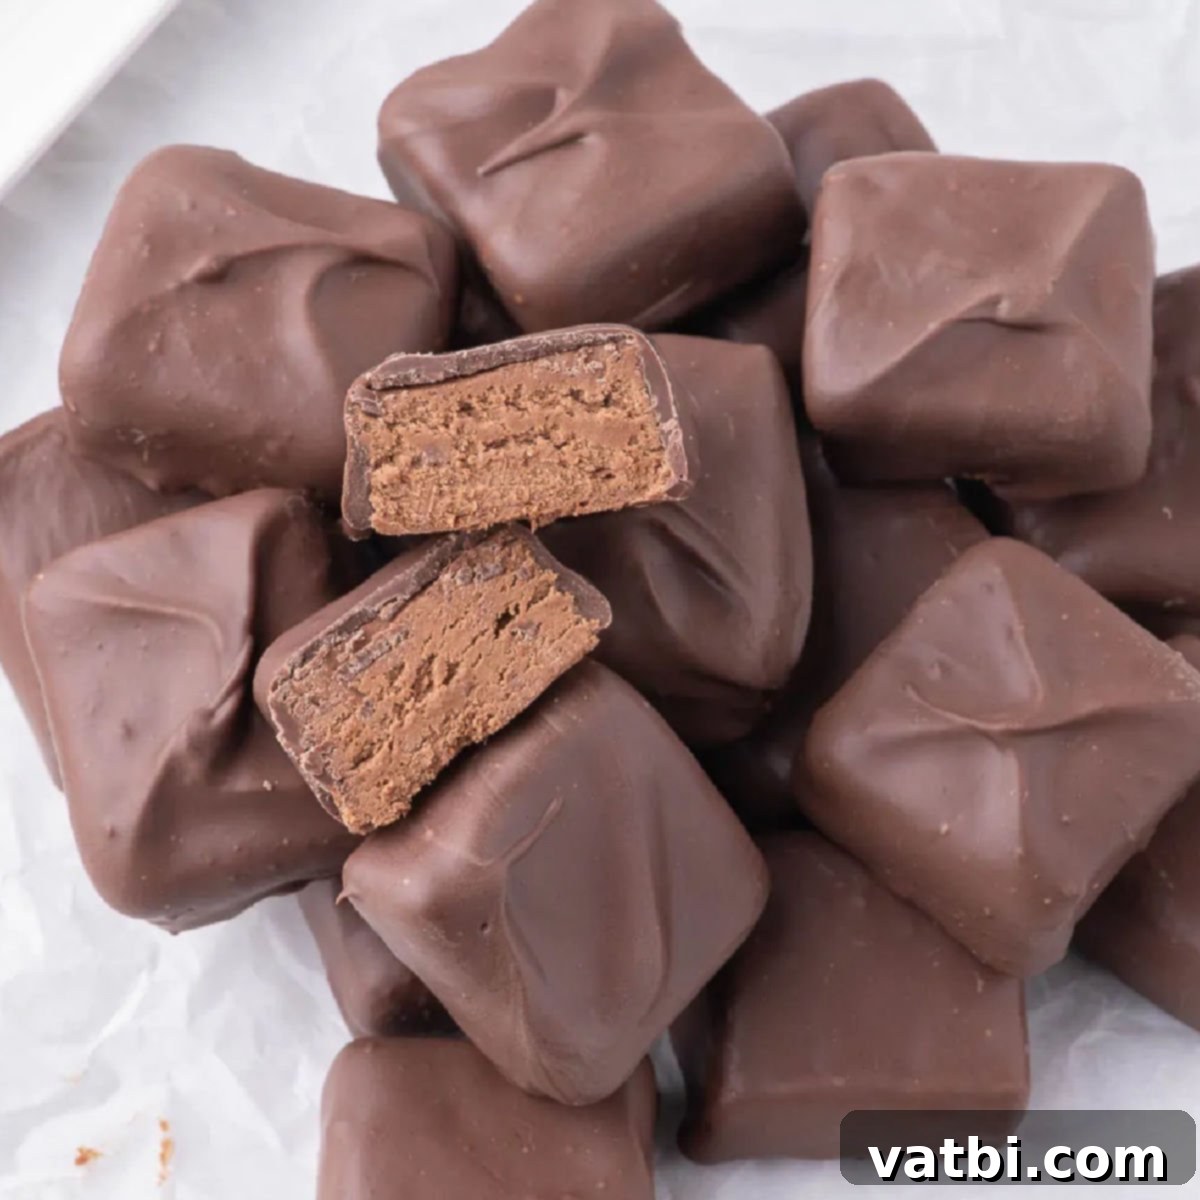
Irresistible 3-Ingredient Cool Whip Candy: A Fluffy, Chocolatey Treat Reminiscent of 3 Musketeers
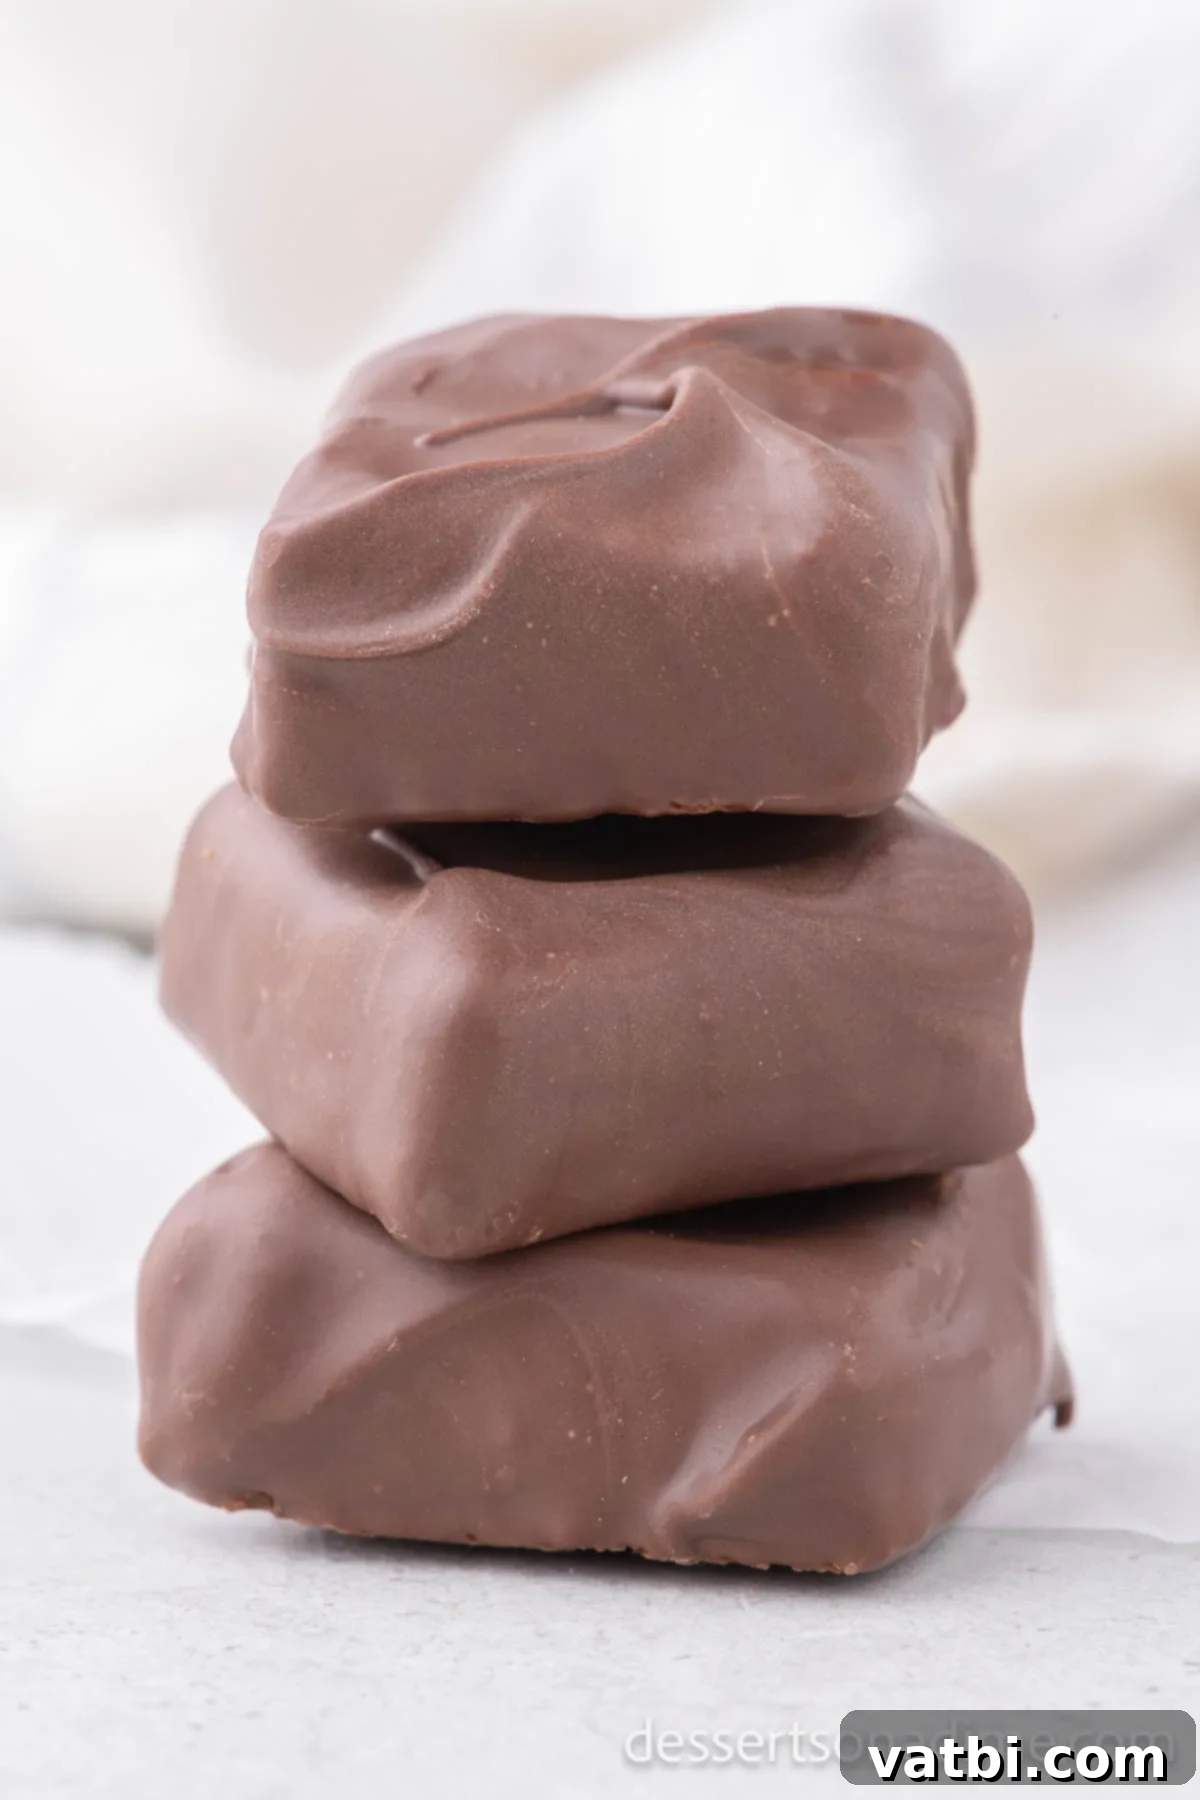
Prepare to be amazed by this incredibly simple yet utterly delicious Cool Whip Candy recipe! With *only 3 ingredients*, you can whip up a batch of these delightful treats that boast a light, airy, and fluffy texture on the inside, perfectly enveloped by a rich, melt-in-your-mouth chocolate coating. Imagine the beloved taste of a 3 Musketeers Bar, but even easier to make at home. Whether you’re craving a quick dessert, a satisfying snack, or a charming homemade gift, this candy is practically effortless and guarantees wonderful results every time.
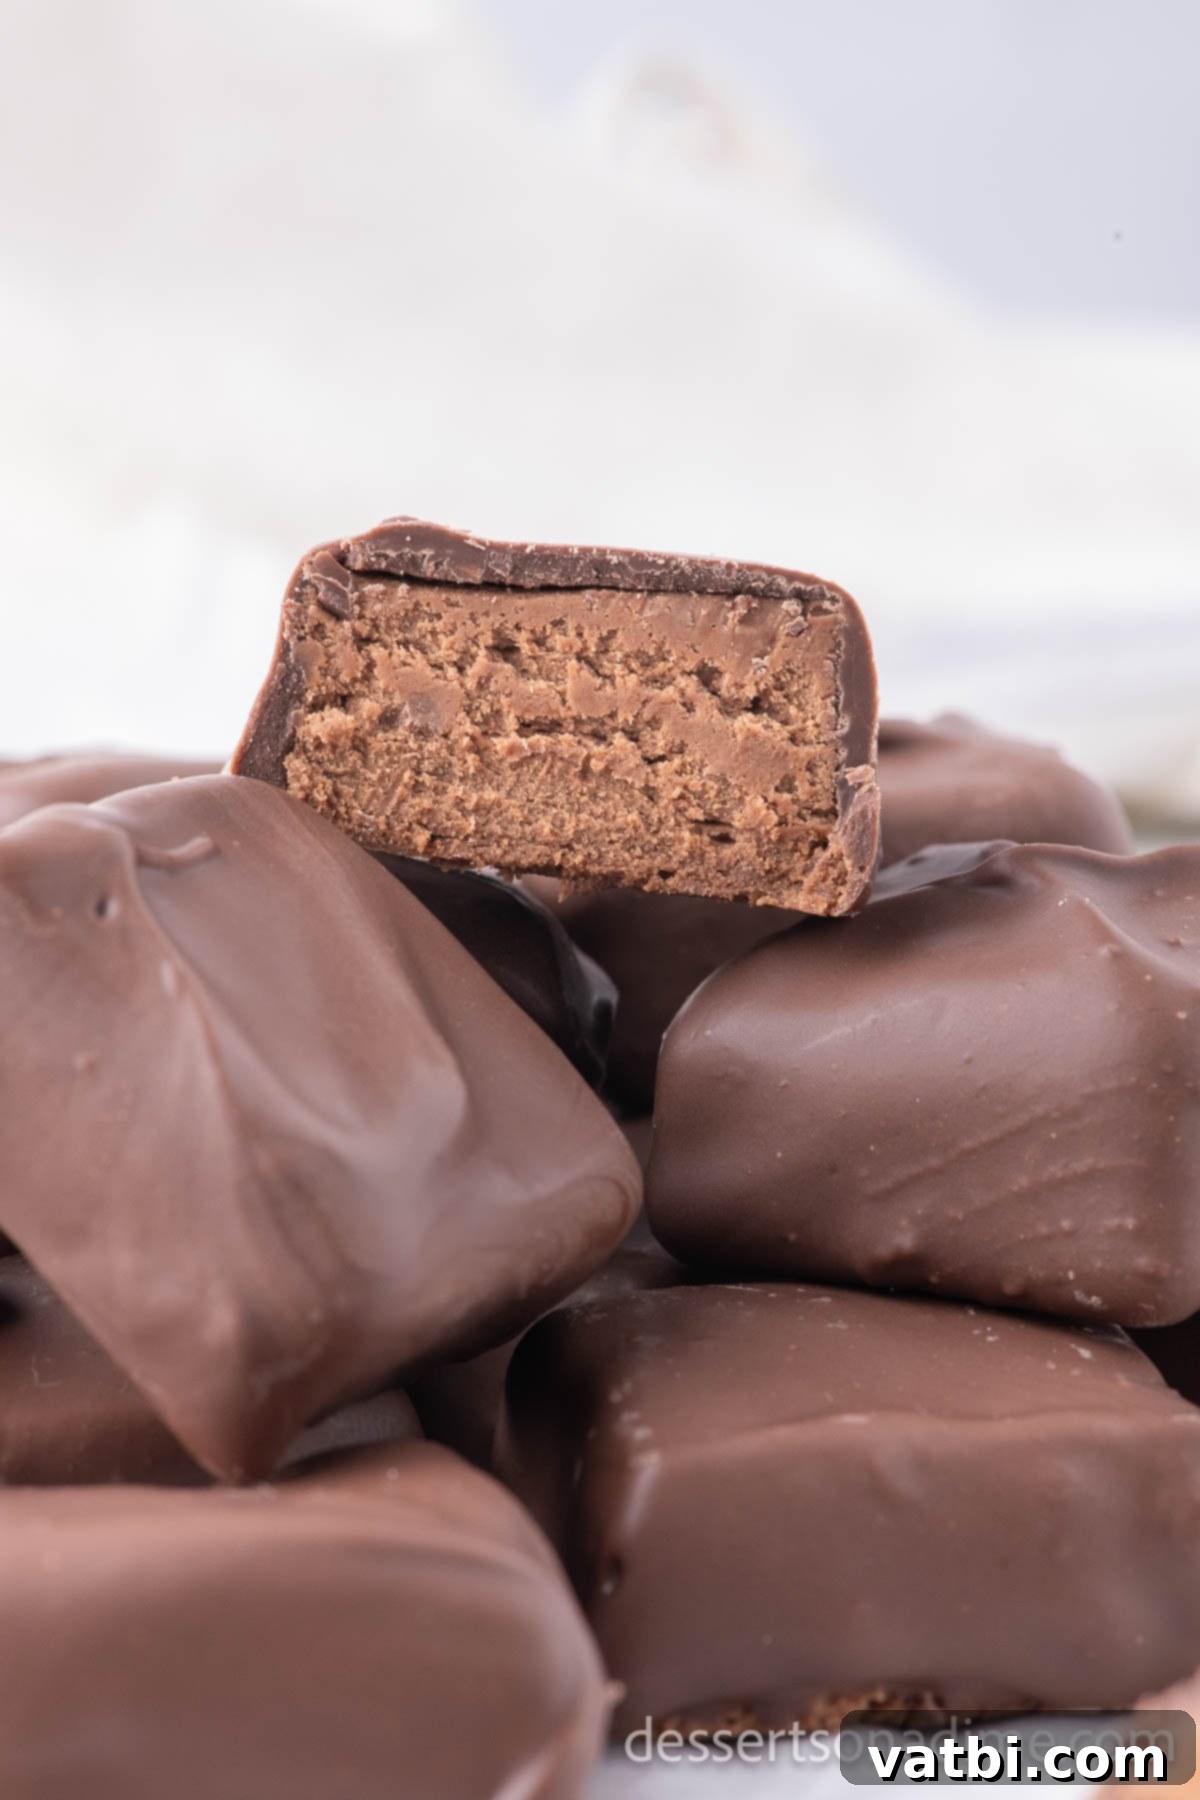
Have you ever encountered the magic of Cool Whip Candy? It’s a revelation for anyone who loves the distinct combination of a fluffy nougat-like center and a decadent chocolate shell. This recipe is a game-changer for homemade candy enthusiasts, proving that you don’t need a long list of complex ingredients or hours in the kitchen to create something truly special. It’s so straightforward, you’ll wonder why you haven’t been making it for years!
If you’re a fan of classic candy bars, especially the light and airy texture of a 3 Musketeers, then you absolutely must try making a batch of this Cool Whip Candy. It’s a delightful copycat version that captures all the essence of your favorite without the fuss. My family adores these treats, and I’ve been experimenting with easy candy recipes for ages, also enjoying making Butterscotch Bars, Homemade Mounds Bars, and Rock Candy. Even Hard Candy is a regular request around here!
Table of Contents
- Why This Recipe Works
- Ingredients You’ll Need
- Flavorful Variations & Substitutions
- Easy Step-by-Step Instructions
- Proper Storage Tips
- Pro Tips for Perfect Candy
- Frequently Asked Questions (FAQs)
Why This Recipe Works Wonders
This recipe is a true kitchen hero because of its incredible simplicity and the delightful outcome. With just three core ingredients, you transform a tub of Cool Whip and some chocolate into a confection that remarkably mimics the texture and flavor profile of a classic Three Musketeers bar. It’s an ideal choice for busy individuals or anyone looking for a quick and impressive treat without the usual complexities of candy making. The minimal ingredient list not only makes it budget-friendly but also reduces prep time significantly. You’ll be genuinely surprised by the delightful transformation, creating a rich yet light dessert that everyone will adore. Beyond this, be sure to also try our Cool Whip Cake Mix Cookies for another easy Cool Whip creation!
Essential Ingredients You’ll Need
The beauty of this recipe lies in its incredibly short and sweet ingredient list. Each component plays a crucial role in achieving that perfect texture and flavor. Using high-quality ingredients ensures the best possible outcome for your homemade candy.
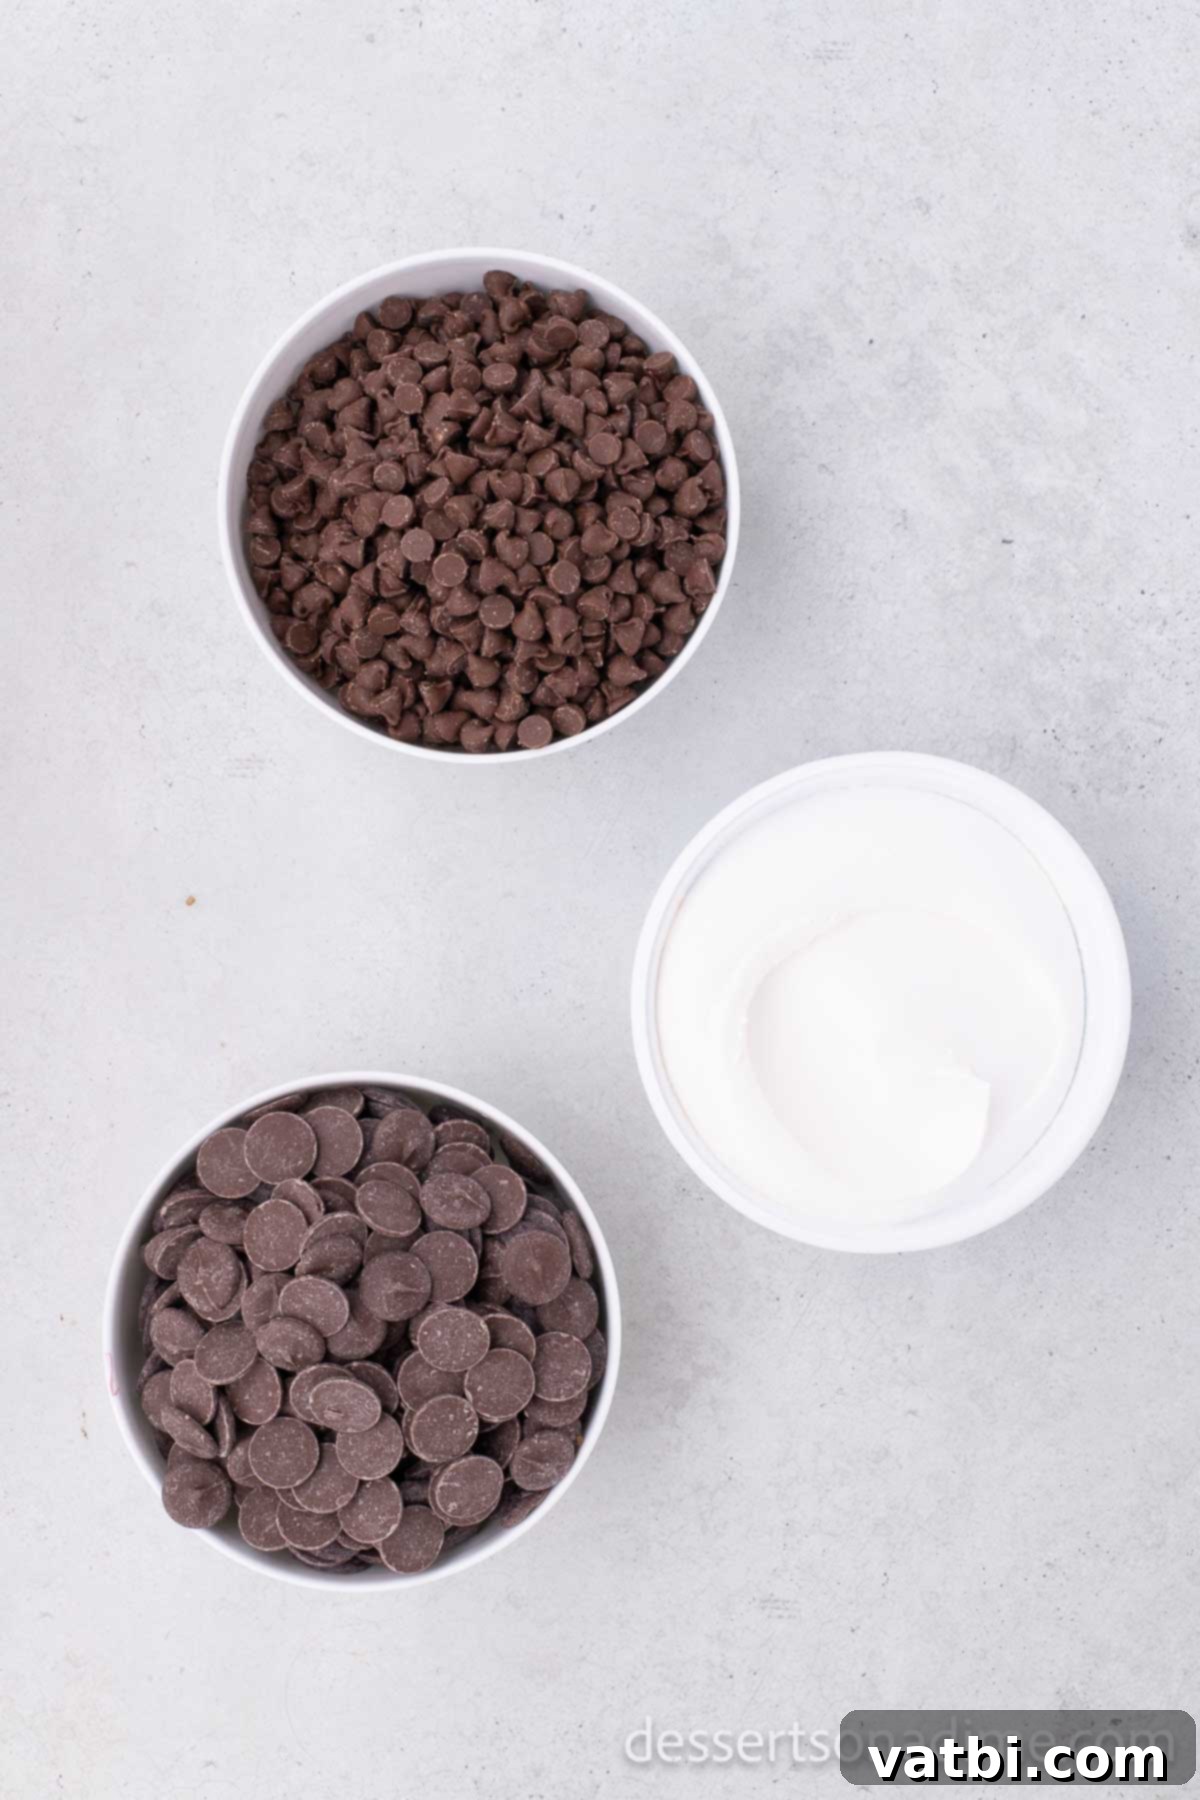
- Milk Chocolate Chips: Opt for a good quality brand of milk chocolate chips. Since chocolate is one of the primary flavors, a superior quality chocolate will significantly enhance the overall taste of your candy. It melts smoothly and provides a rich, creamy base for the fluffy Cool Whip.
- Cool Whip: This is the secret to the candy’s signature light and airy texture. Ensure your Cool Whip is completely thawed before you begin. Thawing it properly allows it to incorporate smoothly with the melted chocolate, preventing lumps and creating that desirable fluffy consistency. Do not use frozen Cool Whip as it will result in a grainy texture.
- Chocolate Melting Wafers: These are ideal for the outer coating. Melting wafers, often found as candy melts or dipping chocolates, are specifically designed to melt smoothly and set quickly with a beautiful, glossy finish without needing tempering. This makes dipping your candy pieces much easier and gives them a professional, appealing look that regular chocolate chips might not achieve.
For the precise measurements and a printable recipe card, please refer to the complete ingredient list at the bottom of this page.
Flavorful Variations and Creative Substitutions
While the classic milk chocolate version is absolutely delightful, this recipe is highly adaptable, allowing you to experiment with different flavors and additions. Feel free to get creative and personalize your Cool Whip Candy!
- Experiment with Different Chocolates:
- Dark Chocolate Chips: For a more intense and less sweet flavor, substitute milk chocolate chips with dark chocolate chips for both the base and the coating. This creates a sophisticated treat that pairs wonderfully with coffee.
- White Chocolate Chips: If you prefer a sweeter, creamier profile, white chocolate chips can be used. Consider adding a few drops of food coloring to the white chocolate coating for festive occasions!
- Semi-Sweet Chocolate: A great middle ground, semi-sweet chocolate offers a balanced sweetness that many enjoy.
- Flavored Melting Wafers: Many brands offer flavored candy melts (e.g., peppermint, caramel, peanut butter). These can add an exciting twist to your outer coating.
- Add Fun Toppings and Mix-Ins:
- Sprinkles: Before the chocolate coating sets, immediately sprinkle your favorite colorful sprinkles on top for a festive touch. This is especially fun for holidays or birthday parties.
- Chopped Nuts: A sprinkle of finely chopped pecans, walnuts, or almonds on the wet chocolate coating adds a lovely crunch and nutty flavor.
- Shredded Coconut: Toasted or untoasted shredded coconut flakes can be added to the mixture or sprinkled on top of the coating for a tropical twist, similar to a Mounds bar.
- Flaky Sea Salt: A tiny pinch of flaky sea salt on the chocolate coating can elevate the flavor by contrasting the sweetness and enhancing the chocolate notes.
- Crushed Peppermint: For a holiday-themed treat, sprinkle crushed peppermint candies on the melted chocolate coating.
- Mini Marshmallows: Fold mini marshmallows into the Cool Whip and melted chocolate mixture before freezing for an extra layer of soft, sweet texture.
- Caramel Drizzle: After the chocolate coating has set, you can drizzle a thin stream of melted caramel over the candies for a decadent touch.
Easy Step-by-Step Instructions for Perfect Cool Whip Candy
Follow these detailed steps to create your delicious homemade Cool Whip Candy. Each stage is designed to be simple and straightforward, ensuring a perfect result.
- Step 1. Prepare Your Baking Dish: Begin by lining an 8×8 inch baking dish with parchment paper. Ensure the parchment paper extends over the edges of the dish; these overhangs will serve as convenient handles later for easy removal of the candy block. Set the prepared dish aside.
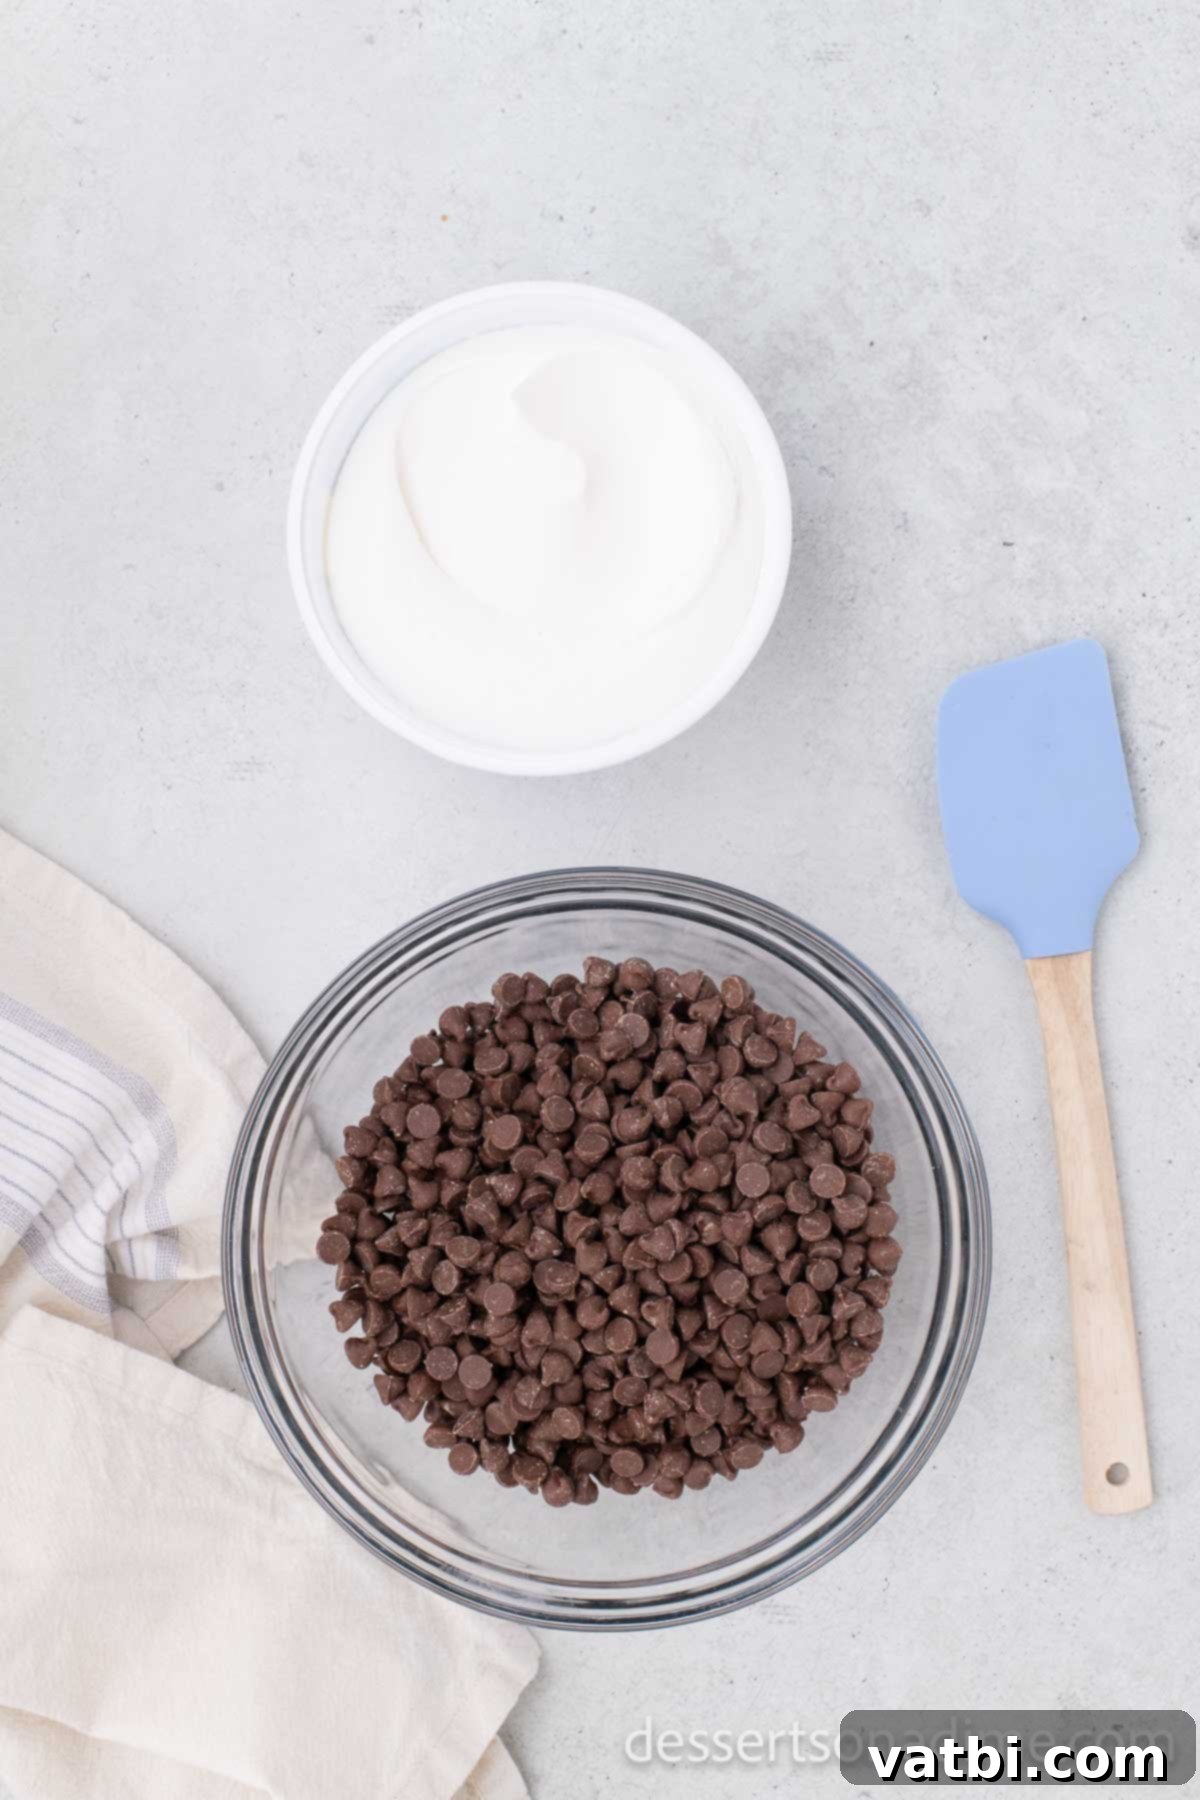
Step 2. Melt the Chocolate Chips: Place the milk chocolate chips in a large, microwave-safe mixing bowl. Heat the chocolate in short intervals to prevent burning. Start with 20 seconds, then stir thoroughly. Continue heating in 15-second bursts, stirring well after each interval, until the chocolate chips are fully melted and smooth. Alternatively, you can use a double boiler for a gentler melting process.
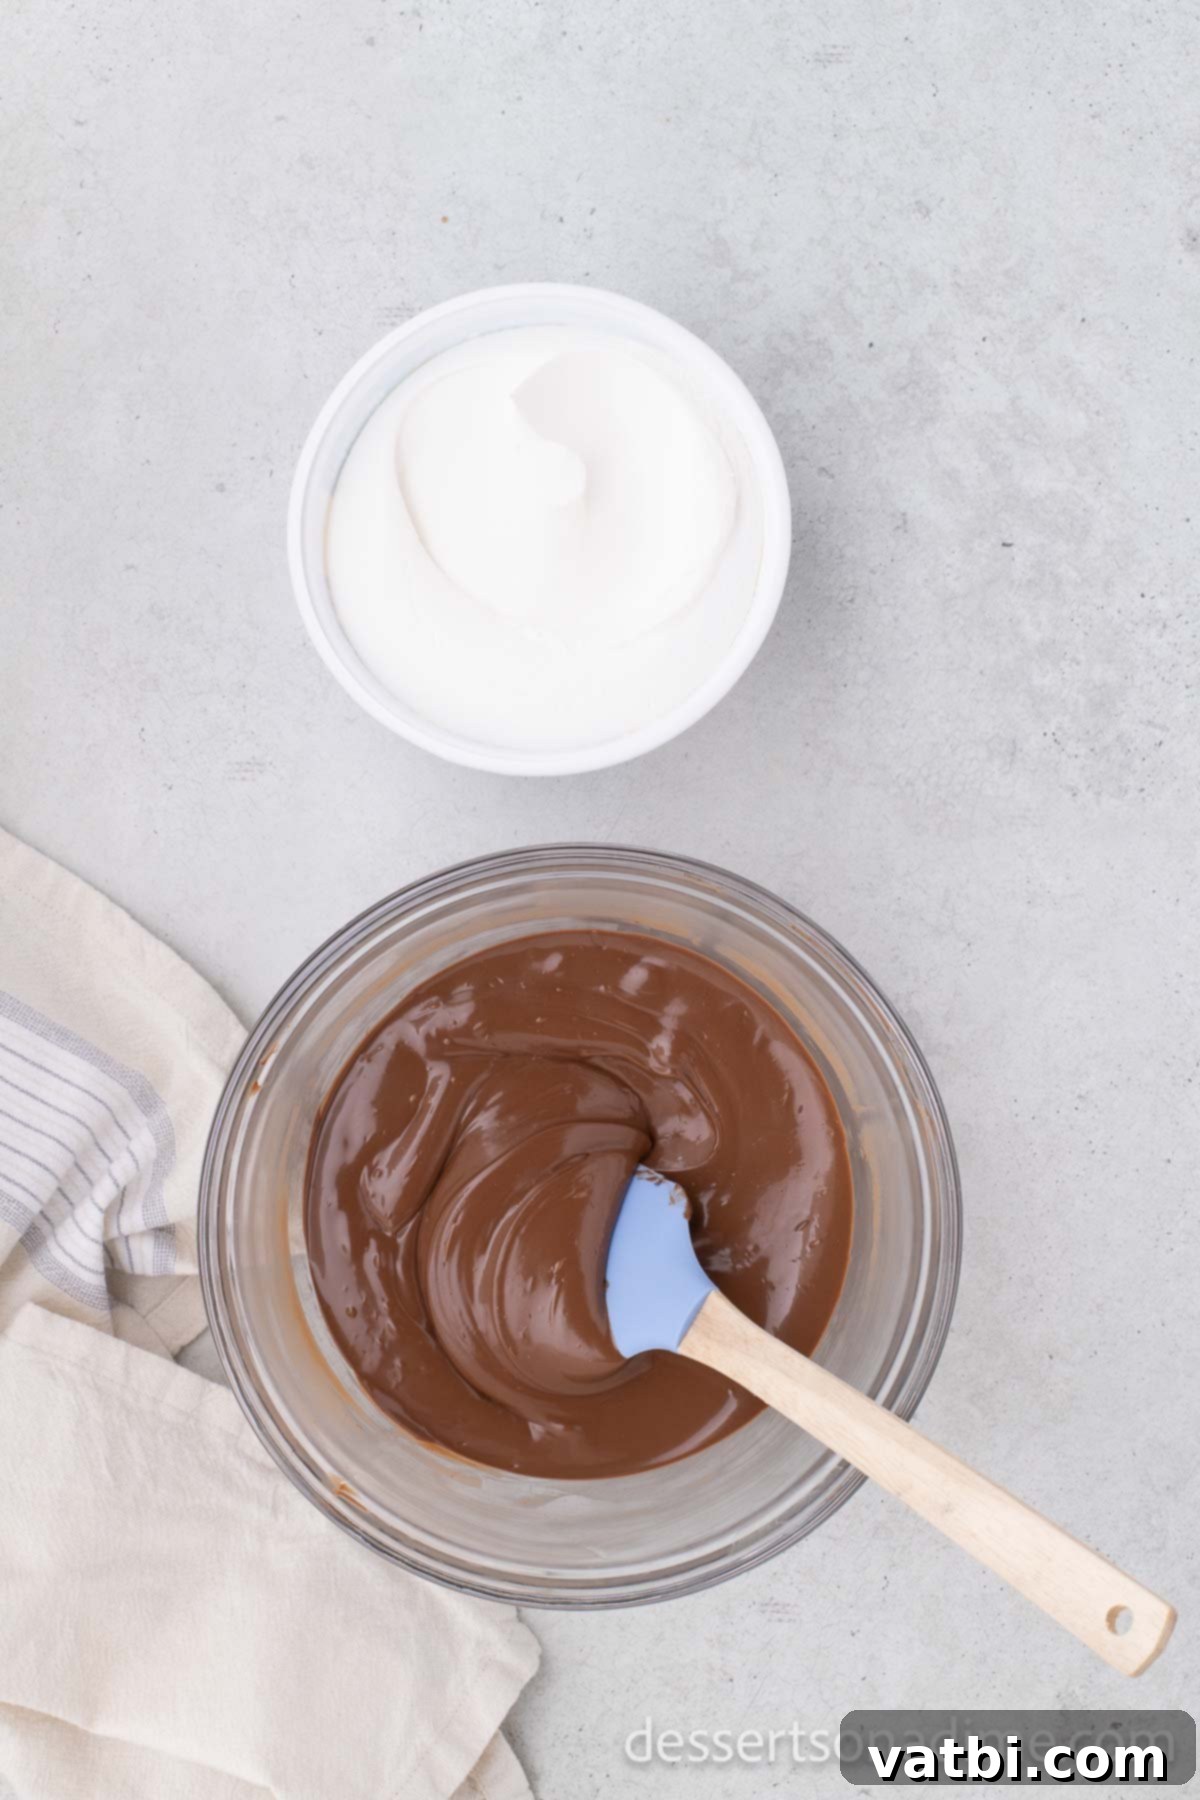
Step 3. Combine with Cool Whip: Once the chocolate is completely melted and smooth, gently add the thawed Cool Whip into the bowl with the melted chocolate. Using a rubber spatula, carefully fold the Cool Whip into the chocolate until it’s fully combined and no streaks remain. The mixture will become noticeably thick and airy – this is exactly the desired consistency for that signature fluffy center.
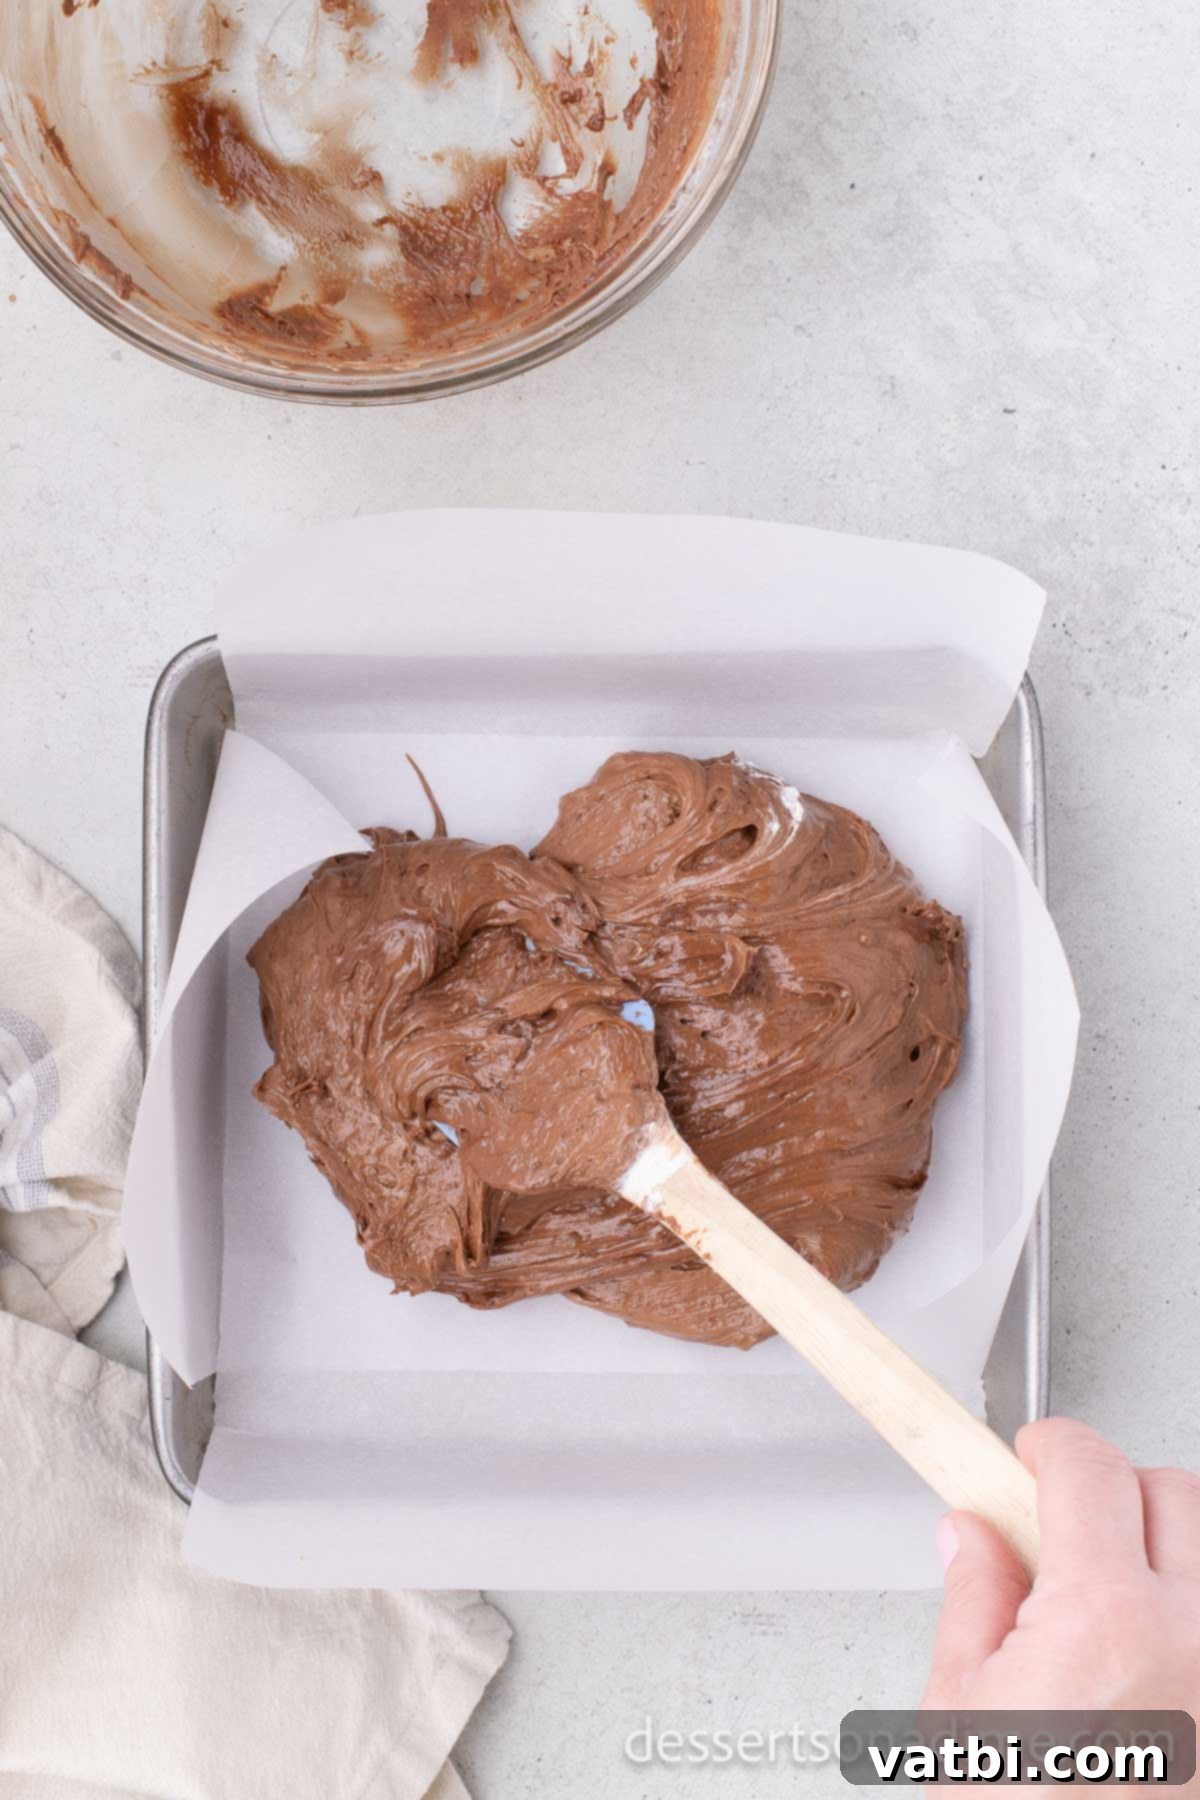
Step 4. Spread into the Pan: Carefully spread the thick chocolate and Cool Whip mixture evenly into the prepared 8-inch square baking dish. Use your rubber spatula to smooth the top surface, ensuring the candy block will have a consistent thickness for even cuts later on.
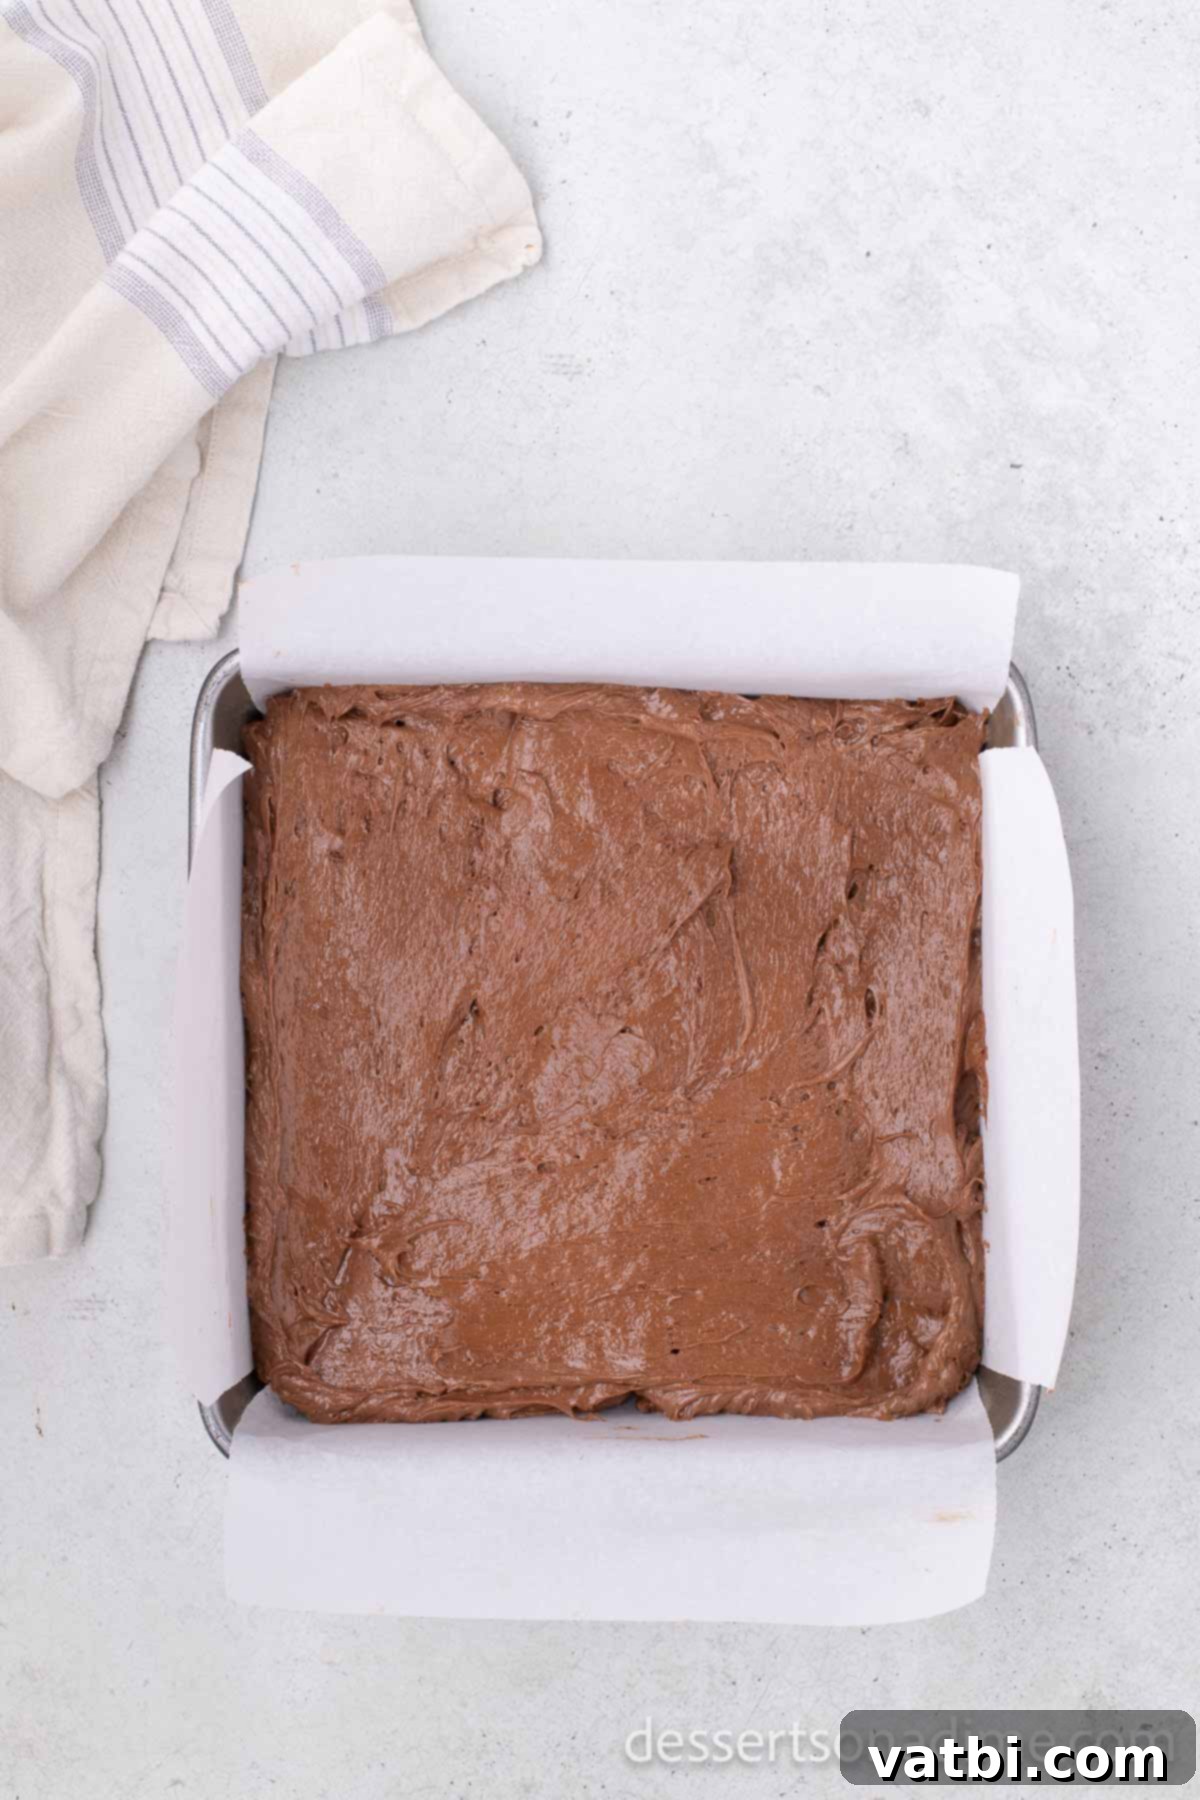
Step 5. Initial Freeze: Place the baking dish containing the mixture into the freezer. Allow it to freeze for at least 30 minutes, or until the mixture is completely solid and firm to the touch. This crucial step ensures that the candy holds its shape and can be cut cleanly.
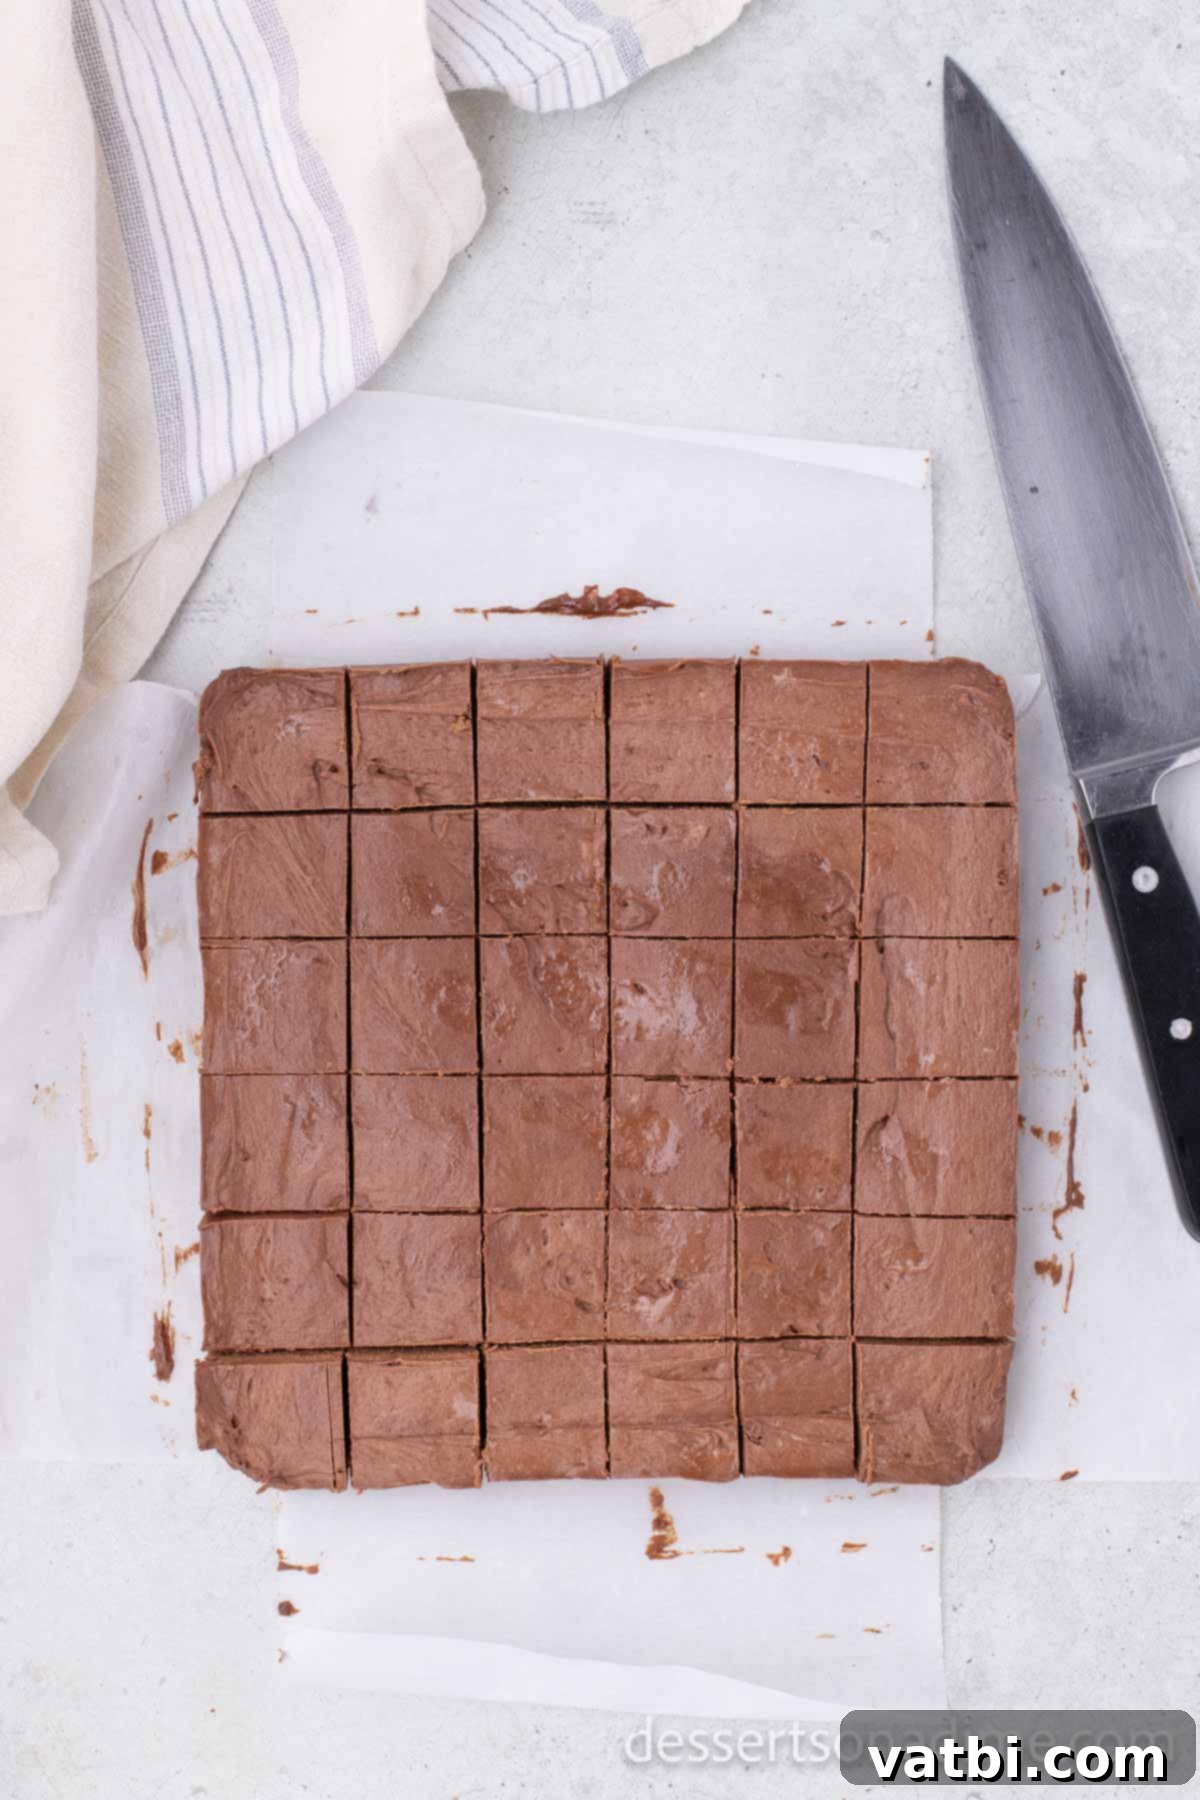
Step 6. Cut into Pieces: Once frozen solid, lift the entire block of candy from the baking dish using the parchment paper overhangs. Place it on a cutting board. Using a sharp knife (you can warm it under hot water for cleaner cuts), carefully cut the candy block into approximately 36 square pieces. Aim for uniform sizes for an attractive presentation.
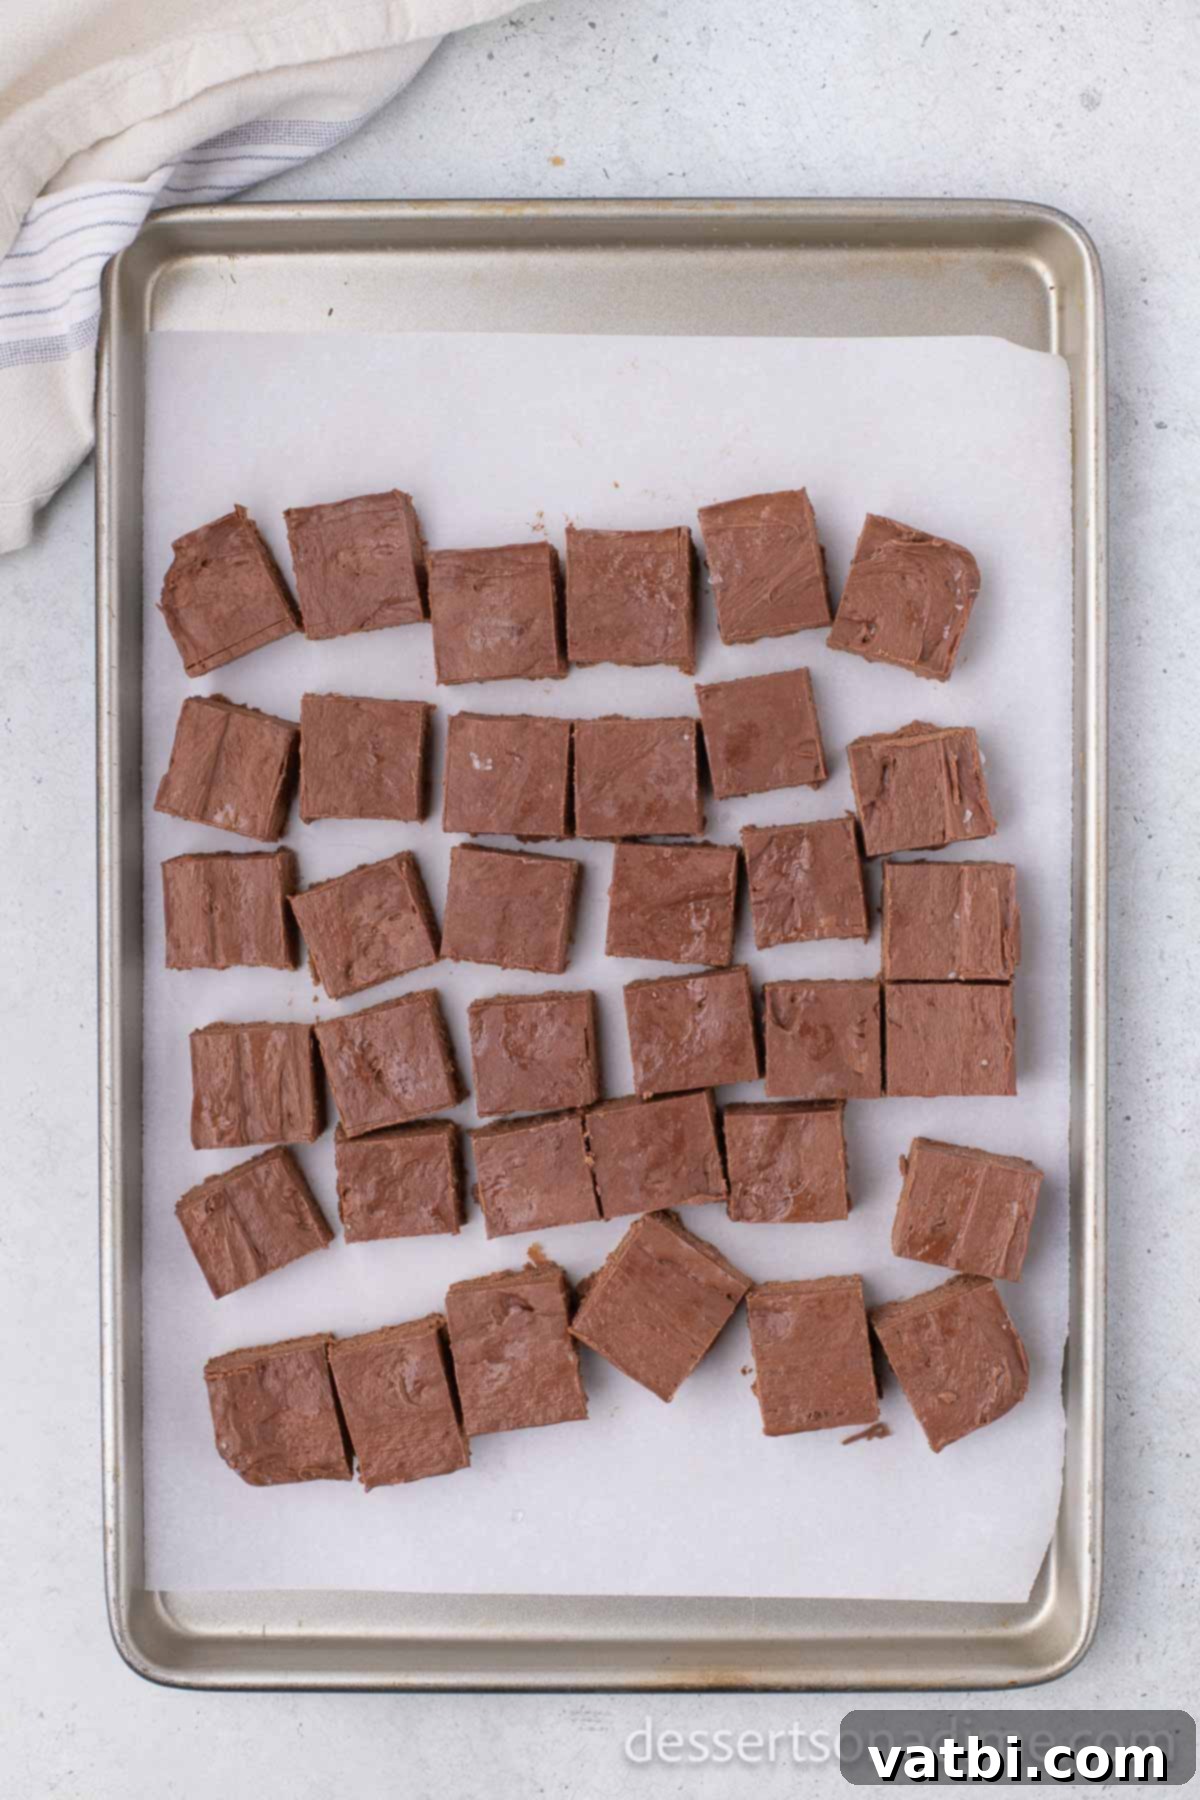
Step 7. Second Freeze: Arrange the cut candy squares on a separate baking sheet lined with wax paper or fresh parchment paper. Make sure they are not touching. Return this baking sheet to the freezer for an additional 30 minutes. This second freeze is crucial for making the candy firm enough to dip without melting or losing its shape.
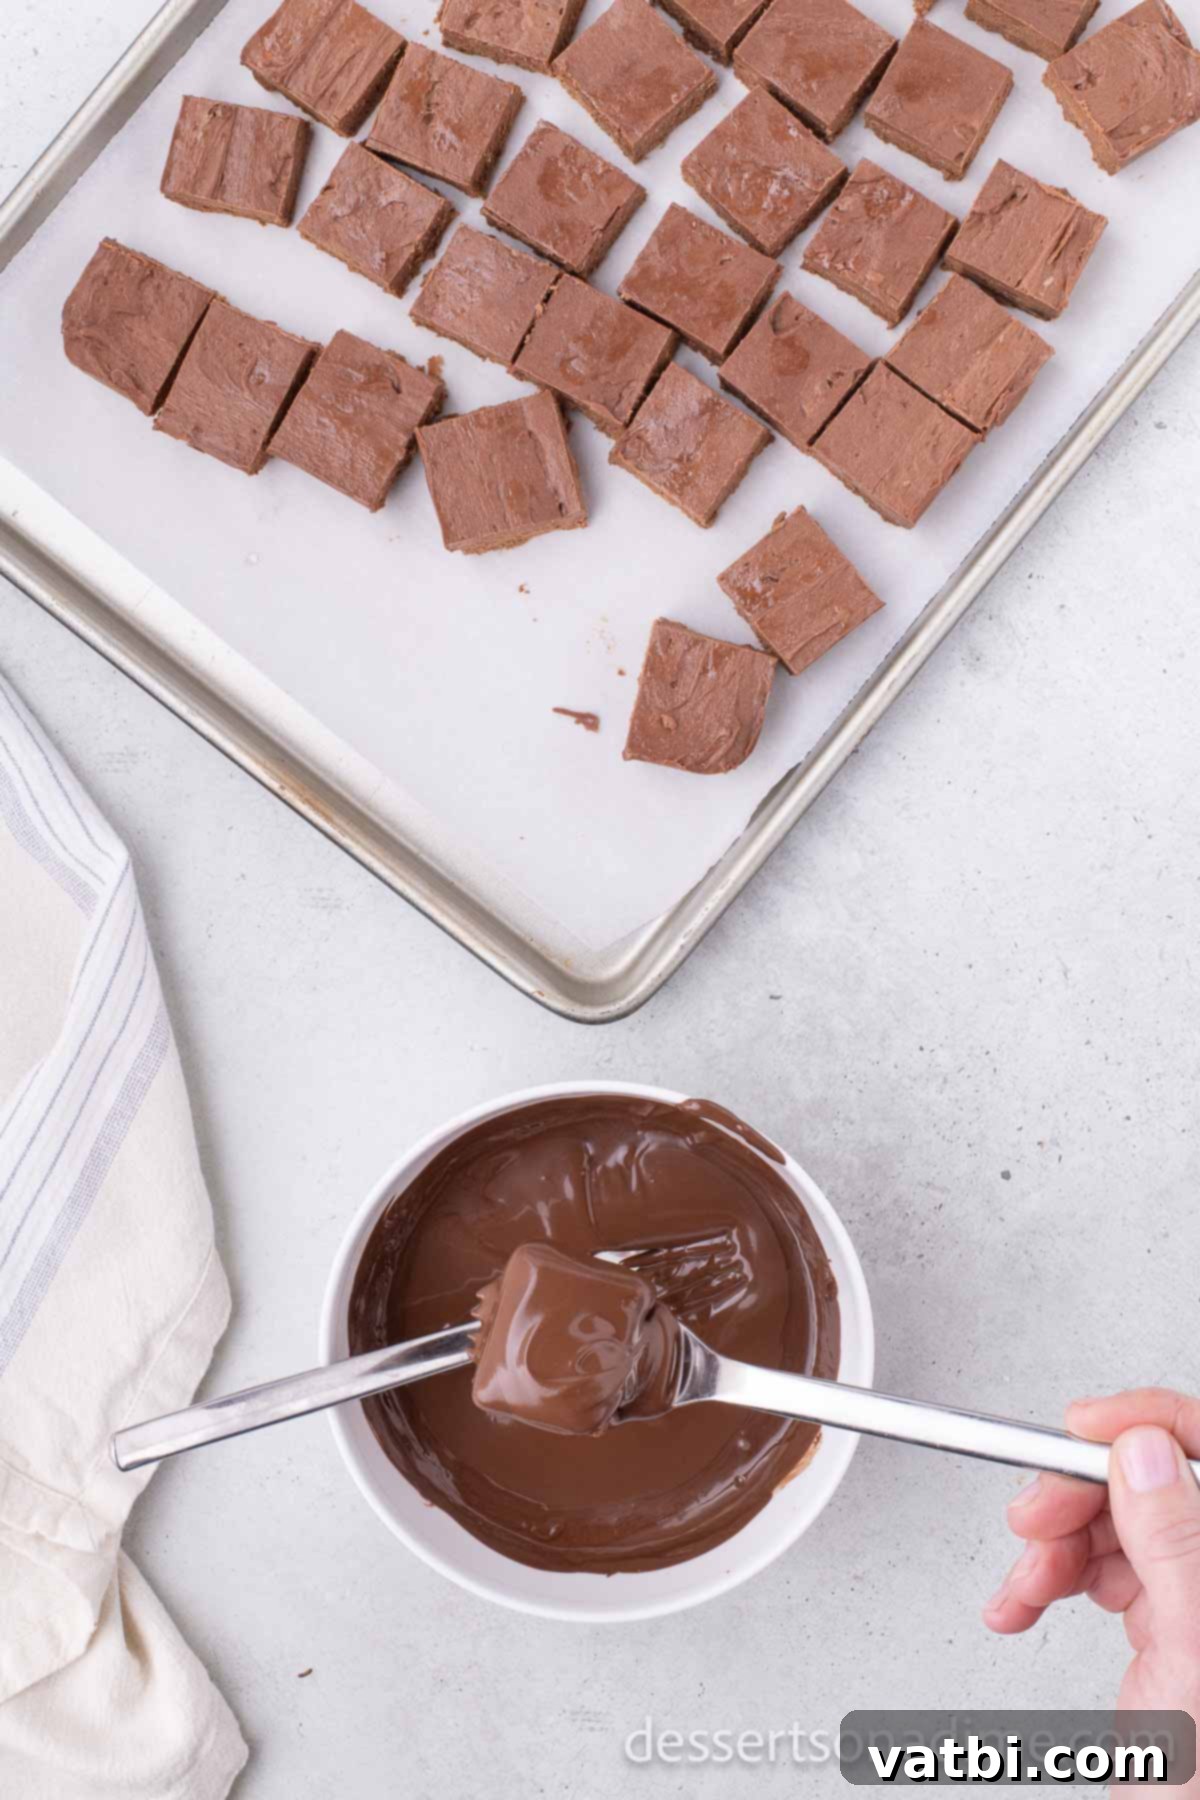
Step 8. Dip in Melting Wafers: While the candy is chilling, get out a small bowl and melt the chocolate melting wafers according to the package instructions. This usually involves short bursts in the microwave, stirring frequently, or using a double boiler until completely smooth. Remove the candy pieces from the freezer. Using two forks (this provides better stability and drainage), dip each candy square into the melted chocolate, ensuring it’s fully coated. Gently tap the forks on the edge of the bowl to remove any excess chocolate, allowing for a smooth and even coating.
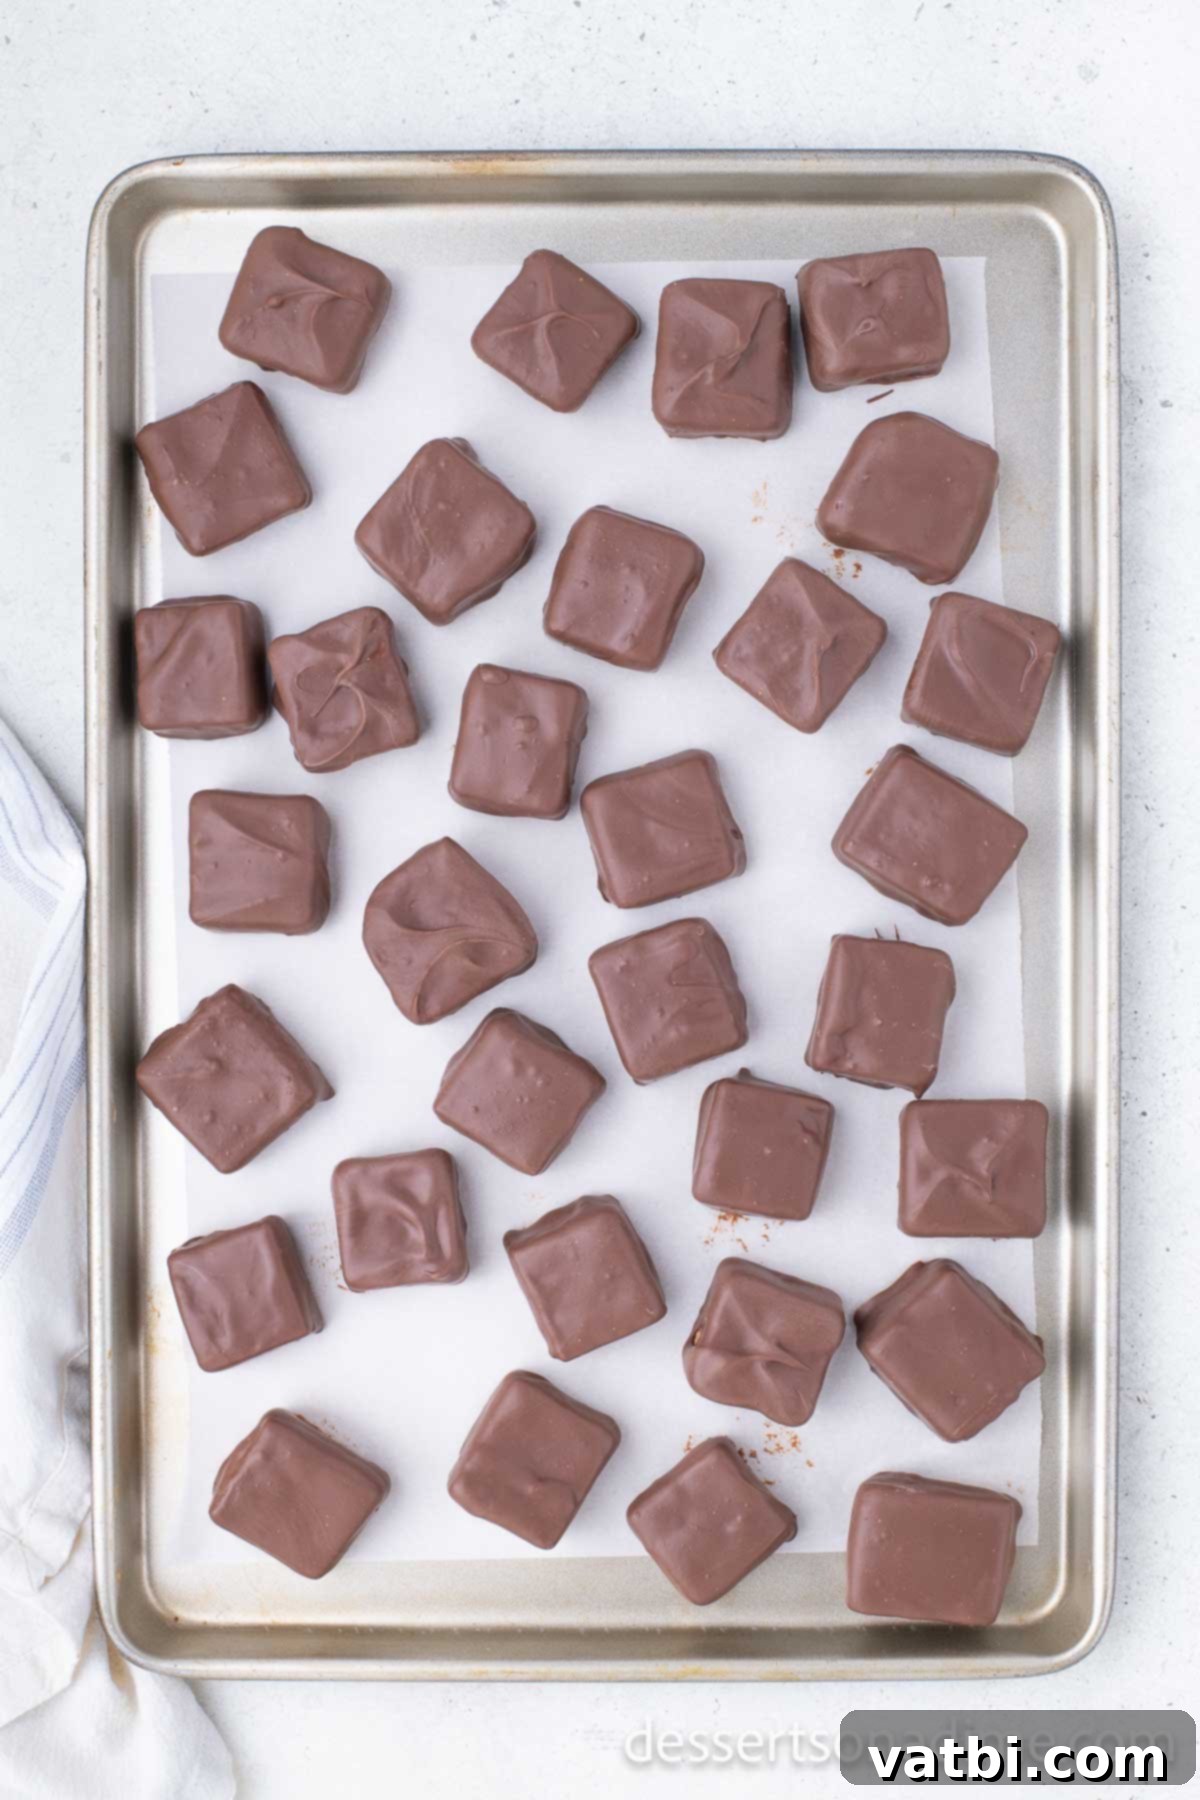
Step 9. Set the Coating: After each piece is coated, place it back onto the wax paper-lined baking sheet. Continue this process until all the candies are dipped. Once all pieces are coated, return the baking sheet to the freezer for another 20-30 minutes, or until the chocolate coating is completely set and firm. This final freeze ensures a crisp chocolate shell and a perfectly chilled treat ready for enjoyment!
Proper Storage Tips for Your Cool Whip Candy
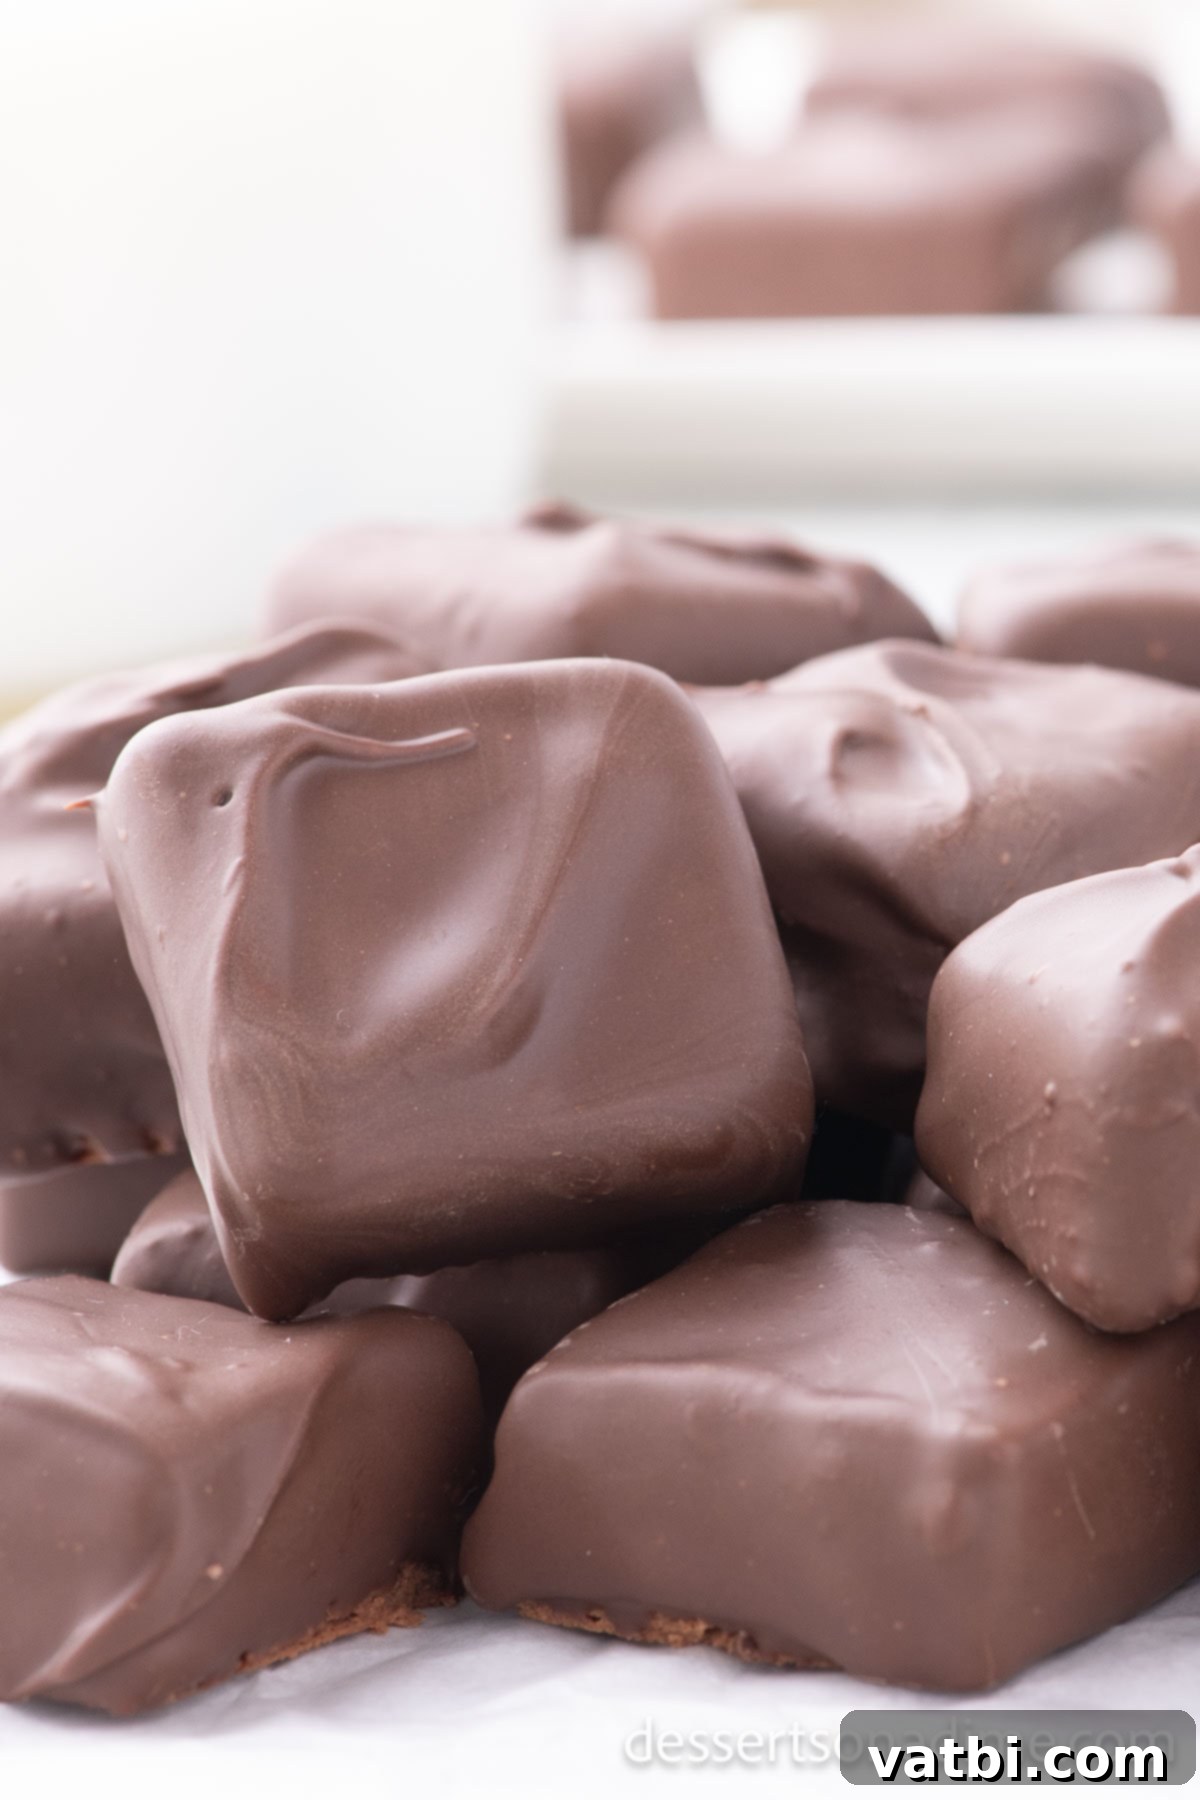
To keep your Cool Whip Candy fresh and delicious, proper storage is key. After the chocolate coating has fully set, carefully transfer the candies to an airtight container or a freezer-safe bag. It’s best to store these delightful treats in the freezer. This not only preserves their texture and flavor but also extends their shelf life significantly. When stored correctly, they can last for up to 30 days in the freezer. Simply take them out a few minutes before you plan to enjoy them, allowing them to soften slightly to your preferred texture.
Expert Tips for Making the Best Cool Whip Candy
Achieving perfect Cool Whip Candy is easy with a few simple tricks. Keep these pro tips in mind to ensure your homemade treats are exceptional every time:
- Prioritize Quality Chocolate: Since this recipe uses only three ingredients, the quality of your chocolate makes a profound difference in the final taste. Invest in good quality milk chocolate chips for the internal mixture, as well as high-quality chocolate melting wafers for the coating. Brands like Ghirardelli or Guittard often yield superior flavor and melting consistency. Better chocolate means a richer, more luxurious candy.
- Master the Folding Technique: When combining the melted chocolate with the Cool Whip, use a gentle folding motion with a rubber spatula rather than vigorous stirring. This technique helps maintain the light, airy texture of the Cool Whip, which is essential for achieving that fluffy, nougat-like center. Over-mixing can deflate the Cool Whip, resulting in a denser candy.
- Ensure Adequate Freezing Time: It is absolutely crucial to allow the candy mixture to freeze completely and become solid before you attempt to cut or dip it. Freezing twice (once as a block, and again after cutting) ensures the pieces are firm enough to handle without melting or losing their shape in the warm melted chocolate. Don’t rush these freezing steps!
- Use a Warm, Clean Knife for Cutting: For the neatest and cleanest cuts, especially when dividing the frozen block into squares, periodically warm your knife under hot water and wipe it dry. A warm knife will slice through the frozen candy more smoothly, preventing cracks and uneven edges.
- Control Chocolate Coating Temperature: When melting your chocolate wafers for dipping, be mindful of the temperature. If the chocolate is too hot, it can melt the candy pieces upon contact. Melt it slowly and gently, aiming for a smooth, pourable consistency that is warm to the touch but not excessively hot.
- Parchment Paper is Your Best Friend: Don’t skip lining your baking dish and sheet with parchment paper. This prevents sticking, makes it incredibly easy to remove the frozen candy block, and provides a non-stick surface for the freshly dipped candies to set without adhering.
Frequently Asked Questions (FAQs) About Cool Whip Candy
I strongly recommend against using homemade whipped cream for this particular recipe. Cool Whip is a stabilized whipped topping, meaning it holds its shape much better and longer, especially when combined with other ingredients and frozen. Homemade whipped cream, while delicious, tends to be less stable and will likely result in a softer, less firm candy that won’t hold its shape as well when cut or dipped.
Absolutely! This recipe is quite versatile when it comes to chocolate. While milk chocolate creates a classic 3 Musketeers-like flavor, feel free to experiment. You can use dark chocolate chips for a richer, less sweet candy, or white chocolate chips for a sweeter, creamier variation. Semi-sweet chocolate chips also work wonderfully. The key is to use good quality chocolate that melts smoothly for the best texture and flavor.
When stored properly in an airtight container or freezer bag in the freezer, Cool Whip Candy can last for up to 30 days. This makes it an excellent make-ahead treat for parties, holidays, or simply to have on hand for when a craving strikes. Just pop them out of the freezer a few minutes before serving to enjoy their perfectly chilled, fluffy texture.
Yes, absolutely! This candy is perfect for making in advance, which is one of its many advantages. Since it’s stored in the freezer, you can prepare a large batch days or even weeks before an event. Just make sure it’s stored in a well-sealed, freezer-safe container to maintain freshness and prevent freezer burn.
The equipment needed is minimal and typically found in most kitchens. You’ll need an 8×8 inch baking dish, parchment paper, a microwave-safe mixing bowl (or a double boiler), a rubber spatula, a sharp knife, and a baking sheet lined with wax paper for freezing and dipping. That’s it – no fancy candy thermometers or specialized tools required!
Definitely! Cool Whip Candy makes a charming and impressive homemade gift. Once the candies are fully set, you can arrange them in a decorative box or tin, perhaps with some festive tissue paper. Since they are best stored in the freezer, advise the recipient to keep them chilled until ready to enjoy. They’re a thoughtful and delicious present for holidays, hostess gifts, or just a sweet surprise.
More Easy Candy Recipes to Try
Easy Candy
Old Fashioned Divinity Candy Recipe
Easy Candy
Rocky Road Candy
Easy Candy
How to Make Rock Candy
Easy Candy
Chocolate Covered Cherries
There you have it – a wonderfully simple recipe for an amazing, fluffy, chocolate-coated treat that will impress everyone. Give this Cool Whip Candy a try; it’s sure to become a new favorite in your recipe collection! Please leave a comment below and a star rating once you do.
Cool Whip Candy
5
10
1 30
1 45
36
American
Dessert
178
Carrie Barnard
Ingredients
- 2 bags Milk Chocolate Chips 11 ounces each
- 8 ounces Cool Whip thawed
- 24 ounces Chocolate Melting Wafers
Instructions
-
Line an 8X8 baking dish with parchment paper, leaving an overhang on two sides for easy removal, and set aside.
-
Place the milk chocolate chips in a large mixing bowl. Heat in the microwave for 20 seconds, stir, then continue to heat in 15-second intervals, stirring after each, until the chocolate chips are fully melted and smooth.
-
Gently fold the thawed Cool Whip into the melted chocolate chips using a rubber spatula until thoroughly combined. The mixture will be thick and airy.
-
Pour the mixture into the prepared 8-inch square baking dish and spread it evenly to flatten the top surface.
-
Freeze the mixture for at least 30 minutes until it is completely solid.
-
Using the parchment paper overhangs, gently lift the frozen block from the pan. Cut into approximately 36 square pieces. Place these pieces on a baking sheet lined with wax paper and freeze for an additional 30 minutes.
-
In a separate small bowl, melt the chocolate melting wafers according to package instructions (typically short microwave bursts or a double boiler) until smooth.
-
Remove the chilled candy pieces from the freezer. Using two forks, dip each piece into the melted chocolate, ensuring it’s fully coated. Gently tap the forks on the edge of the bowl to remove any excess chocolate, creating a smooth layer.
-
Place each coated candy back on the wax paper-lined baking sheet to set.
-
Continue this dipping process until all candy pieces are covered in chocolate.
-
Return the baking sheet with the dipped candies to the freezer for 20-30 minutes, or until the chocolate coating is fully set. Once firm, the candy is ready to serve and enjoy!
Recipe Notes
Store any leftover candies in the freezer until ready to enjoy. They are best served chilled!
Nutrition Facts
Carbohydrates 27g,
Protein 2g,
Fat 7g,
Saturated Fat 3g,
Polyunsaturated Fat 1g,
Monounsaturated Fat 1g,
Trans Fat 0.03g,
Cholesterol 4mg,
Sodium 126mg,
Potassium 46mg,
Fiber 1g,
Sugar 19g,
Vitamin A 52IU,
Vitamin C 0.1mg,
Calcium 33mg,
Iron 1mg
Pin This Now to Remember It Later
Pin Recipe
