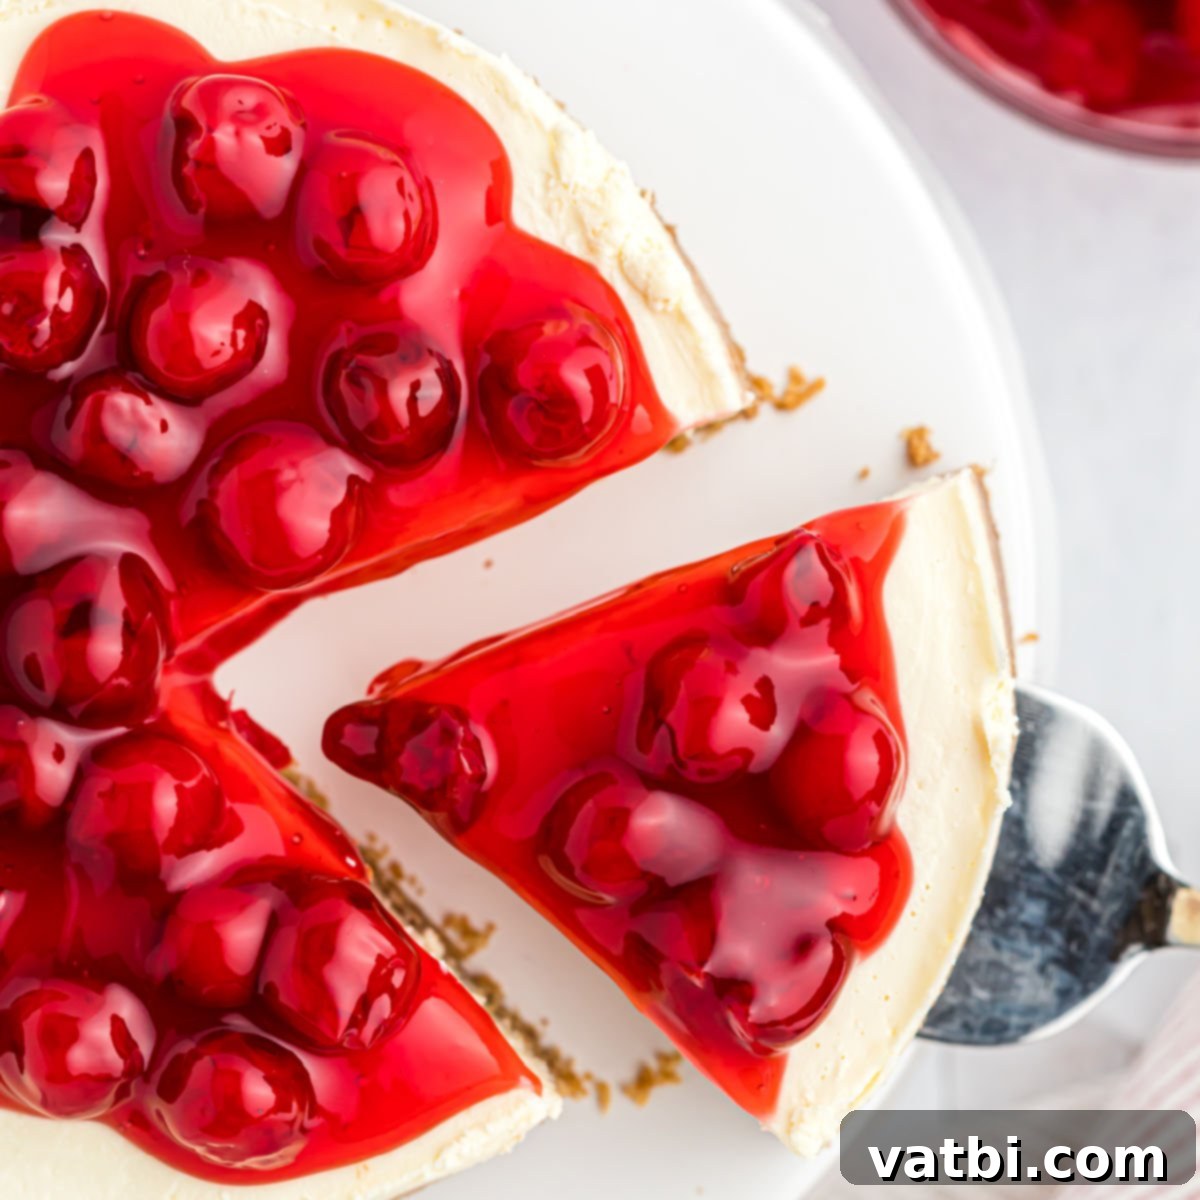
Irresistibly Creamy Instant Pot Cheesecake: Your Easiest Recipe for a Perfect Dessert
Experience the sheer delight of a perfectly baked cheesecake without the fuss and stress of a traditional oven. This Instant Pot Cheesecake recipe is not only incredibly simple to follow but consistently delivers a lusciously smooth, creamy, and crack-free dessert every single time. Elevate your culinary skills with minimal effort and serve this heavenly treat topped with a vibrant cherry pie filling for an unforgettable experience. Whether you’re a seasoned baker or new to pressure cooking, this recipe will transform your dessert game.
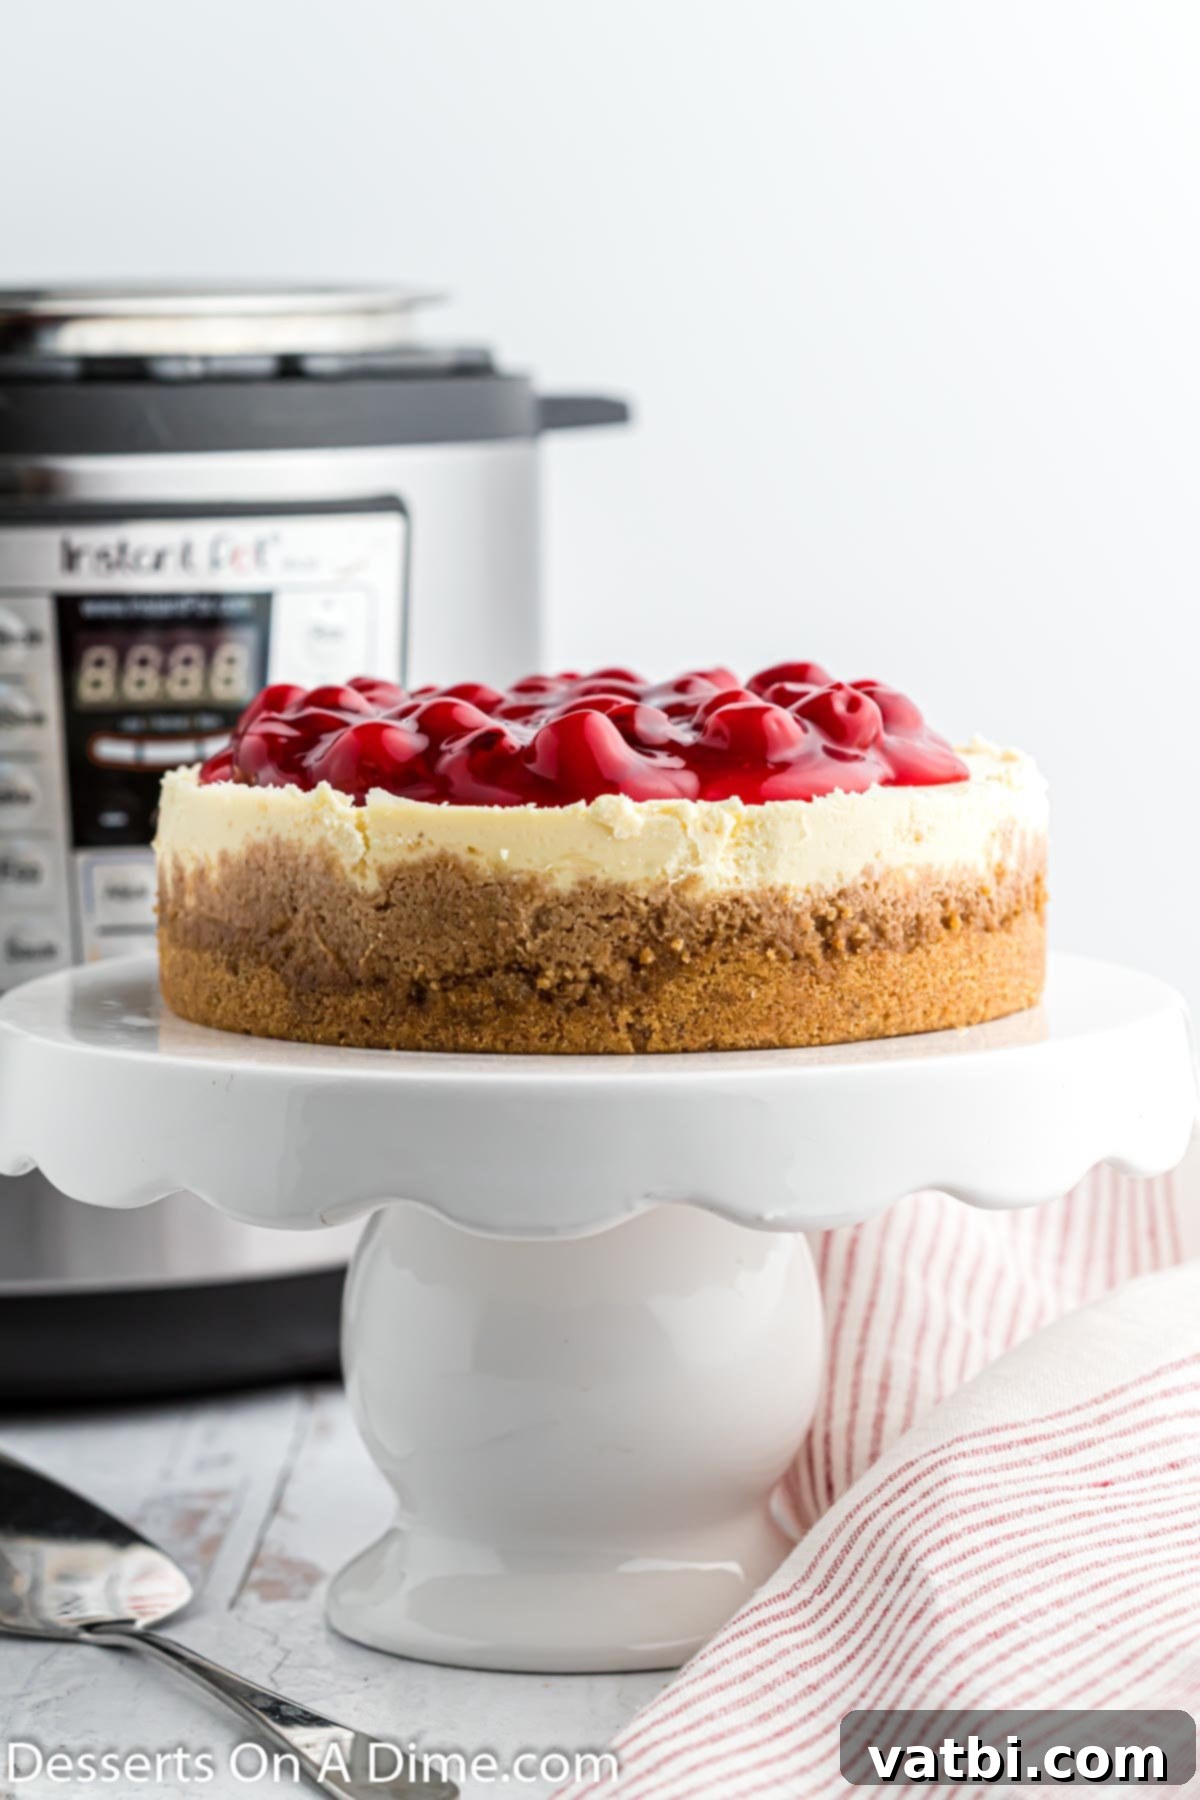
Prepare to fall in love with making cheesecake in your pressure cooker. The Instant Pot creates a uniquely steamy environment that ensures a velvety smooth texture and prevents those dreaded cracks often associated with oven-baked cheesecakes. While this cheesecake is absolutely divine on its own, a generous layer of Homemade Cherry Pie Filling takes it to an entirely new level. Each slice not only looks stunning with its rich, contrasting colors but tastes absolutely amazing, making it a standout among all Instant Pot Cheesecake Recipes. Get ready to impress your family and friends with this foolproof dessert!
Table of Contents
- Why You’ll Adore This Instant Pot Cheesecake
- Essential Ingredients for Your Perfect Cheesecake
- The Perfect Graham Cracker Crust
- Rich and Creamy Cheesecake Filling
- Delicious Topping Options
- Easy Step-by-Step Instructions for Instant Pot Cheesecake
- Creative & Delicious Cheesecake Toppings
- Frequently Asked Questions About Instant Pot Cheesecake
- Expert Tips for Instant Pot Cheesecake Success
- More Irresistible Cheesecake Recipes to Try
Why You’ll Adore This Instant Pot Cheesecake
There are countless reasons why the Instant Pot has become a game-changer for homemade cheesecake. Forget the complexities and uncertainties of traditional baking; your pressure cooker is about to become your secret weapon for the most consistently perfect cheesecakes. Here’s why we, and you, will love it:
- No More Water Bath Needed: One of the most intimidating parts of baking a traditional cheesecake is the water bath. It’s messy, can be tricky to set up, and often leads to soggy crusts. With the Instant Pot, this step is completely eliminated! The pressure cooker naturally creates a steamy, moist environment, mimicking the effects of a water bath without any of the hassle. This makes the recipe super easy and significantly less intimidating for beginners.
- Guaranteed Moist & Crack-Free Results: The sealed, high-pressure environment of the Instant Pot is ideal for baking cheesecake. The consistent temperature and high humidity prevent the cheesecake from drying out and cracking on the surface. Instead, you get a beautifully smooth, moist, and delicious cheesecake every single time. Say goodbye to unsightly cracks and hello to picture-perfect desserts!
- Consistent Texture: The controlled cooking environment ensures that your cheesecake sets evenly, resulting in an incredibly smooth, dense, and creamy texture that melts in your mouth. You won’t find any dry edges or undercooked centers here!
- Faster Than Traditional Baking: While cheesecakes still require chilling time, the actual cooking time in the Instant Pot is often shorter than in a conventional oven. This means you can get to the cooling and chilling phases quicker, bringing you closer to enjoying your delicious dessert.
- Hands-Off Cooking: Once you’ve sealed the Instant Pot, you can walk away and let it do its magic. No need to constantly check the oven or worry about temperature fluctuations. This makes it a convenient option for busy individuals or when you’re preparing other dishes.
- Foolproof Method: This recipe is incredibly forgiving. Even if you’re not an experienced baker, the Instant Pot helps ensure success, making it a fantastic appliance for mastering cheesecake.
Essential Ingredients for Your Perfect Cheesecake
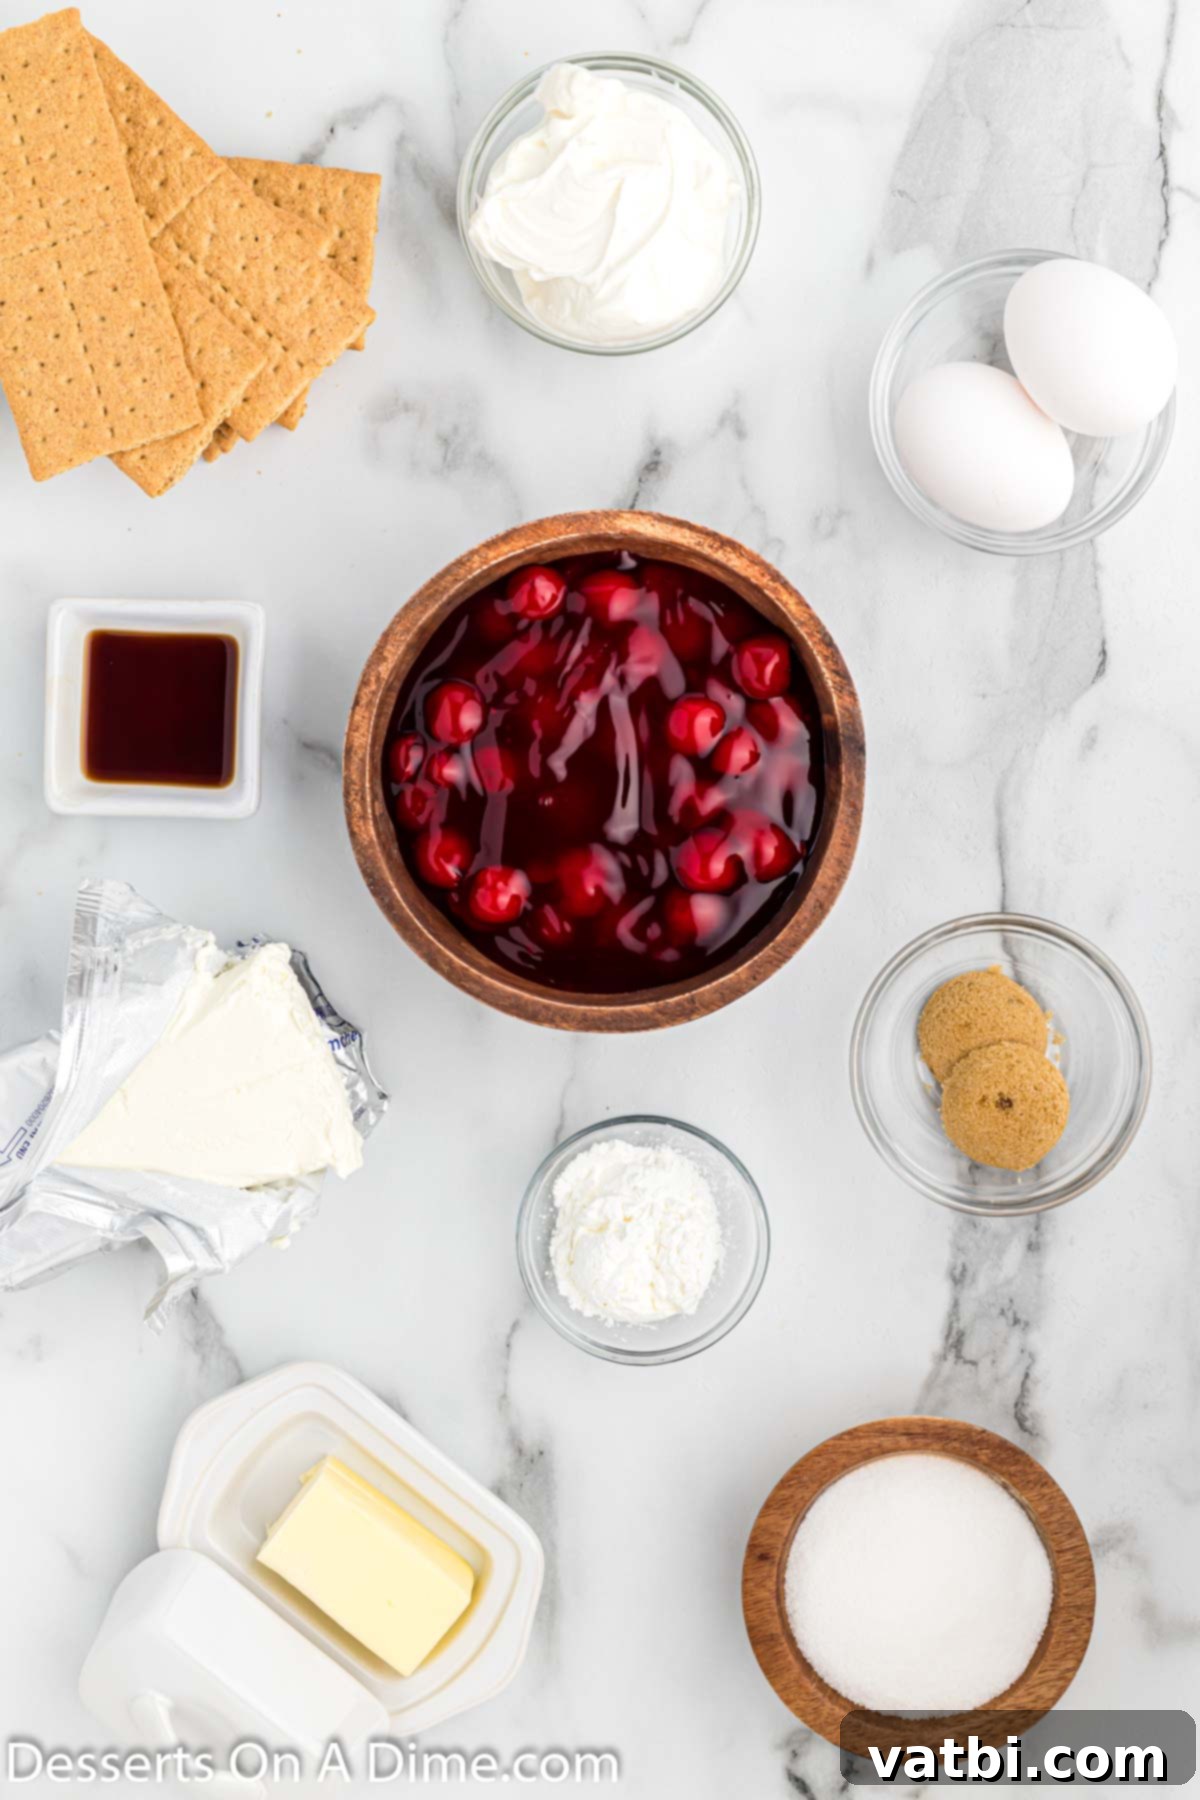
Creating an exceptional Instant Pot cheesecake starts with high-quality ingredients at the right temperature. Here’s a detailed look at what you’ll need and why each component is crucial:
The Perfect Graham Cracker Crust
- Graham Cracker Sheets (10 sheets): These form the classic, subtly sweet, and crunchy base of our cheesecake. For the best flavor, opt for plain honey graham crackers. Avoid flavored varieties that might clash with the cheesecake’s delicate taste.
- Melted Butter (4 Tbsp): Unsalted butter is preferred to control the overall saltiness. Melting the butter allows it to thoroughly coat the graham cracker crumbs, acting as the binder that holds the crust together. Without it, your crust would be crumbly and fall apart.
- Brown Sugar (2 Tbsp): A touch of brown sugar adds moisture, a deeper caramel note, and helps to bind the crust even further. You can use light or dark brown sugar, depending on your preference for intensity. If you run out, check out The Best Brown Sugar Substitutes.
Rich and Creamy Cheesecake Filling
- Cream Cheese (2 packages, 8 oz each, softened at room temperature): This is the star of the show! Full-fat cream cheese is essential for that signature rich and creamy texture. Ensure it’s fully softened at room temperature to prevent lumps and allow for smooth mixing. Cold cream cheese will result in a lumpy batter.
- Granulated Sugar (1/2 cup): Provides the sweetness and helps with the cheesecake’s structure.
- Vanilla Extract (2 tsp): Pure vanilla extract is highly recommended for its warm, aromatic notes that enhance the overall flavor. Don’t skimp on quality here!
- Large Eggs (2, at room temperature): Eggs provide structure and richness to the cheesecake. Just like the cream cheese, make sure your eggs are at room temperature. This ensures they emulsify properly with the other ingredients, leading to a smoother batter and a more uniform texture.
- Cornstarch (2 Tbsp): A small amount of cornstarch acts as a stabilizer, helping to prevent cracks and give the cheesecake a firmer set without altering the creamy texture. It’s a key ingredient for a perfectly smooth surface.
- Sour Cream (1/2 cup): Adds a delightful tang and extra creaminess to the cheesecake, balancing the sweetness and contributing to its luxurious texture. Ensure it’s also at room temperature for seamless integration.
Delicious Topping Options
- Cherry Pie Filling: A classic choice that adds a burst of fruity sweetness and a beautiful presentation. You can use high-quality store-bought filling for convenience, or try your hand at homemade for a truly gourmet touch. This vibrant red topping beautifully complements the creamy white cheesecake.
You can find the complete, detailed list of ingredients, including exact measurements and any additional notes, in the recipe card located at the bottom of this page. This comprehensive list will guide you through gathering everything you need before you begin your Instant Pot cheesecake journey.
Easy Step-by-Step Instructions for Instant Pot Cheesecake
Making cheesecake in the Instant Pot is surprisingly straightforward, delivering consistently perfect results. Follow these detailed steps to achieve a deliciously creamy, crack-free dessert every time.
- Step 1: Prepare Your Springform Pan. Start by thoroughly spraying a 7-inch by 3-inch springform pan with a non-stick cooking spray. It’s crucial to ensure your springform pan is appropriately sized to fit comfortably inside your Instant Pot. Test this beforehand if you’re unsure. Once sprayed, set the pan aside; it will be ready for your crust mixture soon.
- Step 2: Create the Graham Cracker Crumbs. Place your graham cracker sheets into a food processor and pulse until they are finely ground into small, uniform crumbs. If you don’t own a food processor, don’t worry! Simply place the graham crackers in a sturdy, sealed Ziploc bag and use a rolling pin to crush them. Roll over them repeatedly until they form fine crumbs, ensuring no large pieces remain.
- Step 3: Combine Crust Ingredients. Transfer the prepared graham cracker crumbs to a medium-sized mixing bowl. Pour in the melted butter and add the brown sugar. Stir all these ingredients together thoroughly until the crumbs are evenly moistened and well combined. The mixture should resemble wet sand.
- Step 4: Press the Crust into the Pan. Now, take your graham cracker mixture and press it firmly into the bottom of the prepared springform pan. Use the back of a measuring cup or the bottom of a flat-bottomed glass to compact the crumbs into a single, even layer. Extend the crust up the sides of the pan by approximately 1 inch, creating a nice edge. This firm pressing helps create a sturdy crust that won’t crumble when sliced. Once pressed, place the pan into the freezer while you prepare the cheesecake filling; this helps the crust set.
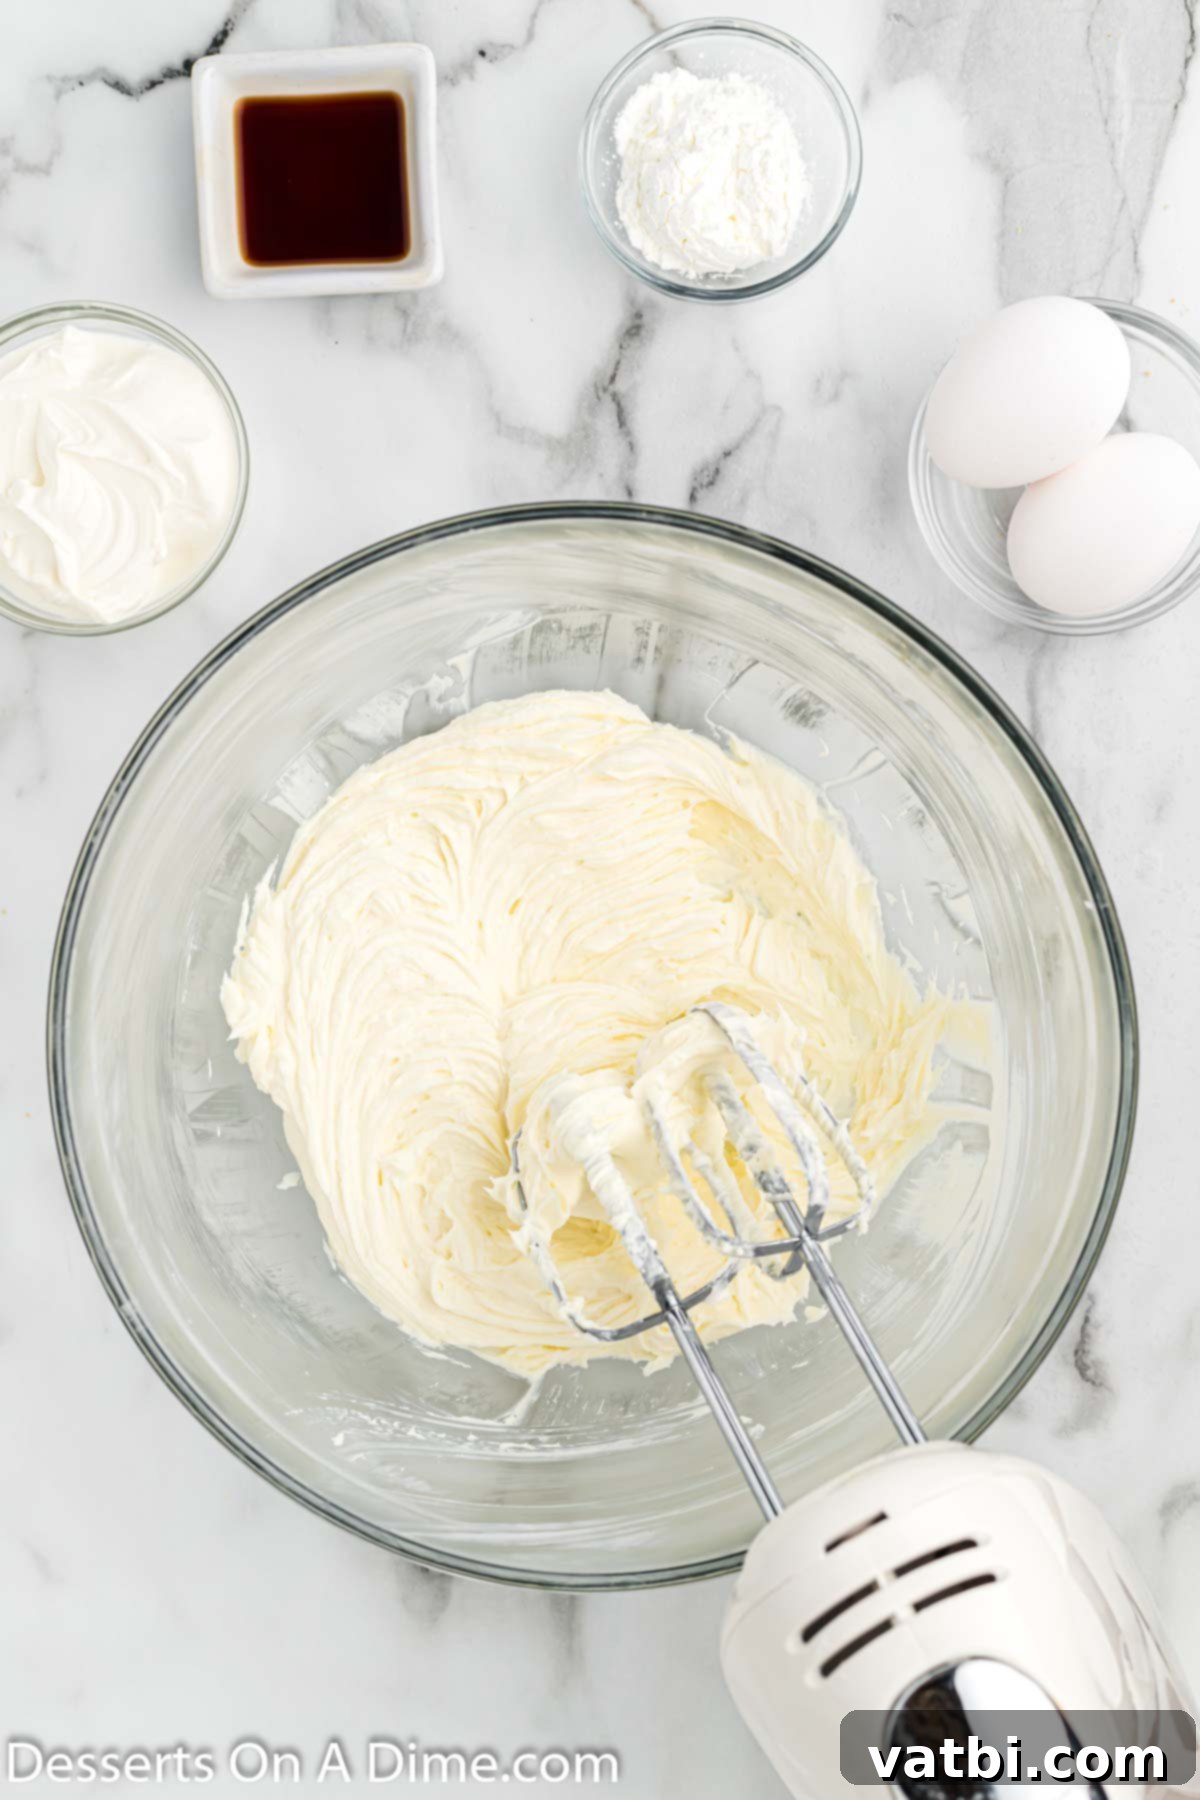
Step 5: Beat the Cream Cheese. In a large mixing bowl, either using a stand mixer with the paddle attachment or a handheld electric mixer, beat the softened cream cheese with the granulated sugar. Continue mixing until the cream cheese mixture is light, fluffy, and completely smooth, with no lumps remaining. Scrape down the sides of the bowl as needed to ensure everything is incorporated.
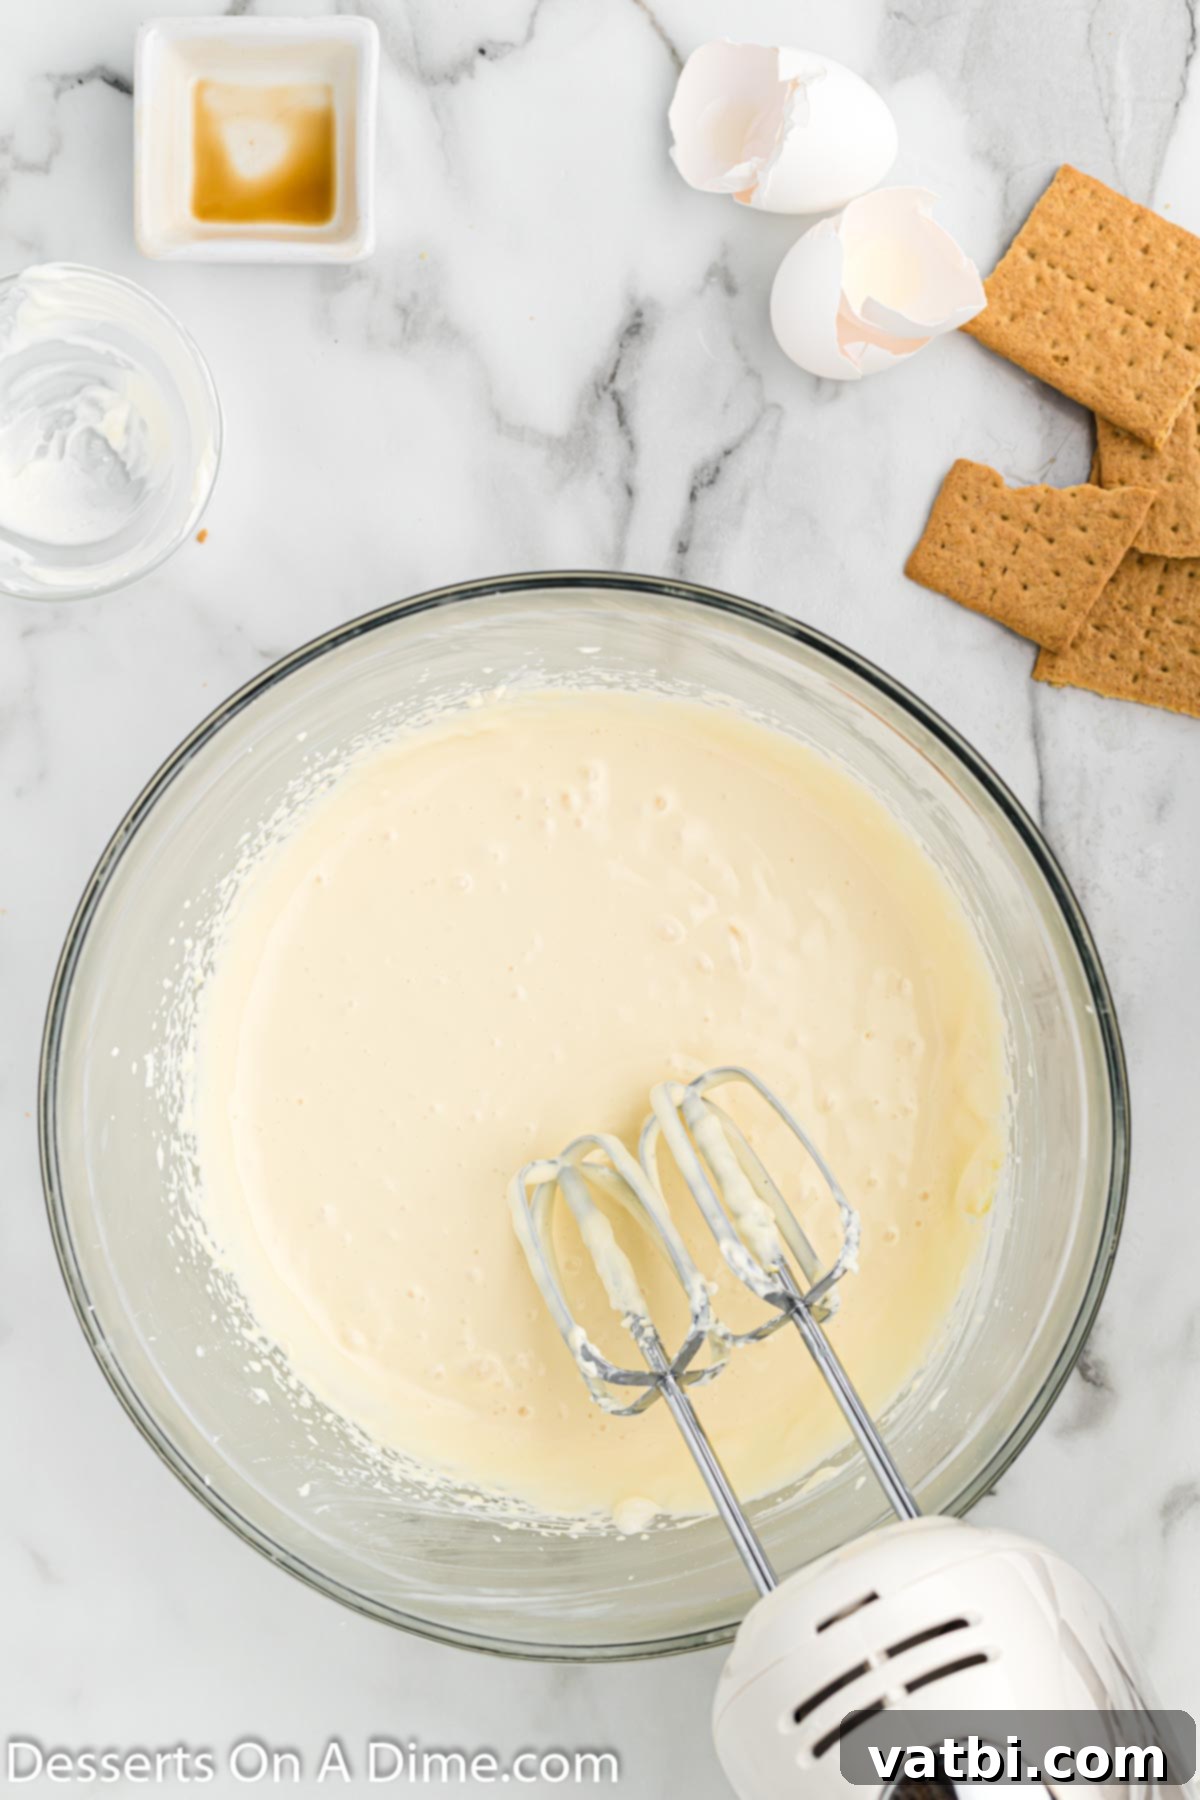
Step 6: Combine Remaining Filling Ingredients. To the cream cheese mixture, add the vanilla extract, room temperature large eggs, cornstarch, and sour cream. Mix on low speed until all the ingredients are just combined and the batter is creamy and smooth. Be careful not to overmix at this stage, as too much air can lead to cracks during cooking.
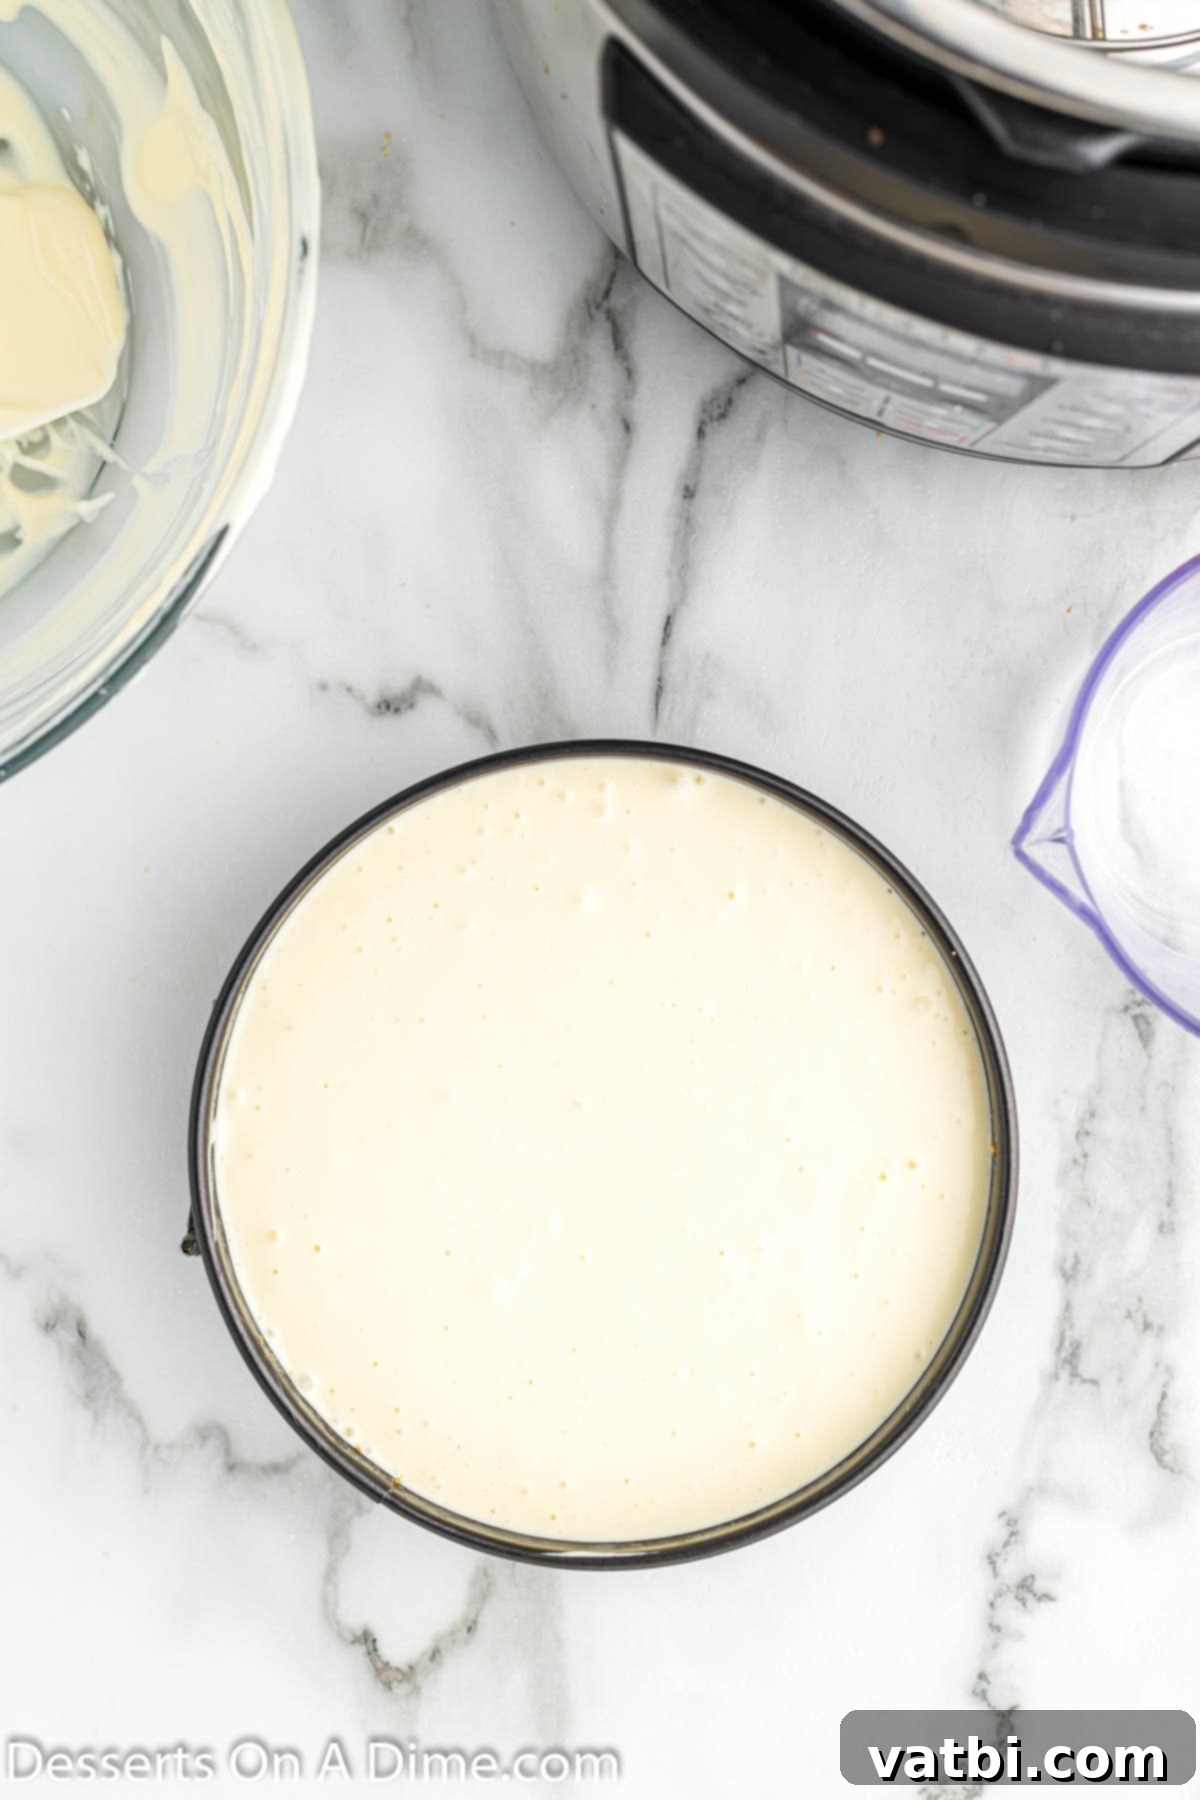
Step 7: Pour Batter into Pan. Retrieve your chilled springform pan from the freezer. Carefully and evenly pour the cheesecake batter mixture over the graham cracker crust. Gently tap the pan a few times on your counter to release any trapped air bubbles and ensure the top surface is perfectly smooth. This step is important for preventing a bumpy or uneven cheesecake surface.
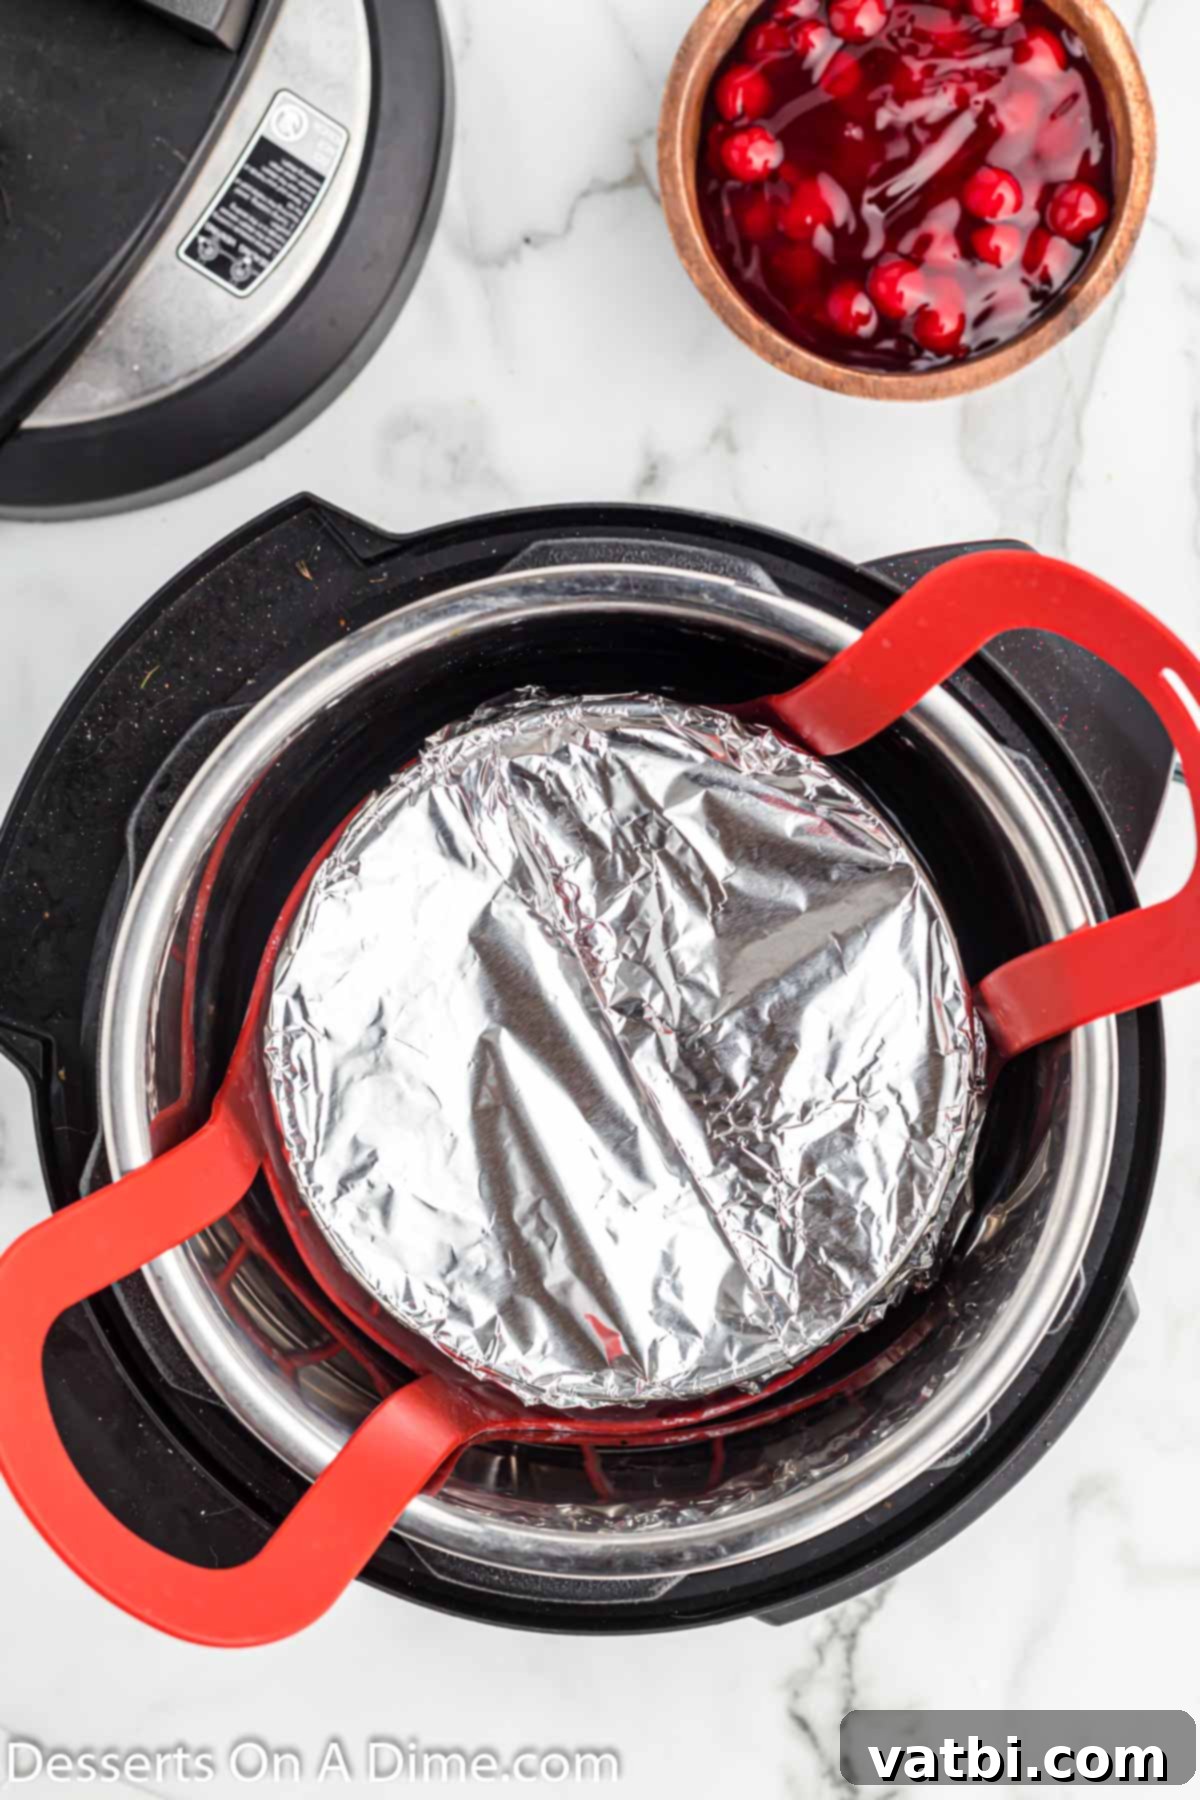
Step 8: Prepare the Instant Pot for Cooking. Place the trivet (the metal rack that came with your Instant Pot) at the bottom of the Instant Pot inner pot. Pour 1.5 cups of water into the inner pot. This water creates the essential steamy environment for cooking. Now, gently place the cheesecake springform pan on top of the trivet. Carefully cover the entire springform pan with a piece of aluminum foil, crimping it securely around the sides. This foil cover is crucial to prevent condensation from dripping onto your cheesecake surface during cooking, which could cause an uneven texture or bumps. Ensure the foil is tight and won’t move.
Step 9: Cook and Release Pressure. Secure the Instant Pot lid, ensuring the sealing ring is properly in place. Set the steam release valve to the “Sealing” position. Cook on high pressure for 35 minutes. Once the cooking cycle is complete, allow the pressure to release naturally from the Instant Pot for 30 minutes. Do not quick release before this time, as it can cause the cheesecake to crack. After 30 minutes of natural release, carefully switch the valve to “Venting” to manually release any remaining pressure. Once the floating valve drops, it’s safe to open the lid. Carefully remove the springform pan from the Instant Pot (using a foil sling or oven mitts if needed) and transfer it to a wire cooling rack to cool at room temperature for at least 1 hour. After this initial cooling, cover the cheesecake with plastic wrap and refrigerate it for a minimum of 6-8 hours, or ideally, overnight. This chilling process is vital for the cheesecake to fully set and achieve its perfect creamy texture.
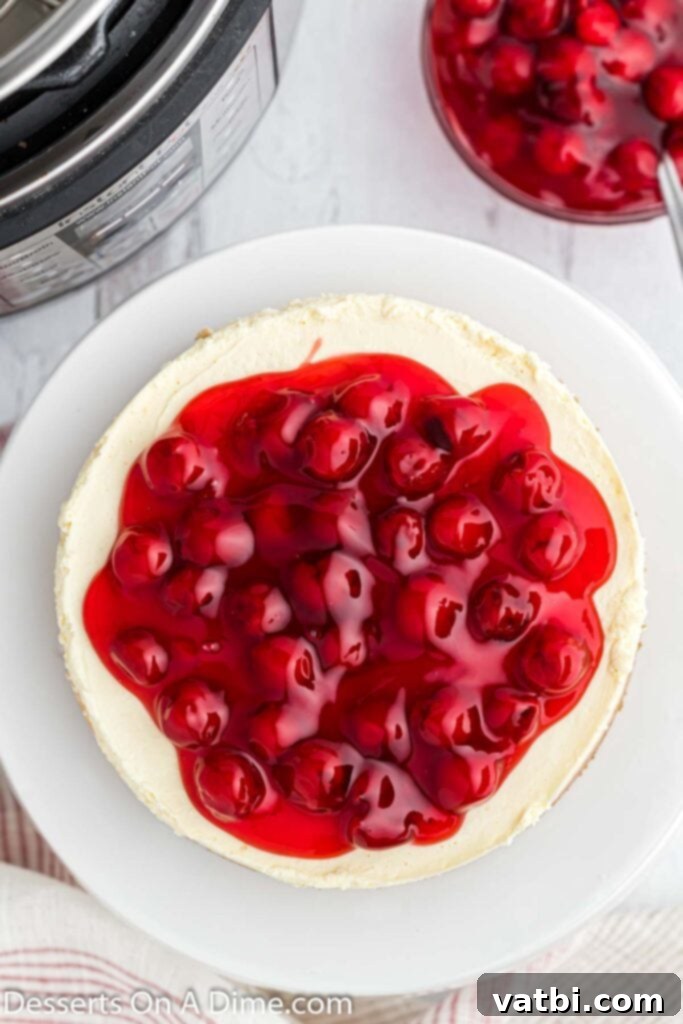
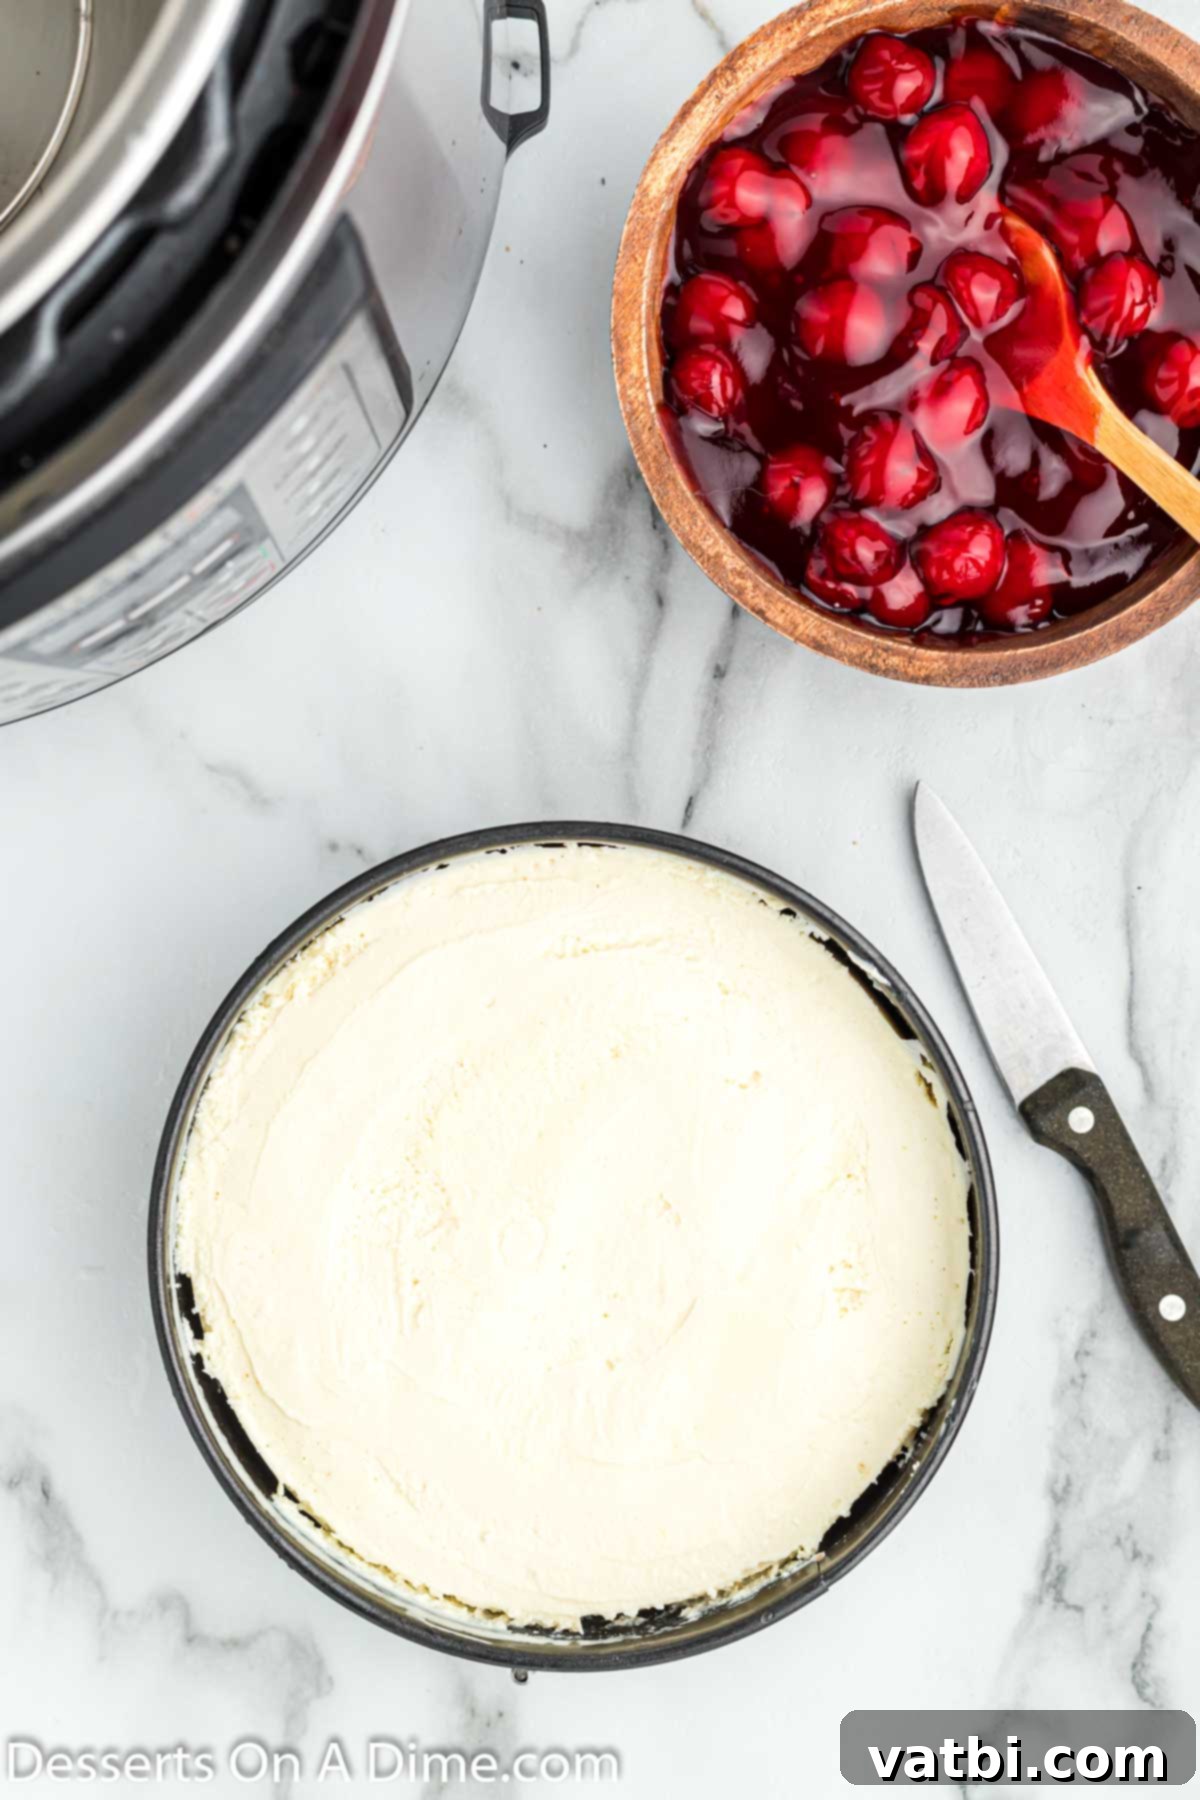
Step 10: Serve and Enjoy! Once the cheesecake is thoroughly chilled, run a thin knife around the edge of the pan to ensure it doesn’t stick. Then, carefully release the sides of the springform pan. You can gently slide the cheesecake off the bottom of the pan onto a serving plate, or serve it directly from the base. Top generously with cherry pie filling, or any of your favorite toppings, and slice into delicious servings. Enjoy your perfectly creamy and decadent Instant Pot Cheesecake!
Creative & Delicious Cheesecake Toppings
While cherry pie filling is a classic and undeniably delicious choice, the beauty of cheesecake lies in its versatility with toppings! Don’t limit yourself – explore these fantastic ideas to customize your Instant Pot cheesecake and create a dessert for every occasion:
- Whipped Cream: A light, airy dollop of whipped cream adds elegance and balances the richness of the cheesecake. You can easily make homemade whipped cream using heavy cream, a touch of sugar, and vanilla for a truly fresh taste.
- Fresh Fruit & Berries: For a bright and fresh contrast, top your cheesecake with an assortment of fresh fruits. Blueberries, sliced strawberries, raspberries, and blackberries are always popular choices. A sprinkle of lemon zest can also add a delightful citrusy brightness that beautifully complements the creamy cheesecake. Fresh berries not only taste incredible but also add a beautiful pop of color.
- Crumbled Graham Crackers: Take a cue from the crust! Roughly chop or crush a few extra graham crackers and sprinkle them over the top for added texture and a familiar, comforting flavor.
- Caramel Sauce: Drizzle warm Homemade Caramel Sauce generously over each slice for a sweet, buttery, and decadent addition. A pinch of sea salt with the caramel can create a popular salted caramel cheesecake.
- Chocolate Sauce: Indulge your chocolate cravings with a rich chocolate drizzle. Hot Fudge Sauce is an excellent choice, adding deep, luscious chocolate flavors that perfectly complement the creamy cheesecake.
- Fruit Compotes or Curds: Beyond pie filling, consider homemade fruit compotes (like mixed berry or peach) or bright lemon curd for a sophisticated touch.
- Nut Toppings: Toasted pecans, walnuts, or candied almonds can add a lovely crunch and nutty flavor.
- Chocolate Shavings or Chips: A simple sprinkle of chocolate shavings or mini chocolate chips can add a delightful textural and flavor element.
For even more cheesecake topping ideas, explore these tasty suggestions. The options are truly endless for creating a decadent and personalized cheesecake experience!
Frequently Asked Questions About Instant Pot Cheesecake
Got questions about making the perfect Instant Pot cheesecake? We’ve got answers to some of the most common queries, ensuring your baking journey is smooth and successful.
Achieving clean, perfect slices is easier than you think! The key is to use a sharp, thin knife. Before each cut, run the knife under hot water for a few seconds, then wipe it completely dry. This warm, clean knife will glide through the chilled cheesecake without sticking, ensuring crisp edges. Make sure to wipe the knife off and re-warm it in between each slice. This simple trick will ensure every piece is perfectly cut and looks beautifully presented.
The actual cooking time on high pressure for this Instant Pot cheesecake recipe is 35 minutes. However, it’s crucial to factor in the 30 minutes of natural pressure release that follows. So, the total hands-on cooking and depressurizing time is about 1 hour and 5 minutes. When fully cooked, the center of the cheesecake should have a slight jiggle, indicating it’s set but still tender. If you’re unsure, you can use an instant-read thermometer. The internal temperature of a perfectly cooked cheesecake should register 150 degrees Fahrenheit (65 degrees Celsius) in the center.
Proper storage is essential to keep your cheesecake fresh and delicious. Once it has fully cooled and chilled, cover the cheesecake tightly with plastic wrap or place it inside an airtight container. Store it in the refrigerator. When stored correctly, Instant Pot cheesecake will remain fresh and delightful for 3 to 4 days.
Yes, cheesecake is surprisingly freezer-friendly, making it a fantastic make-ahead dessert! Allow the cheesecake to cool completely at room temperature and then chill it in the refrigerator until fully set. Once chilled, you can freeze it whole or in individual slices. Wrap the cheesecake tightly in plastic wrap, then an additional layer of aluminum foil, and place it inside a freezer-safe container or heavy-duty freezer bag. It can be frozen for up to 2 months without significant loss of quality. To serve, allow it to thaw overnight in the refrigerator. We recommend waiting to add any toppings, such as cherry pie filling, until you are ready to serve the thawed cheesecake for the best texture and appearance.
For most 6-quart Instant Pots, a 7-inch springform pan is the ideal size. It fits perfectly on the trivet and allows enough clearance for the lid to seal. If you have an 8-quart Instant Pot, you might be able to use an 8-inch pan, but always double-check by placing the empty pan inside your Instant Pot before preparing any ingredients.
The Instant Pot naturally helps prevent cracks due to its steamy environment. However, a few tips can ensure success:
- Ensure all cold ingredients (cream cheese, eggs, sour cream) are at room temperature.
- Do not overmix the batter once the eggs are added; mix just until combined.
- Tap the pan gently on the counter to release air bubbles before cooking.
- Cover the pan tightly with foil to prevent condensation from dripping onto the surface.
- Allow for the full 30-minute natural pressure release. Rushing this step is a common cause of cracks.
- Ensure the cheesecake cools slowly, first on a wire rack, then thoroughly in the refrigerator.
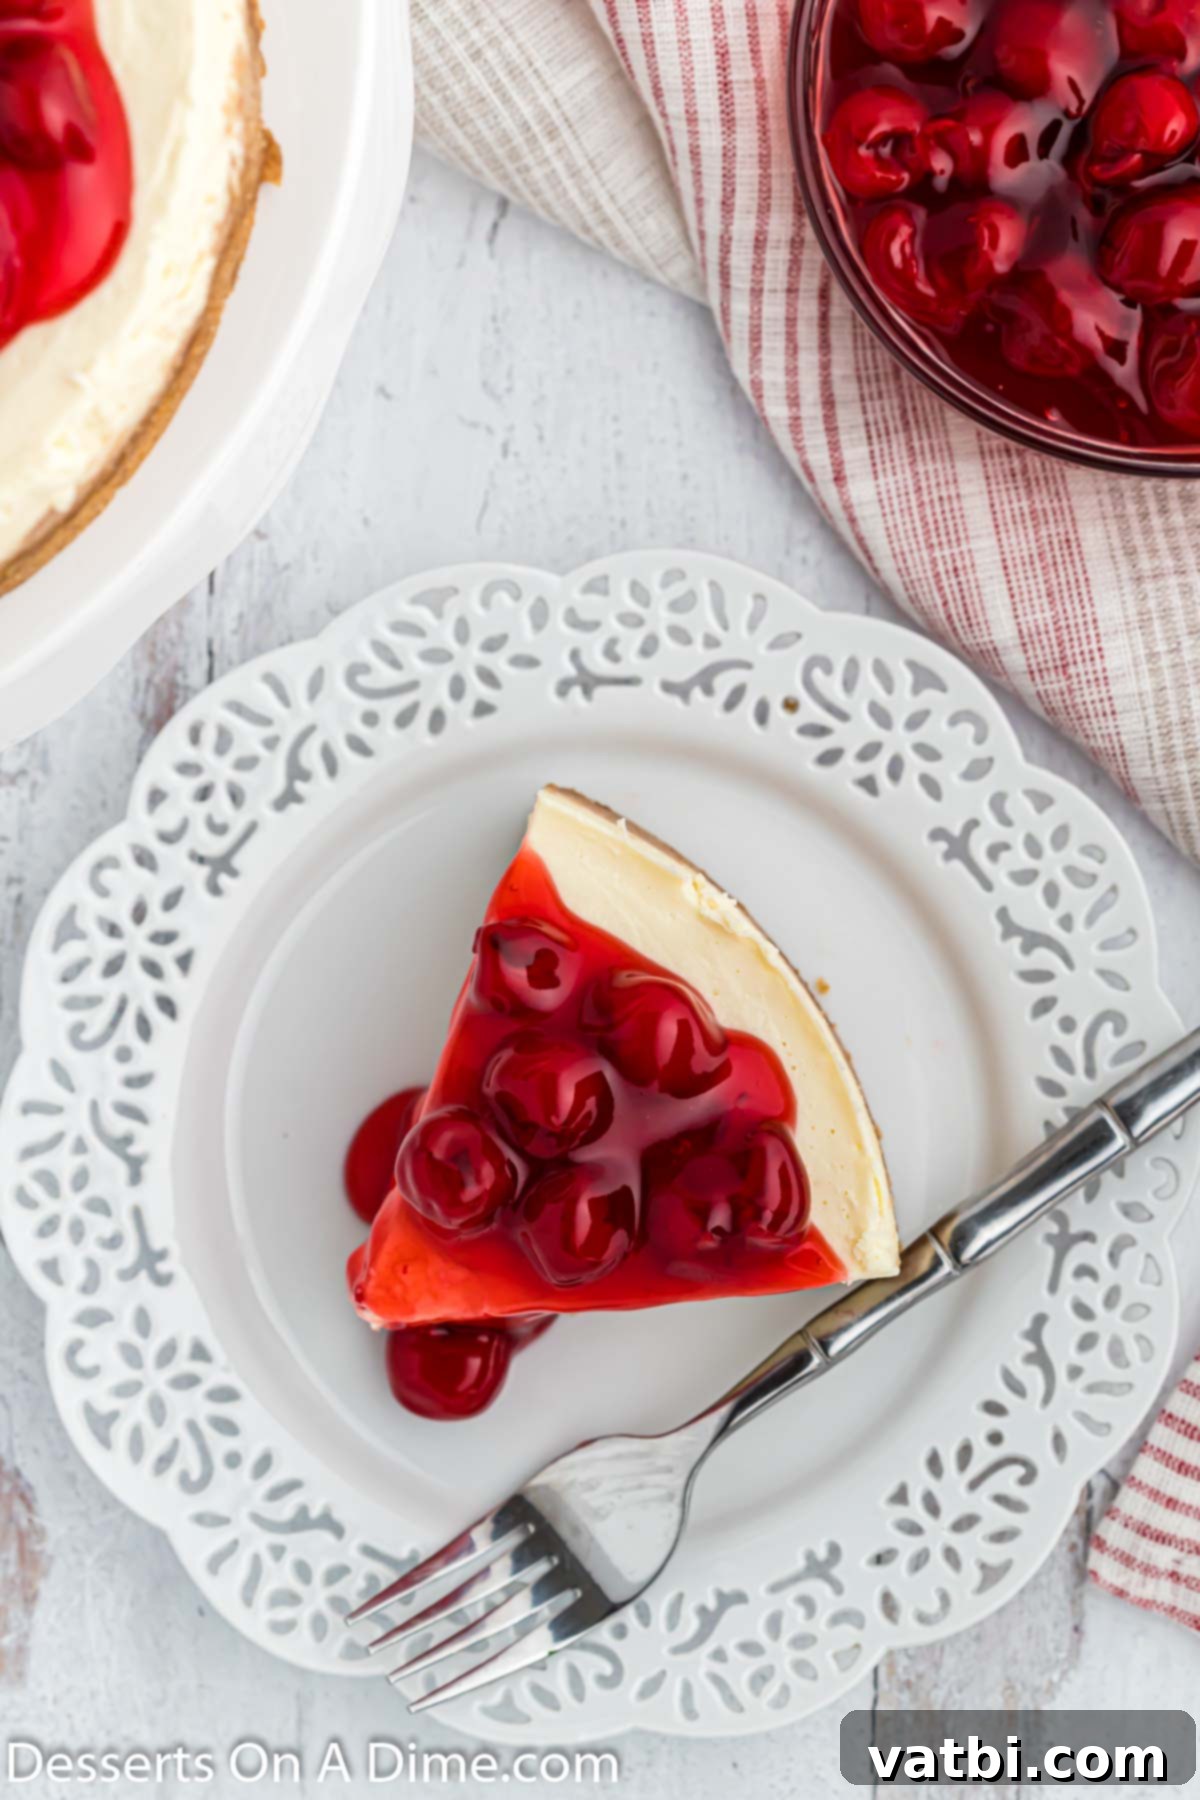
Expert Tips for Instant Pot Cheesecake Success
Achieving a bakery-quality cheesecake in your Instant Pot is entirely possible with a few insider tricks. These expert tips will help ensure your cheesecake is flawlessly creamy, perfectly set, and utterly delicious.
- Always Use Room Temperature Ingredients: This is arguably the most critical tip for any cheesecake. Make sure your cream cheese, eggs, and sour cream are all brought to full room temperature before you start mixing. Cold ingredients will not combine smoothly, leading to a lumpy batter and a cheesecake that isn’t as uniformly creamy. Plan ahead and take them out of the refrigerator at least an hour or two before you begin.
- Do Not Overmix the Batter: After the cream cheese and sugar are light and fluffy, add the remaining ingredients and mix them just until they are combined and smooth. Overmixing, especially after the eggs are added, incorporates too much air into the batter. This air can expand during cooking and then collapse during cooling, causing cracks on the surface of your beautiful cheesecake. Mix on low speed and stop as soon as everything is incorporated.
- Cover the Cheesecake Pan Securely: While cooking in the Instant Pot, condensation naturally forms on the inside of the lid. If this moisture drips onto your cheesecake, it can create an uneven, dimpled, or bumpy surface. To prevent this, always cover your springform pan tightly with aluminum foil before placing it into the Instant Pot. Ensure the foil is crimped securely around the edges so it doesn’t shift during cooking.
- Refrigerate Overnight for Best Results: Patience is a virtue when it comes to cheesecake! Although it might be tempting to slice into your Instant Pot cheesecake after a few hours, for the absolute best texture, flavor, and firmness, it needs to chill for at least 8 hours, and ideally overnight. This extended chilling time allows the cheesecake to fully set, firm up, and for the flavors to meld beautifully, resulting in that dense, smooth, and classic cheesecake consistency.
- Press the Crust Firmly into the Pan: A well-packed crust is essential for a sturdy and delicious base. After combining your graham cracker crumbs, melted butter, and brown sugar, use the bottom of a flat-bottomed glass or a measuring cup to press the mixture down firmly and evenly into the springform pan. This creates a compact crust that won’t crumble when you cut into your cheesecake.
- Keep the Bottom of the Pan Attached Until Chilled: When removing the cheesecake from the springform pan, only release the sides. Do not attempt to remove the bottom of the pan until the cheesecake has been thoroughly chilled for the recommended time (at least 8 hours). The cold helps the cheesecake hold its shape and prevents it from breaking or sticking to the base. Once fully chilled, you can carefully slide a thin knife underneath to separate it from the base if you wish to transfer it to a serving platter.
- Ensure Your Pan Fits Your Pressure Cooker: Before you even start gathering ingredients, do a quick fit test! Place your empty springform pan into your Instant Pot liner to ensure it fits comfortably and allows the lid to seal without obstruction. Most 6-quart Instant Pots accommodate a 7-inch springform pan, while 8-quart models can often fit an 8-inch pan. It’s better to check now than to discover it doesn’t fit mid-recipe!
- Allow Natural Pressure Release (NPR): The 30-minute natural pressure release is non-negotiable for cheesecake. Rapid pressure release (QPR) can cause a sudden temperature drop, leading to cracks on the surface of your delicate cheesecake. Be patient and let the pressure release gradually.
More Irresistible Cheesecake Recipes to Try
If you’ve fallen in love with making cheesecake after trying this Instant Pot method, you’re in luck! There’s a whole world of delicious cheesecake variations to explore. Whether you prefer baked or no-bake, classic or creative, these recipes are sure to satisfy your cravings:
- Cream Cheese Churro Cheesecake: A unique twist that combines the creamy texture of cheesecake with the cinnamon-sugar crunch of churros.
- Cinnamon Roll Cheesecake: Indulge in the comforting flavors of a cinnamon roll blended into a rich and decadent cheesecake.
- Sopapilla Cheesecake Recipe: A delightful fusion dessert that brings together the light, flaky texture of sopapillas with a creamy cheesecake filling.
- Philadelphia No Bake Cheesecake: For those days when you crave cheesecake without turning on the oven, this simple no-bake recipe is a perfect choice.
- Instant Pot Pumpkin Cheesecake: A seasonal favorite, this Instant Pot version makes a perfectly spiced and creamy pumpkin cheesecake, ideal for fall gatherings.
Go ahead and try this incredibly yummy Instant Pot Cheesecake recipe. Whether you top it with a classic cherry pie filling or get creative with other options, you’re in for a treat. Once you do, please come back and leave a comment and a star rating to share your experience!
Pin
Instant Pot Cheesecake
Ingredients
FOR THE CRUST:
- 10 Graham Cracker Sheets
- 4 Tbsp Unsalted Butter melted, for binding the crust
- 2 Tbsp Brown Sugar adds moisture and flavor
FOR THE CHEESECAKE LAYER:
- 2 8 oz packages Full-Fat Cream Cheese softened at room temperature, essential for smooth batter
- 1/2 cup Granulated Sugar
- 2 tsp Pure Vanilla Extract for rich flavor
- 2 Large Eggs at room temperature for smooth blending
- 2 Tbsp Cornstarch helps prevent cracks and set the cheesecake
- 1/2 cup Sour Cream room temperature, for tang and extra creaminess
FOR TOPPING:
- Cherry Pie Filling or your preferred topping
Instructions
FOR THE CRUST:
-
Thoroughly spray a 7×3-inch springform pan with a non-stick cooking spray. Ensure your pan will fit inside your Instant Pot before proceeding. Set aside.
-
Place the graham cracker sheets into a food processor and pulse until finely ground into small crumbs. If you do not have a food processor, place crackers in a sealed ziplock bag and use a rolling pin to crush them evenly.
-
Transfer the graham cracker crumbs to a large mixing bowl. Add the melted butter and brown sugar, then stir until all ingredients are well combined and the crumbs are moistened. Press this mixture firmly into the bottom of the prepared springform pan, extending about 1 inch up the sides.
-
Use the bottom of a measuring cup or glass to press the crust mixture down firmly, creating an even and compact layer. Place the pan in the freezer to chill while you prepare the cheesecake filling.
FOR THE CHEESECAKE LAYER:
-
In a large stand mixer or with a handheld mixer, beat the softened cream cheese with the granulated sugar until the mixture is light, fluffy, and completely smooth (about 2-3 minutes). Scrape down the sides of the bowl to ensure even mixing.
-
Add the vanilla extract, room temperature eggs, cornstarch, and sour cream to the cream cheese mixture. Mix on low speed until all ingredients are just combined and the batter is creamy. Avoid overmixing to prevent excess air.
-
Remove the chilled pan from the freezer. Evenly pour the cheesecake batter mixture over the graham cracker crust.
-
Gently tap the bottom of the pan on the counter a few times to release any air bubbles and ensure a perfectly smooth and even surface on your cheesecake layer.
TO PRESSURE COOK:
-
Place the trivet (the metal rack that came with your 6-quart Instant Pot) at the bottom of the Instant Pot inner pot. Pour 1 ½ cups of water into the inner pot.
-
Gently place the springform pan, containing the cheesecake batter, on top of the trivet in the Instant Pot. Cover the springform pan securely with a piece of aluminum foil, crimping the edges to prevent condensation from dripping onto the cheesecake during cooking.
-
Secure the Instant Pot lid and ensure the steam release valve is set to the “Sealing” position. Cook on high pressure for 35 minutes. Once the cook time is complete, allow the pressure to release naturally (NPR) for 30 minutes. After 30 minutes, carefully manually release any remaining pressure by switching the valve to “Venting.”
-
Carefully remove the springform pan from the Instant Pot (using a foil sling or oven mitts) and transfer it to a wire cooling rack. Allow the cheesecake to cool at room temperature for at least 1 hour.
-
After cooling, cover the pan with plastic wrap and transfer the cheesecake to the refrigerator. Chill for a minimum of 6 hours, or ideally, overnight, to allow it to fully set and develop its creamy texture.
-
To remove the cheesecake from the pan, run a thin, sharp knife carefully around the entire edge of the cheesecake before releasing the springform pan sides.
-
Then, carefully unclip and remove the sides of the springform pan. You can serve the cheesecake directly from its base or transfer it to a serving plate.
-
Slice and serve your perfectly creamy Instant Pot Cheesecake topped with cherry pie filling or your favorite garnishes. Enjoy every delicious bite!
Nutrition Facts
Pin This Now to Remember It Later
Pin Recipe
