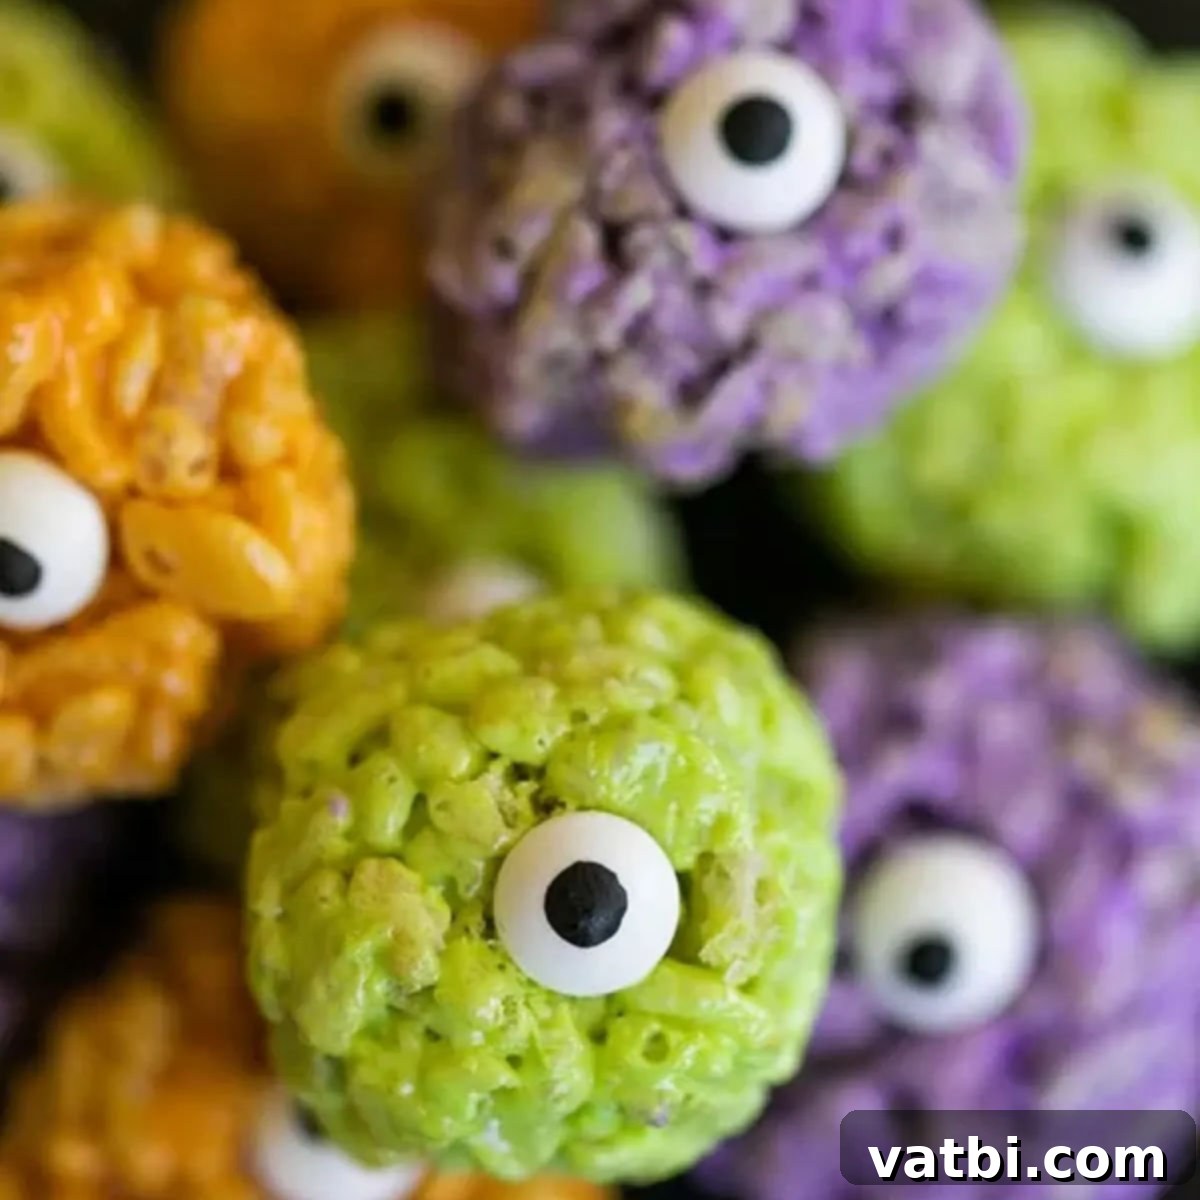
Ultimate Monster Eye Ball Rice Krispie Treats Recipe: Spooky Halloween Fun
Get ready for a hauntingly good time with our **Monster Eye Ball Rice Krispie Treats** recipe! This delightful dessert is an absolute must-make for Halloween festivities, requiring *just a few simple ingredients* and no baking. These vibrant, no-bake treats are incredibly easy to prepare and bring a splash of festive color to any spooky gathering or snack time. Imagine the joy on kids’ faces when they see these quirky, googly-eyed delights!
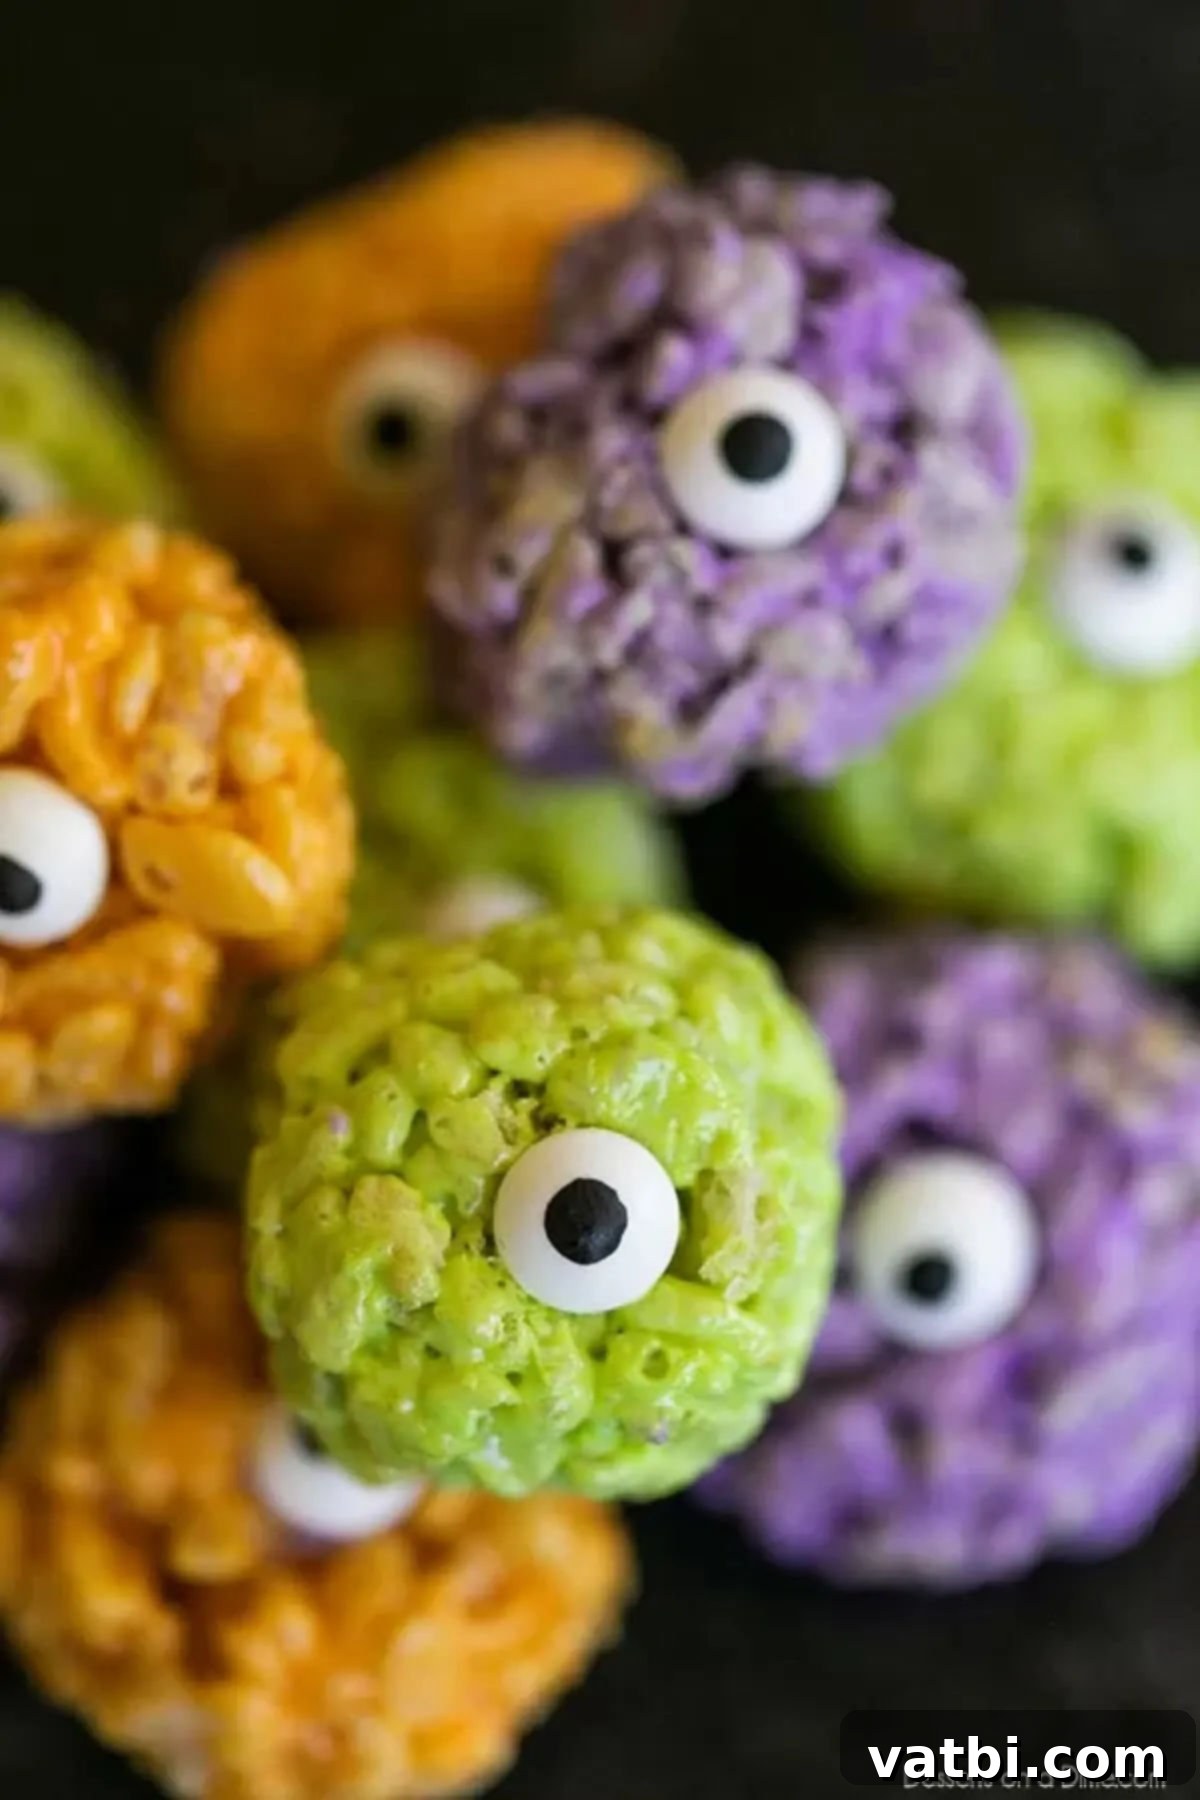
Each year, I love dreaming up fresh and exciting ideas for Halloween parties, and these festive Rice Krispie treats consistently exceed expectations. They effortlessly claim their spot as one of the very best no-bake Halloween treats, guaranteed to be a hit with everyone, from toddlers to adults. Their playful nature makes them a fantastic addition to any Halloween dessert table, complementing other eerie confections like our popular Spider Web Cupcakes.
Before diving into these monstrously good treats, you might want to brush up on the fundamentals. For even more tips, tricks, and a solid foundation, learn how to make classic Rice Krispie treats. Once you master the basics, creating these colorful monster versions will be a breeze!
If you’re in the mood for other themed Rice Krispie creations, our Pumpkin Rice Krispie Treats are another autumnal favorite. And for those who can’t get enough of monster-themed goodies, be sure to check out these other fantastic recipes: spooky Halloween Monster Eyeballs, adorable Frankenstein Rice Krispie Treats, and deliciously cute Monster Donuts. For a festive start to Halloween morning, don’t forget to whip up some Halloween Donuts too!
What’s in this post: Halloween Monster Rice Krispie Treats
- Why You’ll Love This Recipe
- Ingredients
- Substitution and Variations
- How to Make Monster Eye Rice Krispie Treats
- How to Store
- Frequently Asked Questions
- More Halloween Treats
- Monster Eye Ball Rice Krispie Treats Recipe
Why You’ll Love This Recipe: Easy Halloween Treats for Everyone
These Monster Eye Ball Rice Krispie Treats aren’t just a dessert; they’re an experience! Here’s why they’re destined to become a staple in your Halloween celebrations:
- They’re Incredibly Fun to Make: Preparing these treats is a fantastic activity for the whole family, from little hands mixing the cereal to older kids pressing on the candy eyes. It’s a hands-on project that fosters creativity and is sure to become a beloved annual tradition. The anticipation of seeing the colorful “monsters” come to life is part of the magic!
- Perfectly Festive for Any Party: With their vibrant colors and whimsical googly eyes, these Rice Krispie treats instantly elevate the mood of any Halloween or monster-themed party. They’re visually striking and guaranteed to draw attention, sparking conversations and smiles. They serve as both a delicious snack and a charming decoration.
- Halloween Rice Krispies are Effortlessly Easy: If you’re looking for a quick, stress-free dessert, this is it! With a minimal ingredient list and a straightforward no-bake process, these treats are practically effortless. You won’t need to turn on the oven, making them ideal for busy schedules or when you want to avoid heating up the kitchen.
Essential Ingredients for Spooky Sweet Treats
Crafting these adorable monster treats requires just a handful of everyday ingredients, ensuring a simple grocery run. Gathering your supplies is the first step to creating these colorful, crispy delights.
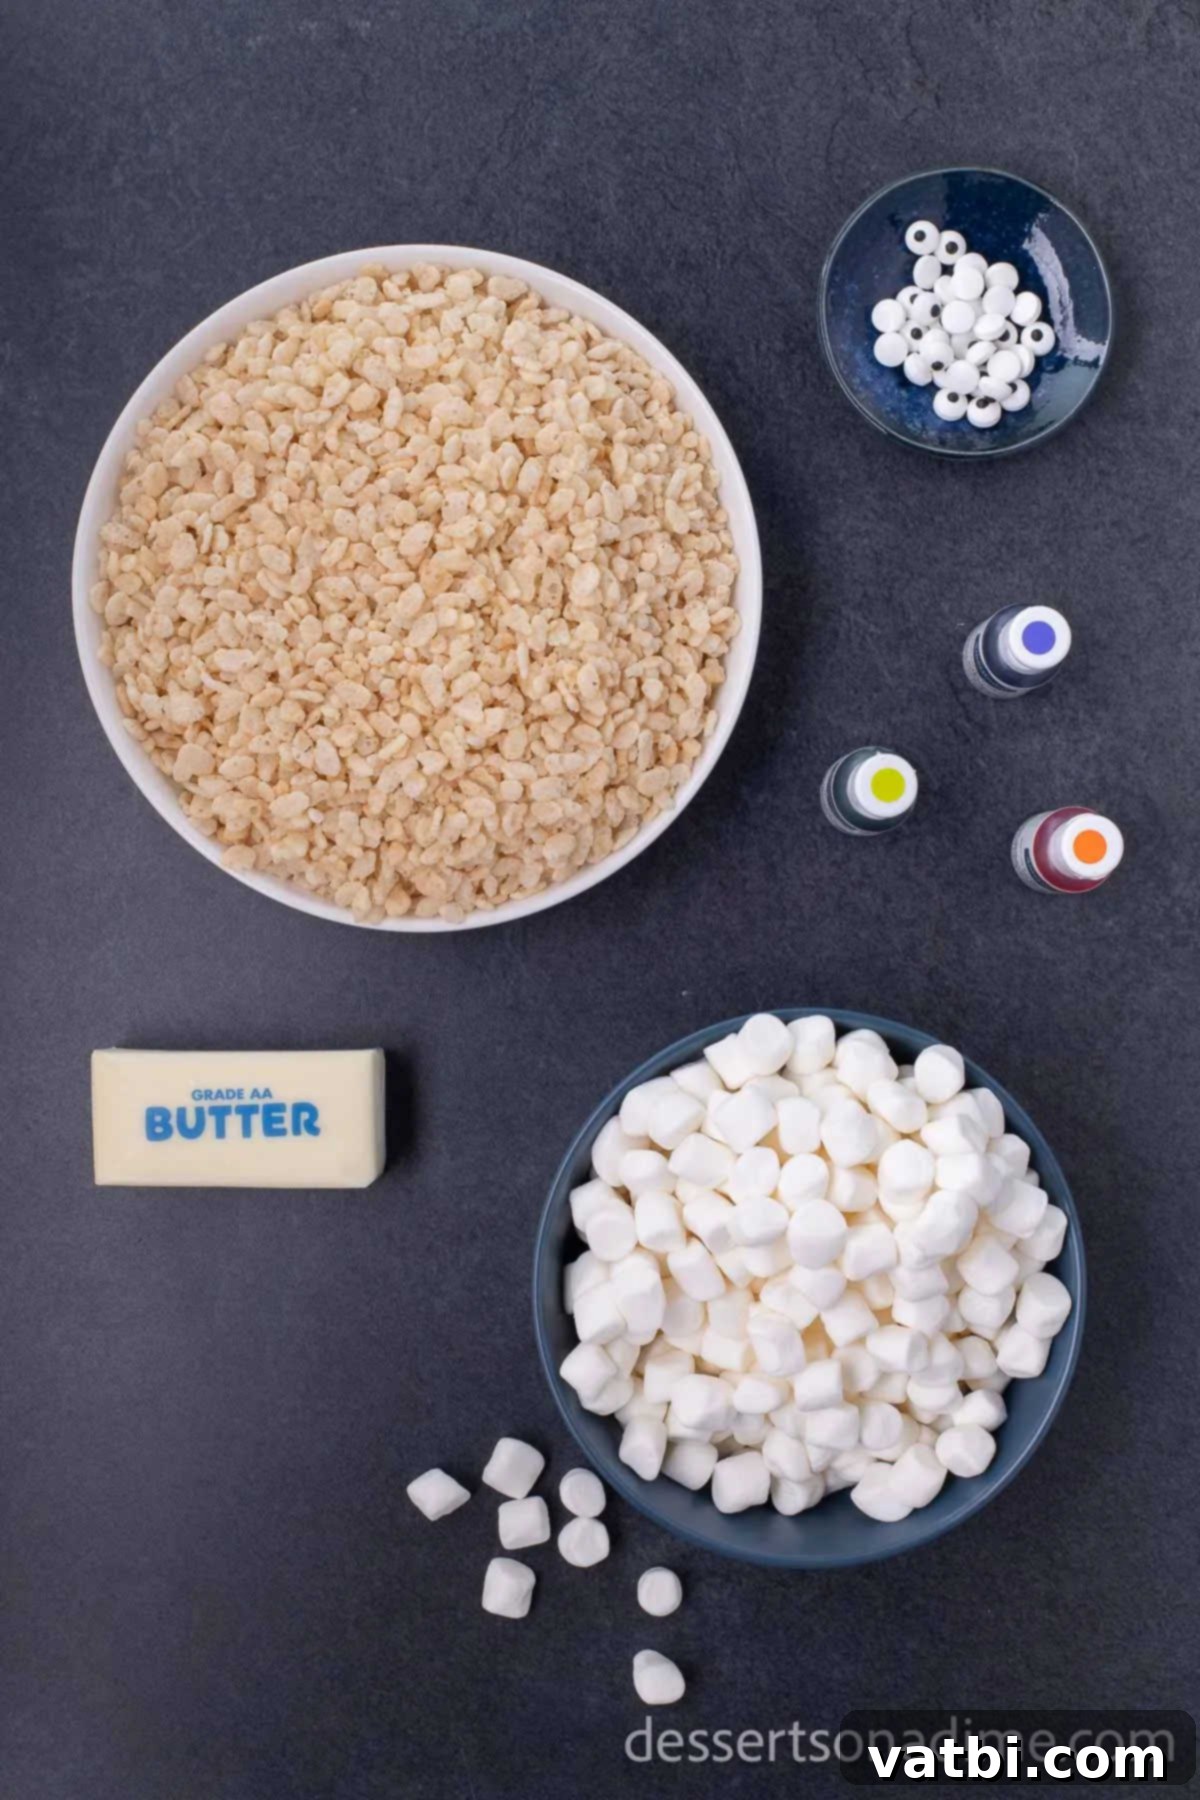
- Rice Krispie Cereal: The classic base for that satisfying crunch.
- Butter: Essential for flavor and ensuring the marshmallow mixture is pliable.
- Mini Marshmallows: The glue that holds it all together, melting into a sweet, gooey binder.
- Orange Food Coloring: To create one of our vibrant monster hues. Gel food coloring is recommended for more intense colors.
- Green Food Coloring: For another iconic monster shade.
- Purple Food Coloring: Adding a third spooky color to our palette.
- Candy Eyeballs: The star decoration that brings these monsters to life!
For the precise measurements and the complete ingredient list, please refer to the detailed recipe card conveniently located at the bottom of this post. Don’t worry, you’ll find everything you need to get started right there!
Creative Substitutions and Spooky Variations
One of the best things about this Monster Eye Ball Rice Krispie Treats recipe is how versatile it is! Feel free to get creative and customize your treats with these fun ideas:
- Experiment with Different Colors: While orange, green, and purple are classic Halloween colors, don’t hesitate to branch out! Try black, blue, or even a neon pink for truly unique monsters. Food coloring gels tend to produce more vibrant, rich colors than liquid drops, so they are highly recommended for achieving intense monster shades.
- Add Personality with Gel Icing: Take your candy eyeballs to the next level by using gel icing. You can draw small pupils, veins, or even create spooky bloodshot effects on the white part of the eyes for a more grotesque (and fun!) monster look. This small detail can make a big difference in the treats’ character.
- Turn Them into Monster Pops with a Stick: For easy handling at parties or as fun trick-or-treat alternatives, insert a lollipop stick into the base of each monster eyeball before it fully sets. This makes them less messy to eat and gives them a charming “monster pop” appeal, perfect for little hands.
- Simplify with Store-Bought Treats: In a pinch or for a super quick activity, you can use pre-made, store-bought Rice Krispie treats. Simply cut them into squares, warm them slightly in the microwave for a few seconds to make them pliable, add your desired food coloring (if not already colored), reshape, and then decorate with candy eyes and other embellishments. It’s a fantastic shortcut for busy individuals!
- Swap Candy Eyes for Candy Corn or Other Sweets: If candy eyeballs aren’t available or if you want a different look, candy corn can be pressed into the treats for a classic autumnal touch. Alternatively, mini chocolate chips can be used as pupils, or small Halloween-themed candies like gummy worms or sprinkles can be added for extra texture and fun.
- Go Wild with Sprinkles: Sprinkles are a monster’s best friend! Before the treats fully cool, roll the monster balls in various Halloween-themed sprinkles. Think black and orange jimmies, green nonpareils, or even spooky ghost-shaped sprinkles to add an extra layer of festivity and crunch.
- Elevate with a Chocolate Dip: For a decadent twist, dip your monster treats in melted chocolate. You can use dark, milk, or white chocolate. For extra flair, color white chocolate with food coloring to match your monster theme, or drizzle contrasting chocolate colors over the dipped treats once they’ve set.
- Drizzle with Candy Melts: Candy melts are perfect for adding colorful drizzles. Choose a few complementary colors (like neon green, bright orange, or deep purple) and drizzle them over your finished monster treats for an extra pop of color and sweetness. This adds a professional, decorative touch without much effort.
- Decorate with Fondant (for the artistic touch): For those who love intricate decorating, small pieces of colored fondant can be used to create tiny monster features like horns, fangs, or even little arms and legs. This allows for highly customized and unique monster designs.
How to Make Monster Eye Rice Krispie Treats: Step-by-Step Guide
Creating these fun and spooky Monster Eye Rice Krispie Treats is a straightforward process. Follow these detailed steps to bring your colorful monsters to life, starting with one color at a time to ensure vibrant, distinct batches.
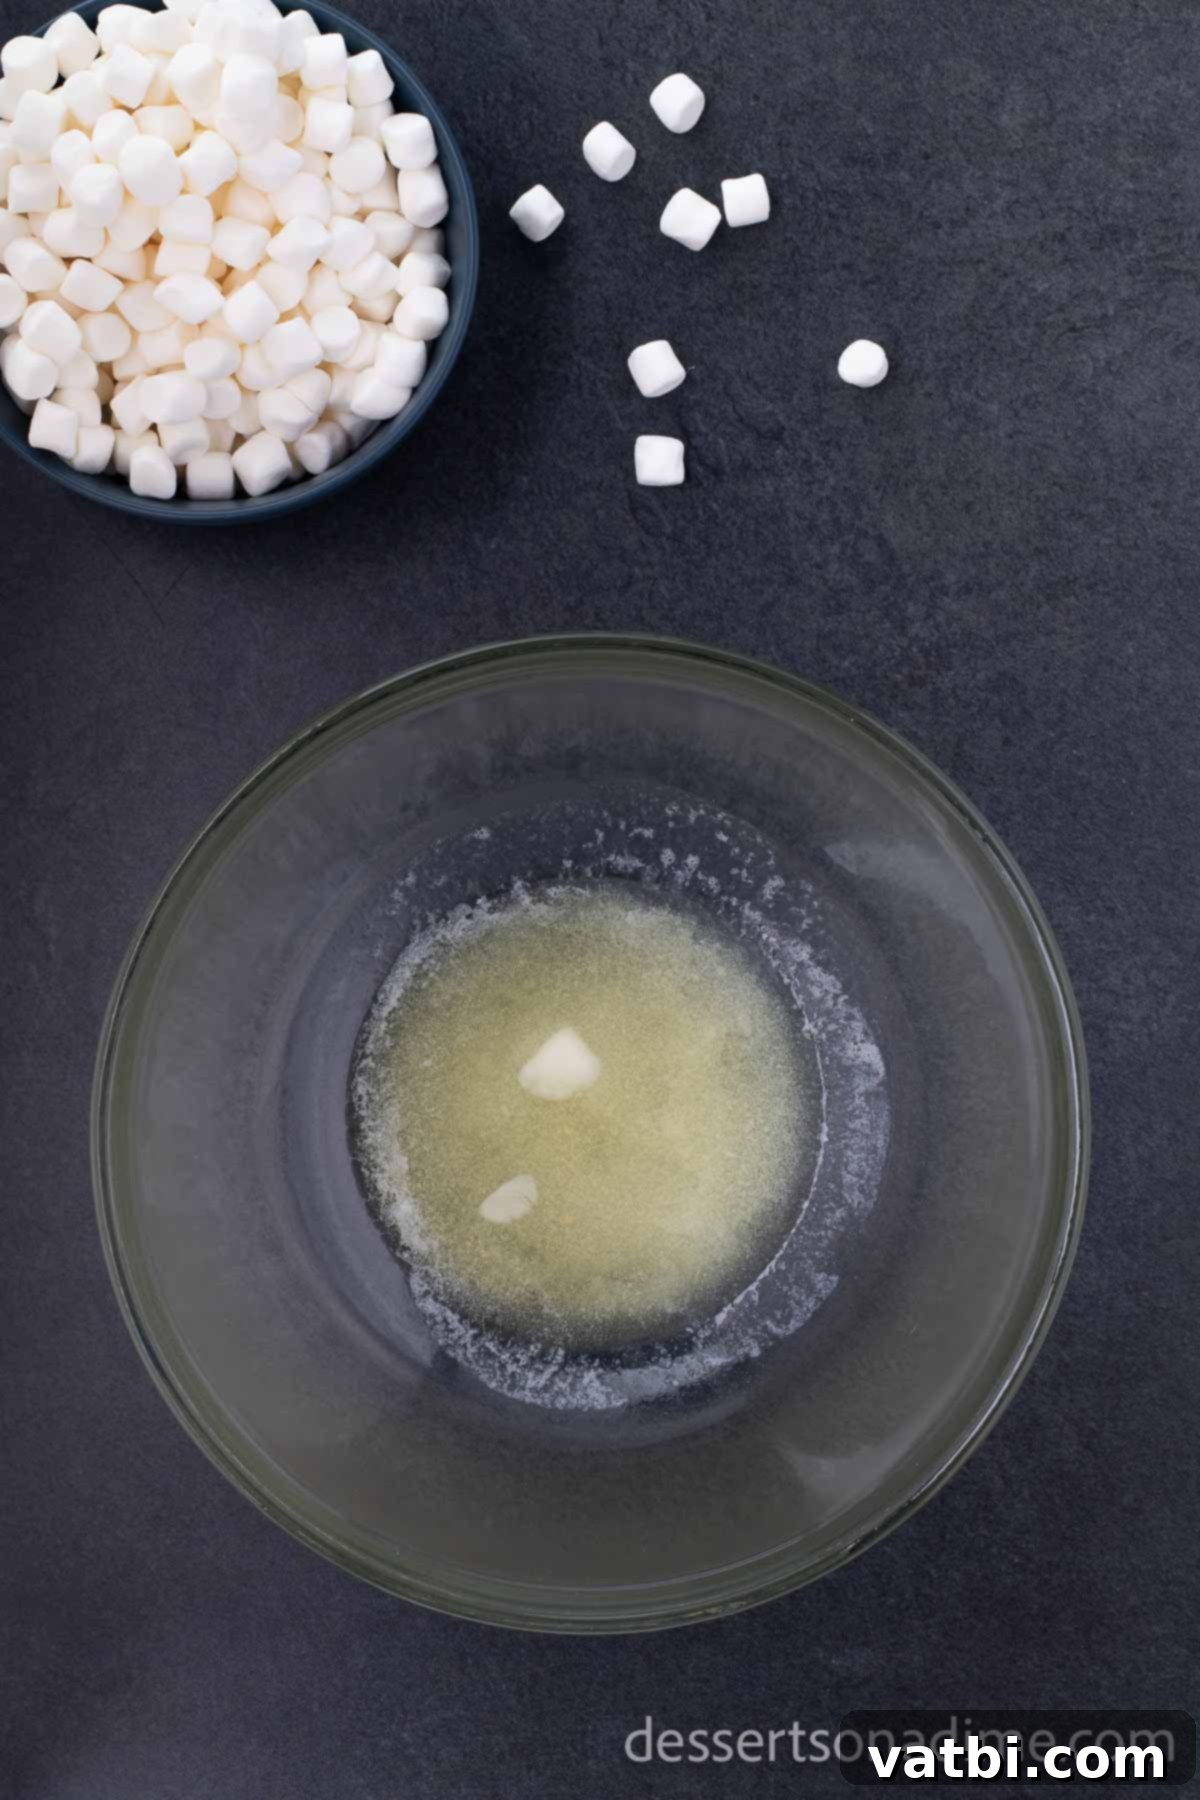
Step 1. Melt Butter: Begin by melting 1 tablespoon of butter. You can do this quickly in a microwave-safe bowl by heating it for about 20-30 seconds, or until fully melted. Alternatively, melt the butter in a large pot on the stovetop over low heat. If using the stovetop, make sure to remove the pot from the heat before proceeding to add the marshmallows, to prevent scorching.
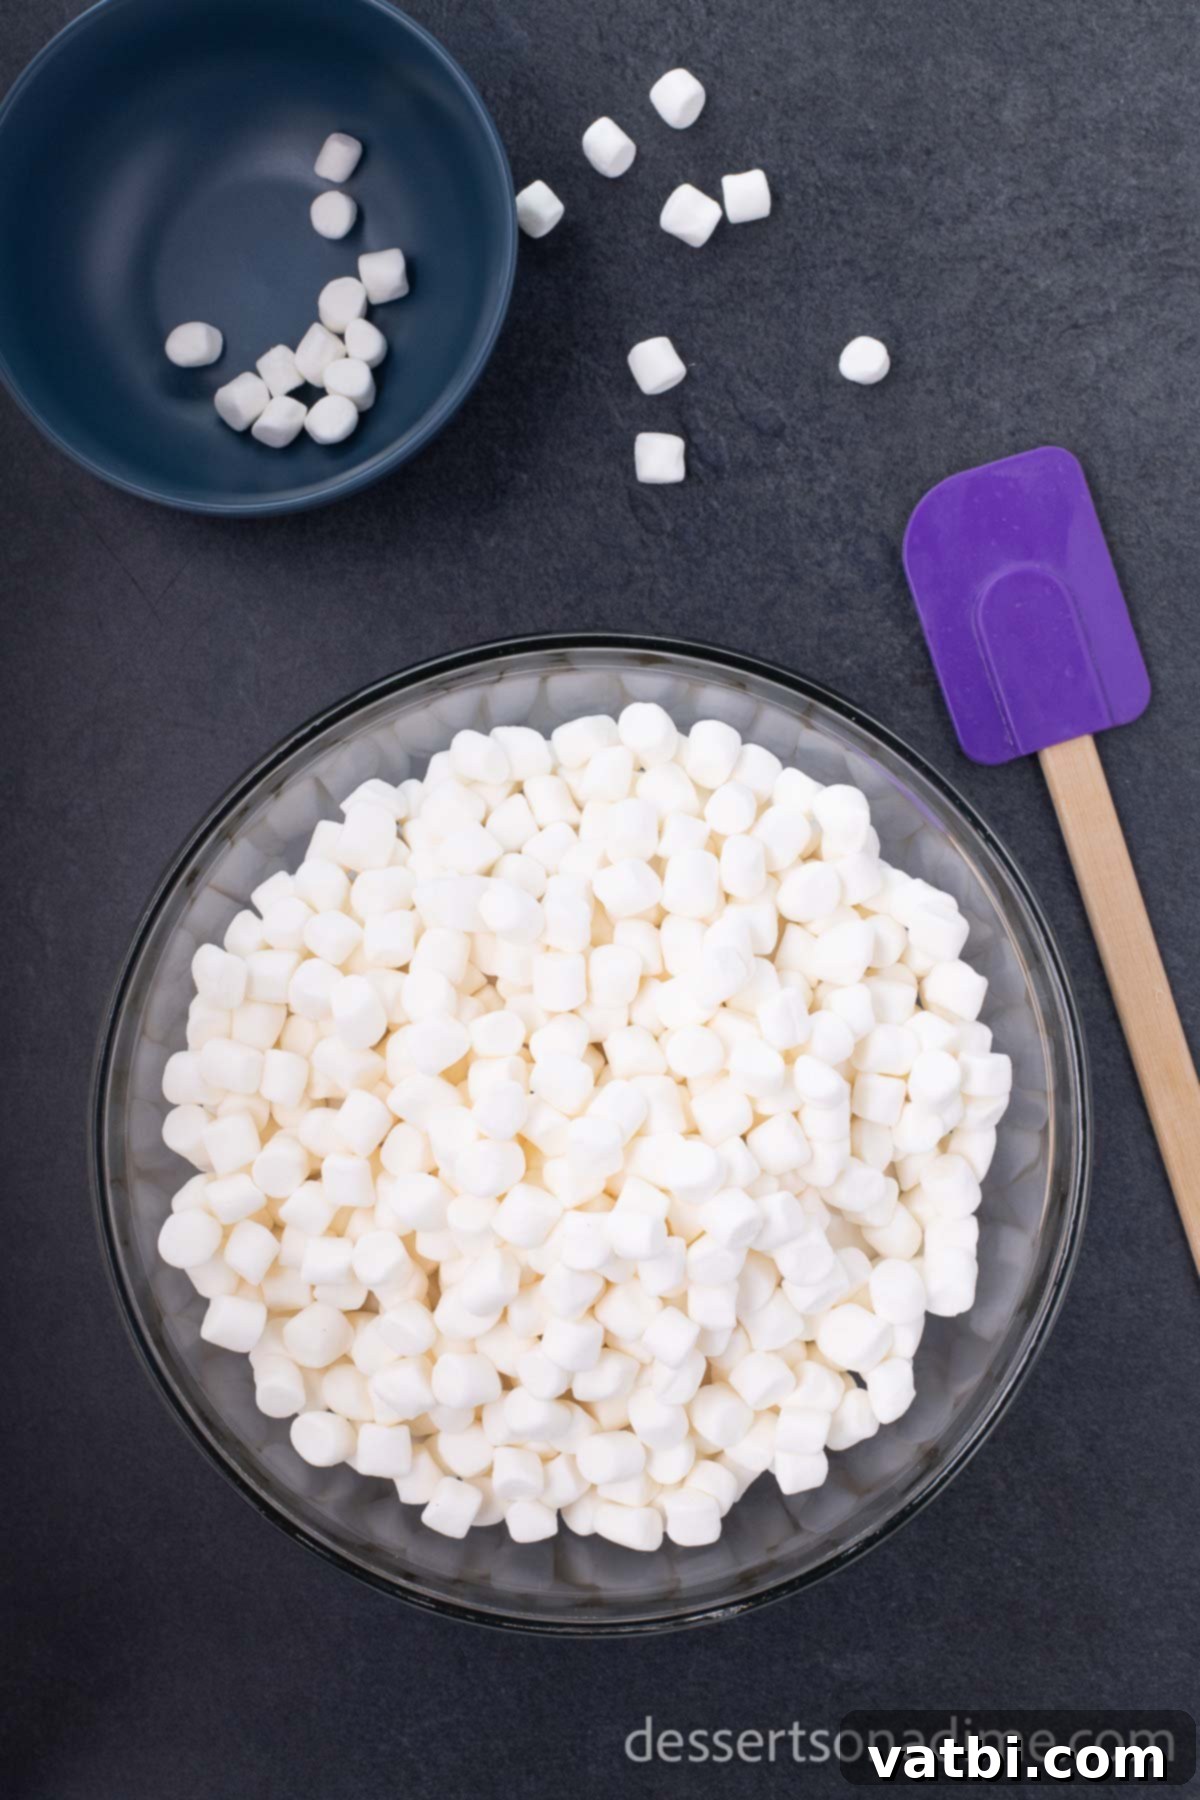
Step 2. Stir in Marshmallows: Add approximately one-third of the 10 oz bag of mini marshmallows to the melted butter. Return the bowl to the microwave and heat in 30-second increments, stirring thoroughly after each interval, until the marshmallows are completely melted and smooth. This typically takes about 1 to 1.5 minutes, depending on your microwave. Ensure there are no lumps for a uniform mixture.
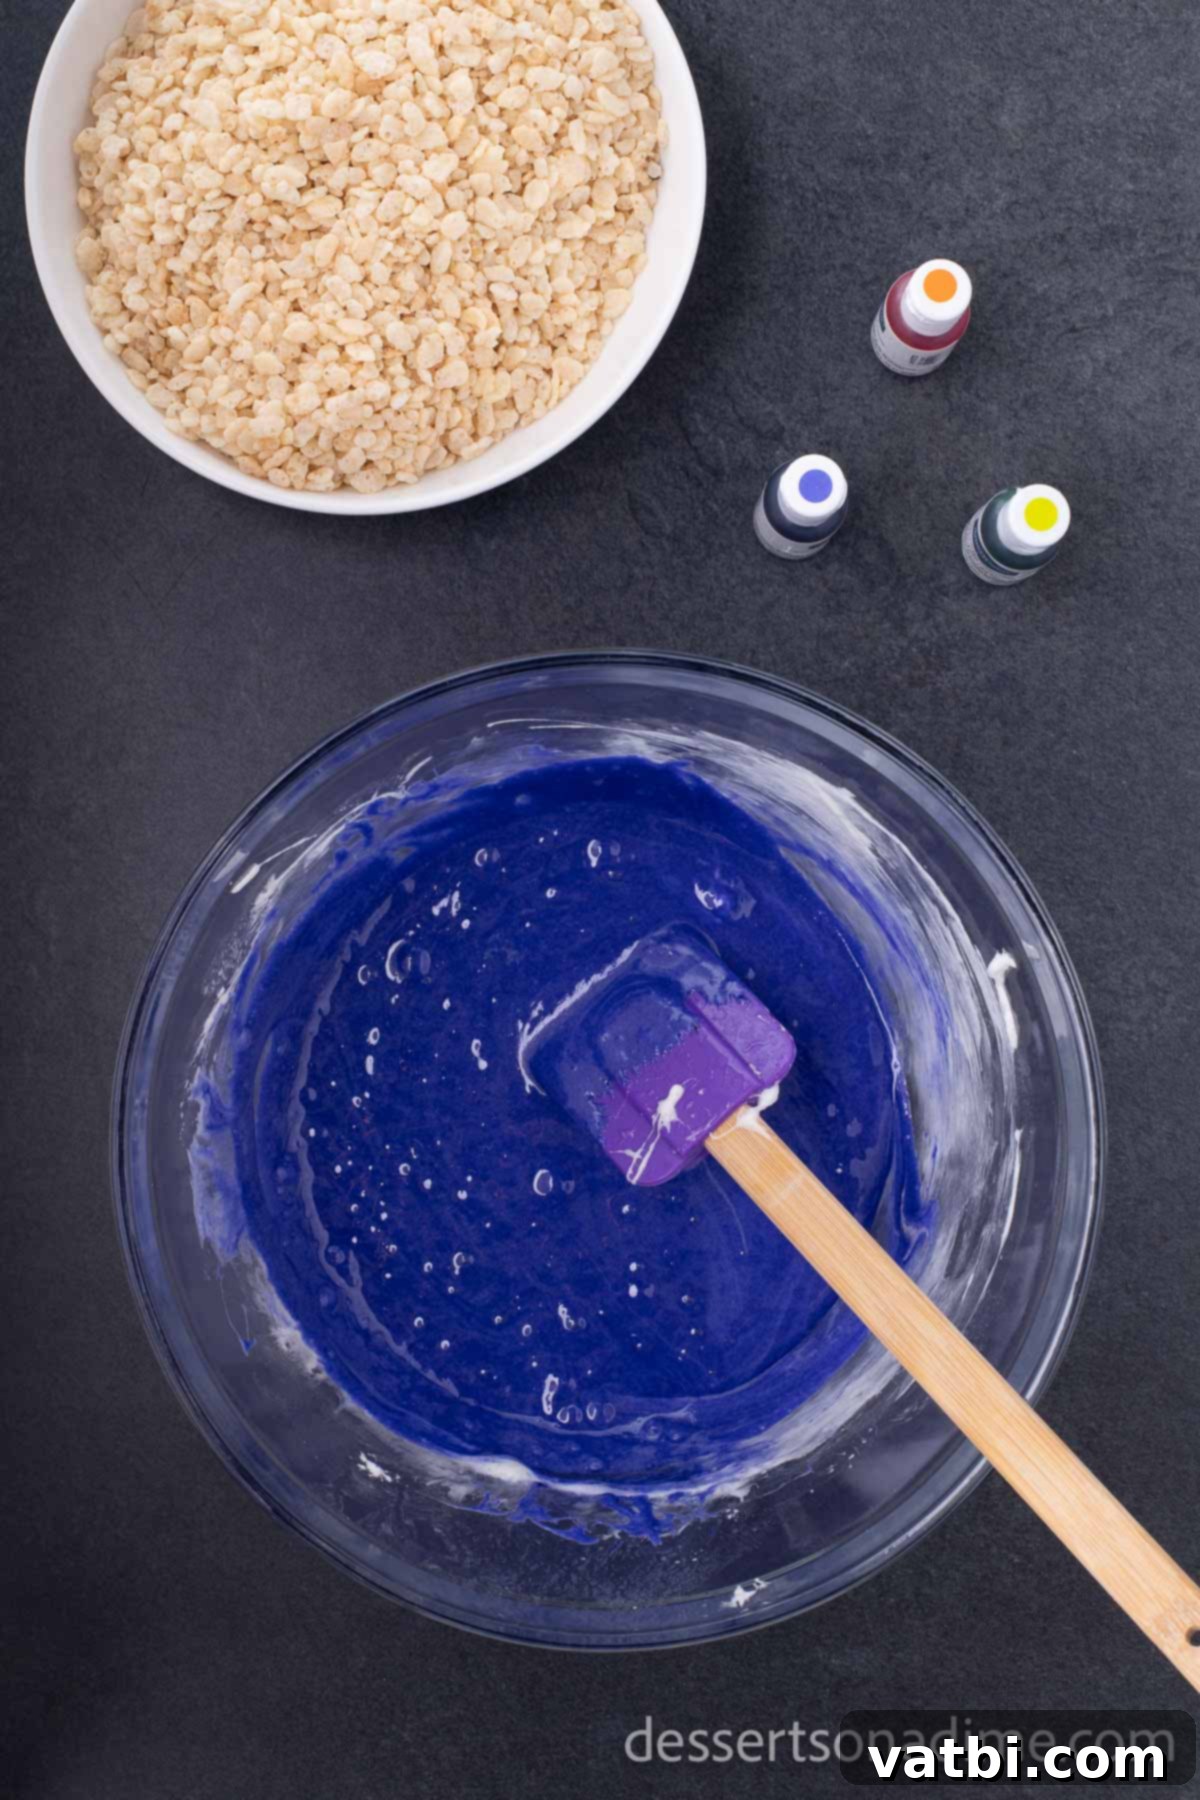
Step 3. Add in Food Coloring: Now it’s time to add the color! Start with about 4 drops of your chosen food coloring (for example, green). Stir vigorously until the marshmallow mixture achieves the desired vibrant color. Remember, gel food coloring will give you more intense hues with fewer drops compared to liquid food coloring. Adjust the amount until you’re happy with the monster’s shade.
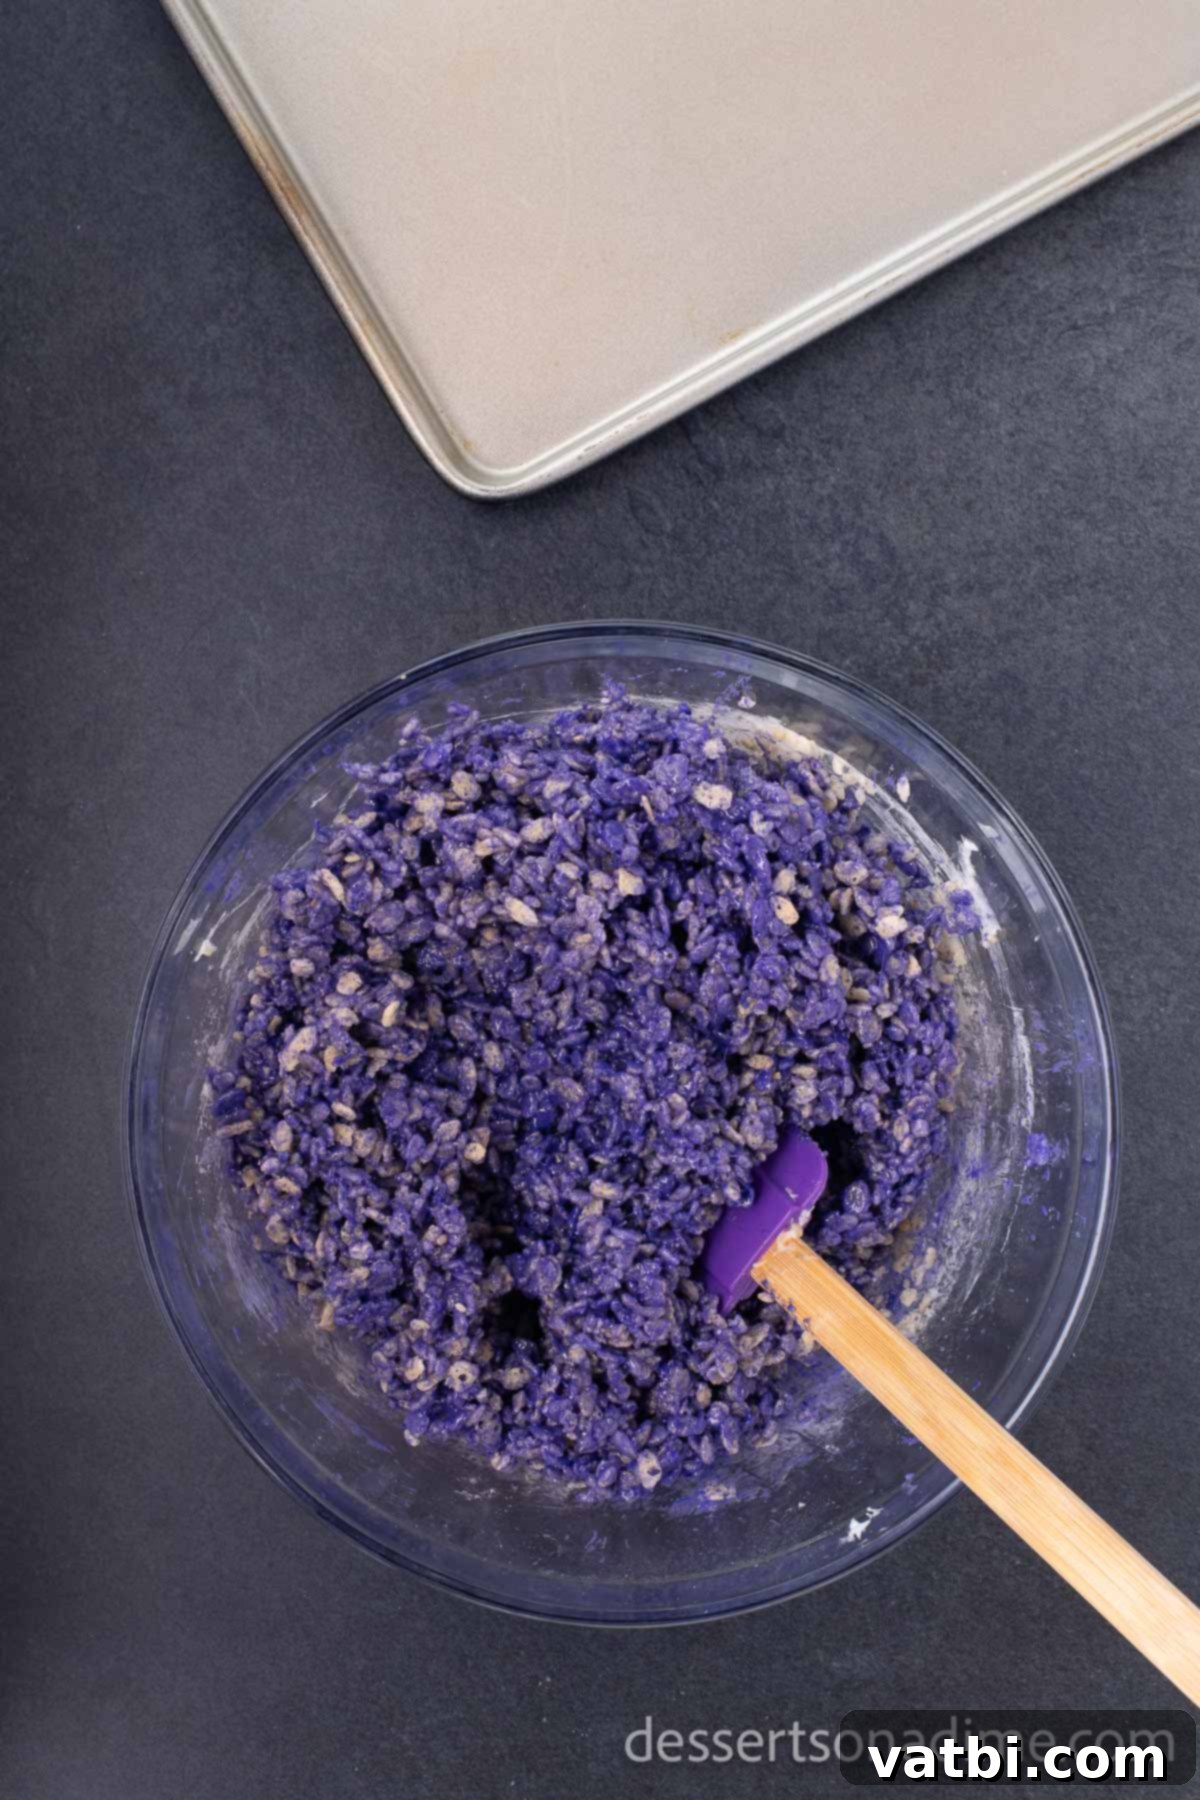
Step 4. Mix in Cereal: Gradually add 2 cups of Rice Krispies cereal to the colored marshmallow mixture. Using a spatula, gently fold the cereal into the marshmallow until it’s completely coated. Be careful not to crush the cereal too much, as you want to maintain its signature crispy texture. Work quickly before the mixture starts to set.
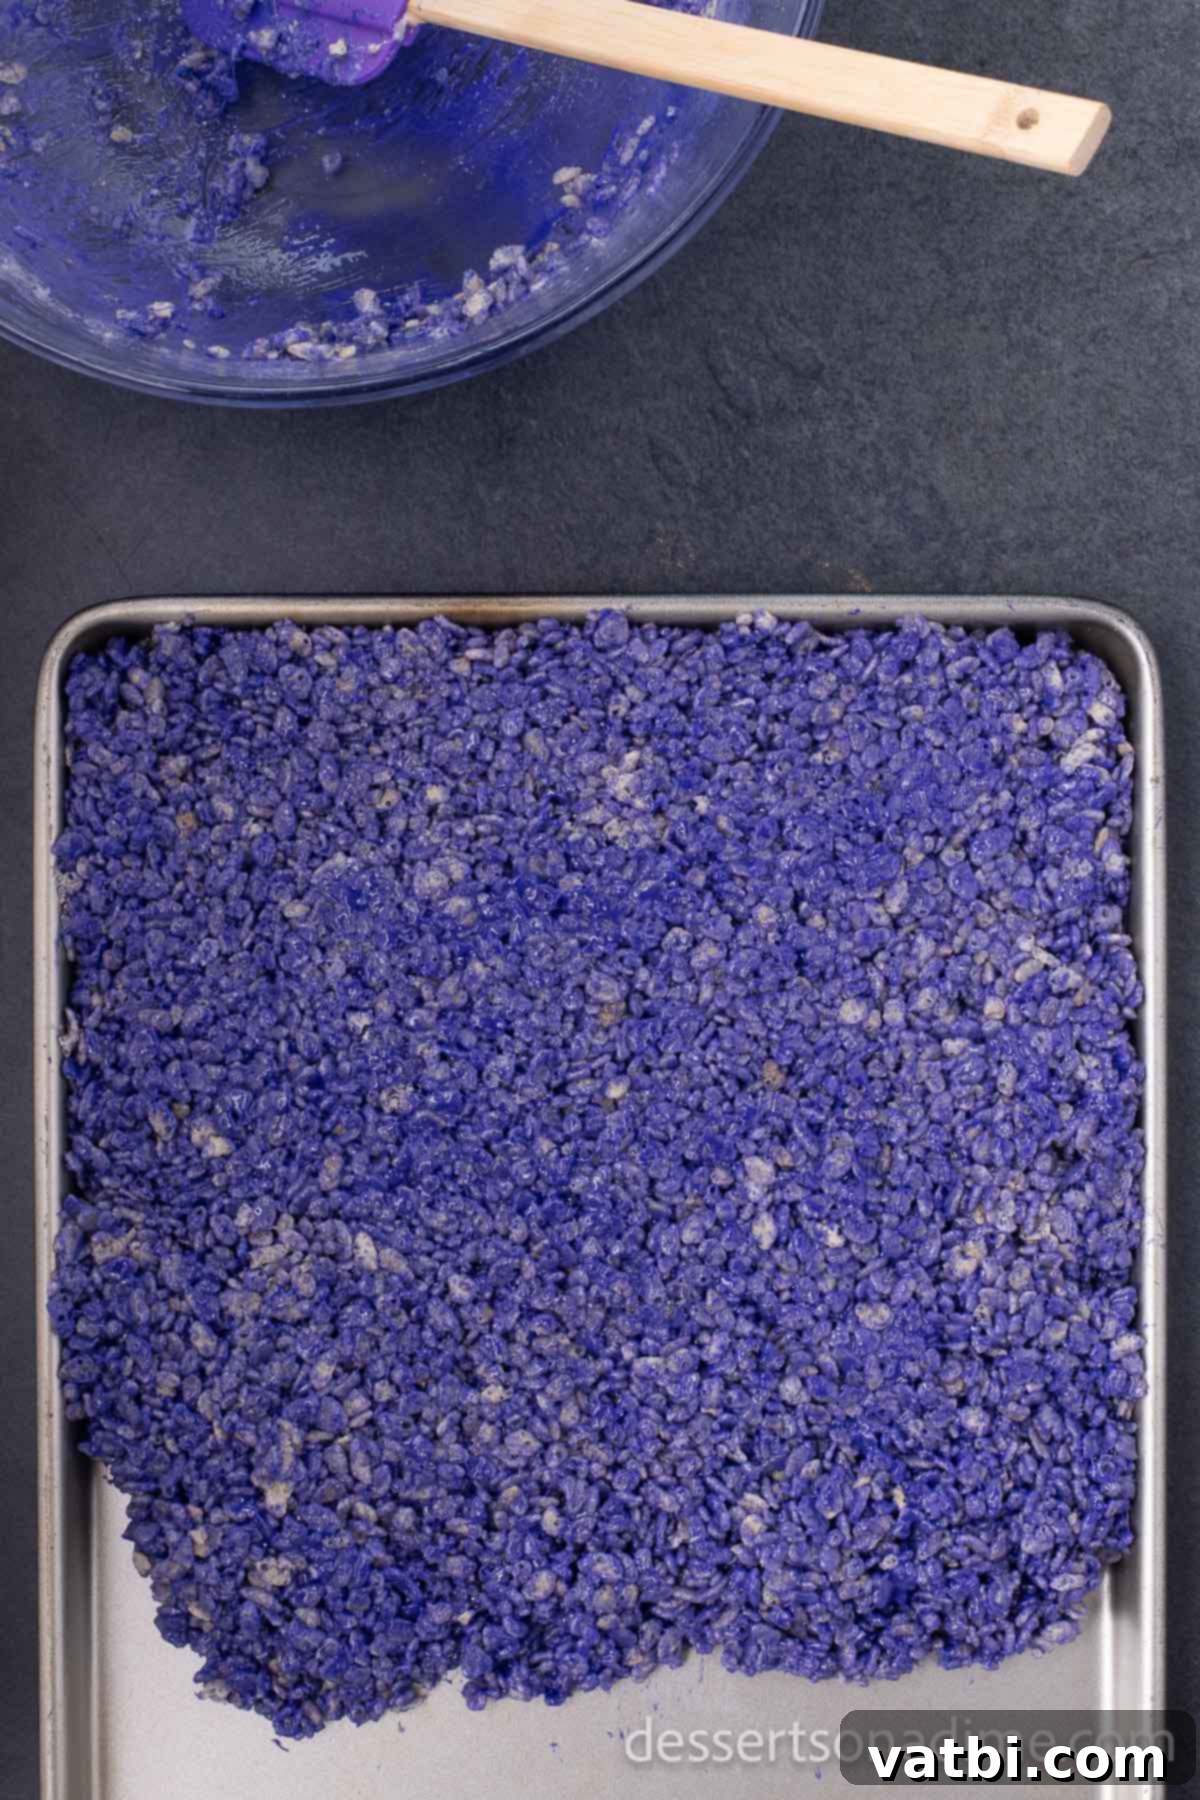
Step 5. Spread into Pan: Once the cereal is fully coated, immediately spread the mixture evenly into a large pan. For easy removal and cleanup, we recommend lining a jelly roll pan or baking dish with parchment paper or spraying it generously with non-stick cooking spray. Allow the mixture to cool slightly at room temperature. Repeat steps 1-5 two more times with the remaining butter, marshmallows, and two different food colorings (orange and purple) to create your multi-colored monster treats.
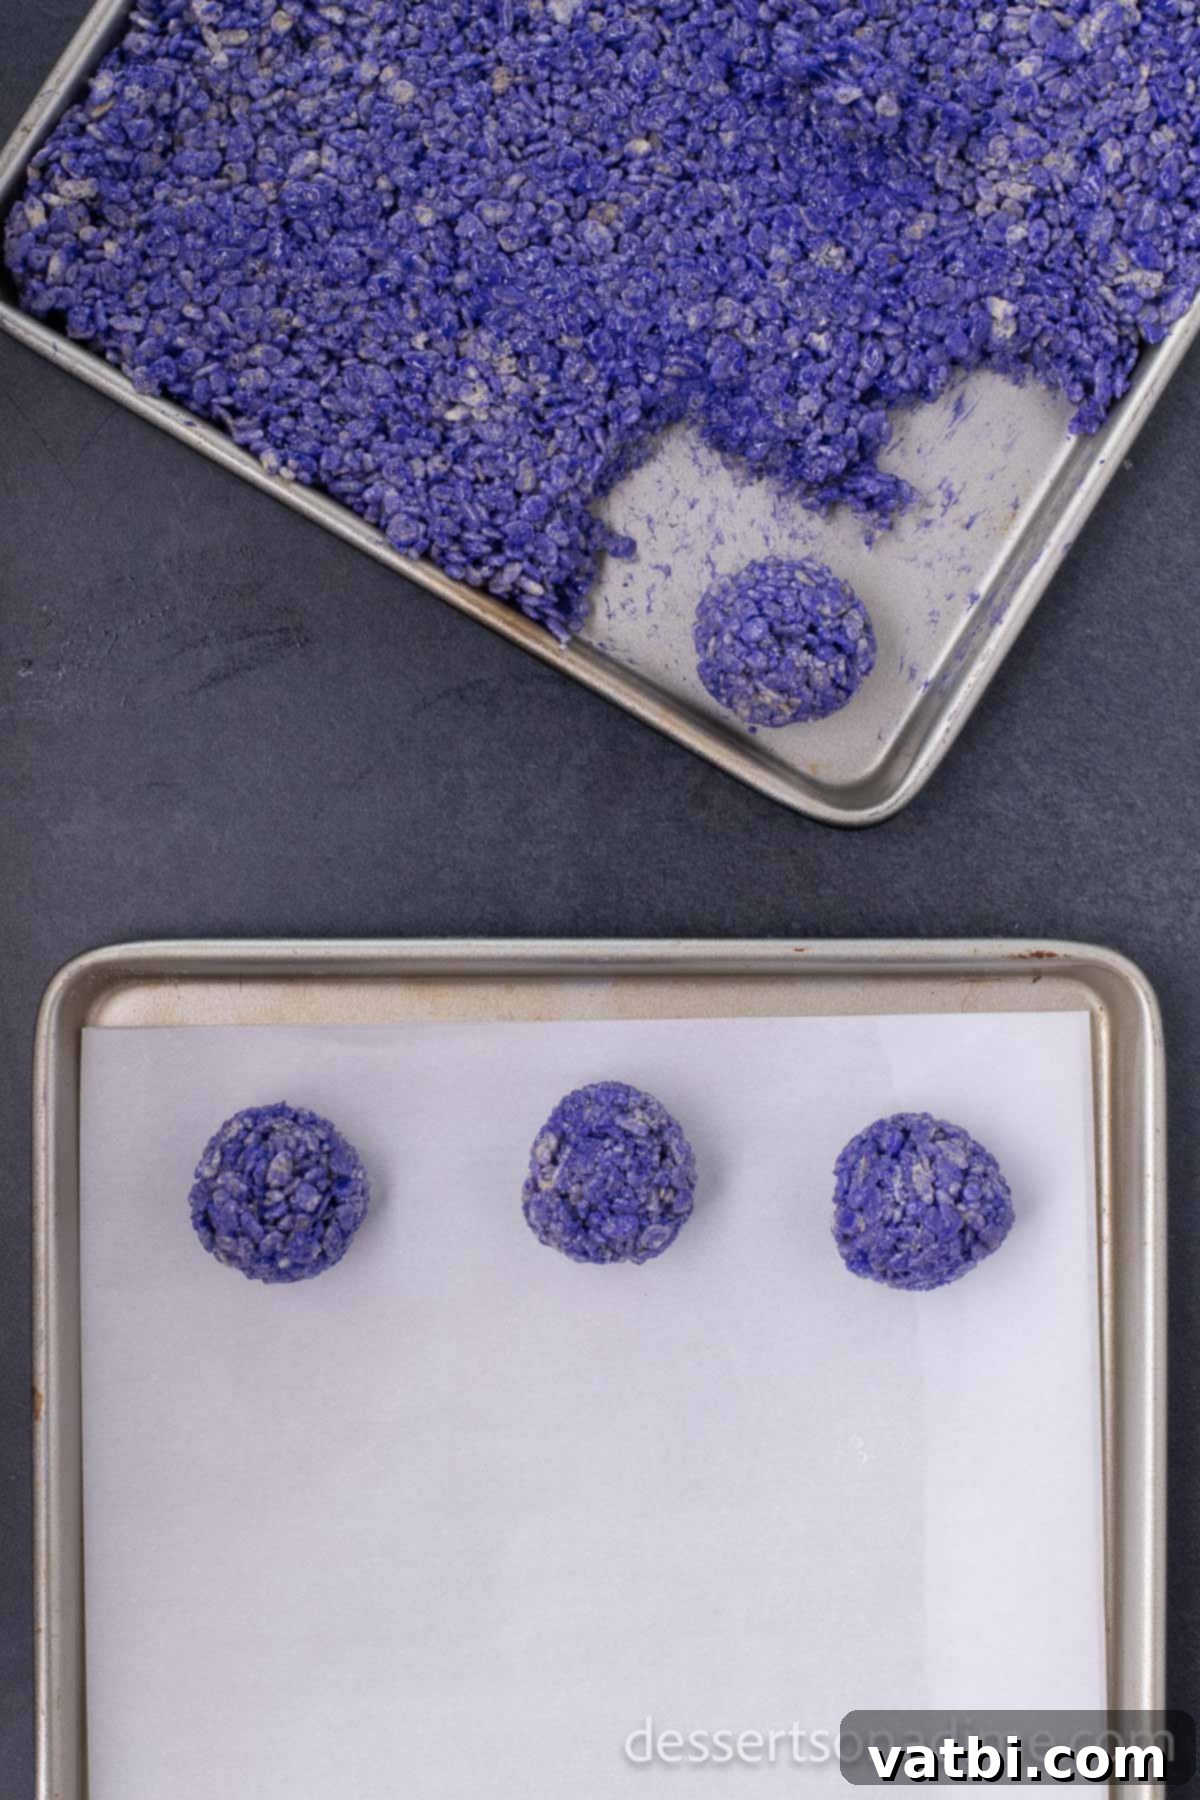
Step 6. Form into Balls: After the colored mixtures have cooled for at least 30 minutes (do not refrigerate, as this can make them too hard!), lightly grease your hands with butter or cooking spray to prevent sticking. Then, scoop portions of the Rice Krispies mixture and gently roll them into small, approximately 2-inch diameter balls. Arrange the formed balls on a clean sheet of parchment paper.
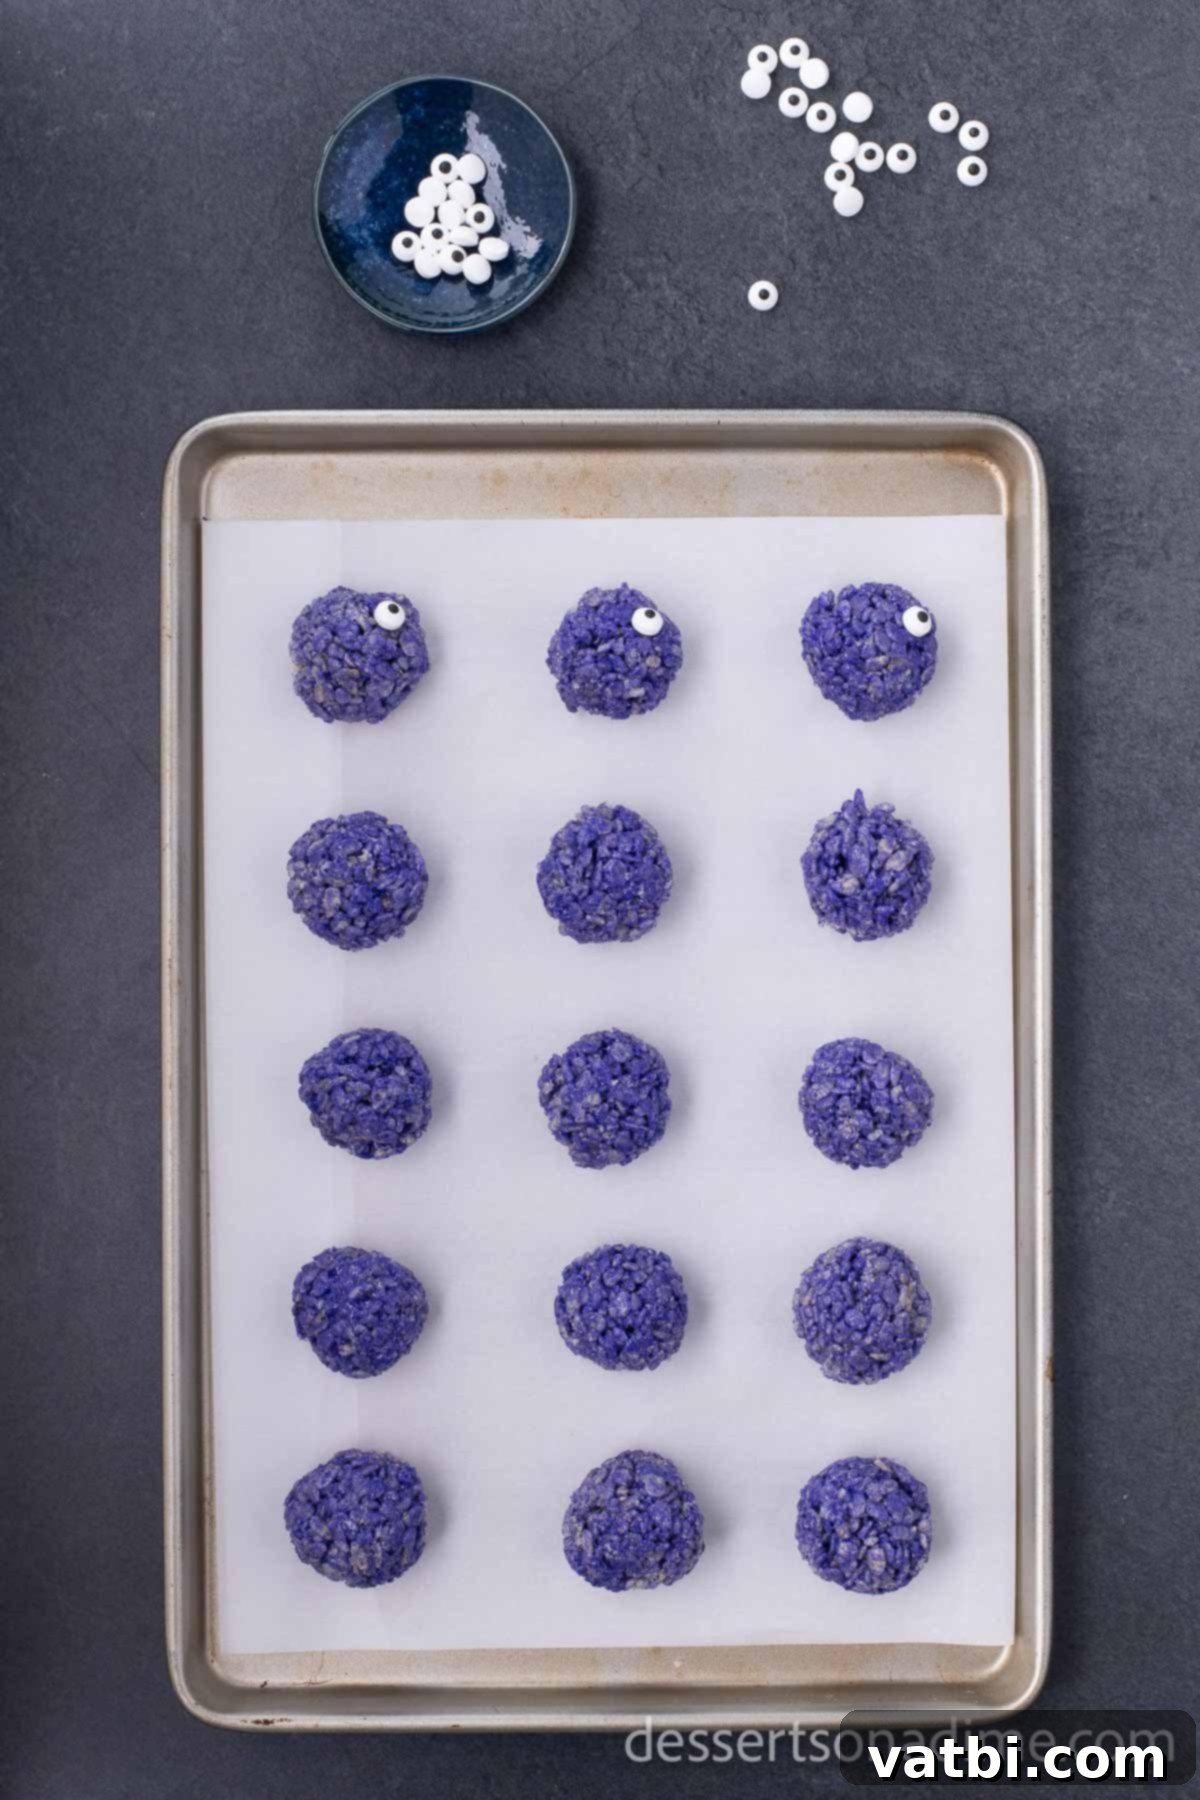
Step 7. Add the Decorations: This is where your monsters truly come to life! While the Rice Krispie balls are still slightly tacky, gently press one or more candy eyes into the side of each ball. You can give your monsters different expressions by varying the number and placement of the eyes.
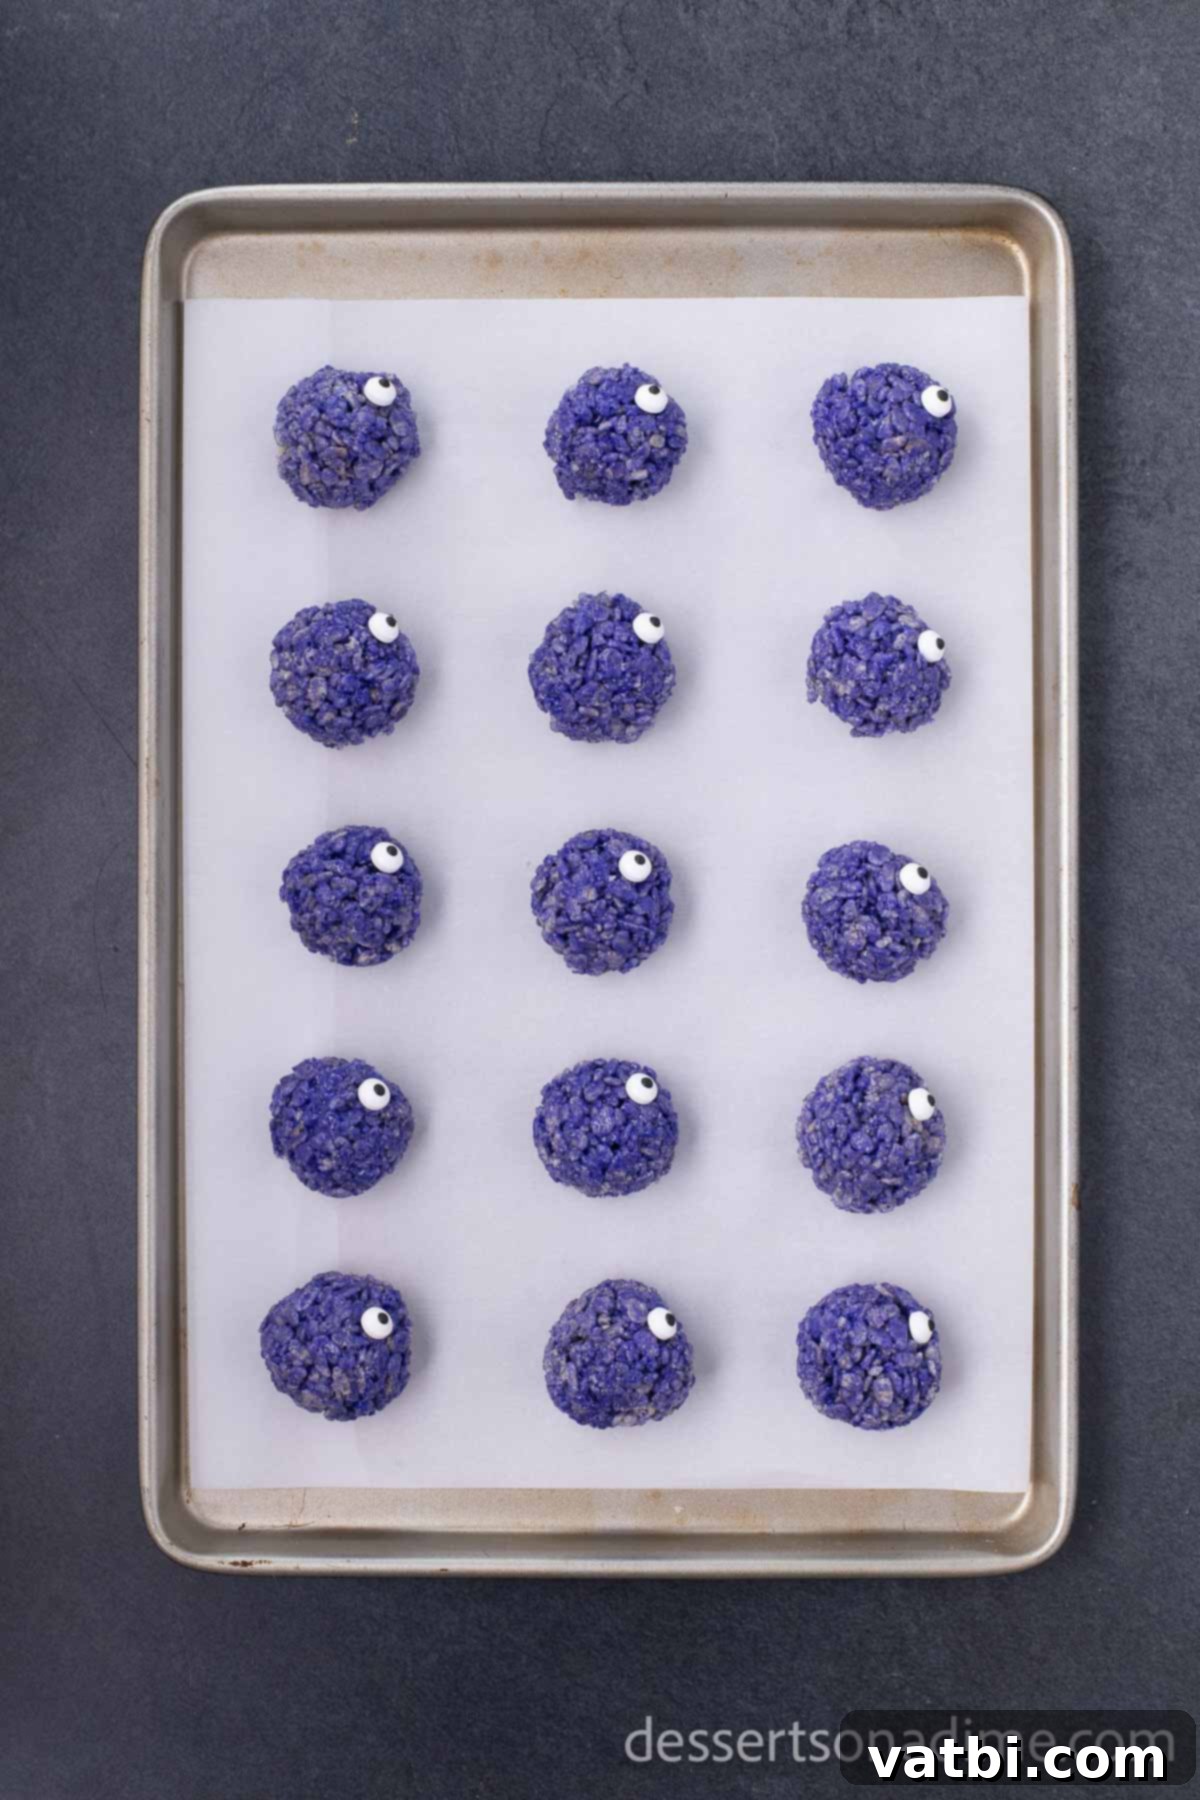
Step 8. Continue to Decorate and Enjoy: Continue adding candy eyes to all your monster balls until each one has a distinct personality. Allow them to cool completely at room temperature for about 15-30 minutes, which will help them firm up and ensure the eyes stay put. Once fully set, they’re ready to be devoured! Enjoy your delightfully spooky and sweet Monster Eye Ball Rice Krispie Treats!
How to Store Your Spooky Treats for Lasting Freshness
Proper storage is key to keeping your Monster Eye Rice Krispie Treats delicious and perfectly textured. These treats are best enjoyed when kept at room temperature.
To maintain their freshness and that delightful chewiness, store them in an airtight container. A good quality airtight container will protect them from drying out and keep them fresh for approximately 7 to 10 days. Place parchment paper between layers of treats to prevent them from sticking together.
Avoid storing these treats in the refrigerator. While it might seem like a good idea to prolong their life, the cold temperature tends to make Rice Krispie treats hard and loses their desirable soft, chewy texture. So, keep them out on the counter, away from direct sunlight and heat, and they’ll be perfect for snacking whenever a monster craving strikes!
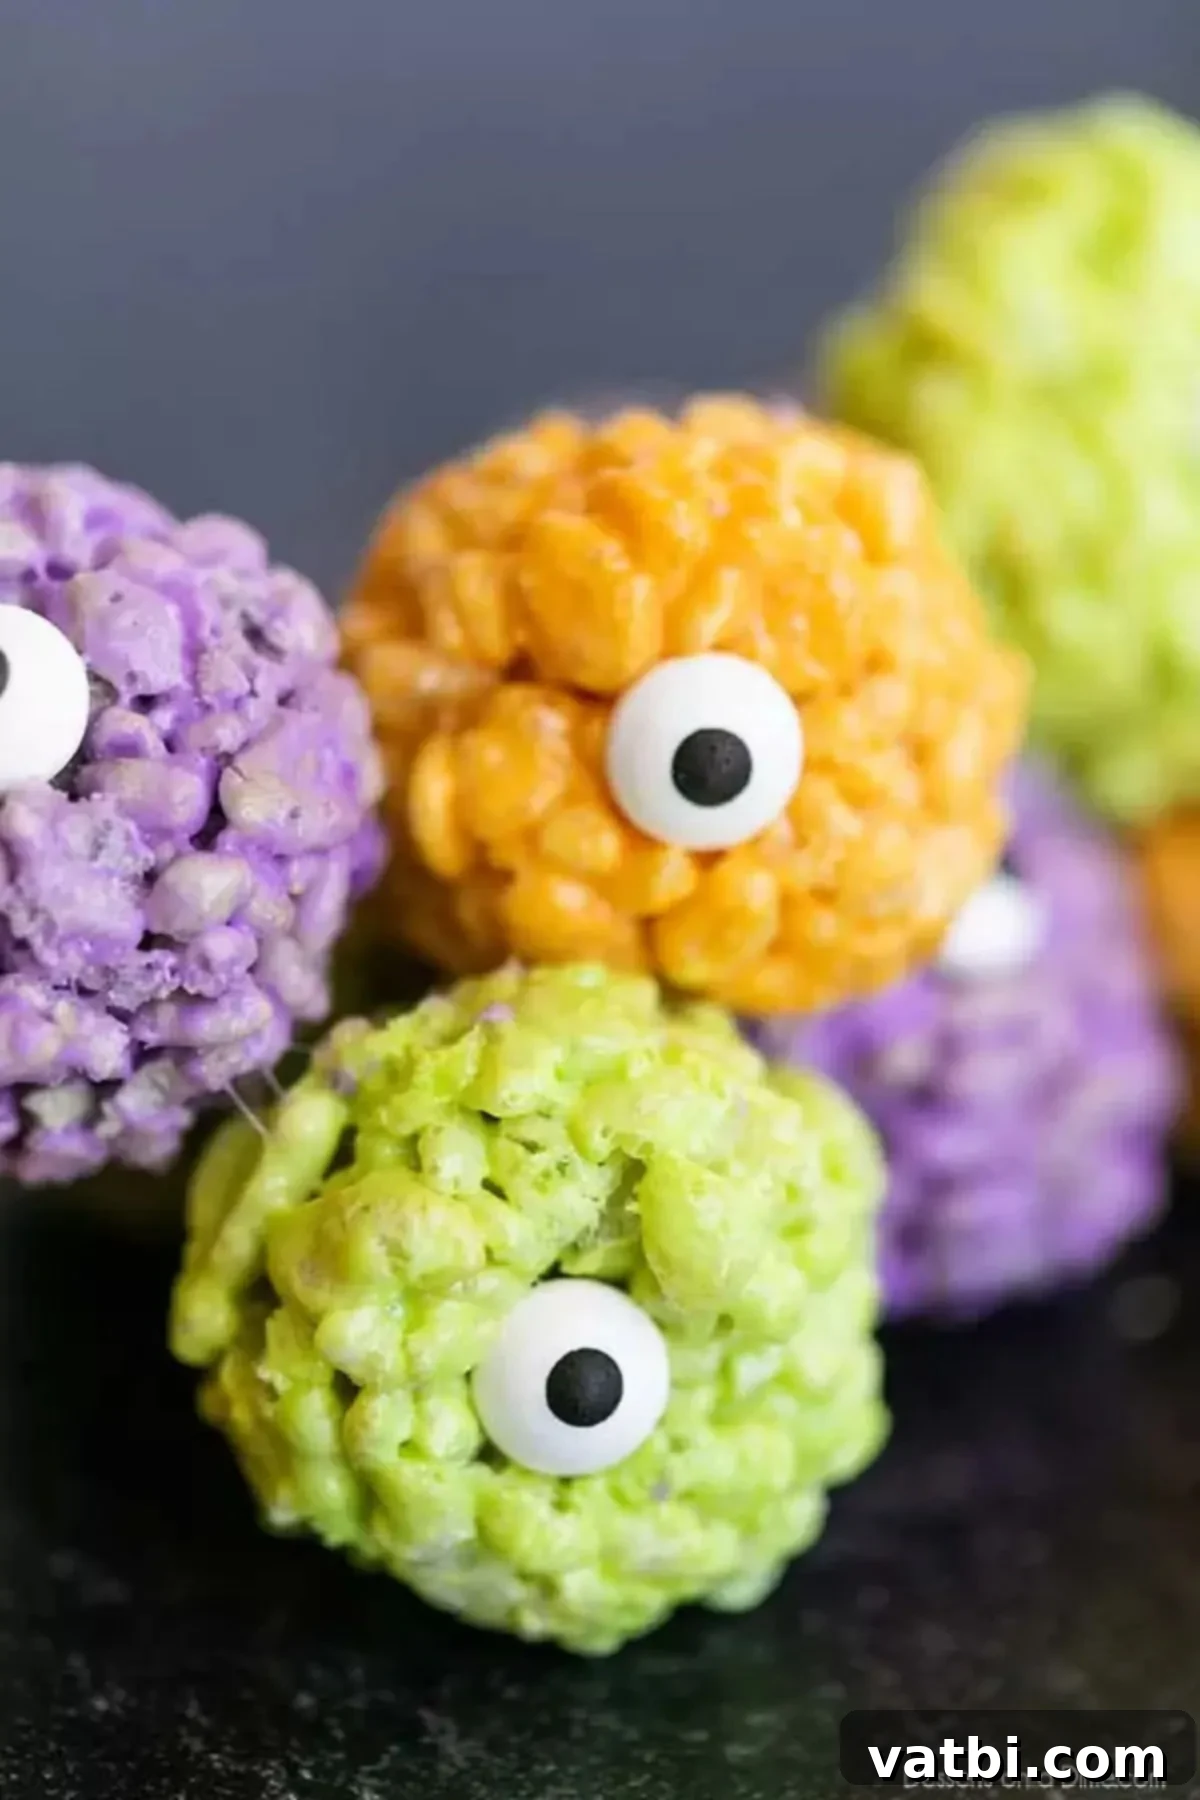
Frequently Asked Questions About Monster Rice Krispie Treats
Dyeing your cereal for fun and festive Halloween treats is surprisingly simple! The key is to incorporate the food coloring into the melted marshmallow mixture *before* you add the Rice Krispie cereal. This ensures a uniform and vibrant color throughout your treats. Gel food coloring is highly recommended over liquid food coloring because it provides much more intense and concentrated hues without adding excess moisture to your mixture, which can affect the texture. Start with a few drops and add more gradually, stirring well after each addition, until you achieve the desired monster-ific shade. Once you’re happy with the color, then gently fold in your cereal until it’s fully coated.
To ensure your Rice Krispie treats remain wonderfully crispy and chewy, proper storage is paramount. Always store them in an airtight container at room temperature. This prevents air exposure, which can cause them to become stale or hard. Additionally, using fresh marshmallows is crucial during the cooking process. Older or hardened marshmallows may not melt as smoothly or bind the cereal as effectively, leading to treats that don’t hold their ideal texture. Avoid refrigerating your treats, as the cold can cause the marshmallows to stiffen excessively, making your treats hard rather than deliciously chewy.
Yes, you absolutely can freeze Rice Krispie Treats, making them an excellent make-ahead option for parties or future snack attacks! When stored correctly, frozen Rice Krispie treats can last for about 3 to 4 months without significant loss of quality. To freeze them properly, first allow your monster treats to cool completely to room temperature. Once cooled, you can either cut them into individual servings (if you made bars) or keep them as individual monster balls. The crucial step is to wrap each individual treat tightly in wax paper or plastic wrap, then place these wrapped treats into a freezer-safe gallon bag or an airtight freezer container. This double layer of protection helps prevent freezer burn. When you’re ready to enjoy them, simply remove them from the freezer and let them thaw at room temperature for about 15-30 minutes.
While Rice Krispies cereal provides the classic light and crispy texture, you can certainly experiment with other cereals! Puffed wheat or corn cereals can work well, offering a slightly different texture. Just ensure the cereal pieces are small enough to be easily coated by the marshmallow mixture and formed into balls. Keep in mind that different cereals might absorb the marshmallow differently, so you might need slight adjustments to the marshmallow amount for optimal stickiness.
Working with sticky marshmallow mixtures can be a challenge, but there’s a simple trick to achieving perfectly formed, non-sticky monster balls! Lightly grease your hands with butter or a neutral-flavored cooking spray before you start rolling. You can also dampen your hands with a little water. This creates a barrier between your skin and the sticky mixture, allowing you to shape the balls with ease without having them adhere to your fingers. Re-grease or re-dampen your hands as needed throughout the process.
More Halloween Treats to Delight and Fright!
If you’re still craving more spooky sweets, here’s a collection of other fantastic Halloween treat recipes that are sure to impress at any ghoulish gathering:
- Monster Cupcakes
- Halloween Dirt Cake Recipe
- Monster Eyeballs (Pretzel Version)
- Mummy Cake Pops
- 55 Delicious Halloween Cupcakes
- Fast and Easy Halloween Treats
We hope you have an amazing time making these Monster Eye Ball Rice Krispie Treats! They’re truly a highlight of our Halloween festivities, and we’re confident they’ll become a cherished tradition in your home too. Once you’ve had a chance to try out this recipe, we’d absolutely love to hear from you. Please come back and leave a star rating and a comment to share your experience and any creative twists you added. Your feedback is incredibly valuable and it’s always awesome hearing from our readers after you make a recipe!
Pin
Monster Eye Ball Rice Krispie Treats
Ingredients
- 6 cups Rice Krispie Cereal
- 3 Tablespoon Butter
- 10 oz package of Marshmallows
- Orange Food Coloring
- Green Food Coloring
- Purple Food Coloring
- Candy Eyes
Instructions
-
Melt 1 tablespoon of butter in a microwave-safe bowl (or a large saucepan on the stovetop). If using the stovetop, remove from heat before adding marshmallows.
-
Add ⅓ of the bag of marshmallows and microwave in 30-second increments, stirring well after each, until completely melted and smooth.
-
Add 4 drops of desired food coloring (e.g., green). Stir until the marshmallow mixture reaches your preferred vibrant shade.
-
Gradually mix in 2 cups of Rice Krispies cereal until fully coated, being careful not to crush the cereal.
-
Spread the mixture evenly into a large pan lined with parchment paper (like a jelly roll pan) to cool slightly.
-
Repeat steps 1-5 two more times to create orange and purple Rice Krispie mixtures, using fresh butter and marshmallows for each color batch.
-
Allow all mixtures to cool at room temperature for at least 30 minutes. Do not refrigerate, as this will make the treats too hard.
-
After cooling, lightly grease your hands and form the Rice Krispies into small, approximately 2-inch diameter balls.
-
Gently press the candy eyeballs into the sides of the formed balls to create your monster faces.
-
Allow the decorated monsters to cool completely to set, then serve and enjoy your spooky treats!
Nutrition Facts
Pin This Now to Remember It Later
Pin Recipe
