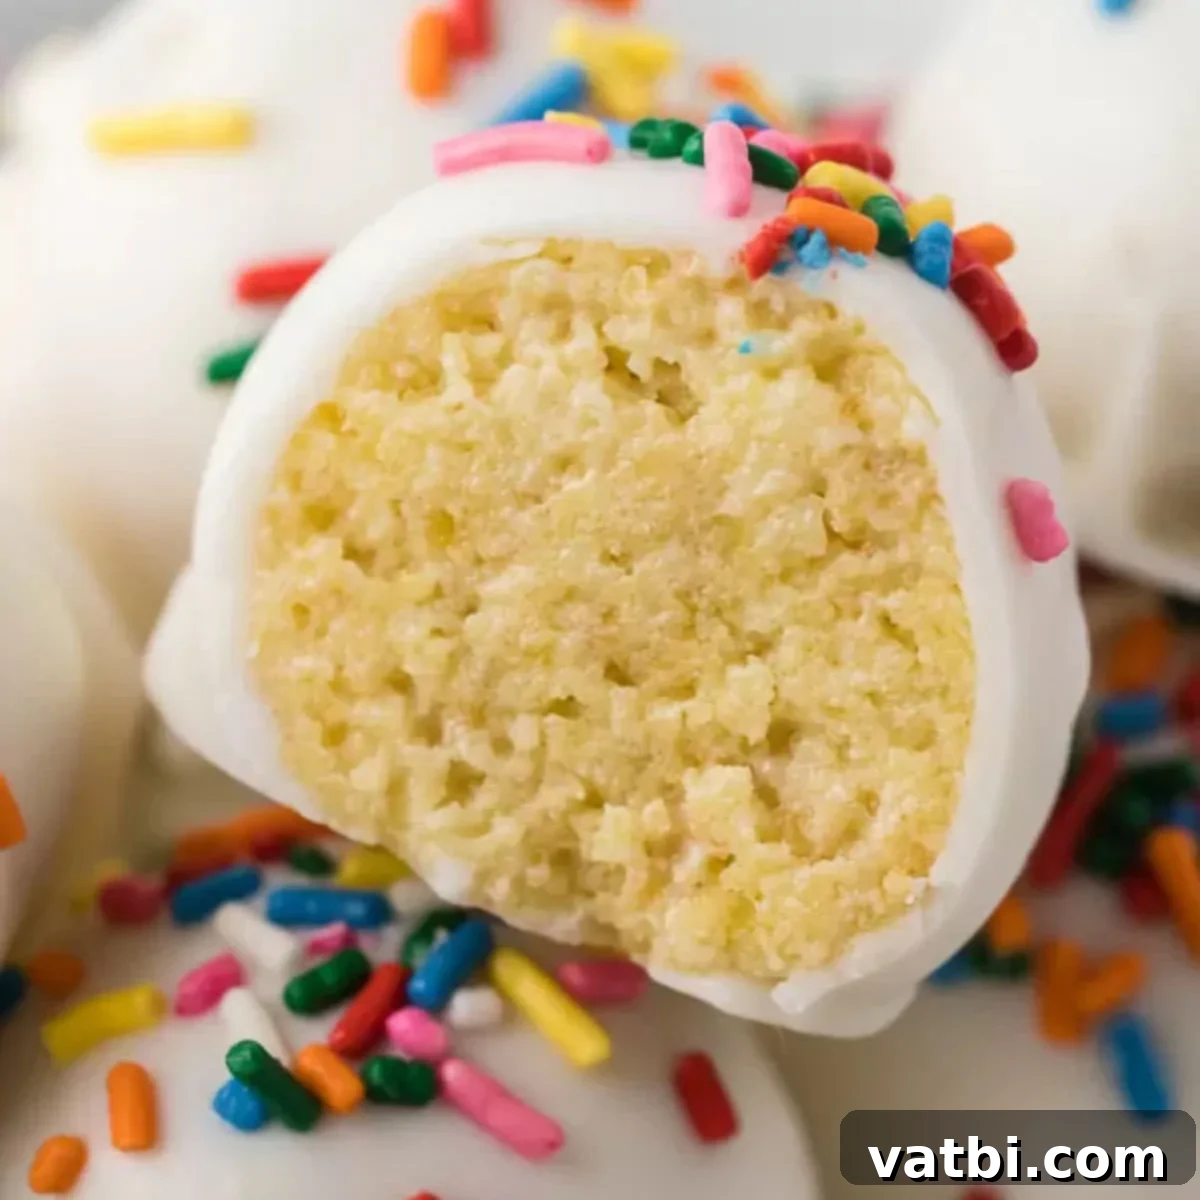
Delicious & Easy Vanilla Cake Balls: The Ultimate Bite-Sized Treat for Any Occasion
Craving a delightful, bite-sized dessert that’s incredibly simple to make yet tastes absolutely divine? Look no further than this fantastic **Vanilla Cake Balls Recipe**! It’s an effortless dessert that combines the rich flavor of vanilla cake with creamy frosting, all elegantly coated and topped with colorful sprinkles. Made with readily available ingredients, these cake balls are not just a treat for your taste buds but also a joy to prepare. They are perfect for parties, celebrations, or simply to satisfy a sweet craving anytime.
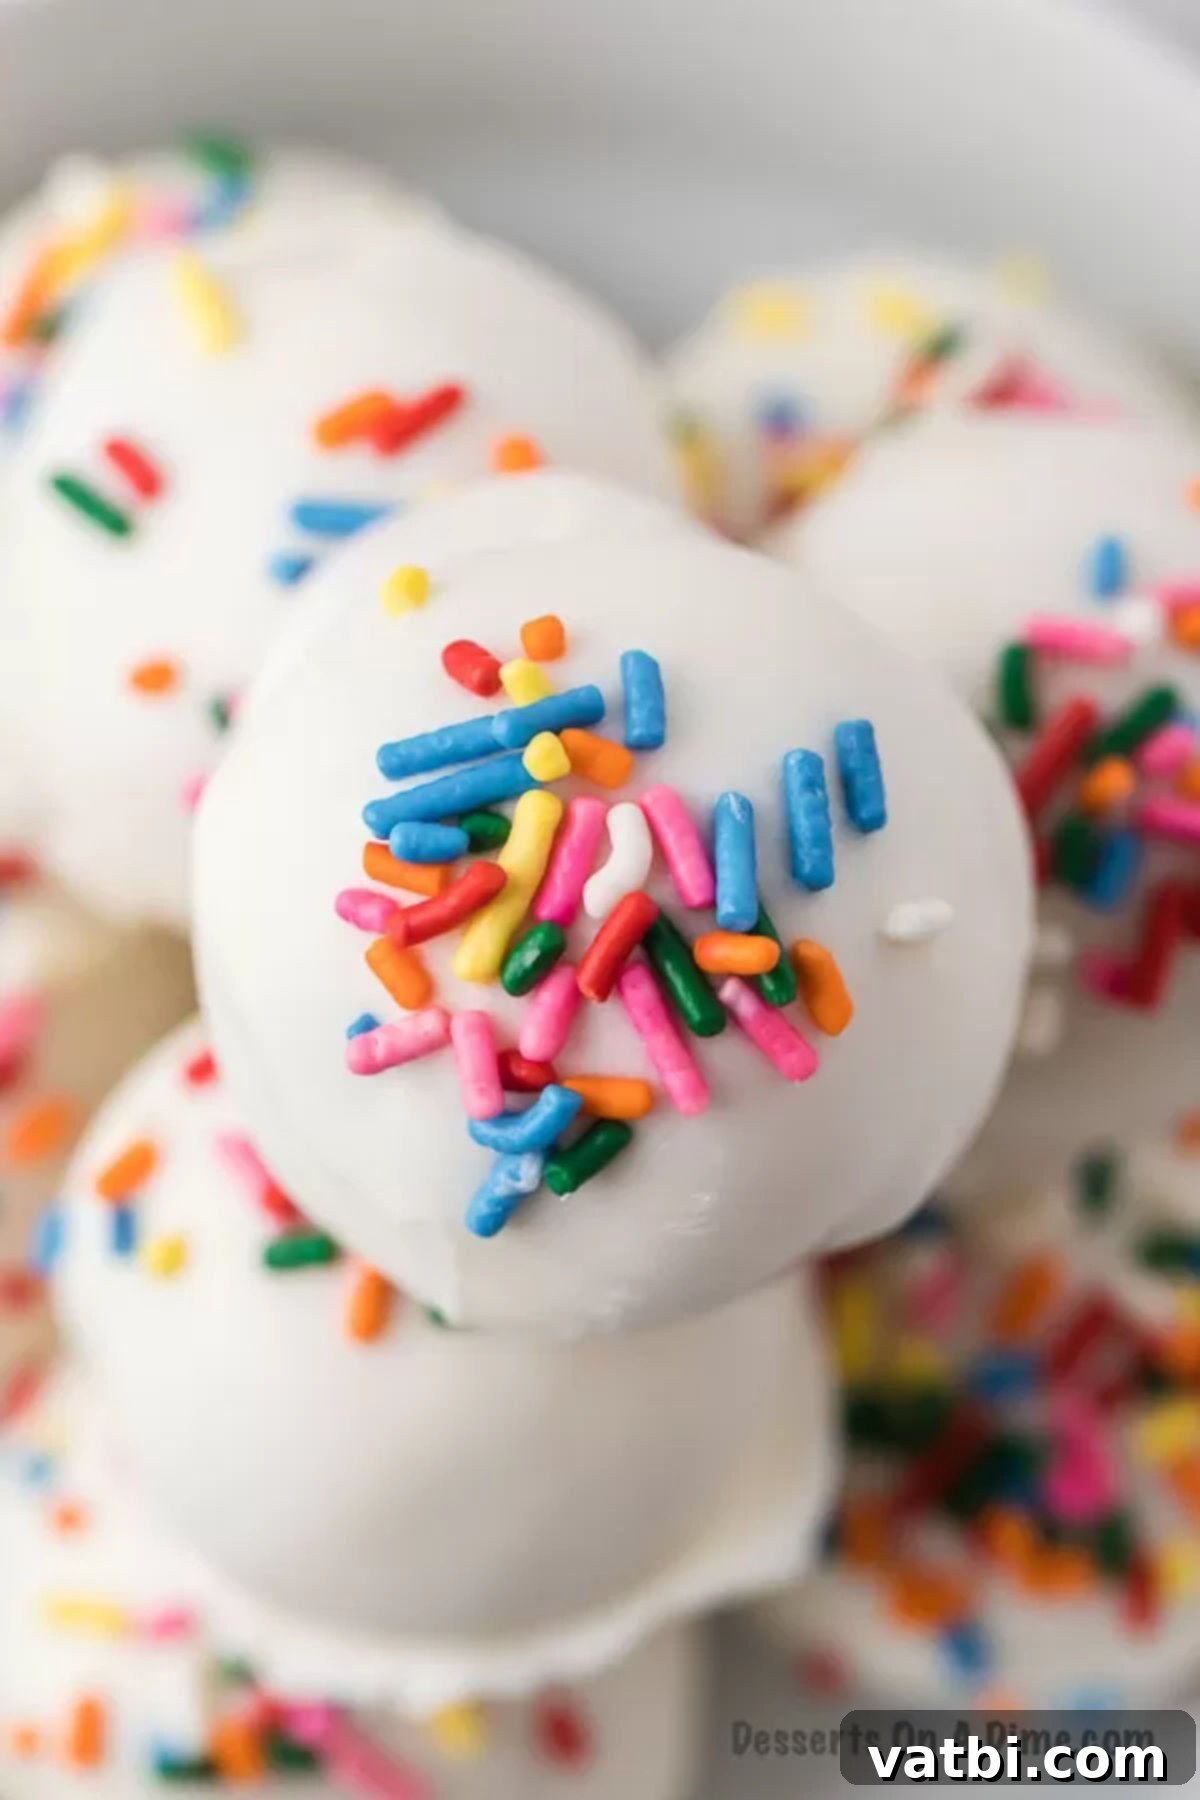
Cake balls bring so much fun and flavor, making them a favorite in many households. Their simplicity allows you to whip them up with just a few ingredients, making them an ideal dessert for any day of the week. These particular Vanilla Cake Balls have quickly become a new family favorite, cherished for their delicate flavor and irresistible texture. If you’re a fan of classic vanilla desserts, you’ll definitely want to explore more easy vanilla treats. And for those special occasions like baby showers, birthday parties, or other celebrations, consider turning these into festive cake pops by simply adding a stick!
Table of contents
- Why We Adore This Vanilla Cake Ball Recipe
- What Exactly Are Cake Balls?
- Essential Ingredients for Vanilla Cake Balls
- Step-by-Step Guide: How to Make Vanilla Cake Balls
- Expert Tips for Perfect Cake Balls
- Creative Additions and Flavor Substitutions
- Frequently Asked Questions About Cake Balls
- More Delightful Dessert Ball Recipes
Why We Adore This Vanilla Cake Ball Recipe
There are countless reasons why these vanilla cake balls hold a special place in our hearts. Firstly, they are the epitome of convenience – a perfect bite-sized treat when you’re craving something sweet but don’t want a whole slice of cake. They are also an absolute lifesaver for last-minute party preparations. Need an impressive dessert in a pinch? These cake balls come to the rescue!
Beyond their convenience, they offer incredible versatility. You can easily customize them with different colored sprinkles to match any party theme or holiday. Kids absolutely adore helping with the crumbling and rolling process, making it a fun family activity. The joy of decorating them with sprinkles adds to the festive appeal, ensuring that everyone, from young to old, finds them utterly delightful. Whether it’s a birthday bash, a holiday gathering, or just a simple get-together, these cake balls are guaranteed to be a hit and effortlessly adapt to any occasion.
What Exactly Are Cake Balls?
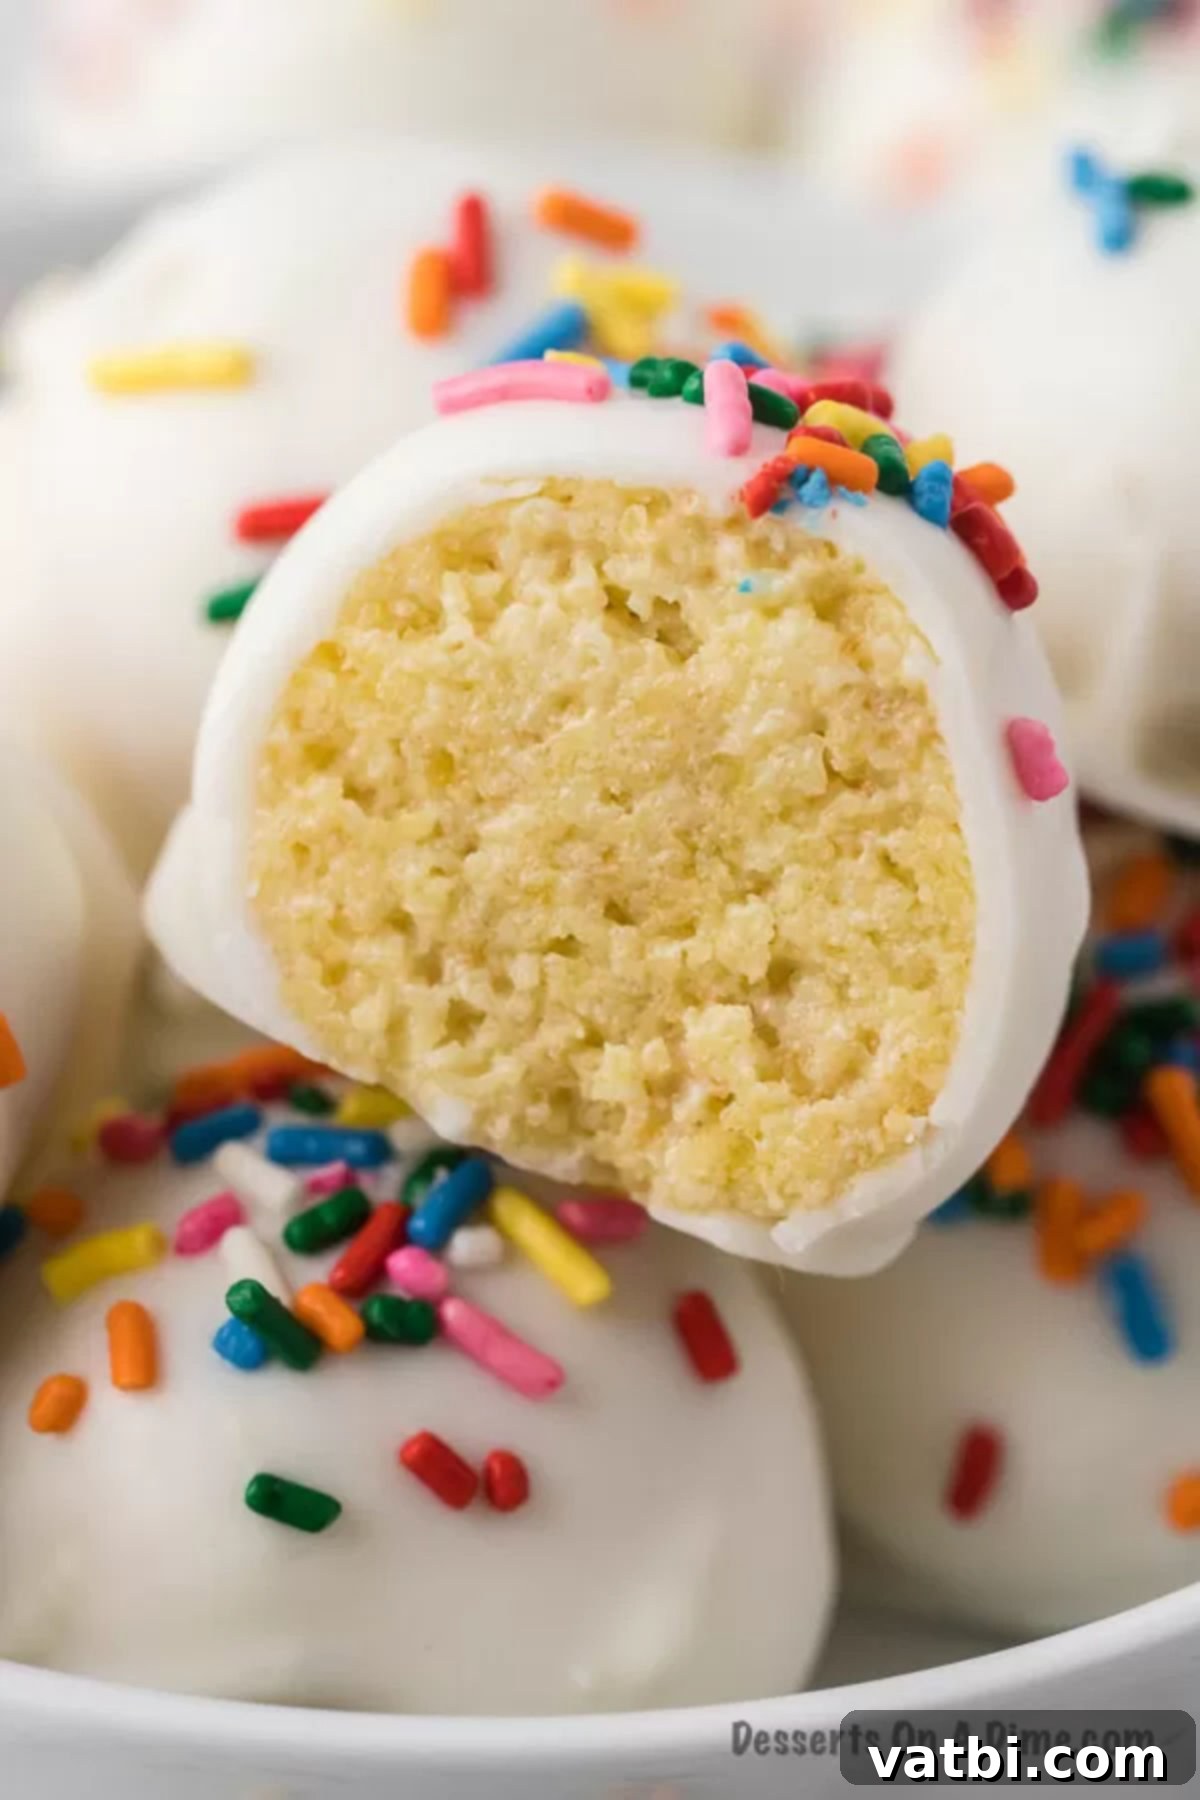
Cake balls are truly ingenious and utterly delicious bite-sized confections. At their core, they are a magical creation born from baked cake crumbs, intimately mixed and bound together with creamy frosting. This delightful mixture is then rolled into perfect spheres, creating a dense, moist, and incredibly flavorful treat. The kids especially enjoy the hands-on process of crumbling the cooled cake and squishing it together with the frosting – it’s a wonderful sensory experience that leads to a tasty reward!
What makes cake balls even more appealing is their brilliant ability to repurpose leftover cake. Instead of letting delicious cake go to waste, you can transform it into these charming treats. Not only are they ideal for immediate indulgence, but they also freeze beautifully, offering a refreshing cold treat whenever a sweet craving strikes. They are often confused with cake pops, which are essentially cake balls served on a stick, making them even more portable and fun.
Essential Ingredients for Vanilla Cake Balls
Making these scrumptious vanilla cake balls requires just a few key components. Here’s what you’ll need:
- Cake Mix. For simplicity and consistent results, we start with a vanilla cake mix. Remember that you will also need the additional ingredients typically required to prepare the cake batter according to the box instructions, such as eggs, oil, and water or milk.
- Frosting. Vanilla frosting is our go-to choice for these cake balls, complementing the vanilla cake flavor beautifully. However, don’t hesitate to experiment! You can use any type or flavor of frosting you prefer, from chocolate to cream cheese, to create unique flavor combinations.
- Vanilla Almond Bark. This is our secret weapon for a perfectly smooth, glossy coating. Vanilla almond bark melts wonderfully, providing an even and beautiful finish that hardens quickly, making the dipping process much easier than traditional chocolate.
- Sprinkles. Sprinkles are essential for adding that fun, festive touch! Feel free to choose any color, shape, or mix of sprinkles that matches your theme, holiday, or personal preference. They add both visual appeal and a slight textural crunch.
You can find the complete, detailed recipe with exact measurements and full instructions at the bottom of this page.
Step-by-Step Guide: How to Make Vanilla Cake Balls
Let’s walk through the simple steps to create these delightful vanilla cake balls:
- Step 1. Prepare the Cake. Begin by preparing your vanilla cake mix exactly as directed on the box instructions. Pour the batter into a 9×13 inch baking pan and bake until a toothpick inserted into the center comes out clean. Ensure the cake is fully cooked but not overly dry, as moisture is key for good cake balls.
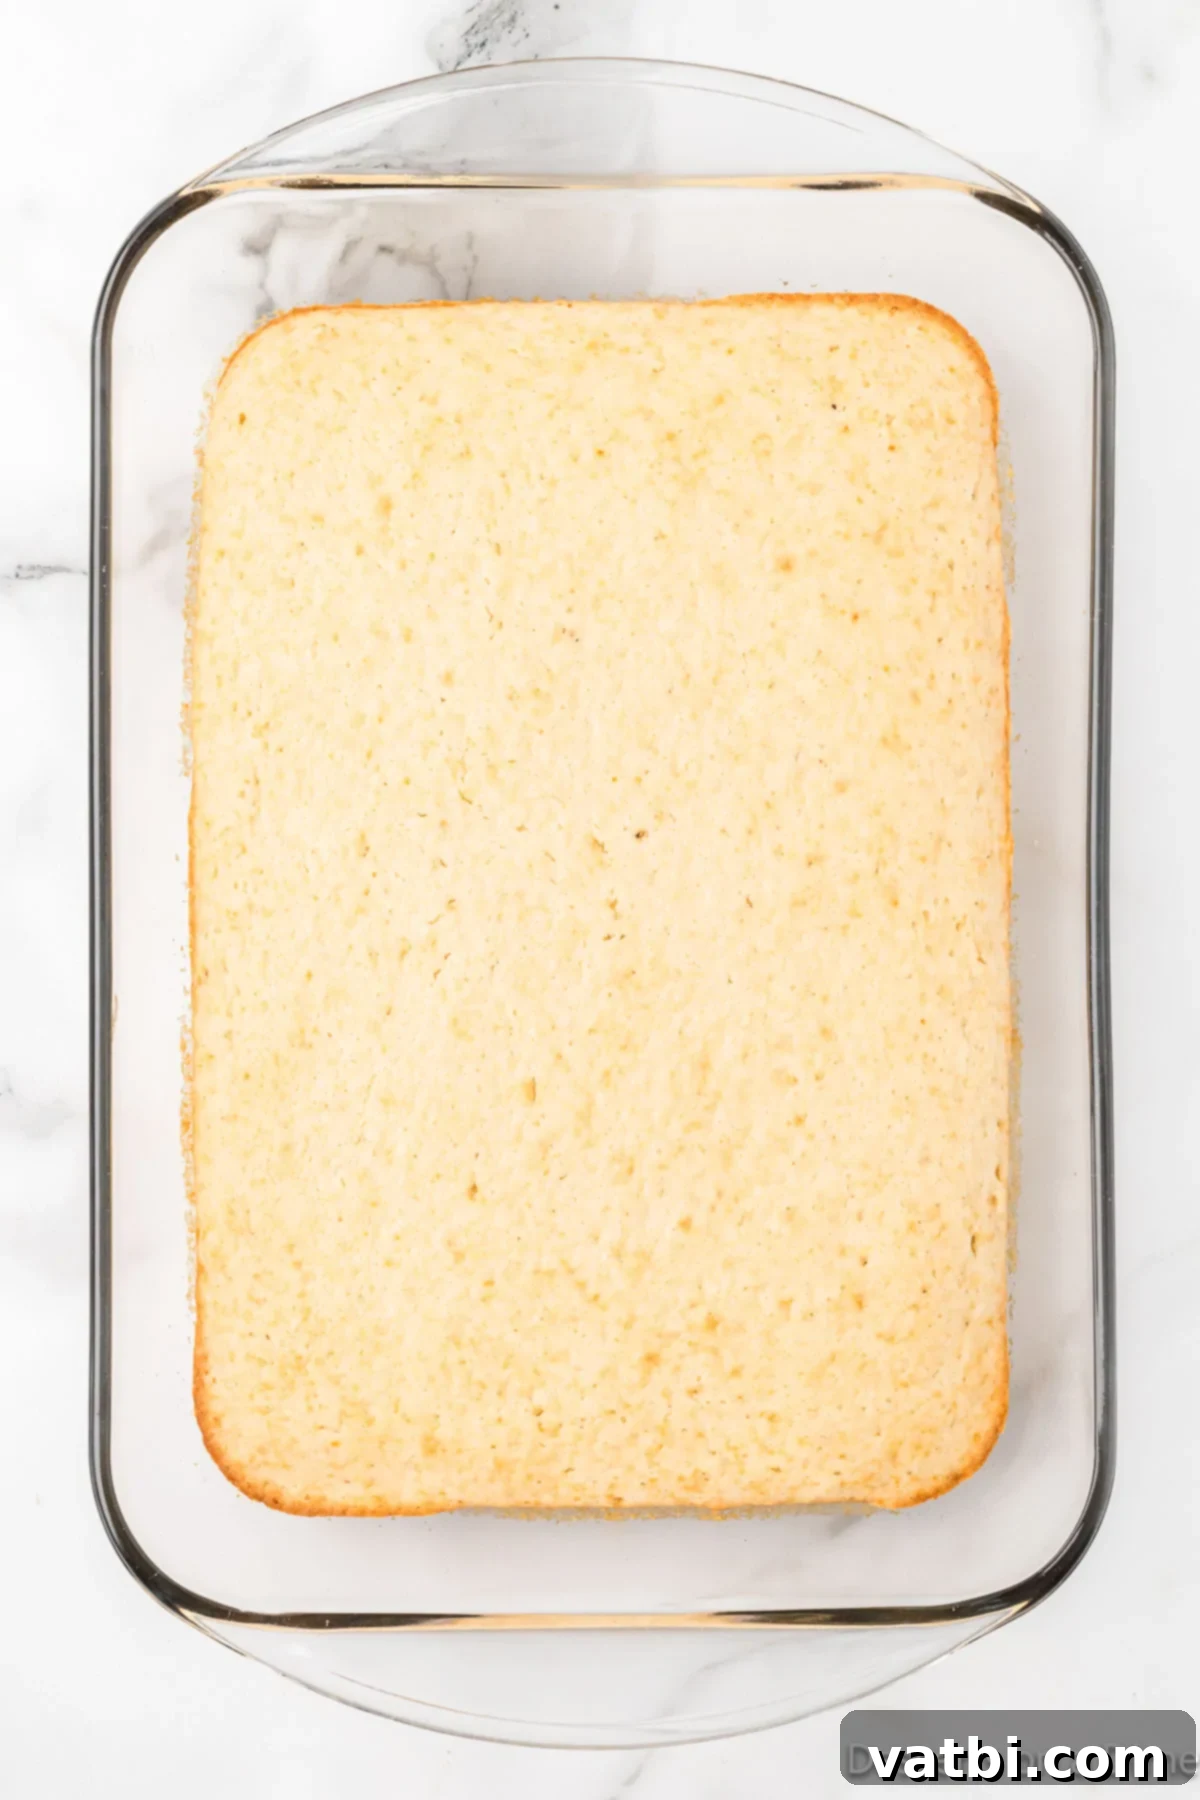
Step 2. Cool the Cake. Once baked, remove the cake from the oven and allow it to cool in the pan for approximately 15 minutes. This initial cooling period prevents it from being too hot to handle. After 15 minutes, transfer the cake to a wire rack to cool completely. It’s crucial that the cake is fully cooled before proceeding to the next step, as warm cake combined with frosting can result in a greasy, crumbly mixture.
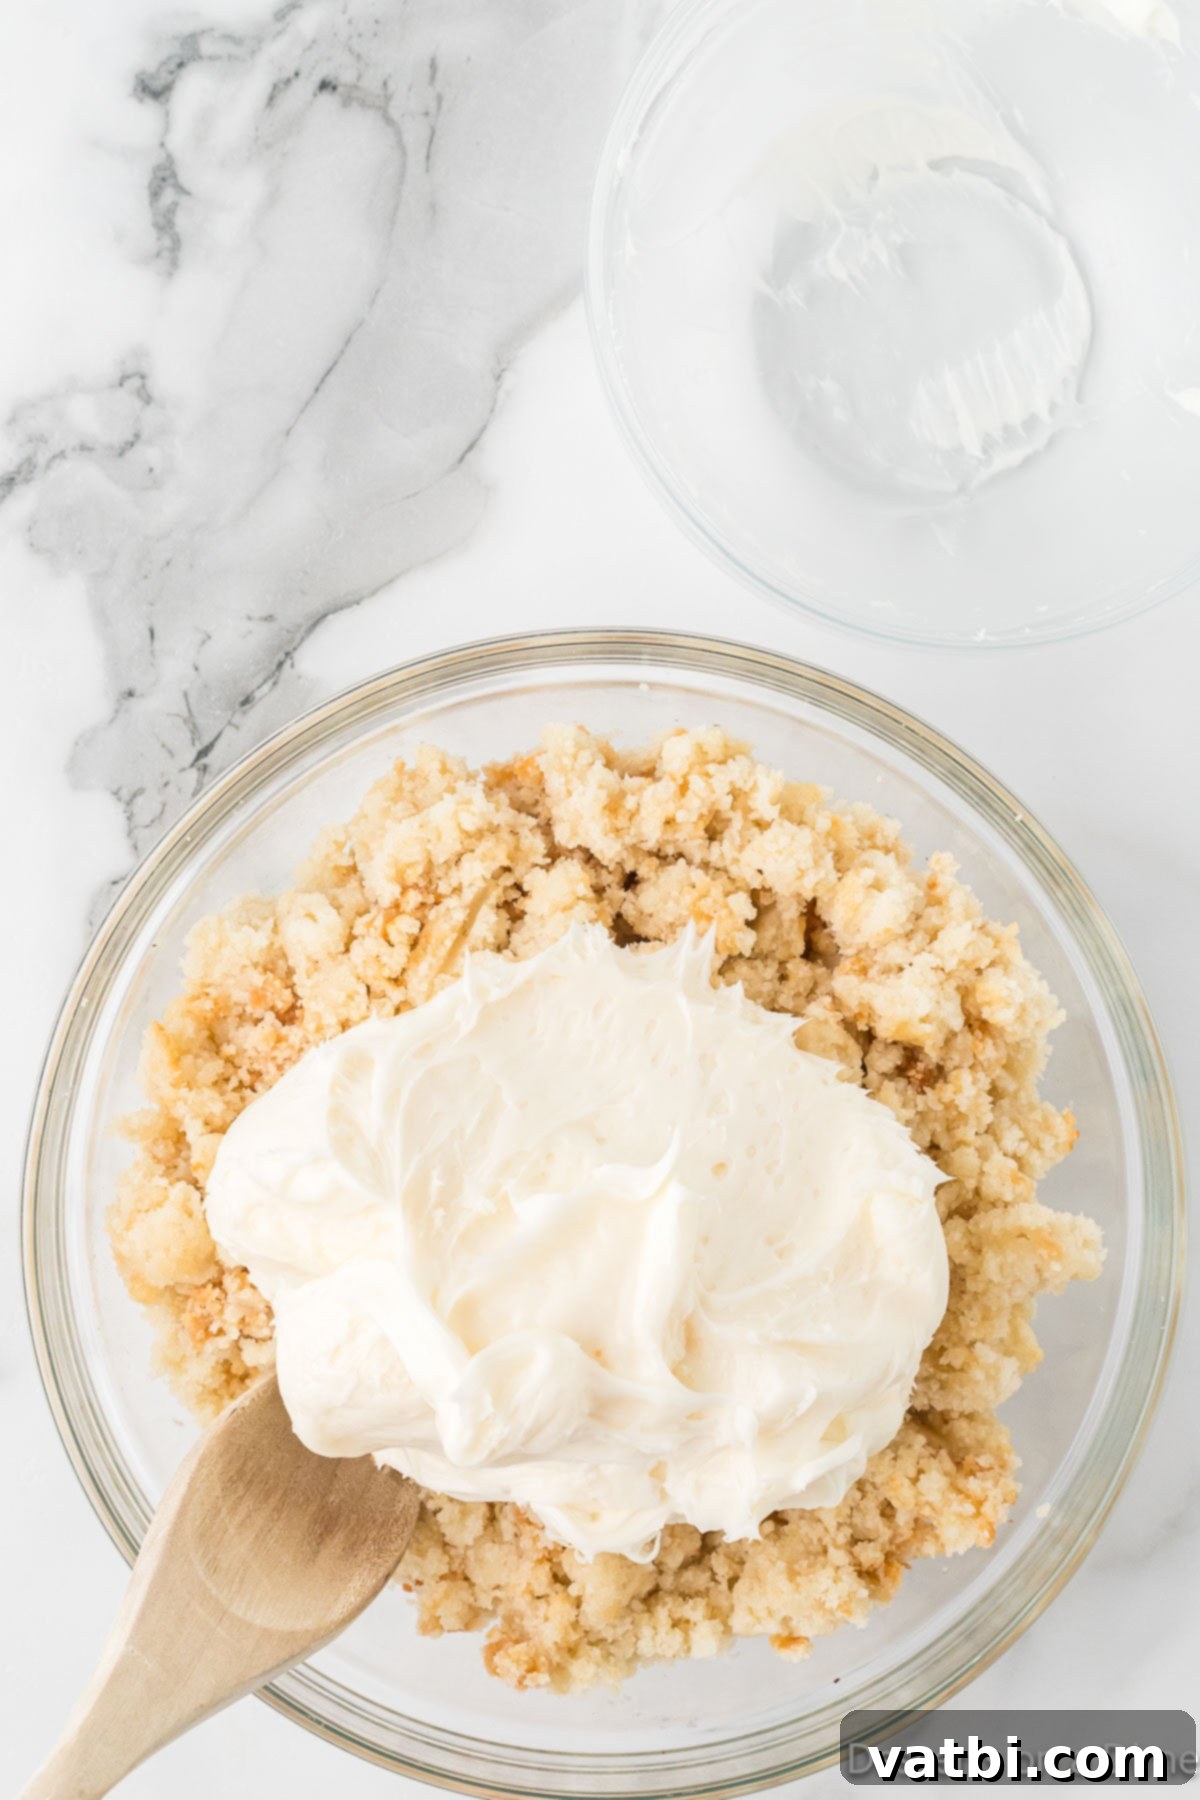
Step 3. Crumble and Combine. Once the cake is completely cool, crumble it into a large mixing bowl. You can use your hands for this, which is often the most satisfying part, or a fork to break it down into fine crumbs. Next, add about 1.5 tubs of your chosen frosting (we used vanilla) to the crumbled cake. Mix thoroughly with a sturdy wooden spoon or your hands until the cake and frosting are fully combined and form a thick, moldable dough. The consistency should be similar to cookie dough – firm enough to hold its shape but still moist.
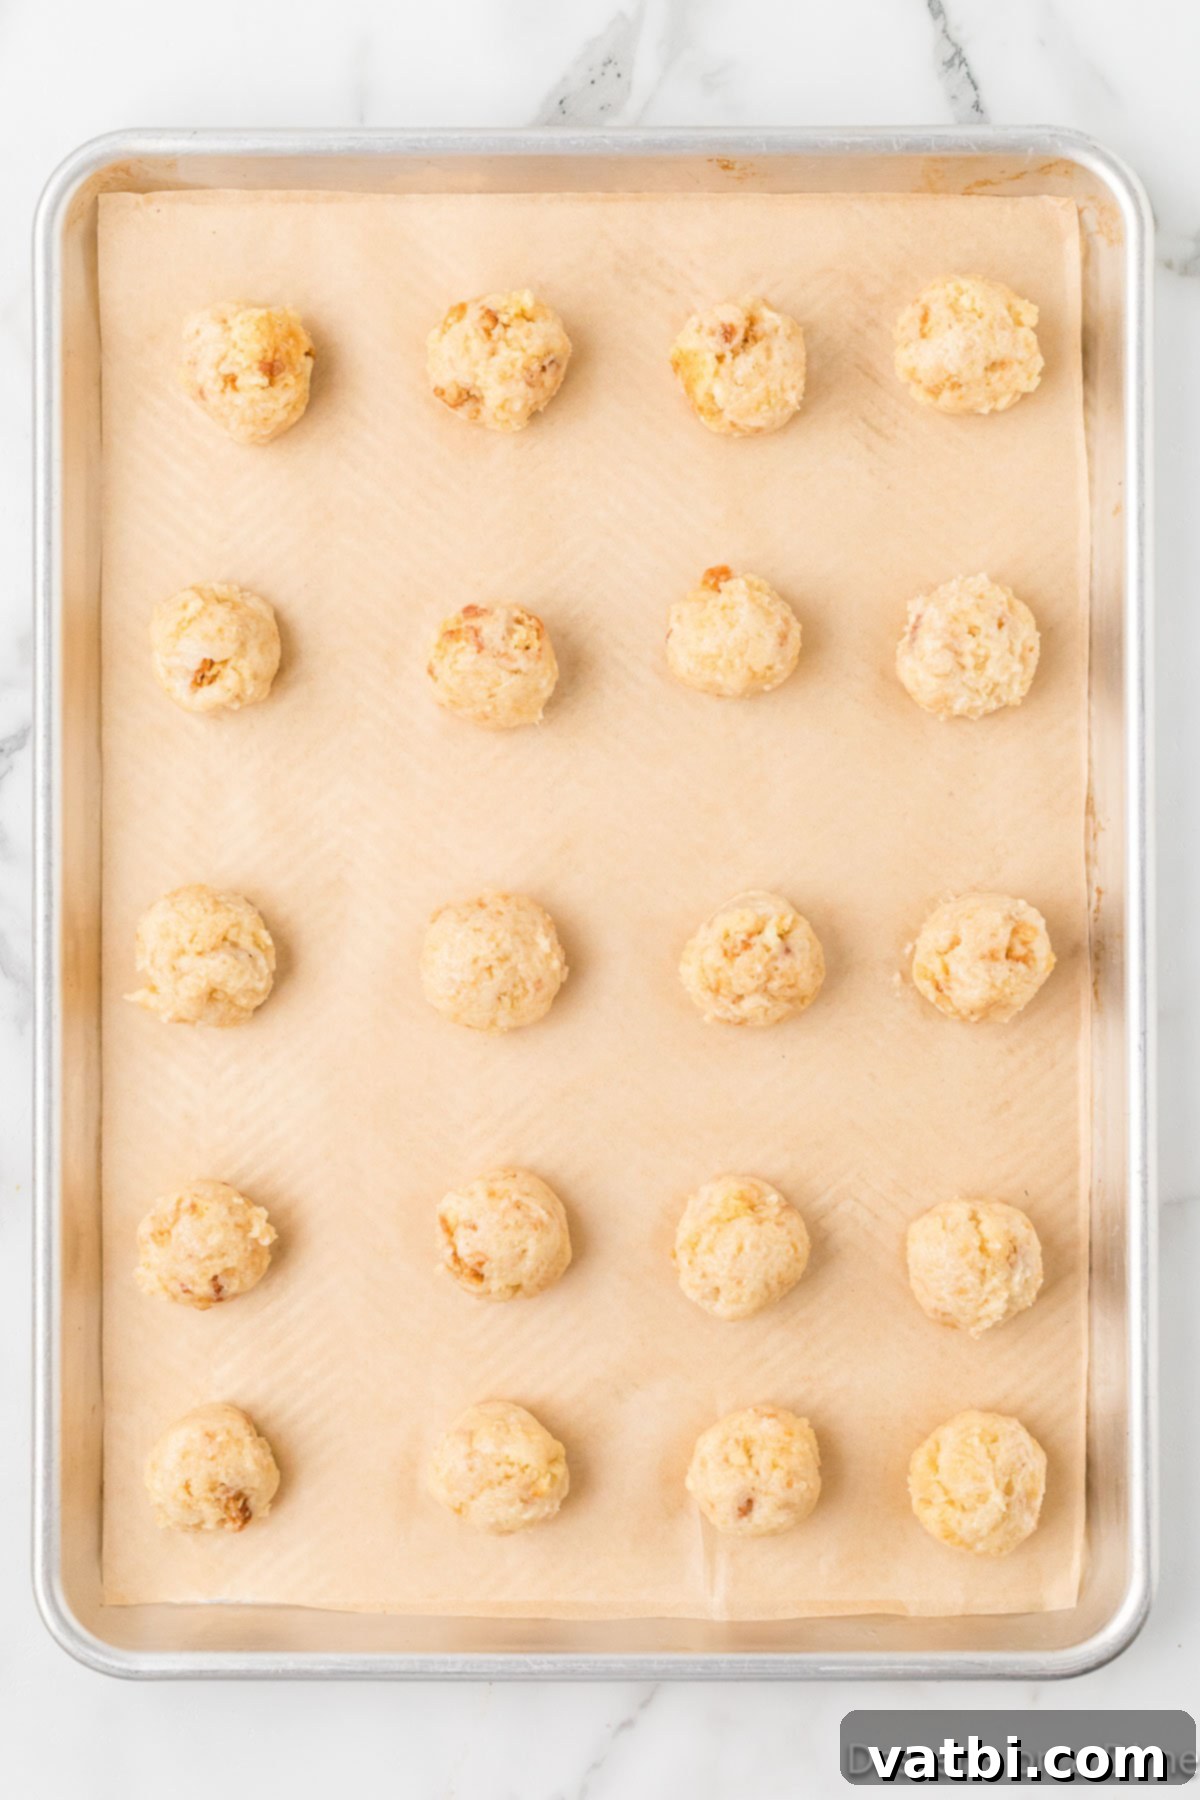
Step 4. Form into Balls and Chill. Take small amounts of the cake mixture, about a tablespoon each, and roll them firmly between your palms to form smooth, round balls. For consistent sizing, a cookie scoop works wonders. Place the formed cake balls onto a baking sheet lined with parchment paper. Once all balls are formed, place the baking sheet in the freezer for at least 30 minutes to 1 hour, or until they are very firm. This chilling step is critical for preventing them from falling apart during dipping.
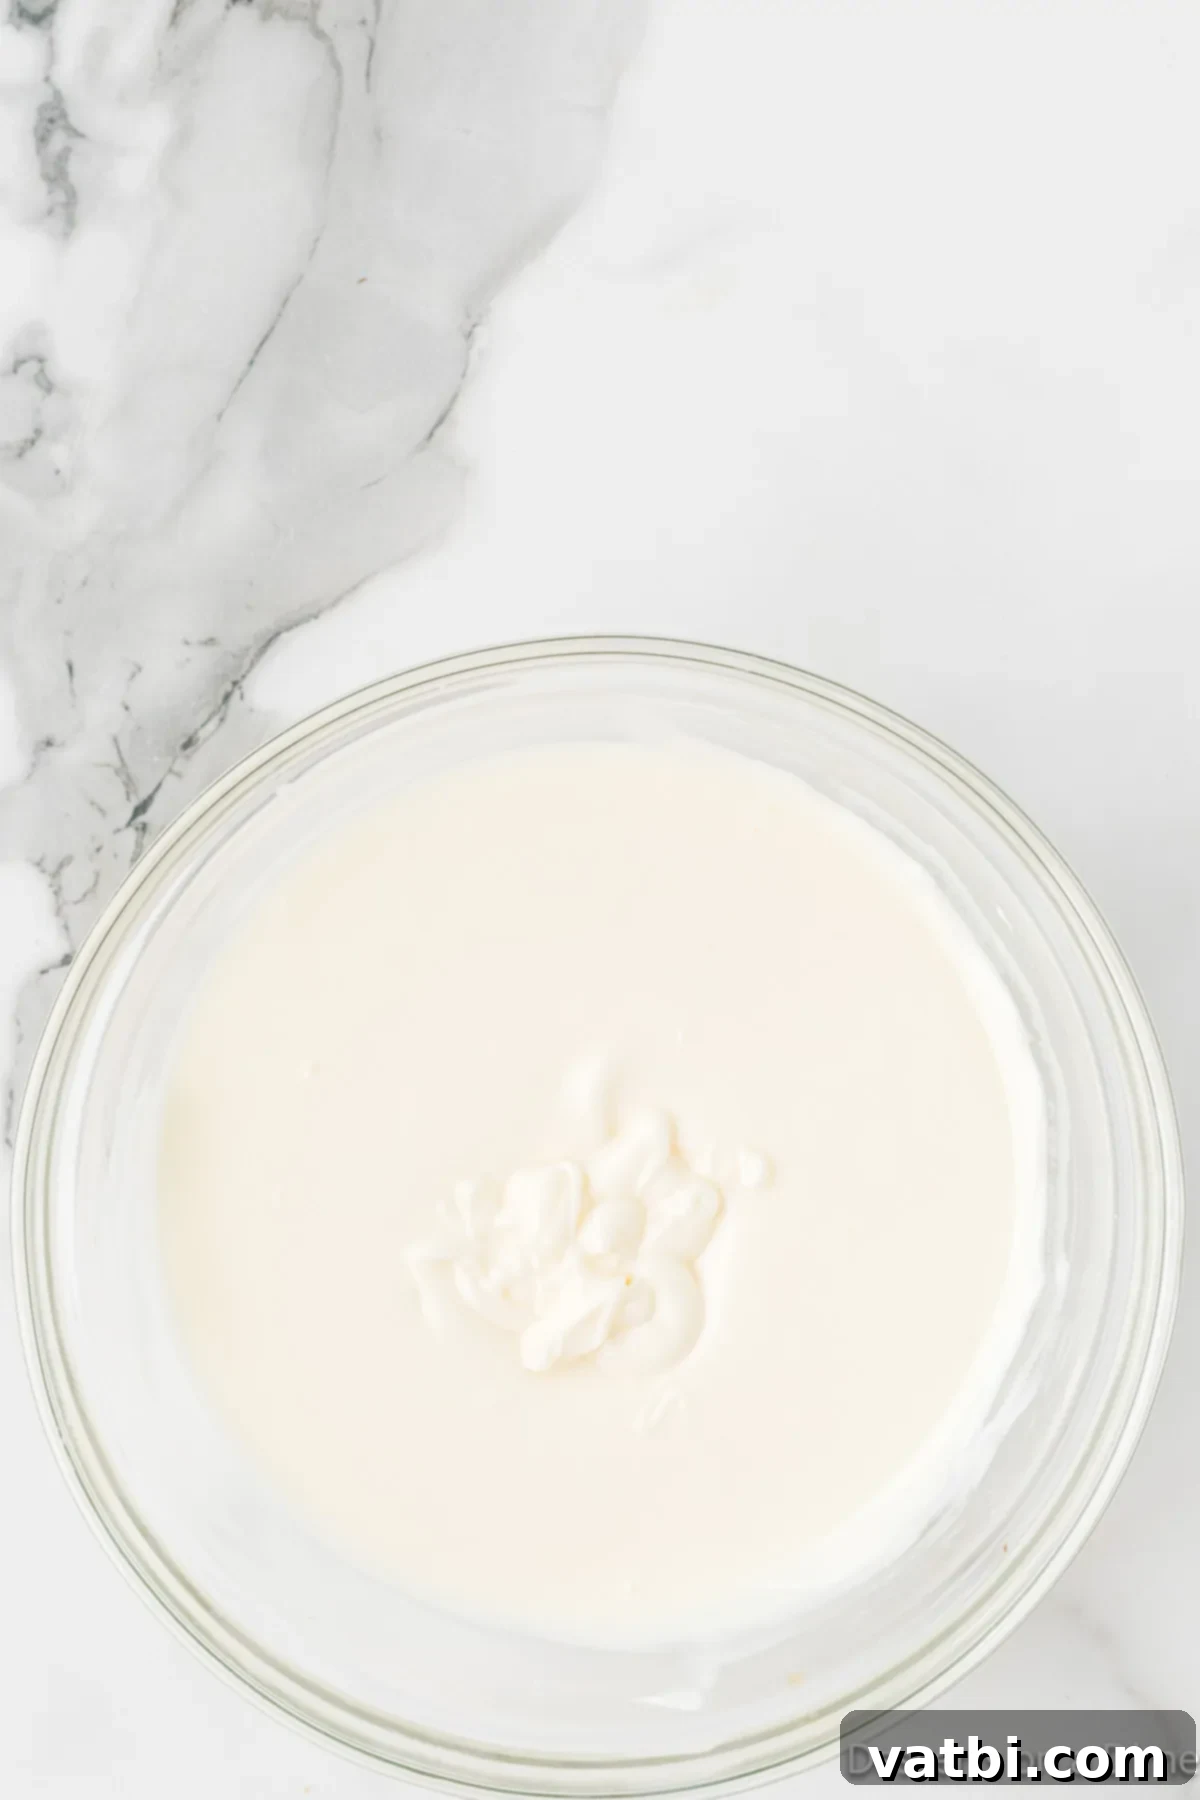
Step 5. Melt the Coating. While the cake balls are chilling, prepare your vanilla almond bark. Melt the almond bark according to the package directions. This typically involves using a microwave-safe bowl and heating it in short intervals, stirring well after each interval until it’s smooth and completely melted. A deep, narrow container like a 2-cup measuring cup is ideal for dipping.
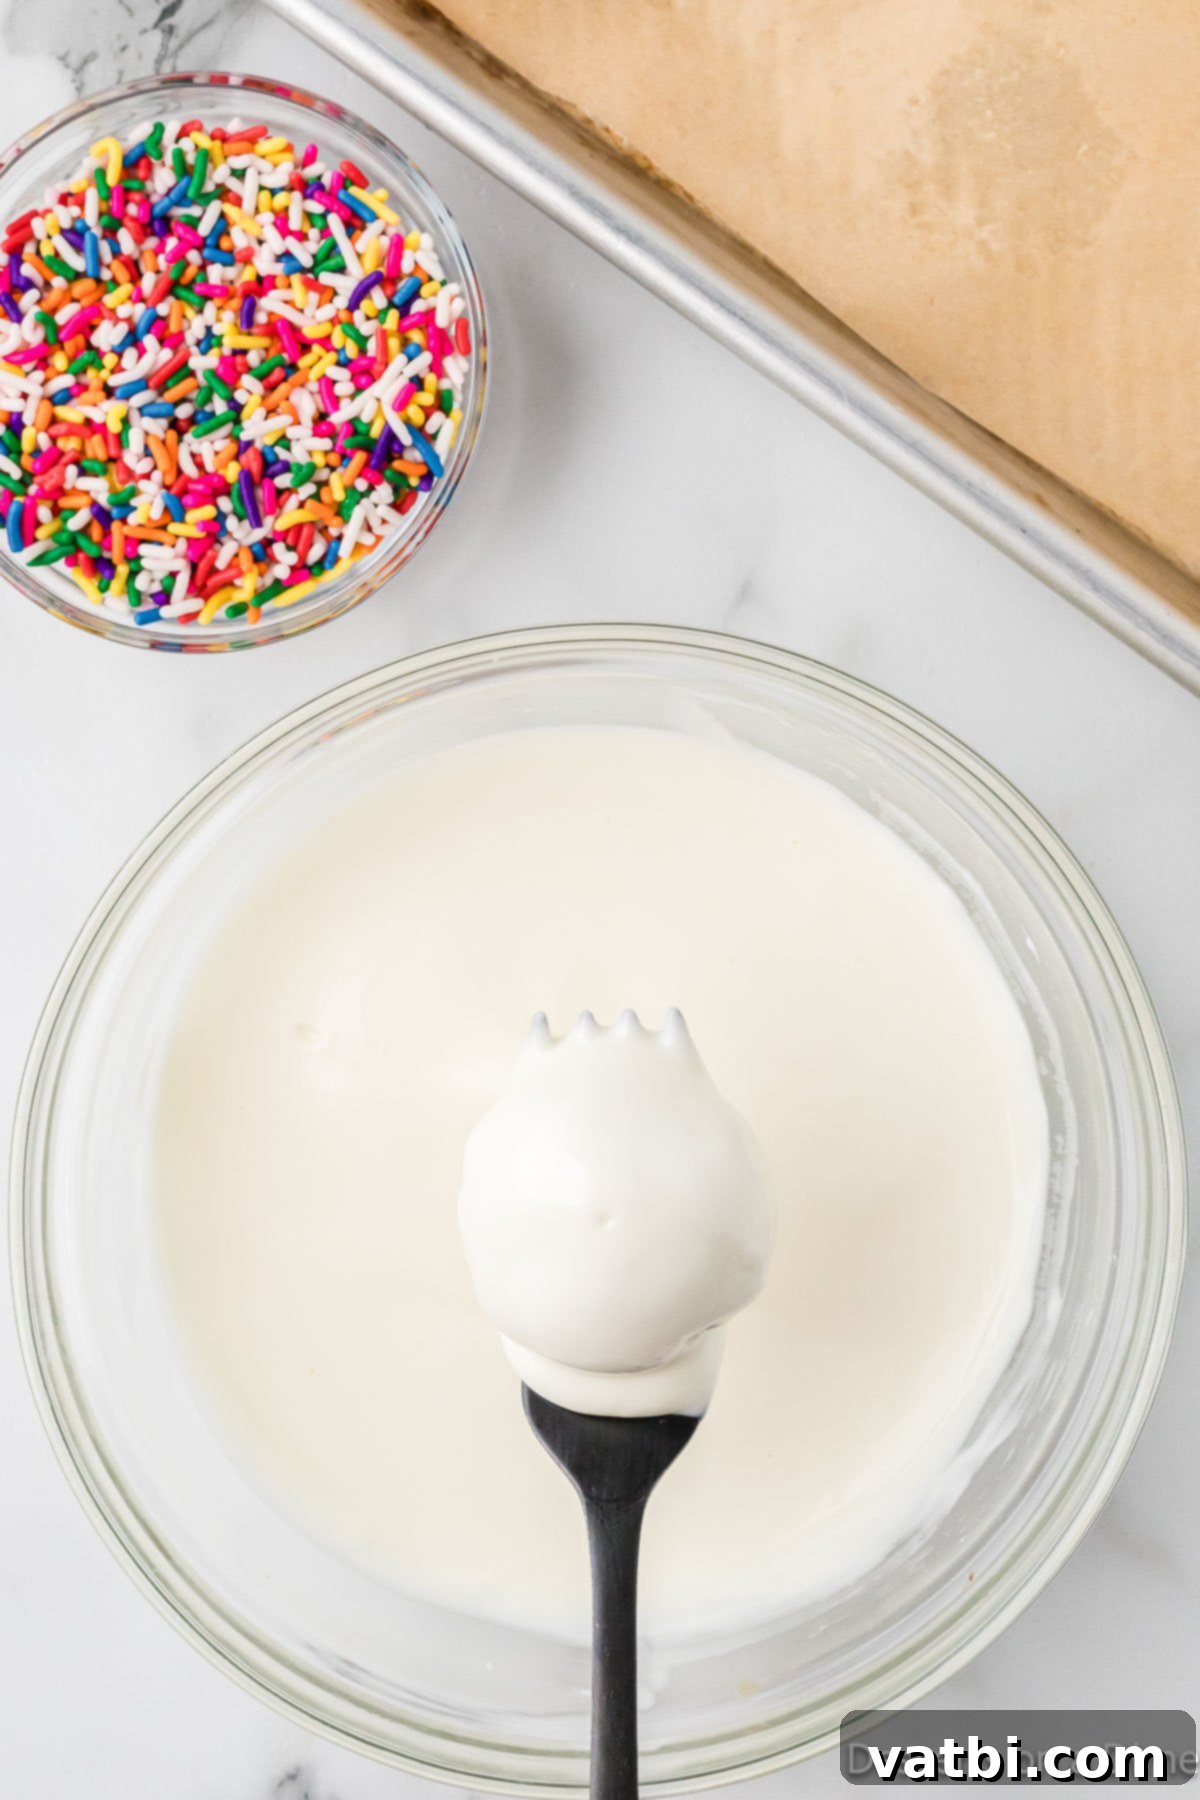
Step 6. Dip Each Cake Ball. Remove the chilled cake balls from the freezer. Using a fork or a toothpick inserted gently into the cake ball (if making cake pops, use the stick), dip each ball completely into the melted almond bark. Allow any excess coating to drip off, tapping gently against the side of the bowl. Ensure the coating is smooth and even.
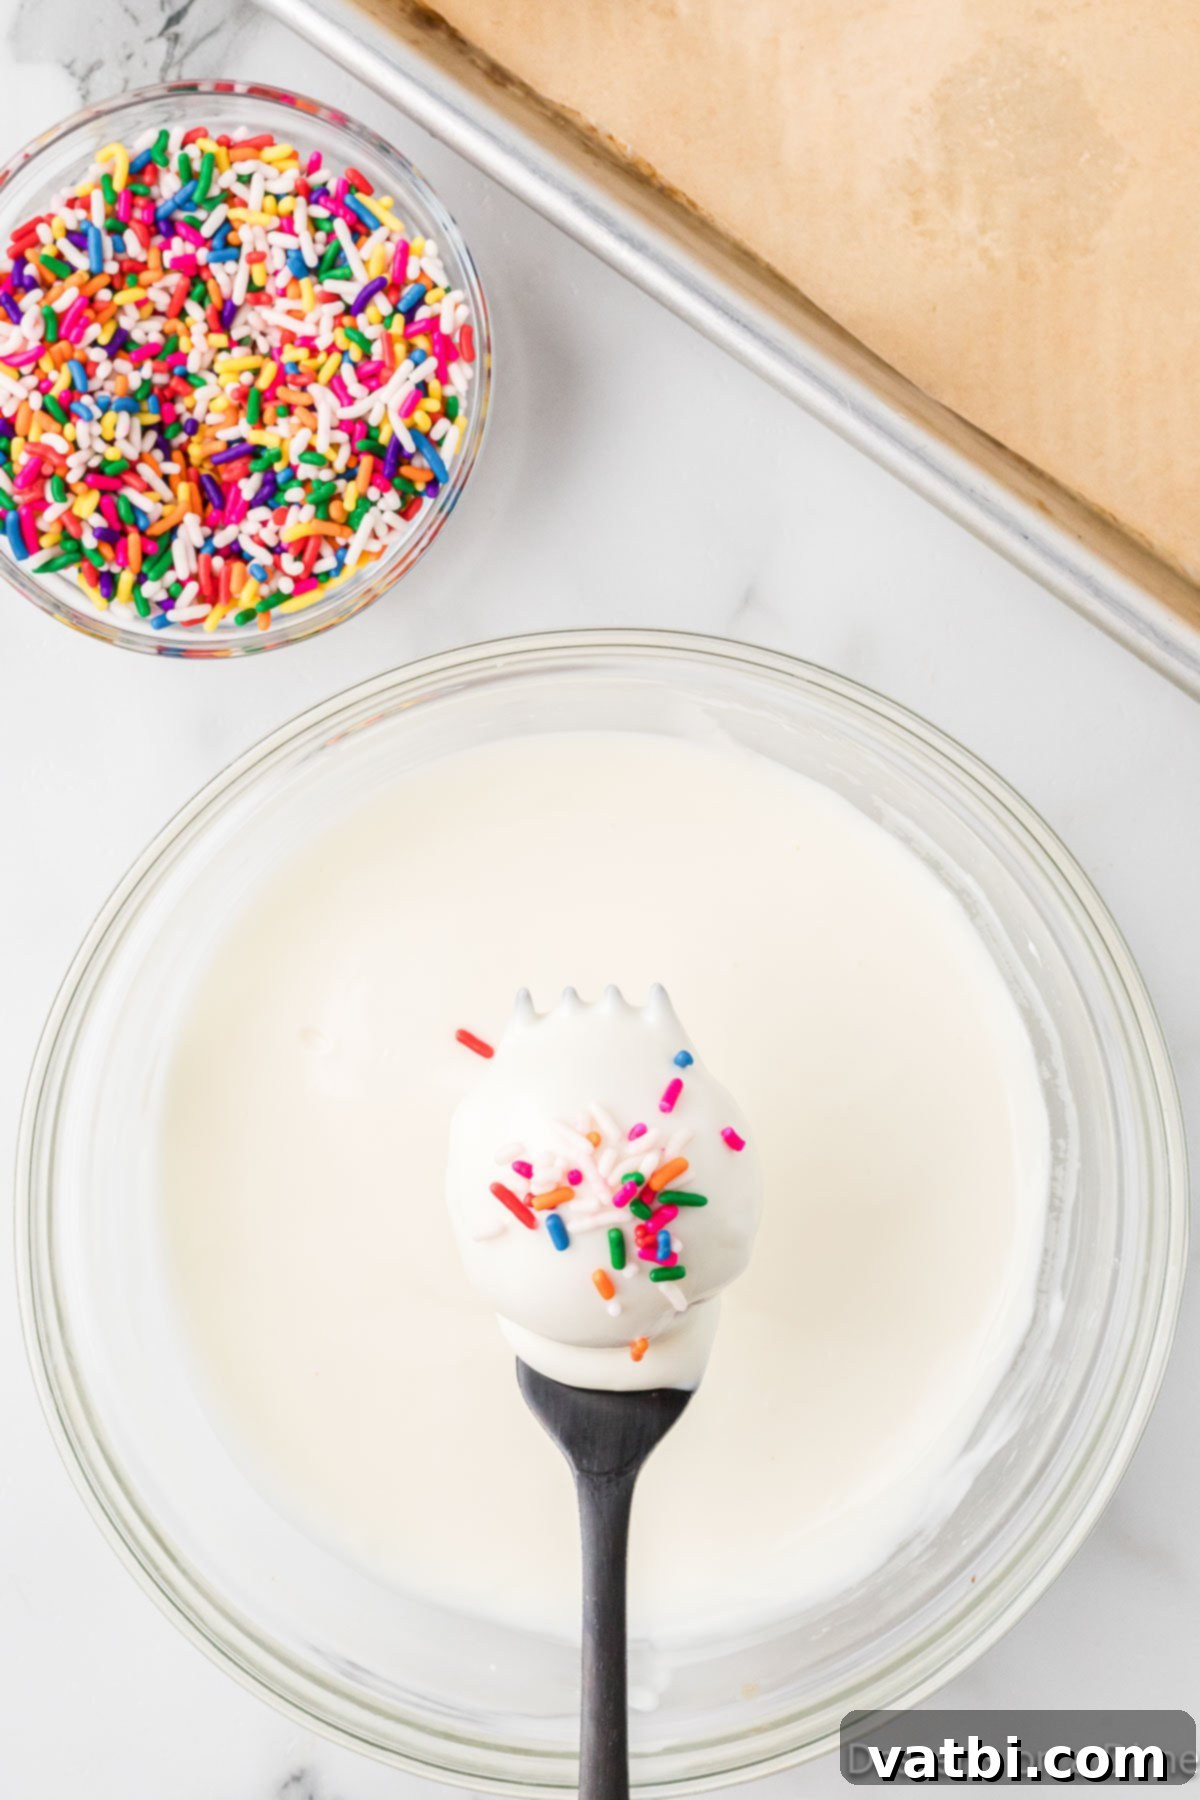
Step 7. Decorate with Sprinkles. If you wish to add sprinkles, do so immediately after dipping, while the coating is still wet. This ensures the sprinkles adhere properly. You can roll the balls in a shallow dish of sprinkles or gently sprinkle them over the top. Remove any significant excess chocolate or almond bark from the bottom of the ball with a toothpick if necessary.
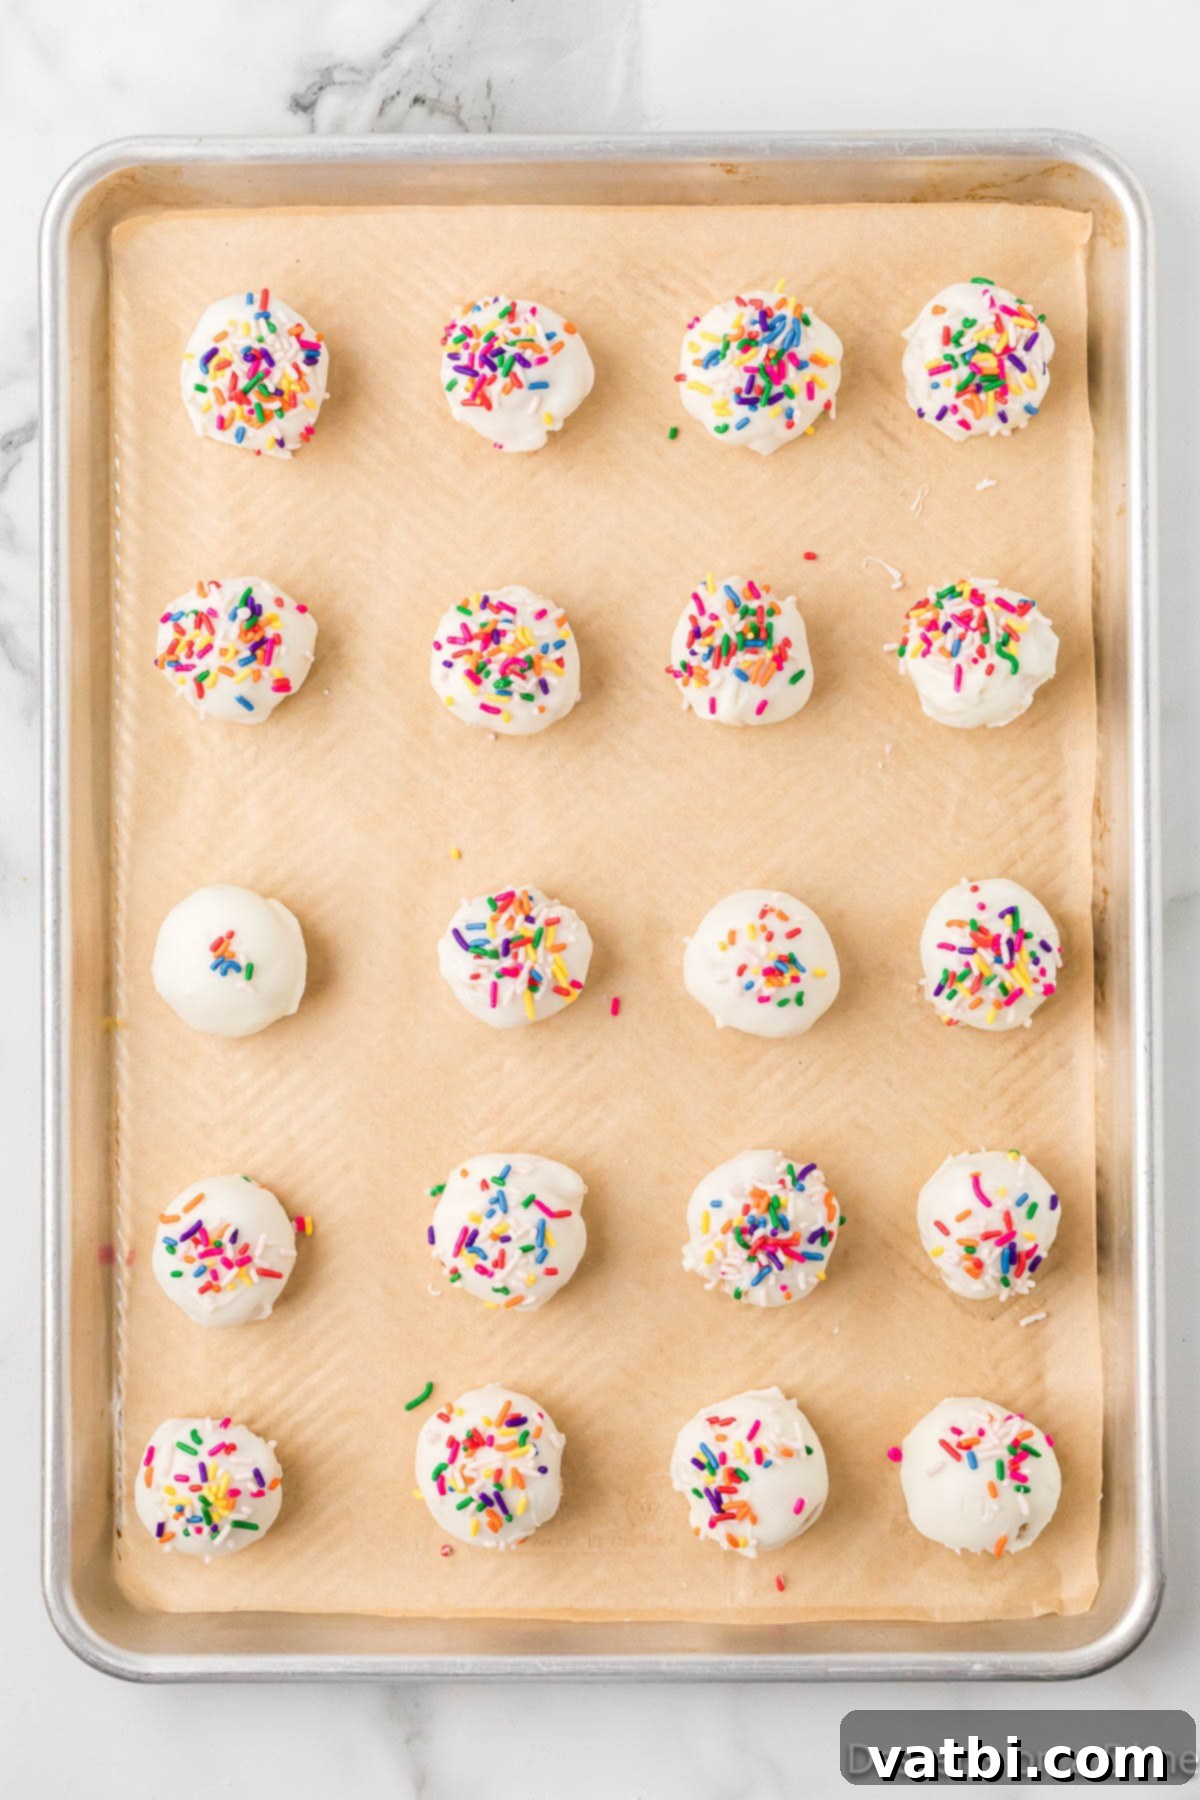
Step 8. Set and Cool. Place the freshly dipped and decorated cake balls back onto a clean cookie sheet lined with wax paper or parchment paper. This prevents sticking. Allow them to cool at room temperature for 3-4 hours, or in the refrigerator for about 1 hour, until the coating is completely set and firm. This patience is rewarded with a perfect, non-sticky outer shell.
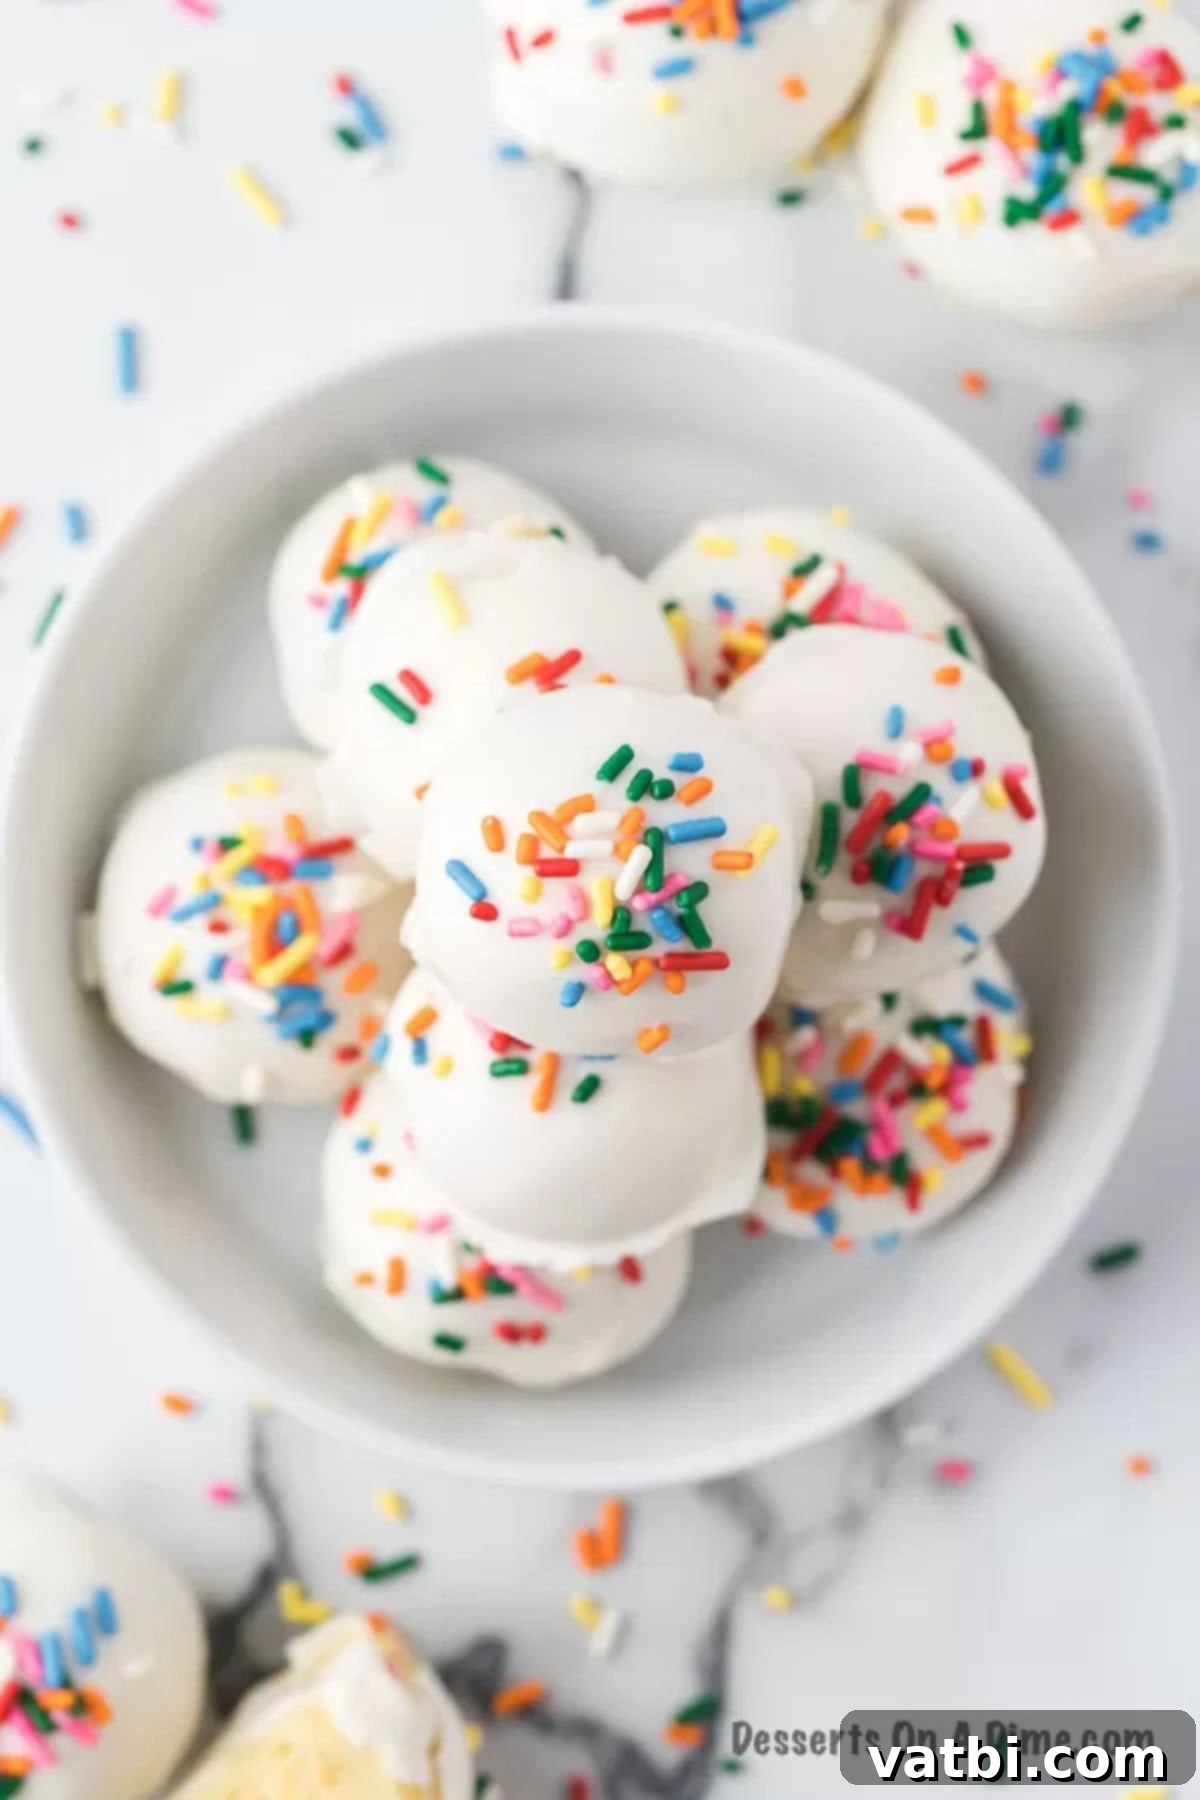
Step 9. Serve and Enjoy. Once the coating has fully set, your vanilla cake balls are ready to be served! Arrange them on a platter, in a decorative bowl, or on a cake stand for a beautiful presentation. These delightful treats are perfect for any gathering or as a sweet indulgence.
Expert Tips for Perfect Cake Balls
Achieving bakery-quality cake balls at home is entirely possible with a few professional tips:
- Achieve the Right Frosting Consistency. While frosting is delicious, too much can make your cake mixture overly wet and difficult to form into balls, potentially causing them to fall apart. Start with a conservative amount and add more only if needed, until the mixture is cohesive and easily moldable. It often takes less frosting than you think to bind the cake crumbs effectively.
- Thoroughly Chill Cake Balls. This is perhaps the most crucial step! Before dipping, ensure your cake balls are very cold and firm. Freezing them on a baking sheet for at least 30-60 minutes will prevent them from crumbling or softening when they hit the warm melted coating. The contrast in temperature helps the coating set faster and more smoothly.
- Optimal Dipping Technique. For the easiest and most efficient dipping, use a deep, narrow container like a 2-cup measuring cup. Its depth allows you to fully submerge the cake ball without touching the bottom, while its narrow opening minimizes the surface area of melted coating exposed to air, keeping it warmer for longer.
- Vary Your Sprinkles. Don’t limit yourself to just one type of sprinkle! Experiment with different colors, shapes, and sizes to match various themes. Think seasonal sprinkles for holidays, team colors for game days, or elegant pearl sprinkles for more sophisticated events. This simple touch makes them incredibly versatile.
- Experiment with Coatings. While vanilla almond bark is excellent, don’t hesitate to try other candy melts or chocolates. Milk chocolate, dark chocolate, or even colored candy melts can offer a fantastic contrast in flavor and appearance. Just ensure your chosen coating melts smoothly for the best results.
- Try Different Frosting Flavors. The frosting component offers a vast canvas for creativity. Beyond vanilla, consider chocolate frosting with chocolate cake, cream cheese frosting for a tangy counterpoint, or even fruit-flavored frostings. This can dramatically alter the flavor profile of your cake balls.
- Adding Coloring (Optional). While not strictly necessary, adding a few drops of food coloring to your melted almond bark or candy melts can open up a world of vibrant possibilities, especially for themed parties. Just make sure to use oil-based food coloring for chocolate and almond bark to prevent seizing.
- Use a Cookie Scoop for Uniformity. For perfectly round, consistently sized cake balls, a cookie scoop is your best friend. It saves a significant amount of time and effort compared to rolling each one by hand, ensuring that every cake ball is a uniform, delightful bite.
Creative Additions and Flavor Substitutions
The beauty of cake balls lies in their adaptability. Here are some fantastic ideas to customize your vanilla cake balls or completely change their flavor profile:
- Change the Cake Base. The foundation of this recipe is incredibly versatile. While we use vanilla cake mix, almost any type of cake can be transformed into delicious cake balls.
- Red Velvet: For a classic, rich flavor and beautiful color.
- Funfetti Cake: To add an extra festive pop of color directly into the cake mixture.
- Chocolate: A timeless favorite that pairs well with many frosting and coating options.
- Lemon: Offers a refreshing, zesty twist, especially good with a lemon or cream cheese frosting.
- Strawberry Cake: For a fruity, sweet flavor, perhaps with a strawberry or vanilla frosting.
- Devils Food: Creates a deep, dark chocolate experience.
- Carrot Cake: Combine with cream cheese frosting for a delightful, spiced treat.
- Dark Chocolate Cake: For an intense chocolate flavor.
- Mix in Peanut Butter: A swirl of peanut butter into the cake mixture before rolling adds a savory-sweet dimension that peanut butter lovers will adore.
- Use Different Sprinkles. As mentioned, sprinkles are your artistic tools! Match them to seasons (e.g., red and green for Christmas, pastels for Easter), events (e.g., school colors for graduation, specific themes for parties), or simply use a medley of colors for a cheerful look.
- Change the Coating. Beyond almond bark, try dipping your cake balls in various chocolate types. Milk chocolate offers a sweeter profile, while dark chocolate adds a sophisticated bitterness. White chocolate can be colored easily with oil-based food coloring for vibrant results.
- Use Different Icings. The frosting is a key component for flavor and texture. Switch from vanilla to chocolate frosting for a double chocolate treat, or use cream cheese frosting for a tangy depth that works especially well with red velvet or carrot cake.
- Top with Extra Crunch. For an added layer of texture and flavor, consider sprinkling your freshly dipped cake balls with mini chocolate chips, finely chopped nuts (like pecans, walnuts, or peanuts), toasted coconut flakes, or even crushed candies.
- Homemade Cake Pops. To elevate these cake balls into delightful cake pops, simply insert lollipop sticks into the chilled cake balls before dipping them. Use a sturdy stick that can support the weight of the ball once coated.
Frequently Asked Questions About Cake Balls
The key to perfectly stable cake balls lies in the balance of frosting and proper chilling. Firstly, ensure your frosting isn’t too thick or too much, as excessive frosting can make the mixture too wet and heavy, causing the balls to lose their structure. You need just enough frosting to bind the cake crumbs firmly into a moldable dough. Secondly, and critically, make sure the cake balls are thoroughly chilled or even frozen before dipping. A cold core helps them maintain their shape and integrity when submerged in warm coating. Lastly, when dipping, allow any excess chocolate or almond bark to drip off completely. Too much coating can weigh the ball down or create an uneven, brittle shell that might break.
There are a couple of popular methods for dipping cake balls. You can gently drop a cake ball into the melted almond bark or chocolate and use a fork to carefully roll it around, then lift it out, allowing excess coating to drain through the tines. Alternatively, many prefer to insert a toothpick into the center of a chilled cake ball, using it as a handle to dip the ball into the coating. The toothpick method can offer more control, especially for beginners. We highly recommend using a container that is deep enough for the cake ball to be fully submerged without touching the bottom, but also narrow enough to minimize the amount of coating needed. Gently rotate the ball to ensure all edges are covered, as uncovered spots can lead to crumbling. Once coated, tap off the excess before placing it back on your parchment-lined baking sheet.
For cake pops (cake balls on sticks), purchasing a cake pop stand is the most convenient option for serving and display. These stands have holes to hold the sticks upright, presenting your treats beautifully. If you don’t have a stand, a block of Styrofoam or floral foam works just as well; the sticks are easy to push into the foam, holding them securely in place. To enhance the presentation, you can wrap the foam block in decorative paper that matches your party décor. For regular cake balls (without sticks), once they are dry and set, they can be elegantly arranged on a serving platter, in a decorative bowl, or even stacked in a mason jar for a rustic touch. Choose the serving method that best suits your event’s aesthetic and practicality.
When stored properly, cake balls have a surprisingly good shelf life. Left out on the counter in an airtight container, they will stay fresh and delicious for about 5-7 days. We often place them in a cake stand with a dome cover to keep them fresh and easily accessible for serving. For extended freshness, refrigeration is recommended.
To store leftover cake balls, place them in an airtight container. If stored in the refrigerator, they will remain fresh for up to 10 days. The cold temperature also provides a delightful firm texture that some people prefer. For longer storage, cake balls can be frozen. Simply place them in a freezer-safe, airtight container or freezer bag. They store exceptionally well in the freezer for up to 1-2 months. When you’re ready to enjoy them, you can thaw them at room temperature for a few minutes or, as many enthusiasts enjoy, eat them cold straight from the freezer for a delightful frozen treat!
More Delightful Dessert Ball Recipes
If you’ve fallen in love with the convenience and deliciousness of cake balls, there are many more exciting variations to explore. Here are some of our other favorite dessert ball recipes that are perfect for any occasion:
- Valentine’s Day Cake Ball Recipe: Perfect for showing some love with themed colors and sprinkles.
- Quick and Easy Cake Ball Recipe: Another fantastic option for a speedy, crowd-pleasing dessert.
- Starbucks Cake Ball Recipe: Recreate your favorite coffee shop treat at home!
- Red Velvet Cake Balls Recipe: A rich, decadent classic with a beautiful crimson hue, often paired with cream cheese frosting.
We encourage you to try this fun, versatile, and incredibly delicious vanilla cake ball recipe for your next treat. You’ll be amazed at how simple it is to create such an impressive dessert. Don’t forget to leave a comment below and let us know how your cake balls turned out!
Pin
Vanilla Cake Balls Recipe
Ingredients
- 1 box Vanilla Cake Mix
- *Ingredients needed to prepare the cake (e.g., eggs, oil, water/milk) based on the box instructions.
- 1.5 tubs Vanilla Frosting
- 1 pkg Vanilla Almond Bark
- Colorful Sprinkles
Instructions
-
Prepare the vanilla cake mix as directed on the package instructions. Bake it in a 9×13 inch pan until a toothpick inserted into the center comes out clean.
-
Allow the cake to cool in the pan for about 15 minutes, then transfer it to a wire rack to cool completely. Ensure it’s fully cooled before moving on, as warm cake will make the mixture greasy. Once cool, crumble the entire cake into a large mixing bowl.
-
Add about 1.5 tubs of vanilla frosting to the crumbled cake. Mix with a sturdy wooden spoon, or your hands, until the cake and frosting are thoroughly combined and form a dense, moldable dough. The mixture should hold its shape when pressed.
-
Take small amounts of the mixture (approximately one tablespoon per ball) and roll them firmly into smooth, round balls. A cookie scoop can help achieve uniform sizes. Place the finished cake balls on a baking sheet lined with parchment paper. Freeze for at least 1 hour, or until very firm. This step is crucial for preventing them from falling apart during dipping.
-
Melt the vanilla almond bark according to the package directions. It’s best to use a deep, narrow bowl or a 2-cup measuring cup for easier dipping. Carefully dip each chilled cake ball into the melted almond bark, ensuring it’s completely covered. Allow any excess coating to drip off, tapping gently.
-
Immediately after dipping, if you prefer, adorn the cake balls with colorful sprinkles while the coating is still wet. Place the decorated cake balls back onto your parchment-lined cookie sheet. Let them cool and set at room temperature for 3-4 hours, or in the refrigerator for about 1 hour, until the coating is firm and dry.
-
Once fully set, your delightful vanilla cake balls are ready to be served and enjoyed!
Nutrition Facts
Pin This Now to Remember It Later
Pin Recipe
