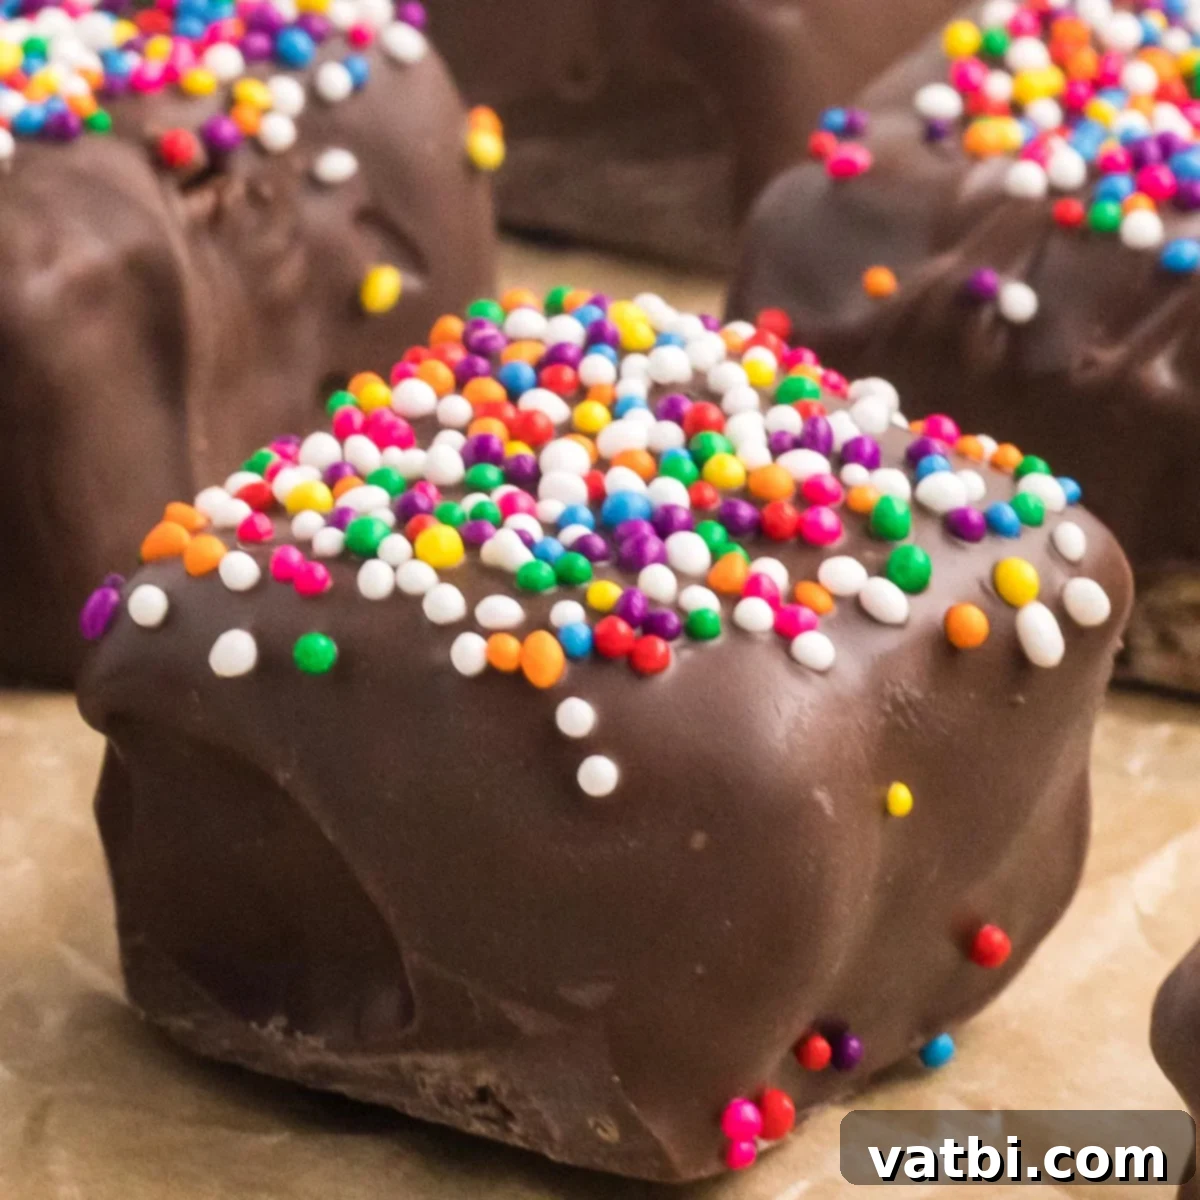
Decadent Chocolate Covered Rice Krispie Treats: Your Ultimate No-Bake Guide
Welcome to the world of effortless indulgence with these incredible Chocolate Covered Rice Krispie Treats! This isn’t just a dessert; it’s a delightful experience that requires *only 6 simple ingredients* and absolutely no baking. Perfect for any occasion, these treats combine the classic chewy, gooey goodness of Rice Krispie squares with a luscious, rich chocolate coating and a playful burst of sprinkles. Prepare to impress everyone with this wonderfully decadent, yet surprisingly easy, homemade delight.

If you’re looking to elevate your dessert game without spending hours in the kitchen, these chocolate-covered treats are your answer. They take the beloved original Rice Krispie Treat Recipe to a whole new level of deliciousness. For those who prefer just a hint of chocolate, you might enjoy our Chocolate Dipped Rice Krispy Treats recipe. And if you happen to have any leftover chocolate (a rare but possible occurrence!), don’t let it go to waste – it’s perfect for making a batch of Chocolate Covered Twinkies!
Table of contents
- Why You Will Love These Chocolate Covered Rice Krispie Treats
- Essential Ingredients for Perfect Chocolate Covered Rice Krispie Treats
- Exciting Variations to Customize Your Treats
- Easy Step-by-Step Instructions for Chocolate Covered Rice Krispie Treats
- Proper Storage for Lasting Freshness
- Expert Pro Tips for No-Fail Results
- Frequently Asked Questions About Rice Krispie Treats
- More Irresistible No-Bake Rice Krispie Treat Recipes
Why You Will Love These Chocolate Covered Rice Krispie Treats
These aren’t just any treats; they’re a dream come true for dessert lovers and busy cooks alike. Here’s why you’ll want to make them again and again:
- Only 6 Ingredients. Simplicity is key! With just a handful of readily available ingredients, you can whip up a batch of these spectacular treats. If you decide to skip the sprinkles, it’s actually only 5 ingredients, making it even more budget-friendly and convenient. This minimal ingredient list means less shopping and more time enjoying your delicious creation.
- Irresistible Chocolate. The rich, smooth chocolate coating takes the humble Rice Krispie Treat from good to absolutely glorious. It adds a layer of luxurious flavor and texture that makes these treats feel extra special. Whether you’re a milk chocolate devotee or a dark chocolate aficionado, the chocolate element is guaranteed to be a hit.
- Effortless No-Bake Recipe. Say goodbye to turning on the oven! This dessert is entirely no-bake, making it perfect for hot summer days, quick dessert cravings, or involving kids in the kitchen. The ease of preparation ensures a stress-free baking experience, resulting in delicious treats every time.
- Quick to Prepare. From start to finish, these treats come together in under 30 minutes, not including cooling time. This makes them an ideal last-minute dessert for potlucks, parties, or simply satisfying an immediate sweet tooth.
- Universally Loved. Rice Krispie Treats are a classic for a reason, and adding chocolate only broadens their appeal. Kids and adults alike will adore these chewy, crispy, and chocolatey squares. They’re a guaranteed crowd-pleaser for any gathering.
- Perfectly Customizable. While delicious as is, these treats offer endless possibilities for customization, from different types of chocolate to a rainbow of sprinkles. You can tailor them to any holiday, theme, or personal preference.
Essential Ingredients for Perfect Chocolate Covered Rice Krispie Treats
Crafting these delectable treats starts with selecting the right ingredients. Each component plays a crucial role in achieving that perfect balance of chewy, crispy, and chocolatey goodness:
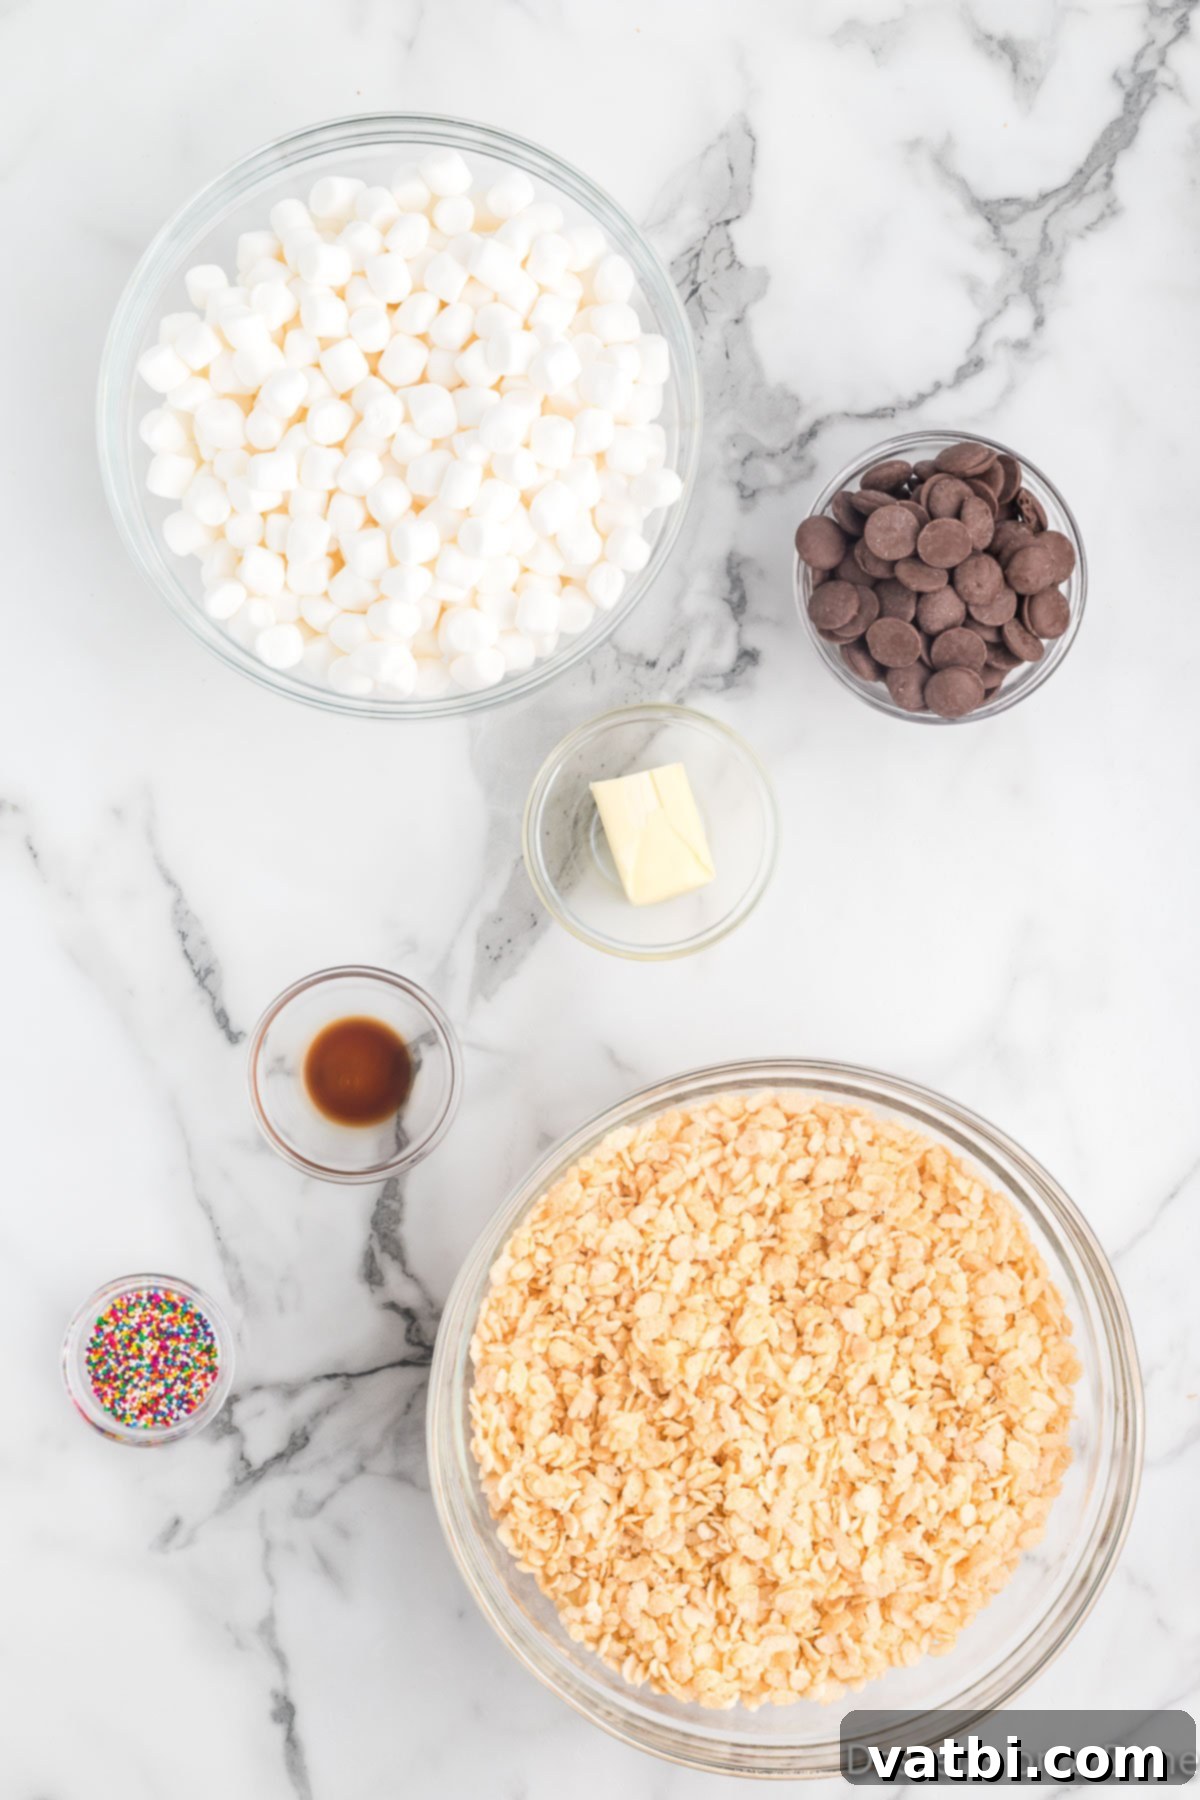
- Rice Krispies Cereal. The foundation of our treats! It’s crucial to use fresh cereal, not stale, as this directly impacts the final texture. Stale cereal can lead to a less crispy, somewhat soggy treat. For those with dietary restrictions, ensure you choose a certified gluten-free brand if needed.
- Butter. Real butter makes all the difference in flavor. Using unsalted butter gives you better control over the saltiness of the treats, but a good quality salted butter can also add a delightful subtle savory note that balances the sweetness. Avoid margarine if possible, as it can alter the texture and taste significantly.
- Mini Marshmallows. While any size marshmallow will work, mini marshmallows are highly recommended because they melt much quicker and more evenly, ensuring a smoother, lump-free base for your treats. If you only have large marshmallows, simply cut them into smaller pieces to speed up the melting process.
- Vanilla Extract. Always opt for pure vanilla extract over imitation vanilla. The pure extract provides a richer, more complex flavor profile that truly enhances the overall taste of your Rice Krispie treats, adding depth beyond just sweetness.
- Chocolate Melting Chips. These are specifically designed for smooth melting and coating, making them ideal for dipping. They temper beautifully and harden quickly, providing a professional-looking finish. You can find them in various types like milk chocolate, semi-sweet, dark chocolate, or even white chocolate. For best results, use a high-quality brand.
- Multi-Colored Sprinkles. These are entirely optional but highly encouraged! Sprinkles add a festive touch of color and a subtle textural contrast, making your Chocolate Covered Rice Krispie Treats visually appealing and extra fun. Choose your favorite colors or holiday-themed sprinkles to match any occasion.
You’ll find the complete list of exact measurements and detailed instructions in the recipe card at the bottom of the page, making it easy to gather everything you need before you start.
Exciting Variations to Customize Your Treats
One of the best things about Chocolate Covered Rice Krispie Treats is their versatility. You can easily adapt this recipe to suit different tastes, occasions, or even dietary needs. Get creative with these delicious variations:
- Different Types of Chocolate. Don’t limit yourself to just one kind! Experiment with various chocolates for dipping:
- **Semi-Sweet Chocolate:** A classic choice, offering a balanced sweetness that pairs perfectly with the marshmallow and cereal.
- **Milk Chocolate:** For a sweeter, creamier coating that’s a universal favorite, especially with kids.
- **Dark Chocolate:** If you prefer a richer, slightly bitter contrast to the sweet treat, dark chocolate is an excellent option.
- **White Chocolate:** Provides a smooth, buttery, and vanilla-forward flavor, and can be easily colored for extra visual appeal.
- Compound Chocolate vs. Couverture Chocolate: Melting chips are often compound chocolate (designed to melt easily without tempering). If using high-quality couverture chocolate, you might consider tempering it for a snappier texture and better shine, though it’s not strictly necessary for this recipe.
- Different Colors of Melting Chocolate. Unleash your creativity by changing the chocolate color to match seasons, holidays, or party themes. White melting chocolate can be easily tinted with oil-based food coloring.
- Valentine’s Day: Use pink or red chocolate.
- Halloween: Opt for vibrant orange or spooky green.
- Christmas: Red and green chocolate coatings are perfect.
- Baby Showers: Pink or blue for gender reveals.
- Birthdays: Any bright, fun color!
- Assorted Sprinkles. Beyond multi-colored sprinkles, the options are endless.
- Holiday Sprinkles: Use themed sprinkles for Easter, 4th of July, Christmas, etc.
- Jimmies, Nonpareils, Sanding Sugar: Each type offers a different texture and visual.
- Metallic Sprinkles: Add a touch of elegance for special events.
- Shaped Sprinkles: Stars, hearts, or other fun shapes.
- Add Extra Toppings. Before the chocolate sets, sprinkle on more goodness!
- Chopped Nuts: Almonds, peanuts, walnuts, or pecans add a satisfying crunch.
- Crushed Candy: M&M’s, crushed Oreos, Heath bar bits, or peppermint candy for seasonal flair.
- Shredded Coconut: Toasted or untoasted, for a tropical twist.
- Mini Chocolate Chips: An extra boost of chocolate flavor and texture.
- Sea Salt Flakes: A sprinkle of flaky sea salt on top of the chocolate creates an irresistible sweet and salty combination.
- Chocolate Peanut Butter Rice Krispie Treats. Elevate the base! Instead of plain Rice Krispie treats, use our recipe for Peanut Butter Rice Krispy Treats as the foundation. The rich, nutty flavor of peanut butter combined with the chocolate coating is an absolutely divine pairing that’s sure to be a crowd-pleaser.
Easy Step-by-Step Instructions for Chocolate Covered Rice Krispie Treats
Making these treats is a breeze! Follow these simple steps for perfectly coated, delicious Rice Krispie squares.
- Step 1. Prepare the pan. This initial step is crucial for easy removal. Using a 9×13 inch baking pan, generously grease it with butter or cooking spray. Alternatively, line the pan with parchment paper, leaving an overhang on the sides. This creates “handles” that allow you to easily lift the entire slab of treats out once cooled, making cutting much simpler and cleaner.
- Step 2. Melt the butter. In a large saucepan or a Dutch oven, melt 3 tablespoons of butter over very low heat. It’s important to use low heat to prevent the butter from browning or scorching, which can alter the flavor of your treats. Stir occasionally to ensure even melting.
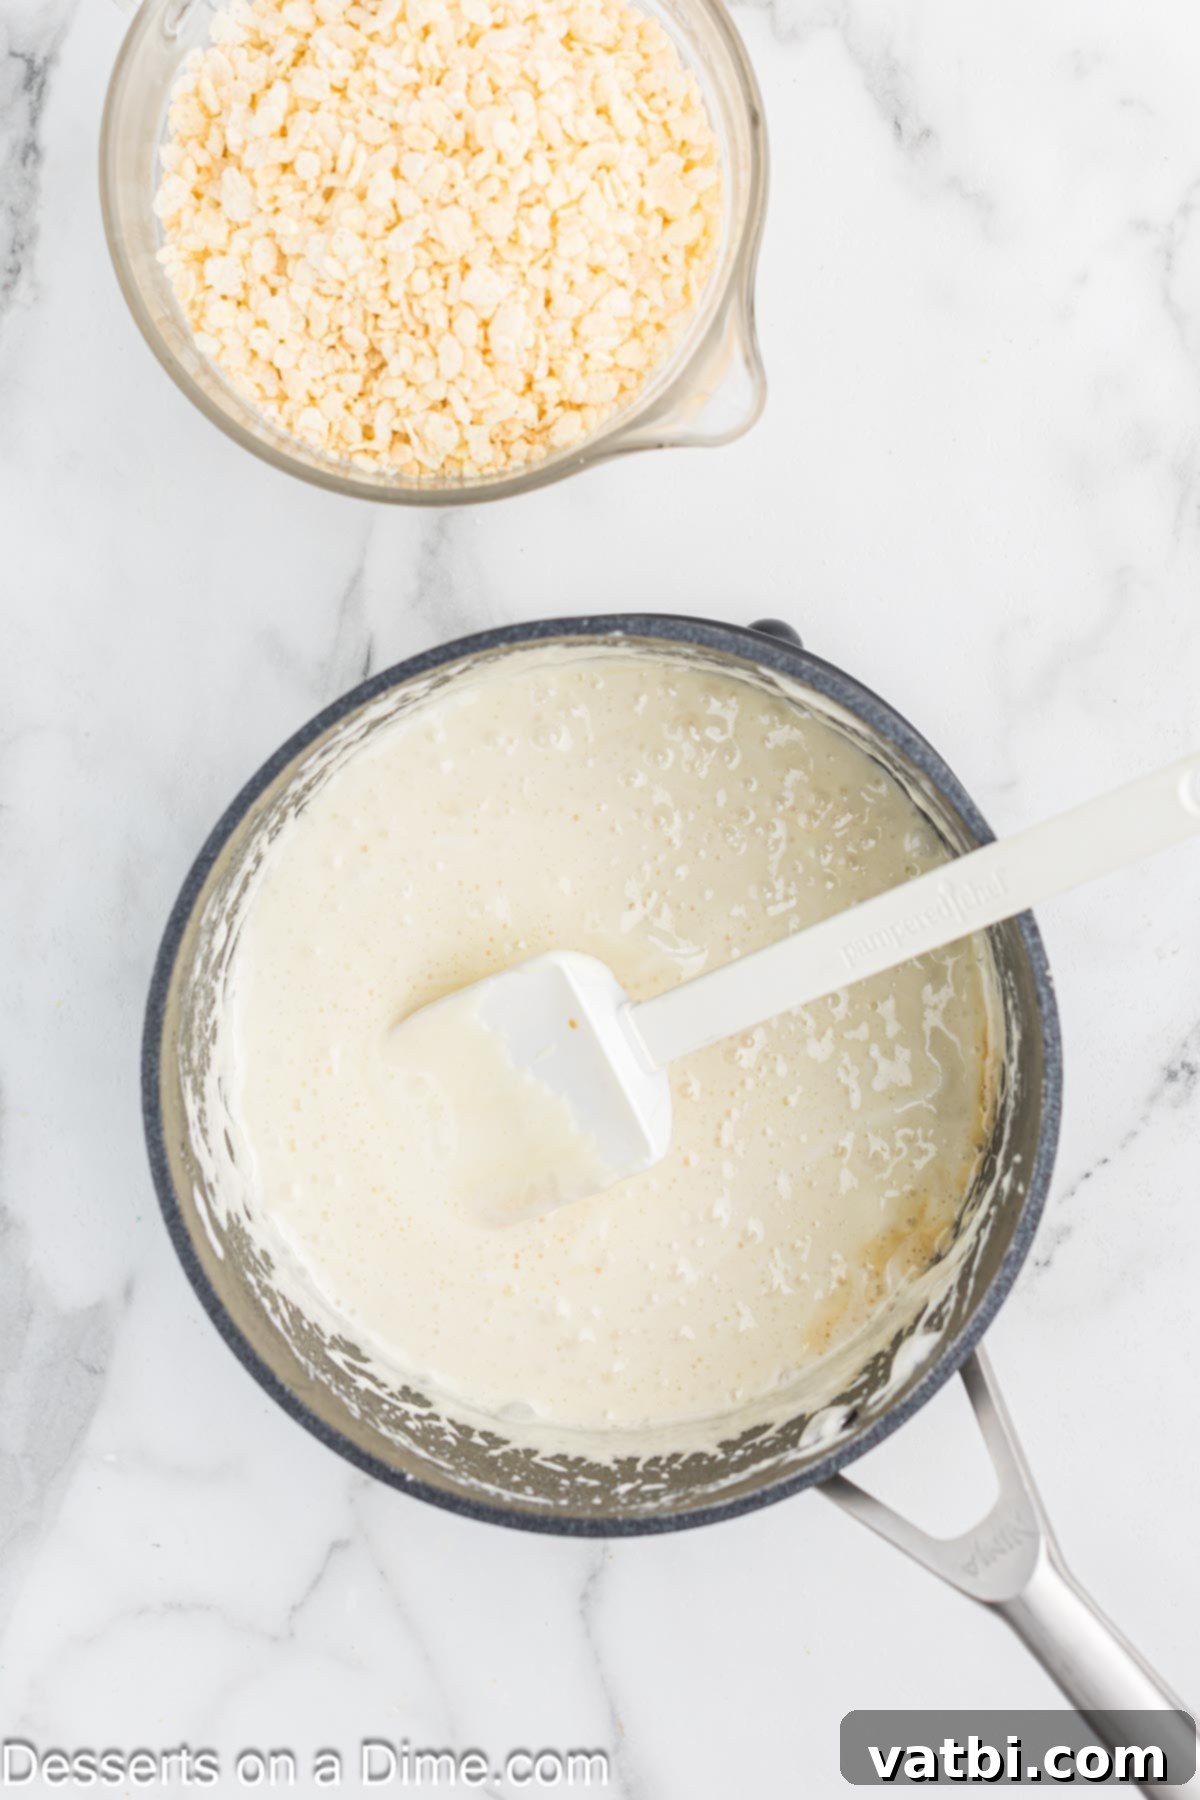
Step 3. Melt the marshmallows. Once the butter is fully melted, add the entire bag of mini marshmallows to the saucepan. Continue to stir continuously over low heat until the marshmallows are completely melted and smooth. This requires patience – don’t rush it by increasing the heat, as high heat can make the marshmallows seize and result in hard treats. Stirring constantly prevents sticking and ensures a uniform texture.
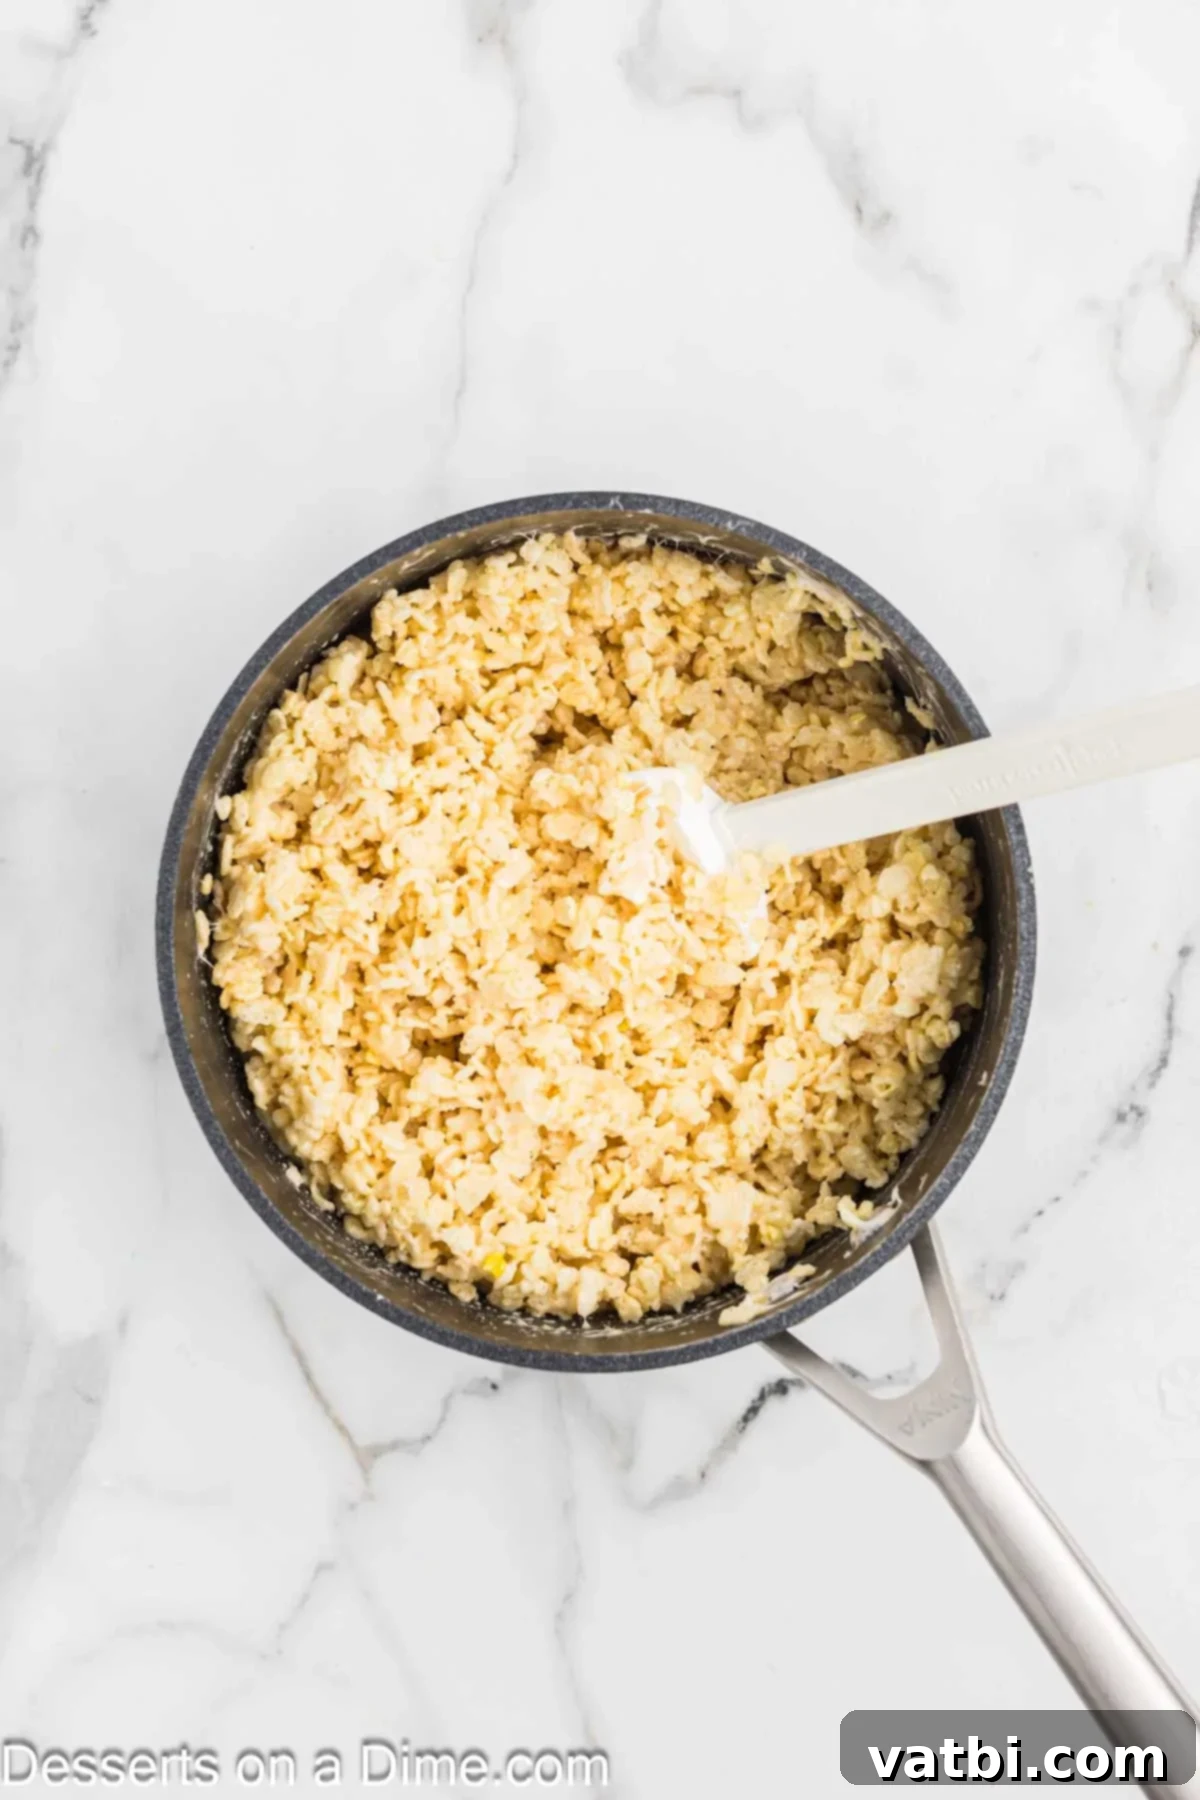
Step 4. Remove from heat and combine with cereal. As soon as the marshmallows are smooth and fully melted, immediately remove the saucepan from the heat. Stir in the vanilla extract. Then, add the Rice Krispies cereal and stir quickly but gently until every piece of cereal is thoroughly coated with the marshmallow mixture. Work efficiently, as the mixture will start to cool and stiffen.
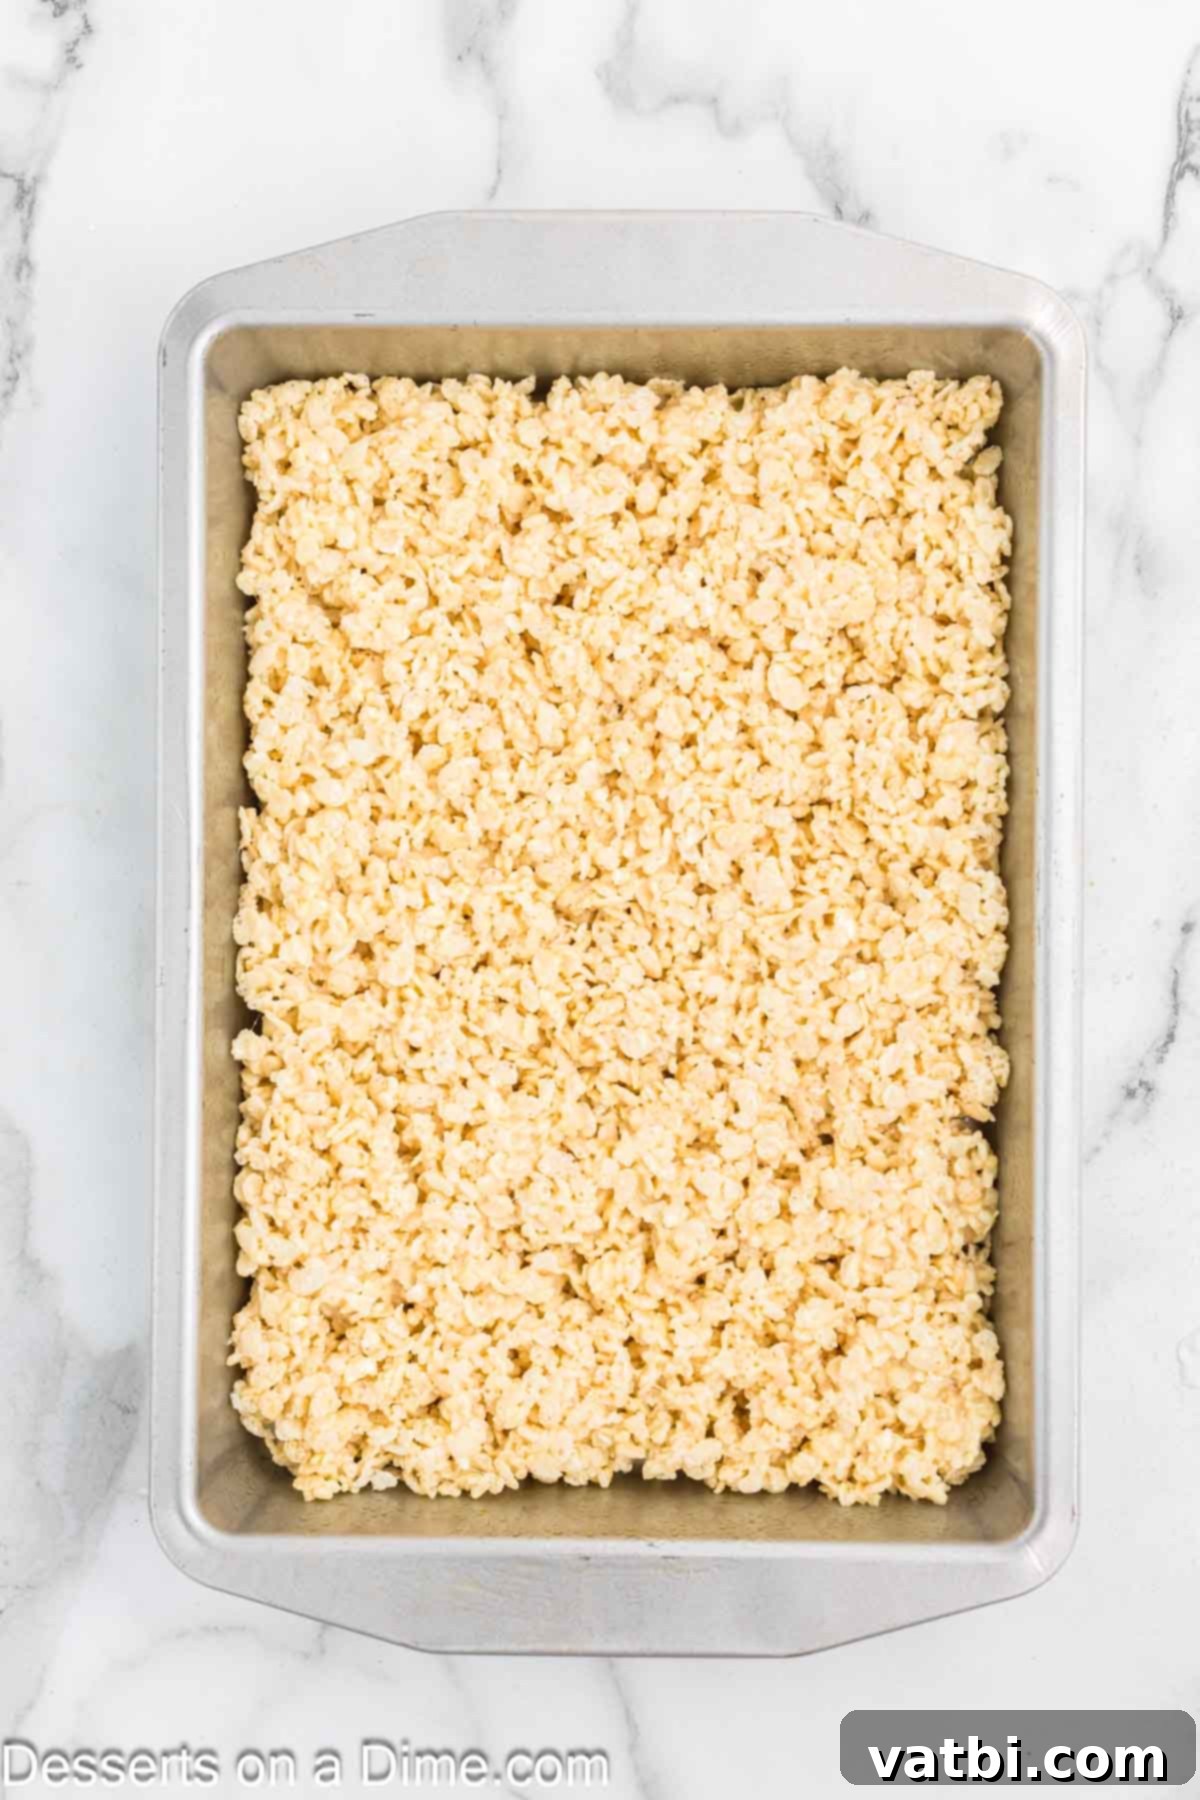
Step 5. Press into pan and cool. This is where greased hands or wax paper comes in handy! Lightly butter your hands or use a piece of wax paper to gently press the Rice Krispies mixture evenly into the prepared baking pan. **Crucially, do not pack them down tightly.** Light pressure is all you need; over-packing will compress the cereal and result in hard, dense treats instead of delightfully chewy ones. Allow the treats to cool completely at room temperature for at least 1-2 hours before cutting and dipping. Resist the urge to refrigerate at this stage, as it can also contribute to harder treats.
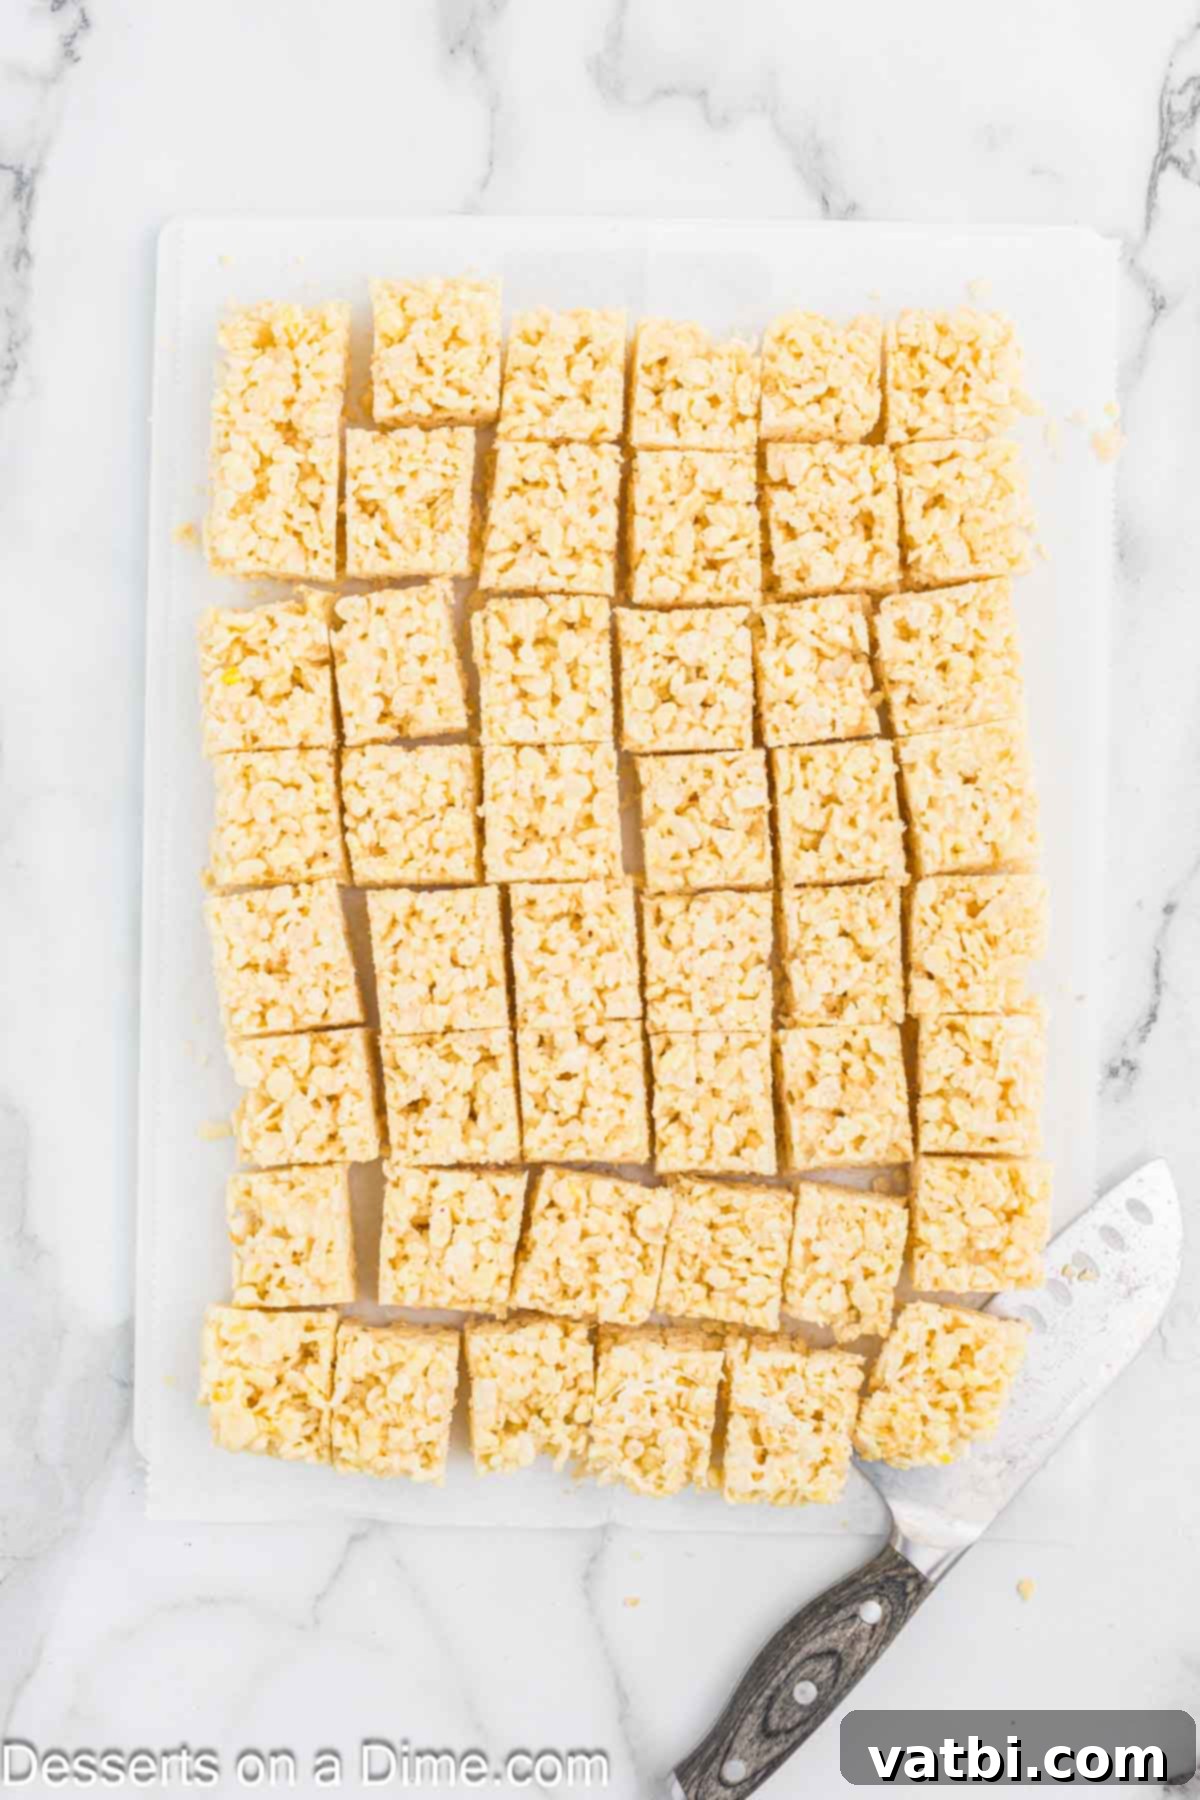
Step 6. Cut the treats. Once completely cooled and firm, use the parchment paper overhang to lift the entire slab of Rice Krispie treats out of the pan and onto a clean cutting board. Using a sharp, buttered knife (this helps prevent sticking), cut the treats into small, manageable bite-sized squares, approximately 1 inch by 1 inch. You can adjust the size to your preference, but smaller pieces are often easier to dip and serve.
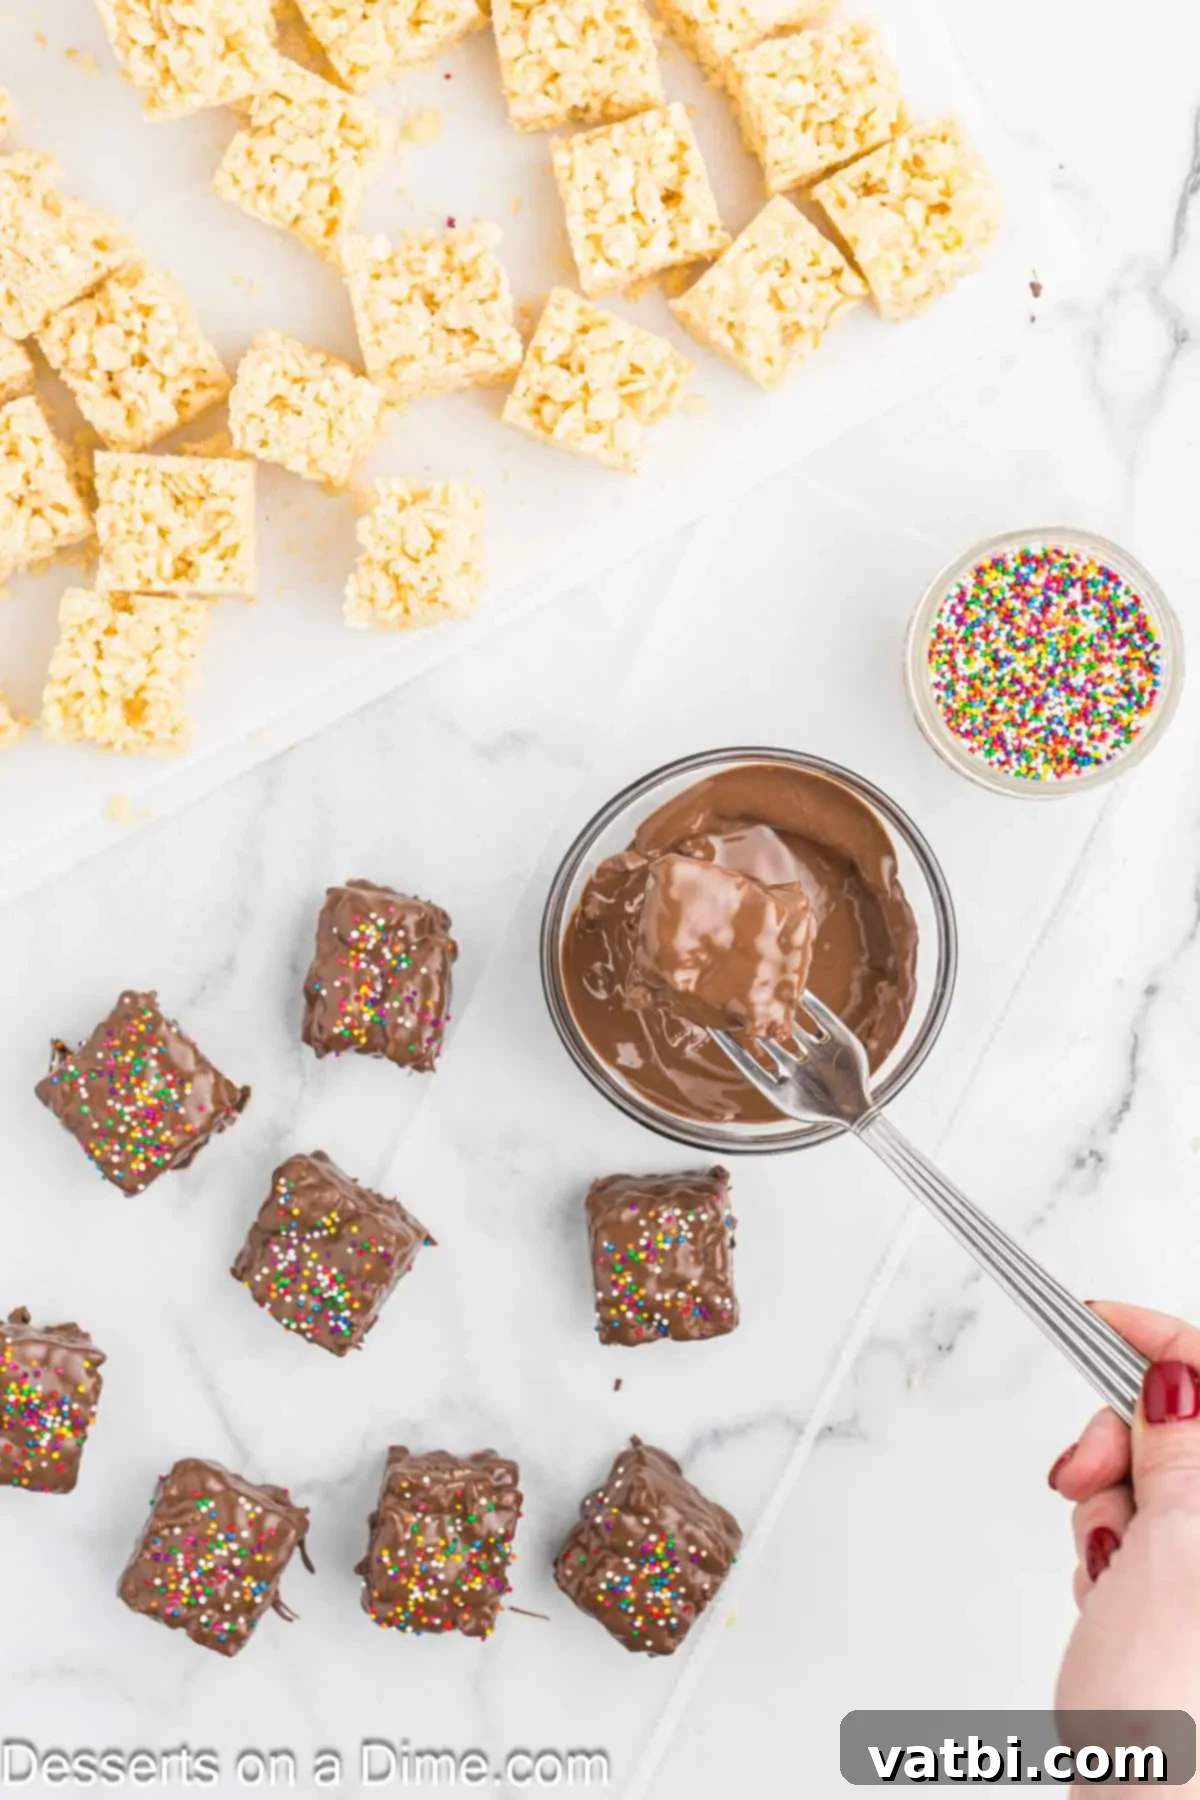
Step 7. Melt the chocolate and dip. Place your chocolate melting chips in a microwave-safe bowl. Heat them in 30-second intervals, stirring thoroughly after each interval. This gradual melting prevents the chocolate from burning or seizing. Continue until the chocolate is smooth and fully melted. Dip each Rice Krispie treat into the melted chocolate, using a fork or a dipping tool to ensure it’s completely coated. Gently tap off any excess chocolate.
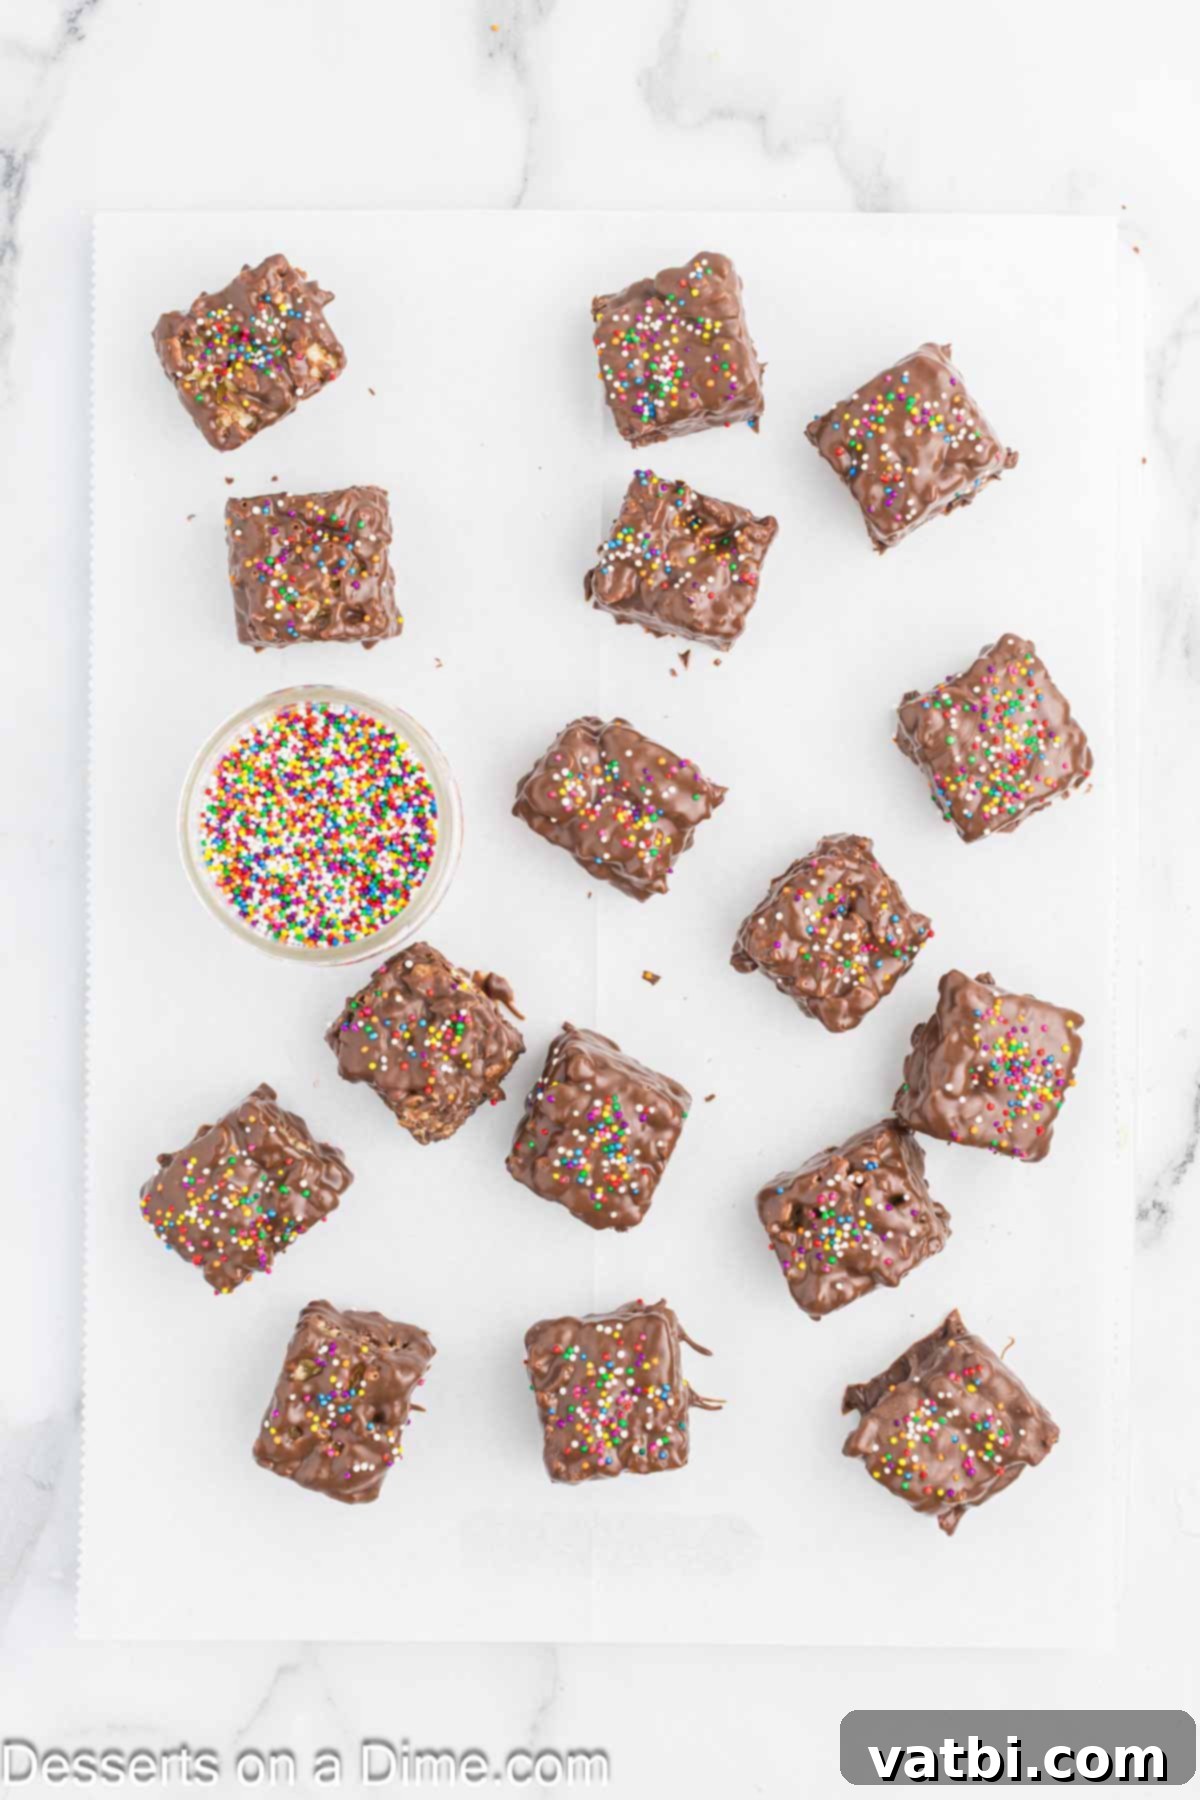
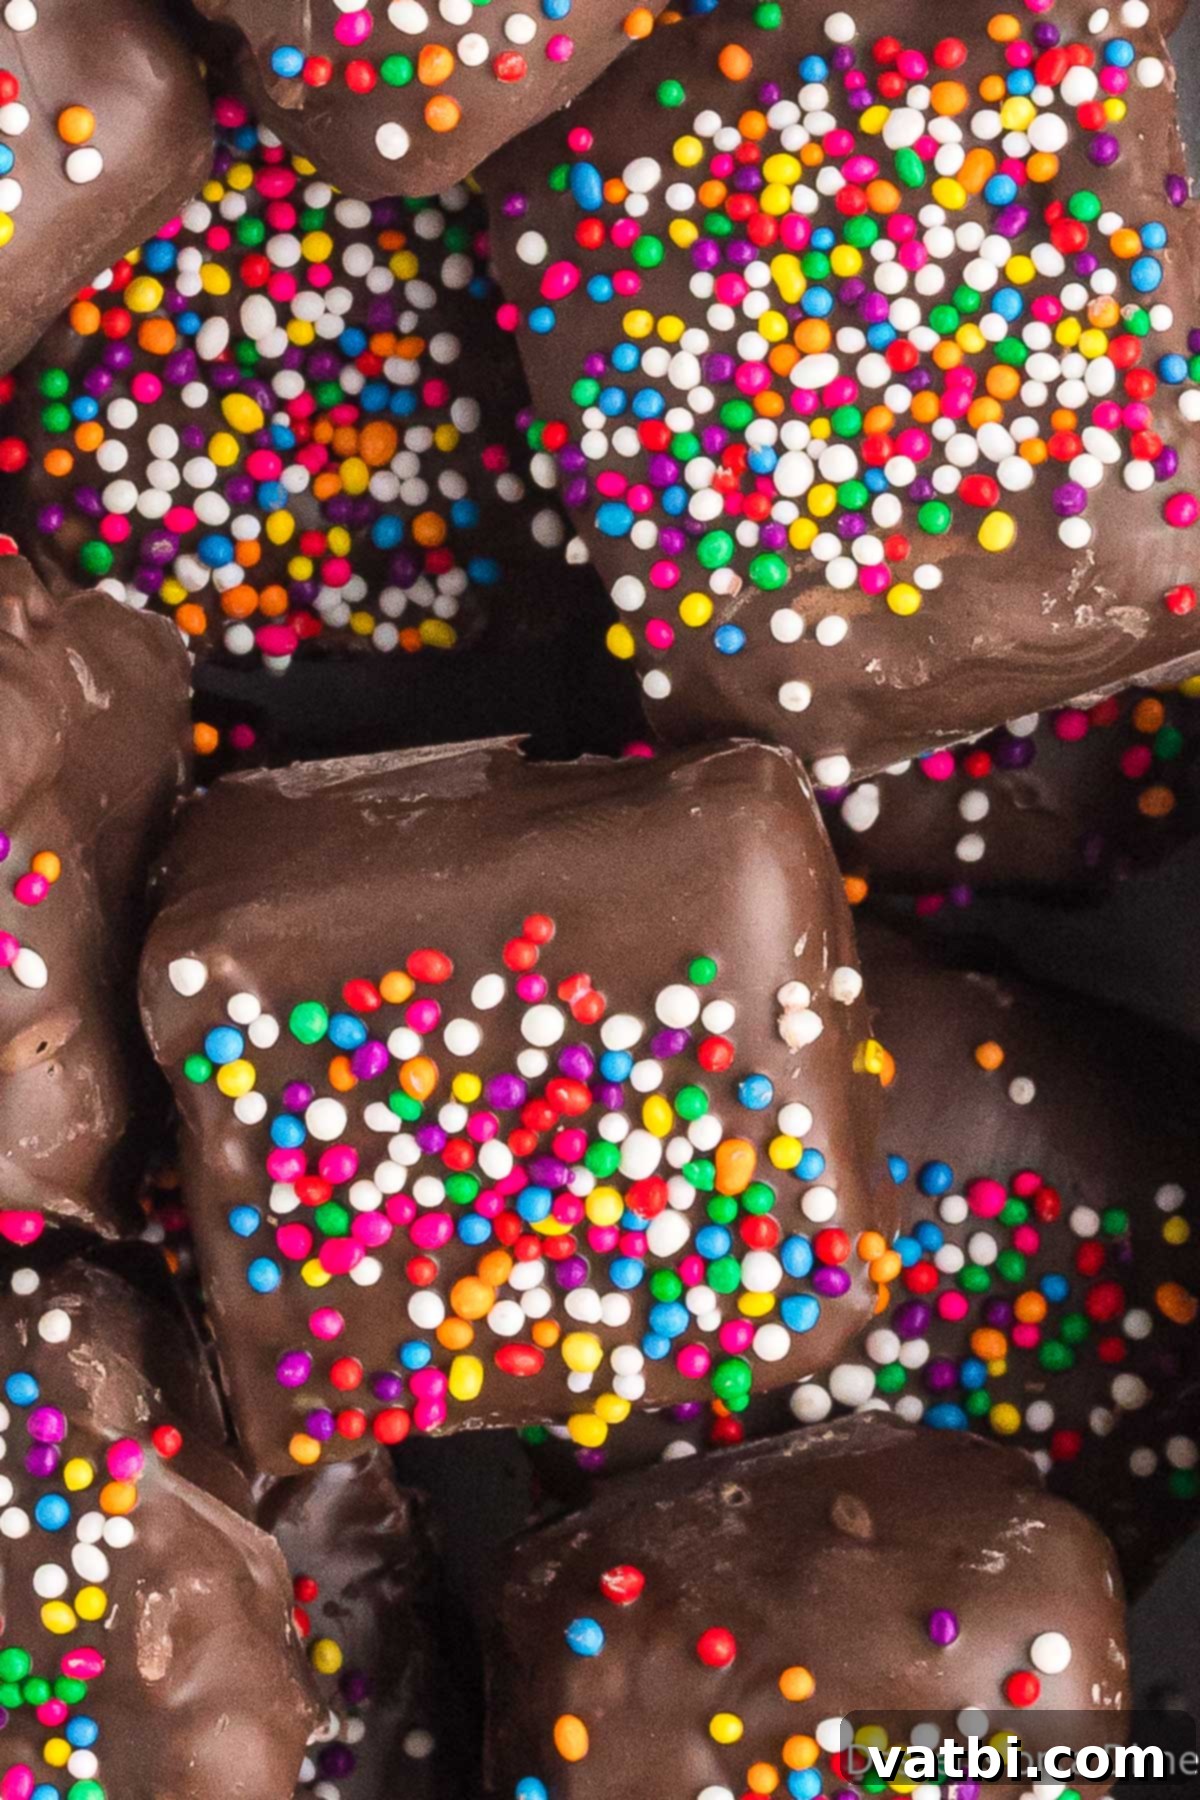
Step 8. Garnish and set. Immediately after dipping each treat, place it on a piece of parchment paper or wax paper. While the chocolate is still wet, generously sprinkle with your chosen multi-colored sprinkles (or other toppings). Allow the chocolate-covered treats to set at room temperature. This can take anywhere from 30 minutes to an hour, depending on your kitchen’s temperature. For faster setting, you can place them in the refrigerator for 10-15 minutes, but avoid leaving them in too long as it can affect texture.
Proper Storage for Lasting Freshness
To keep your Chocolate Covered Rice Krispie Treats tasting their best and maintaining their ideal texture, proper storage is key. Once the chocolate coating has fully set, transfer the treats to an airtight container. Store them at room temperature for up to 3-4 days. While it might seem tempting to refrigerate them, doing so can actually make the Rice Krispie treats harder and less chewy due to the cereal absorbing moisture from the cold air. If you need to store them for longer, they can be frozen in an airtight container for up to 2-3 months. When ready to enjoy, simply thaw them at room temperature.
Expert Pro Tips for No-Fail Results
Achieving perfectly chewy, crispy, and chocolate-coated Rice Krispie Treats is simple when you follow these expert tips:
- Melt the butter and marshmallows using low heat. This is perhaps the most critical tip for preventing hard Rice Krispie treats. Melting butter and marshmallows slowly over low heat ensures they combine smoothly without scorching. High heat can cause the sugar in the marshmallows to crystallize, resulting in a firm, brittle texture once cooled. Stir constantly to promote even melting and prevent sticking.
- Use wax paper or spray your hands. The marshmallow mixture is notoriously sticky. Before pressing the mixture into the pan, lightly butter your hands or use a piece of wax paper (or even the back of a greased spatula). This simple step prevents the sticky mess and allows you to spread the mixture evenly without it clinging to you.
- Melt the chocolate in intervals. Overheating chocolate can cause it to seize, becoming thick and unusable. When melting chocolate chips in the microwave, always do so in short 30-second bursts, stirring vigorously after each interval. Continue until the chocolate is smooth and glossy. If you prefer, a double boiler method (a heatproof bowl set over a pot of simmering water) offers more gentle, controlled melting.
- Prepare the baking sheet in advance. Before you even start melting the chocolate, have your parchment paper-lined baking sheet or tray ready. This gives you a designated, non-stick surface to place the chocolate-dipped treats immediately after coating and sprinkling, ensuring easy cleanup and preventing sticking as the chocolate sets.
- Don’t pack them down too hard. When pressing the Rice Krispie mixture into the pan, apply gentle, even pressure. Over-compressing the mixture will squeeze out all the air pockets, leading to dense, brick-like treats instead of light and airy ones.
- Allow for complete cooling. Ensure the base Rice Krispie treats are completely cool before you cut and dip them in chocolate. If they are still warm, the chocolate will melt and slide off, making it difficult to get a smooth, even coating.
- Use fresh ingredients. Fresh marshmallows will melt more easily and contribute to a softer, chewier treat. Similarly, fresh Rice Krispies cereal ensures maximum crispiness. Check expiration dates!
Frequently Asked Questions About Rice Krispie Treats
To make your Chocolate Covered Rice Krispie Treats completely gluten-free, the first and most important step is to carefully select certified gluten-free versions of your main ingredients. Specifically, look for Rice Krispies cereal that explicitly states it’s gluten-free (many standard brands contain malt flavoring derived from barley, which has gluten). You’ll also need to ensure that the marshmallows you choose are certified gluten-free, although most pure marshmallows are naturally gluten-free. Lastly, pay attention to your sprinkles and chocolate melting chips; while many are naturally gluten-free, cross-contamination during manufacturing can occur. Always check the labels for gluten-free certification or clear allergen statements to be safe.
There are a few common culprits when Rice Krispie treats end up hard instead of perfectly chewy. Firstly, if your marshmallows aren’t fresh, they can lead to a harder texture. Stale marshmallows don’t melt as smoothly and can result in a more brittle treat. Secondly, and very commonly, pressing the mixture down too hard into the pan compacts the cereal too tightly, removing all the air pockets and creating a dense, hard result. Gentle pressing is key! Thirdly, melting the butter and marshmallows over too high heat can also cause them to become stiff and hard once cooled due to sugar crystallization. Always use low heat and stir constantly.
Mini marshmallows are preferred in this recipe primarily because they melt significantly faster and more evenly than their larger counterparts. Their smaller size provides a greater surface area for heat exposure, leading to a quicker and smoother melting process. This helps prevent scorching and ensures a uniform marshmallow coating for your cereal. You can certainly substitute larger marshmallows if that’s all you have, but be prepared for a longer melting time. To speed things up, cut the large marshmallows into smaller pieces before adding them to the pot.
If you’re in a hurry or your kitchen is particularly warm, you can definitely speed up the chocolate setting process. The quickest way is to place the chocolate-covered Rice Krispie treats in the refrigerator for about 10-15 minutes. The cooler temperature will help the chocolate harden much faster than at room temperature. However, be cautious not to leave them in the fridge for too long, as prolonged exposure to cold can sometimes lead to “chocolate bloom” (a dull, whitish film) or make the Rice Krispie base a bit too firm. The freezer can also work for a few minutes, but again, keep an eye on them to prevent over-cooling.
For this recipe, we recommend melting chocolate chips in the microwave for simplicity. Place the chips in a microwave-safe bowl and heat them in 30-second intervals, stirring well after each burst. This gradual method is crucial to prevent the chocolate from burning or seizing. Continue until the chocolate is smooth and entirely melted. Another excellent option, especially for more delicate chocolates, is to use a double boiler. Fill a saucepan with a few inches of water, bring it to a simmer, and place a heatproof bowl (ensuring it doesn’t touch the water) over the saucepan. Add your chocolate to the bowl and stir until melted and smooth from the gentle steam heat.
More Irresistible No-Bake Rice Krispie Treat Recipes
If you love the ease and deliciousness of these chocolate-covered treats, you’ll be thrilled to explore more variations of no-bake Rice Krispie delights:
- Classic Chocolate Rice Krispy Treats: A simple way to infuse chocolate directly into the base.
- Easy Chocolate Caramel Rice Krispie Treats: The perfect blend of sweet and salty with a gooey caramel swirl.
- M&M Rice Krispy Treats: Fun, colorful, and packed with everyone’s favorite candy-coated chocolates.
- Peanut Butter Balls with Rice Krispies: A bite-sized treat combining creamy peanut butter and crispy cereal.
Ready to create a batch of these yummy Chocolate Covered Rice Krispie Treats? They’re incredibly simple, wonderfully versatile, and guaranteed to put a smile on everyone’s face. Once you’ve tried this recipe, we’d love to hear your thoughts! Please leave a comment and a star rating below to share your experience.
Pin
Chocolate Covered Rice Krispie Treats
Ingredients
- 6 cup Rice Krispies Cereal
- 3 tbsp Butter
- 10.5 oz Mini Marshmallows
- 1 teaspoon Vanilla Extract
- 1 cup Chocolate Melting Chips
- Multi-Colored Sprinkles optional
Instructions
-
Using butter or cooking spray, prepare a 9 x 13 pan or line with parchment paper.
-
In a medium to large saucepan, melt the butter over low heat.
-
Add the marshmallows and stir until completely melted.
-
Remove from heat.
-
Add the Rice Krispies cereal and stir until the cereal is well coated.
-
Butter your hands or use wax paper to press the mixture into the pan. Do not pack them down or the Rice Krispie treats will be hard.
-
Allow the Rice Krispies to cool completely at room temperature. Do not place them in the refrigerator.
-
Line a cutting board or tray with parchment paper or wax paper.
-
Cut the Rice Krispie treats into small bite size squares (approximately 1 inch by 1 inch).
-
Heat melting chocolate chips by microwaving them in 30 second intervals, stirring after each interval.
-
Dip each of the Rice Krispie treats into the melted chocolate and completely coat the treat with the melted chocolate.
-
Then place them on a piece of parchment paper. Top with the sprinkles and allow them to set at room temperature.
Recipe Notes
You can easily dip these in any of your favorite chocolate. Semi-Sweet Chocolate, Milk Chocolate or White chocolate all work great for this recipe.
Nutrition Facts
Pin This Now to Remember It Later
Pin Recipe
