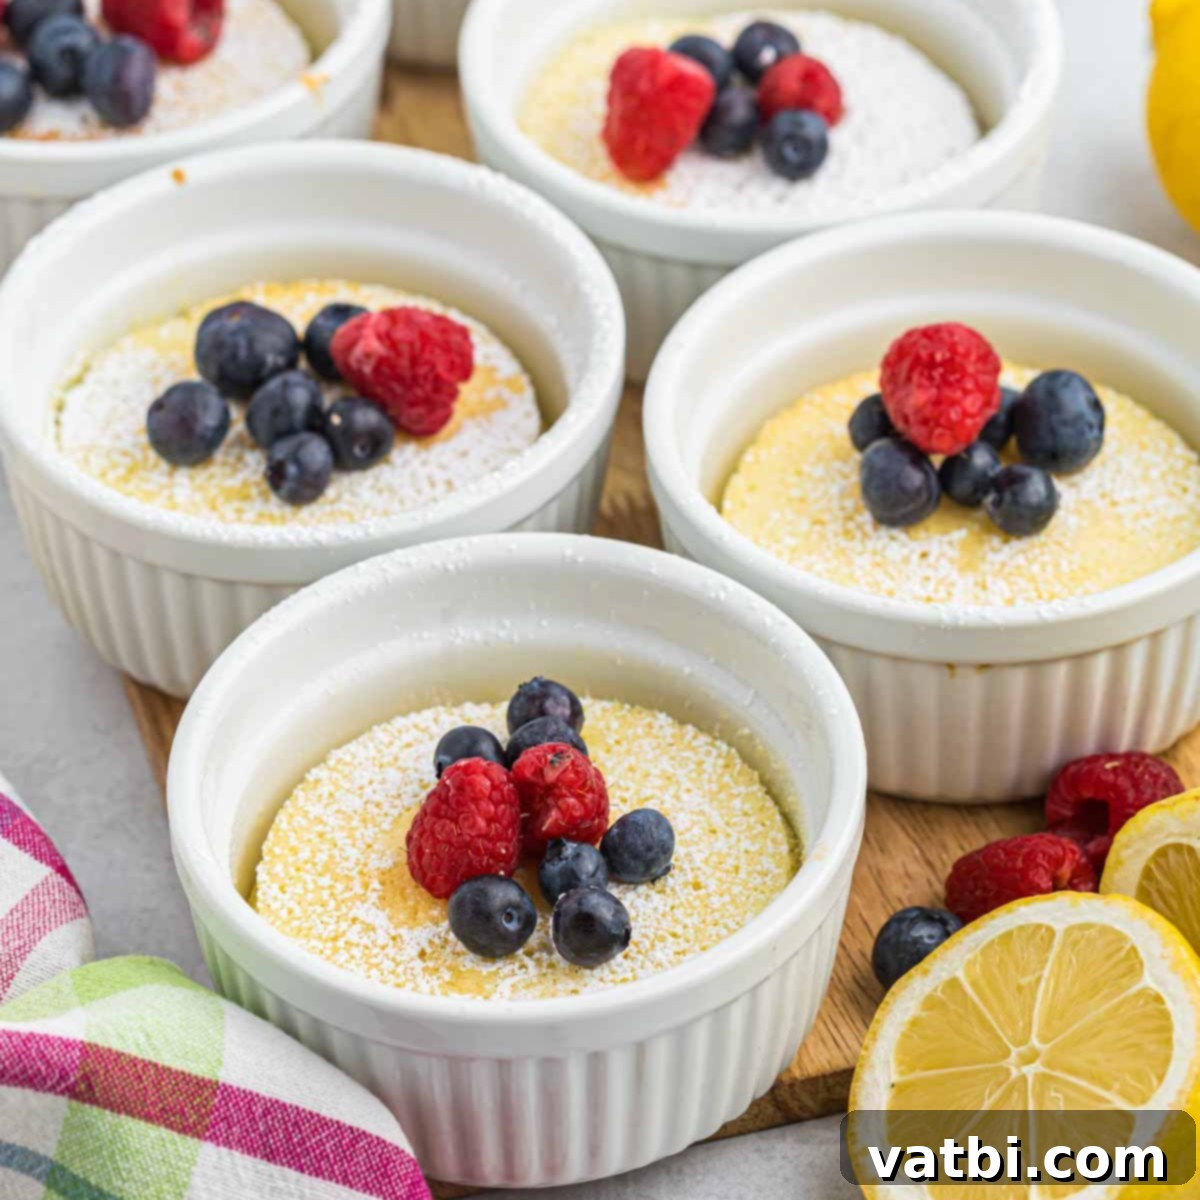
Zesty Lemon Pudding Cakes: Your New Favorite Individual Dessert Recipe
Prepare for a truly delightful treat with our Lemon Pudding Cakes! Baked conveniently in individual ramekins, this dessert offers an exquisite combination of textures and flavors. Each serving features a rich, creamy lemon pudding base topped with a light, fluffy lemon cake, creating a magical self-saucing experience right in your dish. It’s the perfect balance of sweet and tangy, guaranteed to brighten any day.
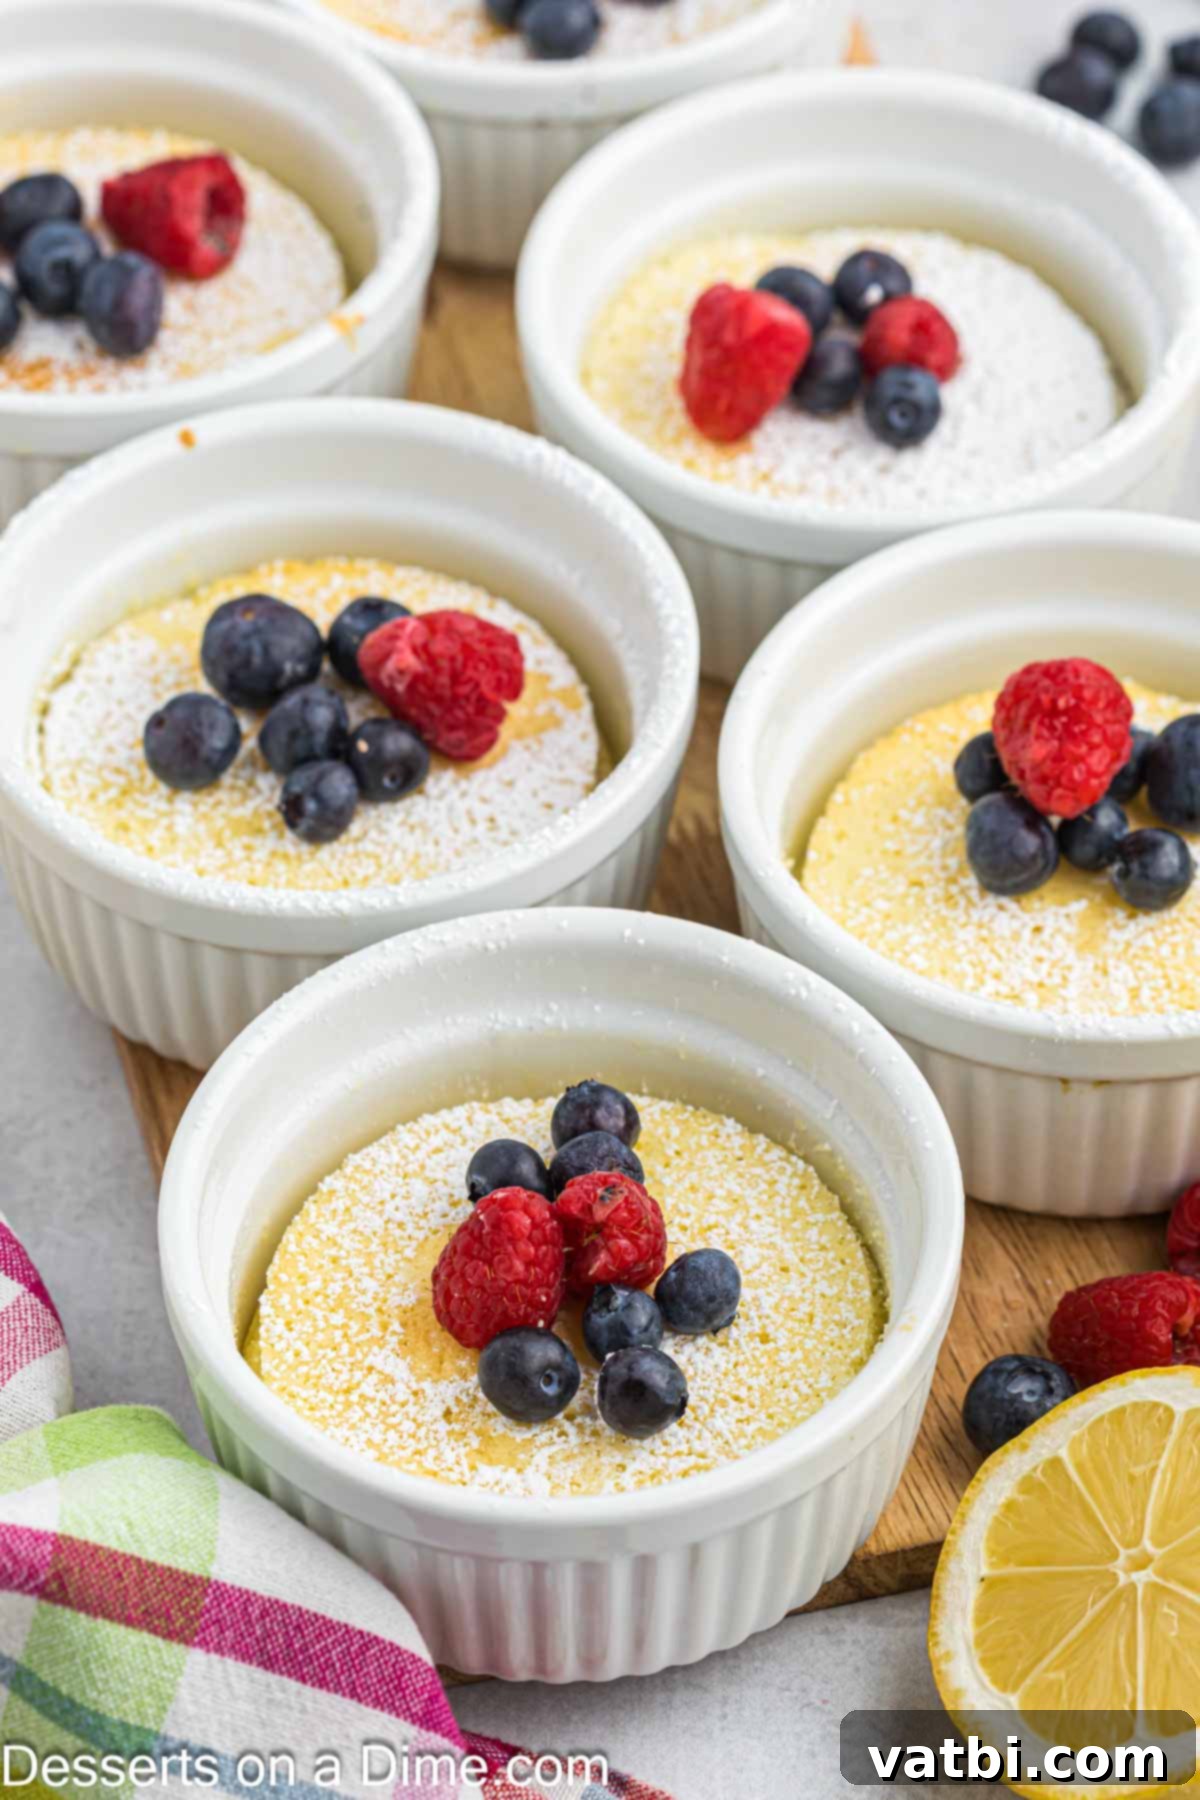
This Lemon Pudding Cake isn’t just one of the best lemon desserts you’ll ever try; it’s also incredibly easy to prepare. The beauty of individual portions makes serving a breeze, especially when hosting parties or special gatherings. Everyone will adore the vibrant, fresh lemon flavor that shines through every bite. Its simplicity makes it an ideal choice for busy parents looking for a quick yet impressive dessert. Beyond this recipe, we also highly recommend The Best Lemon Lush Dessert, perfect for those exploring 51 Easy Summer Desserts.
Moreover, its bright and cheerful profile makes it a standout among 35 Mother’s Day Dessert Ideas, offering a light and refreshing option that moms are sure to appreciate. The elegant presentation in ramekins elevates it beyond a simple cake, making it suitable for any festive occasion or a cozy weeknight indulgence.
Table of contents
- Why You’ll Adore This Lemon Pudding Cake
- Essential Ingredients for Lemon Pudding Cake
- Step-By-Step Baking Instructions
- Delicious Topping Suggestions
- Proper Storage
- Expert Baking Tips for Success
- Frequently Asked Questions
Why You’ll Adore This Lemon Pudding Cake
This dessert isn’t just delicious; it’s a testament to how simple ingredients can create something extraordinary. Here’s why this Lemon Pudding Cake recipe will quickly become a household favorite:
- Effortlessly Simple Ingredients: You won’t need to hunt for exotic items. This recipe relies on common pantry staples like butter, sugar, eggs, flour, and, of course, fresh lemons. These readily available ingredients make it a stress-free baking project, perfect for beginners and seasoned bakers alike.
- Bursting with Fresh Lemon Flavor: The secret to its irresistible taste lies in using fresh lemon juice and zest. This ensures an authentic, bright, and tangy citrus punch that perfectly complements the sweetness of the cake and pudding layers. It’s a natural, vibrant flavor that artificial alternatives simply cannot replicate.
- Budget-Friendly Dessert: Given its simple and accessible ingredient list, this Lemon Pudding Cake is incredibly economical to make. You can enjoy a sophisticated, restaurant-quality dessert without breaking the bank, making it ideal for everyday indulgence or entertaining on a budget.
- Magical Self-Layering Effect: The most enchanting feature of this dessert is how it magically separates into two distinct layers during baking. A rich, creamy lemon pudding forms at the bottom, while a light, airy lemon cake bakes on top, all from a single batter. This unique texture combination is truly captivating.
- Perfect Individual Portions: Baking these cakes in ramekins ensures perfectly portioned individual desserts. This not only makes serving incredibly convenient, but also adds an elegant touch to your dessert spread, making each guest feel special with their own personal pudding cake.
Essential Ingredients for Lemon Pudding Cake
Crafting these delectable lemon pudding cakes requires just a few key components. The quality and preparation of each ingredient play a crucial role in achieving the perfect flavor and texture. Here’s a detailed look at what you’ll need:
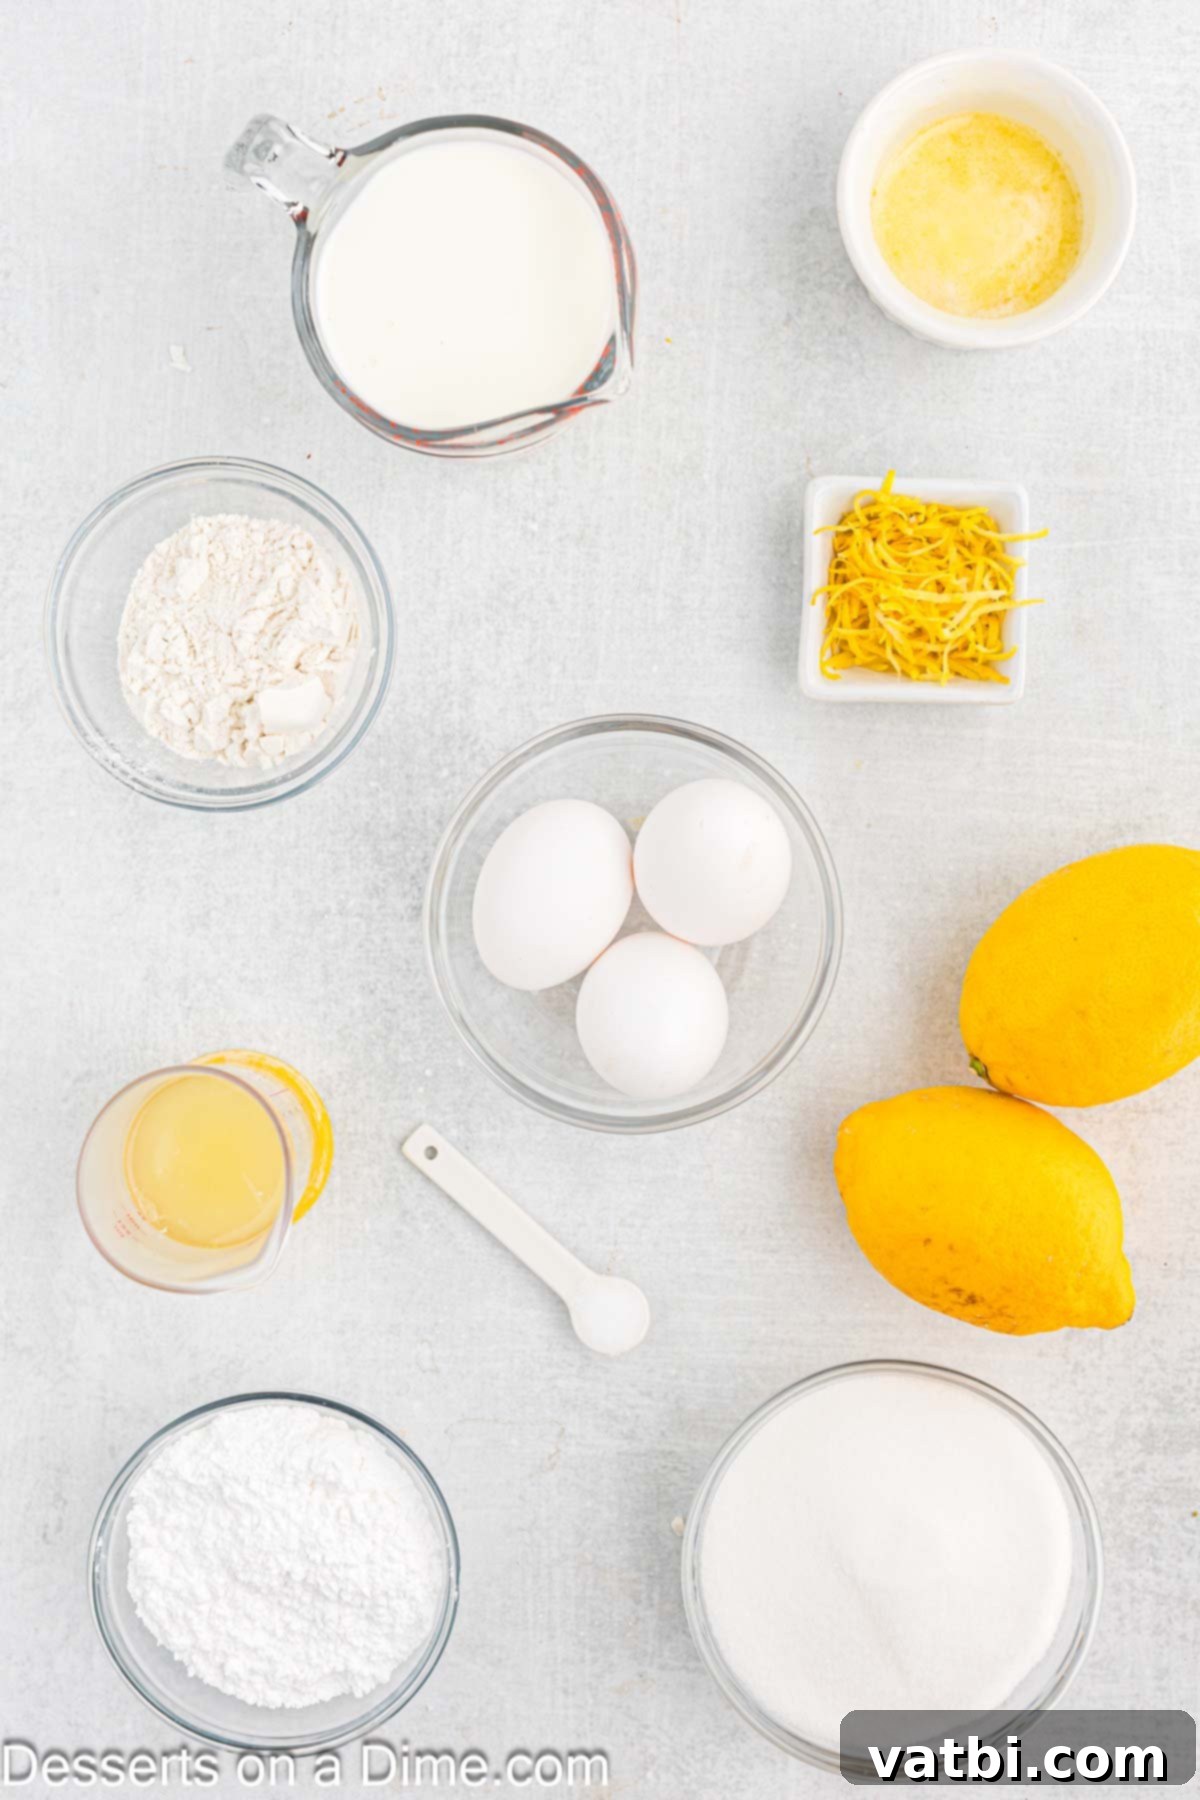
- Unsalted Butter: Using unsalted butter allows you to control the overall saltiness of your dessert. Ensure it’s melted for easy incorporation into the batter, creating a smooth, cohesive mixture.
- Large Eggs: It’s crucial for the eggs to be at room temperature. This helps them emulsify better with other ingredients, leading to a smoother batter and a more uniform texture. We’ll be separating the yolks and whites to create the distinct cake and pudding layers.
- All-Purpose Flour: Flour provides the structure for the cake layer. To measure accurately, spoon the flour into the measuring cup and then level it off with a straight edge, rather than scooping directly, which can compact the flour and lead to a dense cake.
- Whole Milk: For the richest flavor and best texture in your pudding layer, whole milk is recommended. Avoid substituting with reduced-fat milk, as the fat content contributes significantly to the creamy consistency.
- Fresh Lemon: This is where the magic happens! Don’t skip the step of using a fresh lemon for both zest and juice. The zest carries a concentrated lemon oil, providing an intense aromatic flavor that enhances the overall citrus profile of the cake.
- Fresh Lemon Juice: Just like the zest, fresh lemon juice offers a bright, tangy acidity that balances the sweetness and adds depth of flavor. Bottled lemon juice often contains preservatives and lacks the vibrancy of freshly squeezed.
- Granulated Sugar: This provides the primary sweetness for the dessert. It’s creamed with the butter and later incorporated into the batter, contributing to both taste and structure.
- Salt: A small amount of salt is essential to enhance all the other flavors, balancing the sweetness and making the lemon taste even brighter.
- Powdered Sugar: This is for a beautiful dusting on top of the baked cakes, adding a delicate sweetness and an elegant finish.
You can find the complete list of quantities for this delicious recipe at the bottom of the page in the detailed recipe card.
Step-By-Step Baking Instructions
Creating these delightful Lemon Pudding Cakes is a straightforward process when you follow these easy steps. Get ready to enjoy a perfectly balanced, zesty dessert!
- Step 1: Prepare Your Oven and Ramekins. Begin by preheating your oven to 350 degrees Fahrenheit (175°C). This ensures the oven is at the correct temperature for even baking. Next, generously spray six 6-ounce ramekins with a non-stick cooking spray. This crucial step prevents the cakes from sticking and ensures easy removal and a clean presentation.
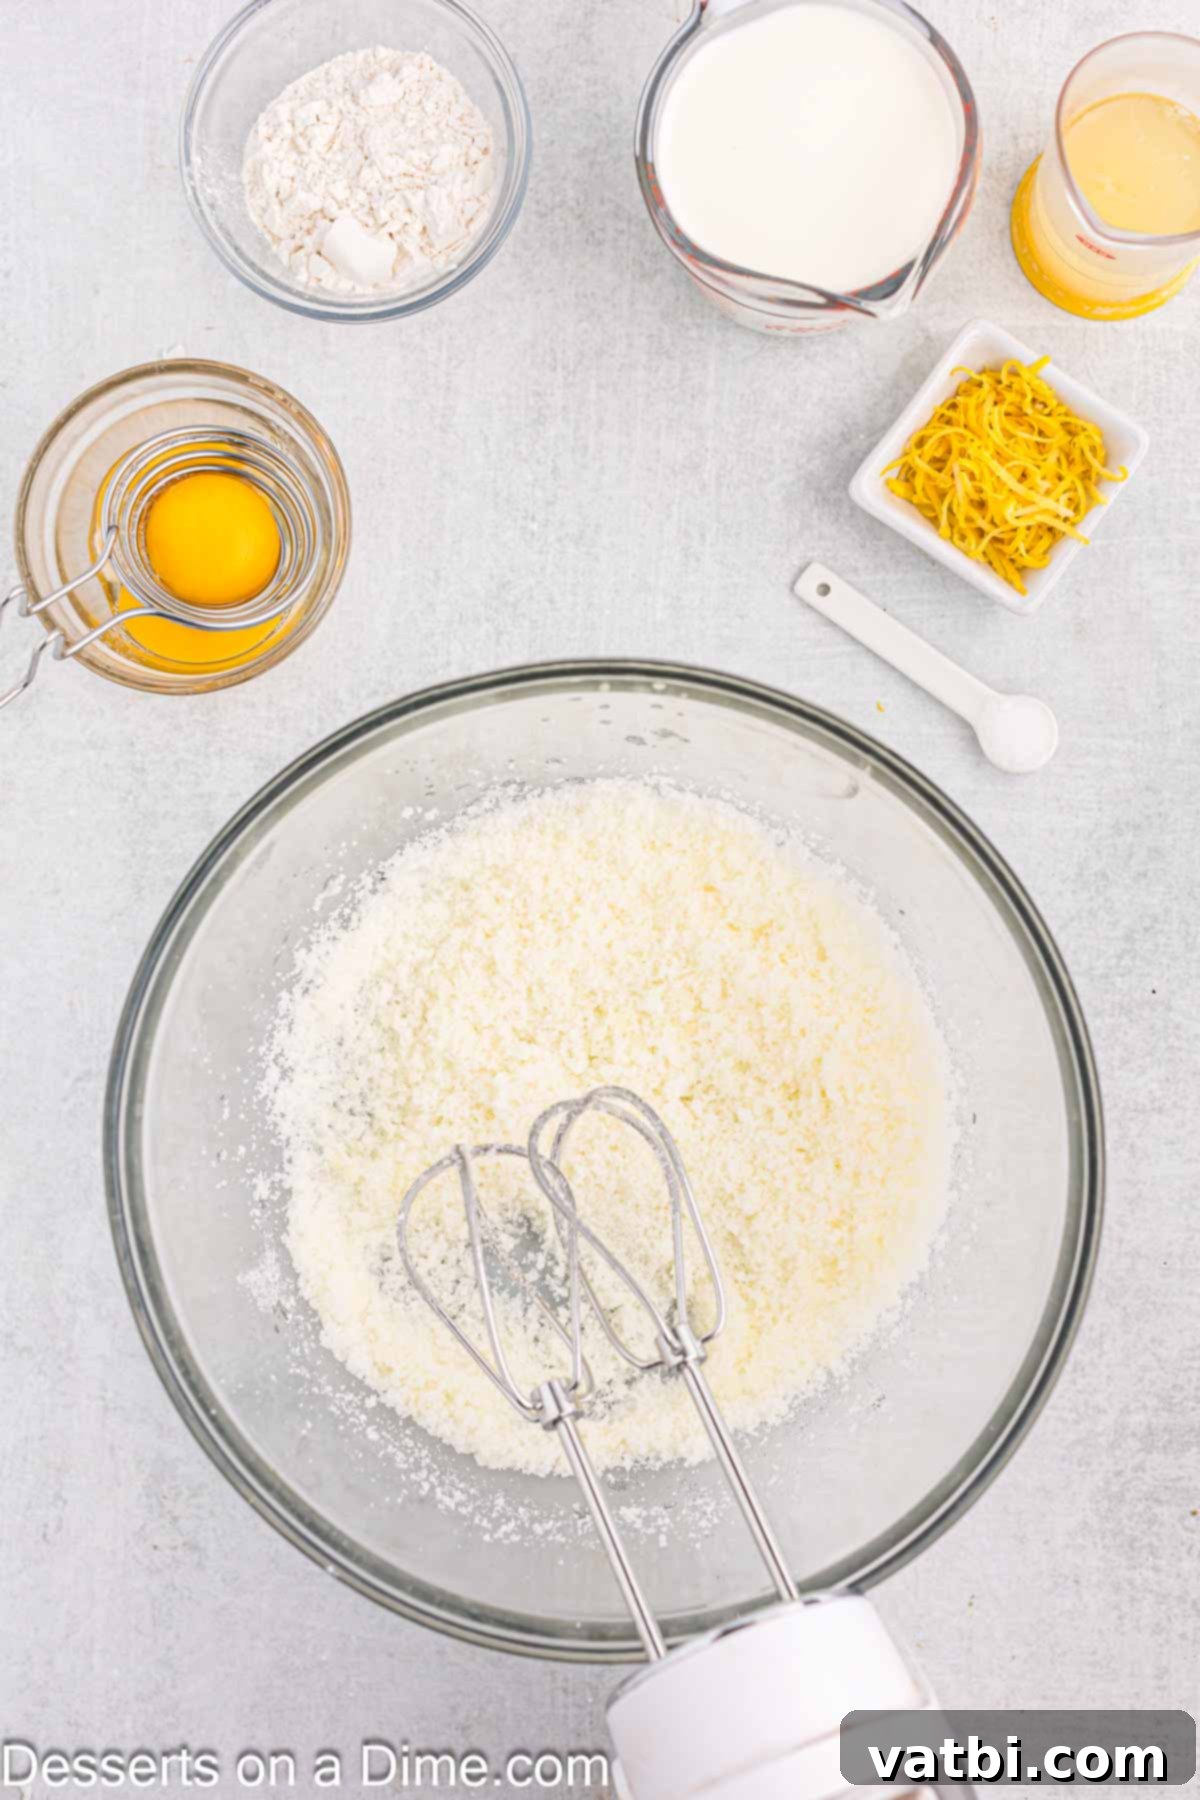
Step 2: Cream Butter and Sugar. In a large mixing bowl, combine the melted unsalted butter and granulated sugar. Using an electric mixer, beat them together until the mixture is light in color and fluffy. This creaming process incorporates air, which contributes to the cake’s light texture.
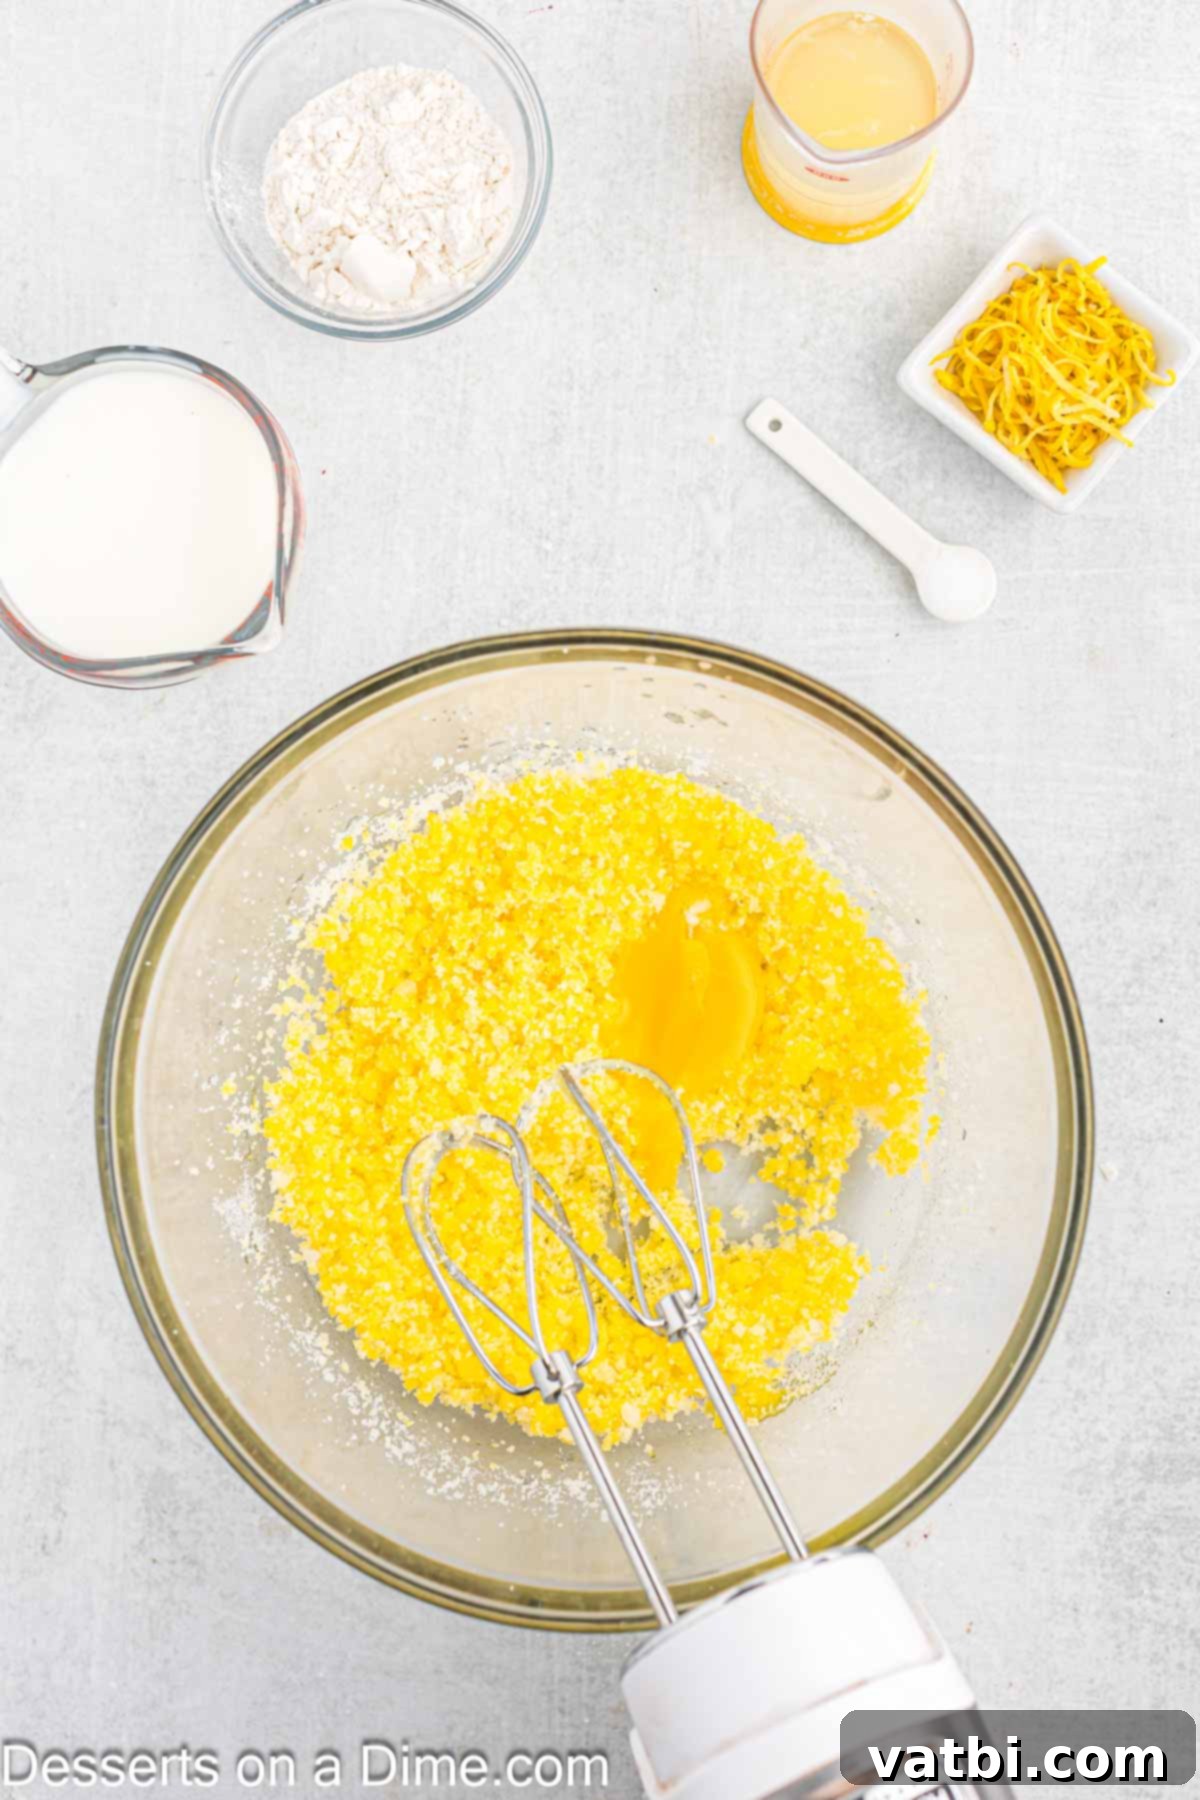
Step 3: Incorporate Egg Yolks. With the mixer on low speed, add the egg yolks to the butter and sugar mixture one at a time. Mix well after each addition to ensure they are fully incorporated and the batter remains smooth. Using room temperature eggs helps prevent the mixture from curdling.
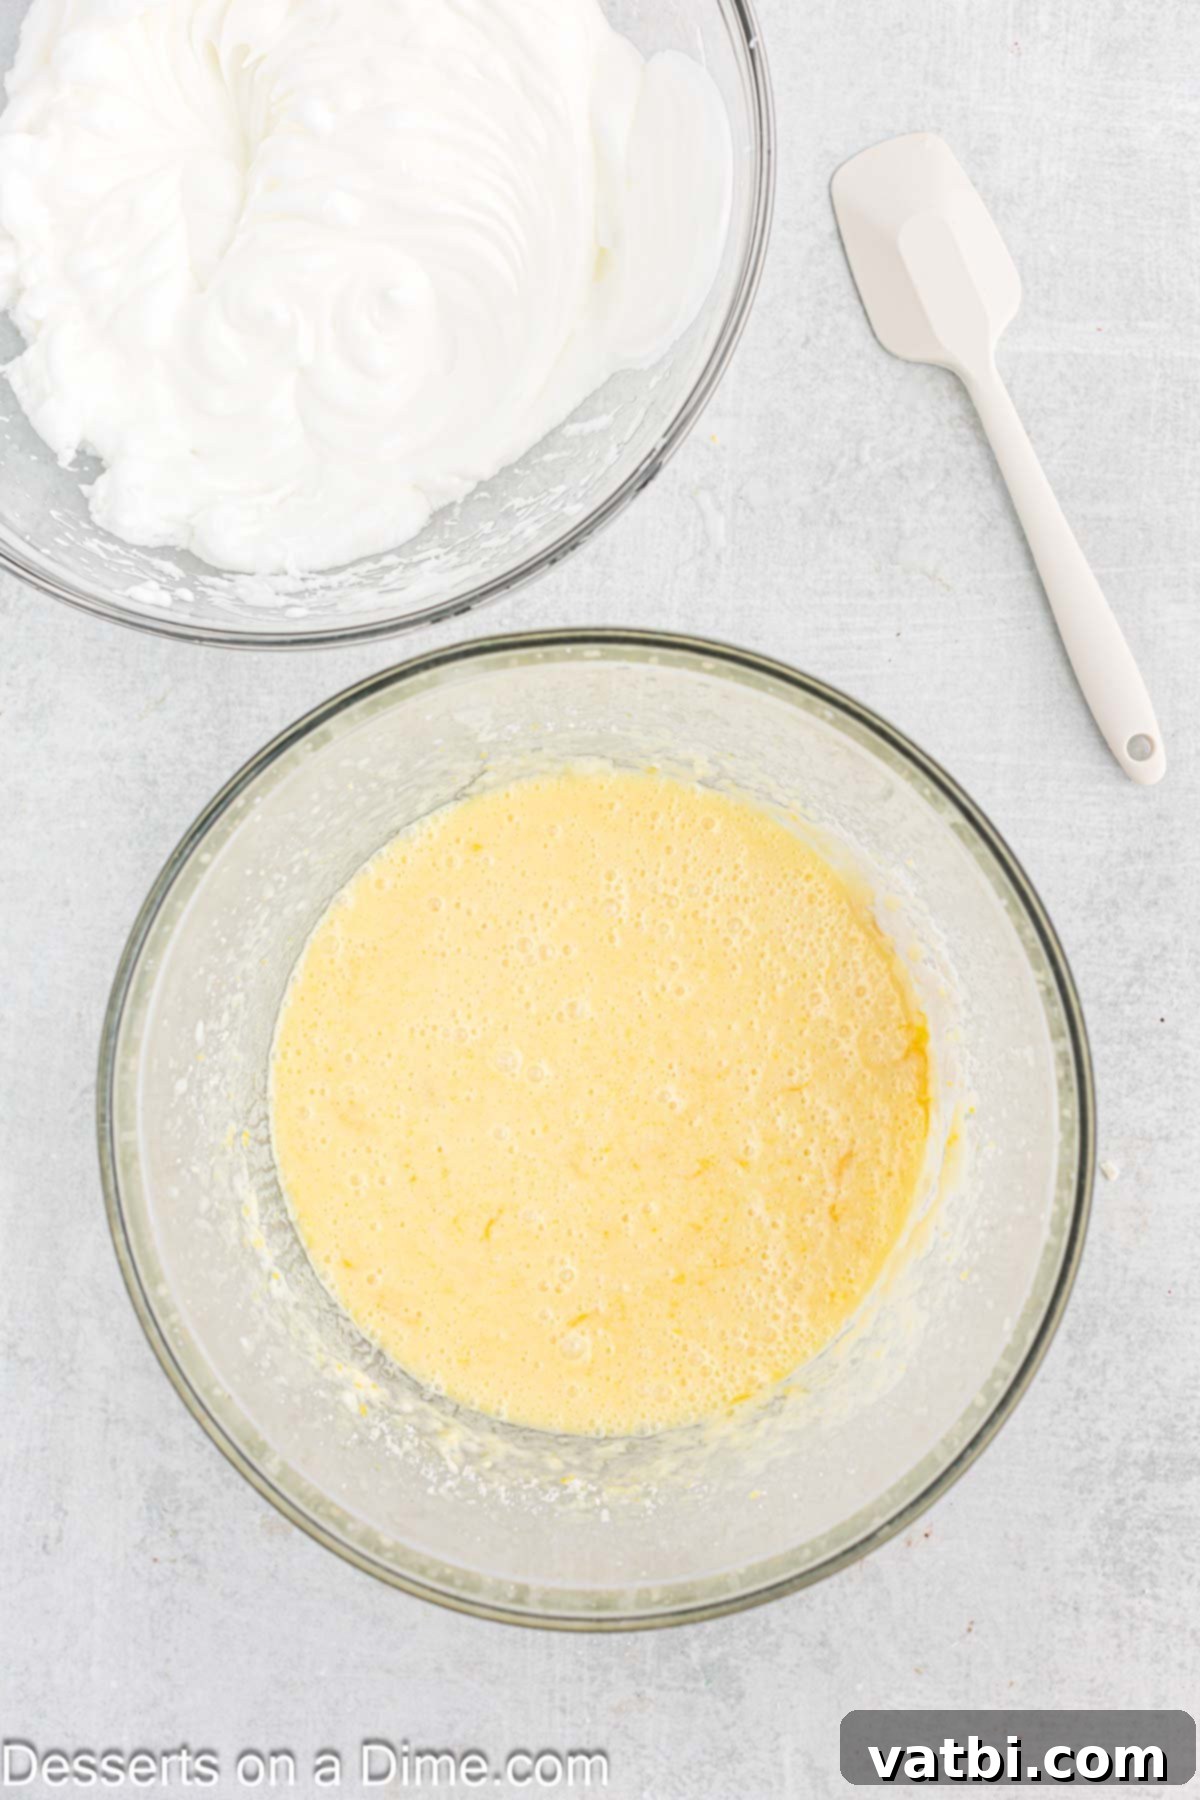
Step 4: Combine Wet and Dry Ingredients. Gradually mix in the whole milk, all-purpose flour, fresh lemon juice, and finely grated lemon zest. Continue mixing until all ingredients are just combined and you have a smooth, well-blended batter. Be careful not to overmix, as this can develop the gluten in the flour and result in a tough cake.
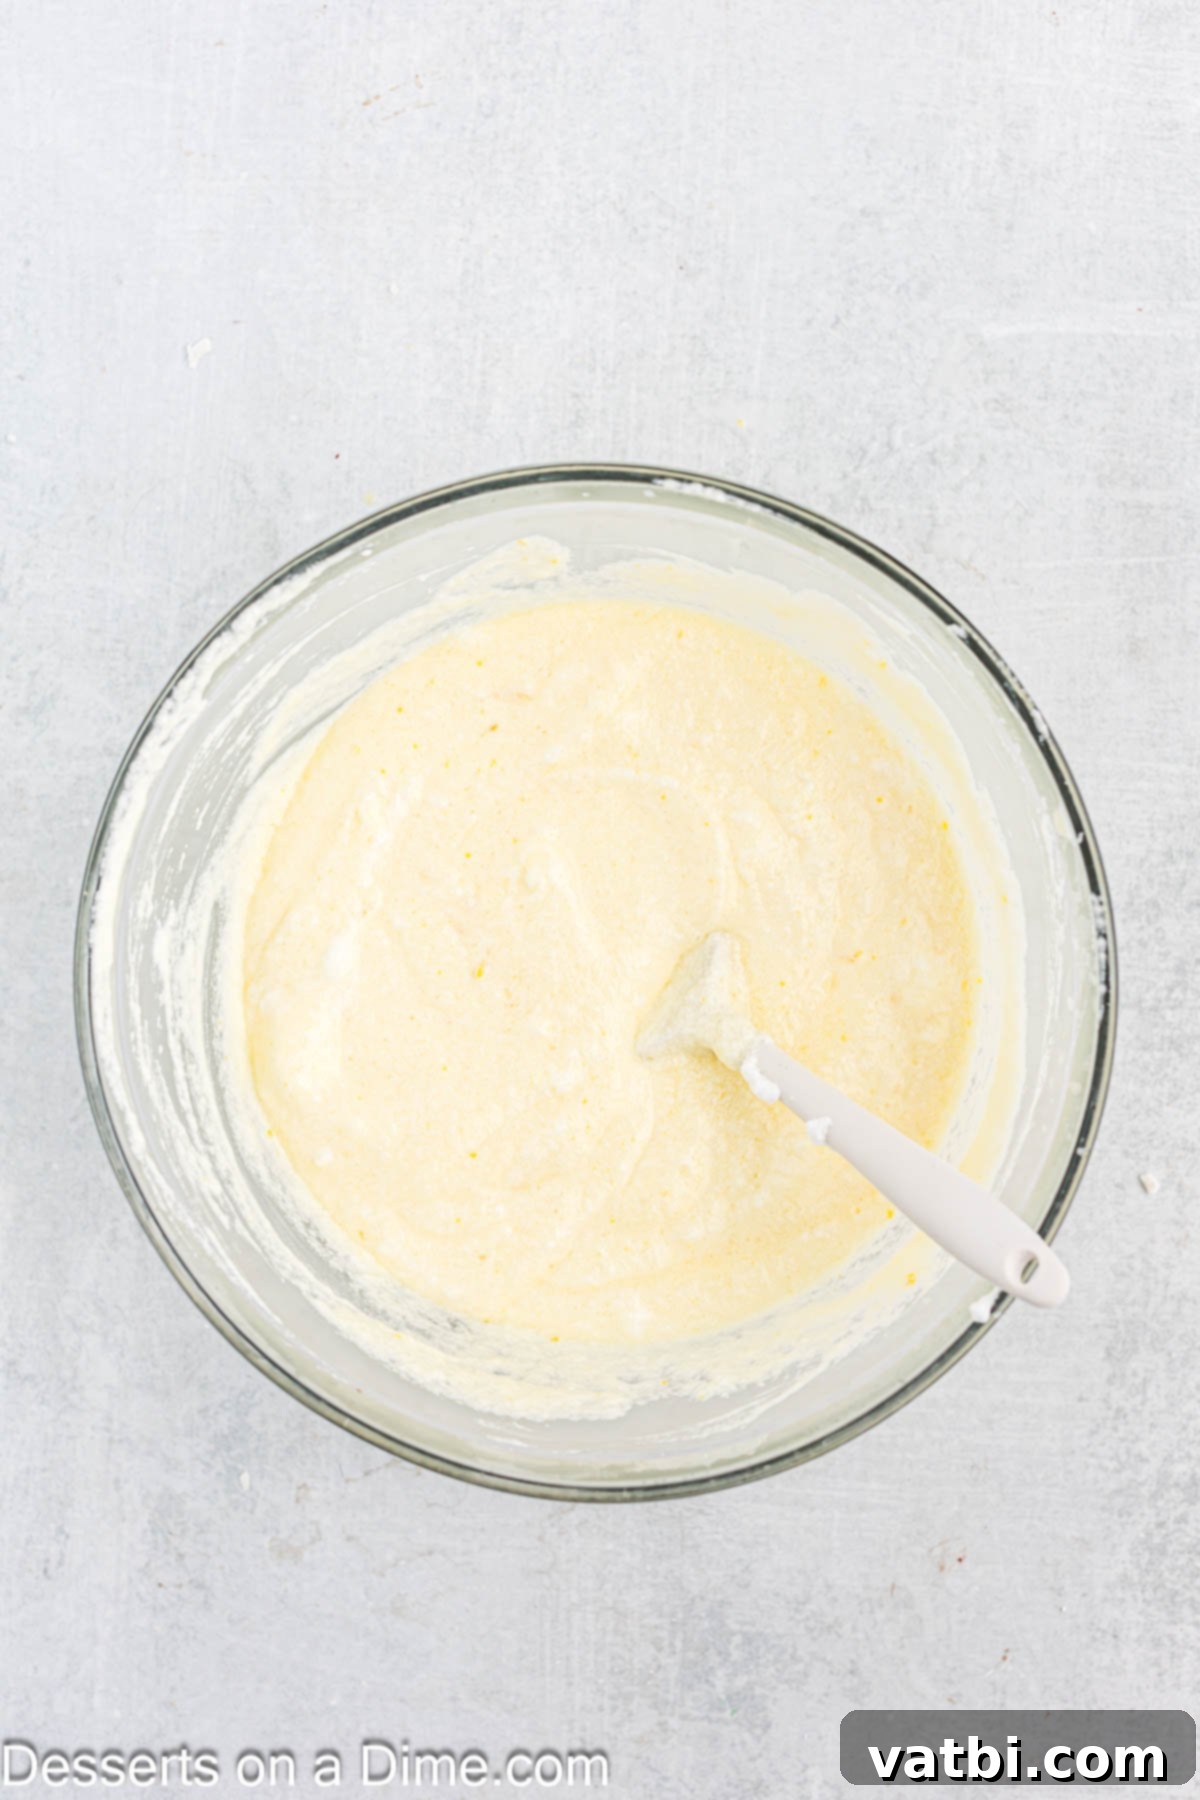
Step 5: Prepare and Fold Egg Whites. In a separate, clean bowl, use an electric mixer to beat the reserved egg whites (from Step 3, once separated) until they become fluffy and form soft peaks. These aerated egg whites are crucial for the light and airy texture of the cake layer. Gently fold the beaten egg whites into the lemon batter using a spatula. This gentle folding technique helps retain the air in the whites, ensuring a light cake.
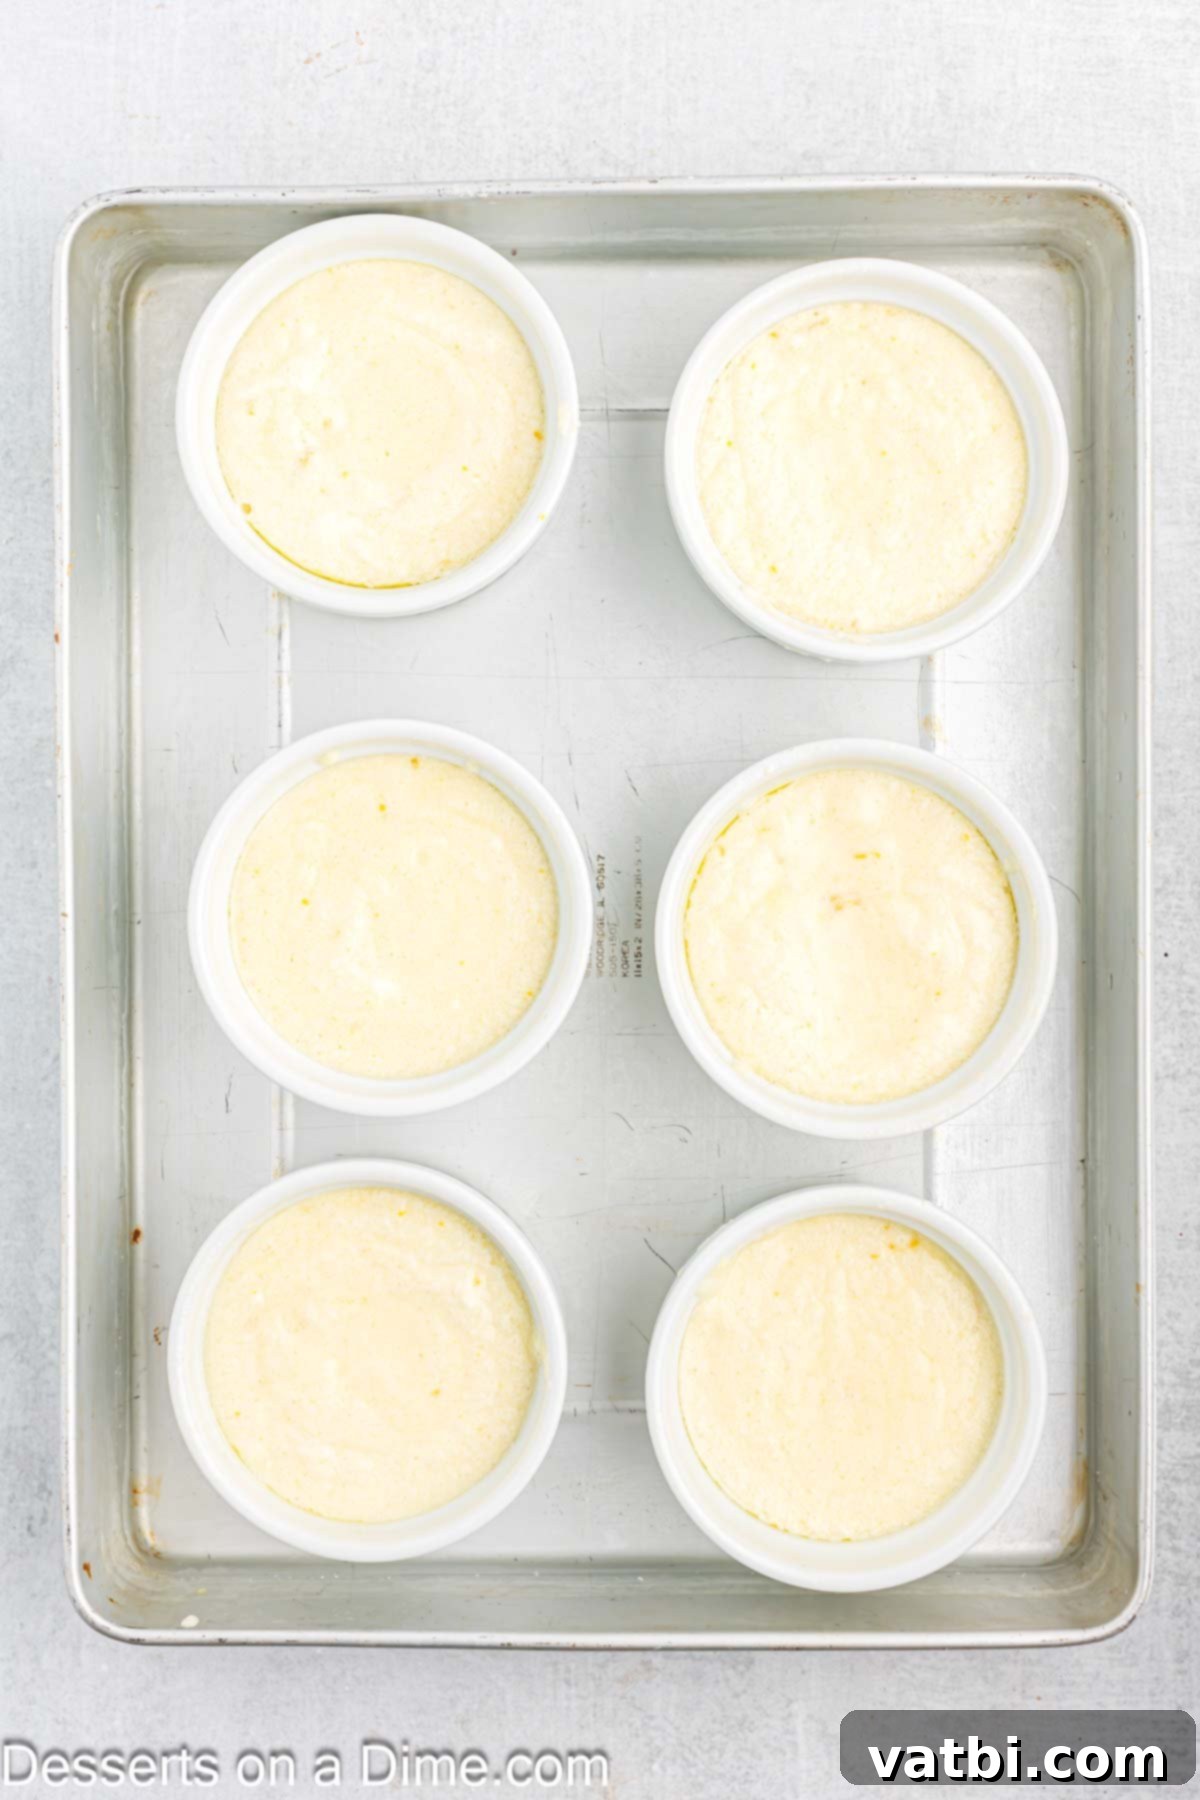
Step 6: Fill Ramekins and Prepare Water Bath. Carefully pour the prepared batter evenly into the six greased ramekins. Next, place the filled ramekins into a larger baking pan. This pan will serve as a water bath. Pour boiling water into the larger pan until it reaches approximately halfway up the sides of the ramekins. The water bath (bain-marie) ensures gentle, even cooking and helps create the distinct pudding layer at the bottom.
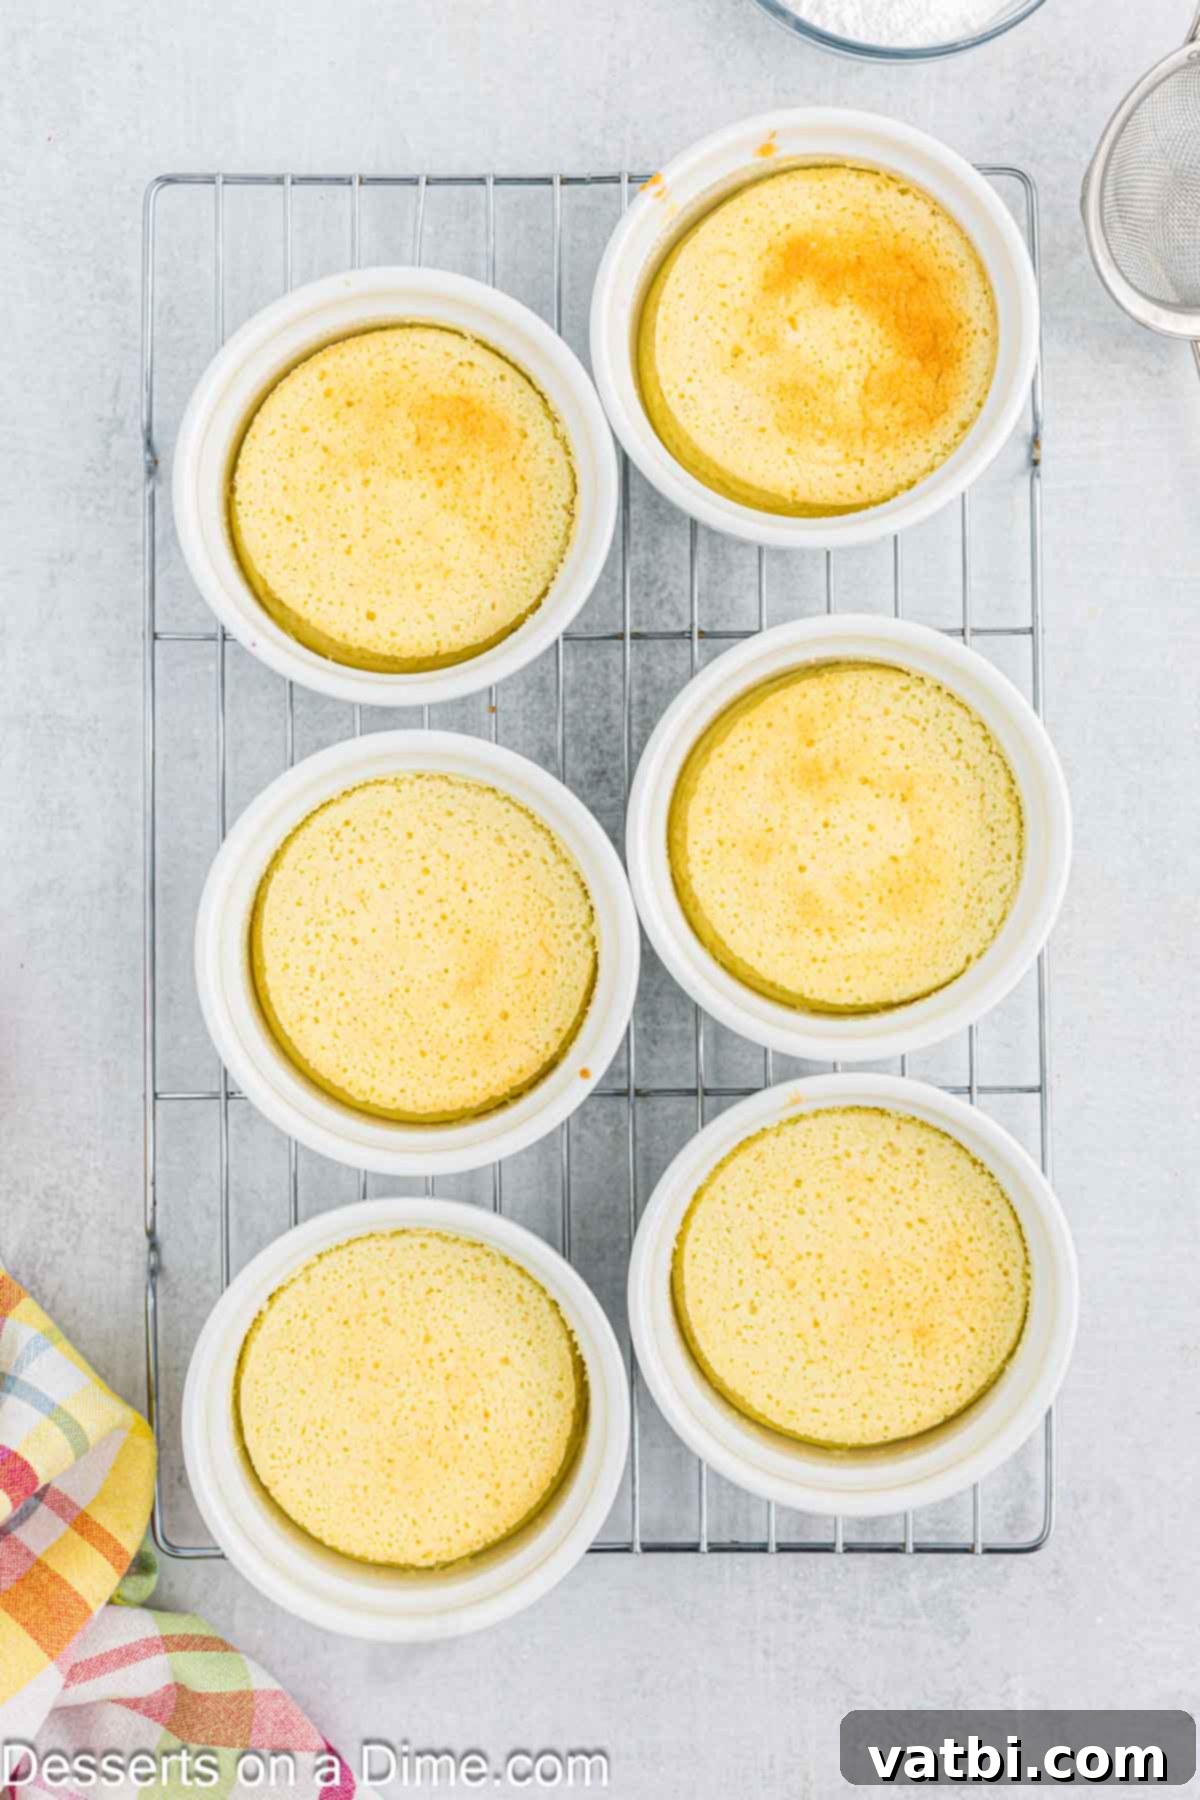
Step 7: Bake to Perfection. Carefully transfer the large pan with the ramekins and water bath to your preheated oven. Bake for 40-50 minutes. The cakes are ready when their tops are beautifully golden brown and the center of the cake feels set and springs back gently when lightly touched. Remove the large pan from the oven and carefully transfer the ramekins to a wire rack to cool slightly.
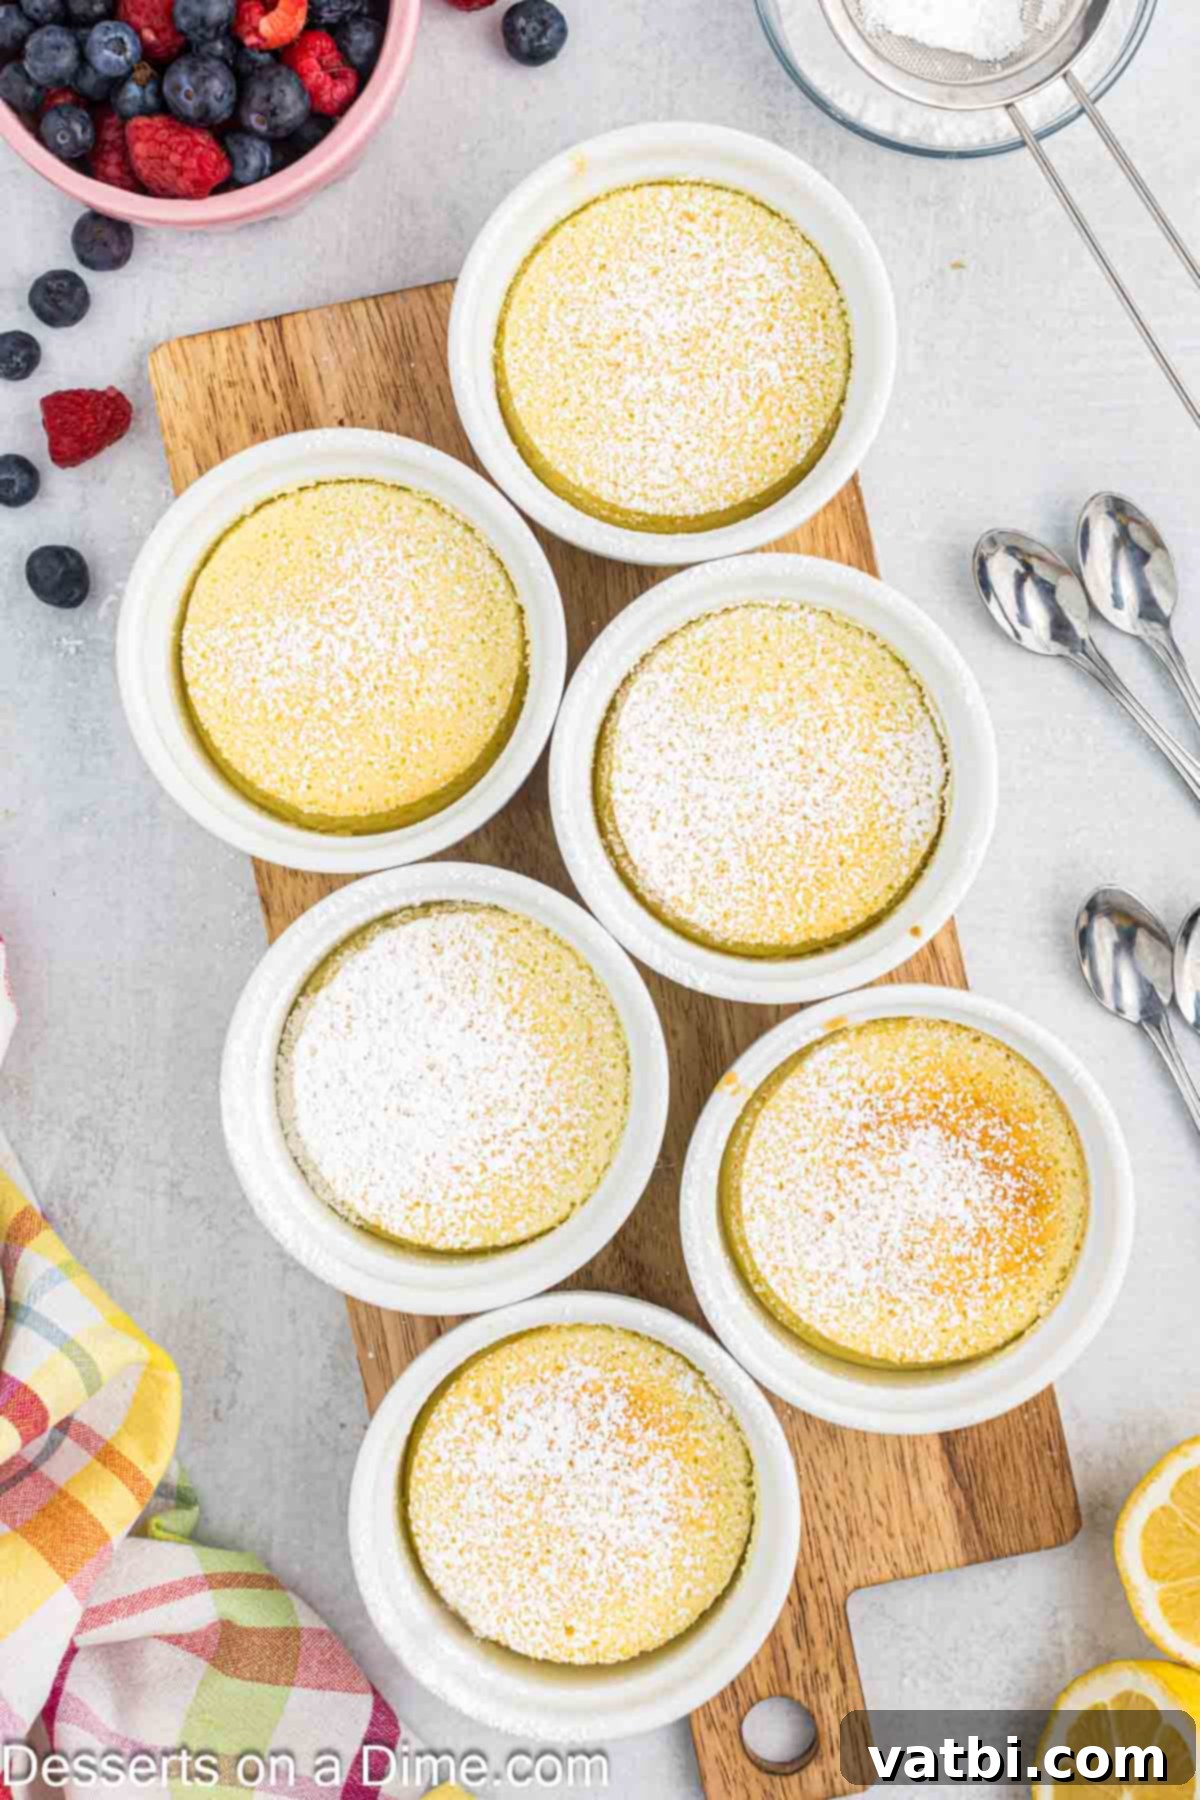
Step 8: Dust with Powdered Sugar. Allow the cakes to cool for about 15-20 minutes after baking. Just before serving, lightly dust each lemon pudding cake with powdered sugar using a small sieve or sifter. This adds a lovely finish and a delicate touch of sweetness.
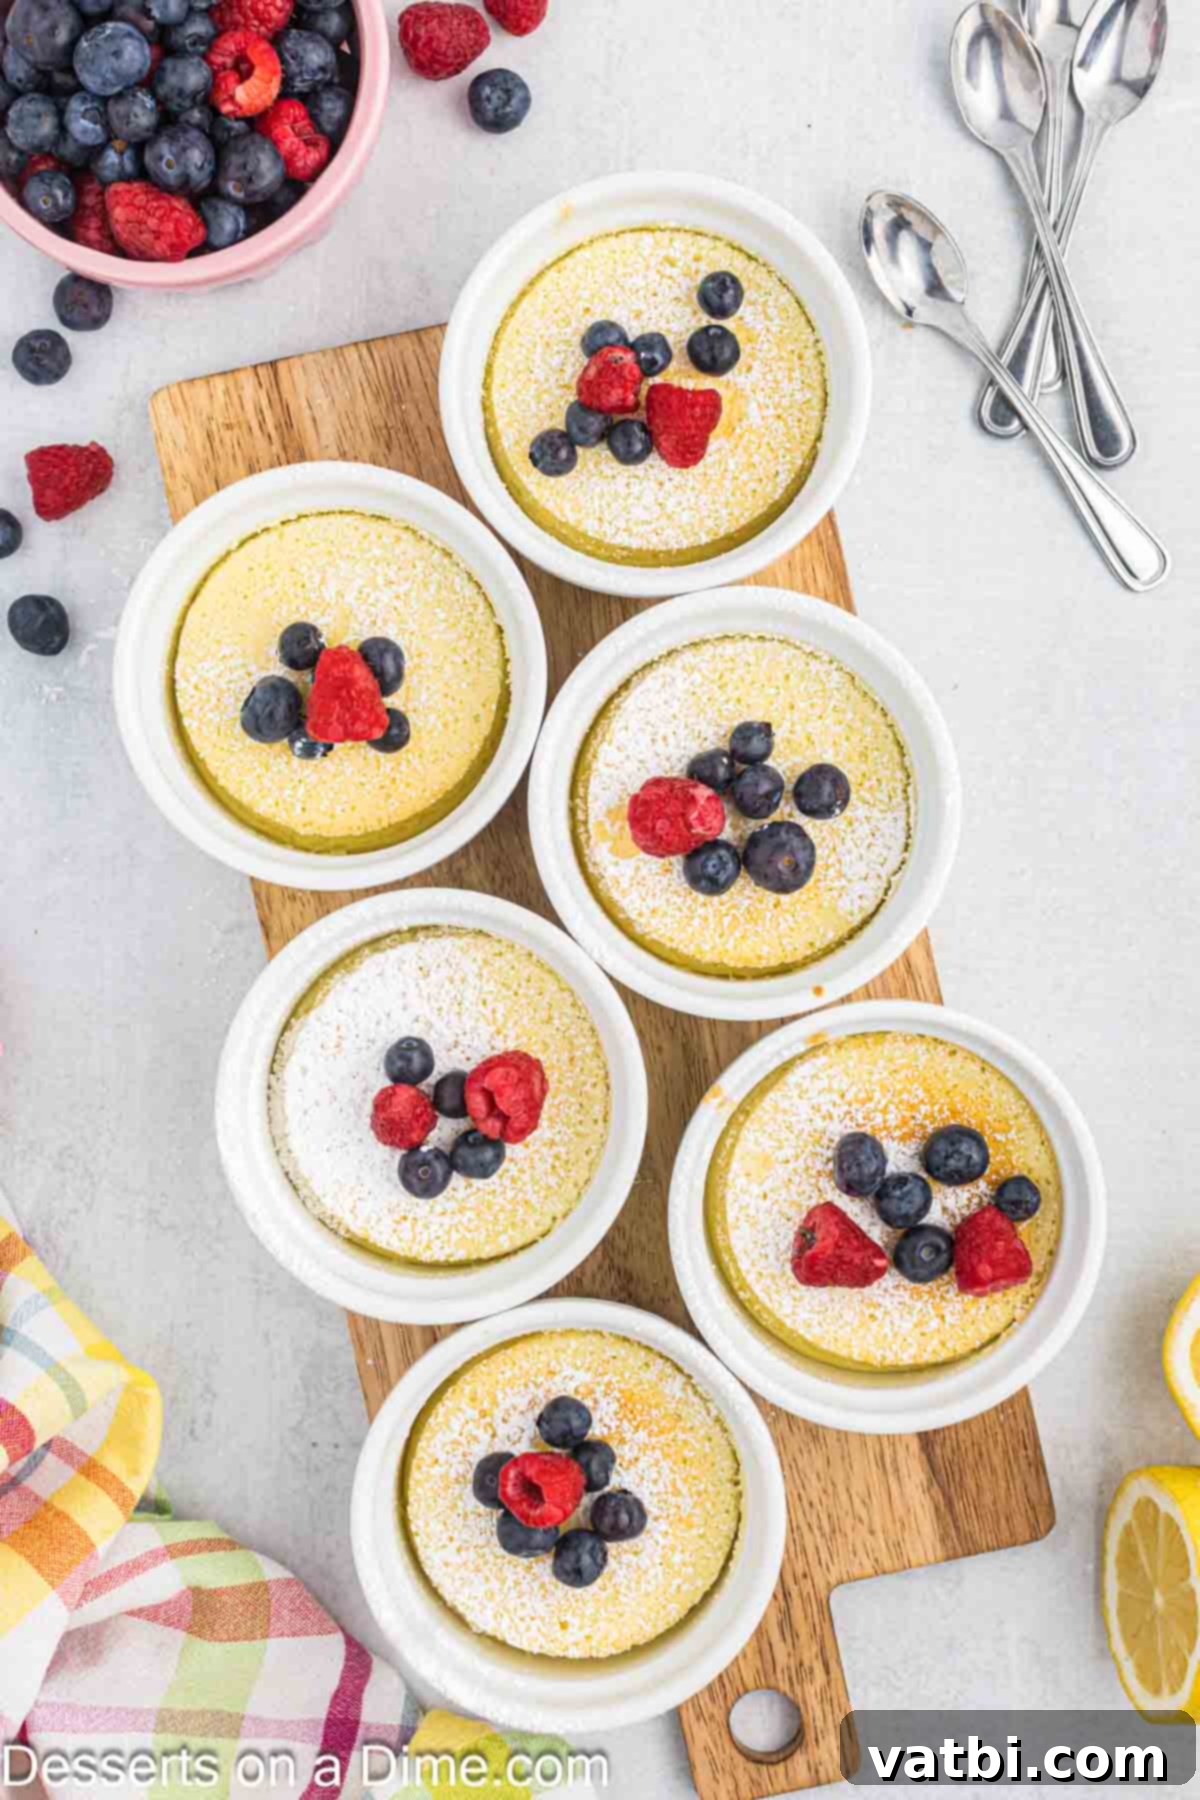
Step 9: Garnish and Serve. For an extra burst of freshness and color, top your warm or cooled lemon pudding cakes with fresh berries, such as raspberries or blueberries. A small sprig of fresh mint can also add a beautiful touch. Serve immediately and savor every spoonful!
Delicious Topping Suggestions
While these Lemon Pudding Cakes are fantastic on their own, a simple topping can elevate them even further, adding extra flavor, texture, and visual appeal. Here are some of our favorite suggestions:
- Fresh Fruit: The bright, natural sweetness of fresh berries perfectly complements the tangy lemon. Consider a handful of fresh raspberries, sliced strawberries, or plump blueberries. A mix of seasonal berries creates a beautiful and vibrant contrast.
- Whipped Cream: A dollop of light and airy whipped cream adds a wonderful creaminess that balances the citrus. You can use high-quality store-bought whipped cream for convenience, or easily make your own with our Homemade Whipped Cream Recipe for a truly fresh taste.
- Powdered Sugar: A classic and elegant choice, a simple dusting of powdered sugar (confectioners’ sugar) provides a delicate sweetness and a beautiful, snowy finish. It’s perfect for letting the natural beauty of the cake shine.
- Lemon Curd: For an extra layer of lemon intensity, a small spoonful of homemade or store-bought lemon curd drizzled over the top or served alongside is absolutely divine.
- Mint Leaves: A few fresh mint leaves can add a pop of color and a refreshing aromatic touch, enhancing the overall presentation and experience.
Proper Storage
To keep your Lemon Pudding Cakes fresh and delicious, proper storage is key. Once completely cooled, cover the ramekins tightly with plastic wrap or aluminum foil, or transfer them to an airtight container. Store them in the refrigerator for up to 3 days. When you’re ready to enjoy them again, you can gently reheat individual servings in the microwave for 20-30 seconds, or until just warmed through, which helps restore the pudding’s creamy texture. We do not recommend freezing this recipe, as the unique texture of the pudding layer tends to change and become watery upon thawing.
Expert Baking Tips for Success
Achieving the perfect Lemon Pudding Cake is easy with a few insider tips. These pointers will help you get the best results every time:
- Avoid Overbaking for Ideal Texture: It’s crucial not to overbake this dessert. The center of the cake layer should be lightly golden brown and spring back gently when touched, indicating it’s set, while the pudding layer beneath remains rich and creamy. Overbaking will dry out the cake and can cause the pudding mixture to lose its delicate, custardy texture, becoming more like solid cake throughout. Keep a close eye on them during the last 10-15 minutes of baking.
- Do Not Prepare the Batter in Advance: This particular batter does not hold up well if made ahead of time. The air incorporated into the egg whites, which is essential for the cake layer’s rise and lightness, will deflate if the batter sits for too long. For best results, mix the batter and bake immediately.
- Room Temperature Ingredients are a Must: Always ensure your butter and eggs are at room temperature before you start. Room temperature ingredients emulsify more easily, creating a smoother, more uniform batter. This also helps the eggs beat into fluffier, more stable peaks, which is vital for the airy cake component. Cold ingredients can cause the batter to seize and result in a denser cake.
- The Water Bath is Non-Negotiable: The water bath (bain-marie) is not just an optional step; it’s critical for this recipe. It provides a gentle, even heat that prevents the pudding layer from curdling or cooking too quickly, ensuring it remains silky smooth. It also helps in the magical separation of the pudding and cake layers, allowing the cake to rise beautifully over the custardy base.
- Spoon and Level Your Flour: For accurate measurement and a perfectly textured cake, spoon your all-purpose flour into the measuring cup rather than scooping it directly. Scooping can compact the flour, leading to too much flour in the recipe and a dense, heavy cake. Level off the top with the back of a knife.
- Embrace Fresh Lemon Zest: The zest contains powerful essential oils that contribute significantly more intense lemon flavor and aroma than juice alone. Use a microplane zester for fine zest, being careful to only get the yellow part of the peel and avoid the bitter white pith.
- Consider Your Equipment: An electric mixer (handheld or stand mixer) will make beating the butter, sugar, and especially the egg whites much easier and more efficient. A good quality microplane zester will also save you time and effort when zesting the lemon.
Frequently Asked Questions
Yes, you absolutely can! While individual ramekins offer a charming presentation, you can certainly make this as one large dessert in an 8×8 inch square baking dish. If you opt for a larger dish, you’ll need to adjust the baking time accordingly. It will likely take longer for the center to set, so start checking for doneness after about 50-60 minutes, looking for a golden-brown top and a set, springy center. Always perform the toothpick test to ensure it’s cooked through.
The water bath is a critical technique for this pudding cake. It creates a moist, consistent cooking environment, preventing the delicate pudding layer from overcooking or curdling. The gentle, even heat from the water allows the pudding to set smoothly and helps the cake layer rise beautifully and lightly on top, ensuring the distinctive two-layer effect that makes this dessert so special. Without it, your pudding layer could become grainy or dry, and the cake may not separate properly.
We generally do not recommend freezing this Lemon Pudding Cake. The unique texture of the pudding layer, which relies on a delicate balance, tends to change significantly after freezing and thawing. It can become watery, separate, or lose its smooth creaminess, compromising the overall enjoyment of the dessert. It’s best to enjoy these fresh or within a few days from the refrigerator.
While we haven’t tested this specific recipe with gluten-free flour, you might achieve success by substituting the all-purpose flour with a 1:1 gluten-free baking blend that contains xanthan gum. Keep in mind that the texture might be slightly different, and the baking time could vary. It’s always a good idea to research gluten-free baking tips for pudding cakes before attempting the substitution.
The most effective tool for zesting a lemon is a microplane zester. Simply rub the lemon gently against the sharp holes, rotating it as you go, to remove only the bright yellow outer layer (the zest). Be careful to avoid the white pith underneath, as it can be quite bitter and would detract from the fresh lemon flavor of your pudding cakes.
More Zesty Lemon Desserts You’ll Love
Cookies
Lemon Cake Mix Cookies
Cakes
Lemon Cheesecake Bars Recipe
Easy Cupcake
Lemon Cupcakes
Cakes
Lemon Icebox Cake
Don’t miss out on this easy and incredibly rewarding recipe for the best lemon dessert experience. The magic of two layers in one delicious serving is truly special. We invite you to try it out for yourself! Please leave a comment and a star rating once you’ve made it – we love hearing your feedback!
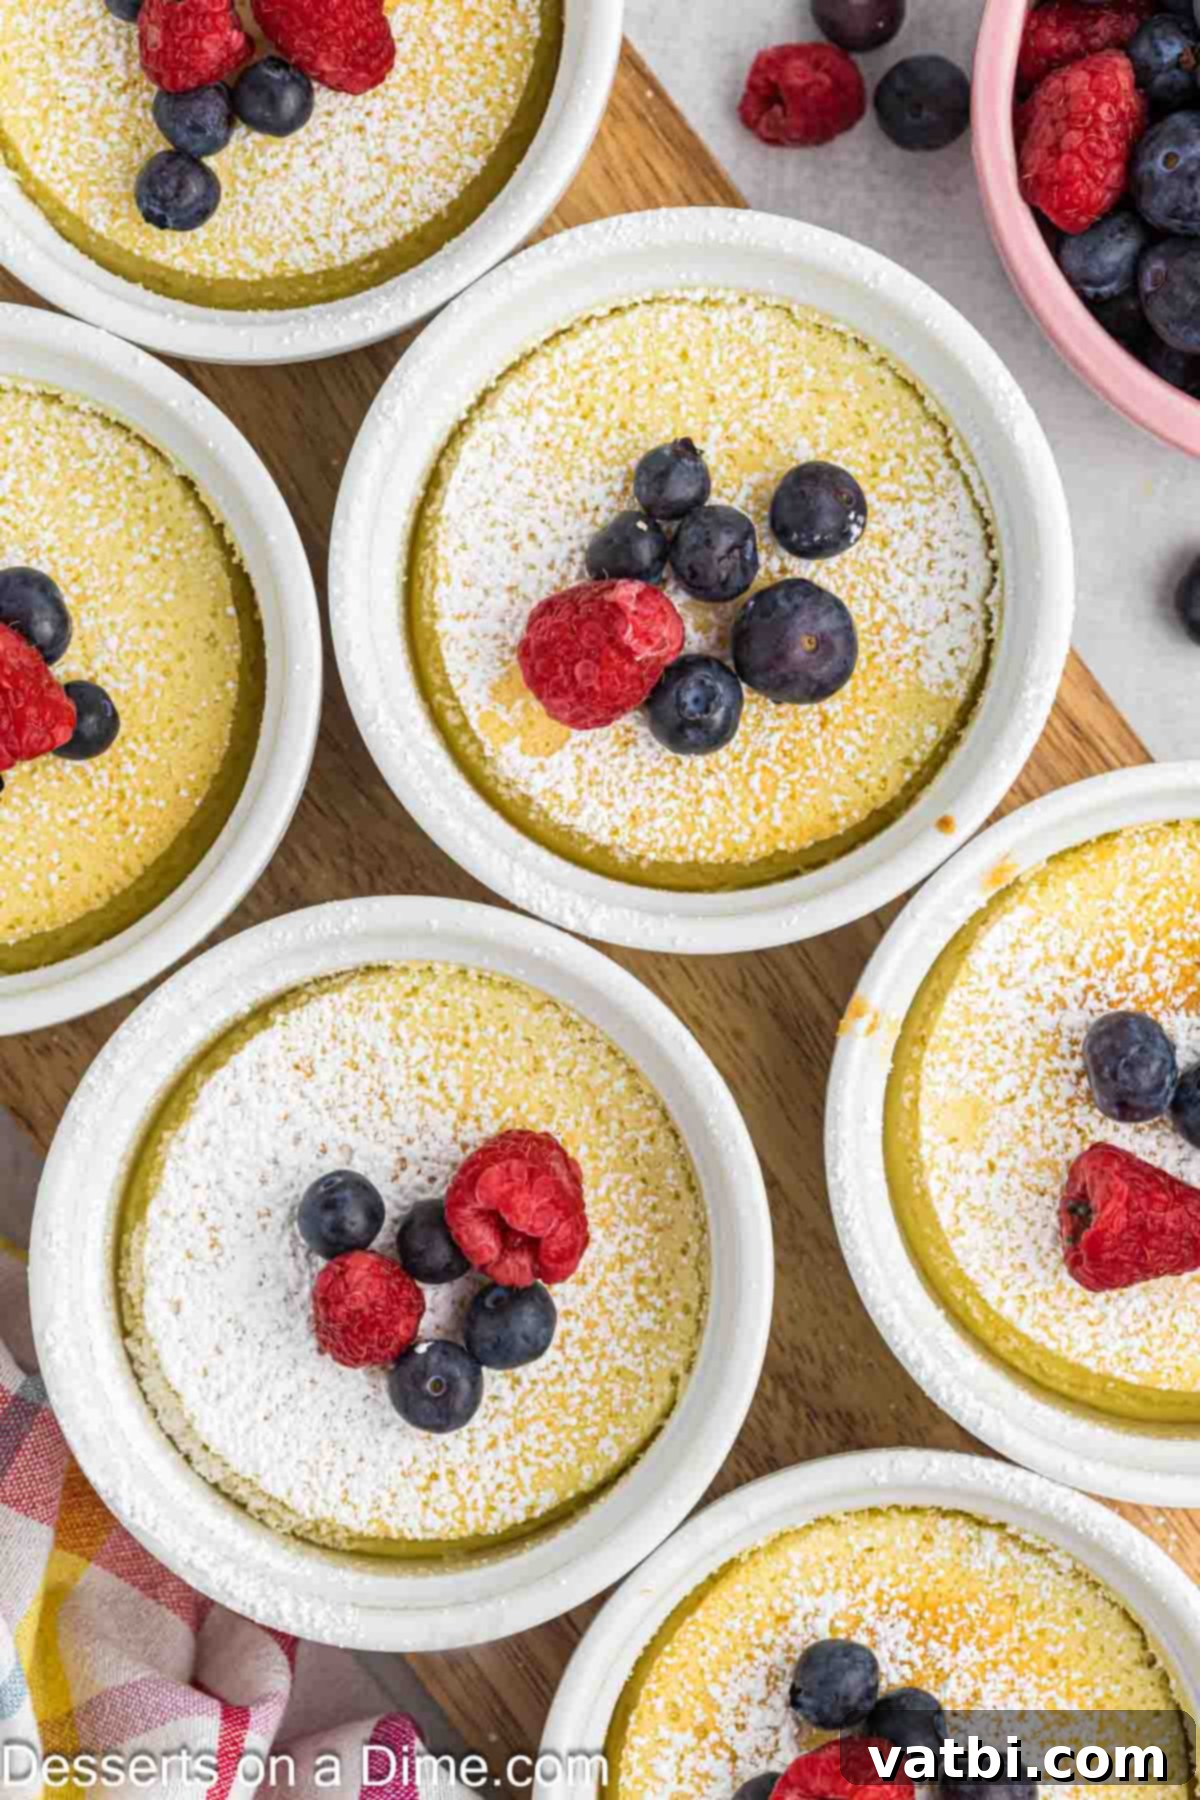
Pin
Magical Lemon Pudding Cakes
Ingredients
- 2 tablespoons unsalted butter melted
- 1 cup granulated sugar
- 3 large eggs at room temperature separated into yolks and whites
- 1/3 cup all-purpose flour
- 1 cup Whole Milk
- 1 Fresh Lemon zested (approx. 1 tablespoon)
- 1/3 cup Fresh Lemon Juice (from 1-2 lemons)
- 1/4 teaspoon Salt
- Powdered sugar for dusting
Instructions
-
Preheat your oven to 350 degrees Fahrenheit (175°C). Lightly grease or spray six 6-ounce ramekins with a non-stick cooking spray to prevent sticking.
-
In a large mixing bowl, beat together the melted unsalted butter and granulated sugar until the mixture is light, fluffy, and well combined.
-
Add the room temperature egg yolks, one at a time, mixing thoroughly after each addition until fully incorporated into the butter and sugar mixture.
-
Gradually mix in the whole milk, all-purpose flour, fresh lemon juice, and finely zested lemon peel. Continue mixing until the batter is smooth and all ingredients are just combined. Avoid overmixing.
-
In a separate, clean bowl, use an electric mixer to beat the egg whites until they become fluffy and form soft peaks. These aerated whites will give the cake its light texture.
-
Gently fold the beaten egg whites into the lemon batter using a spatula. Be careful to preserve as much air as possible to ensure a light cake layer.
-
Divide the batter evenly among the six prepared ramekin dishes.
-
Place the filled ramekins into a larger baking pan. Carefully pour boiling water into the larger pan until it comes up approximately halfway up the sides of the ramekin dishes. This creates a crucial water bath.
-
Bake for 40-50 minutes, or until the tops of the cakes are golden brown and the center of the cake is set and gently springs back when touched.
-
Carefully remove the large pan from the oven. Using tongs, lift the individual cakes from the water bath and place them on a wire rack to cool for 15-20 minutes before serving.
-
Serve these delightful Lemon Pudding Cakes lightly dusted with powdered sugar and garnish with fresh berries or a dollop of whipped cream. Enjoy your homemade, zesty treat!
Nutrition Facts
Pin This Now to Remember It Later
Pin Recipe
