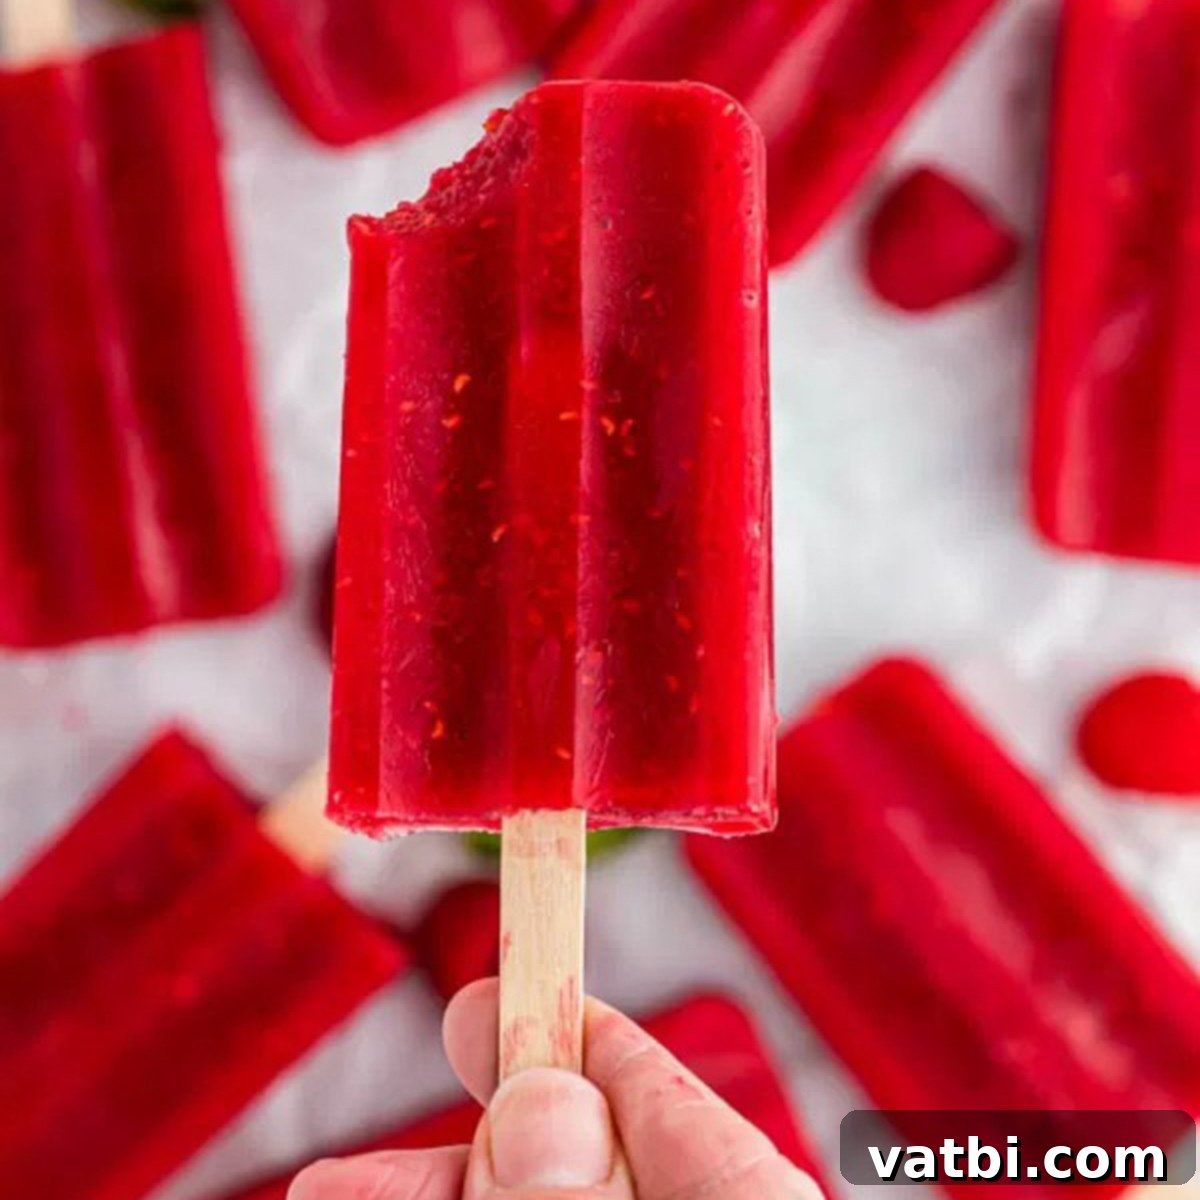
Easy 3-Ingredient Homemade Raspberry Popsicles: Your Ultimate Refreshing Summer Treat Recipe
Discover the delightful simplicity of homemade raspberry popsicles! This incredibly easy recipe calls for just three simple ingredients and comes together in mere minutes, offering a bright, vibrant, and utterly delicious refreshing treat perfect for any occasion. Forget store-bought options filled with artificial flavors; these natural fruit popsicles are a fantastic way to cool down on a hot day or enjoy a guilt-free dessert. The natural sweetness and tang of fresh raspberries shine through, making these an instant favorite for both kids and adults.
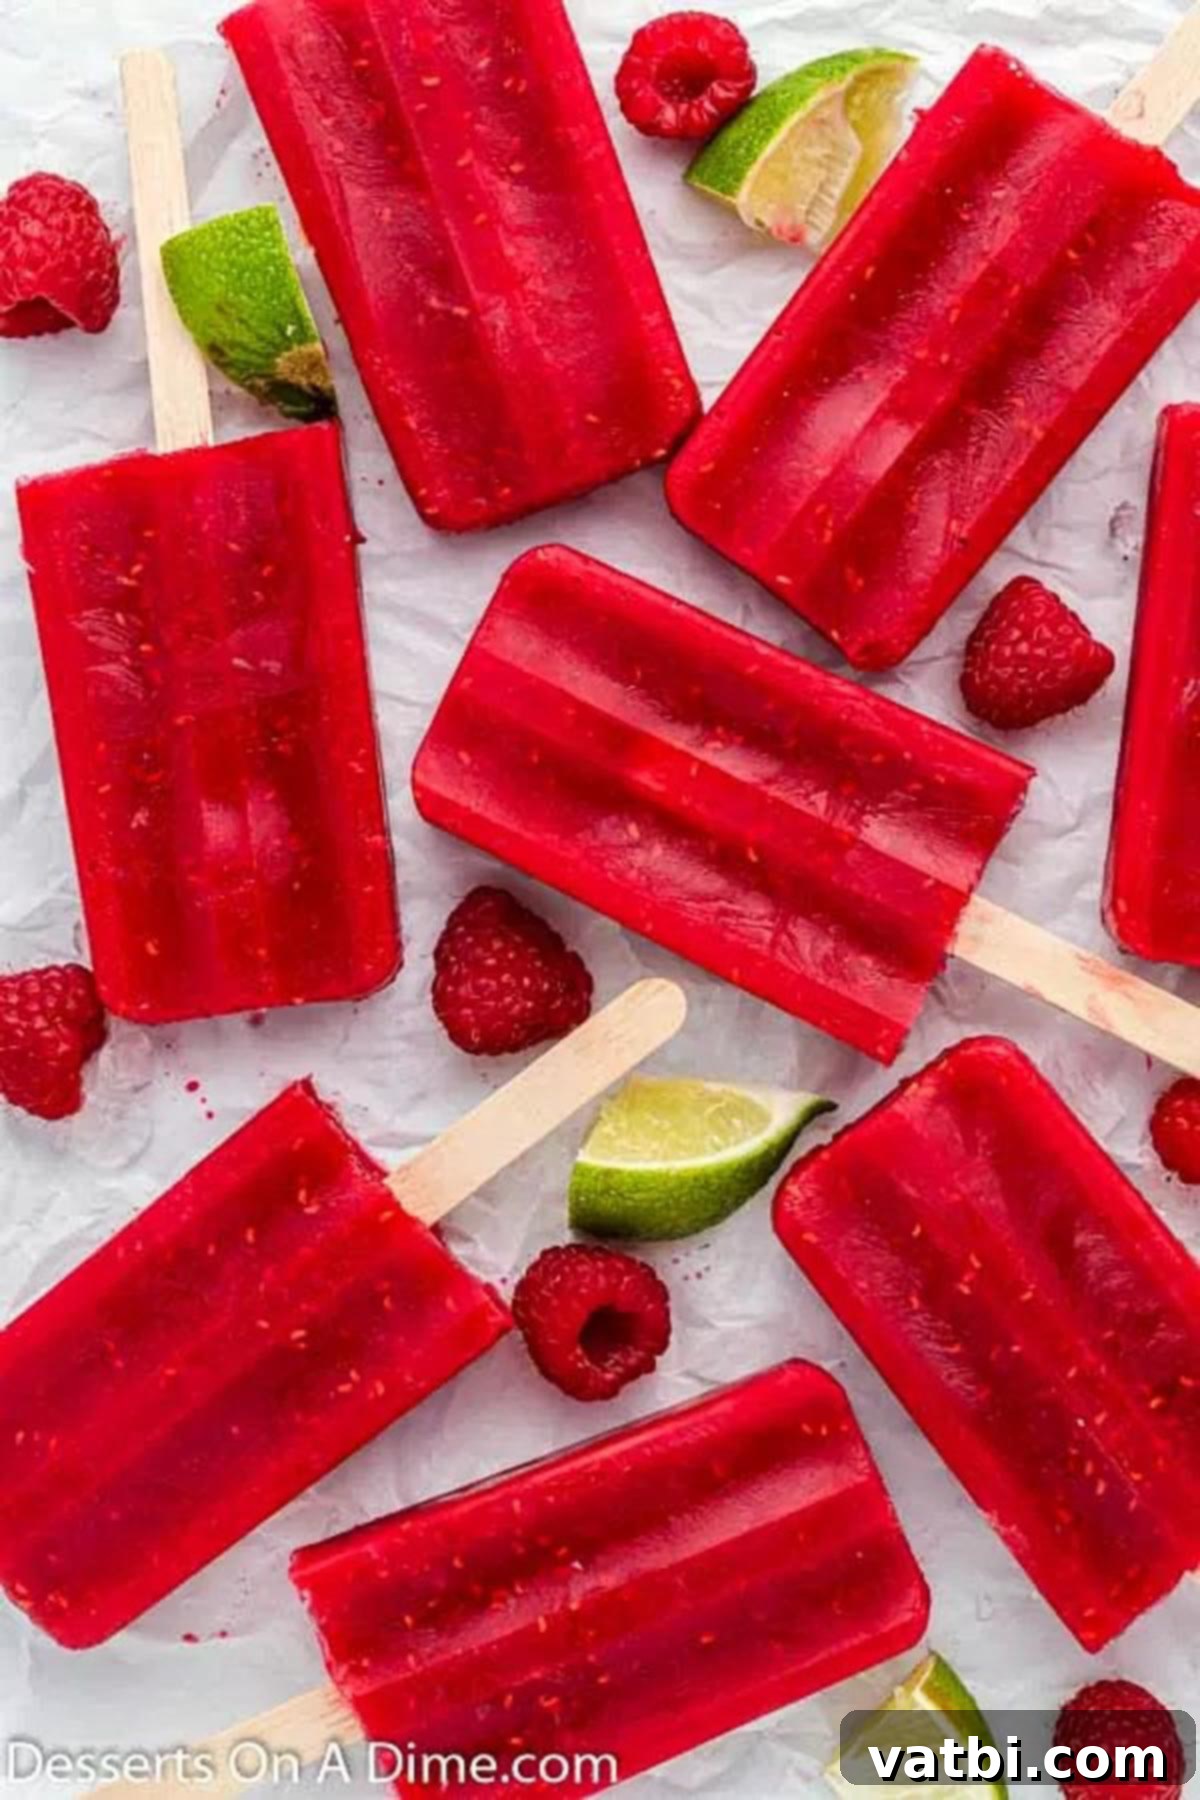
Turning a bounty of fresh raspberries into these amazing homemade popsicles couldn’t be simpler. This recipe is designed for ease, requiring minimal effort but leaving a lasting impression with its intense fruit flavor and satisfying coolness. It’s the ideal project for busy individuals or families with “crazy schedules,” as the prep time is incredibly short, allowing you to quickly whip up a batch and freeze them for later enjoyment. Once you experience the unparalleled taste of these homemade frozen delights, you’ll find yourself making them again and again.
If you’re a fan of icy, fruity treats, you’ll be thrilled with this simple raspberry popsicle recipe. We love experimenting with different fruit combinations here! Beyond these luscious raspberry delights, I frequently whip up other favorites like Cherry Pineapple Popsicles, Lemon Lime Popsicles, Mango Tajin Popsicles, and classic Mango Popsicles. They are all wonderfully refreshing on a hot summer day, and you’ll adore how effortlessly they come together. For those craving something a bit creamier, don’t miss our indulgent recipes for Greek Yogurt Popsicles, Strawberry Crunch Bars, and wholesome Banana Popsicles. There’s a frozen treat for every preference and palate!
Table of contents
- Ingredients
- Step by step instructions
- Should I use fresh or frozen raspberries?
- FAQs
- Expert Tips for Perfect Raspberry Popsicles
- More Delicious Raspberry Desserts
- More Homemade Popsicle Recipes to Try
Should I use fresh or frozen raspberries?
One of the best aspects of this raspberry popsicle recipe is its versatility when it comes to fruit. You can absolutely use either fresh or frozen raspberries, and both will yield a wonderfully flavorful result. If fresh raspberries are in season and available at a good price, they are an excellent choice. Their vibrant color and intense, natural flavor are truly at their peak when fresh, contributing to an exceptionally bright and fruity popsicle.
However, don’t hesitate to use frozen raspberries! They are a fantastic and convenient alternative, especially when fresh berries are out of season or more expensive. Frozen raspberries are typically picked at their peak ripeness and flash-frozen, locking in their flavor and nutrients. This means your popsicles will still be incredibly delicious and bursting with berry goodness. When using frozen raspberries, the key is to allow them to thaw completely before blending. This ensures they combine smoothly with the other ingredients, preventing any icy chunks and creating a uniform, silky mixture ready for your popsicle molds. A little planning goes a long way to ensure the best texture for your frozen treats.
Ingredients
The beauty of this recipe lies in its minimalist approach to ingredients. With just a few simple items, you can create a truly spectacular frozen treat. Here’s what you’ll need:
- Fresh Raspberries (or thawed frozen raspberries)
- Sugar
- Lime, juiced
That’s it! Just three core ingredients are all you need to create these vibrant and refreshing raspberry popsicles. The raspberries provide the star flavor, offering a natural sweetness with a delightful tart edge. The sugar helps to balance the tartness of the berries, enhancing their natural flavors and ensuring a perfectly palatable sweetness. For those who prefer a less sweet treat, you can adjust the amount of sugar to your liking. Finally, the fresh lime juice adds a crucial burst of acidity, brightening the overall flavor profile and making the raspberry taste even more vibrant and tangy. It elevates the fruit’s natural notes, preventing the popsicles from tasting flat. You can find the exact measurements and full ingredient list in the recipe card at the bottom of this post.
Step by step instructions
Creating these raspberry popsicles is remarkably straightforward. Follow these simple steps for a perfect batch every time:
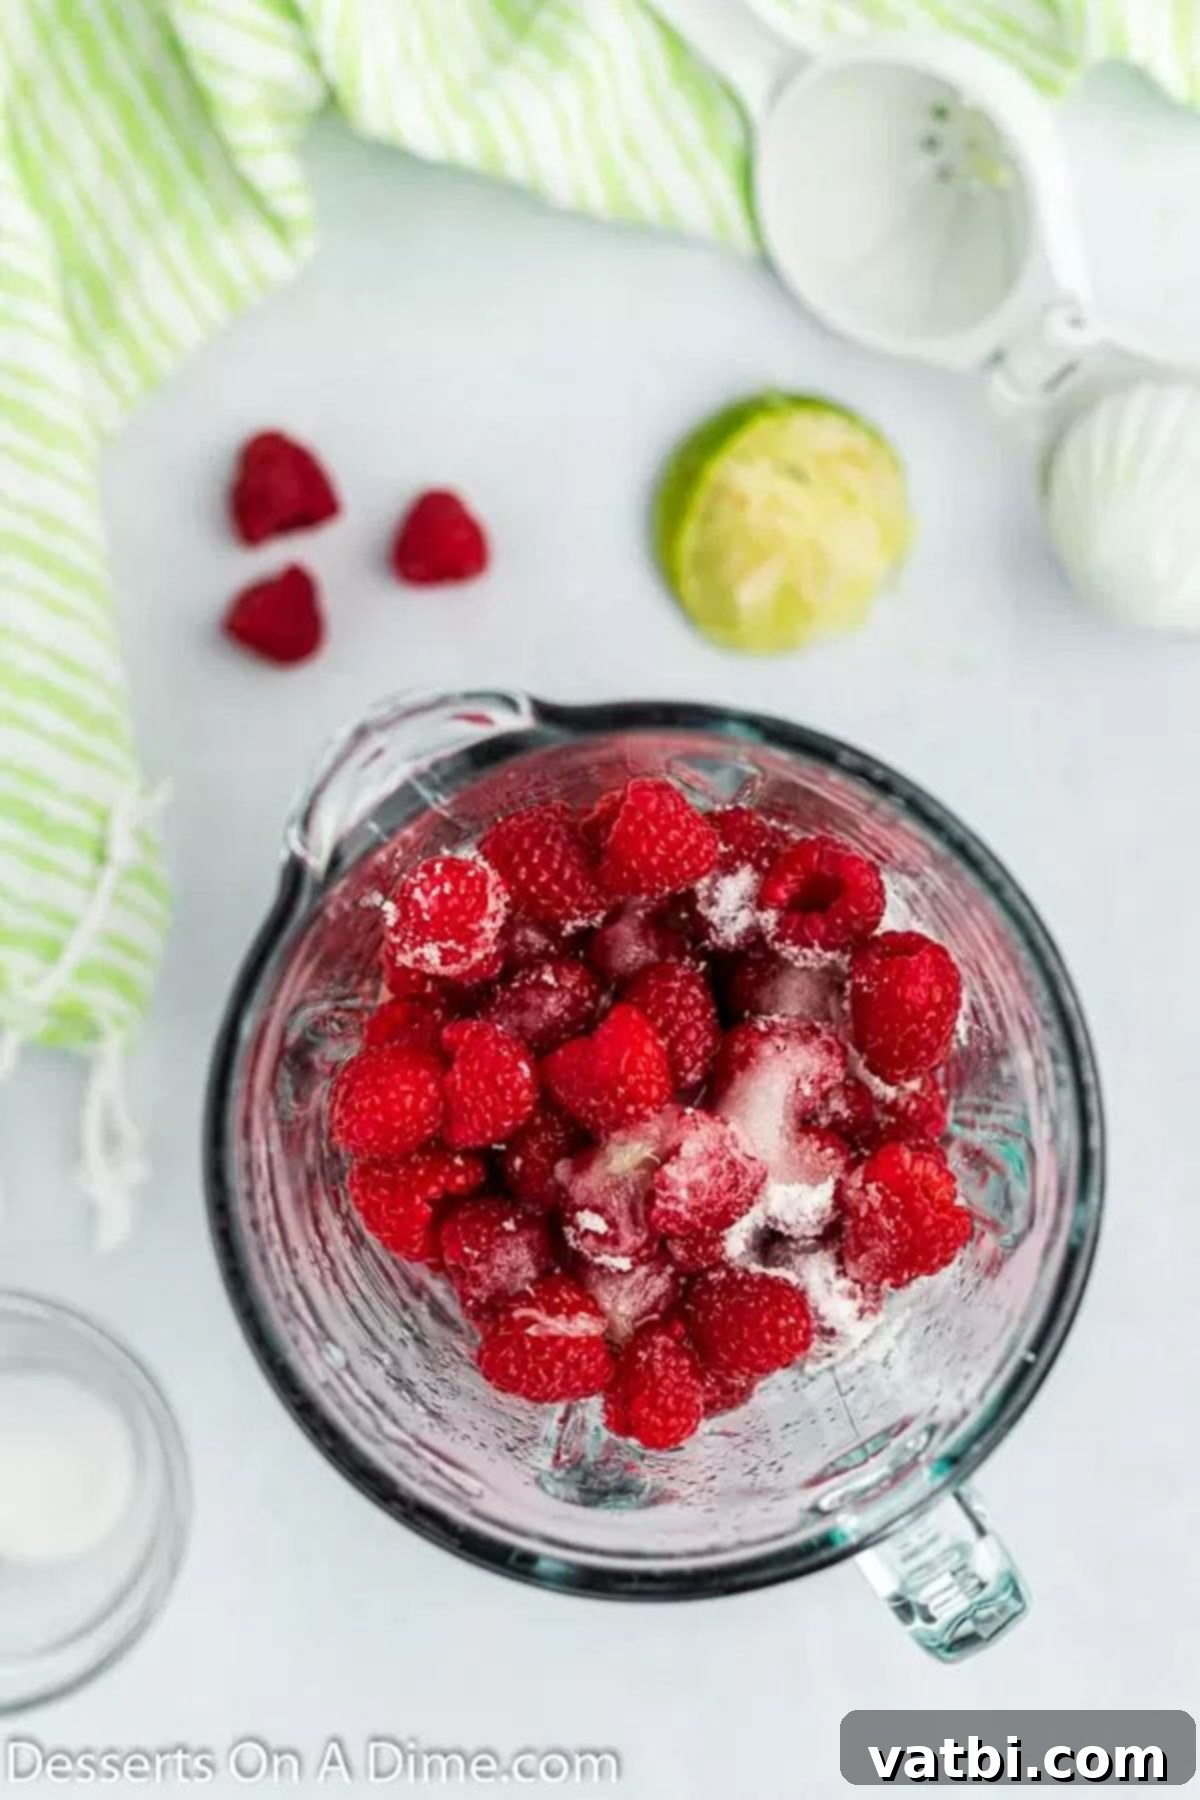
Step 1: Combine Ingredients. First, carefully place all of your fresh or thawed frozen raspberries, the measured sugar, and the freshly squeezed lime juice into a high-speed blender or a food processor. Ensure all ingredients are ready before you begin blending.
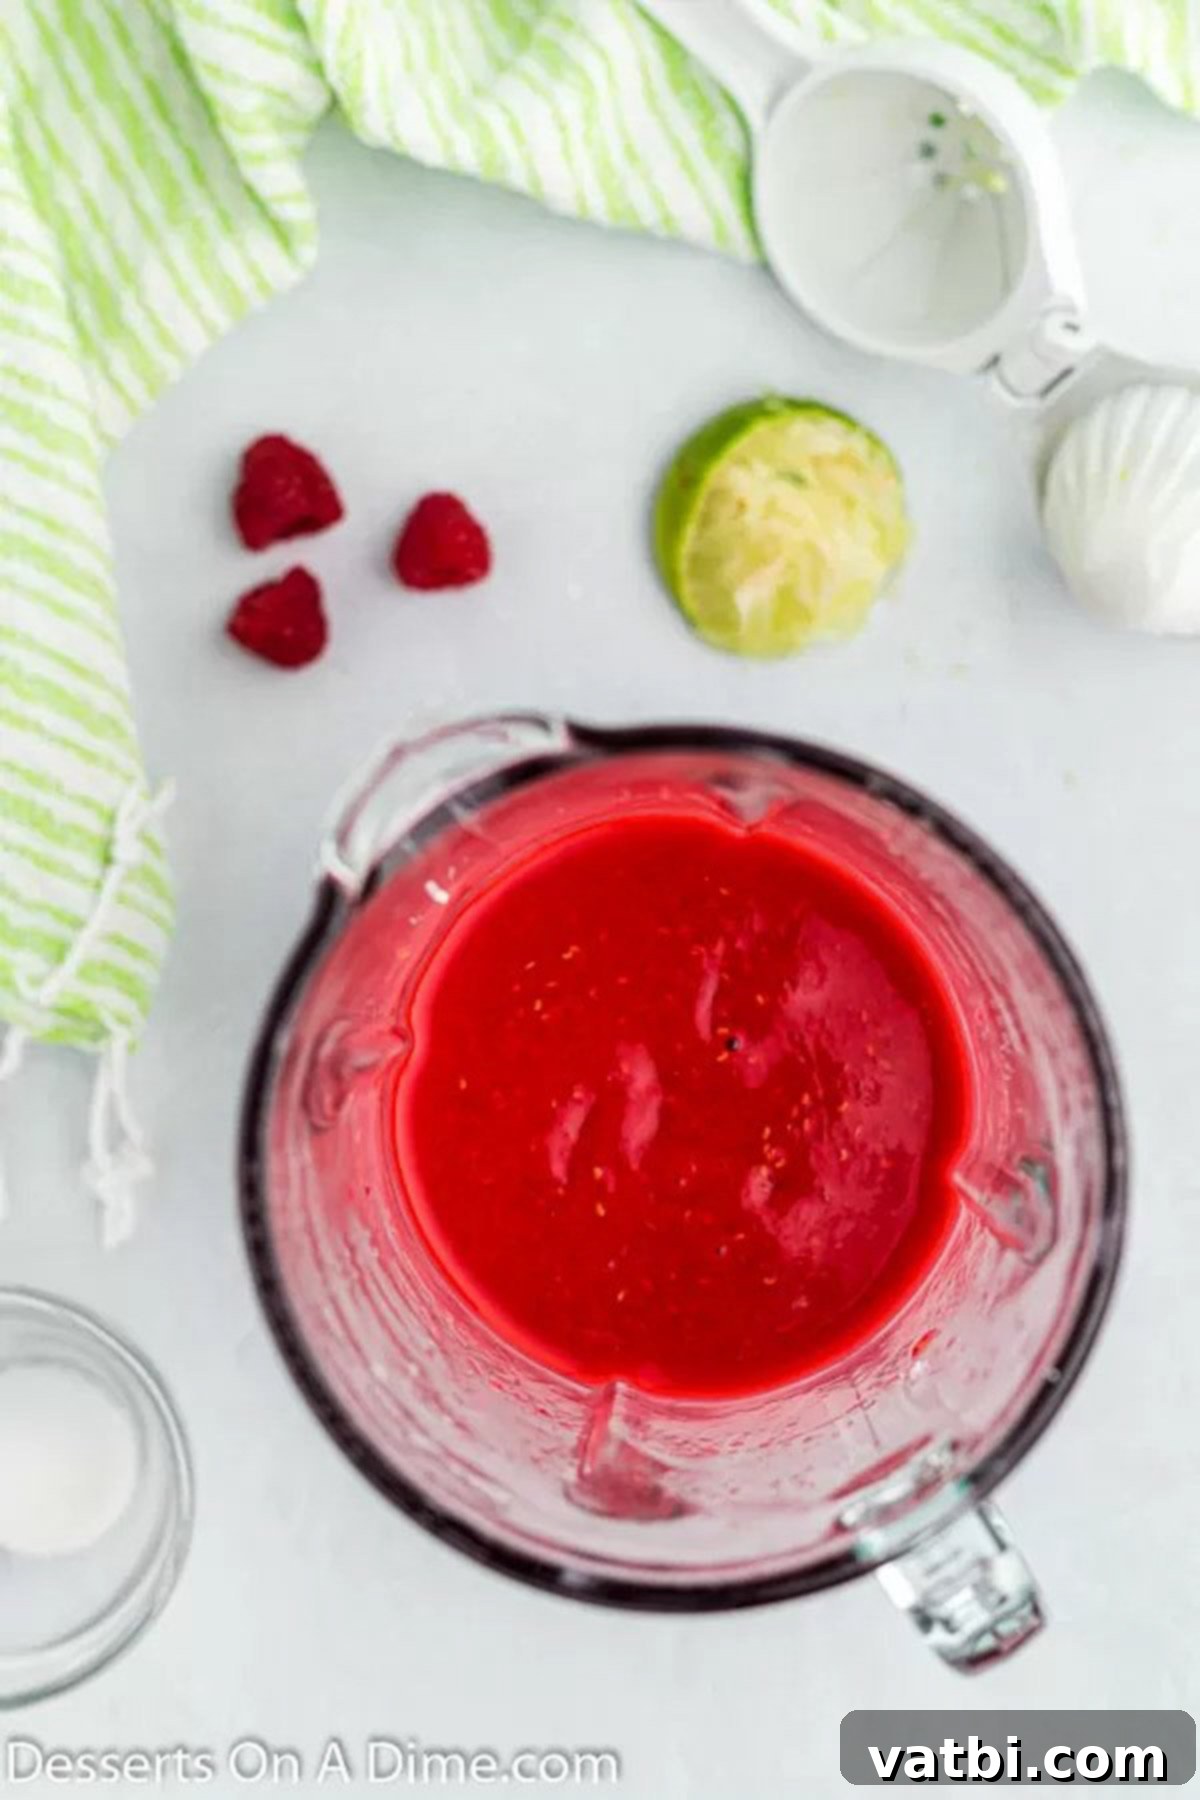
Step 2: Blend Until Smooth. Next, blend the ingredients thoroughly until the mixture is completely smooth and all raspberries have been fully pulverized. You want a consistent liquid with no large chunks. Depending on your blender, this might take a minute or two. Scrape down the sides if necessary to ensure everything is well combined.
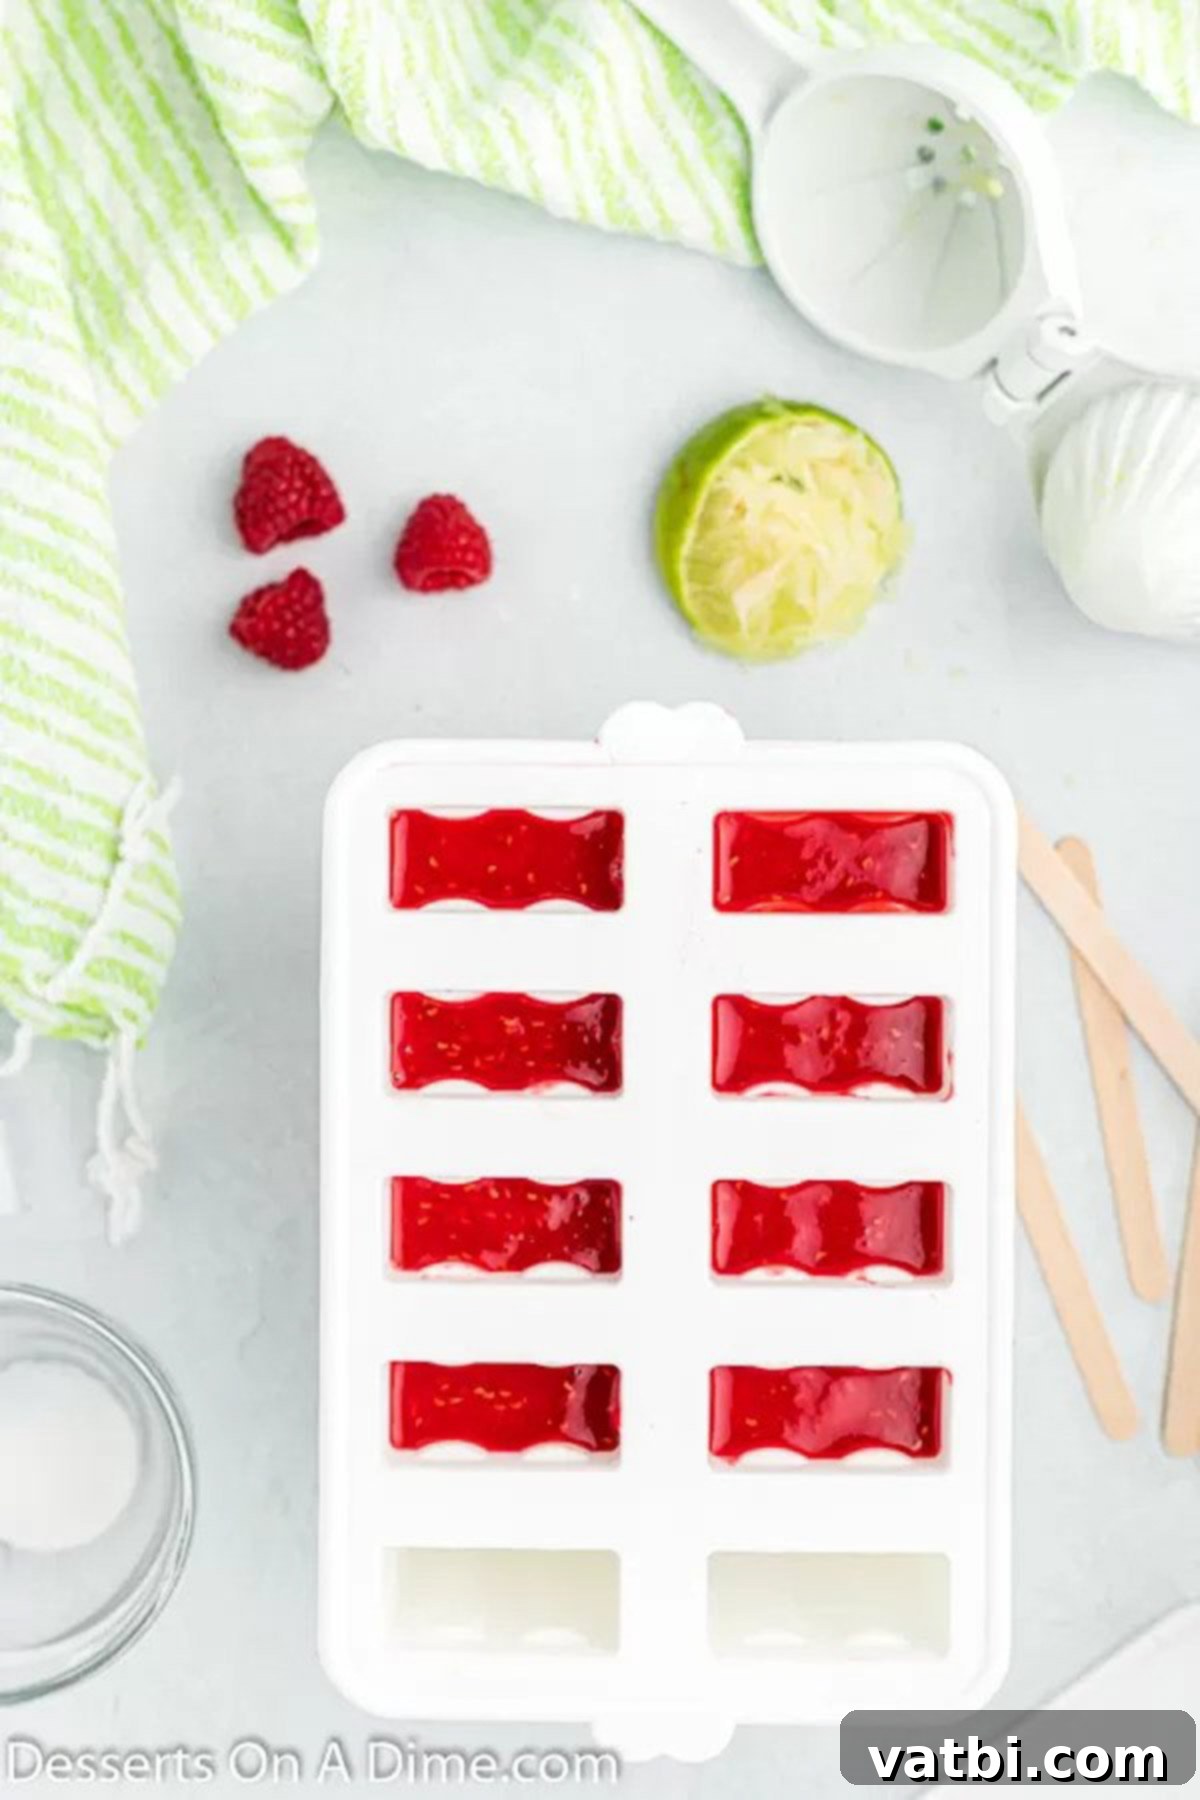
Step 3: Fill Popsicle Molds. Carefully pour the smooth raspberry mixture into your chosen popsicle molds. Fill each mold almost to the top, leaving a small amount of space to account for expansion during freezing.
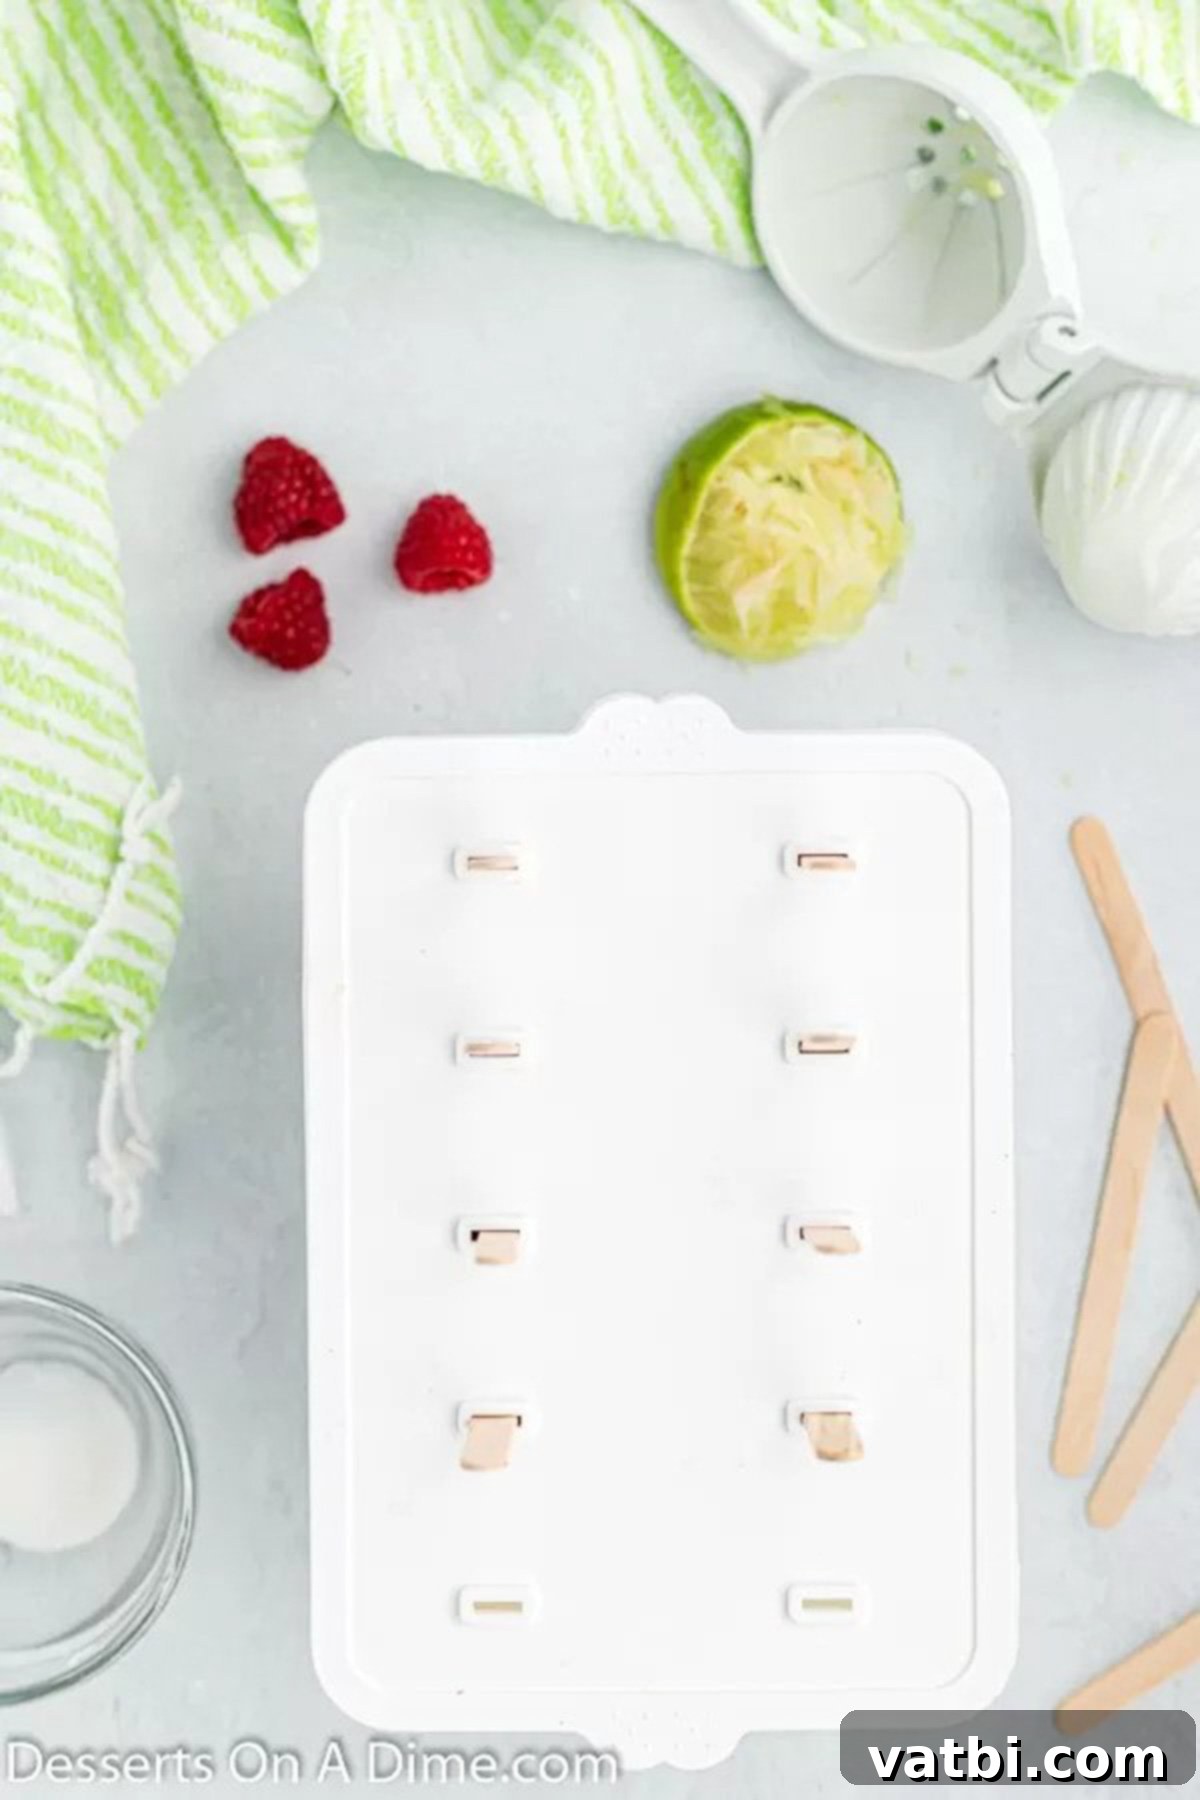
Step 4: Freeze Until Firm. Finally, insert the popsicle sticks into each mold. Make sure the sticks are centered and standing upright. Transfer the filled molds to the freezer and allow the popsicles to freeze completely. This typically takes 4 to 6 hours, but for the firmest and best results, I usually recommend leaving them overnight. This ensures they are perfectly solid and ready to enjoy without falling apart.
FAQs
Your homemade raspberry popsicles will maintain their best quality and flavor for up to 3 months when stored properly in an airtight container or freezer bag in the freezer. While they might technically last longer, we find that the vibrant flavors are most intense within this timeframe. However, in most households, they tend to disappear much quicker than that! They’re just too delicious to last.
Sometimes, popsicles can be a little stubborn to release from their molds. The simplest and most effective trick is to use warm water. Gently run warm tap water over the outside of the popsicle molds for about 15-30 seconds. This slight warmth will help loosen the frozen treat from the plastic or silicone without melting it significantly. Just be cautious not to let the water run for too long, as you risk melting the edges of your perfectly frozen popsicle. With a gentle twist and pull, they should slide right out!
Absolutely! The amount of sugar in this recipe is a recommendation, but personal preference plays a big role. Raspberries vary in sweetness depending on their ripeness, so you might want to taste the blended mixture before freezing. If you prefer a less sweet popsicle, reduce the sugar by a tablespoon or two. If you like it sweeter, add a little extra sugar or even a drizzle of honey or maple syrup to taste. Remember that flavors dull slightly when frozen, so the mixture should taste a bit sweeter than you desire for the final frozen product.
The primary equipment you’ll need is a good blender or food processor to get a smooth fruit mixture, and of course, popsicle molds. Popsicle molds come in many shapes and sizes, from classic plastic ones with individual sticks to silicone molds that are very easy to unmold. If you don’t have dedicated popsicle molds, don’t worry! Small paper cups or even an ice cube tray (for mini pops) can work in a pinch. Just remember to insert a popsicle stick or a small spoon once the mixture has partially frozen (after about 1-2 hours) so it stands upright.
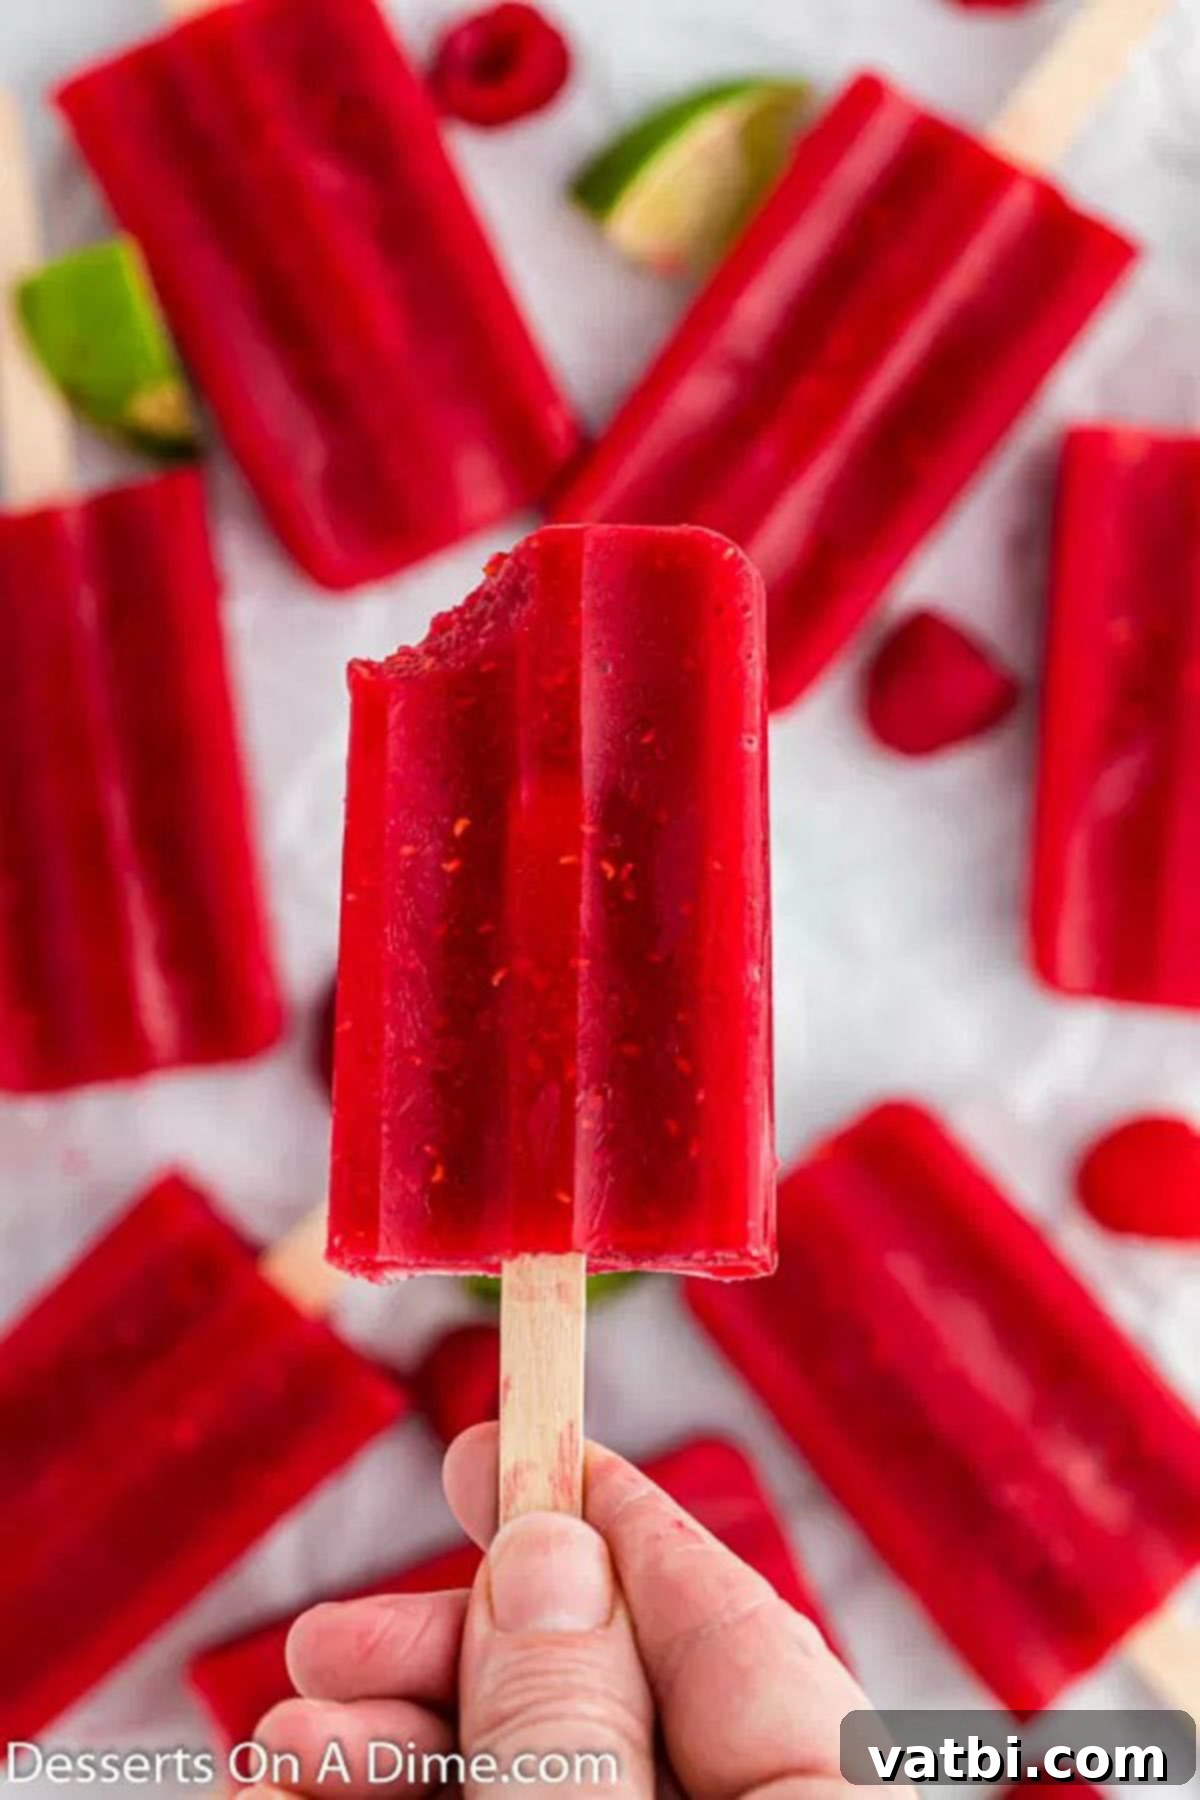
Expert Tips for Perfect Raspberry Popsicles
To ensure your raspberry popsicles are nothing short of perfect, consider these expert tips and variations:
- For a Seedless, Ultra-Smooth Consistency: Raspberries naturally contain tiny seeds, which some people prefer to remove for a truly silky-smooth popsicle. If this is your preference, simply pour your blended raspberry mixture through a fine-mesh strainer or sieve after blending. Use a spatula or the back of a spoon to press the pulp through, leaving the seeds behind. While this step is entirely optional, it will result in an exceptionally smooth texture for your ice pops.
- Making it a Refined Sugar-Free Treat: If you’re looking to create a healthier version without refined sugar, this recipe is incredibly adaptable. You can easily substitute the granulated sugar with natural sweeteners like maple syrup or agave nectar for a vegan-friendly option. Honey also works beautifully if you don’t need a vegan alternative; it adds a lovely floral note that complements the raspberries. Adjust the amount to taste, as natural sweeteners vary in intensity.
- Lime Juice Alternatives: If fresh lime juice isn’t available, don’t let that stop you! Lemon juice is an excellent substitute. Both provide a similar acidic brightness that helps to balance the sweetness of the raspberries and elevate their natural flavor. You could even experiment with a touch of orange juice for a slightly sweeter, milder citrus note.
- Prioritize Freshly Squeezed Juice: While bottled citrus juice can be used in a pinch, freshly squeezed lime or lemon juice will undeniably provide the best flavor. The vibrant, zesty notes from fresh juice are far more pronounced and aromatic, leading to a superior tasting popsicle. It makes a noticeable difference in the overall brightness of the treat.
- Explore Different Popsicle Molds: Get creative with your popsicle presentation! The market offers an incredible variety of popsicle molds in different shapes, sizes, and materials (plastic, silicone, stainless steel). Let the kids pick out some fun, new molds to try, like star-shaped or animal-shaped ones. This can make the process even more exciting and encourages them to enjoy their homemade treats. You can also try other fruit flavors in new molds, such as Cherry Popsicles.
- No Popsicle Molds? No Problem! Don’t have dedicated popsicle molds? You can still make these delicious treats! Small paper cups (like Dixie cups), small plastic cups, or even an ice cube tray can work wonderfully. Fill them with the raspberry mixture, then insert popsicle sticks (or even plastic spoons if you’re in a pinch) once the mixture has frozen for about an hour or two, so they stand upright.
- Customization is Key: Feel free to get creative with your additions! You can add a few fresh mint leaves to the blender for a refreshing herbal note, or incorporate other berries like blueberries or blackberries for a mixed berry popsicle. A tiny pinch of ginger can also add a surprising and delightful zing.
- Optimal Storage for Freshness: Once your popsicles are completely frozen and removed from their molds, store them individually wrapped in plastic wrap or placed in an airtight freezer bag or container. This prevents freezer burn and helps maintain their fresh taste for longer, up to three months.
- Taste and Adjust Before Freezing: Always taste your blended mixture before pouring it into molds. This is your last chance to adjust the sweetness or add more lime juice if you feel it needs it. Remember that freezing slightly dulls flavors, so aim for a mixture that tastes slightly stronger or sweeter than your ideal final product.
- Involve the Kids: Making popsicles is a fantastic activity for children! Let them help wash the raspberries, operate the blender (with adult supervision), or pour the mixture into the molds. They’ll love being part of the process and will be even more excited to eat their homemade creations.
- Serving Ideas: These raspberry popsicles are perfect on their own, but also make a great addition to summer parties. Serve them in a bucket of ice to keep them frozen. You can even melt a popsicle into a glass of sparkling water for a quick, refreshing raspberry fizz!
More Raspberry Desserts
If you have an abundance of raspberries or simply can’t get enough of their delightful flavor, here are some other fantastic raspberry desserts to try:
- Raspberry Cobbler Recipe
- Raspberry Sorbet Recipe
- Raspberry Cheesecake Bars
- 33 Delicious Raspberry Desserts
More homemade popsicles recipes to try
Craving more homemade frozen treats? Explore these other wonderful popsicle recipes that are just as easy and refreshing:
- Jello Popsicles Recipe
- Homemade Lime Popsicles Recipe
- Blueberry Popsicles Recipe
- Watermelon Popsicles
- Homemade Lemon Popsicles Recipe
- Blueberry Yogurt Popsicles
Don’t wait for summer to make these incredible raspberry popsicles; they are an amazing treat any time of the year! Their vibrant flavor and refreshing coolness are perfect for brightening up any day. Once you try this simple and delicious recipe, be sure to come back and leave a star rating and comment to share your experience. Your feedback helps others discover the joy of homemade treats!
Pin
Raspberry Popsicles
Ingredients
- 4 cups Fresh Raspberries
- 1/4 cup Sugar
- 1/2 Lime juiced
Instructions
-
Place all the ingredients in a blender or food processor. Blend until all combined and smooth.
-
Then pour the mixture into popsicle molds, insert the popsicle stick and freeze until set (4-6 hours).
Recipe Notes
The popsicles will last for up to 3 months in the freezer.
Run warm water on the outside of the popsicle molds to gently release the popsicles from the molds once frozen.
Nutrition Facts
Pin This Now to Remember It Later
Pin Recipe
