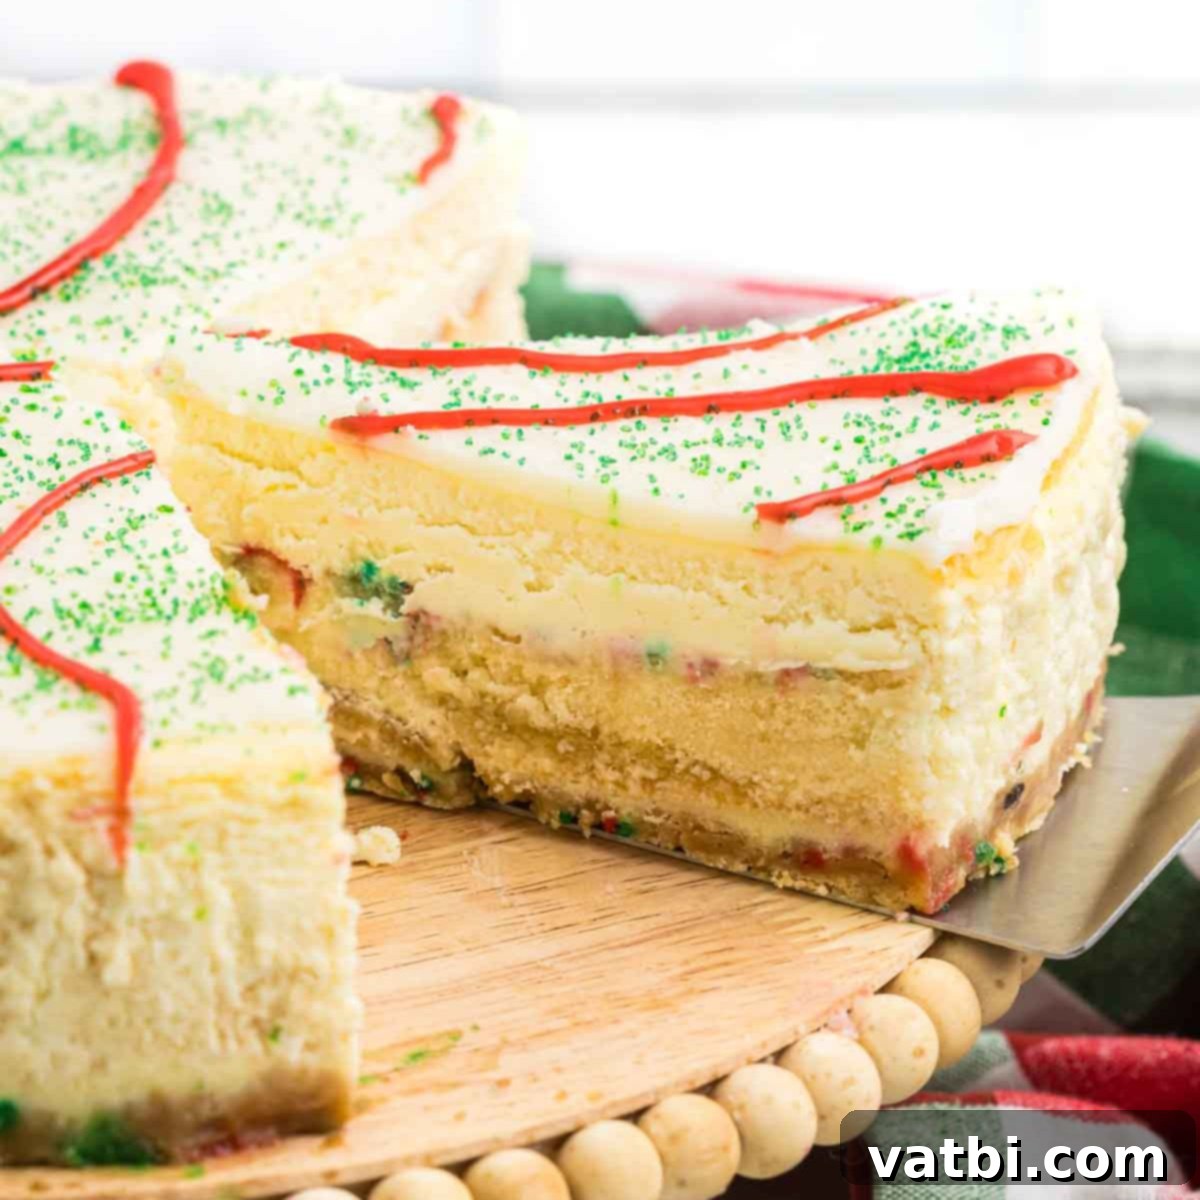
Indulge in Holiday Cheer: The Ultimate Little Debbie Christmas Tree Cheesecake Recipe
Get ready to elevate your holiday dessert game with this truly enchanting **Little Debbie Christmas Tree Cheesecake**. This recipe transforms the beloved festive snack cakes into a rich, creamy, and absolutely decadent cheesecake that will be the star of any Christmas gathering. Imagine a luscious vanilla cheesecake filling, perfectly baked with whole Little Debbie Christmas Trees nestled in its center, all crowned with a smooth white chocolate ganache, festive sprinkles, and iconic red frosting stripes. It’s not just a dessert; it’s a show-stopping centerpiece that captures the magic and nostalgia of the holiday season.
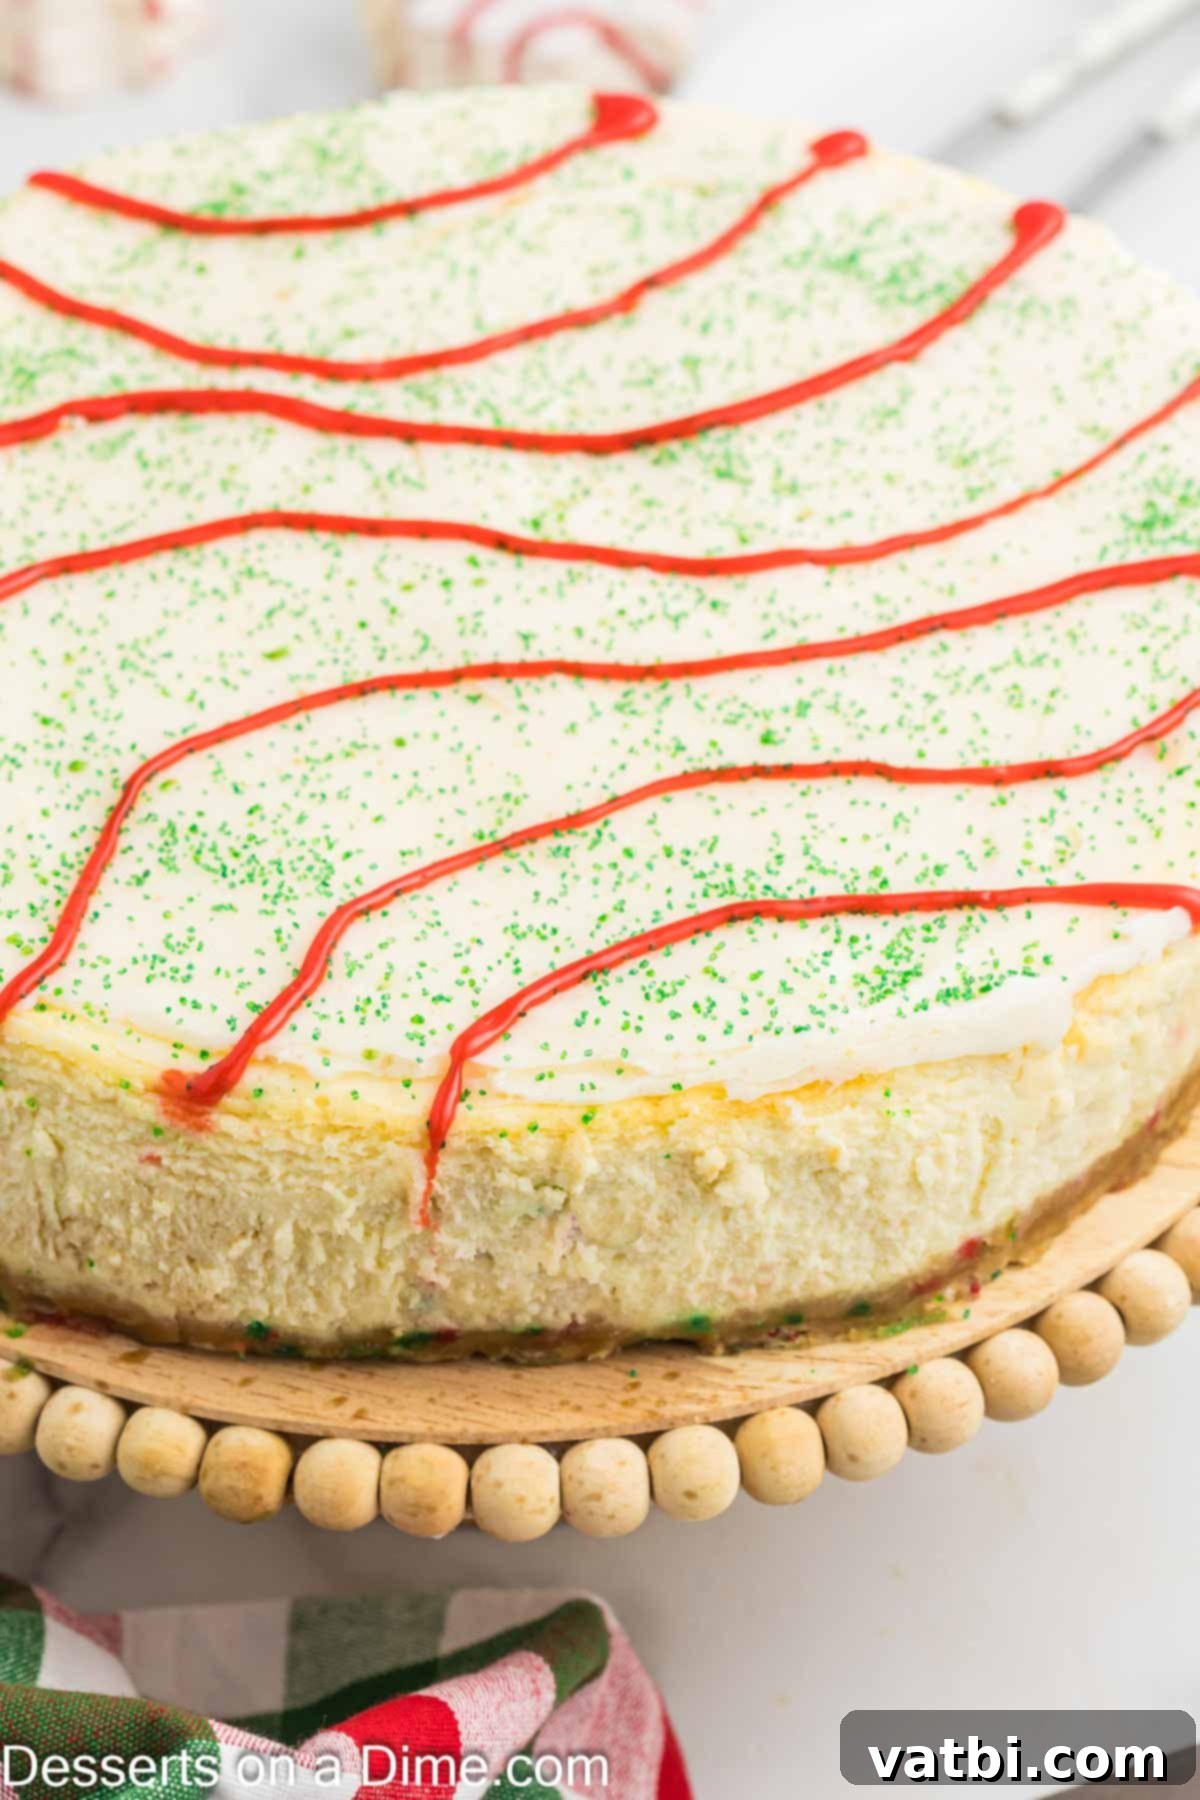
This Christmas Tree Cheesecake is more than just a recipe; it’s an opportunity to create cherished holiday memories. With its easy-to-follow instructions and incredibly satisfying results, it’s destined to become a beloved Christmas tradition in your home. For years, this festive treat has brought immense joy to my family, especially my kids, who eagerly anticipate its appearance every December. Their enthusiasm for the classic Christmas Tree snack cakes inspires us to create other festive delights like Little Debbie Christmas Tree Cake Balls and Little Debbie Christmas Tree Dip, but this cheesecake truly stands out.
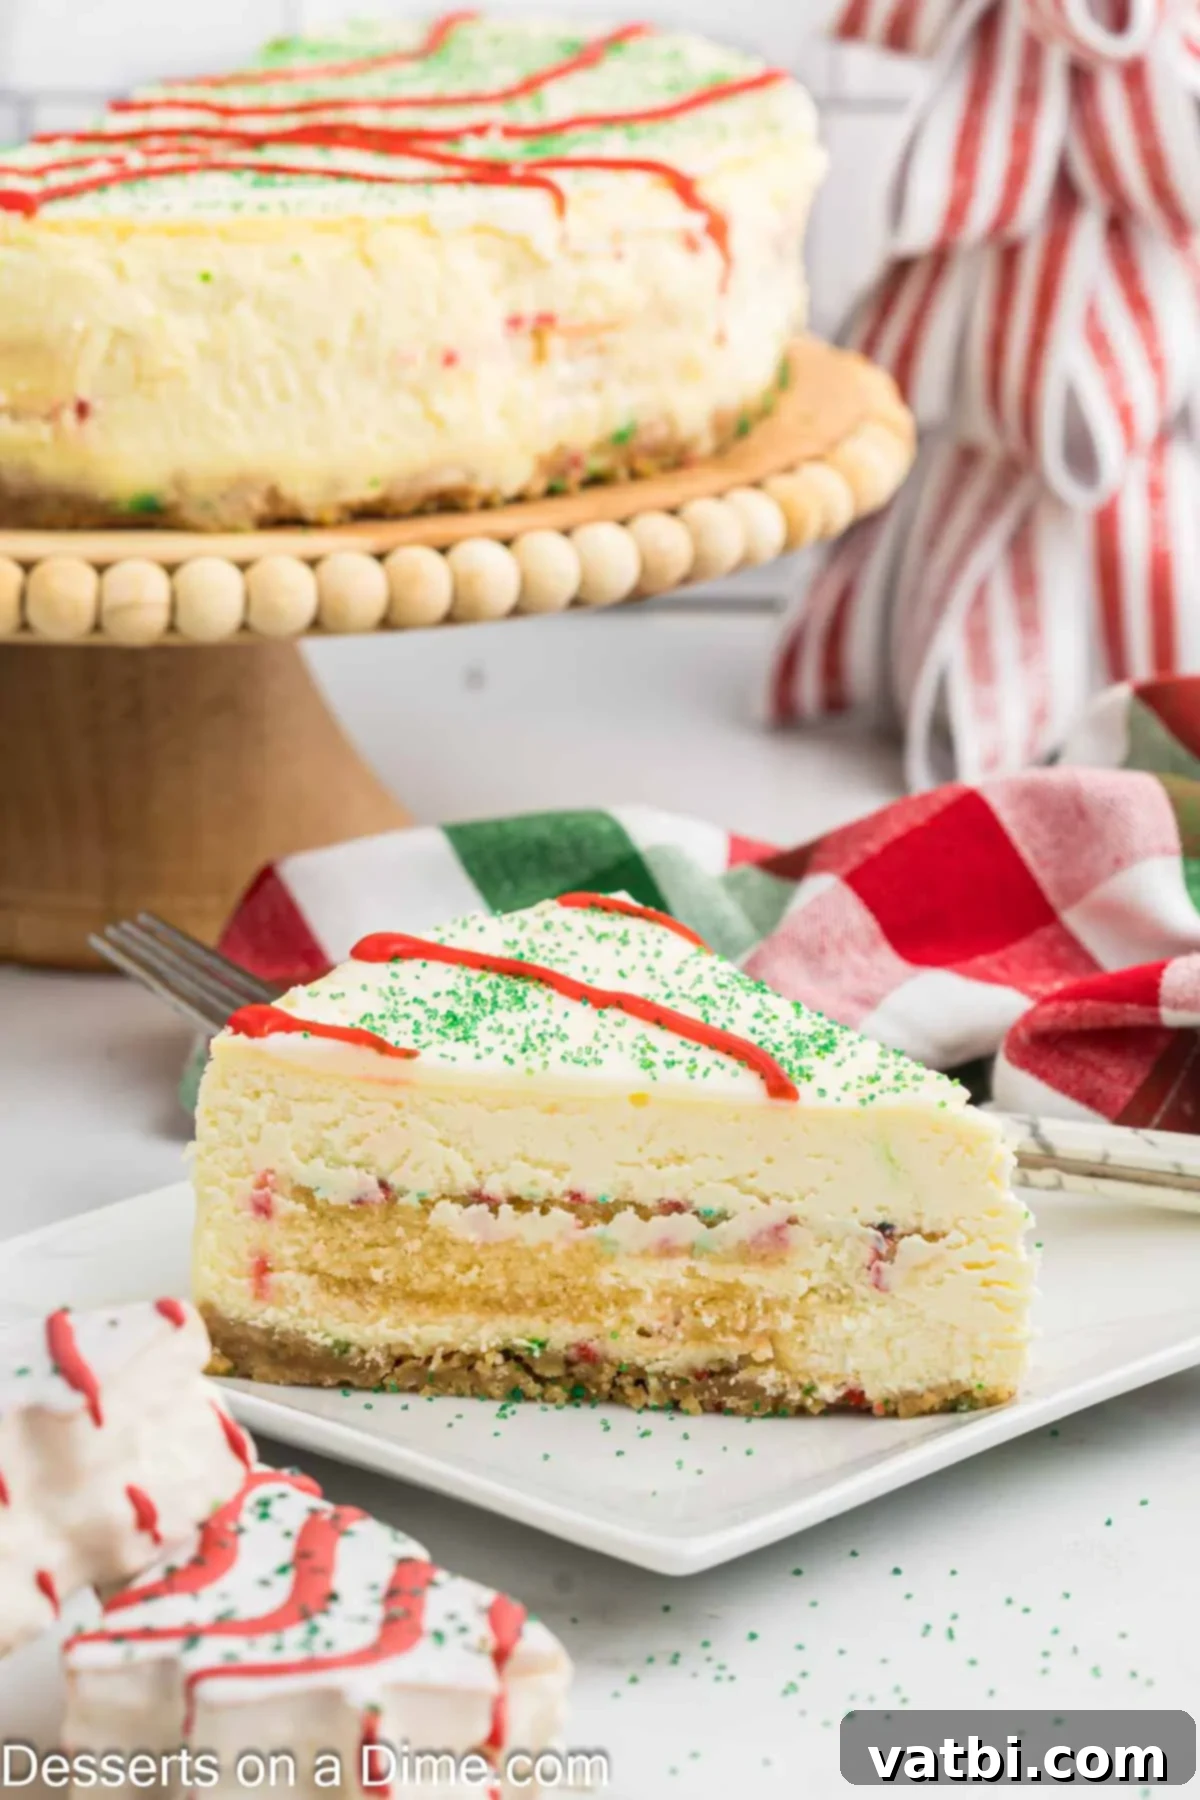
If you’re a fan of the creamy indulgence of cheesecake and the iconic charm of Little Debbie Christmas Trees, prepare to be amazed. This dessert masterfully blends both worlds into a single, sensational creation. The secret lies in baking the beloved little cakes right into the heart of the rich, velvety cheesecake filling, creating delightful pockets of cakey goodness with every slice. The combination of textures and flavors is simply irresistible, making it a guaranteed crowd-pleaser for any holiday celebration.
I find immense pleasure in crafting homemade cheesecakes, and this festive version is a personal favorite. If you enjoy unique cheesecake creations, you might also love my Cookies and Cream Cheesecake. But for pure holiday magic, the Little Debbie Christmas Tree Cheesecake reigns supreme!
Table of Contents
- Why You Will Adore This Festive Cheesecake
- Essential Ingredients for Your Christmas Cheesecake
- The Perfect Golden Oreo Crust
- Creamy Cheesecake Filling
- Signature Ganache Topping
- Creative Variations to Customize Your Cheesecake
- Easy Step-By-Step Baking Instructions
- Proper Storage for Leftovers
- Expert Tips for a Flawless Cheesecake
- Frequently Asked Questions (FAQ)
Why You Will Adore This Festive Cheesecake
- Iconic Snack Cake Inspired Decoration. This isn’t just a cheesecake; it’s a work of art that pays homage to the classic Little Debbie Christmas Tree Cakes. Topped with a silky white chocolate ganache, vibrant green sugar sprinkles, and distinct red icing stripes, it’s incredibly cute and instantly recognizable. The visual appeal alone makes it an absolute showstopper!
- Perfect for Holiday Parties and Gatherings. If you’re looking for a dessert that will truly impress your guests and spark conversation, this Little Debbie Christmas Tree Cheesecake is your answer. It’s not only adorable but also undeniably delicious, offering a rich and satisfying experience with every festive bite. It’s ideal for Christmas parties, family dinners, or any holiday celebration where a special treat is needed.
- Surprisingly Easy to Make. Despite its elaborate appearance, this recipe is remarkably straightforward. We’ve designed it with clear, simple instructions that even novice bakers can follow with confidence. You don’t need to be a pastry chef to create this masterpiece; just follow our guide, and you’ll have a stunning holiday cheesecake ready to share.
- A Nostalgic Holiday Flavor Fusion. This cheesecake brings together the best of two dessert worlds: the comforting, familiar taste of Little Debbie Christmas Tree Cakes and the sophisticated creaminess of a classic cheesecake. It’s a delightful journey back to childhood, reimagined in an elegant and utterly delicious form that appeals to all ages.
Essential Ingredients for Your Christmas Cheesecake
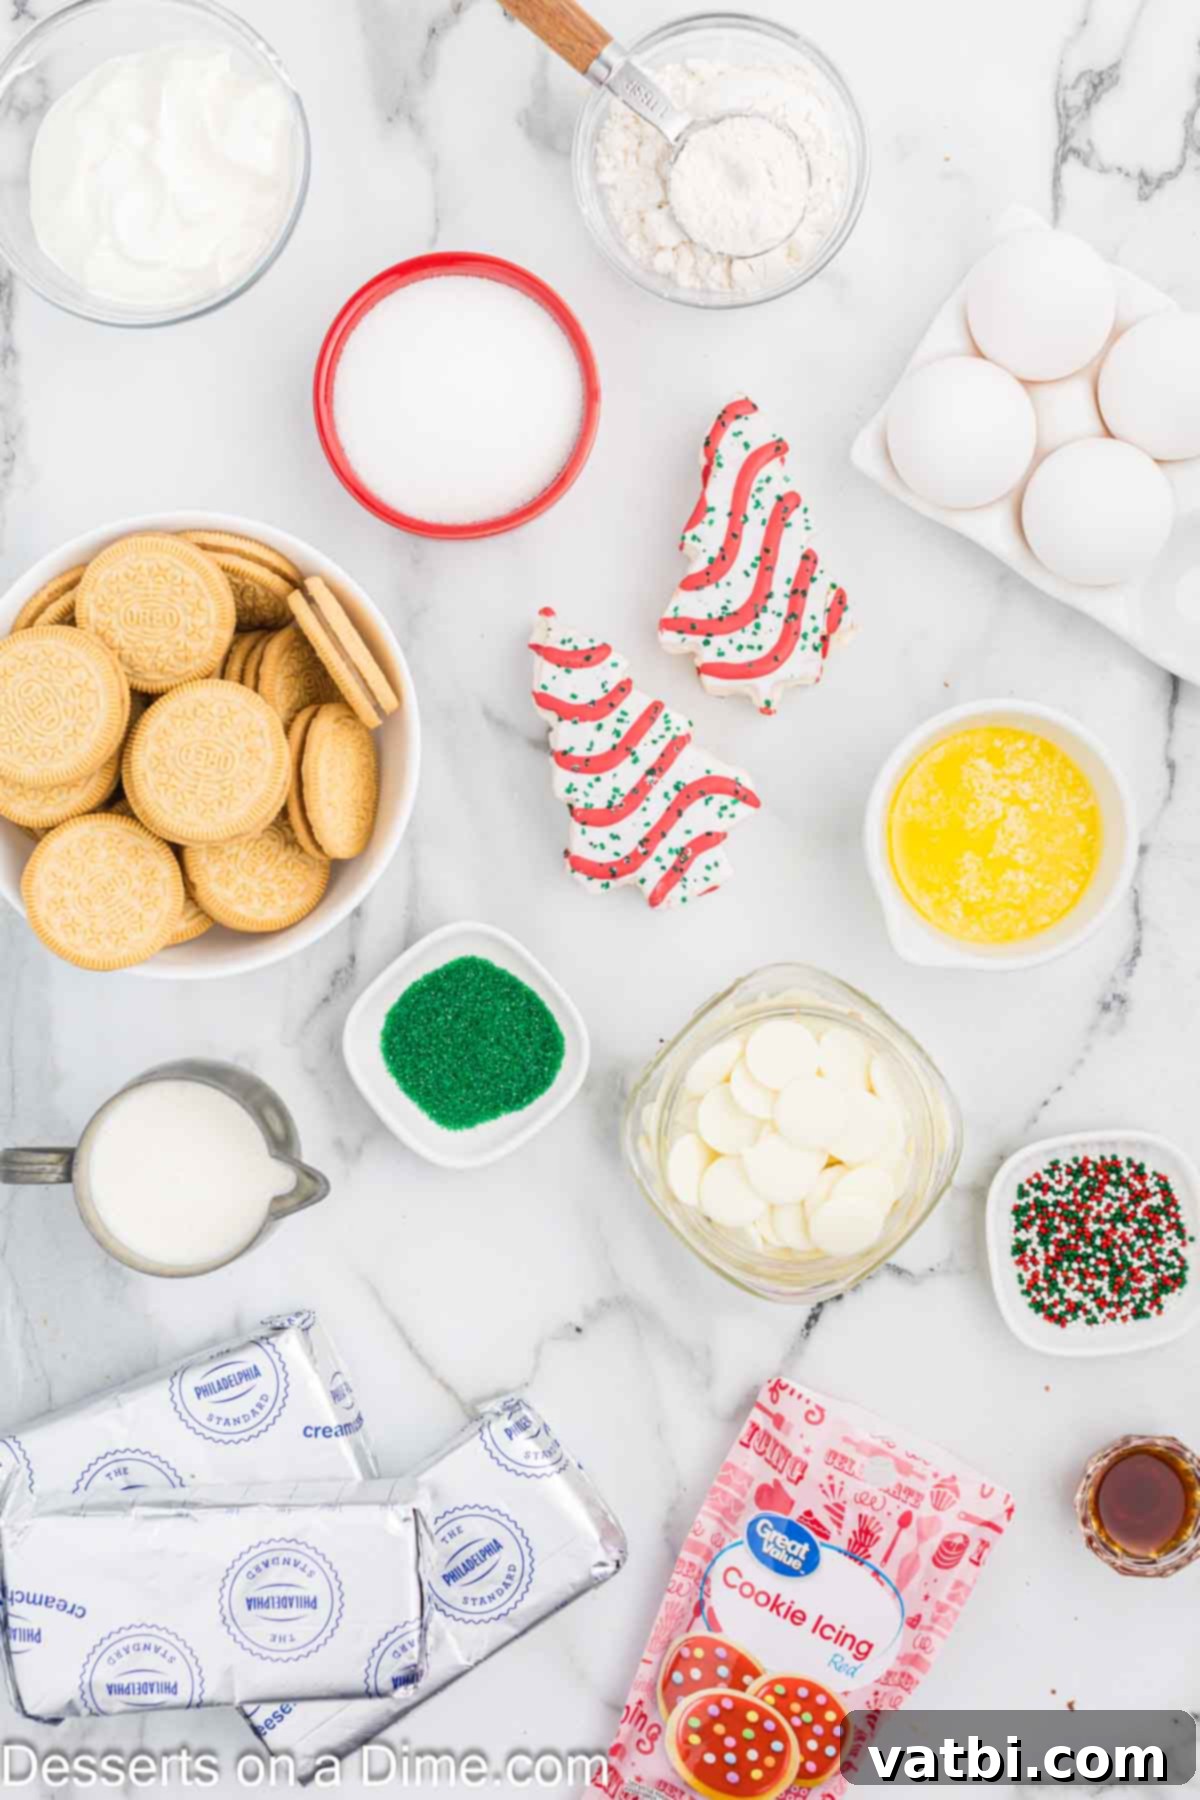
Crafting this incredible Little Debbie Christmas Tree Cheesecake requires a few key ingredients, each playing a vital role in achieving its rich flavor and perfect texture. Using high-quality ingredients will always yield the best results for your holiday dessert.
The Perfect Golden Oreo Crust
- Golden Oreos: These vanilla sandwich cookies are crushed to create a sweet, buttery, and slightly crumbly base. Using Golden Oreos complements the vanilla notes of the cheesecake filling beautifully, offering a delightful contrast in texture to the creamy dessert.
- Butter: Melted butter binds the cookie crumbs together, forming a sturdy and flavorful crust. It adds richness and helps the crust set perfectly.
- Christmas Nonpareils Sprinkles: We specifically recommend nonpareils because their vibrant colors don’t bleed into the crust during baking, ensuring your festive sprinkles remain bright and distinct for a truly holiday-ready appearance.
Creamy Cheesecake Filling
- Cream Cheese: Softened at room temperature, bricks of full-fat cream cheese are essential for that signature smooth and rich cheesecake texture. Avoid using whipped or low-fat versions, as they can alter the consistency and flavor significantly.
- Sugar: Plain granulated sugar provides the perfect sweetness, balancing the tanginess of the cream cheese. It’s crucial for the overall flavor profile of the cheesecake.
- Vanilla Extract: A good quality vanilla extract enhances the depth of flavor, giving the filling that classic, comforting vanilla aroma and taste.
- Full-Fat Sour Cream: The high fat content of regular sour cream is key to achieving an incredibly moist, tender, and tangy cheesecake filling. Do not substitute with light sour cream, as it will compromise the luxurious texture.
- Eggs: Large, room-temperature eggs are vital for the cheesecake’s structure and even baking. Using eggs at room temperature helps them incorporate more easily into the batter, preventing lumps and promoting a smooth, uniform consistency.
- Little Debbie Christmas Tree Cakes: These are the undisputed stars of our dessert! Seven of these festive snack cakes are carefully nestled within the cheesecake filling, adding a delightful surprise layer of cake, cream, and sprinkles. Their unique flavor and texture are what make this cheesecake truly special and irresistibly nostalgic.
Signature Ganache Topping
- White Baking Chocolate: For the silkiest, most delicious ganache, always opt for good quality white baking chocolate. Chunks or bars melt more smoothly than chips, which often contain stabilizers.
- Heavy Whipping Cream: This ingredient is non-negotiable for a rich, pourable ganache. Do not substitute it with regular milk, as heavy cream’s fat content is what creates the luxurious texture and consistency needed for a perfect ganache.
- Green Sanding Sprinkles: These beautiful, glittering sprinkles are dusted over the white ganache to mimic the green tree design of the original Little Debbie snack cake, adding a vibrant and festive touch.
- Red Store-Bought Cookie Frosting: To achieve those iconic red stripes, a tube of pre-made red cookie frosting is incredibly convenient. Its consistency is perfect for piping neat lines, completing the authentic Little Debbie Christmas Tree look.
For a complete and detailed list of exact quantities for each ingredient, please refer to the recipe card located at the bottom of this page.
Creative Variations to Customize Your Cheesecake
While the classic Little Debbie Christmas Tree Cheesecake is truly a marvel, there’s always room to get creative and tailor it to your preferences. Here are a few delightful variations to inspire your holiday baking:
- Chocolate Lover’s Dream. If you’re a chocolate aficionado, seek out the chocolate-flavored Little Debbie Christmas Tree Cakes if they are available in your region. Swapping them in will infuse the entire cheesecake with a rich, cocoa twist, perfect for those who crave a deeper chocolate experience.
- Alternative Crust Options. The Golden Oreo crust is fantastic, but you have other choices! For a slightly different flavor profile, consider using classic graham cracker crumbs for a traditional cheesecake crust. Vanilla wafers also make an excellent sweet and crunchy base. If you decide to go with the chocolate Christmas Tree Cakes, then a crust made from regular Oreo cookies would be a truly decadent and complementary choice, enhancing the chocolate theme throughout.
- Different Topping Flavors. Not a fan of white chocolate? No problem! You can easily substitute the white baking chocolate in the ganache topping with milk chocolate or even dark chocolate for a richer, more intense chocolate flavor. This simple swap allows you to customize the top layer to perfectly match your taste buds. Imagine a dark chocolate ganache with green sprinkles – equally festive and incredibly delicious!
- Seasonal Sprinkle Choices. While green sanding sprinkles are ideal for the Christmas tree theme, don’t hesitate to experiment with other holiday-themed sprinkles! Silver, gold, or even mixed festive sprinkle blends can add another layer of visual appeal and personality to your cheesecake.
Easy Step-By-Step Baking Instructions
Creating this stunning Little Debbie Christmas Tree Cheesecake is a fun and rewarding process. Follow these detailed steps to ensure a perfect, beautifully baked dessert for your holiday table.
- Step 1. Before you begin preparing any ingredients, it’s essential to preheat your oven to 325 degrees Fahrenheit (160°C). A properly preheated oven ensures even baking from the very start, which is crucial for cheesecake.
- Step 2. Next, prepare your Golden Oreo crust. Place the Golden Oreos in a food processor and pulse until they are transformed into very fine, uniform crumbs. This ensures a consistent crust texture.
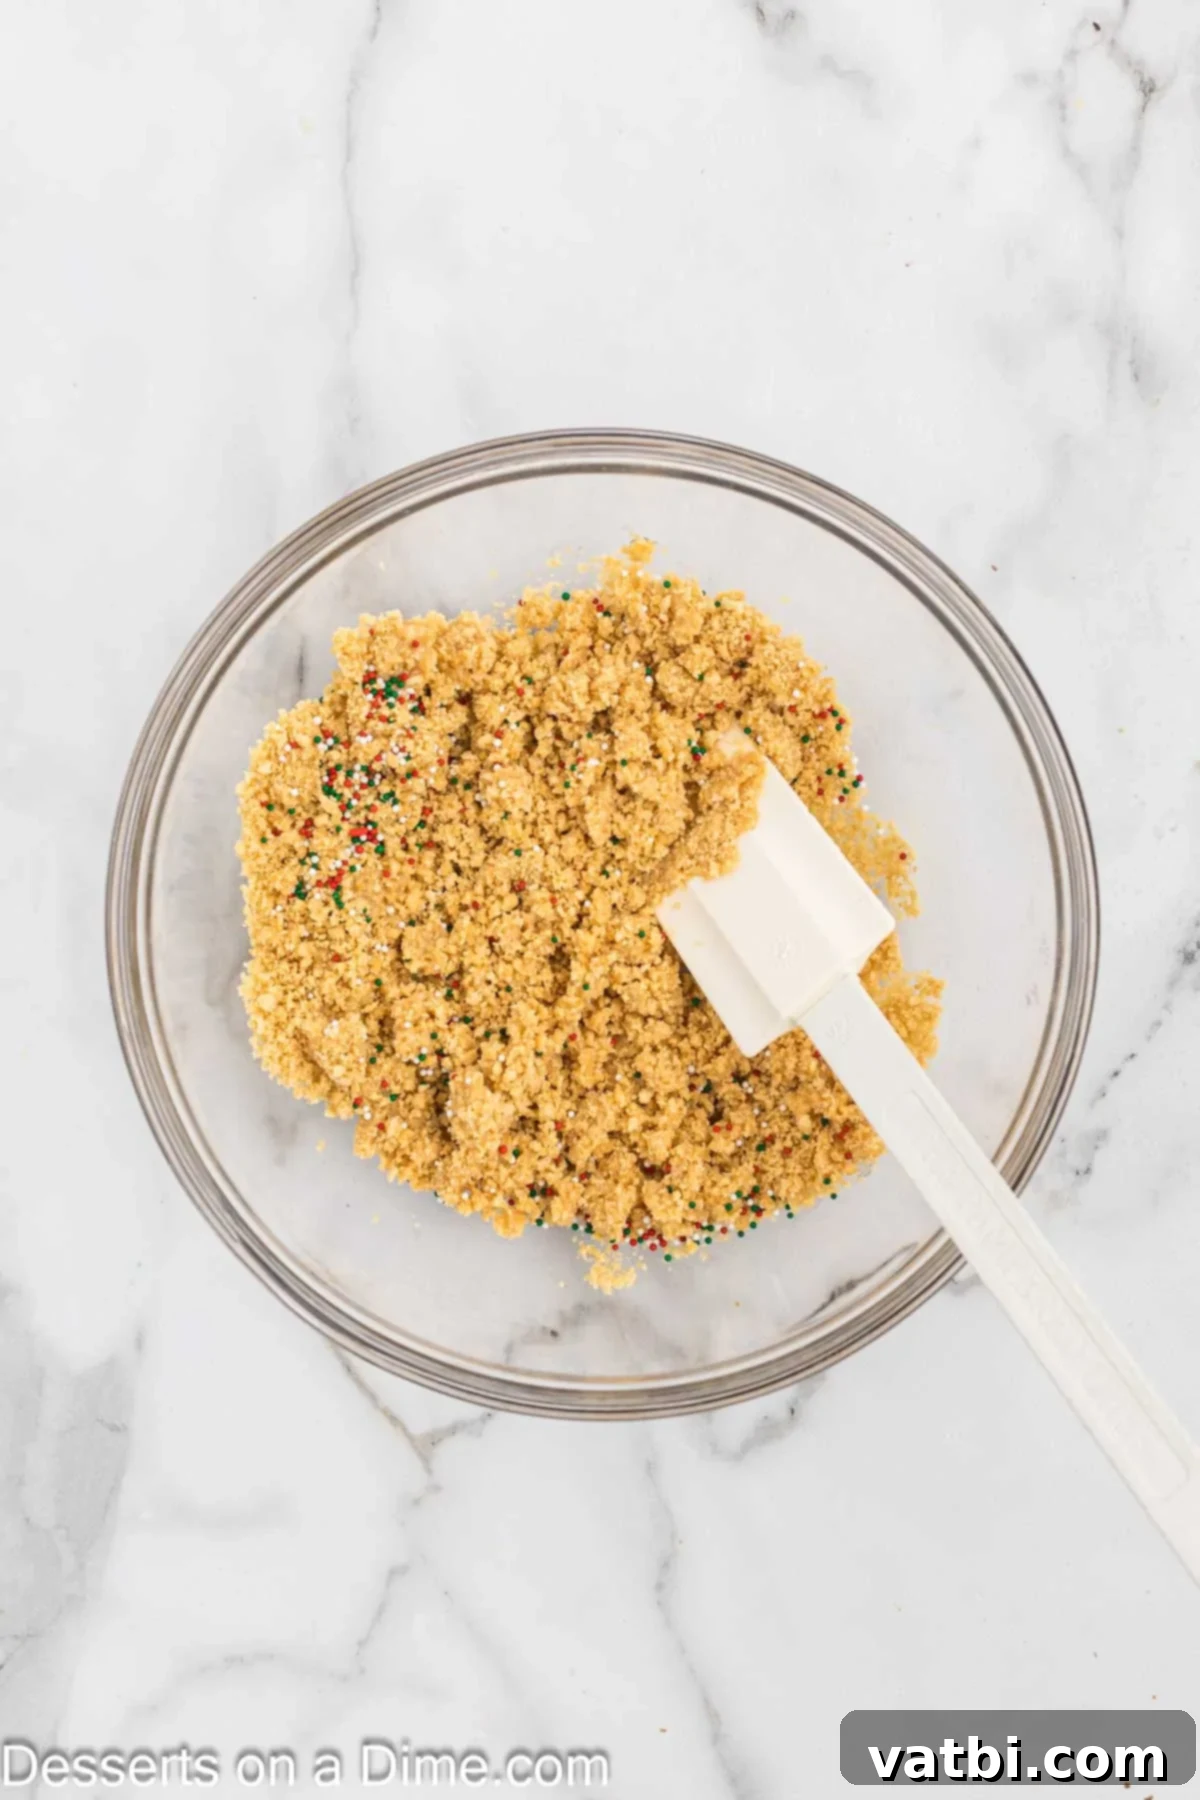
Step 3. In a mixing bowl, combine the finely crushed cookie crumbs, the melted butter, and your chosen Christmas nonpareils sprinkles. Mix these ingredients thoroughly until the crumbs are evenly moistened and can hold their shape when pressed.
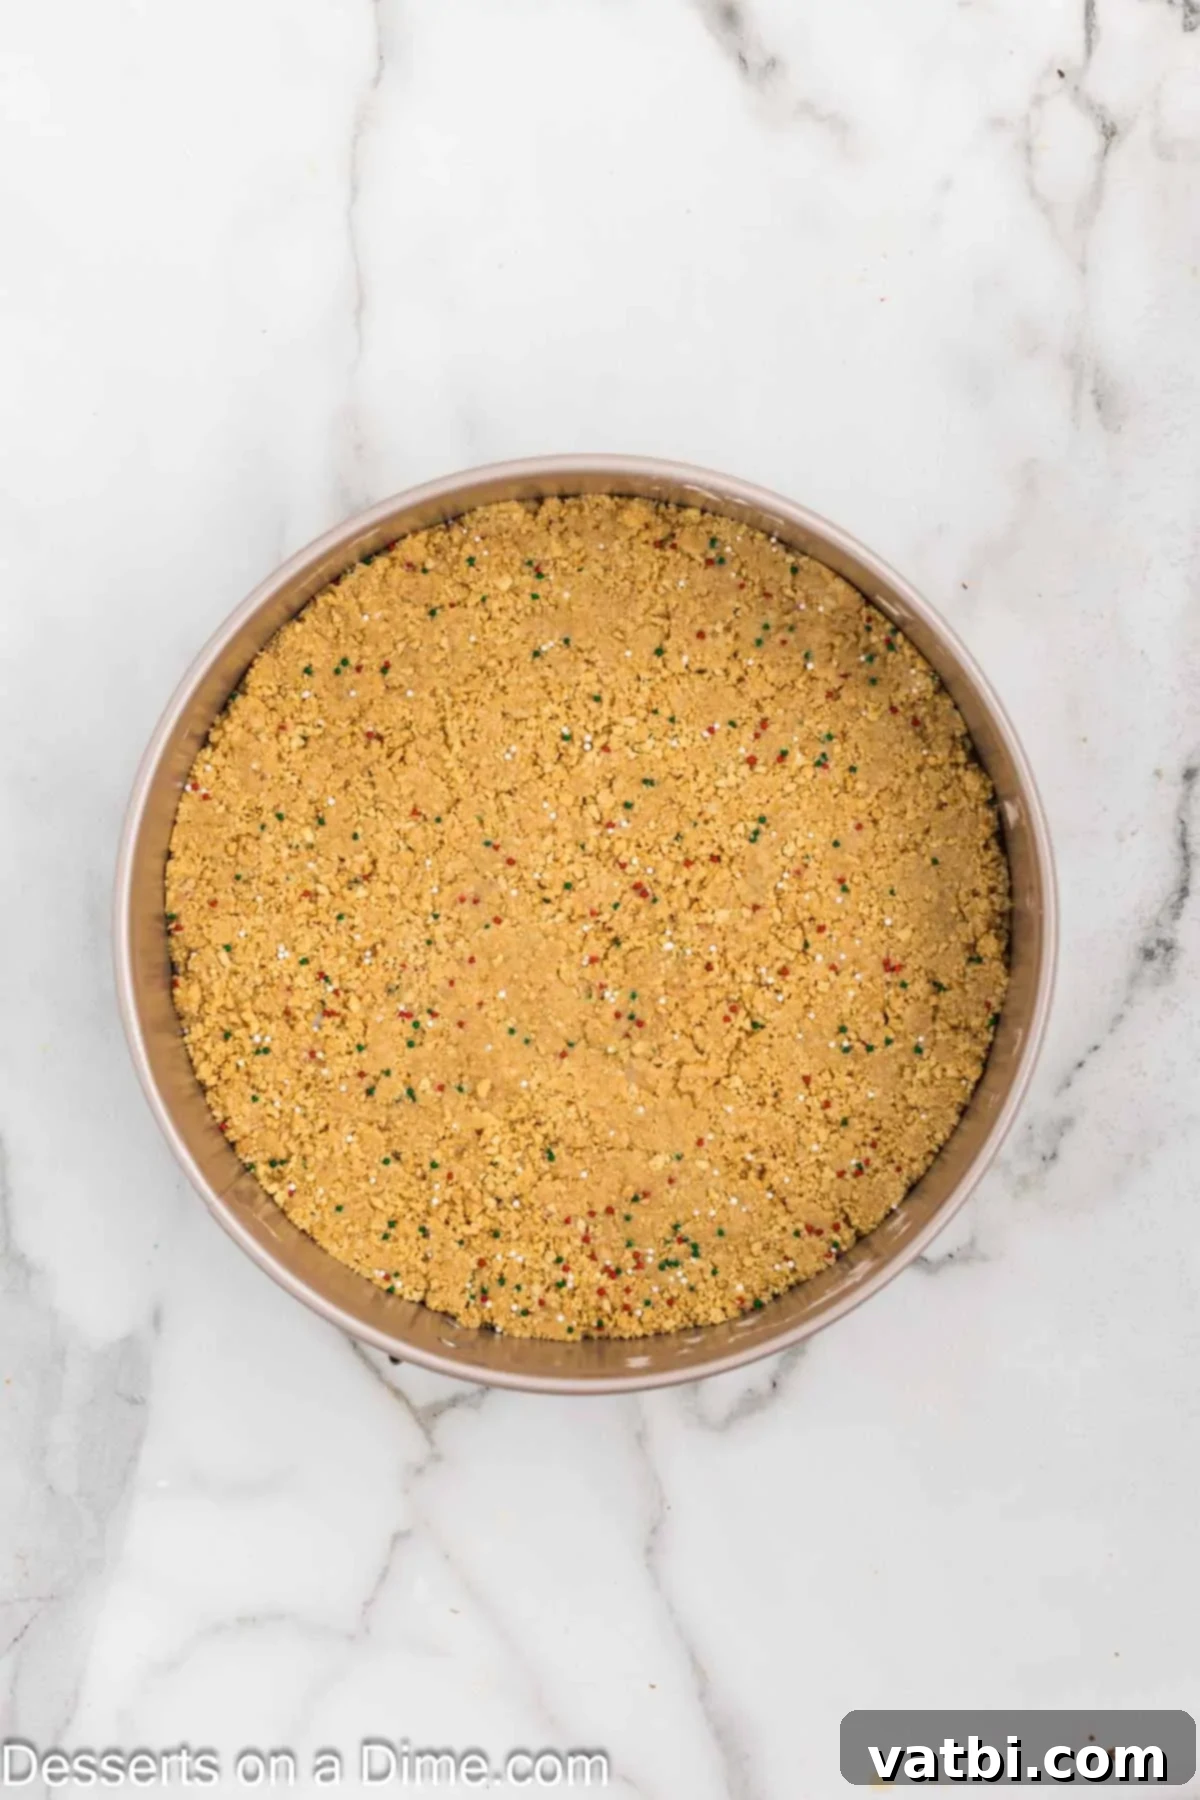
Step 4. Carefully pour this crumb mixture into the bottom of a 9-inch springform pan. Using the bottom of a glass or your fingers, firmly press the mixture across the bottom and about ½ inch up the sides of the pan. This creates a secure and even crust. Bake this crust for 8 minutes, then remove it from the oven and let it cool completely at room temperature while you prepare the filling.
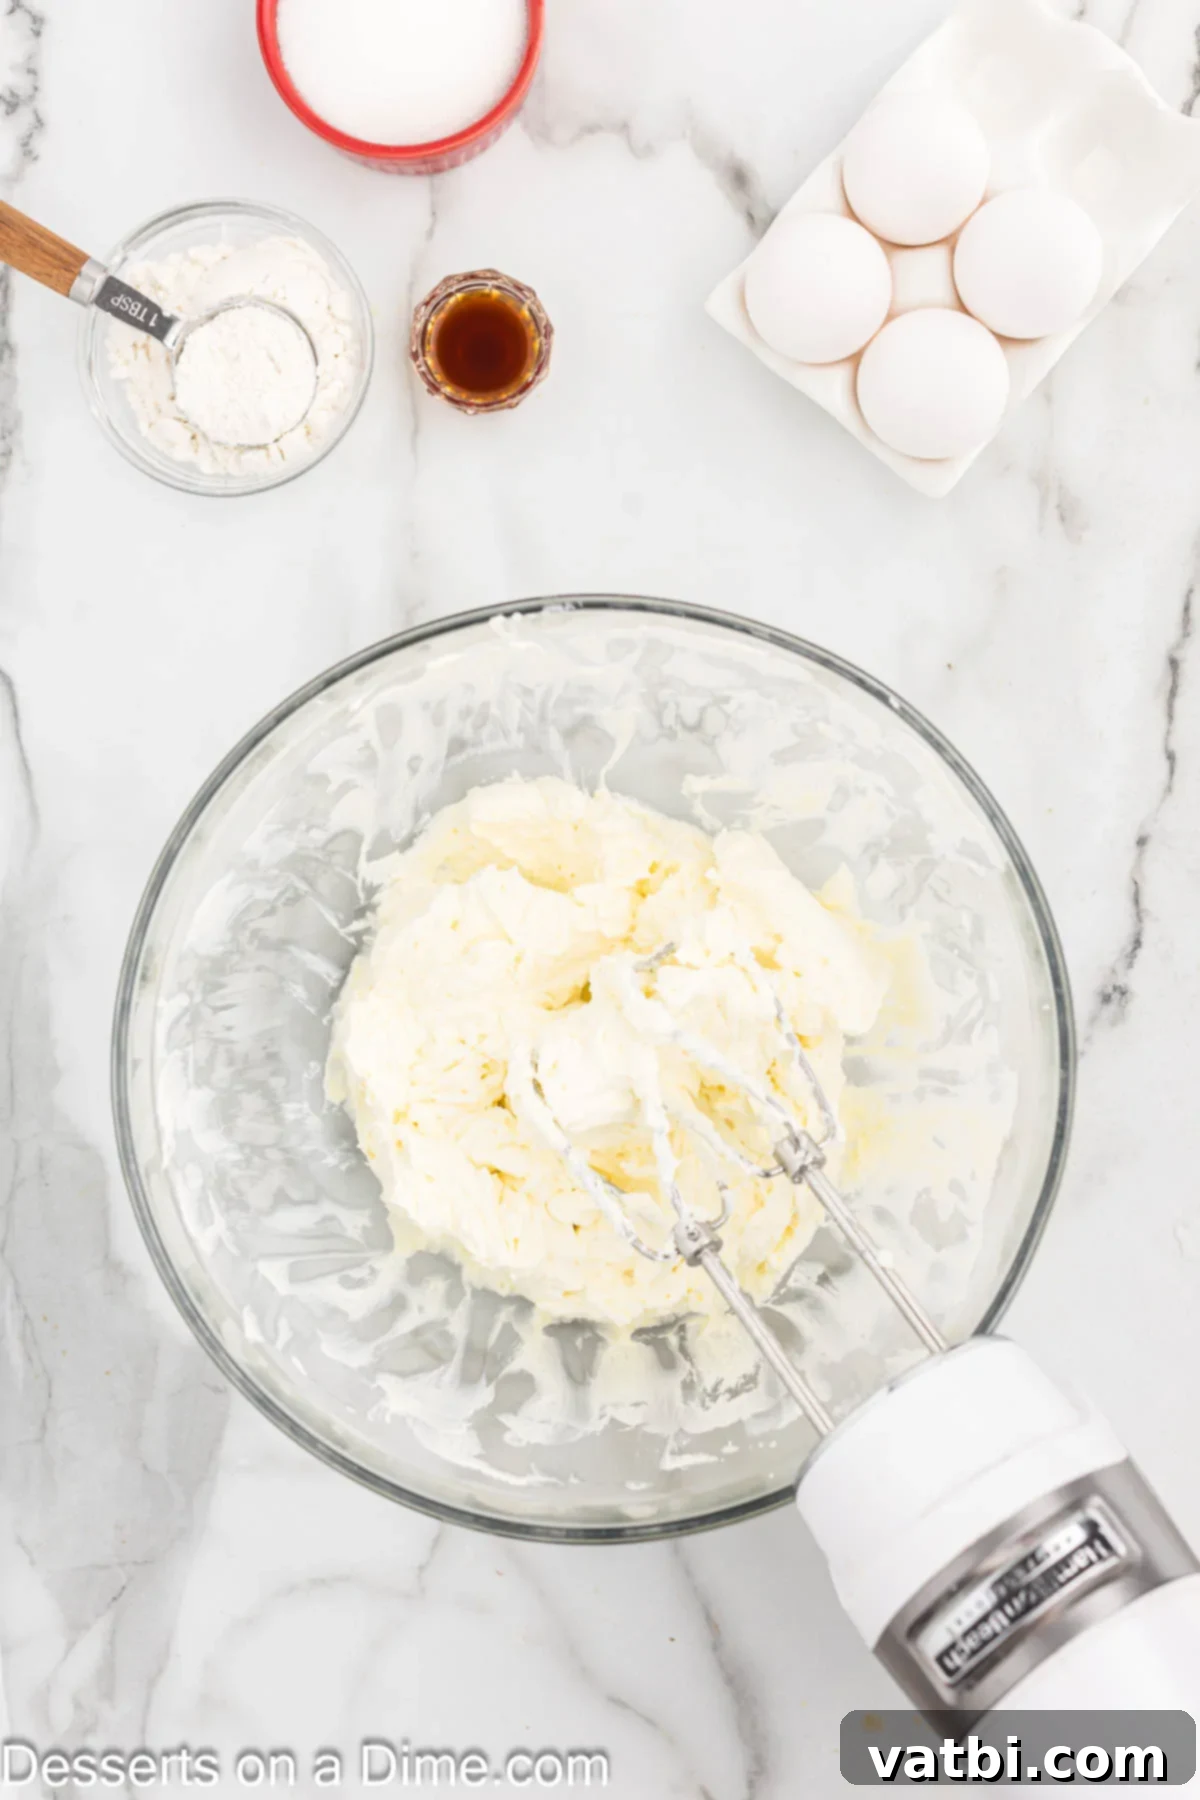
Step 5. While the crust cools, begin preparing the cheesecake filling. Using an electric mixer (either a hand mixer or a stand mixer), beat the softened cream cheese on medium speed until it is wonderfully fluffy, smooth, and completely free of lumps. This step is crucial for a silky cheesecake.
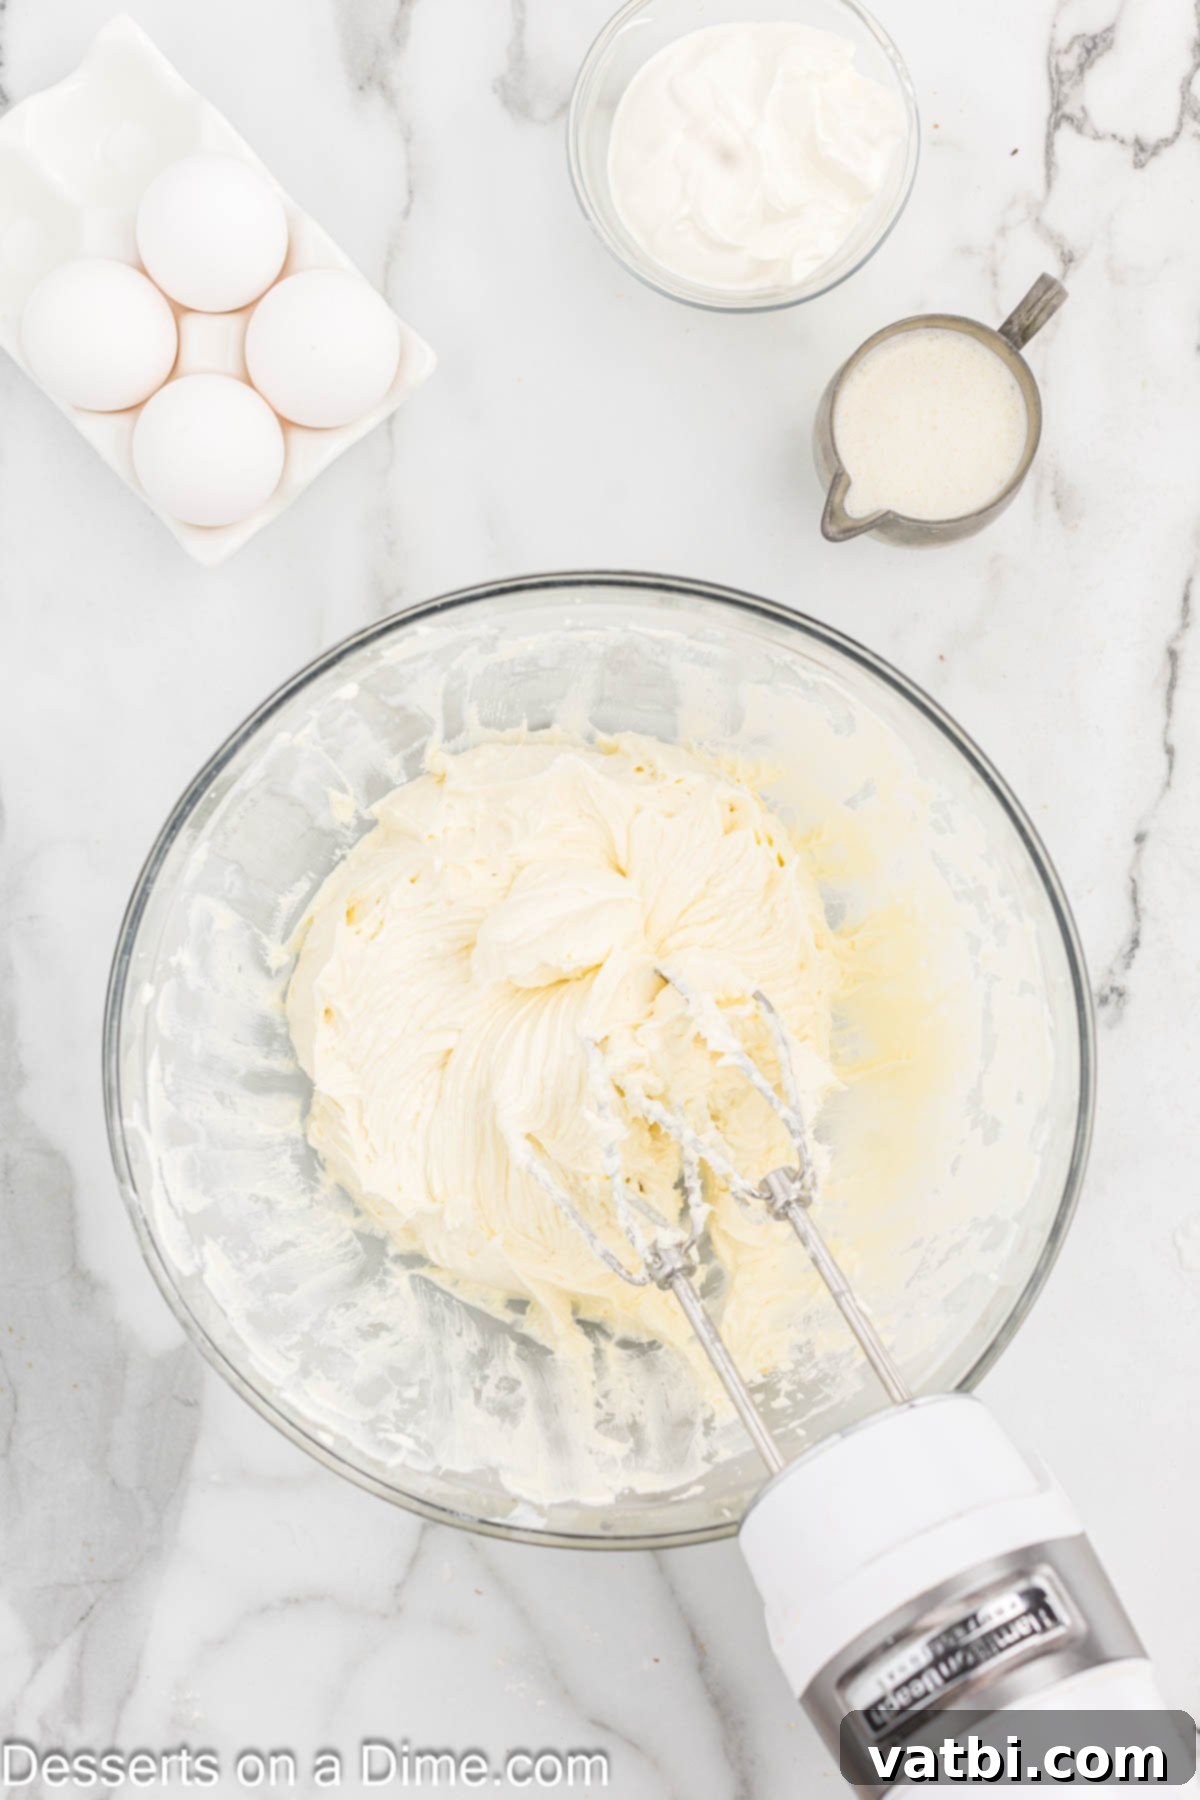
Step 6. Next, add the granulated sugar, all-purpose flour, and vanilla extract to the cream cheese mixture. Beat for 1-2 minutes until all ingredients are well combined and the mixture is smooth. Periodically scrape down the sides of the bowl with a spatula to ensure everything is thoroughly blended and there are no dry spots.
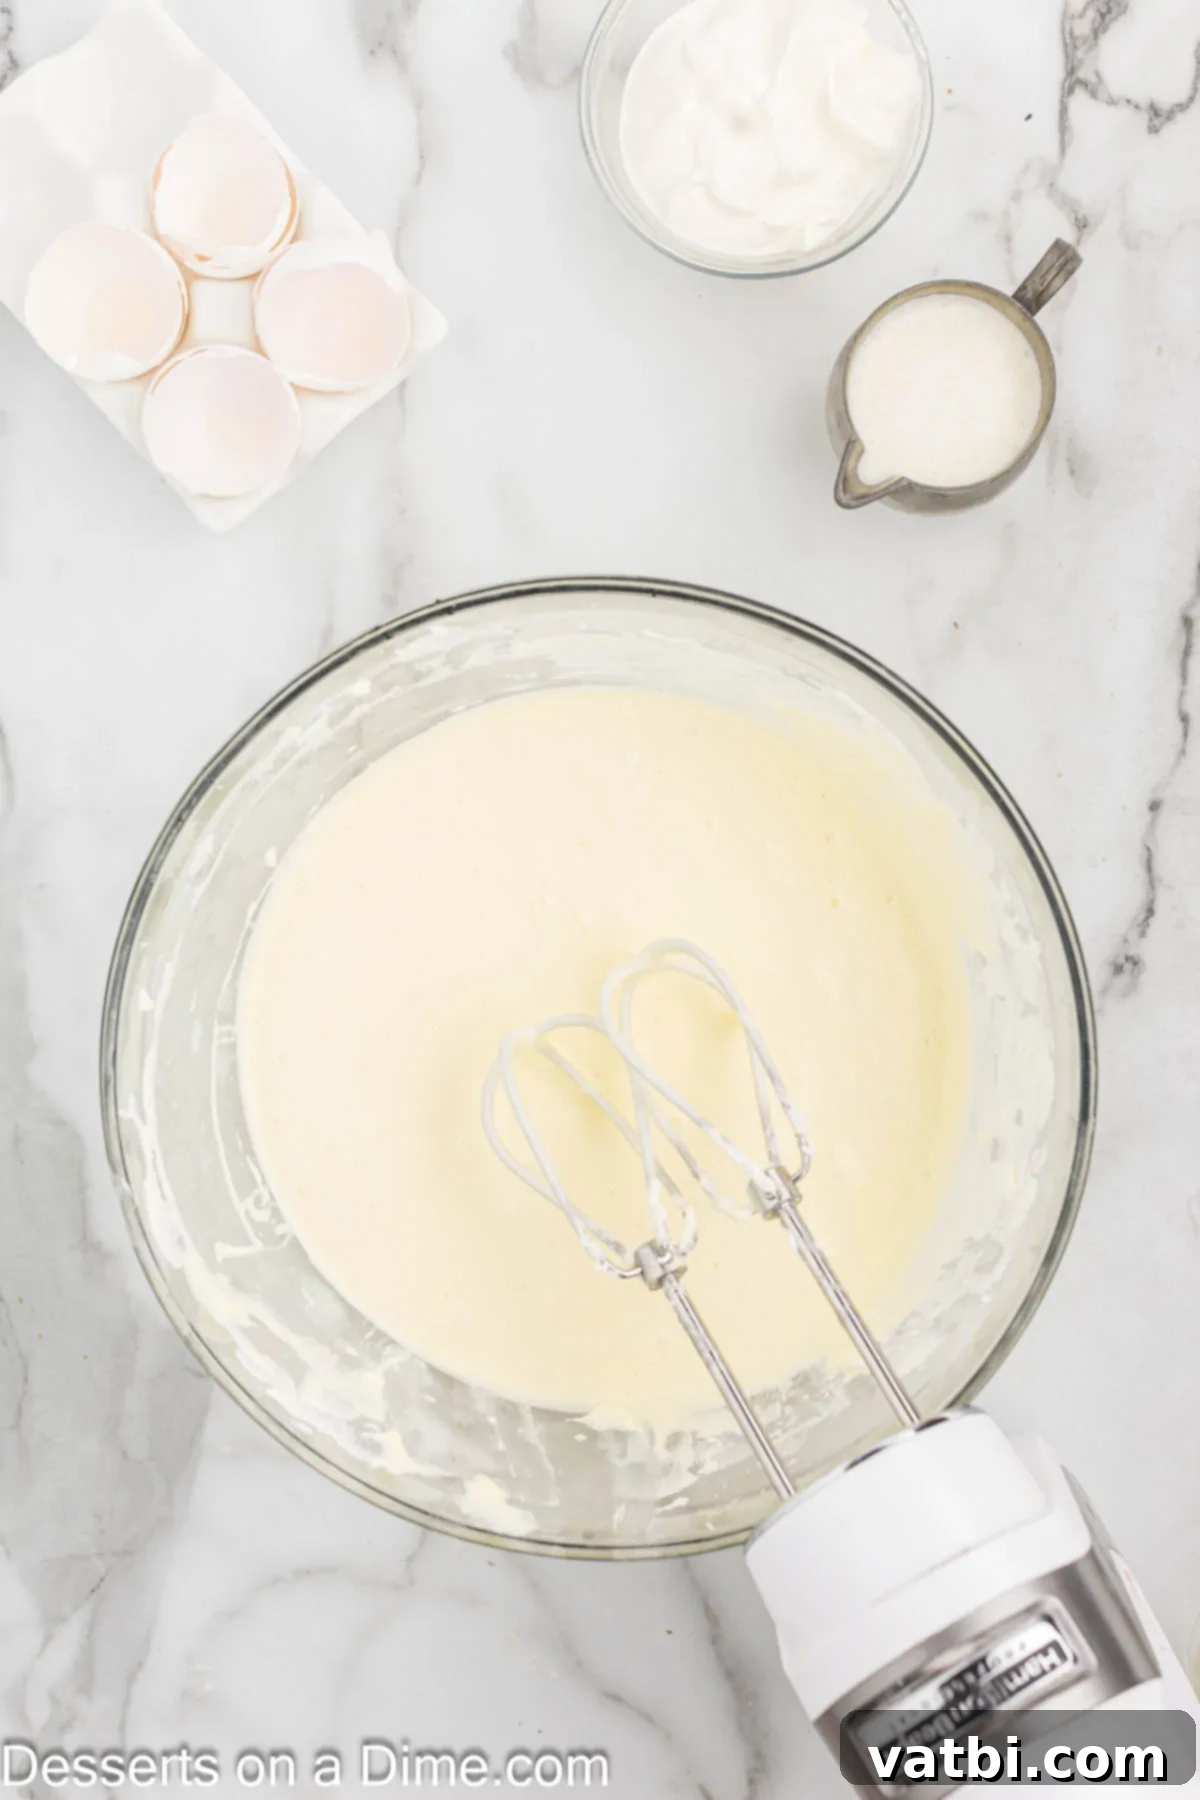
Step 7. Now, it’s time to add the eggs. Incorporate them one at a time, beating just until each egg is fully combined into the batter before adding the next. Be careful not to over-mix the batter once the eggs are added, as excessive air can lead to cracks in the finished cheesecake.
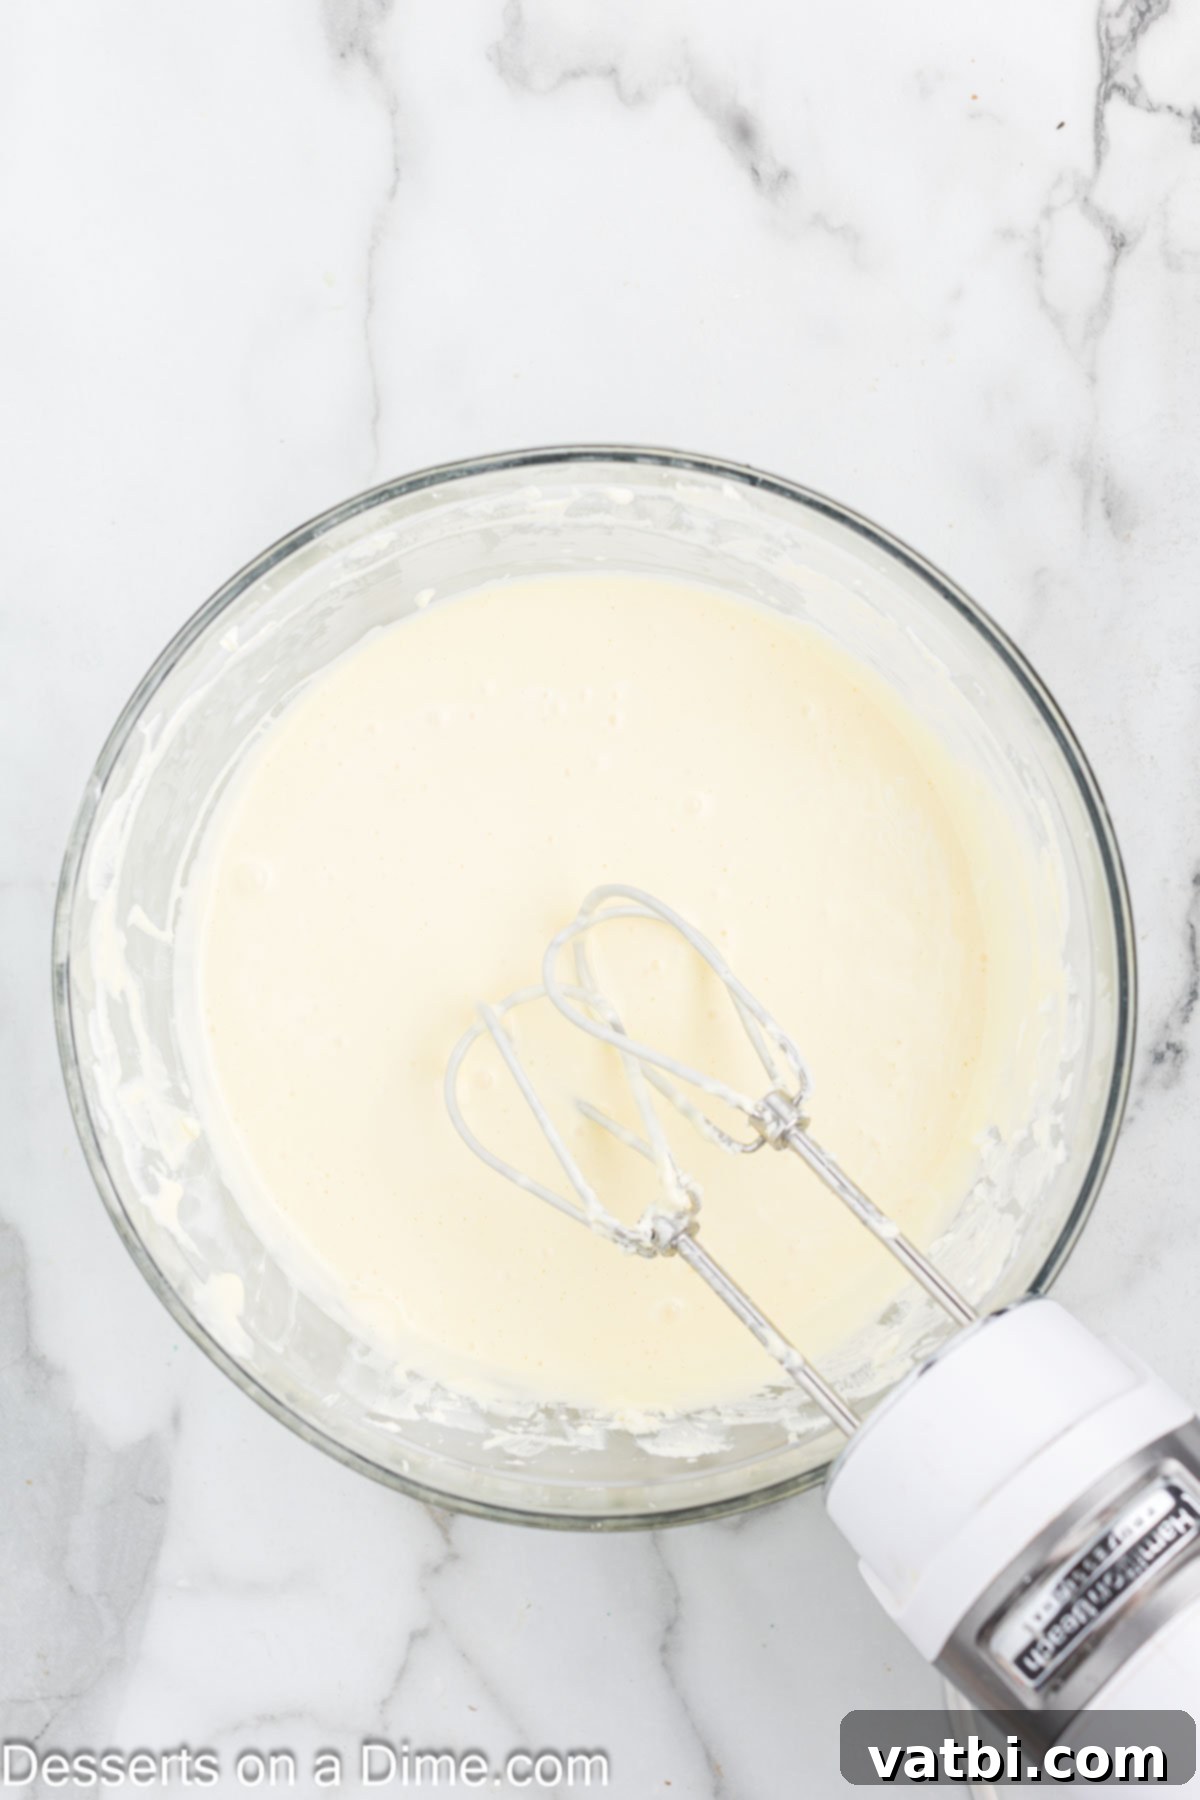
Step 8. Finally, with the mixer speed on low, gently mix in the full-fat sour cream and heavy cream. Continue mixing only until these ingredients are just incorporated and the batter is smooth. Overmixing at this stage can also introduce too much air, which can affect the cheesecake’s texture and lead to cracking.
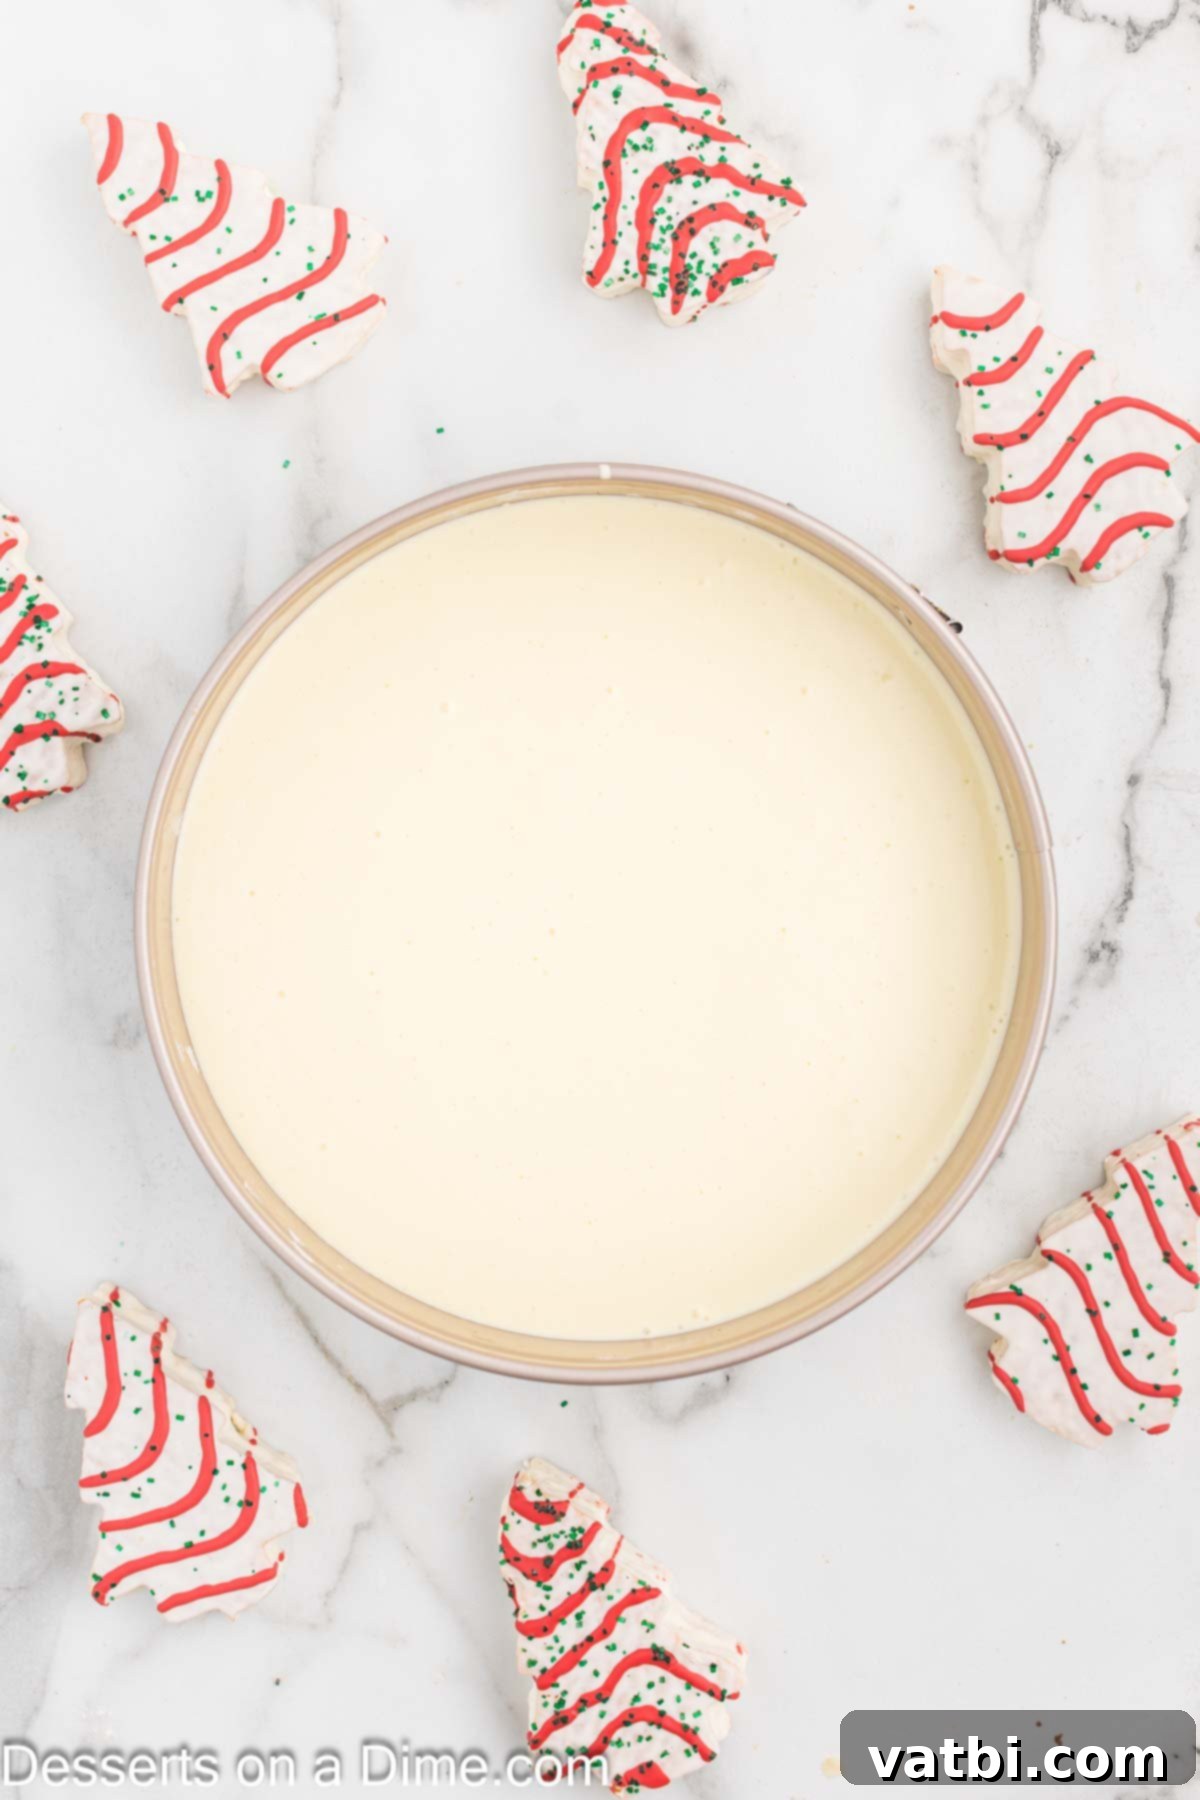
Step 9. Pour approximately half of your creamy cheesecake filling evenly over the cooled Golden Oreo crust in the springform pan. Use a spatula to gently smooth out the surface, ensuring an even layer.
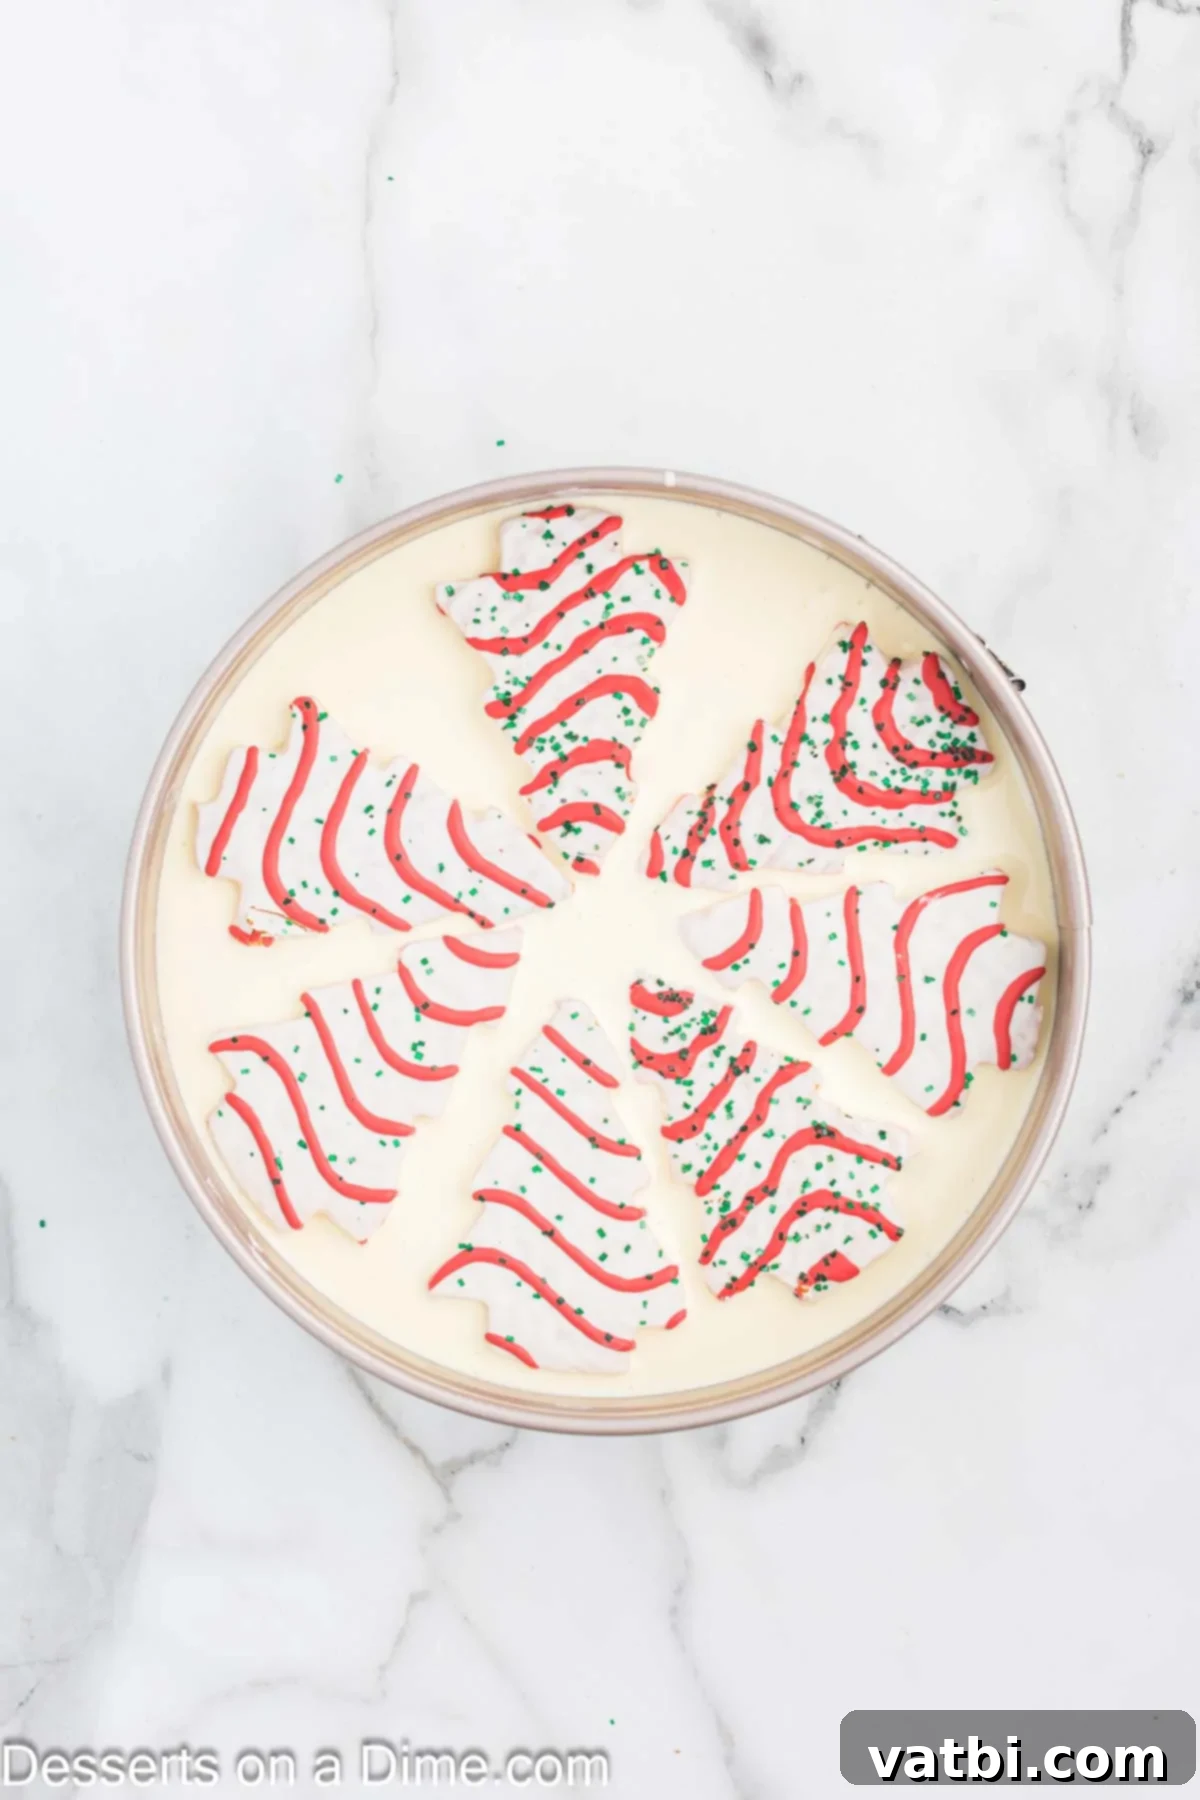
Step 9. Artfully arrange the Little Debbie Christmas Tree Cakes on top of the first layer of cheesecake batter. Gently press them down into the batter to ensure they are slightly submerged. This will create that delightful surprise center when sliced.
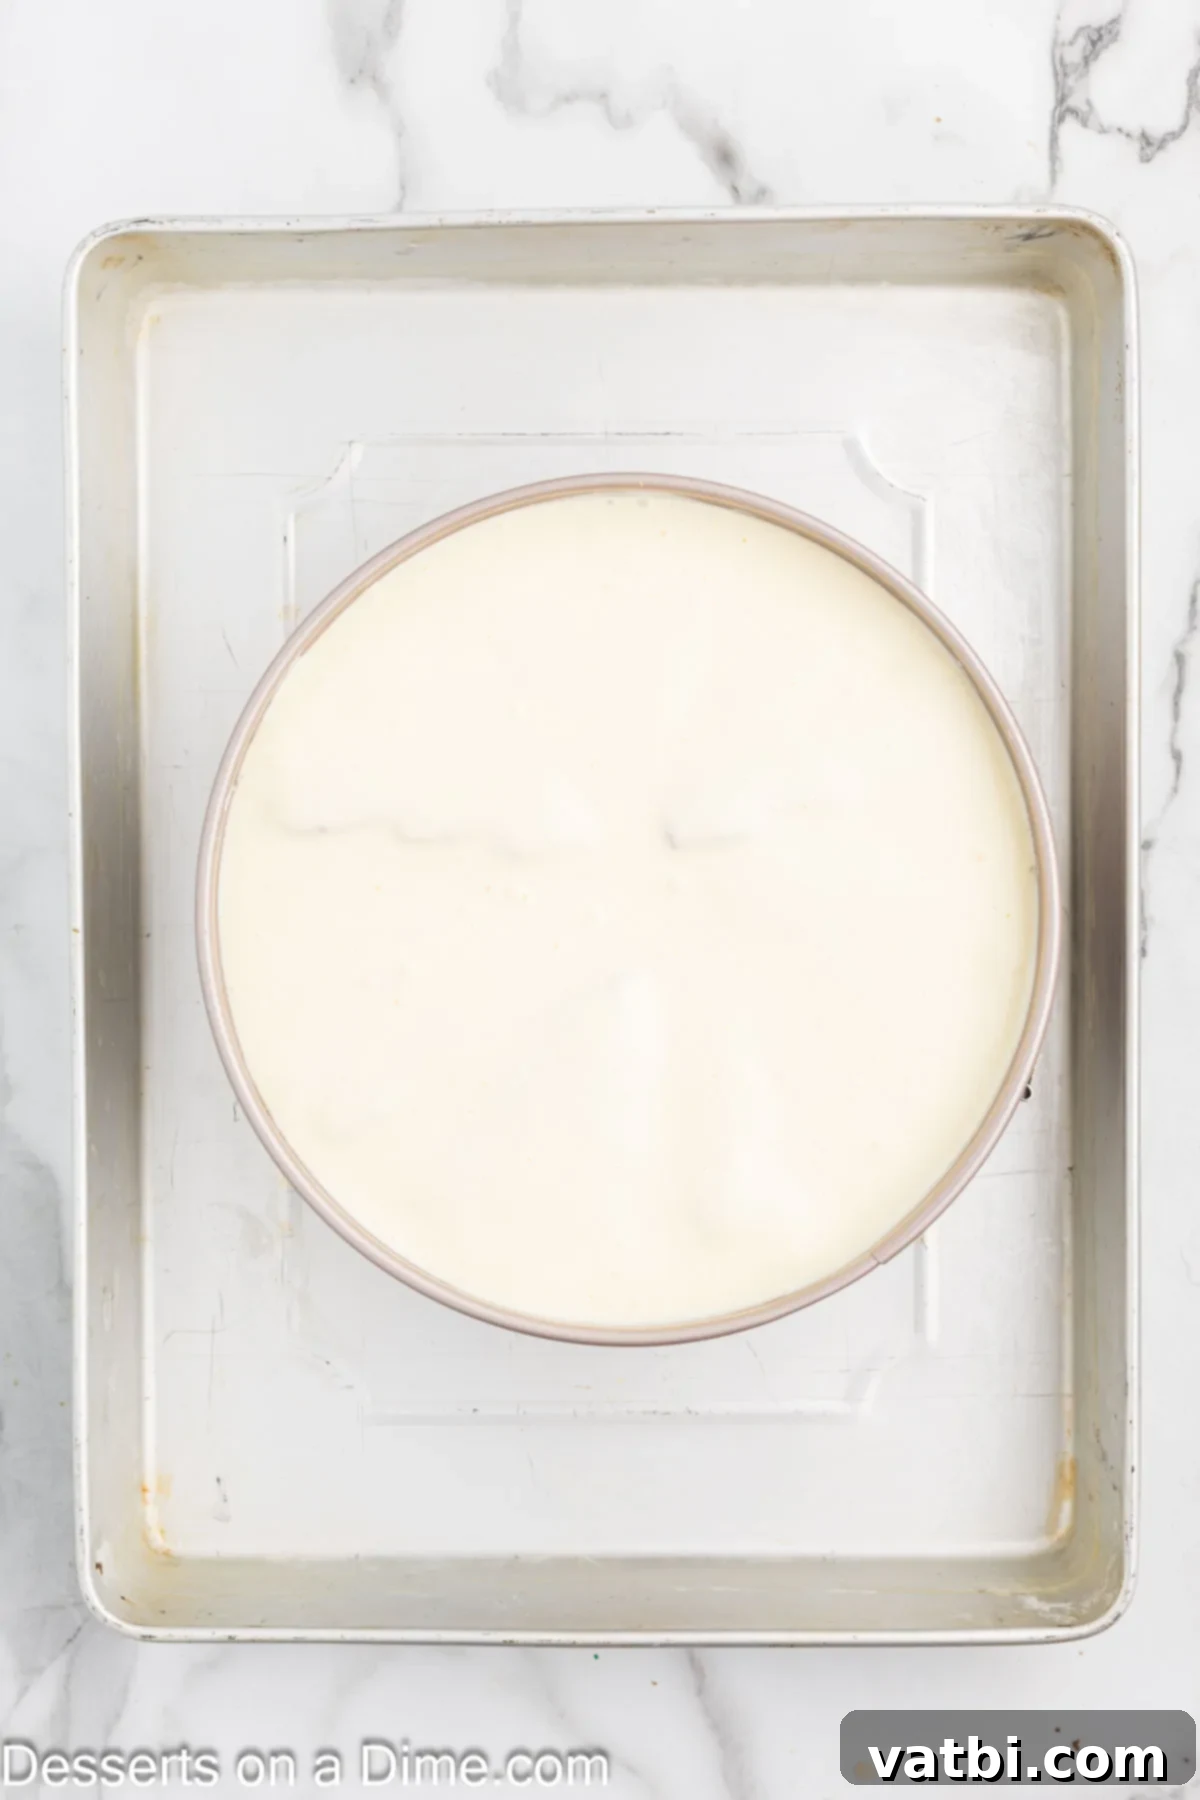
Step 10. Pour the remaining cheesecake batter over the Little Debbie Cakes, completely covering them. Then, gently tap the cheesecake pan against your kitchen counter a few times to release any trapped air bubbles. Air bubbles can cause cracks during baking. To prevent cracking and ensure a moist cheesecake, place the springform pan into a larger roasting pan. Carefully pour boiling water into the larger pan, surrounding the cheesecake pan, until the water level reaches about halfway up the sides of the cheesecake pan. This creates a water bath (bain-marie) which provides a moist, even heat for baking.
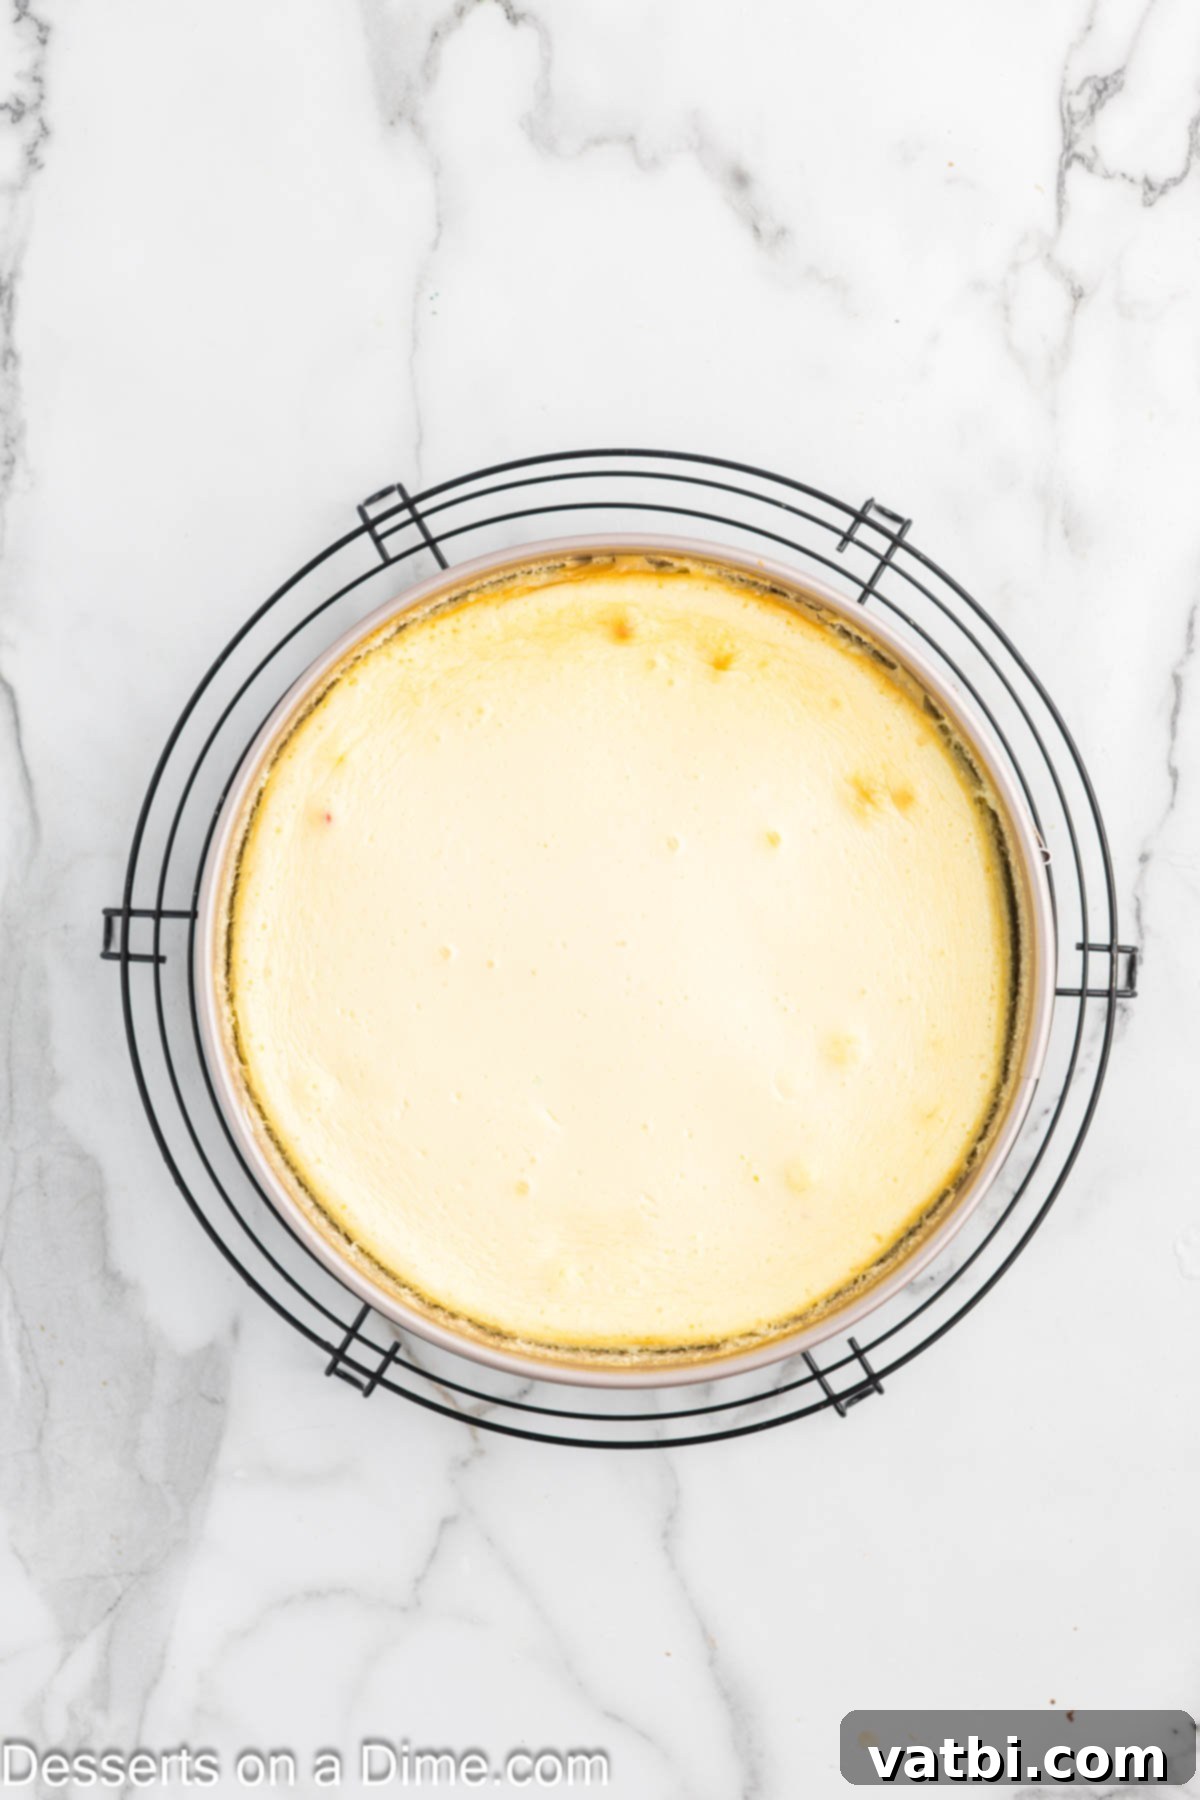
Step 11. Bake the cheesecake in the preheated oven for 55-65 minutes. The cheesecake is ready when the edges appear set and firm, but the very center still has a slight jiggle. Once baked, turn off the oven and crack the oven door open slightly. Allow the cheesecake to cool gradually inside the oven on the rack for an additional 45 minutes, letting it slowly come to room temperature. This slow cooling process is vital for preventing cracks. Once completely cooled, carefully remove the cheesecake from the oven and the water bath. Allow it to chill uncovered in the refrigerator for a minimum of 4 hours, or ideally, overnight, to fully set.
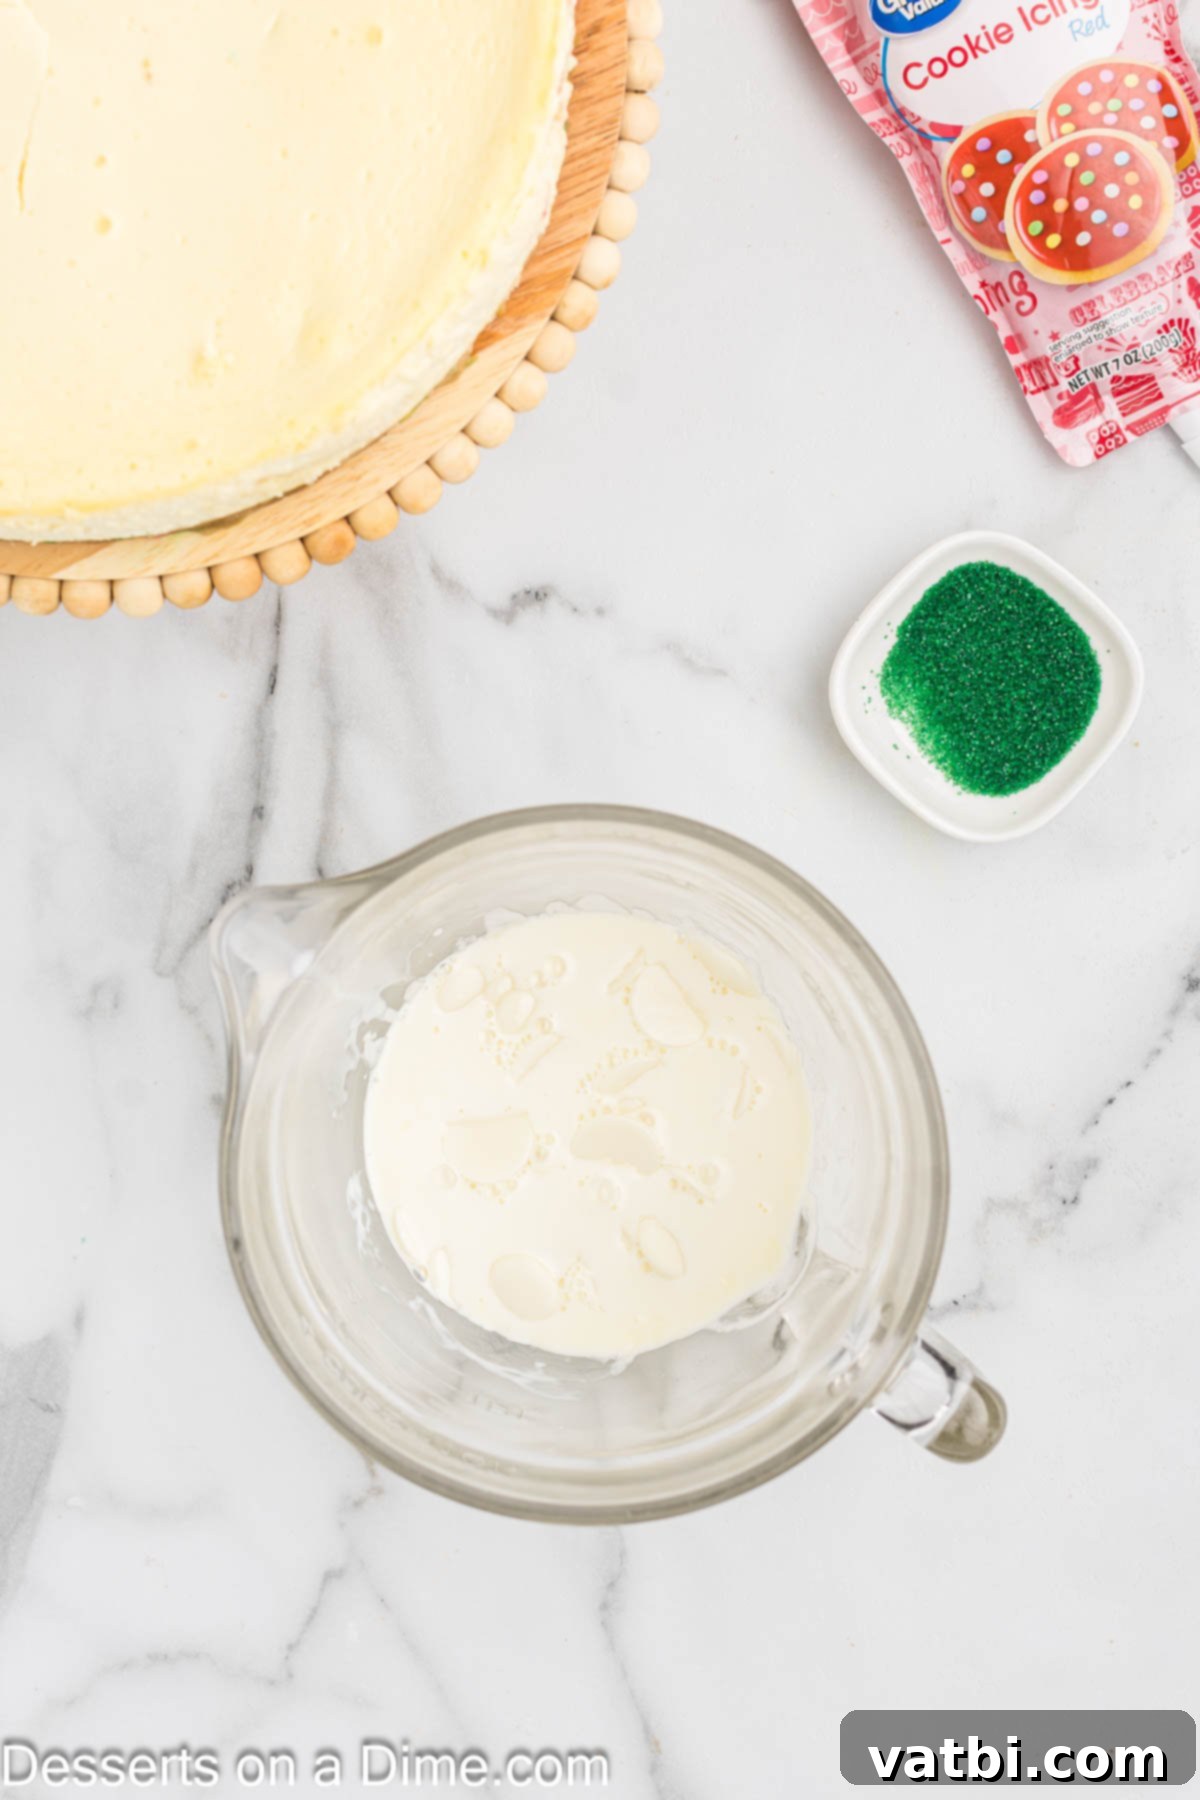
Step 12. While the cheesecake is chilling (or once it’s completely cold), prepare your luxurious ganache topping. Place the heavy cream in a microwave-safe bowl and heat it in 30-second intervals until it is hot but not boiling. Pour the hot cream over the white baking chocolate (which should be chopped into small pieces for even melting). Let the mixture sit undisturbed for a few minutes to allow the chocolate to soften, then gently stir until it’s thoroughly combined and beautifully smooth. This creates a silky, pourable ganache.
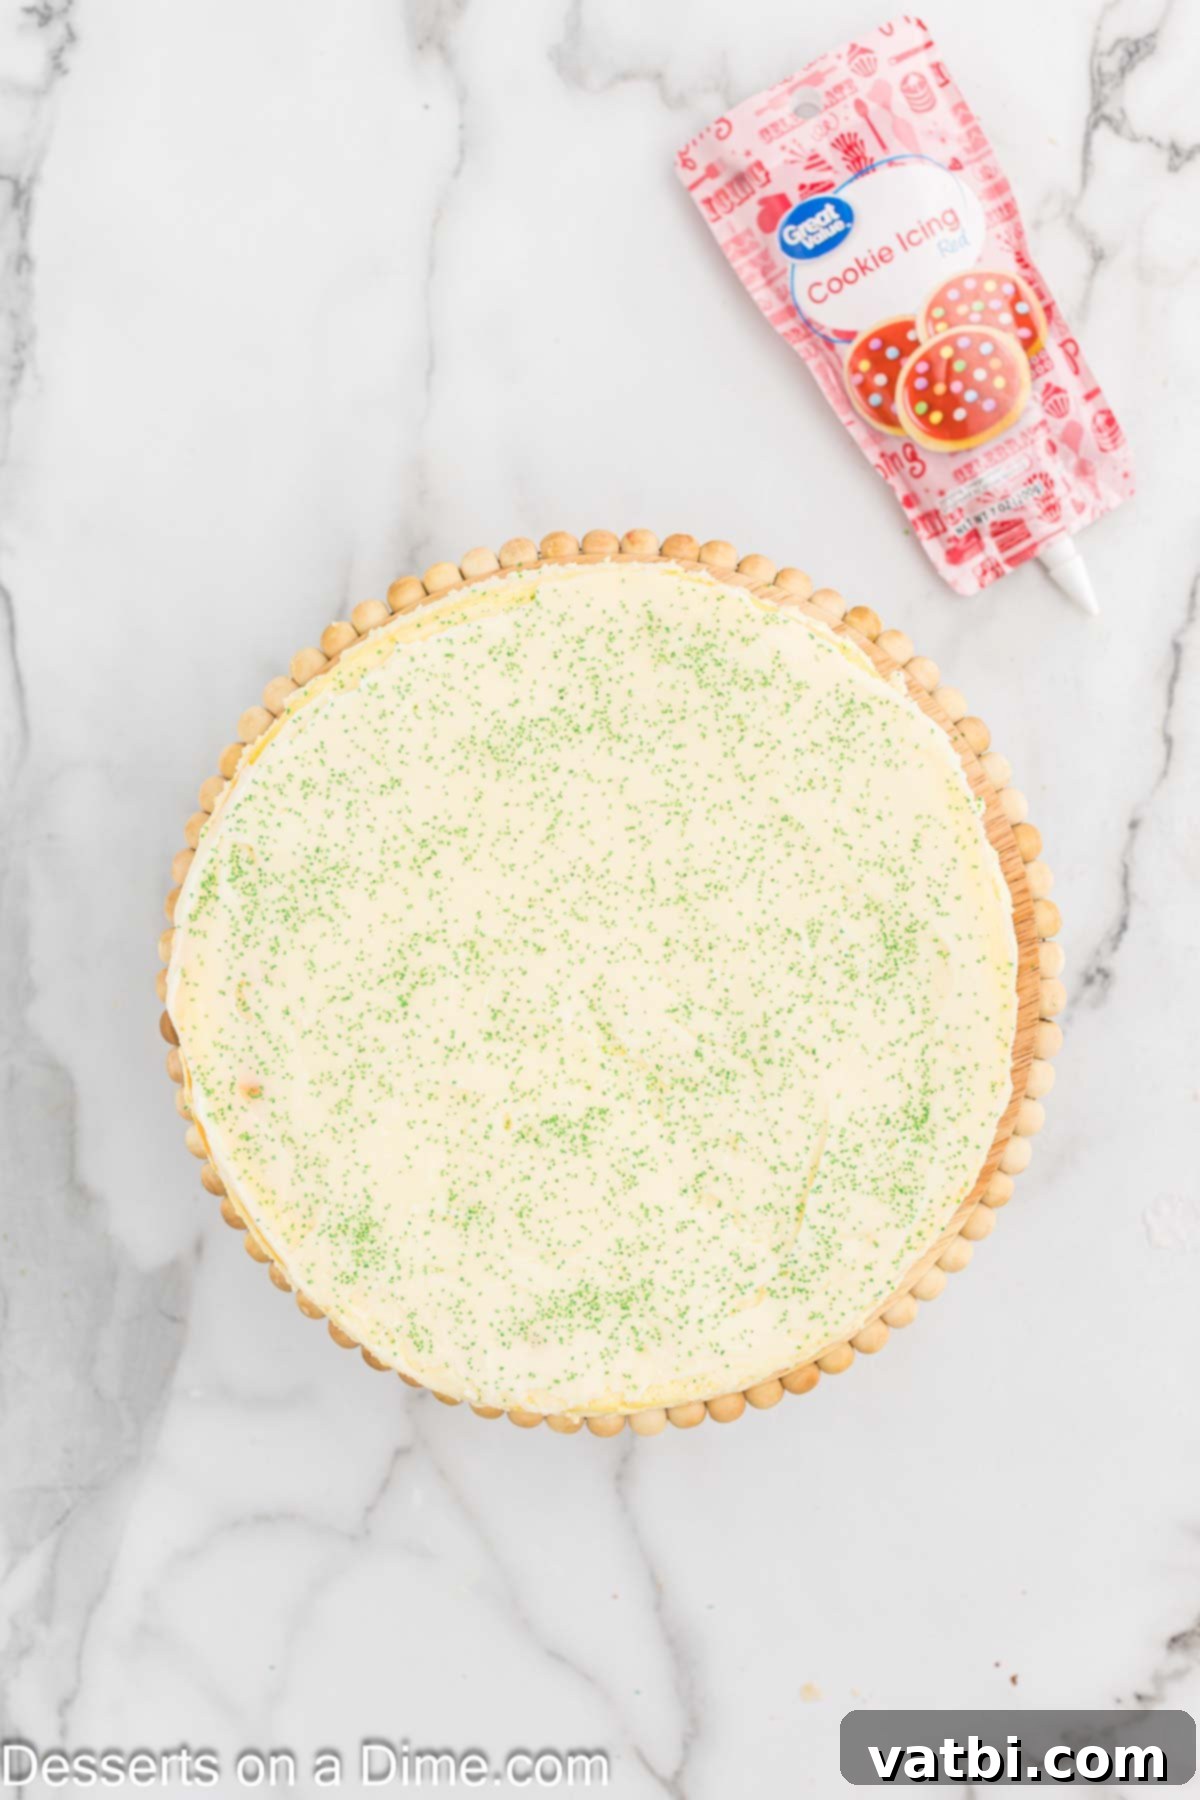
Step 13. Once the cheesecake is thoroughly chilled, carefully remove it from the springform pan. This is easiest by running a thin, sharp knife around the inner edge of the pan to ensure the cheesecake releases cleanly. Transfer the cheesecake to your desired serving plate. Pour the warm, smooth white chocolate ganache evenly over the top of the cheesecake, gently spreading it with a spatula if needed. Immediately sprinkle the green sanding sugar over the ganache to create the “tree” effect.
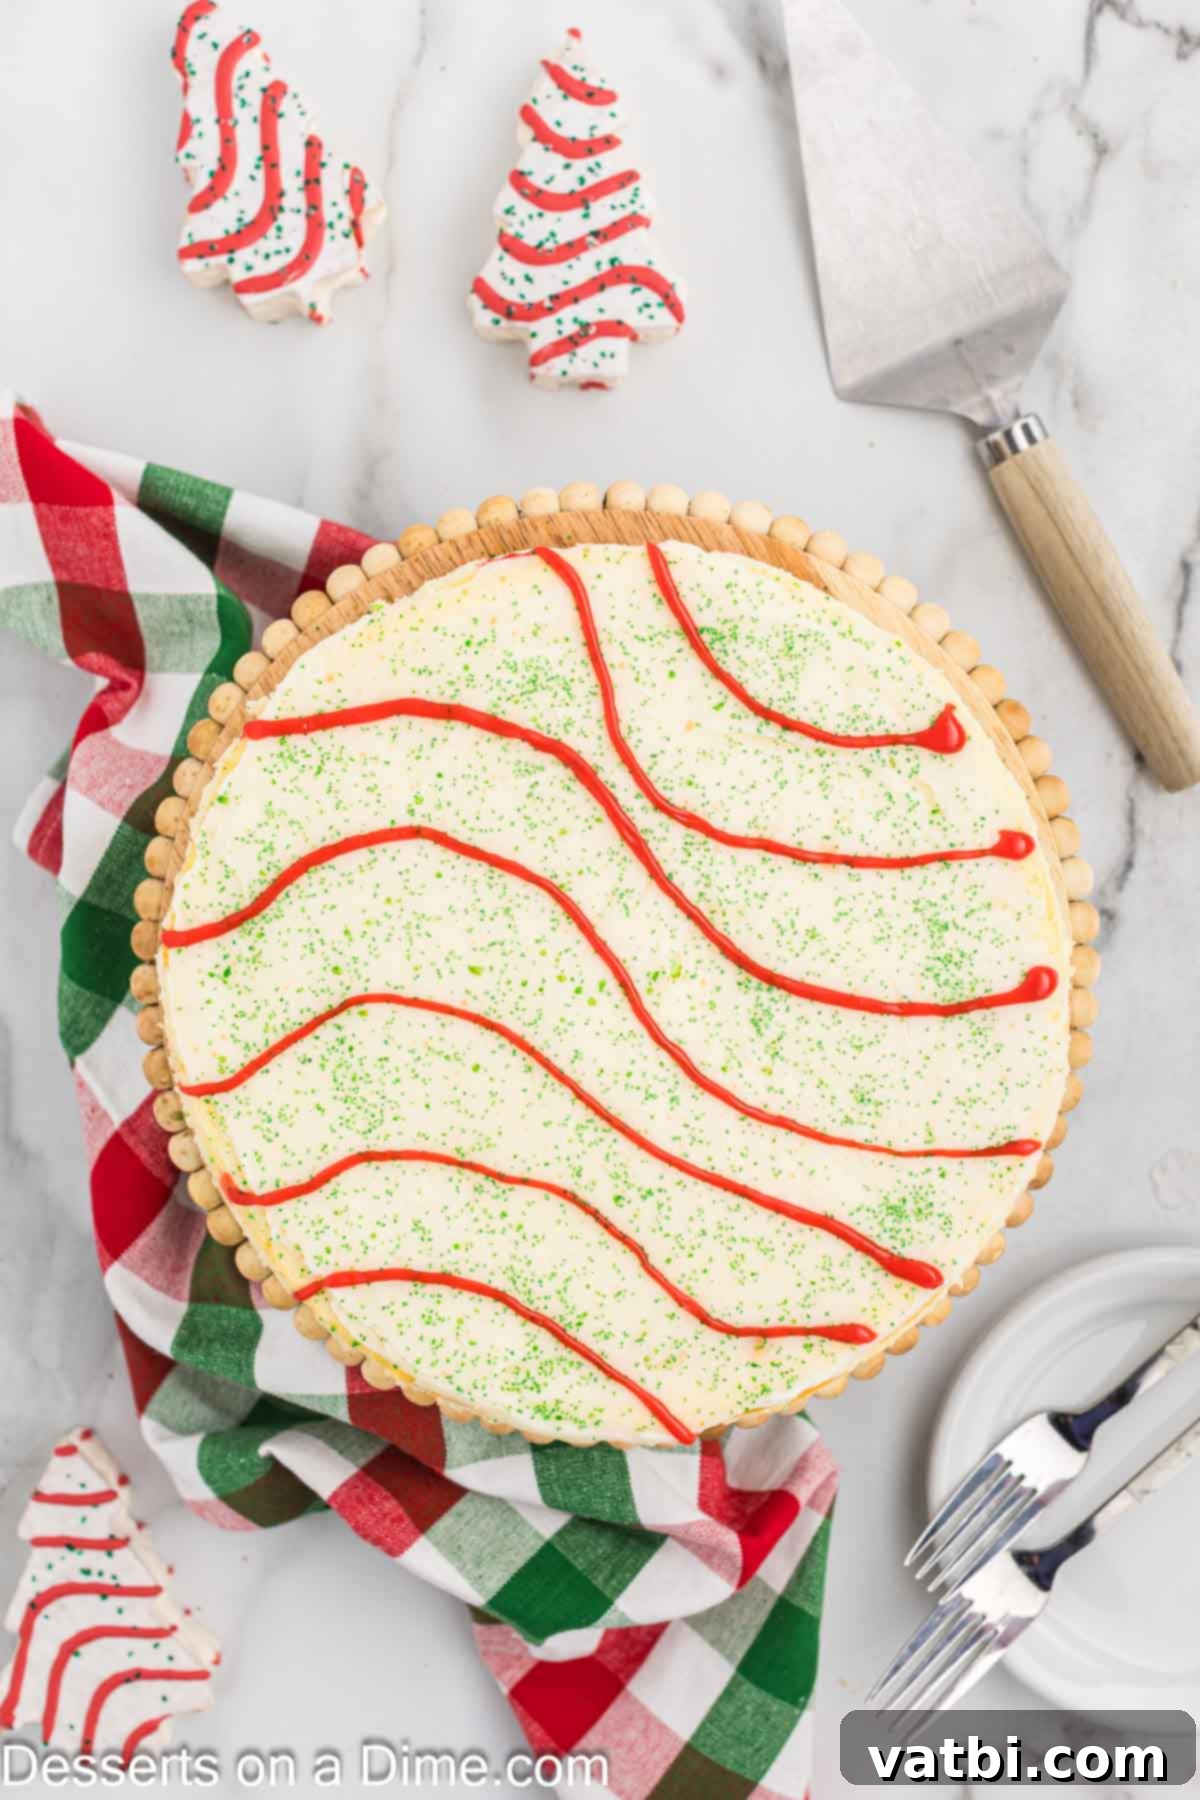
Step 14. With the green sprinkles in place, use your red store-bought cookie frosting to pipe the distinctive red stripes over the cheesecake. Emulate the classic zig-zag pattern found on the Little Debbie Christmas Tree cakes, carefully piping the icing over the green sprinkles to complete the iconic design. Take your time to create neat, even lines for the best visual effect.
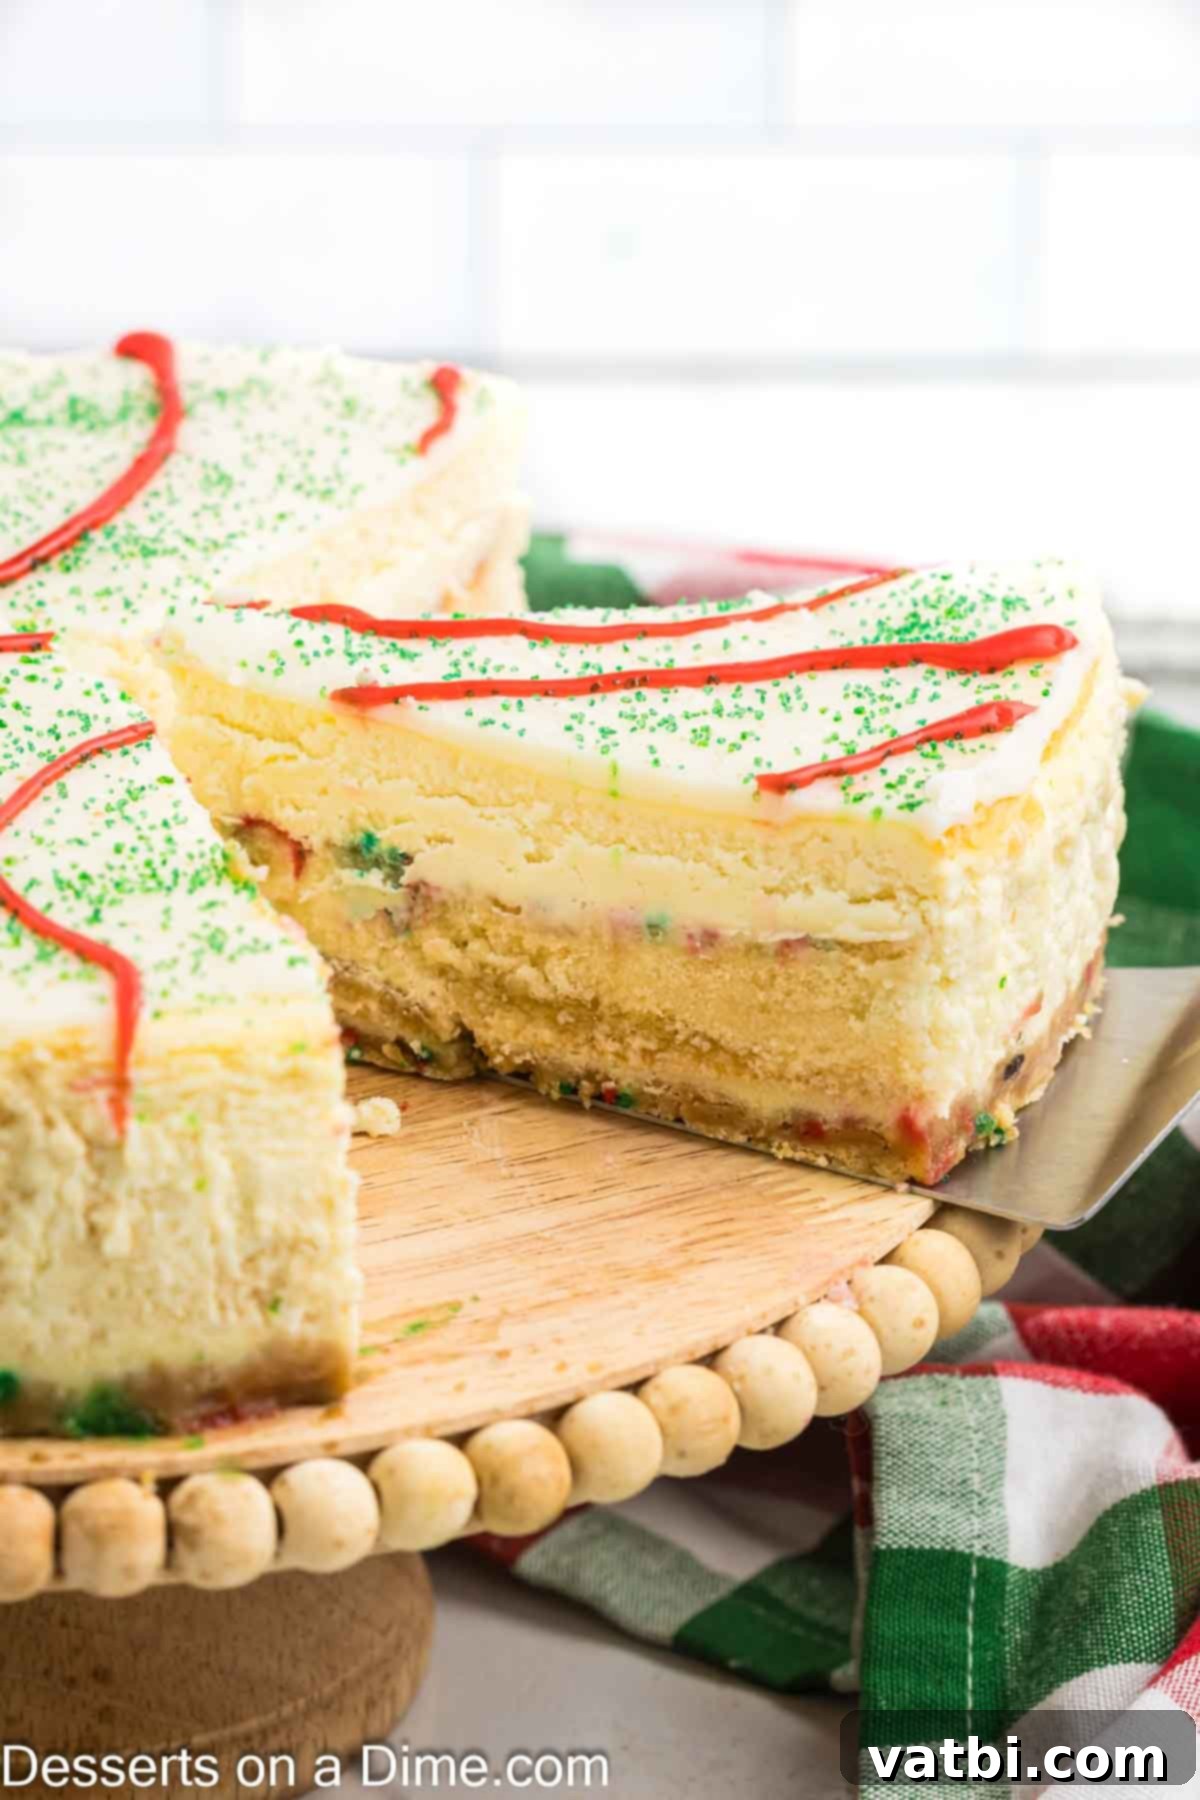
Step 15. Your festive Little Debbie Christmas Tree Cheesecake is now beautifully decorated and ready to be sliced and served! For the cleanest slices, use a sharp knife warmed under hot water and wiped clean between each cut. Enjoy this delightful and nostalgic holiday treat!
Proper Storage for Leftovers
To keep your delicious Little Debbie Christmas Tree Cheesecake fresh and flavorful, proper storage is key. Any leftover cheesecake should be stored covered in the refrigerator. Place it in an airtight container or cover it tightly with plastic wrap to prevent it from drying out or absorbing other odors from the fridge. When stored correctly, your cheesecake will remain fresh and enjoyable for up to 5 days, allowing you to savor the holiday flavors for longer.
Expert Tips for a Flawless Cheesecake
Achieving a perfectly smooth, creamy, and crack-free cheesecake might seem daunting, but with these expert tips, you’ll master this festive dessert in no time:
- Always Use Softened Cream Cheese. This is perhaps the most crucial tip for any cheesecake! Cream cheese that is at room temperature will mix much more easily and smoothly, preventing lumps in your batter. If you forget to set it out in advance, you can quickly soften it. Learn How to Soften Cream Cheese using methods like a warm water bath or microwave to save time.
- Eliminate Air Bubbles Effectively. After pouring your batter into the pan, gently tap the springform pan firmly on the counter several times. This action helps to release any trapped air bubbles from the mixture. Excess air bubbles can expand during baking and cause unsightly cracks on the surface of your beautiful cheesecake, so taking this extra step is important for a smooth top.
- Slow and Steady Cooling Prevents Cracks. Resist the urge to pull your cheesecake straight from the hot oven into the cold kitchen! Rapid temperature changes are a common culprit for cheesecake cracks. Instead, once baking is complete, turn off the oven and prop the door open slightly (about 2-3 inches). Let the cheesecake sit in the gradually cooling oven for at least 45 minutes, or until it reaches room temperature. Only then should you move it to the refrigerator for its final chill.
- Ensure All Ingredients are Room Temperature. Not just the cream cheese, but eggs, sour cream, and heavy cream should also be at room temperature. This allows all the ingredients to emulsify and combine seamlessly, resulting in an incredibly creamy, smooth, and lump-free cheesecake batter, which in turn leads to a superior final texture.
- Opt for Full-Fat Cream Cheese. For the richest flavor and most luxurious texture, always use full-fat brick-style cream cheese. Low-fat or whipped varieties contain more water and stabilizers, which can negatively impact the density, creaminess, and overall flavor of your cheesecake, leaving it less satisfying.
- Don’t Overmix the Batter. Once the eggs are added, mix the batter on low speed just until combined. Overmixing introduces too much air, which can cause the cheesecake to puff up too much and then fall and crack as it cools. Gentle mixing is key to a dense, smooth consistency.
- Prepare a Water Bath (Bain-Marie). As instructed in the recipe steps, baking your cheesecake in a water bath creates a moist, steamy environment in the oven. This gentle, even heat helps the cheesecake cook slowly and prevents the edges from setting too quickly, significantly reducing the risk of cracking and ensuring a perfectly creamy texture throughout.
Frequently Asked Questions (FAQ)
It happens to the best of us! Even with all the precautions, sometimes a small crack can appear. But don’t despair – the beauty of this Little Debbie Christmas Tree Cheesecake is that its generous ganache topping is designed to cover any imperfections. Simply proceed with adding the white chocolate ganache and decorative sprinkles and stripes as normal, and no one will ever know there was a tiny crack underneath. It will still taste absolutely amazing!
Absolutely, this cheesecake freezes wonderfully! To freeze, ensure it has completely cooled and chilled in the refrigerator first. Then, wrap the entire cheesecake (or individual slices) carefully in several layers of plastic wrap, followed by a layer of aluminum foil. Place it inside a freezer-safe bag or an airtight container. It can be frozen for up to 2-3 months.
When you’re ready to enjoy it, simply thaw the cheesecake overnight in the refrigerator before serving. This makes it a perfect make-ahead holiday dessert!
The recipe specifically calls for 7 Little Debbie Christmas Tree Cakes to achieve the ideal flavor and visual impact within the cheesecake. While you could technically reduce the number to 5 if absolutely necessary, we highly recommend sticking to the suggested amount. Using any fewer might significantly diminish that distinct Little Debbie flavor and the delightful surprise element when you slice into your holiday cheesecake.
For the best results, allowing your cheesecake to chill properly is non-negotiable. It requires a minimum of 4 hours in the refrigerator to fully set and firm up. However, for that ultimate dense, creamy texture and to ensure you can achieve perfectly clean, elegant slices without any crumbling or mess, I strongly prefer chilling it overnight. Patience truly pays off in the world of cheesecakes!
More Festive Christmas Desserts to Explore
Cute Christmas Desserts
Easy Christmas Dirt Cake Recipe
Cute Christmas Desserts
Simple & Delicious Christmas Brownies
Cute Christmas Desserts
Homemade Christmas Cake Pops
Cute Christmas Desserts
Vibrant Christmas Jello Poke Cake
I’m genuinely thrilled to share this unique and festive cheesecake recipe with you! I’m so excited to hear what you think – please give this a try and come back to leave a comment and a star rating. Your feedback helps other home bakers discover and enjoy this wonderful holiday dessert!
Pin
Little Debbie Christmas Tree Cheesecake
Ingredients
For the Crust:
- 1 1/2 cup Golden Oreos crushed into fine crumbs
- 4 Tablespoons Butter melted
- 1 Tablespoon Christmas Nonpareils Sprinkles
For the Filling:
- 3 pkg cream cheese softened (8 ounces each, full-fat recommended)
- ½ cup granulated sugar
- 3 tablespoons all purpose flour
- 1 teaspoon vanilla extract
- 1/4 cup heavy whipping cream
- 1/2 cup Full Fat Sour Cream
- 4 large eggs
- 7 Little Debbie Christmas Tree Cakes
For the Ganache Topping:
- 1 cup white baking chocolate (chopped or good quality chips)
- 1/3 cup heavy whipping cream
- Green Sanding Sprinkles (for decoration)
- Red Store-Bought Cookie Frosting (in a tube for easy piping)
Instructions
For the Crust:
-
Preheat your oven to 325 degrees Fahrenheit (160°C).
-
Pulse the Golden Oreos in a food processor until they form fine, uniform crumbs. In a mixing bowl, combine these cookie crumbs with the melted butter and Christmas Nonpareils Sprinkles, mixing thoroughly until well-moistened.
-
Press this mixture firmly into the bottom of a 9-inch springform pan, extending about ½ inch up the sides. Ensure the crust is compact and even.
-
Bake the crust for 8 minutes. Once baked, remove it from the oven and let it cool completely at room temperature while you prepare the cheesecake filling.
For the Cheesecake:
-
In a large mixing bowl, using a hand-held or stand mixer, beat the softened full-fat cream cheese on medium speed until it is light, fluffy, and completely smooth with no lumps.
-
Add the granulated sugar, all-purpose flour, and vanilla extract to the cream cheese mixture. Beat for 1-2 minutes until all ingredients are well combined. Remember to scrape down the sides of the bowl with a spatula to ensure a uniform mixture.
-
Gradually add the large eggs, one at a time, beating on low speed just until each egg is fully incorporated before adding the next. Be careful not to overmix the batter at this stage to prevent introducing too much air.
-
With the mixer speed still on low, mix in the full-fat sour cream and heavy whipping cream until both are just combined and the batter is smooth. Avoid overmixing.
-
Pour approximately half of the prepared cheesecake filling evenly over the cooled crust in the springform pan. Use a spatula to gently smooth the surface.
-
Carefully arrange the 7 Little Debbie Christmas Tree Cakes on top of the first layer of cheesecake batter. Gently press them down slightly into the batter.
-
Pour the remaining cheesecake batter over the arranged snack cakes, ensuring they are completely covered. Gently tap the cheesecake pan against the counter a few times to release any trapped air bubbles, which helps prevent cracks.
-
To create a water bath, place the cheesecake pan into a larger roasting pan. Carefully pour boiling water into the larger pan until the water level reaches approximately halfway up the sides of the cheesecake pan. This moist heat helps prevent cracking.
-
Bake the cheesecake for 55-65 minutes. The cheesecake is done when the edges are set and slightly puffed, but the very center still has a slight, soft jiggle when gently shaken.
-
Once baked, turn off the oven but do not remove the cheesecake. Crack the oven door open slightly and let the cheesecake sit in the cooling oven for an additional 45 minutes, allowing it to cool slowly to room temperature. This gradual cooling process is crucial for preventing cracks.
-
After the cheesecake has reached room temperature in the oven, carefully remove it from the oven and lift the springform pan out of the water bath.
-
Chill the cheesecake in the refrigerator, uncovered, for at least 4 hours, or ideally, overnight. This allows it to fully set and firm up, ensuring perfect slices.
For the Ganache Topping:
-
Place the heavy cream in a microwave-safe bowl. Heat in 30-second intervals, stirring between each, until the cream is hot and simmering but not boiling.
-
Pour the hot cream over the white baking chocolate (chopped into small pieces). Let it sit undisturbed for a few minutes to allow the chocolate to melt. Then, stir gently until the mixture is thoroughly combined and completely smooth, creating a luscious ganache.
-
Once the cheesecake is thoroughly chilled, carefully remove it from the springform pan. Run a thin, sharp knife around the inner edge of the cheesecake to release it from the pan, then transfer the cheesecake to your chosen serving plate.
-
Pour the warm white chocolate ganache evenly over the top of the chilled cheesecake, spreading it gently with a spatula if necessary to cover the surface. Immediately sprinkle the green sanding sprinkles over the ganache for a vibrant, tree-like base.
-
Using the pre-made red cookie frosting in a tube, pipe decorative red lines over the green sprinkles on the cheesecake to mimic the iconic stripes of a Little Debbie Christmas Tree cake. Take your time to create a neat and festive design.
-
Your beautiful Little Debbie Christmas Tree Cheesecake is now ready to serve immediately! Any leftovers can be refrigerated, covered, for up to 3-5 days. Enjoy this magical holiday dessert!
Recipe Notes
Always use room temperature ingredients, especially cream cheese and eggs. This ensures that your cheesecake batter mixes smoothly and evenly, leading to a perfectly creamy and delicious final texture.
For the best possible flavor and consistency in your cheesecake filling, it is highly recommended to use full-fat cream cheese. Low-fat varieties can result in a less rich taste and a different texture.
Nutrition Facts
Pin This Now to Remember It Later
Pin Recipe
