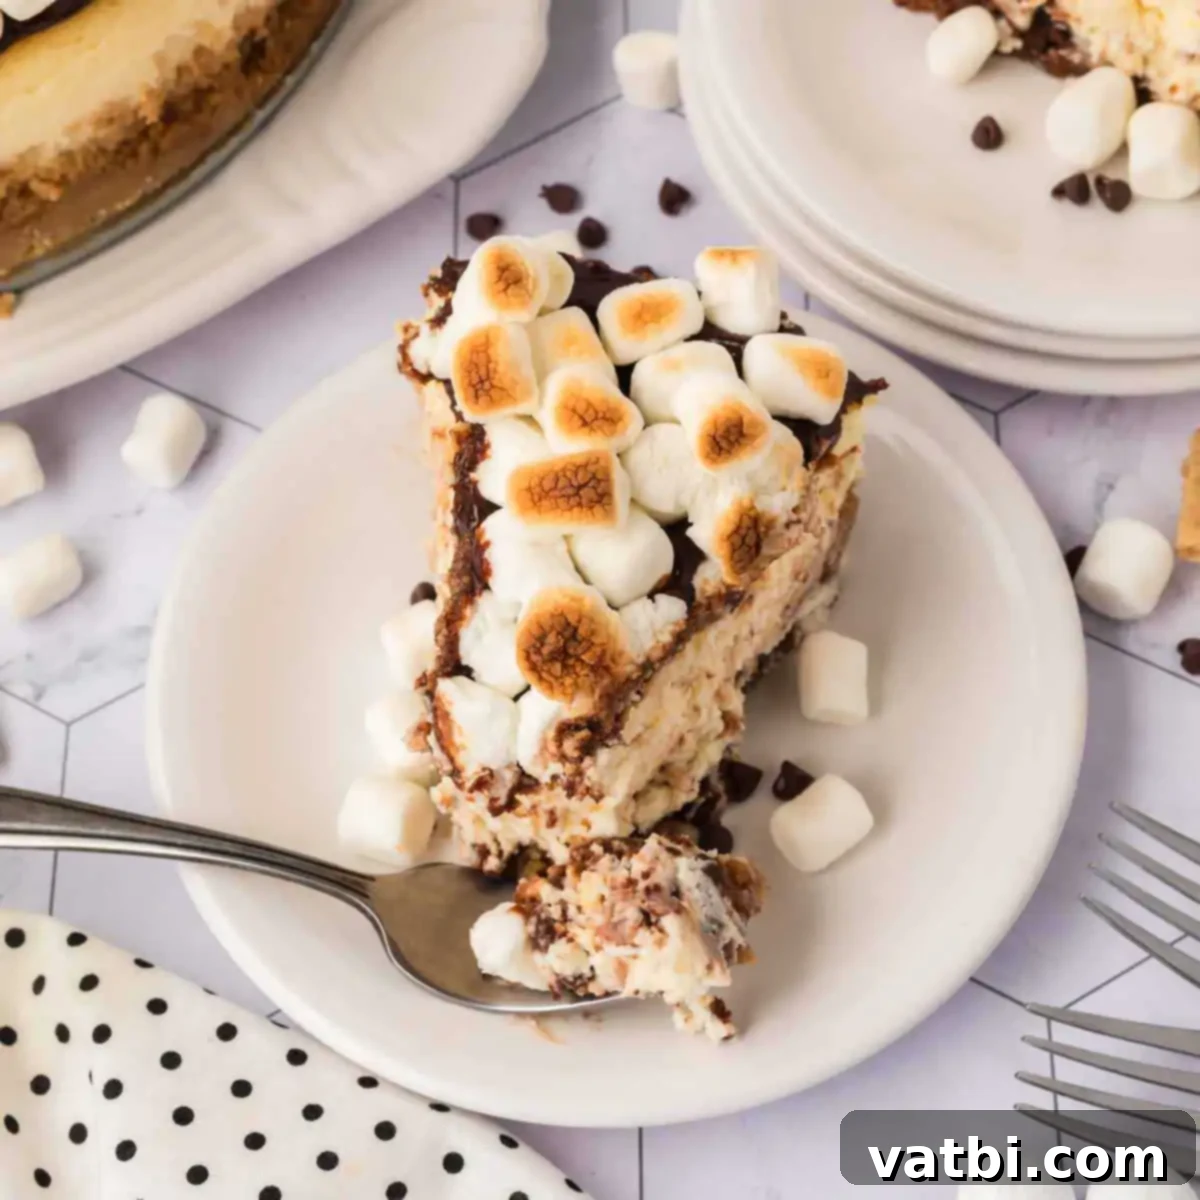
S’mores Cheesecake Recipe: The Ultimate Guide to a Decadent Campfire-Inspired Dessert
Indulge in the perfect fusion of two beloved desserts with our incredible S’mores Cheesecake. This recipe marries the rich, velvety texture of classic cheesecake with the nostalgic, irresistible flavors of a campfire s’more: buttery graham cracker crust, a luscious chocolate-infused filling, and a crowning layer of perfectly toasted marshmallows. It’s an elegant yet playful twist on a childhood favorite that promises to captivate your taste buds and impress at any gathering.
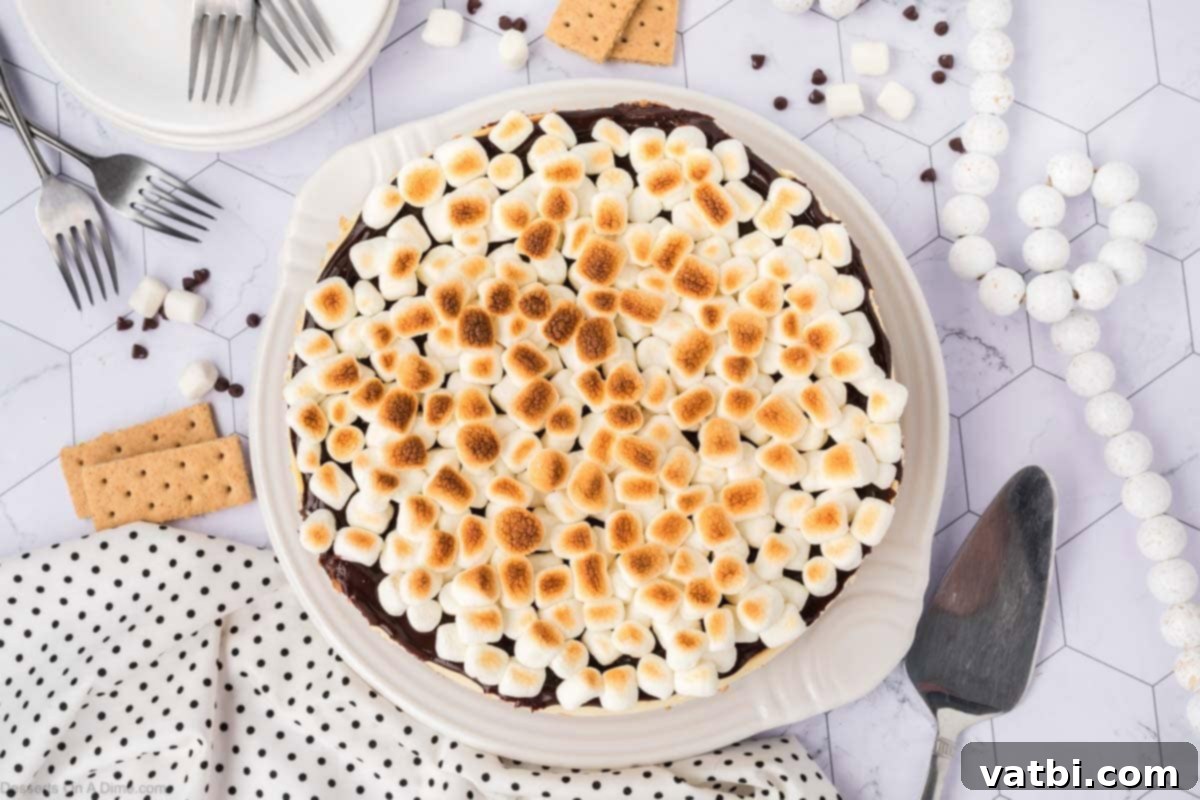
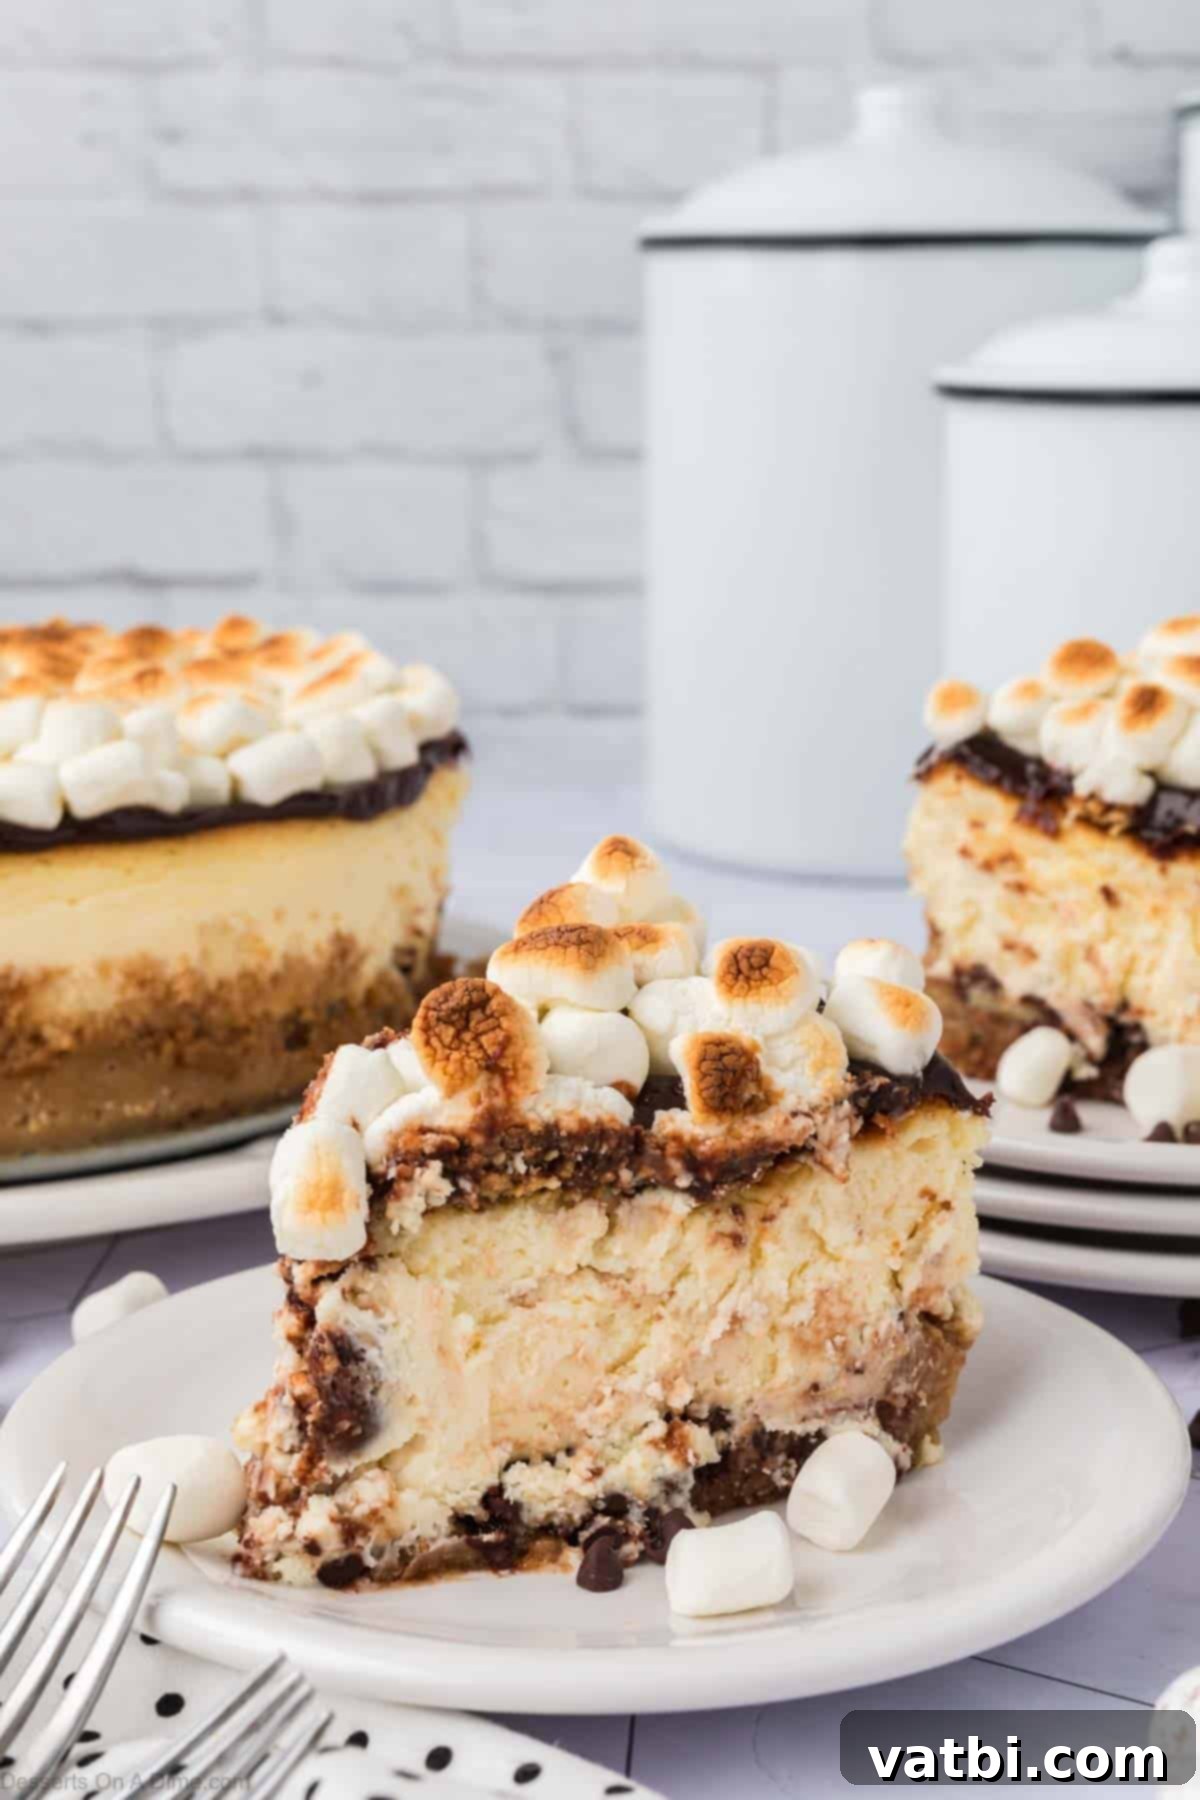
Imagine sinking your fork into a dessert that delivers a symphony of textures and flavors. Each bite of this homemade S’mores cheesecake features a sturdy, sweet graham cracker base, speckled with mini chocolate chips and gooey marshmallows that melt subtly during baking. Above this, a creamy, chocolatey cheesecake filling provides the ultimate smooth contrast. Finally, a generous topping of hot fudge and golden-brown, caramelized marshmallows completes this masterpiece, evoking memories of cozy evenings by the fire.
Whether you’re celebrating a special occasion, hosting a dinner party, or simply craving an extraordinary dessert, this S’mores cheesecake recipe is guaranteed to be a showstopper. It offers everything you adore about the classic campfire treat, reimagined in a sophisticated and utterly delicious form. For more s’mores inspiration, be sure to try our S’mores Bars and S’mores Cookies. If you’re a cheesecake enthusiast, our Butter Pecan Cheesecake is another must-try!
What’s in this post: S’mores Cheesecake
- Why You’ll Love This S’mores Cheesecake
- Ingredients for the Perfect S’mores Cheesecake
- Step By Step Instructions for S’mores Cheesecake
- Storage Tips for S’mores Cheesecake
- Expert Pro Tips for Baking Cheesecake
- Variations and Customizations for Your S’mores Cheesecake
- Frequently Asked Questions About S’mores Cheesecake
- More Delicious S’mores Desserts
- S’Mores Cheesecake Recipe
Why You’ll Love This S’mores Cheesecake
This S’mores cheesecake isn’t just another dessert; it’s an experience. Here’s why it deserves a spot in your recipe collection:
- The Ultimate Dessert Experience: It brilliantly combines the rich, tangy creaminess of classic cheesecake with the delightful, nostalgic flavors of a s’more. It’s a sophisticated upgrade to a beloved campfire treat.
- Sensational Layers of Texture: From the satisfying crunch of the graham cracker crust—enhanced with melted chocolate and mini marshmallows—to the unbelievably smooth and silky cheesecake filling, and finally, the gooey, slightly charred marshmallow topping, every single bite is a journey through perfectly balanced textures.
- Ideal for Any Special Occasion: This visually stunning dessert is an absolute showstopper. It’s perfect for holidays, birthday celebrations, summer barbecues, or any gathering where you want to impress your guests with something truly unique and delicious.
- Convenient Make-Ahead Option: One of the best features of this cheesecake is that it can be prepared the day before and allowed to chill overnight. This makes it an ideal dessert for stress-free entertaining, allowing you more time to enjoy your event.
- Easily Customizable: Feel free to put your own spin on this recipe! Experiment with different types of chocolate (dark, milk, or white chocolate chips), try different marshmallow sizes, or add an extra drizzle of Homemade Caramel Sauce for an even more indulgent twist.
Ingredients for the Perfect S’mores Cheesecake
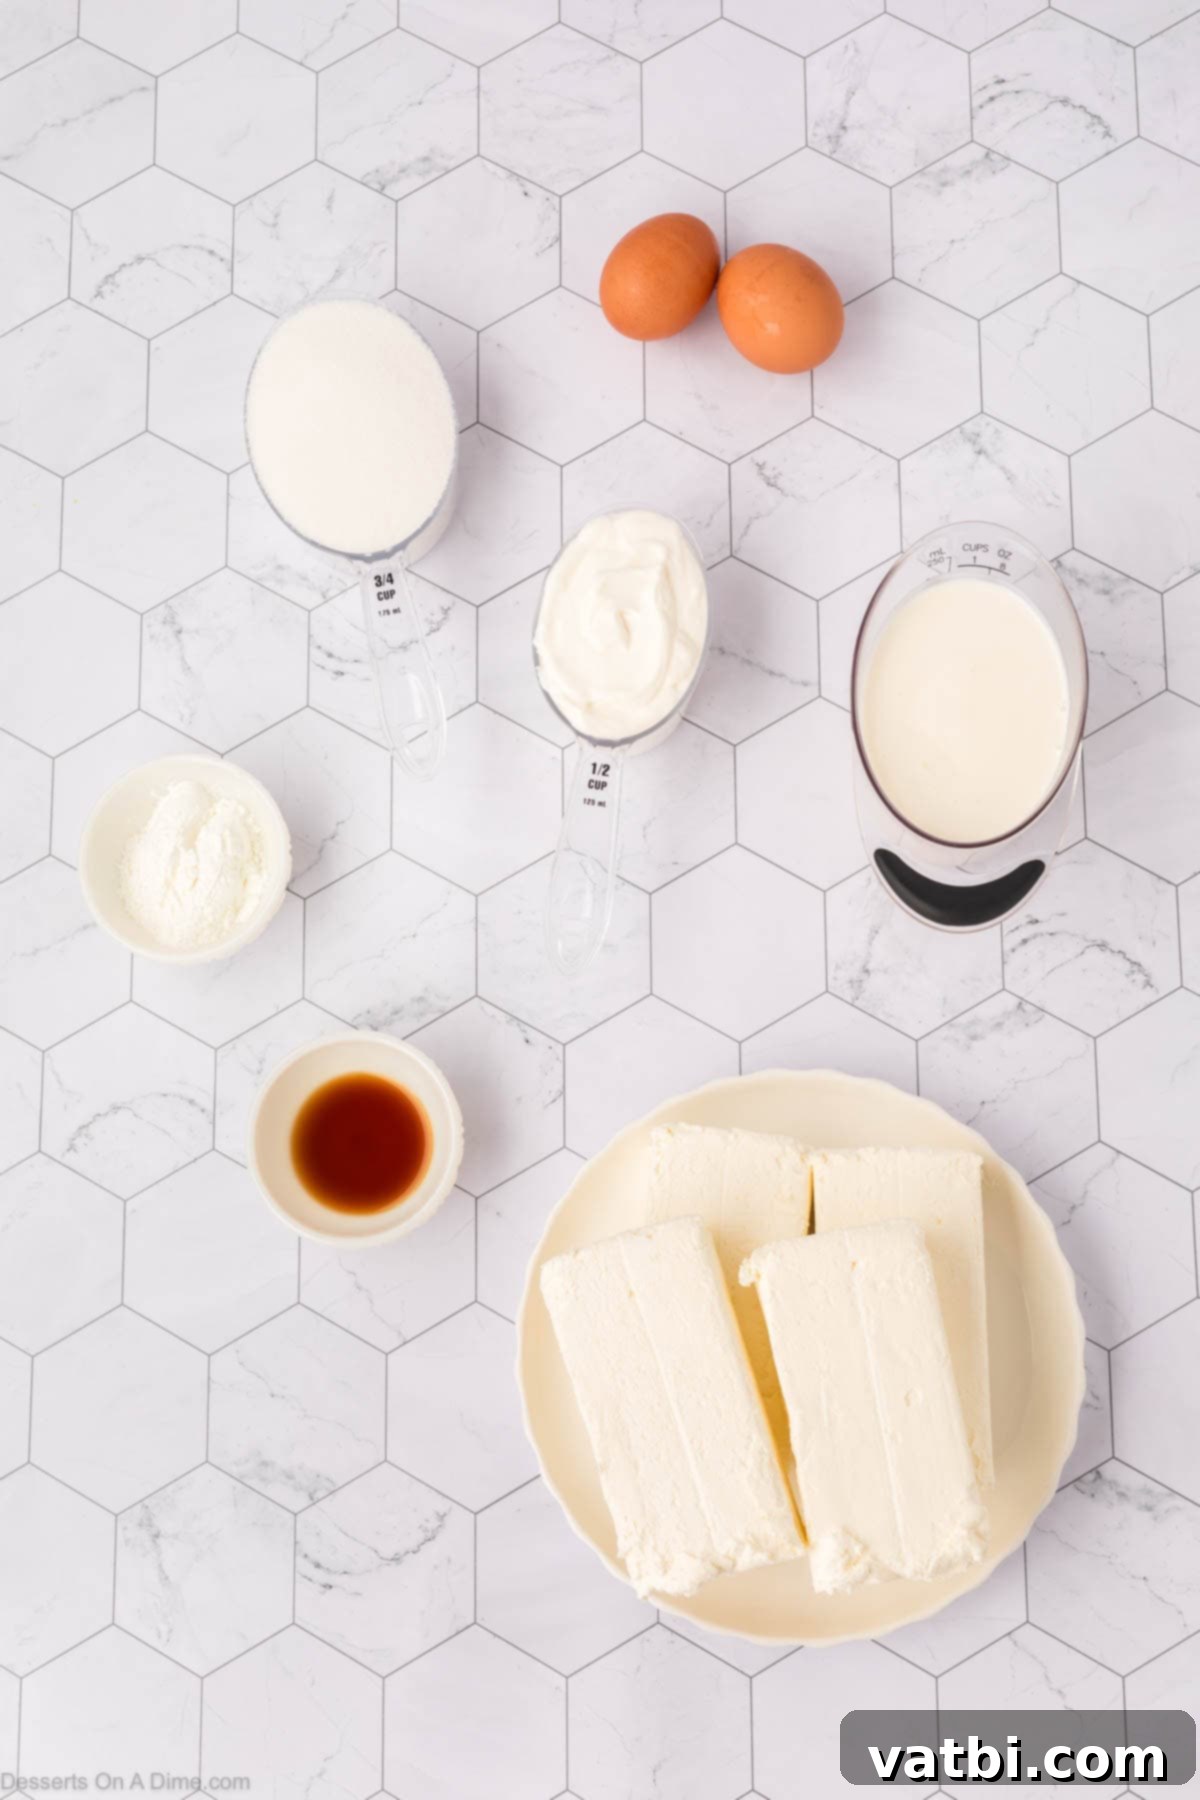
Crafting this exquisite S’mores cheesecake requires a few key ingredients, each playing a vital role in creating its iconic layers and irresistible flavor profile. Using high-quality ingredients, especially full-fat cream cheese, will ensure the best possible texture and taste for your cheesecake.
For the Graham Cracker Crust
The foundation of any great cheesecake is its crust, and for our S’mores version, we take it a step further to mimic the true campfire experience.
- Graham cracker crumbs: These are the quintessential base for a s’mores dessert, providing a slightly sweet, subtly spiced, and wonderfully crunchy foundation that holds everything together.
- Brown sugar: Adds a deeper, molasses-rich sweetness to the crust, complementing the graham crackers beautifully and adding a touch of warmth.
- Melted unsalted butter: Essential for binding the graham cracker crumbs and brown sugar, creating a cohesive crust that bakes up golden and buttery.
- Mini chocolate chips: Sprinkled into the crust, these tiny chips melt slightly during baking, creating delightful pockets of chocolatey goodness in every bite and reinforcing that s’mores flavor from the very bottom.
- Mini marshmallows: These are baked directly into the crust, where they soften and become wonderfully gooey, adding another layer of classic s’mores texture and flavor.
For the Creamy Cheesecake Filling
The heart of this dessert is its rich, smooth, and perfectly balanced cheesecake filling.
- Full-Fat Cream cheese: Absolutely crucial for the signature rich and creamy base of any cheesecake. Ensure it’s at room temperature for a lump-free, silky batter.
- Sour cream: Introduces a slight tang that beautifully balances the sweetness of the cheesecake, while also contributing to its smooth and tender texture.
- Granulated sugar: Provides the necessary sweetness for the filling, ensuring it’s delectable without being overly sugary.
- Heavy cream: Elevates the cheesecake’s texture, making it even more decadent, smooth, and luxuriously creamy.
- Eggs: Act as a binder, giving the cheesecake its structure and helping it set properly. Using room temperature eggs prevents curdling and ensures even mixing.
- Cornstarch: A secret weapon for cheesecake! It provides crucial stability, helping to prevent cracks and ensuring a firm, yet silky, sliceable texture.
- Vanilla extract: Adds a warm, aromatic depth that wonderfully complements the chocolate and graham cracker flavors, enhancing the overall dessert profile.
For the Irresistible Topping
The grand finale of our S’mores cheesecake is its iconic topping, bringing together chocolate and toasted marshmallow for an unforgettable finish.
- Hot fudge sauce: A rich, thick, and intensely chocolatey layer that spreads beautifully over the cooled cheesecake, providing a decadent contrast and intensifying the s’mores experience.
- Mini marshmallows: These are piled high on top and then toasted under the broiler to achieve that signature golden-brown, gooey, and slightly charred finish that perfectly mimics classic campfire s’mores.
Step By Step Instructions for S’mores Cheesecake
Follow these detailed steps carefully to achieve a perfectly layered and deliciously creamy S’mores cheesecake. Precision and patience are key for cheesecake success!
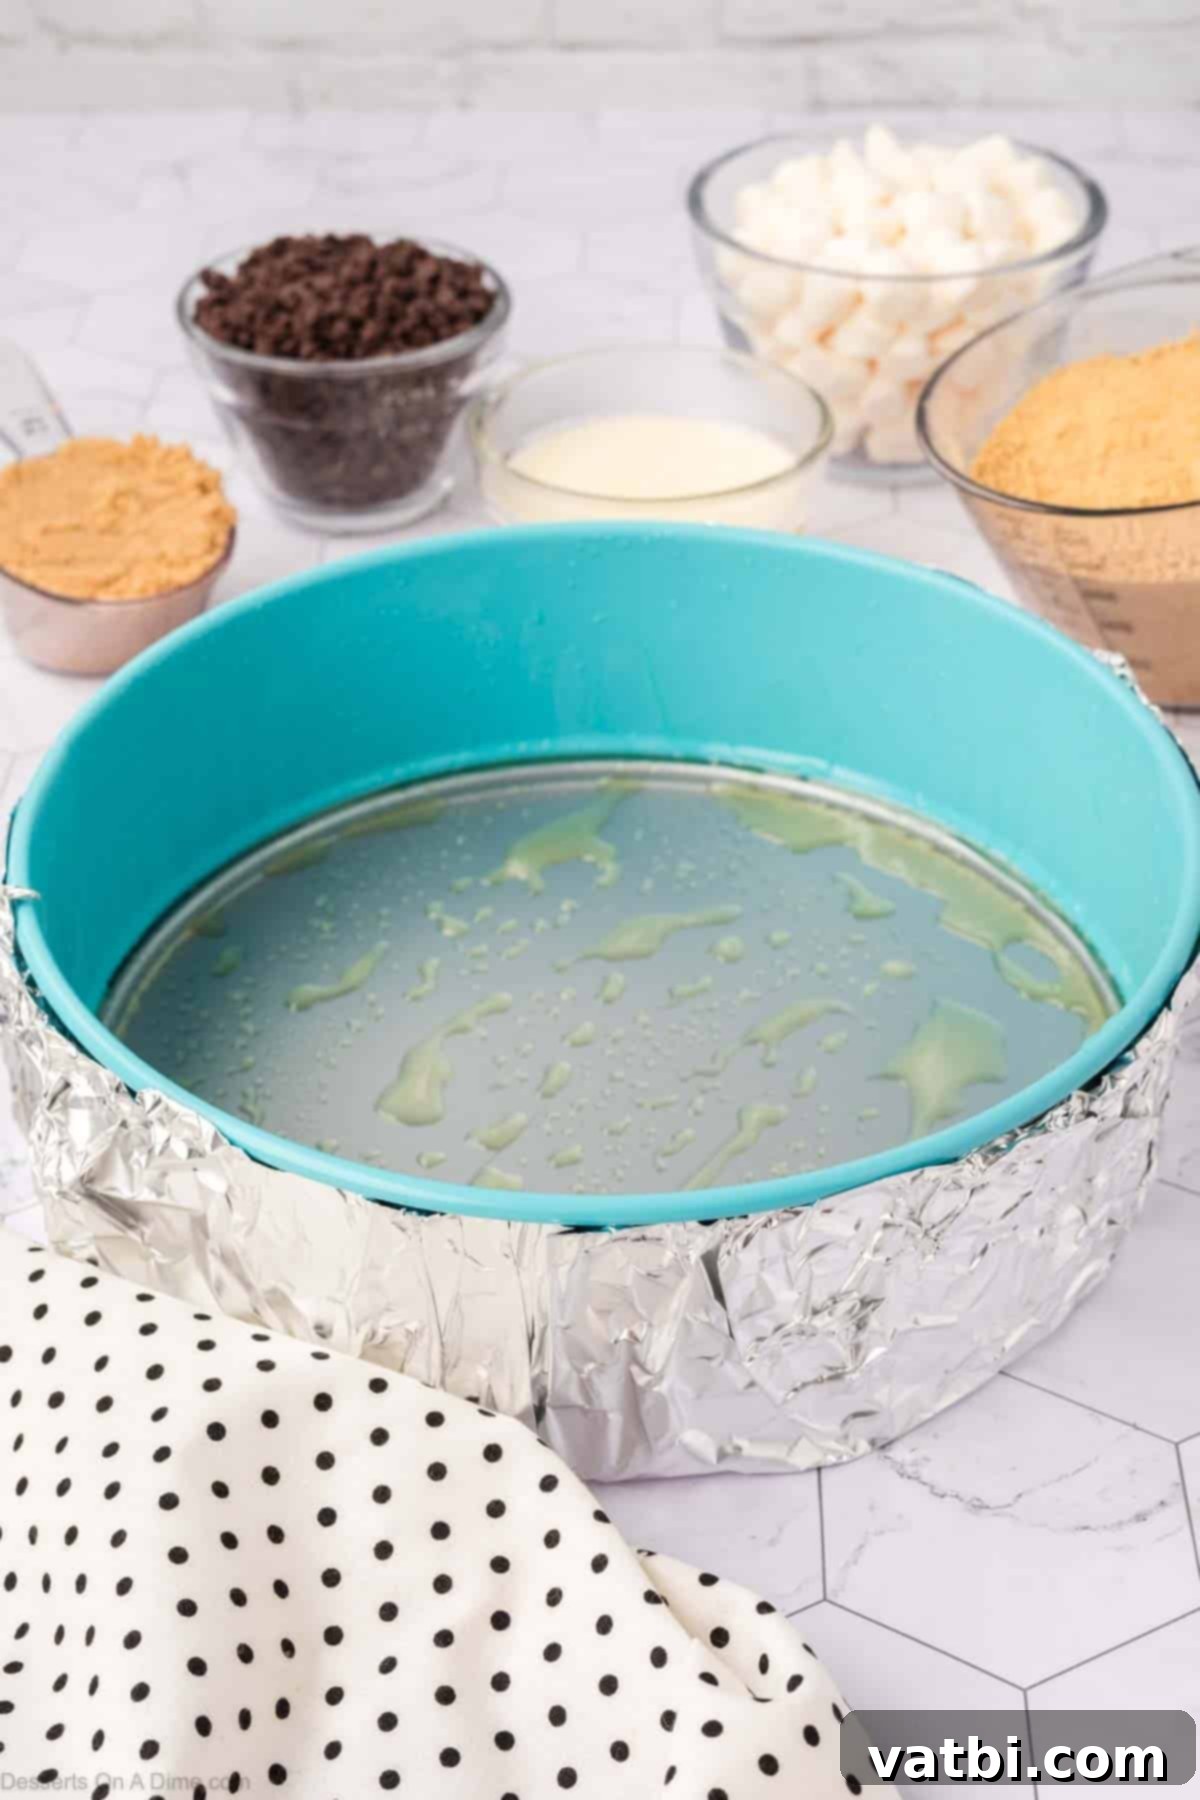
Step 1. Begin by preheating your oven to 325°F (160°C). Lightly coat the inside of a 9-inch springform pan with nonstick cooking spray to prevent sticking. Crucially, wrap the entire outside of the pan, including both the bottom and sides, tightly with heavy-duty aluminum foil. This meticulous wrapping is vital to protect the cheesecake from water during the water bath baking process, ensuring a perfectly set crust and filling.
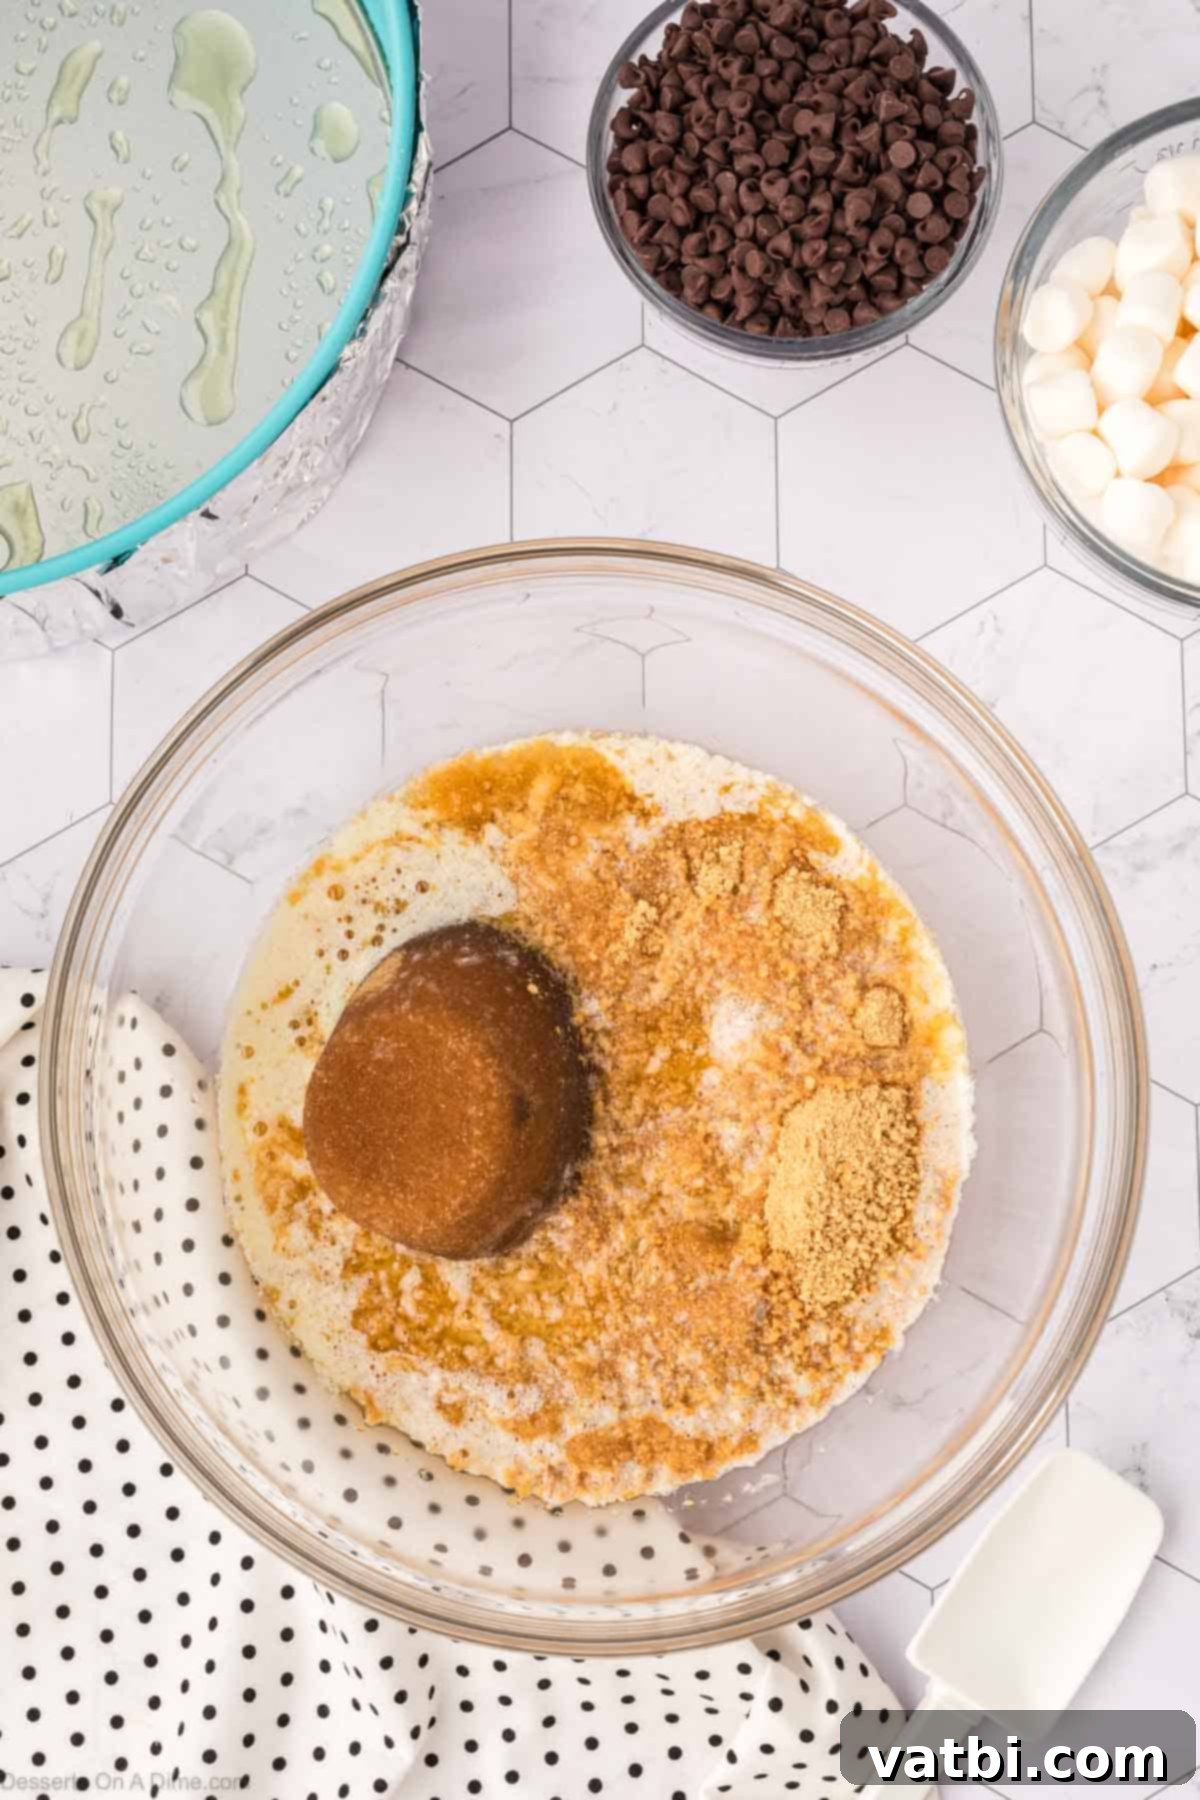
Step 2. In a medium-sized mixing bowl, combine the graham cracker crumbs, melted unsalted butter, and brown sugar. Use a spoon or a fork to stir these ingredients together thoroughly until the mixture is uniformly moistened and resembles wet sand. This ensures an even and flavorful crust.
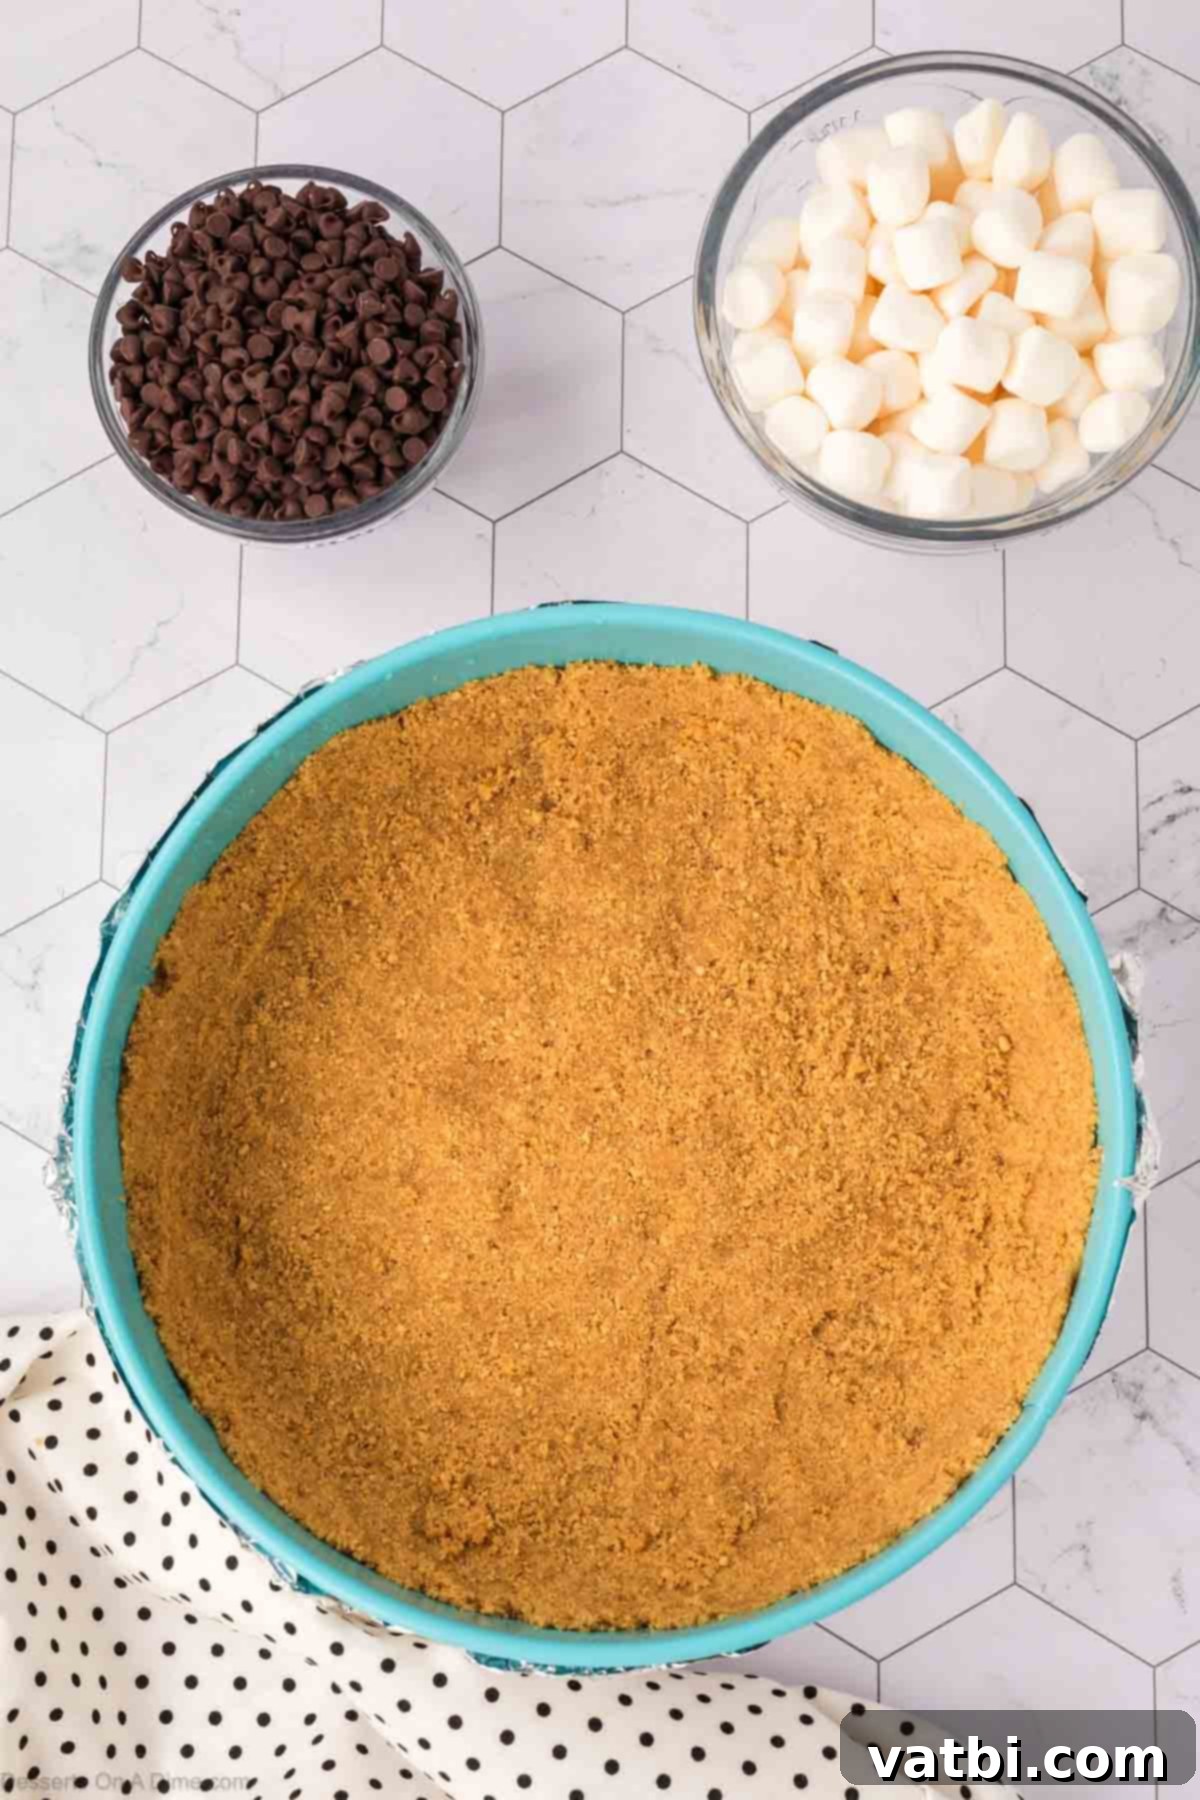
Step 3. Pour the graham cracker mixture into the prepared springform pan. Using the bottom of a flat glass or your fingers, press the mixture firmly and evenly across the bottom and about halfway up the sides of the pan. This creates a solid base. Bake this crust for 10 minutes, then remove from the oven and allow it to cool completely on a wire rack. Cooling is important to prevent the chocolate and marshmallows from melting too soon in the next step.
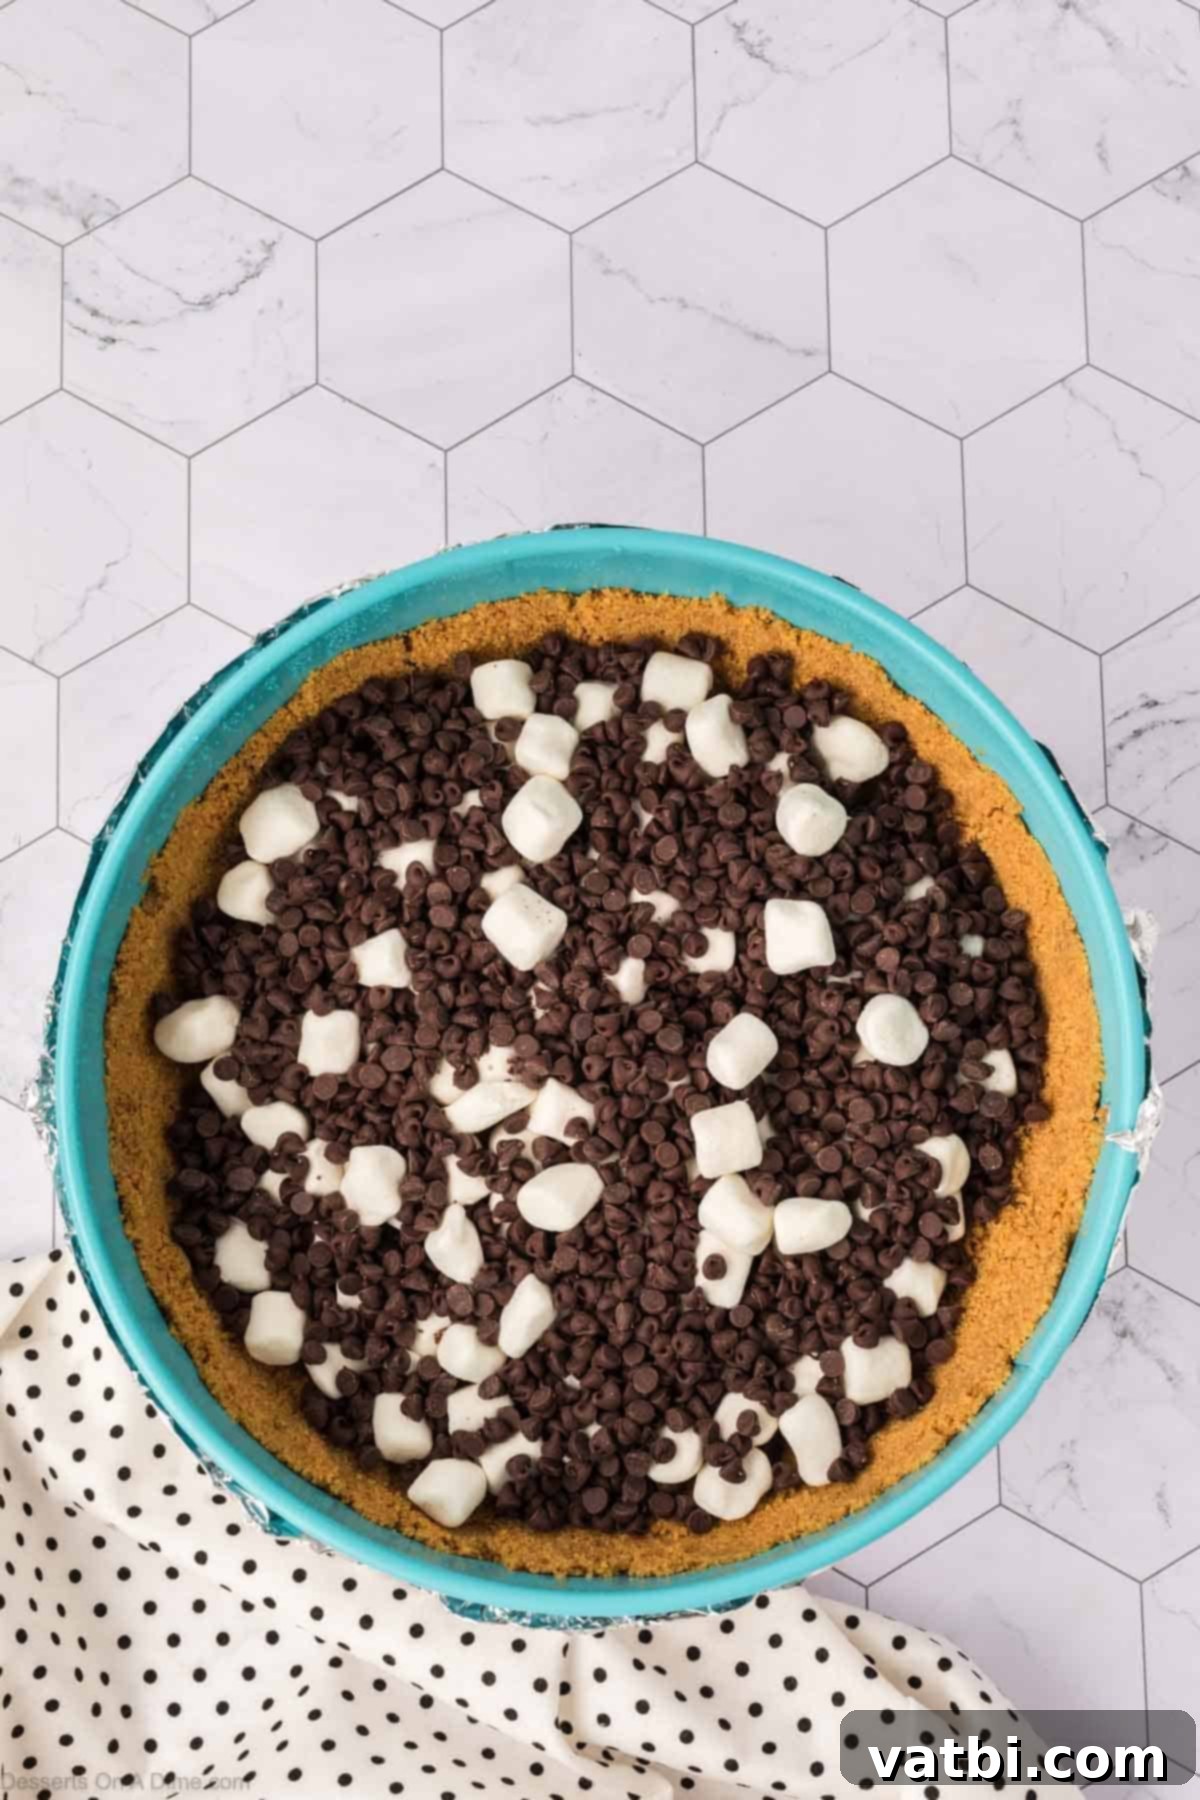
Step 4. Once the baked graham cracker crust has cooled completely to room temperature, evenly sprinkle the mini chocolate chips and mini marshmallows over its bottom layer. These will add pockets of gooey chocolate and marshmallow goodness within the crust, truly enhancing the s’mores flavor.
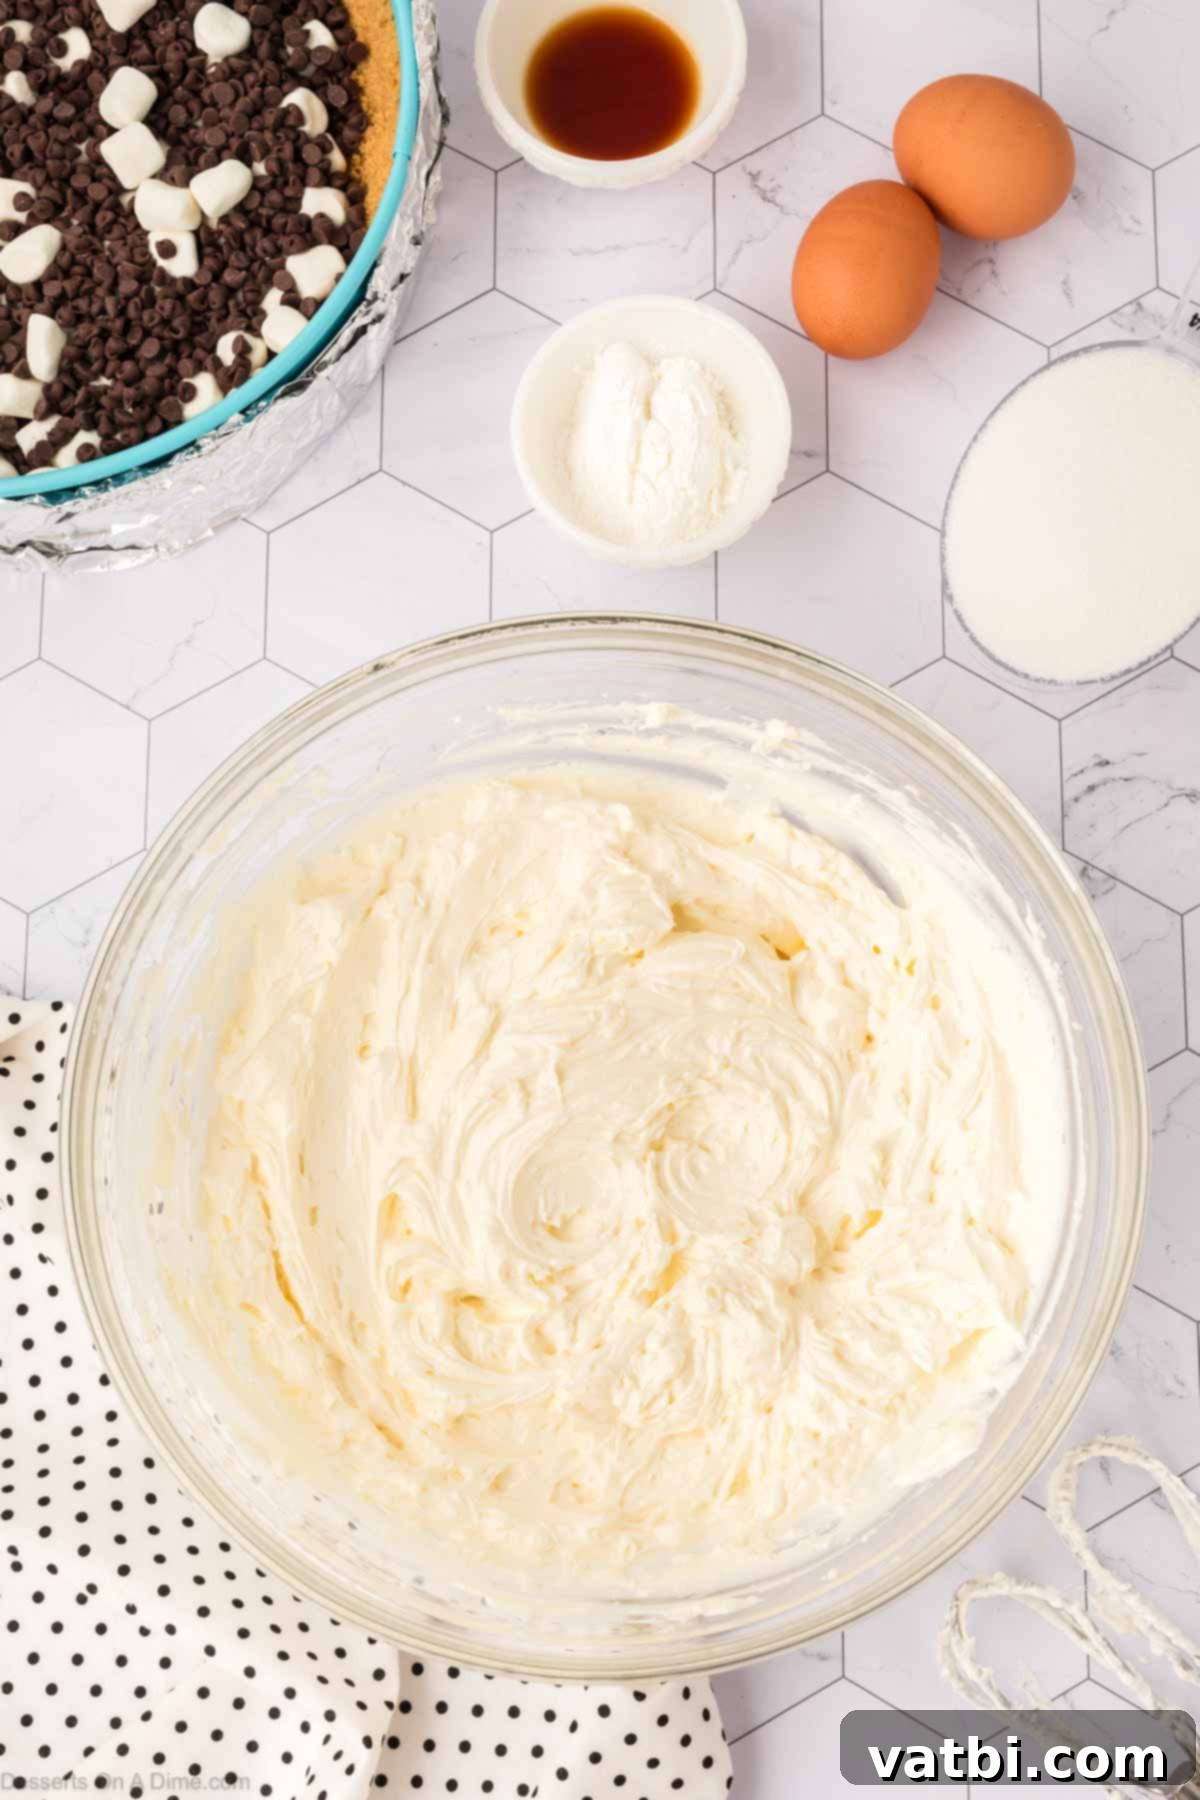
Step 5. In a large mixing bowl, preferably the bowl of a stand mixer fitted with the paddle attachment, beat the softened full-fat cream cheese with an electric mixer until it is wonderfully light and fluffy. This can take several minutes. Remember to pause occasionally and use a rubber spatula to scrape down the sides and bottom of the bowl, ensuring all cream cheese is incorporated and smooth.
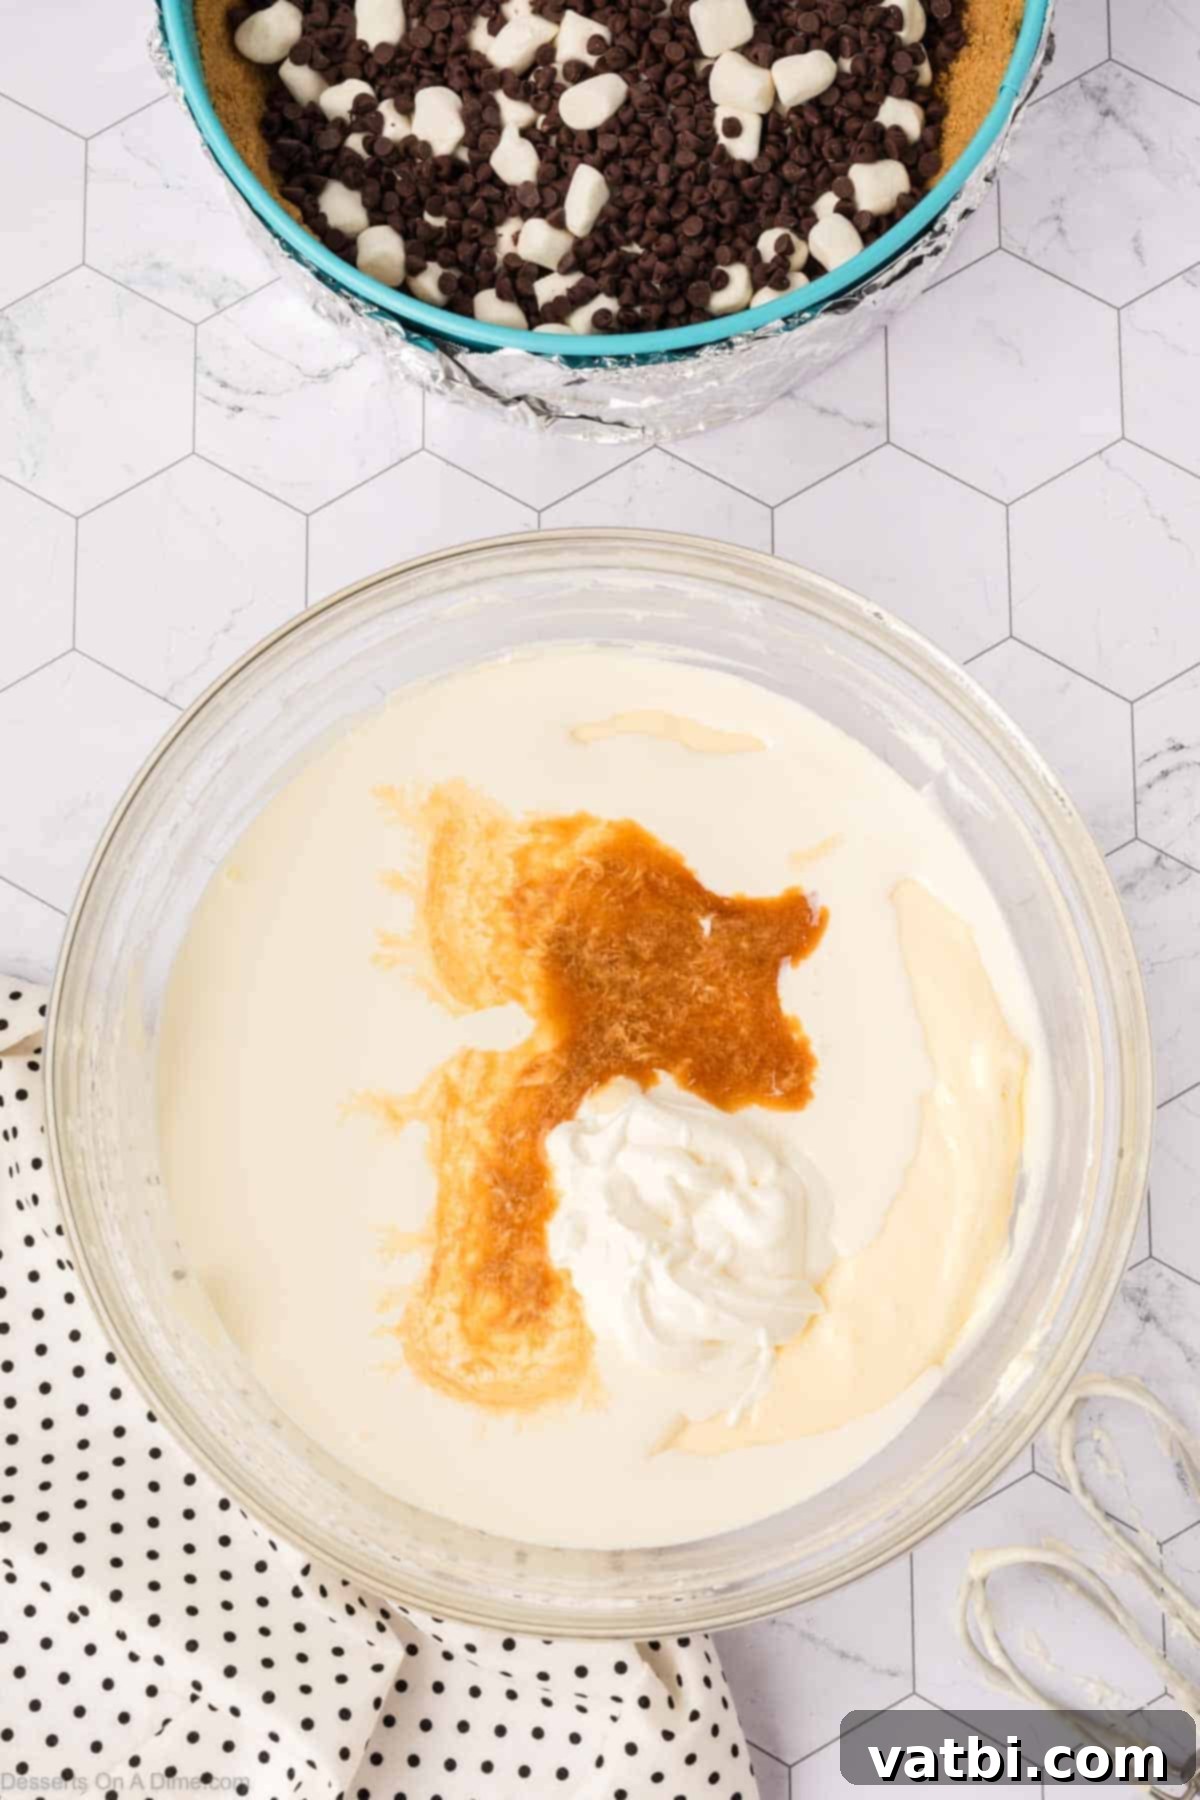
Step 6. Once the cream cheese has reached a light and fluffy consistency, gradually add the granulated sugar and cornstarch, mixing until they are just combined. Then, beat in the eggs one at a time, mixing only until each egg is incorporated before adding the next. Overmixing eggs can introduce too much air, leading to cracks. Finally, add the sour cream, vanilla extract, and heavy cream. Continue beating on medium-low speed until the entire cheesecake mixture is smooth, velvety, and fully blended. Scrape the bowl once more to ensure uniformity.
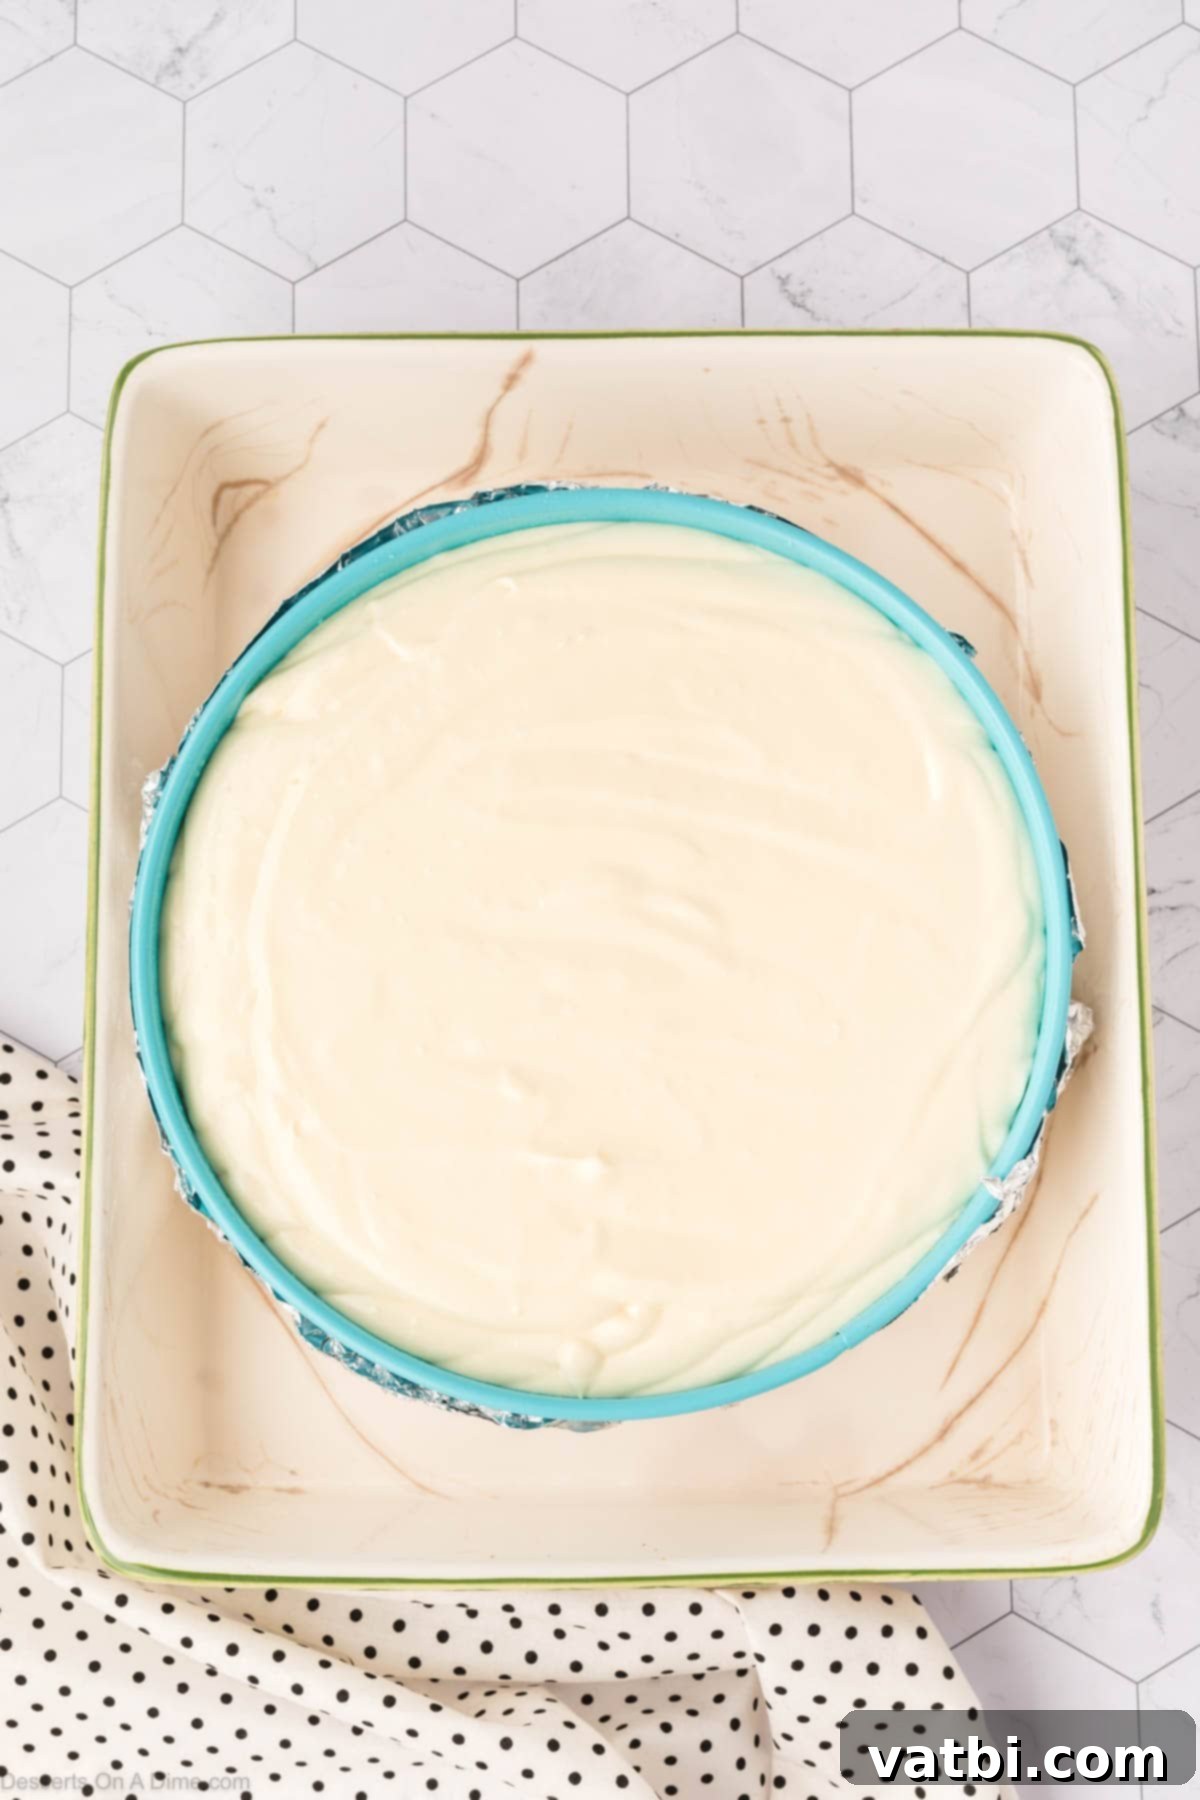
Step 7. Carefully pour the prepared cheesecake filling evenly over the cooled graham cracker crust in the springform pan. To create the essential water bath, place the foil-wrapped springform pan inside a larger roasting pan (a large aluminum roaster works well). Add warm water to the larger pan until it reaches about halfway up the sides of the springform pan. The water bath helps the cheesecake bake gently and evenly, preventing cracks and ensuring a creamy texture.
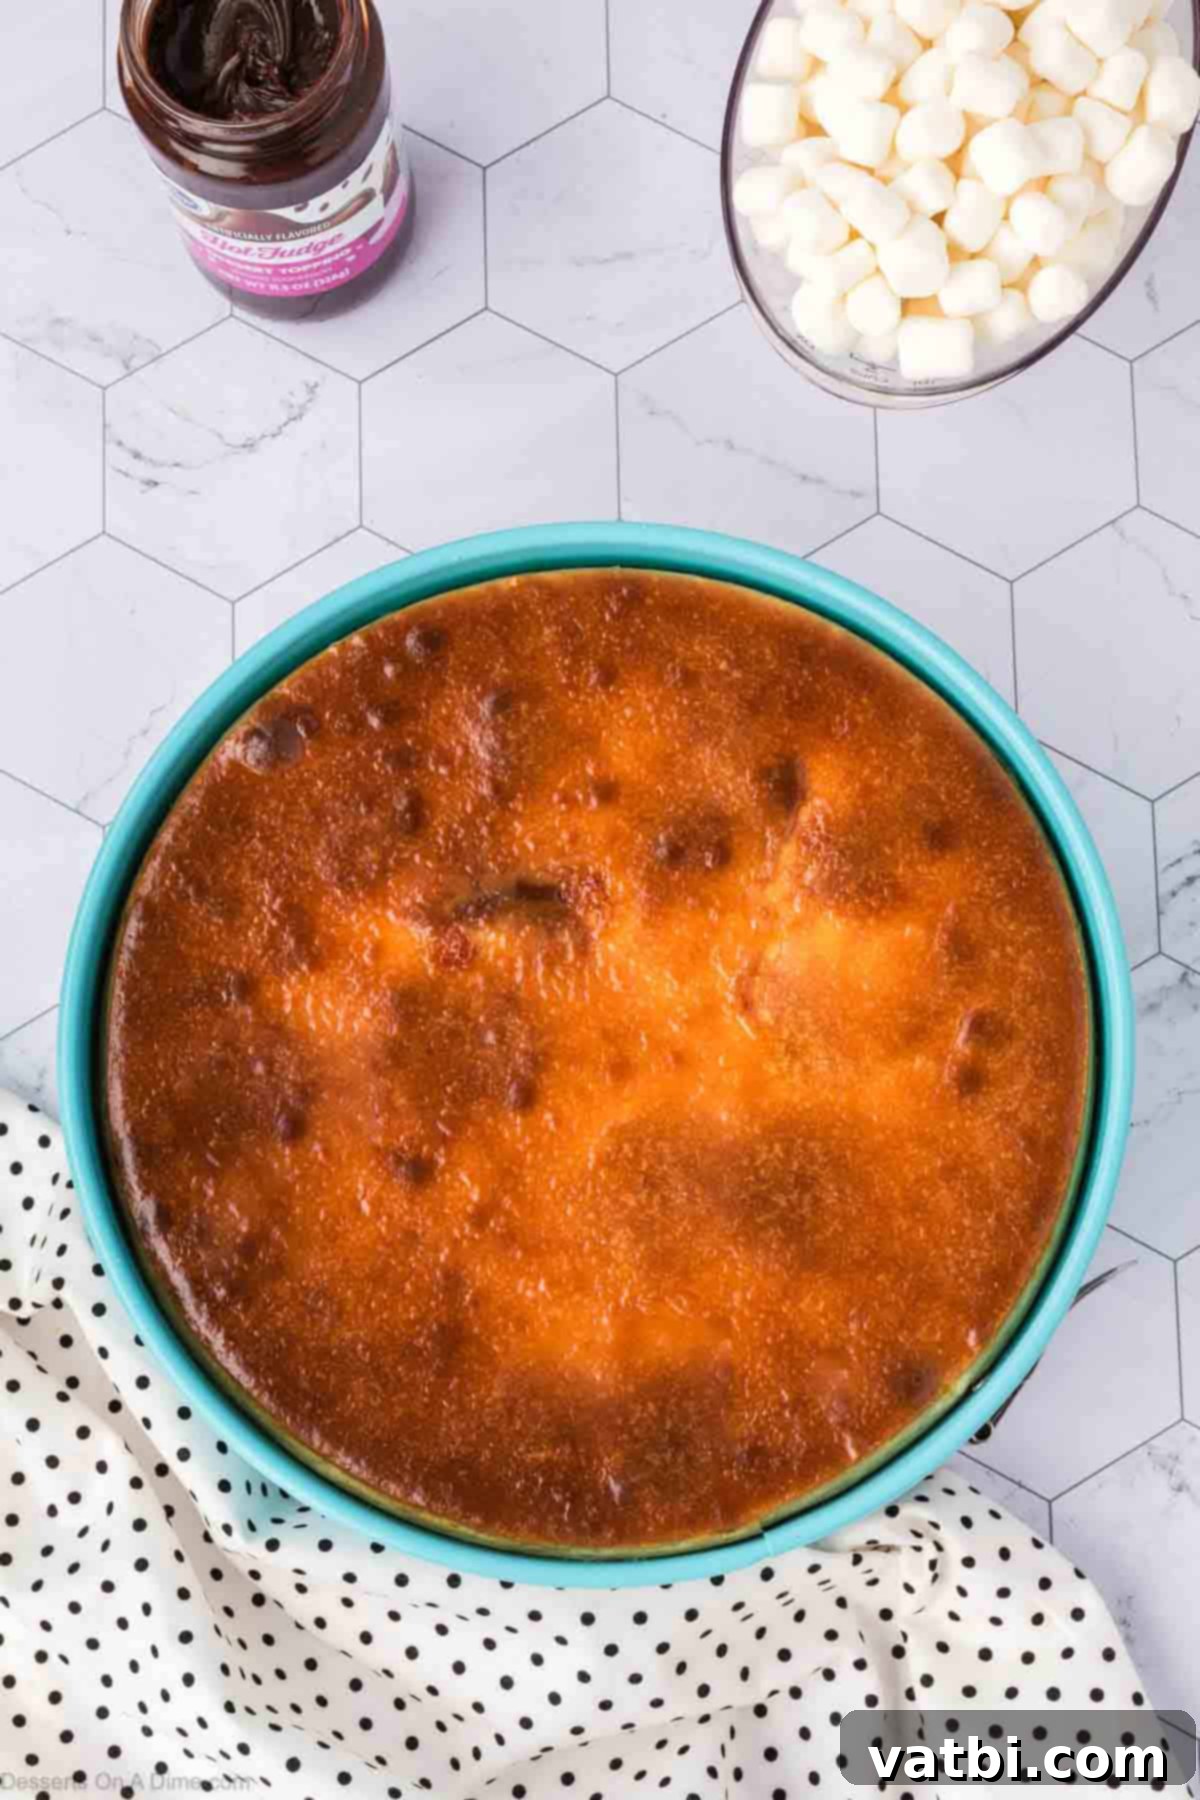
Step 8. Bake the cheesecake in the water bath for 85 to 95 minutes. The cheesecake is done when the edges are set and a 2-inch circle in the center still jiggles slightly when gently shaken. It should not be wobbly all over. If it’s still too jiggly, continue baking in 5-minute increments, checking frequently after 85 minutes. Once baked, turn off the oven, crack the oven door open halfway, and let the cheesecake sit in the warm oven for 10 minutes to gradually cool. This prevents sudden temperature changes that can cause cracks. After 10 minutes, remove it from the oven and water bath, and allow it to cool on a wire rack on the counter for 1 hour.
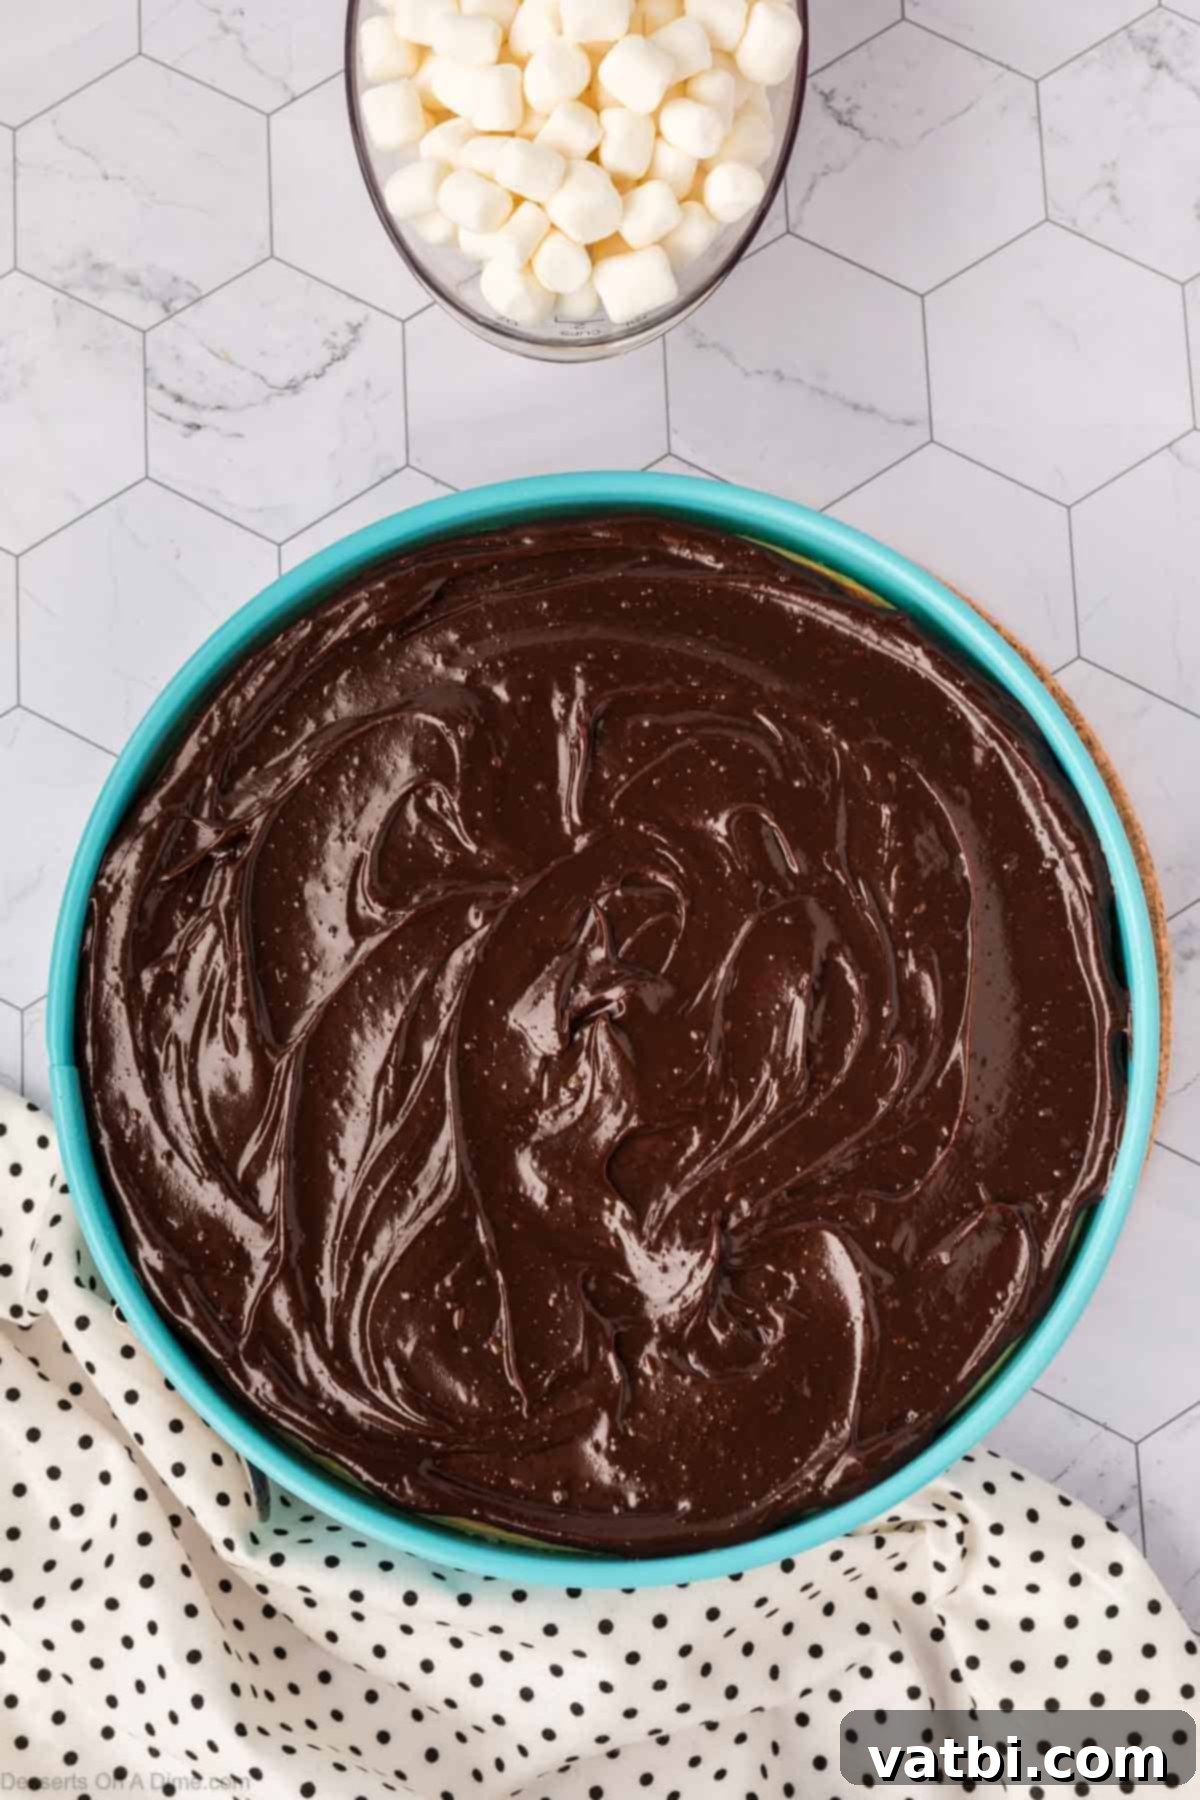
Step 9. Set your oven broiler to low. Gently warm the hot fudge sauce in the microwave for a few seconds (about 15-30 seconds, depending on your microwave) to make it easier to pour and spread. Then, carefully spread the warmed hot fudge evenly over the entire top surface of the cooled cheesecake. Ensure a consistent layer for optimal flavor in every slice.
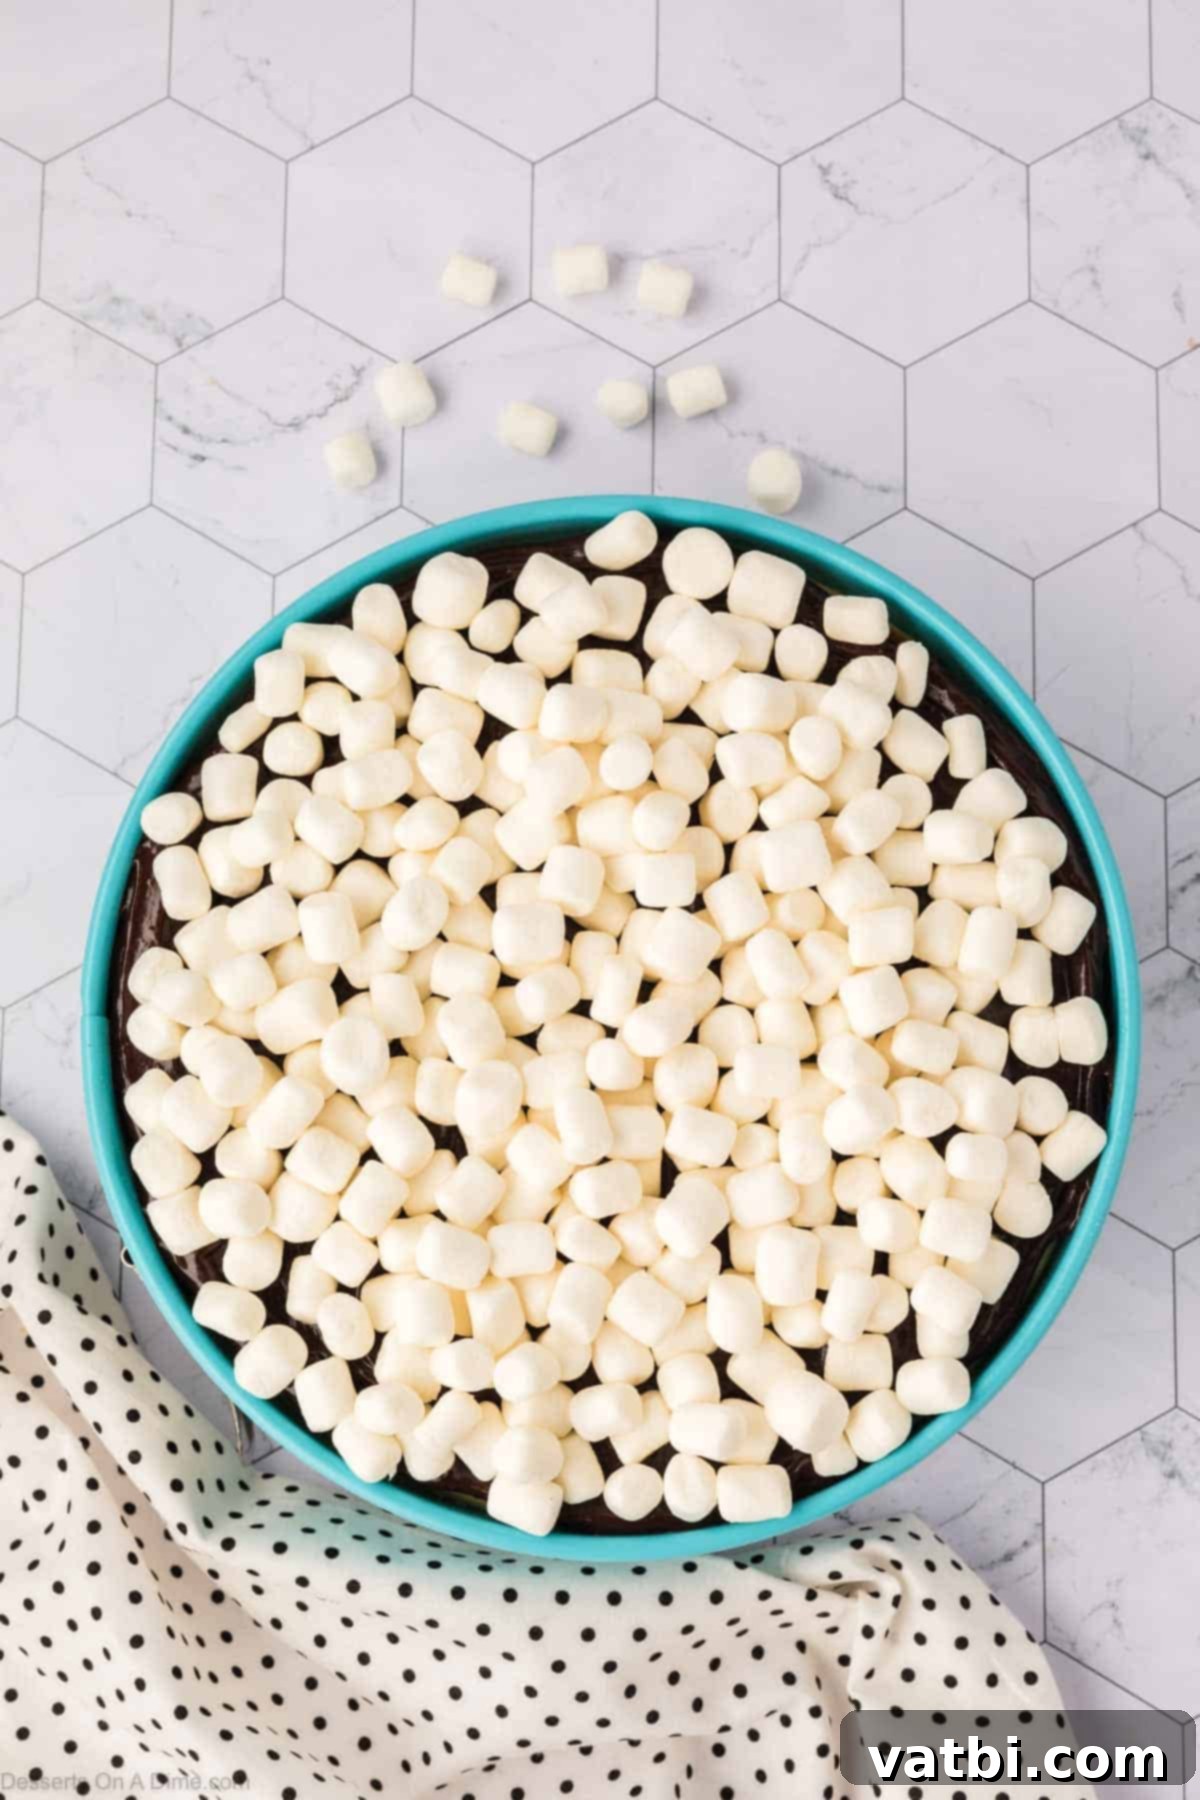
Step 10. Once the hot fudge is spread, evenly pour and scatter the mini marshmallows over the chocolate layer. Make sure to cover the entire surface for a beautiful, uniform toasted marshmallow topping. The more marshmallows, the gooier the final result!
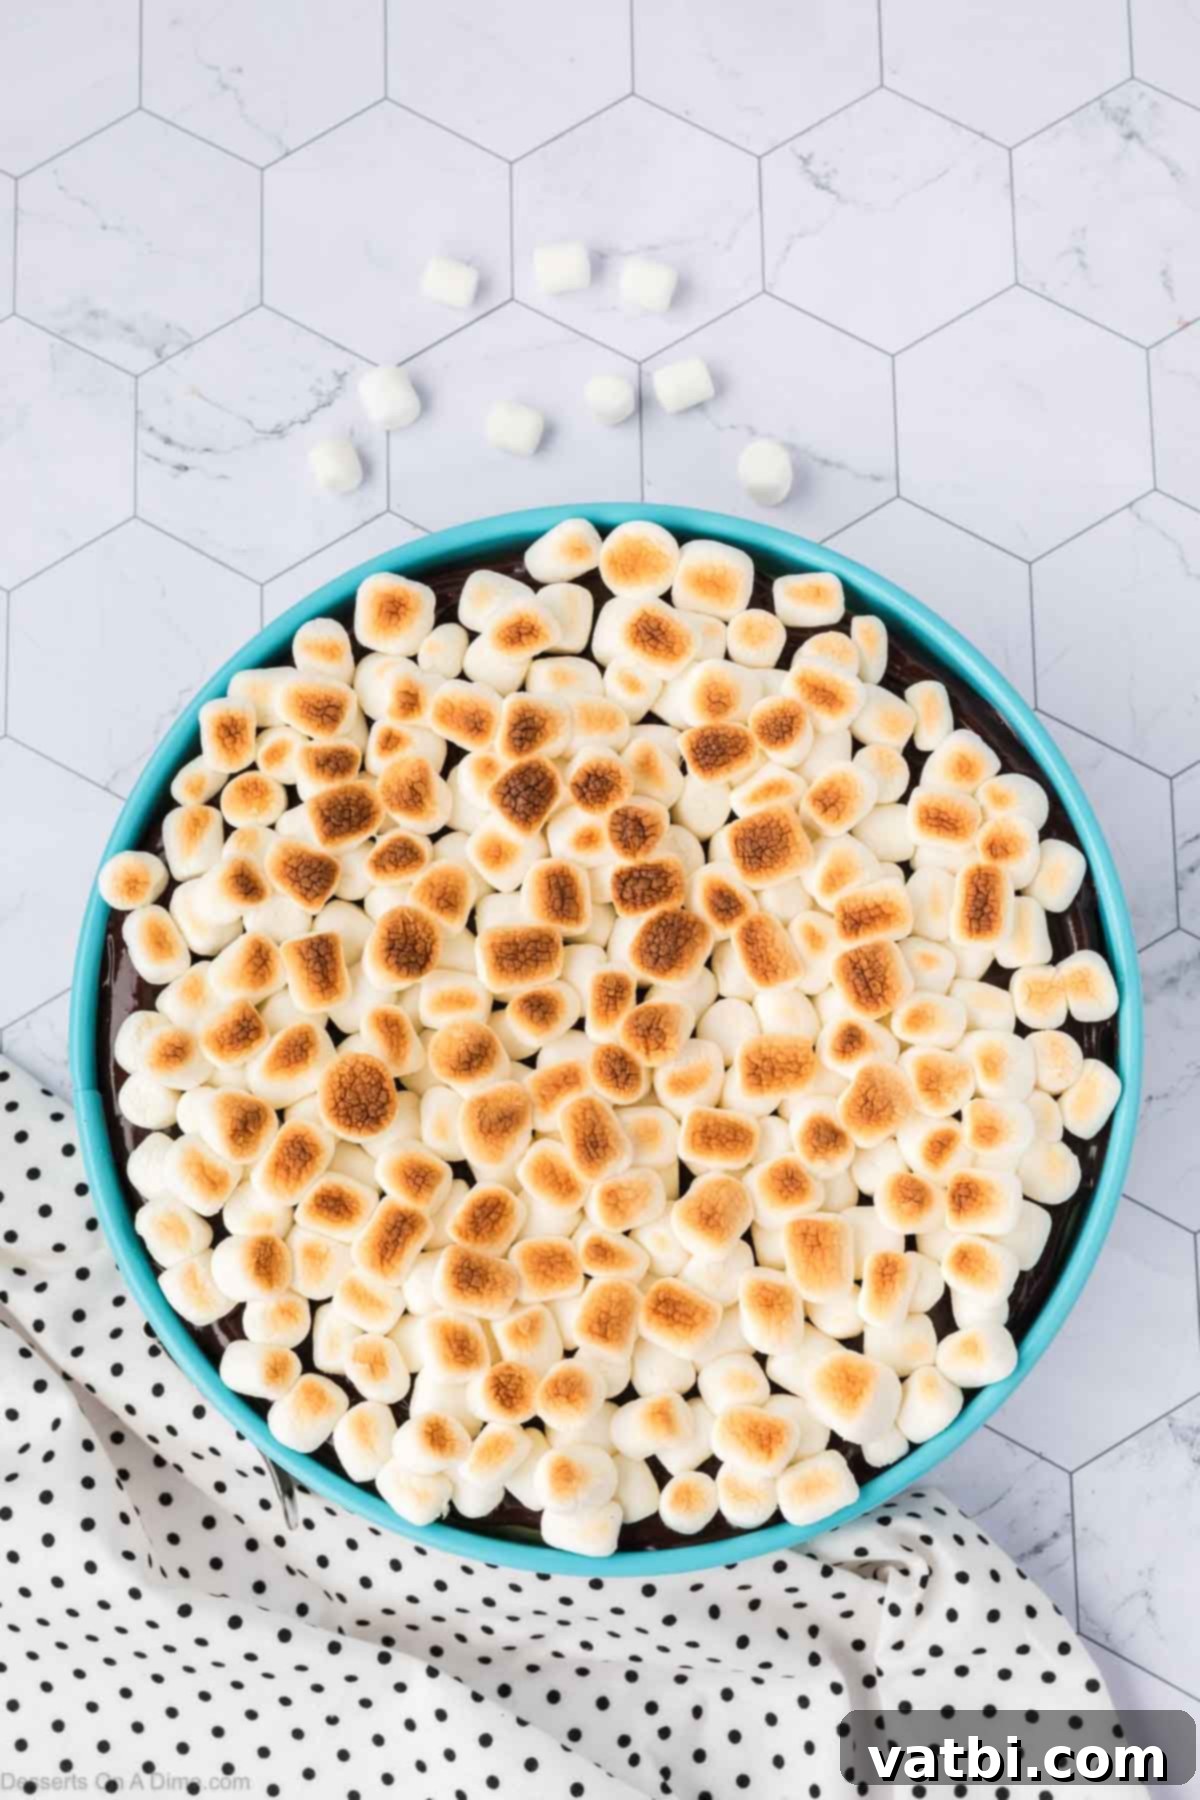
Step 11. Carefully place the cheesecake under the preheated broiler. Watch the marshmallows *very* closely, as they can burn quickly. Toast them until they turn a beautiful, light golden brown and become perfectly gooey. This typically takes about 30-60 seconds, but broiler times vary significantly, so do not walk away. Rotate the pan if needed for even toasting. Once toasted, remove immediately from the oven.
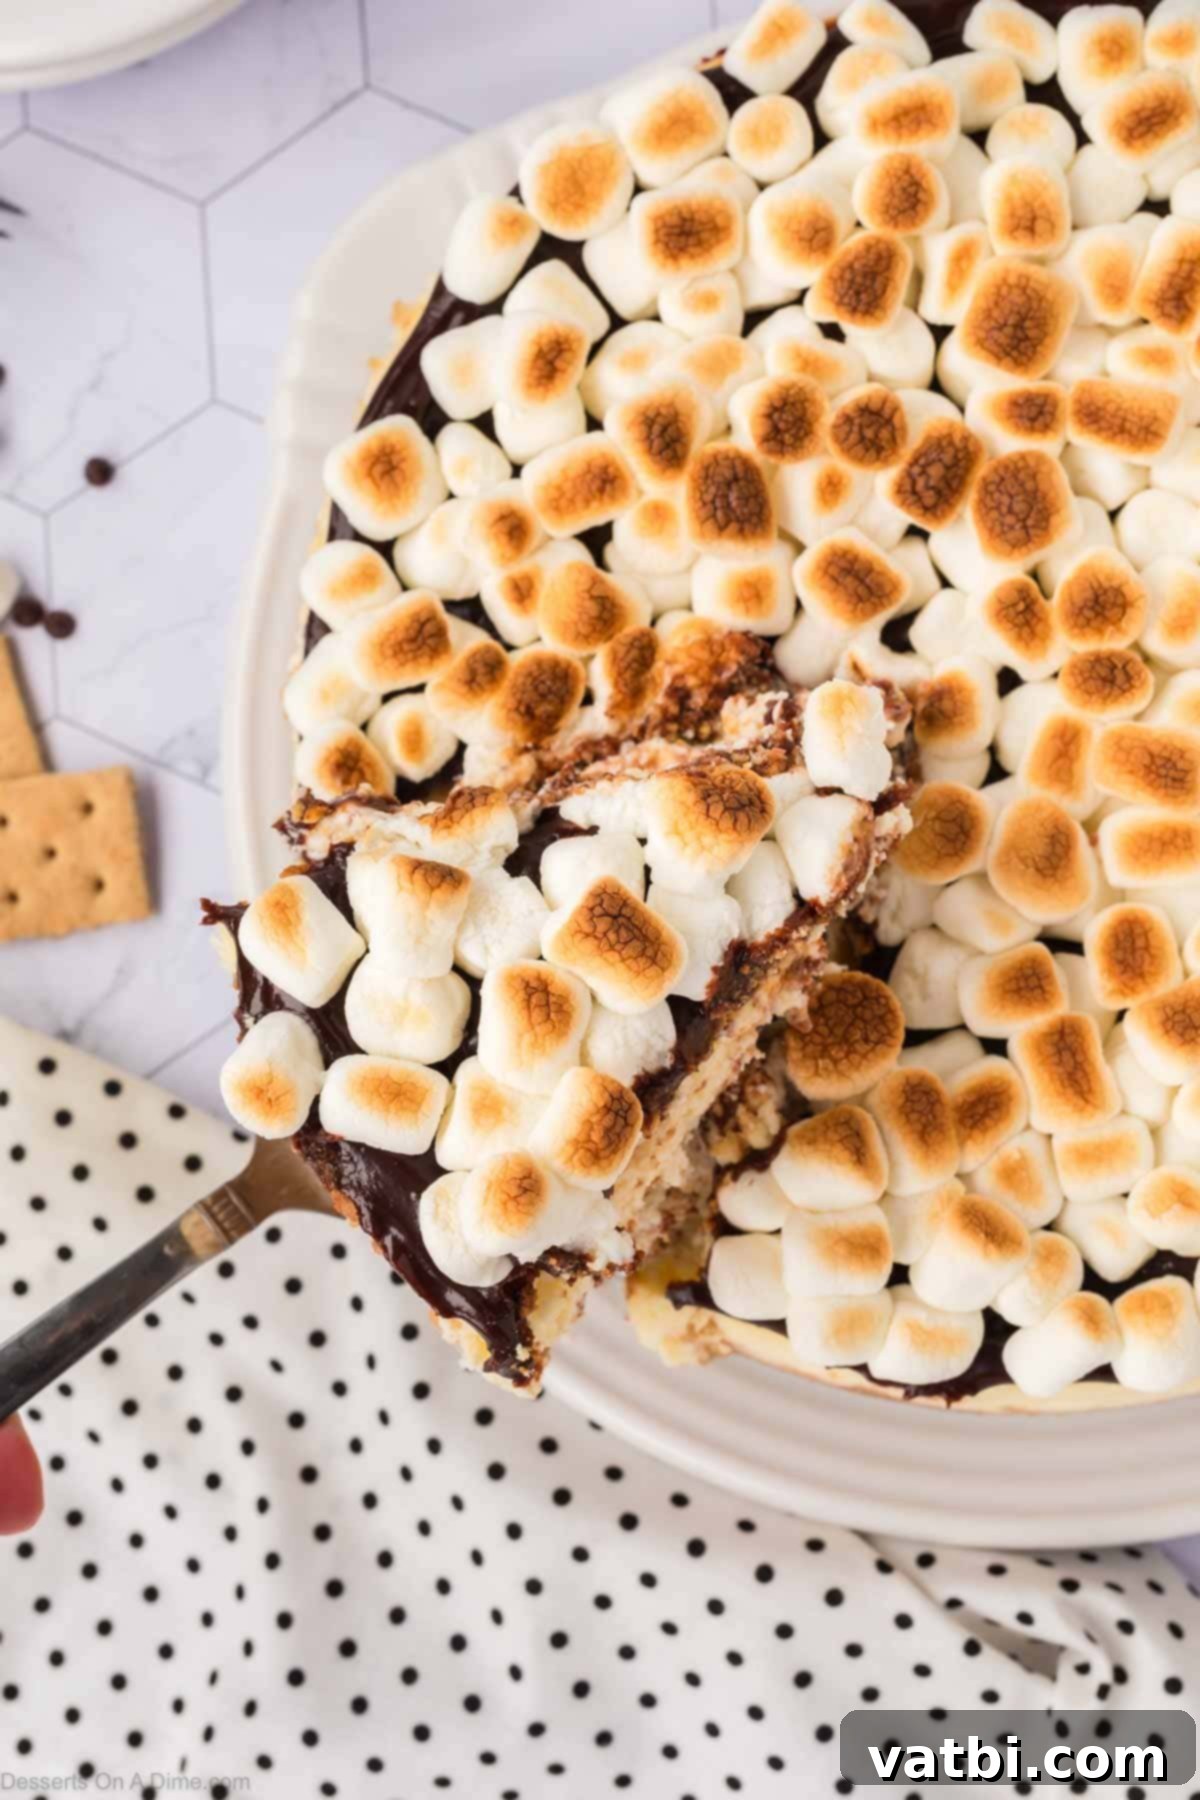
Step 12. Allow the fully assembled cheesecake to cool completely at room temperature on a wire rack. This is crucial for proper setting. Once cooled, transfer it to the refrigerator and chill for a minimum of 4-5 hours, or preferably overnight. Thorough chilling ensures the cheesecake is firm enough for clean, perfect slices. After chilling, carefully run a thin knife around the edge of the pan before releasing the springform ring. Slice, serve, and savor every indulgent bite of your homemade S’mores cheesecake!
Storage Tips for S’mores Cheesecake
Proper storage is essential to maintain the delicious taste and creamy texture of your S’mores cheesecake. Follow these guidelines to keep your dessert fresh:
- Refrigeration: Store any leftover S’mores cheesecake covered tightly in the refrigerator for up to 4-5 days. To prevent it from absorbing refrigerator odors and to maintain moisture, you can wrap individual slices or the entire remaining cheesecake loosely in plastic wrap, then cover with aluminum foil. For the best taste and texture, always keep it chilled until you’re ready to serve.
- Freezing: This cheesecake is surprisingly freezer-friendly, making it perfect for preparing ahead or saving for later cravings. You can freeze the entire cheesecake (without the marshmallow topping, if desired, to add fresh later) or individual slices for up to 2 months. To freeze, ensure the cheesecake is completely chilled and firm. Wrap it tightly first in several layers of plastic wrap, then in a layer of heavy-duty aluminum foil. For slices, place them on a parchment-lined baking sheet and freeze until firm before wrapping individually. When ready to enjoy, thaw the cheesecake in the refrigerator overnight. You can re-toast marshmallows on thawed slices under the broiler if you desire that fresh, gooey texture.
Expert Pro Tips for Baking Cheesecake
Achieving a perfectly smooth, crack-free cheesecake can seem daunting, but these professional tips will guide you to success:
- Don’t Skip the Water Bath: This is arguably the most crucial step for cheesecake perfection. The water bath (bain-marie) creates a moist, even heat environment, preventing the cheesecake from baking too quickly and cracking, while also ensuring a wonderfully creamy, silky texture throughout.
- Wrap the Springform Pan Tightly in Foil: To safeguard your cheesecake from water seeping into the pan during the water bath, it’s essential to wrap the springform pan thoroughly with several layers of heavy-duty aluminum foil. Ensure there are no gaps for water to penetrate, which could lead to a soggy crust.
- Use Room Temperature Ingredients: For cream cheese, eggs, and sour cream, ensure they are at true room temperature. Cold ingredients don’t emulsify properly, leading to lumps in your batter and a less smooth cheesecake texture. Plan ahead and take them out of the fridge at least 1-2 hours before baking.
- Avoid Overmixing the Batter: Overmixing introduces too much air into the cheesecake batter. While some air is fine, excess air will cause the cheesecake to puff up significantly in the oven and then inevitably crack as it cools and deflates. Mix only until ingredients are just combined and smooth.
- Cool the Cheesecake Gradually: Sudden temperature changes are a primary culprit for cheesecake cracks. After baking, turn off the oven and leave the cheesecake inside with the door slightly ajar for about 10 minutes. This gentle cooling transition minimizes temperature shock and helps prevent cracks.
- Run a Knife Around the Edge Before Removing the Pan: Once the cheesecake has cooled for an hour on the counter, gently run a thin, sharp knife around the inner edge of the springform pan. This crucial step prevents the cheesecake from sticking to the sides and ensures a clean, crack-free release when you remove the springform ring after chilling.
- Chill Thoroughly Before Slicing: Patience is a virtue when it comes to cheesecake. Refrigerating the cheesecake for at least 4-5 hours, or ideally overnight, allows it to fully set and firm up. This thorough chilling is essential for achieving clean, beautifully defined slices that hold their shape.
Variations and Customizations for Your S’mores Cheesecake
This S’mores Cheesecake recipe is fantastic as is, but it also offers a wonderful canvas for creativity. Here are some ideas to customize it and make it your own:
- Chocolate Choices: Instead of standard mini chocolate chips, consider using dark chocolate chips for a more intense chocolate flavor, or white chocolate chips for a sweeter, creamier contrast. You could even swirl a different type of melted chocolate into the cheesecake batter itself for a marbled effect.
- Crust Enhancements: While graham crackers are classic, you could experiment with other cookie crumbs for the crust, such as chocolate wafers or even crushed Oreos for a “cookies and cream” twist on s’mores. A pinch of cinnamon in the graham cracker crust can also add another layer of warm spice.
- Different Marshmallow Topping: If you don’t have mini marshmallows, you can cut larger marshmallows into smaller pieces. For a more intense toasted flavor, use a kitchen torch instead of the broiler, allowing for more precise browning.
- Drizzles and Sauces: Beyond hot fudge, consider adding a drizzle of homemade caramel sauce or even a raspberry coulis over individual slices for an extra touch of decadence. A sprinkle of sea salt flakes over the chocolate fudge can also enhance the flavors beautifully.
- Nutty Additions: For a delightful crunch, sprinkle chopped nuts like pecans or walnuts over the hot fudge layer before adding the marshmallows.
Frequently Asked Questions About S’mores Cheesecake
Here are some common questions and answers to help you perfect your S’mores cheesecake:
- Why did my cheesecake crack? Cracks are usually caused by rapid temperature changes or overmixing the batter. Ensure all your ingredients are at room temperature, avoid overmixing to prevent excess air, and cool the cheesecake gradually in the oven with the door ajar before bringing it to room temperature and then chilling.
- Can I make this cheesecake without a springform pan? While a springform pan is ideal for easy removal and presentation, you could use a regular 9-inch round cake pan. However, you’ll need to line it with parchment paper (leaving an overhang on two sides) to help lift the cheesecake out once chilled. The presentation might not be as clean.
- How do I know when the cheesecake is fully baked? Look for set edges that are slightly puffed, while the very center (about a 2-inch circle) should still have a slight jiggle. If the entire cheesecake wobbles like liquid, it needs more time. If it doesn’t jiggle at all, it’s likely overbaked.
- Can I use homemade graham cracker crumbs? Absolutely! You can crush whole graham crackers in a food processor or by placing them in a Ziploc bag and crushing them with a rolling pin until fine. 1.5 cups of crumbs typically requires about 10-12 full graham cracker sheets.
- What if I don’t have a broiler for the marshmallows? No broiler? No problem! You can use a kitchen torch (often used for crème brûlée) to toast the marshmallows directly on top of the cheesecake. This offers even more control over the browning. Alternatively, if you don’t have a torch, you can place the marshmallows on a separate baking sheet and toast them under the broiler briefly, then quickly transfer them to the cheesecake, though this method is trickier.
More Delicious S’mores Desserts
If you’re a fan of the classic s’mores flavor, you’ll love these other creative dessert ideas:
- Frozen S’mores: A delightful no-bake treat perfect for summer.
- S’mores Cookie Cups: Individual portions of s’mores goodness in a convenient cookie form.
- S’mores Poke Cake: A moist chocolate cake infused with s’mores flavors.
- S’mores Brownies Recipe: Chewy brownies topped with toasted marshmallows and chocolate.
We encourage you to try this easy and luscious recipe for S’mores Cheesecake. It’s sure to become a new favorite! Please come back and leave a comment and star review once you make it – we love hearing your feedback and seeing your beautiful creations!
Pin
S’Mores Cheesecake
Instructions
-
Preheat the oven to 325 degrees F. Prepare a 9″ springform pan with non stick cooking spray. Wrap the bottom and sides of the outside of the pan in aluminum foil to prepare for the water bath later.
-
In a medium size mixing bowl combine graham cracker crumbs, melted butter and brown sugar.
-
Spread the mixture into the springform pan so that it is even and spread halfway up the sides.
-
Bake for 10 minutes and allow to cool completely.
-
Once the crust is completely cool, spread the mini chocolate chips and marshmallows on the bottom of the crust.
-
Beat the cream cheese with an electric mixer until fluffy. Make sure to scrape down the sides of the bowl as needed.
-
Once the cream cheese is light and fluffy, add the sugar and cornstarch and combine.
-
Beat the eggs into the mixture.
-
Next, add sour cream, vanilla extract and heavy cream and beat on medium speed until combined.
-
Evenly spread the cheesecake batter into the springform pan.
-
Create a water bath by placing the springform pan in a larger pan. I like to use a larger aluminum roaster. Add warm water until it reaches about halfway up the sides of the springform pan.
-
Bake the cheesecake for 85-95 minutes. It should jiggle slightly in the middle and the edges will be set. The cheesecake should not be jiggly everywhere. If it is still jiggly, bake for another 5 minutes. I normally start checking the cheesecake at 85 minutes.
-
Once the cheesecake has finished baking, turn off the oven and open the oven door halfway. Allow to stay in the oven for 10 minutes and then remove.
-
Allow to cool on the counter for 1 hour.
-
Turn the oven broiler on low.
-
Top the cheesecake with hot fudge. I suggest melting it for a few seconds in the microwave, so it is easier to pour on the cheesecake.
-
Spread the marshmallows evenly on top.
-
Place the cheesecake in the oven. Allow the marshmallows to broil until lightly golden brown. This will only take about 40 seconds. Oven times vary and I suggest watching very closely as you do not want to burn your marshmallows.
-
Allow to cool completely at room temperature. Place in the refrigerator for 4-5 hours.
-
Remove from the springform pan. Slice, serve and enjoy!
Recipe Notes
Wrap the pan in foil to ensure water does not get into the pan.
Storage- Cover loosely and place in the refrigerator up to 5 days.
Nutrition Facts
Pin This Now to Remember It Later
Pin Recipe
