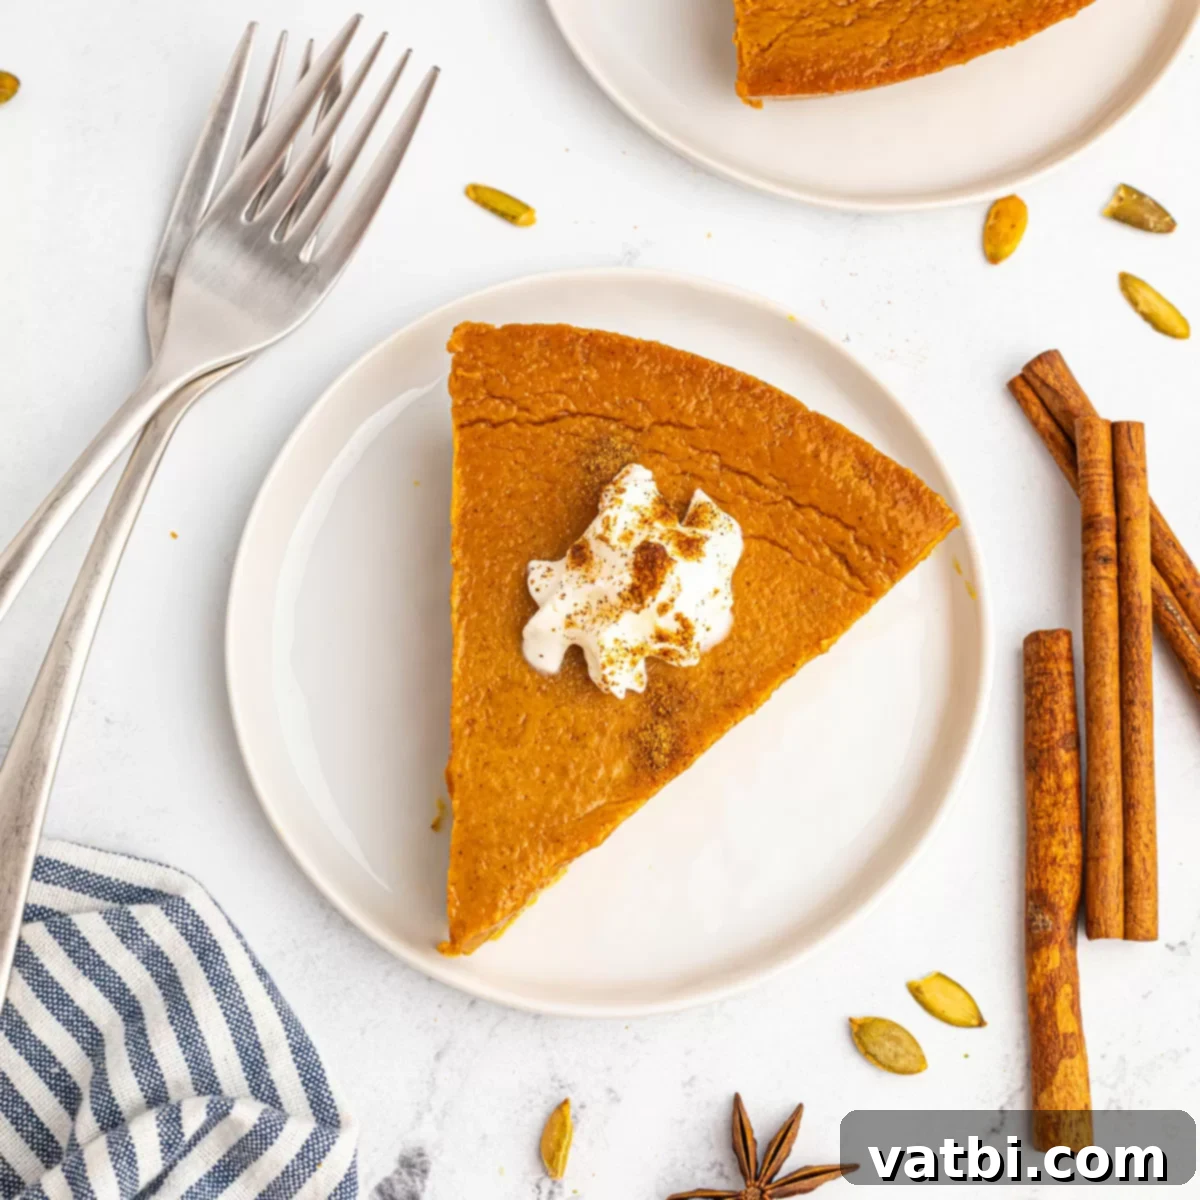
The Ultimate Guide to Delicious & Easy Crustless Pumpkin Pie
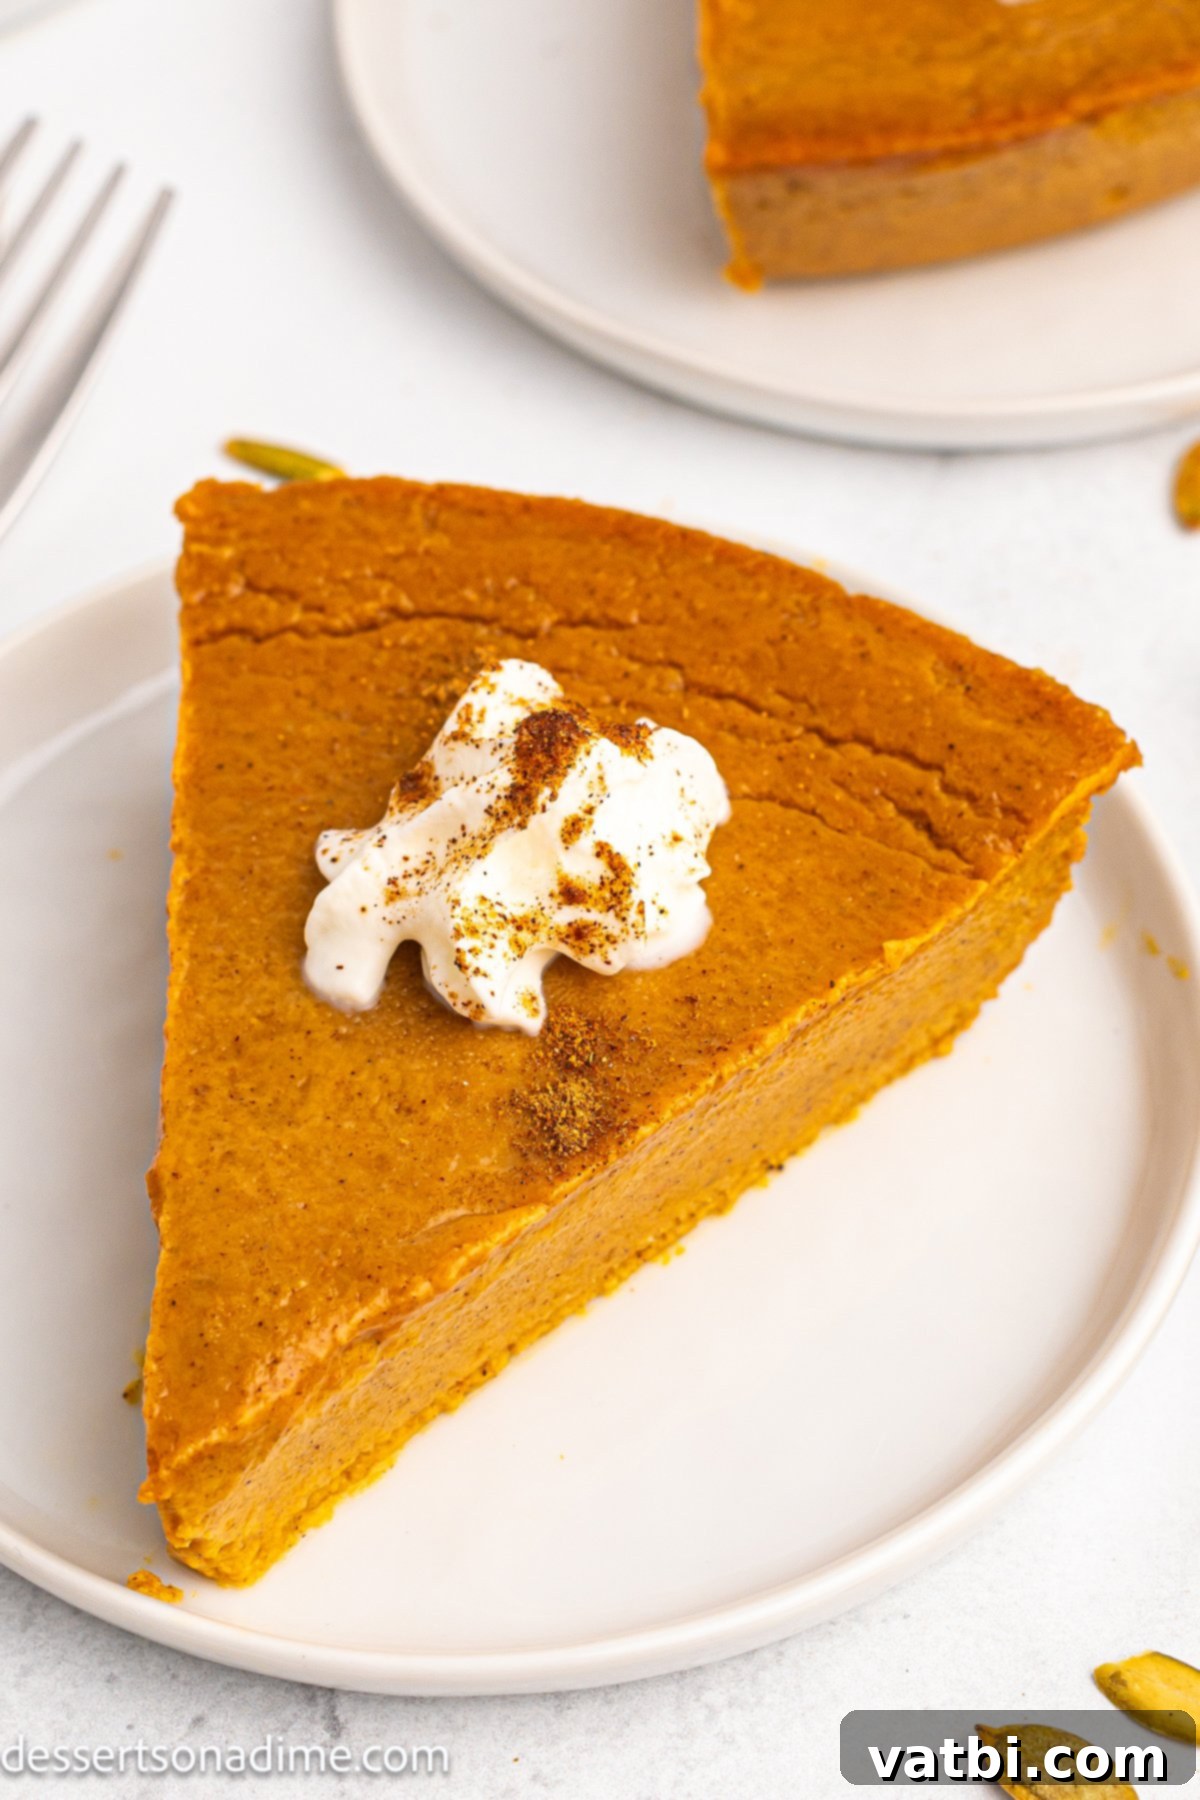
Discover the delightful world of Crustless Pumpkin Pie, a fantastic dessert that combines a rich, velvety, and deeply spiced pumpkin filling into what many consider the best pumpkin dessert. This decadent, flavor-packed treat is a superb choice for any occasion, especially as a show-stopping Thanksgiving dessert. Each serving, crowned with a generous dollop of whipped cream, promises a smooth, melt-in-your-mouth experience that highlights the true essence of fall flavors.
This crustless pumpkin pie recipe offers a delicious and thoughtful twist on traditional Pumpkin Pie. It’s designed for simplicity, requiring just a handful of readily available ingredients, making it incredibly easy to whip up. It comes together quickly and, as an added bonus, often boasts fewer net carbs than a conventional pie with a pastry crust. Whether you’re avoiding gluten, looking for a lighter option, or simply prefer the pure taste of creamy pumpkin, this recipe is a winner.
For the holidays, I adore preparing a diverse array of pies to satisfy every palate. Alongside this crustless wonder, favorites often include a comforting Sweet Potato Pie and a savory-sweet Butternut Squash Pie. Having an assortment ensures there’s a perfect slice for everyone to enjoy the festive flavors.
What’s in this post: Crustless Pumpkin Pie
- What is Crustless Pumpkin Pie?
- Why You’ll Love This Recipe
- Key Ingredients for the Perfect Filling
- Delicious Variations to Try
- Step-by-Step: How to make Crustless Pumpkin Pie
- Serving Suggestions
- Pro Tips for Success
- Frequently Asked Questions
- More Pumpkin Pie Recipes to Explore
- Other Easy Pie Recipes
- Crustless Pumpkin Pie Recipe Card
What is Crustless Pumpkin Pie?
At its heart, a crustless pumpkin pie is exactly what it sounds like: all the delightful, rich, and aromatic pumpkin filling you adore from a classic pumpkin pie, but without the traditional pastry crust. Instead of baking in a dough shell, the creamy pumpkin custard is baked directly in a pie dish, allowing its luxurious texture and vibrant spiced flavor to truly shine. This method results in a dessert that is incredibly smooth, dense, and deeply satisfying, proving that sometimes, less truly is more. You won’t miss the crust once you experience the pure, unadulterated goodness of this filling. Each spoonful is a velvety dream, bursting with the warm spices that define autumn.
Why You’ll Love This Recipe
There are numerous reasons why this crustless pumpkin pie has become a firm favorite, especially during the busy holiday season:
- Simplicity: Eliminating the crust significantly reduces preparation time and complexity. No more rolling, chilling, or blind baking! This makes it ideal for beginner bakers or those short on time.
- Gluten-Free Friendly: Naturally gluten-free, this pie is a perfect option for guests with gluten sensitivities or dietary restrictions, ensuring everyone can enjoy a slice of holiday cheer.
- Lower Carb Option: For those monitoring their carbohydrate intake, removing the flour-based crust provides a delicious dessert with fewer carbs.
- Focus on Flavor: Without a crust to distract, the rich, spiced pumpkin custard becomes the undeniable star of the show. Every bite is pure, intense pumpkin goodness.
- Rich & Creamy Texture: The filling bakes up incredibly smooth and creamy, almost like a baked custard, with a delightful richness that is truly indulgent.
- Holiday Essential: Pumpkin pie is a quintessential fall and holiday dessert. This crustless version offers all the traditional taste in a fresh, accessible format.
Key Ingredients for the Perfect Filling
Crafting this luscious crustless pumpkin pie requires a simple list of ingredients, each playing a vital role in achieving its signature flavor and creamy texture. Always strive for the freshest, highest quality ingredients for the best results. Here’s what you’ll need:
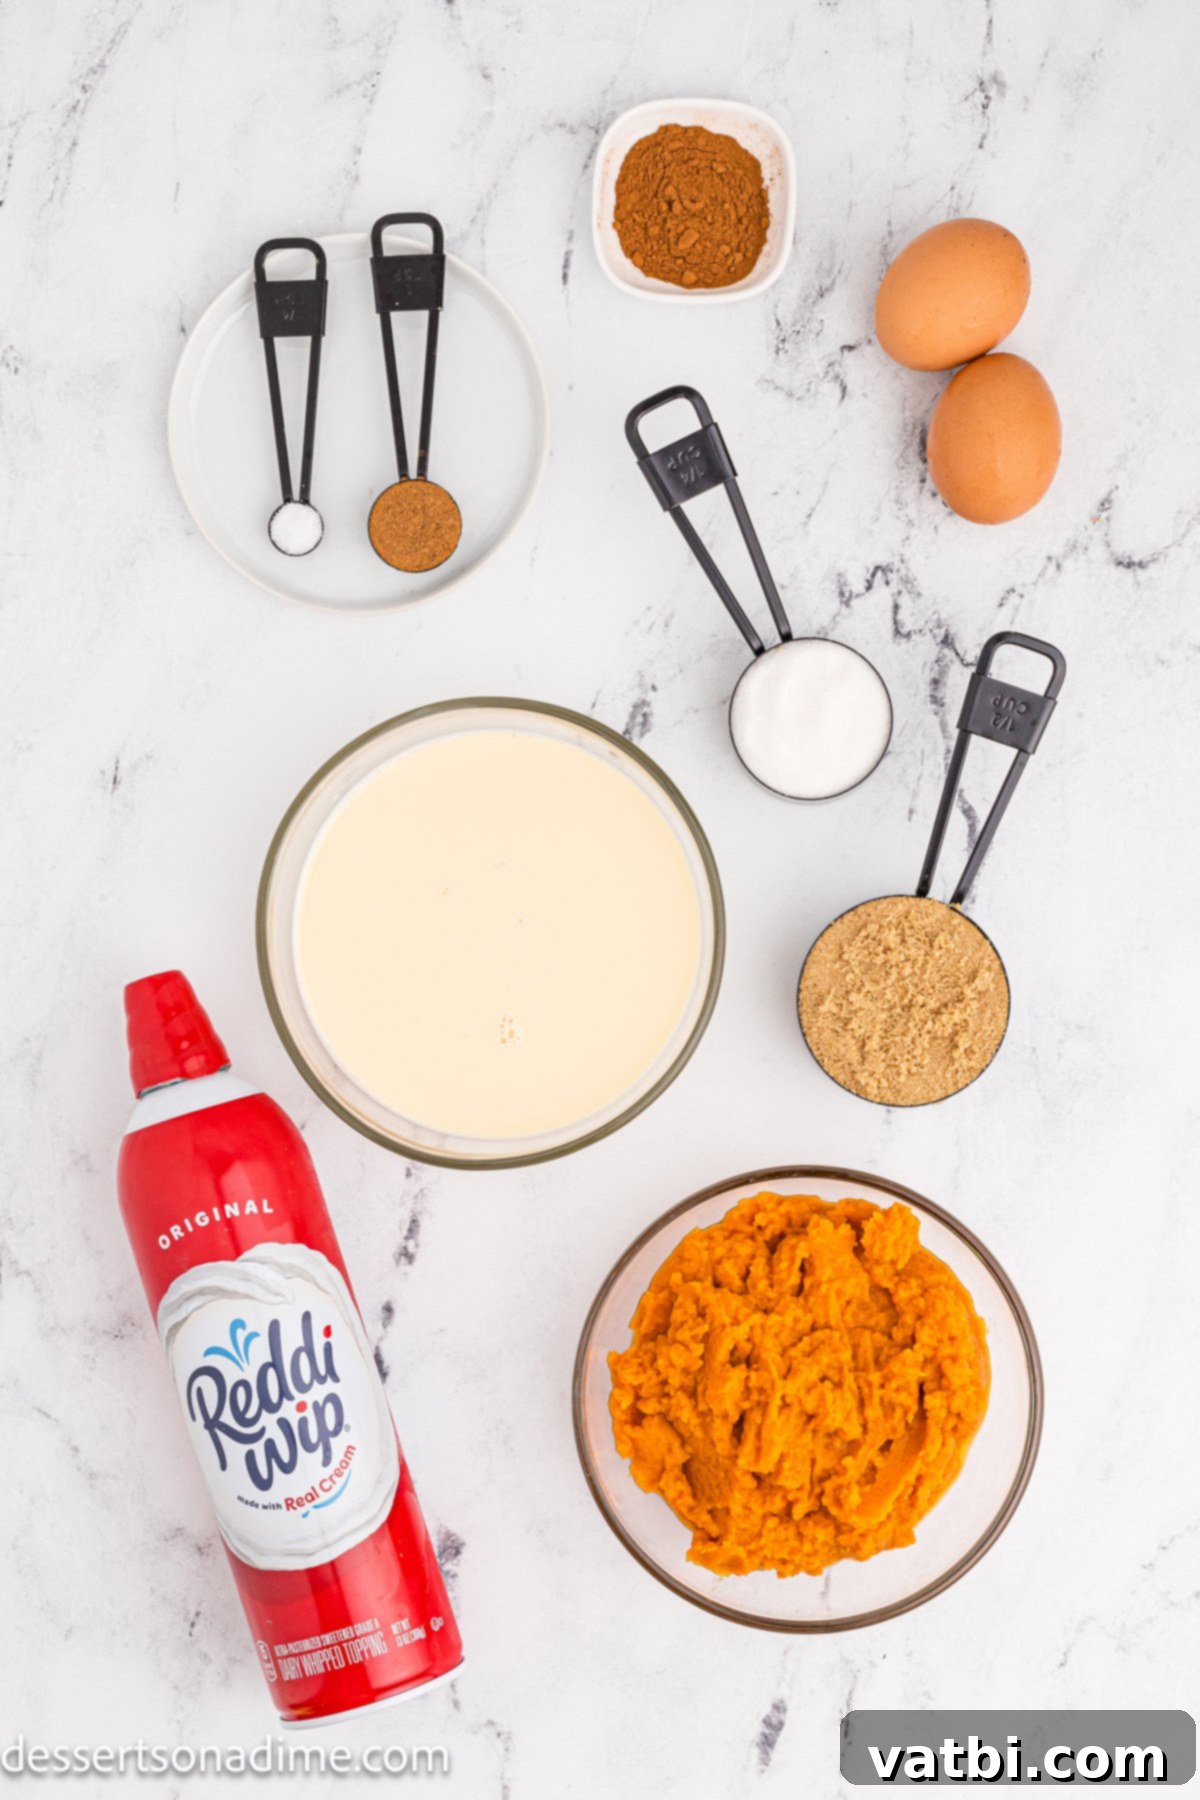
- Brown Sugar: This adds a deeper, more molasses-like sweetness and contributes to the moistness and rich color of the pie.
- White Sugar: Provides clean sweetness and helps balance the flavors without overpowering the pumpkin.
- Cinnamon: A foundational spice for pumpkin pie, cinnamon offers warmth and a classic aromatic profile.
- Pumpkin Pie Spice: This blend (typically including cinnamon, nutmeg, ginger, and cloves) delivers the quintessential, complex pumpkin pie flavor. You can use store-bought or make your own for a fresh touch.
- Pumpkin Puree: This is the star ingredient! It’s crucial to use pure pumpkin puree and not pumpkin pie filling. Pie filling already contains sweeteners and spices, which would throw off the recipe’s balance. Ensure your can states “100% pumpkin.”
- Evaporated Milk: This secret ingredient is key to the pie’s incredibly rich and creamy texture. Unlike regular milk, evaporated milk has had about 60% of its water removed, resulting in a concentrated, slightly caramelized milk that adds unparalleled body and flavor to custards.
- Large Eggs: Eggs act as a binder and provide structure, helping the pie set into a firm yet delicate custard.
You can find the full, detailed list of crustless pumpkin pie ingredients and step-by-step instructions in the recipe card at the bottom of this post.
Delicious Variations to Try
One of the best things about this crustless pumpkin pie is how adaptable it is! You can easily customize it to suit different dietary needs or personal preferences without sacrificing flavor. Here are some fantastic variations:
- Sugar-Free: To make this pie sugar-free, simply substitute the refined brown and white sugars with your preferred sugar substitute. Granulated erythritol or a blend of erythritol and stevia/monk fruit work wonderfully. Be aware that some sugar substitutes might slightly alter the texture or sweetness level, so adjust to your taste.
- Milk Alternatives: While evaporated milk creates a wonderfully rich filling, you can certainly experiment with other types of milk if needed.
- Heavy Cream: For an even more decadent and rich pie, swap the evaporated milk for heavy cream. This will yield an incredibly luxurious texture.
- Coconut Milk (Full-Fat): To make the pie dairy-free, use full-fat canned coconut milk or coconut cream. The higher fat content is crucial for maintaining the creamy consistency. Be aware it will impart a subtle coconut flavor, which can be a delightful addition.
- Unsweetened Almond Milk: For a lighter option, unsweetened almond milk can be used, though the pie may be slightly less rich and creamy than with evaporated milk.
- Dairy-Free: As mentioned above, substituting full-fat coconut milk or coconut cream is the easiest and most effective way to make this recipe dairy-free while preserving a rich, creamy texture. It’s surprisingly easy to modify and turns out just as delicious.
- Homemade Pumpkin Puree: If you have a surplus of fresh pumpkins, feel free to use homemade pumpkin puree instead of store-bought. Ensure it’s well-drained to avoid a watery pie.
- Homemade Pumpkin Pie Spice: Elevate the flavor by swapping store-bought pumpkin pie spice for a homemade blend. This allows you to customize the spice intensity and ensure maximum freshness.
- Add a Splash of Extract: A teaspoon of vanilla extract, a hint of maple extract, or even a touch of rum extract can add another layer of complexity to the pumpkin filling.
- If You Prefer a Crust: If you decide a crust is a must-have after all, or want to make both versions, try our simple 3 Ingredient Pie Crust Recipe for a quick solution. You can also opt for a store-bought gluten-free pie crust for convenience.
Step-by-Step: How to Make Crustless Pumpkin Pie
Making this incredible crustless pumpkin pie is surprisingly straightforward. Follow these simple steps for a perfect, creamy dessert every time:
- Step 1. Preheat the oven and prepare the pan. Begin by preheating your oven to 300 degrees Fahrenheit (150°C). This lower temperature is ideal for baking custards, as it helps prevent cracking and ensures a smooth, evenly cooked texture. Liberally spray a 9-inch pie pan or a similar size baking dish with a non-stick cooking spray to prevent sticking.
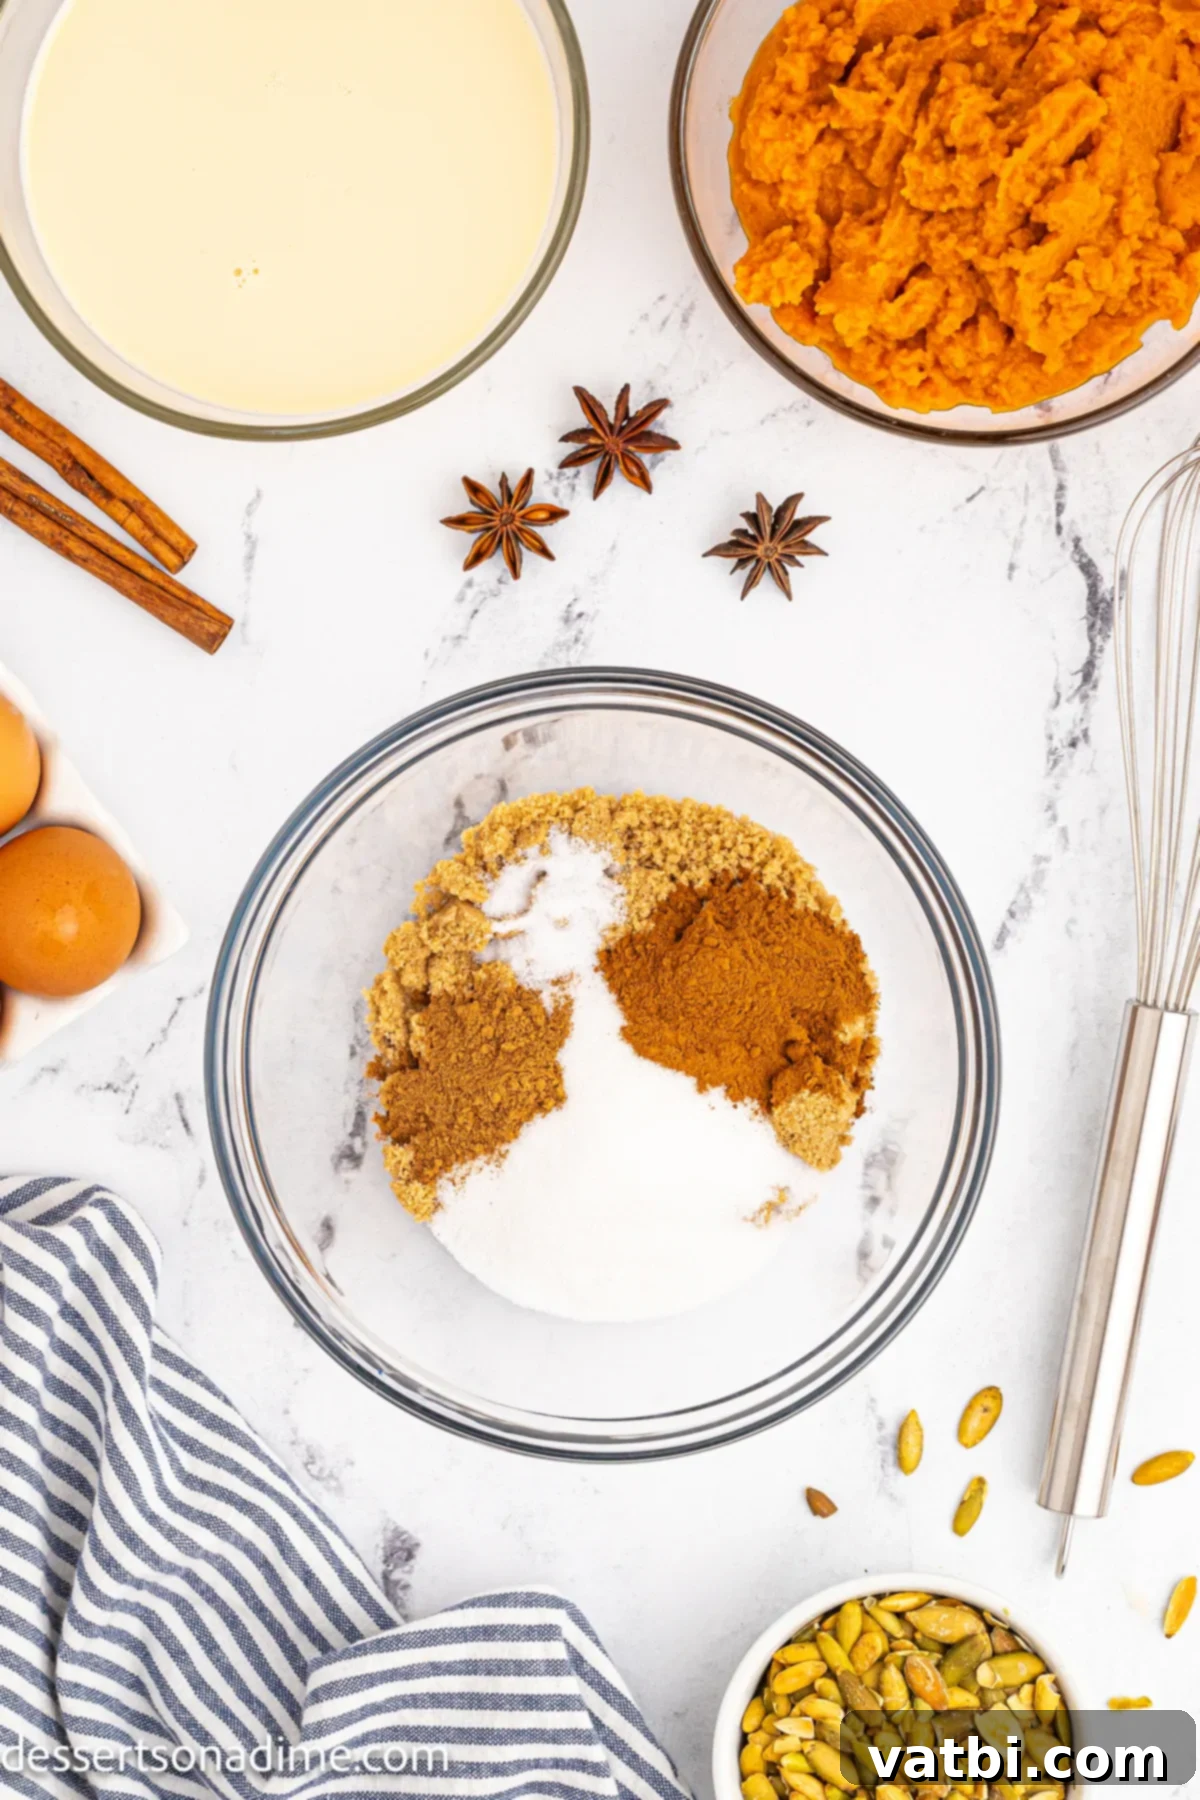
Step 2 – Combine Dry Ingredients. In a small bowl, combine the brown sugar, white sugar, salt, cinnamon, and pumpkin pie spice. Stir everything together thoroughly with a whisk or fork until all the ingredients are well combined and there are no lumps of sugar or spice. This ensures even distribution of flavor throughout the pie.
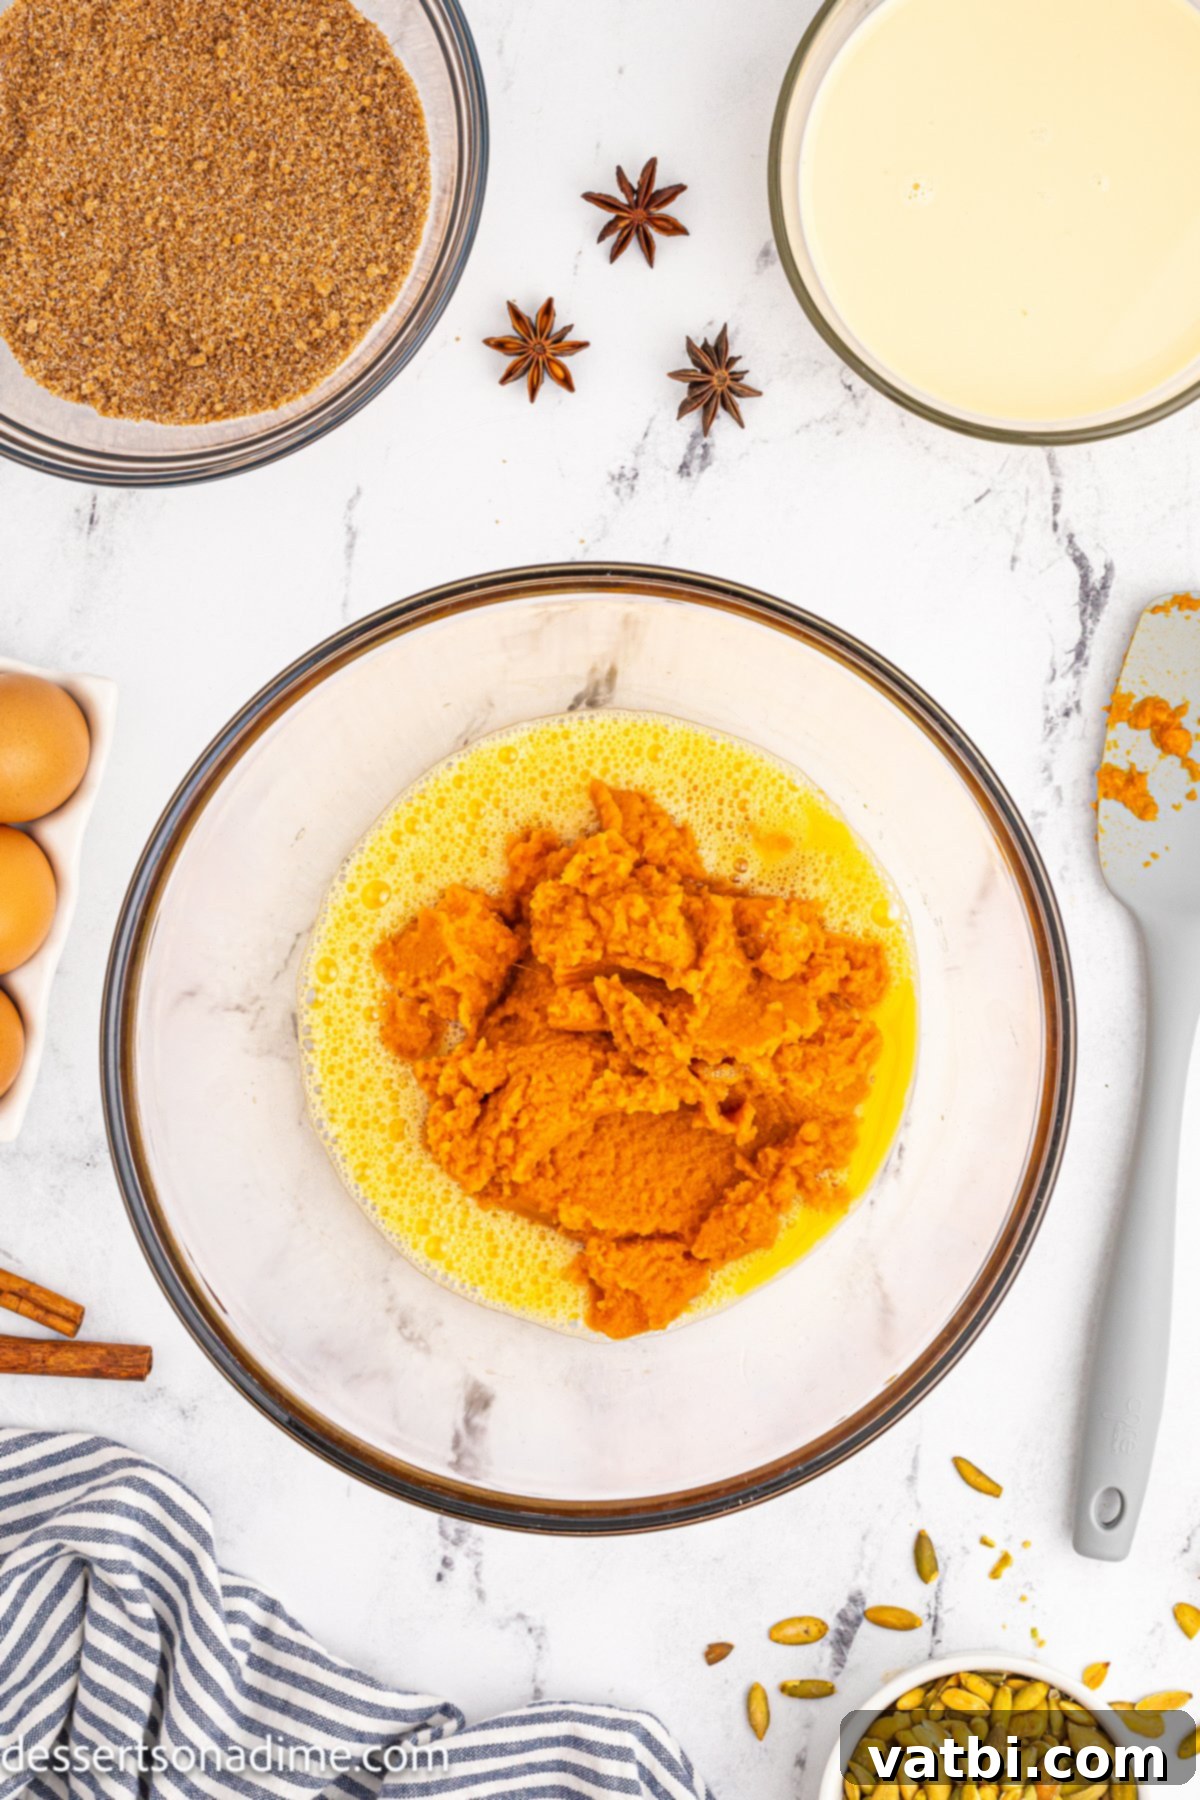
Step 3 – Mix Wet and Dry Ingredients. In a separate large mixing bowl, beat the large eggs lightly until just scrambled. Then, whisk in the pumpkin puree until smooth. Gradually add the dry spice and sugar mixture to the pumpkin and egg mixture, whisking continuously until just combined. Avoid overmixing at this stage.
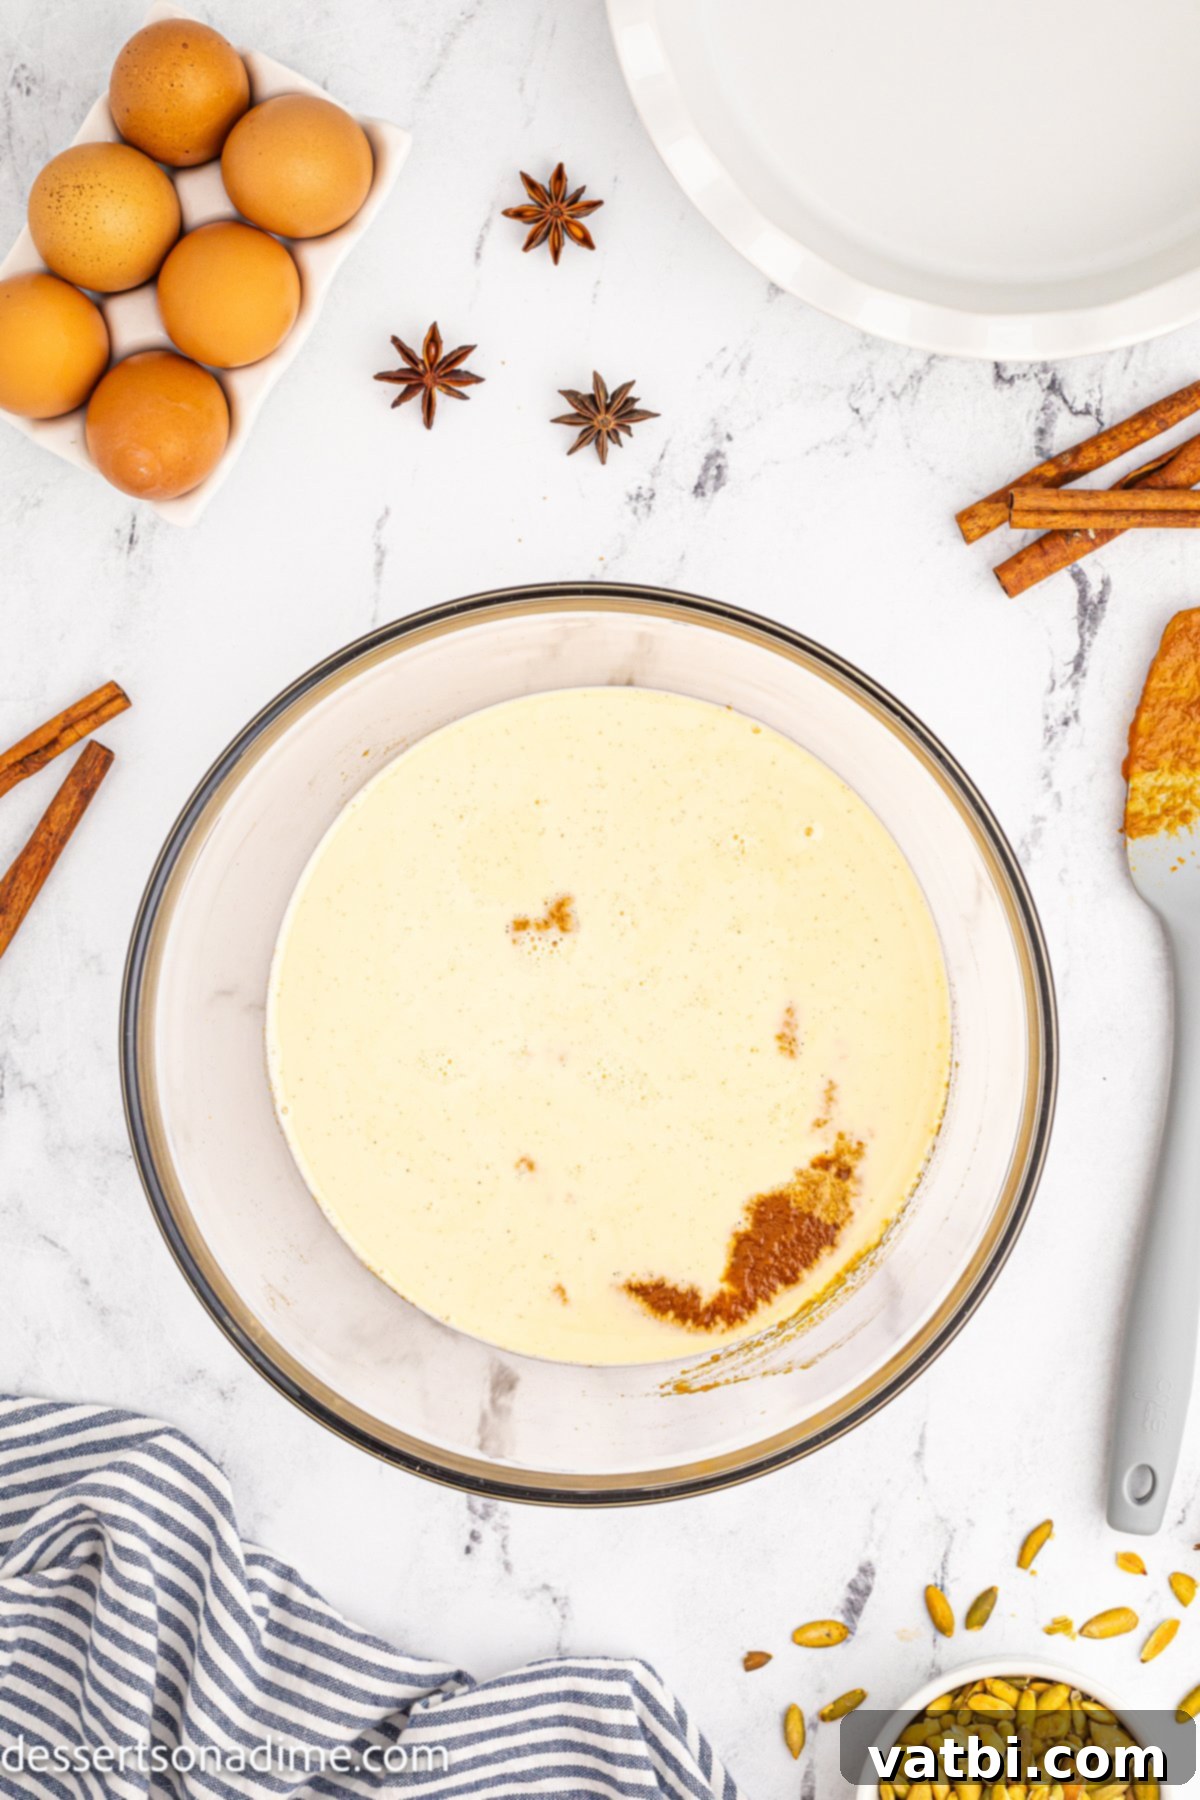
Step 4 – Add Evaporated Milk. Slowly stir in the evaporated milk to the pumpkin mixture. Mix gently until just combined. The goal is to thoroughly incorporate all ingredients without overmixing, which can lead to a less tender custard. A spatula can be used to scrape down the sides of the bowl to ensure everything is well-blended.
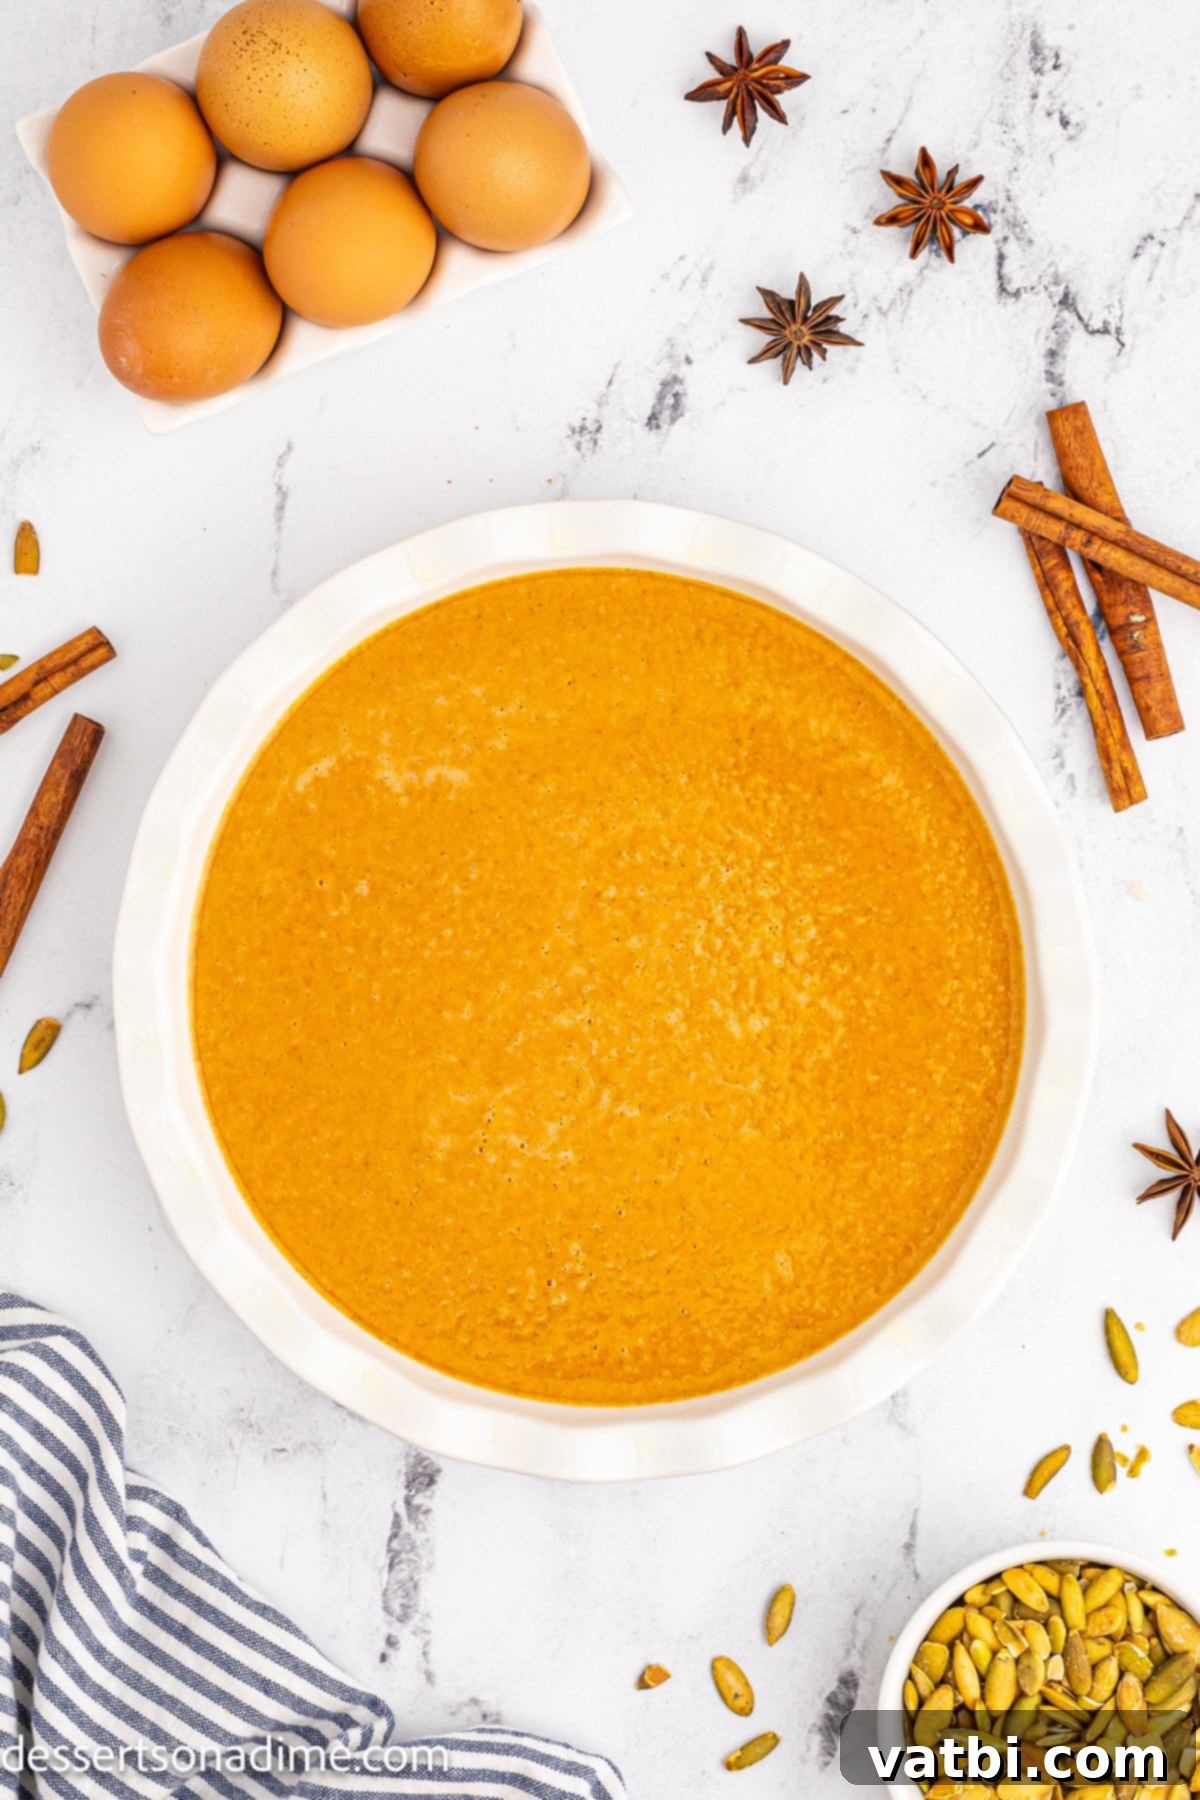
Step 5 – Pour and Debubble. Carefully pour the creamy pumpkin mixture into your prepared 9-inch pie plate. To ensure a smooth, uniform texture and prevent air pockets, gently tap the pie pan on the countertop a few times. This helps to release any trapped air bubbles from the mixture.
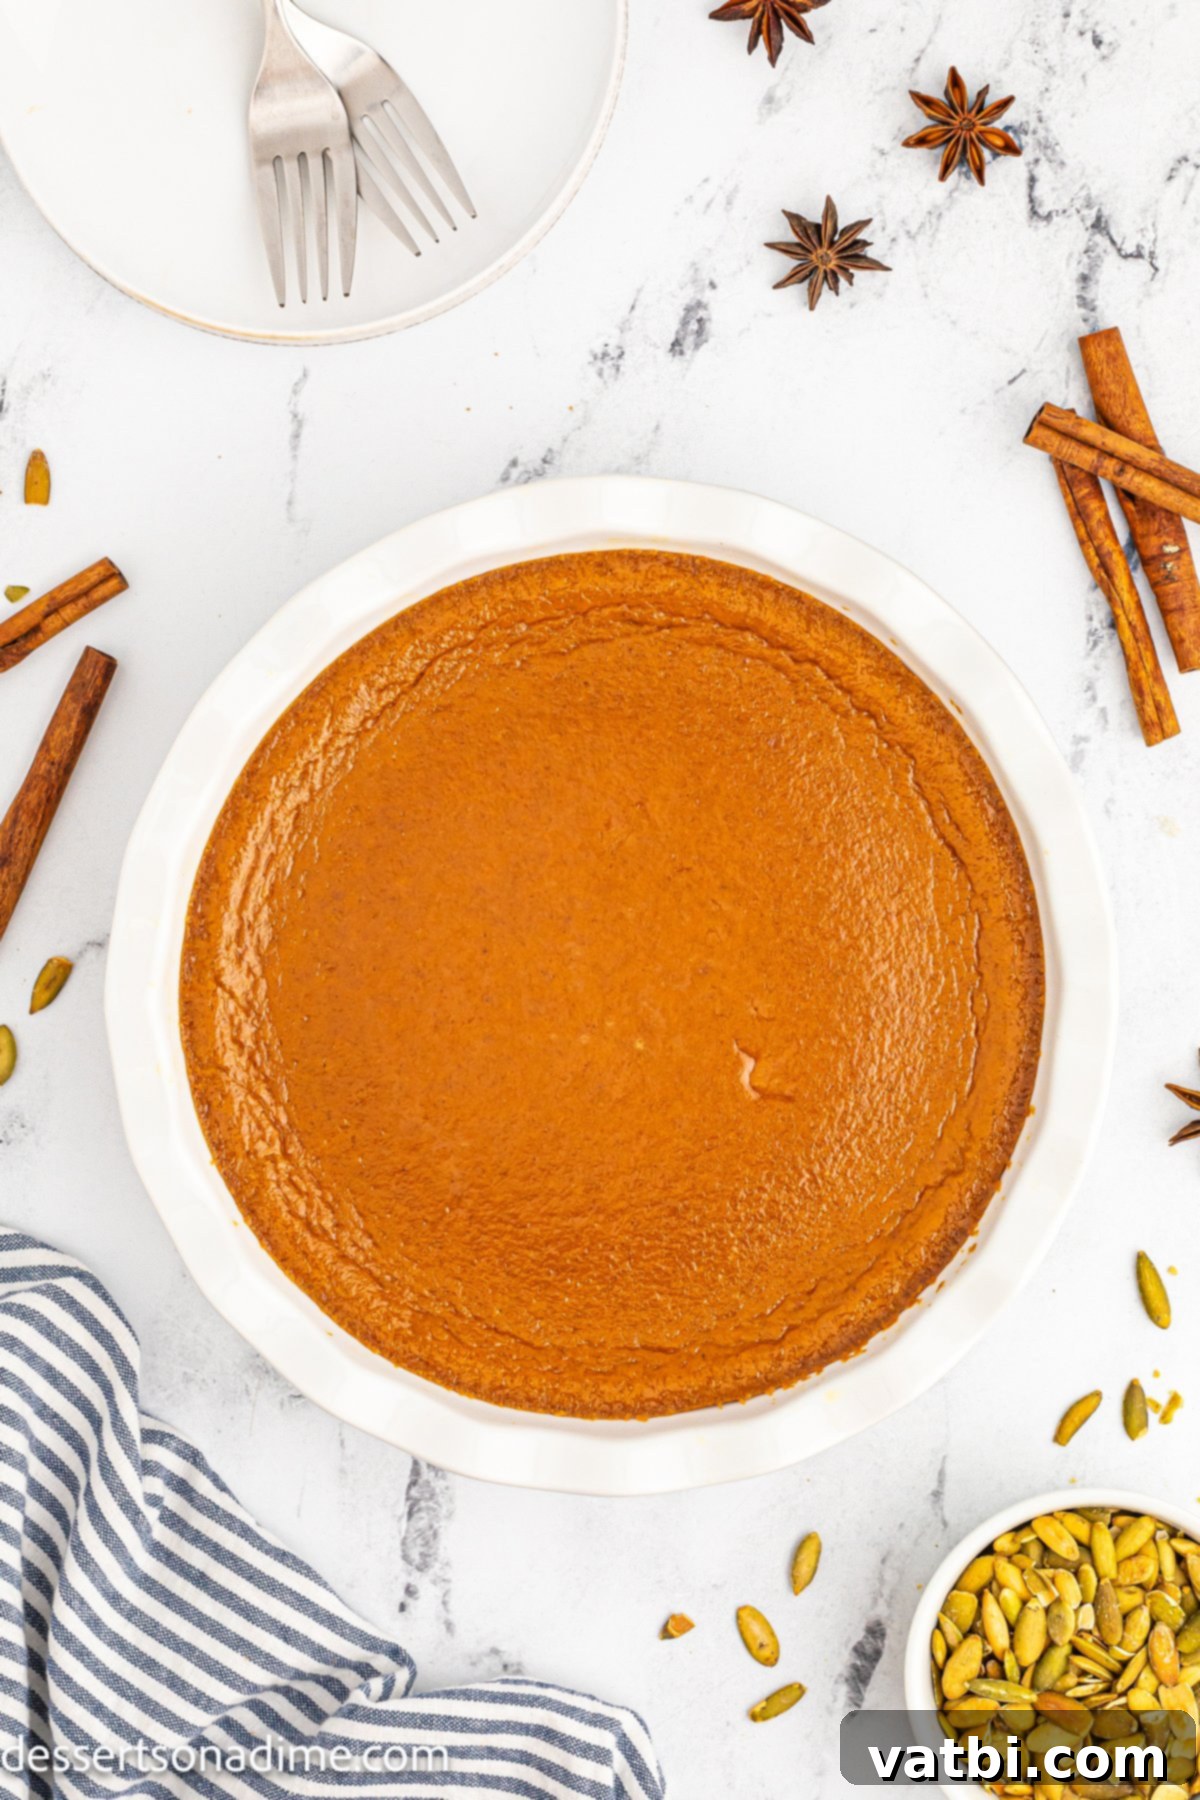
Step 6 – Bake to Perfection. Bake the pie in the preheated oven for approximately 60-70 minutes. To ensure even cooking and a beautiful, golden-brown finish, rotate the pie pan halfway through the baking time. Keep an eye on it to prevent over-browning.
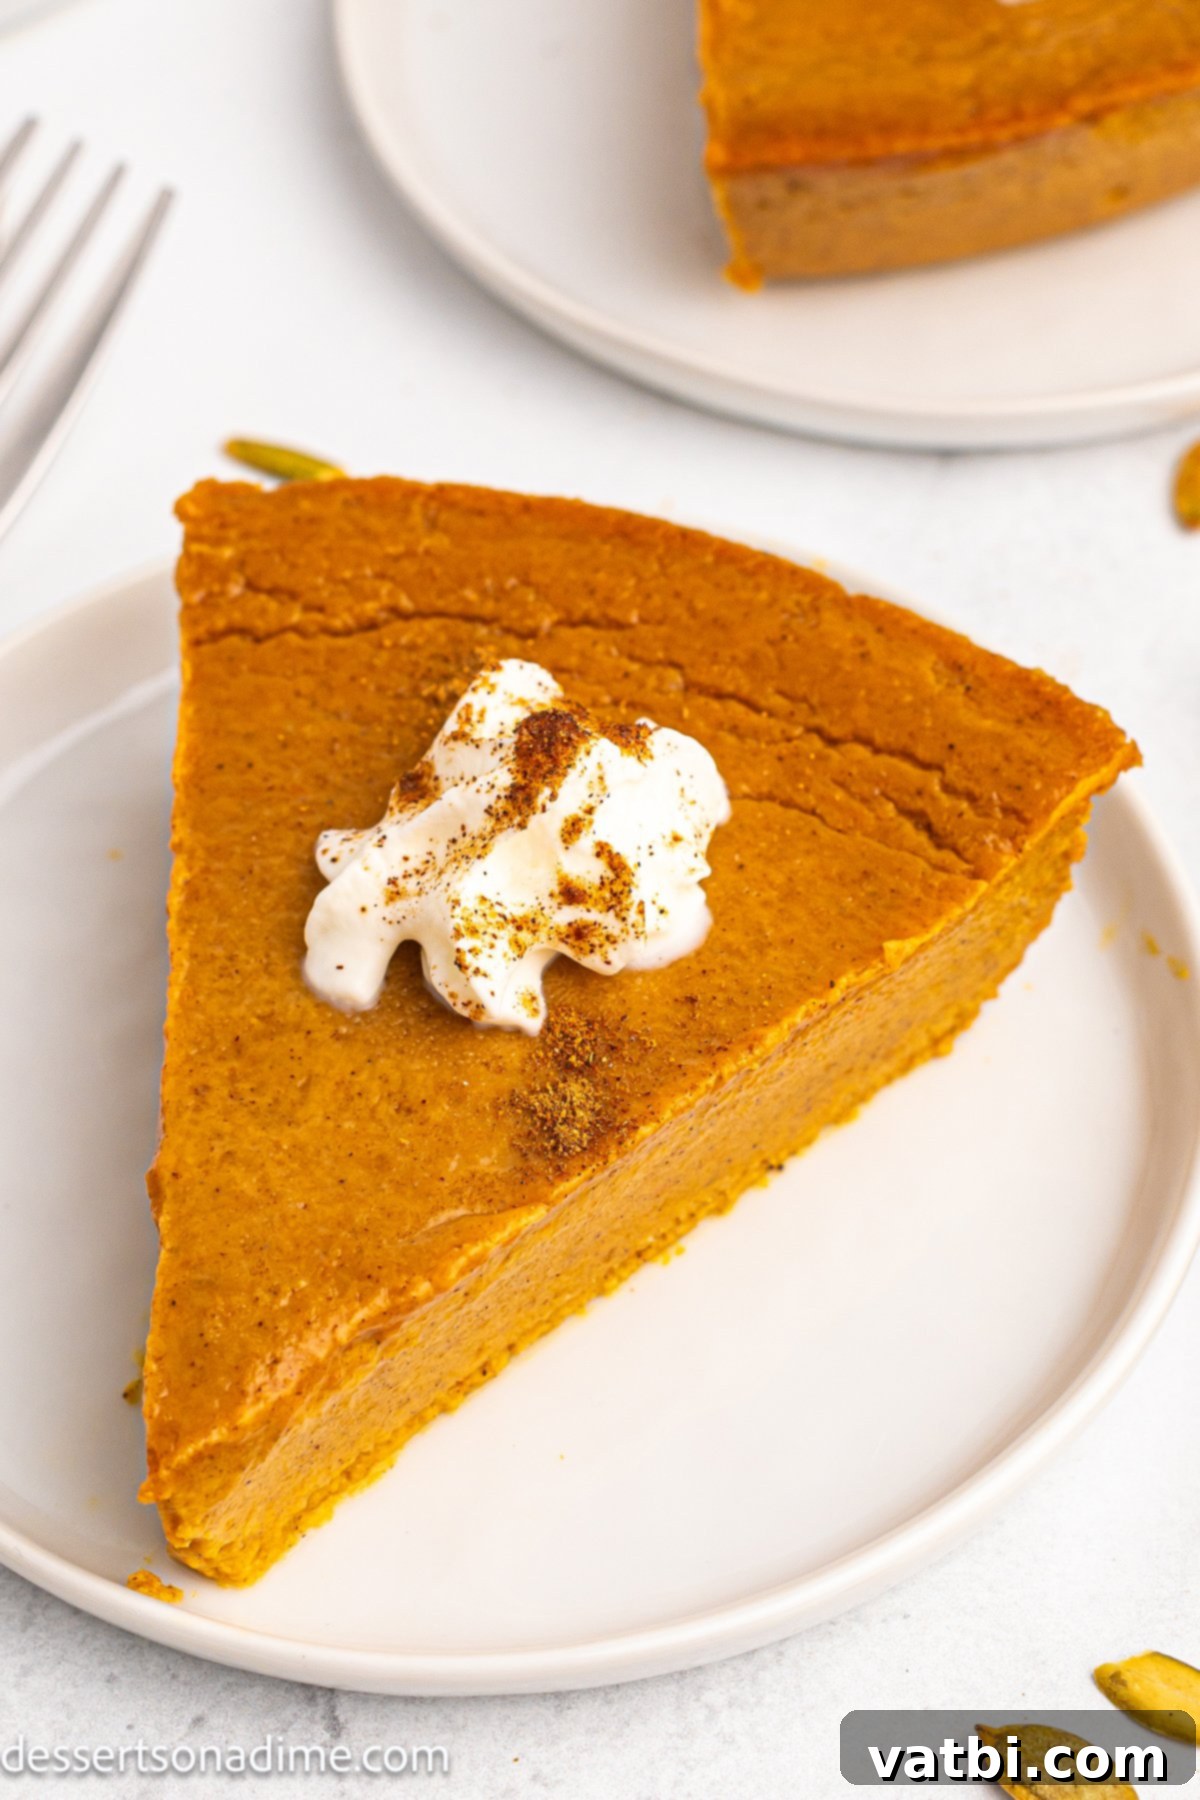
Step 7 – Check for Doneness. The pie is ready to be removed from the oven when the edges appear set and firm, but the very center of the pie will still have a slight jiggle when gently shaken. This slight jiggle indicates that it will continue to set as it cools, resulting in a perfectly creamy consistency without being overbaked or cracked.
- Step 8. Allow to cool completely. Once out of the oven, let the pie rest at room temperature on a wire rack until it has cooled completely. This typically takes several hours. It’s crucial that the pie is not warm when you place it in the fridge, as this can affect its texture and setting process.
- Step 9. Refrigerate the pie. After cooling to room temperature, cover the pie tightly with plastic wrap or aluminum foil. Refrigerate it for a minimum of 6 hours, or ideally, overnight. This extended chilling time is essential for the pie to fully set and firm up, allowing for clean, neat slices. Rushing this step will result in a pie that falls apart when cut.
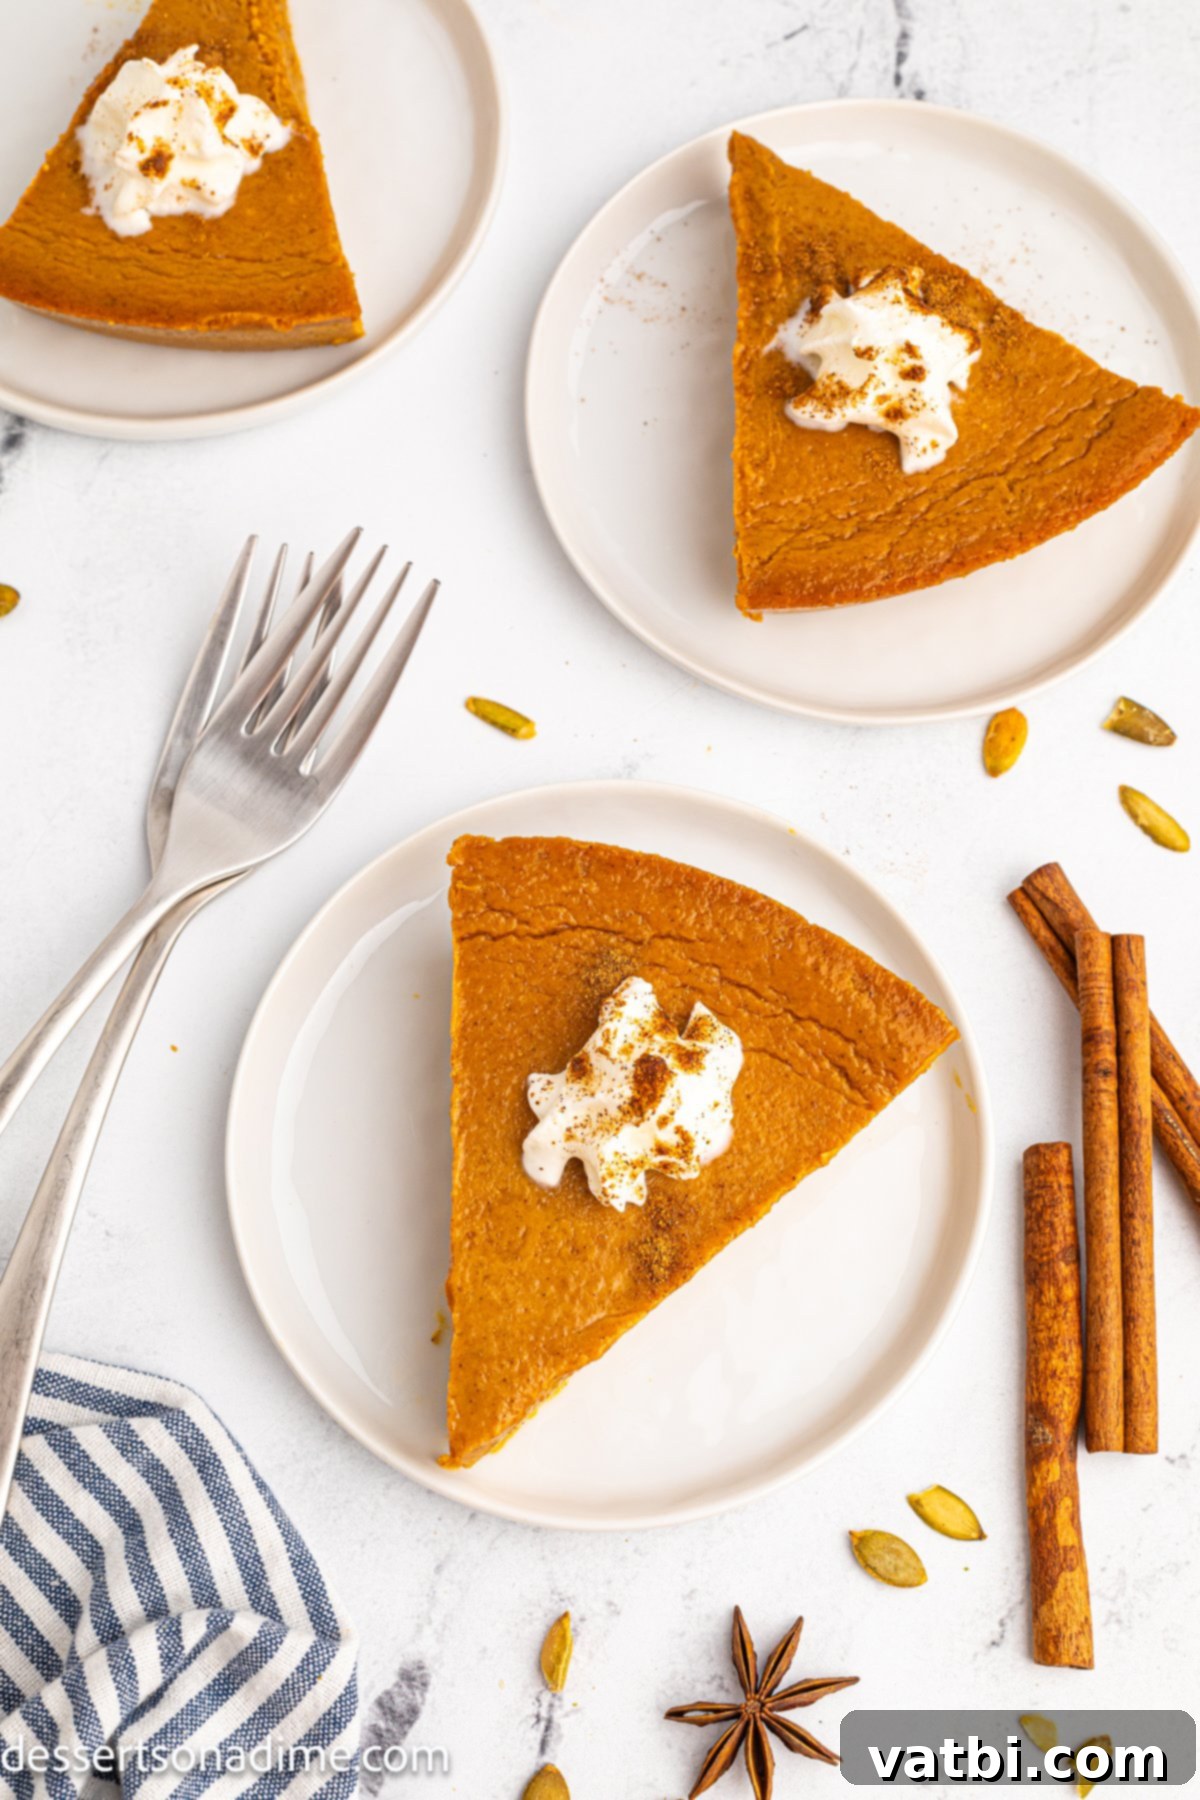
- Step 10. Slice and serve the pie. Once thoroughly chilled and set, your crustless pumpkin pie is ready to be sliced, served, and enjoyed! Top each slice with a generous helping of whipped cream for the ultimate dessert experience.
Serving Suggestions
A slice of crustless pumpkin pie is a delightful treat on its own, but these serving suggestions will take it to the next level, adding complementary flavors and textures:
- Vanilla Ice Cream: Pair each slice with a scoop of rich vanilla bean ice cream. The cold, creamy ice cream provides a wonderful contrast to the spiced pumpkin, creating a classic dessert combination.
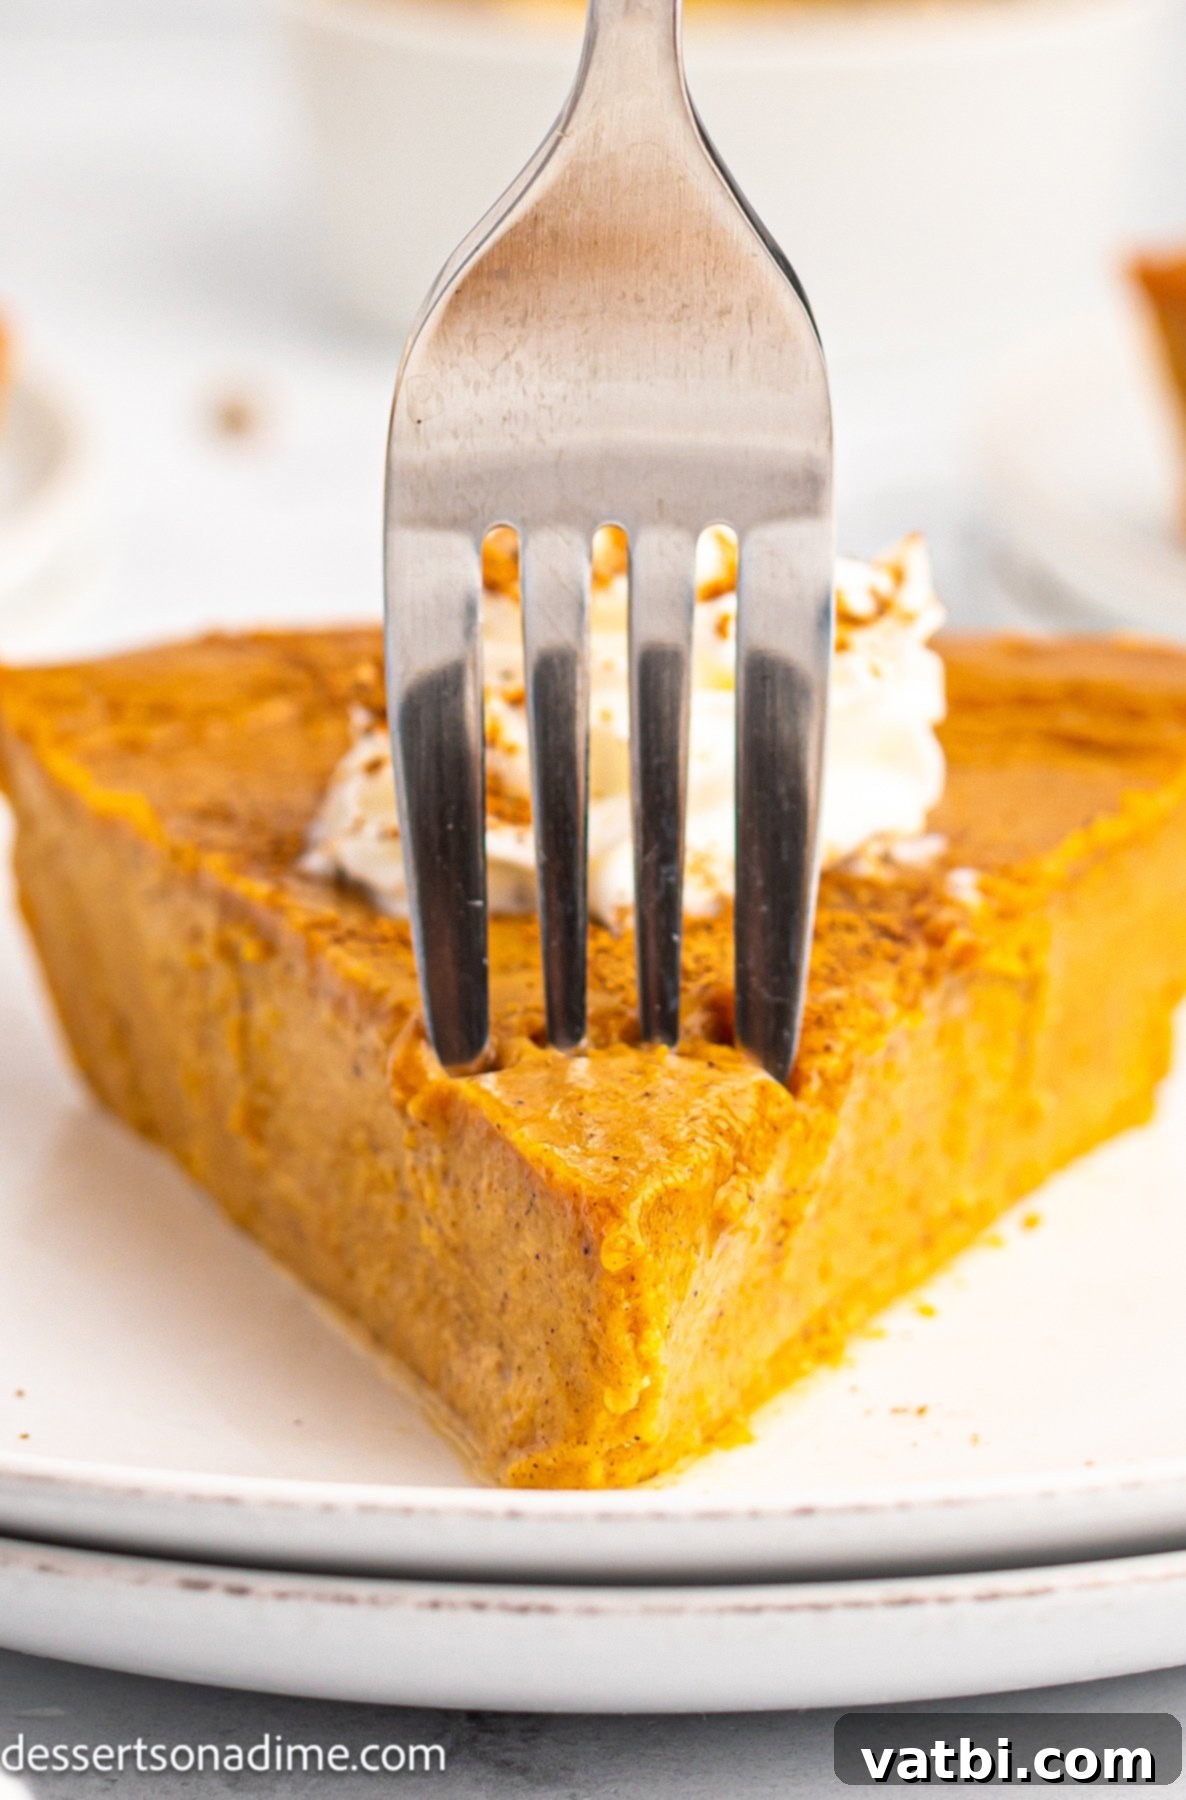
- Whipped Cream: This is almost a non-negotiable! Dollop each slice with a generous portion of freshly made or good quality store-bought whipped cream. For an extra touch, you can sweeten homemade whipped cream with a hint of maple syrup or vanilla extract.
- A Dusting of Cinnamon or Pumpkin Pie Spice: For those who truly love cinnamon or pumpkin spice, sprinkle a little extra on top of each slice of pie or over the whipped cream. It enhances the aroma and flavor, making for an even more inviting presentation.
- Caramel Drizzle: A luscious drizzle of warm caramel sauce (homemade or store-bought) adds a sweet, buttery dimension that complements the pumpkin perfectly.
- Chopped Nuts: A sprinkle of toasted pecans, walnuts, or candied almonds can add a delightful crunch and nutty flavor, providing textural contrast.
- Maple Syrup Drizzle: A light drizzle of pure maple syrup can highlight the autumn flavors and add a natural sweetness.
Pro Tips for Success
Achieving the perfect, crack-free, and creamy crustless pumpkin pie is simple with these expert tips:
- Don’t Skip the Refrigeration: The most crucial step is allowing the pie to refrigerate for at least 6 hours, or preferably overnight, before attempting to slice it. This gives the custard ample time to firm up and fully set, ensuring clean, beautiful slices.
- Avoid Reheating: Crustless pumpkin pie is best served cold or at room temperature. Reheating it can drastically alter its delicate custard texture, making it less appealing. Plan to serve it chilled for the best experience.
- Use a Water Bath (Bain-Marie): For an extra-creamy, perfectly smooth custard that is almost guaranteed not to crack, bake the pie in a water bath. Place the pie dish inside a larger baking pan, then fill the larger pan with about an inch of hot water before placing it in the oven. This provides gentle, even heat.
- Don’t Overmix: When combining the ingredients, mix until just incorporated. Overmixing can incorporate too much air, leading to a tougher texture and potential cracking.
- Check for Doneness Carefully: Rely on the “slight jiggle” test. The edges should be set, but a small circle in the center should still move slightly. The residual heat will continue to cook it as it cools. Overbaking leads to a dry texture and cracks.
- Cool Gradually: After baking, let the pie cool slowly on a wire rack at room temperature. Rapid temperature changes can also contribute to cracking.
- Always Use Pumpkin Puree: As reiterated throughout, ensure you’re using 100% pumpkin puree and not pumpkin pie filling, which is pre-spiced and pre-sweetened.
Frequently Asked Questions
Here are some common questions about making and enjoying crustless pumpkin pie:
Leftover crustless pumpkin pie should always be refrigerated. Cover the pie tightly with one layer of plastic wrap directly touching the surface of the pie to prevent a skin from forming, then an additional layer of aluminum foil. Stored this way, it will remain fresh and delicious for up to 3-4 days in the refrigerator. Remember, it’s best served chilled or at room temperature, and reheating is not recommended as it can negatively affect the texture.
Yes, you can absolutely freeze this pie for later enjoyment! Once the pie has cooled completely to room temperature, wrap it entirely and securely in several layers of plastic wrap, making sure no air is exposed to the surface. Then, wrap it again in a layer of heavy-duty aluminum foil. Place the well-wrapped pie inside a freezer bag for added protection. It can be frozen for up to 2 months. To serve, allow it to thaw slowly in the refrigerator overnight. Serve chilled. For more detailed tips, refer to our guide on Can you Freeze Pumpkin Pie?
This pie is an excellent make-ahead dessert! You can prepare and bake it 1 to 2 days in advance, allowing it to cool completely and then refrigerate it as directed. Making it ahead of time is perfect for busy holidays like Thanksgiving or other events where you need to save time for other preparations. It will still taste absolutely wonderful and retain its creamy texture when chilled and served.
No, I strongly advise against using pumpkin pie filling for this recipe. Pumpkin pie filling is a pre-mixed product that already contains sugars and spices, and its consistency is different from pure pumpkin puree. This recipe is specifically formulated to balance the sweetness and spices using plain pumpkin puree. Substituting pie filling will result in a dessert that is likely too sweet, overly spiced, and may have an incorrect texture. Always double-check your can to ensure you have 100% pure pumpkin puree.
To make this delicious pie dairy-free, simply substitute the evaporated milk with full-fat canned coconut milk or coconut cream. It’s crucial to use the full-fat variety, as the higher fat content is what gives the pie its rich, creamy texture, similar to evaporated milk. Do not use light coconut milk or a thinner dairy-free milk like almond milk, as these will result in a less decadent and possibly watery pie. This simple substitution makes it easy to accommodate various dietary needs without compromising on flavor or texture. You can even make two variations of pies if you need to serve guests with different dietary requirements!
Absolutely! Using homemade pumpkin pie spice is an excellent way to enhance the freshness and customize the flavor of your pie. It’s surprisingly easy to make pumpkin pie spice at home with common pantry spices. If you enjoy a lot of Fall baking, I highly recommend giving this a try, as it’s not difficult at all and makes a noticeable difference in flavor.
Cracking in custards like pumpkin pie is usually a sign of overbaking or too rapid cooling. Baking at too high a temperature or for too long causes the proteins to tighten excessively. Additionally, pulling the pie directly from a hot oven into a cold environment can shock it, leading to cracks. To prevent this, bake at the recommended lower temperature, remove it when the center still has a slight jiggle, and allow it to cool gradually at room temperature on a wire rack before refrigerating.
More Pumpkin Pie Recipes to Explore
If you’re a true pumpkin pie enthusiast and want to explore beyond the crustless version, here are some other fantastic recipes to try for your next fall gathering:
- The Easiest Pumpkin Pie Recipe
- Salted Caramel Pumpkin Pie Recipe
- Eagle Brand Pumpkin Pie
- Pumpkin Bread Pudding
- Dulce De Leche Pumpkin Pie
Other Easy Pie Recipes
Beyond pumpkin, there’s a whole world of delightful and easy-to-make pies to satisfy any craving. Expand your dessert repertoire with these other simple and delicious pie recipes:
- Chocolate Mousse Pie Recipe
- Cinnamon Roll Pie Recipe
- Pecan Pie Recipe
- Best Sprite Pie Recipe
I am genuinely so excited for you to try this incredibly delicious and easy crustless pumpkin pie recipe. It’s a game-changer for holiday baking and a perfect treat for any pumpkin lover. Once you’ve made it, please come back and leave a star recipe rating and a comment to let us know how much you enjoyed it!
Pin
Crustless Pumpkin Pie
Ingredients
- ½ cup Brown Sugar
- ¼ cup white sugar
- ½ teaspoon salt
- 2 teaspoon Cinnamon
- 1 teaspoon pumpkin pie spice
- 2 Large Eggs
- 15 ounces pumpkin puree
- 12 ounces evaporated milk
- Whipped Cream for serving
Instructions
-
Preheat the oven to 300 degrees Fahrenheit and generously spray a 9-inch pie pan with a non-stick cooking spray, ensuring full coverage to prevent sticking.
-
In a small bowl, combine the brown sugar, white sugar, salt, cinnamon, and pumpkin pie spice. Whisk these dry ingredients together thoroughly until no lumps remain, ensuring an even distribution of flavor.
-
In a separate large mixing bowl, lightly beat the eggs. Stir in the pumpkin puree until it’s smooth and well-incorporated. Gradually add the dry sugar and spice mixture, mixing gently until just combined. Slowly pour in the evaporated milk and stir until the entire mixture is uniform, being careful not to overmix.
-
Pour the prepared pumpkin mixture into the greased pie pan. Gently tap the pie pan on your countertop a few times to release any trapped air bubbles, which helps achieve a smoother texture.
-
Bake for 60-70 minutes in the preheated oven. For even cooking and browning, rotate the pie pan halfway through the baking time.
-
Remove the pie from the oven when the edges appear firm and set, but the center still has a slight, delicate jiggle. This indicates it will continue to set as it cools, resulting in a perfect custard.
-
Allow the pie to cool completely to room temperature on a wire rack. This is crucial for proper setting and to prevent cracking.
-
Once fully cooled, cover the pie tightly with plastic wrap and refrigerate for at least 6 hours, or ideally overnight, before serving. This chilling period is essential for the pie to firm up enough to slice cleanly.
-
After the pie is thoroughly chilled, it is ready to slice and serve. Garnish each piece generously with whipped cream and a sprinkle of cinnamon or pumpkin pie spice for the ultimate enjoyment.
Recipe Notes
Nutrition Facts
Pin This Now to Remember It Later
Pin Recipe
