Easy No-Bake Chocolate Acorns: The Perfect Fall Treat for Quick & Festive Snacking
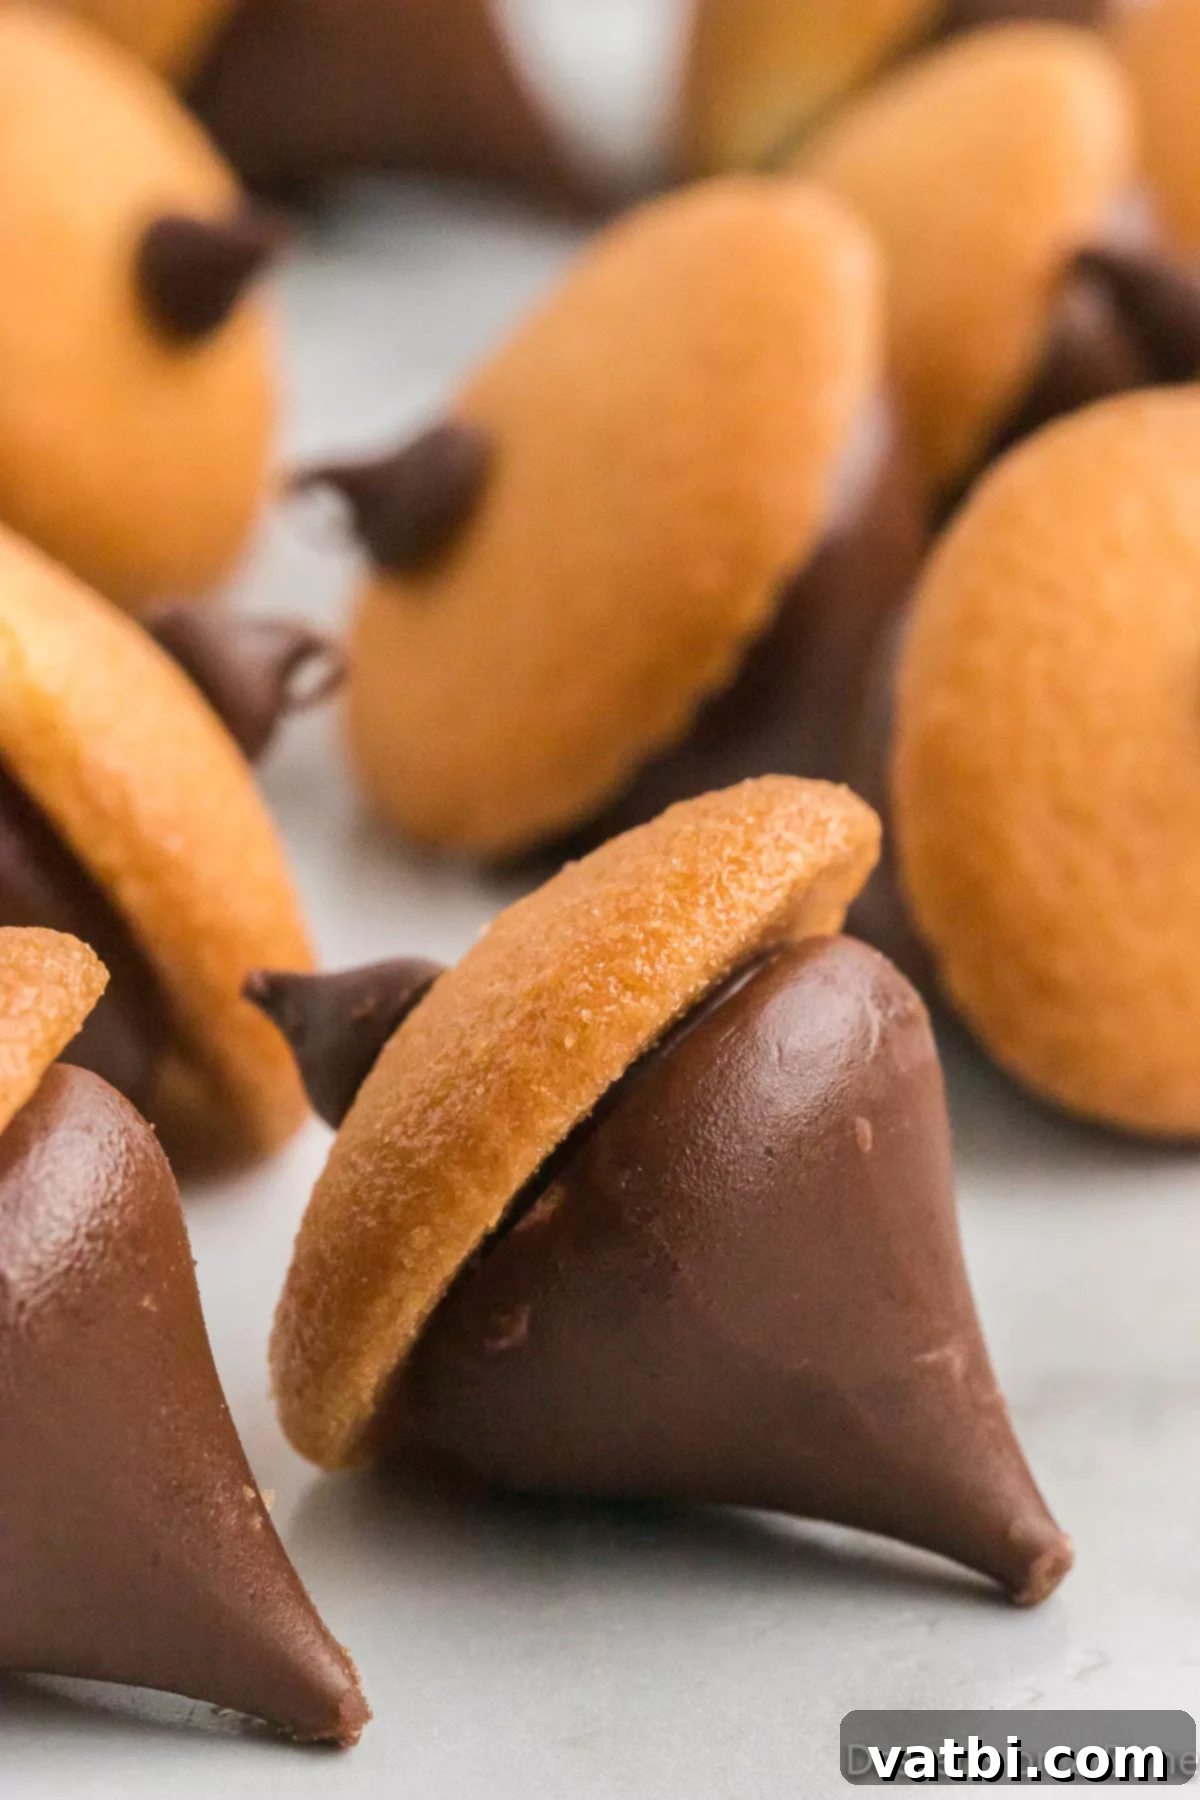
As the leaves begin to change and the air turns crisp, there’s nothing quite like gathering with loved ones and indulging in delightful, seasonal treats. These adorable Chocolate Acorns are the quintessential bite-sized confection, perfect for celebrating the beauty of autumn. This incredibly simple no-bake dessert recipe is a true lifesaver, especially during busy fall days. Requiring a mere four ingredients and minimal effort, it’s a project so easy and fun that even the youngest aspiring chefs can join in. Get ready to create a batch of these charming, delicious acorns that will become a beloved fall tradition in your home!
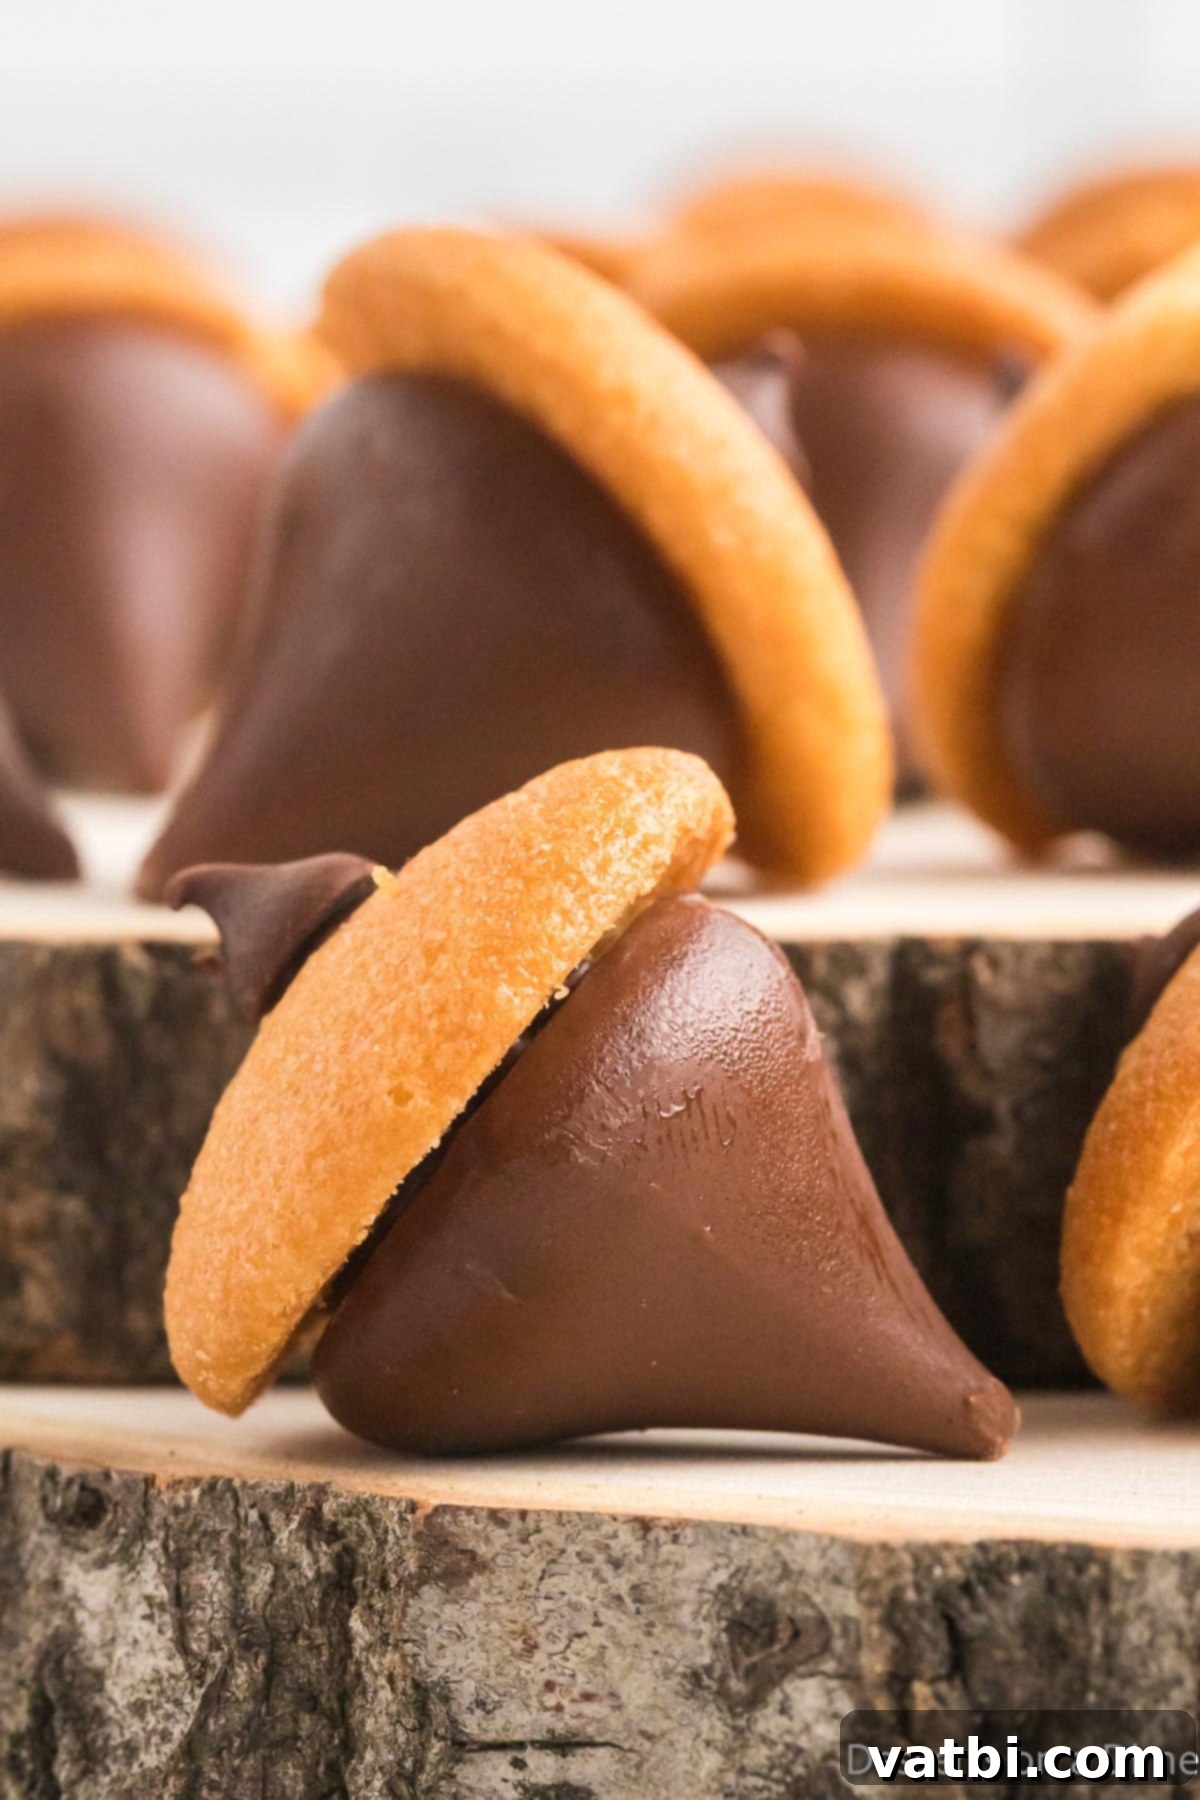
With just a few pantry staples, these Chocolate Kiss Acorns come together remarkably fast, making them an ideal easy fall dessert. Their irresistible flavor comes from the delightful combination of rich chocolate and crisp vanilla wafers, creating a harmonious balance that’s hard to resist. Beyond their delicious taste, these edible acorns are incredibly versatile. They make fantastic additions to holiday dessert platters, charming snacks for school lunchboxes, or a sweet surprise for a fall-themed party. Their whimsical appearance instantly evokes the spirit of autumn, making them a standout treat.
If you’re searching for a simple yet festive fall treat that appeals to all ages, look no further than this recipe. It’s a fantastic activity for families, allowing kids to participate in the assembly and enjoy the fruits of their labor. Alongside these delightful chocolate acorns, we also love to make other seasonal favorites every year, such as our fun Oreo Turkey Cookies and the adorable Turkey Cupcakes Recipe. They all contribute to a festive atmosphere and create lasting memories. And if you happen to have any leftover Hershey Kisses from this recipe, be sure to try our classic Chocolate Kiss Cookies Recipe for another guaranteed crowd-pleaser!
Table of contents
- Why We Love This Recipe
- Ingredients
- Variations
- How to Make Chocolate Acorns
- Storage
- Can You Freeze?
- Expert Tips
- More Easy Fall Treats
Why You’ll Adore These No-Bake Chocolate Acorns
There are countless reasons to fall in love with this chocolate acorn recipe, making it a staple for your autumn celebrations. First and foremost, the sheer simplicity of this “no-bake” approach means you spend less time in the kitchen and more time enjoying the season. It’s an incredibly fun activity to make with kids, transforming a simple baking session into a delightful crafting experience. These charming treats are perfect for various occasions – from school lunchboxes, festive fall parties, holiday dessert trays, to simply enjoying as a cozy snack at home. Their adorable appearance and delicious taste make them an instant hit with everyone, regardless of age. They truly are the best sweet treats for the fall season, offering a quick, easy, and satisfying snack solution that brings a smile to every face.
Essential Ingredients for Your Chocolate Acorns
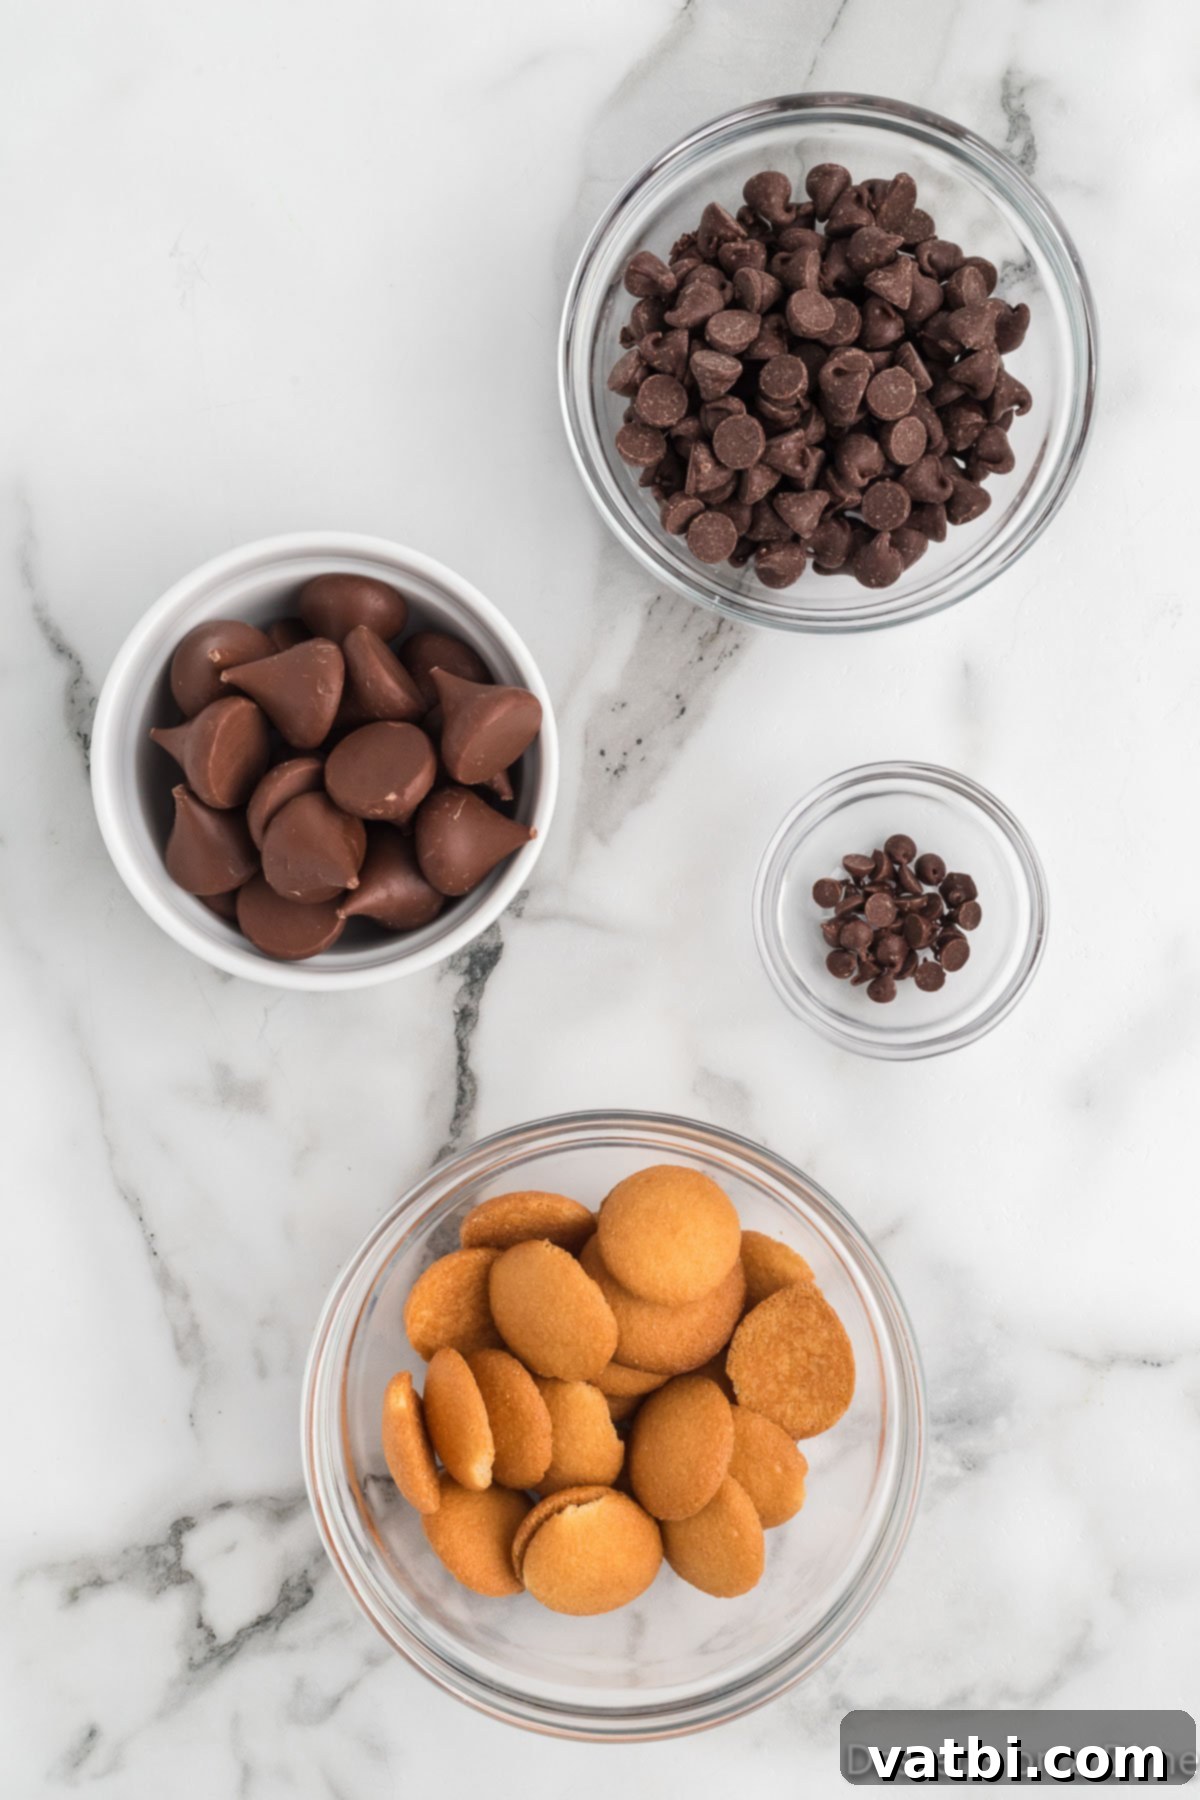
Creating these delightful chocolate acorns requires only four core ingredients, making them incredibly accessible and budget-friendly. Each component plays a crucial role in both the flavor and the iconic acorn shape:
- Semi-Sweet Chocolate Chips: These are the “glue” that holds your acorns together and provide a wonderfully rich, balanced chocolate flavor. While semi-sweet is recommended for its versatility, you can also experiment with milk chocolate for a sweeter profile or dark chocolate for a more intense cocoa experience. Always opt for good quality chocolate chips as they melt more smoothly and taste superior.
- Mini Nilla Wafer Cookies: The flat, round base of the mini Nilla wafer cookies perfectly forms the cap of your chocolate acorns. Their subtle vanilla flavor and satisfying crunch complement the chocolate beautifully. It’s essential to use the miniature size for that authentic acorn look; regular-sized wafers would be too large for this bite-sized treat.
- Hershey Kisses: These iconic chocolate drops form the body of the acorn. Their classic shape is ideal for creating the distinct acorn bottom. Unwrapped Hershey Kisses are ready to use, saving you time and effort. While the original milk chocolate Kisses are traditional, feel free to explore other flavors for fun variations.
- Mini Chocolate Chips: These tiny chocolate morsels serve as the perfect “stem” for your acorns, adding a final touch of detail and realism. Their small size is crucial for maintaining the proportion and aesthetic of the treat. You’ll attach these to the top of the vanilla wafer caps with a dab of melted chocolate.
For the complete list of ingredients with precise measurements, please refer to the recipe card located at the bottom of this page.
Creative Variations for Your Chocolate Acorns
While the classic chocolate acorn recipe is undeniably delicious, it’s also wonderfully adaptable! Feel free to get creative and customize these treats to suit your taste or occasion. Here are some fantastic variations to try:
- Nutter Butter Bites: For peanut butter lovers, this is a must-try! Simply substitute Mini Nutter Butter cookies for the vanilla wafers. The combination of rich peanut butter and sweet chocolate creates a truly fabulous and addictive flavor profile that many adore.
- Butterscotch Bliss: Introduce a different kind of sweetness by using butterscotch chips instead of semi-sweet chocolate chips for melting. This offers a warm, caramel-like flavor that pairs wonderfully with the vanilla wafers and Hershey Kisses, creating a unique and delicious twist.
- Peanut Butter Chocolate Acorns: Can’t get enough peanut butter? Swap out the semi-sweet chocolate chips for peanut butter chips in your melted “glue.” This creates an even more pronounced peanut butter flavor alongside the chocolate, making a super yummy combination that’s incredibly popular.
- Pretzel Stems: For a delightful salty-sweet contrast, use small broken pretzel sticks as the stems instead of mini chocolate chips. Not only does this add a unique texture, but the pretzel salt also enhances the sweetness of the chocolate. Break pretzel twists into small, straight pieces for the best effect.
- White Chocolate Delight: Melt white chocolate chips instead of semi-sweet for a lighter, sweeter acorn. You could even drizzle both white and dark chocolate over the finished acorns for a gourmet look.
- Flavored Kisses: Hershey offers a variety of Kiss flavors! Consider using caramel-filled Kisses, Cookies ‘n’ Creme Kisses, or even special holiday editions like mint Kisses for seasonal flair. Each flavor will bring a new dimension to your acorns.
- Sprinkle Fun: Before the chocolate sets completely, roll the edges of the vanilla wafer caps in festive sprinkles, chopped nuts, or even shredded coconut for added texture and visual appeal. This is especially fun if you’re making them for a party or a specific holiday.
- Different Cookie Bases: Experiment with other mini cookie bases like mini Oreo thins (for a chocolate-on-chocolate experience) or small graham cracker squares for a slightly different texture and flavor.
- Nutty Toppings: Finely chopped pecans, walnuts, or almonds can be pressed onto the melted chocolate “cap” before it sets for added flavor and a more rustic, autumnal look.
Step-by-Step Guide: Crafting Your Chocolate Acorns
Making these chocolate acorns is a straightforward and enjoyable process. Follow these simple steps to create your perfect fall treats:
- Step 1: Prepare Your Workspace. Begin by lining a baking sheet with parchment paper. This crucial step prevents the chocolate from sticking and makes cleanup a breeze. Set this prepared sheet aside, as you’ll be placing your assembled acorns here.
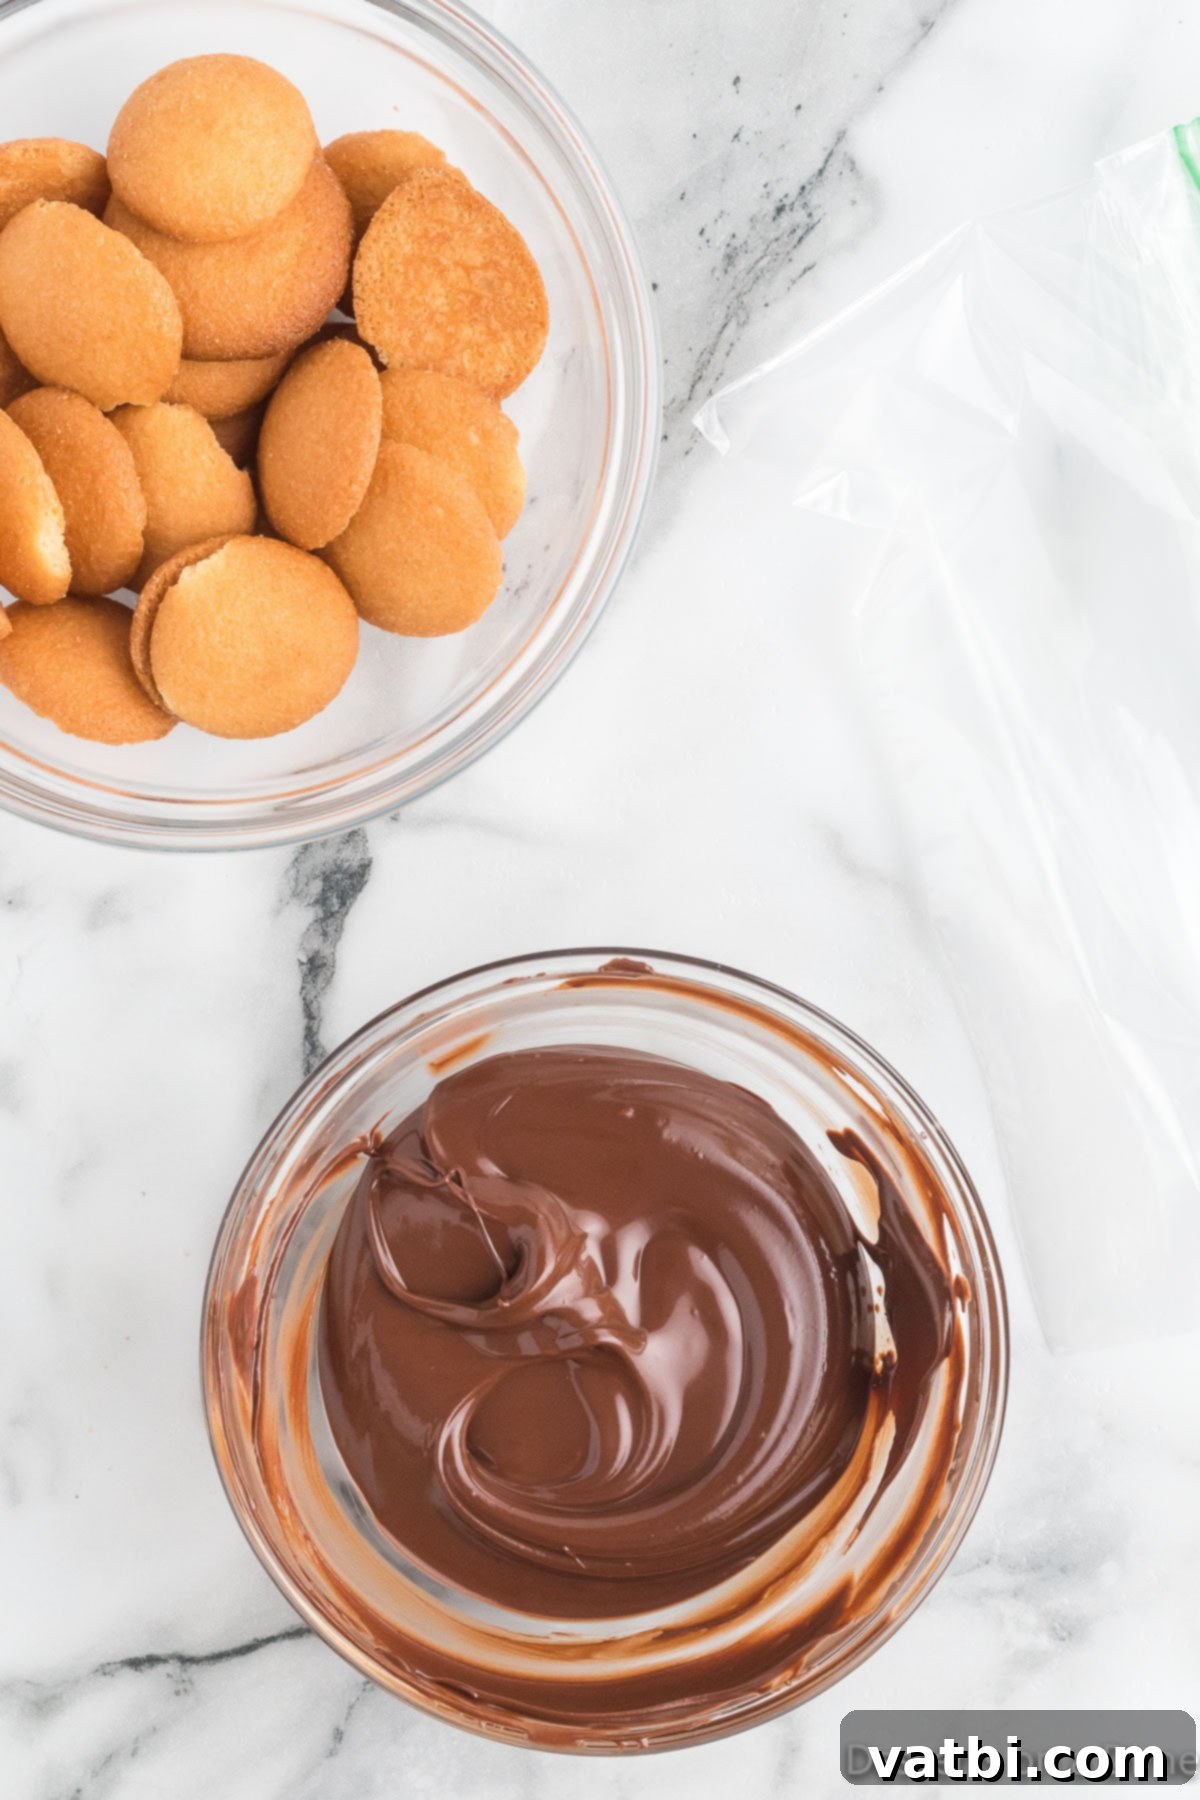
Step 2: Melt the Chocolate. Place your semi-sweet chocolate chips into a microwave-safe bowl. Heat the chocolate in short, 30-second intervals. After each interval, stir the chocolate thoroughly. Continue this process until the chocolate chips are completely melted and smooth. Stirring frequently prevents burning and ensures an even consistency. Alternatively, you can use a double boiler method for a more controlled melt.
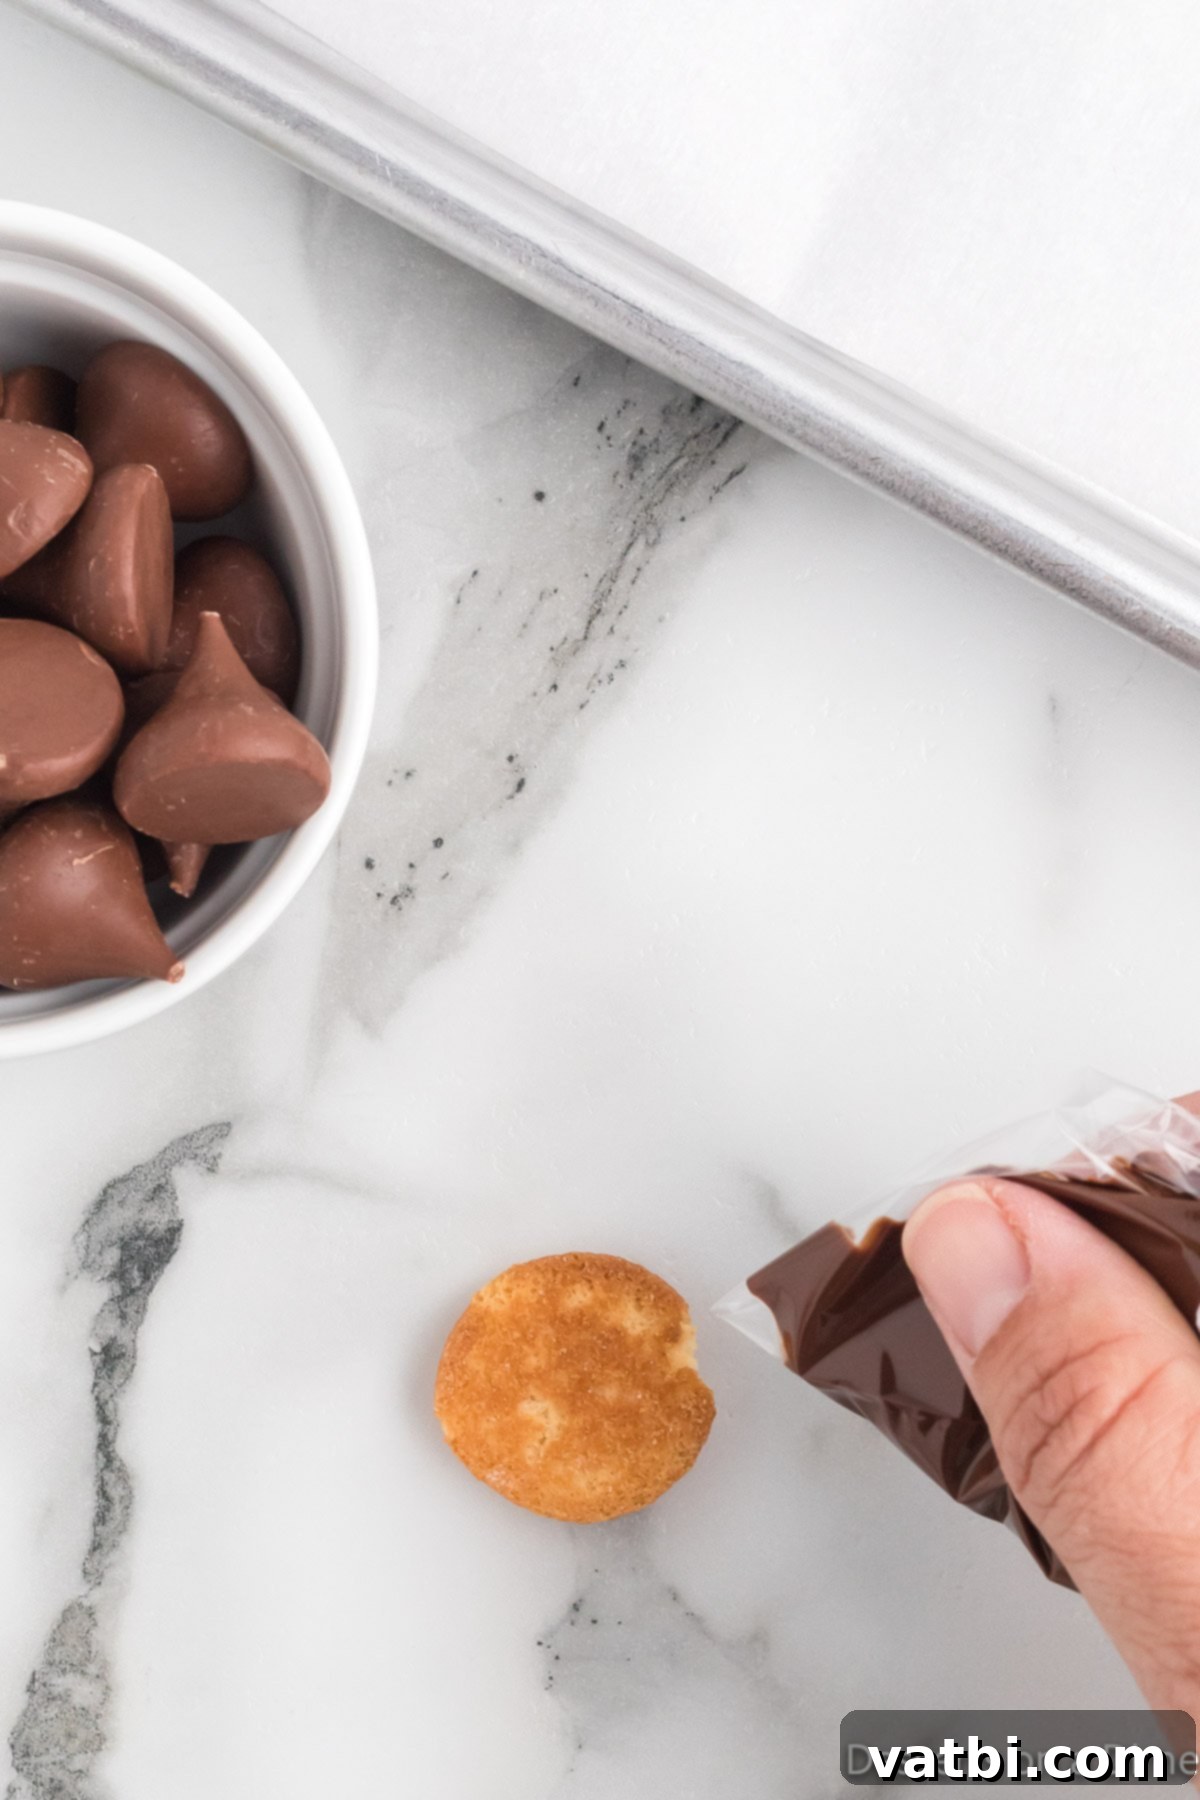
Step 3: Prepare for Piping. Carefully transfer the melted chocolate into a small Ziploc bag or a pastry bag. If using a Ziploc bag, snip off just a tiny corner – about ⅛ to ¼ inch – to create a small opening. This will allow for precise piping, ensuring you don’t use too much chocolate for each acorn.
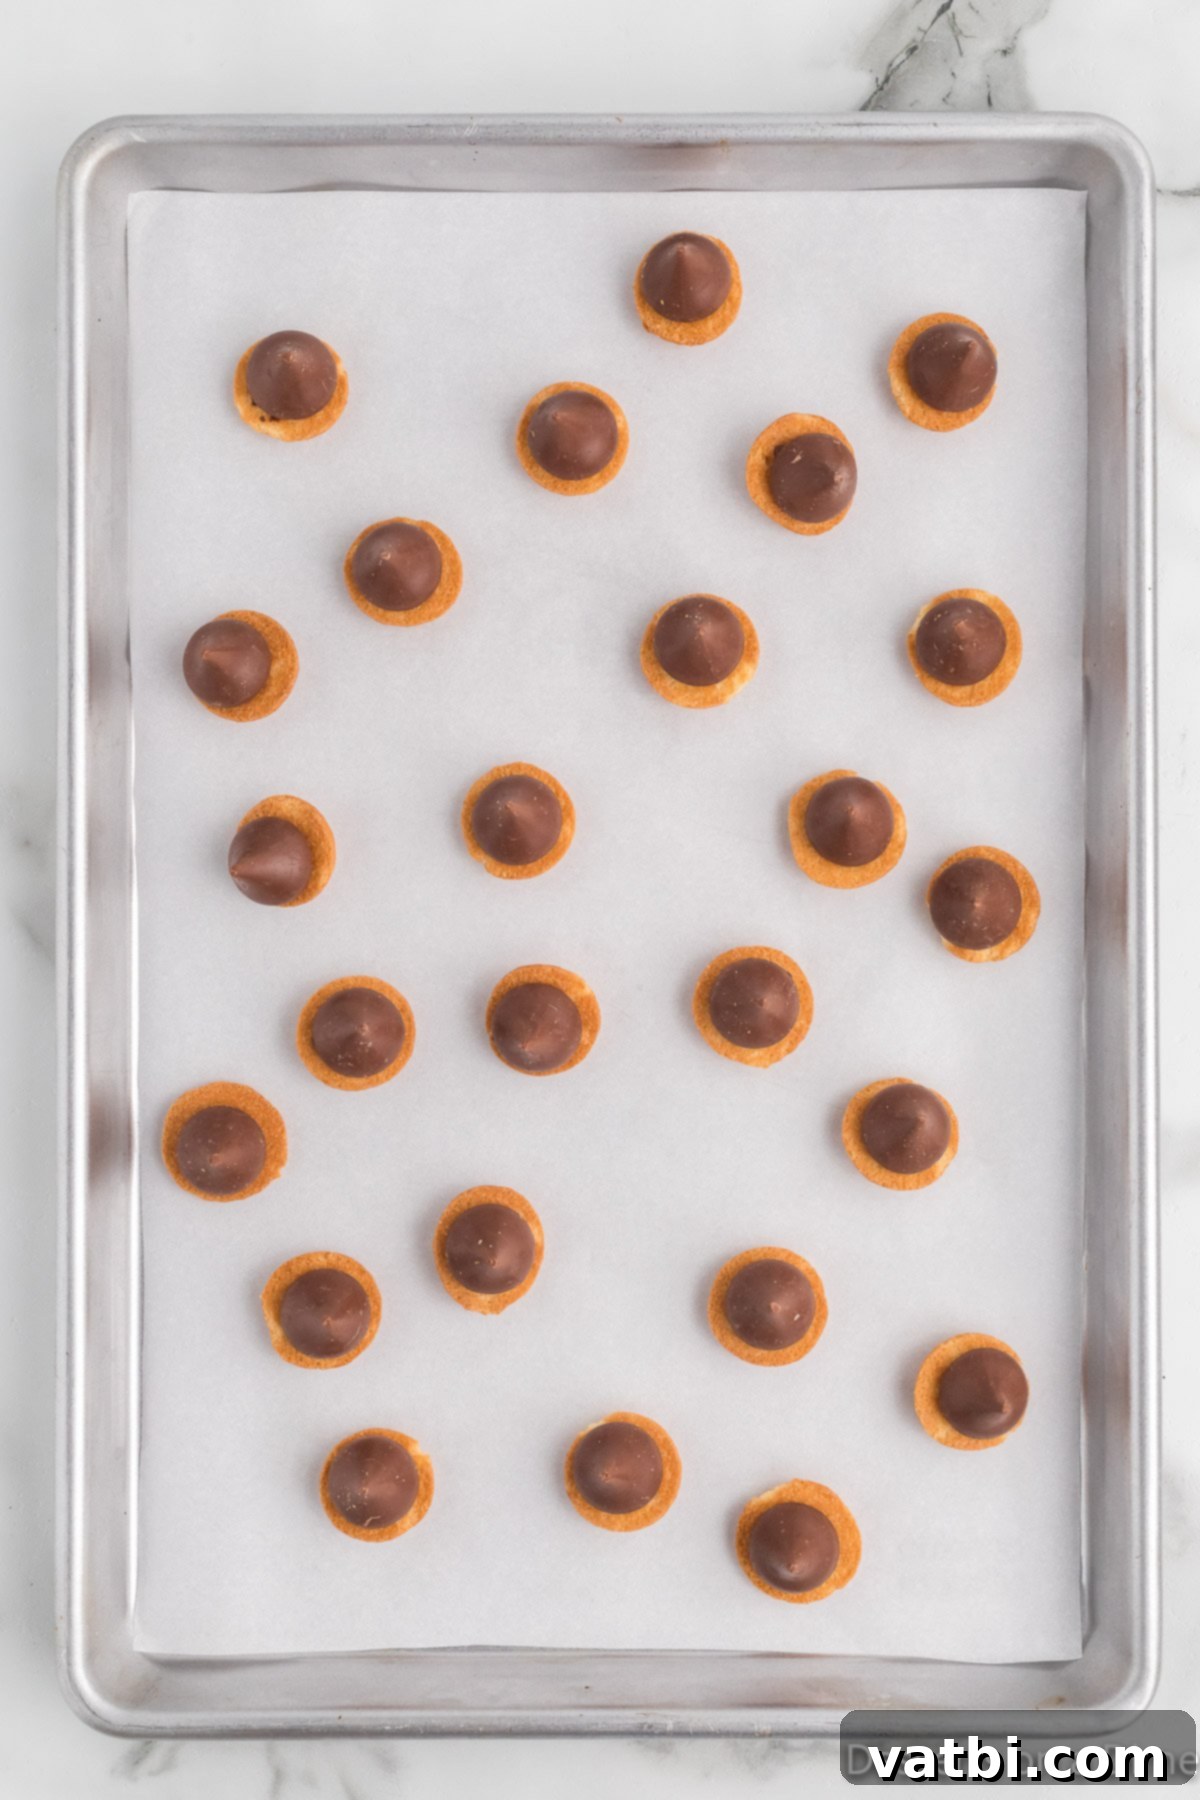
Step 4: Assemble the Acorn Body. Take a mini vanilla wafer cookie and pipe a small dollop of melted chocolate onto its flat side. Immediately, gently press the flat bottom of a Hershey Kiss onto the chocolate, securing it to the wafer. The melted chocolate acts as the adhesive. Once assembled, carefully place each acorn onto your prepared baking sheet.
Step 5: Allow the Chocolate to Set (Part 1). To ensure the Hershey Kisses are firmly attached to the vanilla wafers, place the baking sheet with your assembled acorns into the freezer for approximately 5 minutes. This quick chill will help the chocolate harden and create a stable base for the next step.
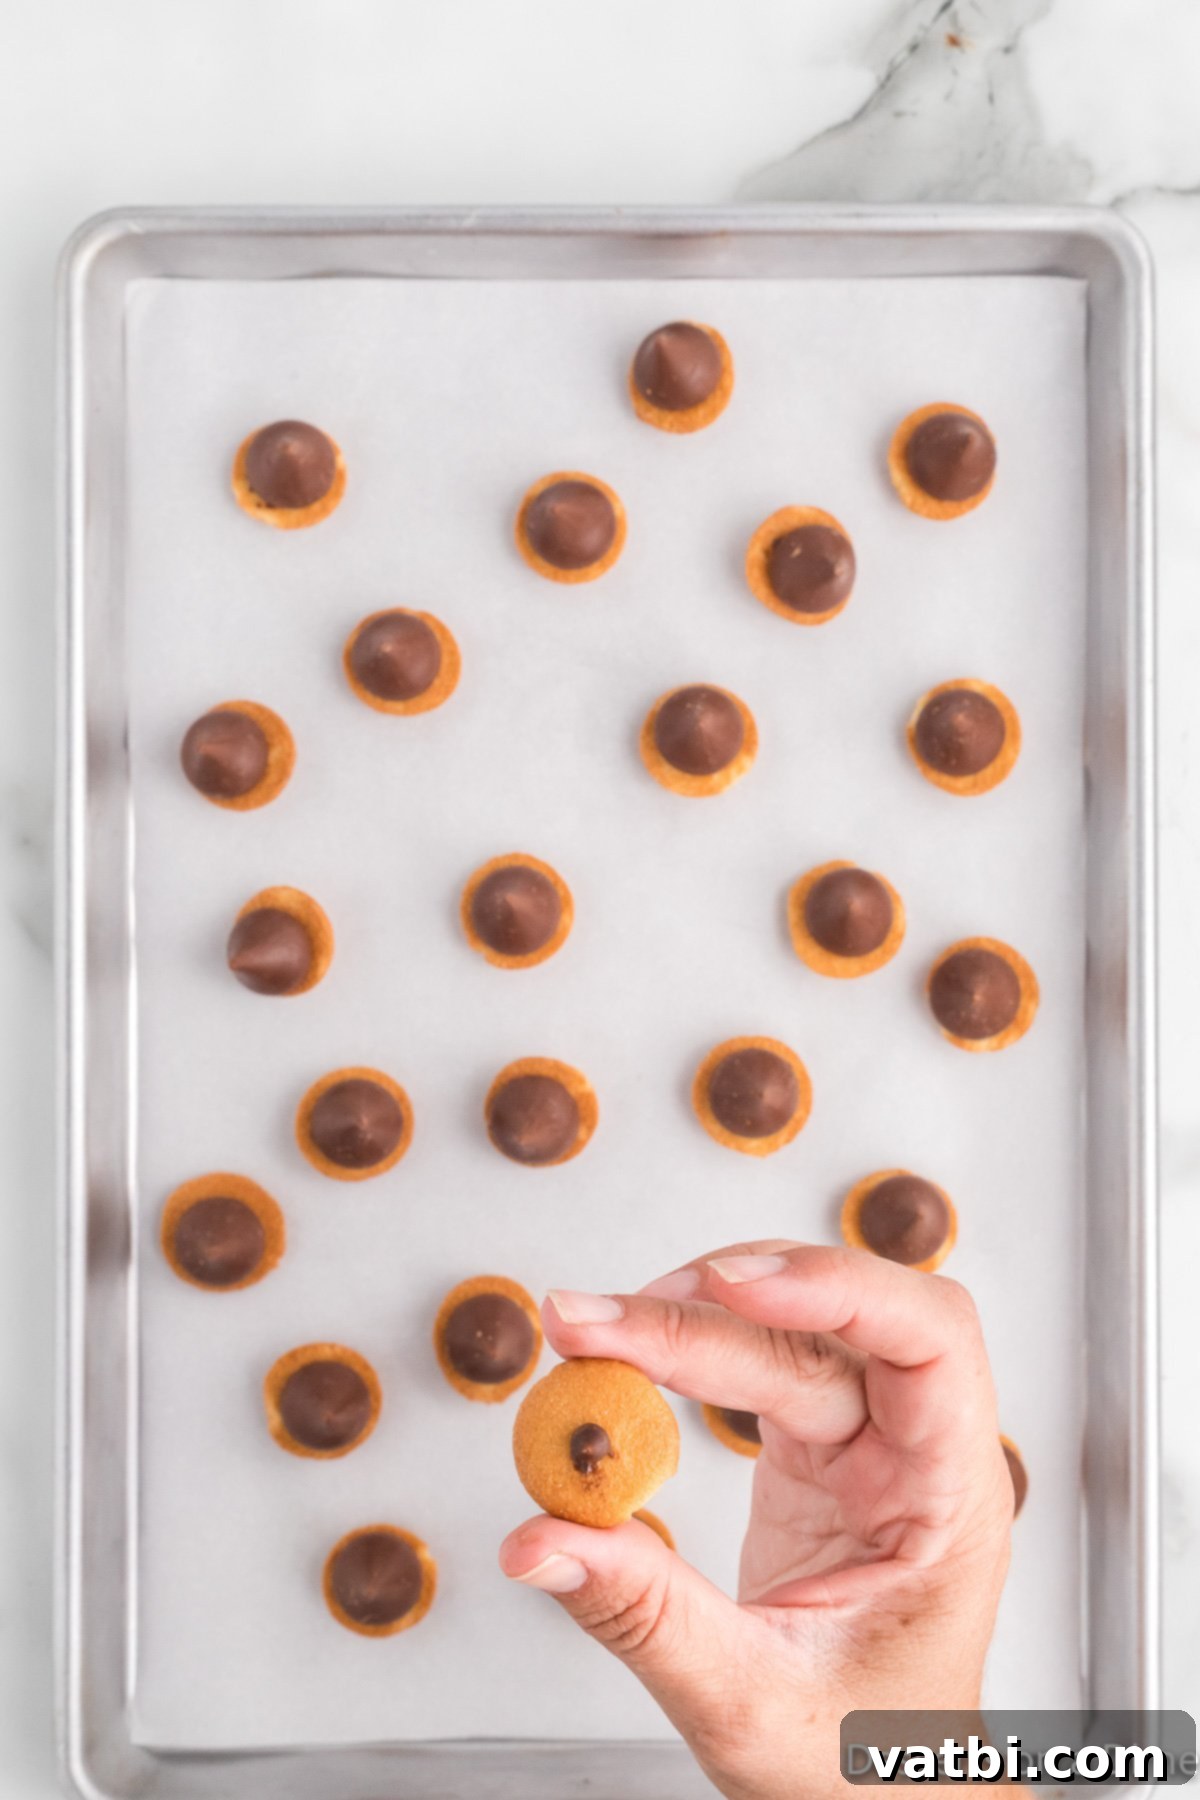
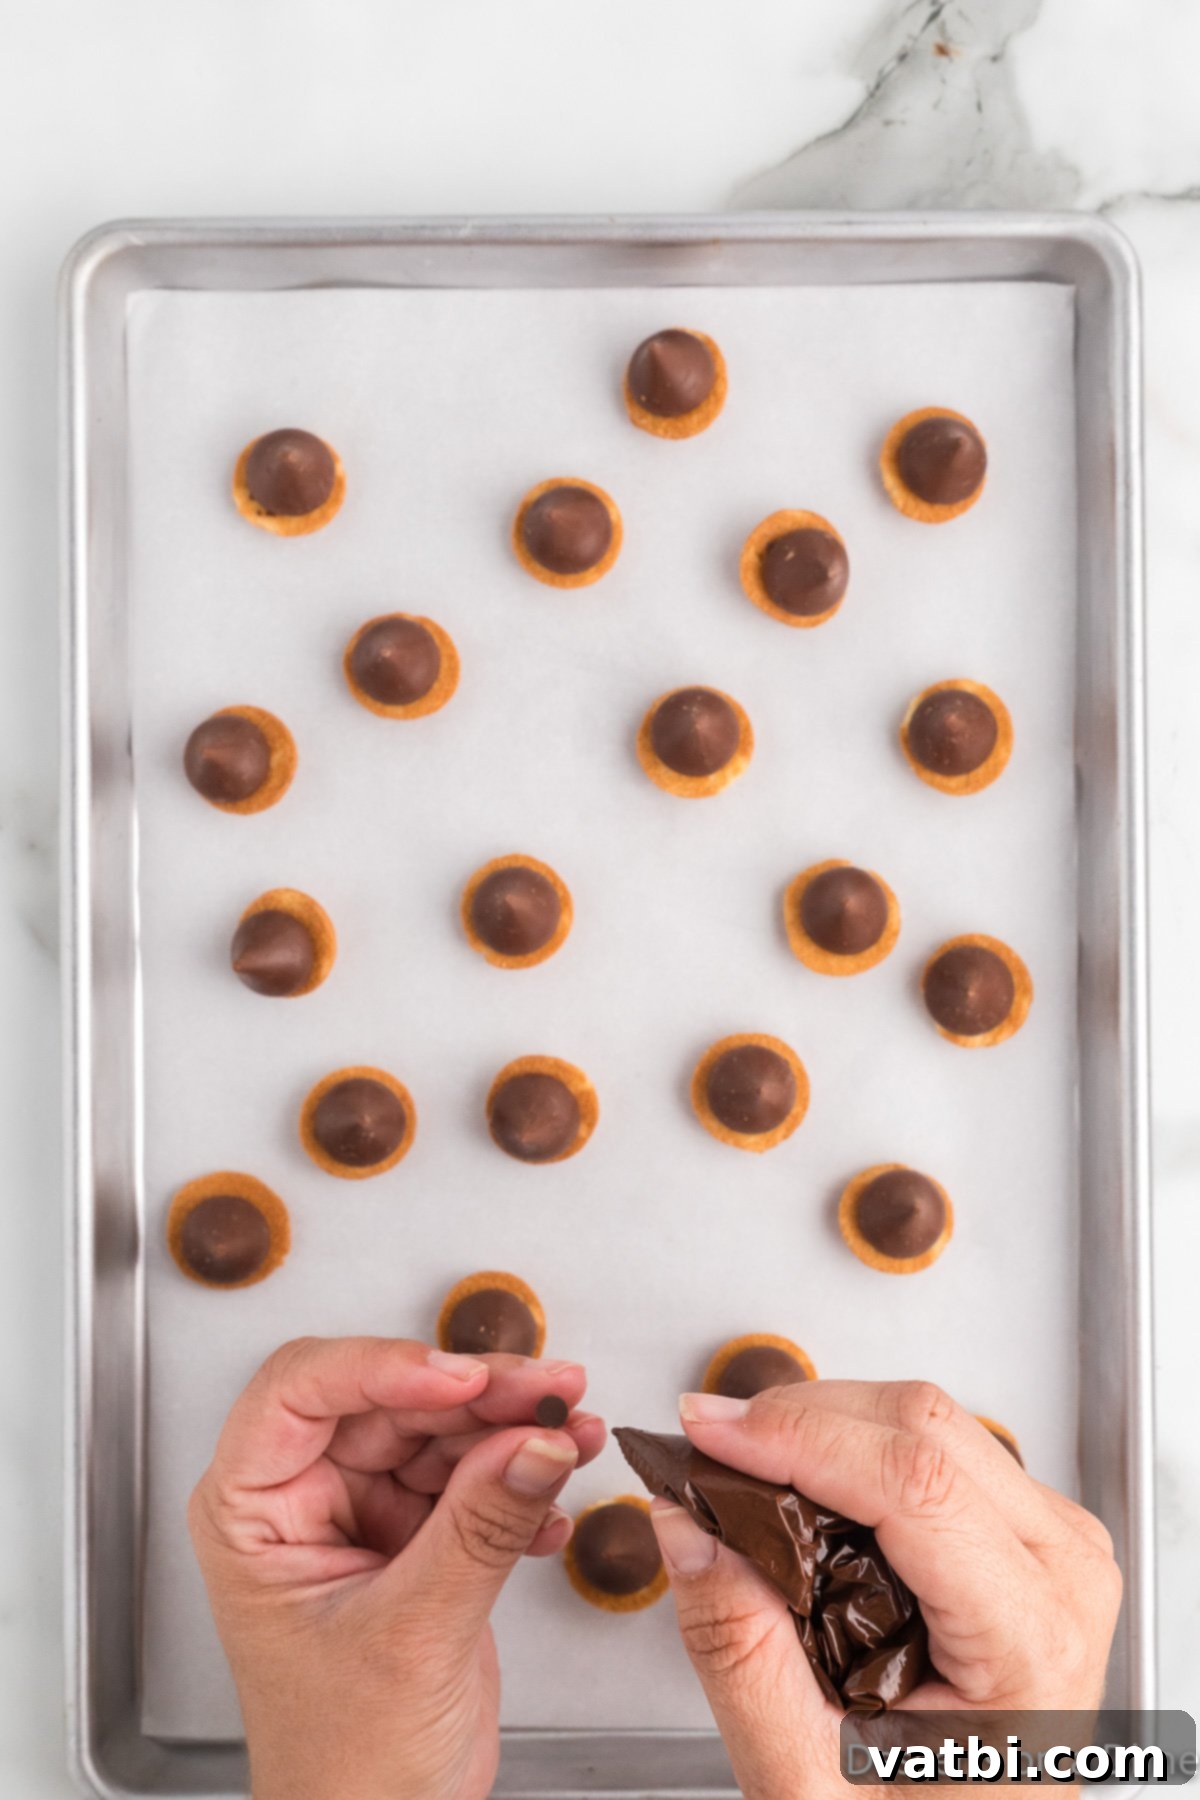
Step 6: Add the Acorn Stems. Remove the acorns from the freezer. Now, using your piping bag again, place a tiny amount of melted chocolate onto the flat side of a mini chocolate chip. Carefully press this chocolate chip onto the very top center of each vanilla wafer, creating the perfect little “stem” for your acorns. Repeat for all acorns, ensuring each has a cute stem.
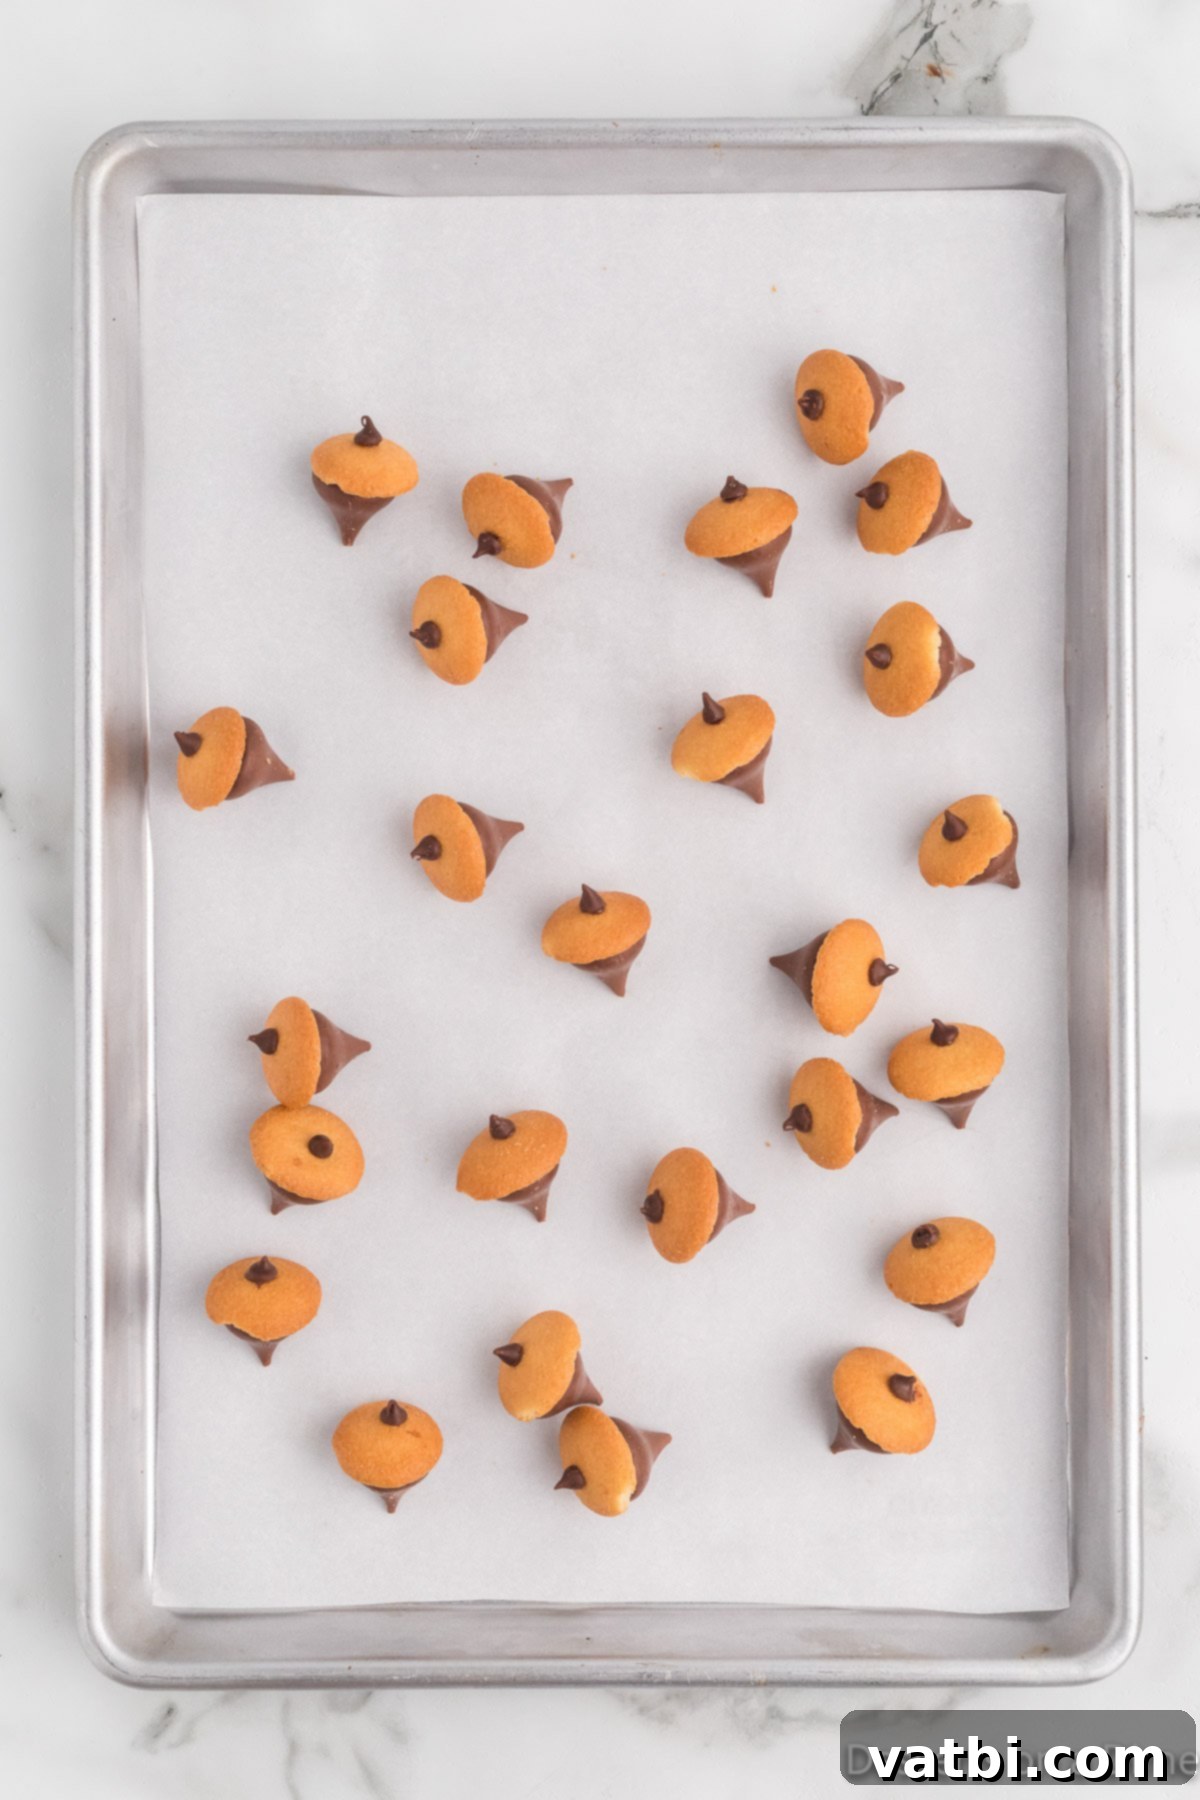
Step 7: Final Set and Serve. Once all mini chocolate chip stems are in place, return the baking sheet to the freezer for another 5 minutes. This final chill is essential to ensure that the stems are securely attached and all chocolate has completely hardened. Do not skip this step! Once fully set, your beautiful chocolate acorns are ready to serve and enjoy! Watch them disappear quickly!
Storing Your Delightful Chocolate Acorns
Proper storage ensures your chocolate acorns remain fresh and delicious for an extended period. Once your acorns have completely set and the chocolate is firm and dry to the touch, transfer them to an airtight container or a resealable bag. You can store them at room temperature for up to 2-3 weeks. For best results, consider placing a piece of parchment paper between layers of acorns to prevent them from sticking together, especially in warmer climates.
Can You Freeze Chocolate Acorns?
Absolutely! Chocolate acorns are an excellent make-ahead treat and freeze beautifully. To freeze, arrange the fully set acorns in a single layer on a baking sheet and flash freeze them for about 30 minutes, or until solid. This prevents them from sticking together. Once firm, transfer the frozen acorns to an airtight, freezer-safe container. Ensure the container is spacious enough to hold them without crushing the cookies. Properly stored, these festive treats can be frozen for up to 6 months. When you’re ready to enjoy them, simply take them out of the freezer and let them thaw at room temperature for a few minutes until they are soft enough to bite into.
Pro Tips for Perfect Chocolate Acorns Every Time
Even though this is a simple recipe, a few expert tips can elevate your chocolate acorn game, ensuring beautiful and delicious results every time:
- Melt the Chocolate in Short Intervals: This is perhaps the most critical tip. Always melt your chocolate chips in 30-second bursts in the microwave, stirring diligently after each interval. Chocolate can burn quickly, becoming grainy and unusable if overheated. Low and slow is the way to go for a smooth, glossy melt.
- Allow the Chocolate to Fully Set: Patience is key! The freezing steps are not optional. Placing the acorns in the freezer allows the chocolate to harden and firmly bind the Hershey Kisses and mini chocolate chip stems to the wafers. This prevents your acorns from falling apart when handled and ensures a stable, enjoyable treat.
- Line Your Baking Sheet with Parchment Paper: This simple step saves you a lot of hassle. Parchment paper ensures that the chocolate doesn’t stick to the pan, making it incredibly easy to lift the finished acorns off without any breakage or messy residue. Wax paper can also work in a pinch.
- Use Just Enough Chocolate for Adhesion: When attaching the Hershey Kisses and mini chocolate chip stems, aim for a small, pea-sized dot of melted chocolate. You want enough to create a strong bond, but not so much that it oozes out the sides, creating a messy appearance. Less is often more for a clean, professional look.
- Don’t Skip the Freezer Setting Steps: As mentioned, these quick freezes are vital. They ensure all components are securely attached, allowing for easy handling and preventing frustration. A well-set acorn is a happy acorn!
- Involve the Kids: This recipe is incredibly kid-friendly! Let them unwrap the Hershey Kisses, place them on the wafers (with supervision for the melted chocolate), or even add the mini chocolate chip stems. It’s a wonderful way to spend quality time together and encourage their interest in cooking.
- Make Ahead for Convenience: These chocolate acorns are perfect for preparing in advance. Make a large batch a day or two before your event, store them properly, and simply pull them out when you’re ready to serve. This frees up time on the day of your gathering.
- Creative Presentation: Arrange your finished chocolate acorns on a platter with some fall leaves, small gourds, or other seasonal decor for a truly festive display. They also look fantastic in a clear glass jar or tied with twine in small treat bags.
Discover More Delightful Fall Treats
The autumn season is brimming with opportunities for delicious and easy-to-make desserts. If you loved making these chocolate acorns, you’ll surely enjoy exploring some of our other favorite fall-themed recipes:
- Pumpkin Pie Rice Krispie Treats
- Candy Corn Cookies
- Harvest Puppy Chow Recipe
- 51 Easy Thanksgiving Cupcakes
- Turkey Cake
These easy no-bake chocolate acorns are so much fun to make and even more fun to eat. They taste absolutely amazing and require very little time, making them a perfect last-minute dessert or a delightful family activity. Make this a cherished annual tradition with your kids, creating sweet memories along with sweet treats. We encourage you to try this simple recipe today! Please leave a comment and a star recipe rating once you do – we’d love to hear your thoughts and see your creations!
Pin
Chocolate Acorns
Ingredients
- 1/2 cup Semi-Sweet Chocolate Chips
- 25 Mini Nilla Wafer Cookies
- 25 Hershey Kisses unwrapped
- 25 Mini Chocolate Chips
Instructions
-
Line a baking sheet with baking parchment and set aside.
-
Place the semi-sweet chocolate chips in a microwave safe bowl. Heat in 30 second intervals, stirring after each interval, until the chips are fully melted.
-
Pour the melted chocolate in a ziplock bag and cut off one of the corners on the bag.
-
Use the bag to place a small amount of the chocolate onto the flat side of each of the cookies and then top each cookie with a Hershey kiss. Then place them on the prepared baking sheet.
-
Freeze for 5 minutes so that the chocolate can set.
-
Place a small amount of the melted chocolate onto the flat side of the mini chocolate chips and place them on the tops of the cookies for the stems of the acorns.
-
Once the mini chocolate chips have been added, freeze for another 5 minutes.
-
Then the cookies are ready to serve and enjoy!
Recipe Notes
Nutrition Facts
Pin This Now to Remember It Later
Pin Recipe
