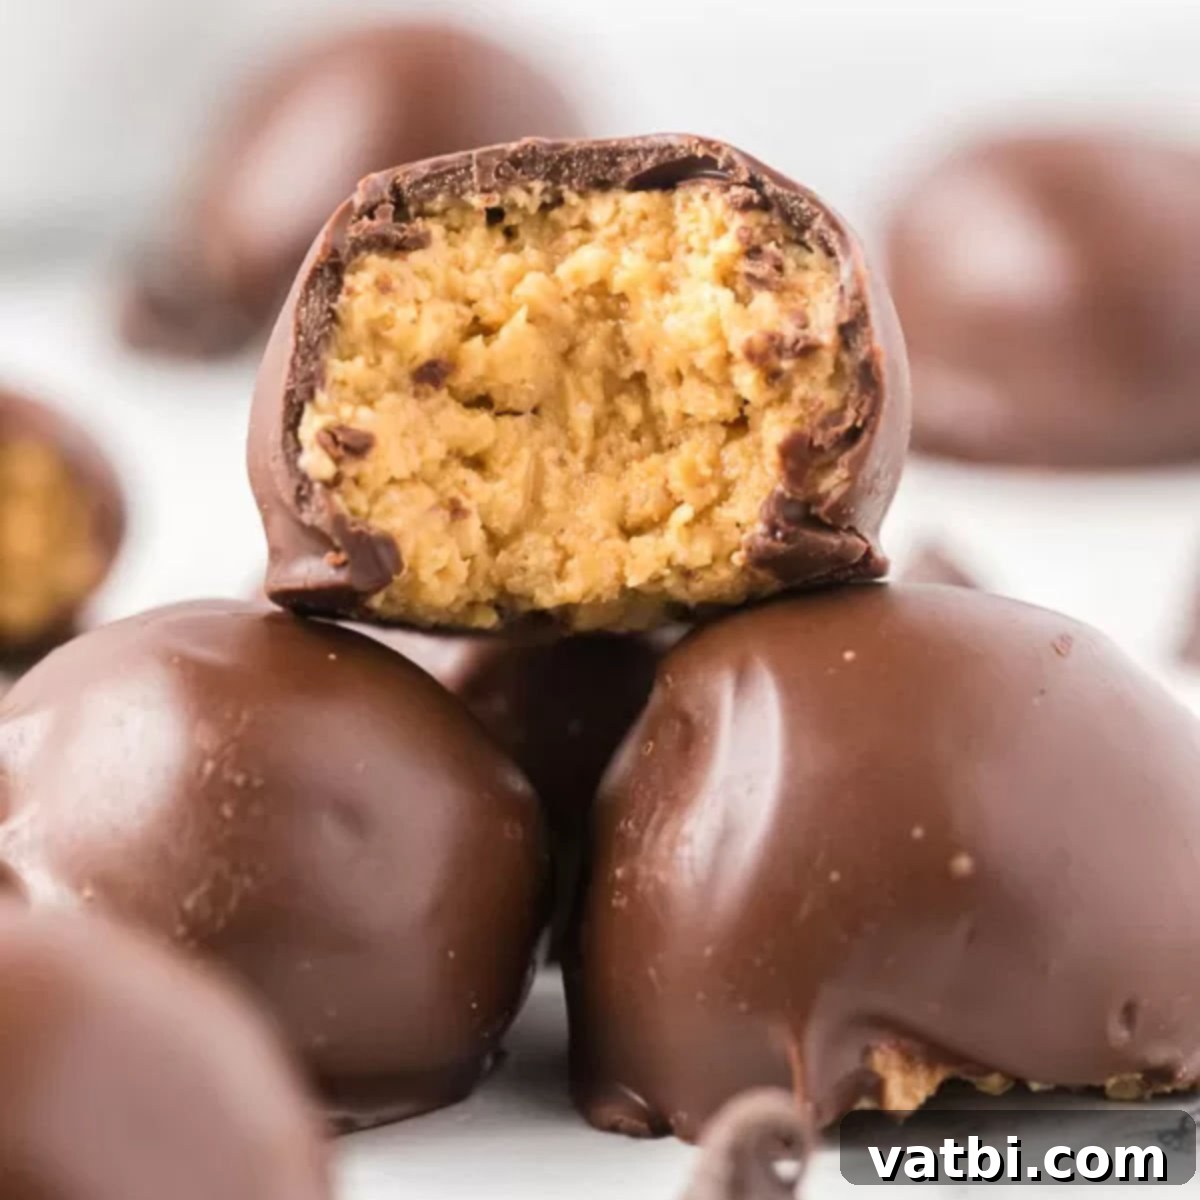
Irresistible No-Bake Peanut Butter Balls with Crispy Rice Cereal: The Ultimate Easy Dessert
Peanut Butter Balls with Rice Krispies offer a delightful and inventive spin on a beloved classic confectionery. This recipe marries the irresistible creaminess of peanut butter with the satisfying crunch of rice cereal, all enveloped in a rich chocolate coating. The result is a truly fabulous dessert that’s perfect for any occasion, from casual family gatherings to elegant holiday parties. Its simple preparation and universally loved flavors make it a go-to treat for busy bakers and dessert enthusiasts alike.
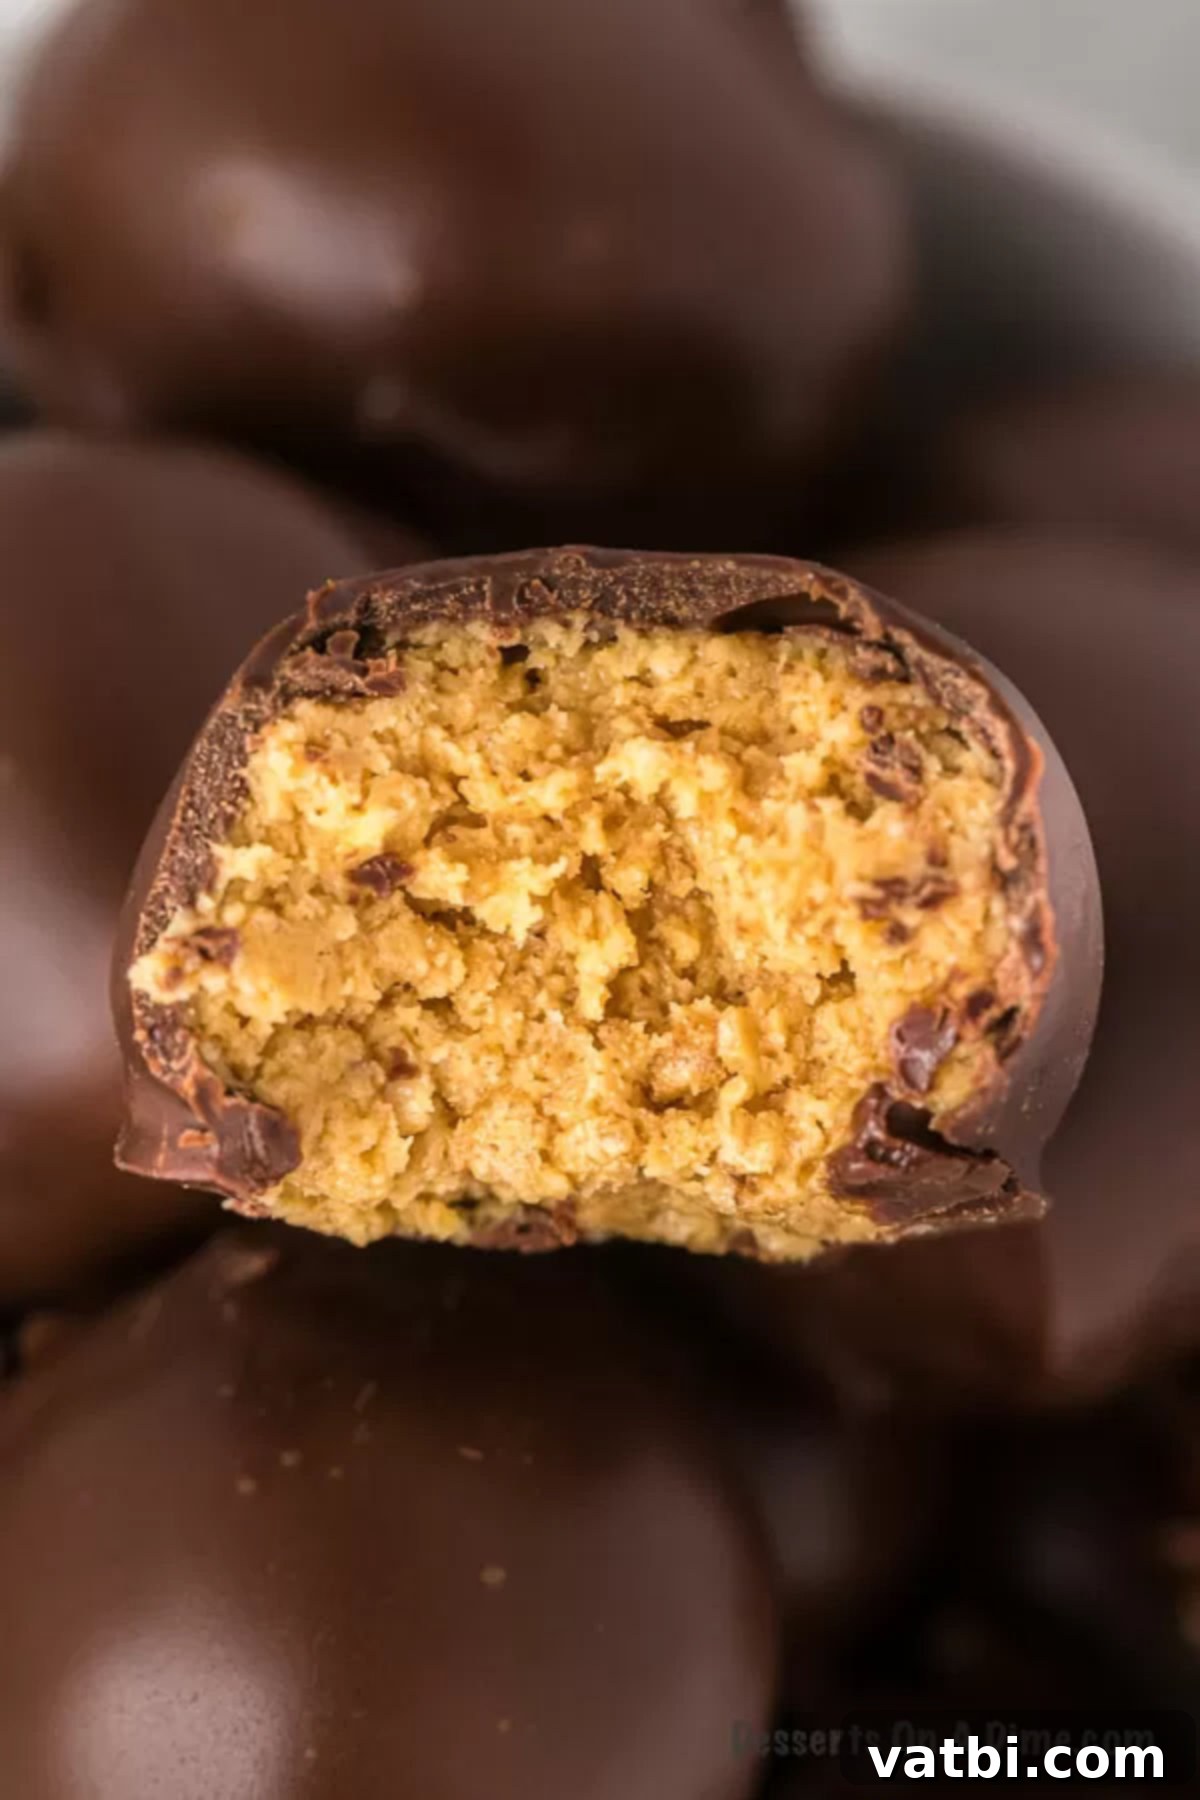
If your household enjoys the rich, decadent taste of Chocolate Covered Peanut Butter Balls and the nostalgic crispiness of Rice Krispie Treats, then you absolutely must try this innovative recipe. It brings together the very best elements of chocolate, peanut butter, and crispy rice cereal into one harmonious, bite-sized delight. This unique blend creates a texture and flavor profile that is both familiar and exciting, promising to become a new family favorite.
You will adore this incredibly easy no-bake dessert recipe. The convenience of not needing an oven makes it ideal for summer months, quick treats, or when you simply want to minimize kitchen fuss. It’s a fantastic project for aspiring home bakers, requiring minimal equipment and straightforward steps, ensuring success even for beginners.
Table of contents
- Why We Love This Recipe
- Ingredients for the Perfect Peanut Butter Balls
- Exciting Variations to Try
- Step By Step Instructions
- Proper Storage for Freshness
- Expert Pro Tips for Success
- Frequently Asked Questions
- More Chocolate Peanut Butter Desserts
Why We Love This Recipe
Having crafted traditional peanut butter balls for more than 15 years, I can confidently say that this recipe introduces a truly delightful twist. It masterfully combines a lusciously creamy texture with a satisfying, light crunch, all in one bite. From the moment you taste these, you’ll understand why they’re quickly gaining popularity and why our family absolutely adores them. The added Rice Krispies elevate the experience, providing an unexpected layer of texture that sets them apart from typical peanut butter candies.
Beyond their incredible taste, a major highlight of these crispy peanut butter balls is their simplicity. The recipe requires only a handful of readily available, simple ingredients that you likely already have in your pantry. This means less time spent at the grocery store and more time enjoying your culinary creations. Furthermore, the entire preparation process is remarkably fast, making it an ideal choice when you need a quick dessert for unexpected guests, a last-minute party contribution, or just a treat to satisfy a sudden craving. It’s a genuinely hassle-free way to create a memorable dessert that tastes like it took hours to prepare.
Ingredients for the Perfect Peanut Butter Balls
Crafting these delectable no-bake peanut butter balls is incredibly straightforward, thanks to a concise list of common ingredients. Each component plays a crucial role in achieving the perfect balance of flavor and texture, making every bite a delightful experience. Pay attention to the details for each ingredient to ensure the best results:
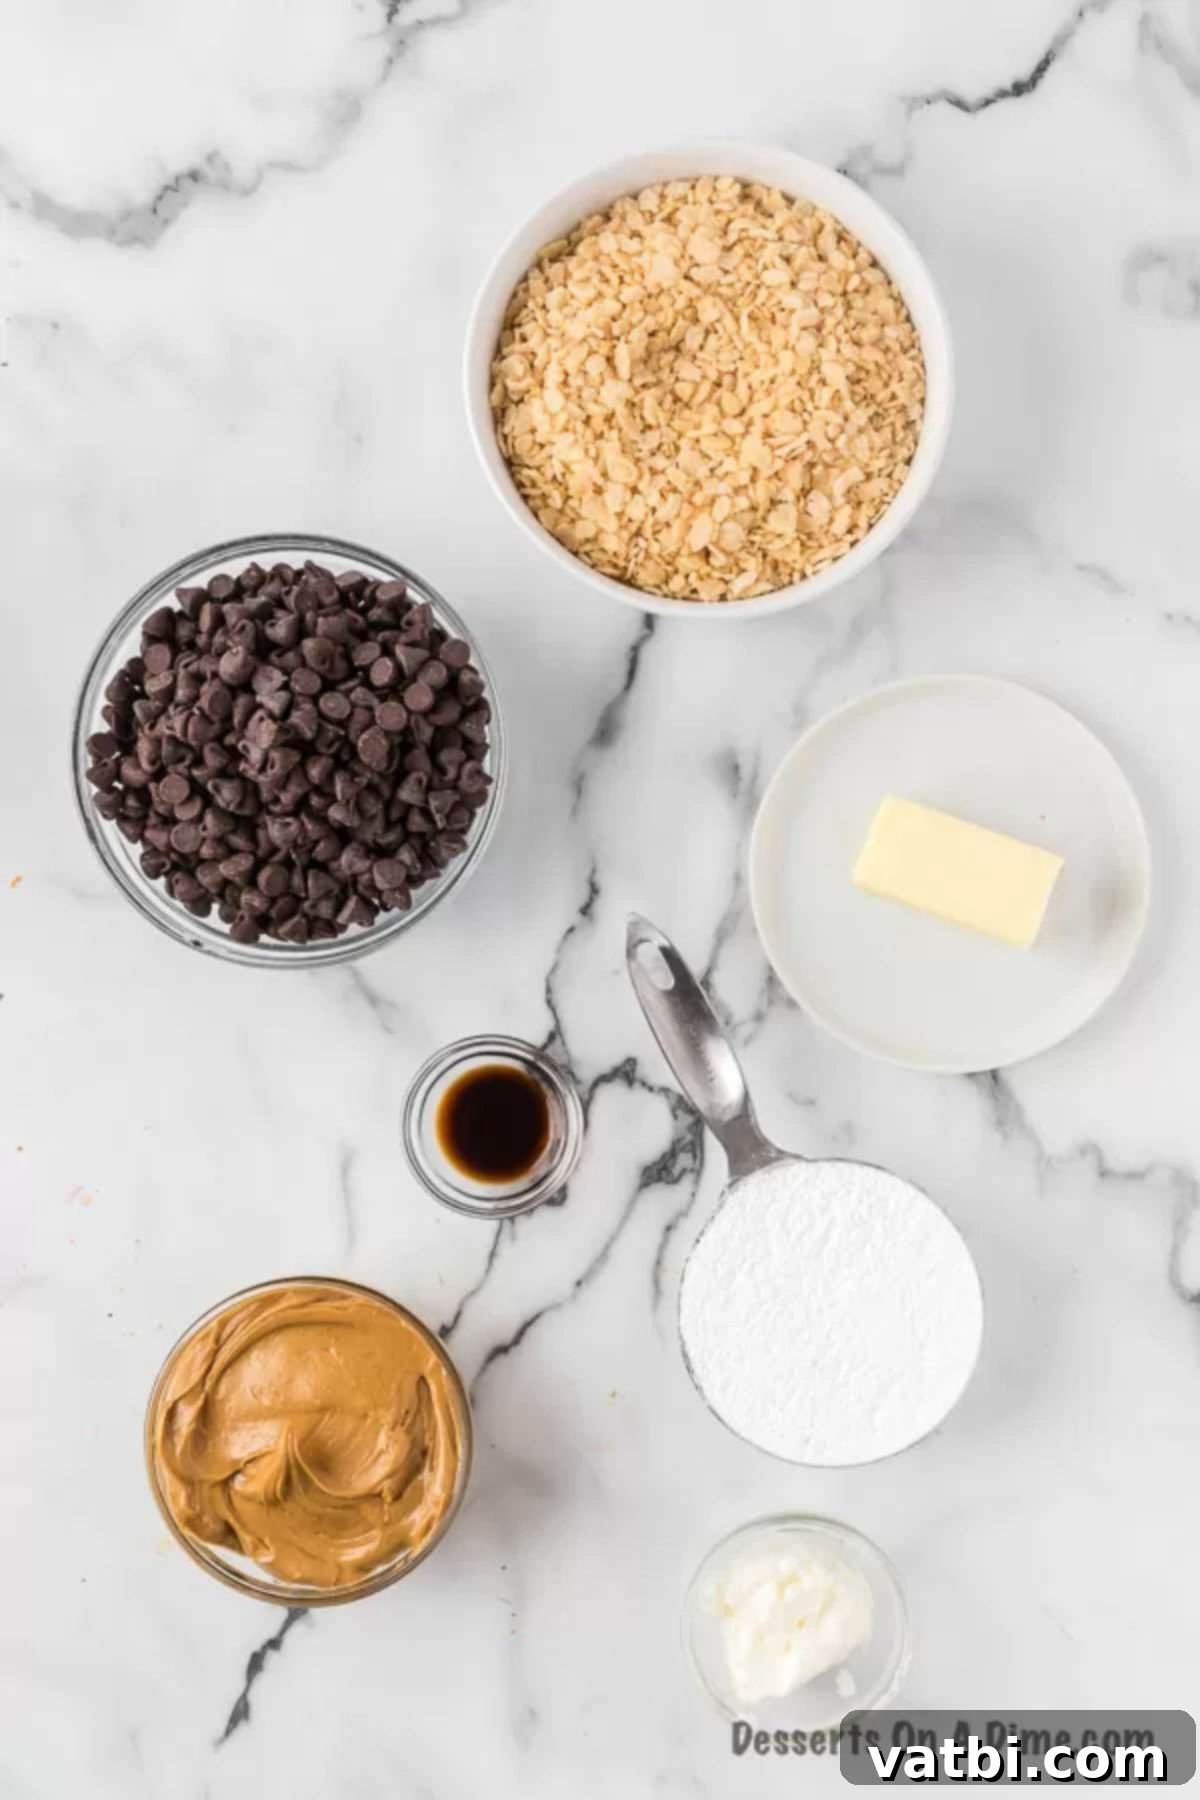
- Creamy Peanut Butter: For this recipe, I highly recommend creamy peanut butter. Its smooth consistency blends effortlessly with the other ingredients, creating a consistent and melt-in-your-mouth base for the balls. While crunchy peanut butter can be used for an even more pronounced nutty texture, creamy provides the ideal foundation to highlight the crispiness of the Rice Krispies. Avoid natural peanut butter that requires stirring, as its oil separation can affect the final texture.
- Butter: Softened at room temperature. Using softened butter is essential for achieving a smooth, well-incorporated mixture. Cold butter will be difficult to cream and may lead to a lumpy texture, while melted butter can make the mixture too greasy and hard to handle.
- Vanilla Extract: Pure vanilla extract is always best for enhancing the overall flavor profile of any sweet treat. It adds a subtle warmth and depth that complements the richness of peanut butter and chocolate beautifully.
- Powdered Sugar: Also known as confectioners’ sugar, this ingredient provides the necessary sweetness and structure to the peanut butter mixture. It dissolves easily, ensuring a smooth dough. If your powdered sugar has lumps, sifting it before adding will help achieve a perfectly smooth consistency.
- Rice Krispies Cereal: The star of the “crispy” in “crispy peanut butter balls”! Ensure you use fresh cereal to guarantee maximum crunch. Stale cereal will result in a less satisfying texture. A gentle crush before mixing helps distribute the crunch evenly.
- Semi-Sweet Chocolate Chips: Semi-sweet chocolate is chosen specifically to balance the sweetness of the peanut butter mixture. It provides a rich, slightly bitter contrast that prevents the final dessert from being overly sweet. This creates a more sophisticated and enjoyable flavor experience.
- Shortening (for melting chocolate): A small amount of shortening is added to the chocolate chips before melting. This helps achieve a perfectly smooth, glossy, and easily dippable chocolate coating that hardens nicely.
You can find the complete, detailed list of ingredients, along with precise measurements, within the recipe card located at the bottom of this page. Gather your ingredients and get ready to create an unforgettable no-bake dessert!
Exciting Variations to Try
While the classic Peanut Butter Balls with Rice Krispies are undeniably delicious, one of the joys of home baking (or no-baking!) is the freedom to customize. Don’t hesitate to experiment with these variations to tailor the treats to your taste preferences or to match a specific occasion:
- Peanut Butter Alternatives: While creamy peanut butter delivers a smooth base, you’re welcome to experiment. For an extra nutty bite, swap in crunchy peanut butter. If you’re looking for different flavor profiles or catering to allergies, consider using other nut or seed butters like almond butter, cashew butter, or even sunflower seed butter. Be aware that the consistency might vary, so you might need to adjust the amount of powdered sugar slightly.
- Chocolate Choices: We typically opt for semi-sweet chocolate morsels for their balanced flavor, but your chocolate coating can be as adventurous as you like. Try milk chocolate for a sweeter, creamier finish, or dark chocolate for a richer, more intense flavor. For a visually striking contrast and a different taste, white chocolate chips or candy melts are excellent options. You can even combine different types of chocolate for a marbled effect or to create unique flavor layers.
- Colorful Sprinkles: Sprinkles are a fantastic way to personalize these treats for any celebration. If you’re preparing them for a birthday party, use vibrant rainbow sprinkles. For holidays, choose seasonal colors – red and green for Christmas, pastels for Easter, or orange and black for Halloween. Sprinkles add a festive touch and a fun textural element that kids and adults alike will appreciate.
- Elegant Chocolate Drizzle: To add an extra touch of sophistication, consider drizzling additional chocolate on top of the coated balls once they’ve set. This is completely optional but creates a beautiful, professional finish. You could use a contrasting chocolate, such as white chocolate drizzled over dark chocolate-covered balls, or simply use more of the same chocolate. A simple zig-zag pattern with a spoon or a piping bag makes these peanut butter balls look incredibly fancy and gourmet.
- Add-ins for Extra Flavor: Elevate your peanut butter balls even further with creative add-ins. A pinch of sea salt sprinkled over the wet chocolate coating provides a wonderful sweet and salty contrast. You could also mix in a teaspoon of cocoa powder to the peanut butter mixture for a chocolate-peanut butter dough, or fold in finely chopped nuts (if not using crunchy peanut butter) for an extra layer of crunch. Shredded coconut, mini chocolate chips, or even a tiny amount of instant coffee powder can also introduce exciting new flavors.
Step By Step Instructions
Creating these delightful no-bake peanut butter balls is a fun and straightforward process. Follow these easy steps to achieve perfect, crispy, and creamy treats every time!
Step 1. Prepare your baking sheet. Begin by lining a baking sheet with wax paper or parchment paper. This crucial step prevents the peanut butter balls from sticking and makes cleanup significantly easier. Set the lined sheet aside, ready for your delicious creations.
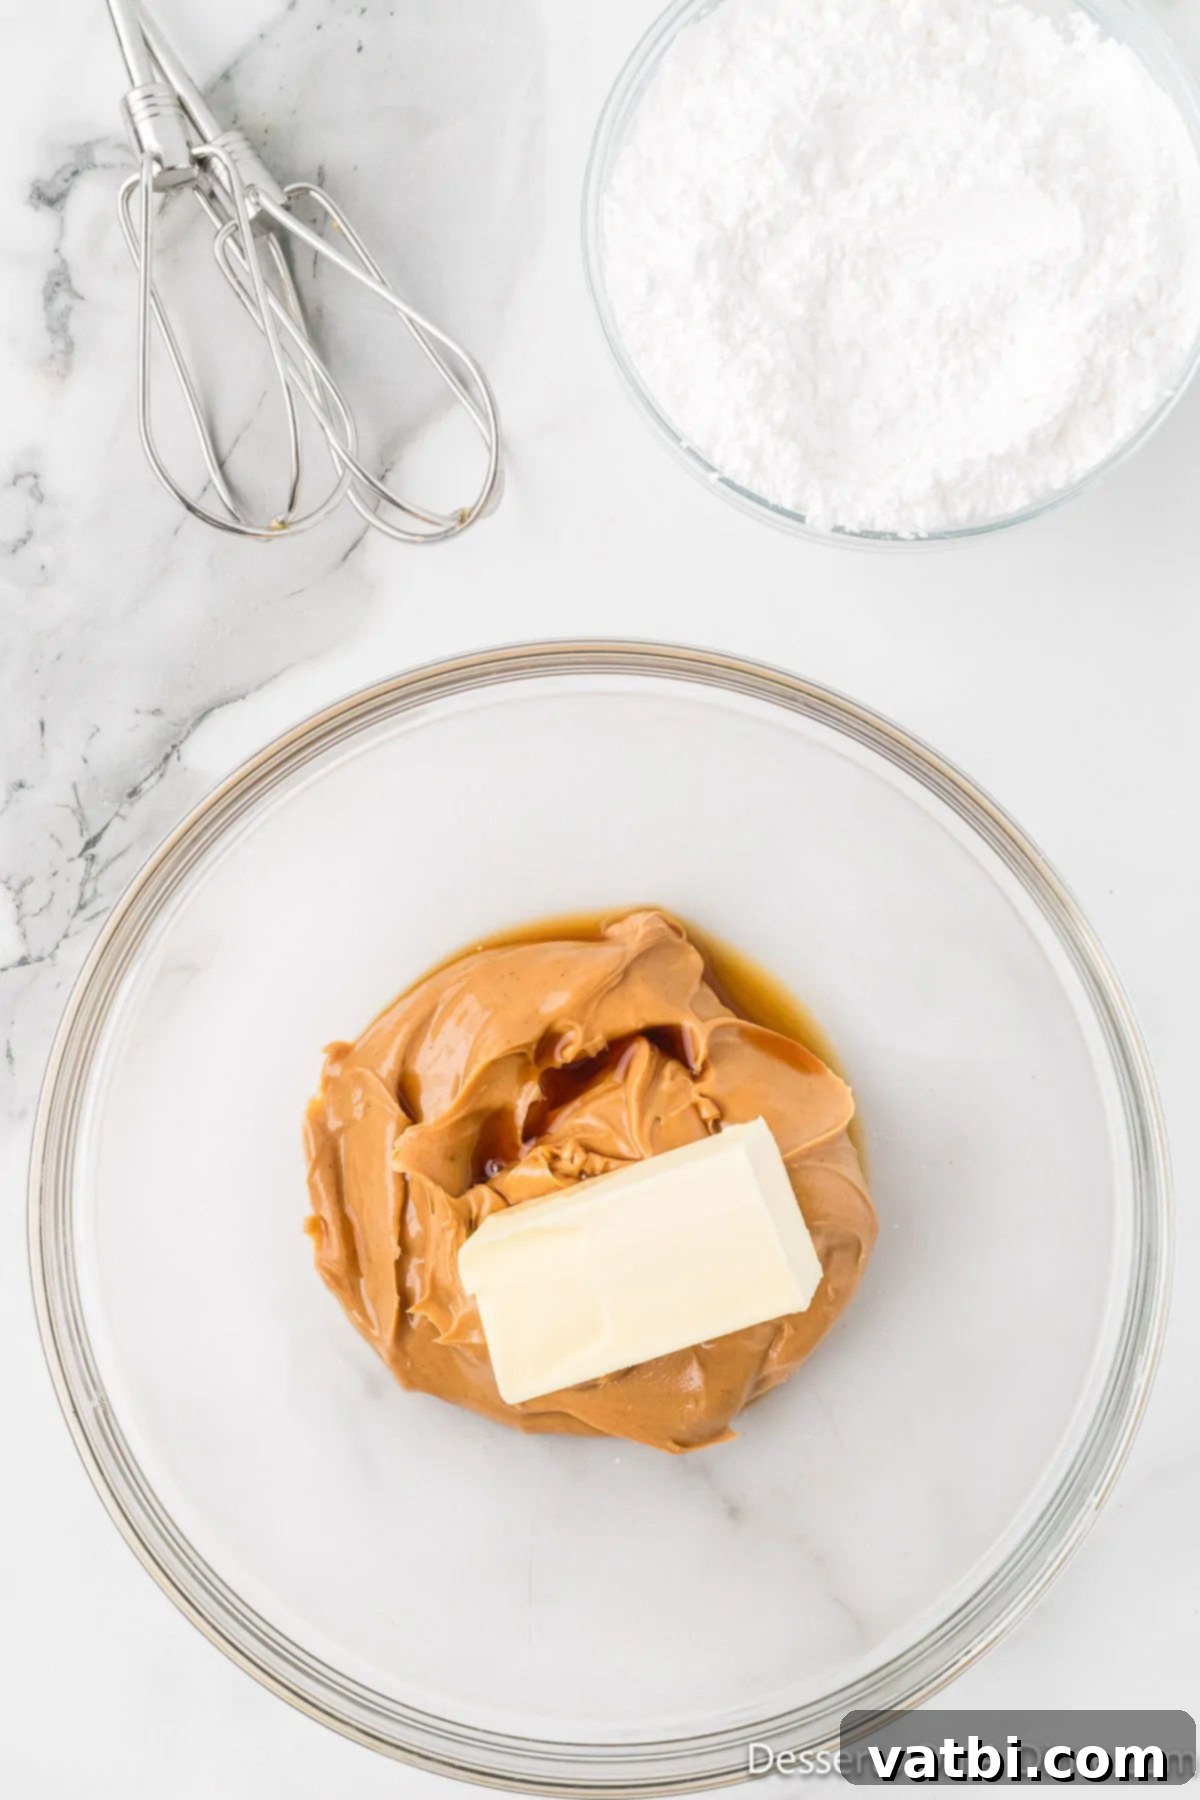
Step 2. Cream the base ingredients. In a large mixing bowl, combine the softened butter and creamy peanut butter. Using an electric mixer on medium speed, cream these ingredients together until they are light, fluffy, and well combined. This initial step creates the smooth foundation for your peanut butter balls.
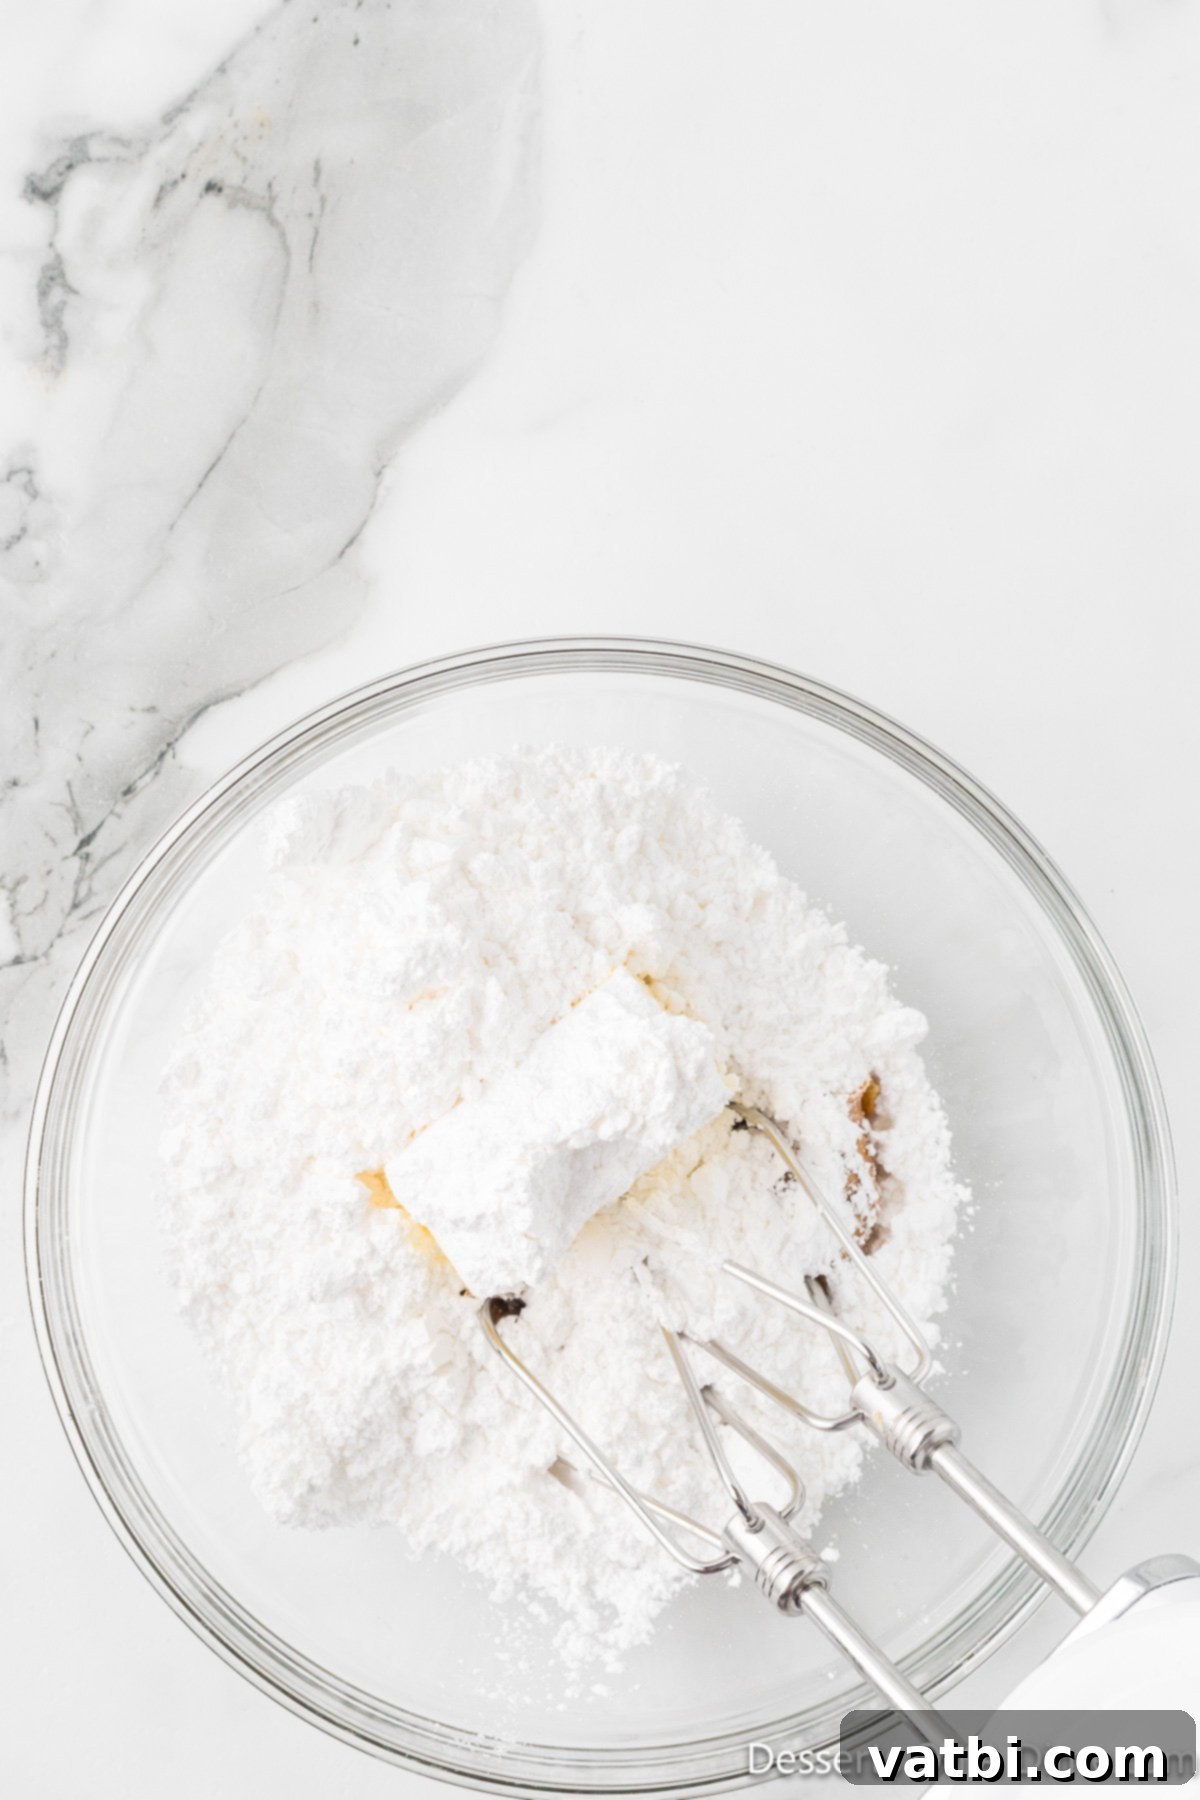
Step 3. Incorporate remaining wet and dry ingredients. Add the pure vanilla extract and the sifted powdered sugar to the peanut butter and butter mixture. Continue mixing, ideally with the electric mixer on low speed initially to prevent the powdered sugar from flying out, until all ingredients are fully incorporated.
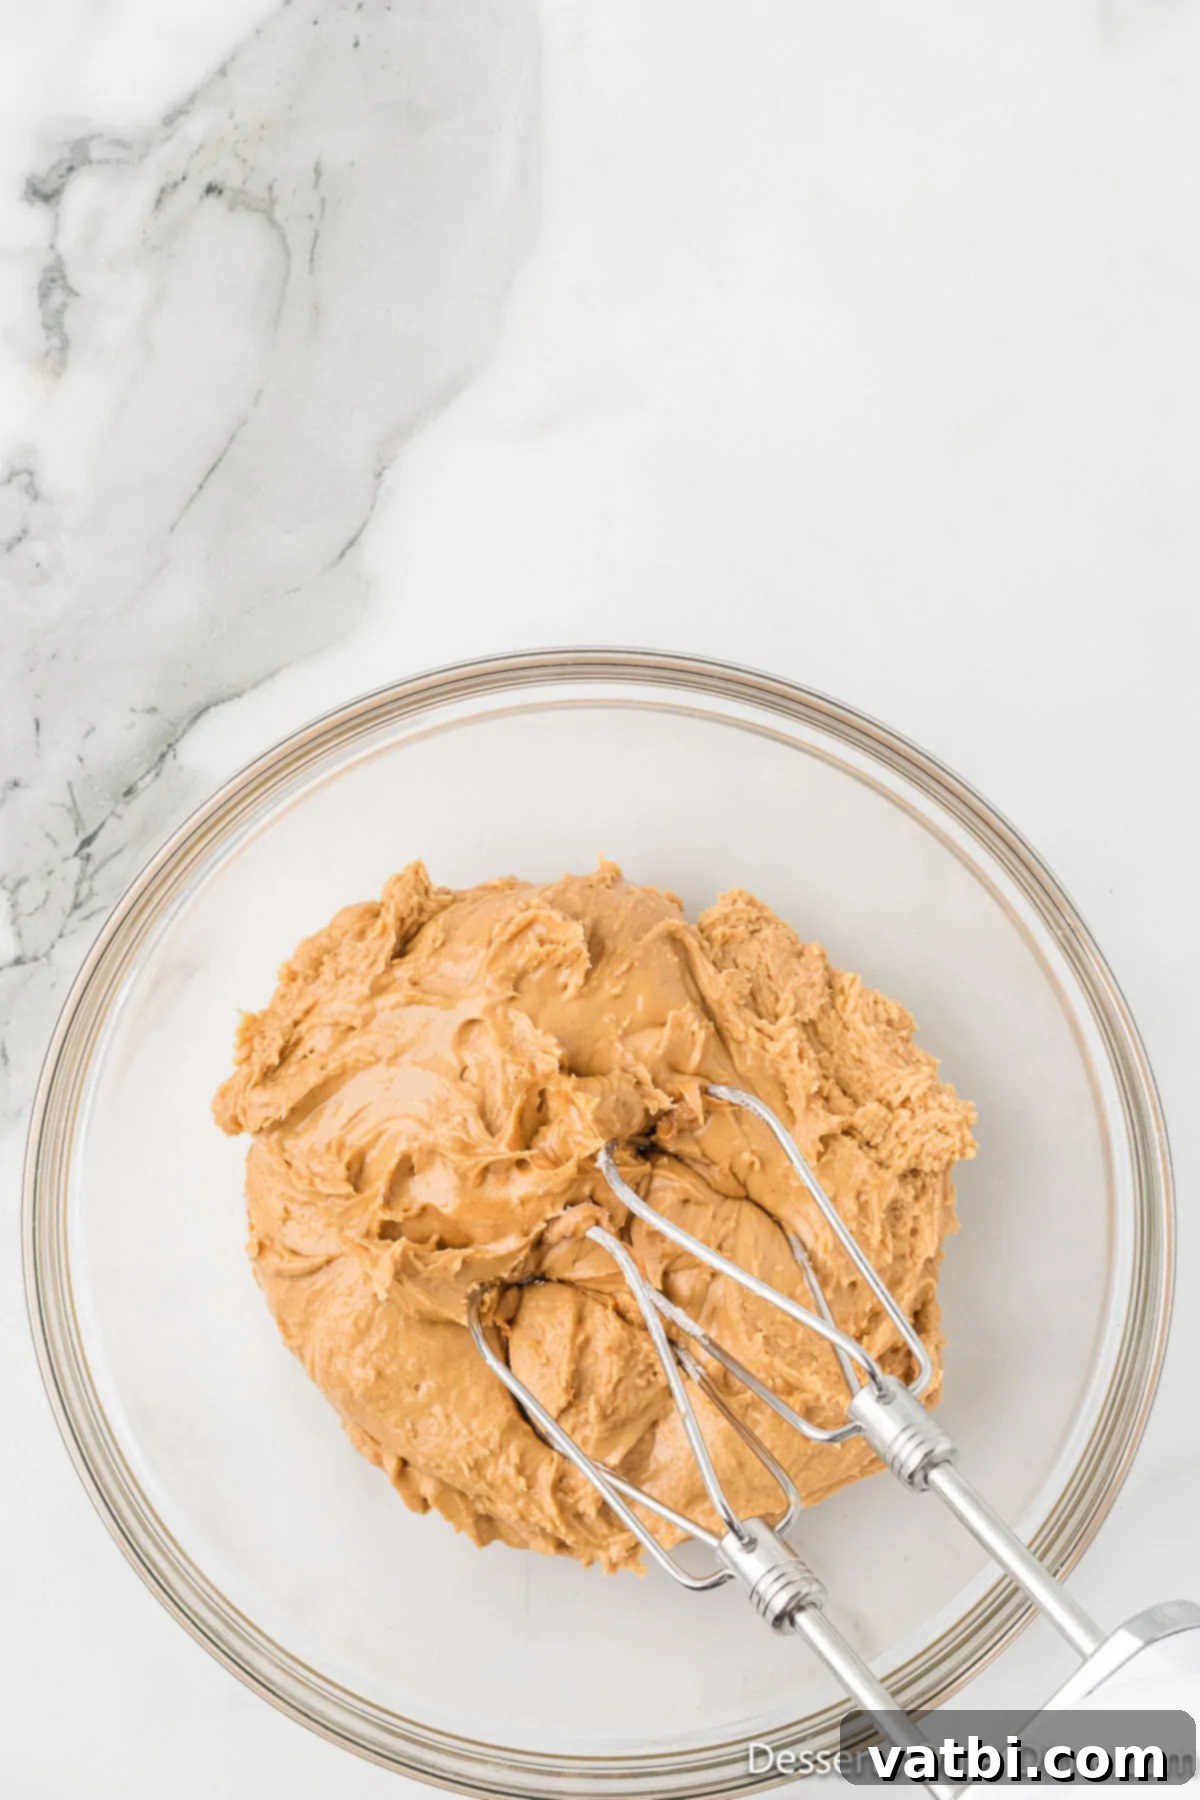
Step 4. Achieve a smooth and creamy consistency. Continue to mix the ingredients until the dough is completely smooth and creamy. There should be no visible lumps of butter or powdered sugar. The mixture should be pliable and hold its shape.
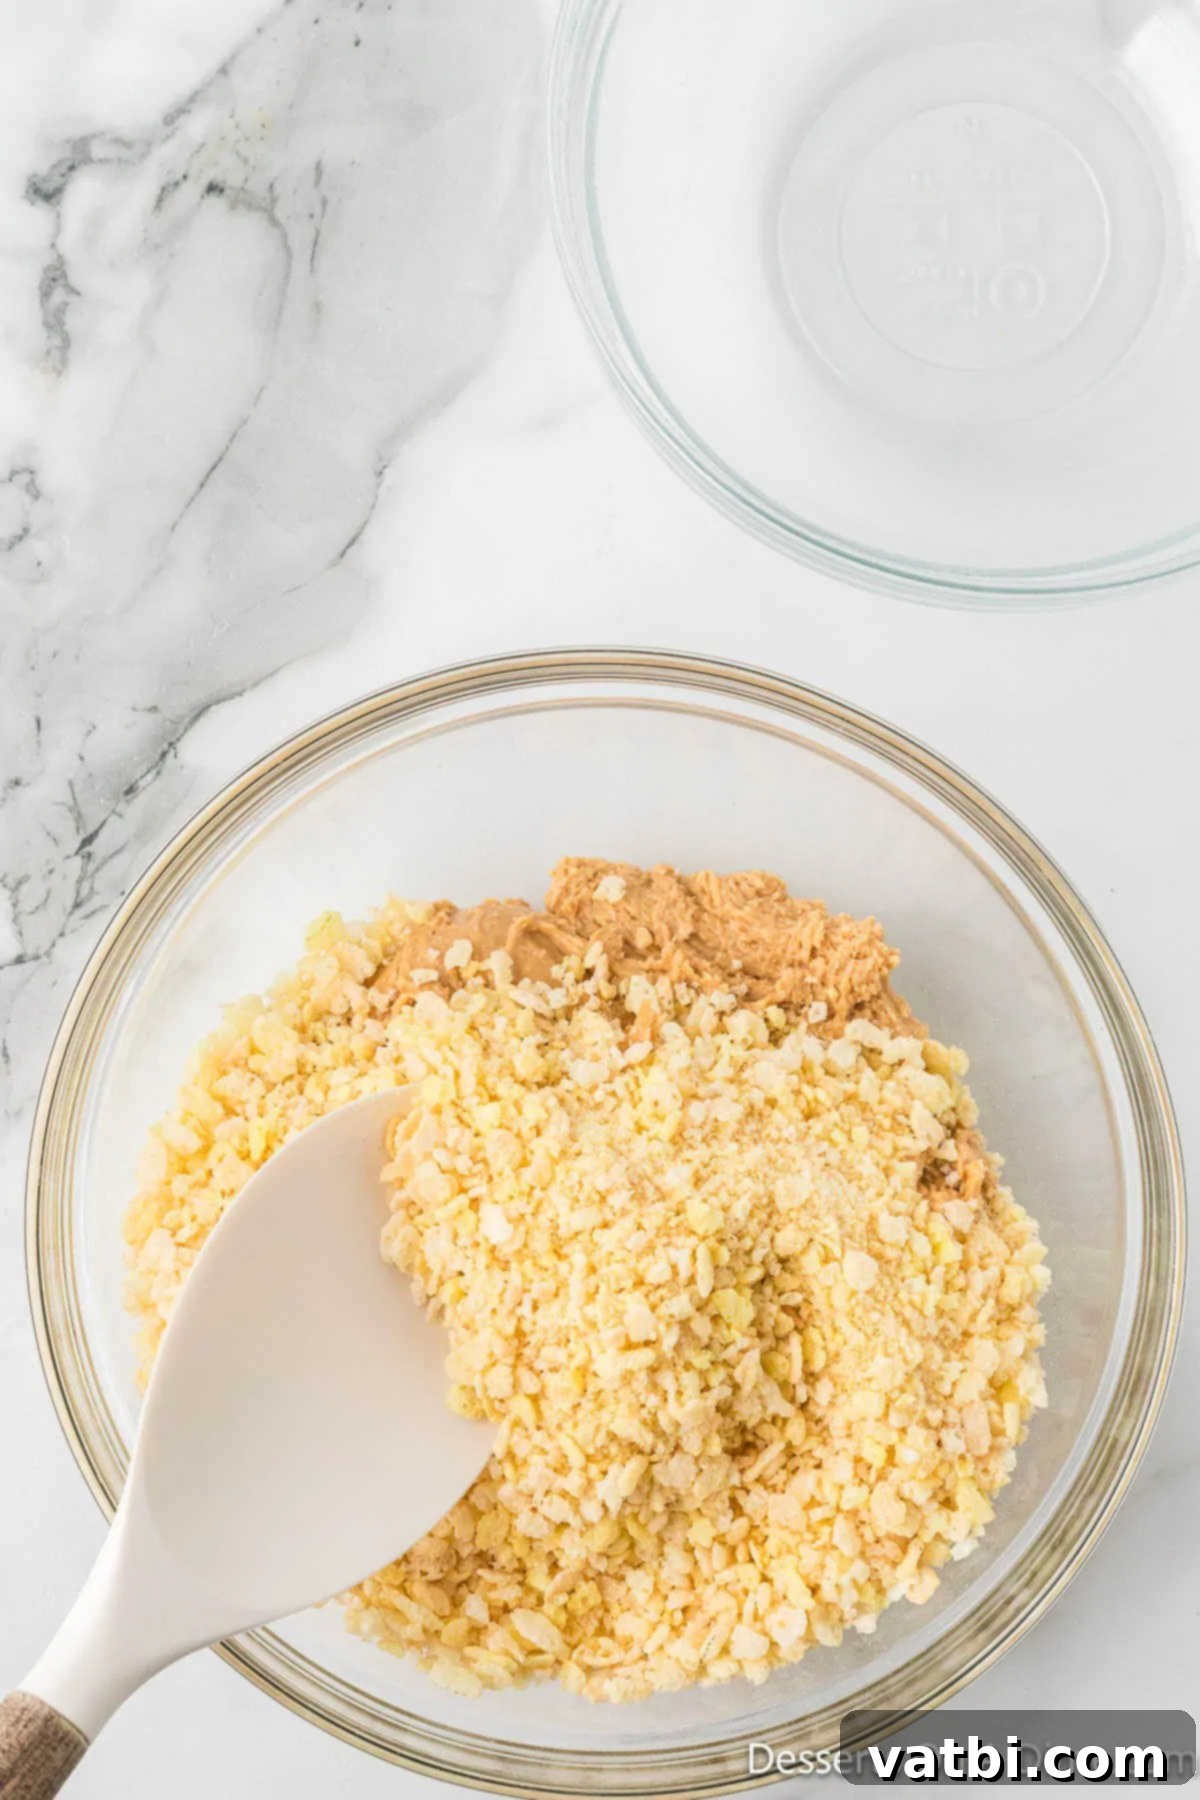
Step 5. Gently fold in the Rice Krispies. Once your peanut butter mixture is smooth, it’s time to add the crushed Rice Krispies cereal. Use a sturdy spatula or your hands to gently fold the cereal into the mixture. Be careful not to crush the cereal too much at this stage; you want to maintain some of its crispy texture.
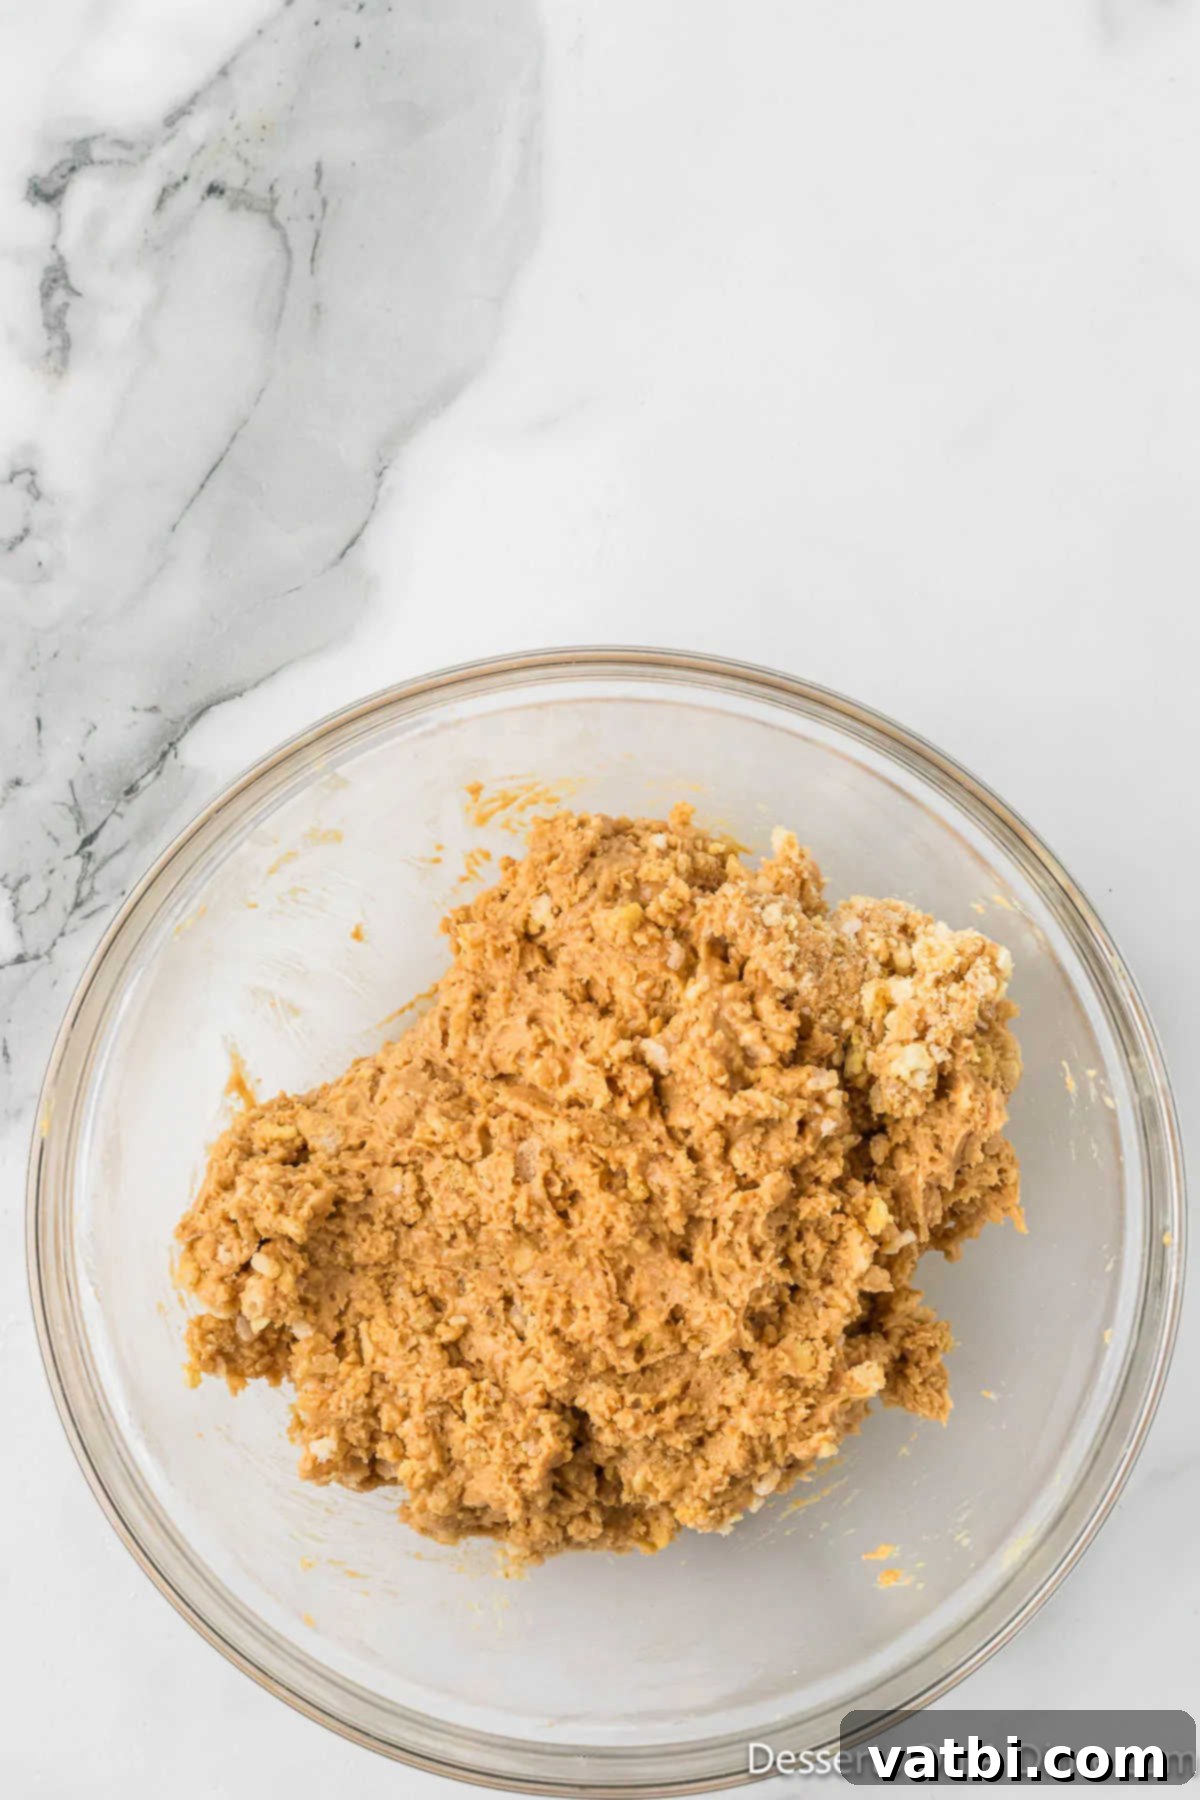
Step 6. Mix until just combined. Continue folding until the Rice Krispies cereal is evenly distributed throughout the peanut butter mixture. The goal is to combine thoroughly without overworking the mixture or excessively crushing the cereal. The mixture should now be thick and uniform.
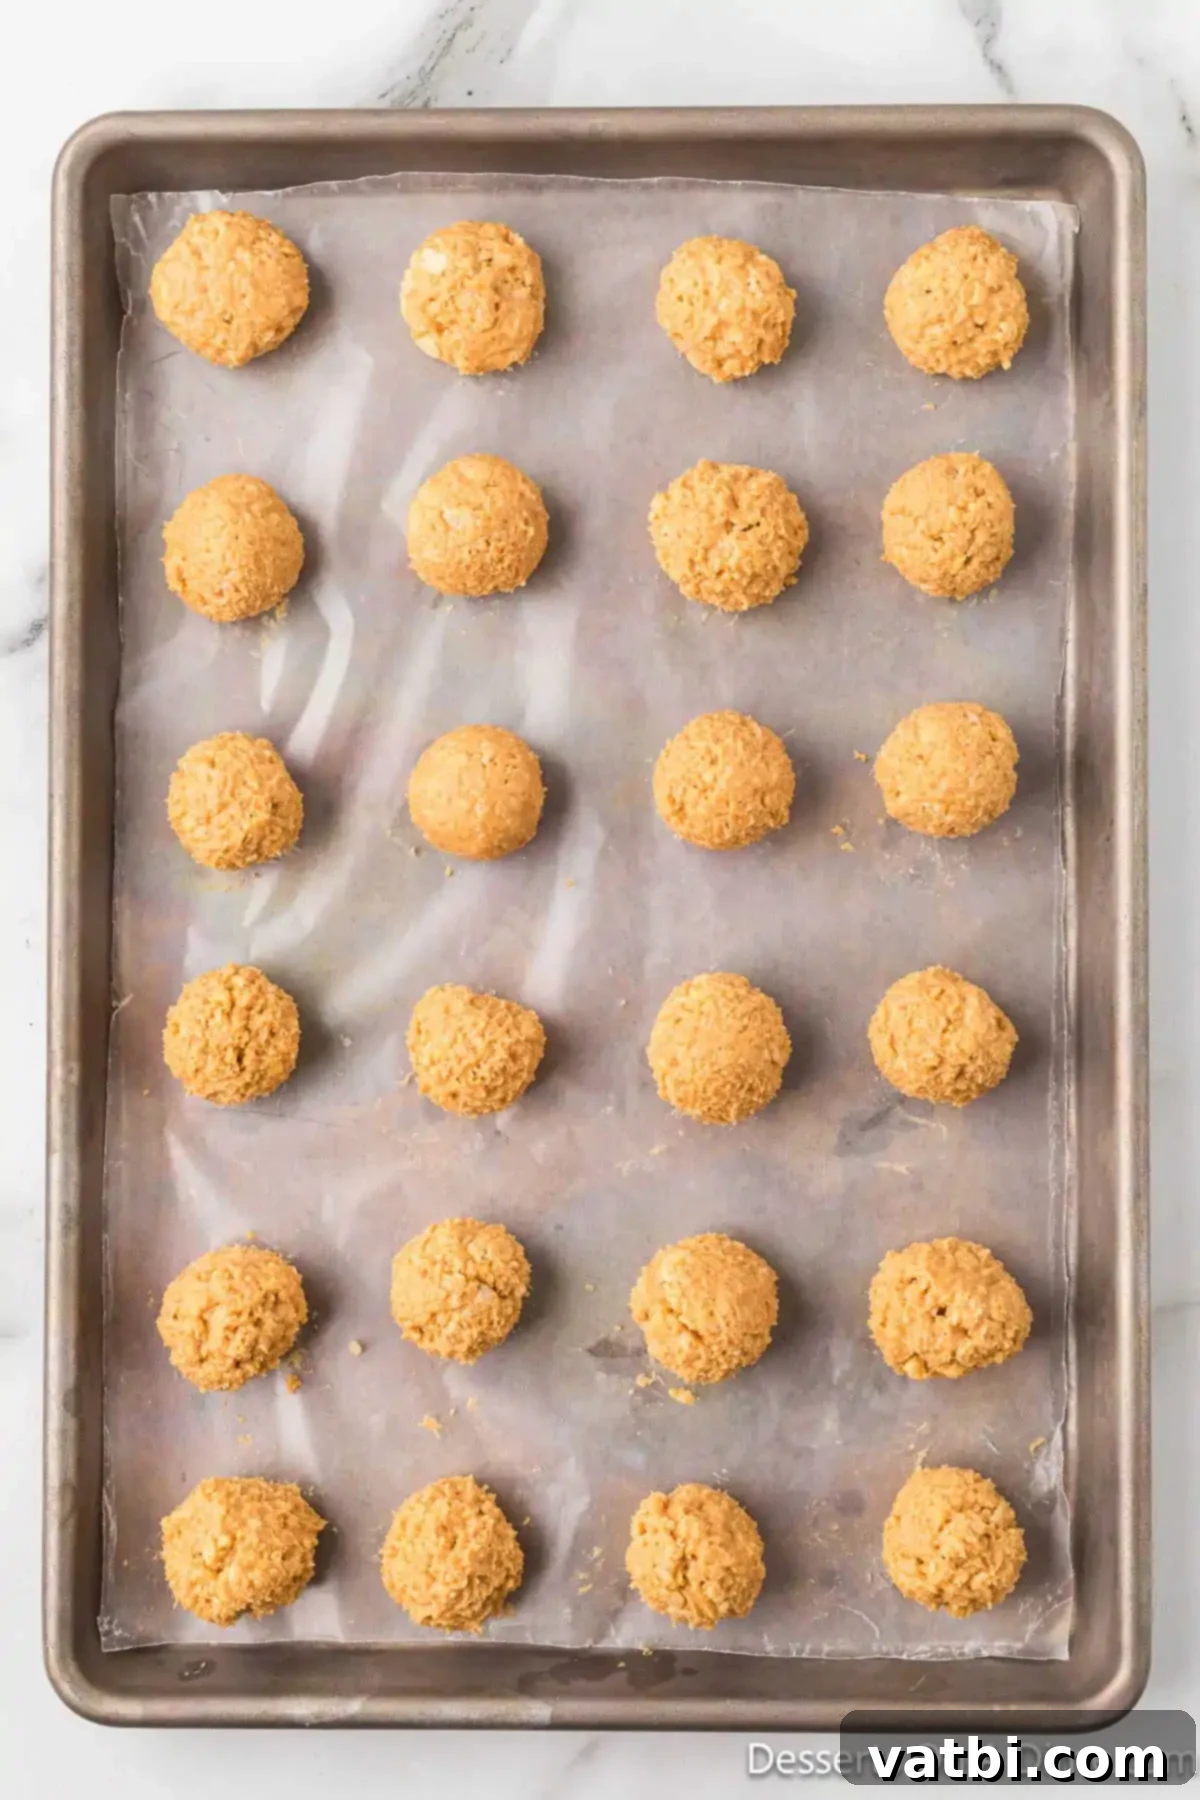
Step 7. Form and chill the balls. Using a cookie scoop or your hands, roll the peanut butter mixture into small, bite-sized balls. Place each ball onto the prepared wax paper-lined baking sheet. Once all the mixture has been rolled, transfer the baking sheet to the refrigerator to chill for at least 30 minutes. This chilling step is essential for firming up the balls, making them easier to dip in chocolate and helping them hold their shape.
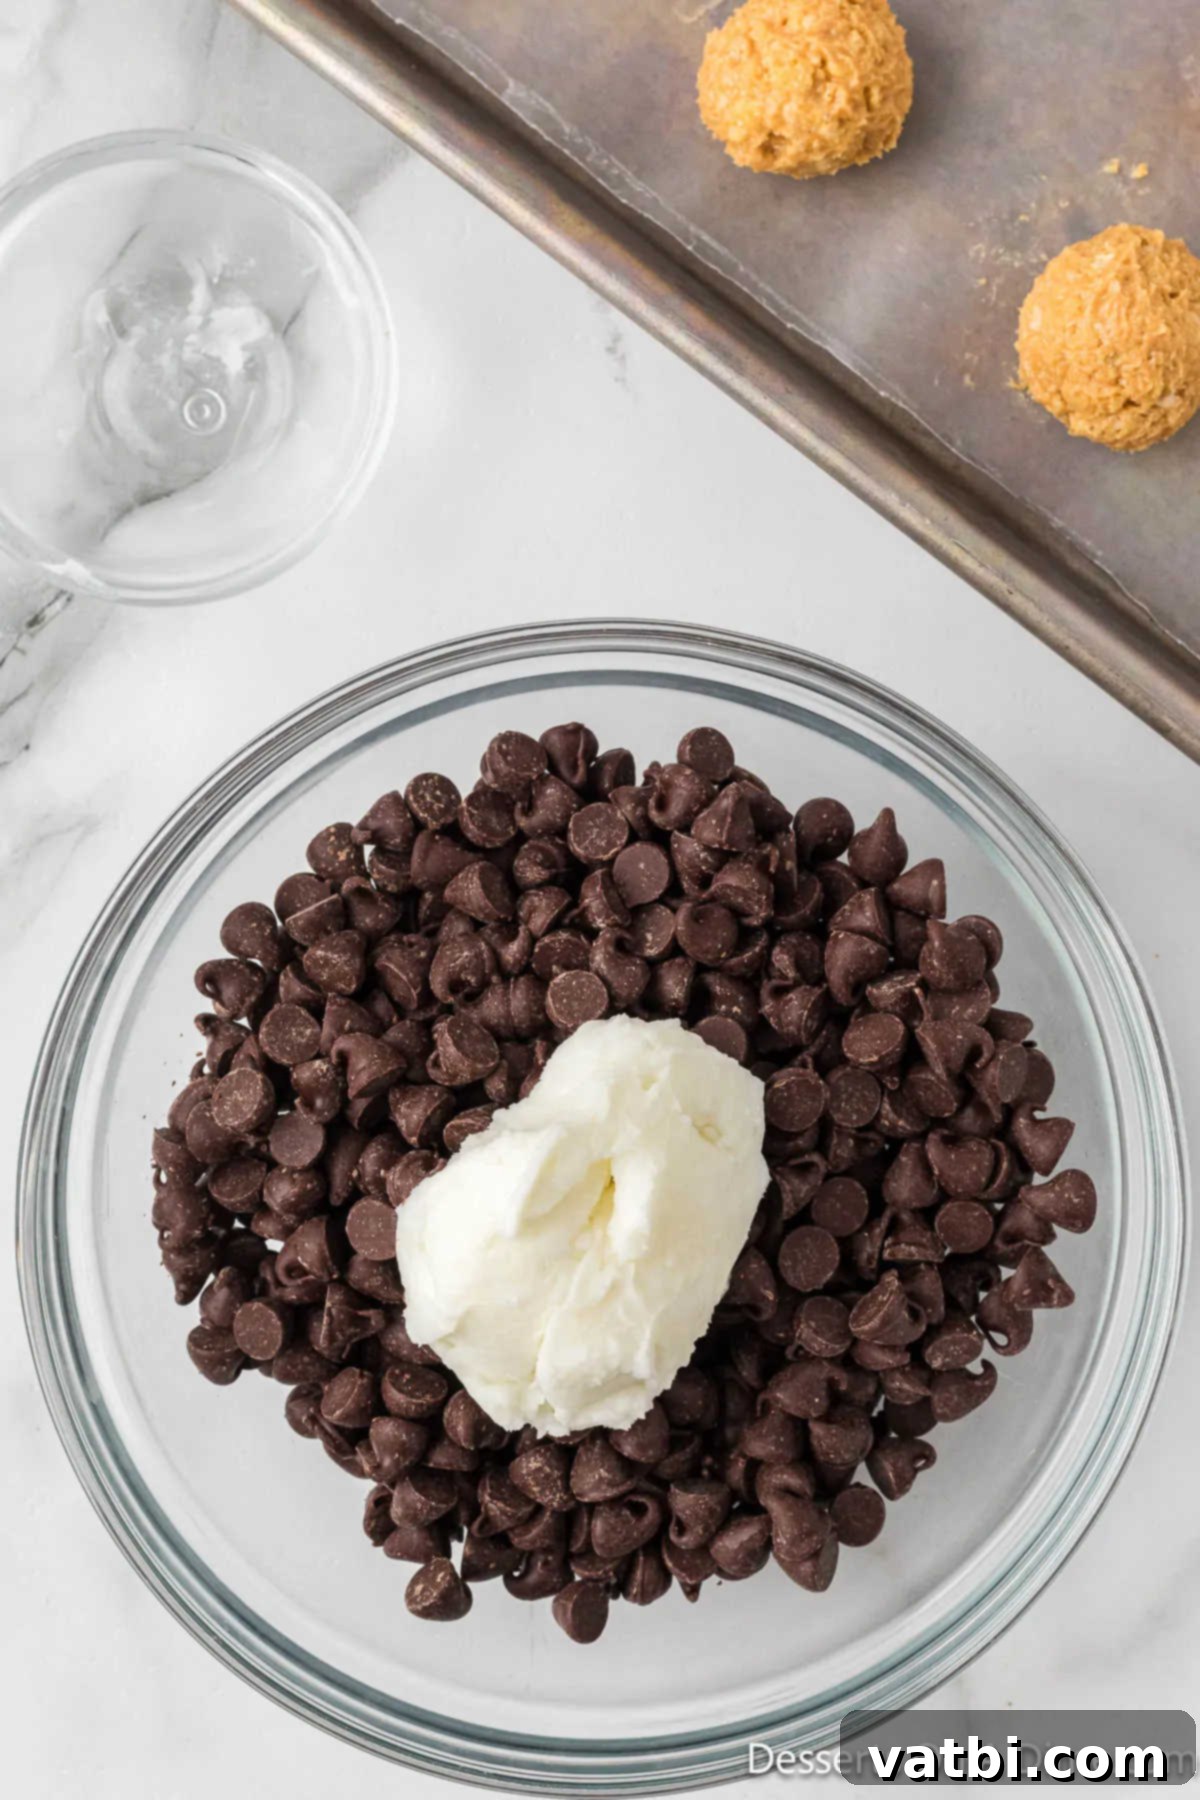
Step 8. Prepare the chocolate for melting. While the peanut butter balls are chilling, prepare your chocolate coating. Place the semi-sweet chocolate chips and the shortening into a microwave-safe bowl. Make sure the bowl is clean and dry to prevent the chocolate from seizing.
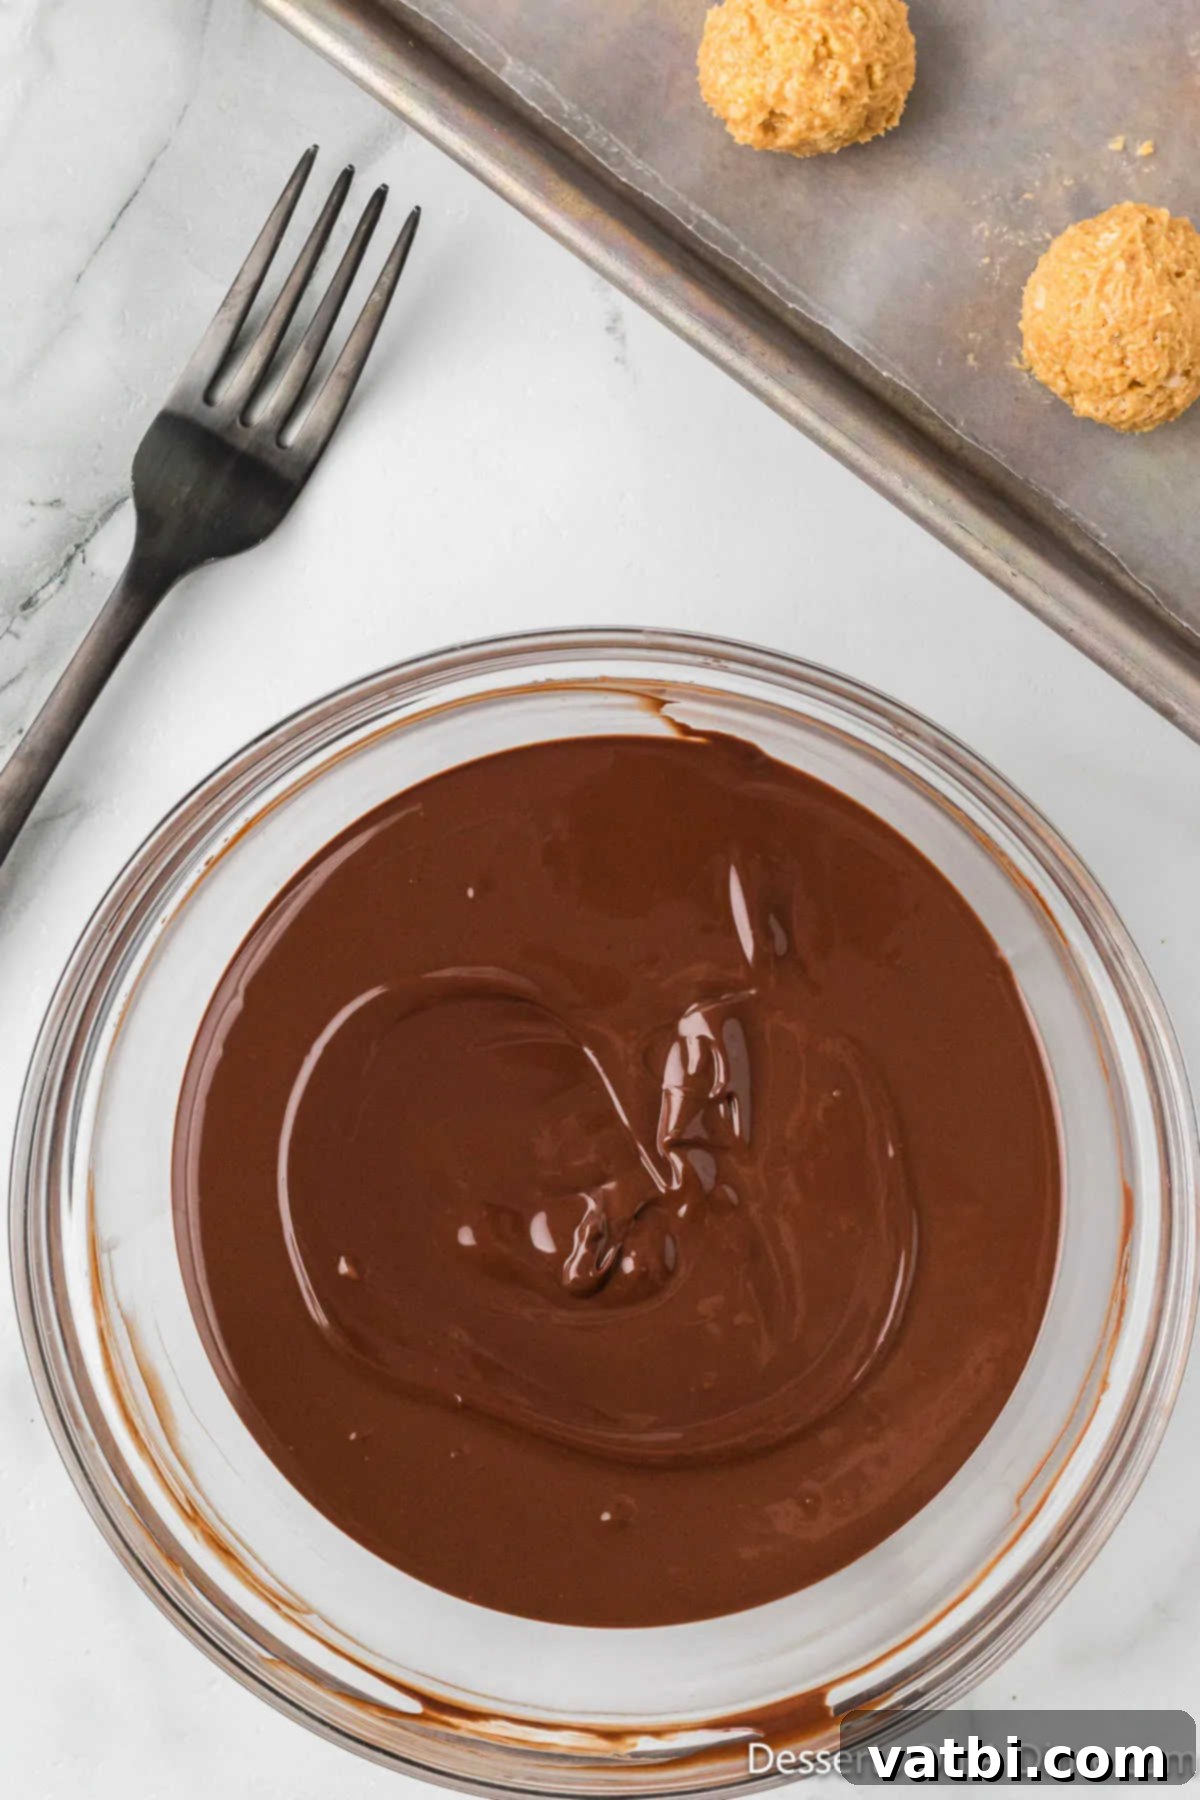
Step 9. Melt the chocolate carefully. Heat the chocolate chips and shortening in the microwave in short 30-second intervals. After each interval, remove the bowl and stir the chocolate thoroughly. Continue this process until the chocolate is completely melted and smooth. Be patient and avoid overheating to prevent burning the chocolate, which can make it clumpy and unusable.
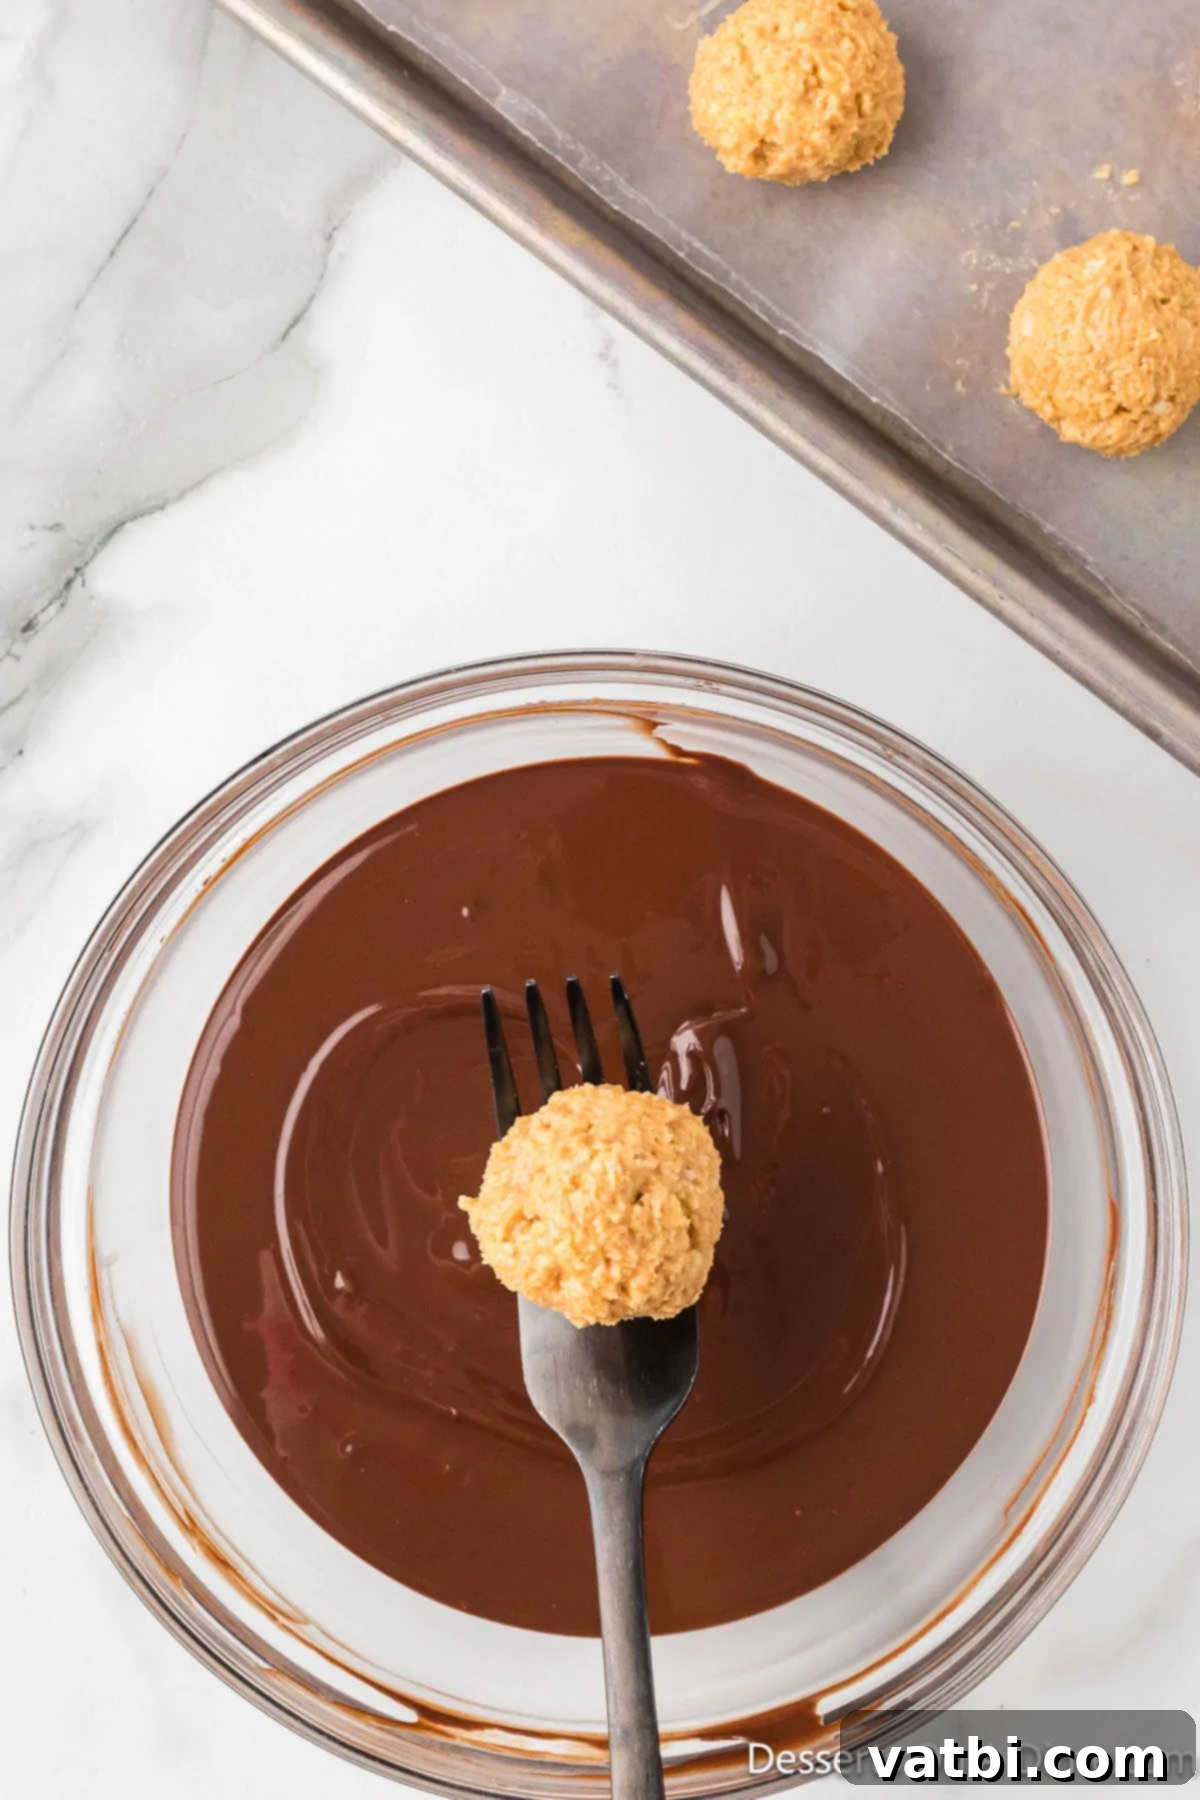
Step 10. Coat the chilled peanut butter balls. Once the peanut butter balls are thoroughly chilled and firm, and your chocolate is perfectly melted, begin coating them. Dip each ball into the warm, melted chocolate, ensuring it’s fully submerged and covered. The chilled state of the balls helps the chocolate adhere and set quickly.
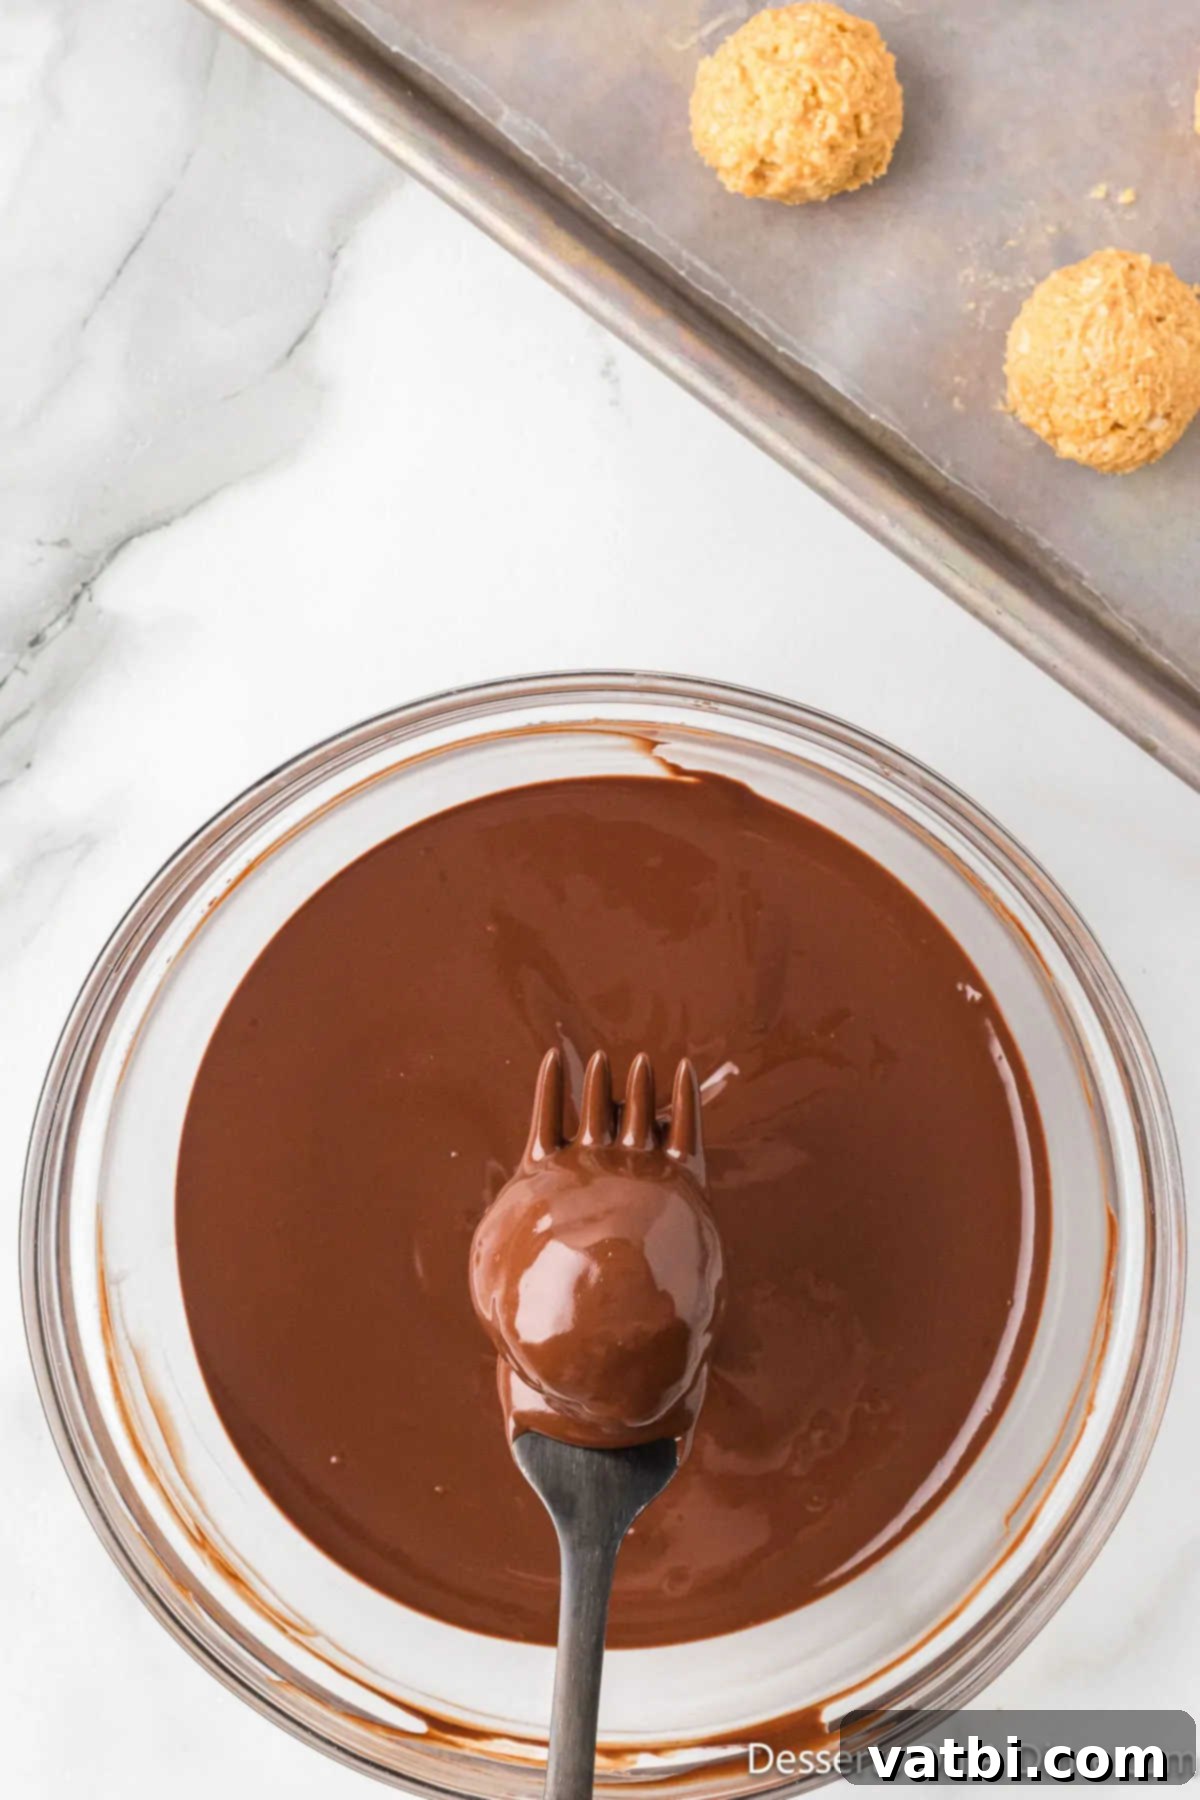
Step 11. Drain excess chocolate. Use a fork or a candy-dipping tool to lift each chocolate-coated ball out of the melted chocolate. Gently tap the fork against the side of the bowl to allow any excess chocolate to drip off. This creates a clean, even coating. Carefully transfer the coated balls back onto the wax paper-lined baking sheet.
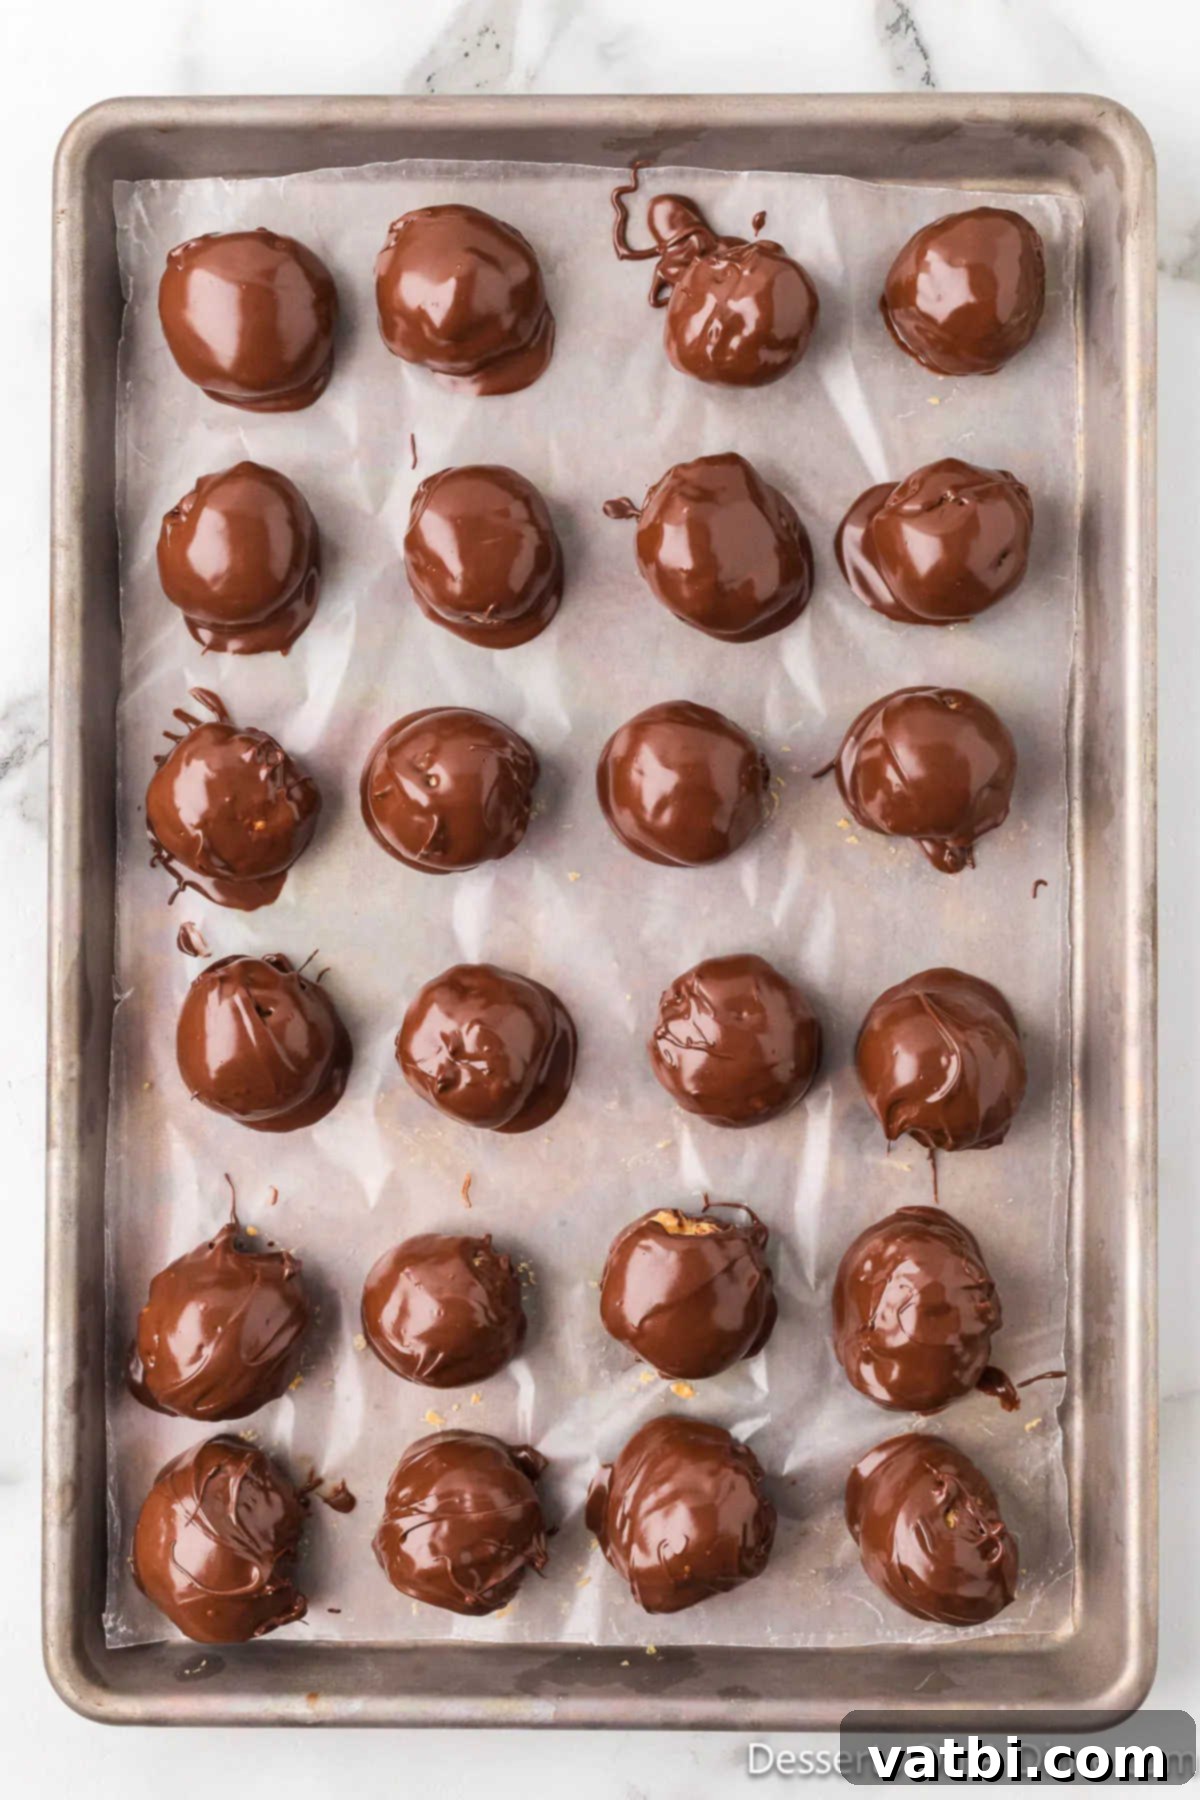
Step 12. Chill for final setting. Once all of your delicious peanut butter balls have been coated in chocolate and returned to the baking sheet, place the entire sheet back into the refrigerator. Allow them to chill for approximately 15 to 30 minutes, or until the chocolate coating is completely hardened and firm to the touch. This step ensures a crisp, non-sticky finish.
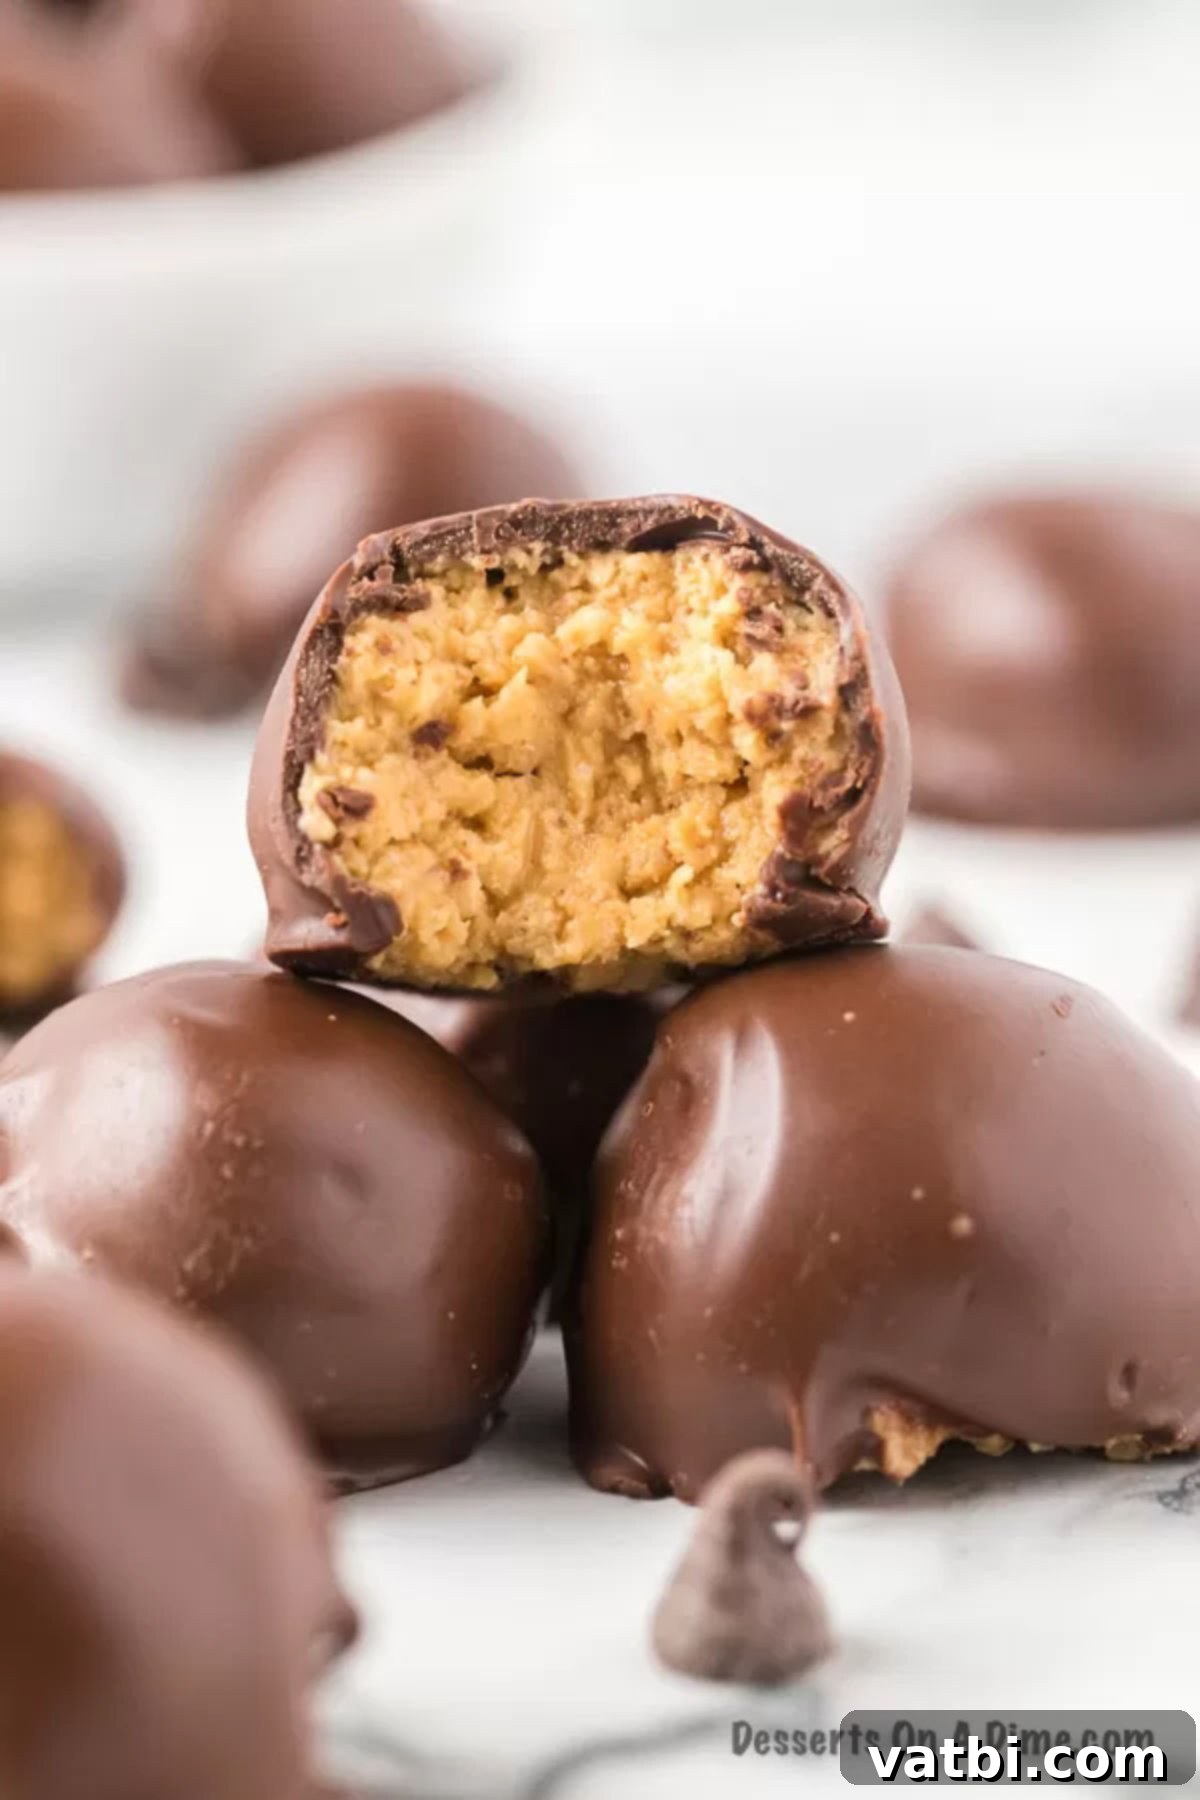
Step 13. Serve and enjoy! Once the chocolate has fully set, carefully remove the peanut butter balls from the wax paper. Arrange them beautifully on a platter or in a decorative container. These homemade chocolate-covered peanut butter delights are now ready to be enjoyed! Prepare for rave reviews from everyone who tastes them.
Proper Storage for Freshness
To ensure your Peanut Butter Balls with Rice Krispies remain as delicious and fresh as the day you made them, proper storage is key. Once the chocolate coating has fully hardened, carefully transfer the candy into an airtight container. To prevent them from sticking together and to make it easier to grab individual treats, I highly recommend separating the layers of candy with sheets of parchment paper or wax paper.
Store the container in the refrigerator for up to 3 weeks. The cool temperature helps maintain the firmness of the peanut butter filling and keeps the chocolate coating from becoming soft. However, based on my experience and the sheer deliciousness of these treats, they rarely last that long in any household! For longer-term storage, these peanut butter balls also freeze exceptionally well, extending their shelf life even further. See the FAQ section for more details on freezing.
Expert Pro Tips for Success
Achieving perfectly delicious and visually appealing Peanut Butter Balls with Rice Krispies is easier than you think, especially with a few expert tips in your arsenal. These simple pointers will help ensure your no-bake treats turn out beautifully every time:
- Rice Krispies Freshness: The “crispy” in this recipe is crucial! Always use fresh Rice Krispies cereal. Stale cereal will lose its snap and can result in a soft, less satisfying texture. Feel free to use your favorite brand, whether it’s a popular name brand or a more budget-friendly store brand. A slight crush of the cereal is recommended, as detailed below.
- Room Temperature Ingredients are a Must: For the smoothest and most homogenous peanut butter mixture, it’s vital to use butter that has been softened at room temperature. Cold butter will be stubborn and lead to lumps, making it difficult to cream properly with the peanut butter. Room temperature ingredients ensure effortless mixing and a consistent dough that’s easy to roll.
- Melt Chocolate with Care: When melting your chocolate, patience is a virtue. Always microwave the chocolate in short 30-second intervals, stirring thoroughly after each one. This gentle approach prevents the chocolate from burning, seizing, or becoming grainy. Burnt chocolate is irreversible and will spoil your coating, so take your time for a perfectly smooth, glossy finish.
- Uniform Balls with a Cookie Scoop: For professional-looking results and consistent serving sizes, a cookie scoop is your best friend. It not only makes the process of forming the balls much quicker and less messy, but it also ensures that each peanut butter ball is uniform in size and shape. This leads to even chilling and a beautiful presentation.
- Slightly Crush the Cereal: Before adding the Rice Krispies to your peanut butter mixture, give them a gentle crush. You can do this by placing them in a Ziploc bag and lightly rolling a rolling pin over them, or simply by squeezing them by hand. The goal isn’t to pulverize them into powder, but to break them down slightly. This allows them to integrate better into the peanut butter dough, preventing the mixture from becoming too crumbly and ensuring a more even distribution of crunch.
- Troubleshooting Sticky Dough: If your peanut butter mixture feels too sticky to roll into balls, don’t worry! This is usually an easy fix. Gradually add a small amount of extra powdered sugar, about a tablespoon at a time, mixing it in thoroughly until the dough reaches a manageable consistency that is easy to handle and roll.
- Chill Time is Crucial: Do not skip or shorten the chilling times. Chilling the peanut butter balls before dipping ensures they hold their shape and prevents them from falling apart in the warm chocolate. The final chill after coating helps the chocolate set quickly and achieve that satisfying, firm shell.
Frequently Asked Questions
Melting chocolate for these peanut butter balls is surprisingly simple and doesn’t require any fancy equipment like a double boiler. The microwave method is quick and effective for achieving a smooth, dippable consistency.
Simply place your chocolate chips and a bit of shortening (which helps with smoothness and shine) in a clean, microwave-safe bowl. Microwave for 30 seconds at a time. After each 30-second interval, remove the bowl and stir the chocolate thoroughly with a spatula. It might not look melted at first, but stirring helps distribute the heat. Continue microwaving and stirring in these short bursts until the chocolate is fully melted and beautifully smooth. This interval method is crucial to prevent the chocolate from overheating and burning, which can make it clumpy and unusable. For more in-depth tips and tricks on mastering this technique, check out our guide on How to Melt Chocolate Chips.
Absolutely! These delightful peanut butter balls freeze exceptionally well, making them an excellent candidate for meal prep, holiday baking in advance, or simply ensuring you always have a delicious treat on hand. Freezing actually preserves their texture and flavor beautifully. When preparing them for the freezer, make sure they are fully coated and the chocolate has completely set. Then, place the candy inside an airtight freezer-safe container. To prevent them from sticking together in a large frozen clump, arrange layers of parchment paper or wax paper between the peanut butter balls. This way, you can easily grab just a couple whenever a craving strikes, without having to thaw the entire batch. They make for a perfect impromptu dessert or a thoughtful homemade gift!
When stored correctly in an airtight container with layers of parchment paper, these peanut butter balls can be frozen for up to 2 to 3 months. This incredible shelf life makes them a fantastic option for preparing ahead of time. Many people, including our family, make large batches for the holidays or for special events like birthdays, well in advance. This strategy saves a significant amount of time and stress during busy periods. Simply thaw them in the refrigerator for a few hours before serving, or enjoy them directly from the freezer for a slightly firmer, chilled treat. They taste just as delicious and satisfying when enjoyed after being frozen as they do when freshly made.
If your peanut butter balls mixture is too sticky to handle and form into neat balls, it’s typically an indication that the mixture needs more dry ingredients to balance the wet ones. The most common solution is to gradually add more powdered sugar to the mixture. Incorporate it a tablespoon at a time, mixing well after each addition, until the dough reaches a consistency that is firm enough to roll without excessively sticking to your hands. Factors like humidity, the brand of peanut butter (some are oilier than others), or slightly over-softened butter can contribute to a stickier consistency. Just keep adding powdered sugar slowly until you achieve the desired, workable texture.
While it might seem like a healthier alternative, natural peanut butter (the kind that separates oil and requires stirring) is generally not recommended for this specific recipe. Its consistency is often looser and more oily, which can make the mixture too soft and difficult to form into balls, even with extra powdered sugar. The oil tends to separate from the solids, potentially resulting in a greasy texture and an unstable final product. For best results and the classic texture, stick with creamy, processed peanut butter that doesn’t require stirring.
These peanut butter balls are best stored in the refrigerator due to the butter content, which keeps them firm and fresh. At room temperature, especially in a warm environment, the chocolate coating might soften and the peanut butter mixture could become very soft and sticky. If left at room temperature, they will generally be good for about 2-3 days, but for optimal taste, texture, and food safety, refrigeration is strongly advised. Always store them in an airtight container to prevent them from drying out or absorbing other odors from the fridge.
More Chocolate Peanut Butter Desserts
If your love for the chocolate and peanut butter combination runs deep, you’re in for a treat! This iconic duo creates some of the most satisfying desserts imaginable. Here are a few more recipes that celebrate this fantastic flavor pairing, perfect for expanding your repertoire of sweet delights:
- 2 Ingredient Chocolate Peanut Butter Fudge: An incredibly simple yet rich and decadent fudge that comes together with minimal effort.
- Homemade Chocolate Peanut Butter Cups Recipe: Recreate the classic candy shop favorite in your own kitchen with this easy-to-follow recipe.
- 4 Ingredient Chocolate Peanut Butter Cookies Recipe: A quick and simple cookie recipe that delivers maximum flavor with minimal ingredients.
- Classic Chocolate Peanut Butter Balls: For those who love the traditional version without the added crunch of Rice Krispies.
These irresistible Peanut Butter Balls with Rice Krispies are more than just a dessert; they are a delightful experience that combines rich flavors and satisfying textures in every bite. They are incredibly easy to make, require no baking, and are guaranteed to be a crowd-pleaser for any occasion. Don’t hesitate to whip up a batch today and watch them disappear! You might even want to double the recipe so you have plenty to share, or perhaps stash some away in the freezer for a rainy day. Once you try these crispy, creamy, chocolate-covered treats, we’d love to hear your thoughts! Please leave a comment below to share your experience and let us know how much you enjoyed them. Happy no-baking!
Pin
Peanut Butter Balls with Rice Krispies
Ingredients
- 1 cup Creamy Peanut Butter
- ¼ cup Butter softened
- 1 tsp Vanilla Extract
- 1 cup Powdered Sugar
- 2 cups Rice Krispies Cereal crushed
- 12 oz Semi-Sweet Chocolate Chips
- 2 Tbsp Shortening
Instructions
-
Line a baking sheet with waxed paper and set aside.
-
Cream together the peanut butter, butter, vanilla extract and powdered sugar together in a large bowl.
-
Then stir in the crushed Rice Krispies Cereal.
-
Then shape the mixture into small balls (bite size). Place the peanut butter balls on the prepared cookie sheet with waxed paper and chill in the refrigerator for at least 30 minutes.
-
Place the chocolate chips and shortening in a microwave safe bowl. Heat in 30 second intervals, stir between each interval until the chocolate is fully melted.
-
Dip each of the chilled peanut butter balls into the melted chocolate. Lift the ball out of the chocolate with a fork and then transfer them back to the baking sheet.
-
Once all of your peanut butter balls are coated, put the cookie sheet in the fridge for 15-30 minutes. This will ensure the chocolate coating is completely hardened.
Nutrition Facts
Pin This Now to Remember It Later
Pin Recipe
