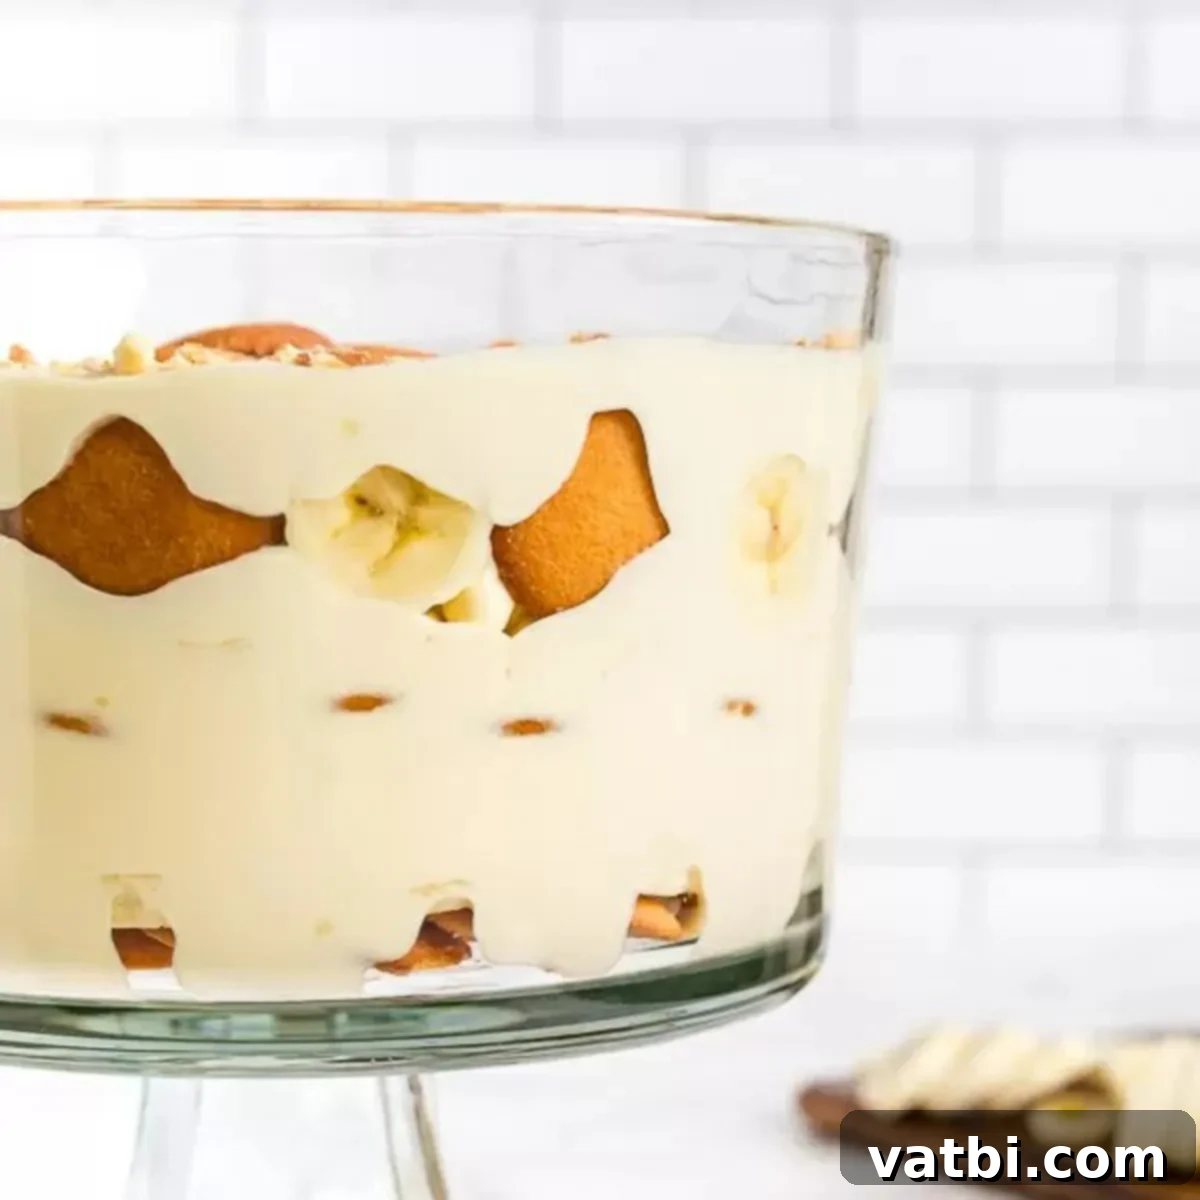
The Ultimate Easy Homemade Banana Pudding Recipe: A Classic No-Bake Dessert
This Easy Banana Pudding Recipe is destined to become a cherished family favorite, bringing smiles and nostalgic flavors to any gathering. With its delectable layers of creamy vanilla pudding, fluffy whipped cream, sweet ripe bananas, and tender vanilla wafers, this dessert is truly a masterpiece of taste and texture. The carefully arranged layers not only offer an incredible eating experience but also create a visually stunning presentation, especially when showcased in an elegant trifle dish. Its effortless preparation makes it a go-to dessert for any occasion, from casual weeknight meals to festive celebrations.
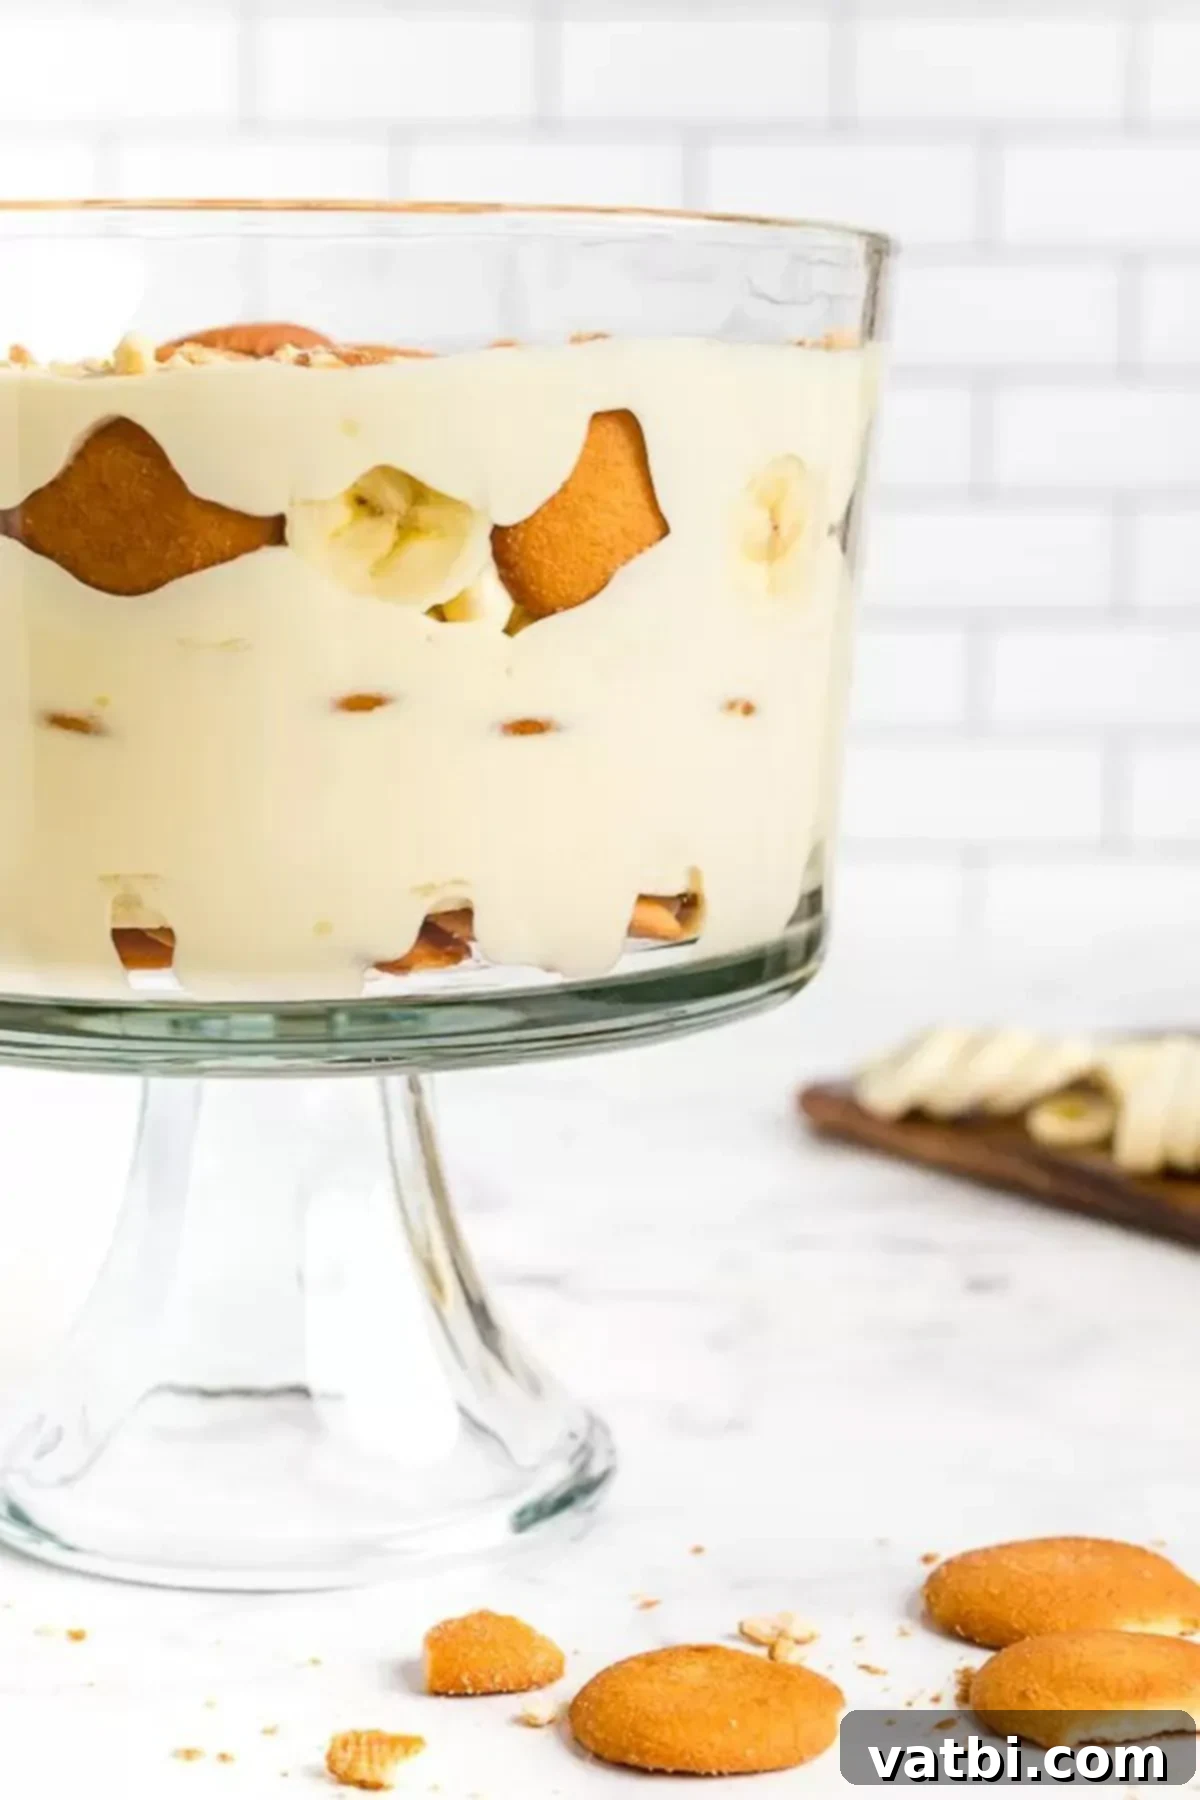
Banana Pudding holds a special place in the hearts of many as a timeless no-bake dessert recipe, instantly conjuring up fond memories of Sunday lunches at Grandma’s house or cozy family gatherings. Each spoonful of this decadent treat is a delightful blend of textures and tastes. My absolute favorite part is when the crisp vanilla wafers transform into soft, cake-like sponges, perfectly complementing the smooth, creamy pudding and the sweet, fresh bananas. It’s a truly amazing combination that makes this classic dessert so utterly irresistible.
If you adore the comforting flavors of banana pudding, you might also enjoy exploring variations like our Banana Pudding Poke Cake or the rich and indulgent Paula Deen Banana Pudding for even more banana-inspired goodness.
Table of Contents
- Why You’ll Adore This Easy Banana Pudding Recipe
- Key Ingredients for Classic Banana Pudding
- Simple Steps to Make Homemade Banana Pudding
- Proper Storage for Freshness
- Expert Tips for the Best Banana Pudding
- Frequently Asked Questions
- More Delicious Banana Desserts to Try
Why You’ll Adore This Easy Banana Pudding Recipe
There are countless reasons to fall in love with this banana pudding recipe, starting with its incredible simplicity. You’ll be amazed at how straightforward it is to prepare, and your family will undoubtedly rave about its delicious taste. It’s the perfect dessert to impress guests when entertaining, yet it’s so easy and quick that you can whip it up any day of the week. This recipe proves that you don’t need complicated techniques to create something truly special; even the kids can join in the fun of assembling the layers!
What makes this recipe truly stand out is its fuss-free approach. We’ve streamlined the process by folding homemade whipped cream directly into the pudding mixture, eliminating extra steps and making the layering process incredibly simple and efficient. This not only saves time but also results in an exceptionally light and airy pudding that’s utterly divine. The beauty of this dessert lies in its ability to taste gourmet with minimal effort, offering a rich, creamy texture and a delightful blend of flavors that gets even better as it chills. It’s truly a no-fuss, high-reward dessert that everyone will enjoy.
If you’re a fan of the light and airy texture this recipe achieves, be sure to also try our Banana Pudding Fluff for another delightful treat.
Key Ingredients for Classic Banana Pudding
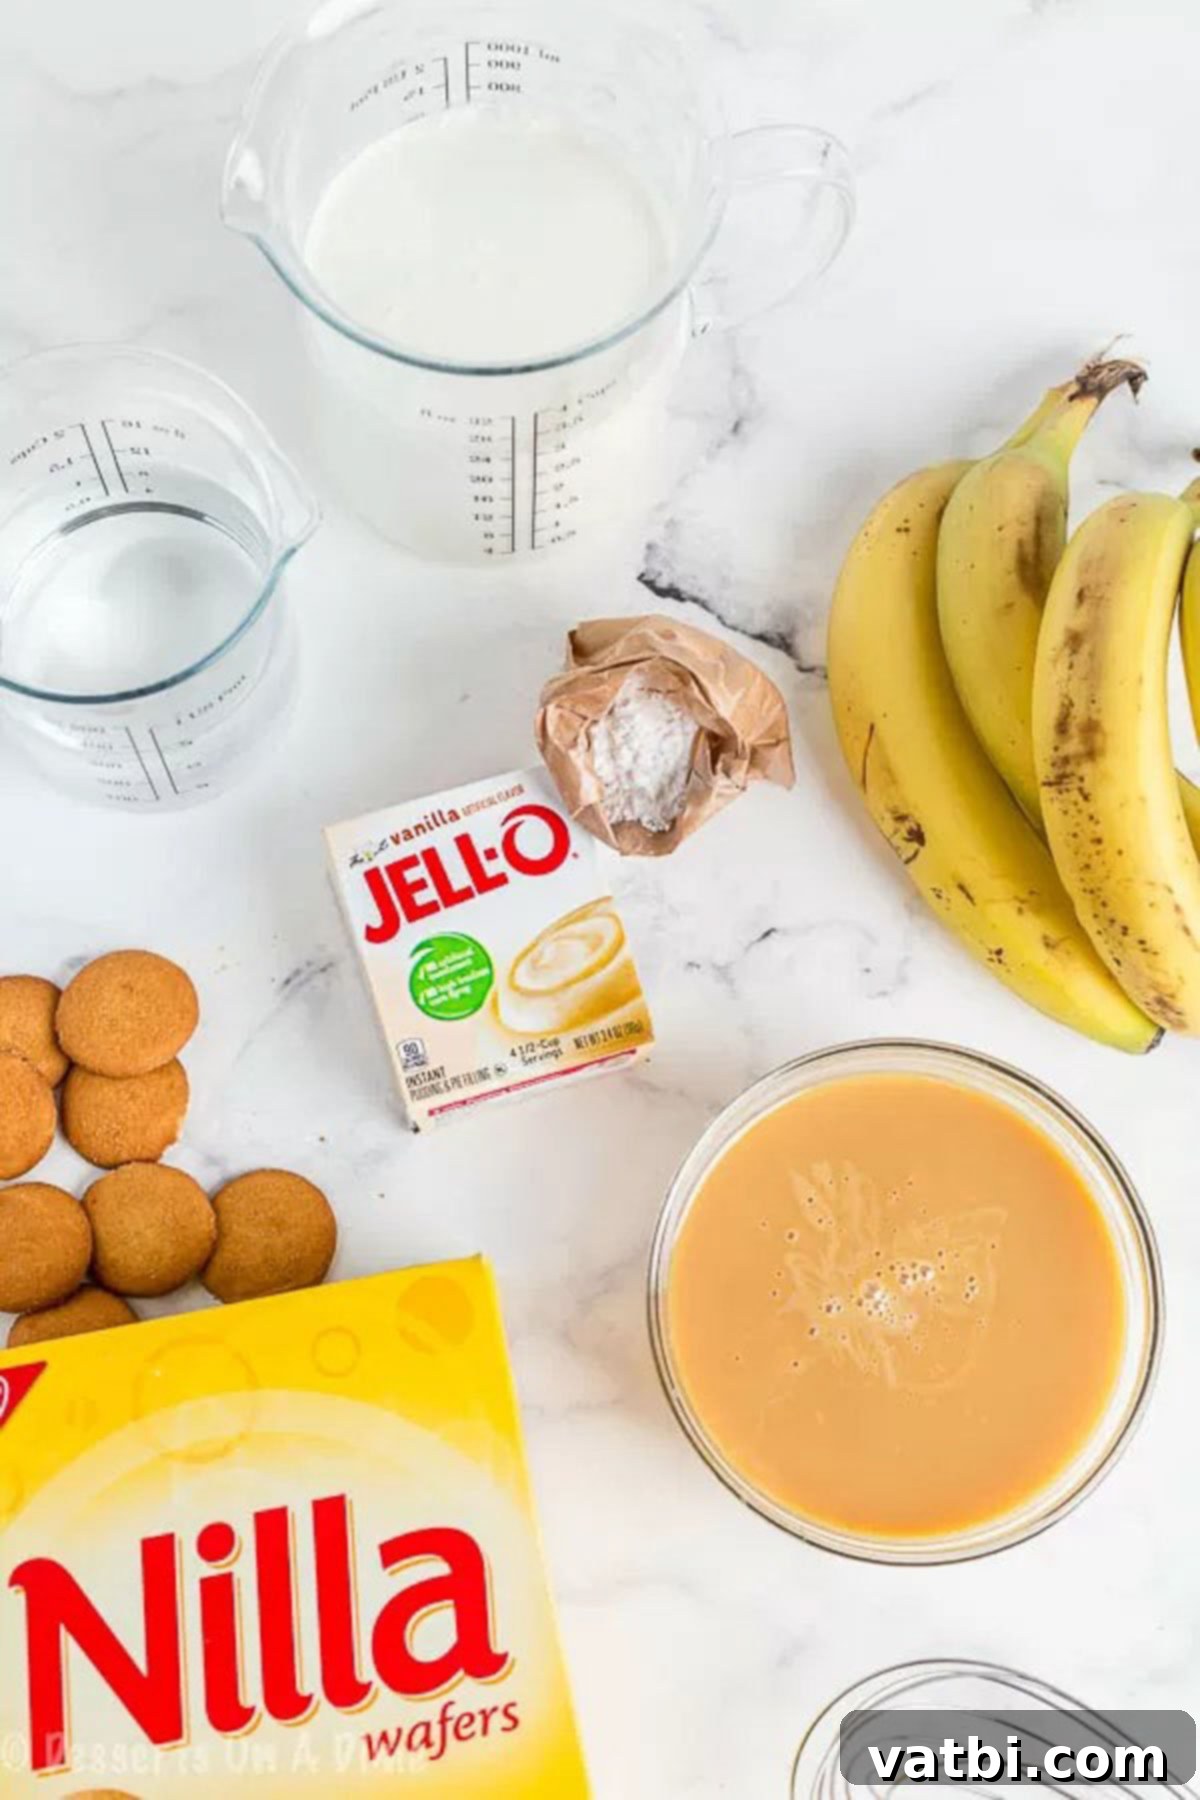
Creating the perfect banana pudding starts with selecting quality ingredients. Here’s a breakdown of what you’ll need and why each component is essential for that irresistible flavor and texture:
- Sweetened Condensed Milk: This ingredient is a cornerstone of this recipe, providing incredible richness, a velvety texture, and a deep, sweet flavor that’s incomparable. It creates the luscious base for our pudding.
- Instant Vanilla Pudding Mix: For ultimate convenience and consistent results, instant vanilla pudding mix is key. It helps to quickly set the dessert and provides that classic vanilla flavor. While instant mix works wonderfully, if you’re feeling ambitious, you can also try making Homemade Vanilla Pudding from scratch for an even richer depth of flavor.
- Heavy Cream: Essential for whipping into light, airy peaks, heavy cream adds a delightful creaminess and lightness when folded into the pudding. Ensure your heavy whipping cream is very cold for the best results when whipping. For a shortcut, you can also use a store-bought whipped topping like Cool Whip, though homemade whipped cream offers a superior fresh taste and texture.
- Sliced Ripe Bananas: The star of the show! Choose bananas that are ripe but still firm – yellow with a few small brown specks are ideal. Avoid overly green bananas (they lack sweetness) or excessively brown ones (they can be mushy and overpower the flavor). The fresh banana slices provide natural sweetness and a lovely contrast in texture.
- Nilla Wafers: These iconic cookies are traditional for banana pudding and become wonderfully tender and cake-like as they absorb moisture from the pudding. They add a delicate crunch initially and then transform into a melt-in-your-mouth layer. If you’re looking for an alternative or want to bake your own, consider our Vanilla Wafer Cookies recipe, or even use shortbread cookies or graham crackers for a slight variation.
The complete list of precise measurements for all these ingredients can be found in the detailed recipe card at the bottom of the page.
Simple Steps to Make Homemade Banana Pudding
Making this classic dessert is a breeze, even for beginners. Follow these easy steps to create a truly irresistible banana pudding:
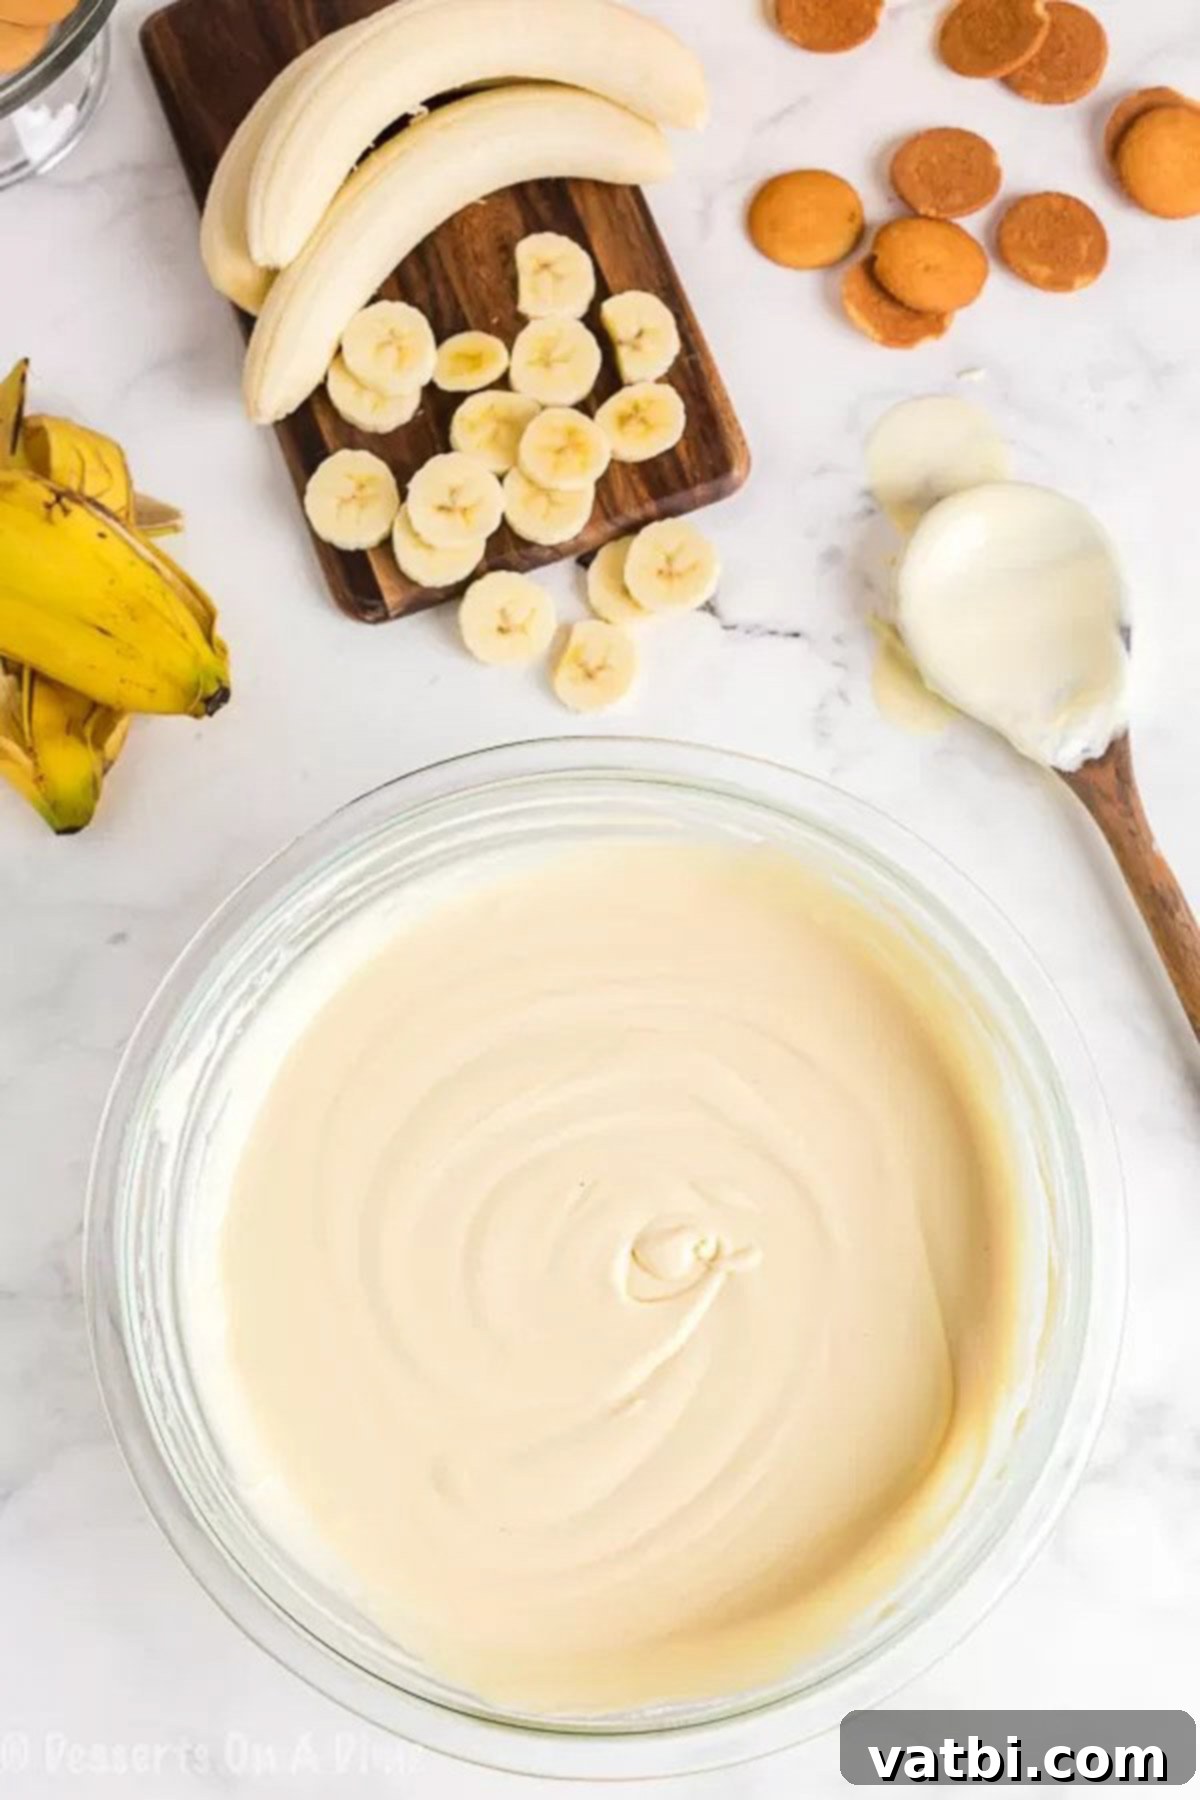
Step 1: Prepare the Pudding Base. In a large mixing bowl, combine the sweetened condensed milk with the ice-cold water. Using an electric mixer, beat these two ingredients together until they are completely smooth and well combined, which usually takes about one minute. Next, add the instant vanilla pudding mix to the bowl. Beat again with the mixer until the mixture is thoroughly combined and starts to thicken slightly. Cover the bowl tightly with plastic wrap and refrigerate it for a minimum of 3-4 hours, or ideally, overnight. This crucial chilling period allows the pudding to set properly, ensuring a firm, creamy texture rather than a watery one.
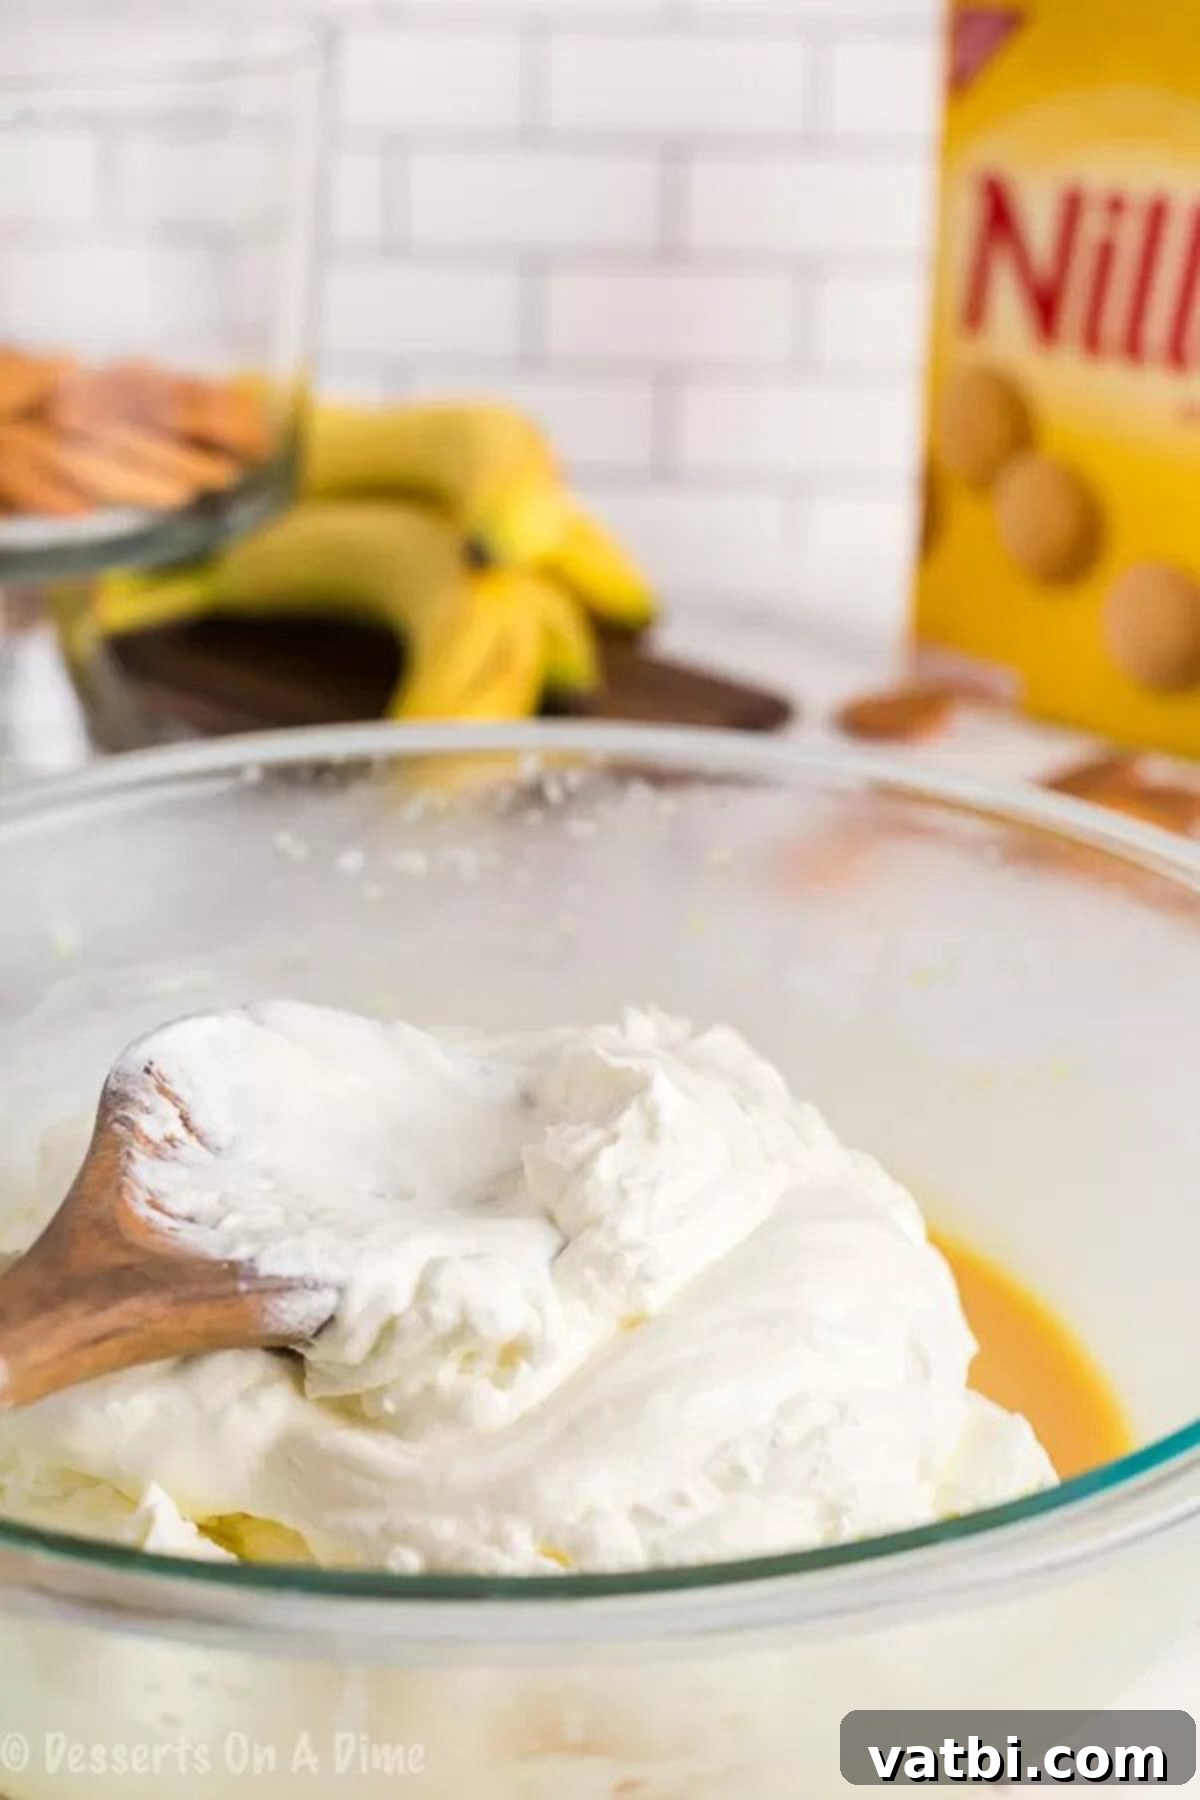
Step 2: Incorporate the Whipped Cream. Once your pudding base is perfectly chilled and set, get out a separate, clean large bowl. Pour in the very cold heavy cream. Using your electric mixer, whip the heavy cream on medium-high speed until stiff peaks form. The cream should hold its shape when the beaters are lifted. Then, very gently fold the whipped cream into the prepared pudding mixture using a spatula. Be careful not to deflate the air from the whipped cream; fold until no streaks of pudding remain, resulting in a light and airy consistency.
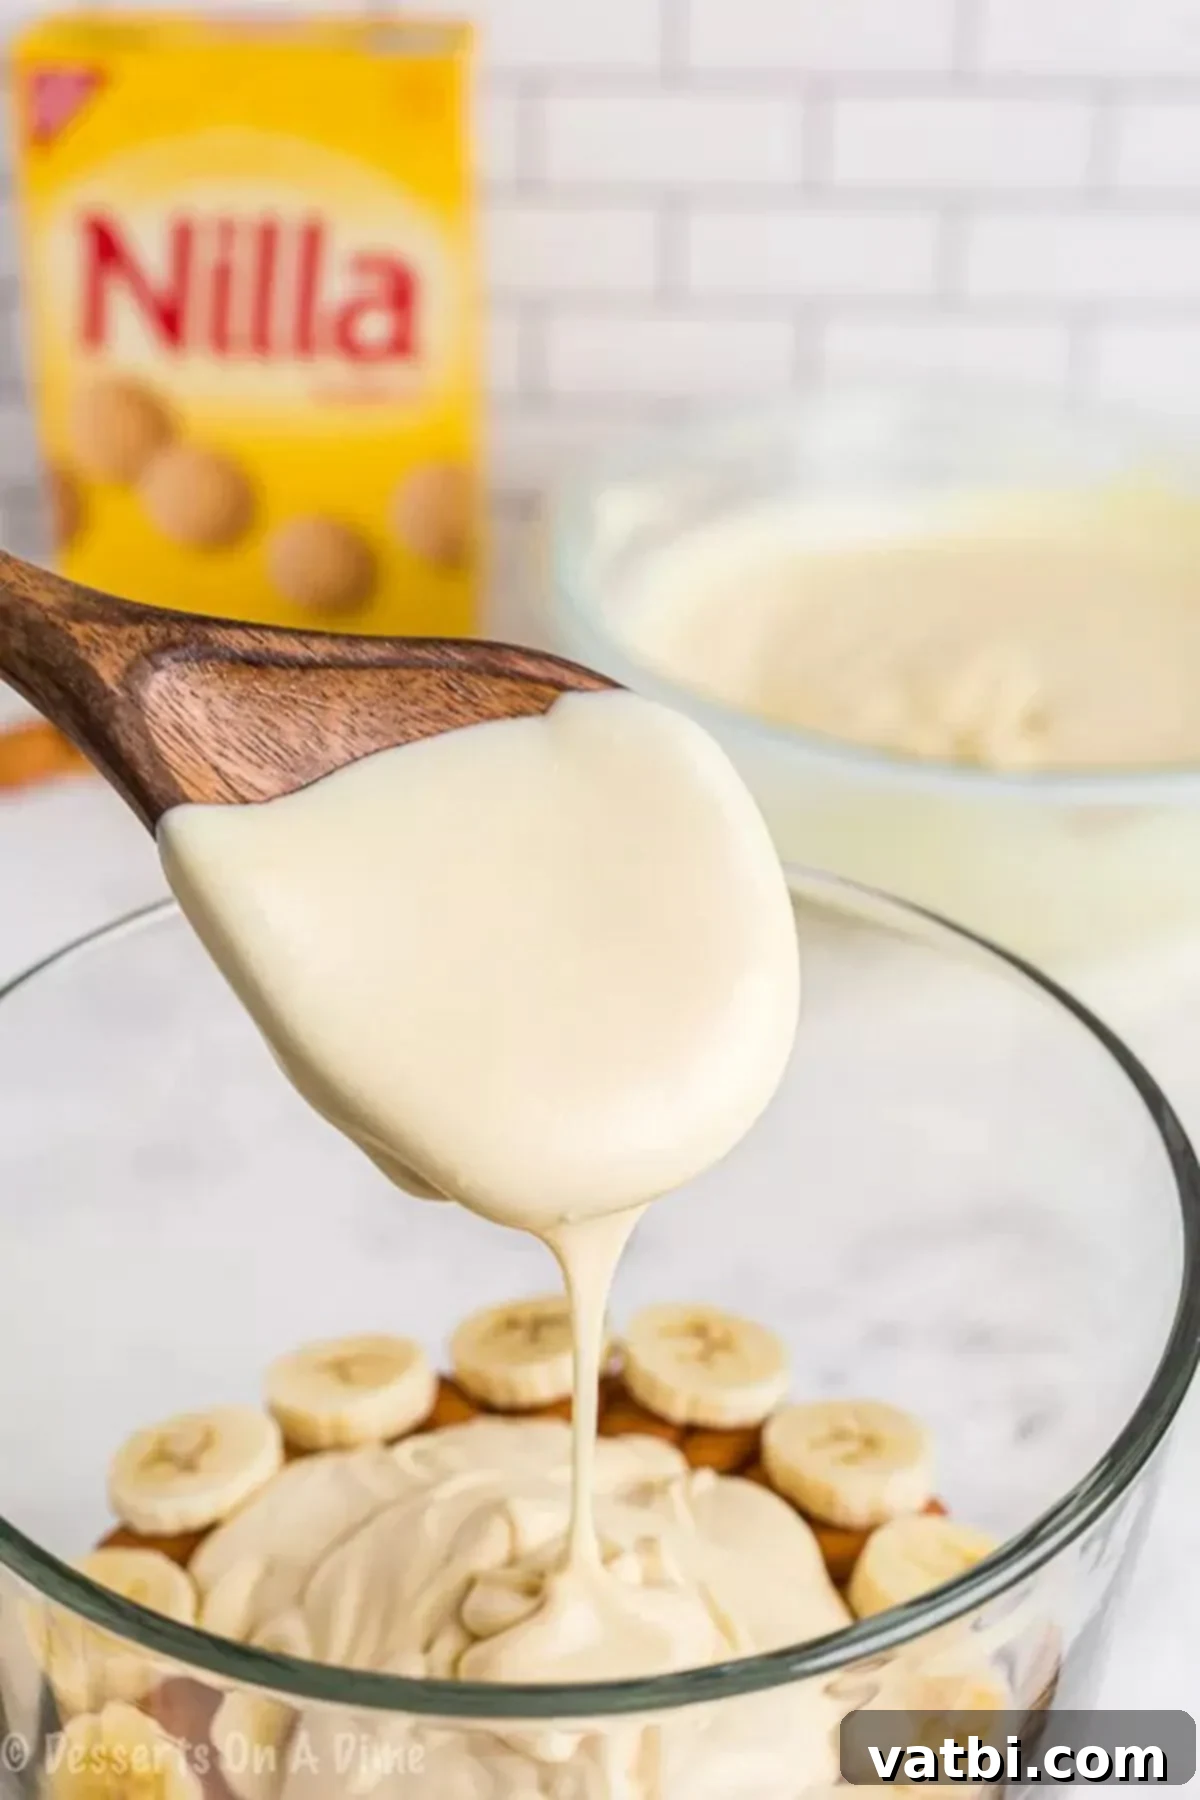
Step 3: Assemble the First Layers. Now comes the fun part – assembling your beautiful dessert! If you have a trifle dish, it’s the perfect vessel for showcasing the layers. Start by placing approximately one-third of the Nilla wafers evenly across the bottom of your dish, overlapping them slightly if necessary to create a solid base. Next, arrange one-third of your freshly sliced bananas over the wafers. Finally, spoon about half of your creamy pudding mixture over the bananas, spreading it gently to create an even layer.
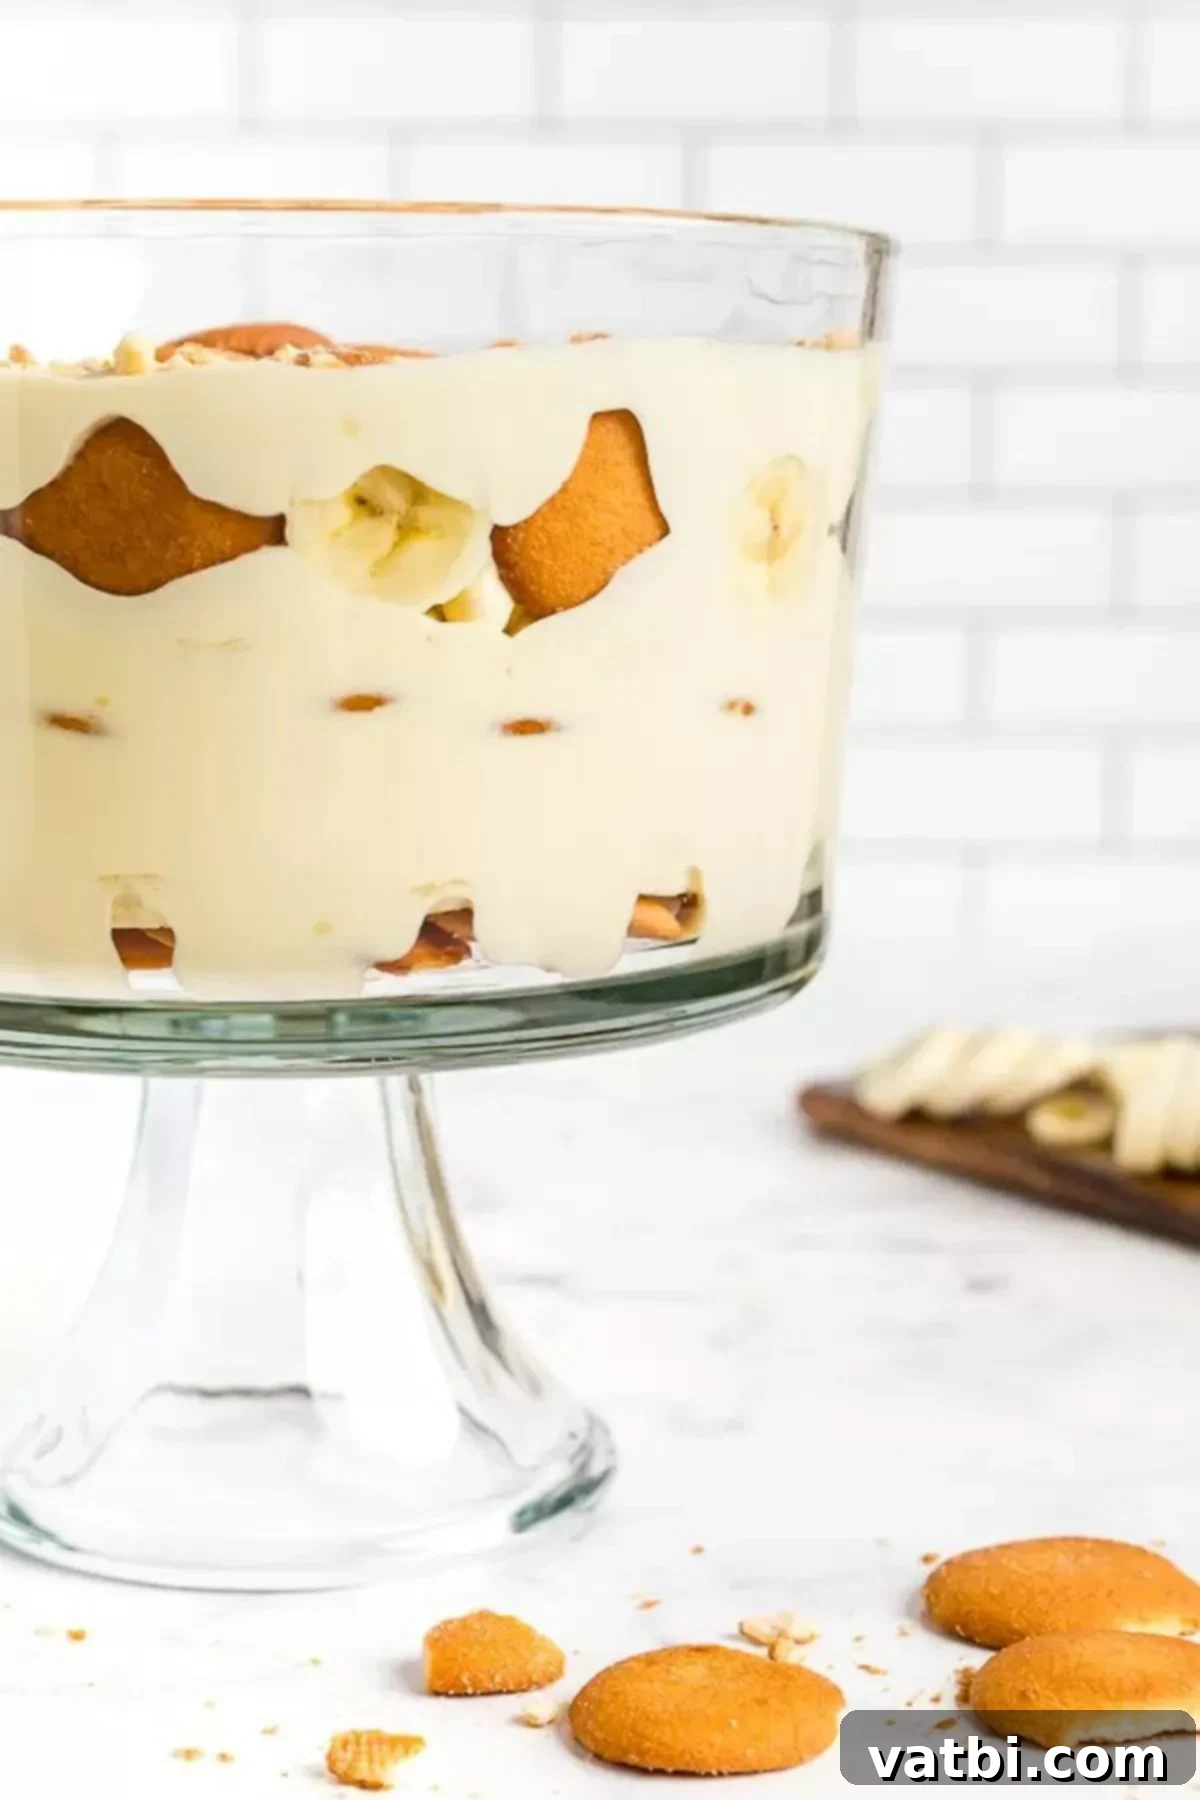
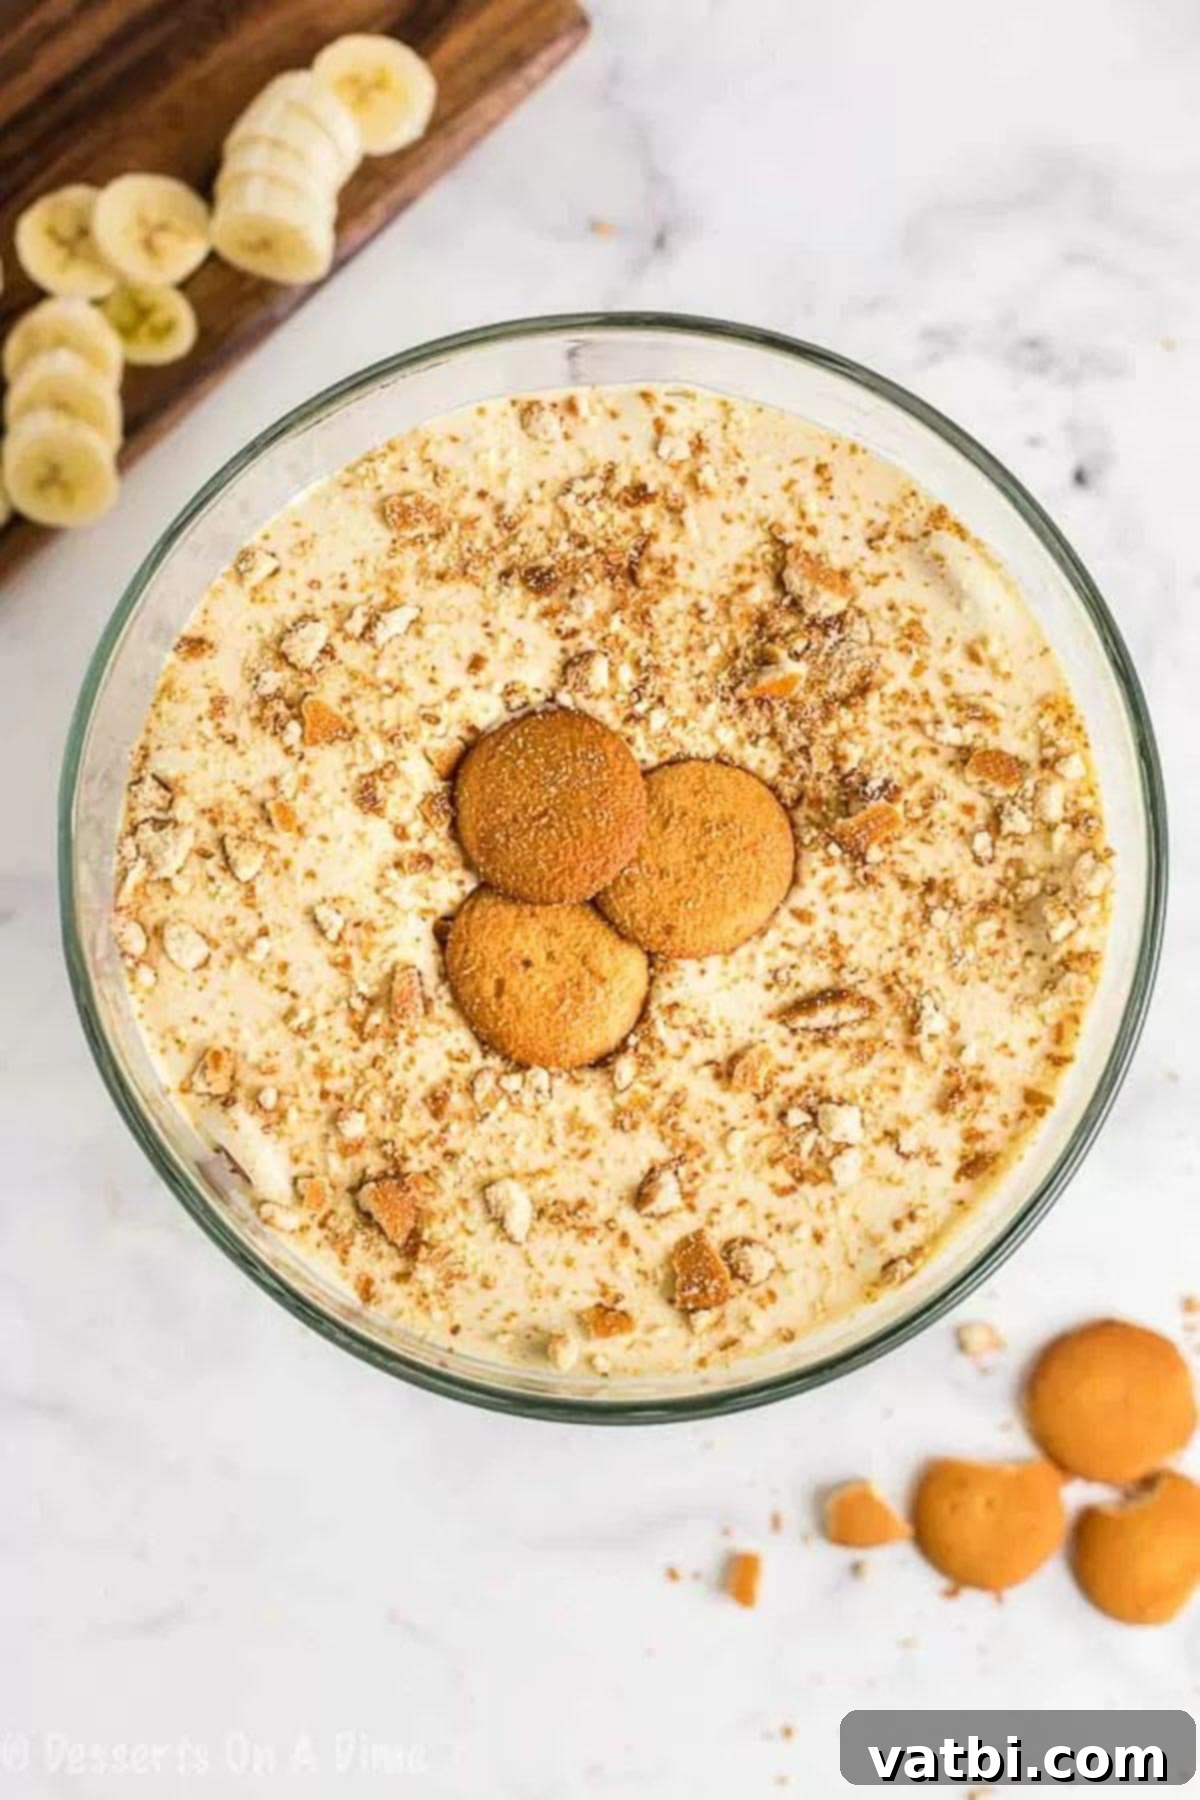
Step 4: Complete Layering and Chill. Continue building your banana pudding by repeating the layering process. Add another third of the Nilla wafers, followed by another third of the sliced bananas, and then the remaining half of the pudding mixture. For the final top layer, add the last third of the Nilla wafers, either whole or crushed into crumbs for a decorative finish. Once assembled, cover the dish tightly with plastic wrap and return it to the refrigerator. Allow it to chill for at least 4 hours, though 8 hours or even overnight is highly recommended. This extended chilling time is crucial for the flavors to meld beautifully and for the vanilla wafers to soften to that delightful, cake-like consistency.
Proper Storage for Freshness
To keep your delicious homemade banana pudding fresh and flavorful, proper storage is key. Any leftover banana pudding should be stored immediately in the refrigerator. Make sure to cover the dish tightly with plastic wrap or transfer it to an airtight container to prevent it from absorbing other odors and to maintain its creamy texture. When stored correctly, banana pudding will last for approximately 2-3 days in the fridge. Beyond this timeframe, the bananas will unfortunately start to oxidize and develop brown spots, affecting both their appearance and taste. While safe to eat, the visual appeal and freshness will diminish.
For more in-depth information on preserving this delightful dessert, you can refer to our guide on Can You Freeze Banana Pudding?
Expert Tips for the Best Banana Pudding
Elevate your banana pudding from great to truly exceptional with these professional tips and tricks:
- Ensure Pudding Mixture is Fully Chilled: Before you even think about folding in the whipped cream, it is absolutely vital that your pudding mixture has thoroughly cooled and set in the refrigerator. If the pudding is still warm or not properly thickened, the whipped cream will melt and lose its airy volume, resulting in a runny dessert.
- Refrigerate Overnight for Optimal Flavor: While 4 hours of chilling is the minimum, we highly recommend making this banana pudding a day in advance and allowing it to refrigerate overnight. This extended resting period gives all the flavors ample time to meld and deepen, and crucially, allows the vanilla wafers to soften to the perfect, moist, cake-like texture. It truly transforms the pudding into something extraordinary.
- Prevent Bananas from Browning: To maintain the fresh, appealing look of your banana slices, gently toss them in a very tiny amount of lemon juice (about ½ teaspoon for 4 cups of bananas) before layering. Be careful not to use too much, as it can subtly alter the flavor of the pudding. Layering the bananas immediately after slicing and keeping the pudding covered also helps.
- Experiment with Flavor Variations: Feel free to customize your banana pudding! Toss in some mini chocolate chips between layers for an added chocolatey crunch, or sprinkle a pinch of cinnamon or nutmeg for a warm, spicy note.
- Enhance Vanilla Flavor with Extract: For a richer, more profound vanilla essence, consider adding a teaspoon of pure vanilla extract to your pudding mixture along with the instant pudding mix. This simple addition can significantly deepen the overall flavor profile.
- Consider Your Serving Dish: A clear trifle dish is fantastic for presentation, but a 9×13 inch glass baking dish works perfectly if you don’t have one – simply adjust to two main layers instead of three. For individual servings at parties, use clear plastic cups; they’re easy to grab and go!
Frequently Asked Questions
Banana pudding is a beloved, classic American dessert consisting of delightful layers. Typically, it features a creamy, sweet French vanilla custard (or a vanilla pudding mix), crisp vanilla wafers, and slices of fresh, ripe bananas. This decadent, creamy dessert is almost always served in a clear glass dish, such as a trifle bowl, to beautifully display its distinct layers. It’s traditionally topped with a generous dollop of whipped cream or a fluffy meringue, adding another layer of texture and sweetness.
Preventing banana slices from browning is a common concern. The most effective method is to lightly toss the banana slices in a very small amount of lemon juice before adding them to your layers. Just a tiny splash is enough – too much will impart a noticeable citrusy flavor to your pudding. The acidity in the lemon juice acts as a natural antioxidant, slowing down the oxidation process. Additionally, assembling and covering the pudding quickly after slicing the bananas, and keeping it chilled, helps minimize air exposure and browning.
Absolutely, and in fact, making banana pudding a day in advance is highly recommended for the best results! This allows ample time for the vanilla wafers to soften and absorb the moisture from the pudding, transforming them into a wonderfully tender, cake-like texture. More importantly, an overnight chill allows all the individual flavors to fully blend and marry, creating a much richer and more harmonious taste profile. While you can serve it on the same day if you’re in a pinch, you’ll find the flavor and texture significantly improve with that extra overnight refrigeration.
If you’re making pudding from scratch (not using an instant mix) and find it’s not thickening enough, there are a few traditional methods. Some recipes involve gently heating the pudding mixture with the milk on the stovetop for about 15 minutes, stirring constantly until it reaches a desired thickness. Another option is to add a cornstarch slurry (cornstarch mixed with a small amount of cold liquid) to the simmering pudding. Ensure you don’t over-mix it, as this can sometimes break down the starches and prevent proper thickening. For instant pudding mixes, ensuring sufficient chilling time (as described in Step 1) is usually enough to achieve proper thickness.
While a classic trifle dish beautifully showcases the layers, it’s certainly not the only option. If you don’t have a trifle dish, a glass 9×13 inch baking dish works perfectly; you can simply create two generous layers of wafers, bananas, and pudding. For potlucks or gatherings where you prefer not to retrieve your dish, a disposable aluminum pan or a large plastic container (even from a dollar store!) can be very convenient, though perhaps not as aesthetically pleasing. A fantastic idea for parties is to create individual serving sizes using clear plastic cups. This takes a bit more time for assembly, but it makes serving incredibly easy and mess-free, allowing guests to simply grab and enjoy their own perfectly portioned dessert. It’s a charming presentation that guests always appreciate.
More Delicious Banana Desserts to Try
If you can’t get enough of that delightful banana flavor, here are some other fantastic banana-infused desserts you might want to try:
- Banana Pudding Cookies Recipe: All the flavors of banana pudding in a soft, chewy cookie!
- Magnolia Bakery Banana Pudding Recipe: Recreate the famous, incredibly popular banana pudding from Magnolia Bakery.
- Cheesecake Pudding: While not banana-specific, this creamy pudding can be a great base for adding fresh bananas.
- Easy Banana Cake Recipe: A moist and flavorful cake that highlights ripe bananas perfectly.
- Banana Split Cake Recipe: Indulge in a dessert inspired by the classic ice cream treat, featuring all your favorite banana split components.
I truly can’t wait for you to experience the joy of making and tasting this homemade Banana Pudding recipe. It’s a simple pleasure that brings so much comfort and deliciousness. Please leave a comment once you do, sharing your thoughts and any special touches you added!
Pin
Easy Banana Pudding Recipe
Ingredients
- 14 ounces sweetened condensed milk 1 can
- 1 1/2 cups ice cold water
- 3.4 ounces vanilla instant pudding mix 1 box
- 3 cups heavy cream
- 4 cups sliced ripe bananas
- 12 ounces Nilla Wafers 1 box
Instructions
-
In a large bowl, beat together the sweetened condensed milk and water until well combined – about 1 minute.
-
Add the pudding mix and beat well.
-
Cover and refrigerate for 3-4 hours to overnight. It is very important to allow the proper amount of time for the pudding mixture to set. It will be watery if you don’t let it set up long enough.
-
In a large bowl, whip the heavy cream until stiff peaks form. Gently fold the whipped cream into the pudding mixture until no streaks of pudding remain.
-
To assemble dessert, use a trifle dish.
-
Arrange ⅓ of the Nilla wafers covering the bottom, overlapping if necessary. Next, layer 1/3of the bananas, and ½ of the pudding mixture. Repeat two more times garnishing with additional wafers or wafer crumbs on the top layer. Cover tightly and allow to chill in the fridge for at least 4 hours – or up to 8 hours.
Recipe Notes
Nutrition Facts
Pin This Now to Remember It Later
Pin Recipe
