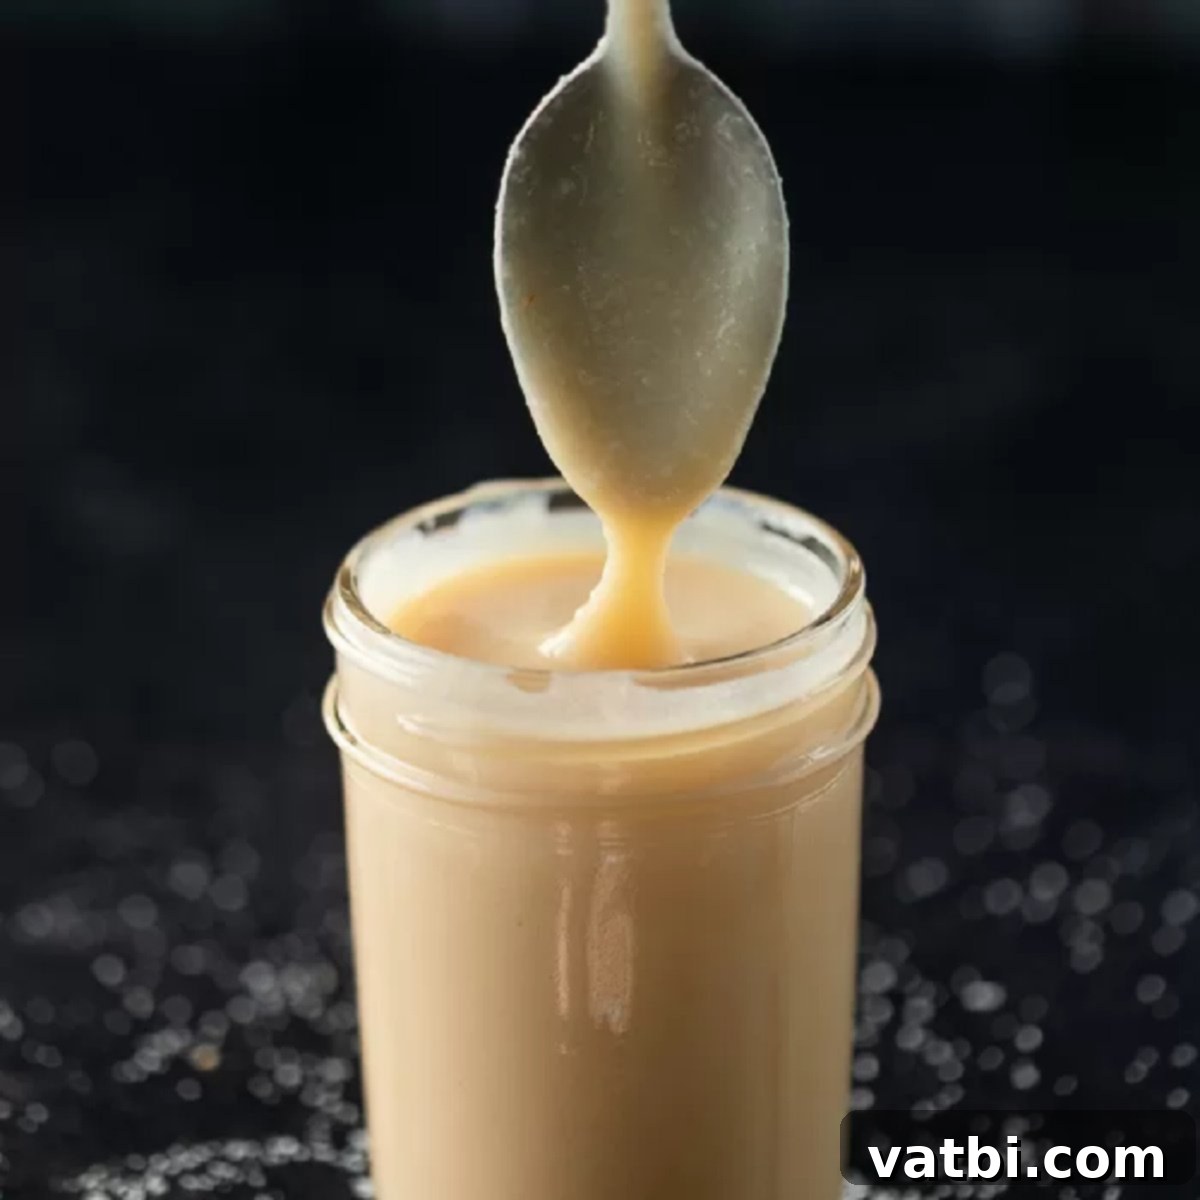
Homemade Sweetened Condensed Milk: An Easy 4-Ingredient Recipe for Creamy Desserts
Discover the incredible simplicity of making your own homemade sweetened condensed milk right in your kitchen. This easy-to-follow, 4-ingredient recipe will have you skipping the store-bought cans and enjoying a fresh, creamy batch of this versatile ingredient in no time. Perfect for enhancing all your favorite desserts, making it from scratch ensures a pure, rich flavor and allows you to control exactly what goes into your food. Say goodbye to unknown additives and hello to wholesome goodness!
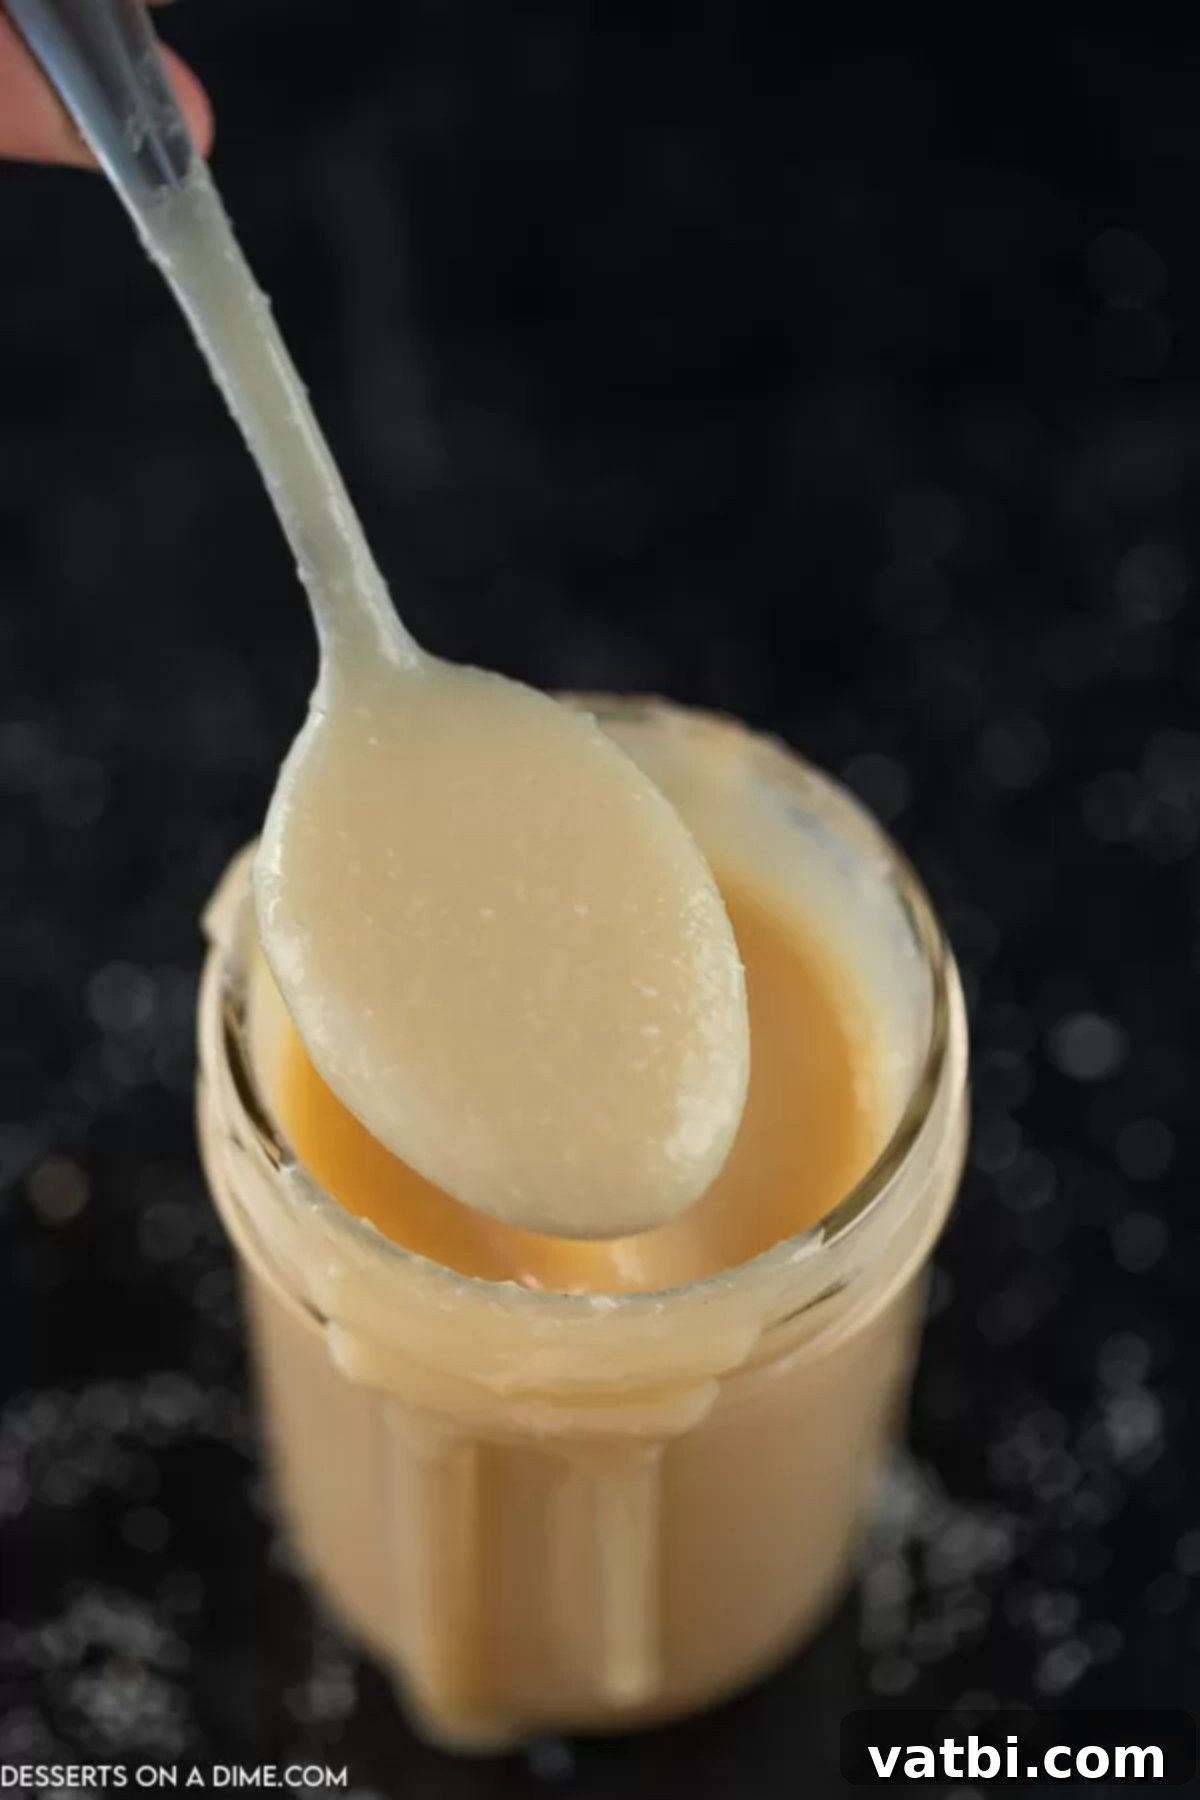
Sweetened condensed milk is a truly decadent ingredient that elevates any dessert to an amazing new level. From luscious pies and rich fudges to creamy ice creams and velvety sauces, its thick, sweet texture is indispensable. Making your own DIY sweetened condensed milk is an even better experience. You’ll be amazed at how simple it is, requiring only four basic ingredients that you likely already have on hand. The results are consistently creamy, perfectly sweet, and absolutely delicious, far surpassing the taste and quality of many commercial brands. This recipe is a fantastic way to take your baking and dessert creations up a notch with minimal effort and maximum flavor.
I recently embarked on the journey of making it at home and was thoroughly impressed with the creamy, rich, and utterly delicious outcome. It’s quickly become a staple in my kitchen for countless treats, offering a depth of flavor that is hard to achieve with store-bought options. We’ve used it to create heavenly Homemade Peach No-Churn Ice Cream, the zesty and refreshing Easy Key Lime Pie, and an endless variety of other delectable desserts that benefit from its luxurious sweetness and texture. Once you try this homemade version, you’ll understand why it’s a game-changer for all your baking adventures, providing consistent quality and incredible taste.
Table of contents
- Why Make Homemade Sweetened Condensed Milk?
- What is Sweetened Condensed Milk?
- Essential Ingredients
- Creative Variations and Substitutions
- How to Make Sweetened Condensed Milk: A Step-by-Step Guide
- Proper Storage
- Frequently Asked Questions (FAQs)
- Recipes Using Sweetened Condensed Milk
- More Kitchen Hacks
Why Make Homemade Sweetened Condensed Milk?
There are numerous compelling reasons to opt for a homemade batch of sweetened condensed milk over its store-bought counterpart. The primary advantage lies in the complete control you have over the ingredients. Commercial versions often contain unnecessary additives, preservatives, and artificial flavors that can be easily avoided when you make it yourself. With just four simple, wholesome ingredients—milk, sugar, butter, and vanilla—you create a product that is not only purer but often tastes superior, offering a fresher and more authentic milky-sweet flavor profile for your desserts.
Beyond ingredient control, making sweetened condensed milk at home is incredibly cost-effective. The basic ingredients are typically pantry staples and are significantly cheaper than purchasing pre-made cans, especially if you buy them in bulk or on sale. This cost saving adds up over time, particularly if you frequently use condensed milk in your baking and dessert recipes. Furthermore, it’s a great way to use up milk nearing its expiration date, reducing food waste and maximizing your grocery budget.
The process itself is surprisingly straightforward and requires minimal effort, making it accessible even for novice bakers. Anyone, regardless of their prior cooking experience, can master this recipe with just a little patience and a willingness to stir. If you have a passion for creating delicious desserts and enjoy the art of baking from scratch, having this easy recipe in your repertoire will prove immensely convenient. It ensures you’ll never be caught without this crucial ingredient when a sudden dessert craving strikes, and you’ll always have a fresh, high-quality batch ready for your culinary creations.
The joy of preparing your own ingredients also brings a sense of accomplishment and a deeper connection to the food you create. Plus, the aroma of milk and sugar gently simmering on your stovetop is a delightful bonus, filling your kitchen with a sweet, comforting fragrance.
What is Sweetened Condensed Milk?
Sweetened condensed milk is a rich, thick, and intensely sweet dairy product that forms the backbone of countless dessert recipes worldwide. It’s essentially cow’s milk from which a significant portion of the water has been removed through a controlled heating process, thus concentrating the milk solids and fats. This concentration gives it a much richer texture and flavor than regular milk. What truly distinguishes it from evaporated milk (another concentrated milk product) is the generous addition of sugar, which typically accounts for about 40-45% of its total weight. This high sugar content not only provides its signature sweetness but also acts as a natural preservative, giving the product a remarkably long shelf life, even before opening.
The reduction process, combined with the dissolved sugar, results in a distinctively thick, viscous, and syrupy consistency. During simmering, the sugars in the milk and the added granulated sugar undergo slight caramelization, contributing to its complex, slightly toasty flavor. This unique texture and sweetness make it an indispensable ingredient for a vast array of sweet treats. It’s a key component in no-bake desserts, luscious fudges, creamy pies, velvety cheesecakes, and many traditional sweets where it provides both essential body and a rich, milky sweetness that is unparalleled. Understanding the science behind sweetened condensed milk highlights why a homemade version allows for better control over sugar levels, fat content, and overall quality, ensuring a superior base for your culinary masterpieces.
Essential Ingredients
This homemade sweetened condensed milk recipe is a testament to the power of simplicity, relying on just four core ingredients to achieve its rich and creamy perfection. Each ingredient plays a crucial role in developing the signature taste and texture:
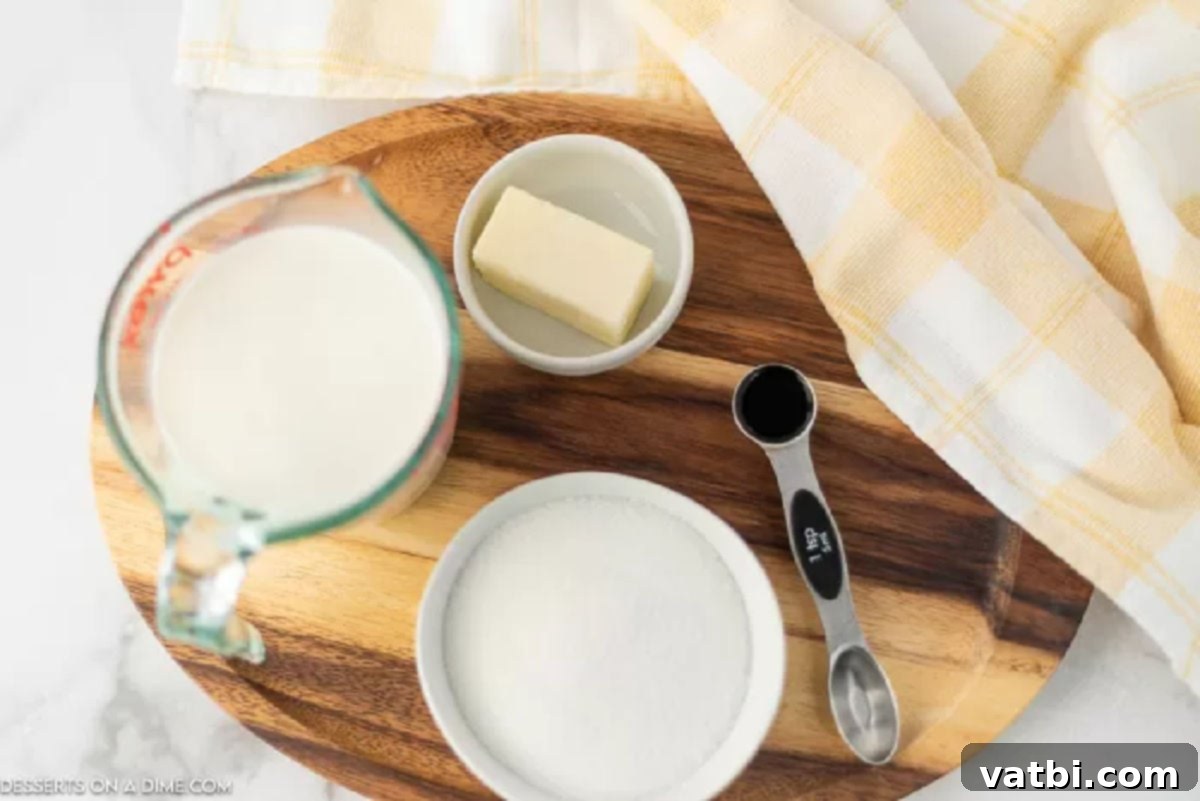
- Whole Milk: This is the fundamental building block of our condensed milk. Using whole milk is paramount because its higher fat content (typically 3.5% milkfat) contributes significantly to the incredibly creamy texture and rich mouthfeel that sweetened condensed milk is renowned for. The fat is crucial for achieving that luxurious body and preventing a thin, watery result. While lower-fat milk can be used, the final product will inevitably be less rich and may require longer cooking times to achieve the desired thickness.
- Granulated Sugar: Standard white granulated sugar is ideal for this recipe. It provides the essential sweetness and, more importantly, plays a vital role in the preservation and thickening process as the milk reduces. The sugar dissolves into the milk, preventing crystallization and helping the mixture to become syrupy as water evaporates. During the simmering process, the sugars also undergo a slight caramelization, contributing to the desirable depth of flavor in the finished product.
- Butter: Real butter adds a wonderful richness and a silky smooth finish to the condensed milk. Its fat content further enhances the overall flavor profile and contributes to that desirable decadent texture, making the condensed milk feel more luxurious on the palate. While not strictly necessary for the milk to condense, adding butter significantly improves the final product’s mouthfeel and taste. We often use salted butter for a subtle contrast that balances the sweetness, but unsalted works perfectly fine and is preferred if you need precise salt control in your final dessert recipe.
- Vanilla Extract: Pure vanilla extract is crucial for a well-rounded and aromatic flavor. It adds a warm, sweet, and comforting note that complements the milk and sugar beautifully, preventing the final product from tasting one-dimensional. Always opt for pure vanilla extract over imitation vanilla for the best and most authentic flavor, as it significantly enhances the complexity of the sweetened condensed milk.
You’ll find the precise measurements for these ingredients in the detailed recipe card located at the bottom of this page, ensuring you have everything you need to create your perfect batch of creamy, homemade sweetened condensed milk.
Creative Variations and Substitutions
One of the many advantages of making sweetened condensed milk at home is the flexibility it offers for customization. You can easily adapt the recipe to suit various dietary needs or simply experiment with different flavor profiles to create unique versions for specific dessert applications:
- Milk Alternatives: While whole dairy milk yields the creamiest and most traditional result, you can absolutely make a delicious dairy-free condensed milk for those with dietary restrictions or preferences.
- Full-Fat Canned Coconut Milk: This is an excellent and popular substitute, creating a rich, subtly tropical condensed milk. Be aware that it will impart a distinct coconut flavor, which can be a wonderful addition to certain desserts like key lime pie or tropical-themed treats. Always use full-fat for the best consistency.
- Almond Milk or Cashew Milk: For a less pronounced flavor, unsweetened almond milk or cashew milk can be used. Opt for “barista blend” or higher-fat versions if available, as they tend to reduce better and yield a creamier consistency than standard, thinner versions. The resulting condensed milk might be slightly thinner than dairy-based, but it will still be sweet and delicious.
- Oat Milk: Similar to nut milks, full-fat oat milk can also work well, often providing a creamier base than many other plant-based milks. Ensure it’s an unsweetened variety to control the overall sweetness.
- Heavy Cream Option: For an extra rich and incredibly indulgent version, you can substitute heavy whipping cream for a portion or all of the whole milk. This will result in an even thicker, more luxurious condensed milk, perfect for ultra-decadent desserts like homemade caramels or rich fudges where an extra boost of richness is desired.
- Sweetener Choices: While granulated white sugar is the standard for its clean sweetness and reliable thickening, you can explore other sweeteners. Keep in mind that they might alter the flavor, color, and even the final consistency of your condensed milk.
- Maple Syrup or Honey: These natural liquid sweeteners can be used, but you might need to adjust the amount as they are often sweeter than granulated sugar and introduce their own distinct, complex flavors. They may also affect the consistency slightly due to their liquid nature, potentially requiring longer reduction times.
- Brown Sugar: Substituting some or all of the white sugar with light or dark brown sugar will add a delicious caramel-like depth and a slightly darker hue to your condensed milk, perfect for fall-inspired or richer desserts.
- Alternative Granulated Sweeteners: For those managing sugar intake, granular sugar substitutes like erythritol or allulose can be experimented with. However, their behavior during reduction might differ significantly from regular sugar, and they may not provide the same thickness or caramelization.
- Butter Choices: We typically use salted butter in this recipe, as the hint of salt subtly enhances the overall sweetness and richness, creating a more balanced flavor profile. However, feel free to use unsalted butter if you prefer, or if your dessert recipe calls for precise salt control. If you’re aiming for a dairy-free version, use a plant-based butter substitute to maintain that rich mouthfeel. For those looking to reduce fat, you can also omit the butter entirely, though it will result in a slightly less rich and creamy product.
- Flavor Extracts: Don’t limit yourself to just vanilla! Consider other complementary extracts like almond, rum, coconut, or even a hint of espresso powder or a dash of cinnamon to create uniquely flavored condensed milk for specific dessert applications. Add these at the very end, along with the vanilla.
Experimentation is key to finding your favorite combination. Always taste as you go, especially when making substitutions, to ensure the flavor and consistency meet your expectations. Remember that any change to the liquid or sugar content might slightly alter the cooking time required for proper reduction.
How to Make Sweetened Condensed Milk: A Step-by-Step Guide
Creating your own homemade sweetened condensed milk is a straightforward process that yields incredibly rewarding results. Follow these simple steps for a perfect, creamy batch every time:
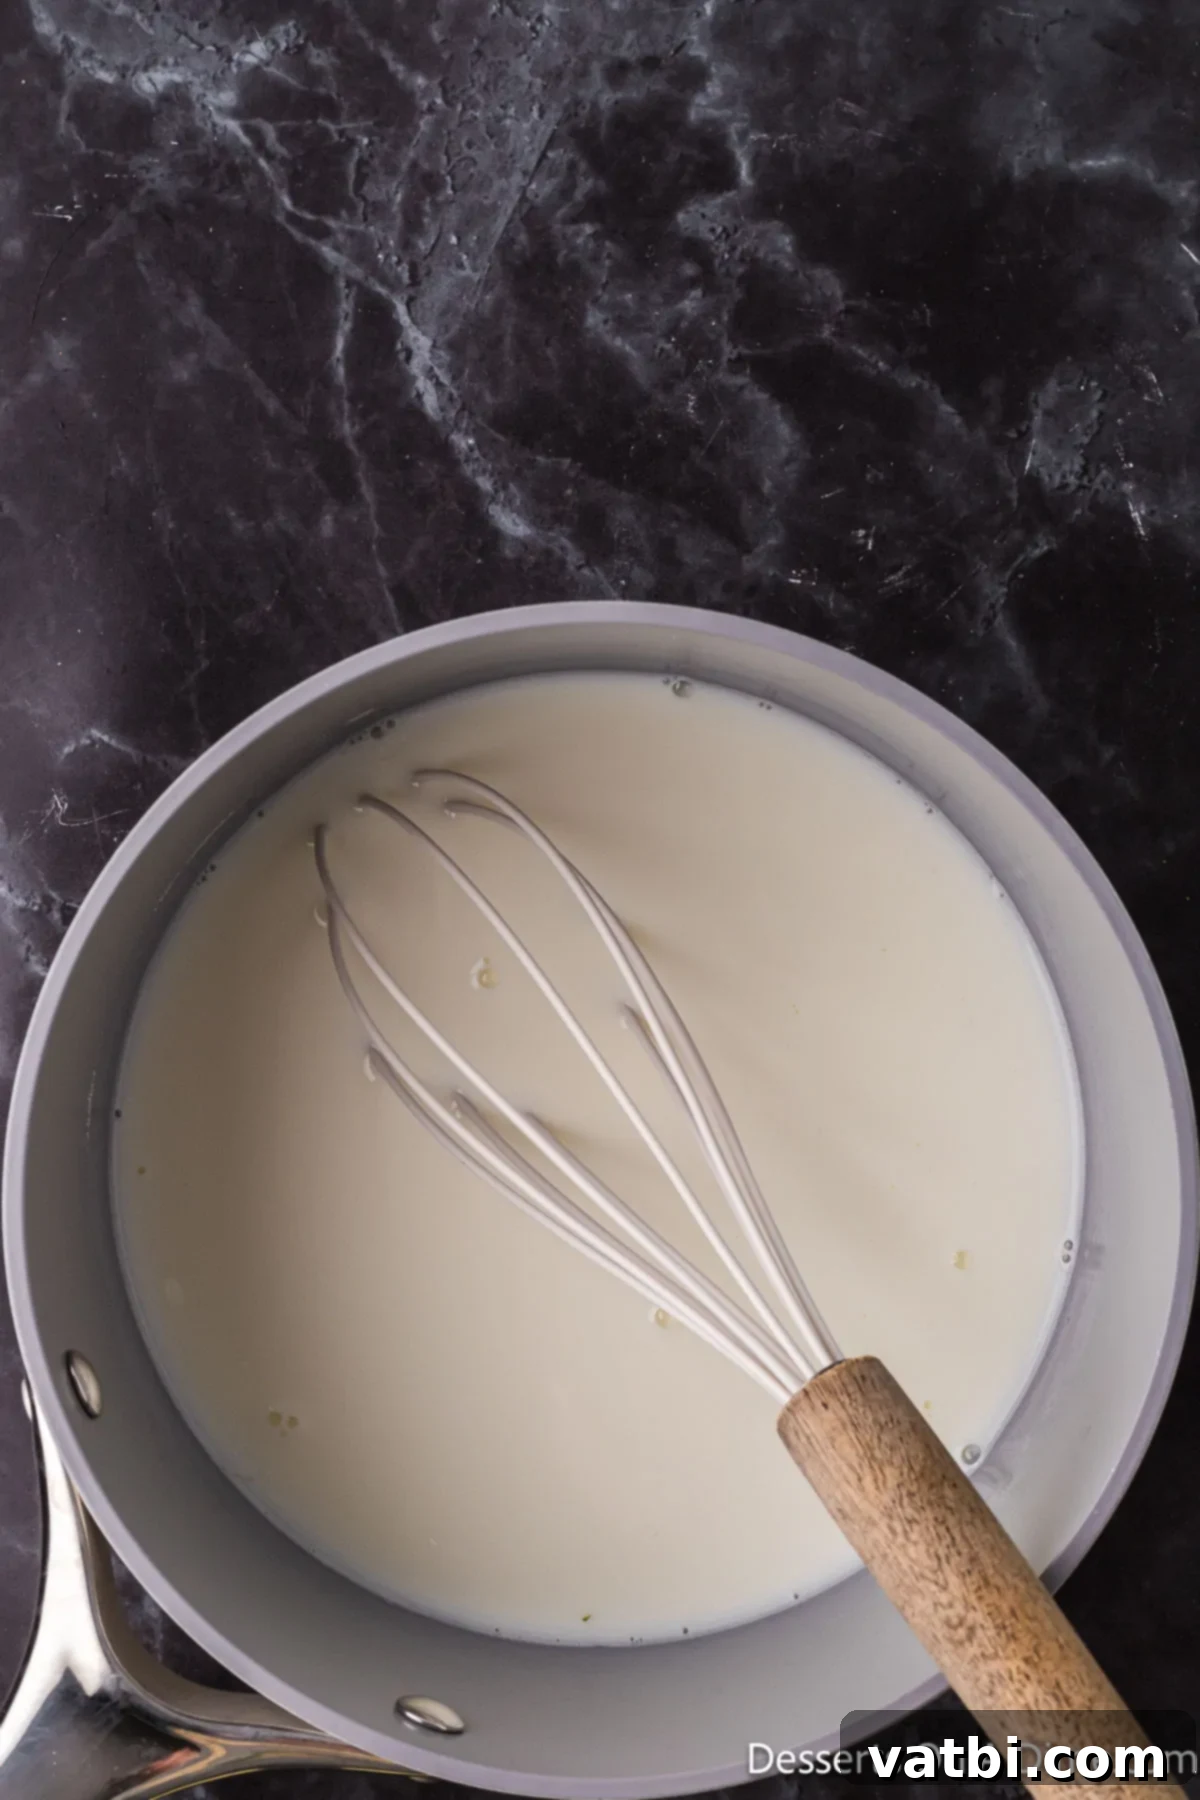
Step 1: Combine Milk and Sugar. Begin by pouring the specified amount of whole milk and granulated sugar into a medium-sized, heavy-bottomed saucepan. A heavy-bottomed pan is absolutely crucial here, as it helps distribute heat evenly across the base, significantly reducing the chances of the milk scorching or sticking to the bottom. Place the saucepan over medium heat, and using a whisk or a wooden spoon, stir the mixture constantly. Your primary goal at this stage is to fully dissolve the sugar into the milk before it comes to a simmer. Continue stirring until you see steam rising and the mixture just begins to bubble gently around the edges, indicating a low simmer. Avoid bringing it to a rapid, rolling boil initially.
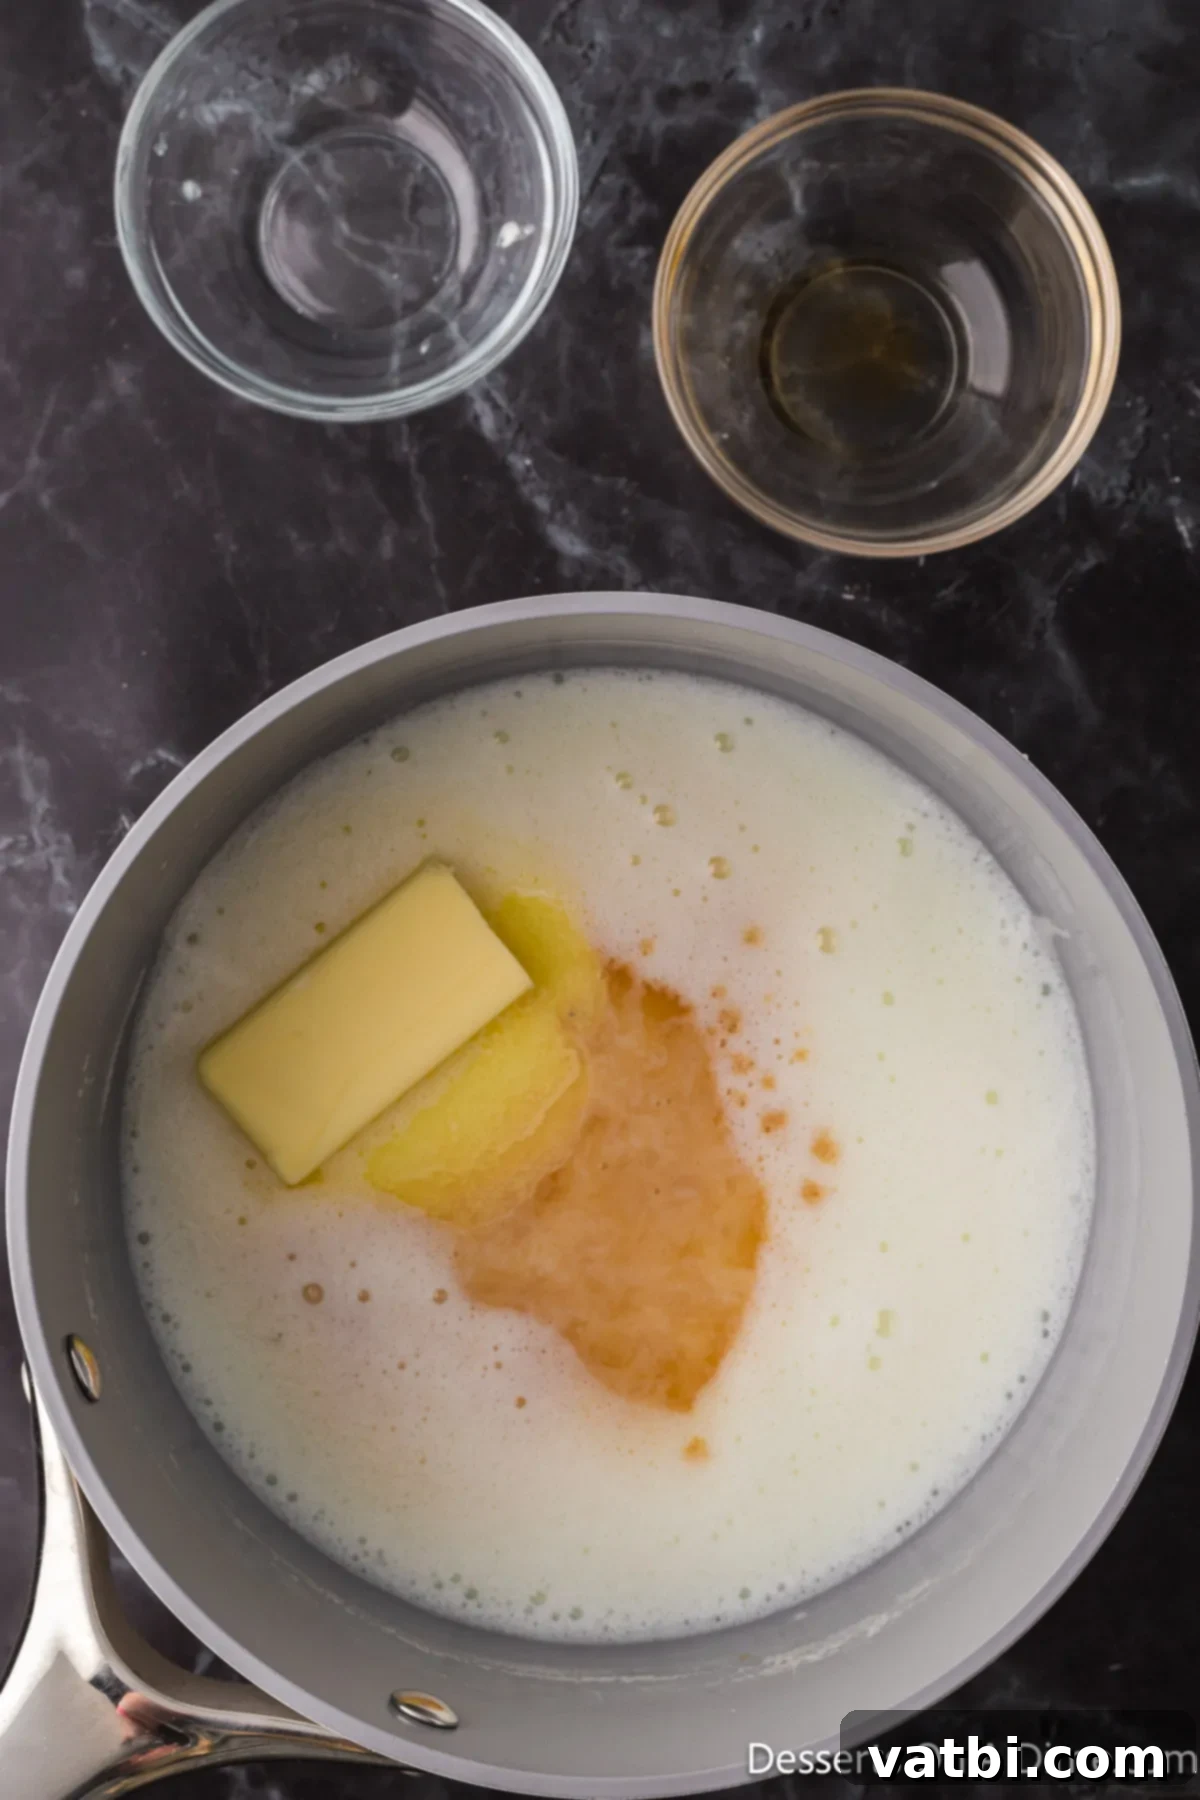
Step 2: Simmer and Reduce. Once the sugar is dissolved and the milk mixture is at a gentle simmer, reduce the heat to low. The key here is a steady, gentle simmer, not a vigorous boil. Allow the milk to simmer uncovered for approximately 20-30 minutes, or until the volume has visibly reduced by about half. Throughout this reduction process, it’s absolutely essential to whisk frequently. Pay particular attention to scraping the bottom and sides of the pan to prevent the milk solids and sugar from sticking and burning, which can impart an undesirable flavor. You’ll notice the mixture gradually thickening and taking on a slightly creamy, off-white or light ivory color. The goal is a noticeably thicker consistency that coats the back of a spoon, similar to store-bought condensed milk, though it will continue to thicken further as it cools.
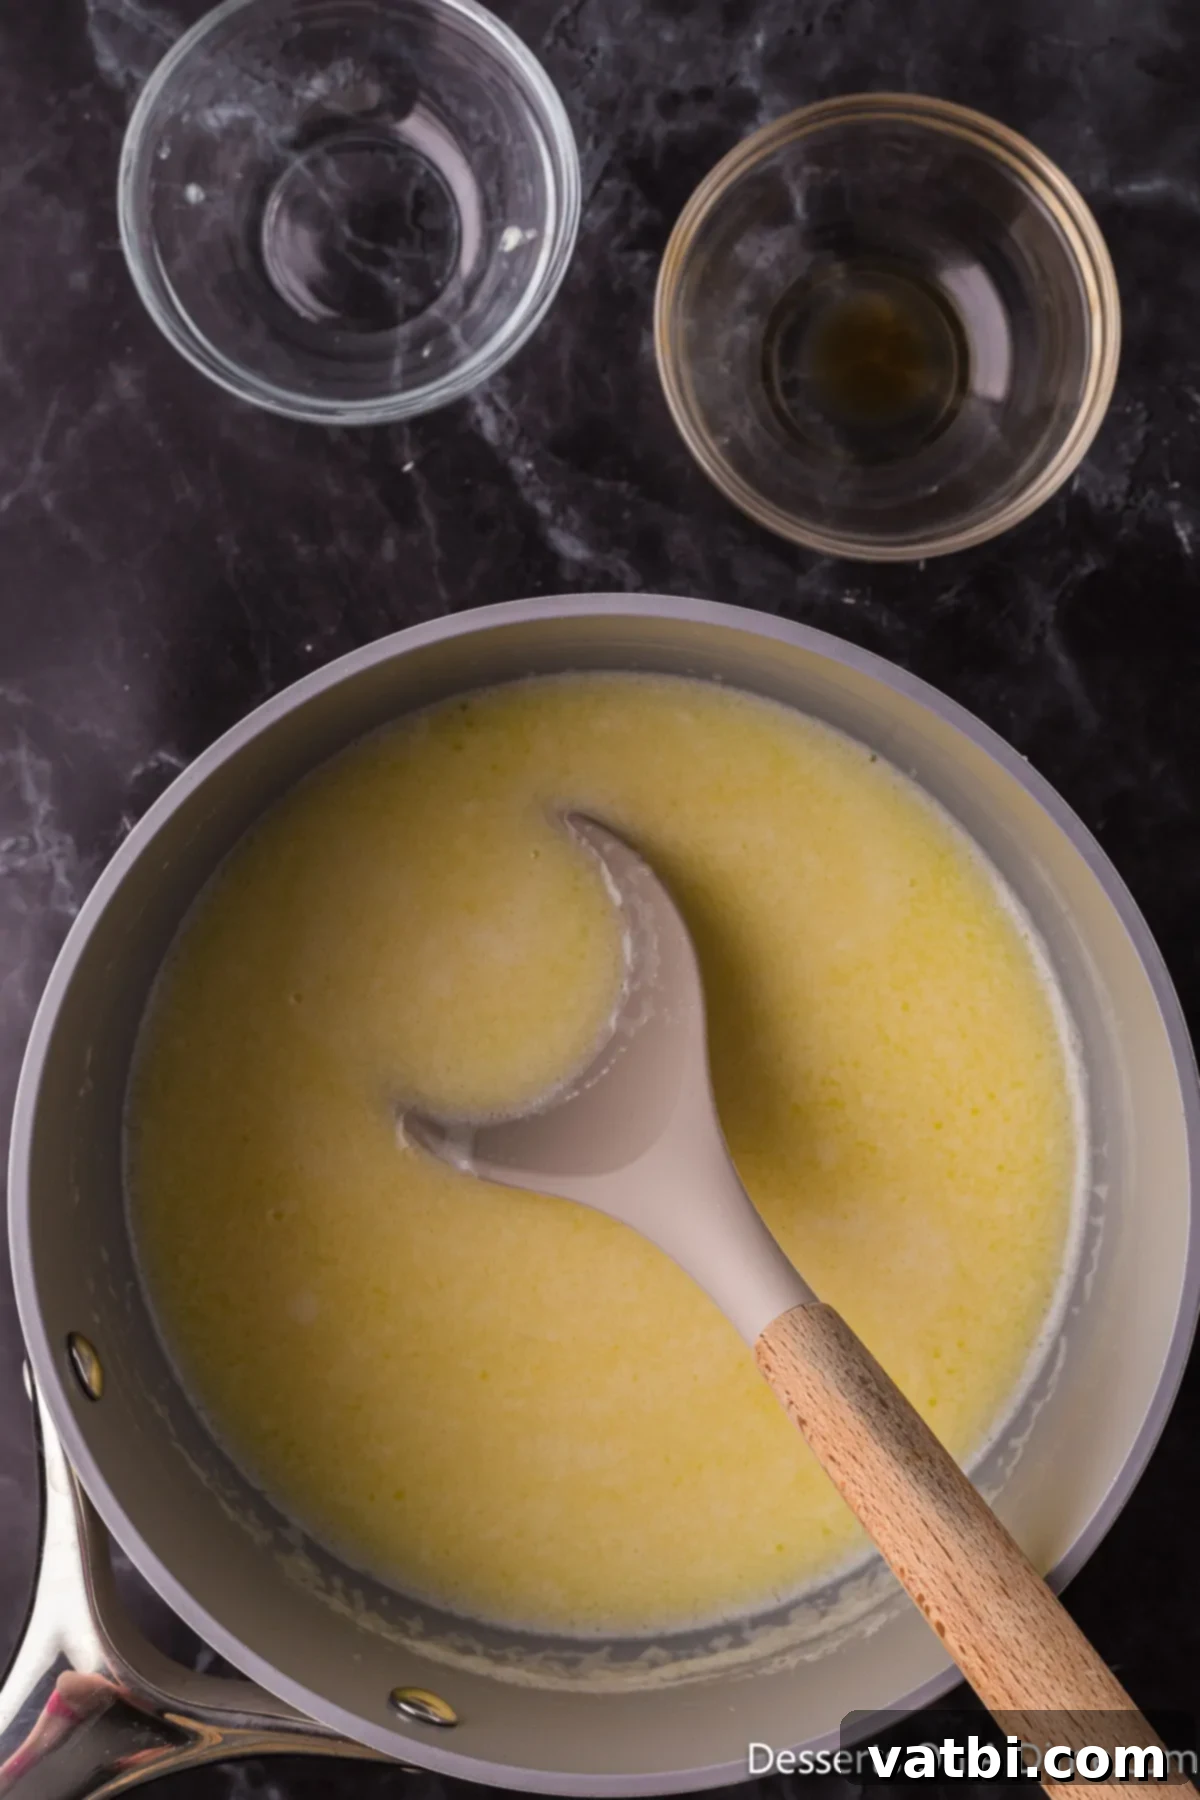
Step 3: Add Butter and Vanilla. After the milk mixture has reduced to the desired consistency and appears thick and creamy, carefully remove the saucepan from the stovetop. Immediately add the butter (salted or unsalted, as per your preference) and the pure vanilla extract to the hot mixture. The residual heat from the condensed milk will quickly melt the butter and allow the vanilla’s aromatic compounds to infuse beautifully without cooking off its delicate flavor.
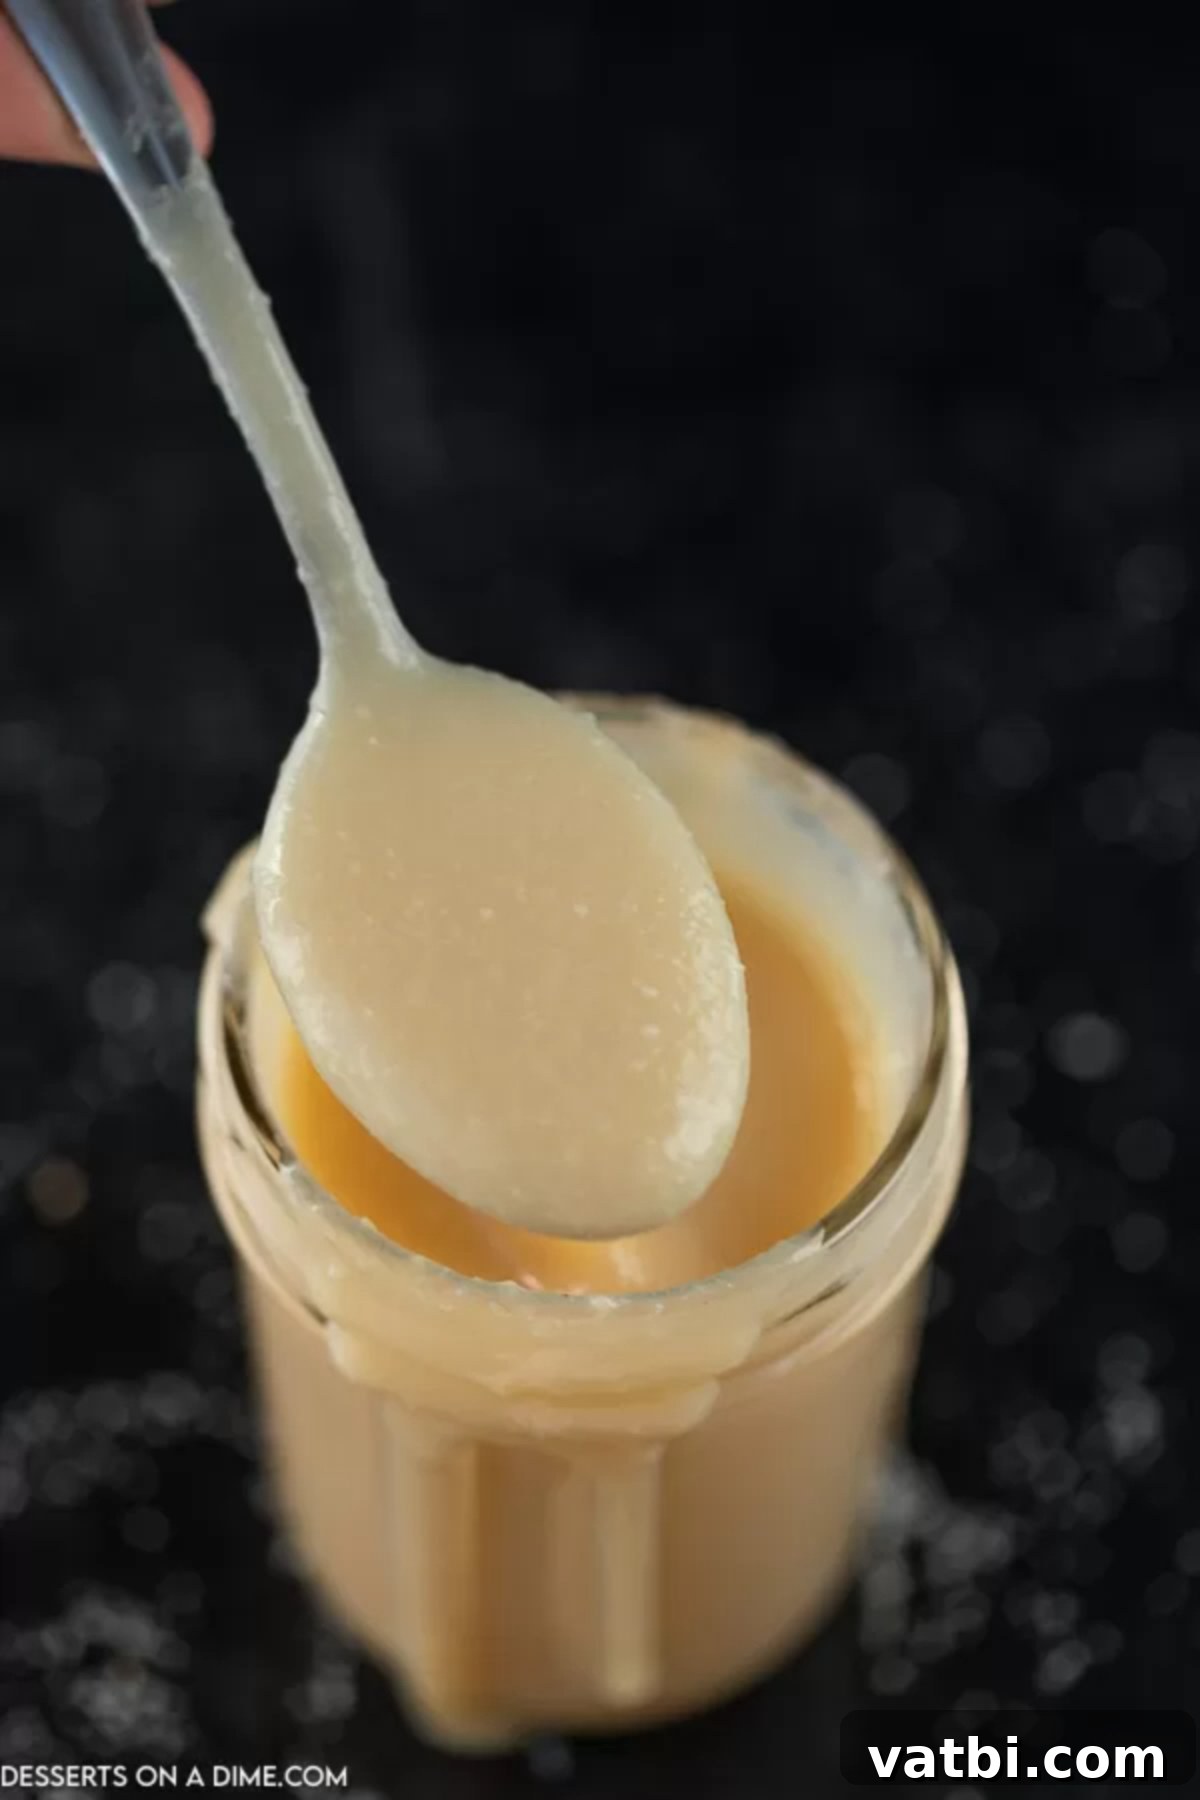
Step 4: Whisk and Cool. Whisk the mixture thoroughly until the butter is completely melted and fully incorporated, ensuring that the vanilla is evenly distributed throughout. The condensed milk should appear smooth, glossy, and homogenous. Once fully combined, allow your homemade sweetened condensed milk to cool completely to room temperature. This cooling process is crucial, as the mixture will thicken significantly as it cools. Once thoroughly cooled, it’s ready to be poured into a clean, airtight jar or container and enjoyed in your favorite recipes, or stored for later use. The waiting might be the hardest part!
Making sweetened condensed milk at home might seem daunting at first, but with a little patience and consistent whisking, you’ll achieve perfect, rich, and creamy results every time. This simple process gives you complete control over the quality and flavor of this versatile ingredient.
Proper Storage
Once you’ve lovingly prepared your batch of homemade sweetened condensed milk, proper storage is absolutely essential to maintaining its freshness, quality, and extending its usable shelf life. Due to its dairy content and the absence of commercial preservatives, homemade condensed milk won’t last as long as its canned counterpart, but it will certainly remain delicious for several days or even months with the right care.
- Refrigeration: For immediate or short-term use, you will need to store your homemade sweetened condensed milk in the refrigerator. After the mixture has cooled completely to room temperature (this is important to prevent condensation), transfer it to an airtight container. A glass mason jar with a tight-fitting lid is an excellent choice, not only because they are easy to reuse, inexpensive, and eco-friendly, but they also offer a clear view of the contents and minimize exposure to air, which can cause spoilage. Stored correctly in the fridge, your homemade condensed milk will last beautifully for up to one week. Always label your container with the date it was made.
- Freezing: For longer storage, homemade sweetened condensed milk freezes wonderfully, allowing you to prepare larger batches and have it on hand whenever you need it. Pour the cooled condensed milk into freezer-safe containers, heavy-duty freezer bags, or even ice cube trays for convenient individual portions. If using ice cube trays, once the cubes are frozen solid, you can transfer them to a larger freezer bag or container to save space. When stored properly in a freezer-safe, airtight container, it can last for up to three months without significant loss of quality.
- Thawing: To use frozen condensed milk, simply transfer the desired amount from the freezer to the refrigerator and allow it to thaw overnight. For quicker thawing, you can place the freezer-safe container in a bowl of cold water. You may notice some slight separation upon thawing, which is completely normal. A quick stir or whisk will bring it right back to its smooth, homogenous, and creamy consistency.
Always ensure your storage containers are impeccably clean and completely dry before adding the condensed milk to prevent any contamination that could shorten its shelf life. Good hygiene in storage is key to enjoying your delicious homemade staple for as long as possible.
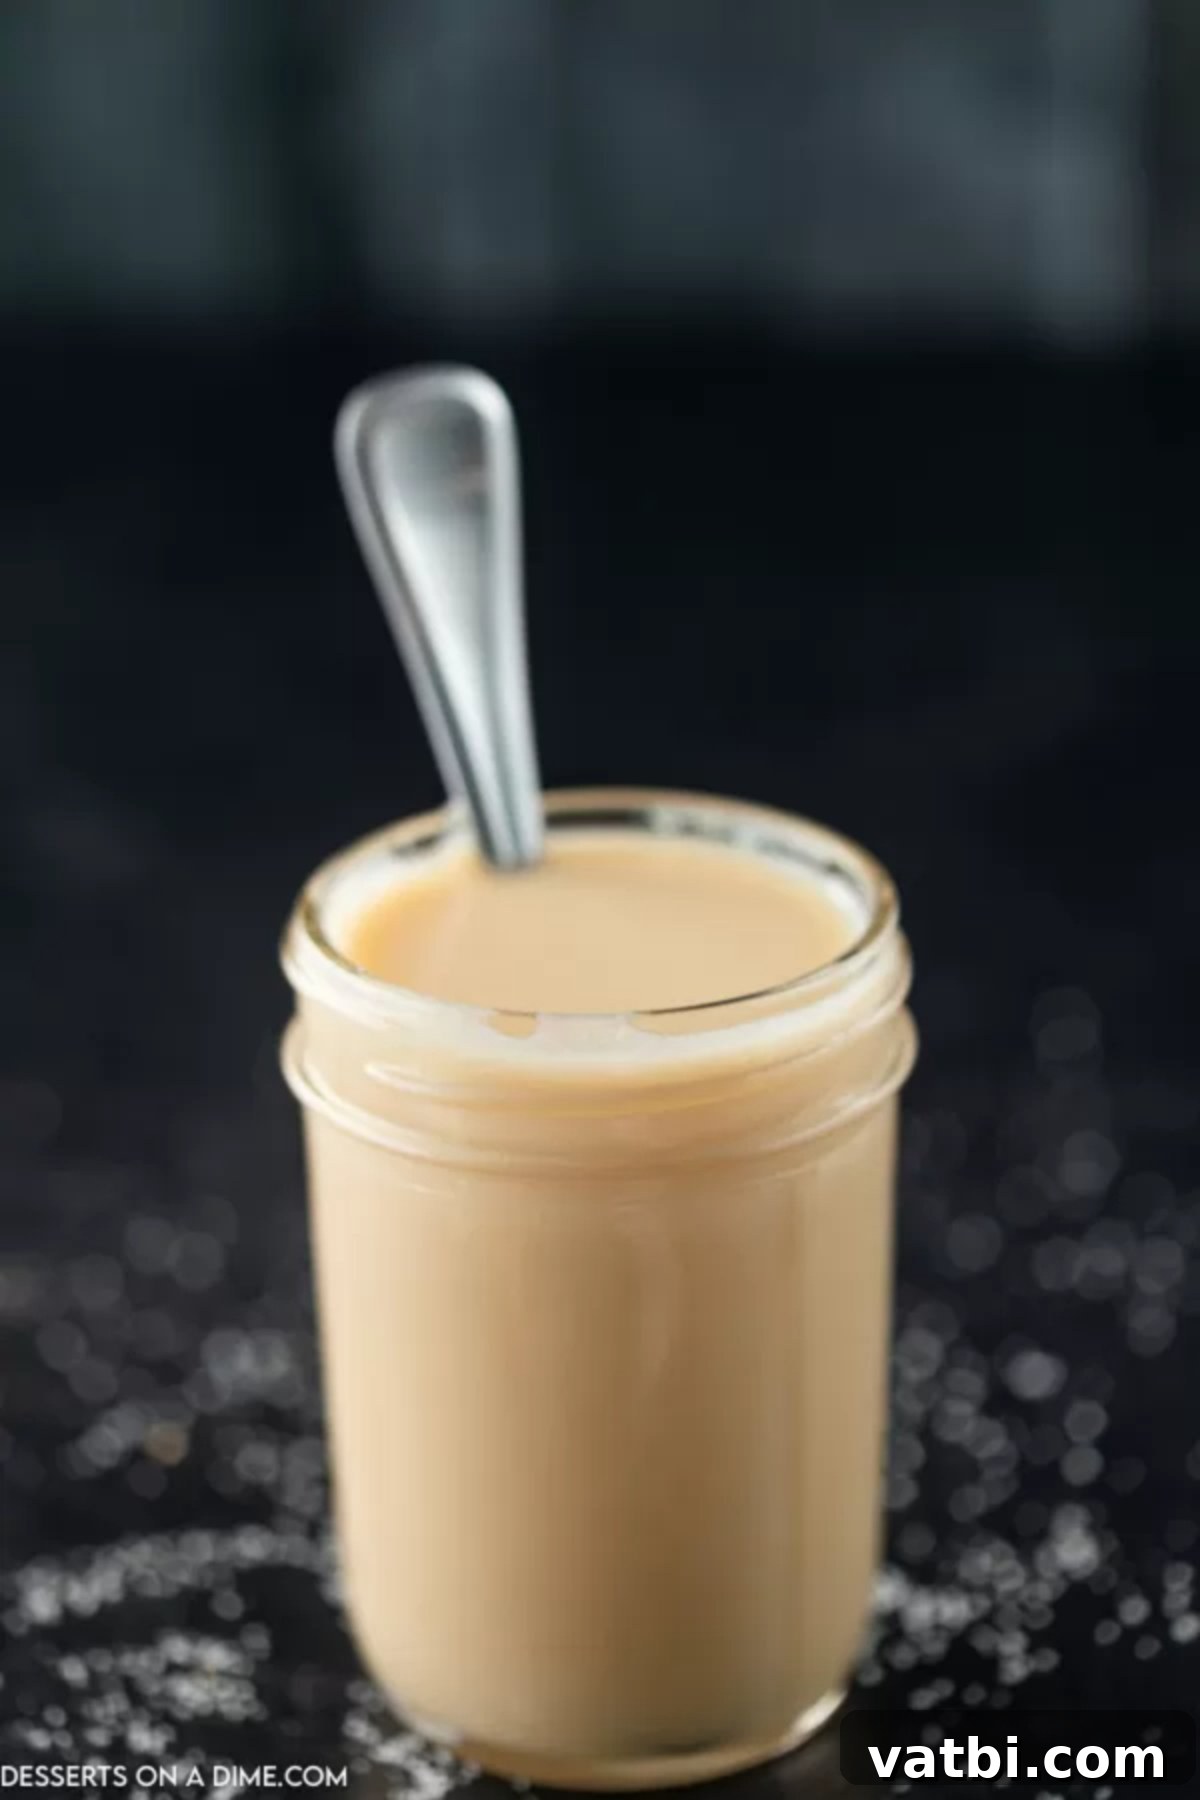
Frequently Asked Questions (FAQs)
If you find yourself in a pinch and don’t have sweetened condensed milk on hand, or prefer not to use it, evaporated milk can often serve as a one-to-one substitute in terms of liquid volume and consistency. However, it’s crucial to remember that evaporated milk is unsweetened and has a slightly different flavor profile due to its concentration process. The texture will be similar, but your recipe will lack the characteristic sweetness of condensed milk. To compensate for this, you can simply add granulated sugar to taste, typically around ½ to ⅔ cup of sugar for every 12-ounce can of evaporated milk, adjusting based on the specific recipe’s needs and your personal preference for sweetness. Stir the sugar into the evaporated milk until dissolved before using it in your recipe. Keep in mind this substitution works best in recipes where the sweetness level is flexible.
Absolutely, yes! One of the fantastic benefits of making homemade sweetened condensed milk is the ability to easily adapt it to various dietary restrictions, including making it completely dairy-free. Simply swap out the regular whole dairy milk for a dairy-free alternative. For the richest and creamiest dairy-free version, full-fat canned coconut milk is often the preferred choice due to its naturally higher fat content, though it will impart a subtle coconut flavor. Alternatively, unsweetened almond milk, cashew milk, or even full-fat oat milk can be used; opt for “barista blend” or higher-fat versions if available to achieve a thicker consistency. For a truly dairy-free product, you will also want to use a plant-based butter alternative. This flexibility makes homemade condensed milk the perfect option for those following vegan, lactose-intolerant, or dairy-free diets, without sacrificing flavor or texture in your favorite desserts.
Yes, absolutely! This homemade version of sweetened condensed milk is specifically designed to be a direct and superior substitute for store-bought cans. This recipe typically yields approximately 1 ¼ cups of rich, creamy condensed milk, which is roughly equivalent to a standard 14-ounce (or 397g) can of commercial sweetened condensed milk. You can confidently use this homemade batch in any of your favorite recipes that call for sweetened condensed milk, whether it’s for baking, no-bake treats, beverages, or sauces. You’ll likely find that the homemade version offers a fresher, purer, and often richer flavor profile, free from the additional ingredients and stabilizers often found in commercial products, thereby enhancing the overall taste and quality of your final dish.
The primary and most significant difference between evaporated milk and sweetened condensed milk lies in their sugar content. Both are concentrated milk products, meaning they are created by heating cow’s milk to remove a substantial amount of its water content (typically around 60%), resulting in a thicker consistency than regular milk. However, sweetened condensed milk has a large amount of sugar added to it during this process (typically around 40-45% of its total weight), giving it its characteristic sweetness, thick, syrupy texture, and a longer shelf life due to sugar acting as a preservative. Evaporated milk, on the other hand, contains no added sugar and has a savory, slightly caramelized flavor from the heating process without the sweetness. It is simply concentrated unsweetened milk. They are not interchangeable in recipes unless you specifically adjust the sweetness level for evaporated milk by adding sugar.
When stored correctly, homemade sweetened condensed milk has a reasonable and practical shelf life. In the refrigerator, stored in an airtight container such as a glass mason jar, it will maintain its quality and freshness for approximately one week. For longer preservation, it can be very effectively frozen. To freeze, pour the cooled condensed milk into freezer-safe containers, heavy-duty freezer bags (removing as much air as possible), or even ice cube trays for convenient individual portions. Once the cubes are frozen solid, you can transfer them to a larger freezer bag or container to save space. When frozen properly, it will last for about three months without significant loss of quality, making it an excellent option for meal prep or having staples on hand for unexpected baking sessions. Always ensure proper storage to enjoy your homemade condensed milk in various delicious ways over an extended period.
Recipes Using Sweetened Condensed Milk
Easy Fudge
3 Ingredient Oreo Fudge Recipe
Easy Pie
Kool Aid Pie
Cakes
Tres Leches Cake
Cakes
Better Than Sex Cake Recipe
More Kitchen Hacks
If you enjoy making pantry staples from scratch and love the satisfaction of creating your own ingredients, here are a few more kitchen hacks and homemade recipes to inspire your culinary adventures and save you a trip to the grocery store. Expanding your repertoire of homemade basics is a rewarding way to improve your cooking and baking:
- Homemade Butterscotch Sauce Recipe: A rich, sweet, and buttery sauce perfect for drizzling over ice cream or other desserts.
- Easy Homemade Cake Mix Recipe: Skip the box mixes and make your own versatile cake mix from scratch, ready for any occasion.
- Homemade Hot Fudge Sauce Recipe: A decadent, chocolatey sauce that’s far superior to anything you’ll buy in a jar.
There’s truly no need to purchase store-bought sweetened condensed milk from the grocery store when you can whip up a fresh, delicious homemade batch today using just a few simple, wholesome ingredients. Giving this recipe a try is an excellent way to elevate your baking, gain control over your ingredients, and impress your family and friends with your culinary skills. We encourage you to try this recipe, transform your desserts, and then come back to leave a star recipe rating and a comment to share your experience and tips!
Pin
Homemade Sweetened Condensed Milk Recipe
Ingredients
- 2 cup whole milk
- 3/4 cup granulated sugar
- 4 Tbsp butter
- 1 tsp vanilla extract
Instructions
-
Stir together the milk and sugar in a large sauce pan. Heat over medium heat and bring the mixture to a low simmer.
-
Simmer uncovered until the mixture is reduced in half (20-30 minutes) whisking frequently to keep the milk from burning.
-
Once the milk is reduce, remove the pan from the heat and stir in the butter and vanilla extract.
-
Allow the mixture to cool completely and then use with your favorite recipes or store in the refrigerator for up to 1 week.
Recipe Notes
Nutrition Facts
Pin This Now to Remember It Later
Pin Recipe
