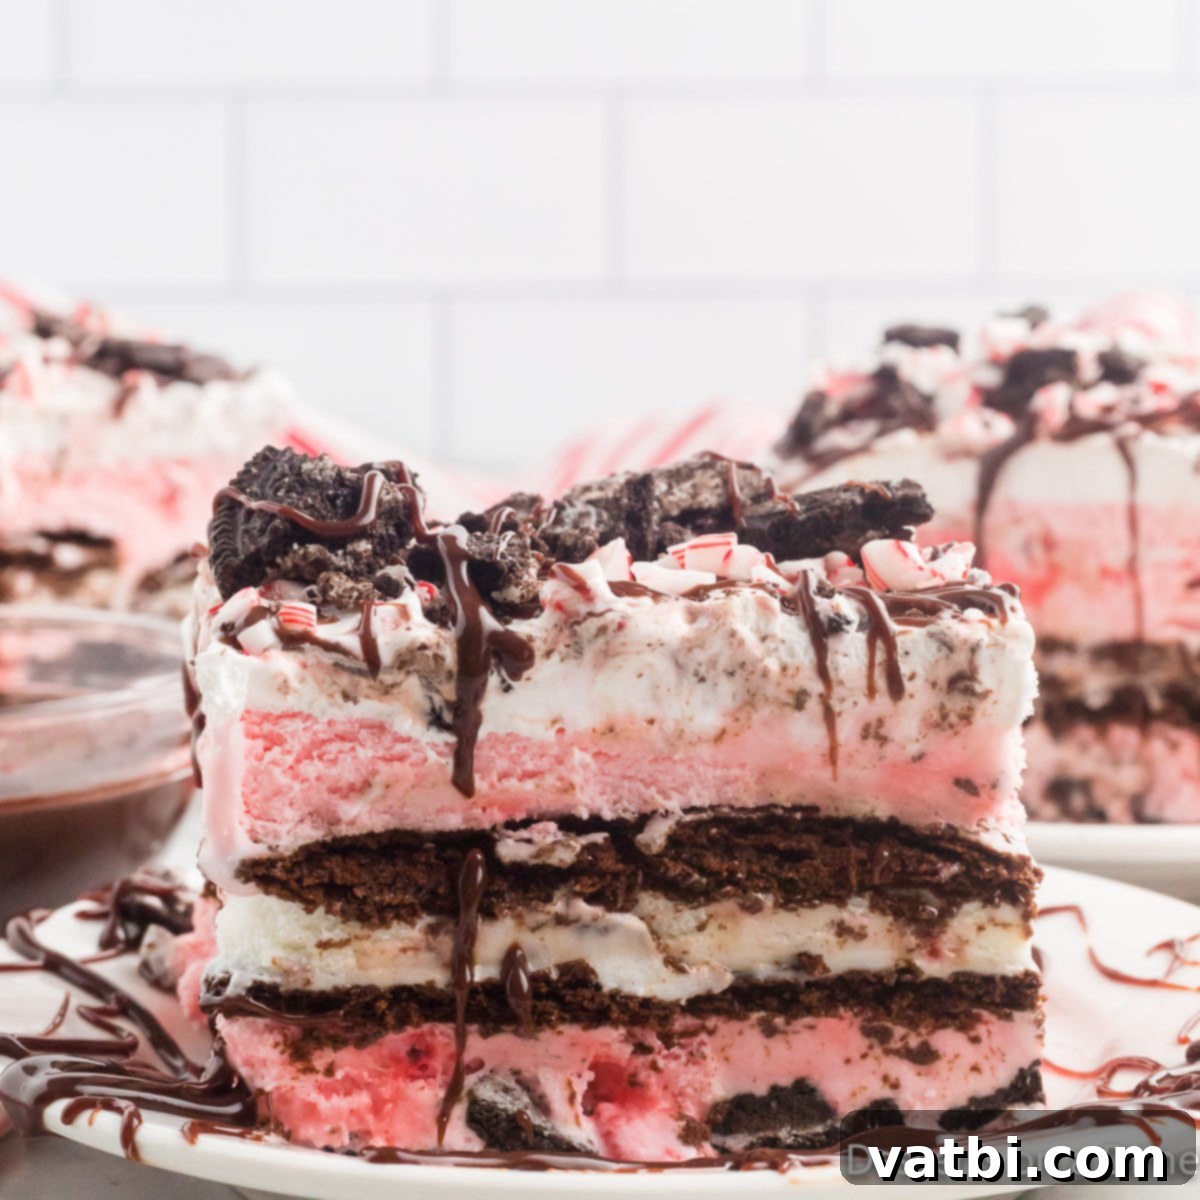
Delicious & Easy No-Bake Peppermint Oreo Christmas Ice Cream Cake
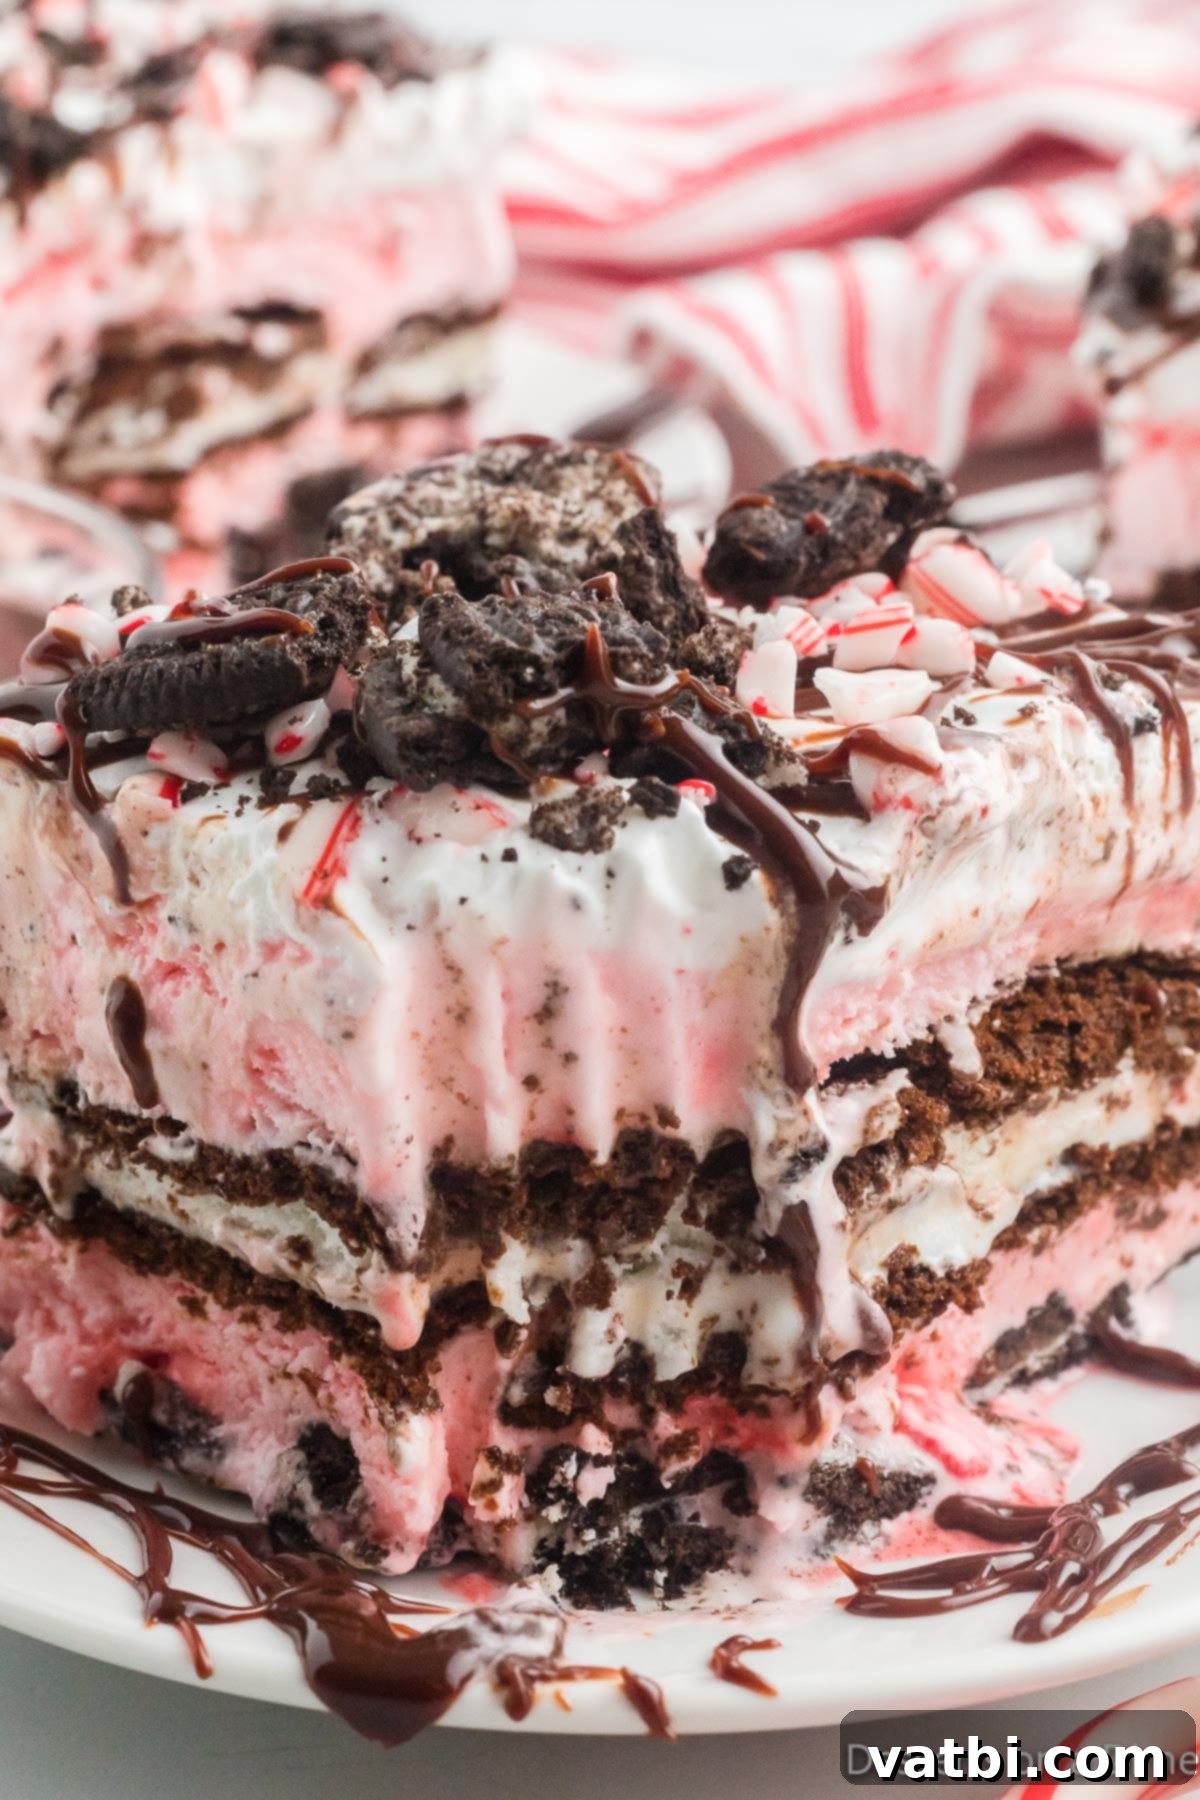
Get ready to delight your taste buds this holiday season with our incredible **Christmas Ice Cream Cake**! This festive, no-bake dessert is truly the perfect seasonal treat, bursting with the cool, refreshing flavor of peppermint ice cream, layered with crunchy Oreo cookies, and topped with a generous sprinkle of crushed candy canes and rich chocolate. It’s a showstopper that will instantly become a cherished part of your holiday traditions, captivating both kids and adults with its vibrant colors and irresistible taste.
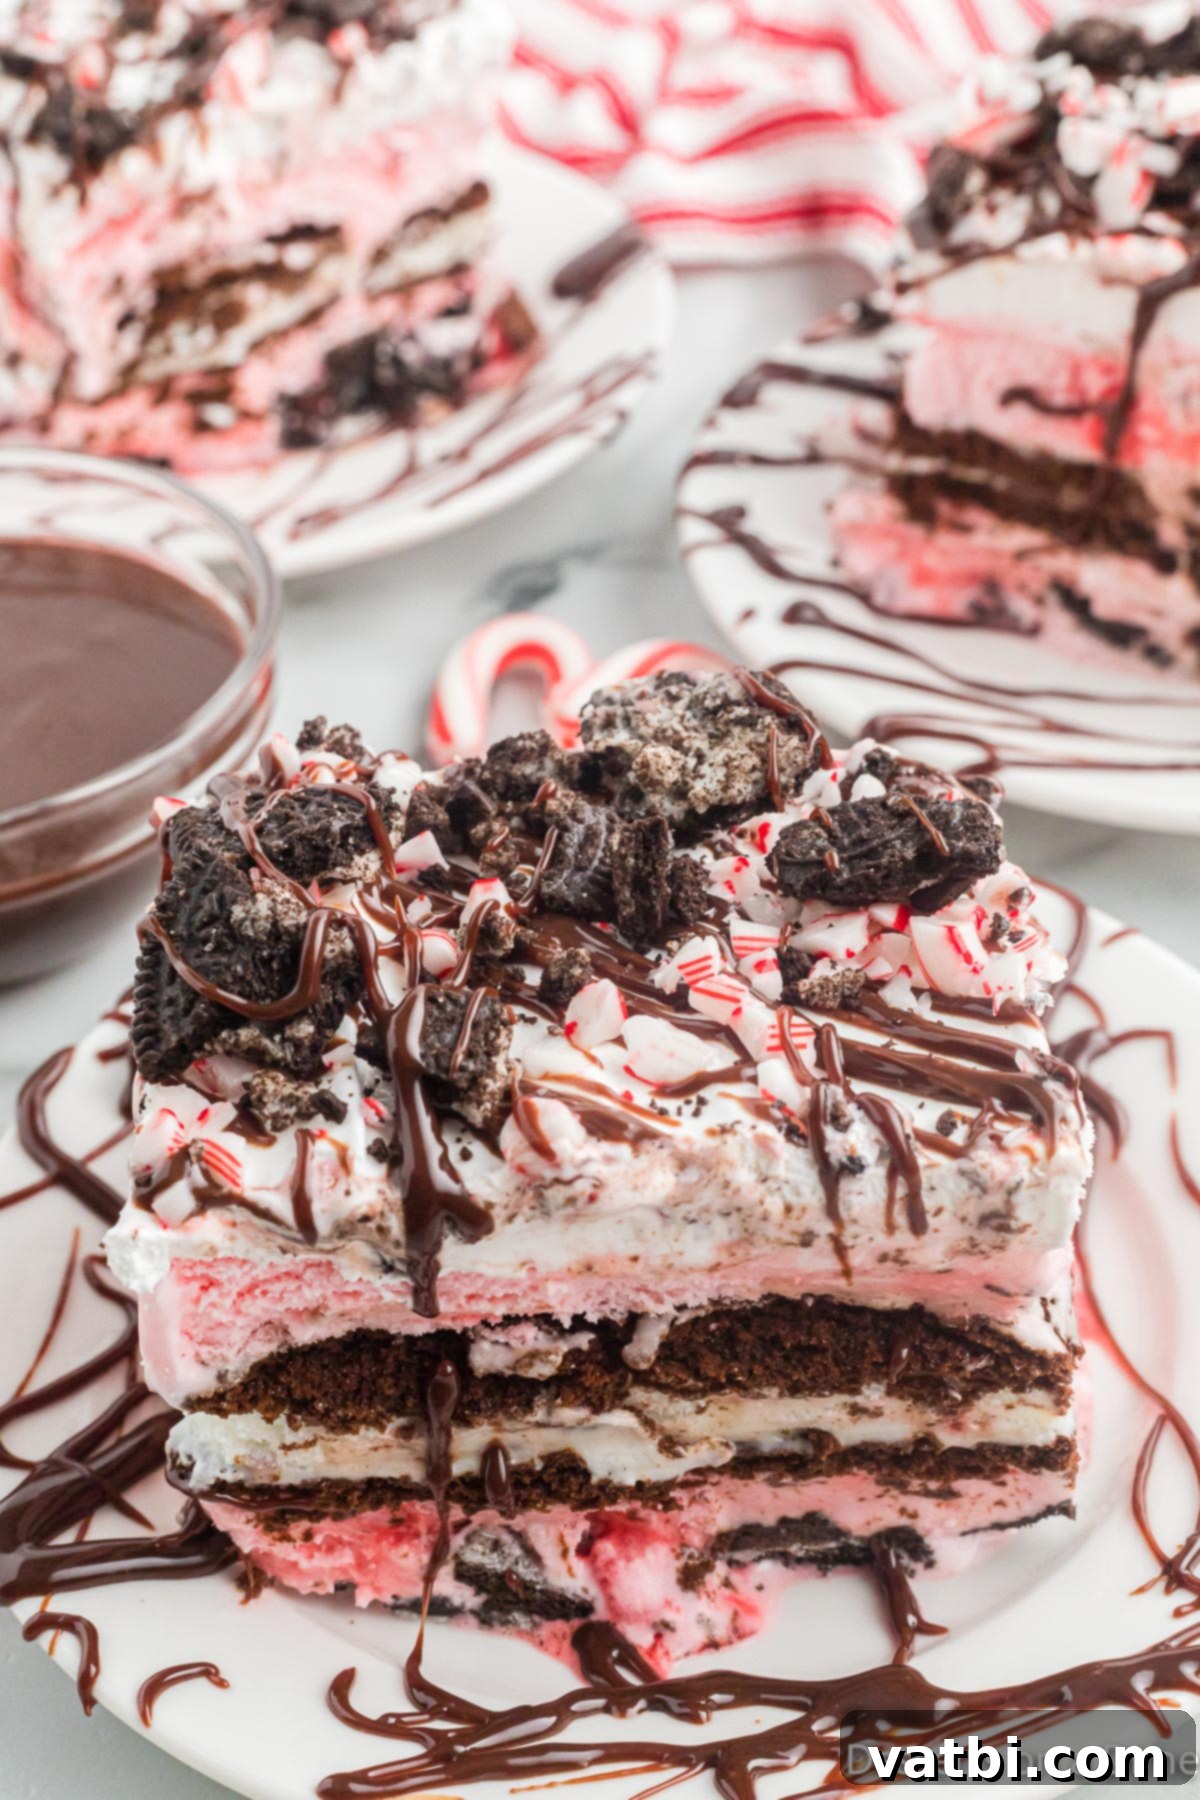
Crafting this easy Christmas dessert is an enjoyable experience, and every single bite of this ice cream cake recipe is infused with a wonderful peppermint essence. From beloved Peppermint Oreo Balls to our decadent Chocolate Peppermint Bark Recipe, peppermint-flavored desserts consistently impress and bring joy, especially during the festive period. This Christmas ice cream cake is no exception, offering a unique blend of flavors and textures that is both comforting and exciting. Its simplicity makes it ideal for busy holiday schedules, allowing you to create a spectacular dessert without spending hours in the kitchen.
What’s in this post: Christmas Ice Cream Cake
- Why You’ll Adore This Christmas Ice Cream Cake
- Essential Ingredients for Your Ice Cream Cake
- Exciting Variations and Additions
- Easy Step-By-Step Instructions
- Expert Pro Tips for the Perfect Cake
- Make-Ahead and Storage Tips
- Frequently Asked Questions About Ice Cream Cake
- More Festive Peppermint Christmas Desserts
- Christmas Ice Cream Cake Recipe Card
Why You’ll Adore This Christmas Ice Cream Cake
There are countless reasons to fall in love with this homemade ice cream cake. Firstly, it’s such an incredibly easy recipe to prepare, making it a stress-free option for the often hectic holiday season. You don’t need any special baking skills or equipment, just a few simple ingredients and a little patience for freezing. The distinct layers of this cake are absolutely divine, offering a harmonious blend of creamy ice cream and crunchy cookie texture. The refreshing peppermint flavor, combined with the rich chocolate and cookie base, makes it a universally popular dessert that appeals to both eager children and discerning adults.
Beyond its fantastic taste, the visual appeal of this Christmas ice cream cake is undeniable. Its vibrant colors, especially when adorned with crushed candy canes, perfectly capture the festive spirit. It stands out on any holiday dessert table, promising a delightful experience even before the first bite. We also have a soft spot for similar frozen delights like our Melted Ice Cream Cake and the rich goodness of Homemade Caramel Sauce, but this peppermint version truly embodies the magic of Christmas.
Essential Ingredients for Your Ice Cream Cake
The beauty of this Christmas ice cream cake lies in its simplicity and the readily available ingredients. You’ll find everything you need at your local grocery store, ensuring a hassle-free preparation. Each component plays a crucial role in creating the perfect balance of flavor and texture:
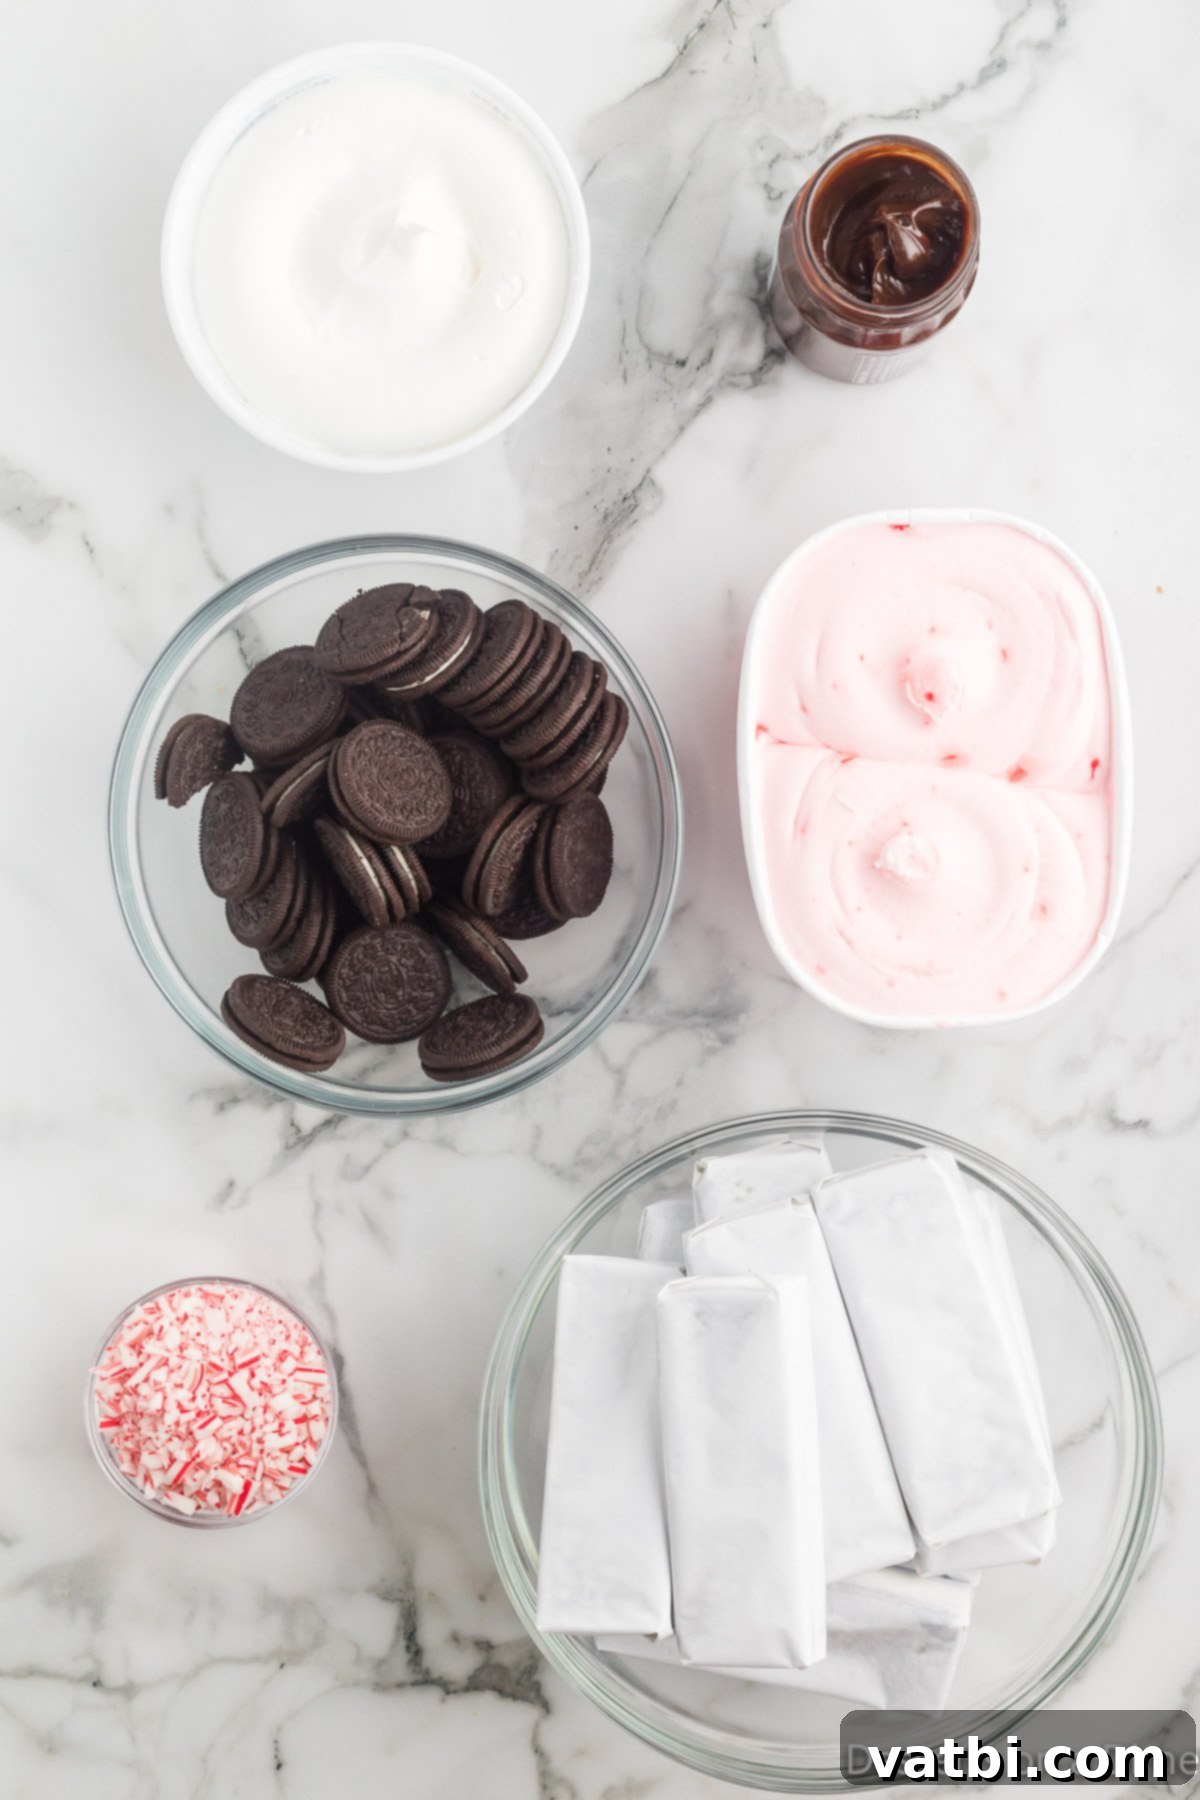
- Oreo Cookies. For this recipe, we recommend using regular Oreo cookies, not the double-stuffed variety. The classic filling-to-cookie ratio provides the ideal crunch and chocolate flavor for the base and topping, complementing the creamy ice cream without overwhelming it.
- Peppermint Ice Cream. Any brand of peppermint ice cream will work perfectly. Look for a good quality ice cream that has a strong, refreshing peppermint flavor, often with small candy cane pieces mixed in. This is the star of the show, delivering that quintessential holiday taste.
- Ice Cream Sandwiches. These simple, nostalgic treats form the ingenious middle layer of our ice cream cake. They add another dimension of texture and flavor, making the cake more substantial and enjoyable to eat.
- Whipped Cream. You can choose the convenience of store-bought whipped topping (like Cool Whip) or elevate your dessert with luscious Homemade Whipped Cream. Both options provide a light, airy contrast to the rich ice cream and chocolate.
- Hot Fudge Topping. A generous drizzle of hot fudge adds a decadent touch and extra chocolatey goodness. We particularly love our rich Homemade Hot Fudge Sauce Recipe for its superior flavor and texture, but a good quality store-bought version is also fantastic.
- Candy Canes. Crushed candy canes are essential for both visual appeal and a delightful peppermint crunch on top. They add that classic red and white Christmas sparkle.
For a complete list of measurements and detailed recipe instructions, please scroll down to the printable recipe card at the bottom of this post.
Exciting Variations and Additions
While this Christmas Ice Cream Cake recipe is perfect as is, it’s also incredibly versatile! Feel free to customize it with these ideas to match your preferences or explore new flavor combinations:
- Homemade Peppermint Ice Cream. If you’re feeling adventurous and want to take your cake to the next level, I have an easy and delicious recipe for Homemade Peppermint Ice Creamthat you can substitute. Making your own allows you to control the intensity of the peppermint flavor and add unique mix-ins.
- Alternative Ice Cream Flavors. Don’t limit yourself to just peppermint! Other tasty ice cream ideas that complement the holiday theme include classic Mint Chocolate Chip ice cream for a green touch, or a simple yet elegant vanilla ice cream for a milder base. You could also find “Christmas Cake Ice Cream” for a truly themed flavor. If you’re primarily aiming for a festive pink or red color, consider using strawberry ice cream or cherry ice cream. For a deeper, richer flavor, a good quality chocolate ice cream can be a wonderful substitute or even an additional layer.
- Festive Sprinkles. For an extra pop of color and celebratory flair, top the cake with an assortment of Christmas sprinkles. Red, green, and white sprinkles can make your cake even more visually appealing.
- Peppermint Candies. If candy canes are hard to find or you prefer a different texture, you can easily substitute other crushed peppermints or peppermint candies. Just ensure they are finely crushed to avoid large, hard pieces.
- Fresh Berries. For a touch of natural sweetness and a beautiful presentation, consider topping your cake with assorted fresh berries like raspberries or sliced strawberries, especially if you’re looking for a less candy-focused topping. The tartness of the berries can provide a lovely contrast to the sweetness of the cake.
- Chocolate Chips or Chunks. Mix in some mini chocolate chips or finely chopped chocolate chunks into your ice cream layers for extra chocolate goodness throughout the cake.
- Different Cookie Crust. Instead of Oreos, you could use crushed gingerbread cookies, shortbread, or even chocolate wafer cookies for a different flavored crust.
Easy Step-By-Step Instructions
Creating this festive Christmas ice cream cake is a straightforward process, designed for ease and enjoyment. Follow these simple steps to assemble your holiday masterpiece:
- Step 1. Begin by preparing your pan. Line a 9×13 inch baking pan with parchment paper or wax paper. It’s crucial to ensure that the paper overhangs the edges of the pan. This thoughtful detail will serve as convenient “handles” later, allowing you to easily lift the entire frozen cake out of the pan for perfect slicing and serving.
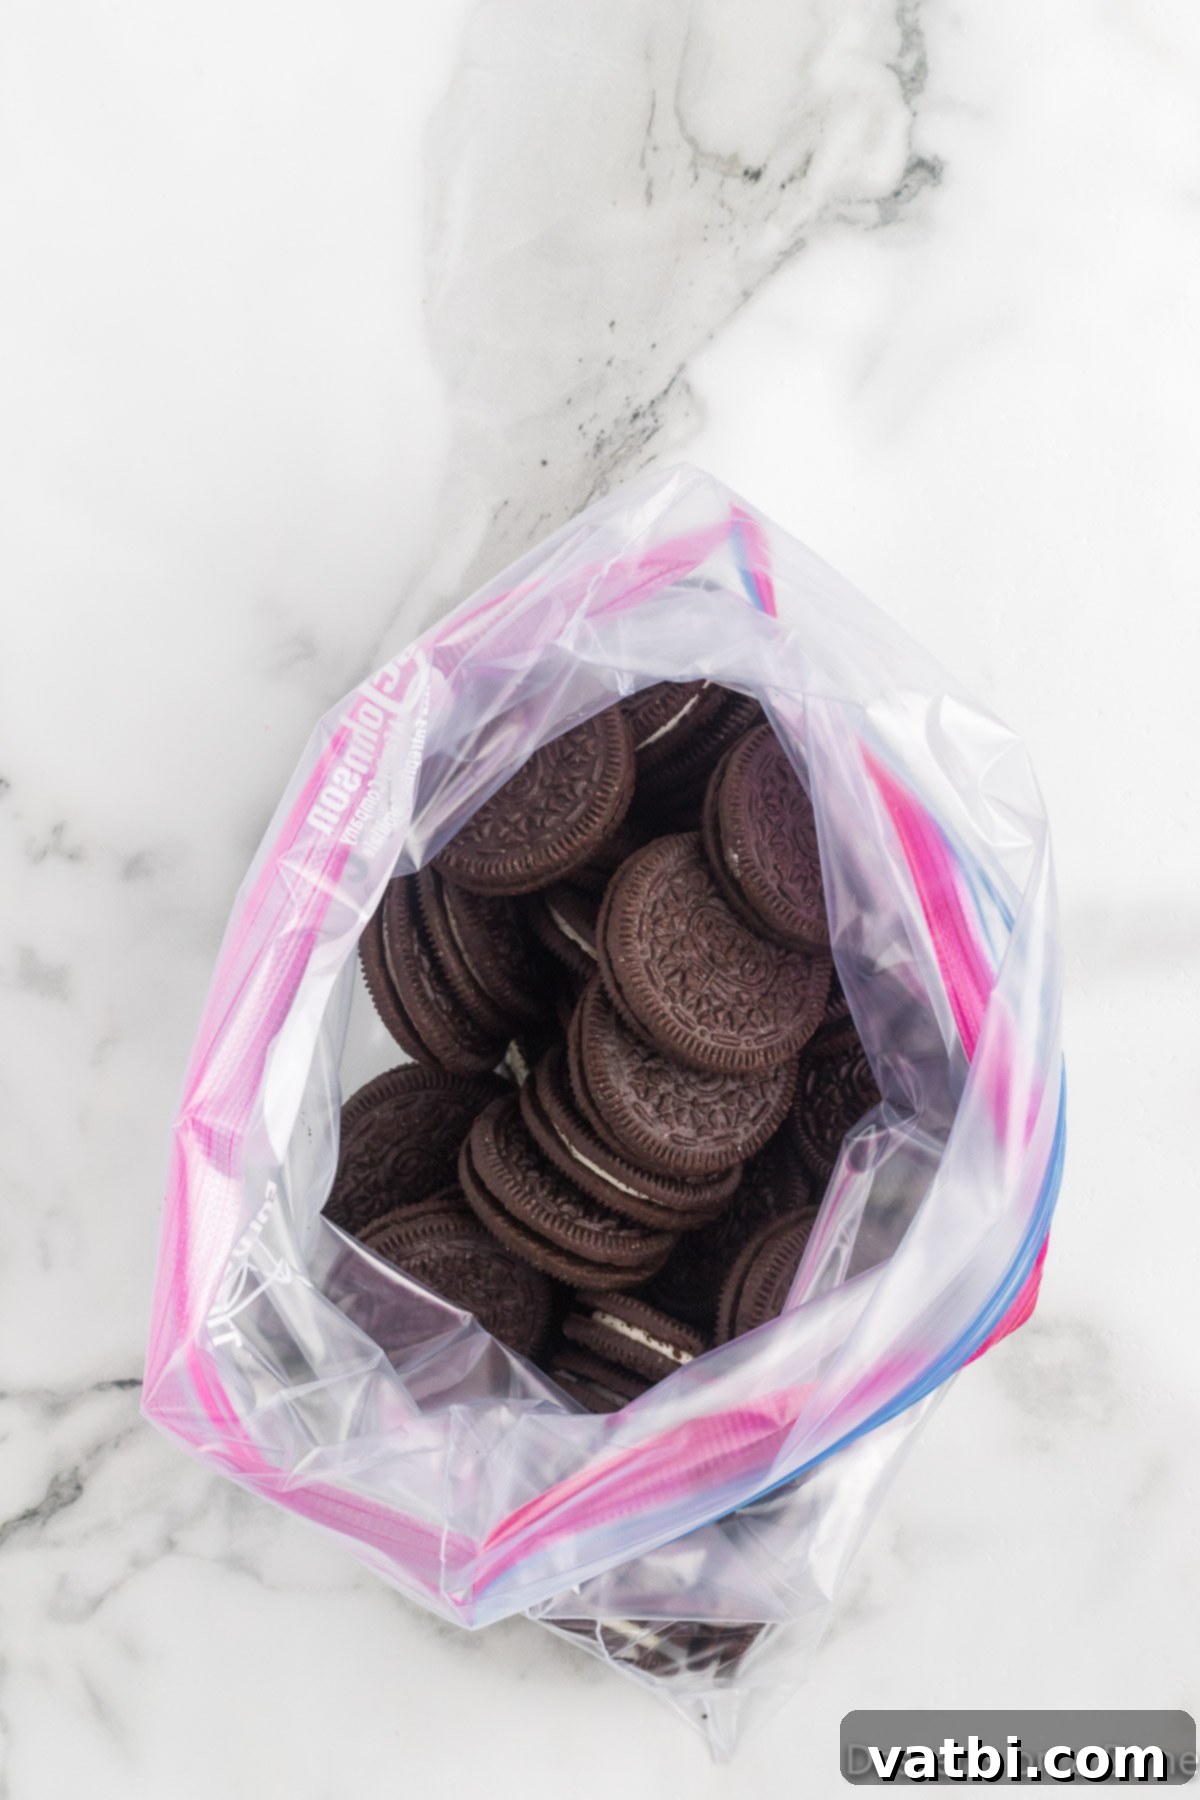
Step 2. Take your Oreo cookies and place them into a sturdy ziplock bag. Seal the bag tightly, removing as much air as possible. This step prepares them for crushing.
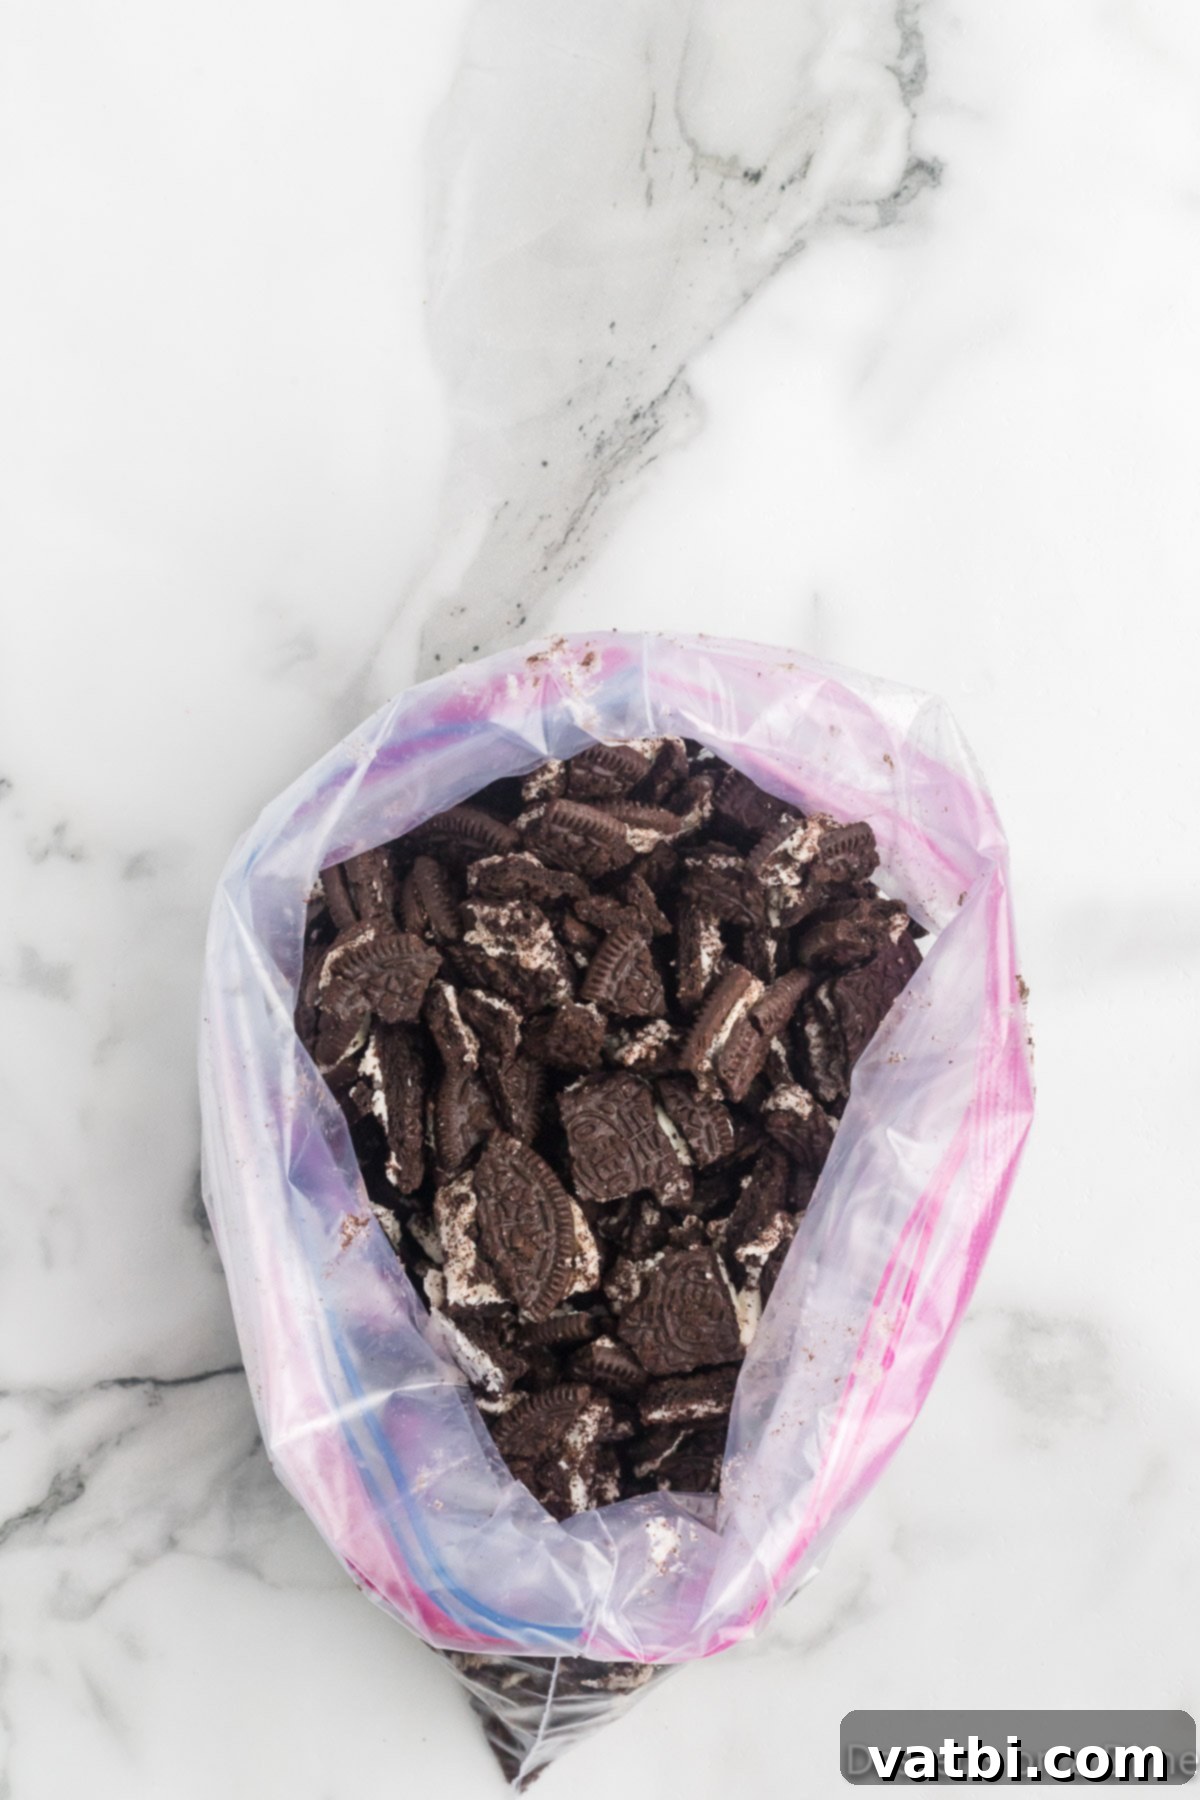
Step 3. Using a rolling pin, the back of a wooden spoon, or even your hands, crush the cookies into large pieces. Aim for a mix of fine crumbs and larger chunks to provide varied texture. You can also use a food processor for a more uniform crumb, but hand crushing adds a rustic touch.
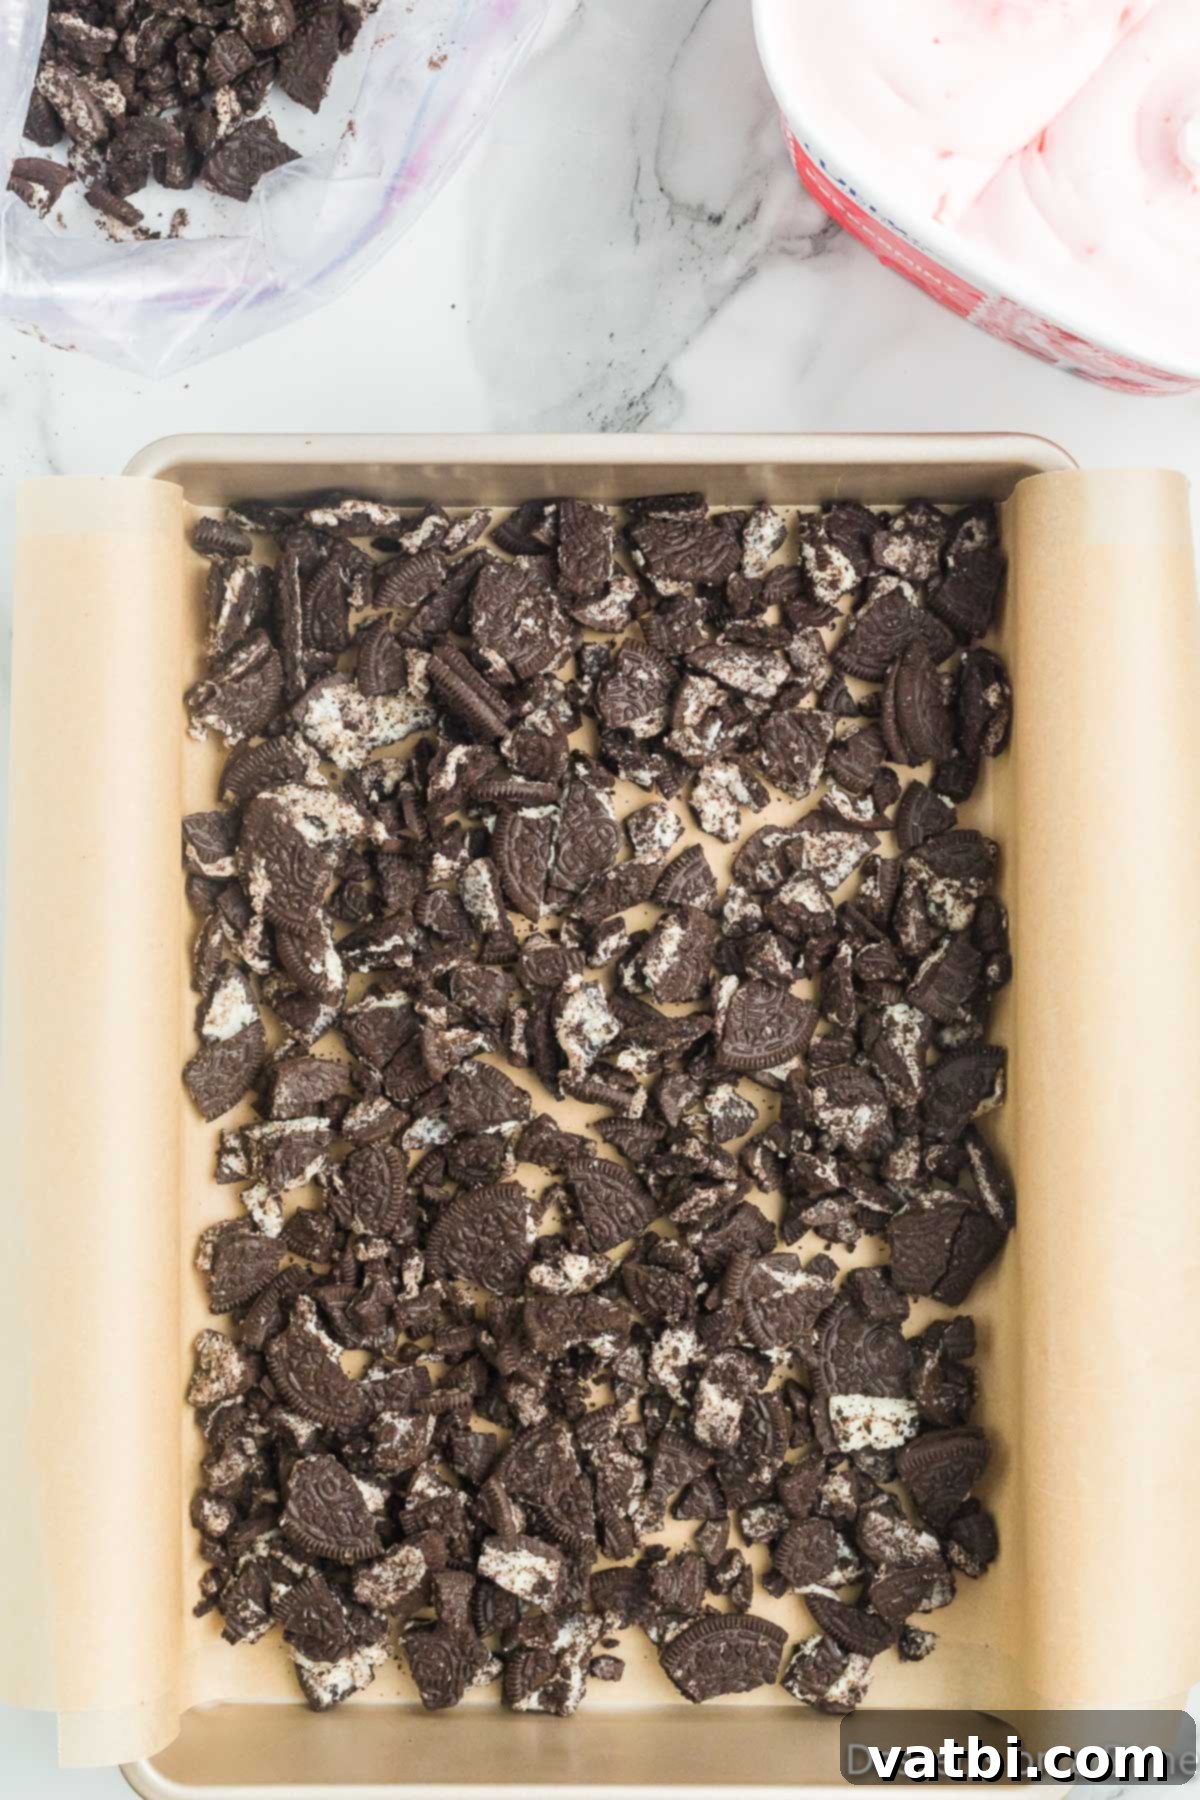
Step 4. Evenly pour about three-quarters of the crushed cookie crumbs into the bottom of the prepared pan. Gently press them down to form a compact base. Remember to save the remaining crumbs for the final topping, which adds both flavor and visual appeal.
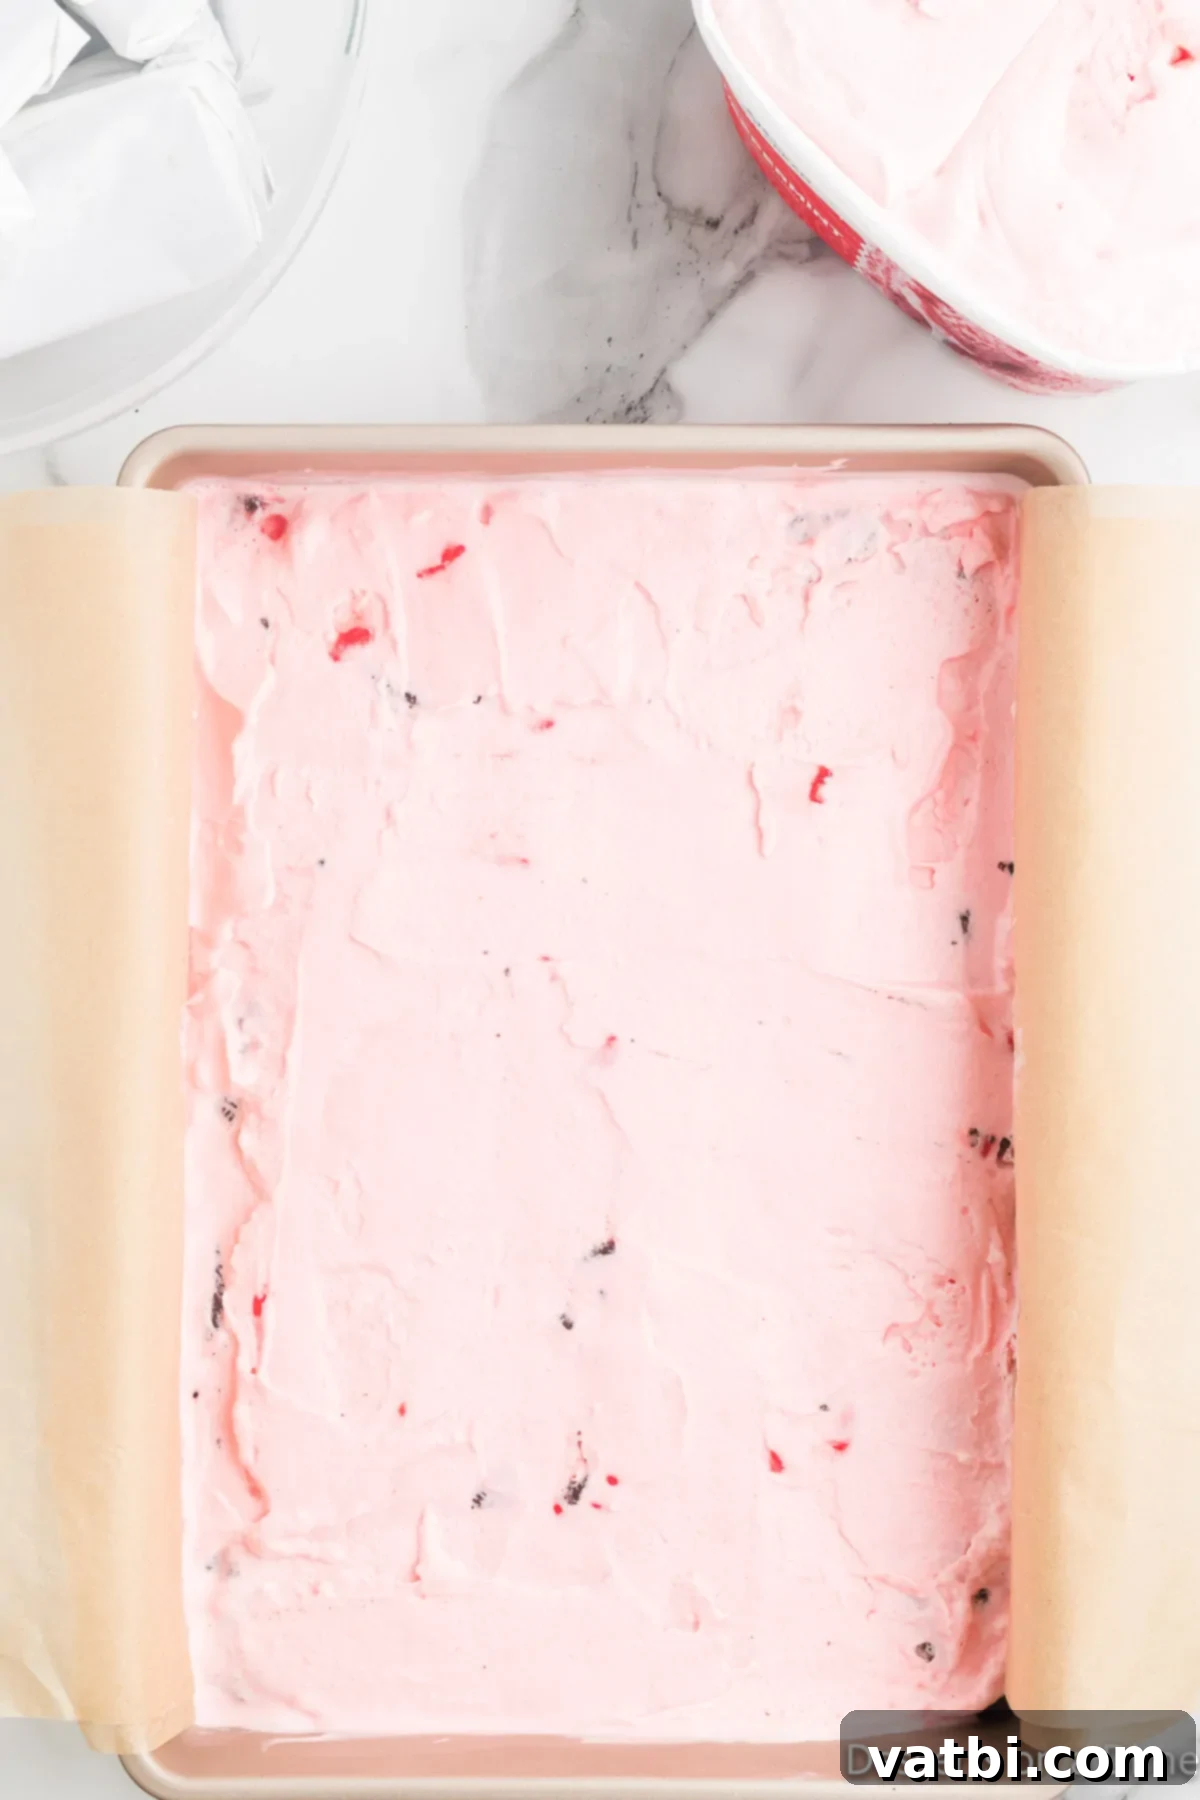
Step 5. Take half of your softened peppermint ice cream and spread it evenly over the crushed Oreos in the pan. Use an offset spatula or the back of a spoon for a smooth layer. Once spread, place the pan in the freezer for 10-15 minutes to allow this layer to firm up slightly. This prevents the layers from mixing too much.
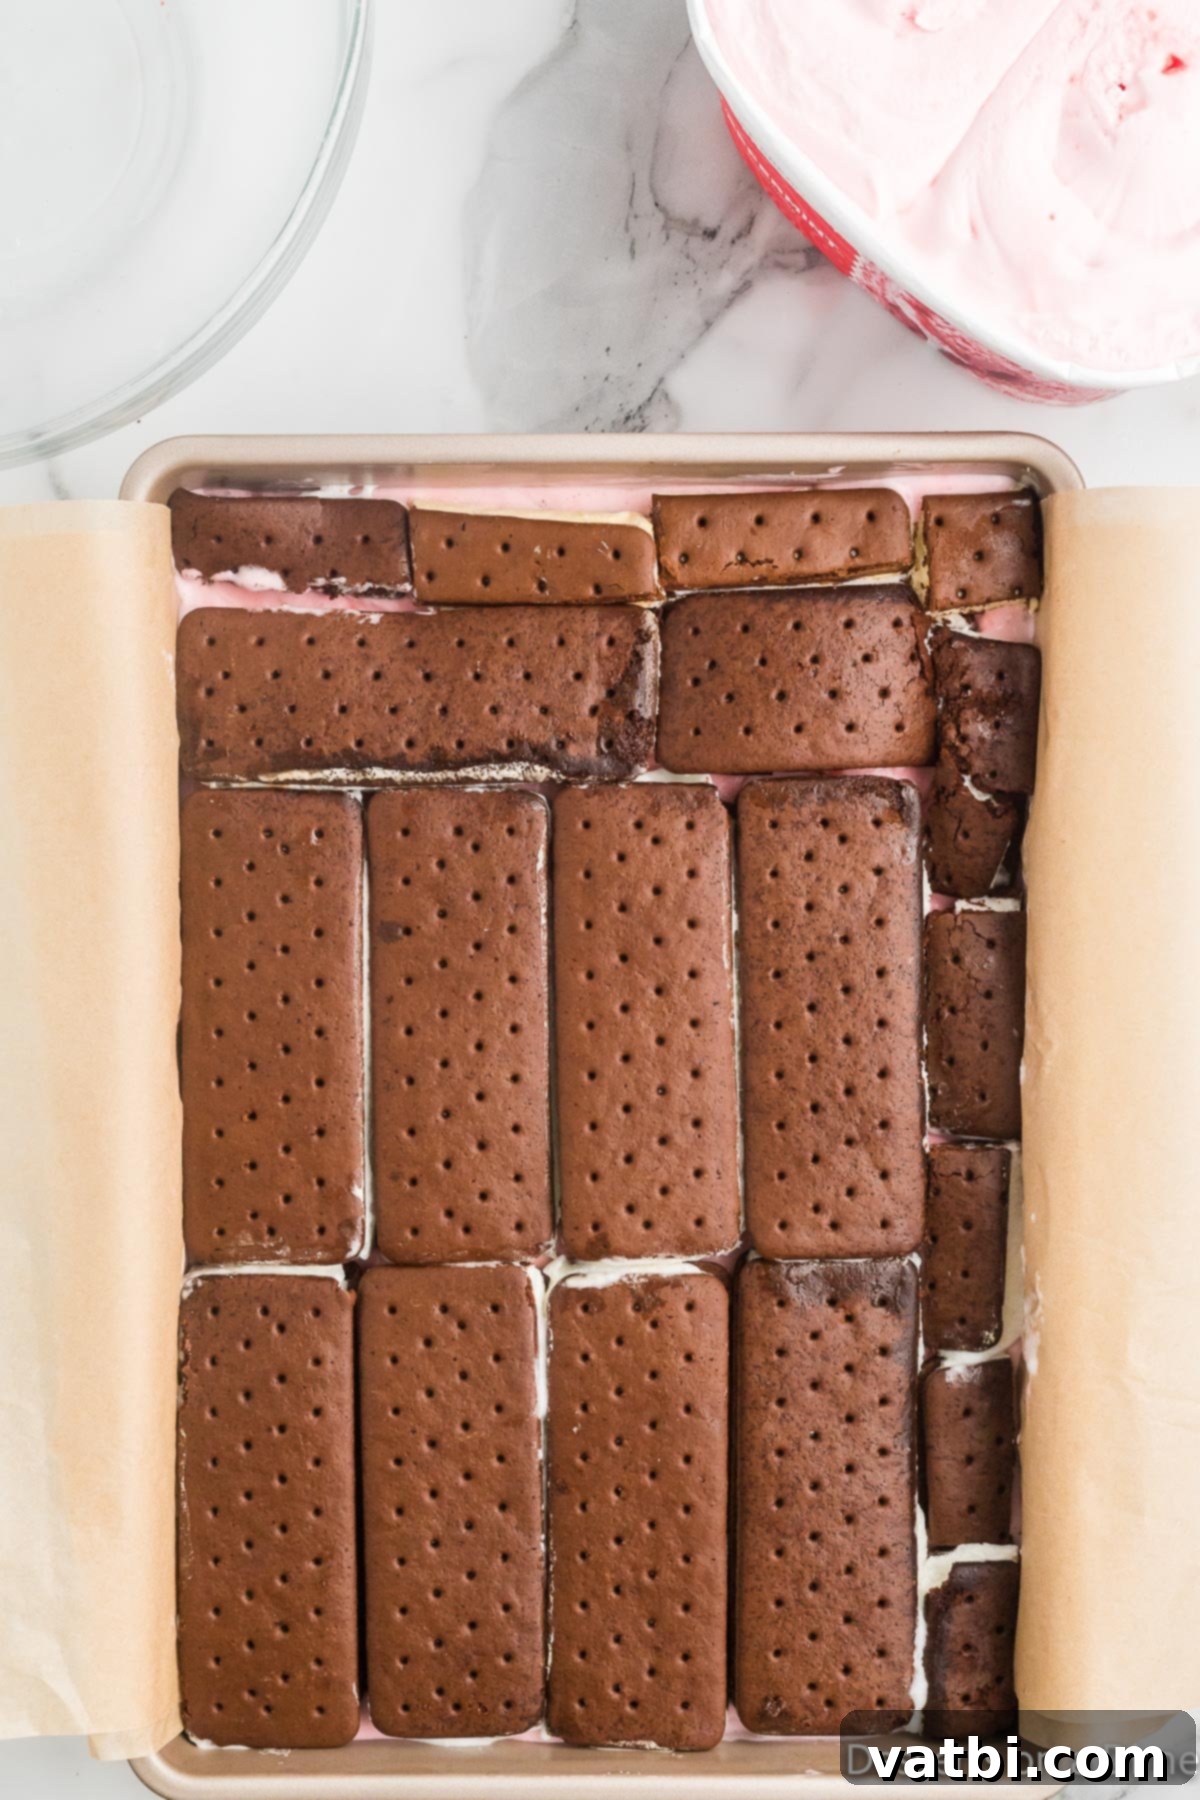
Step 6. Carefully unwrap your ice cream sandwiches. Arrange them in a single layer directly on top of the slightly frozen peppermint ice cream. You might need to cut some of the sandwiches to fit snugly and cover the entire surface of the pan, ensuring an even layer.
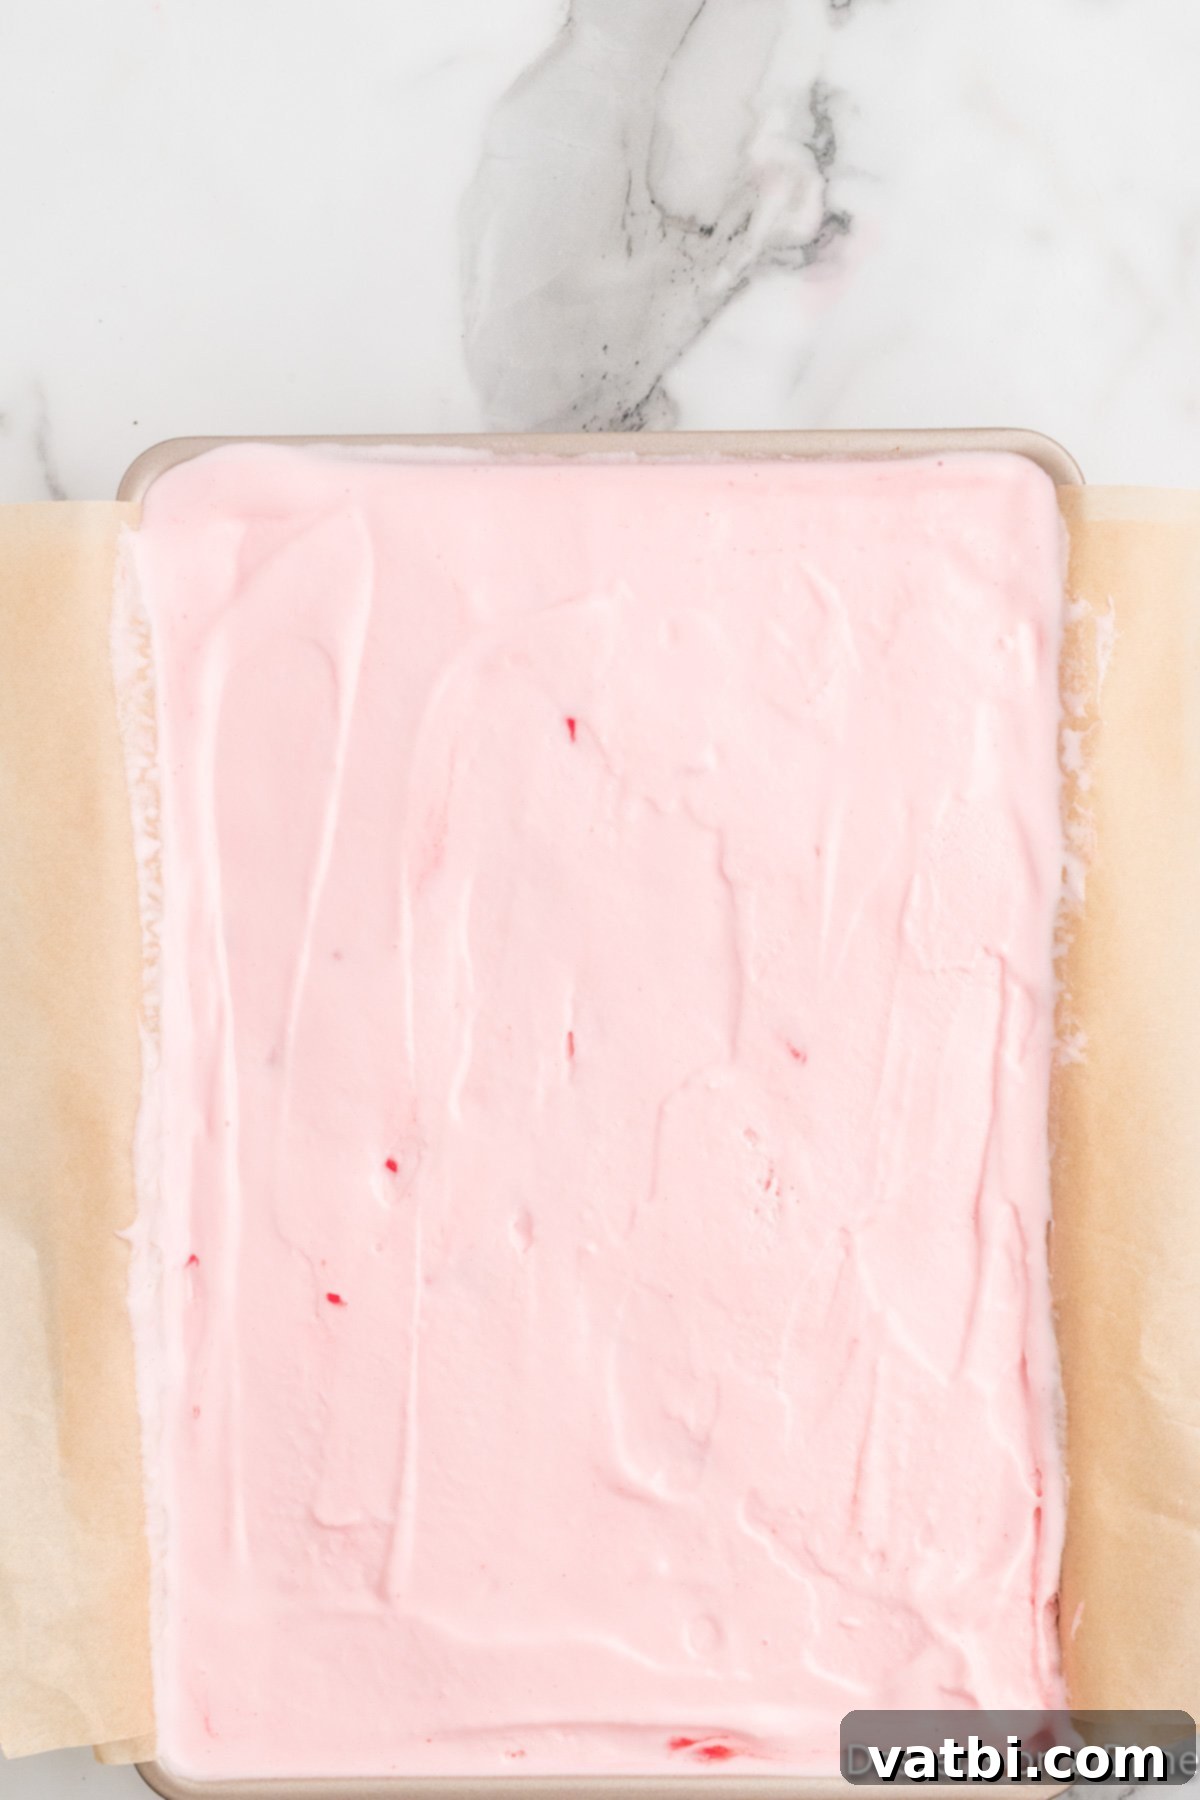
Step 7. Now, evenly spread the remaining half of the softened pink peppermint ice cream over the layer of ice cream sandwiches. Ensure it covers them completely and creates a smooth, appealing top layer. Once complete, cover the pan tightly with plastic wrap to prevent freezer burn and freeze the cake for at least 3-4 hours, or preferably overnight, until it is completely firm.
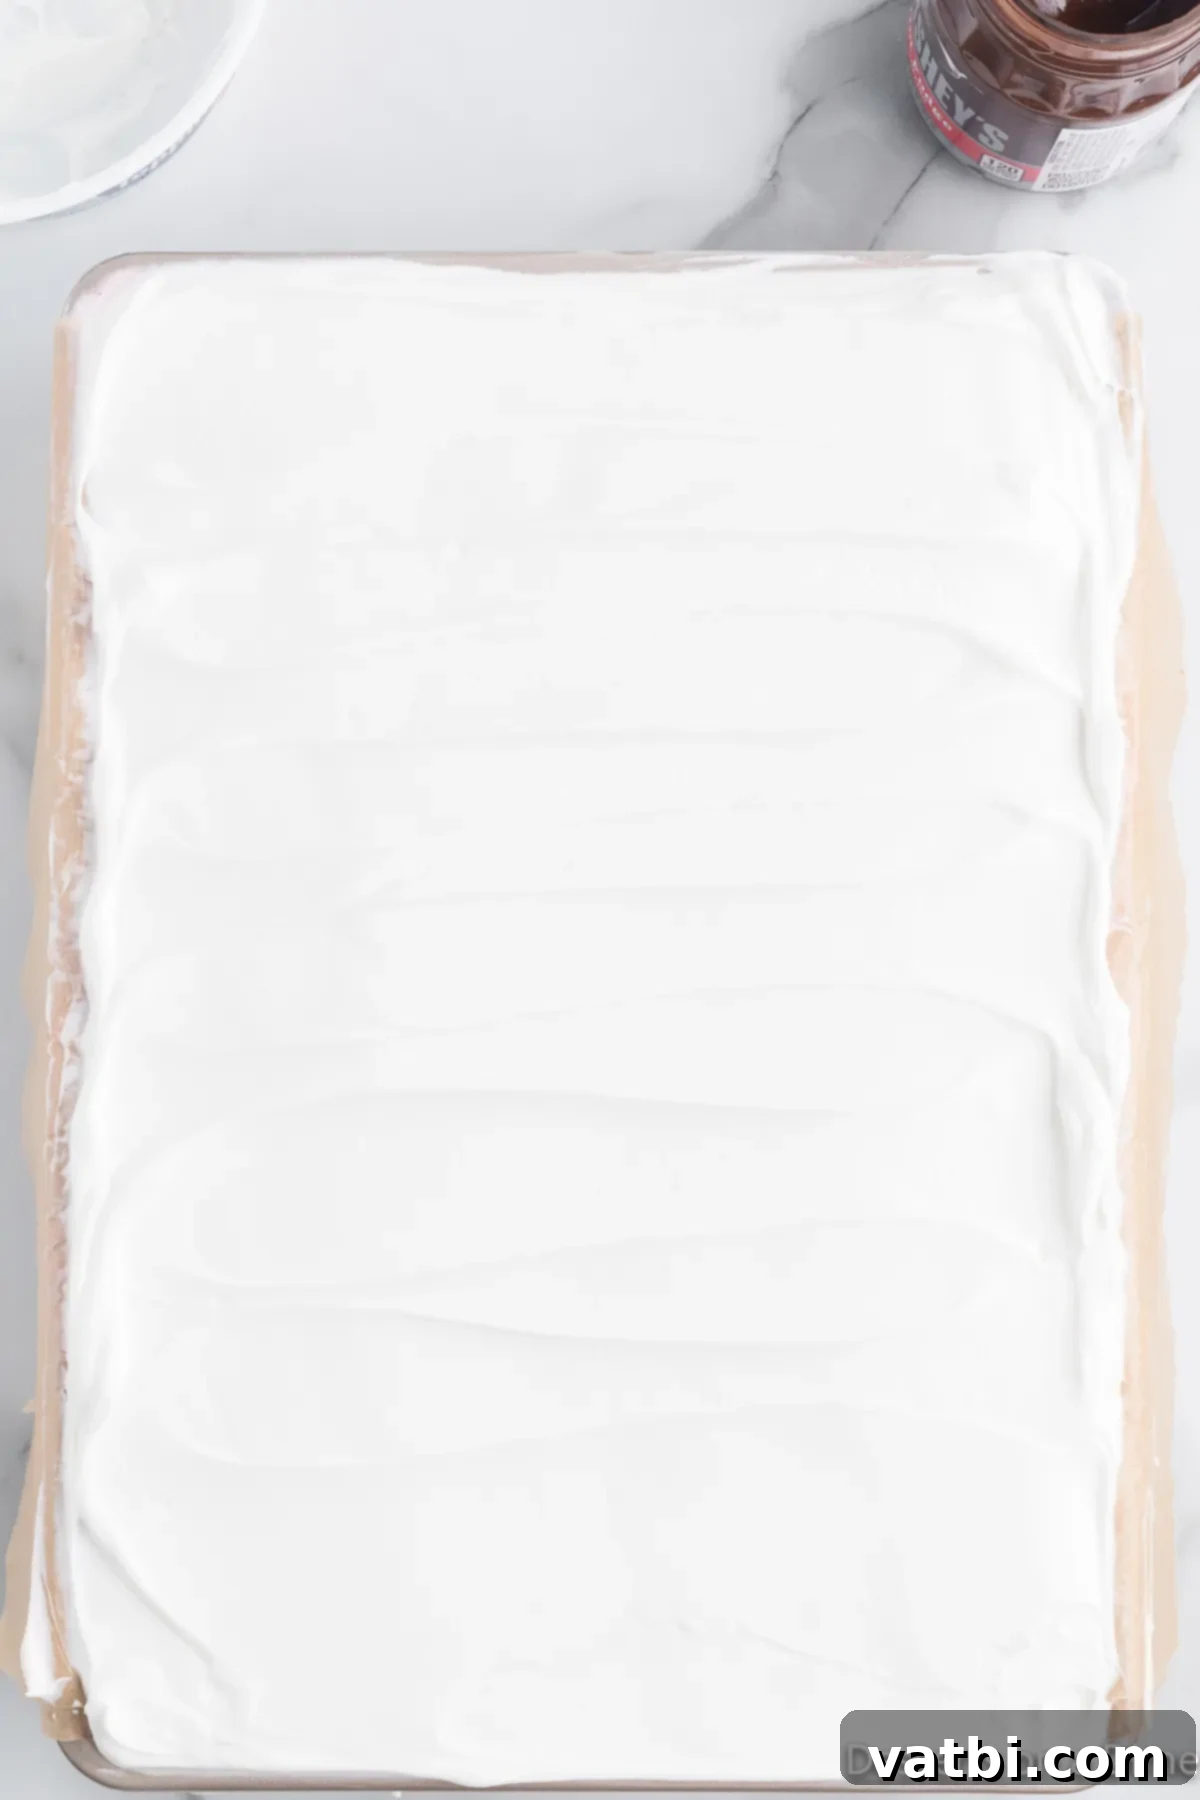
Step 8. Right before you plan to serve your magnificent Christmas ice cream cake, remove it from the freezer. Spread the cool whip (or homemade whipped cream) evenly over the top layer of the cake. This adds a beautiful snowy white finish.
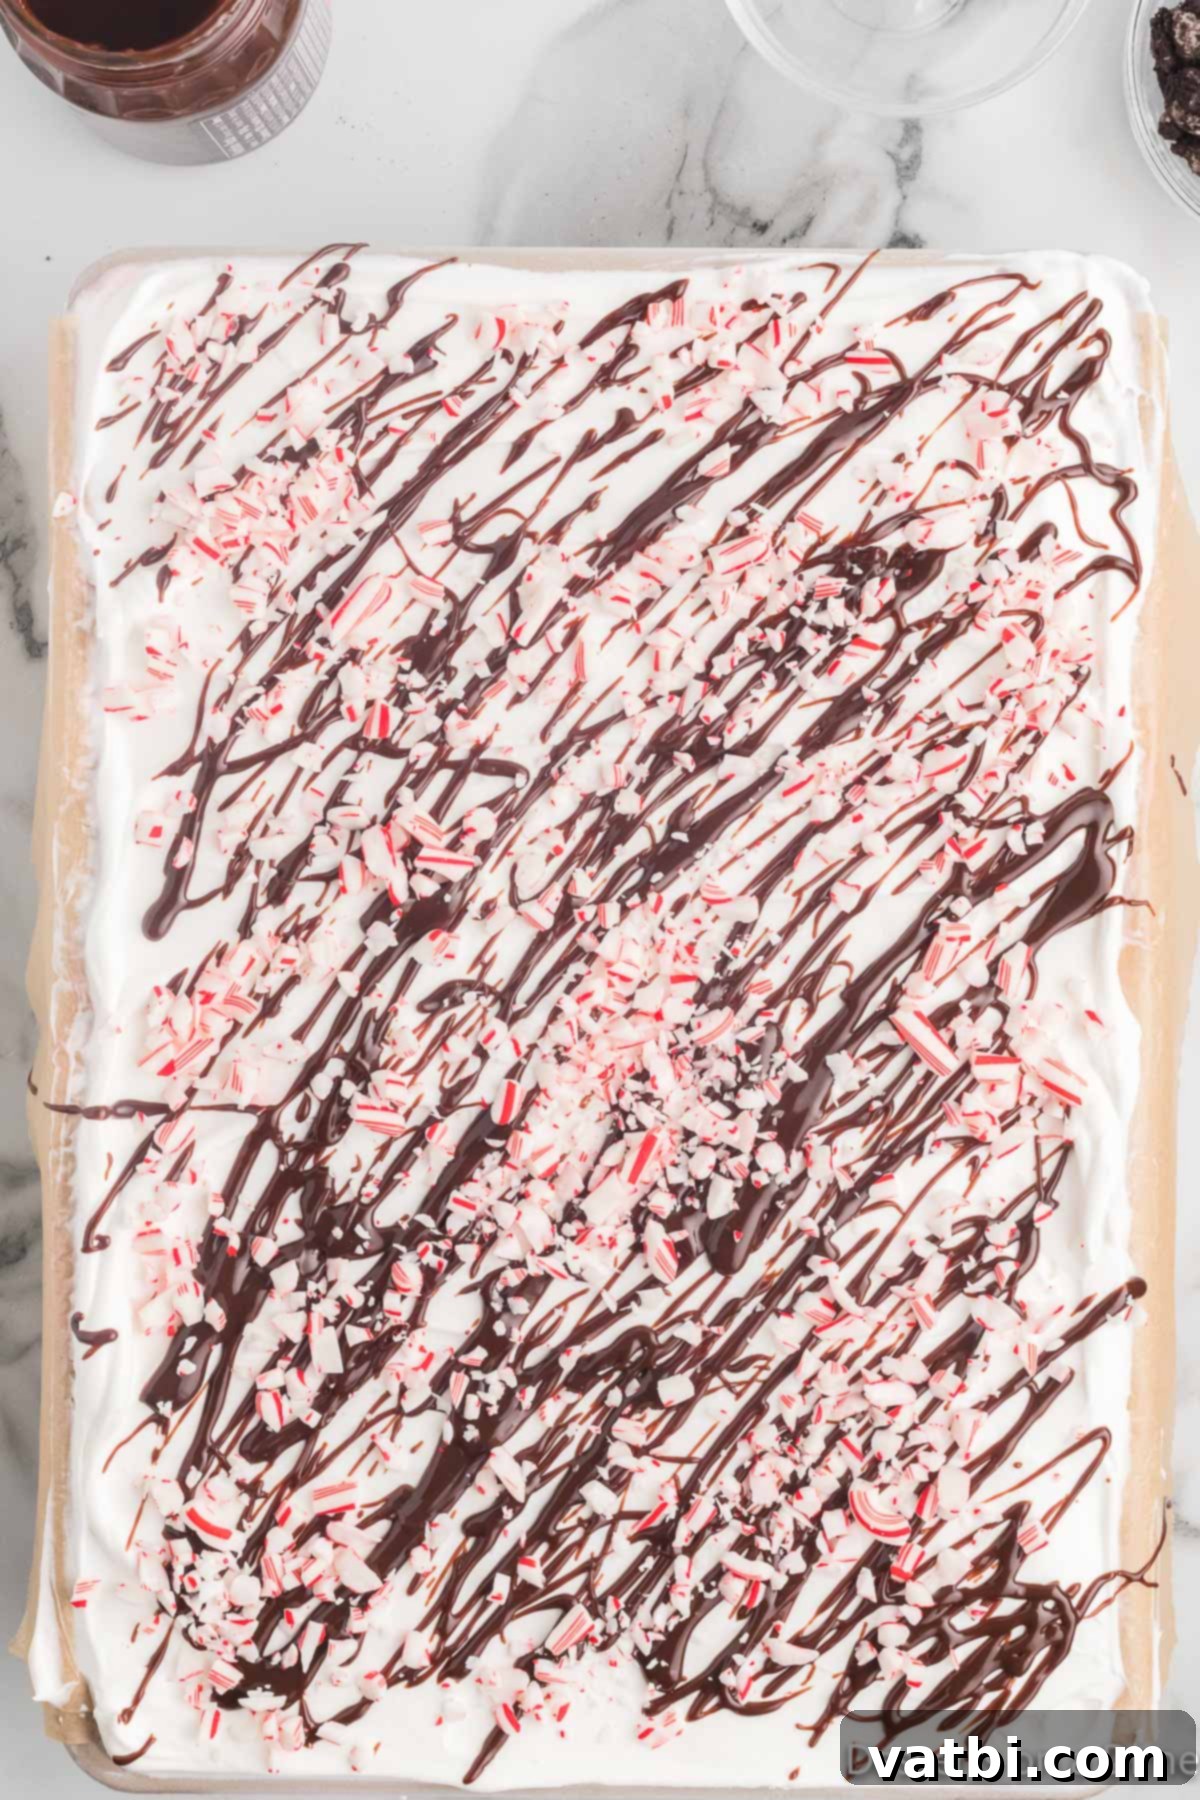
Step 9. To complete the festive presentation and add a final burst of flavor, drizzle your hot fudge topping generously over the whipped cream. Finally, sprinkle the crushed candy canes and the remaining chopped Oreos on top. These toppings add a wonderful texture and a visually appealing contrast of colors. Slice, serve, and enjoy this delightful holiday treat!
Expert Pro Tips for the Perfect Cake
Achieving the perfect Christmas Ice Cream Cake is easy with these helpful tips, ensuring your dessert is as delicious and beautiful as possible:
- Choose the Right Oreo Cookies. For the best texture and stability in your crust and topping, always opt for regular Oreo cookies. Double-stuffed varieties have too much cream filling, which can alter the consistency of your crushed base and make it less stable.
- Achieve Room Temperature Ice Cream (the right way). The key to effortlessly spreading your ice cream layers is to allow the ice cream to soften adequately. This doesn’t mean letting it melt into a liquid; rather, it should be soft enough to easily scoop and spread smoothly without requiring excessive force. Typically, leaving it on the counter for about 15-20 minutes, depending on your room temperature, will achieve this perfect consistency.
- Freeze Each Layer for Stability. This is perhaps the most crucial tip for a beautifully layered ice cream cake. After spreading each layer – the initial ice cream and then the final ice cream layer – return the pan to the freezer for 10-15 minutes. This quick chill allows each layer to firm up just enough, preventing them from bleeding into each other when you add the next component. It also makes for cleaner slices when serving.
- Handle Layers with Care. When adding each successive layer, be gentle. You want to spread the ice cream and arrange the sandwiches without blending or stirring the layers beneath. The goal is distinct, visible layers that make the cake visually appealing. Use an offset spatula or the back of a spoon and work quickly.
- Parchment Paper Overhang. Don’t underestimate the importance of the parchment paper overhang. It’s your secret weapon for easy removal of the entire cake from the pan. Once frozen solid, simply lift the cake out using the paper edges, transfer it to a cutting board, and then slice for clean, perfect portions.
- Crushing Candy Canes. For perfectly crushed candy canes, place them in a sturdy ziplock bag and use a rolling pin to break them into pieces. For finer dust, a food processor can work, but avoid over-processing into a powder if you want some crunch.
- Serving Temperature. While the cake needs to be well-frozen for assembly, letting it sit at room temperature for 10-15 minutes before slicing will make it much easier to cut through smoothly.
Make-Ahead and Storage Tips
This Christmas Ice Cream Cake is an ideal dessert for holiday entertaining because it can be prepared well in advance, saving you time and stress on the day of your celebration.
- Making Ahead: You can assemble the entire ice cream cake, up to the point before adding the whipped topping and final garnishes, up to a week in advance. Simply prepare it as normal, ensuring it is completely firm after the final ice cream layer. Cover the pan tightly with several layers of plastic wrap, or even foil, to prevent any freezer burn. When you’re ready to serve, remove the cake from the freezer, add the whipped topping, hot fudge, crushed candy canes, and reserved Oreos. Allowing it to sit for 10-15 minutes at room temperature before slicing will make cutting much easier.
- Storing Leftovers: Any leftover slices of Christmas Ice Cream Cake should be stored in an airtight container in the freezer. This will help maintain its freshness, flavor, and texture for up to one week. Be sure to press down any plastic wrap directly onto the surface of the cake to minimize air exposure.
Frequently Asked Questions About Ice Cream Cake
To ensure your delicious Christmas Ice Cream Cake remains fresh and enjoyable, store any leftovers in an airtight container. This will protect it from freezer burn and preserve its texture and flavor for up to 1 week in the freezer.
Absolutely! This ice cream cake is perfect for making ahead, which is a huge advantage during the busy holiday season. Prepare the cake layers as described in the instructions, then cover it tightly with several layers of plastic wrap and aluminum foil. Freeze it for up to a week. When it’s time to serve, simply remove it from the freezer, add the whipped topping, hot fudge, crushed candy canes, and any other desired chocolate toppings. Let it sit out for about 10-15 minutes before slicing for easier serving.
The easiest and most effective way to soften ice cream for an ice cream cake is to leave it at room temperature. Depending on how frozen it is and your room’s temperature, about 15-30 minutes should be sufficient. You want it to be soft enough to spread easily with a spatula, but not completely melted or liquid.
Yes, it is highly recommended. If the cake has been frozen solid for an extended period, allowing it to sit at room temperature for about 10-15 minutes before cutting will make a significant difference. This short softening period will ensure that your knife can glide through the layers smoothly, resulting in perfectly neat and easy-to-serve slices.
More Festive Peppermint Christmas Desserts
If you’re a fan of the invigorating taste of peppermint, especially during the holidays, you’ll love exploring these other festive dessert ideas. Peppermint truly shines in so many forms:
- Chocolate Peppermint Cookies: A classic combination of rich chocolate and refreshing peppermint in a chewy cookie.
- White Chocolate Peppermint Cookies: A lighter, equally delicious alternative that showcases the crispness of peppermint with sweet white chocolate.
- Candy Cane Cookies: These beautifully swirled cookies are not only fun to make but also deliver a delightful peppermint flavor in every bite.
- Mint Chocolate Chip Ice Cream Cake: If you love ice cream cakes and mint, this recipe is a must-try, offering a slightly different twist on the classic flavor.
Once you create this easy and impressive Christmas Ice Cream Cake Recipe, we would absolutely love to hear from you! Please come back and leave a comment below to share your experience and let us know how much you enjoyed this delightful holiday dessert. Your feedback helps other home bakers too!
Pin
Christmas Ice Cream Cake
Ingredients
- 1 pkg Oreo Cookies 14 ounces
- 1 gallon Peppermint Ice Cream softened
- 12 Ice Cream Sandwiches
- 8 ounces Whipped Topping Cool Whip
- Hot Fudge Topping for topping
- 1/4 cup Crushed Candy Canes
Instructions
-
Line a 9X13 baking pan with parchment paper or wax paper and make sure that the paper overhangs the pan for easy serving of the ice cream cake.
-
Crush the Oreo Cookies into large pieces. Spread them along the bottom of the pan and reserve some of the crushed Oreos for the topping.
-
Spread half of the ice cream on top of the Oreos in the pan. Place in the freezer for 10-15 minutes.
-
Unwrap the ice cream sandwiches. Layer the ice cream sandwiches on top of the ice cream in the pan. You can cut some of the sandwiches to make sure that they all fit in the pan.
-
Spread the remaining ice cream on top of the ice cream sandwiches.
-
Cover and freezer for at least 3-4 hours.
-
When serving, top the cake with the whipped topping. Drizzle the hot fudge topping on top and top with the crushed candy canes and reserved chopped Oreos.
-
Slice, serve and enjoy!
Recipe Notes
Nutrition Facts
Pin This Now to Remember It Later
Pin Recipe
