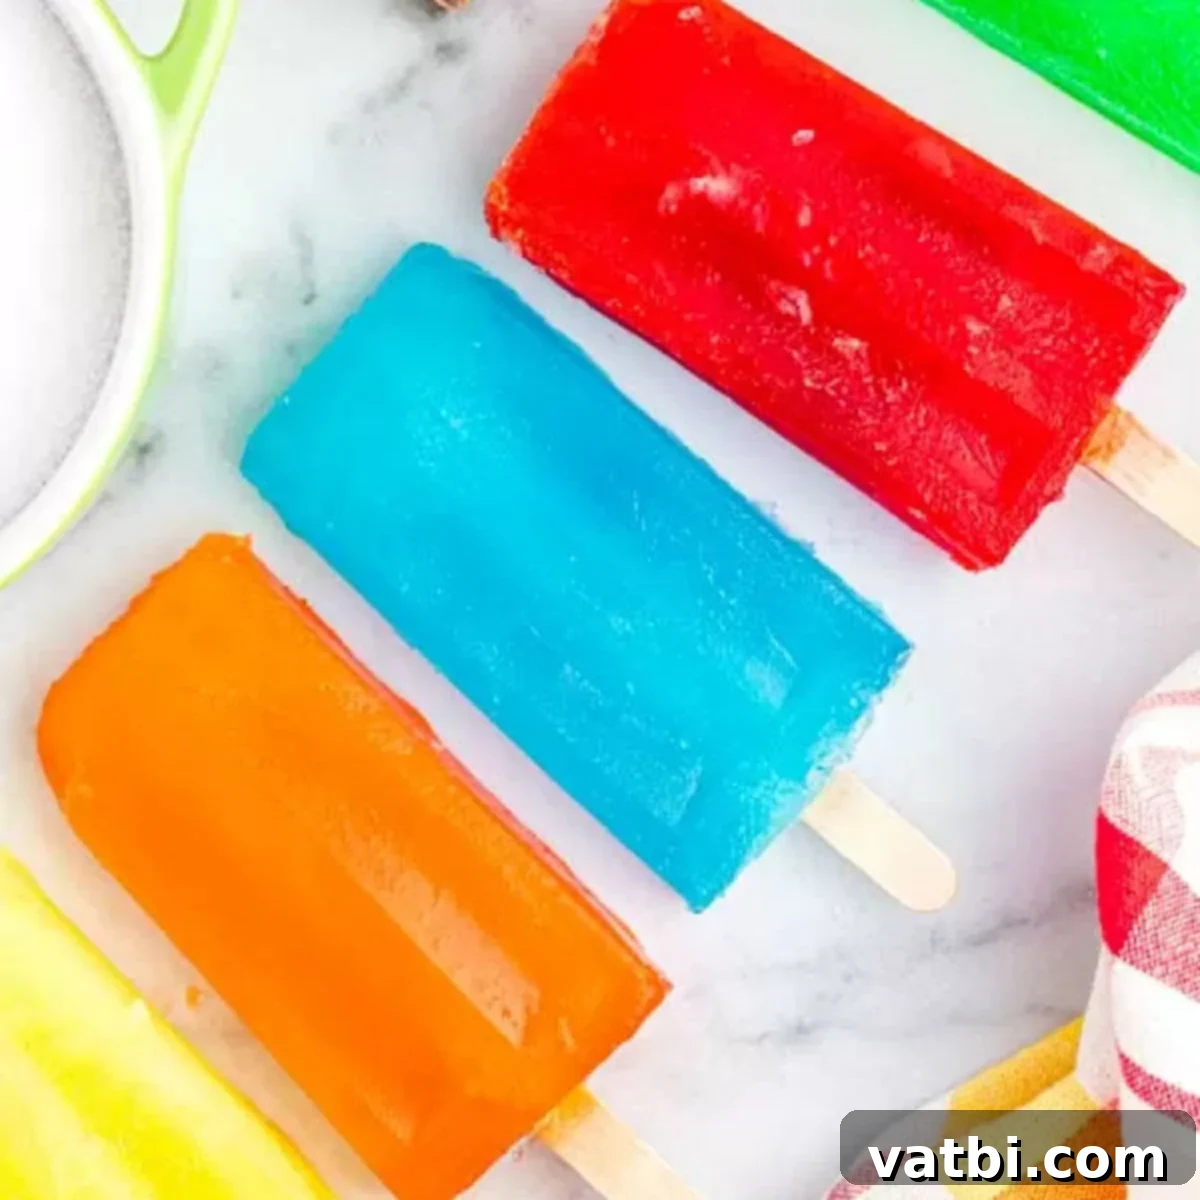
Easy 3-Ingredient Jello Popsicles: The Ultimate Refreshing Homemade Treat
Discover how to create the most vibrant and delicious Jello popsicles with this incredibly simple recipe, requiring just three basic ingredients. Forget store-bought frozen treats; these homemade delights are not only budget-friendly but also bursting with flavor and customizable to everyone’s liking. Whether you’re planning a summer party, looking for a quick after-school snack, or simply craving a refreshing dessert, these Jello popsicles are the perfect solution. Choose any Jello flavor you adore and whip up this delightful, colorful frozen treat in mere minutes, then let your freezer do the rest of the work!
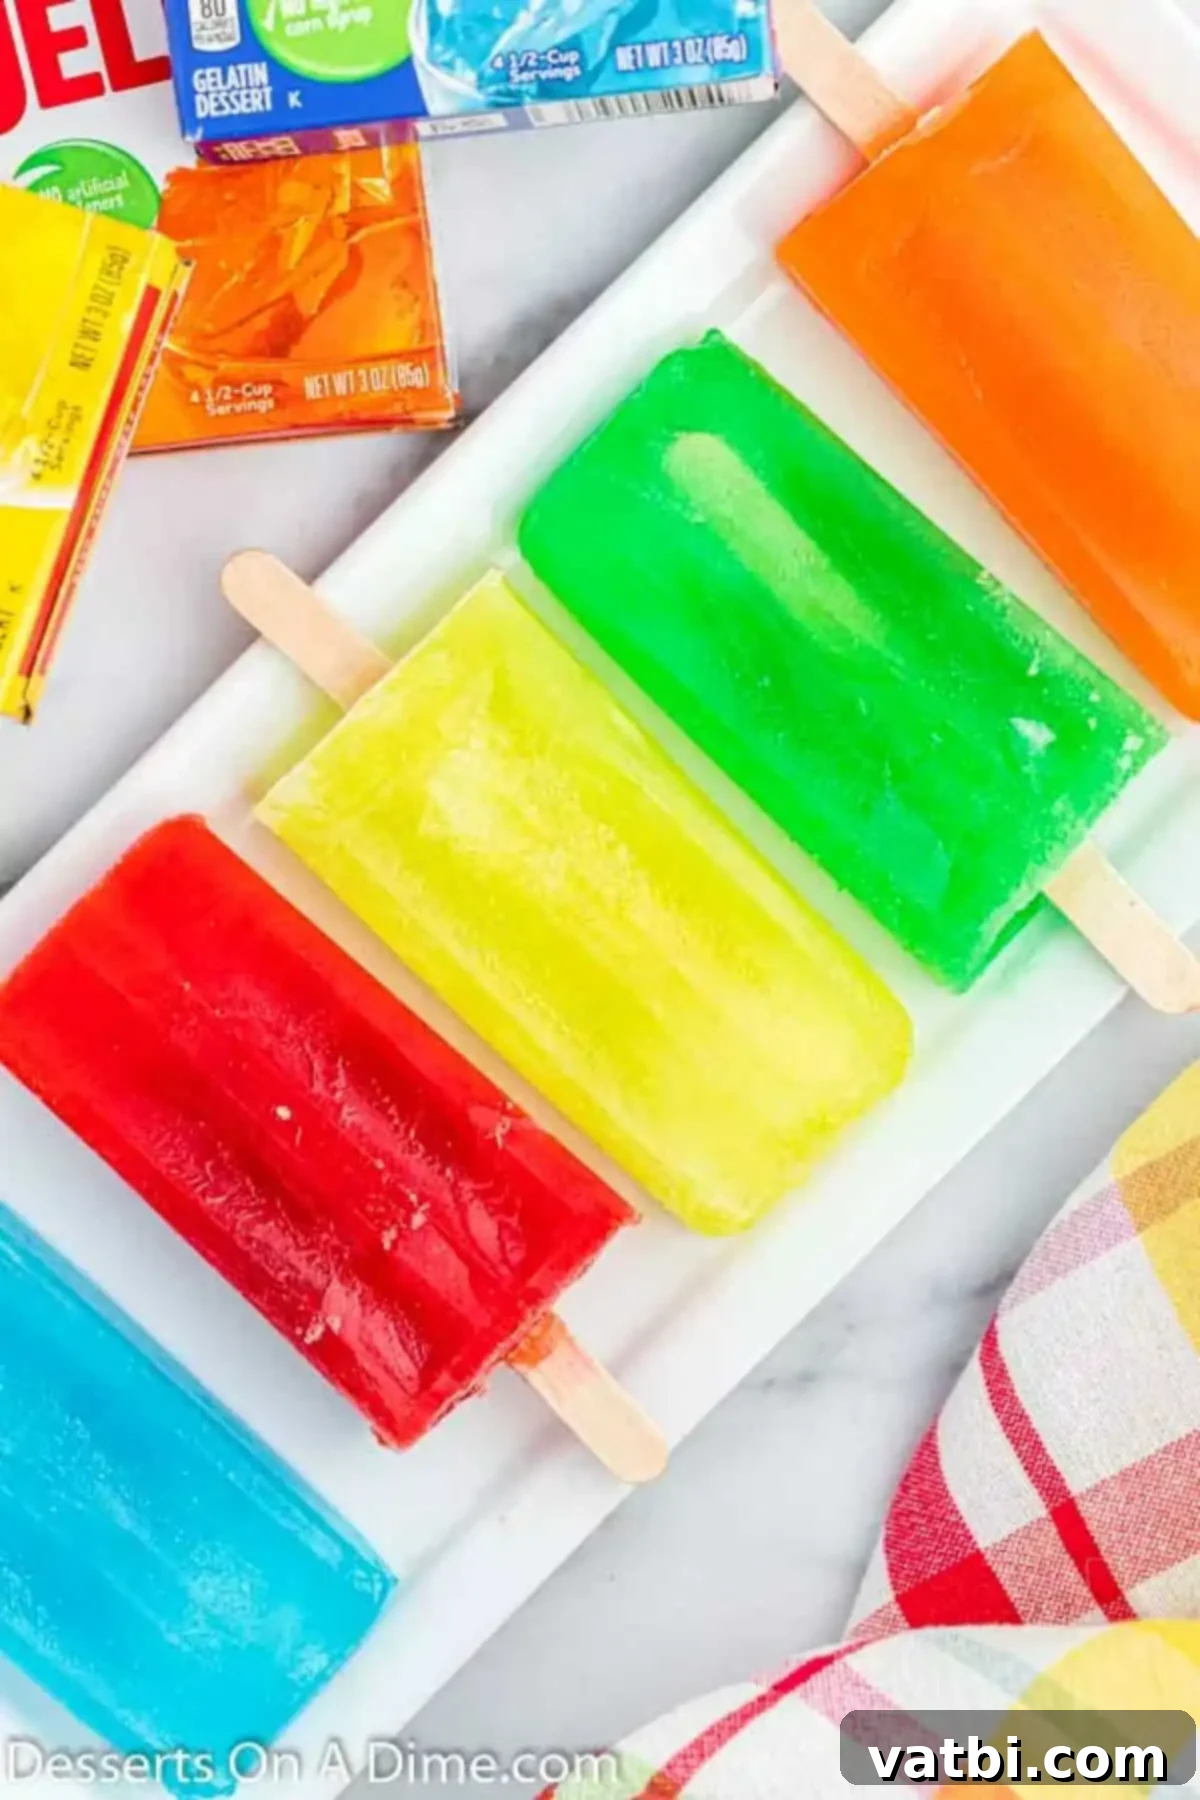
Making your own fabulous Jello popsicles at home is a fantastic way to bypass the often artificial flavors and higher costs of store-bought frozen desserts. My kids absolutely adore the process of picking their favorite Jello flavors – from classic cherry to zesty lime or tropical punch – and transforming them into these delightful frozen masterpieces. It’s a fun kitchen activity for the whole family! Not only do these homemade popsicles taste better, but you also have full control over the ingredients, ensuring a wholesome treat for your loved ones. If you love experimenting with Jello, be sure to explore more of our Best Jello Recipes, which include fan favorites like Jello Cookies Recipe, the visually stunning Broken Glass Jello, and the elegant Jello Parfait, alongside our refreshing Strawberry Jello Parfaits.
Beyond the undeniable cost savings, which can really add up over time, these homemade Jello popsicles simply taste superior. The flavor is incredibly delicious, vibrant, and pure, and the colors are wonderfully bright and appealing, making them a feast for both the eyes and the palate. The simple ingredients combine to create a refreshing snack that’s perfect for cooling down on a warm day. For those who enjoy a creamier texture in their frozen treats, I also love making Blueberry Yogurt Popsicles, offering a different but equally delightful experience. But for sheer simplicity, classic fruity refreshment, and a burst of color, Jello popsicles are absolutely unbeatable.
Table of Contents
- Why We Love This Jello Popsicle Recipe
- Key Ingredients for Jello Popsicles
- Exciting Variations & Customization Ideas
- Step-by-Step: How to Make Popsicles with Jello
- Frequently Asked Questions About Jello Popsicles
- More Delightful Homemade Popsicle Recipes
Why We Love This Jello Popsicle Recipe
There are countless reasons why these easy Jello popsicles have become a beloved staple in our home, especially during warmer months. Their straightforward nature combined with incredible taste makes them a perfect treat for busy families and a fantastic alternative to store-bought options.
- Just 3 Ingredients: It truly doesn’t get much simpler than this! You only need Jell-O gelatin mix, water, and a touch of sugar. This minimal ingredient list simplifies grocery shopping and ensures you can whip up these frozen treats anytime a craving strikes. It’s a testament to how effortlessly satisfying homemade desserts can be.
- Incredibly Easy to Adapt: The versatility of this simple Jello popsicle recipe is unmatched. You can choose virtually any Jell-O flavor you love – from classic fruit flavors like strawberry, orange, and grape to more unique options like berry blue, lime, or peach. This means endless possibilities and a new, exciting taste experience every time you make them. It’s also super easy to scale the recipe up or down depending on how many frozen snacks you need.
- Highly Inexpensive to Make: Compared to buying a multi-pack of popsicles from the grocery store, making your own Jello popsicles is significantly more economical. A single box of Jell-O can yield several popsicles, making them an ideal budget-friendly dessert or refreshing snack. You save money without sacrificing flavor, quality, or fun.
- Perfect for All Ages: From toddlers enjoying their first frozen treat to adults seeking a nostalgic cool-down, everyone loves a good popsicle! The vibrant colors and fruity flavors naturally appeal to children, while the refreshing coolness and simple deliciousness are a hit with adults. They are a wonderful way to beat the heat on a hot day and make for a light, satisfying dessert.
- A Fun & Engaging Family Activity: This Jello popsicle recipe is simple enough that kids can actively participate in the preparation process. They can help choose their favorite Jello flavors, stir the mixture (with adult supervision for hot water), and even assist with pouring into molds. It’s a fantastic opportunity for some quality family time in the kitchen, fostering a love for cooking and creating delicious, lasting memories together.
Key Ingredients for Jello Popsicles
The beauty of this Jello popsicle recipe lies in its minimalist approach. With just three readily available and inexpensive ingredients, you’ll be well on your way to a delightful frozen treat that’s bursting with flavor. Here’s a closer look at what you’ll need:
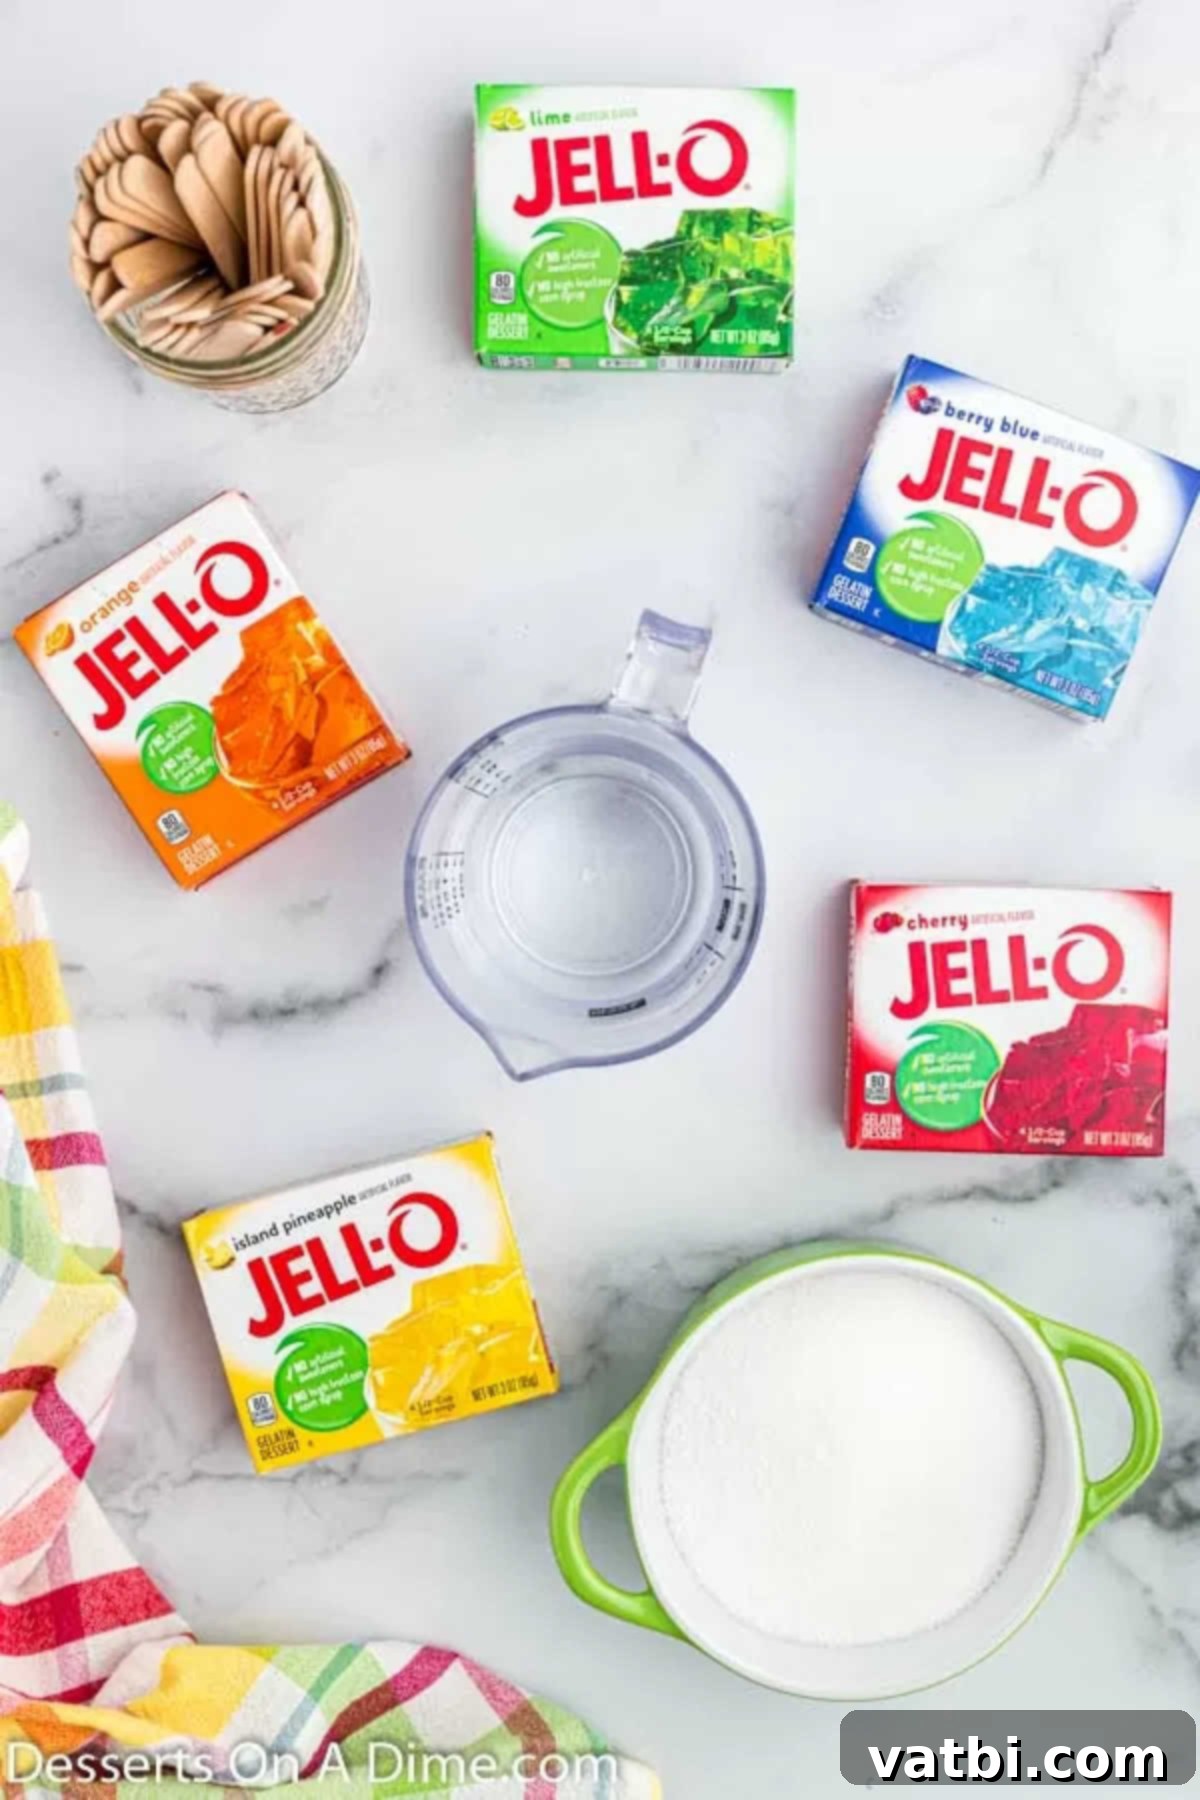
- Jell-O (Gelatin Dessert): This is undoubtedly the star of our show! Any 3 oz. package of flavored Jell-O will work perfectly. The vast array of flavors available means you can make a different batch every time you crave a unique frozen dessert – from classic strawberry, cherry, and orange to more unique options like berry blue, lime, or peach. Consider matching your Jell-O flavor to a specific theme, holiday, or even a favorite color for extra fun and appeal.
- Water: Essential for both dissolving the gelatin and sugar, and for bringing the mixture to the right consistency. You’ll need 1 cup of boiling water to initially dissolve the Jell-O powder and sugar thoroughly, and then 1 cup of cold water to cool down the mixture and prevent premature setting, ensuring it’s ready for the freezer.
- Sugar: While flavored Jell-O already contains sugar, a small addition of ¼ cup of granulated sugar helps to enhance the sweetness and improve the overall texture of the popsicles. This extra sugar can make the popsicles a little less icy and more pleasantly chewy, contributing to a truly satisfying frozen treat experience. You can easily adjust the amount to your personal preference or omit it entirely if you opt for sugar-free Jell-O.
It’s truly that simple! Just three basic, readily available ingredients, one of which is plain water, combine to create a refreshingly flavorful and wonderfully colorful frozen treat with minimal prep work. This makes it an ideal recipe for spontaneous summer days, last-minute dessert needs, or anytime you want a quick, easy, and delicious snack.
Exciting Variations & Customization Ideas for Jello Popsicles
One of the absolute best things about this Jello popsicle recipe is how incredibly adaptable it is. You can easily customize it to suit your taste preferences, incorporate other ingredients for added texture and flavor, or even get highly creative with presentation. Here are some fantastic variations and tips to try, allowing you to create truly unique frozen treats:
- Explore Endless Jello Flavor Combinations: The expansive world of Jell-O offers a rainbow of possibilities! Don’t limit yourself to just one flavor per batch. Experiment with unique combinations like mixing strawberry with a hint of lemonade Jell-O, or pairing orange with a tropical pineapple flavor. Seasonal Jell-O flavors can also be incredibly fun for holidays, such as green and red layers for Christmas popsicles, or orange and purple for spooky Halloween treats.
- Improvise with Household Molds (No Popsicle Molds? No Problem!): If you don’t have traditional popsicle molds, there’s no need to fret! Small paper cups (like Dixie cups) or even an ice cube tray are excellent substitutes. Simply pour the Jello mixture into the cups or tray. Once the mixture has slightly firmed up (after about 30-60 minutes in the freezer), gently insert popsicle sticks into each portion. Freeze until solid. When they’re ready to enjoy, just tear away the paper cup or pop them out of the ice cube tray. This method is also great for making smaller, kid-friendly portions.
- Jello and Kool-Aid Popsicles for Extra Flavor: For an intensified burst of fruity flavor and an even more vibrant color, you can easily incorporate a packet of unsweetened Kool-Aid mix. Simply add the Kool-Aid packet to the boiling water at the exact same time you add the Jello and sugar. Stir until everything is thoroughly dissolved, then continue with the rest of the steps as normal. This can create some truly unique and punchy flavor profiles that kids especially love.
- Creamier Popsicles with Dairy Additions: To achieve a richer, creamier texture reminiscent of creamsicles, you have a few options. Allow the Jello mixture to cool completely and begin to set slightly. Then, you can carefully add a layer of softened vanilla ice cream or plain Greek yogurt to the molds. Freeze until firm before adding the stick (if not already in) and serving. This creates a delightful two-texture treat. For a uniform creamy texture throughout, consider blending in a tablespoon or two of sweetened condensed milk or heavy cream with the cooled Jello mixture before pouring it into the molds.
- Boost with Fresh Fruit for Natural Goodness: This is an easy and delicious way to add natural sweetness, appealing texture, and extra nutrients to your homemade popsicles. Dice small pieces of fresh fruit and add them directly to the molds before pouring in the Jello mixture. Always try to use coordinating items for the best flavor harmony – for example, put fresh strawberries with strawberry Jell-O, blueberries with berry blue Jell-O, or finely diced mango with orange Jell-O. Small, soft fruits like berries, halved grapes, or finely diced peaches work wonderfully.
- Create Stunning Layered Rainbow Popsicles: For visually impressive, multi-colored popsicles, try layering different Jell-O flavors. Prepare each flavor separately according to the recipe. Pour the first color into the molds and allow it to partially set in the freezer for about 20-30 minutes (until firm enough to hold the next layer without mixing). Then, carefully pour the next color on top and repeat the partial freezing process until all layers are added. This ensures distinct, beautiful layers. This technique is particularly fun for themed parties, birthdays, or just to make an extra special treat that delights everyone.
- Add a Fizzy Twist for a Sparkling Treat: For a sparkling and fun popsicle experience, substitute half of the cold water measurement with a clear carbonated soda like lemon-lime soda, ginger ale, or even sparkling water, after the Jell-O and sugar have completely dissolved in the hot water. Be gentle when stirring this last addition to retain some of the effervescence. This adds a unique, bubbly pop to both the flavor and texture of your frozen treats.
- Adult-Friendly Boozy Pops (with a Disclaimer): For an adult-only treat, you can add a splash (about 1-2 tablespoons per batch) of your favorite clear liquor, such as vodka, gin, or light rum, to the cooled Jell-O mixture before freezing. Remember that alcohol lowers the freezing point, so use it sparingly to ensure the popsicles freeze solid. Always ensure these are clearly labeled and stored separately from kid-friendly pops to avoid any mix-ups.
Step-by-Step: How to Make Popsicles with Jello
Making Jello popsicles is incredibly straightforward, perfect for even beginner cooks or a delightful activity to share with children. Follow these simple, easy-to-understand steps for a perfect batch of refreshing homemade popsicles every time:
- Step 1: Bring Water to a Boil. In a medium-sized saucepan, carefully bring 1 cup of water to a vigorous, rolling boil. It’s important that the water is truly boiling hot to ensure the gelatin powder dissolves properly and creates a smooth Jello base. Use a saucepan large enough to prevent boiling over and handle with care.
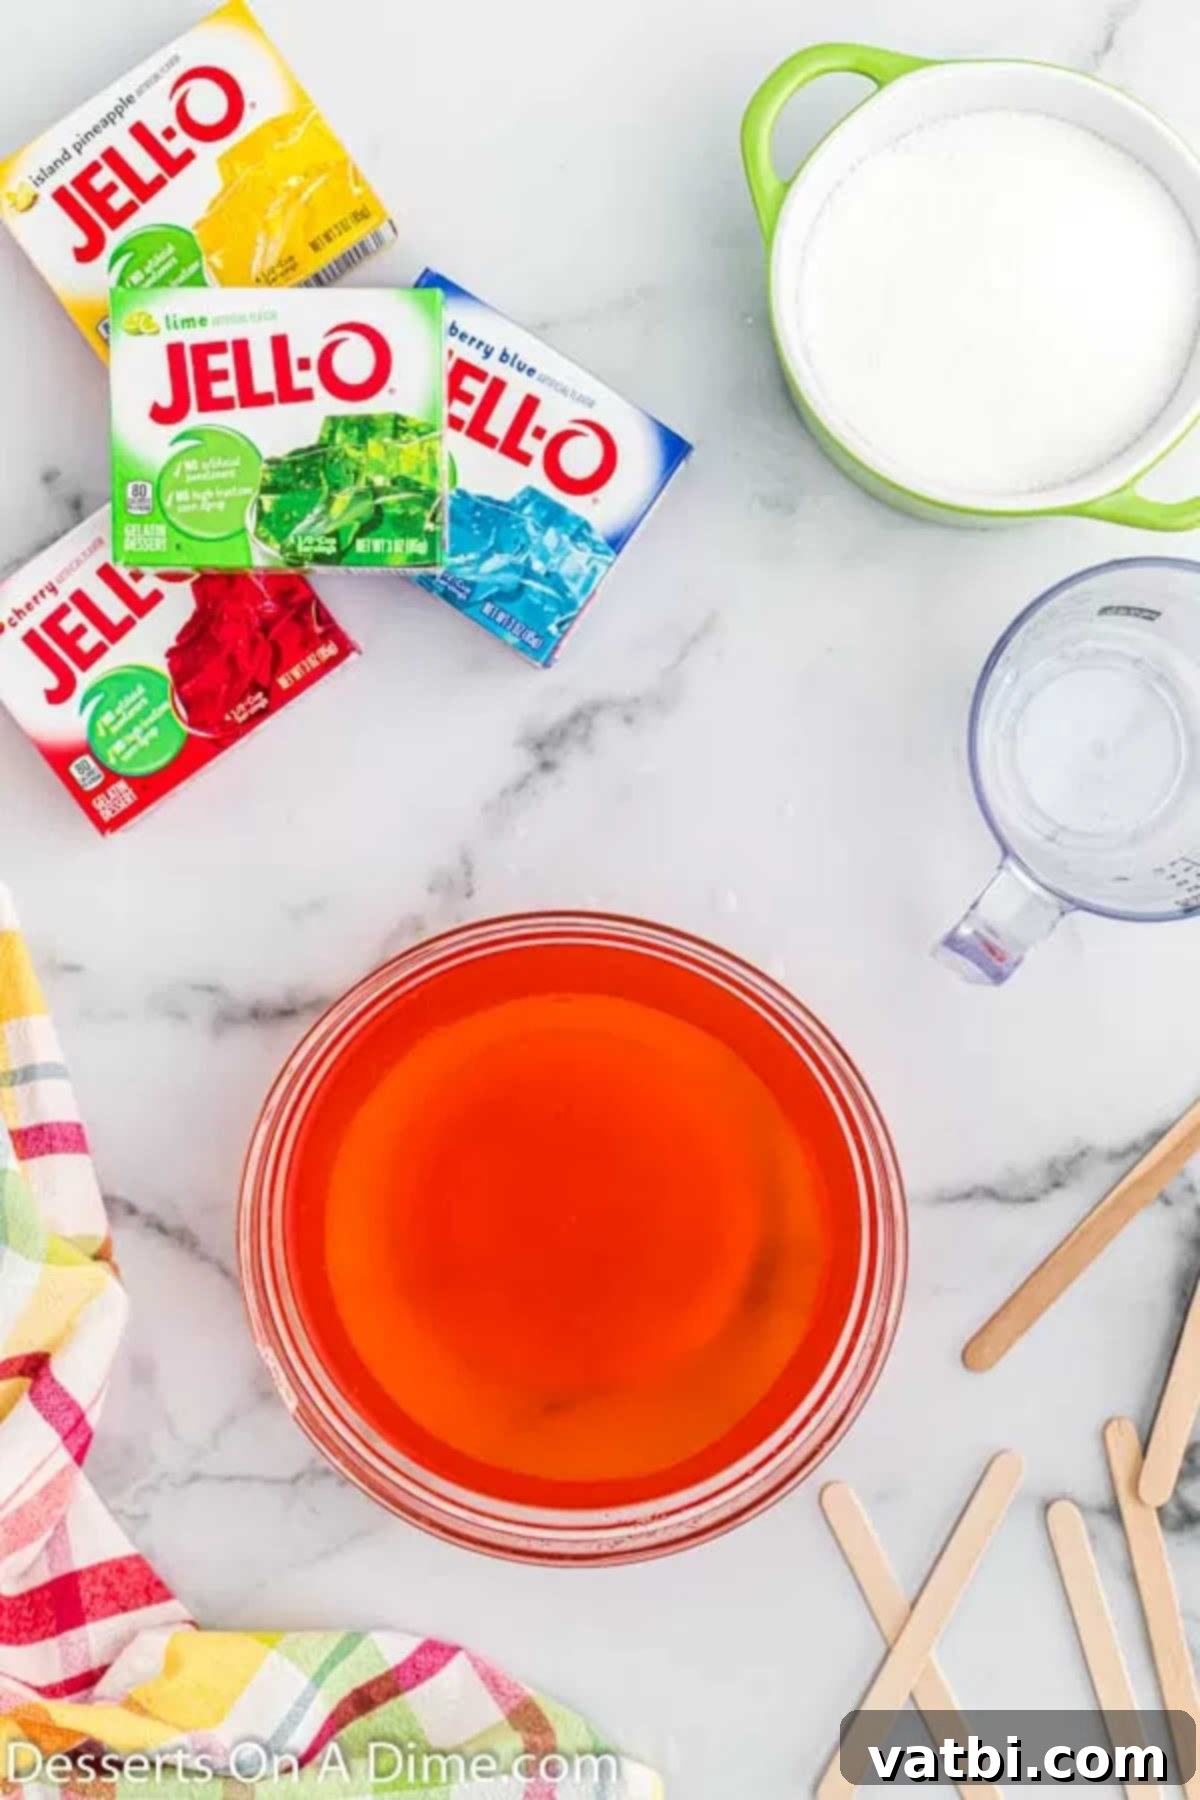
Step 2: Dissolve Jell-O and Sugar, Then Add Cold Water. Once the water is boiling, immediately remove the saucepan from the heat. Add the entire 3 oz. package of Jell-O powder and the ¼ cup of granulated sugar to the hot water. Stir continuously and vigorously with a whisk or sturdy spoon until both the Jell-O granules and the sugar are completely dissolved. This process should take about 2-3 minutes. It’s crucial that no undissolved particles remain, as this can affect the final texture of your frozen treats. After everything is thoroughly dissolved, carefully stir in the remaining 1 cup of cold water. This step helps to quickly cool down the mixture, preparing it for freezing and preventing it from setting prematurely.
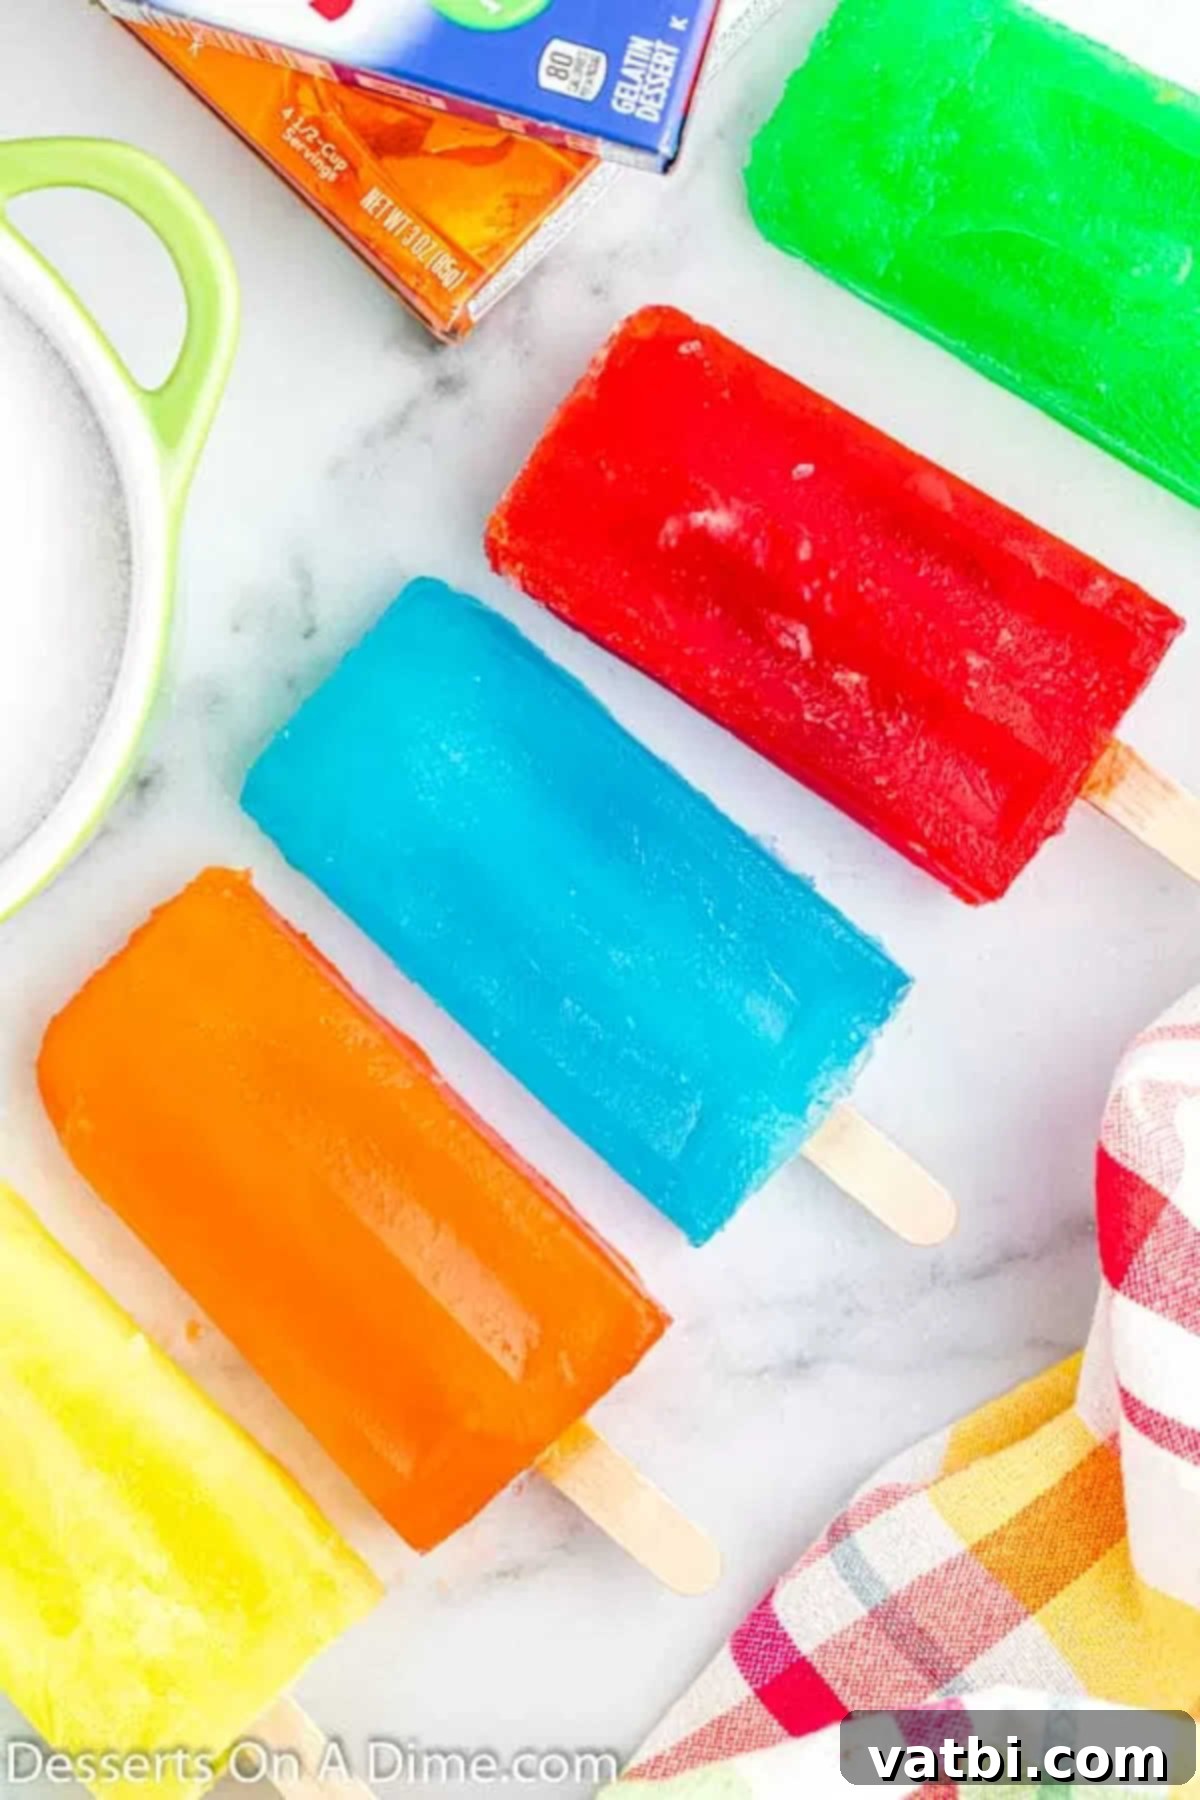
Step 3: Pour into Molds and Freeze Thoroughly. Carefully pour the Jell-O mixture into your chosen popsicle molds. If you’re using traditional molds with lids that have stick slots, make sure to insert the popsicle sticks securely. If using paper cups, you may need to wait 30-60 minutes for the mixture to slightly firm up before inserting the sticks so they stand upright. Leave a small amount of space at the top of each mold, as liquids can expand slightly when freezing. Place the filled molds into the freezer. For optimal results and a perfectly solid texture, freeze for at least 4 hours, but freezing overnight is highly preferred. This ensures they are completely solid and easy to remove without breaking. If you prepare these homemade popsicles at bedtime, you’ll wake up to a batch of perfectly ready-to-eat frozen treats for the next day!
Frequently Asked Questions About Jello Popsicles
Making homemade Jello popsicles is a breeze, but a few common questions can arise. Here are answers to help you achieve perfect results and enjoy your frozen treats to the fullest:
When you’re ready to enjoy your delicious frozen treats, the easiest and most effective way to remove them from their molds is by running the popsicle mold under warm tap water. Hold it under the stream for about 10-20 seconds. This gentle warmth helps to slightly melt the very outer layer of the popsicle, loosening its grip on the mold and allowing it to slide out easily. It’s crucial to avoid using hot water, as this can cause the popsicle to melt too quickly or become overly sticky, making it difficult to handle. Just warm water for a short duration should do the trick. If it’s still stuck, try another few seconds under the warm water and gently twist or pull.
For optimal freshness, flavor retention, and convenience, I highly recommend removing the popsicles from their molds once they are completely frozen and solid. Then, transfer them to an airtight freezer bag or a rigid, freezer-safe container. Many popsicle molds are not designed to be airtight, which can lead to freezer burn and a noticeable loss of flavor and quality over time. To prevent the popsicles from sticking together once removed from the molds, simply place a small piece of wax paper or parchment paper in between each one. This clever trick makes it incredibly easy to grab a single pop whenever you desire a refreshing snack without having to pry them apart. Storing them out of the molds also makes them much more accessible, especially for children who can easily grab one for themselves from a bag or container in the freezer.
When stored properly in an airtight container or freezer bag, these homemade Jello popsicles will maintain their best quality in the freezer for a surprisingly long time – typically between 6 to 9 months. Beyond this period, they might start to develop freezer burn, which can manifest as ice crystals on the surface, or lose some of their vibrant flavor and optimal texture. While they would likely still be safe to eat, their quality might diminish. Always ensure your storage method is truly airtight to maximize their freshness and longevity, keeping them as delicious as the day you made them.
Absolutely, using sugar-free Jell-O is an excellent and tasty substitute if you’re looking to reduce sugar intake or make a healthier version of this refreshing treat. It’s a fantastic option for those following a low-sugar diet or simply trying to cut back on added sugars. The preparation process remains exactly the same as with regular Jell-O, but you can omit the additional ¼ cup of sugar entirely. Be aware that the texture might be slightly different; sugar-free Jell-O tends to produce a popsicle that is a little more firm and less “gelatinous” than those made with regular, full-sugar Jell-O. However, they are still incredibly flavorful, wonderfully refreshing, and make a fantastic treat without all the extra sugar.
If your Jello popsicles are coming out slushy, overly soft, or not freezing completely solid, it’s usually due to one of two primary reasons: either they haven’t been frozen for a sufficient amount of time, or the ratio of water to Jell-O is slightly off. Ensure you’re using the exact measurements specified in the recipe and that you’re freezing them for at least the recommended 4 hours, with overnight being ideal for optimal firmness. If you’ve added additional ingredients like extra fruit juice, alcohol (for adult pops), or an excessive amount of fresh fruit, these can sometimes lower the freezing point of the mixture, requiring a longer freeze time or a slight adjustment in the water amount to compensate.
Yes, you absolutely can use unflavored gelatin powder if you prefer to have complete control over the flavors, colors, and sweetness of your popsicles. For this variation, you would typically follow the package directions for preparing unflavored gelatin, but instead of adding the flavored Jell-O, you would incorporate your own liquid flavoring (such as fruit juice concentrates, flavor essences, or extracts) and food coloring to achieve your desired taste and appearance. Remember to significantly adjust the sugar content to your personal taste, as unflavored gelatin doesn’t contain any sweetness. This method allows for even greater customization and creativity in your homemade frozen treats!
More Delightful Homemade Popsicle Recipes
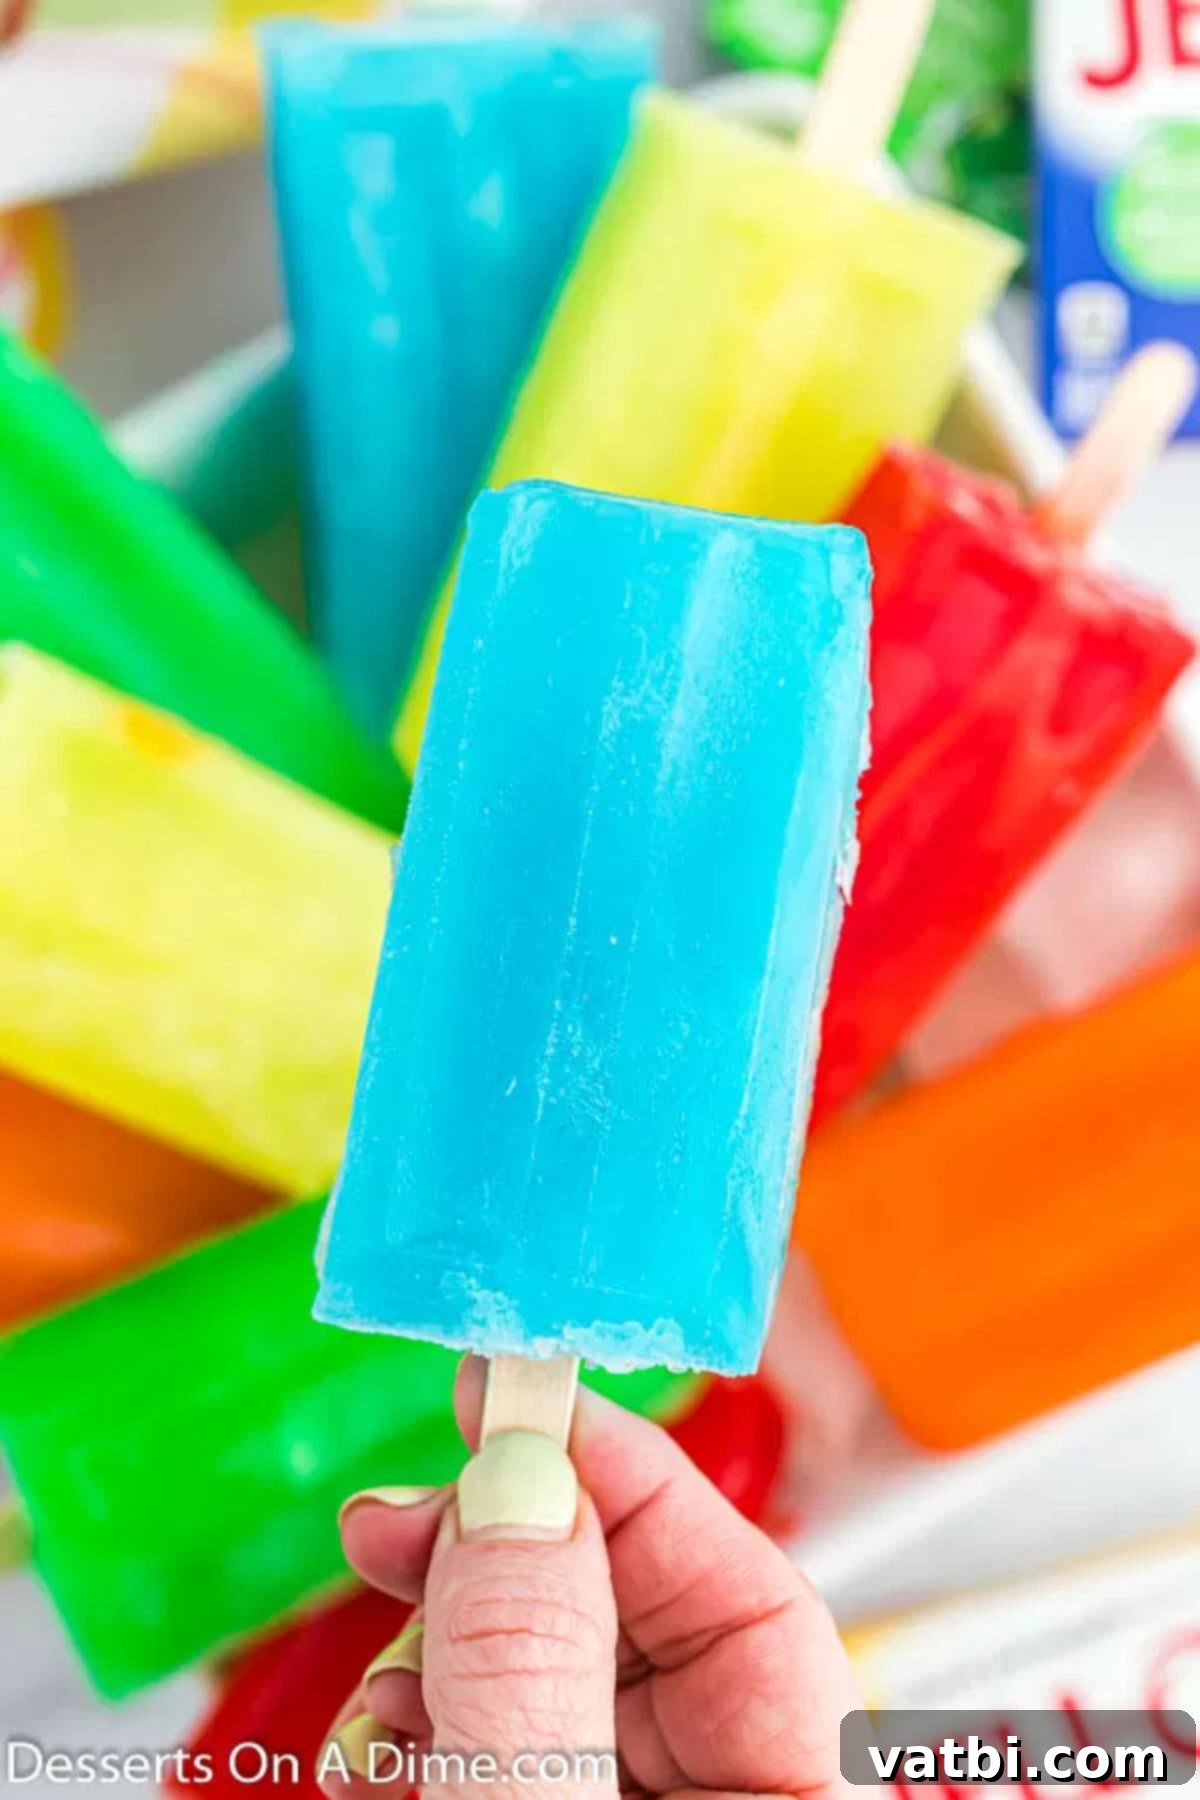
If you’ve fallen in love with the ease and satisfaction of making your own frozen treats, you’ll be thrilled to discover our other fantastic homemade popsicle recipes. Each offers a unique flavor profile and a wonderfully refreshing experience, perfect for any time of year.
- Orange Julius Popsicle Recipe: Recreate the creamy, frothy goodness of an Orange Julius in a convenient and delicious popsicle form. A nostalgic treat for many!
- Homemade Rainbow Popsicle Recipe: Perfect for parties, birthdays, or just adding a splash of color to your day, these beautifully layered popsicles are as fun to look at as they are to eat.
- Root Beer Float Popsicles Recipe: Enjoy the classic, effervescent taste of a root beer float captured perfectly in a convenient frozen stick. A true American favorite transformed!
- Homemade Lemon Popsicles Recipe: Zesty, tart, and incredibly refreshing, these homemade lemon popsicles are a citrus lover’s dream, providing a delightful pucker with every lick.
- Mango Tajin Popsicles: For those who enjoy a unique blend of sweet, spicy, and tangy flavors, these tropical mango popsicles with a hint of Tajin seasoning are a must-try adventurous treat.
We sincerely hope you try this incredibly easy and delicious Jello popsicle recipe for an inexpensive yet wonderfully satisfying treat. It’s truly a game-changer for summer snacks, simple desserts, and a fun way to get creative in the kitchen. Once you’ve made them, please come back and leave a comment to let us know your favorite Jello flavor combination or any creative variations you discovered!
Pin
Easy Jello Popsicles
Ingredients
- 1 pkg Jell-O 3 oz. package (any flavor)
- 2 cups water (divided: 1 cup boiling, 1 cup cold)
- 1/4 cup granulated sugar (optional, adjust to taste)
Instructions
-
In a medium saucepan, bring 1 cup of water to a rolling boil.
-
Remove from heat. Stir in the 3 oz. package of Jell-O and the 1/4 cup sugar (if using) until completely dissolved. This should take 2-3 minutes of vigorous stirring.
-
Add 1 cup of cold water to the mixture and stir to combine.
-
Carefully pour the Jell-O mixture into your popsicle molds. Insert popsicle sticks into each mold.
-
Freeze for at least 4 hours, or preferably overnight, until completely solid.
-
When ready to serve, run the popsicle mold under warm water for 10-20 seconds to loosen, then remove and enjoy your delicious Jello popsicles!
Recipe Notes
Feel free to experiment with any Jell-O flavor you love, or combine multiple flavors for a fun layered effect.
For a creamier texture, consider mixing in a tablespoon of sweetened condensed milk or a swirl of plain Greek yogurt into the cooled Jello mixture before freezing.
Nutrition Facts
Pin This Now to Remember It Later
Pin Recipe
