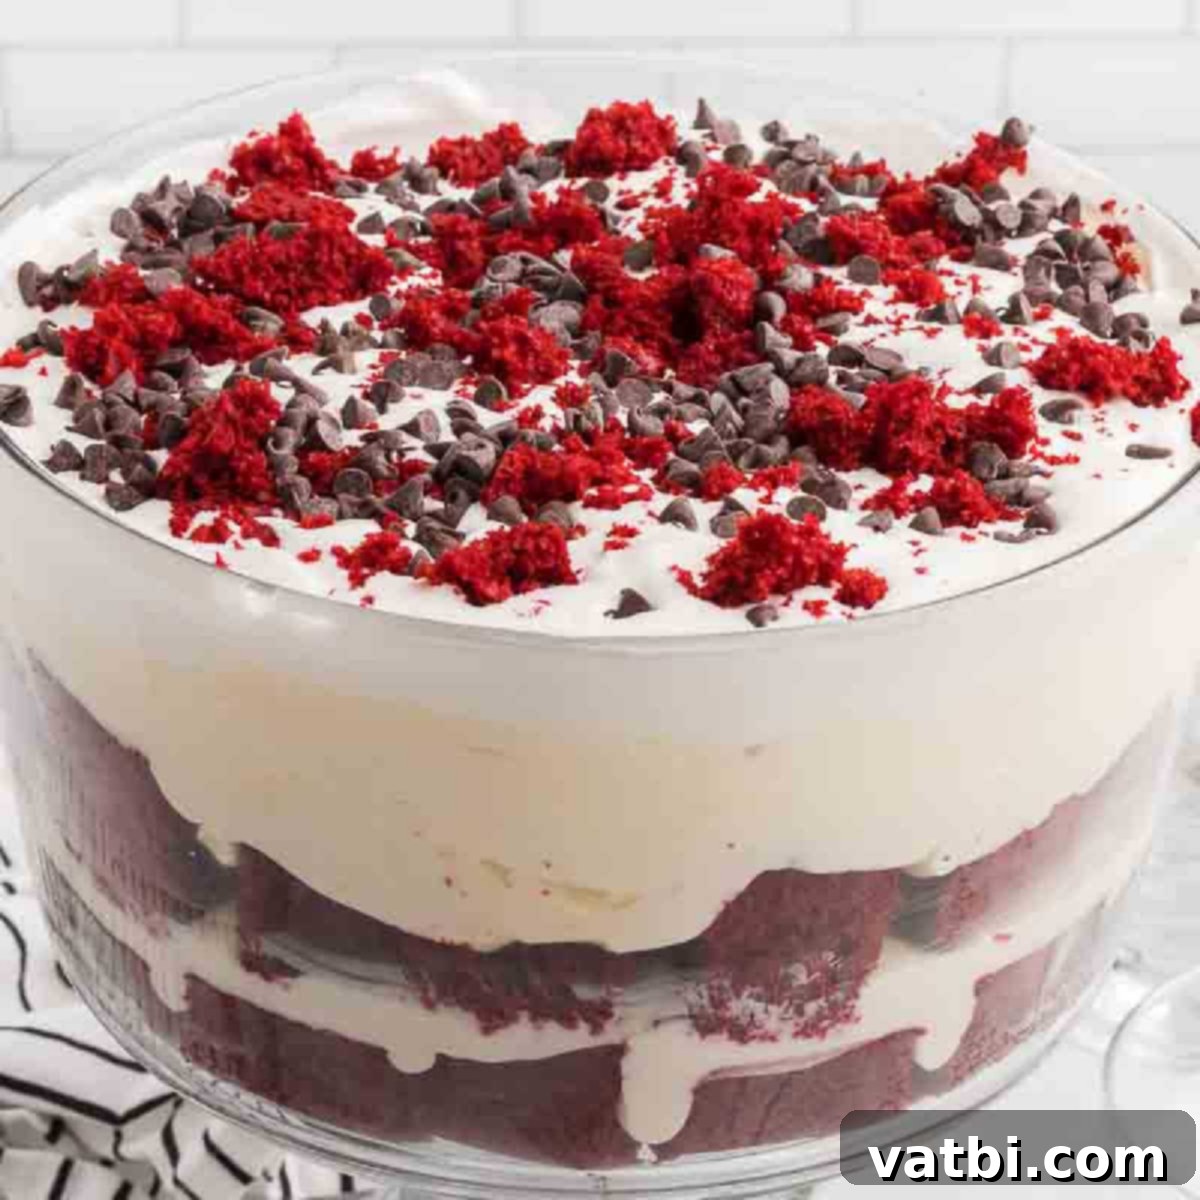
Easy Red Velvet Trifle Recipe: A Dazzling Dessert for Any Occasion
Prepare to be enchanted by the magnificent Red Velvet Trifle, a dessert that effortlessly combines the luxurious taste of red velvet cake with a velvety cream cheese mixture. This surprisingly easy-to-make dessert is not only a feast for the taste buds but also a gorgeous centerpiece, making it absolutely perfect for the holidays, special gatherings, or any time you crave a show-stopping sweet treat.
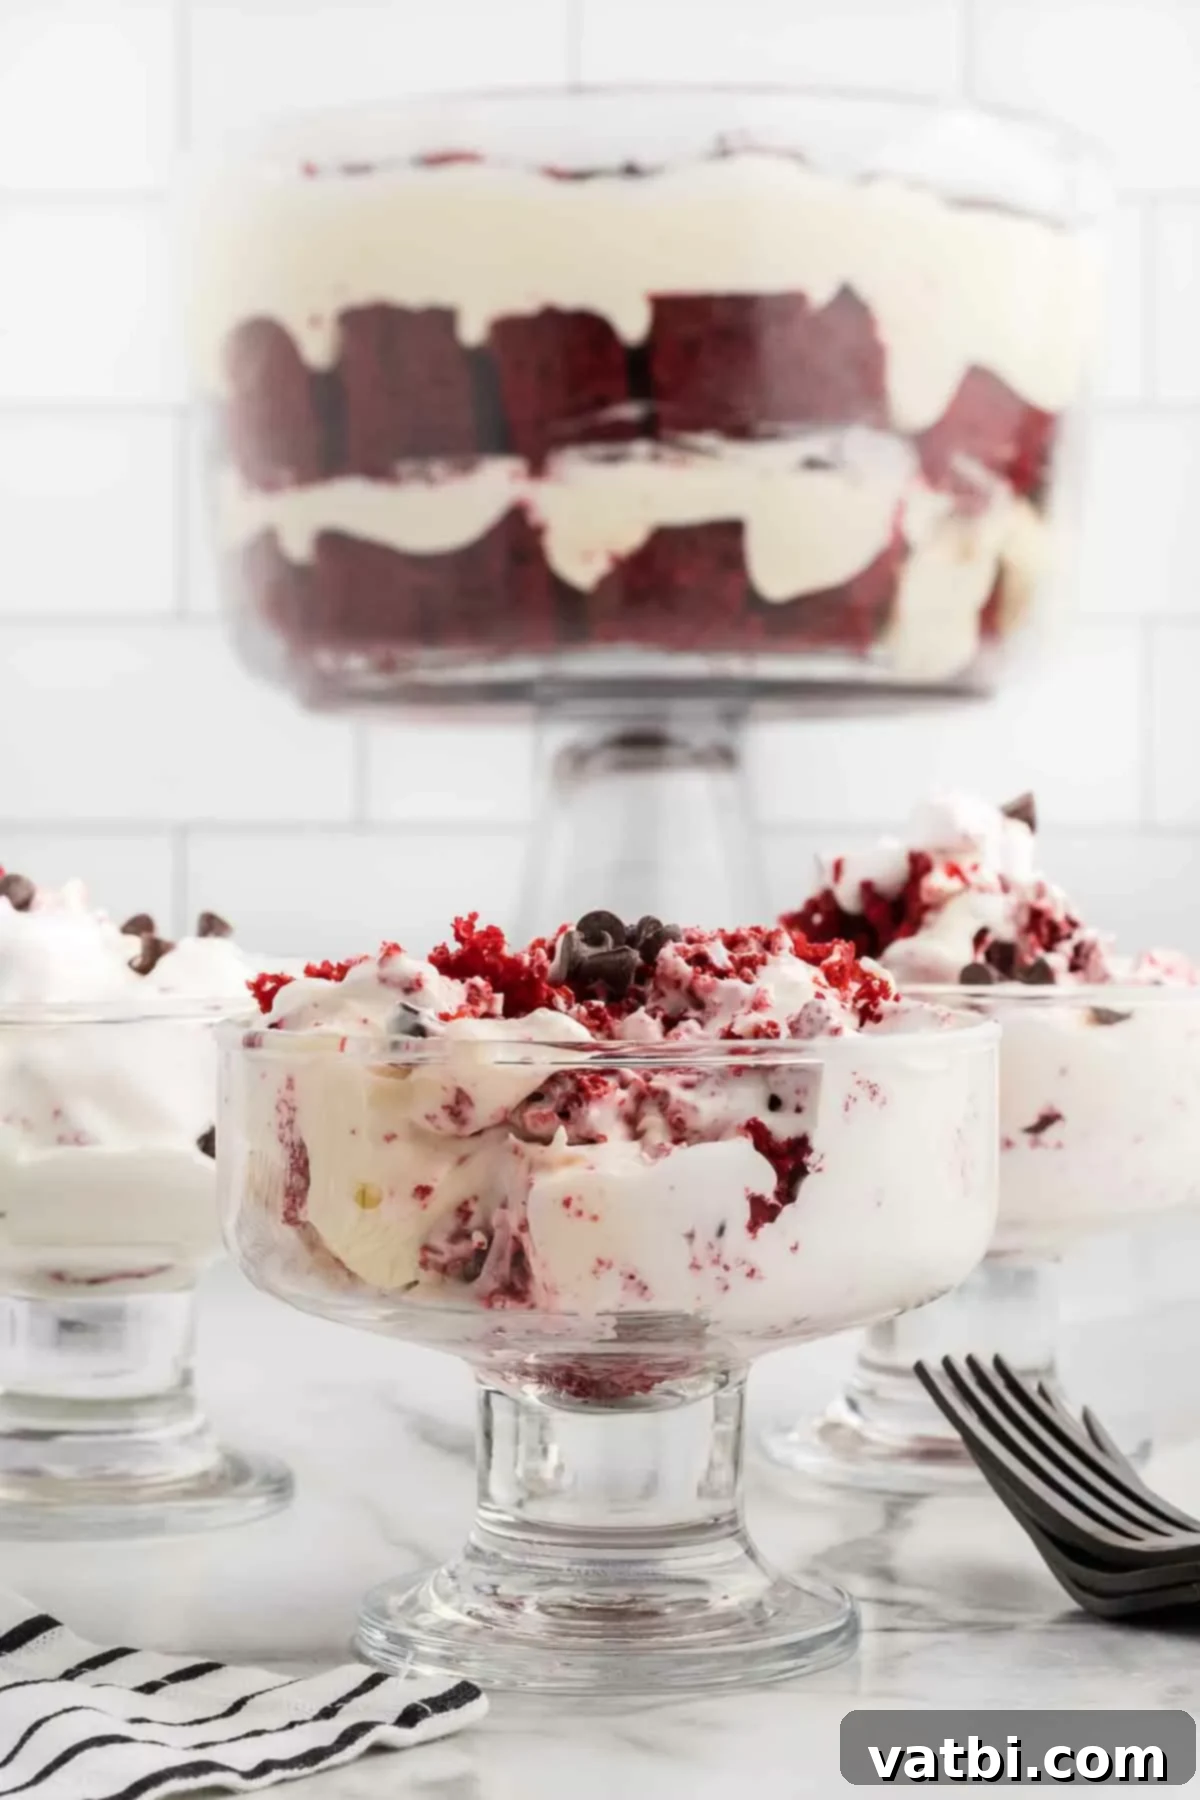
This delightful trifle cake recipe offers all the beloved flavors of a traditional Red Velvet Cake without the extensive baking time and effort. The secret to its simplicity lies in starting with a convenient cake mix, making it incredibly straightforward even for novice bakers. The process involves layering tender cubes of rich red velvet cake with a luscious, tangy-sweet cream cheese and instant pudding mixture within an elegant trifle dish. Each spoonful delivers a harmonious blend of textures and flavors, from the moist cake to the smooth, creamy filling.
The distinctive flavor of red velvet, often described as a subtle cocoa with a hint of tang from buttermilk, is truly irresistible. If you’re a fan of this classic, you might also enjoy our other red velvet creations, such as the decadent Red Velvet Fudge.
Trifles are celebrated for their impressive presentation and ease of assembly, and we adore making them in various forms. Our collection of trifle desserts includes charming Red Velvet Trifle Cups (perfect for individual servings), patriotic Red White and Blue Mini Trifles, refreshing Lemon Strawberry Trifle, and the ever-popular Strawberry Trifle Recipe. Whenever these trifles grace our dessert table, guests consistently rave about their deliciousness and beautiful appearance. For those who adore chocolate, we highly recommend exploring our rich Chocolate Trifle Recipe and the fun, indulgent Oreo Trifle. This Red Velvet Trifle fits right in with these crowd-pleasers, offering a unique blend of flavors that appeals to everyone.
Table of contents
- Why This Recipe Works
- Ingredients
- Variations and Additions
- Step By Step Instructions
- Storage
- How Long Will Red Velvet Trifle Last?
- Pro Tips
- More Red Velvet Dessert Recipes
Why This Easy Red Velvet Trifle Recipe Works So Well
This Red Velvet Trifle recipe is a true winner for several compelling reasons, making it a go-to dessert for any occasion. First and foremost, its **effortless preparation** is a major highlight. By utilizing a red velvet cake mix, you bypass much of the labor typically associated with baking from scratch, yet still achieve that authentic, rich red velvet flavor and texture.
The **visual appeal** of this trifle is simply unmatched. Served in a clear trifle bowl, the distinct, vibrant layers of crimson cake and creamy white filling create a stunning, elegant presentation that is sure to impress your guests. It’s a dessert that looks far more complicated to make than it actually is, earning you significant praise with minimal effort.
Furthermore, this recipe is incredibly **versatile and customizable**. While delicious as is, it provides a fantastic base for various additions and alterations, allowing you to tailor it to your personal preferences or the specific occasion. It’s also an excellent make-ahead dessert, as the flavors deepen and meld beautifully when allowed to chill, making it perfect for entertaining without last-minute stress. All these elements converge to create a truly spectacular and stress-free dessert experience.
For seasonal celebrations, much like our beloved Christmas Trifle, this Red Velvet Trifle stands out with its festive colors and comforting flavors, making it an ideal choice for holiday gatherings.
Simple Ingredients for an Amazing Red Velvet Trifle
Crafting this incredible Red Velvet Trifle requires a handful of readily available ingredients, many of which you might already have in your pantry. The beauty of this recipe lies in its simplicity, relying on common baking staples to create something extraordinary.
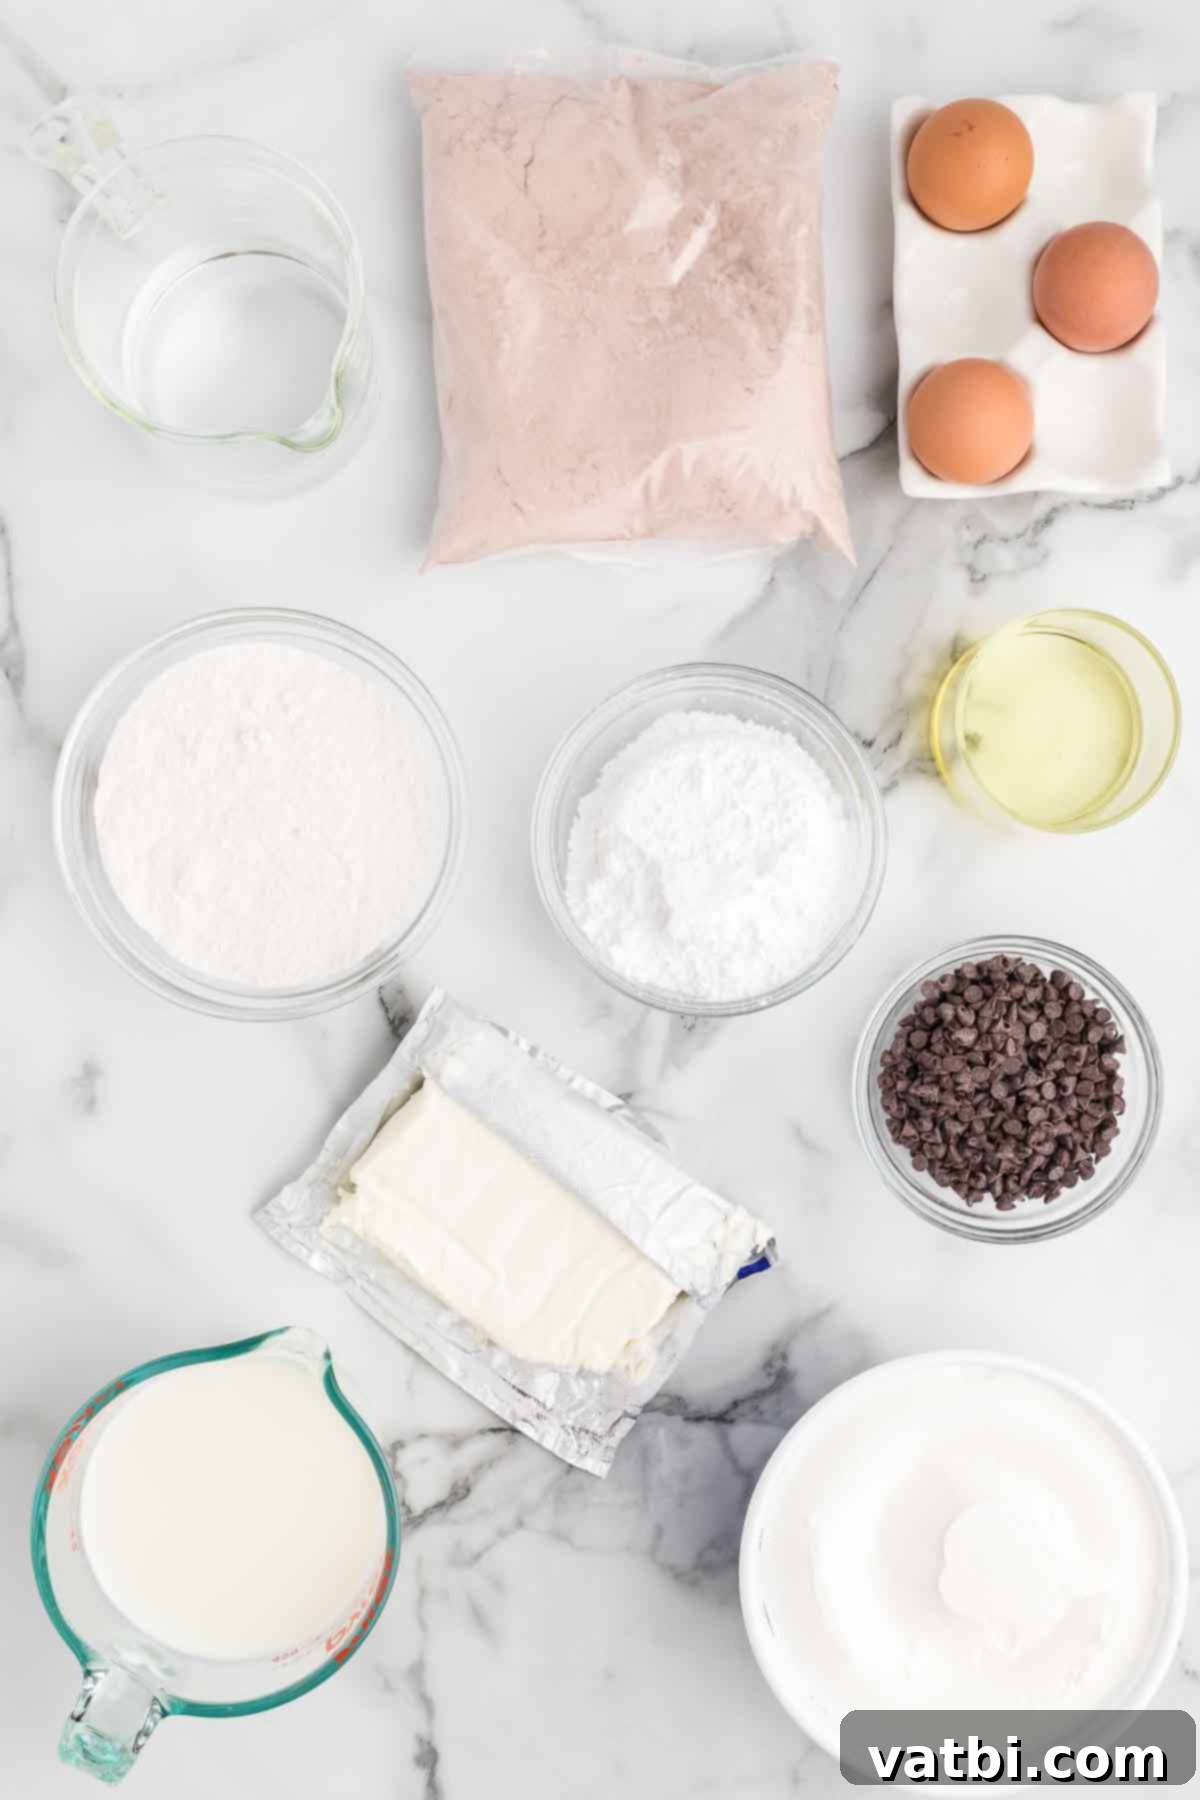
- Red Velvet Cake Mix: This is the foundation of our trifle, offering rich red velvet flavor and a moist crumb with minimal effort. Remember to also have the additional ingredients (like eggs, oil, and water) as instructed on your specific cake mix package to prepare the cake.
- White Chocolate Pudding Mix: Instant pudding mixes are key to achieving the smooth, creamy layers. White chocolate pudding provides a subtle sweetness that complements the red velvet perfectly. Alternatively, for a richer, tangier flavor, a Cheesecake flavored pudding mix works wonderfully.
- Milk: Use cold milk to ensure your instant pudding sets properly and quickly. Whole milk often yields a creamier texture for the pudding layer.
- Cream Cheese: For the best texture and flavor in your creamy layers, use full-fat cream cheese that has been softened to room temperature. This makes it easier to beat until light and fluffy, ensuring a smooth, lump-free mixture.
- Powdered Sugar: Also known as confectioners’ sugar, this ingredient is essential for sweetening the cream cheese mixture and ensuring it has a silky-smooth consistency.
- Cool Whip: This whipped topping adds lightness and airiness to the cream cheese mixture and serves as the crowning glory for your trifle. Ensure it’s thawed before use, and divide it as per the recipe instructions.
- Mini Chocolate Chips: These tiny chocolate morsels are perfect for scattering between layers and on top. Their small size ensures that each bite of trifle includes a touch of chocolate without overpowering the other flavors, making for a truly delightful experience.
For precise measurements and detailed instructions, scroll down to the full recipe card located at the bottom of the page. You’ll find everything you need there to bring this stunning Red Velvet Trifle to life.
Exciting Variations and Delicious Additions for Your Trifle
One of the joys of making a trifle is its incredible adaptability. This Red Velvet Trifle recipe is a fantastic starting point, but don’t hesitate to get creative and customize it to your liking. Here are some ideas to inspire you:
- Exciting Add-ins: Elevate the texture and flavor of your trifle by incorporating various elements between the cake and cream cheese layers.
- **Nuts:** Chopped pecans, walnuts, or even toasted almonds can add a delightful crunch.
- **Chocolate:** For an even more intense chocolate experience, consider adding extra chocolate shavings, milk chocolate chips, or a generous drizzle of chocolate syrup.
- **Coconut:** A layer of shredded coconut, lightly toasted for extra flavor, can introduce a subtle tropical note that pairs surprisingly well with red velvet.
- **Fruit:** Fresh berries, such as sliced strawberries, raspberries, or blueberries, add a burst of freshness and a beautiful contrasting color. Cherries, either fresh or from a can (drained), can also be a wonderful addition.
- Creative Toppings: The topping is your chance to make the trifle truly shine!
- Sprinkles and Candy: Festive sprinkles are perfect for holidays, while crushed candy canes (for Christmas) or other small candies can add fun and flavor.
- Fresh Fruit: Fresh raspberries, strawberries, or even blueberries create a beautiful and delicious garnish.
- Chocolate Garnish: Beyond mini chocolate chips, try white chocolate shavings or curls for an elegant touch. Remember, if you’re making the trifle ahead, it’s best to add delicate toppings like fresh fruit or crispy elements just before serving to maintain their freshness and texture.
- Pudding Flavor Alternatives: While white chocolate pudding is excellent, you have other options to experiment with.
- If you prefer a tangier, richer profile in your creamy layers, a **Cheesecake flavored instant pudding** mix is an outstanding substitute.
- **Vanilla pudding** can also work if you want the red velvet cake to be the dominant flavor without too much competition.
- Experiment with Cake and Pudding Layers: Don’t limit yourself to red velvet! The trifle concept is incredibly flexible, allowing you to create different flavor combinations year-round.
- A classic combination like **chocolate cake with vanilla pudding** is always a hit.
- Try **lemon cake with lemon pudding** for a bright summer dessert, or **strawberry cake with vanilla pudding** for a fruity twist.
- Even simple yellow cake with chocolate pudding can be transformed into a delicious trifle.
- Individual Trifle Servings: For elegant portion control or a more personalized dessert experience, this recipe is perfectly suited for individual servings.
- Simply assemble the layers in small glass jars, ramekins, or clear dessert cups instead of a large trifle dish. These mini trifles are charming, easy to serve, and always a crowd-pleaser at parties.
Step-by-Step Guide to Assembling Your Red Velvet Trifle
Creating this stunning Red Velvet Trifle is a straightforward and enjoyable process. Follow these detailed steps to ensure each layer is perfectly prepared and assembled for an unforgettable dessert:
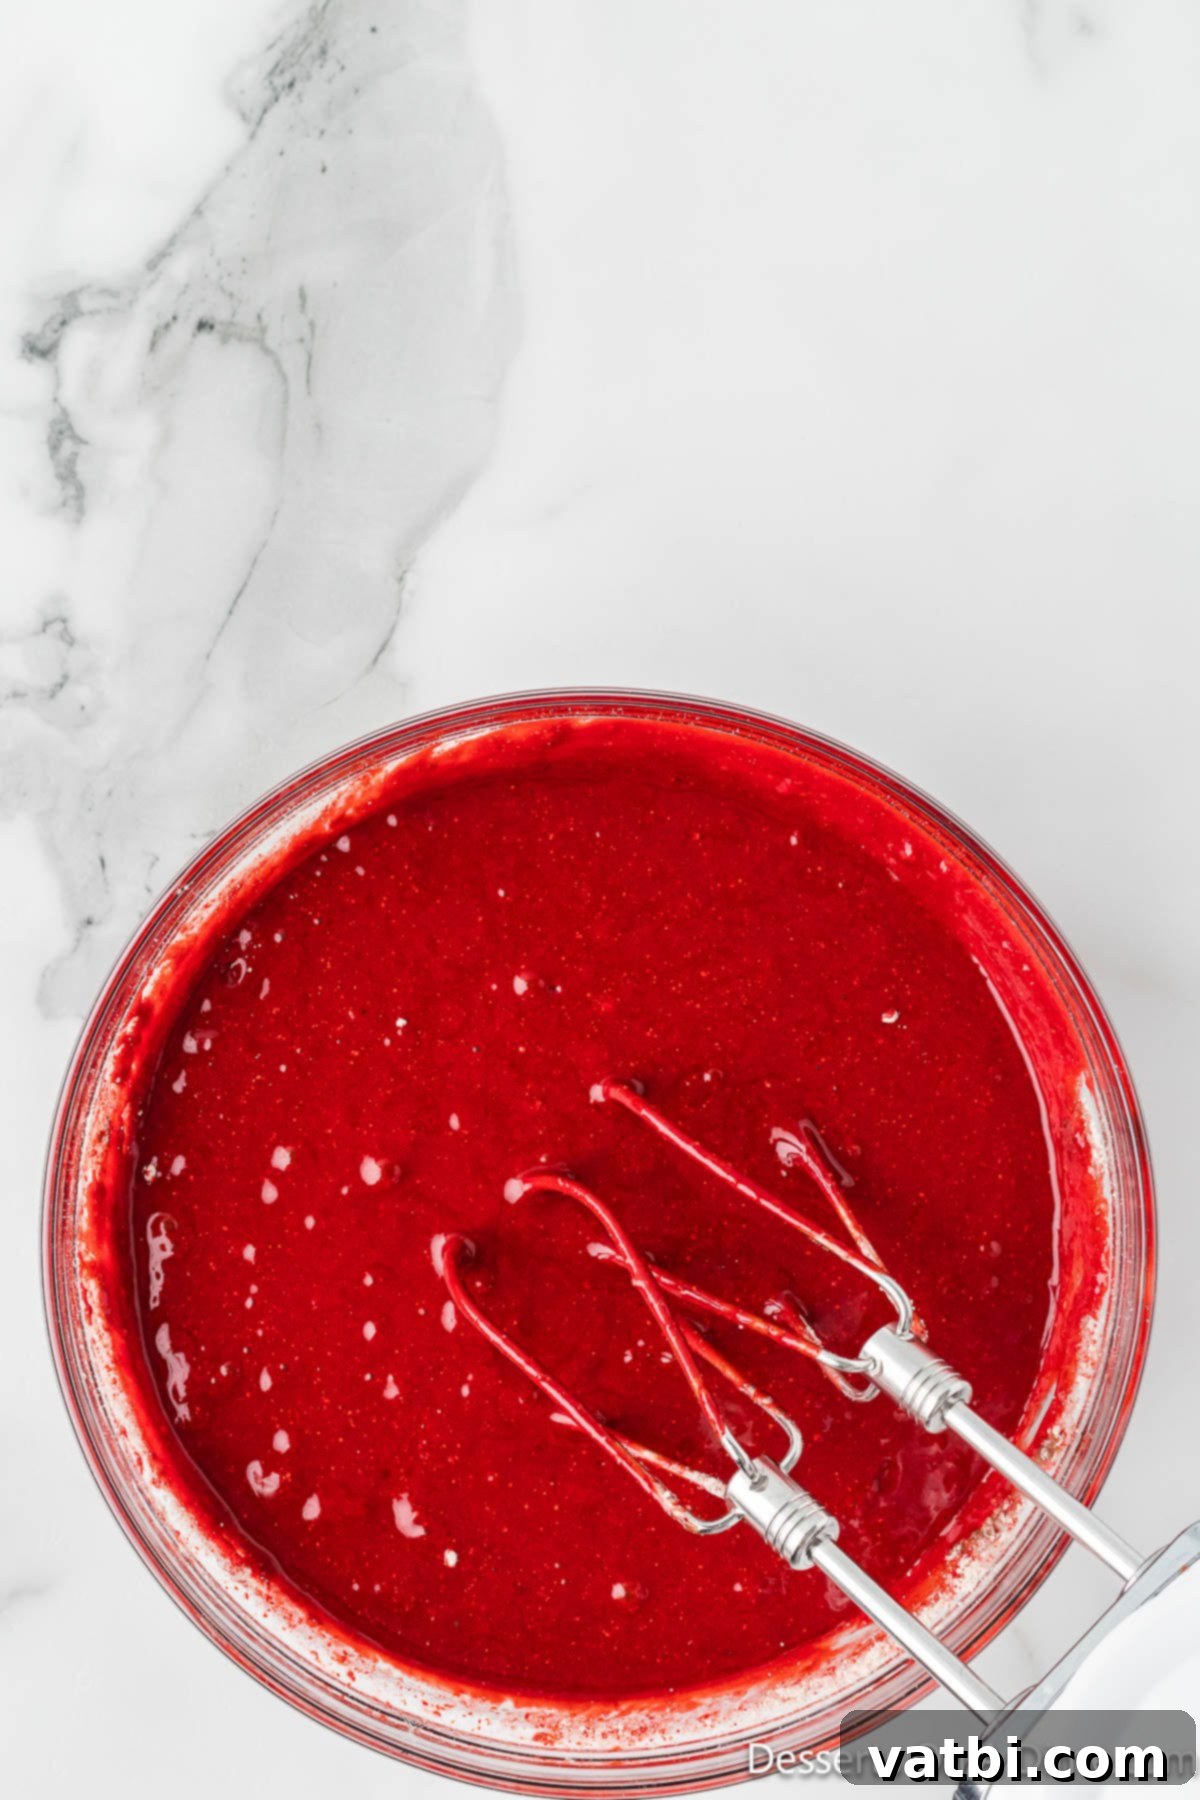
Step 1: Prepare the Red Velvet Cake. Begin by preparing your chosen red velvet cake mix according to the package instructions. Pour the batter into a 9×13 inch cake pan, ensuring it’s evenly spread. Baking the cake in this size pan provides the ideal thickness for cutting into cubes later. Follow the baking time and temperature specified on the box for a perfectly moist cake.
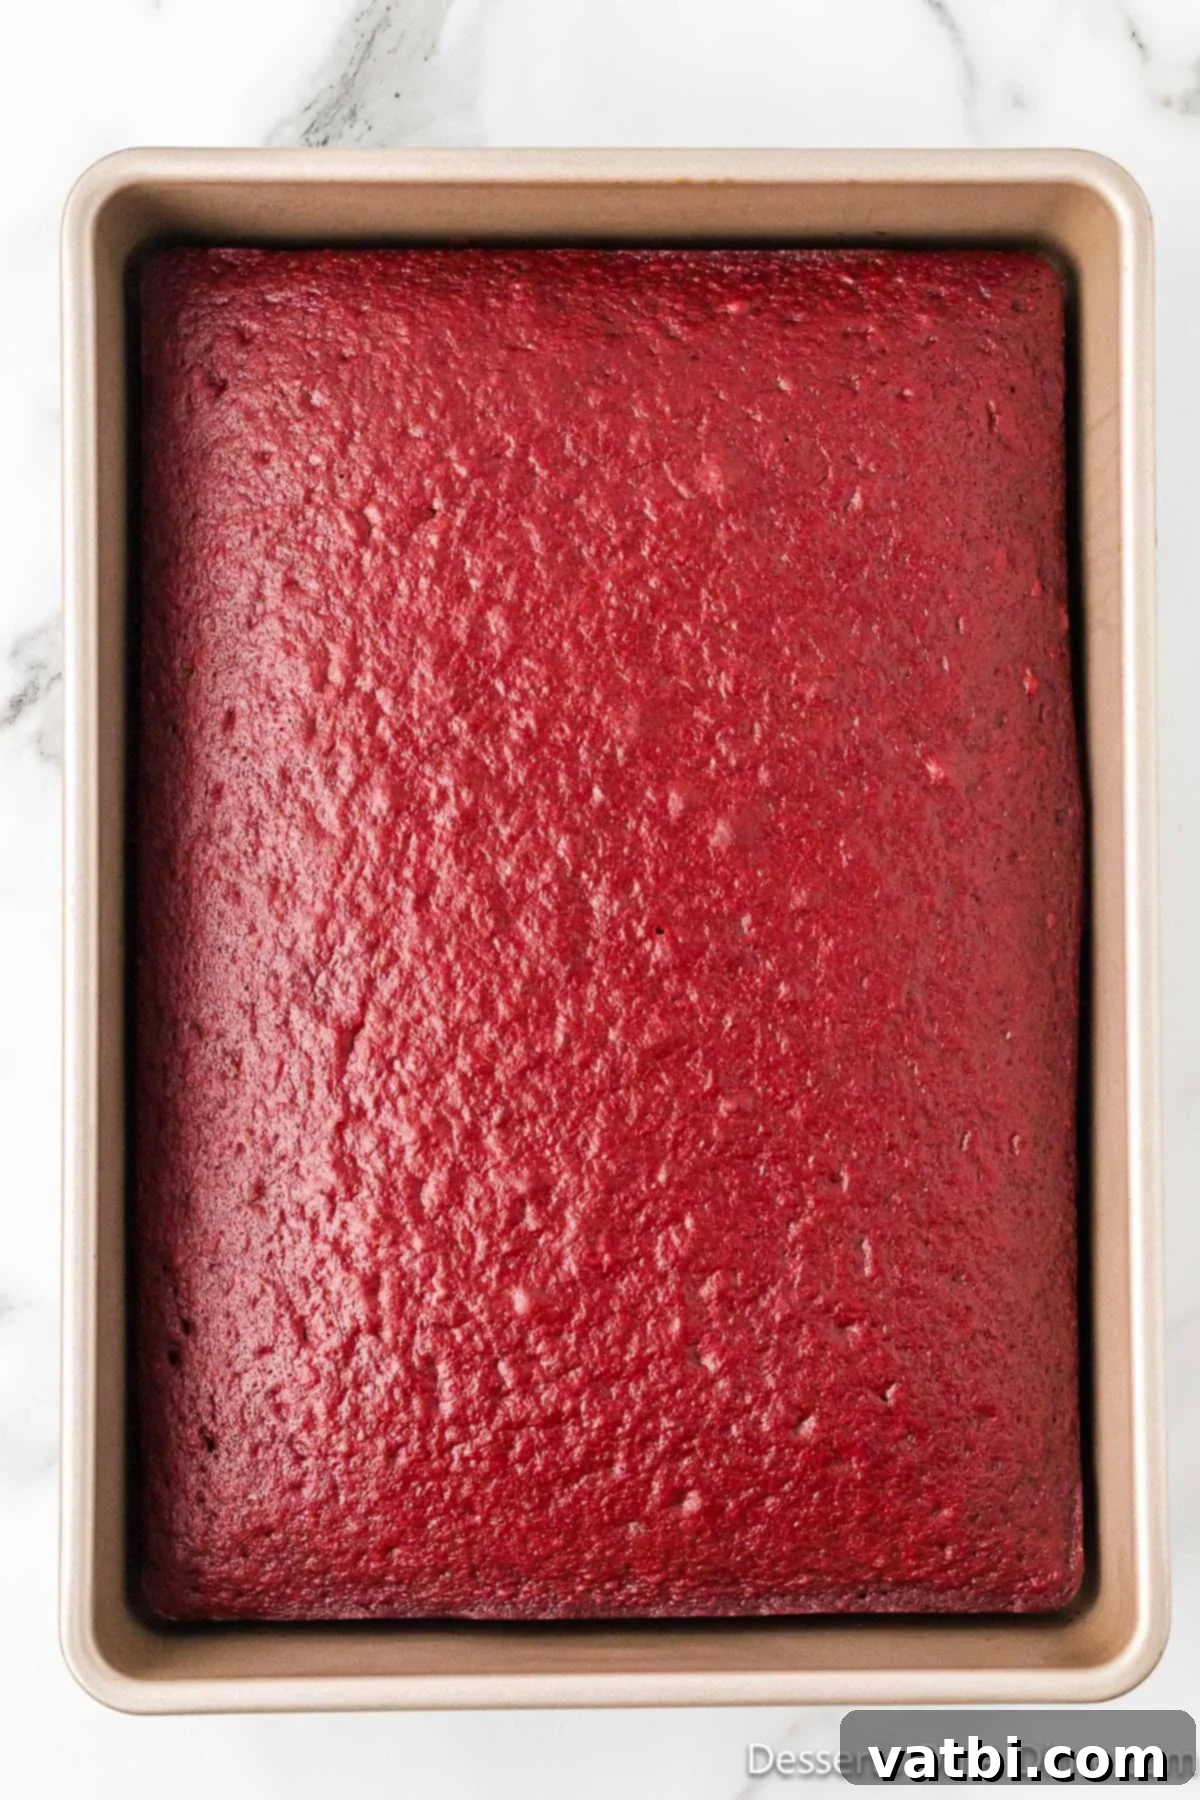
Step 2: Cool the Cake Completely. Once baked, remove the cake from the oven and allow it to cool thoroughly at room temperature. This step is critical; if the cake is warm when you assemble the trifle, it will melt the creamy layers and compromise the structure of your dessert. Patience here ensures a beautiful and stable trifle.
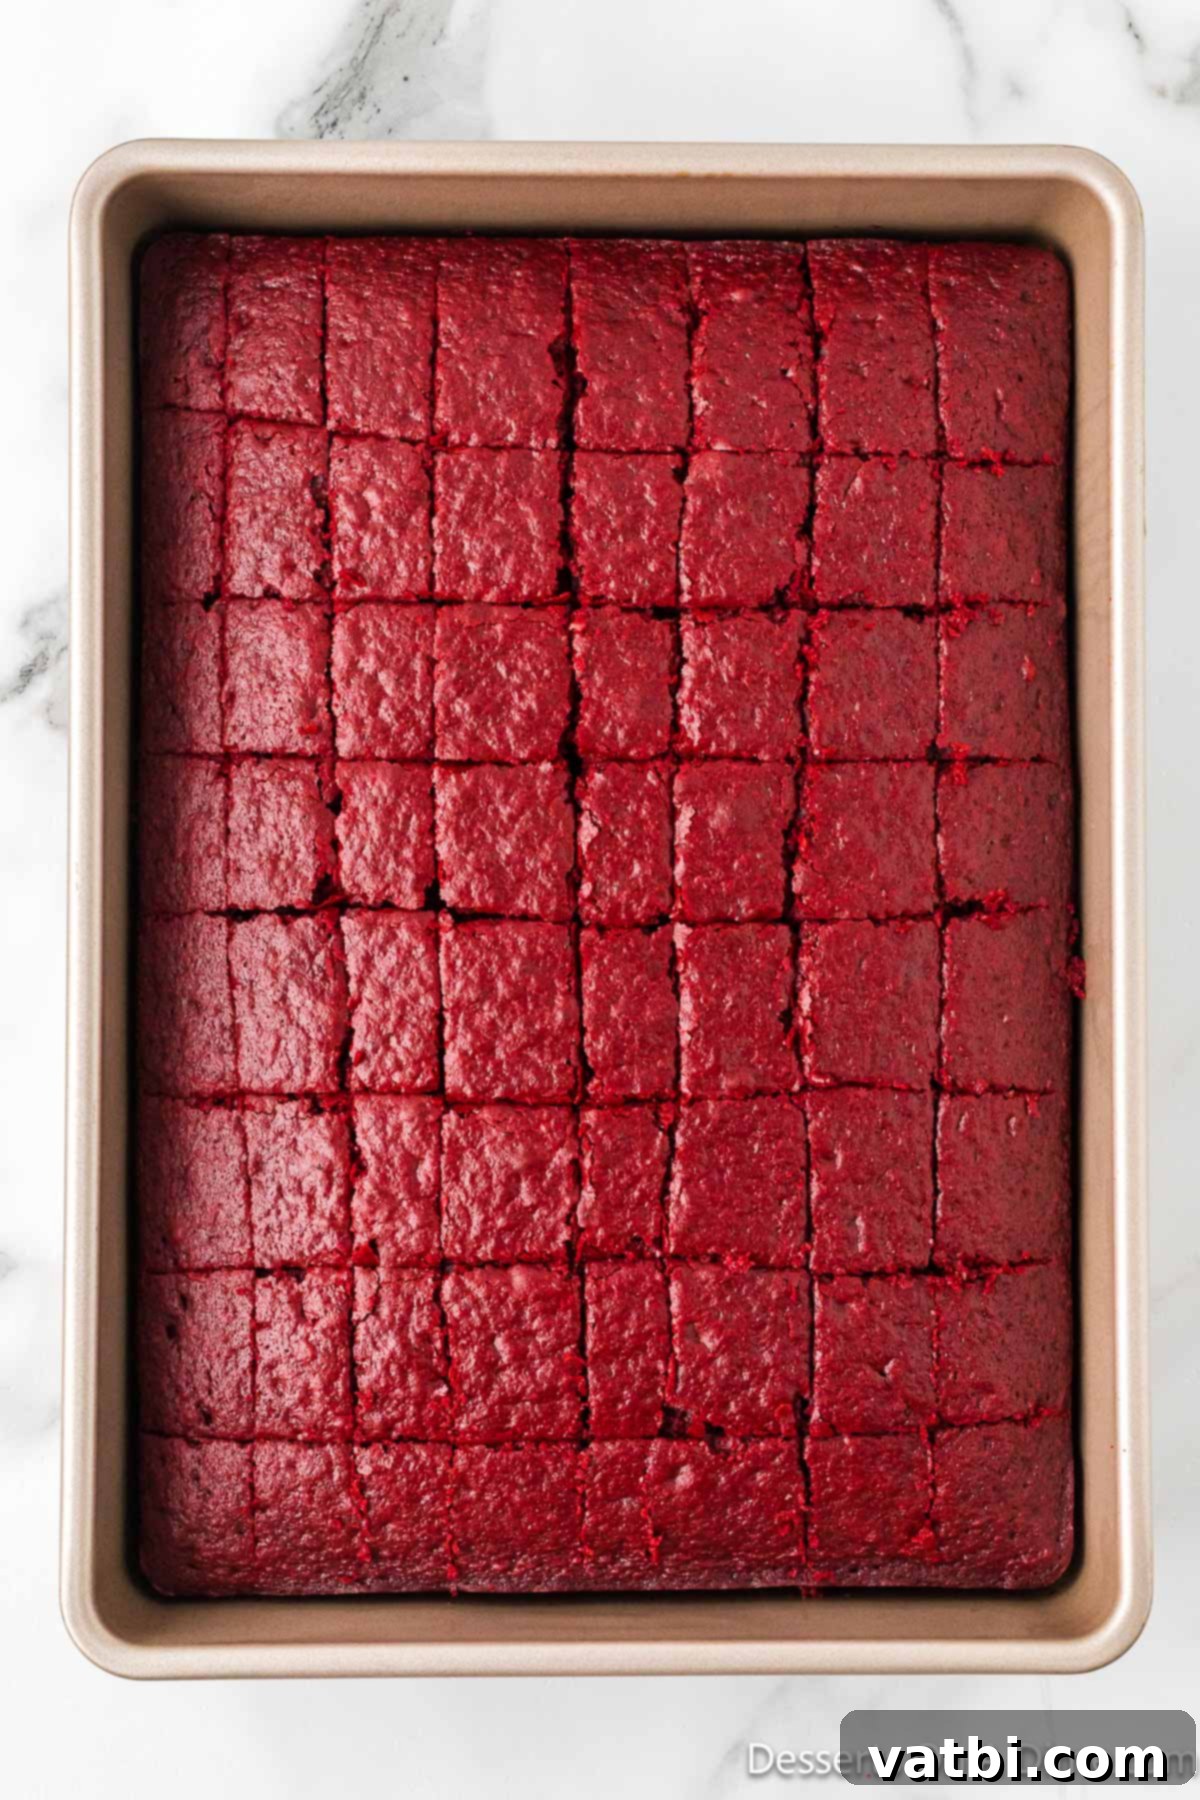
Step 3: Cut the Cake into Cubes. After the cake has completely cooled, carefully cut it into approximately 1-inch cubes. Uniform cubes not only create a neater appearance in the trifle dish but also ensure that each piece of cake can absorb the creamy mixture evenly, leading to a consistently delicious texture throughout. Set aside a small handful of these cake crumbs for a beautiful garnish later.
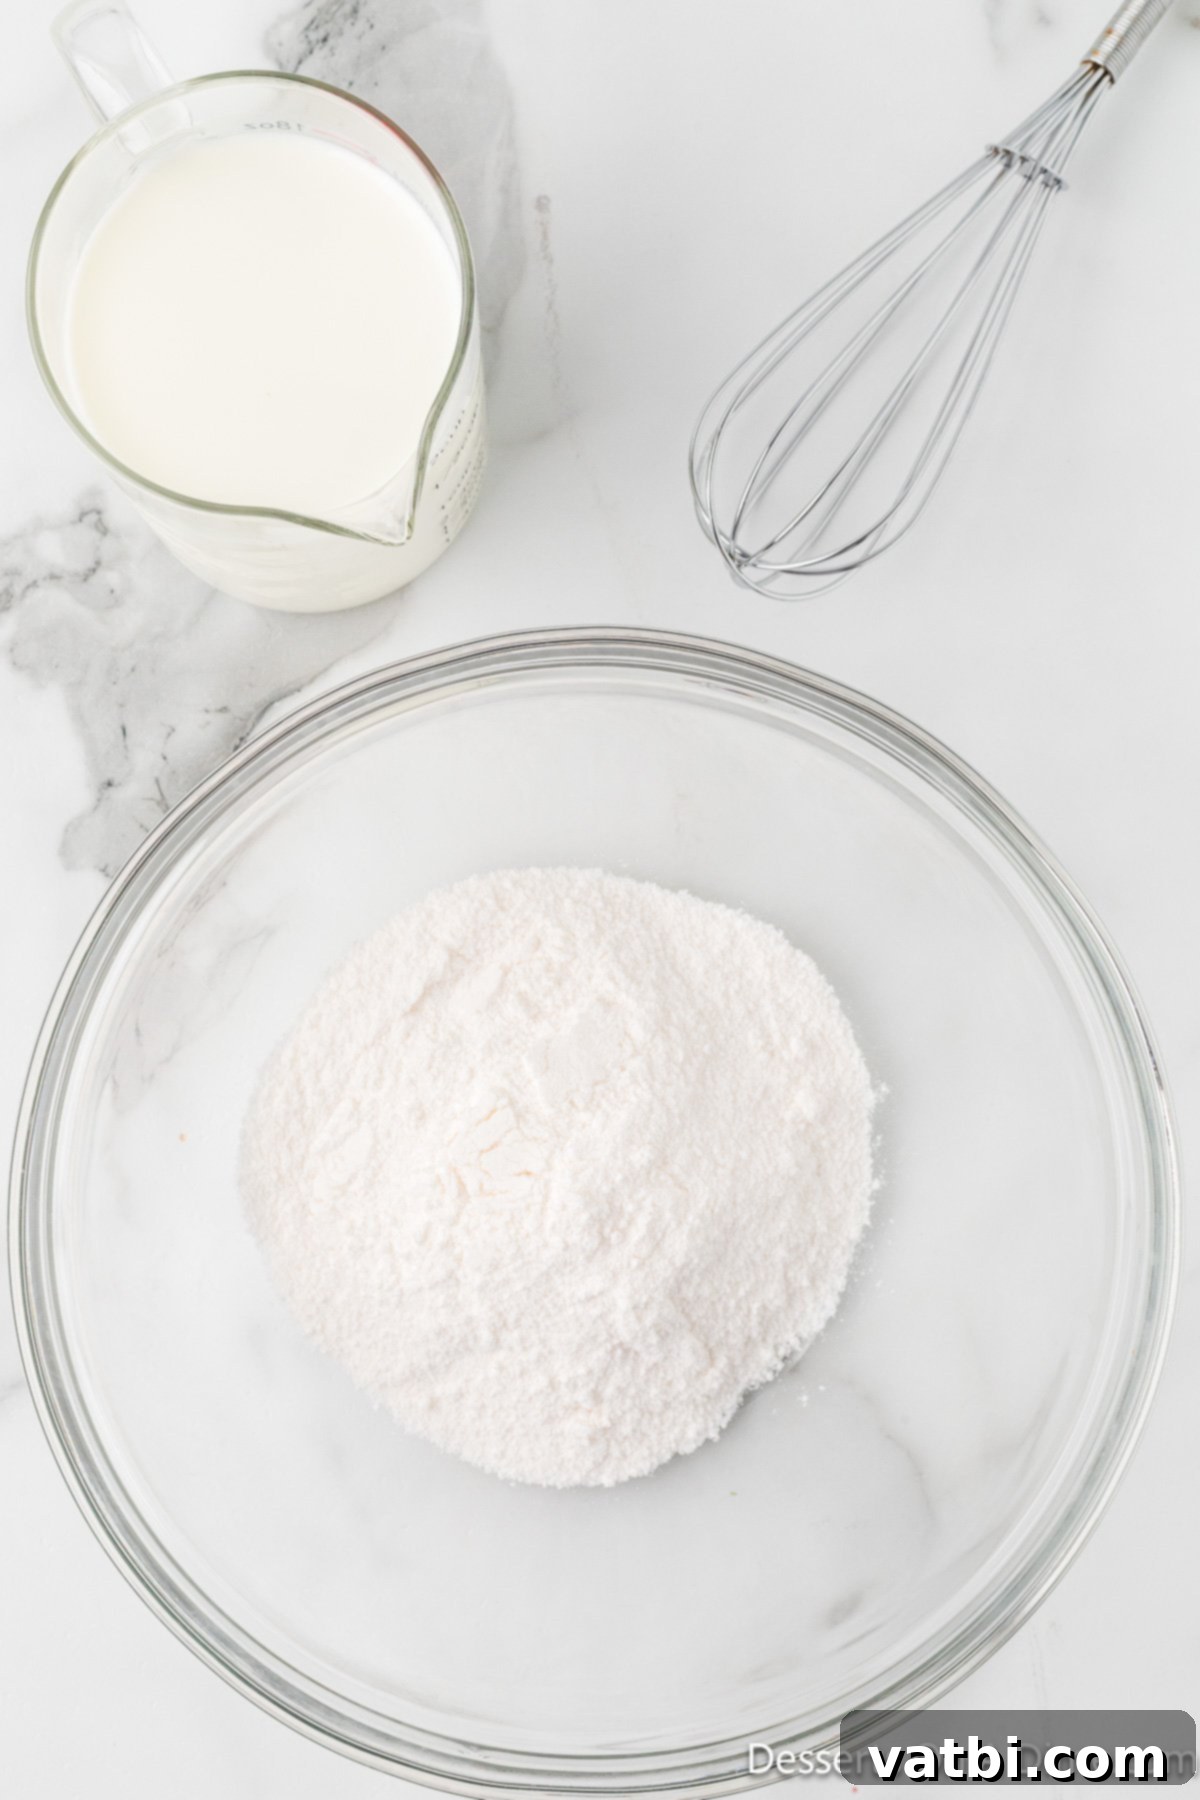
Step 4: Prepare the Pudding. In a small mixing bowl, whisk together the white chocolate pudding mix with the cold milk. Continue whisking for about two minutes, or until the mixture begins to thicken. It’s important to use cold milk as it helps the instant pudding set correctly. Once thickened, set the pudding aside, allowing it to firm up a bit more while you prepare the cream cheese mixture.
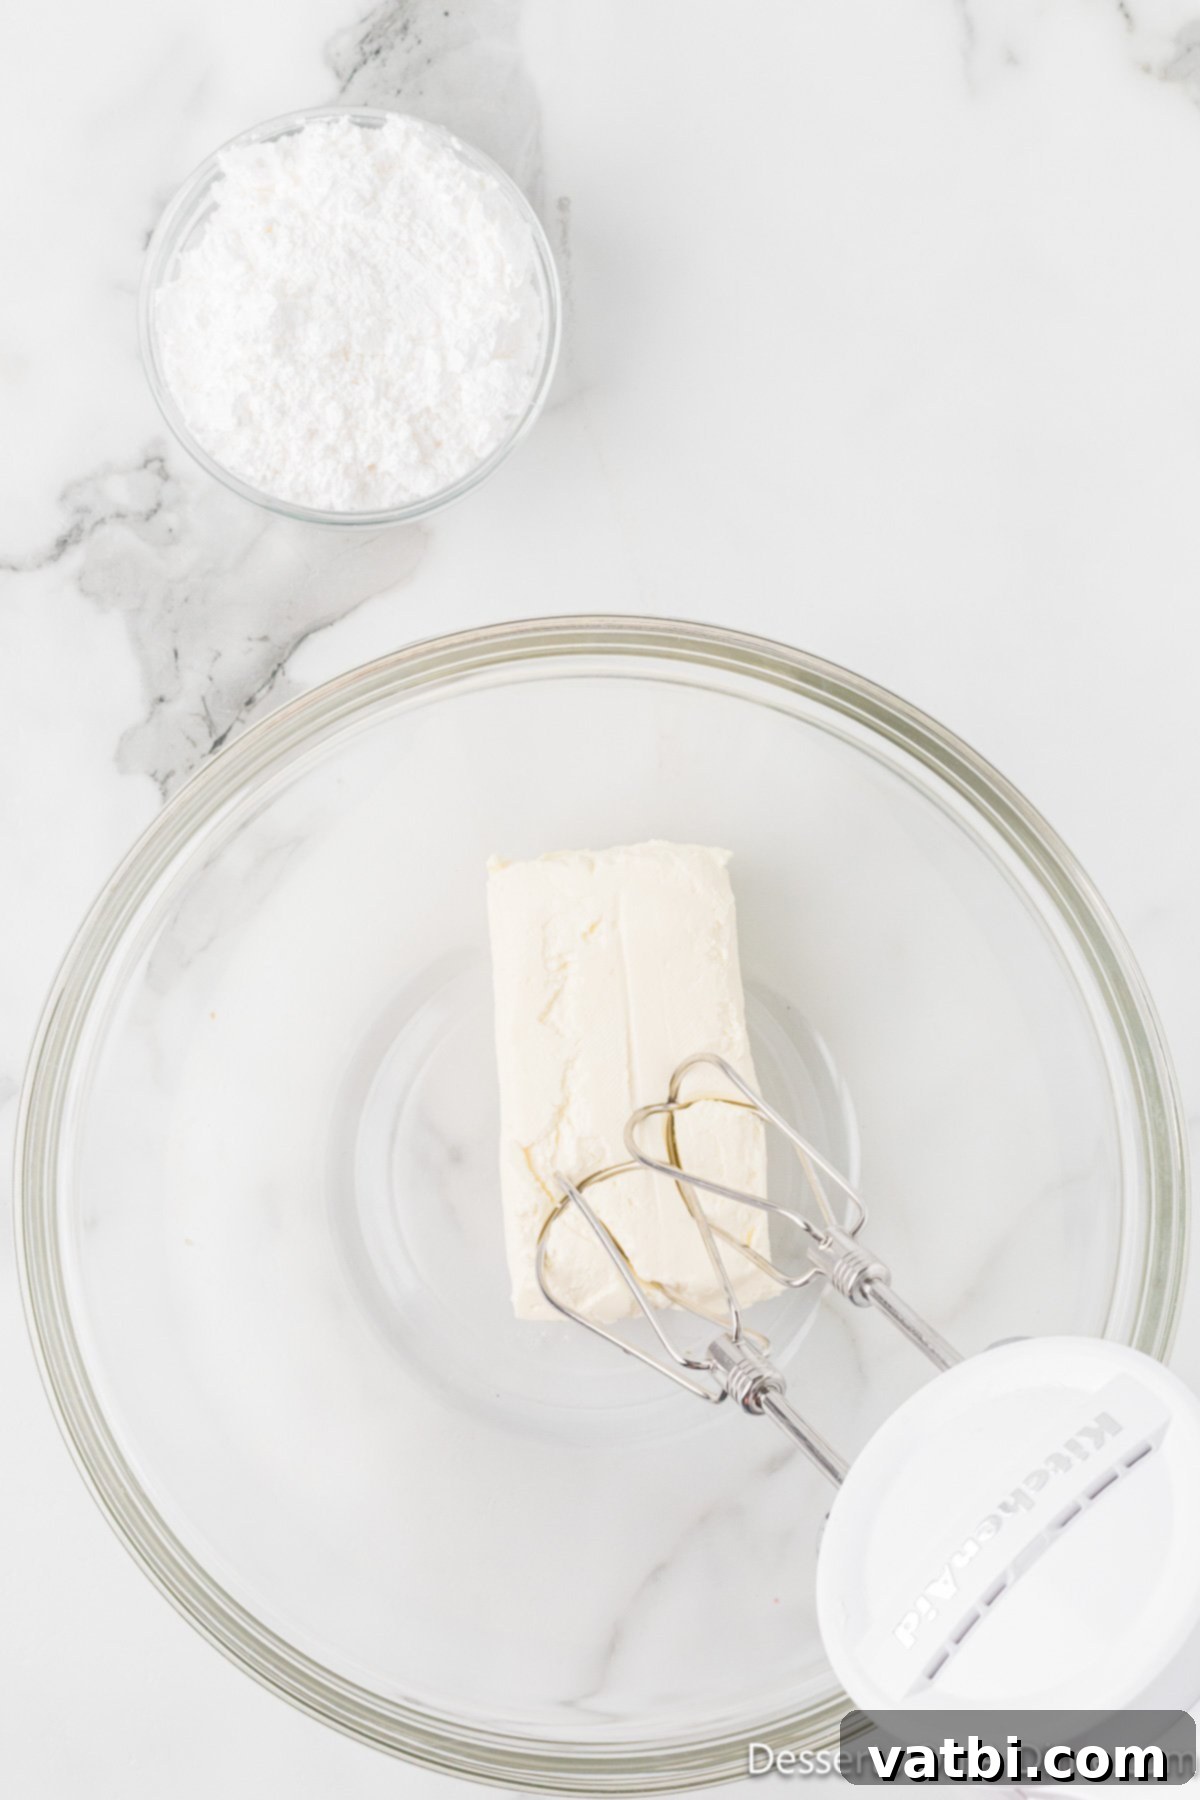
Step 5: Create the Cream Cheese Base. Take your softened cream cheese and place it in a large mixing bowl. Using a hand-held electric mixer, beat the cream cheese for 2-3 minutes until it becomes wonderfully light, fluffy, and completely smooth. This aeration is key to a perfectly smooth and delightful cream cheese layer.
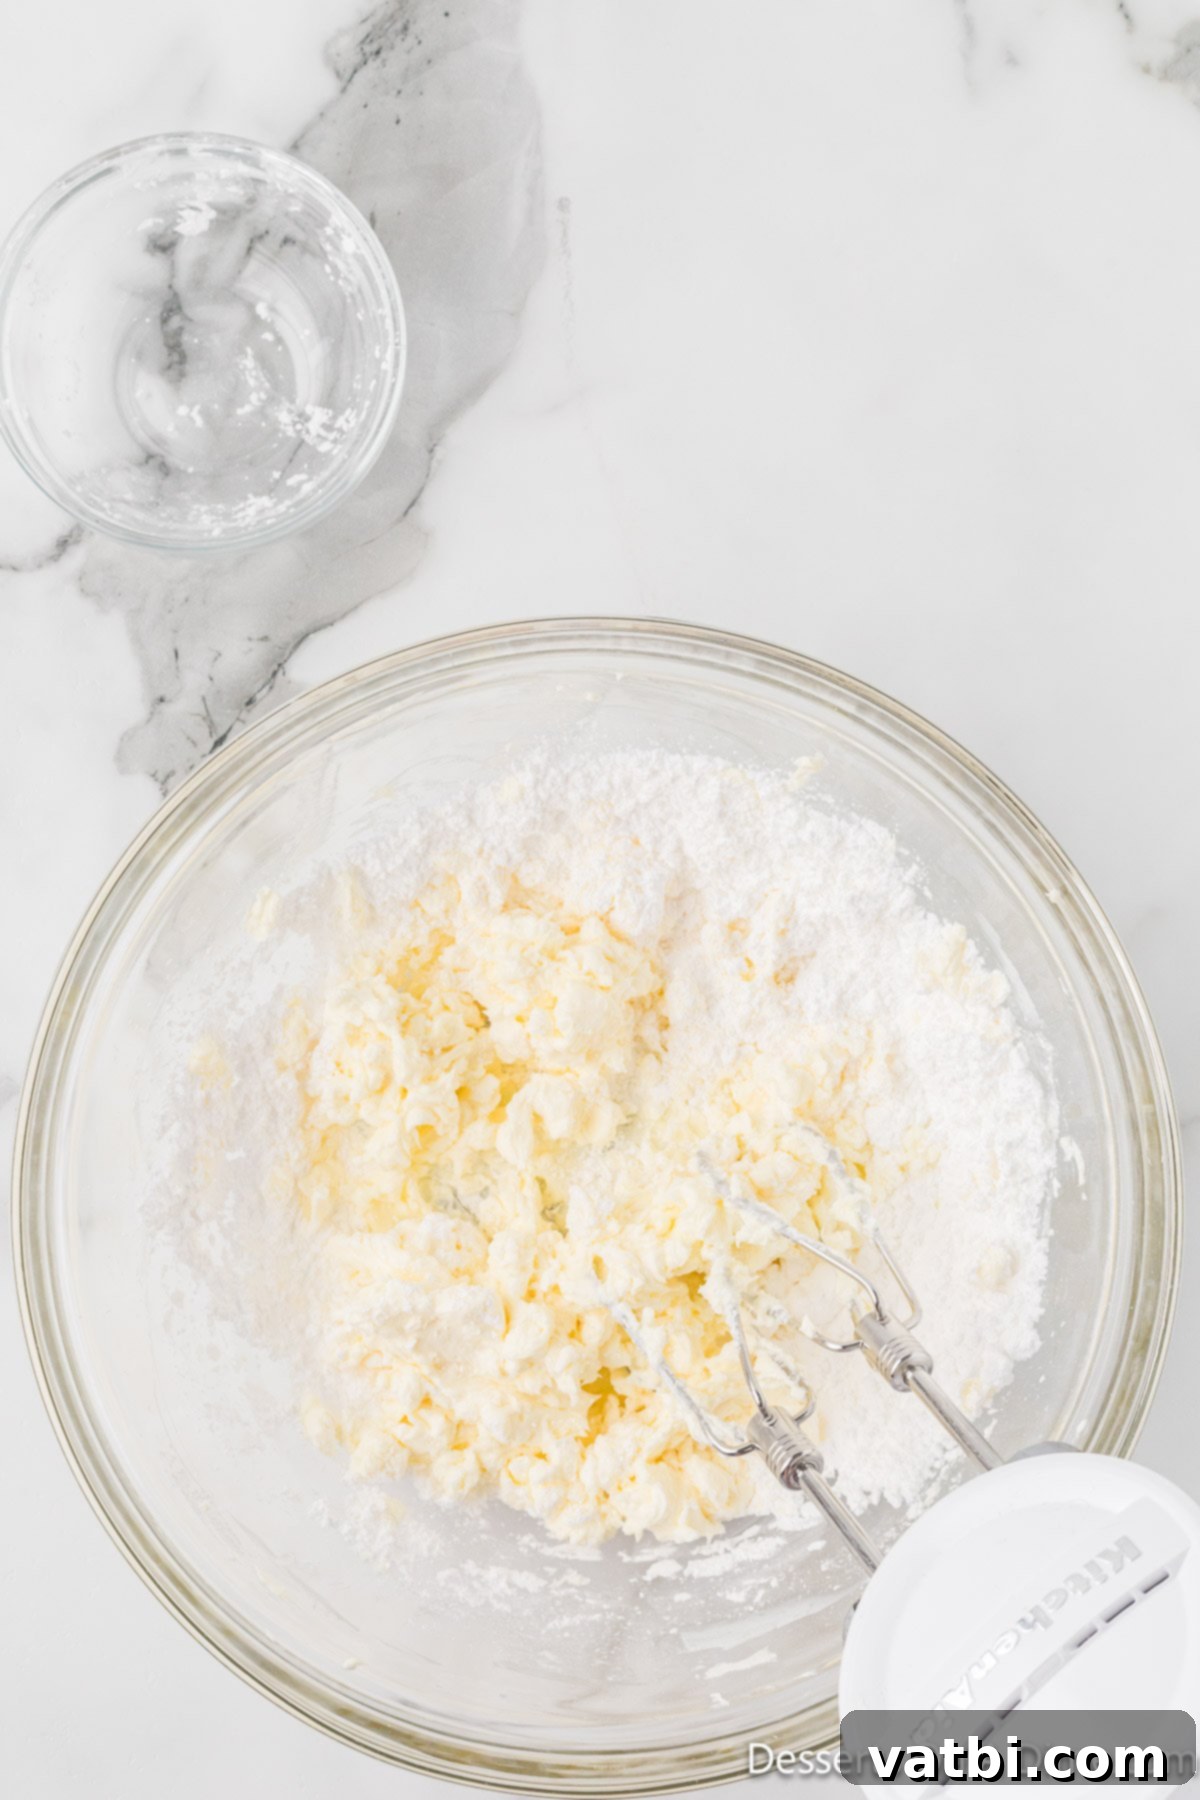
Step 6: Incorporate Powdered Sugar. Reduce the mixer speed to low. Gradually add the powdered sugar to the beaten cream cheese, mixing until it is fully incorporated and the mixture is smooth. Once all the sugar is added, increase the speed to medium and continue beating for another minute to ensure everything is well combined and lump-free, resulting in a perfectly sweet and smooth cream cheese mixture.
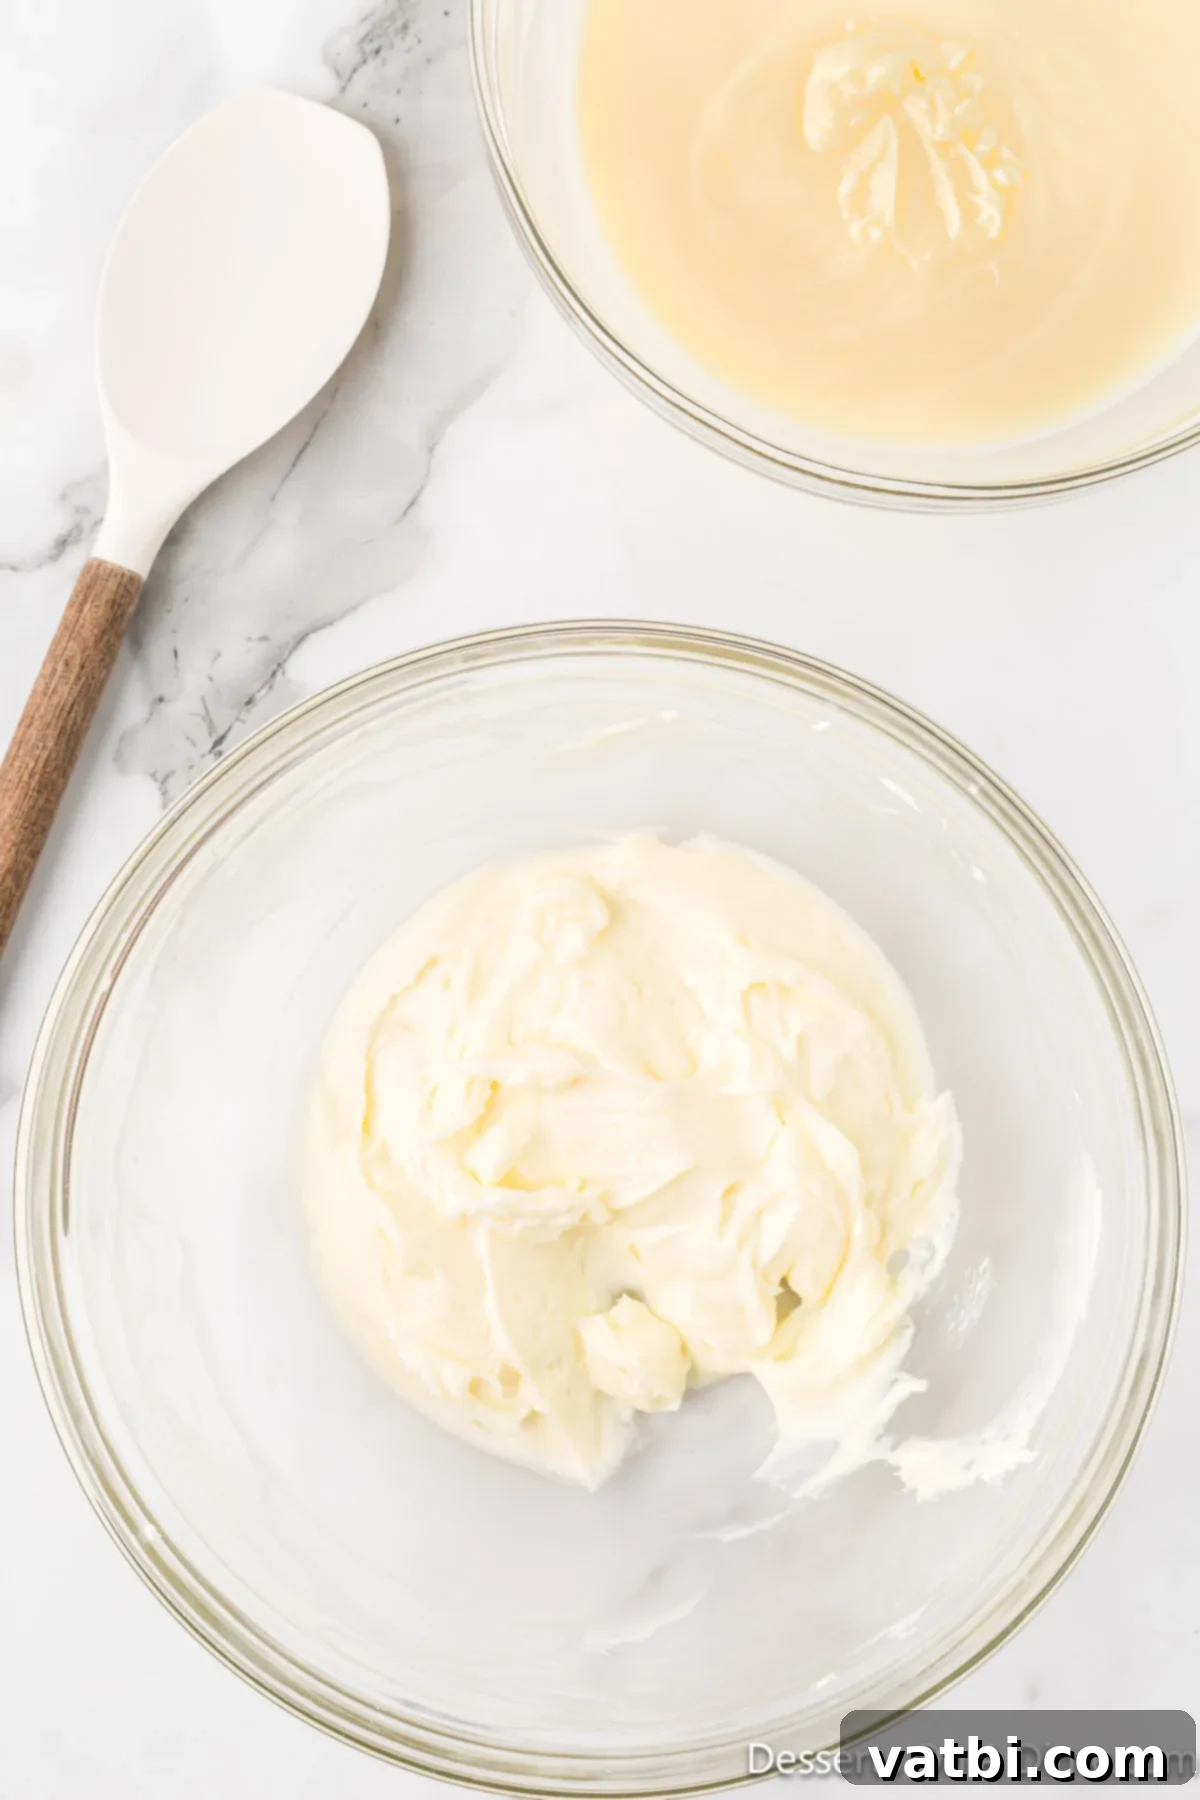
Step 7: Combine Pudding and Cream Cheese. Carefully add the prepared instant pudding to your cream cheese mixture. Using a rubber spatula, gently fold and stir until both components are completely combined. The goal is to achieve a uniform consistency without overmixing, which could deflate the airy texture of the cream cheese. This forms the delightful creamy layer for your trifle.
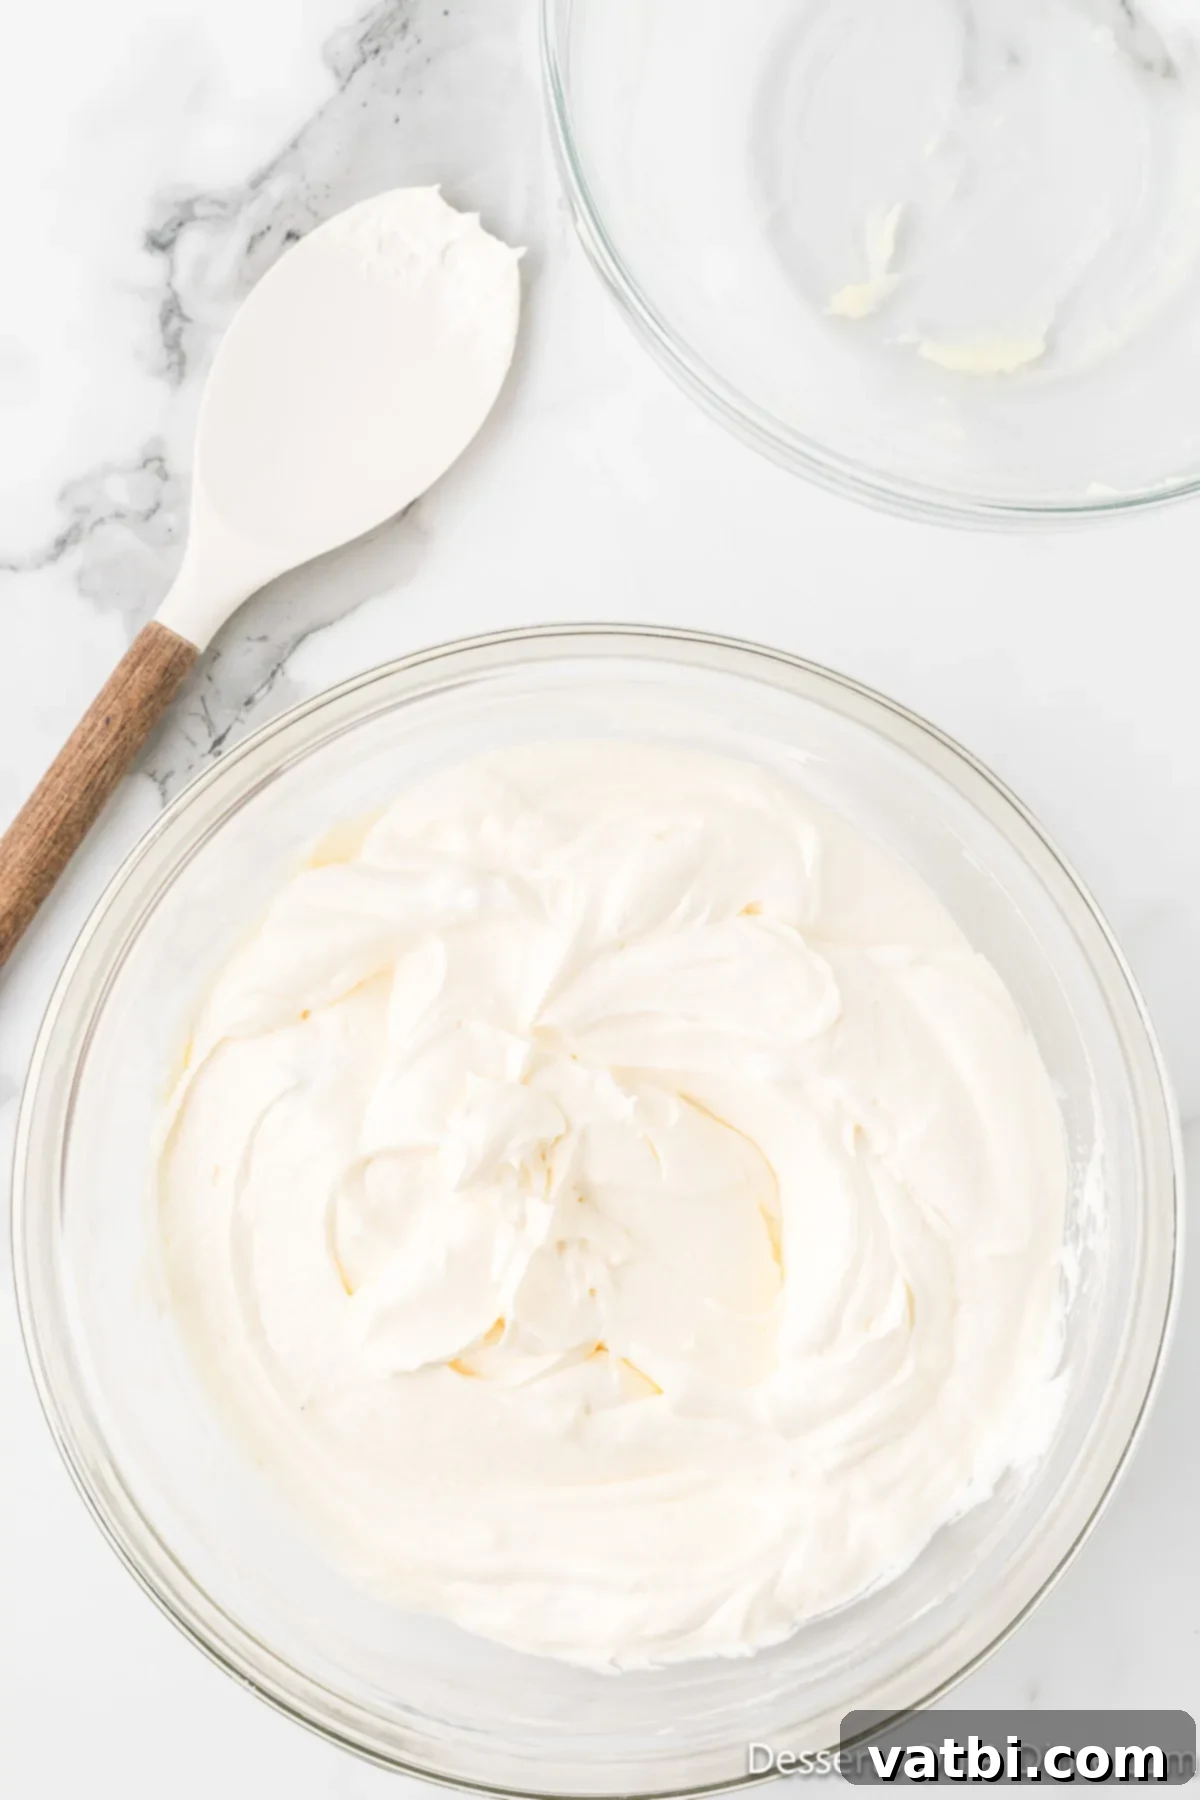
Step 8: Fold in Cool Whip. Now, gently fold in about half of the thawed Cool Whip (8 oz) into the cream cheese and pudding mixture. Use a soft, sweeping motion until no white streaks of Cool Whip are visible. This step makes the filling incredibly light and airy, perfectly balancing the richness of the red velvet cake. Reserve the remaining Cool Whip for the final topping.
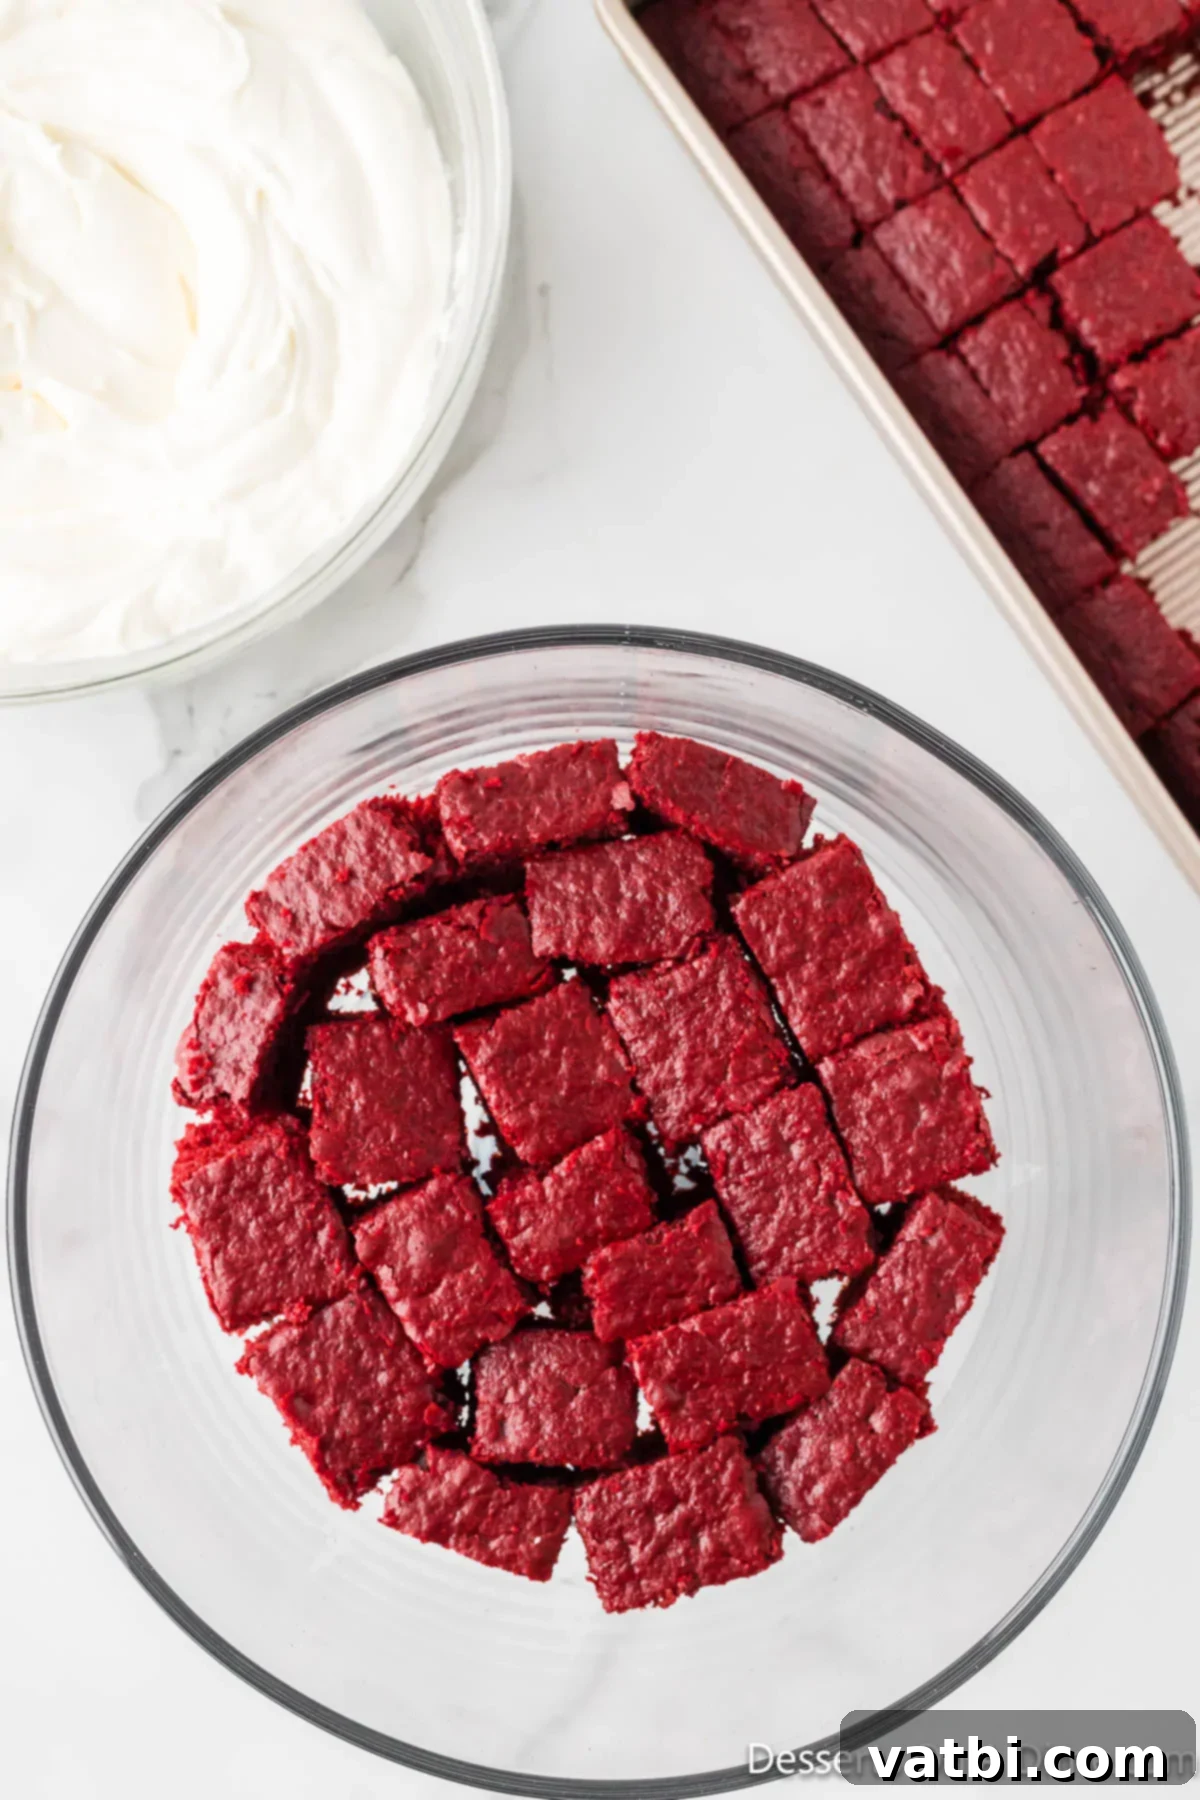
Step 9: Layer the Cake Base. Carefully arrange the red velvet cake cubes in the bottom of your chosen trifle dish or a large, clear glass bowl. Distribute just enough cake cubes to form an even layer, completely covering the bottom of the dish. This vibrant red layer will be the visual anchor of your beautiful trifle.
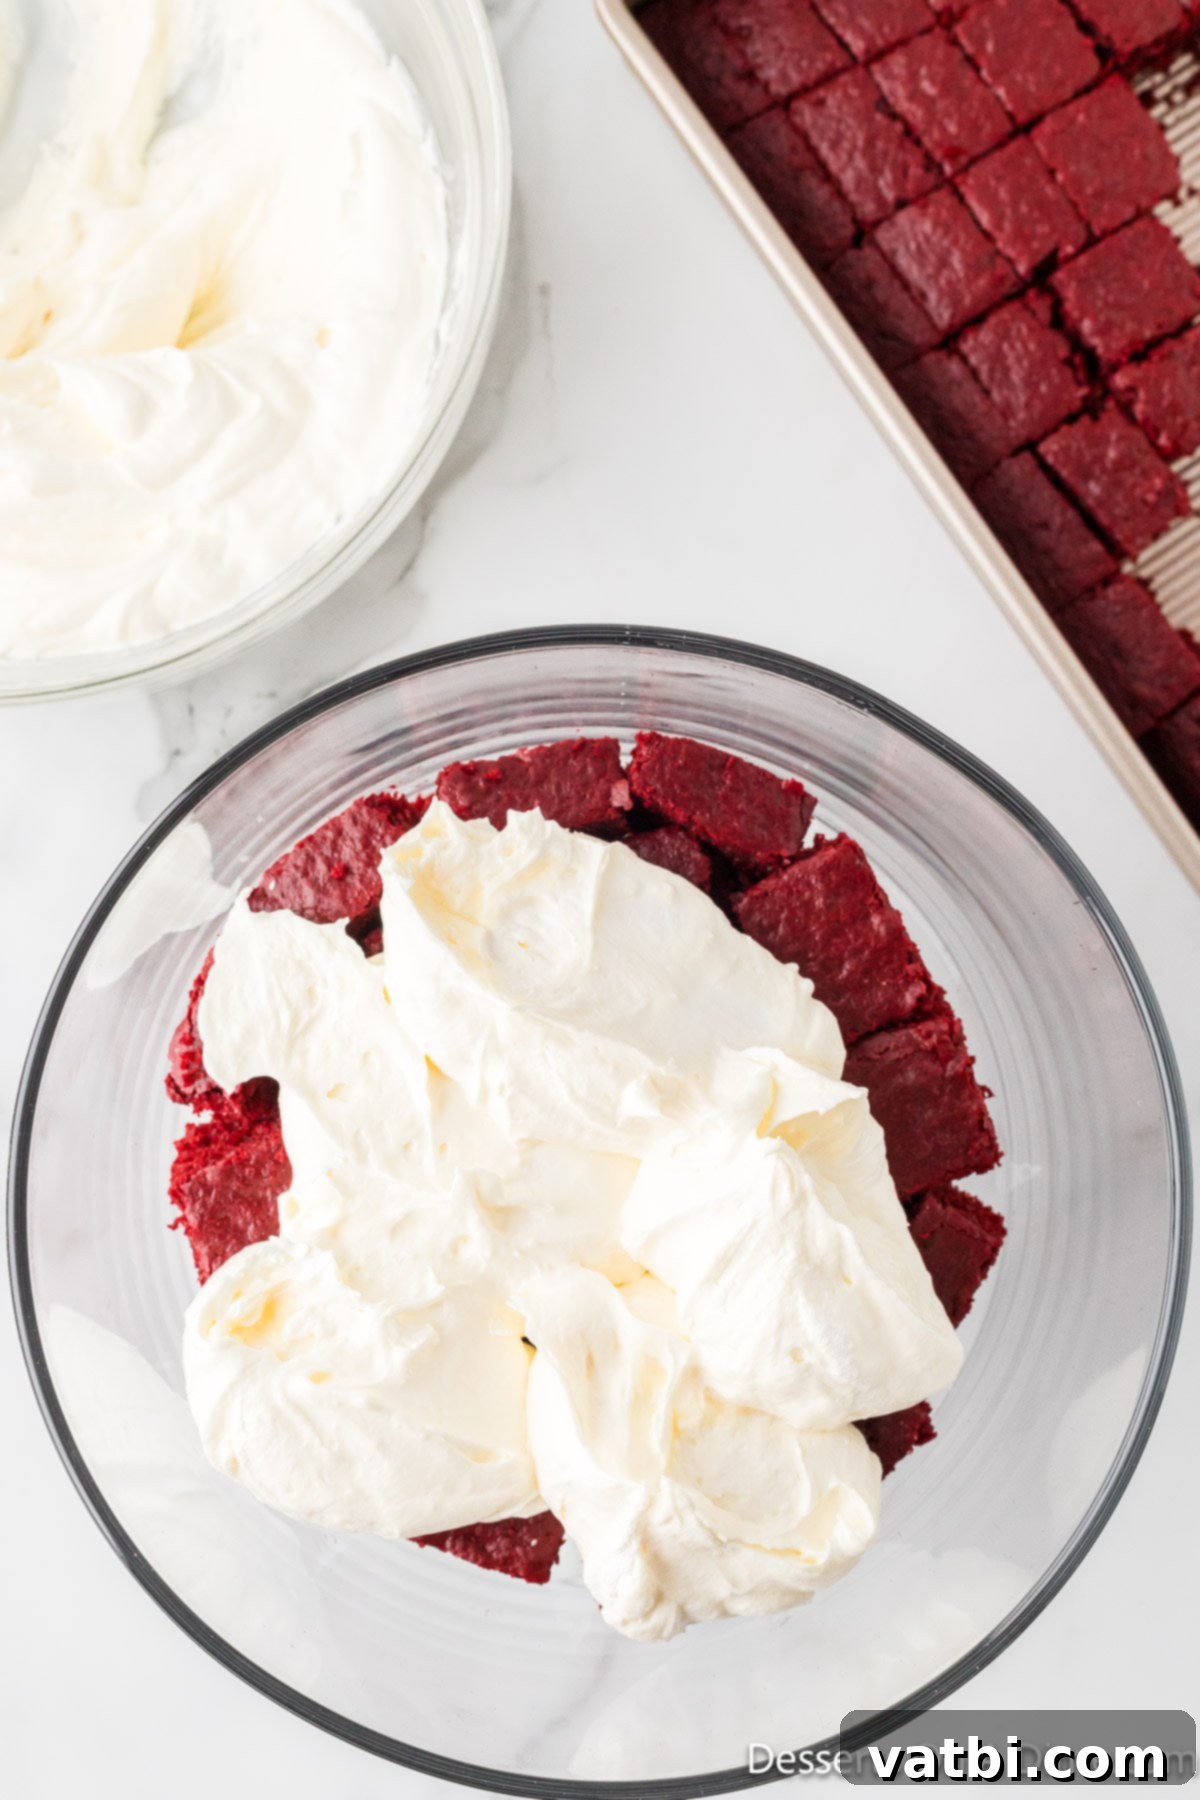
Step 10: Add the First Cream Cheese Layer. Gently spoon about half of the prepared cream cheese mixture over the layer of cake cubes. Spread it out carefully with a spatula, ensuring it covers the cake entirely and creates a smooth, even white layer. Take care not to press down too hard on the cake cubes. You can also drizzle the mixture over the cake cubes as mentioned in the recipe card for better coverage.
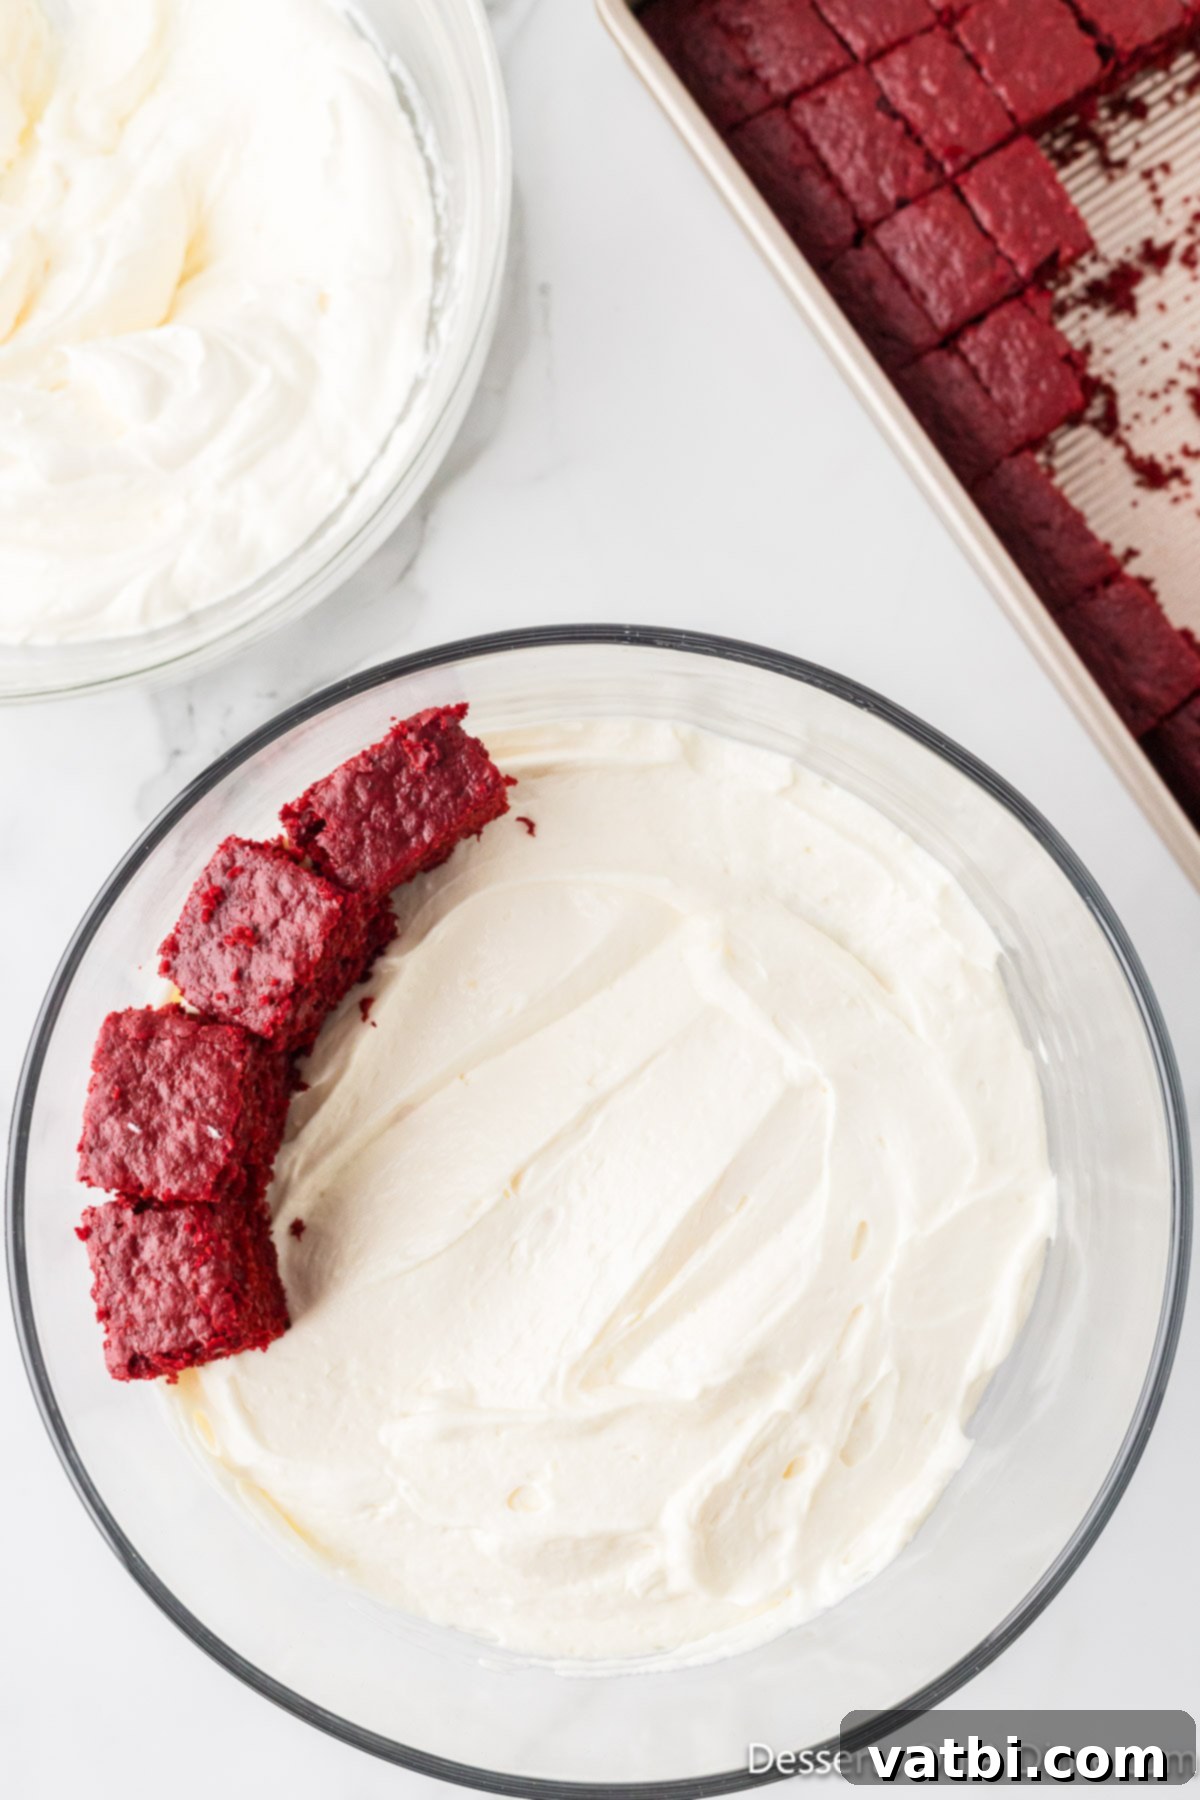
Step 11: Add More Cake Cubes. Follow the cream cheese layer with another generous spread of red velvet cake cubes. Again, arrange them gently to create an even layer, forming the next vibrant crimson stratum in your trifle. This alternating pattern is what gives the trifle its signature beautiful appearance.
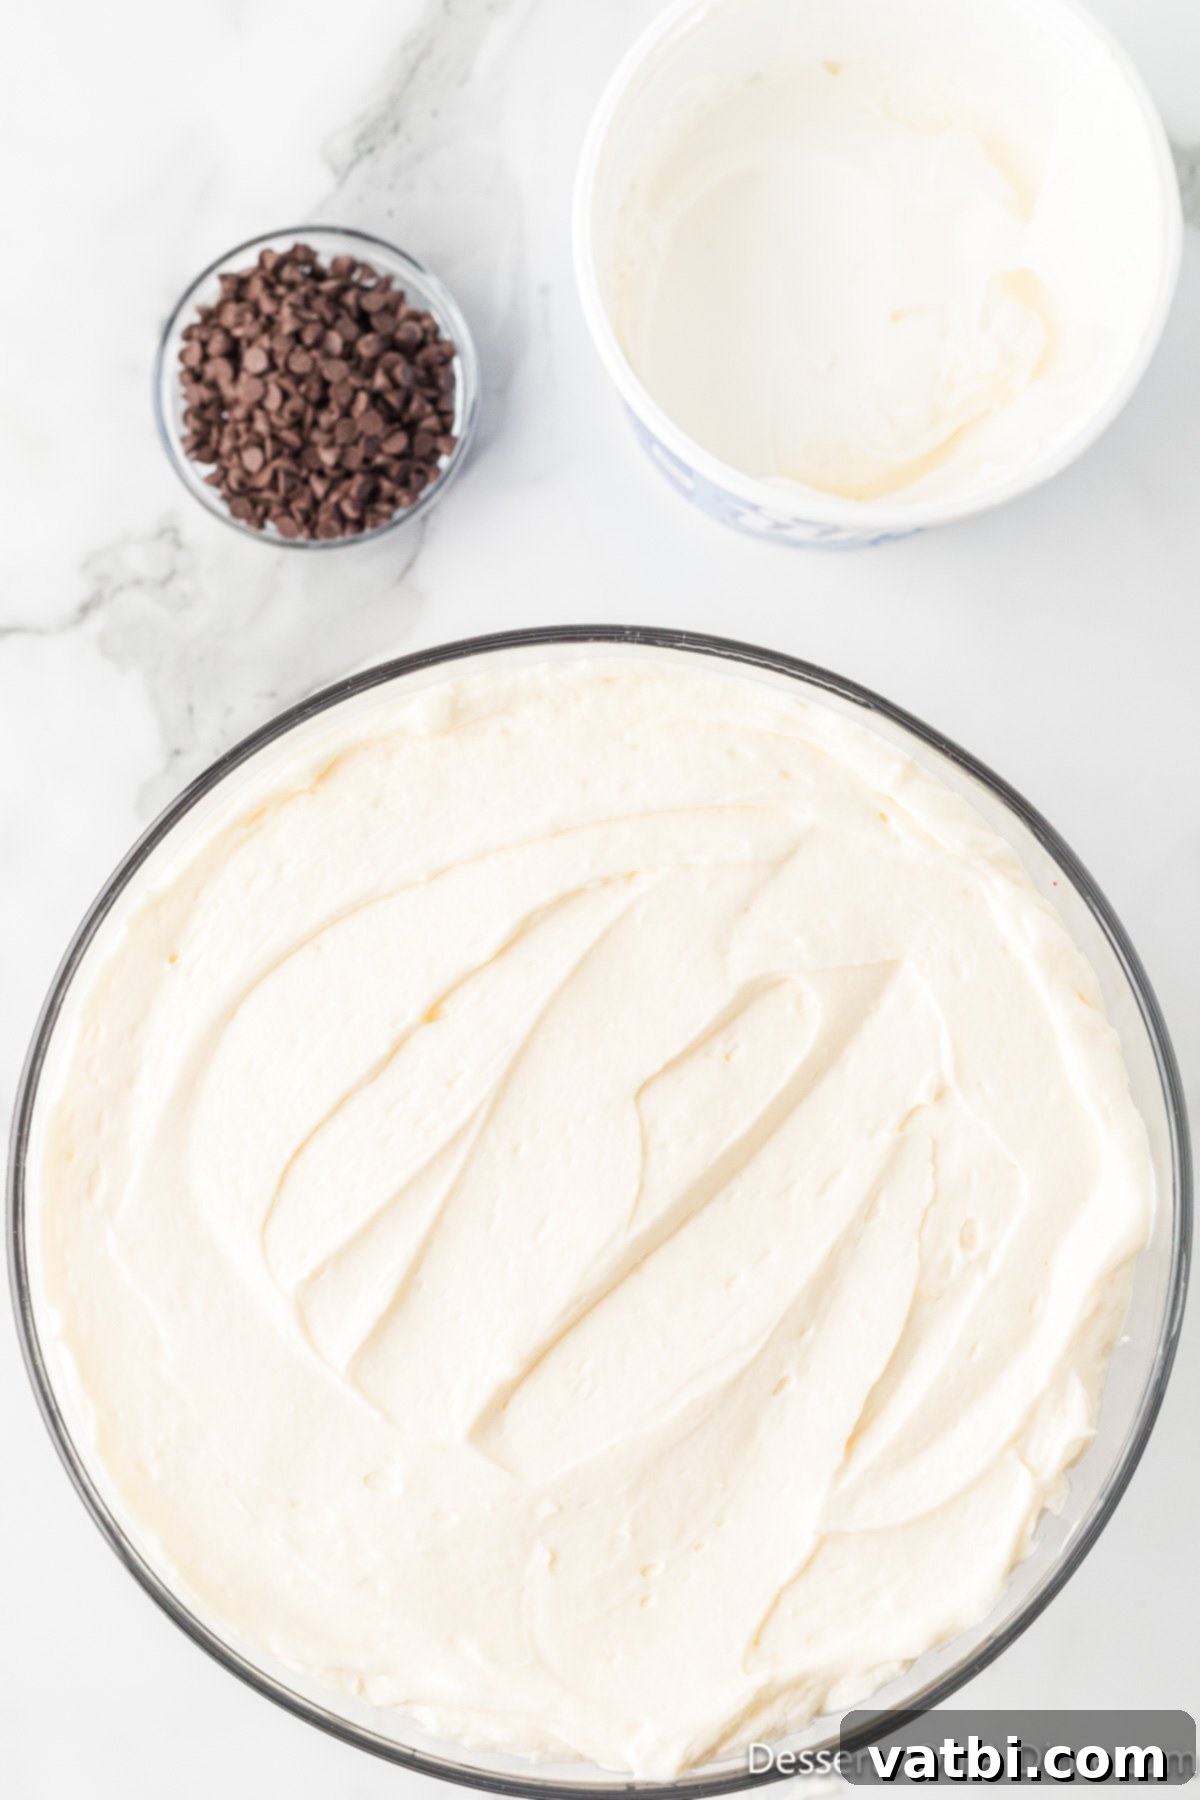
Step 12: Spread the Final Cream Cheese Layer. Distribute the remaining cream cheese mixture over the second cake layer, spreading it evenly to cover. This layer completes the creamy filling portion of the trifle, setting the stage for the final decorative topping. Ensure the top is as smooth as possible for an elegant finish.
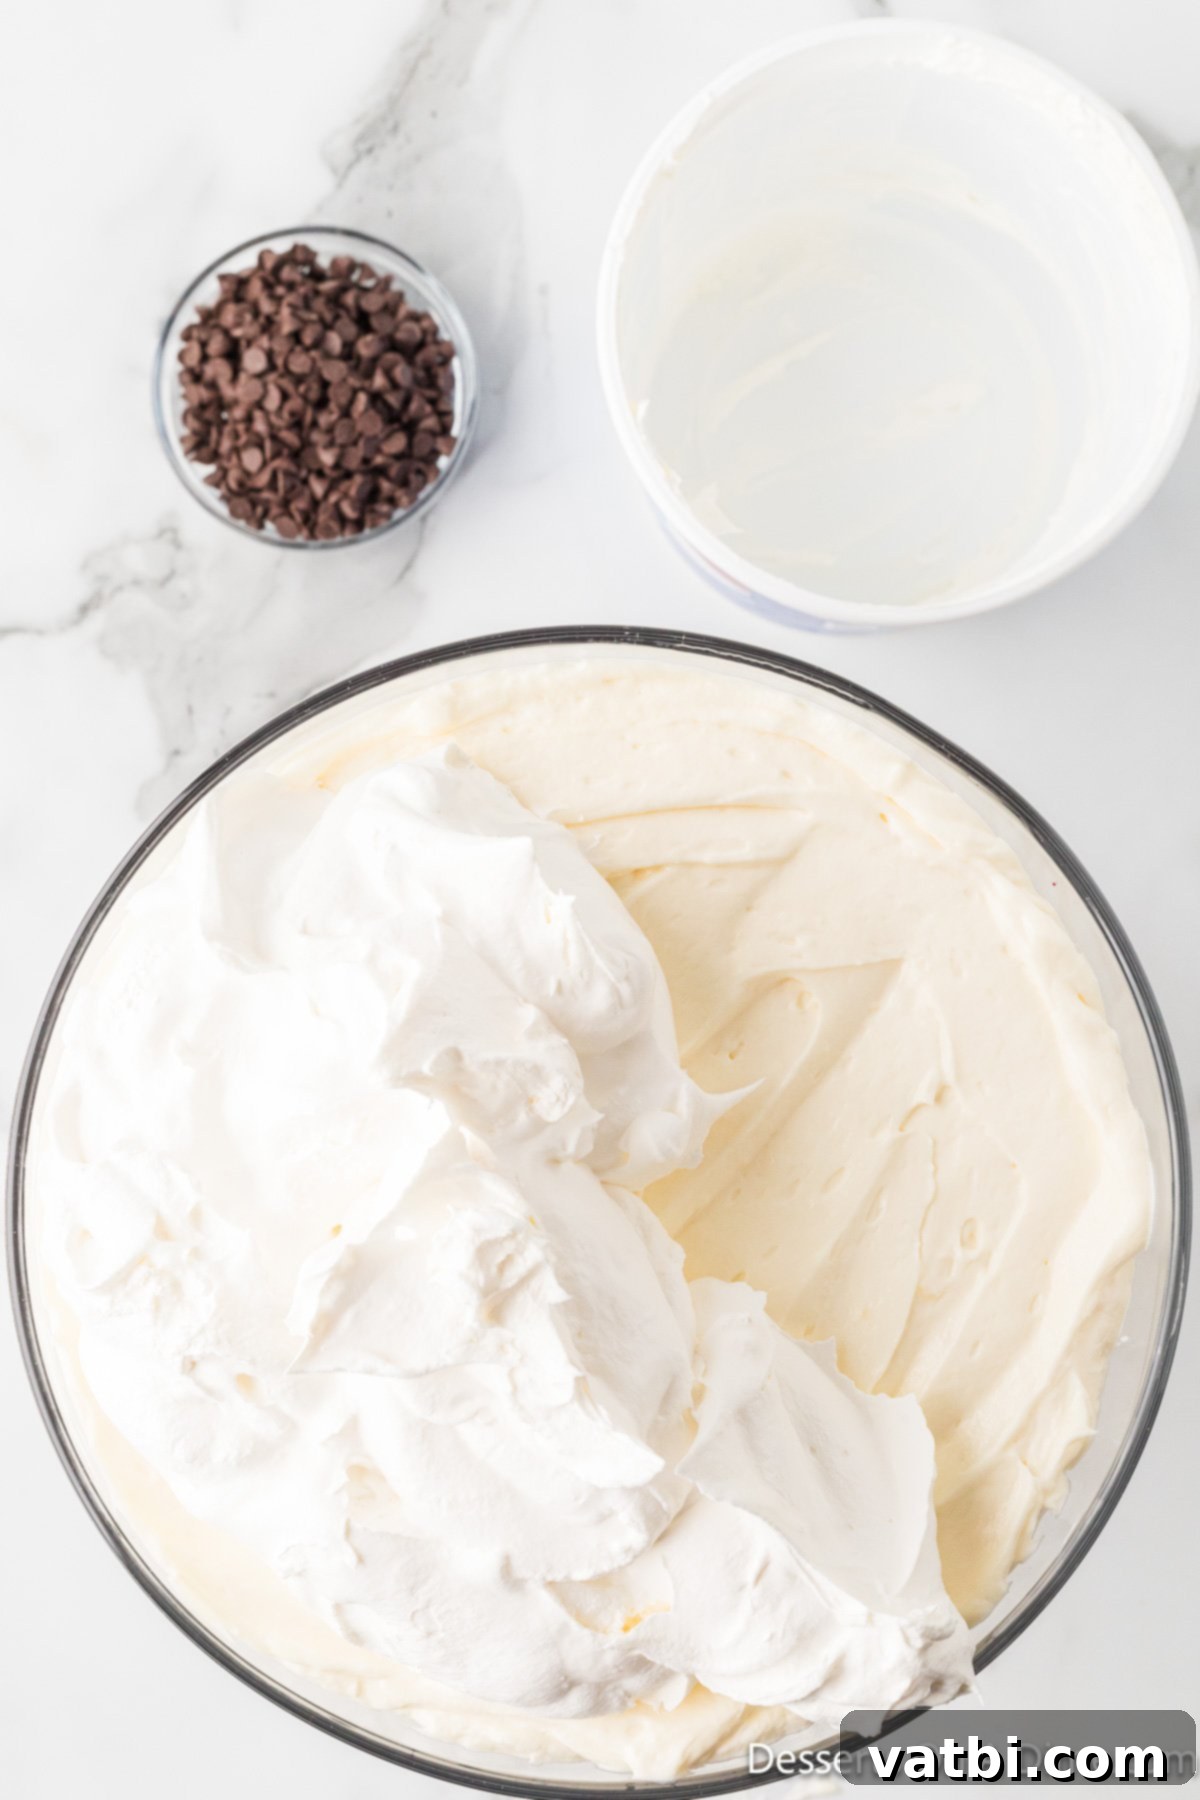
Step 13: Top with Cool Whip. Take the remaining 8 oz of Cool Whip that you set aside earlier. Gently spread this over the top layer of cream cheese, creating a smooth, fluffy white crown for your trifle. You can create soft peaks or swirl patterns with a spoon or spatula for an an extra touch of elegance.
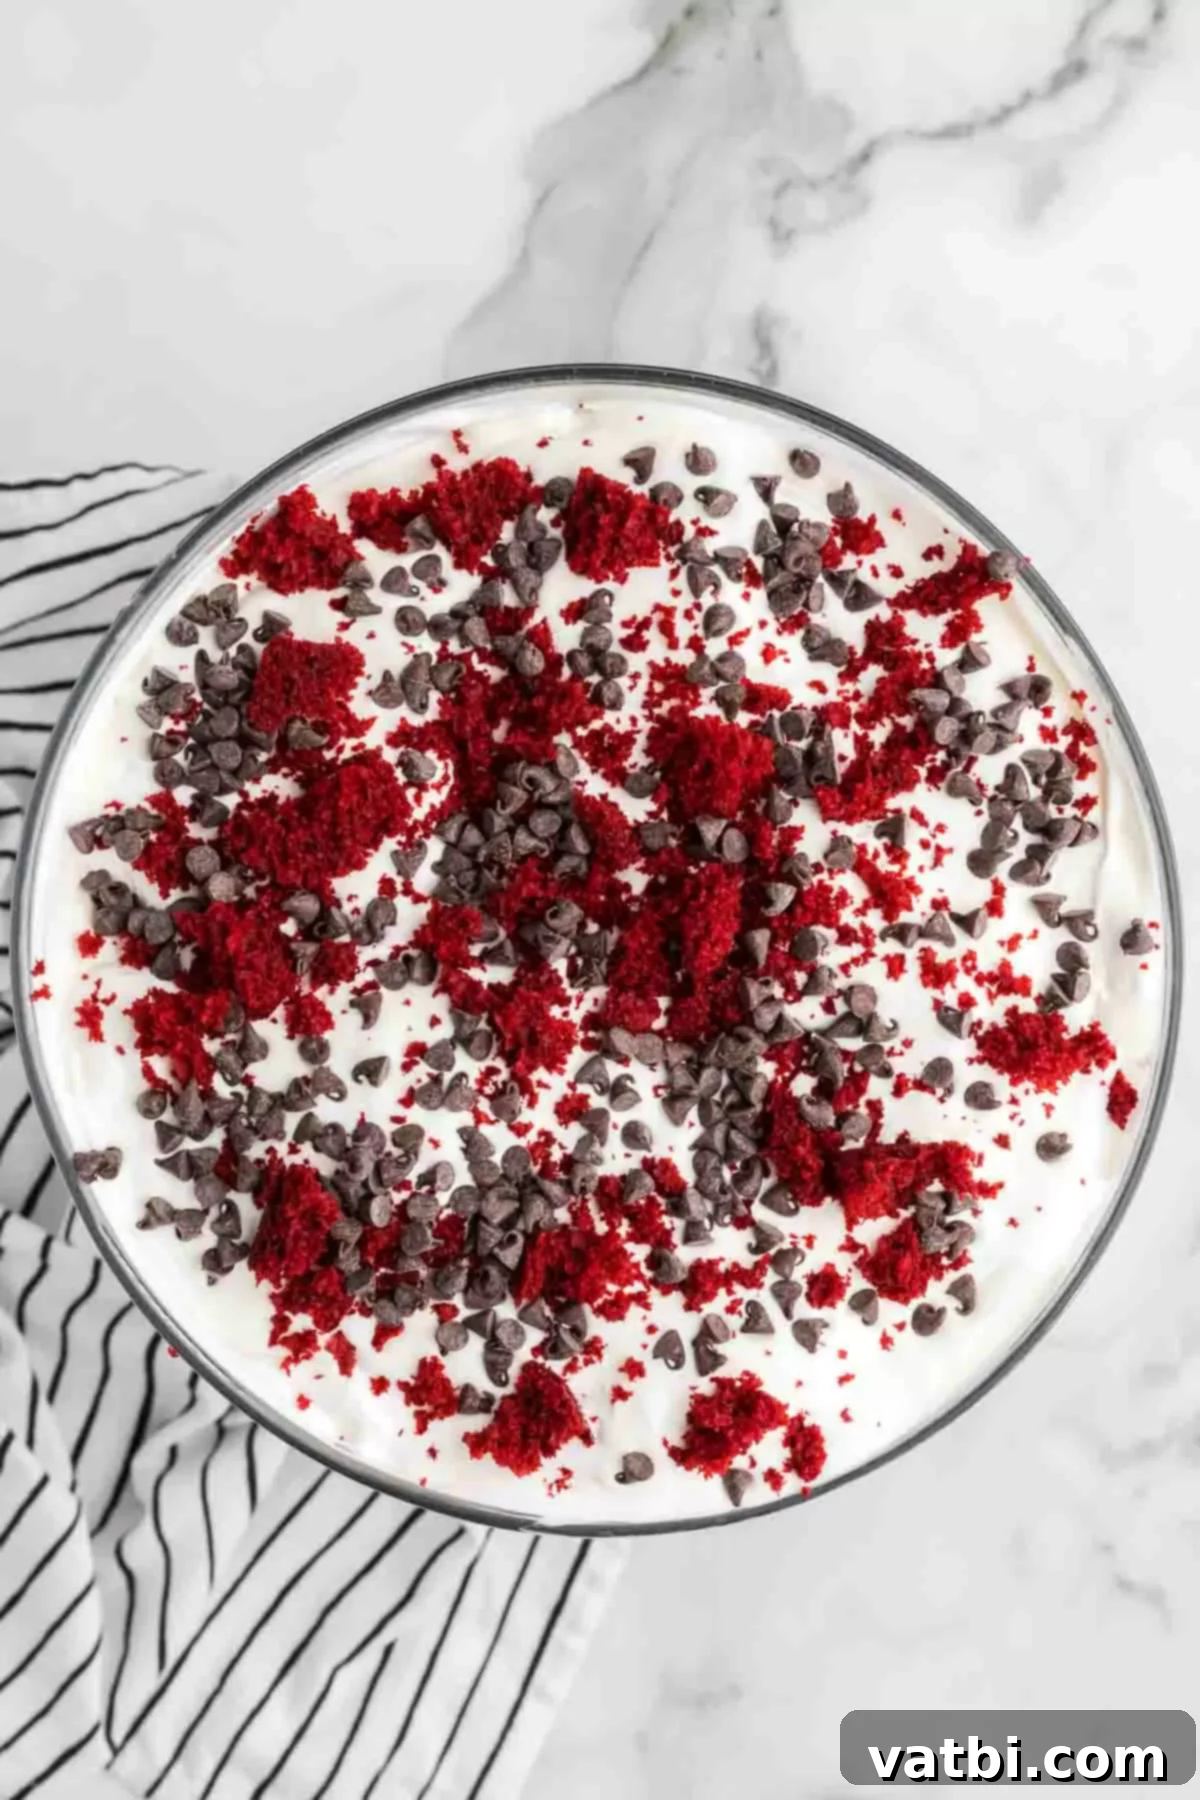
Step 14: Garnish and Serve. Finally, sprinkle the reserved red velvet cake crumbs and the mini chocolate chips generously over the Cool Whip topping. This final garnish adds visual appeal and a delightful textural contrast. For an even more festive look, you could add fresh berries or a dusting of cocoa powder. Serve immediately for fresh flavors or chill for a more developed taste (see storage tips).
Storing Your Red Velvet Trifle for Maximum Freshness
Proper storage is key to enjoying your Red Velvet Trifle for as long as possible and ensuring its flavors continue to meld beautifully. Once assembled, it’s crucial to refrigerate the trifle. Cover the trifle dish tightly with plastic wrap or transfer any leftovers into an airtight container. This helps prevent the cake from drying out and keeps the creamy layers fresh. Stored correctly in the refrigerator, your delightful Red Velvet Trifle will maintain its quality for up to 5 days. In fact, many find that the trifle tastes even better the day after it’s made, as the cake has more time to soak up the luscious cream cheese mixture.
How Long Can You Enjoy Red Velvet Trifle?
For optimal taste and texture, your Red Velvet Trifle is best enjoyed within 3-4 days when stored in the refrigerator. While it can technically last up to 5 days, the cake layers might become a bit softer beyond the fourth day. Always ensure it’s kept chilled and covered to preserve its delightful creamy consistency and moist cake layers.
Expert Tips for the Perfect Red Velvet Trifle
Achieving a truly spectacular Red Velvet Trifle is simple, especially with a few insider tips. These suggestions will help you ensure every layer is perfect and your dessert is a memorable success:
- Choose the Right Cream Cheese: For the best results, always opt for block-style cream cheese (the kind that comes in a box) rather than the whipped or spreadable variety found in tubs. Block cream cheese has a firmer consistency and creates a much richer, more stable, and luxurious cream cheese layer that holds up beautifully in the trifle.
- Intensify the Red Color: Red velvet cake is famous for its vibrant hue. If your cake mix doesn’t deliver a sufficiently deep red color, you can enhance it by adding a small amount of red food coloring (gel food coloring works best for intense color) to the cake batter before baking. This will ensure your trifle layers are visually stunning.
- Ensure Complete Cake Cooling: This is perhaps the most crucial tip. Resist the urge to assemble your trifle with warm or even slightly warm cake cubes. Any residual heat will cause the creamy pudding and cream cheese layers to melt, resulting in a runny, messy trifle. Always allow the cake to cool completely to room temperature, or even chill it slightly in the refrigerator, before cutting and layering.
- Chill Time is Your Friend: While this trifle can be served immediately, its flavors truly develop and deepen after a good chill. Aim for at least 4 hours of refrigeration before serving, or even better, prepare it the day before. This allows the cake to fully absorb the moistness from the cream and pudding, and the layers to set firmly, creating a more cohesive and delicious dessert.
- Gentle Mixing for Creamy Layers: When folding the Cool Whip and pudding into the cream cheese mixture, be gentle. Overmixing can deflate the air incorporated into the cream cheese, making the layers less light and fluffy. Use a spatula to fold until just combined.
- Presentation Matters: Since a trifle is all about visible layers, choose a clear glass trifle bowl or a large, clear serving bowl. This allows the beautiful red and white layers to be showcased, making it an attractive addition to any dessert table.
By following these simple professional tips, you’re well on your way to creating a Red Velvet Trifle that is not only incredibly delicious but also visually spectacular.
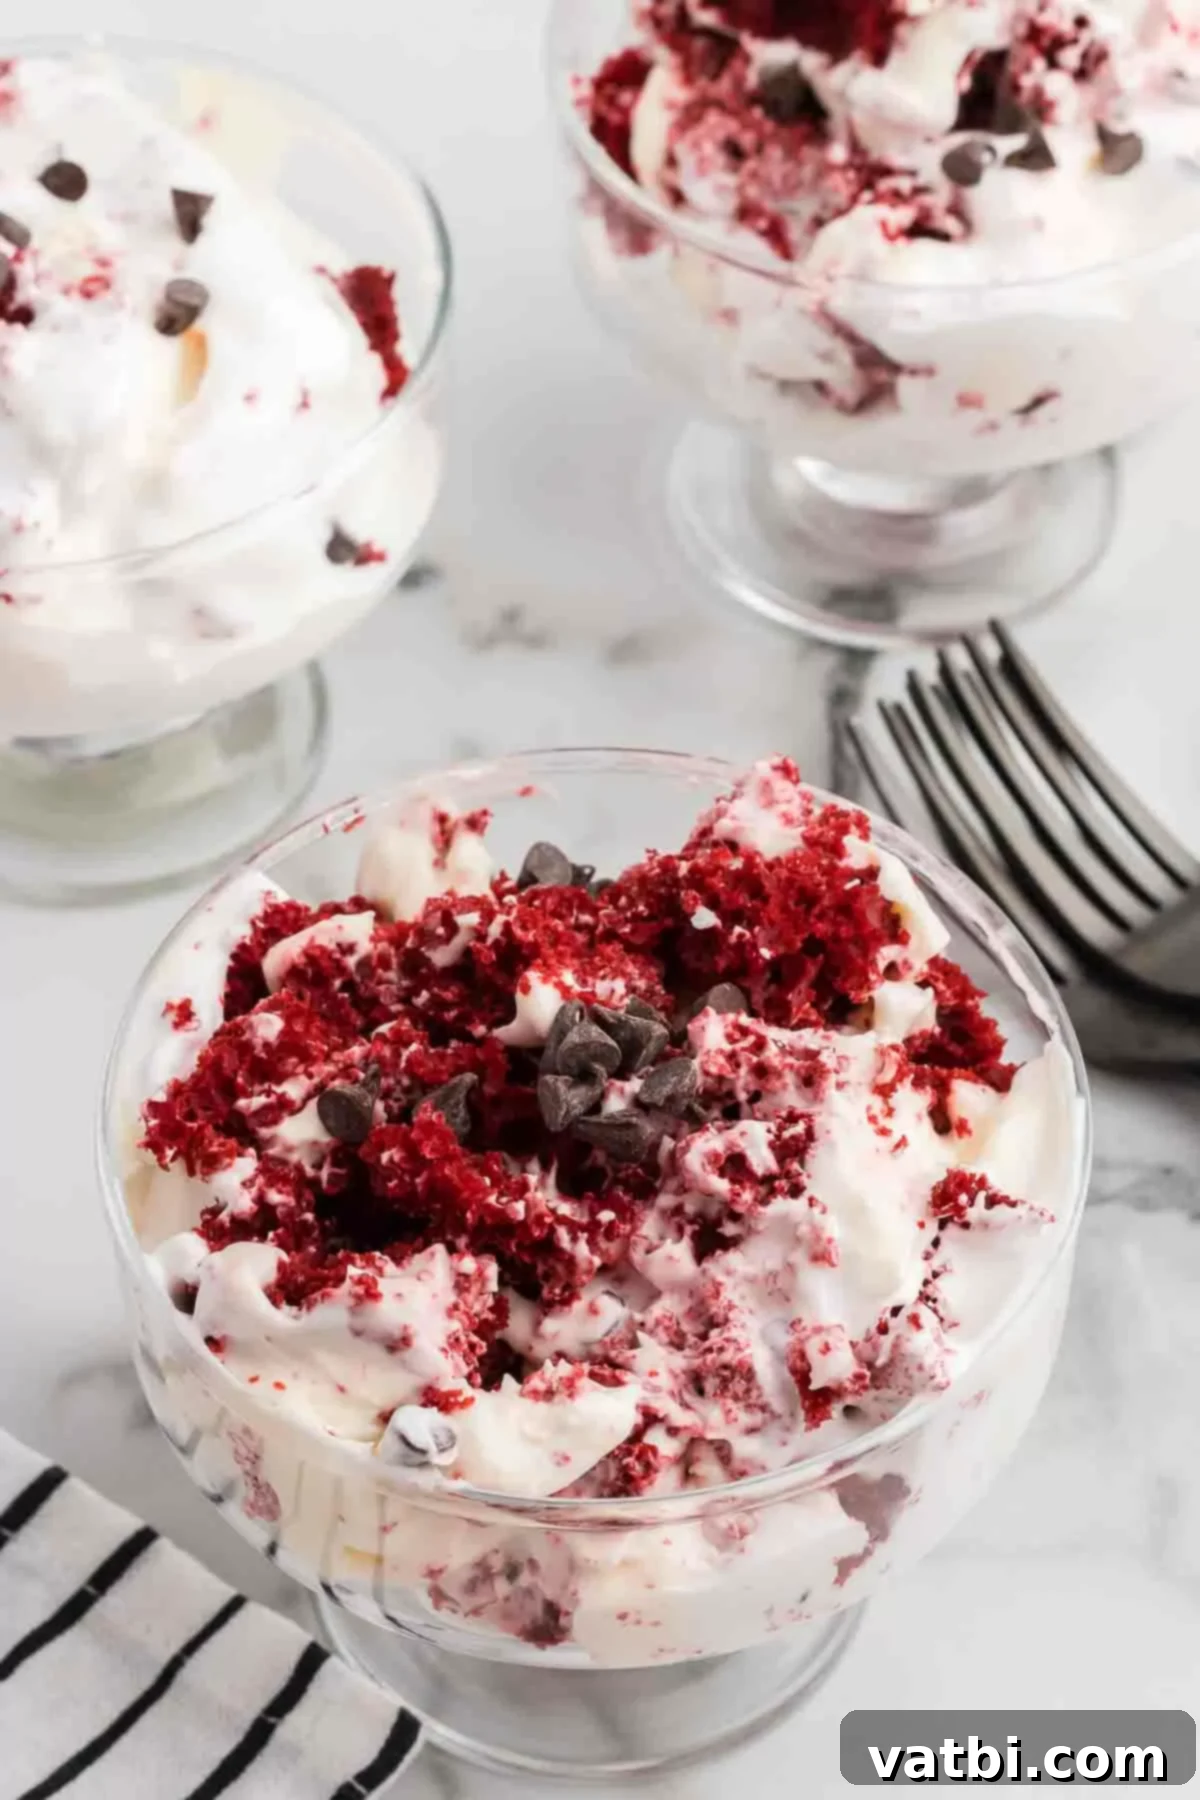
Explore More Delicious Red Velvet Dessert Recipes
If you’ve fallen in love with the delightful flavor of red velvet through this trifle, you’re in for a treat! The versatility of red velvet extends to many other incredible desserts. We encourage you to try some of our other cherished red velvet recipes to satisfy your cravings:
- Decadent Red Velvet Brownies: A chewy, fudgy twist on the classic cake.
- Easy Red Velvet Cookies Recipe: Simple yet stunning cookies, perfect for any occasion.
- Fun Red Velvet Cake Pops Recipe: Bite-sized delights that are always a hit at parties.
- The Best Red Velvet Funnel Cake Recipe: A carnival favorite with a rich red velvet twist.
- Sweet and Salty Red Velvet Popcorn: An unexpected but utterly addictive snack.
- Creamy Red Velvet Ice Cream: The perfect frozen treat for red velvet enthusiasts.
We hope this comprehensive guide inspires you to create your very own rich and luscious Red Velvet Trifle today. Its ease of preparation, stunning appearance, and irresistible flavor make it an absolute must-try. We’d love to hear about your experience! Please come back and leave a comment or share your magnificent creations with us. Happy baking!
Pin
Red Velvet Trifle
Ingredients
- 1 box Red Velvet Cake Mix
- *Ingredients to prepare the cake based on the package instructions.
- 2 boxes White Chocolate Pudding Mix 3.4 oz (or Cheesecake flavor)
- 2 cups Cold Milk
- 8 oz Cream Cheese softened at room temperature
- 1 cup Powdered Sugar
- 16 oz Cool Whip divided
- 1/2 cup Mini Chocolate Chips
Instructions
-
Prepare the red velvet cake based on the package instructions in a 9X13 pan and allow the cake to cool completely at room temperature. Then cut the cake into cubes. Reserve a small amount of the cake for the topping and crumble it to cake crumbs.
-
In a small bowl, combine the white chocolate pudding mix with the milk. Whisk for two minutes and set aside.
-
Place the cream cream cheese into a mixing bowl and beat the cream cheese with a hand held mixer for 2-3 minutes until light and fluffy. Reduce the speed to low and gradually add the powdered sugar. Once all of the sugar is incorporated, increase the speed to medium and beat for 1 minute, or until smooth.
-
Add the prepared pudding to the cream cheese mixture and gently fold and stir with a rubber spatula until completely combined.
-
Then add in 8 oz Cool Whip to the bowl and fold it into the mixture until no white streaks remain.
-
Place red velvet cake cubes in the bottom of a trifle dish or glass bowl. Add just enough to cover the bottom of the pan.
-
Drizzle the white chocolate mixture over the cake cubes. Making sure to cover the cake. Then continue to layer the ingredients in the glass dish until you have used all the ingredients.
