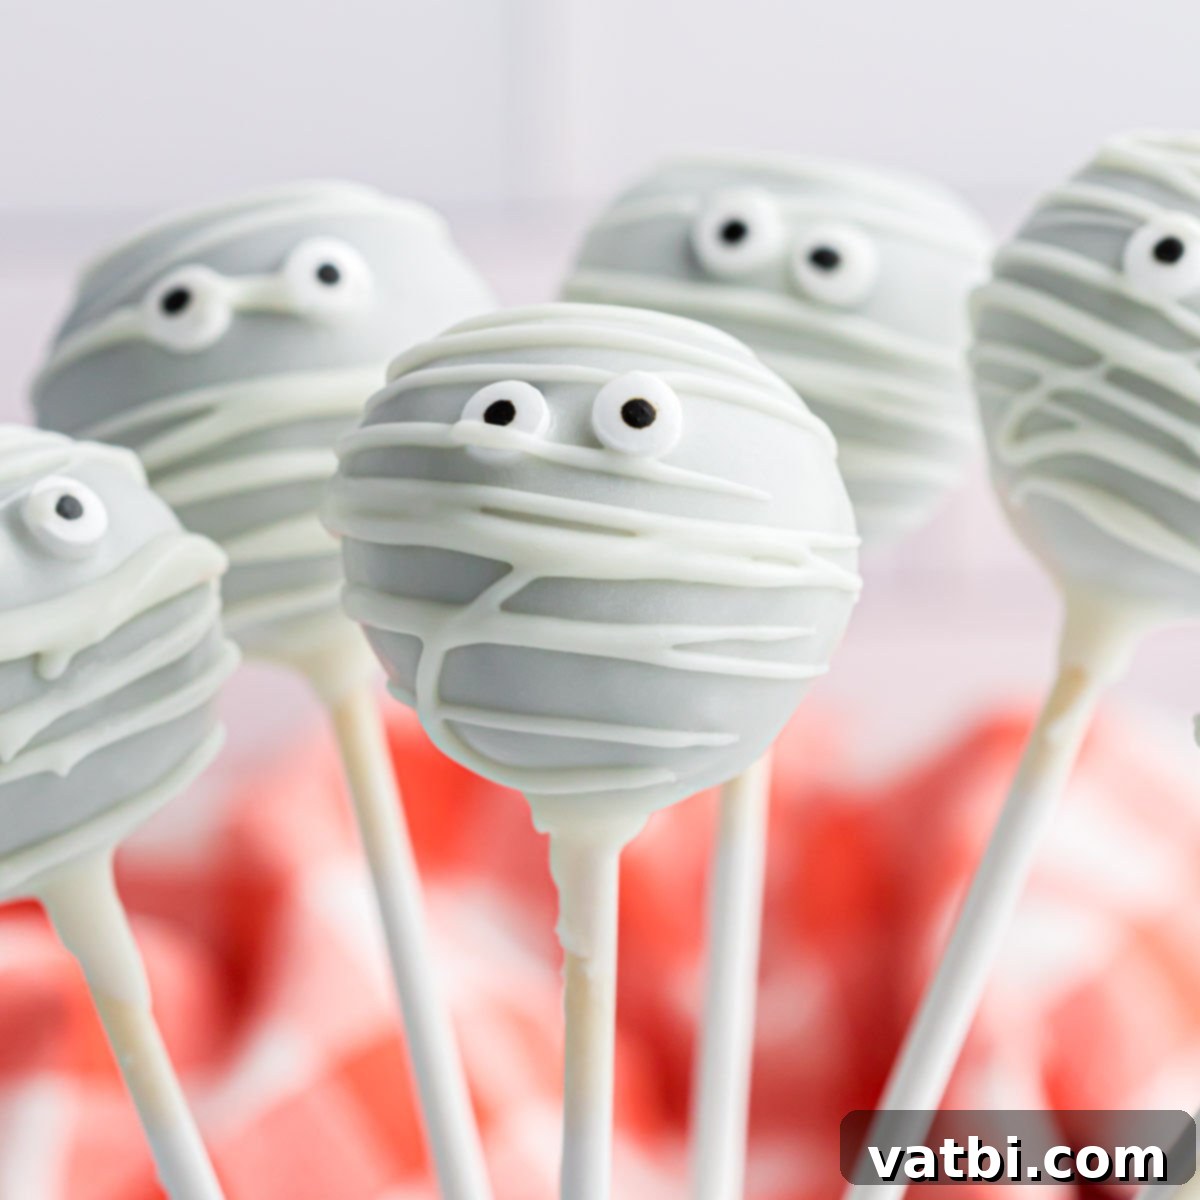
Spooktacularly Simple Mummy Cake Pops: The Ultimate Halloween Treat Guide
Get ready to wrap up some fun this Halloween with our incredibly easy Mummy Cake Pops recipe! These adorable, spooky treats are a guaranteed hit at any Halloween party, school event, or simply as a fun activity with the kids. Forget complicated baking – our recipe starts with a convenient cake mix, making the entire process surprisingly simple and enjoyable, even for the busiest of bakers. Whether you’re a seasoned chef or a beginner in the kitchen, these delightful cake pops will bring smiles and a touch of ghoulish charm to your festive celebrations. They’re not just delicious; they’re a creative canvas for candy eyeballs and chocolate drizzles, offering a perfect blend of taste and visual appeal that everyone will adore. This comprehensive guide will walk you through every step, from baking your cake to crafting the perfect mummy ‘bandages’, ensuring your Halloween treats are both memorable and deliciously spooky. Recreate these delightful Copycat Starbucks Mummy Cake Pops with minimal effort and maximum impact.
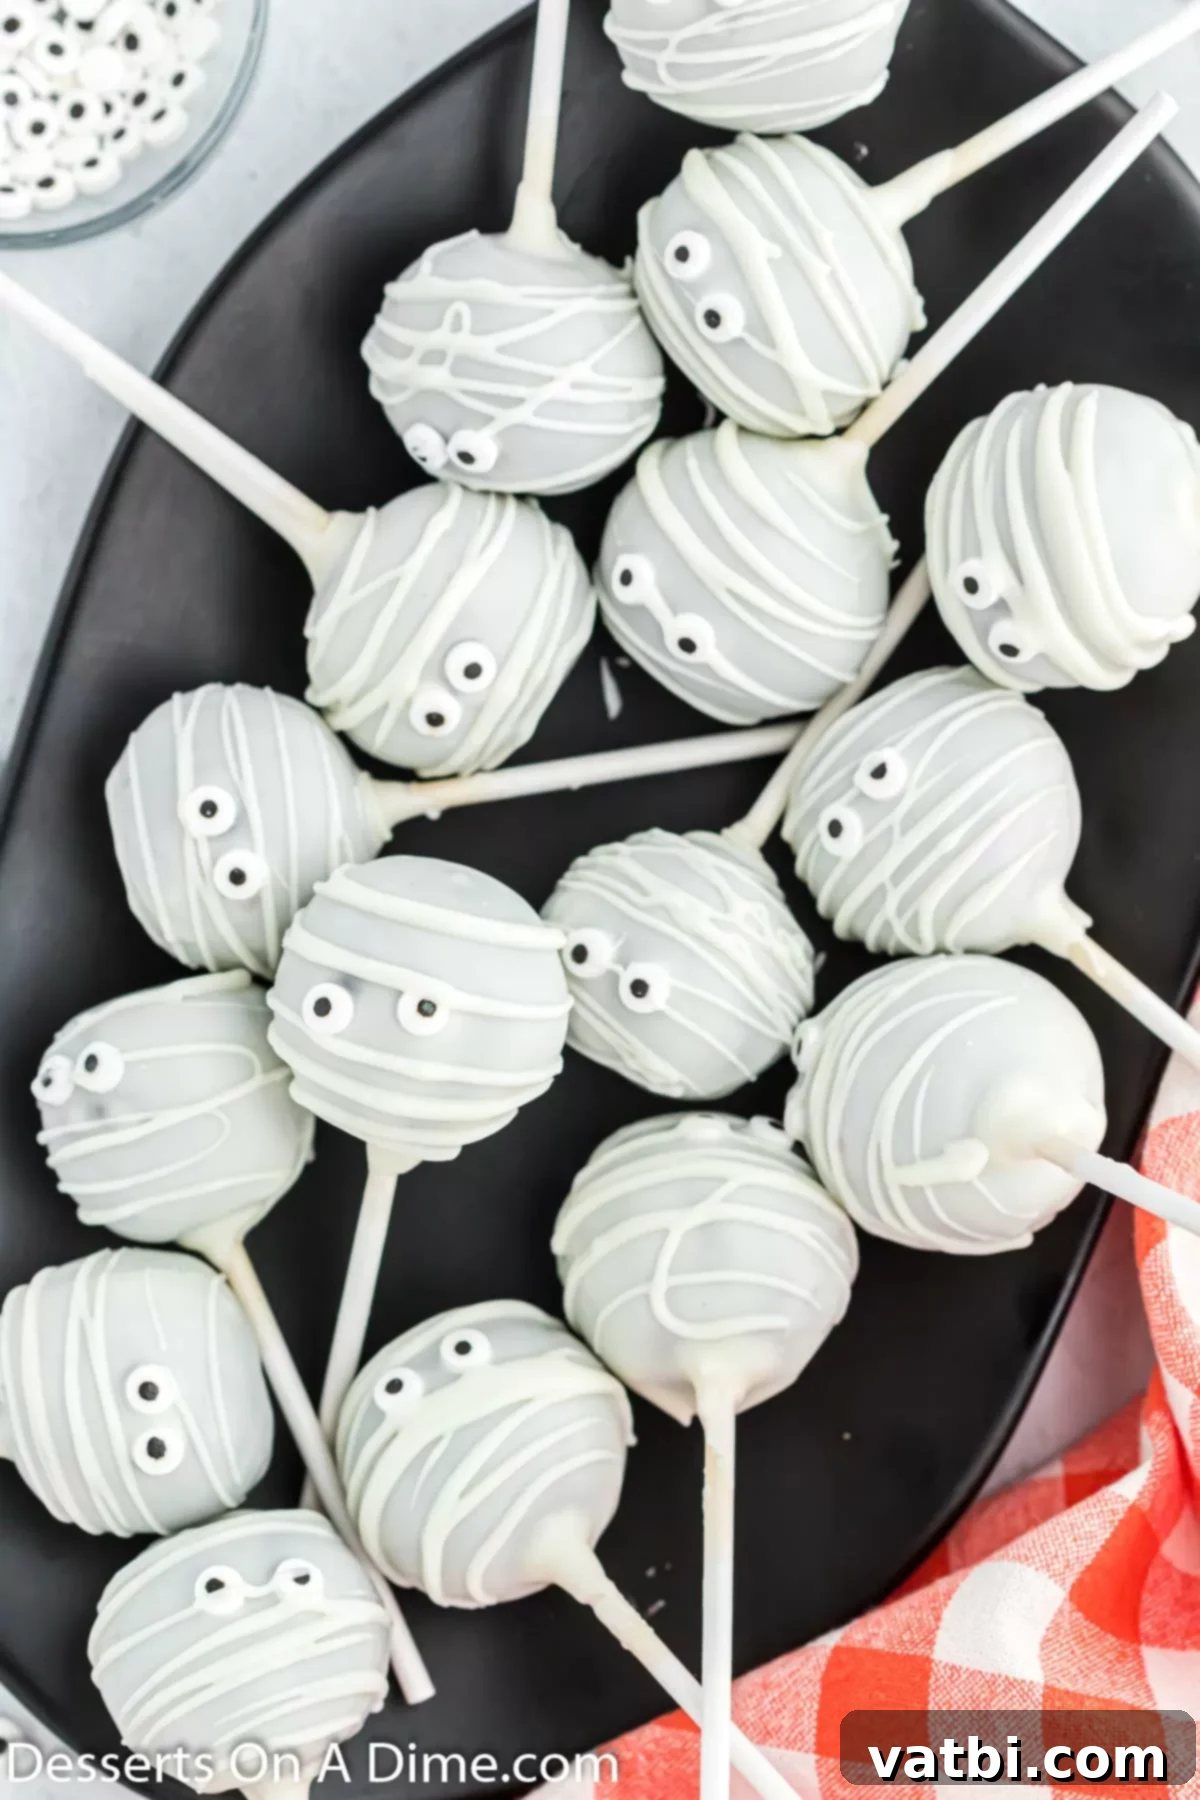
As a parent, I understand the need for quick, simple, and fun activities that bring joy without adding stress. That’s why this recipe for Mummy Cake Pops is a true winner. It leverages pre-packaged cake mix and store-bought frosting, combining them effortlessly to create a delightful dessert that looks impressive but is remarkably easy to assemble. Just like our popular Halloween Popcorn, these cake pops are designed for ease and maximum enjoyment.
Children absolutely adore the candy eyeballs and thoroughly enjoy assisting with the chocolate drizzling, which makes these a fantastic hands-on project for the whole family. They are consistently one of the most requested Halloween Treats we make year after year, and for good reason! They combine the rich flavor of chocolate cake with a fun, festive Halloween theme that appeals to all ages. Get ready to create some spooky magic in your kitchen!
What’s in this post: Easy Mummy Cake Pops Recipe
- Why You’ll Love These Mummy Cake Pops
- Ingredients
- Variations
- How to Make Mummy Cake Pops
- Storage
- Pro Tips for Perfect Cake Pops
- More Halloween Treats
- Mummy Cake Pops Recipe
Why You’ll Love These Mummy Cake Pops
These Mummy Cake Pops aren’t just another Halloween treat; they’re a delightful blend of simplicity, fun, and deliciousness. Here’s why they’re sure to become a yearly tradition:
- Effortlessly Easy: Starting with a cake mix and pre-made frosting drastically cuts down on prep time, making this a perfect project for busy parents or beginner bakers. You don’t need to be a pastry chef to create professional-looking and tasting treats.
- Kid-Friendly Fun: Children absolutely adore adding the candy eyeballs and helping with the chocolate drizzles. It’s an engaging, hands-on activity that creates lasting Halloween memories and helps foster a love for baking.
- Perfect Party Pleaser: Adorable and portion-controlled, these cake pops are ideal for Halloween parties, school events, or trick-or-treat gatherings. They’re easy to eat, require no extra plates, and are always a conversation starter.
- Customizable: With options for different cake flavors, frosting types, and candy melt colors, you can personalize your mummy army to suit any taste or theme, making each batch unique.
- Spooktacularly Delicious: Beyond their charming appearance, these cake pops are moist, rich, and utterly irresistible, combining the best of cake and candy in one bite-sized package that everyone will crave.
Ingredients for Mummy Cake Pops
Crafting these adorable mummy cake pops requires just a handful of simple ingredients, many of which you might already have in your pantry. The beauty of this recipe lies in its accessible components, making it easy to whip up a batch of spooky delights without a trip to a specialty store.
- Chocolate Cake Mix. The foundation of our delicious Mummy Cake Pops, a standard 15 oz box of chocolate cake mix provides the perfect shortcut to a moist and flavorful base. Feel free to use any brand you like; any good quality mix will do the trick, saving you precious time and effort without compromising on taste. Remember to also have the additional ingredients required on the back of the cake mix box (usually eggs, oil, and water).
- Chocolate Fudge Frosting. This store-bought convenience is key to achieving that rich, decadent cake pop consistency. It binds the crumbled cake together, adding moisture and a burst of chocolate flavor that perfectly complements the cake mix. Using pre-made frosting means no extra mixing or fuss.
- Almond Bark. Essential for the smooth, professional-looking coating on your cake pops. Almond bark (or candy melts) melts beautifully and sets quickly, creating a crisp shell that holds its shape. It’s often preferred over pure chocolate for its ease of use and smooth, non-seizing finish.
- Candy Eye Balls. These whimsical candy decorations are what truly bring your mummies to life! Found in most baking aisles, they’re a must-have for giving your cake pops that adorable, slightly eerie gaze. They are readily available during the Halloween season.
- Lollipop Sticks. The classic vessel for cake pops, these sticks make dipping easy and transform your cake balls into individual, handheld delights, perfect for serving at parties. They also ensure a clean eating experience for your guests.
For a detailed list of exact measurements and quantities, please refer to the comprehensive recipe card located at the bottom of this post.
Creative Variations for Your Mummy Cake Pops
While the classic chocolate mummy cake pop is fantastic, there are many ways to customize this recipe to your taste or party theme. Don’t be afraid to experiment and make these treats uniquely yours!
- White chocolate. For a striking visual contrast, consider using white chocolate almond bark or white candy melts for both the primary coating and the mummy wrappings. This creates a more traditional ‘bandaged’ look against the dark chocolate cake. You can also tint the white chocolate with food coloring to create vibrant, ghostly hues – imagine green or purple mummies! Using a pastry bag with a fine tip for drizzling the wrappings can give you more control for a more intricate, delicate mummy bandaging effect.
- Candy Melts. Beyond almond bark, candy melts come in a rainbow of colors, opening up endless creative possibilities. Green for a Frankenstein-inspired monster, orange for mini pumpkins, or even a mix of colors for a truly whimsical mummy crew. They’re just as easy to melt and work with as almond bark, offering a quick way to add a splash of color.
- Vanilla Cake and Vanilla Frosting. For those who prefer a lighter flavor profile, swapping chocolate cake mix and fudge frosting for vanilla counterparts is an excellent option. This creates a classic vanilla cake pop, which can still be decorated as mummies with white or colored candy melts, offering a different but equally delicious experience. The vanilla base allows other flavors to shine through.
- Flavor Extracts. Consider adding a few drops of peppermint, almond, or even orange extract to your cake mix batter (before baking) or to your frosting (before mixing with cake crumbs) for an extra layer of flavor. A hint of orange extract in a chocolate cake can be particularly festive and seasonal for Halloween!
- Different Cake Mix Flavors. Don’t limit yourself to just chocolate or vanilla. Spice cake, red velvet, or even pumpkin spice cake mixes can make unique and incredibly delicious mummy cake pops, especially fitting for fall and Halloween themes. Imagine a warm, spiced cake pop peeking through those white mummy wrappings!
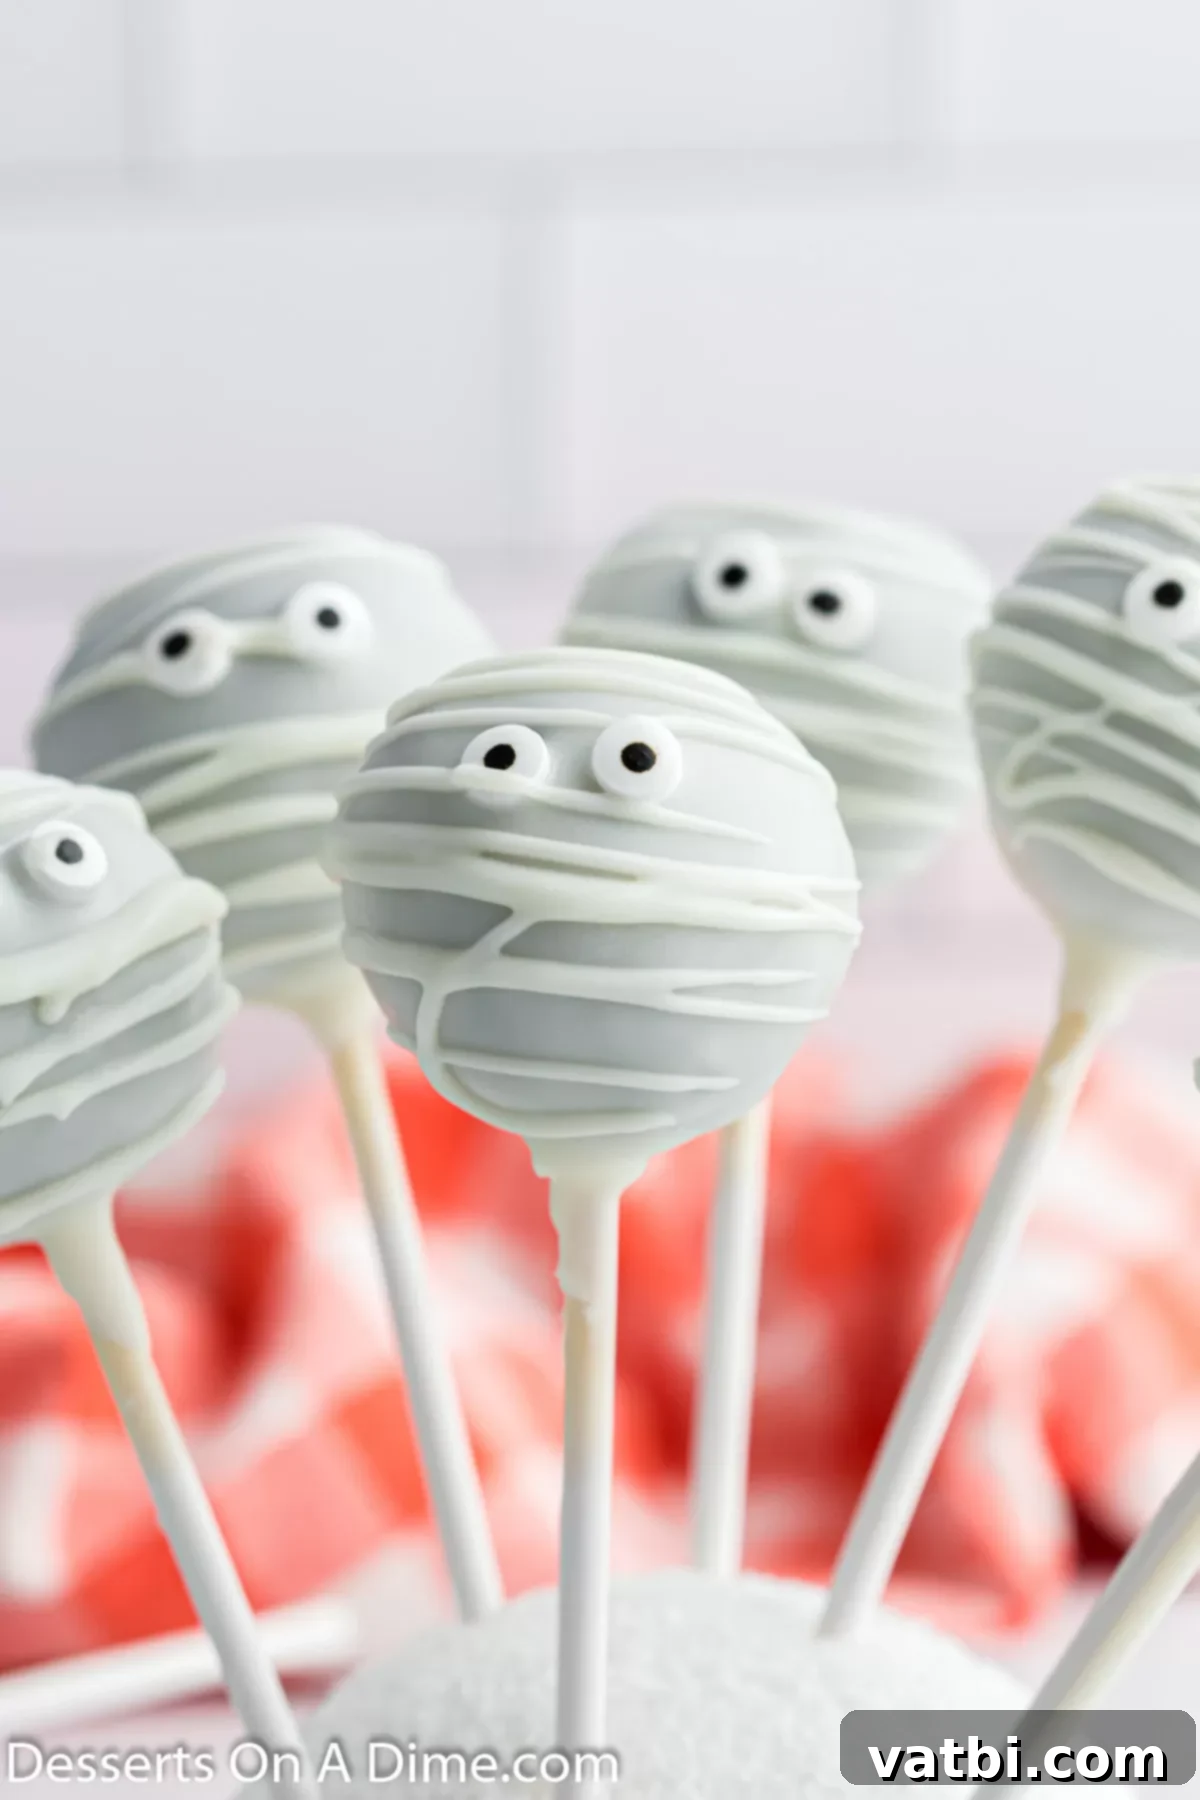
How to Make Mummy Cake Pops: A Step-by-Step Guide
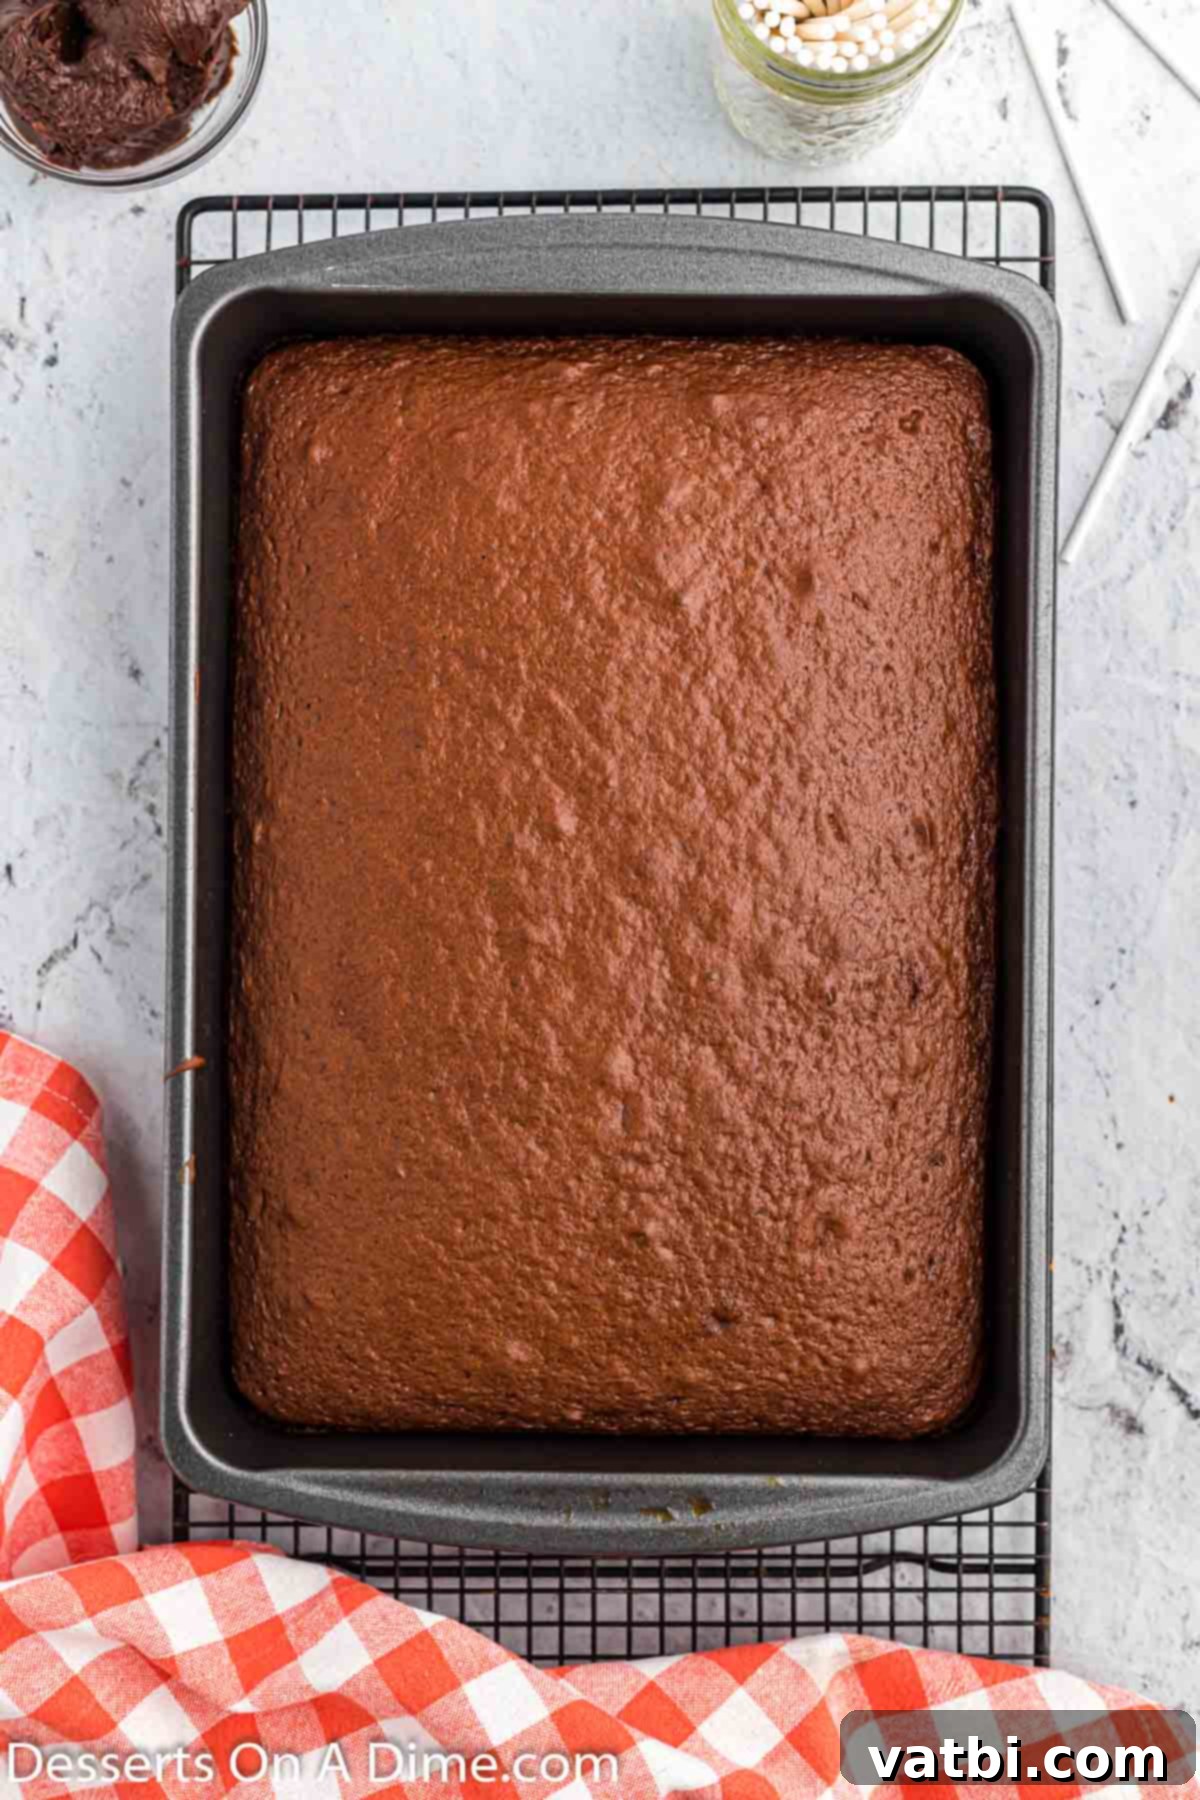
Step 1: Bake and Cool the Cake. Prepare the chocolate cake according to the directions on the box, using a 9X13 inch baking pan. Precision isn’t overly critical here, as the cake will be crumbled, but ensuring it’s fully cooked is important. Allow the cake to cool completely at room temperature. Rushing this step can lead to a messy crumble and cake pops that don’t hold their shape well, so patience is key for the best results.
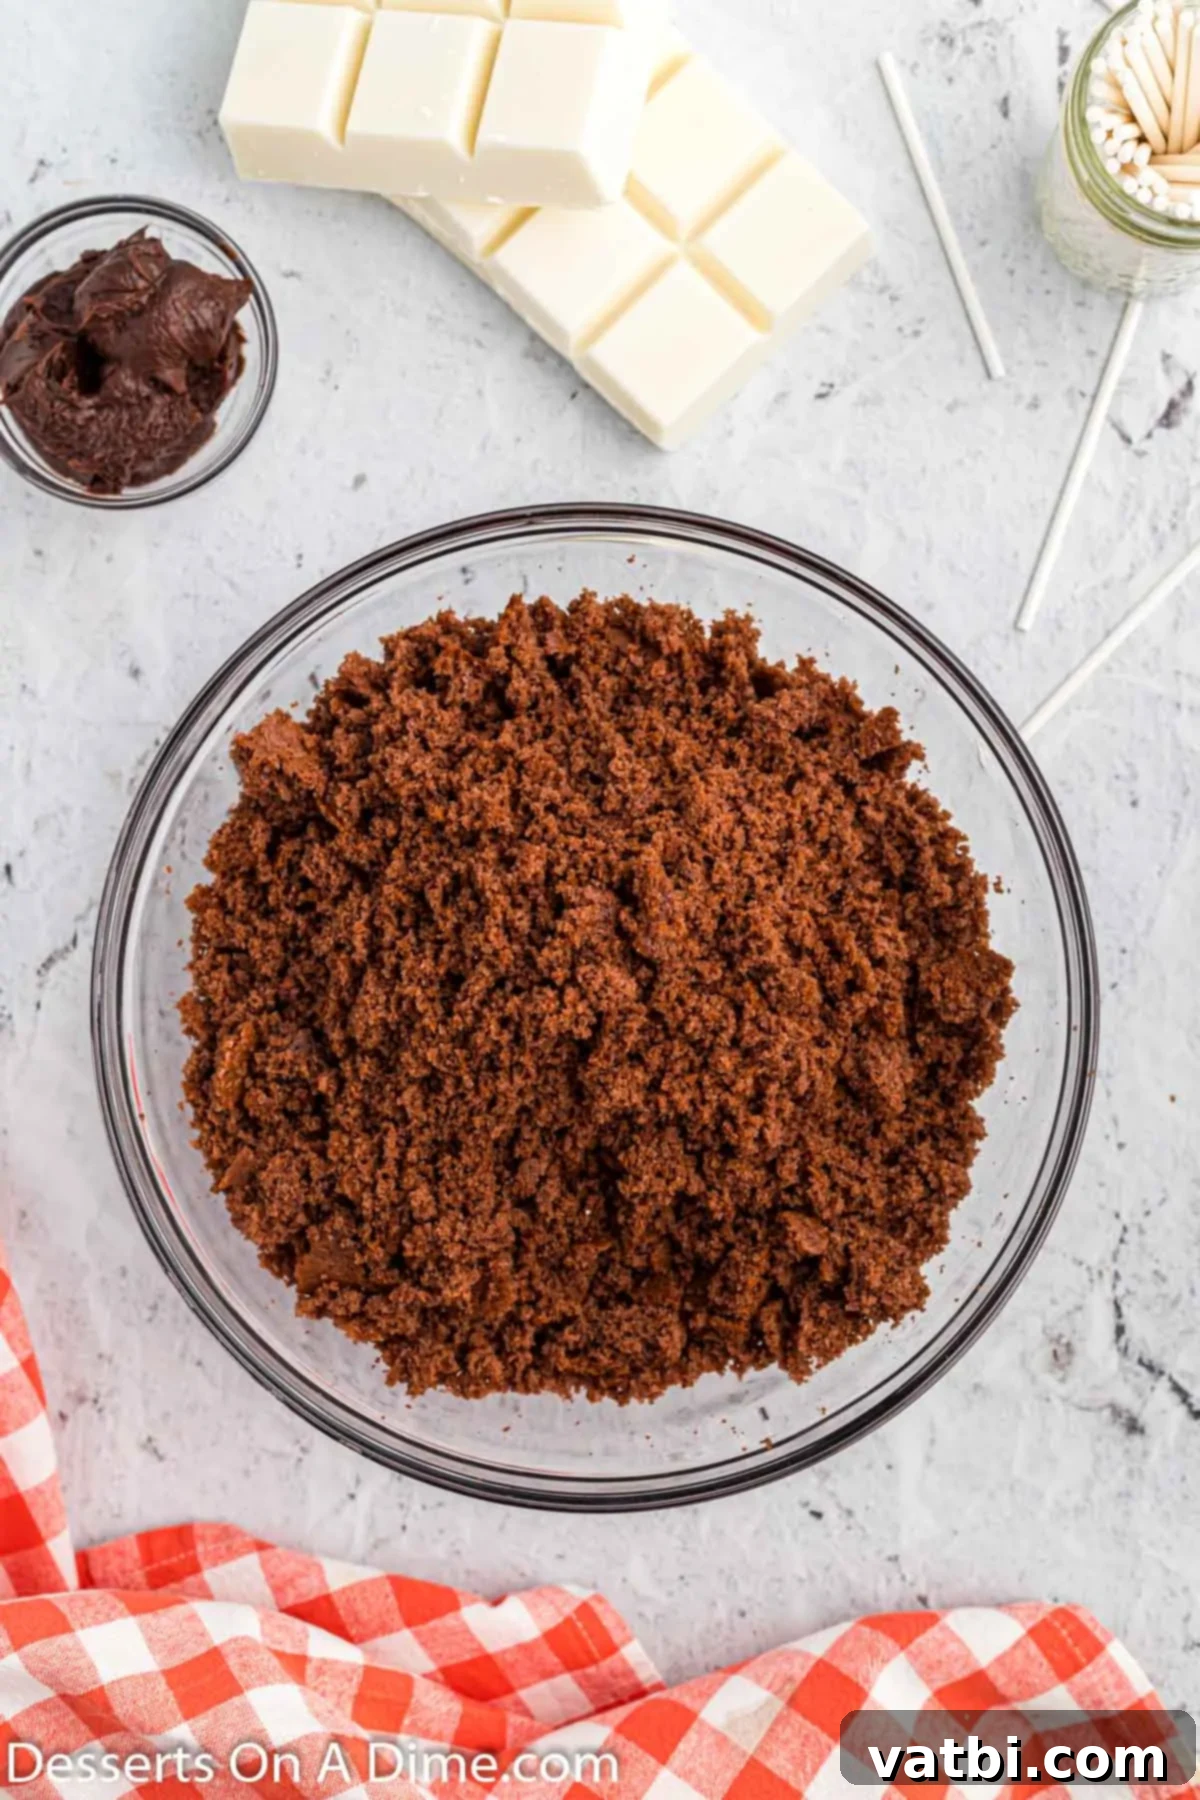
Step 2: Crumble the Cake. Once cooled, carefully remove the cake from the pan. Discard the slightly tougher, darker outer crust of the cake – we want only the soft, moist interior for our cake pops. Break the rest of the cake into fine, uniform pieces using your hands. The finer the crumble, the smoother your cake pops will be. Place these crumbled pieces in a spacious mixing bowl.
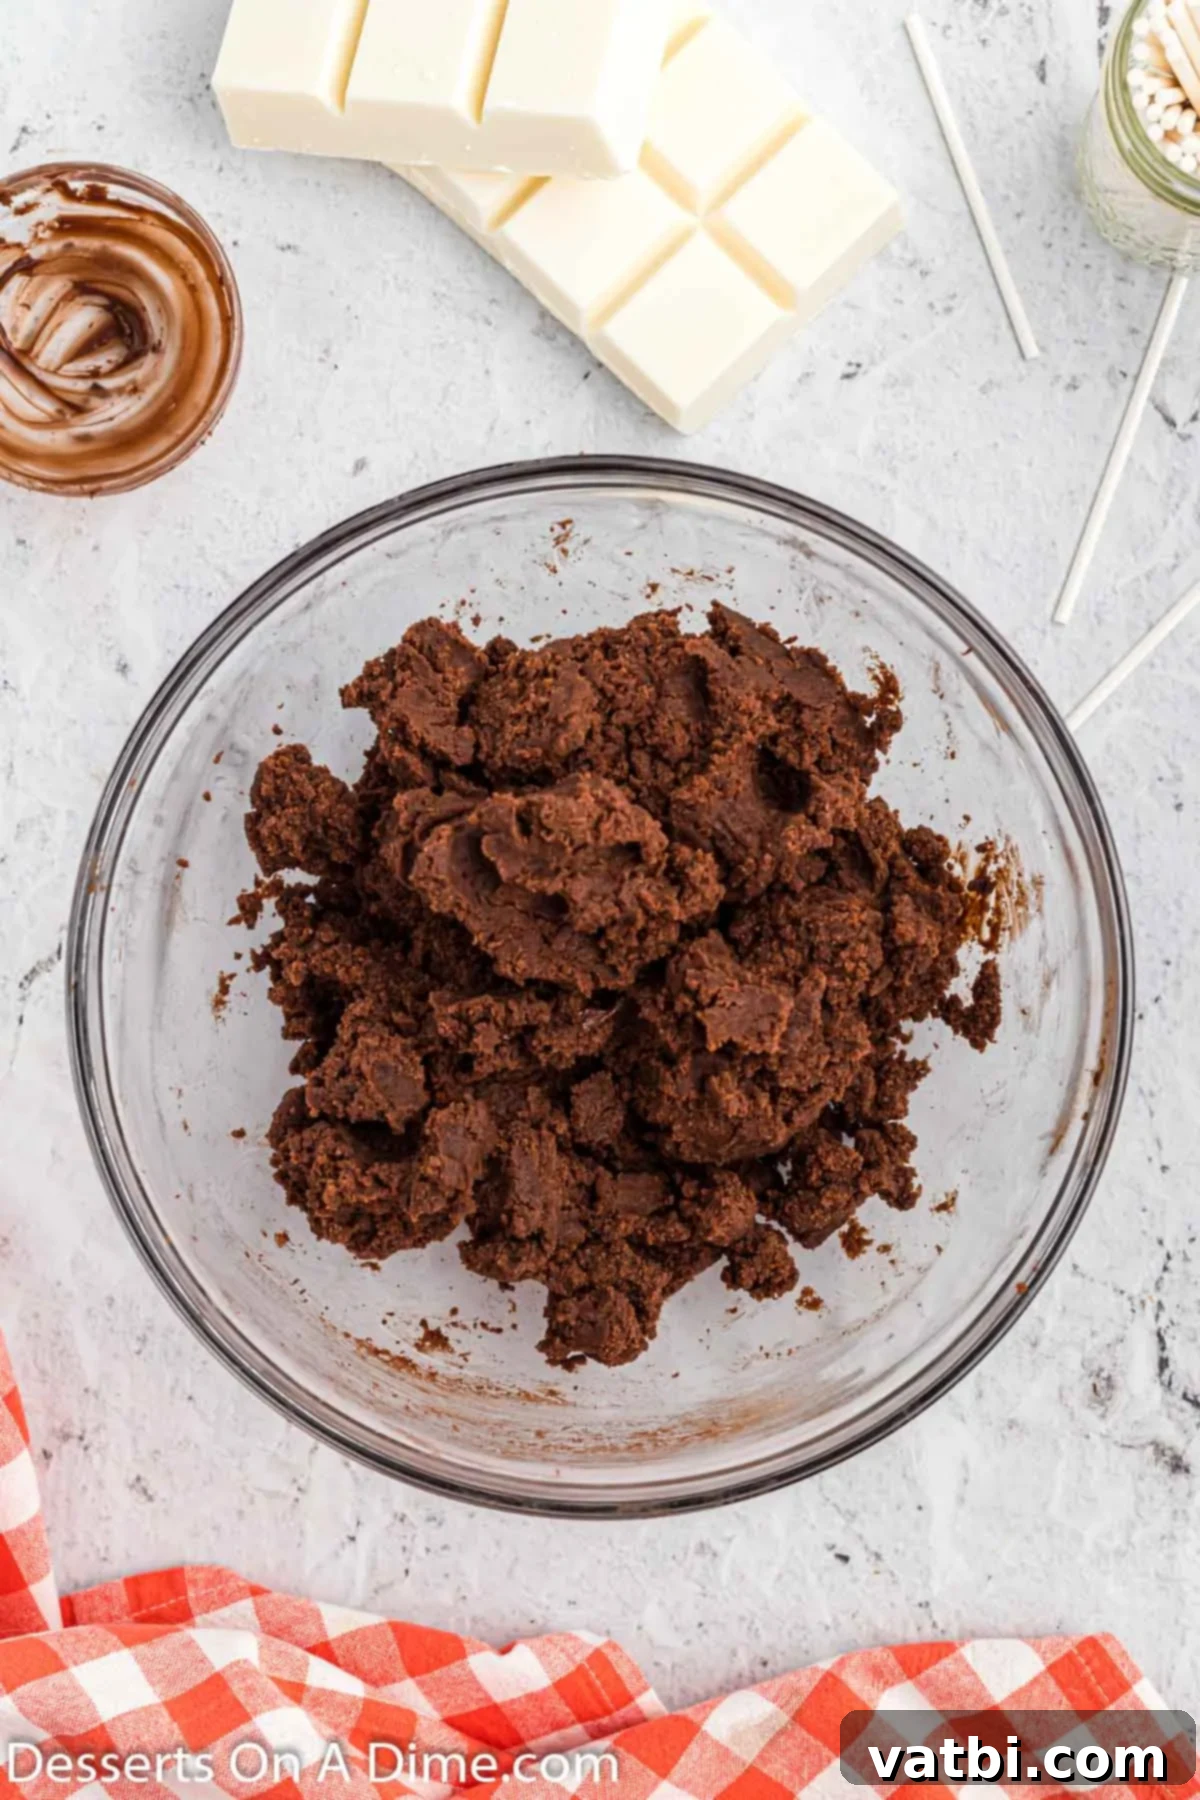
Step 3: Combine Cake and Frosting. Add the chocolate fudge frosting to your crumbled cake. Using a sturdy spoon or clean hands (it’s a fun, slightly messy step!), mix the cake and frosting until they are thoroughly incorporated and form a thick, dough-like consistency. The mixture should be pliable enough to roll into balls without being overly sticky or dry.
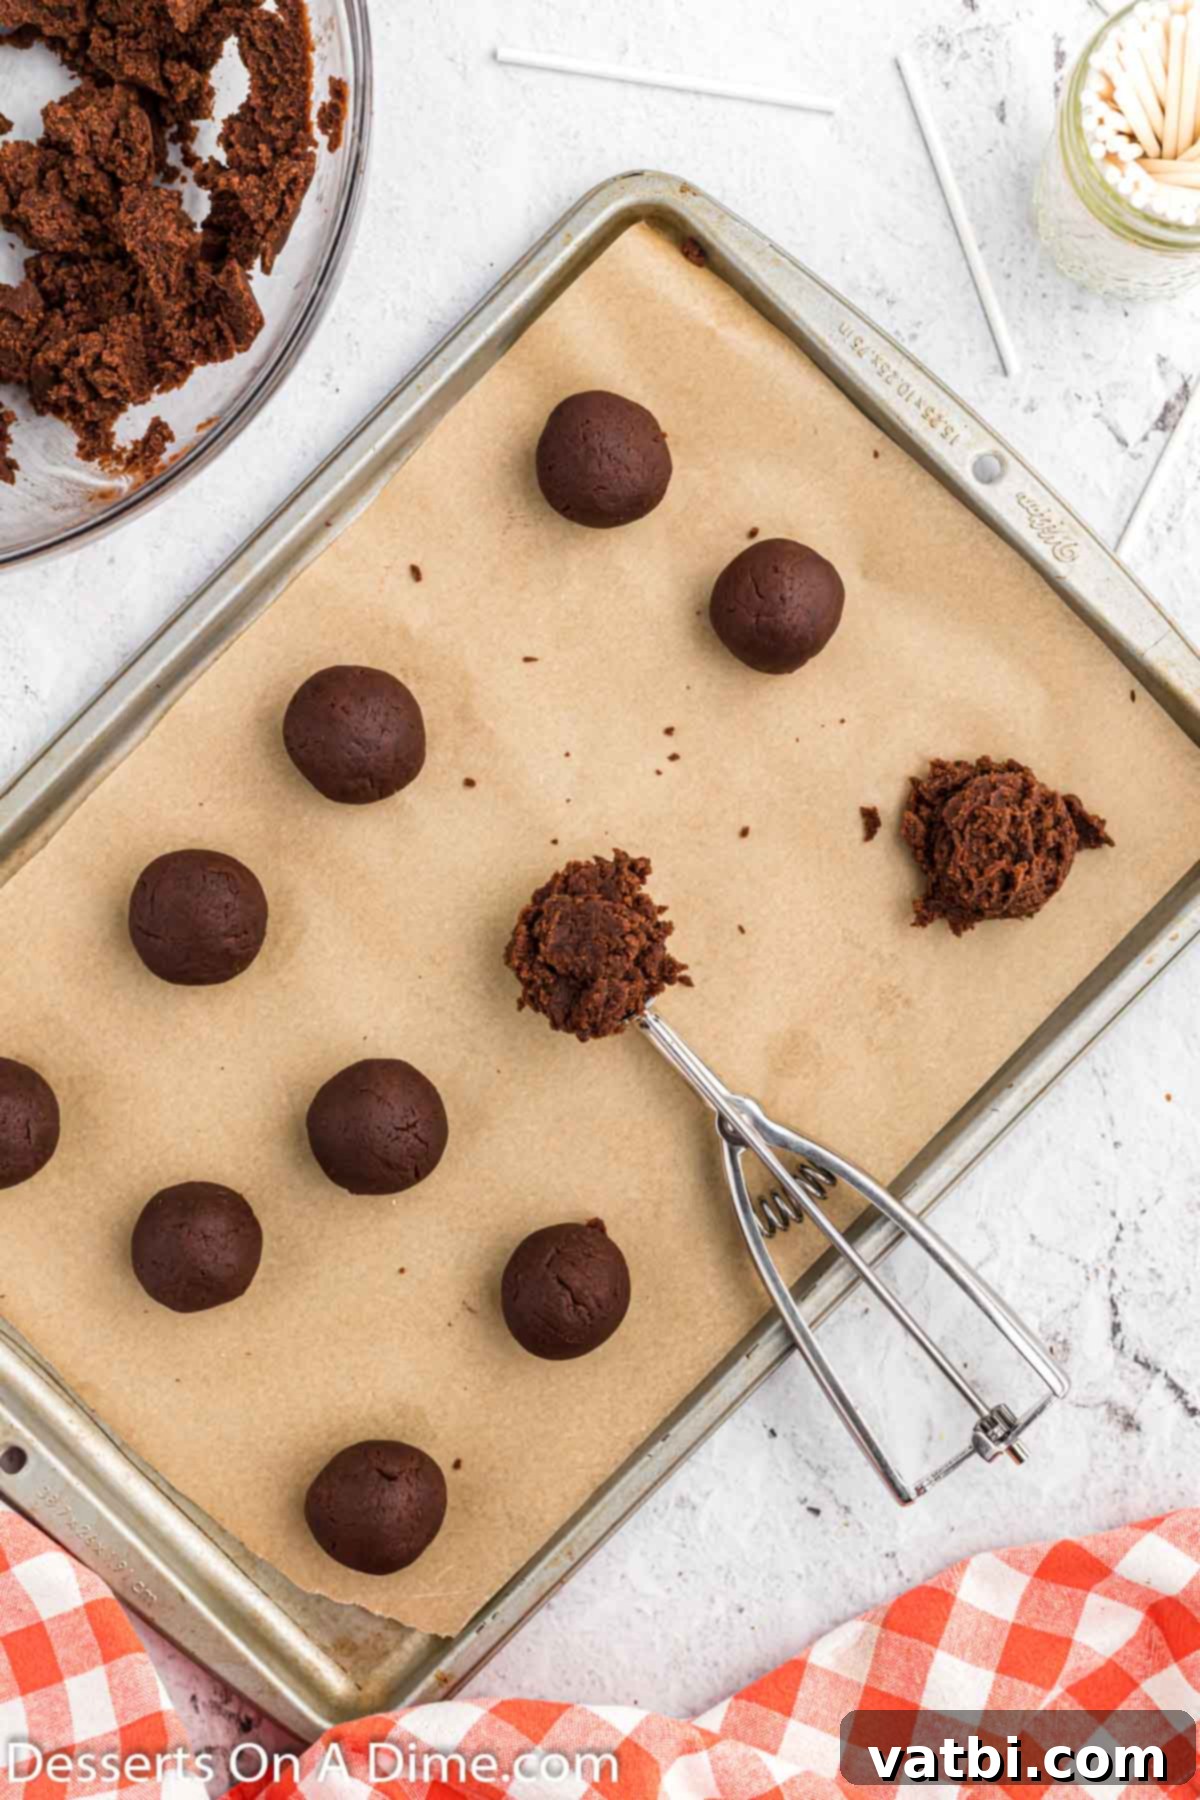
Step 4: Form Cake Balls and Chill. Scoop out portions of the cake mixture and roll them into smooth, round balls, approximately 1 to 1.5 inches in diameter. A cookie scoop can help ensure consistent sizing. Place these cake balls on a cookie sheet covered with parchment paper. Place the entire tray into the freezer for 10-15 minutes (do not freeze for longer than 15 minutes) to firm them up.
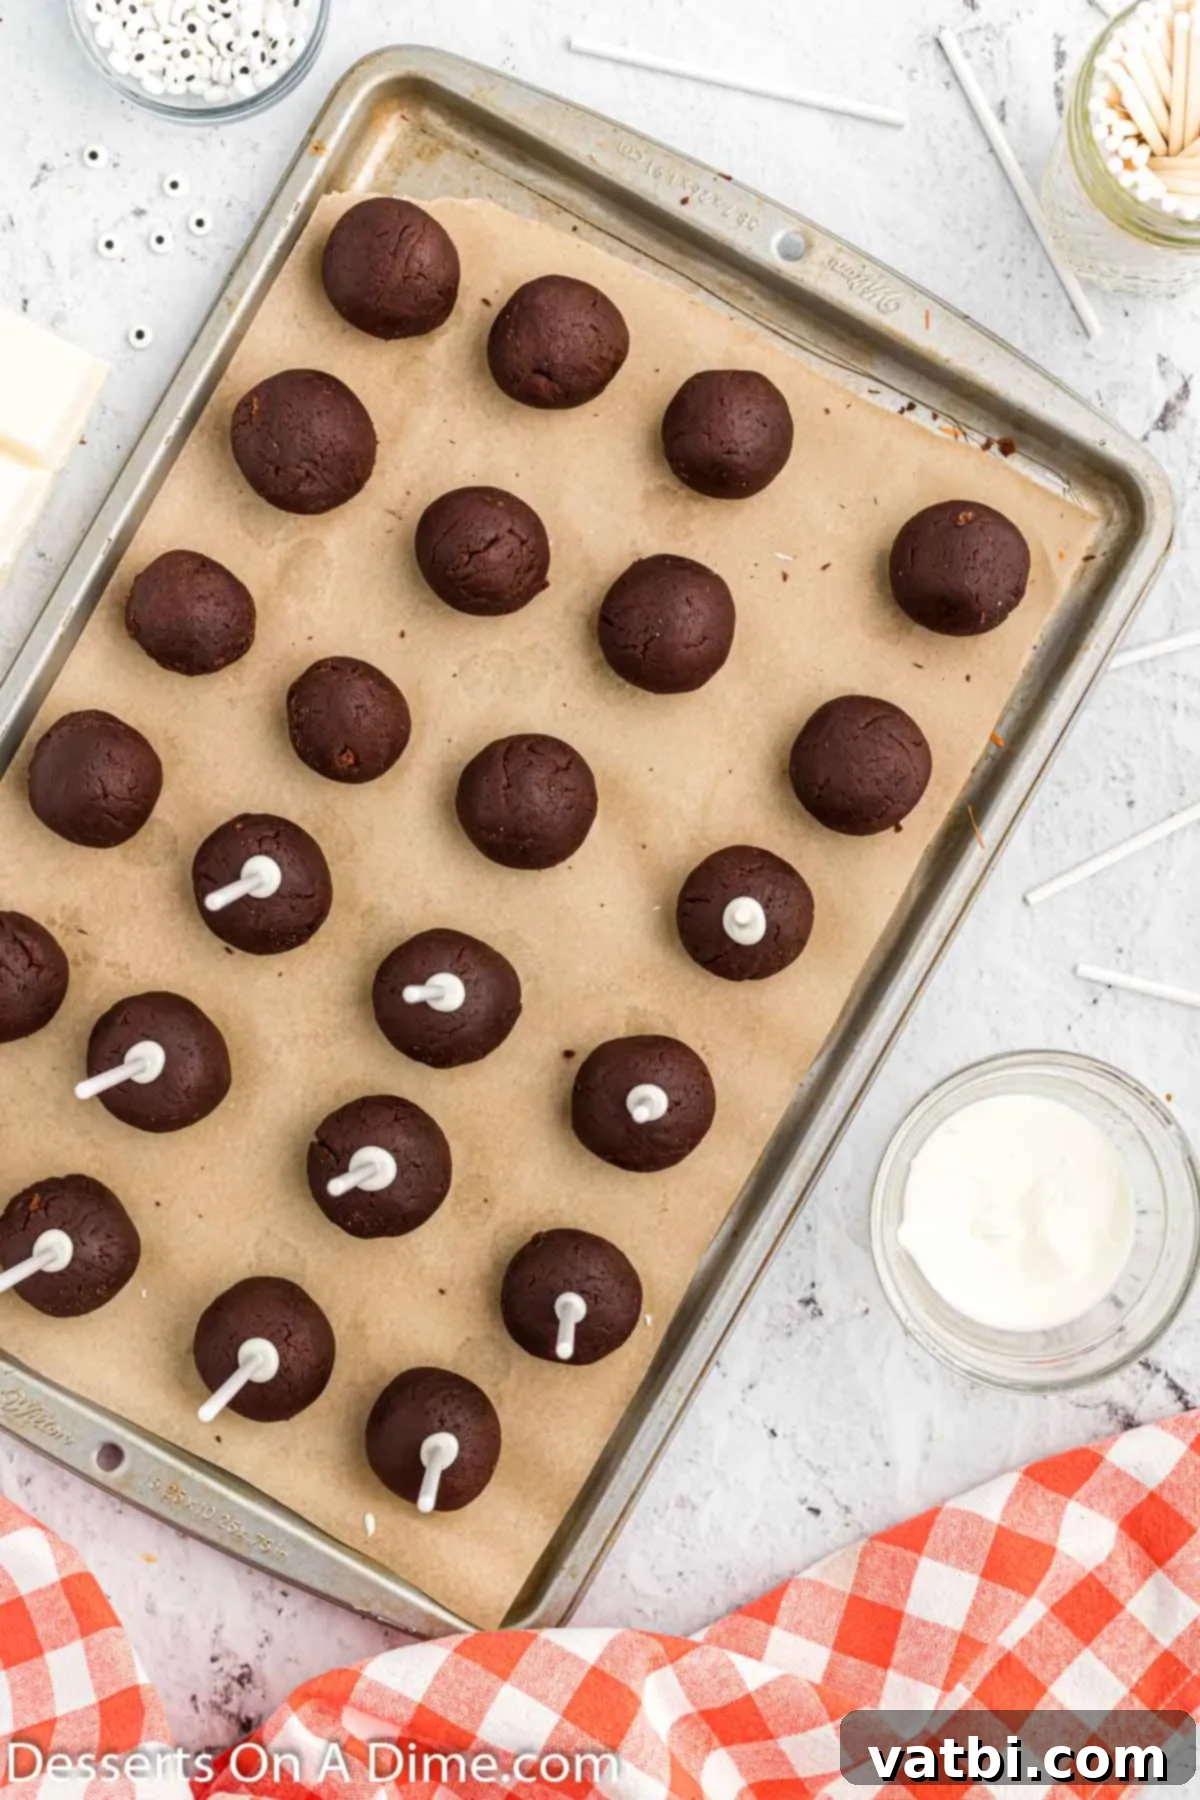
Step 5: Prepare for Dipping. While your cake balls are chilling, melt the almond bark. Chop the almond bark into smaller pieces and place it in a microwave-safe bowl. Microwave for 30-second intervals, stirring thoroughly after each, until melted and smooth. Dip the tip of each lollipop stick into the melted almond bark, then insert the stick about halfway into each chilled cake ball. Return them to the freezer for another 10-15 minutes to allow the almond bark ‘glue’ to set firmly.
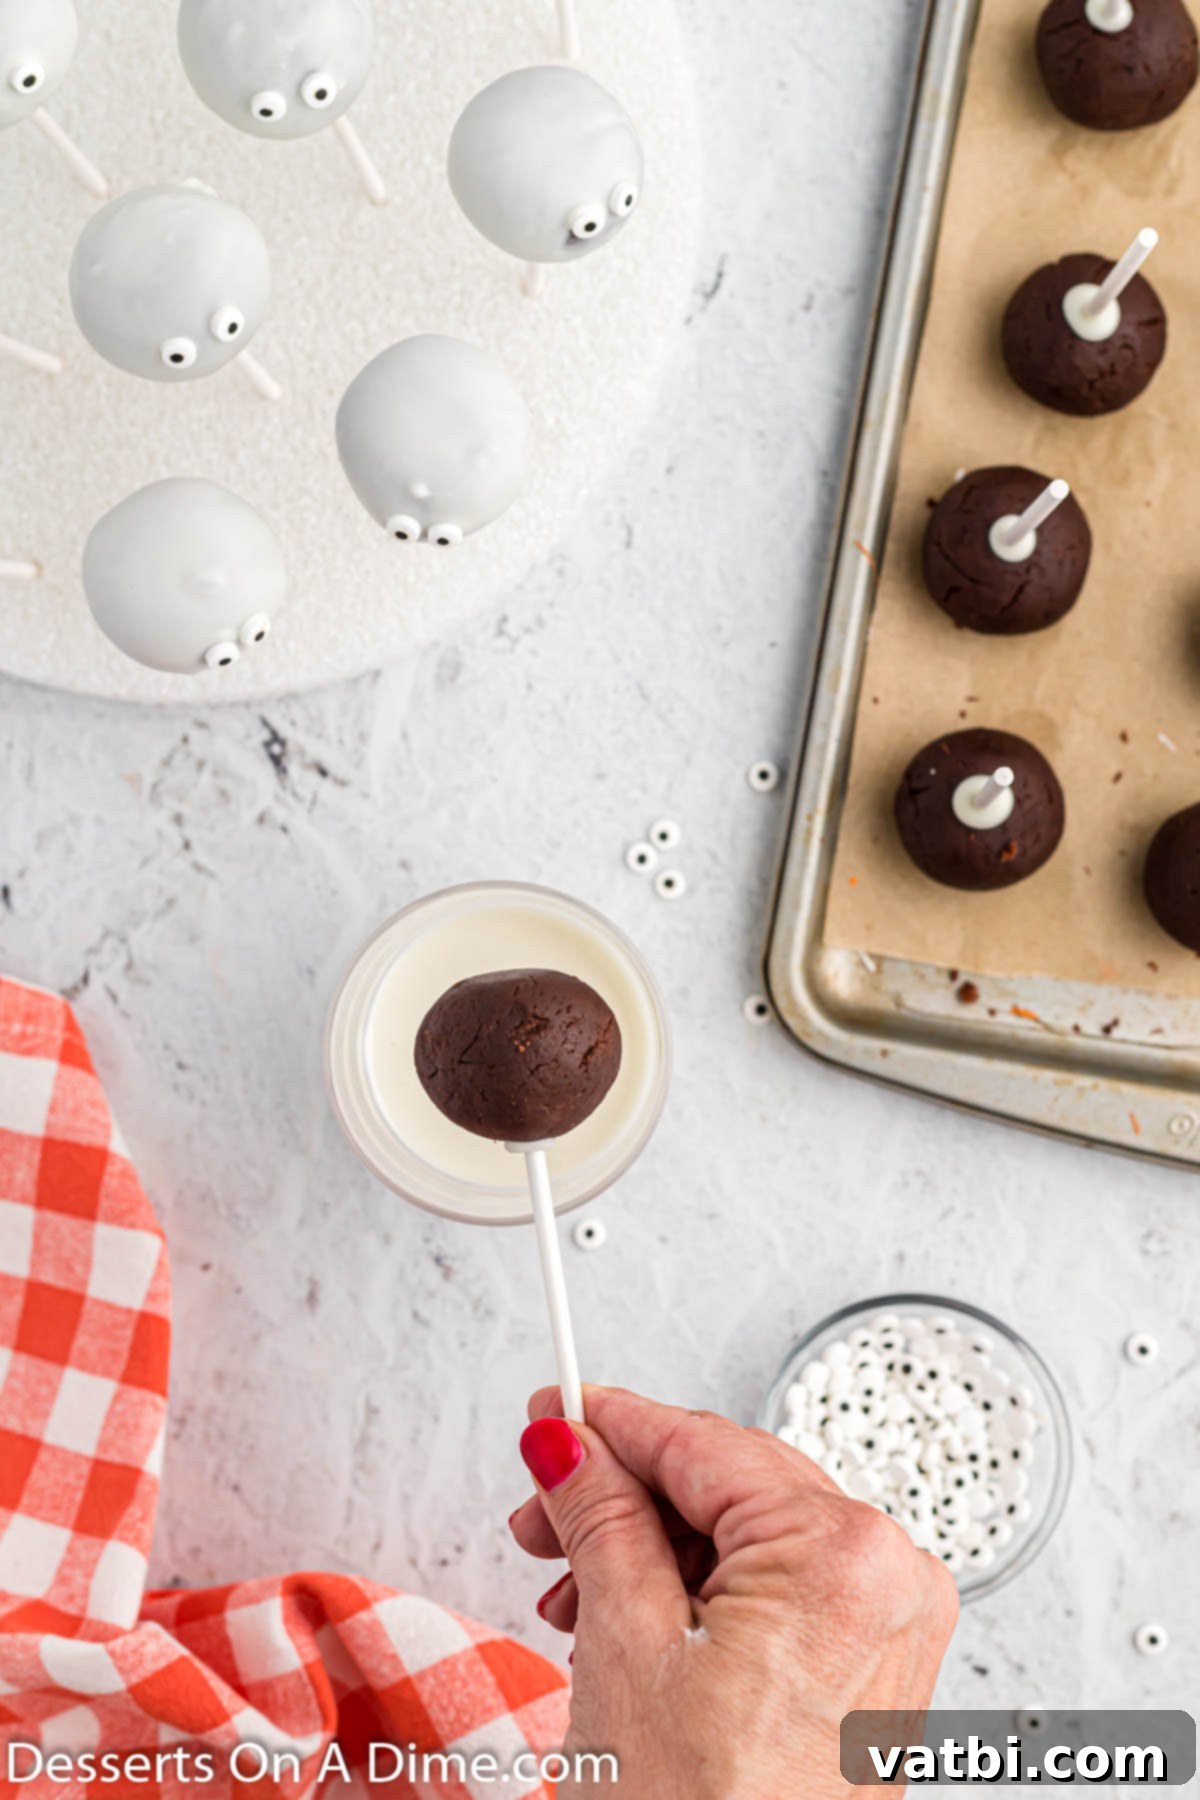
Step 6: Dip the Cake Pops. Once the cake pops have been sufficiently cooled and the sticks are secure, remove them from the freezer. One by one, dip each cake pop into the melted almond bark, ensuring it’s fully coated. Gently tap the stick against the edge of the bowl to remove any excess chocolate, allowing it to drip back into the bowl for a smooth finish.
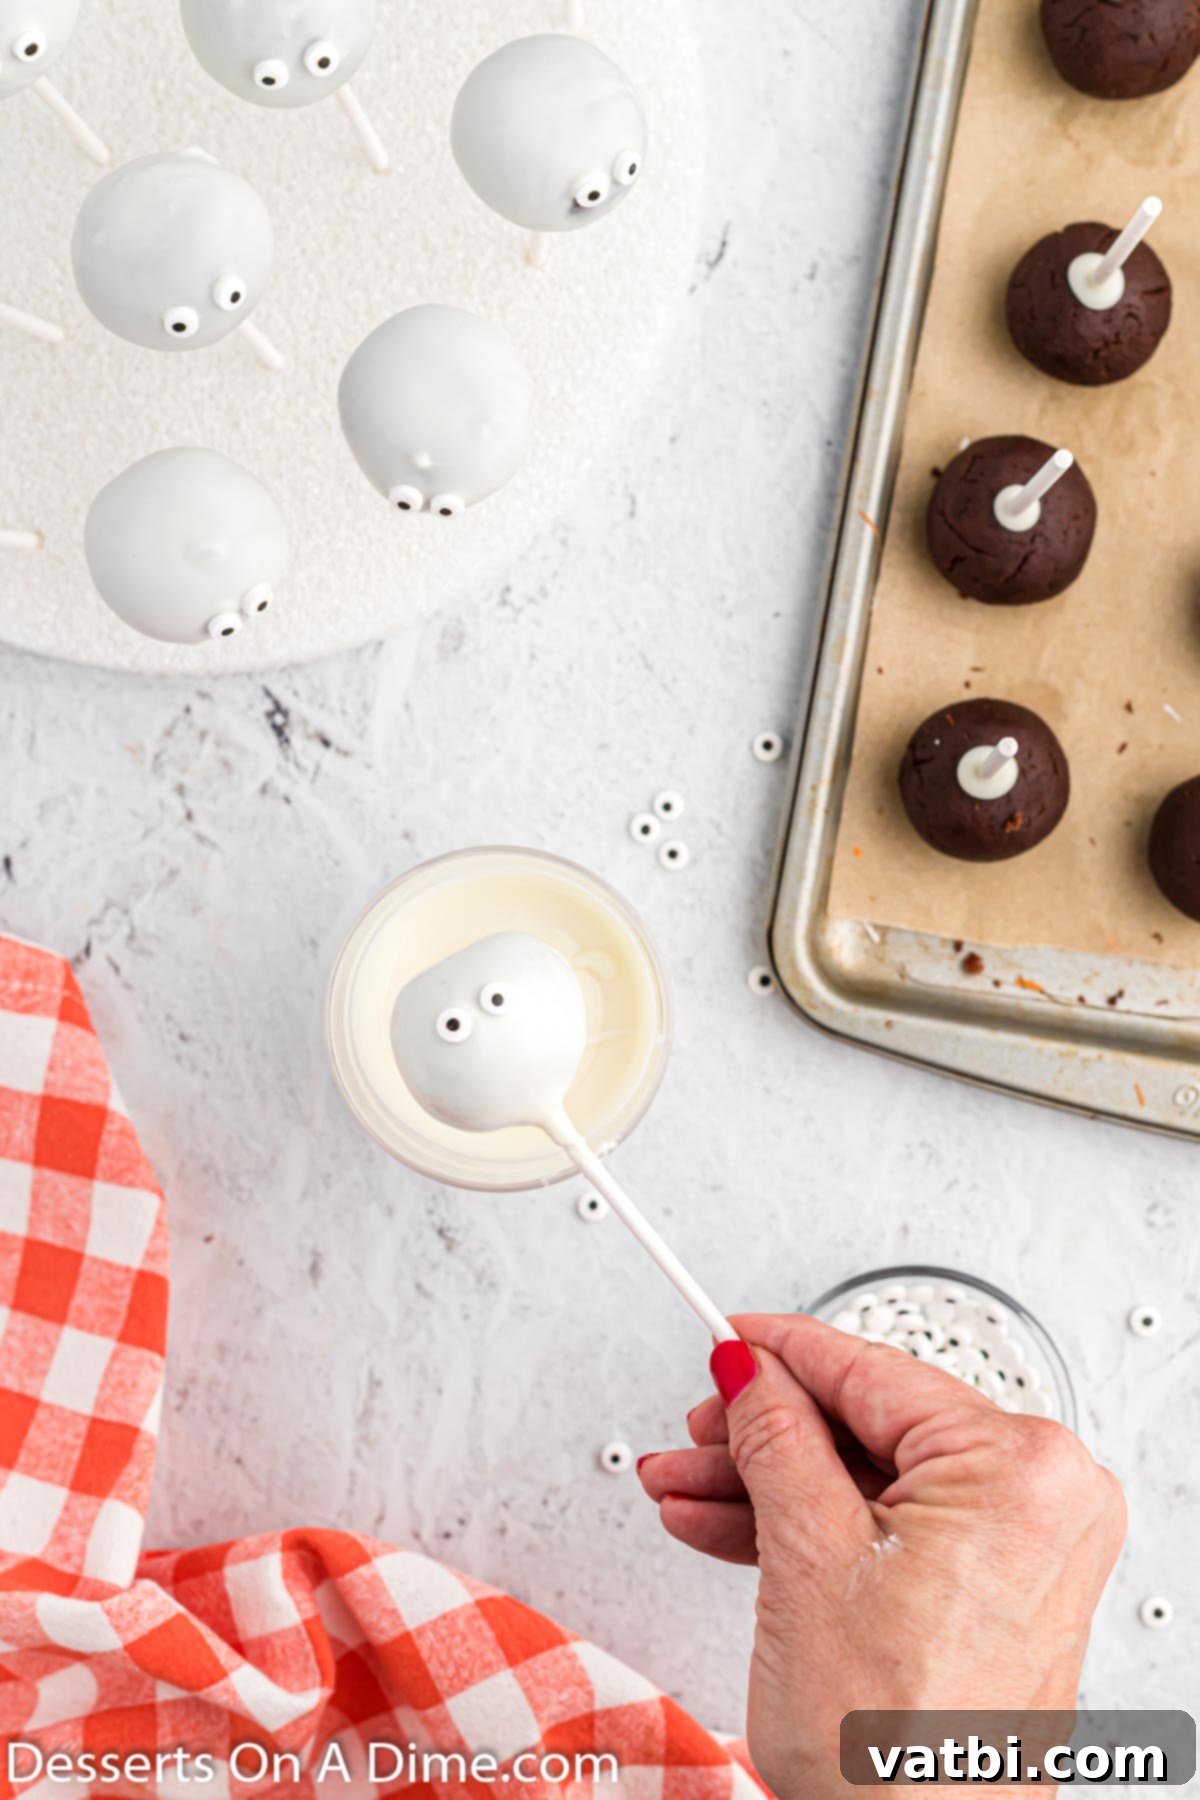
Step 7: Add the Eyes. Immediately after dipping each cake pop, while the candy coating is still wet, attach two candy eyeballs to the front. The wet chocolate will act as an adhesive, securing the eyes in place as it dries. You can place the sticks into a block of styrofoam or a tall glass filled with rice/sugar to hold them upright while the coating sets and hardens. Repeat this process until all the cake pops are coated and decorated with eyes.
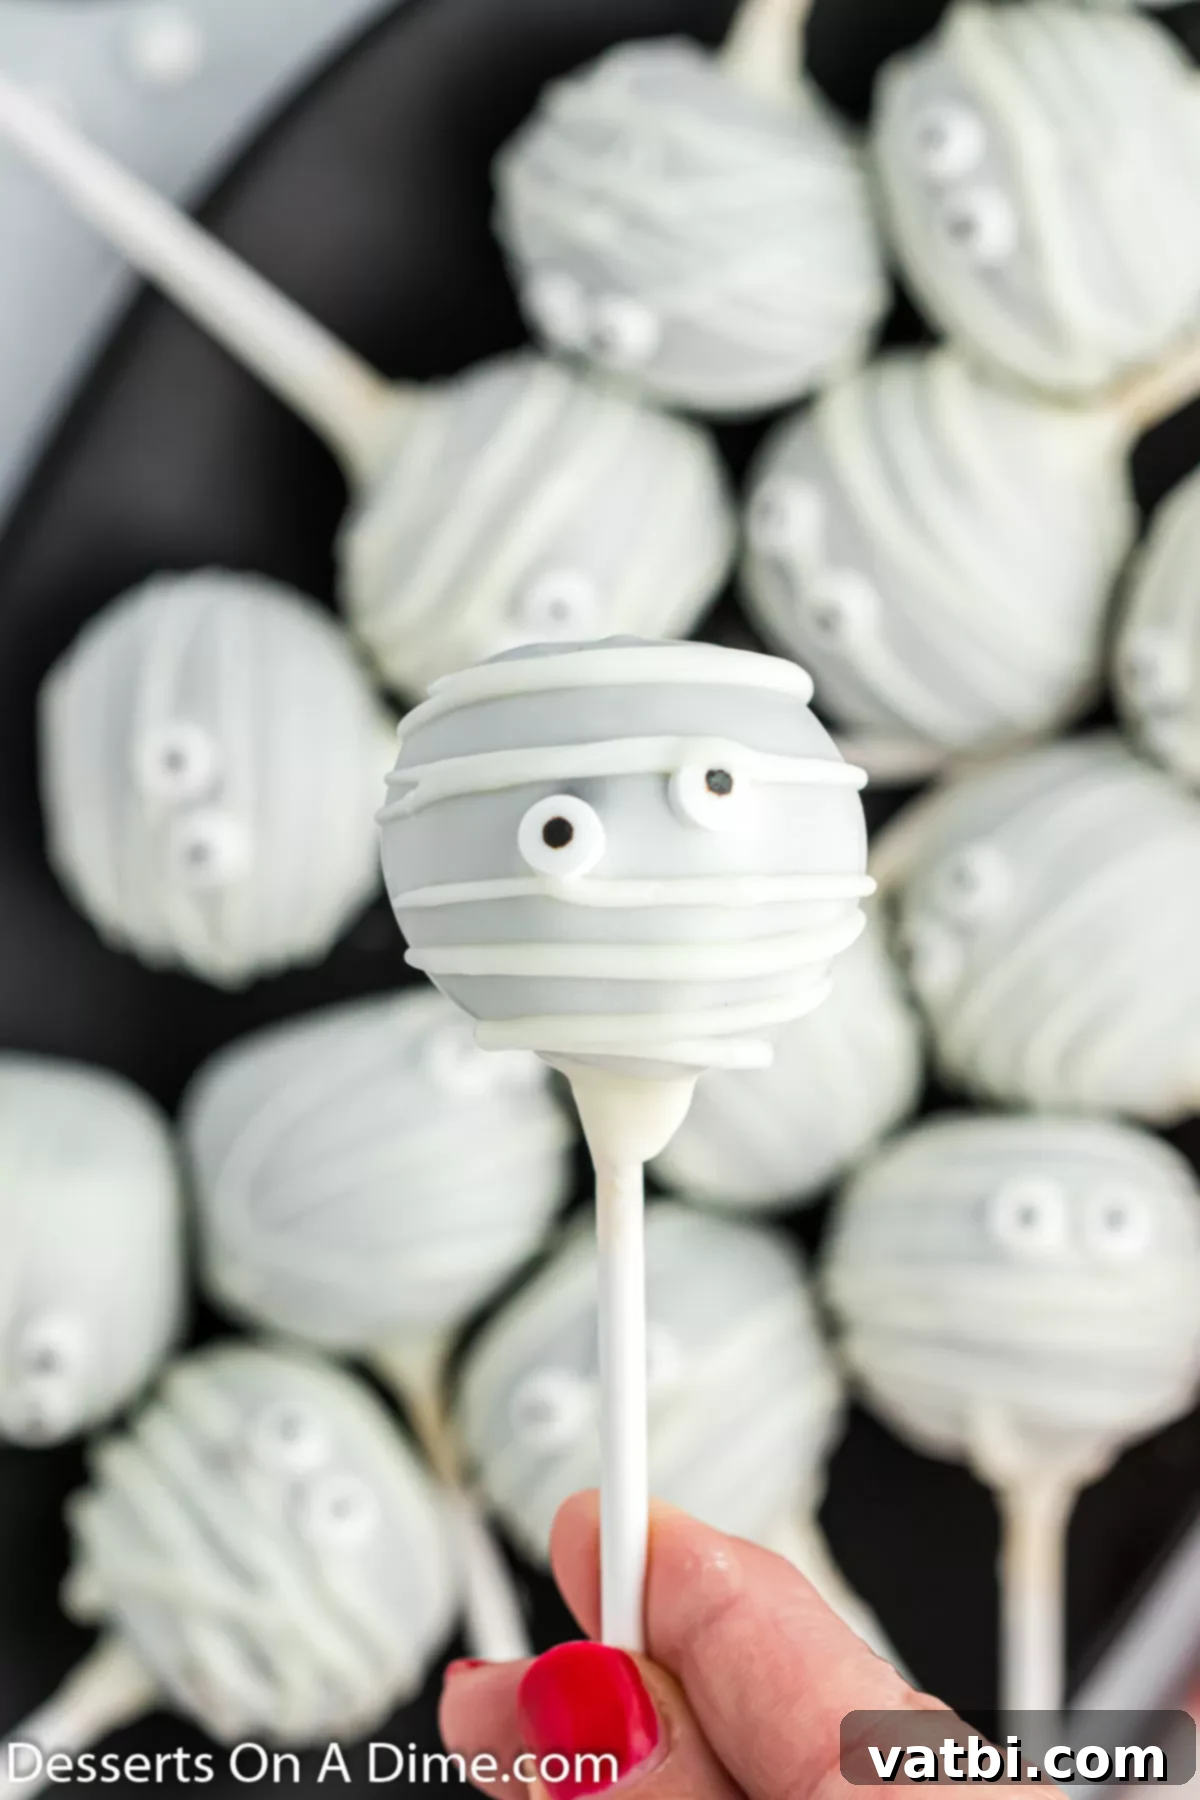
Step 8: Create Mummy Wrappings. After the cake pops have completely dried and the initial coating is set, it’s time to create the mummy wrappings. If there is any leftover almond bark, heat it up again if necessary to ensure it’s fluid. Hold the cake pop in one hand and use a fork to drizzle the chocolate in a zigzag pattern over the cake pops. This creates the irregular, wrapped look of a mummy. Don’t worry about perfection; the messier, the better for that authentic spooky feel! Allow them to set completely at room temperature.
Storage for Mummy Cake Pops
Once your Mummy Cake Pops are completely set and dry, proper storage will ensure they remain fresh and delicious for your Halloween celebrations. Keep them in an airtight container at normal room temperature for a maximum of 7 days. If you need them to last longer, they can be stored in the refrigerator for up to 2 weeks. If refrigerating, allow them to come to room temperature for about 15-20 minutes before serving for the best texture and flavor. This helps prevent the coating from cracking and ensures the cake inside is perfectly moist.
Pro Tips for Perfect Cake Pops
Achieving bakery-quality cake pops at home is easier than you think with these expert tips. Follow these suggestions to ensure your Mummy Cake Pops turn out perfectly every time.
- Thin the almond bark. If the melted almond bark or candy melts appear too thick for smooth dipping, don’t panic! You can easily dilute it with a small quantity of vegetable oil or coconut oil (about ½ teaspoon at a time). Gradually incorporate it into the melted chocolate, stirring well after each addition until it reaches an appropriate, fluid texture for coating. This prevents a clumpy coating and ensures a professional, smooth finish.
- Freeze before dipping, but not too long. Chilling the cake balls thoroughly in the freezer for about 10-15 minutes (but no more!) is a critical step. This helps them stay firmly on the stick and prevents them from crumbling or breaking apart when dipped into the warmer coating. A well-chilled cake pop will hold its shape beautifully, but excessive freezing can cause the cake to crack when introduced to warmer chocolate.
- Remove excess chocolate. After dipping each cake pop, gently tap the stick against the side of the bowl. This allows any excess melted candy to drip off, ensuring a smooth, even coating without thick, uneven drips. You can also use a small spoon or toothpick to gently remove any large drips from the bottom of the cake pop before it sets.
- Make in advance. These Mummy Cake Pops are perfect for making ahead of time, which is a lifesaver when planning for Halloween parties! You can mix the cake and frosting, shape the balls, and store them in an airtight container in the refrigerator overnight. The next day, simply insert the sticks, dip, and decorate. This simple method allows for significant time-saving in party preparations, giving you more time to enjoy the festivities.
- Add toppings before it sets. Timing is everything when adding decorations! Make sure to add the candy eyes onto the cake pops immediately after dipping, while the chocolate coating is still wet. This way, the eyes will adhere firmly as the coating sets, preventing them from falling off later.
- Consistent Ball Size. Using a cookie scoop (e.g., a 1.5-inch scoop) helps create uniformly sized cake balls. Consistent size means consistent cooking and dipping, and a more professional-looking final product.
- Drying Rack Alternatives. If you don’t have a styrofoam block for holding your cake pops upright while they dry, you can use a tall glass filled with rice or sugar. This provides a stable base for the sticks to stand, allowing the coating to set without smudges.
More Spooky Halloween Treats to Explore
Looking for more spooky inspiration to round out your Halloween dessert table? These other fantastic and easy Halloween treats are just as fun to make and eat, ensuring your celebration is filled with delicious, festive delights!
- Halloween Cake Pops
- Easy Halloween Puppy Chow Recipe
- Fast and Easy Halloween Treats
- Halloween Spider Cookies Recipe
- Halloween Marshmallows
- 45 Best Halloween Cookies recipes
Don’t wait for the witching hour – gather your ingredients and start making these enchanting Mummy Cake Pops today! They’re a fantastic way to celebrate the season, create fun memories, and satisfy everyone’s sweet tooth. Once you’ve whipped up your batch of spooky delights, we’d love to hear about it! Please leave a star rating and a comment below to share your experience and any creative twists you added. Happy Halloween baking!
Pin
Mummy Cake Pops
Ingredients
- 1 box Chocolate Cake Mix 15 oz
- *Plus ingredients to prepare the cake on the back of the box
- 1/3 cup Chocolate Fudge Frosting I use pre-made
- 1 pkg Almond Bark
- Candy Eye Balls
- Lollipop Sticks
Instructions
-
Make cake and bake according to box instructions in a 9X13 pan. Then let the cake cool at room temperature.
-
Remove the cake from the pan. Remove the outside layer from the cake and throw it away. Crumble up the remaining cake into a large bowl.
-
Add the chocolate frosting to your crumbled cake and stir everything together until well combined.
-
Shape mixture into about 24-36 cake balls (depending on their size) and place on a lined cookie sheet. I used a cookie scoop to ensure that each one is approximately the same size.
-
Chop the almond bark and place it in a microwave safe bowl and microwave for 30 seconds, then stir. Then continue to heat in 30 second intervals stirring between each one until the almond bark fully melted and creamy.
-
Dip each cake pop stick into the melted almond bark and then place them into the cake balls about halfway into the balls. Then place in the freezer for 10-15 minutes (do not freeze for longer than 15 minutes).
-
After the cake pops have been chilled, dip each cake pop into the melted almond bark (you may need to re-melt it if it has solidified some). Make sure that the candy covers the cake pop completely. Allow the excess melted candy to drip off back into the bowl.
-
Then place the stick of cake pops in a block of styrofoam. Then add the eyes onto the cake pops while the candy dries and solidifies.
-
Continue until all the cake pops have been covered and the mummy eyes have been added.
-
Once all the cake pops are dry, it’s time to make the mummy wrappings on the cake pops. Use any leftover almond bark and reheat if needed. Hold the cake pop in one hand and then use a fork to drizzle the almond bark back and forth over the cake pop to make irregular lines all around the cake pop to look like a mummy’s wrappings.
-
Let the cake pops set at room temperature and then the cake pops are ready to enjoy!
Recipe Notes
*If the melted almond bark is too thick, thin it out with a small amount of vegetable oil or coconut oil. Add it slowly to the melted chocolate until it’s a good consistency to coat the cake pops.
Nutrition Facts
Pin This Now to Remember It Later
Pin Recipe
