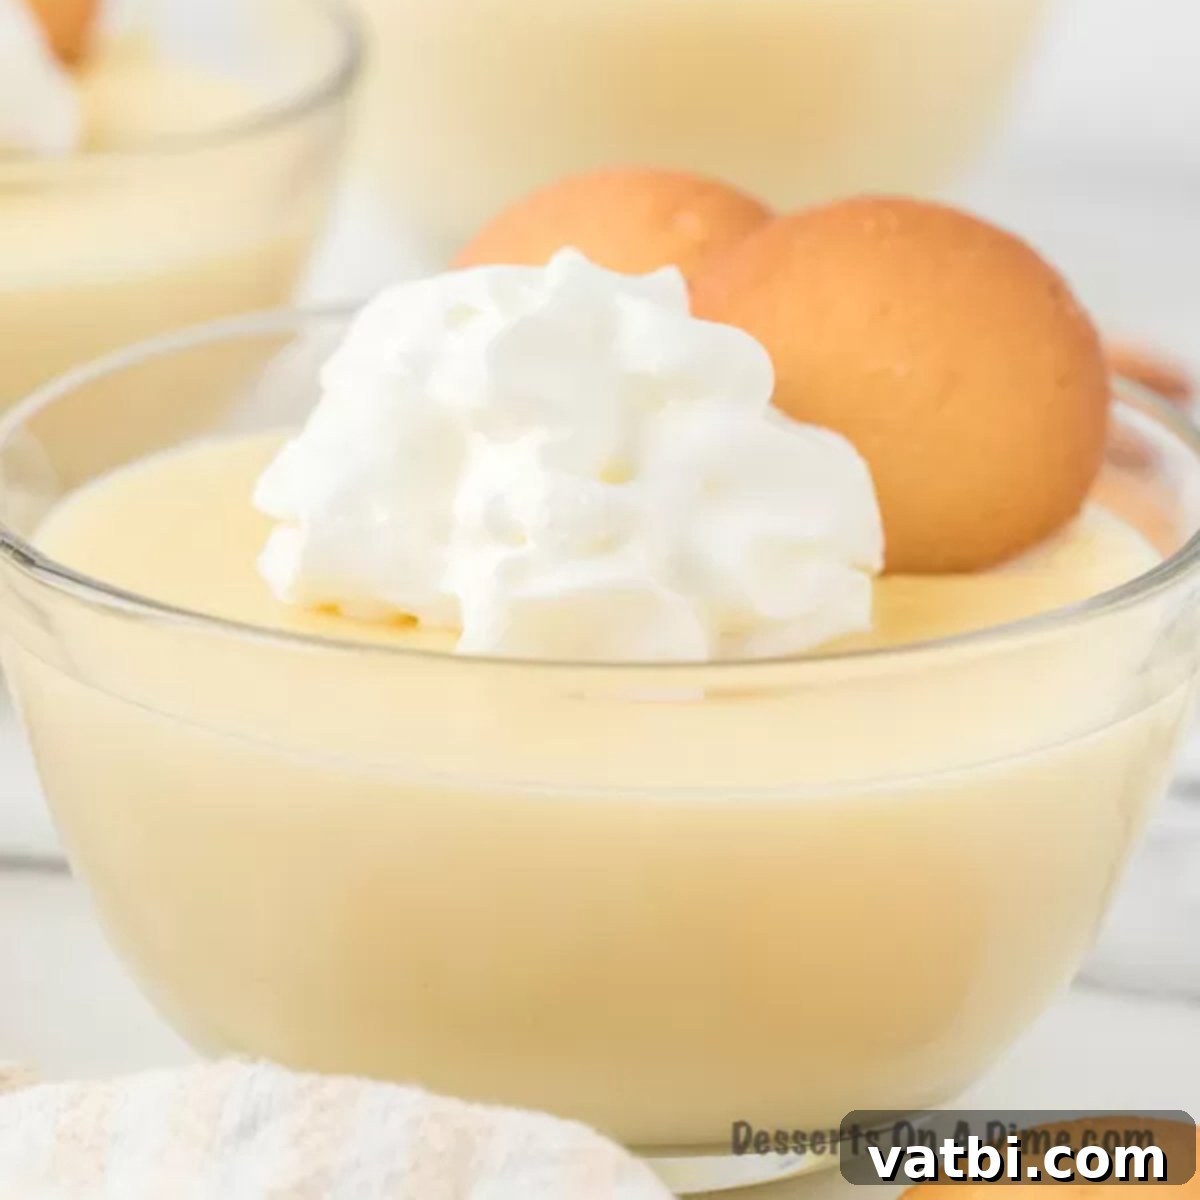
The Ultimate Guide to Silky Smooth Homemade Vanilla Pudding: A Step-by-Step Recipe
Embark on a culinary adventure to create the most exquisite Homemade Vanilla Pudding you’ve ever tasted. Forget the bland, artificial flavors of box mixes; this recipe promises a dessert that is incredibly rich, luxuriously creamy, and bursting with authentic vanilla flavor. Once you experience the unparalleled taste and texture of pudding made from scratch, you’ll find it impossible to go back to store-bought alternatives. The difference is truly astounding, and you’ll be delighted to discover just how easy it is to master this classic homemade pudding recipe.
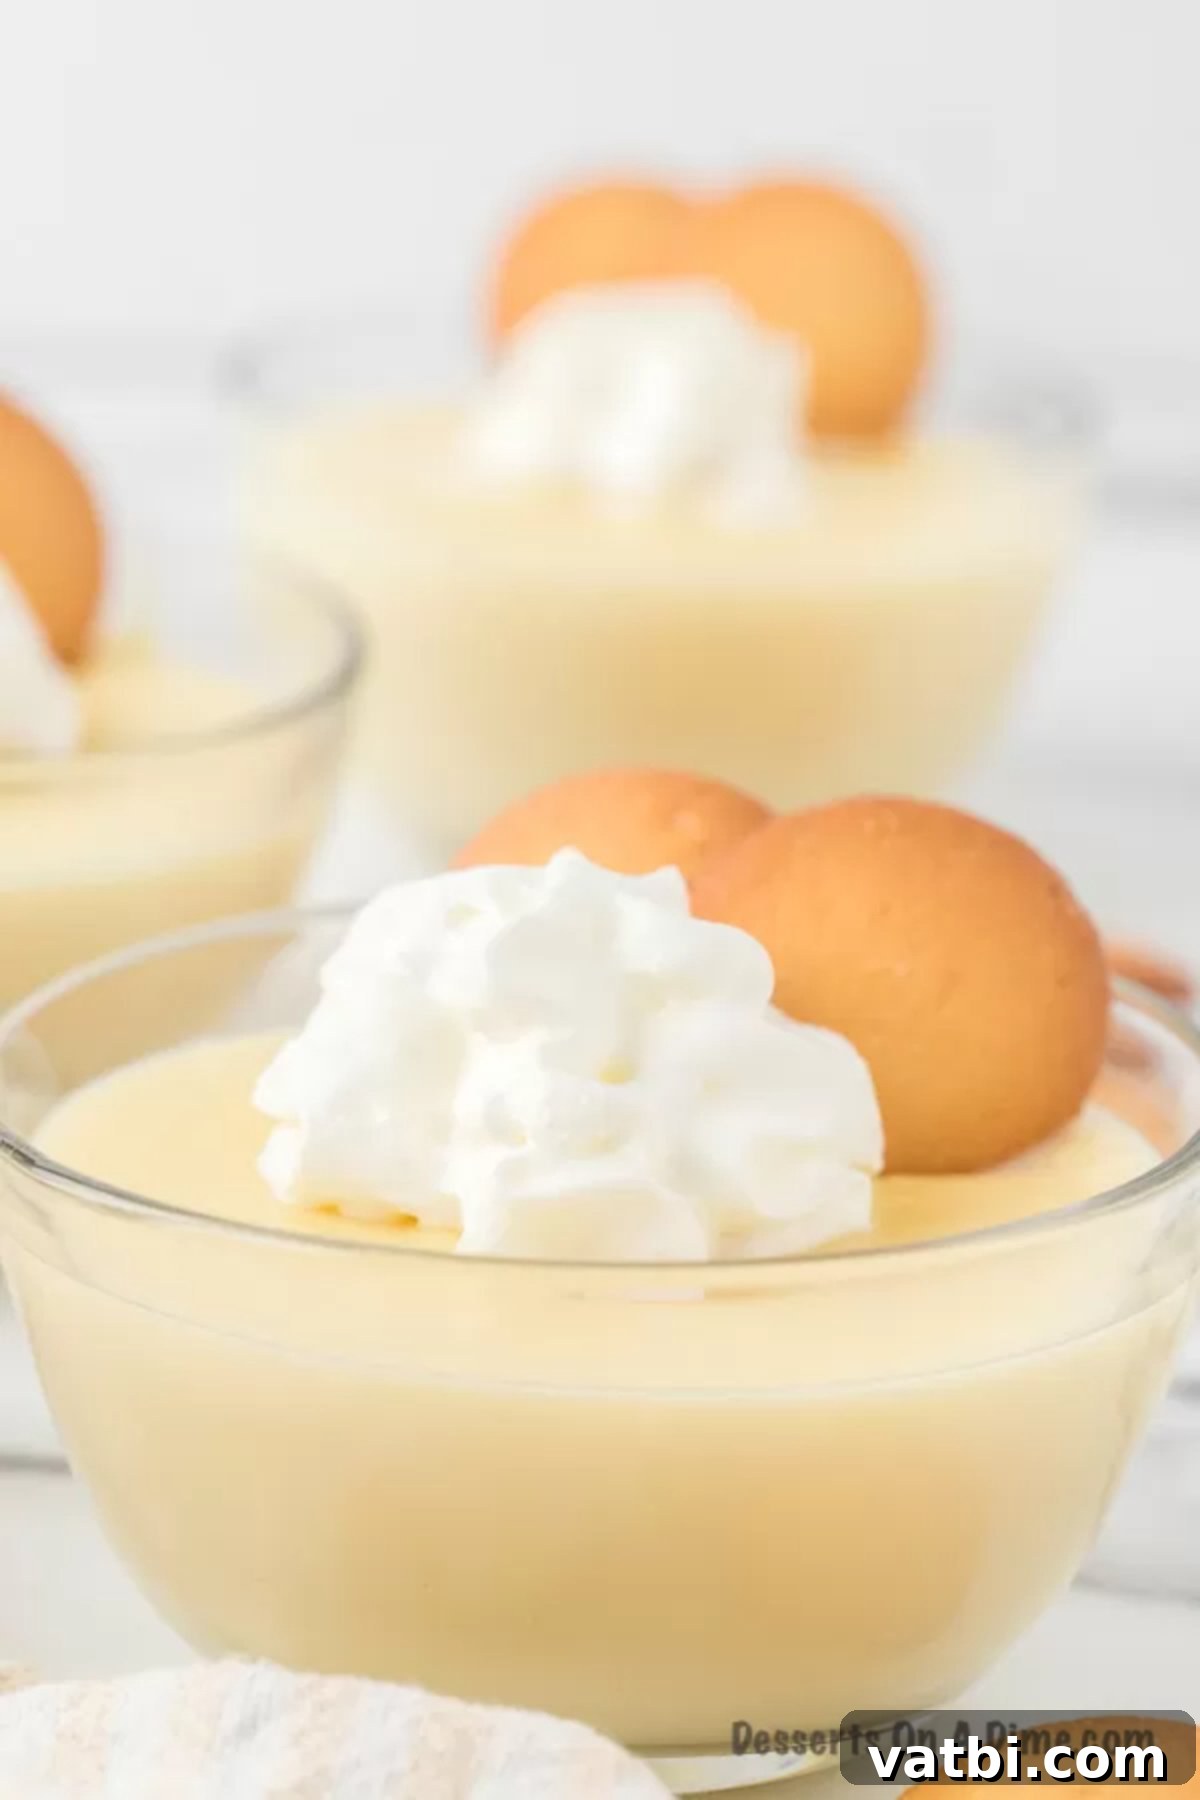
This simple vanilla pudding recipe requires only a handful of common pantry staples, transforming them into a decadent treat. It’s not just a dessert; it’s a testament to the fact that the best flavors often come from the simplest, most natural ingredients. While vanilla pudding holds a special place in our hearts, don’t hesitate to explore other delightful options like our Homemade Orange Pudding, a definite kid-favorite!
Table of contents
- Why You’ll Adore This Homemade Vanilla Pudding
- Essential Ingredients for Perfect Vanilla Pudding
- Exciting Variations and Customization Ideas
- How to Make Homemade Vanilla Pudding: A Step-by-Step Guide
- Expert Tips for Foolproof Homemade Pudding
- How to Thicken Vanilla Pudding (Troubleshooting Thin Pudding)
- Creative Serving Suggestions for Vanilla Pudding
- Irresistible Vanilla Pudding Topping Ideas
- Storage Tips for Freshness
- More Easy and Delicious Pudding Recipes
Why You’ll Adore This Homemade Vanilla Pudding
- Simple, Wholesome Ingredients – One of the greatest advantages of making vanilla pudding from scratch is knowing exactly what goes into it. This recipe calls for basic pantry staples, meaning you can avoid artificial flavors, colors, and preservatives often found in commercial pudding mixes. You save money by using ingredients you likely already have, and you gain peace of mind knowing you’re serving a wholesome, delicious dessert to your family and friends. It’s real food, with real flavor.
- Quick and Effortless Preparation – Despite its luxurious taste, this homemade vanilla pudding is surprisingly quick and easy to prepare. With just a few minutes of active cooking time, you can have a batch simmering on the stove. It’s the perfect dessert to whip up for an unexpected craving, a weeknight treat, or even as a make-ahead option for gatherings. Its simplicity makes it accessible even for novice cooks, ensuring impressive results every time.
- Versatile for Any Occasion – Vanilla pudding is a true crowd-pleaser. Its light, creamy texture and comforting flavor make it an ideal dessert for any occasion, from casual family dinners to elegant dinner parties. It’s a versatile base that can be enjoyed on its own or easily dressed up with various toppings and additions. This delicious and easy-to-make dessert is sure to become a staple in your recipe repertoire.
Essential Ingredients for Perfect Vanilla Pudding
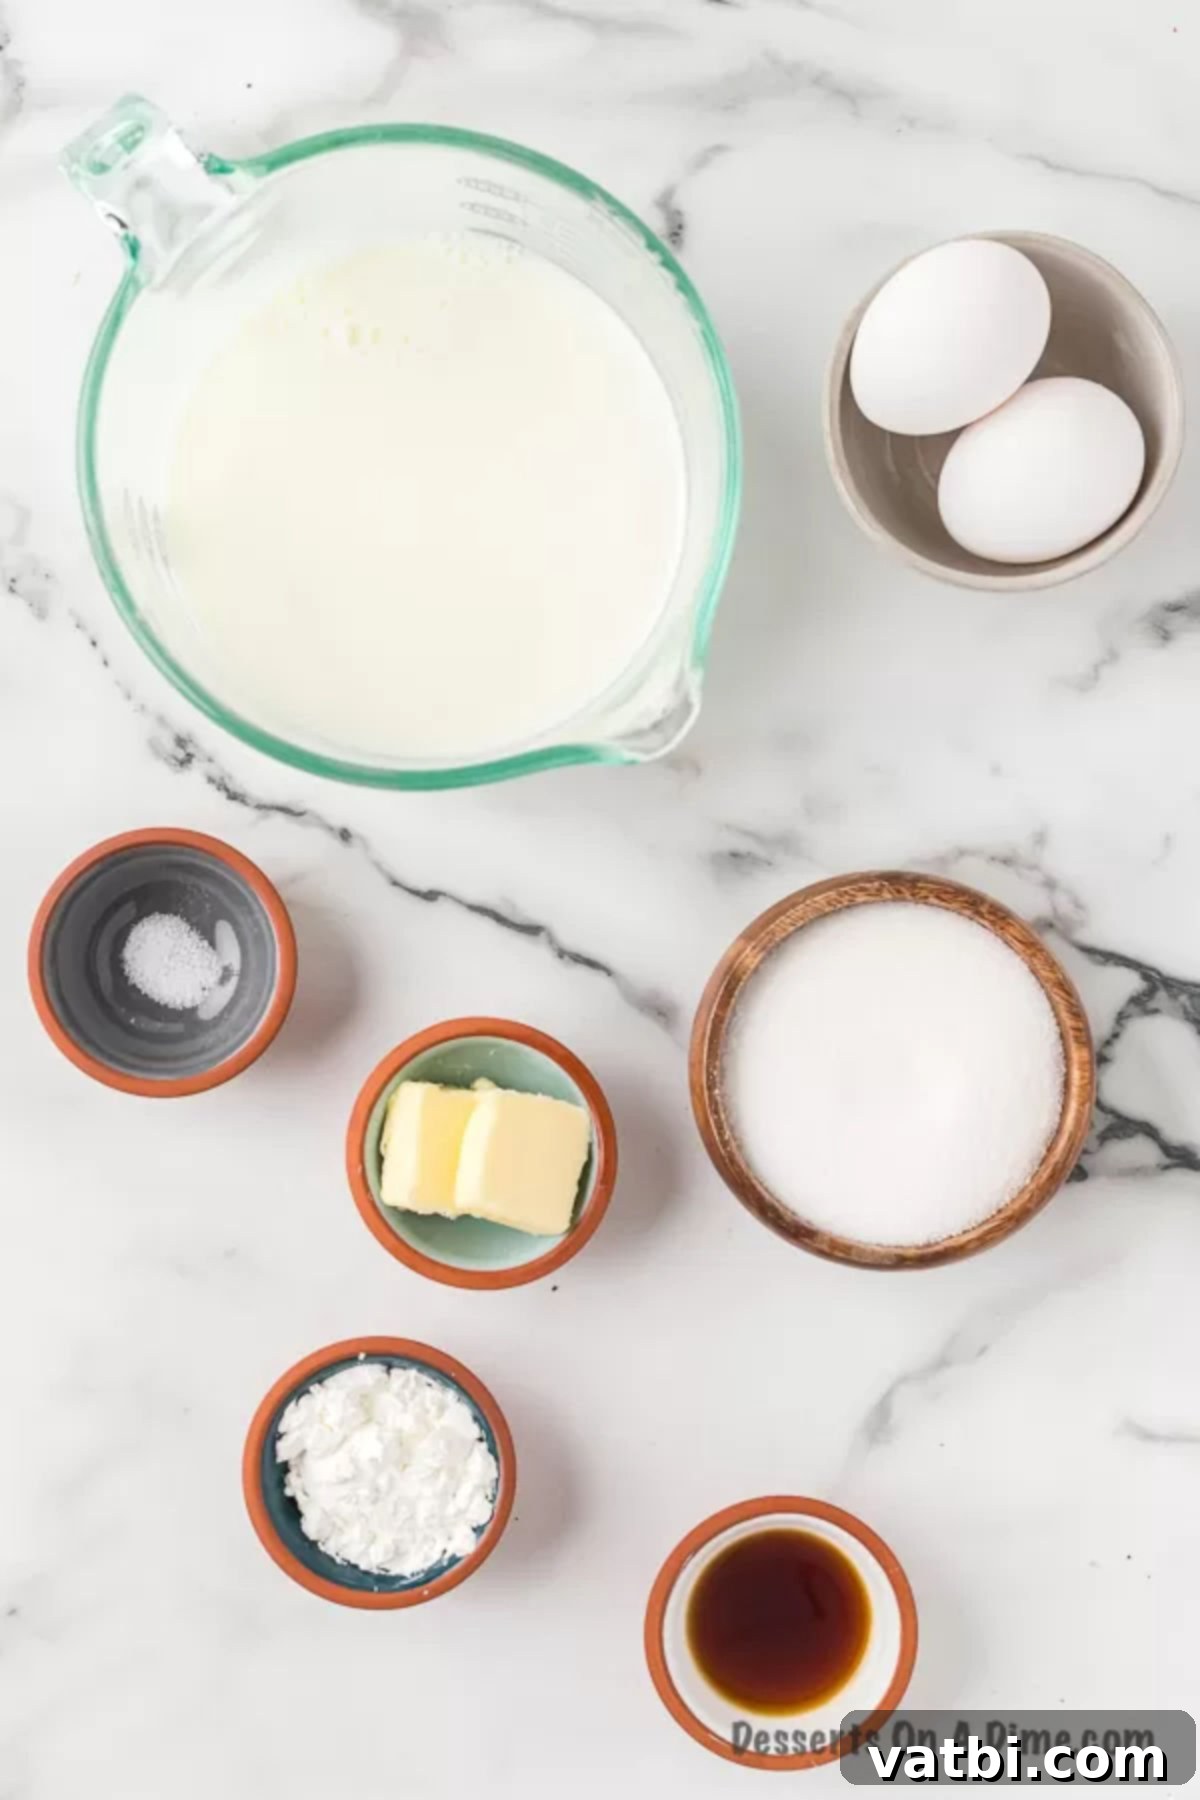
Creating a truly magnificent vanilla pudding relies on a few key ingredients, each playing a vital role in achieving that perfect taste and texture:
- Granulated Sugar: Provides the essential sweetness and contributes to the pudding’s smooth consistency.
- Cornstarch: This is your primary thickening agent. It helps create that wonderfully rich and stable pudding texture. Ensure it’s fresh for optimal thickening power.
- Salt: A small pinch of salt is crucial. It doesn’t make the pudding salty, but rather enhances and balances the sweetness of the sugar and deepens the overall vanilla flavor.
- Milk: For the richest, creamiest texture, whole milk is highly recommended. The higher fat content contributes significantly to the pudding’s luxurious mouthfeel. While you can use lower-fat milk, the pudding may be less creamy. Dairy-free alternatives like almond or soy milk can also be used, but may alter the final texture slightly.
- Butter: Using real unsalted butter adds a luscious richness and a silky smooth finish to the pudding. It melts into the hot mixture, contributing to both flavor and texture.
- Eggs: Eggs provide additional richness, help with thickening, and contribute to the pudding’s beautiful golden hue. They also make the pudding slightly more custard-like, adding to its luxurious quality. You’ll use a tempering technique to incorporate them smoothly.
- Pure Vanilla Extract: This is the star of the show! Always opt for pure vanilla extract for the most authentic and robust vanilla flavor. Avoid imitation vanilla if possible, as it won’t yield the same depth of taste. For an even more intense vanilla experience, consider using vanilla bean paste or scraping seeds from a fresh vanilla bean.
You can find the precise measurements for all these ingredients conveniently listed in the recipe card at the bottom of this article.
Exciting Variations and Customization Ideas
While classic vanilla pudding is undeniably delicious, this recipe serves as a fantastic base for countless flavor explorations. Don’t be afraid to get creative and tailor it to your taste preferences:
- Experiment with Different Flavor Extracts – This is a versatile base recipe, allowing you to easily swap or combine extracts to create new flavor profiles. Instead of or in addition to vanilla, try a dash of almond extract for a nutty undertone, peppermint extract for a festive holiday treat, or even a few drops of coconut extract for a tropical twist.
- Indulgent Butterscotch Pudding – Transform this vanilla base into a rich butterscotch pudding by simply adjusting the sugar and adding a special ingredient. Substitute half of the granulated sugar with packed light brown sugar. Then, at the end, after removing it from the heat, stir in a tablespoon of Scotch or bourbon. Don’t worry about the alcohol content; it will cook off as it’s heated in the saucepan, leaving behind a wonderfully complex and caramel-like flavor.
- Rich Chocolate Pudding – For chocolate lovers, easily convert this recipe by whisking in 1/2 cup of unsweetened cocoa powder along with the dry ingredients. For an even more decadent version, melt 2-3 ounces of good quality semi-sweet or dark chocolate into the hot pudding mixture after removing it from the heat, stirring until smooth and fully incorporated.
- Zesty Lemon Pudding – For a bright and tangy dessert, add the zest of one lemon along with the dry ingredients. Once the pudding is cooked and removed from heat, stir in 1-2 tablespoons of fresh lemon juice (to taste). This creates a refreshing and vibrant pudding perfect for spring and summer.
- Creamy Coconut Pudding – Substitute half or all of the dairy milk with full-fat canned coconut milk for a tropical, dairy-free variation. You might also add a touch of coconut extract for an enhanced flavor.
- Spiced Pudding – Add a pinch of cinnamon, nutmeg, or cardamom along with the dry ingredients for a warm, spiced flavor, especially delightful during cooler months.
How to Make Homemade Vanilla Pudding: A Step-by-Step Guide
Making vanilla pudding from scratch is a rewarding process that yields a superior dessert. Follow these detailed steps to achieve perfect, lump-free, and incredibly flavorful pudding:
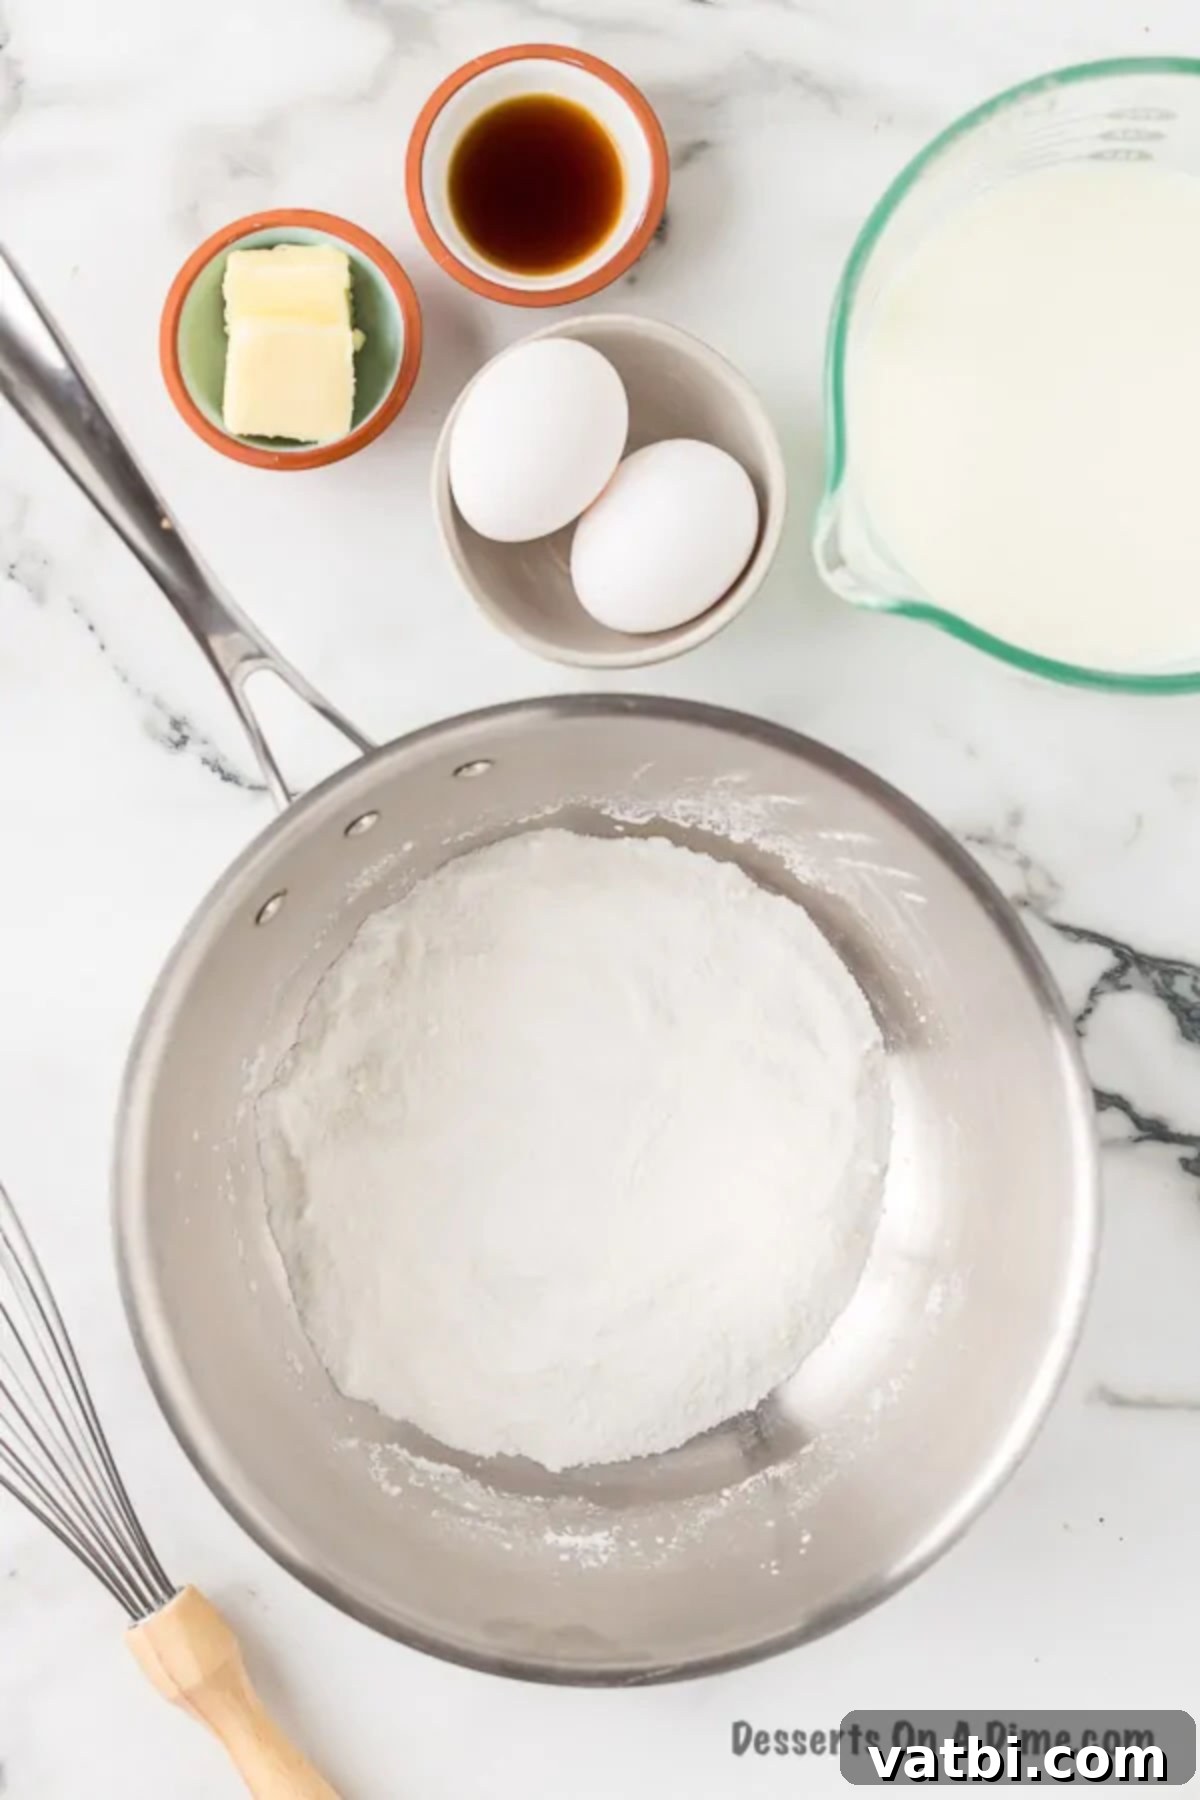
Step 1: Whisk Dry Ingredients. Begin your journey to perfect vanilla pudding by combining the foundational dry ingredients. In a medium-sized, heavy-bottomed saucepan, whisk together the granulated sugar, cornstarch, and salt until they are thoroughly blended. This initial step is crucial for preventing lumps later on, ensuring your pudding will be wonderfully smooth and uniform in texture.
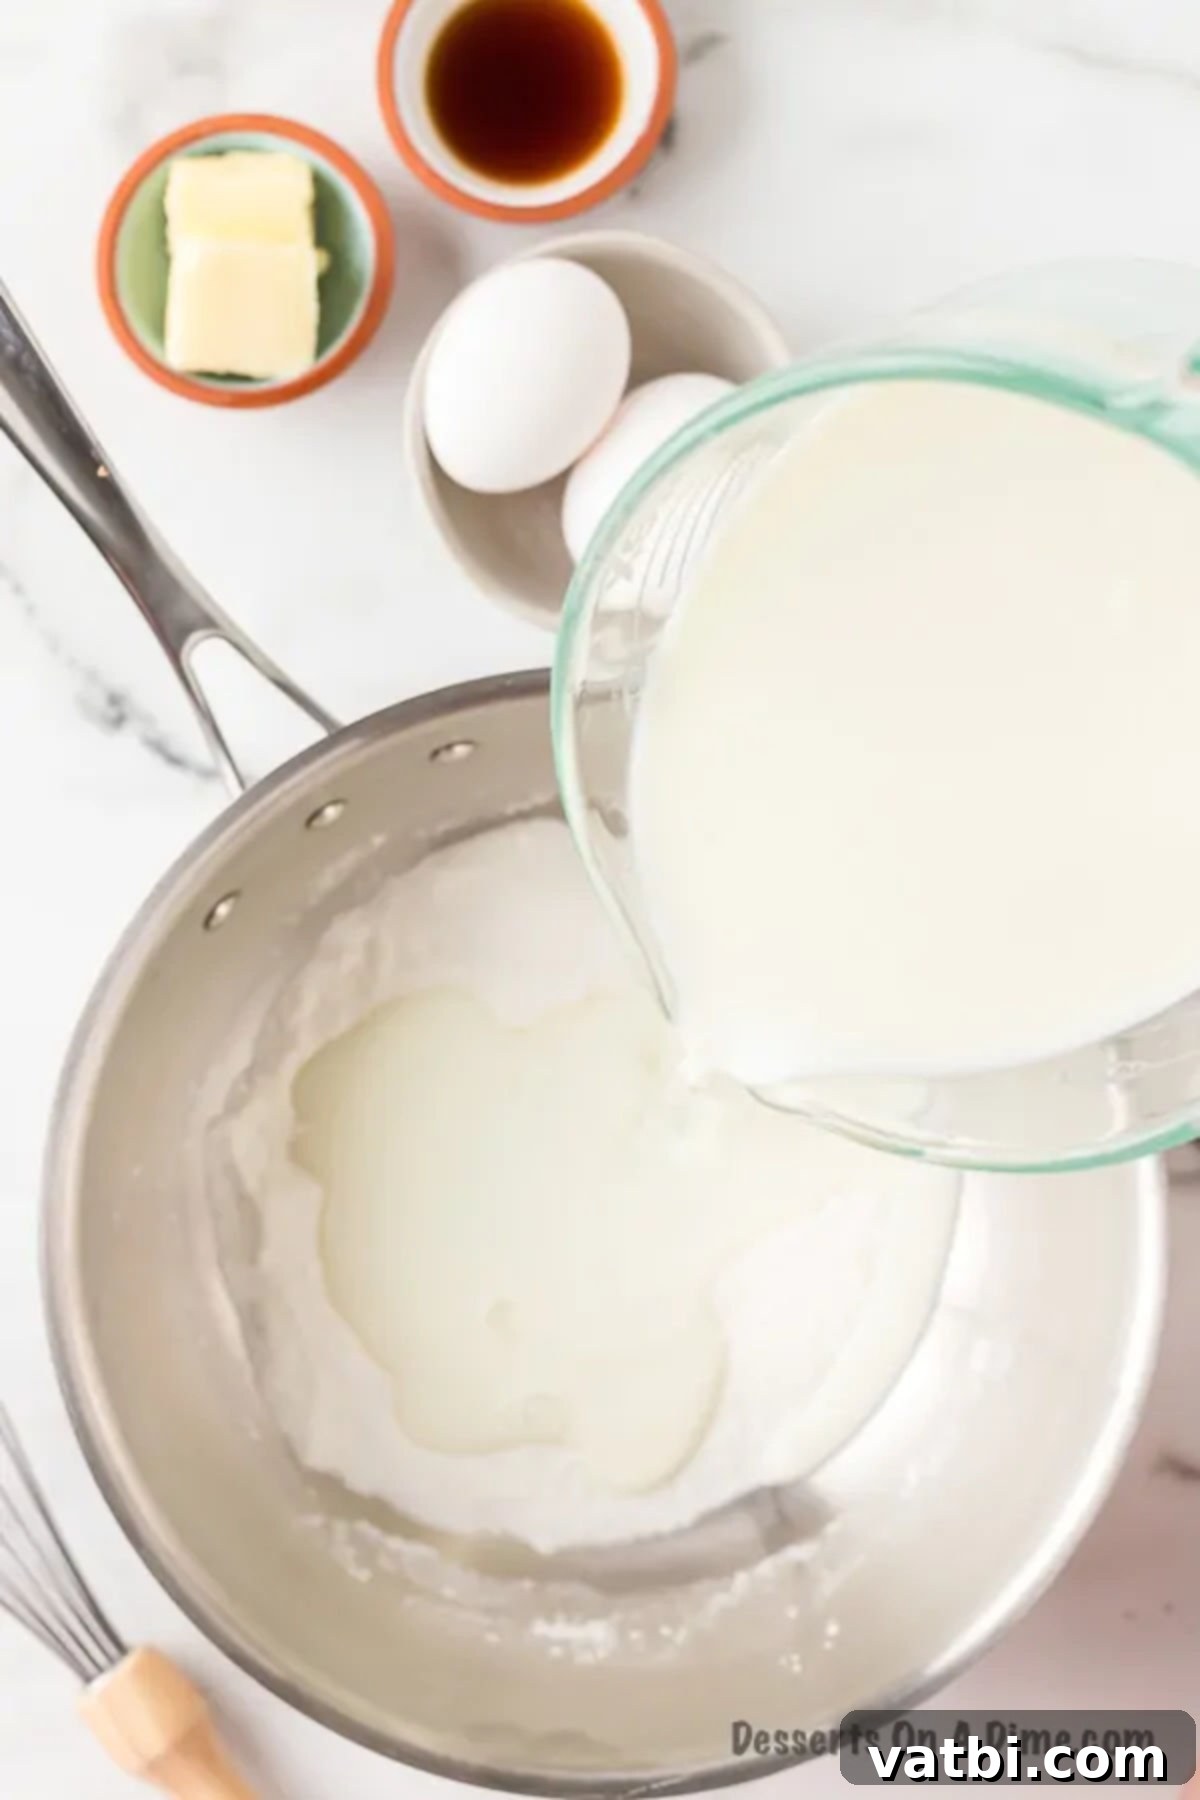
Step 2: Incorporate Milk and Heat. Gradually add the milk to the dry ingredients in the saucepan while continuously whisking to ensure no clumps form. Place the saucepan over medium heat and continue to stir constantly. Bring the mixture to a gentle boil, ensuring the heat is evenly distributed and the bottom doesn’t scorch. Once it reaches a boil, continue cooking and stirring for 2 full minutes. This allows the cornstarch to fully activate and begin thickening the pudding.
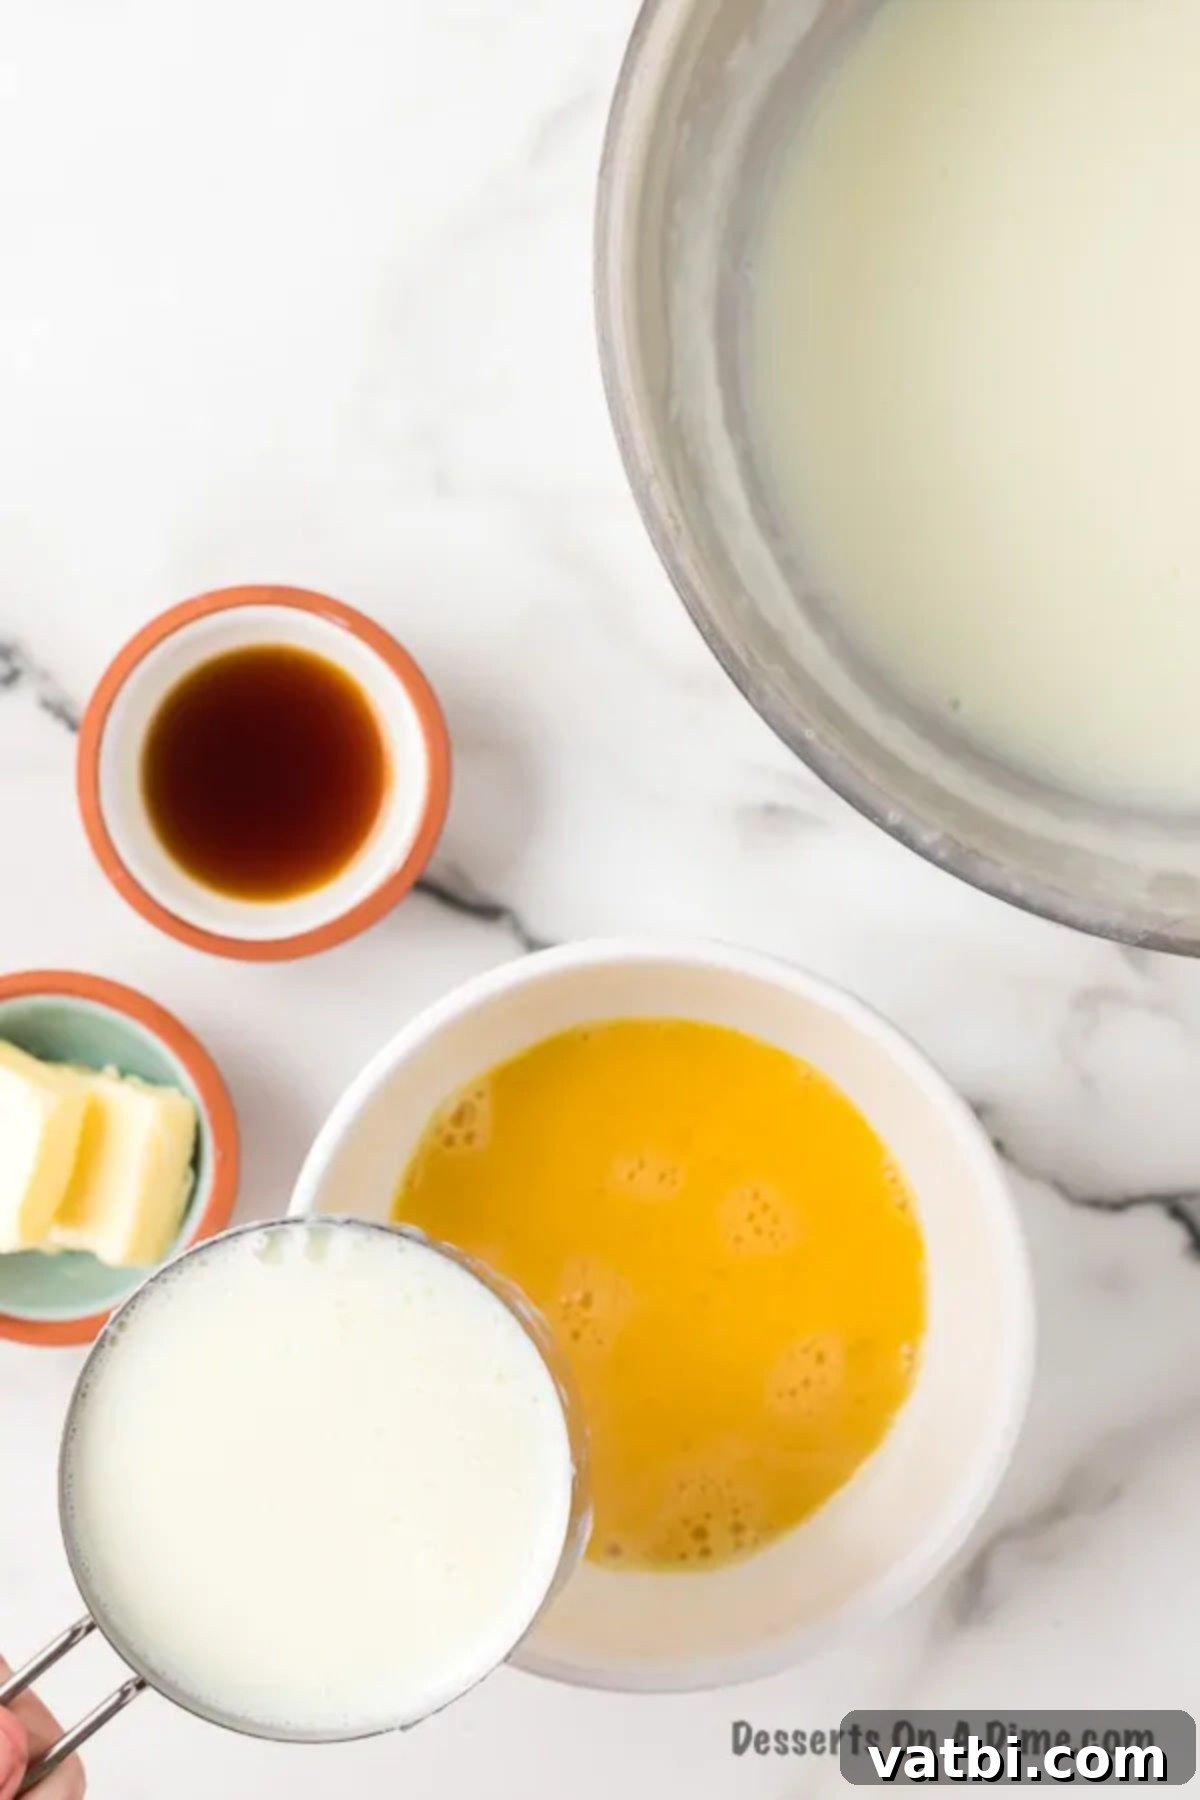
Step 3: Prepare the Eggs. While the milk mixture is heating, take your eggs and place them in a separate, medium-sized mixing bowl. Lightly beat them with a fork or whisk until the yolks and whites are just combined. This step prepares the eggs for tempering, a crucial technique to prevent them from scrambling when added to the hot pudding mixture.
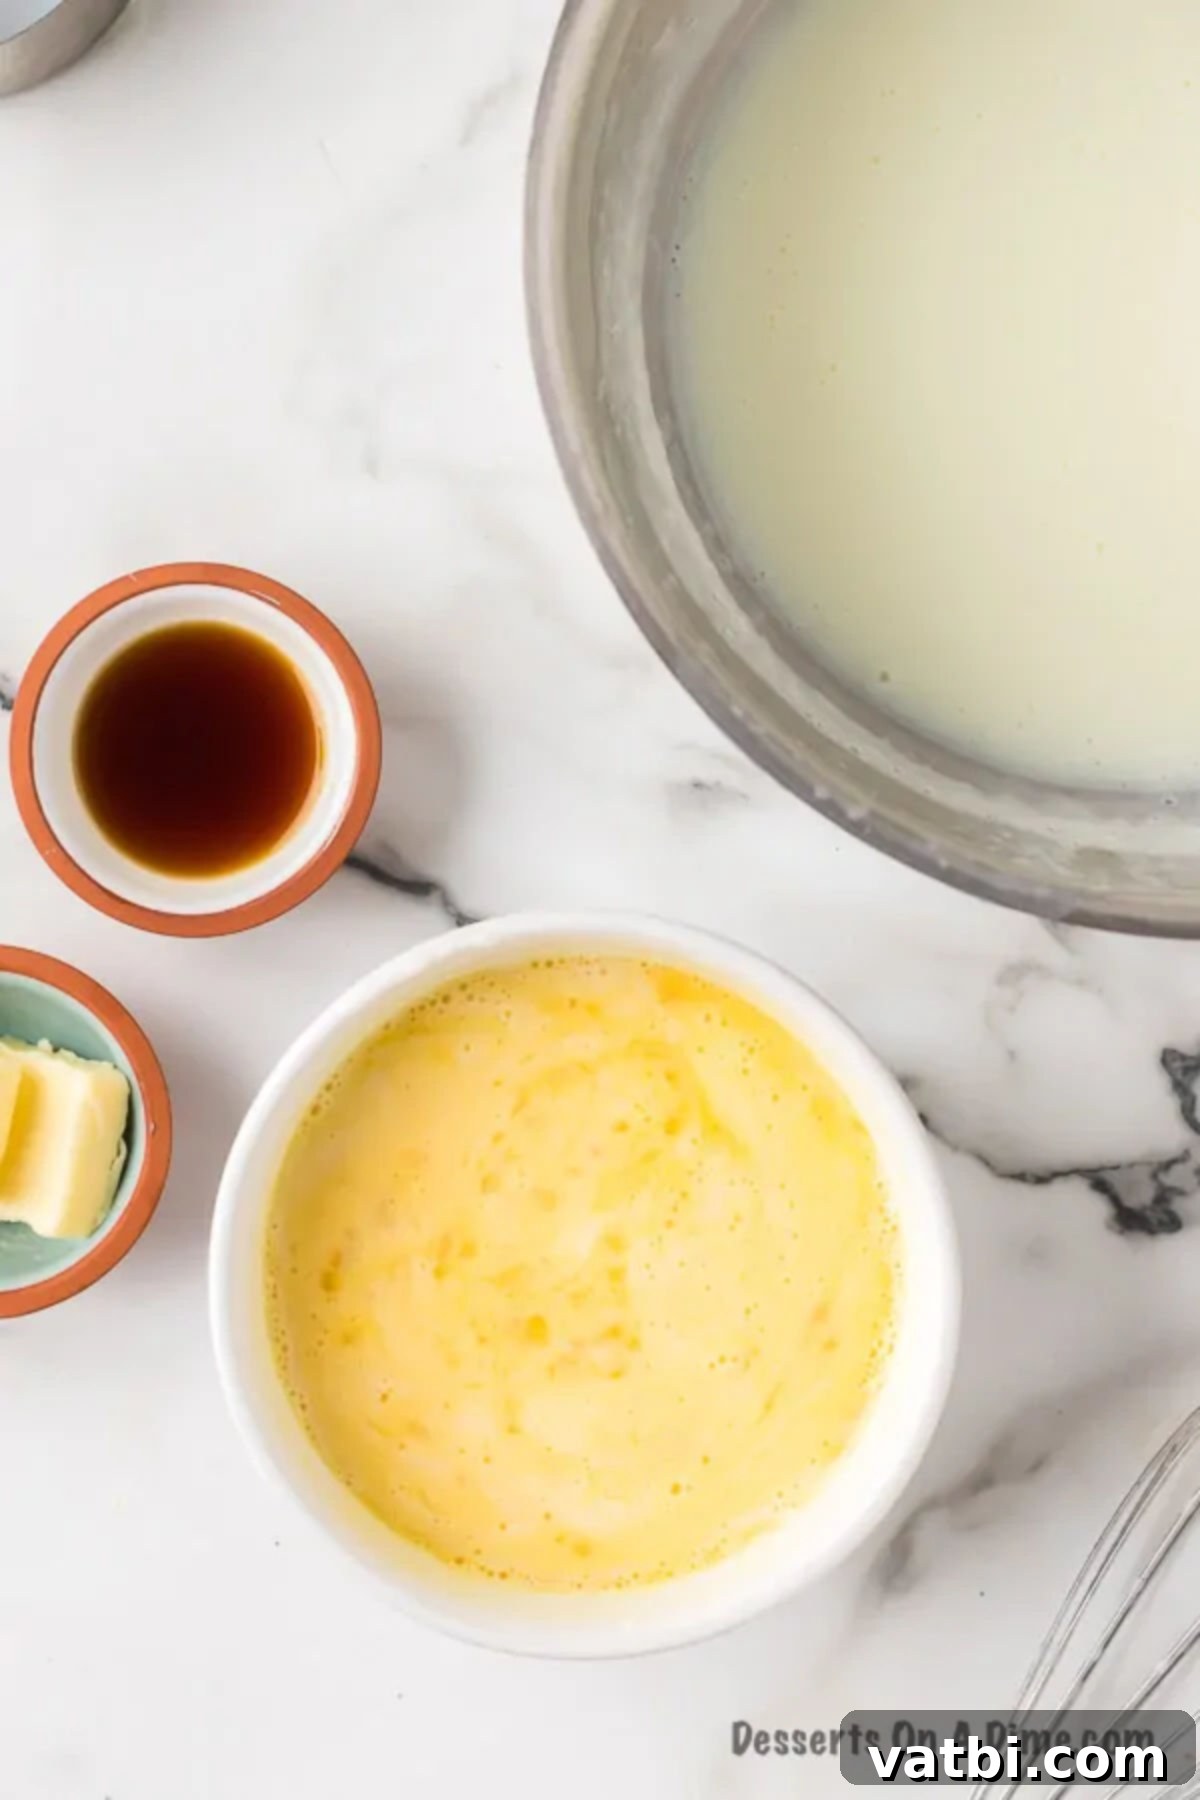
Step 4: Temper the Eggs. This is perhaps the most important step for a silky-smooth pudding. Carefully spoon about one cup of the hot milk mixture from the saucepan into the bowl with the lightly beaten eggs. Whisk constantly and vigorously as you slowly add the hot liquid. This process gradually raises the temperature of the eggs without cooking them, making them ready to be fully incorporated into the pudding base.
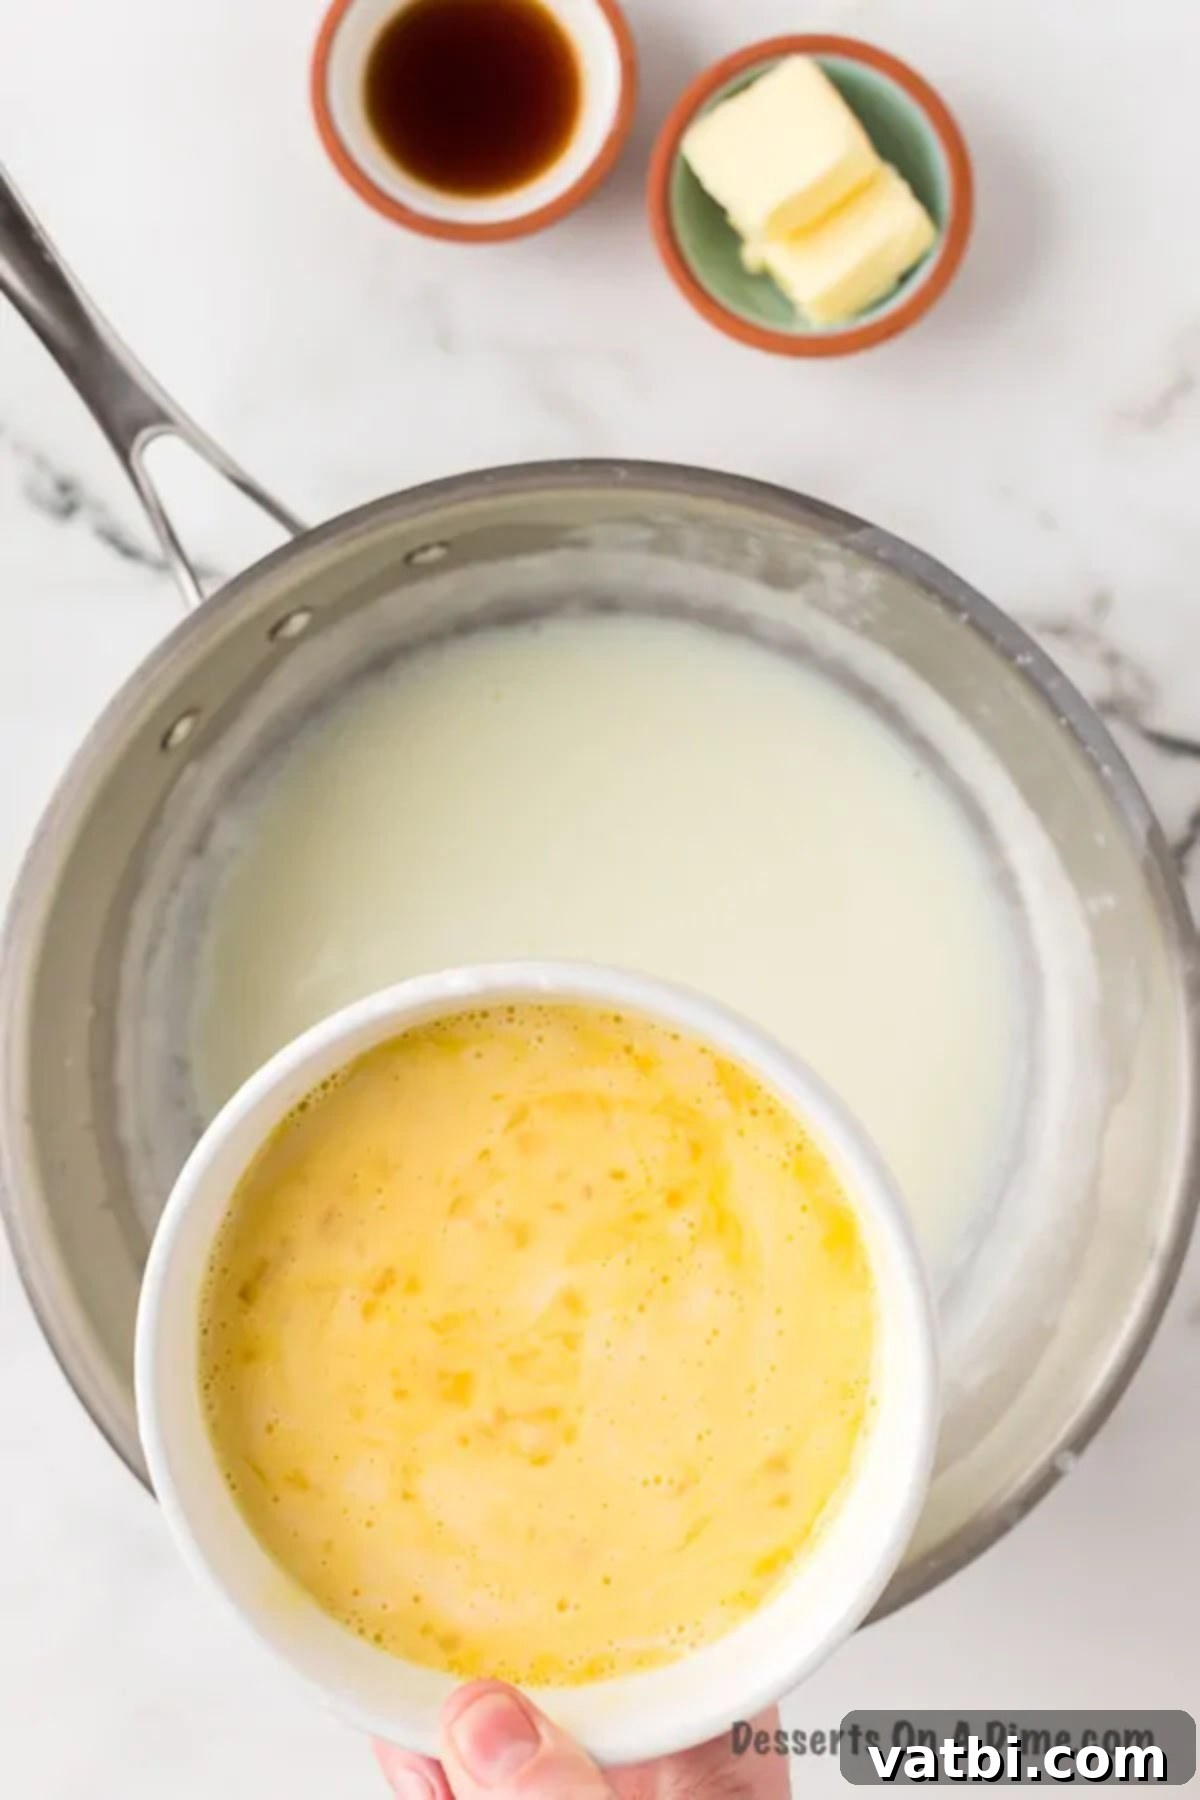
Step 5: Return to Saucepan. Once the eggs are tempered, slowly whisk the warmed egg mixture back into the remaining hot milk mixture in the saucepan. Continue stirring diligently to ensure everything is well combined and to prevent the eggs from settling at the bottom or cooking unevenly.
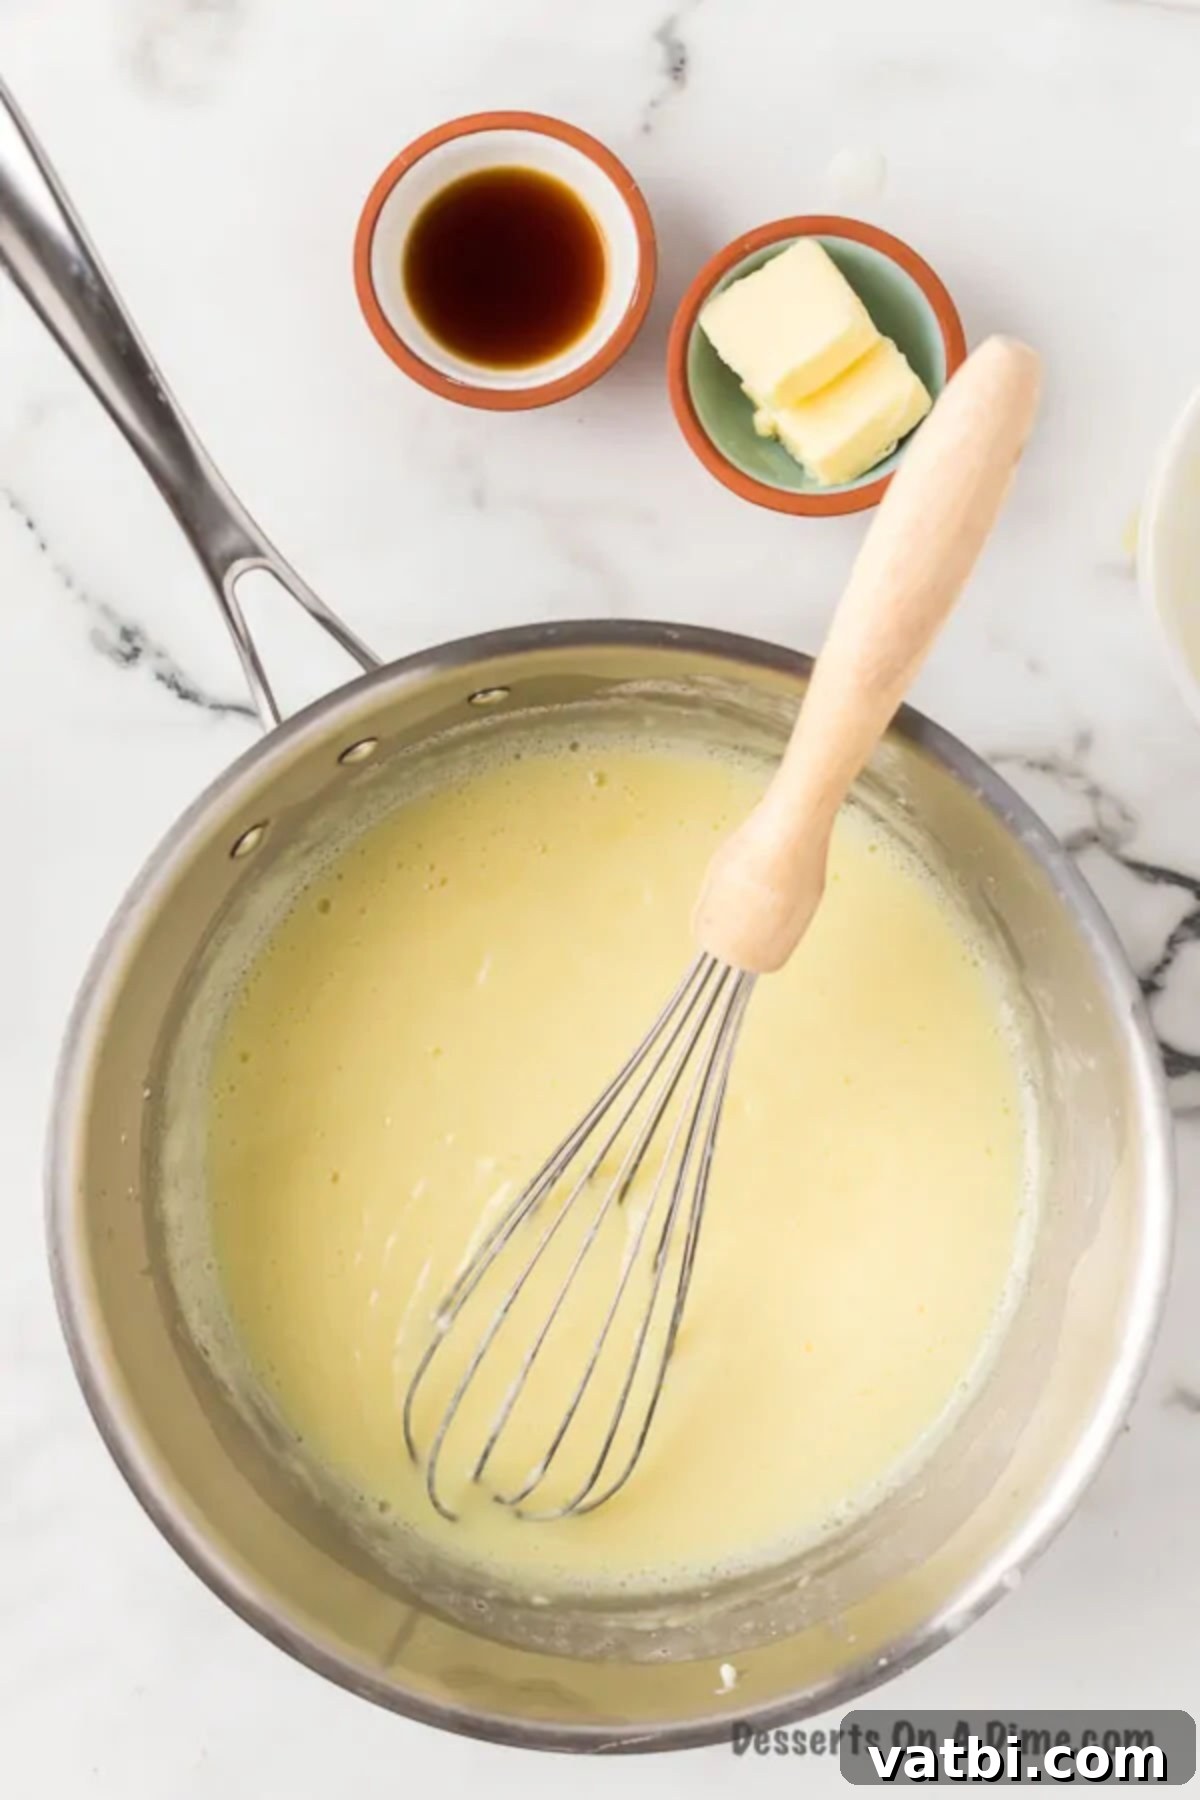
Step 6: Final Cook. Return the saucepan to the stovetop and bring the mixture to a boil again over medium heat. Once boiling, immediately reduce the heat to low. Continue to cook and stir constantly for another 2 minutes. This second cook ensures the cornstarch fully thickens and the eggs are thoroughly cooked, leading to a perfectly set pudding. Constant stirring at this stage is also vital to prevent a “skin” from forming on top and to avoid scorching the bottom.
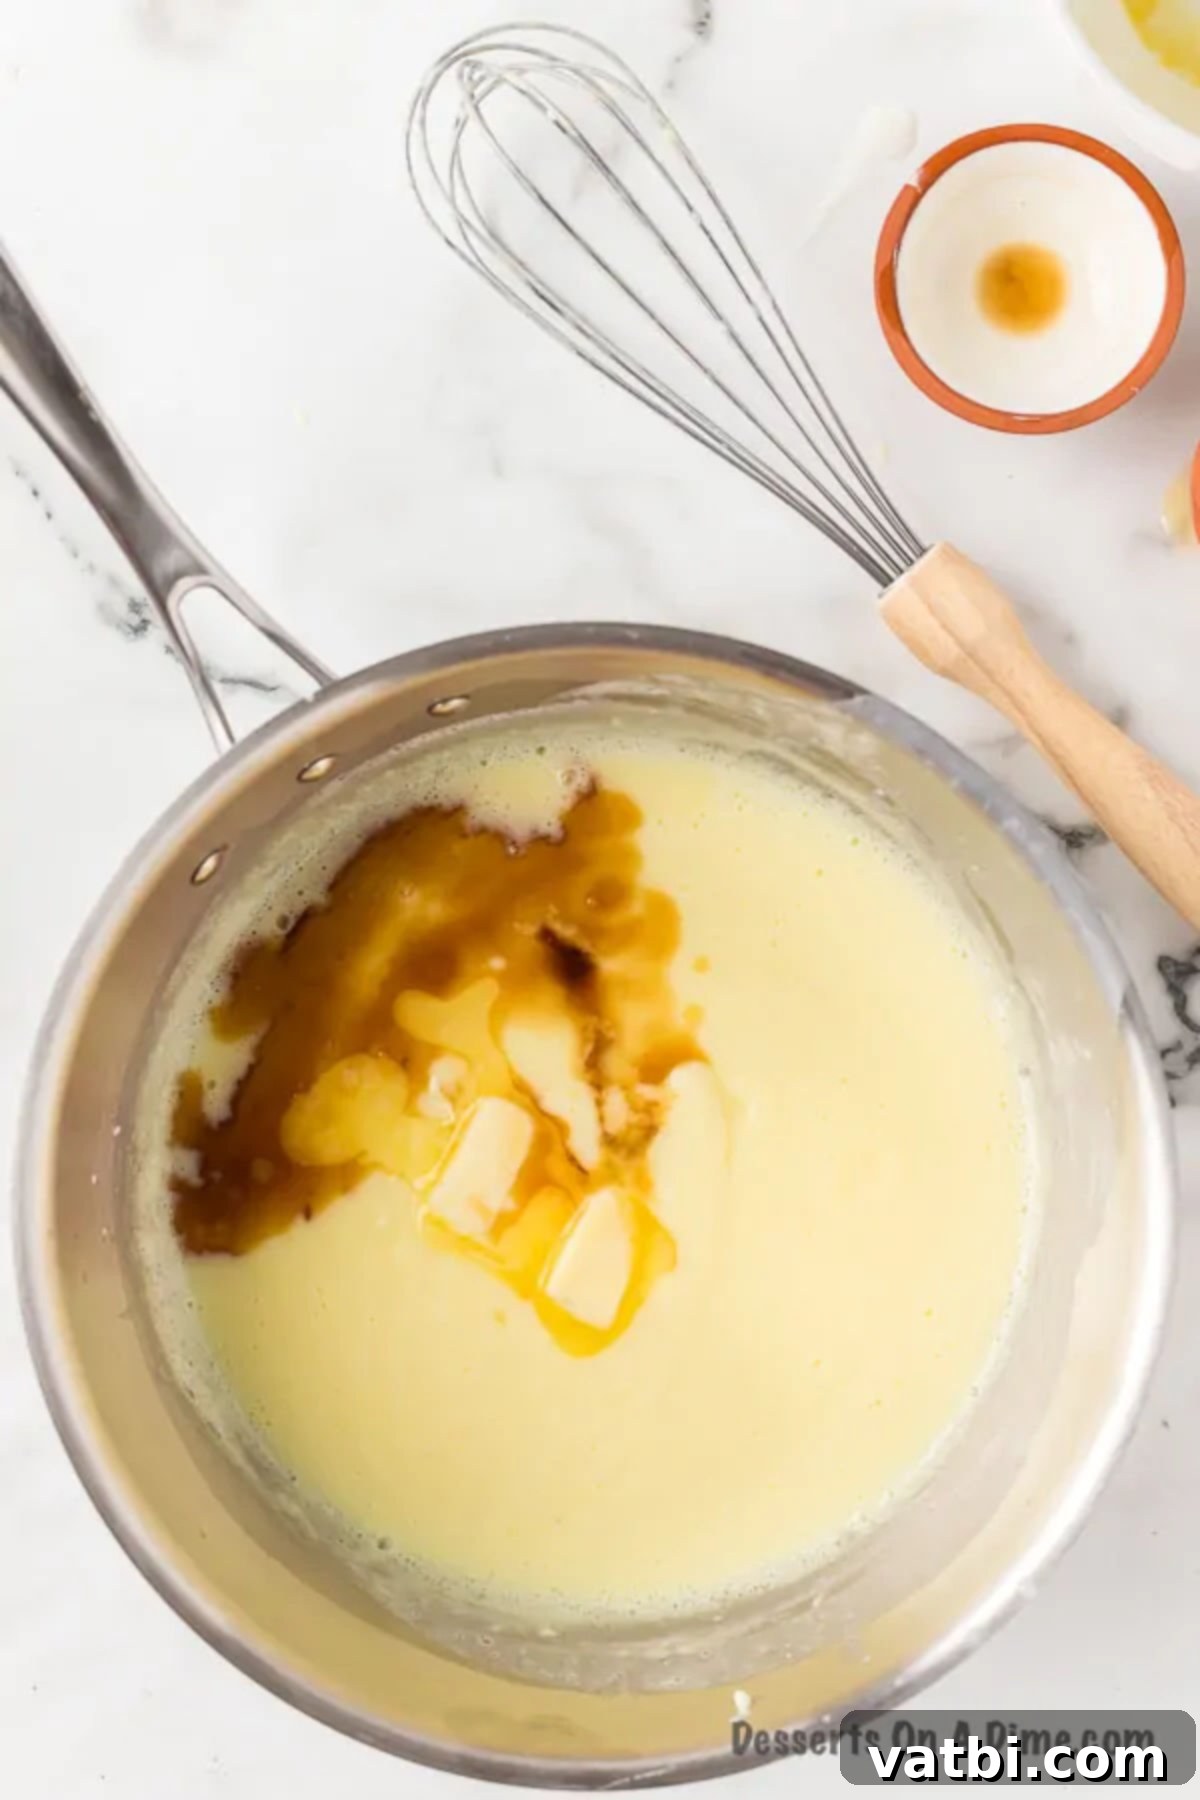
Step 7: Add Butter and Vanilla. Once the pudding has thickened to your desired consistency and has cooked for the recommended time, remove the saucepan from the heat. Immediately add the butter and pure vanilla extract. Adding these at the very end ensures the delicate vanilla flavor isn’t cooked off and the butter provides maximum richness and gloss.
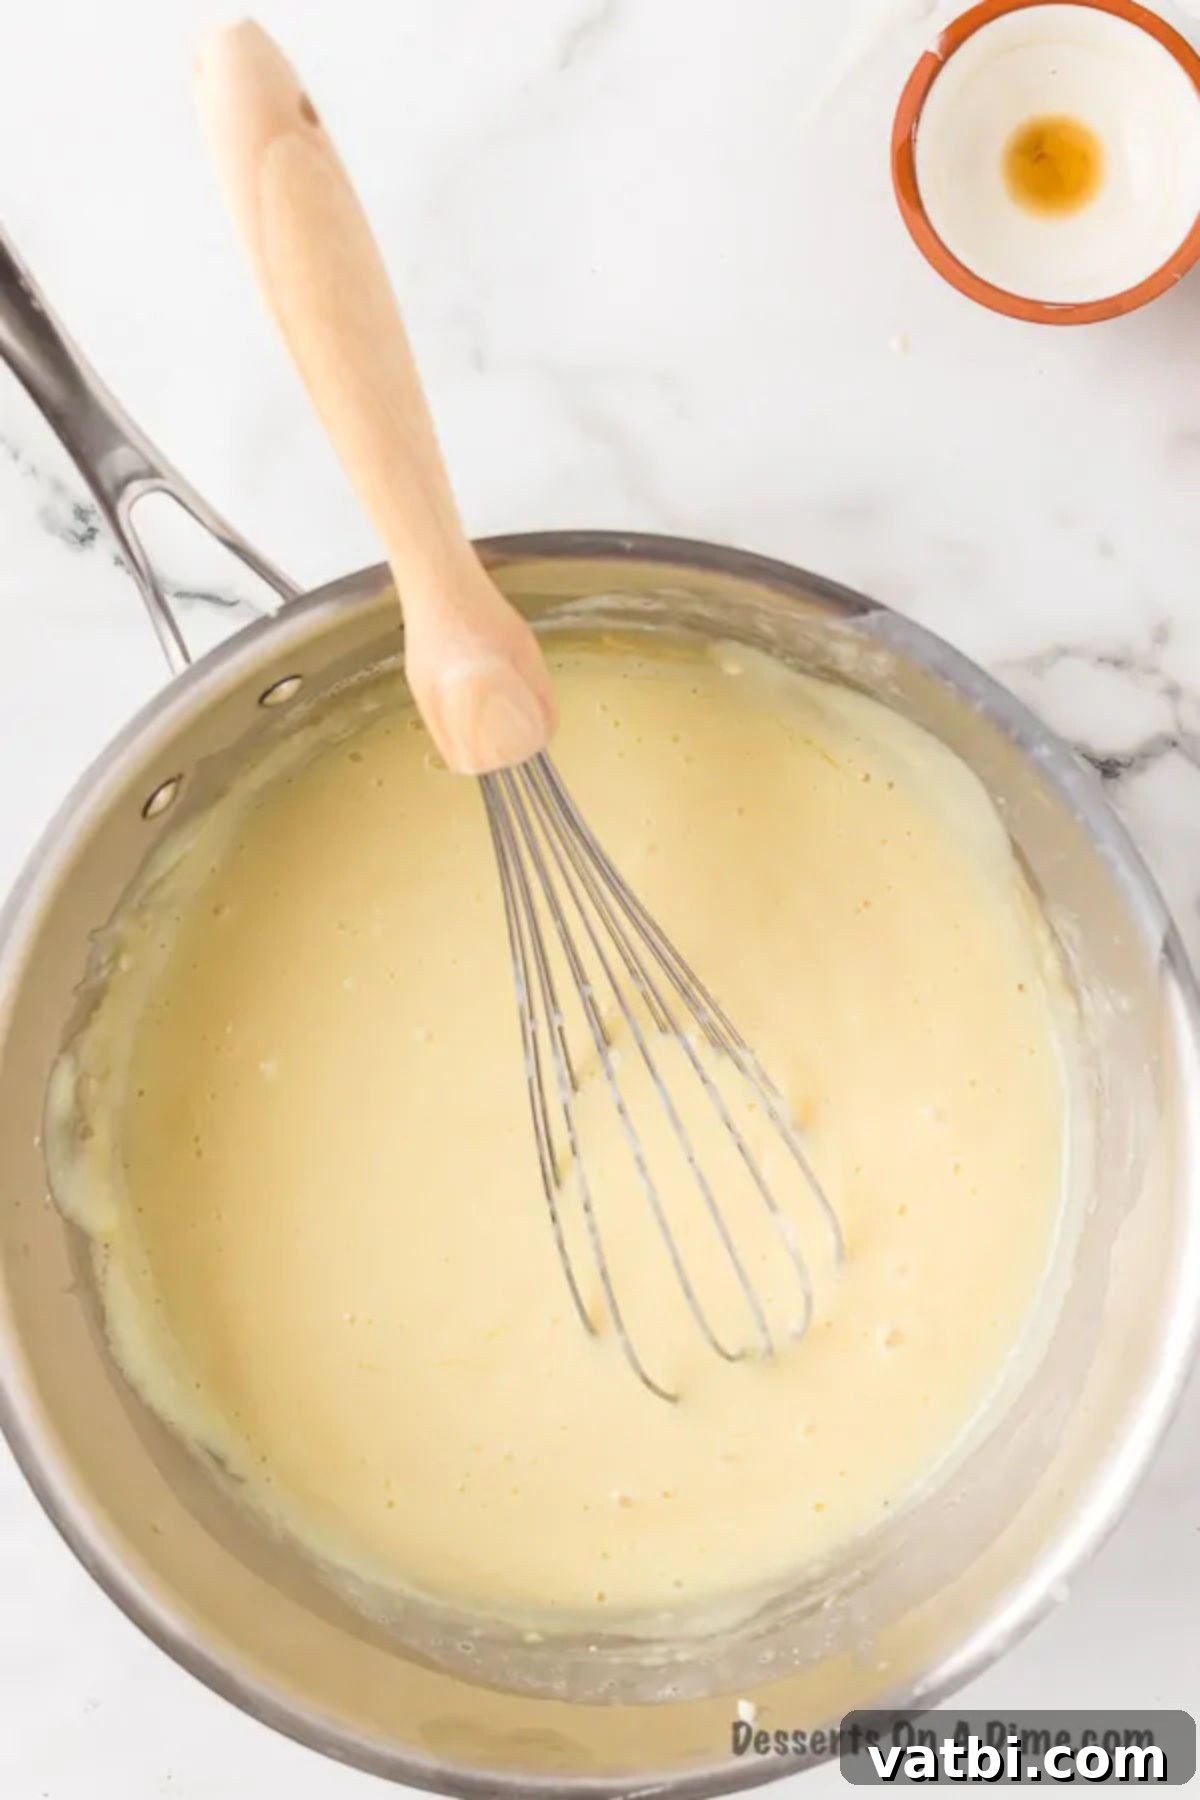
Step 8: Stir to Combine. Gently stir the butter and vanilla into the hot pudding until the butter is completely melted and fully incorporated. The pudding should now be smooth, glossy, and beautifully fragrant.
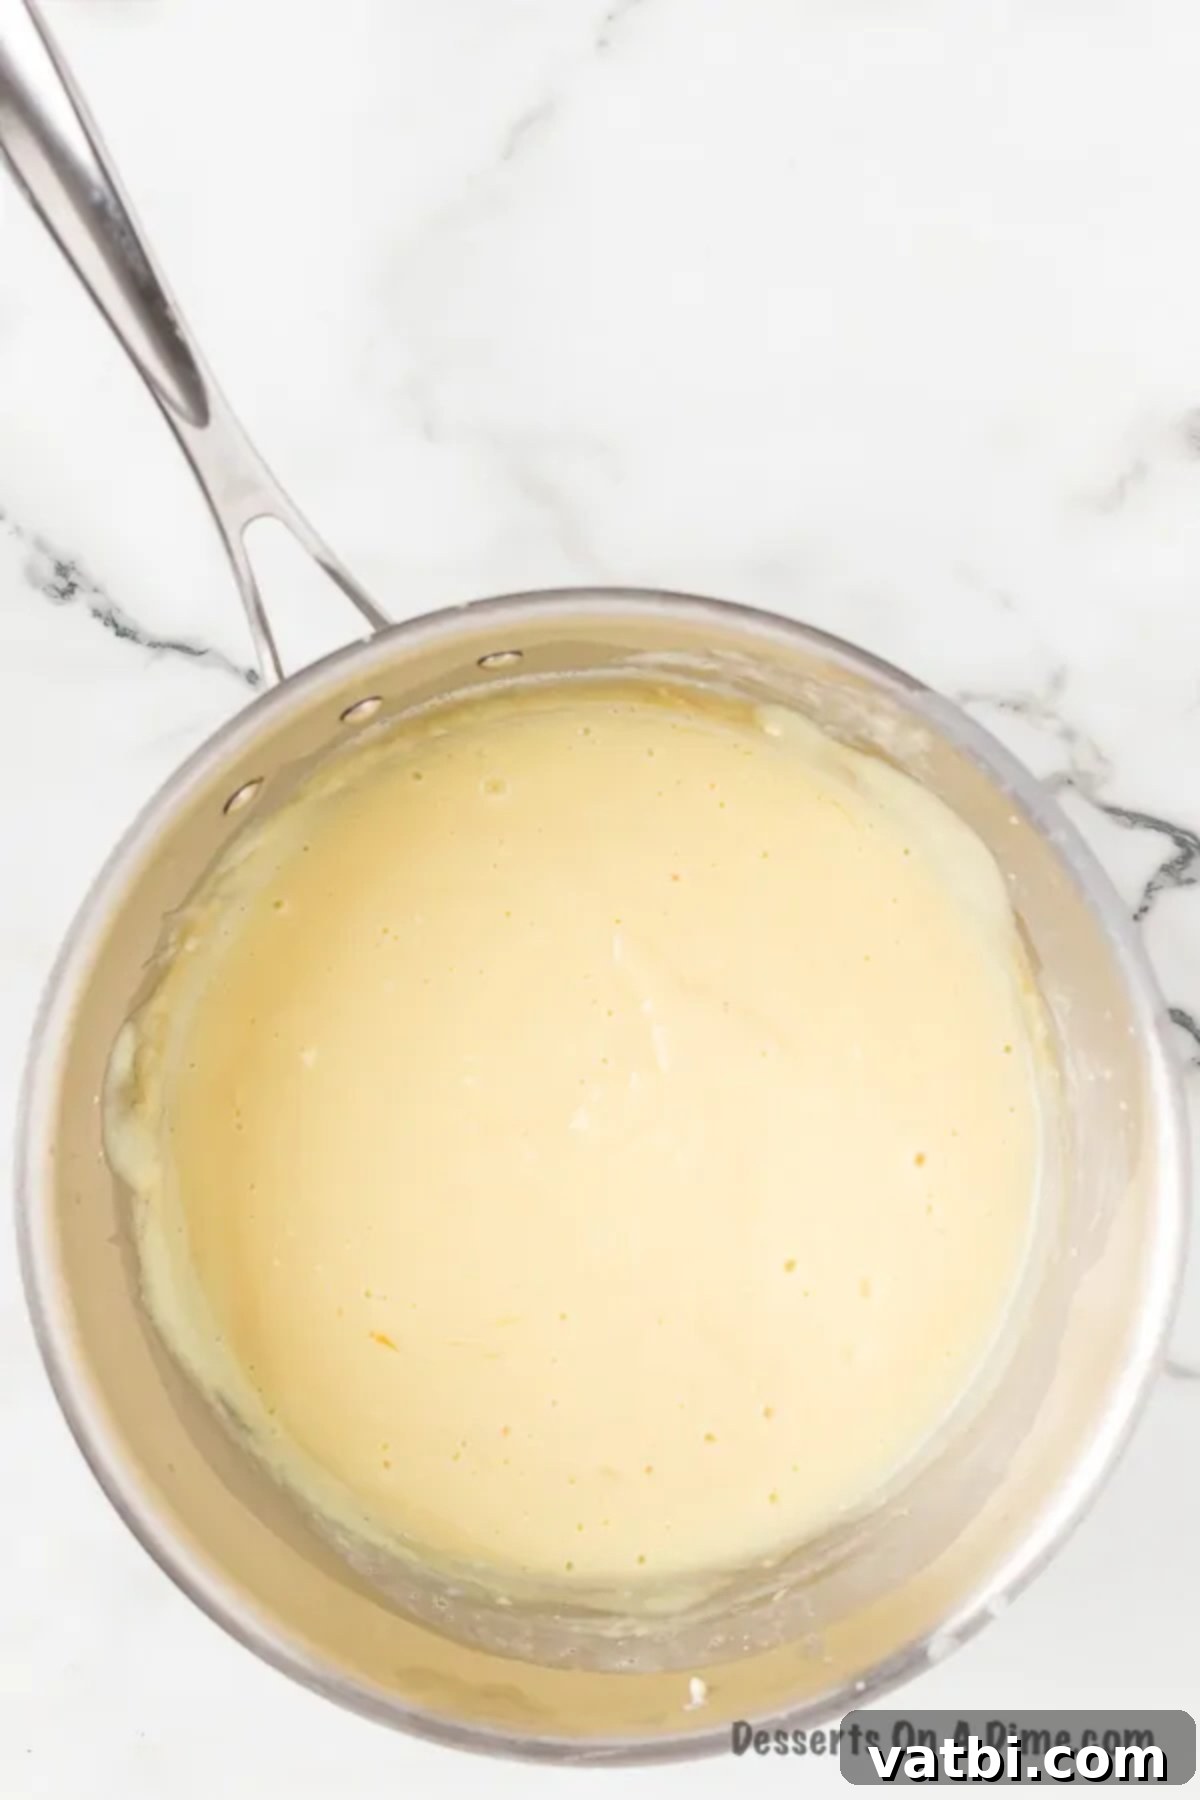
Step 9: Ensure Smoothness. Before proceeding, give the pudding a final whisk or stir to ensure every last lump is gone and the texture is perfectly smooth and velvety. If you encounter any small lumps, you can press them against the side of the pan with your whisk or pass the pudding through a fine-mesh sieve for ultimate silkiness.
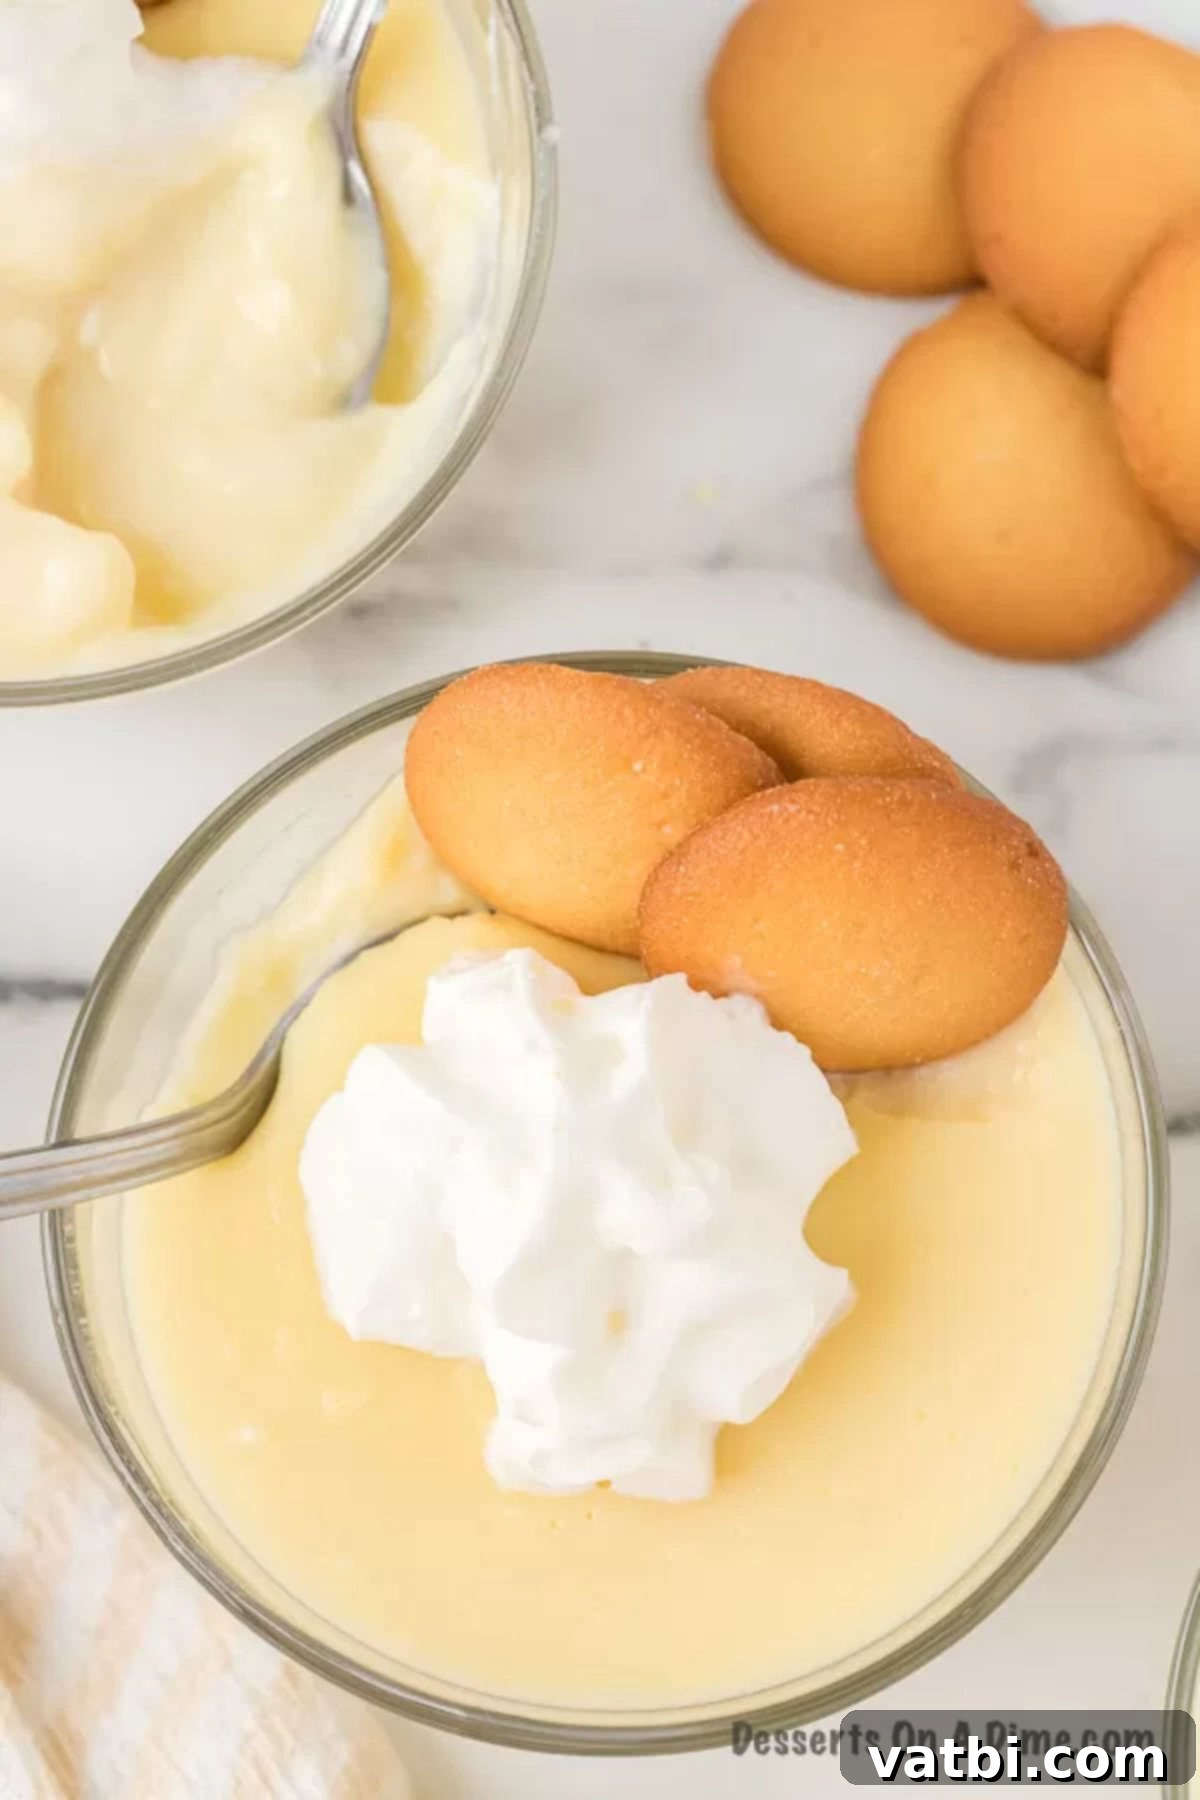
Step 10: Chill and Serve. Immediately pour the hot pudding into individual serving dishes, ramekins, or a large serving bowl. To prevent a “skin” from forming on the surface as it cools, gently press a piece of plastic wrap directly onto the surface of the pudding, ensuring no air pockets. Transfer the dishes to the refrigerator and allow the pudding to cool and set completely for at least 2 hours. Once chilled, remove the plastic wrap, top with your favorite garnishes like Homemade Whipped Cream, fresh berries, or vanilla wafers, and serve. Enjoy the creamy, rich goodness!
Expert Tips for Foolproof Homemade Pudding
Achieving perfectly smooth and creamy homemade vanilla pudding is simple when you keep these expert tips in mind:
- Constant Whisking is Key – As you combine the ingredients and heat the mixture in the saucepan, it is absolutely essential to stir constantly. Use a whisk to ensure all dry ingredients are fully dissolved and that the milk doesn’t scorch on the bottom of the pan. This vigilance prevents lumps and ensures an evenly cooked, smooth pudding. Start with medium heat to bring it to a boil, then reduce to medium-low or low heat once the eggs are incorporated.
- Don’t Rush the Chill Time – Patience is a virtue when it comes to setting pudding. Make sure you allow ample time for the vanilla pudding to chill and set before serving. We recommend at least two hours, but chilling for 4 hours or even overnight will result in an even firmer, more flavorful pudding. For easy serving, consider pouring the warm pudding directly into individual serving glasses or ramekins before chilling.
- Whole Milk for Superior Texture – While other types of milk can be used, the texture of your homemade pudding will be undeniably best when you use whole milk. Its higher fat content contributes to a significantly richer, creamier, and more luxurious mouthfeel that simply can’t be achieved with skim or low-fat varieties.
- Temper Your Eggs Properly – The tempering process (gradually mixing a small amount of hot liquid into the eggs before adding them to the main hot mixture) is crucial. This step slowly brings the eggs up to temperature, preventing them from scrambling and ensuring they blend smoothly into the pudding for added richness and thickness. If you skip this, you might end up with scrambled egg bits in your pudding.
- Preventing a “Skin” – As pudding cools, a firm skin can form on the surface. To avoid this, immediately after pouring the hot pudding into serving dishes or a large bowl, place a piece of plastic wrap directly onto the surface of the pudding, ensuring it touches the entire surface. This seals out air and keeps the top perfectly smooth and creamy.
- Use a Heavy-Bottomed Saucepan – A heavy-bottomed saucepan distributes heat more evenly, significantly reducing the risk of your pudding scorching or burning on the bottom, which can impart an unpleasant taste.
How to Thicken Vanilla Pudding? (Troubleshooting Thin Pudding)
If you find that your homemade vanilla pudding is too thin after chilling, don’t worry – it’s an easy fix! Since this pudding is made from scratch with cornstarch as its thickening agent, the solution lies in adding a bit more cornstarch.
To thicken thin pudding, create a slurry: In a small bowl, whisk together 1 tablespoon of cornstarch with 2 tablespoons of cold milk or water until smooth and lump-free. Gradually whisk this slurry into your thin pudding in the saucepan (if it’s still warm, or gently reheat it over low heat). Continue stirring constantly over low heat until the pudding thickens to your desired consistency. Remember that pudding will continue to thicken significantly as it chills, so aim for a slightly thinner consistency on the stovetop than your final desired thickness. Once it reaches the right consistency, remove it from heat, pour into dishes, and chill thoroughly as directed.
Creative Serving Suggestions for Vanilla Pudding
This homemade vanilla pudding is incredibly versatile and can be enjoyed in a multitude of ways. Here are some inspiring ideas to elevate your dessert:
- Classic Pudding Cups with Toppings – The simplest and most beloved way to serve vanilla pudding is in individual cups, topped with your favorite garnishes. Some timeless favorites include crunchy vanilla wafers, a generous dollop of homemade whipped cream, or a medley of fresh berries like sweet strawberries, plump blueberries, and tart raspberries.
- Fun Pudding Parfaits – Create stunning layered desserts by alternating spoonfuls of vanilla pudding with crushed cookies (like graham crackers or Oreos), granola, fresh fruit, and whipped cream in clear glasses. This creates an appealing visual and textural experience.
- Themed Pudding Cups – Use the pudding as a base for creative, themed desserts. For instance, make delightful Sand Pudding Cups, perfect for a pool party or summer gathering. Layer the pudding with crushed vanilla wafers or graham crackers (to mimic sand) and decorate with gummy candies in beach shapes. Kids especially love helping to assemble these fun treats!
- Leftover Candy or Cookie Toppings – Don’t let leftover holiday candy or broken cookies go to waste! Chop up any extra candy bars or crush up cookies to use as a delightful topping. It’s a fantastic way to repurpose ingredients you already have, and kids will have a blast choosing their personalized toppings.
- Interactive Kids’ Party Idea – Planning a birthday party? Set up a “pudding bar” with individual cups of vanilla pudding and an assortment of toppings. Let the kids unleash their creativity and build their own custom pudding desserts. This interactive activity is always a hit!
- Elegant Trifle Dessert – Elevate your vanilla pudding into a show-stopping trifle. Layer the pudding with cubes of soft pound cake or angel food cake, fresh fruit (such as peaches, bananas, or mixed berries), and generous layers of whipped cream. This visually appealing dessert is always impressive and delicious.
- Quick After-School Snack – Ditch the pre-packaged pudding cups from the grocery store. Make a batch of this homemade vanilla pudding and portion it into small, airtight containers. They make for a much healthier and tastier after-school snack that your kids will love.
- Convenient Grab-and-Go Snack – For busy mornings or convenient lunchbox additions, consider making a double batch. This not only tastes significantly better than store-bought options but also saves you money in the long run. Prepare them ahead of time for a stress-free week.
- Pudding Pie Filling – This vanilla pudding makes an excellent filling for a simple pie. Pour the warm pudding into a pre-baked pie crust (graham cracker or shortbread work well), chill until set, and then top with whipped cream and sprinkles for a classic vanilla cream pie.
Irresistible Vanilla Pudding Topping Ideas
The beauty of homemade vanilla pudding lies in its adaptability. While delicious on its own, adding your favorite toppings can transform it into an entirely new dessert experience. Here are some of our go-to favorites and creative suggestions:
- Crushed Vanilla Wafers: A classic pairing that adds a delightful crunch and complementary vanilla flavor.
- Fresh Fruit: Berries (strawberries, blueberries, raspberries), sliced bananas, peaches, or kiwi add natural sweetness, freshness, and vibrant color.
- Homemade Whipped Cream: Light, airy, and a perfect counterpoint to the rich pudding.
- Chocolate or Caramel Syrup Drizzle: A simple yet effective way to add a layer of indulgence.
- Chopped Candy Bars: Any of your favorite candy bars, chopped into small pieces, can add a fun, unexpected texture and flavor. Think Snickers, Kit Kat, or Reese’s.
- Mini Chocolate Chips: A universal favorite, these add bursts of chocolate goodness in every bite.
- Granola: For a textural contrast and a hint of nutty flavor, a sprinkle of your favorite granola works wonders.
- Toasted Coconut Flakes: Adds a tropical note and a lovely crunch.
- Chopped Nuts: Almonds, walnuts, pecans, or pistachios provide a savory crunch and richness.
- Sprinkles: A festive and colorful addition, especially for kids’ parties.
- Cookie Crumbs: Crushed Oreos, shortbread, or graham crackers create delicious layers or toppings.
Storage Tips for Freshness
Proper storage is essential to keep your homemade vanilla pudding tasting fresh and maintaining its creamy texture. Once the pudding has cooled down after cooking, make sure to transfer it to airtight containers or individual serving dishes. If using individual dishes, press a piece of plastic wrap directly onto the surface of the pudding in each dish to prevent a skin from forming and to keep it from absorbing refrigerator odors. Store any leftovers in the refrigerator for up to 4 days. While technically possible, freezing homemade pudding is generally not recommended as the texture can become grainy or watery upon thawing due to the cornstarch base. Enjoy it fresh for the best experience!
More Easy and Delicious Pudding Recipes
If you’ve enjoyed making this homemade vanilla pudding, you’ll love exploring these other simple and satisfying pudding recipes:
- Classic Homemade Banana Pudding Recipe
- Rich Butterscotch Pudding
- Famous Magnolia Bakery Banana Pudding Recipe
- Decadent Homemade Chocolate Pudding
- Creative Sand Pudding Cups
- Creamy Peanut Butter Pudding
We encourage you to give this easy and incredibly flavorful homemade vanilla pudding a try today. Don’t forget to leave a comment and share your experience; we absolutely love hearing from you!
Pin
Homemade Vanilla Pudding
Ingredients
- 1/2 cup Sugar
- 2 Tbsp Cornstarch
- 1/8 tsp Salt
- 2 cups Milk
- 2 tbsp Butter
- 2 Large Eggs
- 1 Tbsp Vanilla Extract
Instructions
-
Whisk together sugar, cornstarch and salt in a medium saucepan.
-
Whisk in milk and bring to a boil over medium heat stirring constantly. Allow to cook for 2 minutes.
-
Place the eggs in a separate bowl and lightly beat them. Then stir in 1 cup of milk mixture from the sauce pan into the eggs and then slowly whisk the egg mixture back into the sauce pan.
-
Bring to a boil and reduce the heat to low. Cook and stir for 2 more minutes.
-
Remove from the heat and stir in butter and vanilla.
-
Transfer to serving dishes and chill.
Recipe Video
Recipe Notes
Nutrition Facts
Pin This Now to Remember It Later
Pin Recipe
