Irresistible Cherry Thumbprint Cookies: A Classic Recipe for Festive & Flavorful Bites
Cherry Thumbprint Cookies are a timeless baking masterpiece, celebrated for their exquisite balance of textures and flavors. These aren’t just any cookies; they are tender, melt-in-your-mouth buttery discs, each cradling a vibrant dollop of sweet cherry preserves and elegantly finished with a delicate glaze or a decadent white chocolate drizzle. Far more than just a festive treat for Christmas cookie trays, their bright red centers make them a captivating addition to any special occasion, from cozy family gatherings and elegant holiday parties to romantic Valentine’s Day celebrations. Their undeniable charm and delightful taste ensure they are always a crowd-pleaser, easy to make, and a joy to share.

The magic of these cherry thumbprint cookies lies in their perfect harmony: the rich, crumbly cookie base provides a comforting canvas, while the glossy, fruity cherry filling bursts with a sweet and slightly tart flavor. The optional light glaze or creamy white chocolate drizzle adds another layer of sweetness and sophistication, elevating these simple treats to something truly extraordinary. Whether you’re a seasoned baker or just starting your culinary journey, this recipe offers a straightforward path to creating cookies that look as impressive as they taste. They not only store well but also freeze beautifully, making them ideal for preparing ahead of time for busy seasons or for thoughtful gifting to friends and loved ones. Indeed, they stand proudly as one of the Best Cherry Desserts you can make at home.
A Sweet History: The Origin of Thumbprint Cookies
While often associated with American holiday baking, thumbprint cookies actually trace their roots back to Sweden, where they are known as “Hallongrotta,” meaning “raspberry cave.” These traditional Swedish cookies typically feature a shortbread-like dough filled with raspberry jam. Over time, as immigrants brought their cherished recipes to new lands, the thumbprint cookie evolved, adopting various fillings and names, but always retaining its distinctive form and irresistible appeal. The concept of pressing an indentation into a soft cookie dough and filling it with fruit jam has captivated bakers for generations, cementing its place as a beloved classic in kitchens worldwide. Our cherry version pays homage to this rich history while introducing a wonderfully bright and tangy flavor profile.
Table of contents
- Why We Love These Cherry Thumbprint Cookies
- Essential Ingredients for Perfect Thumbprint Cookies
- Step-by-Step Guide to Baking Cherry Thumbprint Cookies
- Storage Solutions for Maximum Freshness
- Expert Tips for Baking Success
- Serving Suggestions & Delightful Variations
- Common Questions About Cherry Thumbprint Cookies
- More Delicious Cherry Dessert Recipes
Why We Love These Cherry Thumbprint Cookies
- Buttery, tender cookies: Each bite delivers a comforting, melt-in-your-mouth texture that is rich with butter and perfectly tender. The delicate crumb provides the ideal contrast to the soft fruit filling.
- Sweet and slightly tart cherry filling: The vibrant cherry preserves offer a delightful burst of fruity sweetness with a hint of tartness, cutting through the richness of the cookie and creating a balanced flavor profile that truly sings.
- Simple yet elegant: Despite their sophisticated appearance, these cookies are surprisingly easy to make, requiring basic ingredients and straightforward steps. They’re perfect for impressing guests without extensive effort.
- Customizable: While cherry is a fantastic choice, the recipe is wonderfully versatile. You can easily swap in your favorite jam or preserve, from raspberry to apricot, to create a personalized batch every time.
- Perfect for any occasion: Their festive colors and delightful taste make them ideal for holiday cookie platters, birthday parties, afternoon tea, or simply as a special treat to brighten an ordinary day.
- Long-lasting and freezer-friendly: These cookies hold their freshness beautifully, making them excellent for preparing in advance. They also freeze wonderfully, allowing you to enjoy homemade treats whenever a craving strikes.
- Nostalgic Comfort: For many, thumbprint cookies evoke fond childhood memories, bringing a sense of warmth and nostalgia with every bite.
Essential Ingredients for Perfect Thumbprint Cookies
Creating these delightful cookies starts with a selection of common pantry staples. The quality of your ingredients plays a significant role in the final taste and texture, so choose wisely!
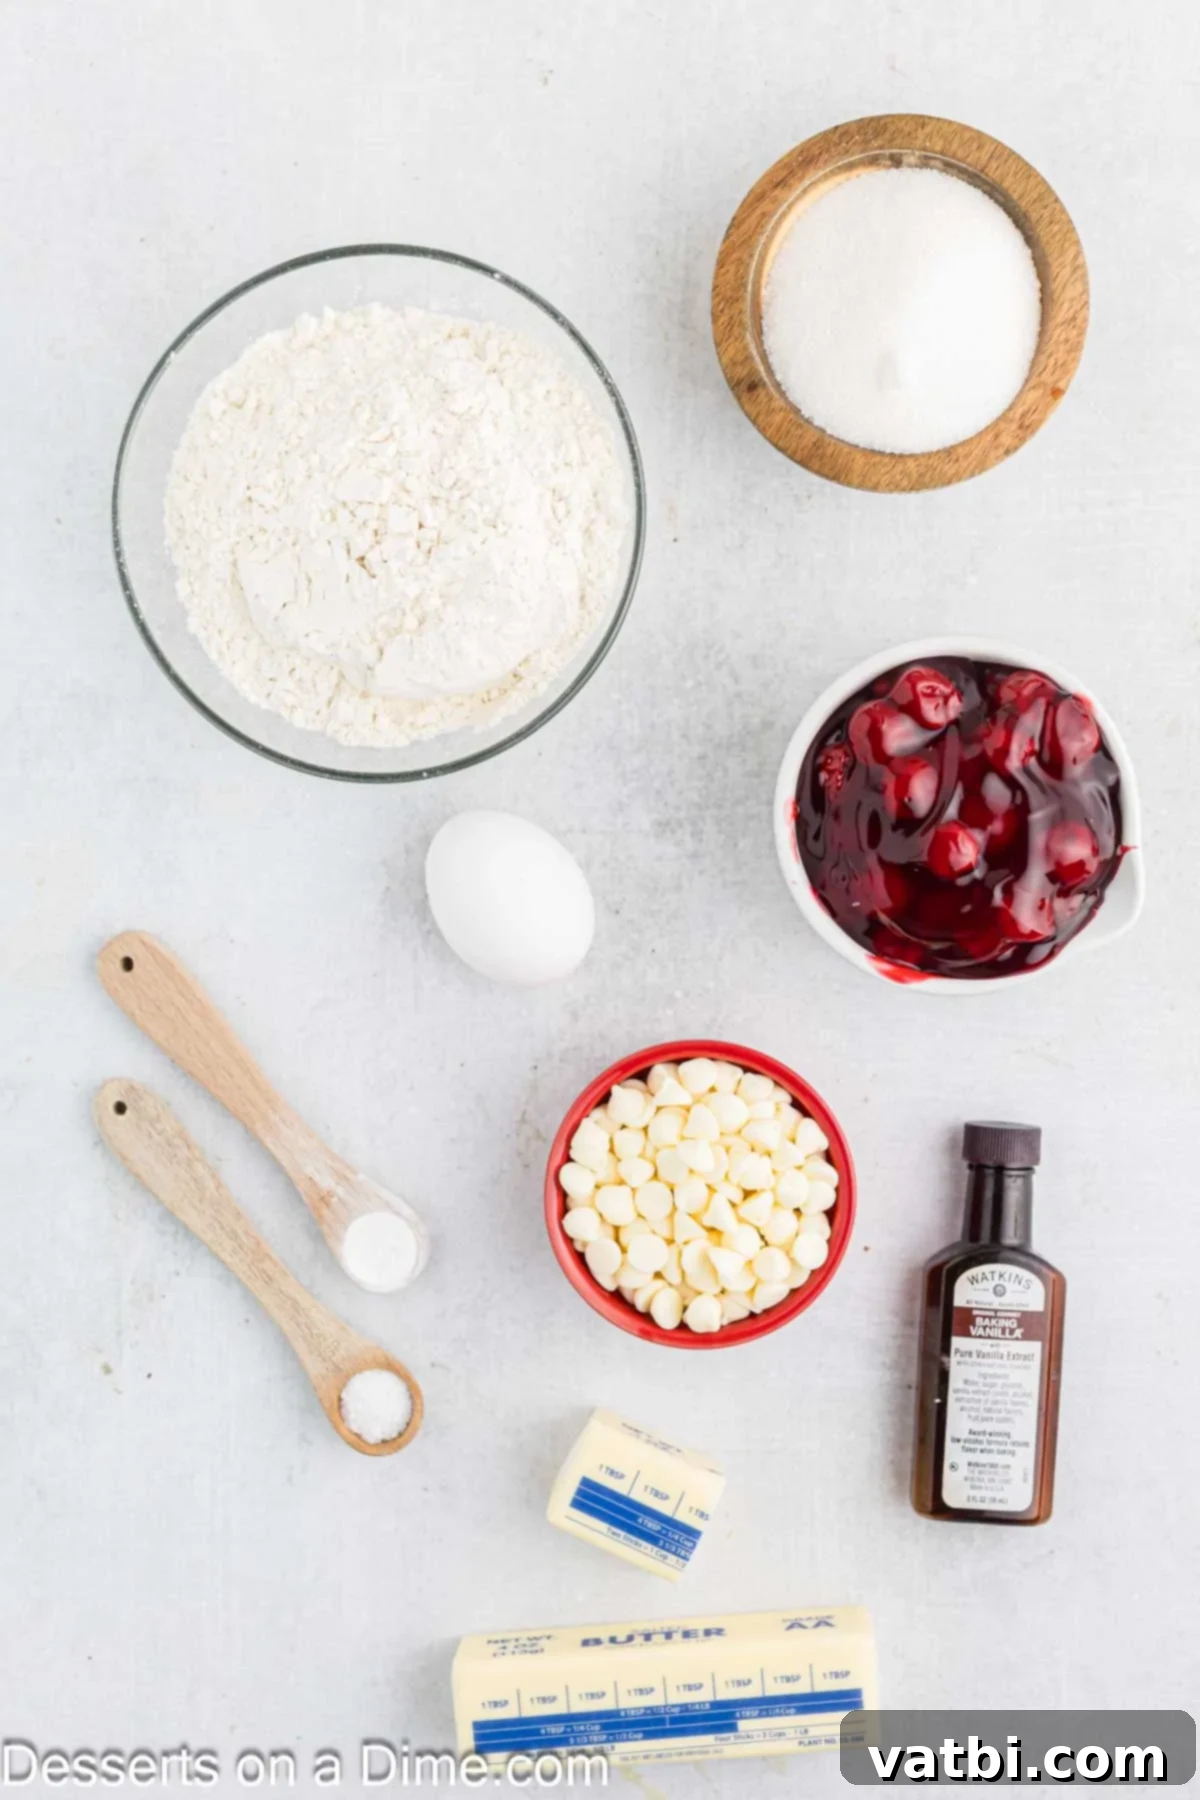
- All-purpose flour: This provides the essential structure for your cookies. For best results, measure flour by weight or use the spoon-and-level method to avoid overly dense cookies.
- Baking powder: A small amount of baking powder helps the cookies rise slightly, contributing to their tender, delicate texture without making them cakey.
- Salt: Essential for balancing the sweetness and enhancing the rich, buttery flavors of the cookie dough. Don’t skip it!
- Butter, softened: Unsalted butter, softened to room temperature, is crucial for achieving a rich, tender, and truly buttery cookie base. It creams beautifully with sugar, incorporating air for a lighter texture.
- Granulated sugar: Sweetens the cookies and contributes to their slightly crisp edges and golden-brown finish.
- Egg: Acts as a binder, holding the ingredients together, adding moisture, and contributing to the cookie’s richness and structure.
- Vanilla extract: A cornerstone of delicious baked goods, vanilla extract adds warmth, depth, and a delightful aromatic quality that complements the cherry flavor perfectly. Use a good quality pure vanilla extract for the best taste.
- Cherry pie filling: This convenient ingredient fills the thumbprint indentation with sweet, fruity flavor. Choose a high-quality filling for the best results, or even a good cherry preserve if you prefer a slightly less gelatinous texture.
- White chocolate chips (optional): Melted white chocolate chips add a creamy, sweet drizzle that beautifully contrasts with the red cherry filling, making the cookies even more visually appealing and delicious.
Step-by-Step Guide to Baking Cherry Thumbprint Cookies
Follow these detailed instructions to create a batch of perfect cherry thumbprint cookies. Precision and patience are key for the best results!
- Step 1: Prepare Your Workspace and Oven. Begin by preheating your oven to 350°F (175°C). While the oven heats, line two baking sheets with parchment paper. This prevents sticking and ensures even baking and easy cleanup.
- Step 2: Whisk Together Dry Ingredients. In a medium mixing bowl, combine the all-purpose flour, baking powder, and salt. Use a whisk to thoroughly blend them, ensuring the leavening agent is evenly distributed. Set aside.
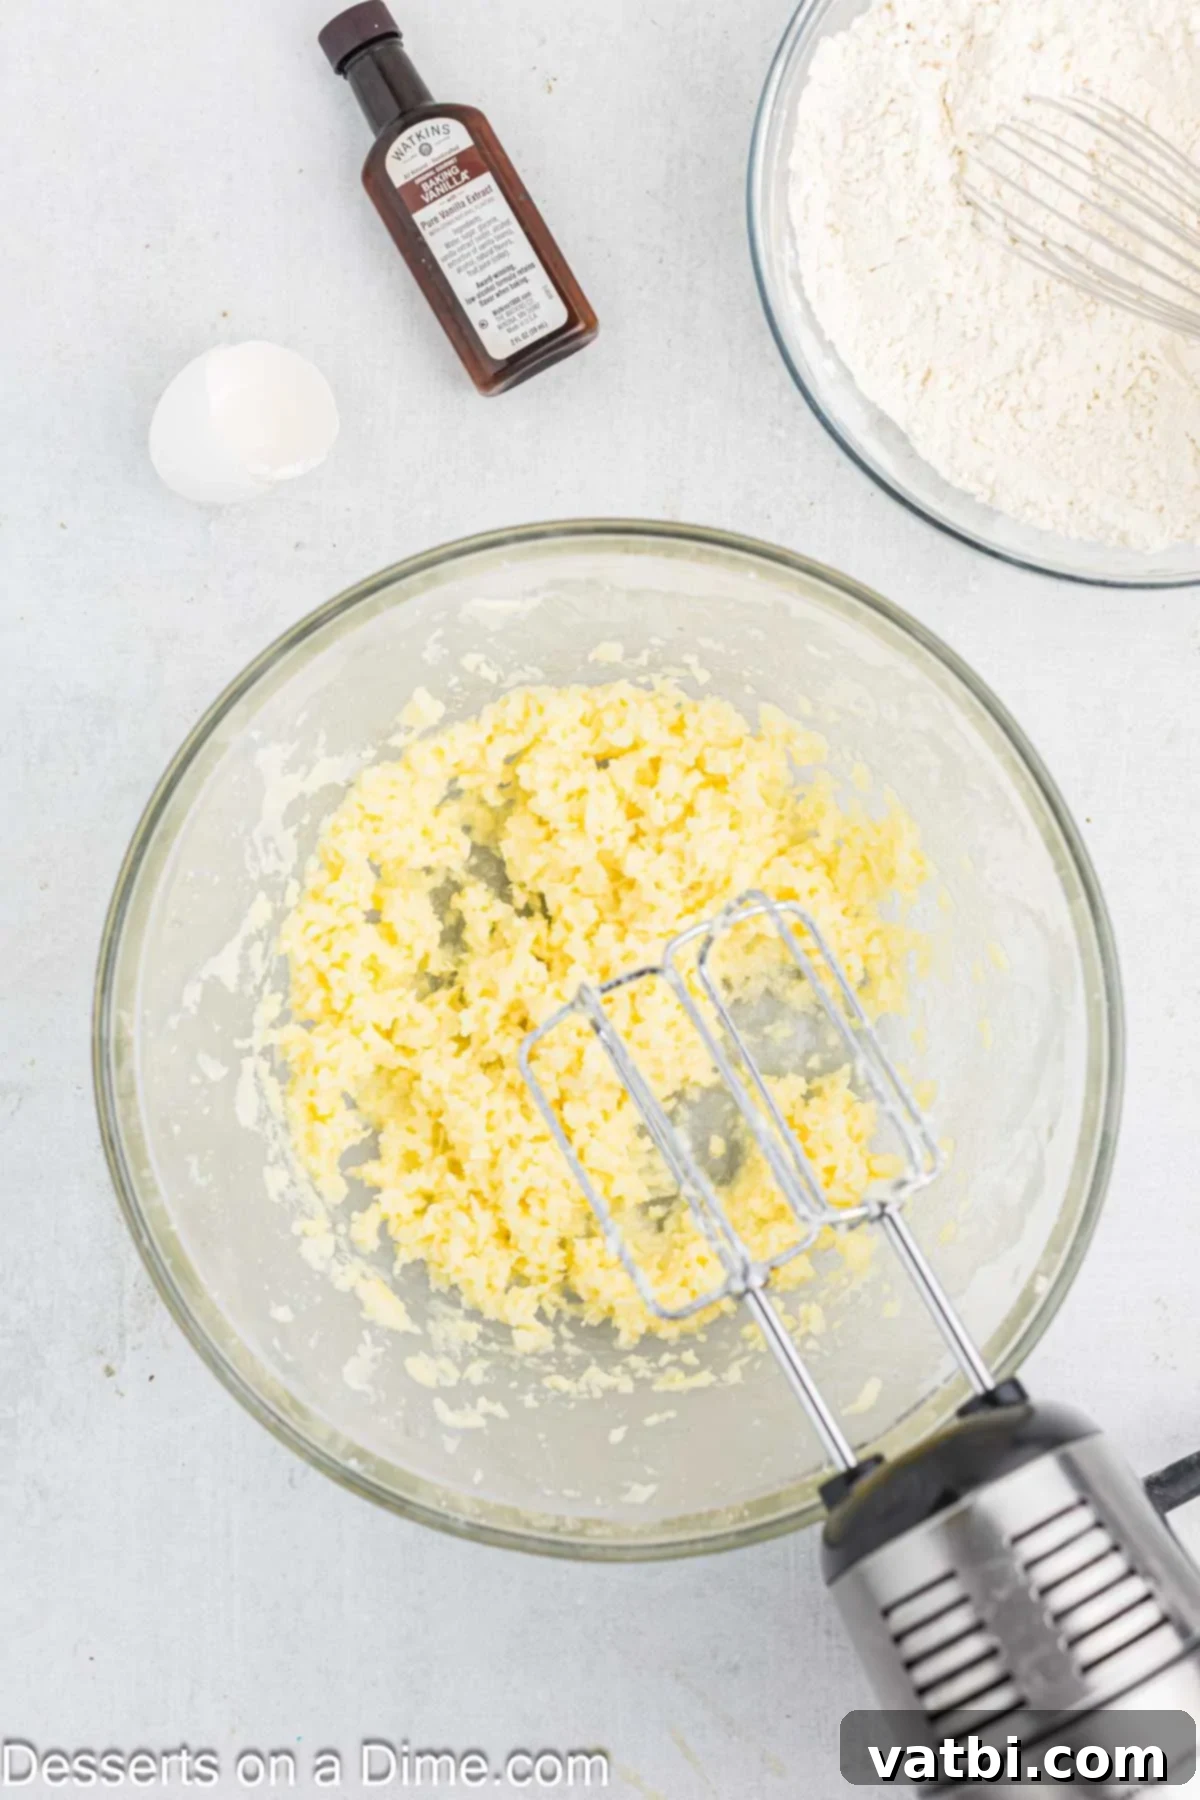
Step 3: Cream Butter and Sugar. In a separate large mixing bowl, using an electric mixer, beat the softened butter and granulated sugar together. Cream them until the mixture is light, fluffy, and pale in color, typically 2-3 minutes. This step incorporates air, which contributes to the cookies’ tender texture. Next, beat in the egg and vanilla extract until well combined, scraping down the sides of the bowl as needed.
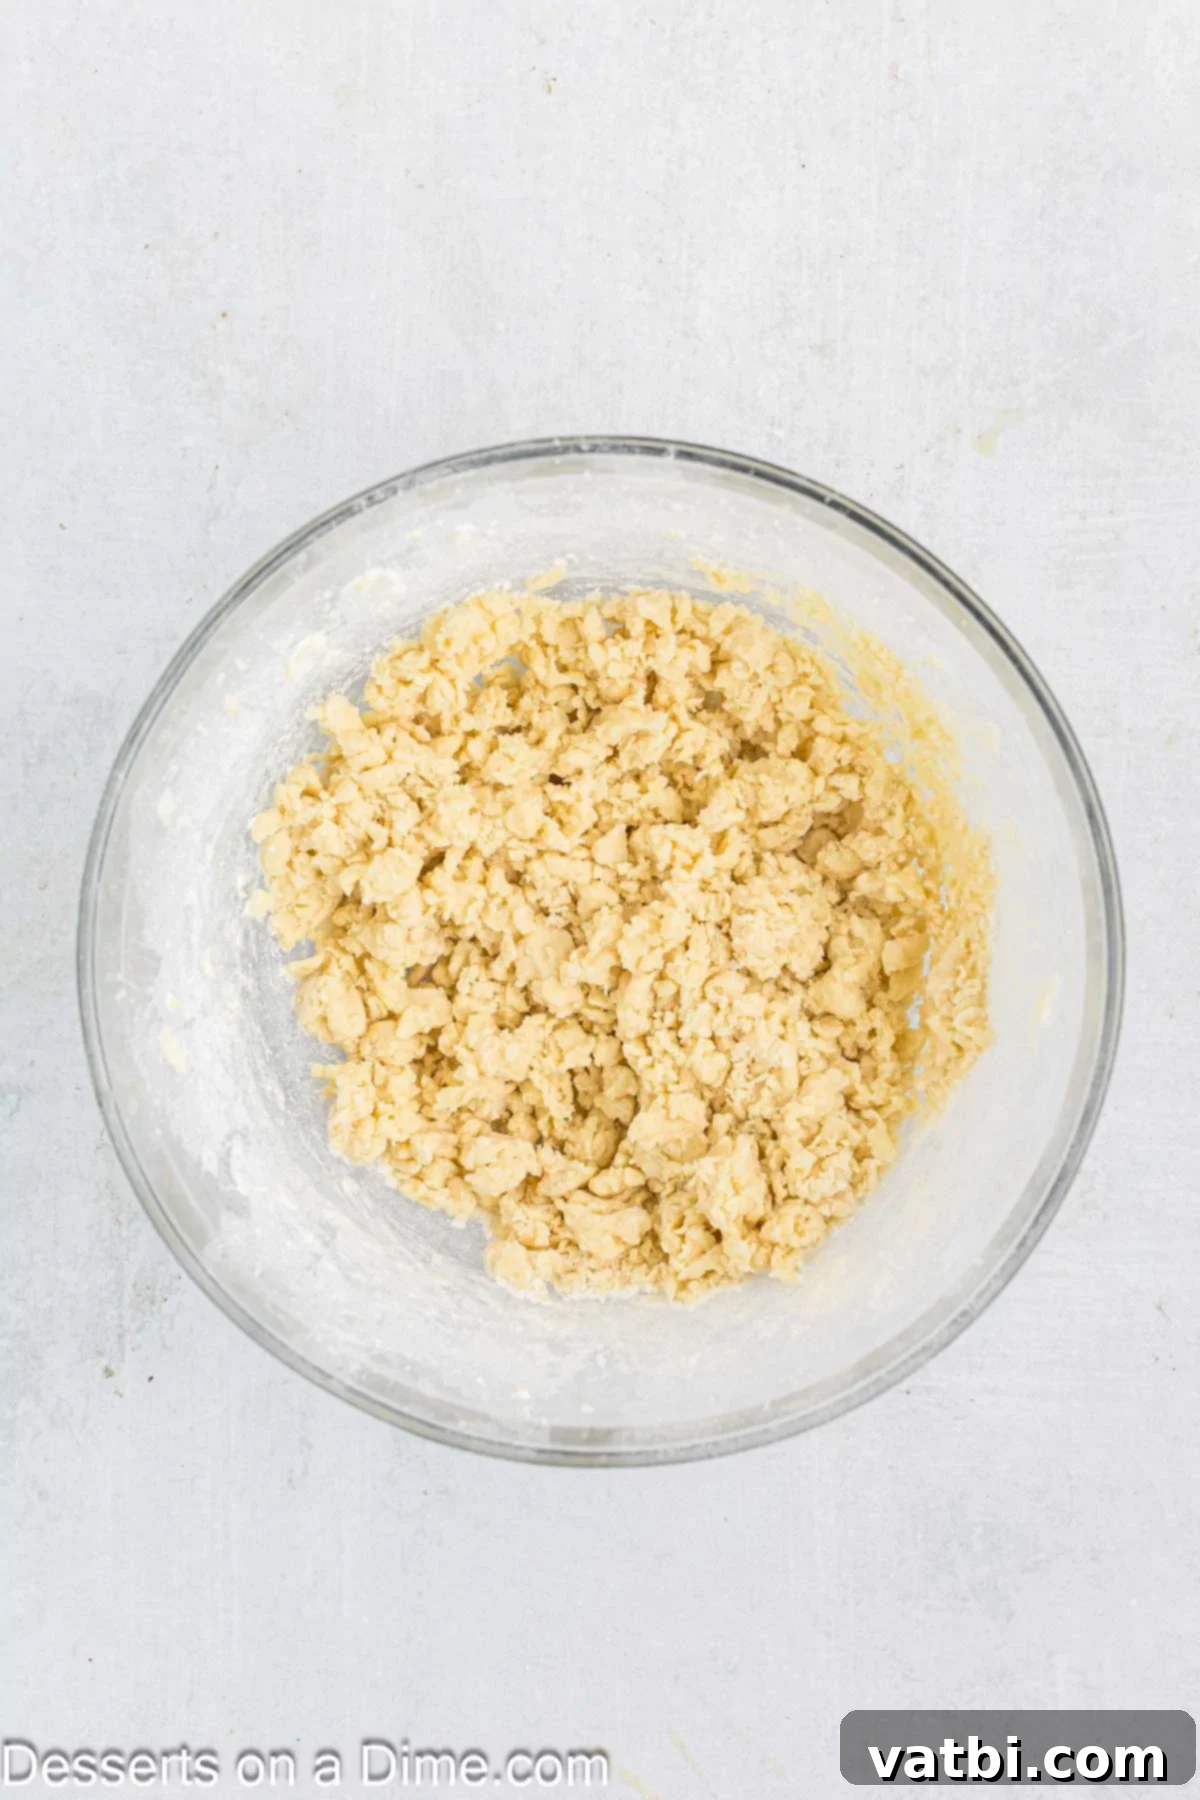
Step 4: Gradually Add Dry Ingredients. With the mixer on low speed, gradually add the whisked dry ingredients (flour, baking powder, salt) into the wet mixture. Mix until just combined and no streaks of flour remain. Be careful not to overmix, as this can lead to tough cookies.
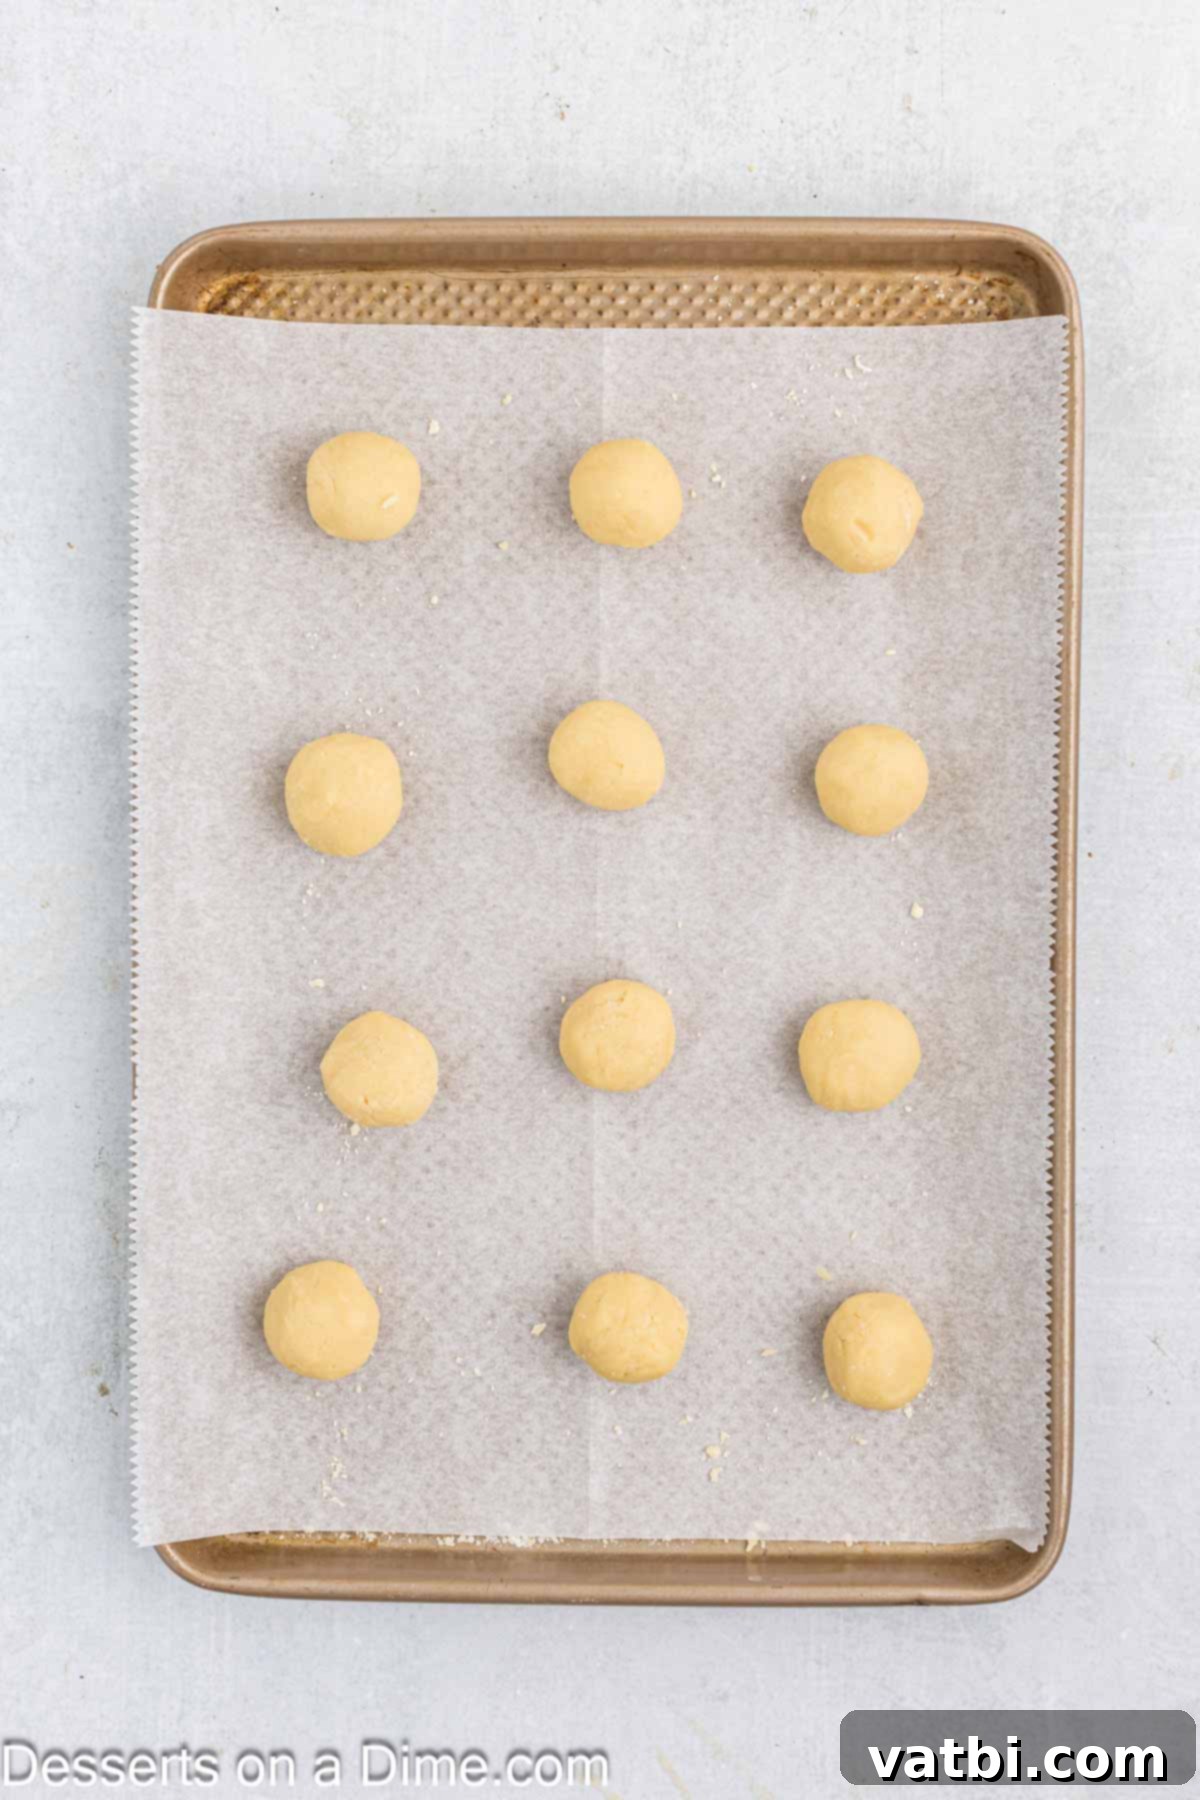
Step 5: Roll the Cookie Dough Balls. Once the wet and dry ingredients are perfectly combined, take small portions of the cookie dough and roll them into 1-inch balls, or approximately 1 tablespoon each. If the dough is too sticky, chill it in the refrigerator for 20-30 minutes before rolling. This will make it much easier to handle and shape.
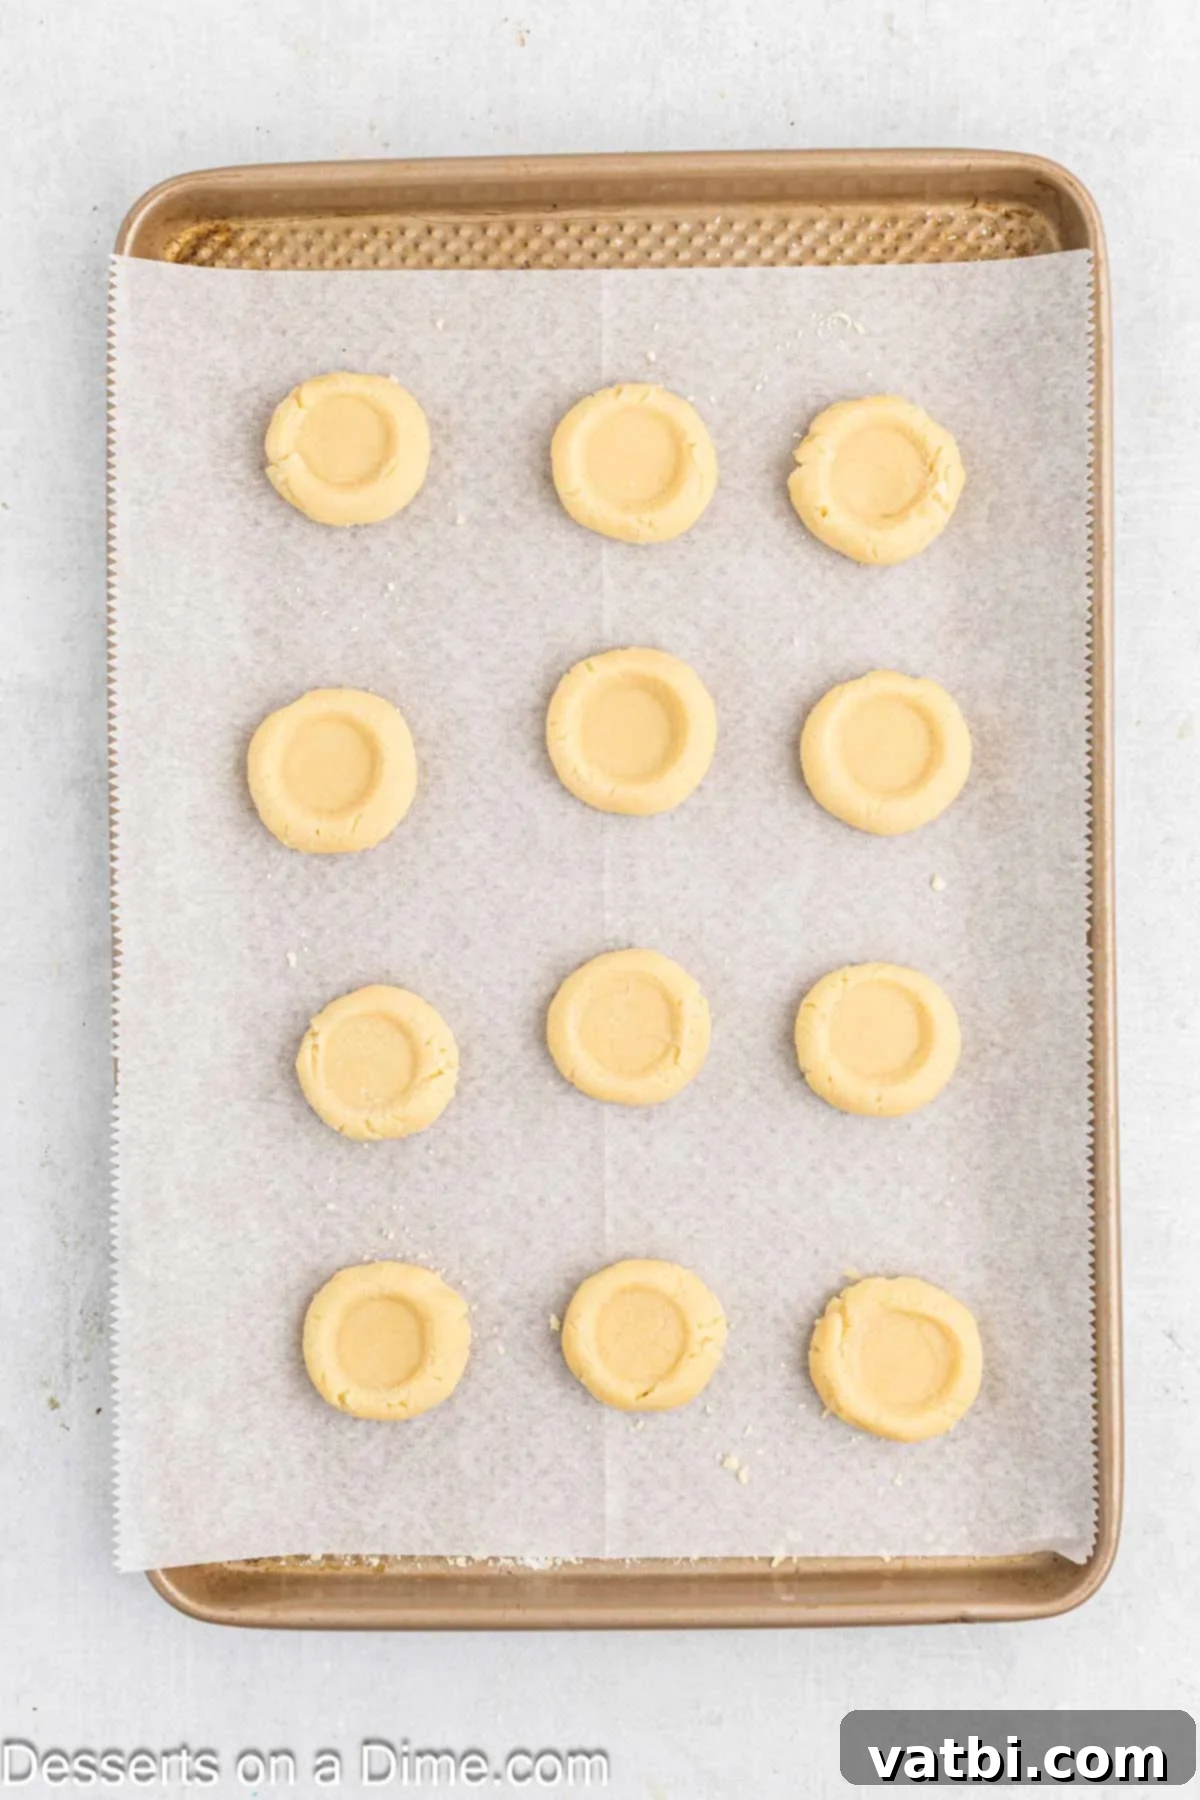
Step 6: Create the Thumbprints. Place the rolled dough balls about 2 inches apart on your prepared baking sheets. Using your thumb or the back of a lightly floured teaspoon, gently press into the center of each cookie to create a shallow indentation. Be careful not to press all the way through or crack the edges. If cracks appear, gently smooth them with your fingers.
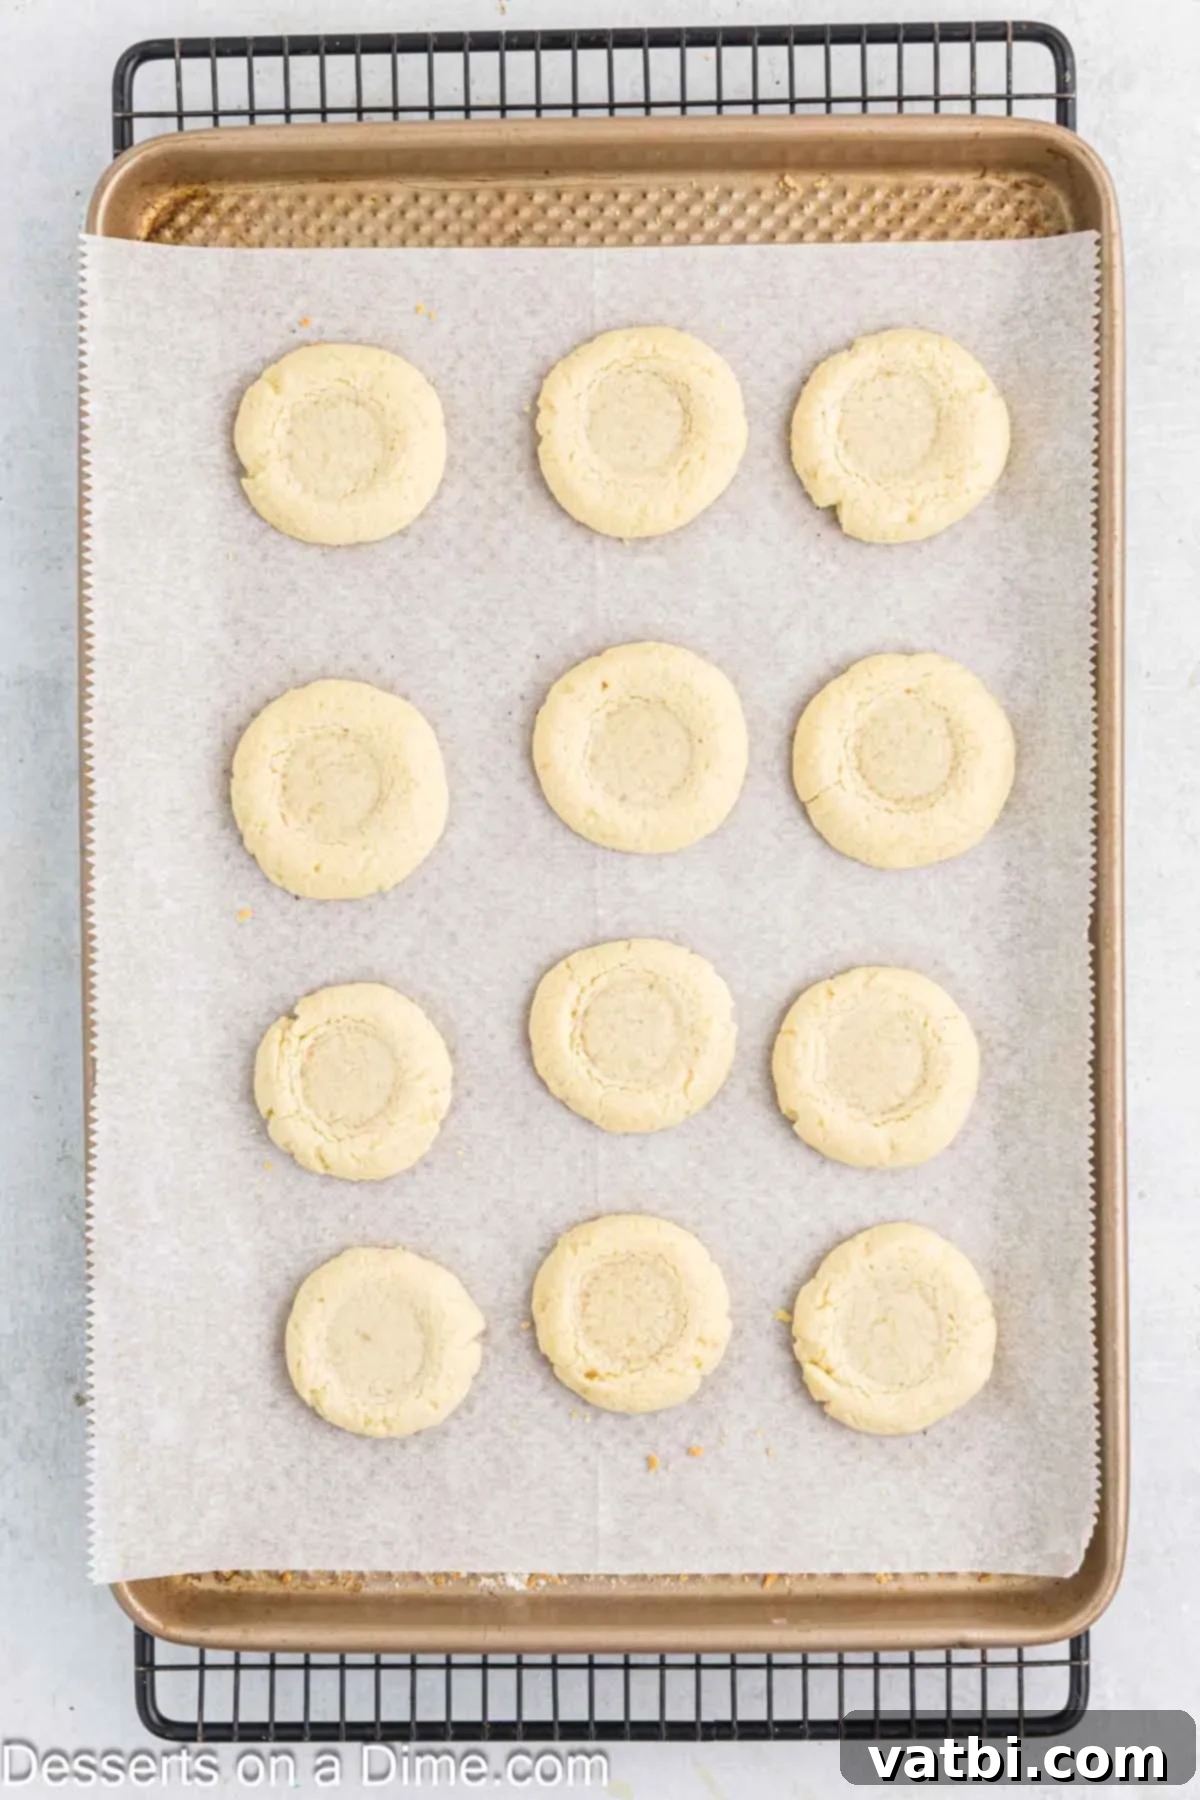
Step 7: First Bake and Re-indent. Bake the cookies for approximately 12 minutes, or until their edges are lightly golden. They should still be slightly soft in the center. Once removed from the oven, and while they are still warm, gently re-press the indentations with the back of a spoon handle. This helps to maintain a clear well for the filling as the cookies expand slightly during baking.
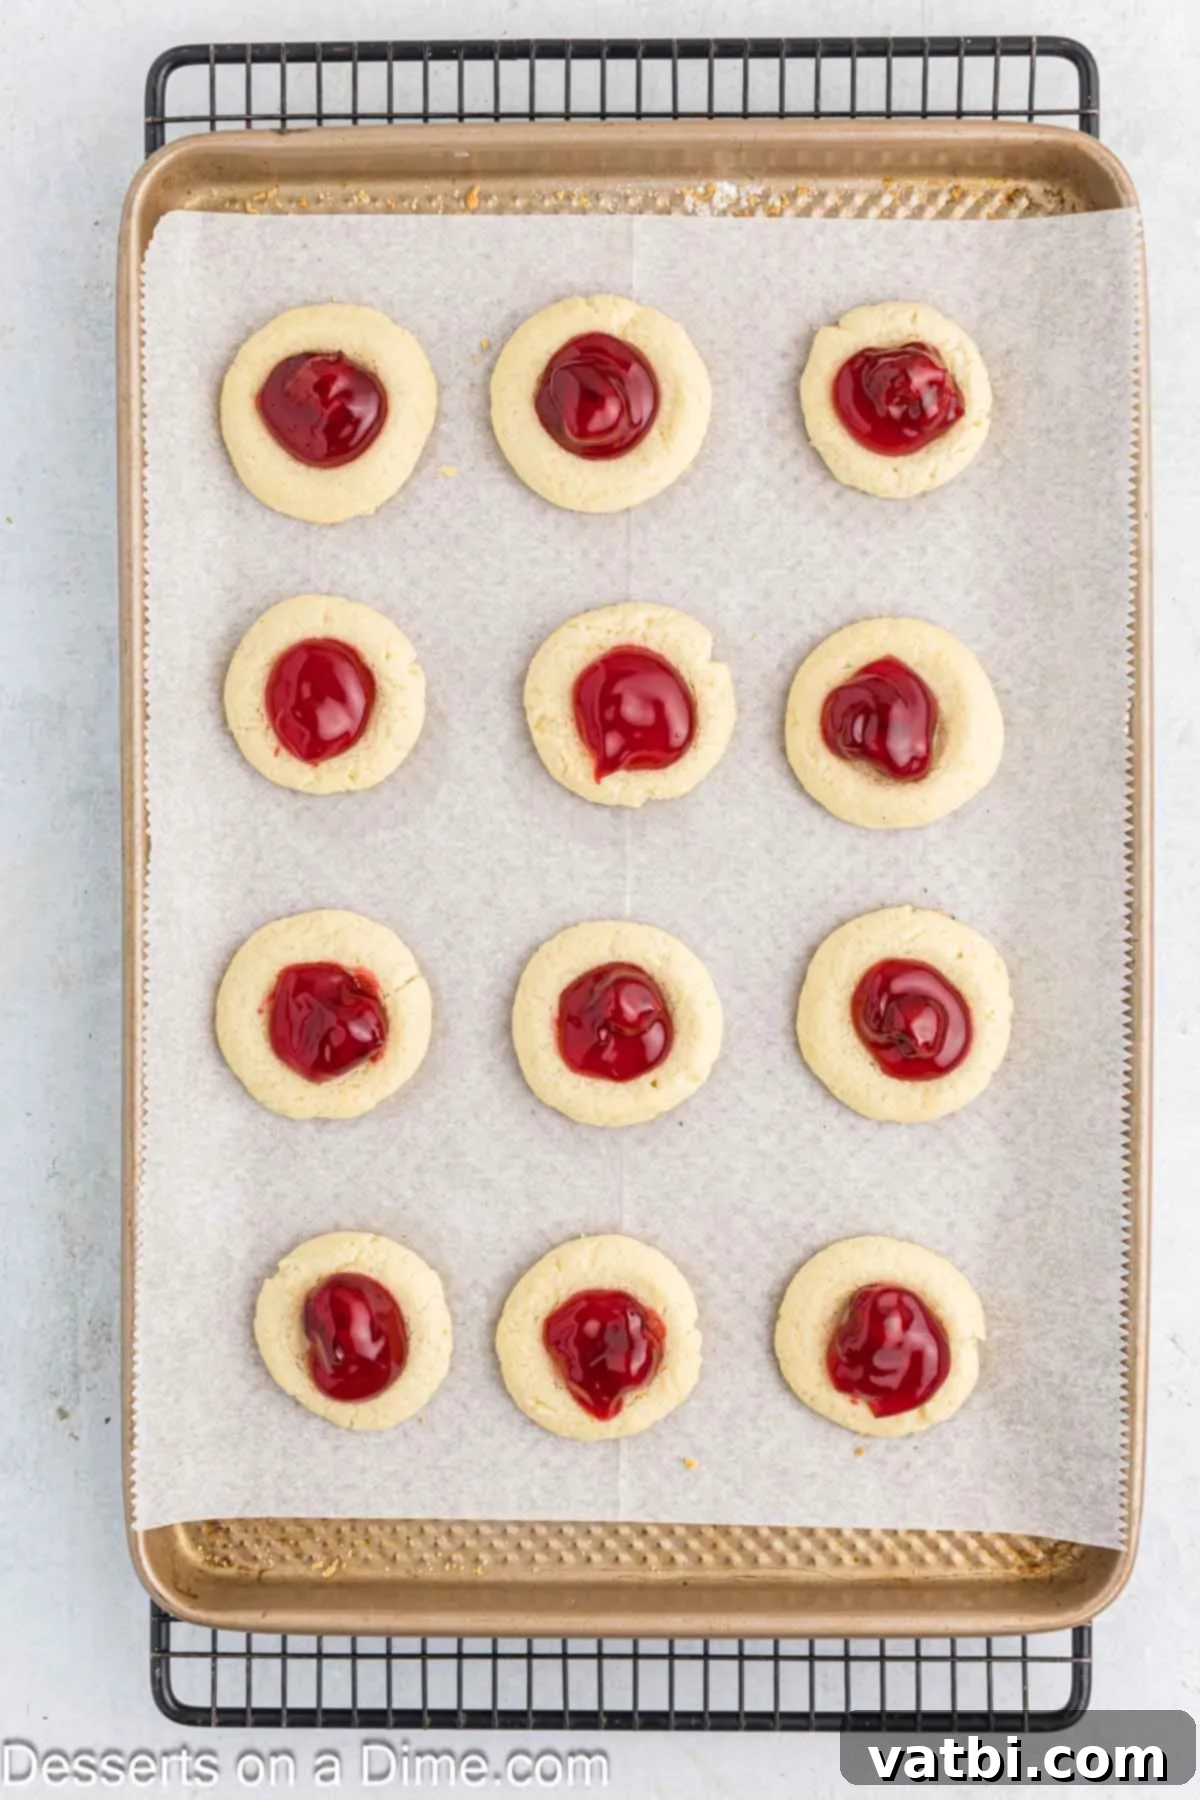
Step 8: Fill and Final Bake. Carefully spoon about ½ teaspoon of cherry pie filling into the center of each re-indented cookie. Return the baking sheets to the oven and bake for an additional 3 minutes. This short second bake helps the filling to set slightly and achieve a beautiful, lightly glazed finish.

Step 9: Cool Completely. Remove the cookies from the oven and let them cool on the baking sheets for a few minutes before carefully transferring them to a wire rack to cool completely. Allowing them to cool fully on the rack is essential before adding any final drizzles, as this prevents melting and ensures they firm up properly.

Step 10: Drizzle with White Chocolate (Optional). In a microwave-safe small bowl, melt the white chocolate chips. Heat in 20-30 second intervals, stirring well after each interval, until smooth and glossy. Once the cookies are completely cool, drizzle the melted white chocolate over them. You can use a spoon for a rustic look, or a piping bag with a tiny snipped corner for more precise lines. Let the chocolate set before serving. Arrange them artfully on a tray and enjoy your exquisite homemade treats!
Storage Solutions for Maximum Freshness
Proper storage ensures your Cherry Thumbprint Cookies remain delightful for longer, allowing you to enjoy them days after baking or save them for future indulgence.
Room Temperature: Store baked cookies in an airtight container at room temperature for up to 3 days. To maintain their soft, buttery texture and prevent them from drying out, place a slice of bread in the container; the cookies will absorb moisture from the bread. If your cookies have a white chocolate drizzle, ensure the chocolate has fully set before stacking them with parchment paper in between layers to prevent sticking.
Refrigerator: For an extended shelf life, you can store these cookies in the refrigerator for up to 5 days. Again, an airtight container is key. When you’re ready to enjoy them, allow them to sit at room temperature for about 15-20 minutes before serving. This brings out their best flavor and restores their tender texture.
Freezer: These cookies freeze beautifully, making them excellent for meal prep or enjoying a homemade treat on demand. There are a couple of ways to freeze them:
- Baked and Filled: Once the cookies are completely cooled (and any chocolate drizzle has fully set), arrange them in a single layer on a baking sheet and freeze until solid (about 1-2 hours). Once frozen, transfer them to a freezer-safe airtight container or freezer bag. Place parchment paper between layers to prevent sticking. They can be frozen for up to 2 months. Thaw them in the refrigerator overnight or at room temperature for a few hours before serving.
- Unbaked Dough Balls: For ultimate freshness, you can also freeze the unbaked dough balls (without the thumbprint indentation or filling). Roll the dough into balls, then freeze them on a baking sheet until solid. Transfer to a freezer-safe bag and freeze for up to 2 months. When ready to bake, place frozen dough balls on a parchment-lined baking sheet, let them sit at room temperature for about 15-20 minutes, then make your thumbprints, fill, and bake as directed, adding a minute or two to the baking time if needed.
Topping Tip: If drizzled with white chocolate, always allow it to fully set and harden before stacking or storing the cookies. This prevents smudging and ensures your cookies look as good as they taste.
Expert Tips for Baking Success
Elevate your cookie-baking game with these professional tips, ensuring every batch of Cherry Thumbprint Cookies is nothing short of perfect:
- Achieve the Perfect Buttery Texture: Ensure your butter is truly softened to room temperature. It should yield easily when pressed but not be greasy or melted. This is critical for proper creaming with sugar, which incorporates air and creates a tender, light cookie.
- Prevent Sticky Dough: If your cookie dough feels too sticky to roll and shape easily, don’t despair! Simply cover it and refrigerate it for 20-30 minutes. Chilling the dough makes it much firmer and easier to handle, resulting in perfectly shaped cookies.
- Uniform Thumbprints are Key: For perfectly round and even indentations, use the back of a rounded teaspoon or a small melon baller. Dip it lightly in flour before pressing into each cookie. This prevents the dough from sticking to your tool and ensures a clean, smooth well for your filling without cracking the edges.
- Don’t Overfill the Centers: While it’s tempting to add a generous amount of filling, about ½ teaspoon of cherry pie filling per cookie is usually sufficient. Overfilling can lead to the jam bubbling over and burning during baking, affecting the cookie’s appearance and taste.
- Master the Chocolate Drizzle: For clean, bakery-style drizzle lines, melt your white chocolate until smooth and then transfer it to a piping bag or a small zip-top bag. Snip a tiny corner off the bag to create a fine stream for drizzling. If the melted chocolate thickens while you’re working, reheat it in the microwave for just 10-15 seconds and stir until it’s smooth and glossy again.
- Cooling Patience Pays Off: Allow your freshly baked cookies to cool on the baking sheet for a few minutes after coming out of the oven before transferring them to a wire rack. This initial cooling period allows the cookies to set and firm up, preventing them from breaking when moved. Ensure they are completely cool before drizzling with chocolate or storing.
- Make-Ahead Magic: Save time during busy periods by preparing the dough in advance. You can refrigerate the cookie dough, tightly wrapped, for up to 2 days. Alternatively, roll the dough into balls (without the thumbprint or filling) and freeze them in an airtight container for up to 2 months. Bake from frozen, adding a minute or two to the baking time.
- Check Your Oven Temperature: Ovens can vary. Using an oven thermometer can ensure your oven is at the correct temperature, preventing issues like over-spreading or uneven baking.

Serving Suggestions & Delightful Variations
These Cherry Thumbprint Cookies are delicious on their own, but here are some ideas to make them even more special:
- Classic Presentation: Serve them simply on a beautiful platter for any gathering. They pair wonderfully with coffee or tea.
- Gifting: Package them in decorative boxes or tins for homemade gifts during the holidays or as a thoughtful gesture for friends and neighbors.
- Dessert Platter: Include them as part of a larger dessert spread with other cookies, brownies, and mini pastries.
- Vary the Jam: Experiment with different fruit preserves! Raspberry, apricot, strawberry, or even fig jam would make fantastic alternatives, offering a new flavor experience with the same tender cookie base.
- Different Glazes: Instead of white chocolate, you can make a simple powdered sugar glaze by mixing confectioners’ sugar with a tiny bit of milk or lemon juice until it reaches a drizzly consistency. Add a drop of almond extract for an extra layer of flavor.
- Nutty Crunch: Before baking, roll the cookie dough balls in finely chopped nuts (like pecans or walnuts) for an added layer of texture and flavor.
- Chocolate Drizzle Alternatives: If white chocolate isn’t your preference, use semi-sweet or dark chocolate for a richer, bolder finish.
Common Questions About Cherry Thumbprint Cookies
- Why are my thumbprint cookies spreading too much? This can happen if your butter was too soft (partially melted), if you overmixed the dough, or if your oven temperature is too low. Ensure your butter is just softened, mix until just combined, and check your oven’s accuracy with an oven thermometer. Chilling the dough before baking can also help.
- Can I use fresh cherries instead of pie filling? You can, but you’ll need to prepare them first. Fresh cherries should be pitted and cooked down with a little sugar and cornstarch to create a thick, jam-like consistency. This prevents the cookies from becoming soggy and ensures the filling sets properly.
- How can I make these cookies gluten-free? Substitute the all-purpose flour with a 1:1 gluten-free baking flour blend that contains xanthan gum. The texture might vary slightly, but they should still be delicious.
- My cookies are cracking when I press the indentation. What should I do? If the dough is too cold, it can crack easily. Allow it to sit at room temperature for a few minutes, or gently warm it in your hands before pressing. If cracks still appear, gently smooth them with your fingertips. Dipping your thumb or spoon in flour also helps.
- Can I skip the white chocolate drizzle? Absolutely! The white chocolate drizzle is optional. The cookies are delightful with just the cherry filling. You could also opt for a simple powdered sugar glaze instead.
More Delicious Cherry Dessert Recipes
If you love the sweet and tart flavor of cherries, be sure to explore these other fantastic recipes:
- Cherry Bread
- Easy Cherry Cobbler
- Cherry Almond Cupcakes
- Cherry Pineapple Dump Cake
Bring a touch of sweetness and classic charm to any occasion with this irresistible Cherry Thumbprint Cookies recipe! These buttery, jam-filled delights are sure to become a cherished favorite in your baking repertoire. If you make these cookies, please take a moment to leave a comment below and a star rating to let us know how they turned out for you. Your feedback is incredibly valuable, and we absolutely love hearing from you!
Pin
Cherry Thumbprint Cookies
Ingredients
- 1⅔ cups all-purpose flour
- 1/2 tsp baking powder
- 1/4 tsp salt
- 2/3 cup butter softened
- 1/2 cup granulated sugar
- 1 egg
- 1/2 tsp vanilla extract
- 1/2 cup cherry pie filling
- 2 oz white chocolate chips
Instructions
-
Preheat oven to 350°F. Line baking sheets with parchment paper.
-
In a bowl, whisk together flour, baking powder, and salt.
-
In a large bowl, beat butter and sugar with an electric mixer until light and fluffy. Beat in egg and vanilla. Gradually mix in dry ingredients until combined.
-
Roll dough into 1-inch balls (about 1 Tbsp each) and place 2 inches apart on baking sheets. Press thumb into each to create an indentation.
-
Bake for 12 minutes, or until lightly golden. While still warm, press indentations again with a spoon handle.
-
Fill each center with cherry pie filling. Bake 3 more minutes until filling is lightly glazed. Cool completely on a wire rack.
-
Place white chocolate chips in a microwave-safe bowl. Heat in 20–30 second intervals, stirring between each, until smooth.
-
Drizzle over cooled cookies. Serve and enjoy!
Recipe Notes
Cookie texture: For a softer cookie, slightly underbake them (remove at 11 minutes instead of 12). For a firmer cookie, bake a minute longer.
Dough handling: If the dough is sticky, chill it in the fridge for 20–30 minutes before rolling into balls.
Storage: Store in an airtight container at room temperature for up to 3 days, or refrigerate for up to 5 days.
Nutrition Facts
Pin This Now to Remember It Later
Pin Recipe
