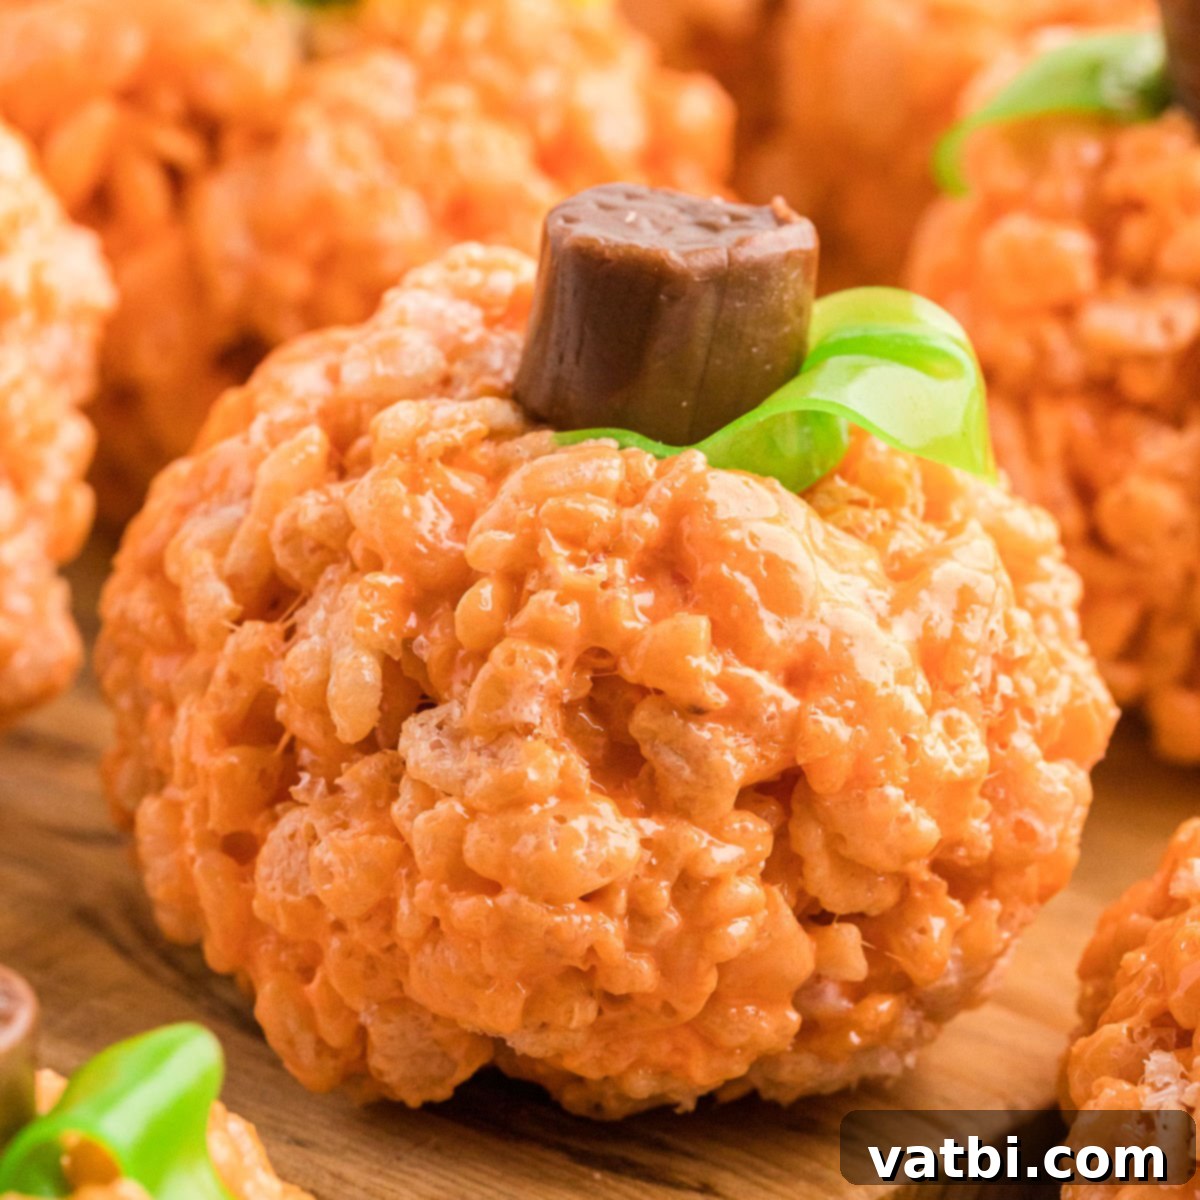
Easy Pumpkin Rice Krispie Treats: Your Go-To Fun Fall & Halloween Dessert Recipe
Prepare to delight your taste buds and impress your guests with these adorable Pumpkin Rice Krispie Treats! A fantastic choice for a fun Fall gathering or a lively Halloween party, this recipe takes the timeless appeal of classic Rice Krispie Treats and transforms them into festive, pumpkin-shaped delights. With just a few simple steps, you can create a charming and delicious Halloween dessert that everyone will love.
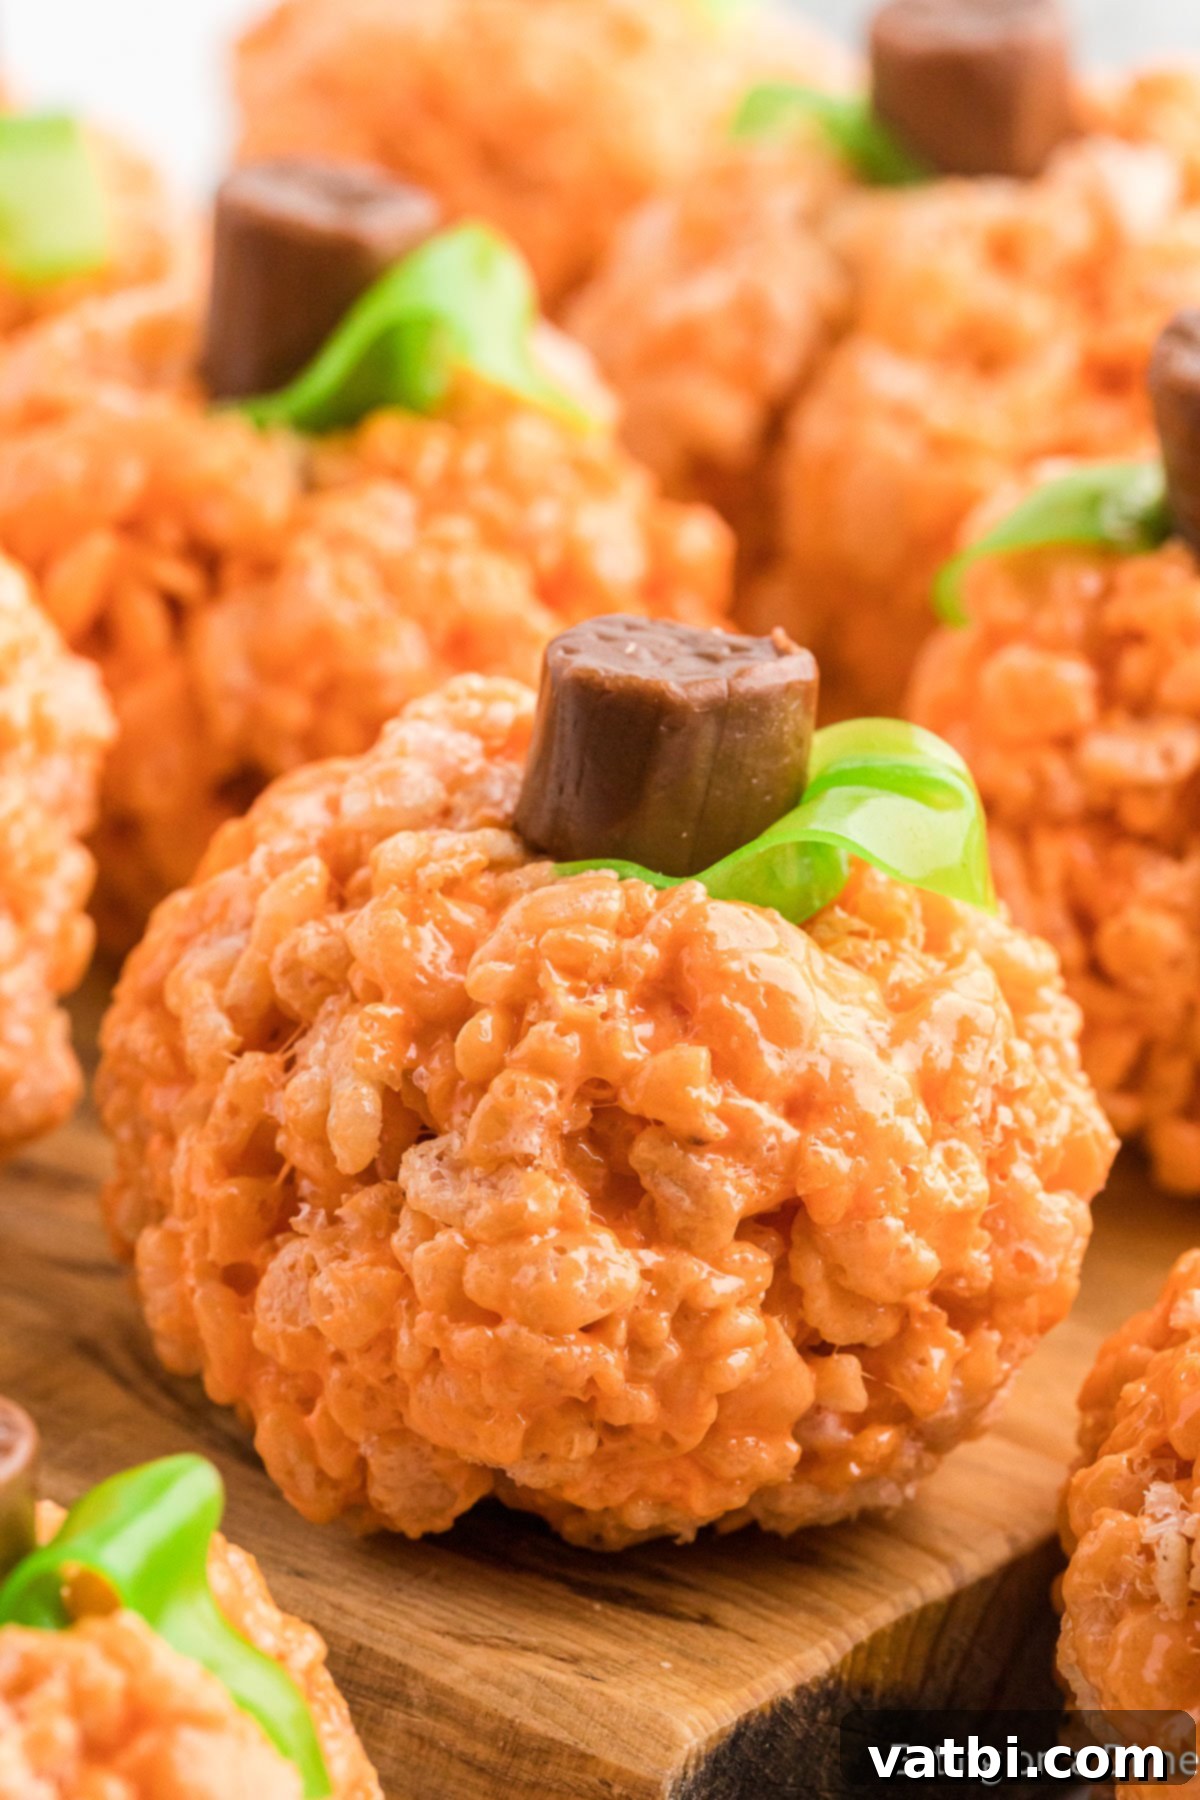
Having crafted countless batches of Rice Krispie Treats over the years, I’ve come to appreciate their incredible versatility. If you’re searching for a wonderfully festive treat that captures the spirit of the season, you’re in the right place. I’m thrilled to share how incredibly simple it is to mold these beloved crispy treats into charming little pumpkins, perfect for any autumn celebration.
These festive pumpkins are an ideal companion to other seasonal favorites, like Pumpkin Pie Rice Krispie Treats. There’s an undeniable joy in creating delightful Thanksgiving Desserts and imaginative Halloween Desserts, and these treats certainly fit the bill. The possibilities for customizing Rice Krispie Treats are truly endless, making them a staple in my kitchen. Over time, I’ve experimented with exciting variations such as S’mores Rice Krispie Treats, Butterscotch Rice Krispie Treats, and Salted Caramel Rice Krispie Treats, among many others. For even more spooky inspiration, be sure to explore our collection of 45 Best Halloween Cookies recipes.
What’s in this post: Rice Krispie Treat Pumpkins Recipe
- Why We Love This Recipe
- Ingredients
- Additions and Substitutions
- Step By Step Instructions
- Storage
- Pro Tips
- More Easy Halloween Treats
- More Rice Krispie Treats Recipes
- Pumpkin Rice Krispie Treats Recipe
Why You’ll Adore These Pumpkin Rice Krispie Treats
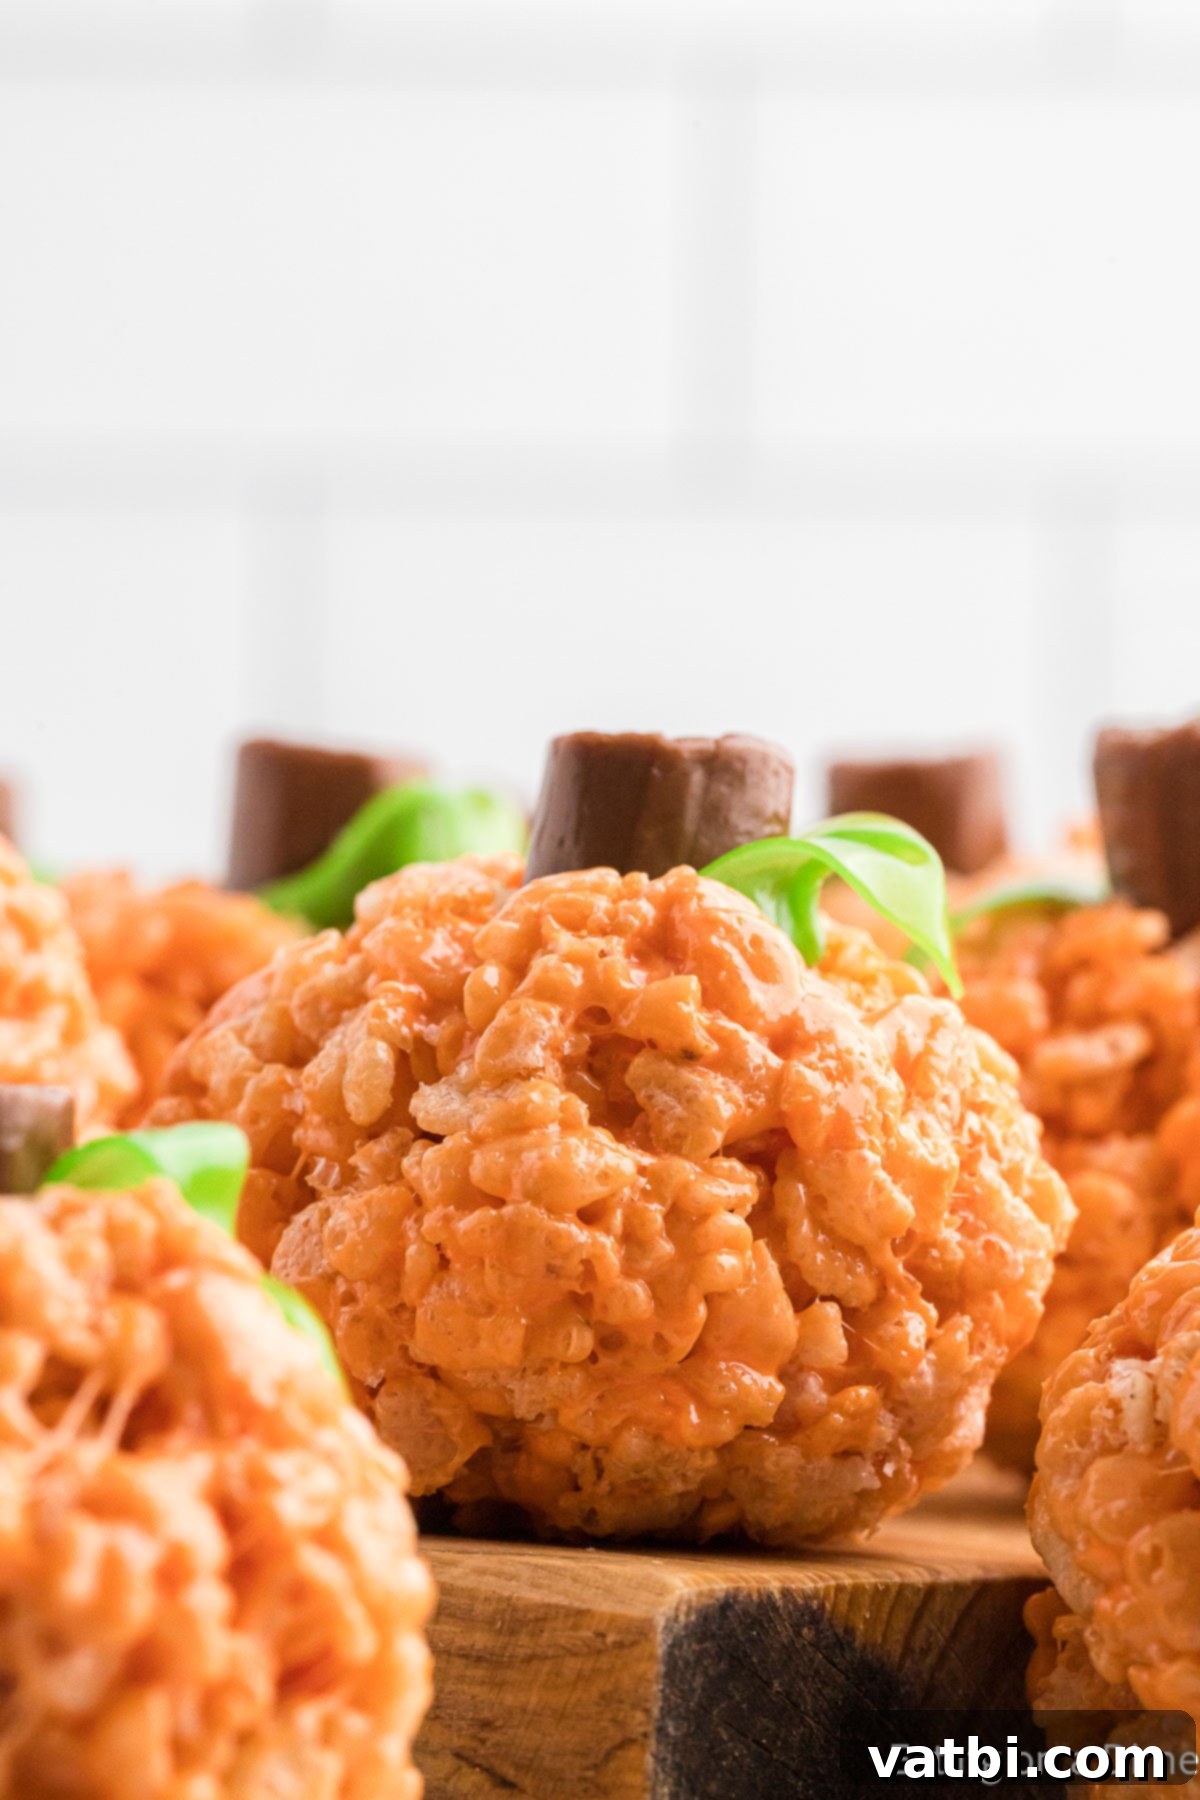
These incredibly easy Rice Krispie Treat Pumpkins are more than just a dessert; they’re a delightful experience. Crafted from the beloved traditional Rice Krispie Treats mixture, the magic truly happens as you shape them into charming pumpkin forms. What makes this recipe particularly special for the autumn season is the vibrant orange food coloring infused into the marshmallow mixture, giving these treats their signature pumpkin hue. To complete the festive look, each pumpkin is adorned with a cute chocolate stem and a whimsical fruit roll-up vine, making them irresistibly appealing for both kids and adults.
One of our favorite aspects of this holiday treat is that every single component is edible! There’s no need to meticulously remove any decorative pieces before enjoying, which makes them perfect for parties and gatherings. These homemade pumpkin treats are not only simple to make but also offer a fun, hands-on activity for families. They are genuinely one of our most cherished Thanksgiving Desserts for Kids, bringing smiles and a touch of autumnal cheer to any table. Their ease of preparation combined with their adorable appearance makes them a standout choice for any fall or Halloween celebration, ensuring a memorable and delicious experience for everyone.
Essential Ingredients for Your Pumpkin Rice Krispie Treats
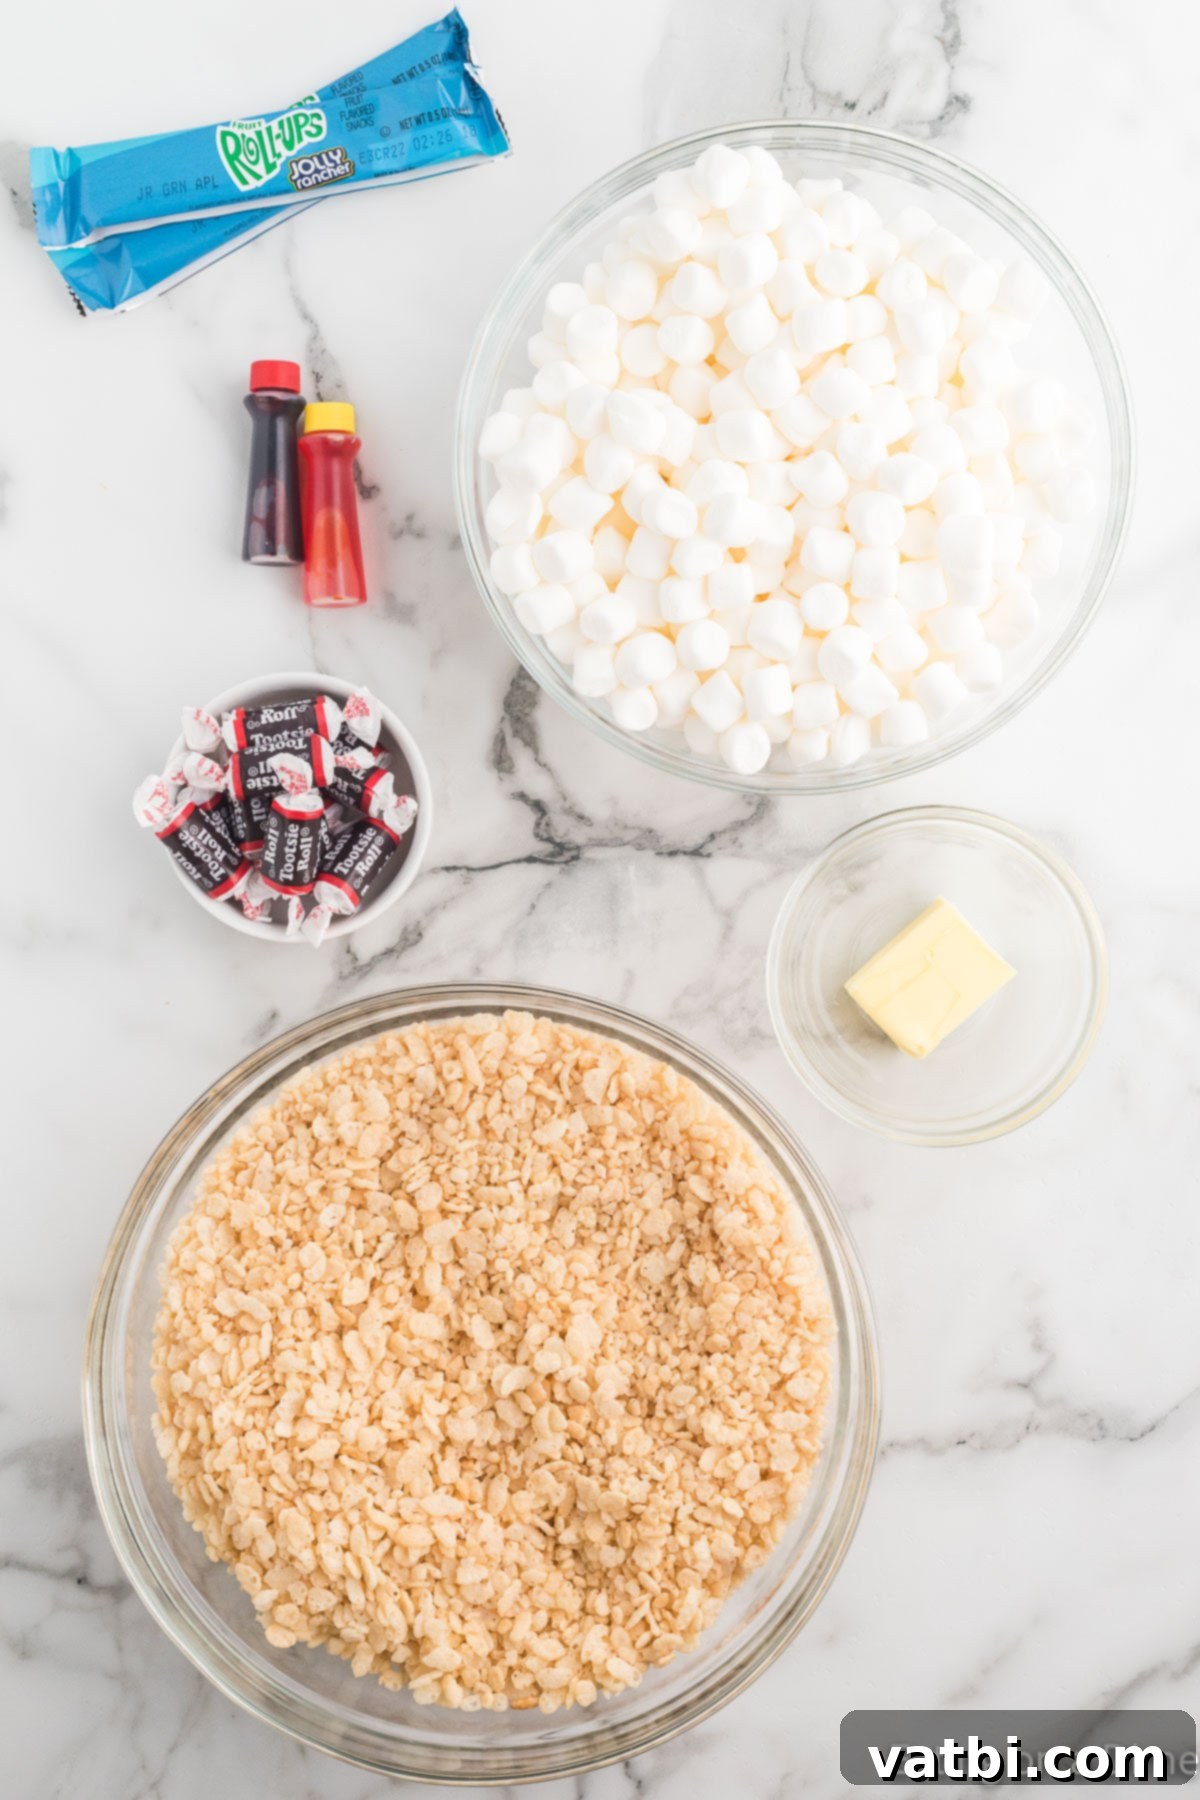
Creating these delightful pumpkin-shaped treats requires a few basic ingredients, many of which you likely already have in your pantry. The quality of your ingredients can make a difference in the final texture and taste, so here’s a closer look at what you’ll need:
- Rice Krispie Cereal: This is the star of the show! For the best crunch and texture, it’s crucial to use fresh cereal. Stale cereal will result in a less satisfying treat, so check the expiry date and ensure it’s airtight.
- Unsalted Butter: Real butter provides the best flavor and helps create that perfectly chewy, gooey texture. Unsalted butter allows you to control the salt content of your treats, though salted butter can be used if that’s all you have on hand, simply adjust any added salt if necessary.
- Mini Marshmallows: Mini marshmallows are preferred because they melt much faster and more evenly than larger marshmallows, leading to a smoother, more consistent marshmallow mixture. However, if you only have regular-sized marshmallows, they can certainly be used – just be prepared for a slightly longer melting time and ensure they are fully dissolved before adding the cereal.
- Tootsie Rolls: These are ingeniously used to create the pumpkin stems. Cutting them in half makes them the perfect size for individual treats and adds a lovely chewy, chocolaty contrast.
- Green Fruit Roll Ups: Any brand of green fruit roll-ups will work perfectly for crafting the small, charming leaves that complete the pumpkin look. Their pliability makes them easy to cut and shape.
For the complete and precise ingredient list with exact measurements, please scroll down to the detailed recipe card at the bottom of this post.
Creative Additions and Clever Substitutions for Your Pumpkin Treats
One of the joys of making Rice Krispie Treats is how adaptable they are. Feel free to get creative with these additions and substitutions to personalize your pumpkin treats and suit your taste or available ingredients:
- Pretzel Stick – For a rustic and slightly salty alternative to a Tootsie Roll, a small pretzel stick makes an excellent pumpkin stem. It adds a pleasant crunch and balances the sweetness of the treat.
- Chocolate Bar – Miniature chocolate bars, such as a fun-sized Hershey’s bar or even individual Rolo Candies, can be pressed into the top of the pumpkin to create a delicious and edible stem. Rolo candies, in particular, offer a delightful caramel surprise!
- Green M&M – Instead of a fruit roll-up leaf, simply press a green M&M into the side of your pumpkin for a quick and colorful decorative touch. This is an effortless way to add a pop of green.
- Air Heads – Green Air Heads candy can be easily cut into leaf shapes. Its chewy texture makes it a fun and flexible alternative to fruit roll-ups. Indeed, almost any green candy that can be flattened and cut will work beautifully.
- Use Fondant – If you enjoy working with edible crafts, using green or brown fondant allows you to sculpt intricate stems and leaves. Fondant offers a professional finish and can be shaped precisely to your liking.
- Spice – To infuse your treats with quintessential fall flavors, add a teaspoon or two of pumpkin pie spice to the melted marshmallow mixture. This will add a warm, aromatic depth that complements the pumpkin theme perfectly. Cinnamon or nutmeg would also be lovely.
- Use Icing – For those who want to get truly artistic, prepare some green icing in a piping bag with a small leaf tip. You can pipe delicate leaves and winding vines down the sides of your pumpkin treats, creating a truly gourmet and eye-catching dessert.
Crafting Your Pumpkin Rice Krispie Treats: Easy Instructions
Follow these simple steps to transform ordinary ingredients into extraordinary, festive pumpkin treats:
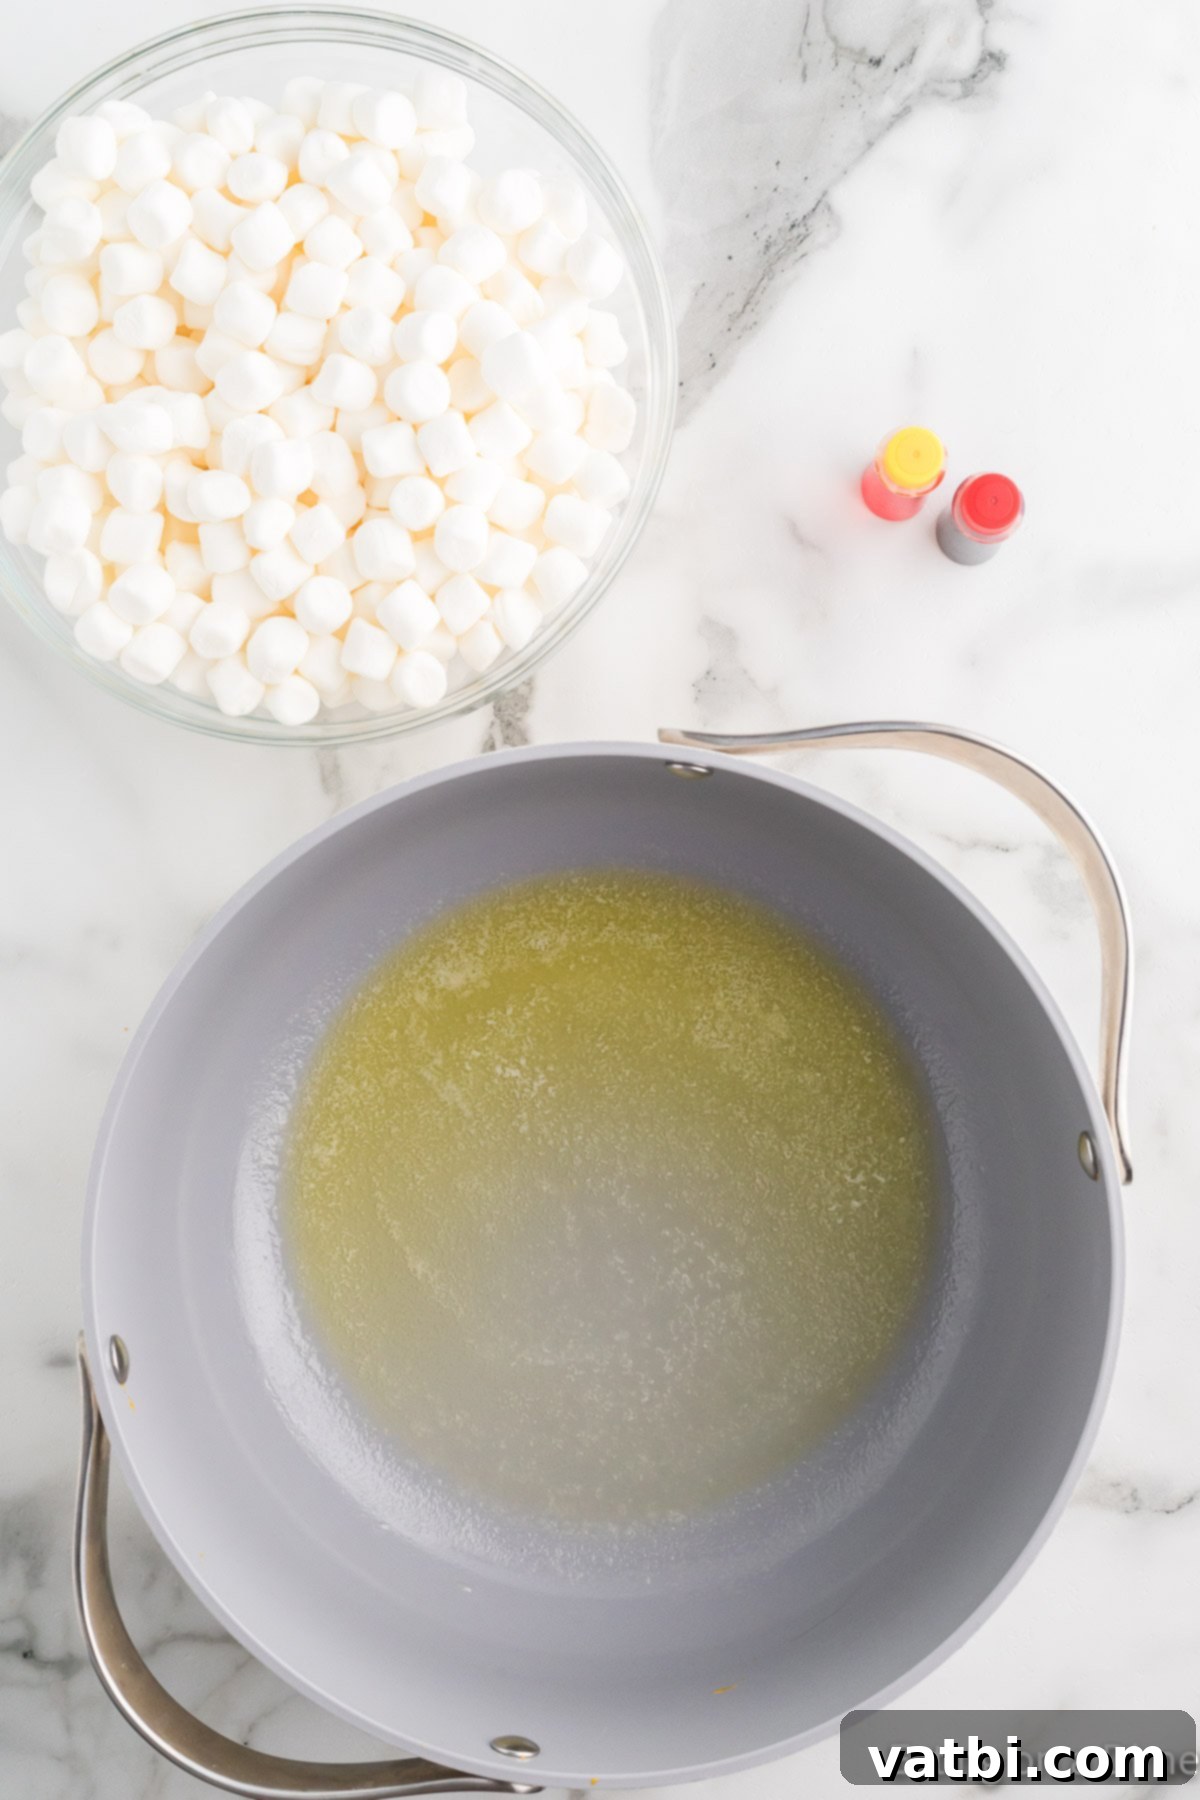
Step 1. Melt the Butter: Begin by melting the unsalted butter. You can do this gently over low heat in a large saucepan on the stovetop, stirring frequently to prevent burning. Alternatively, you can melt it in the microwave in short bursts (e.g., 30 seconds), stirring after each interval until fully melted. Using low heat ensures the butter melts without browning, preserving its delicate flavor.
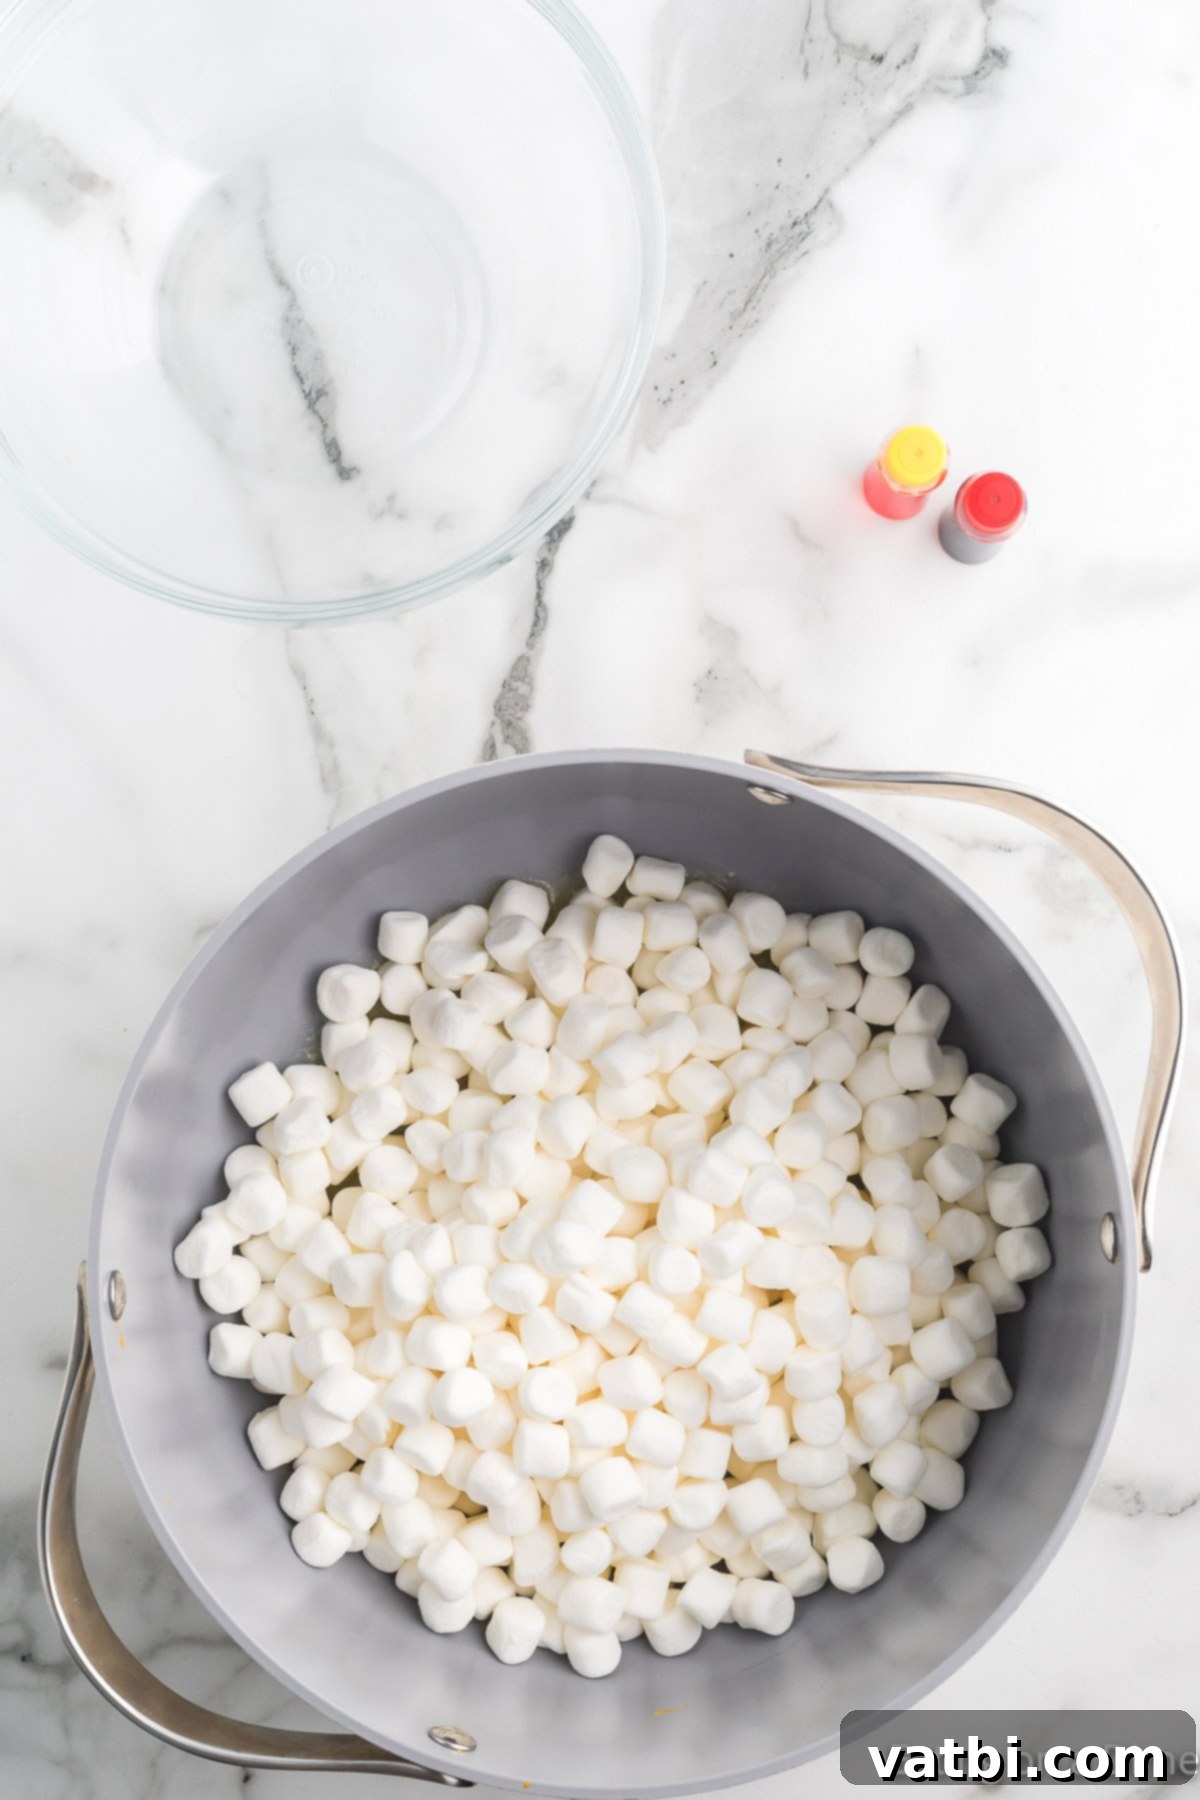
Step 2. Add Marshmallows: Once the butter is melted, add the mini marshmallows to the saucepan. If using regular-sized marshmallows, they will also work, but may take slightly longer to melt completely and evenly. Keep the heat on low to prevent the marshmallows from scorching.
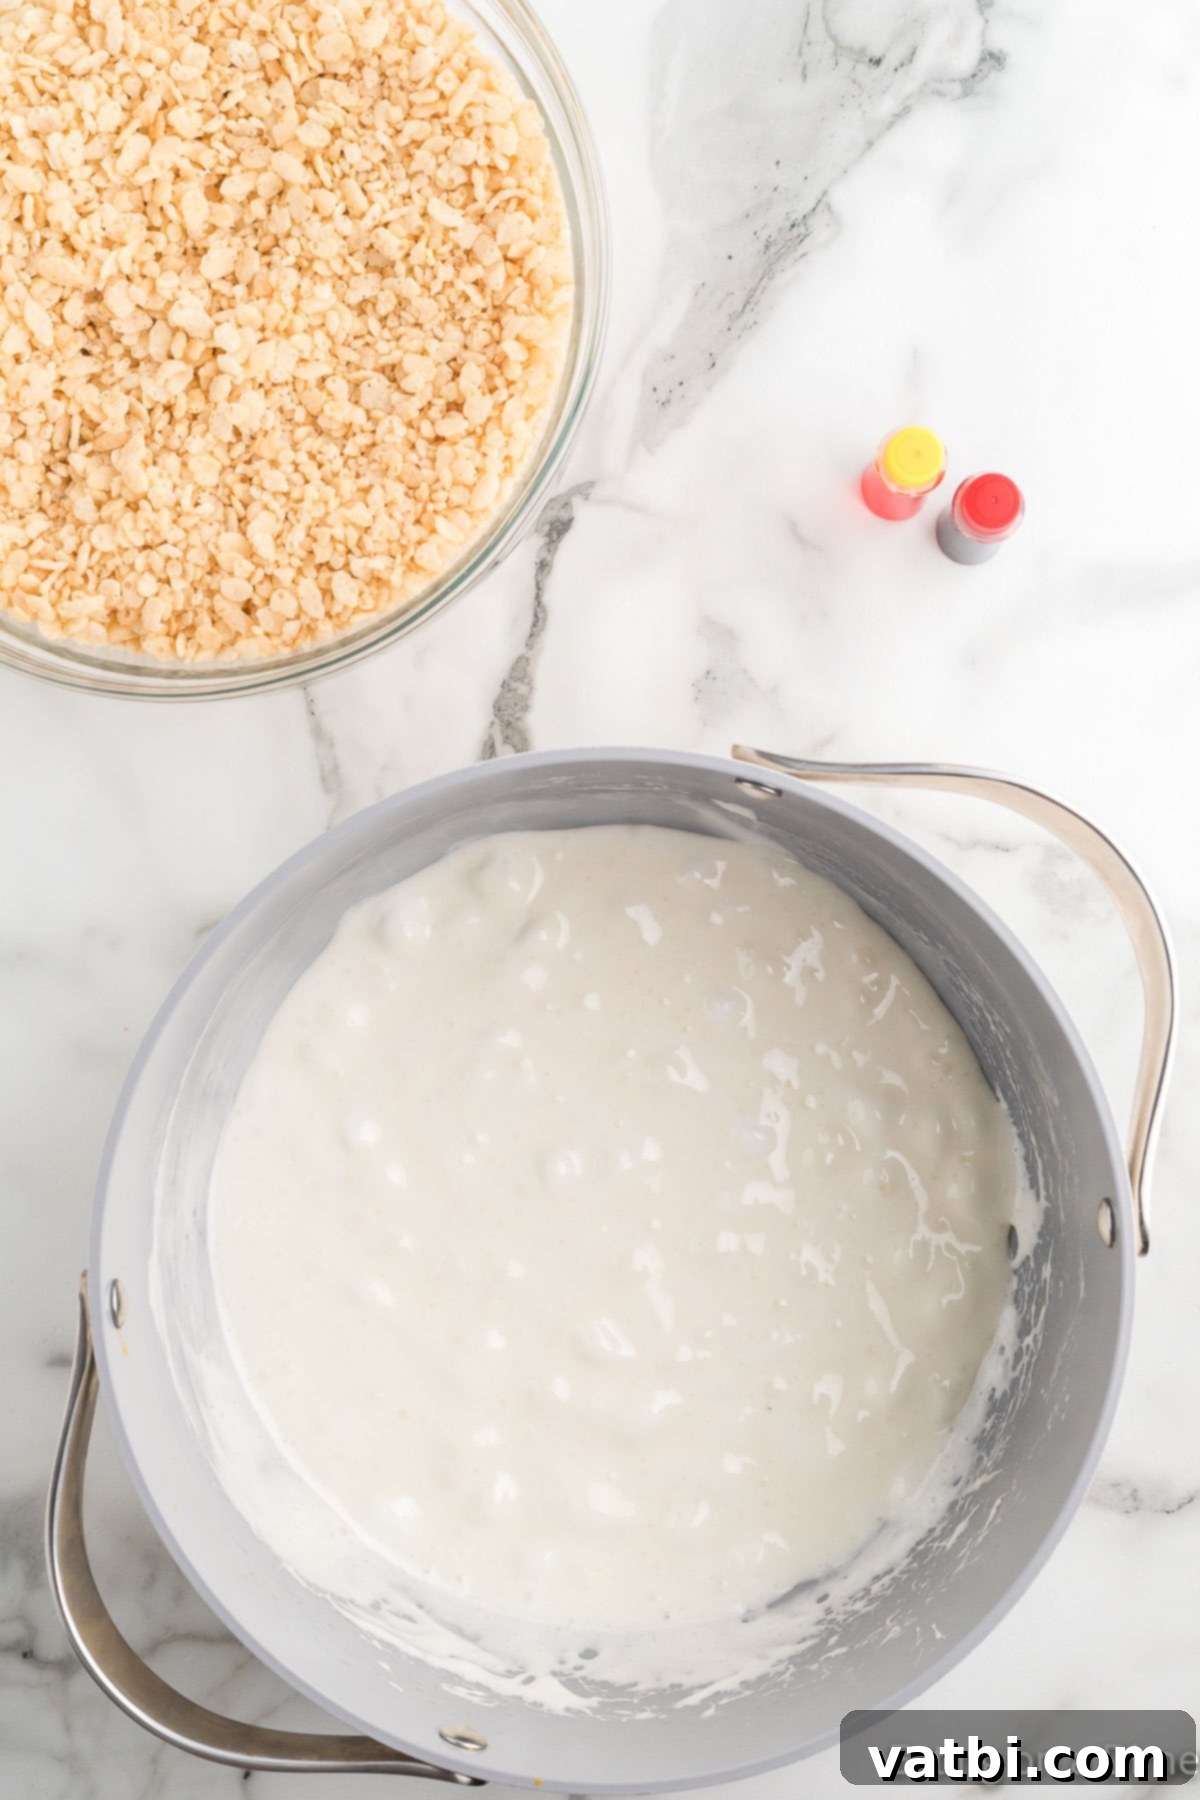
Step 3. Melt Thoroughly: Stir the marshmallows continuously until they are completely melted and form a smooth, gooey mixture with the butter. This process ensures an even coating for your cereal. If melting in the microwave, continue with 30-second increments, stirring well after each one, until smooth. Be careful not to overheat, as this can make the treats hard.
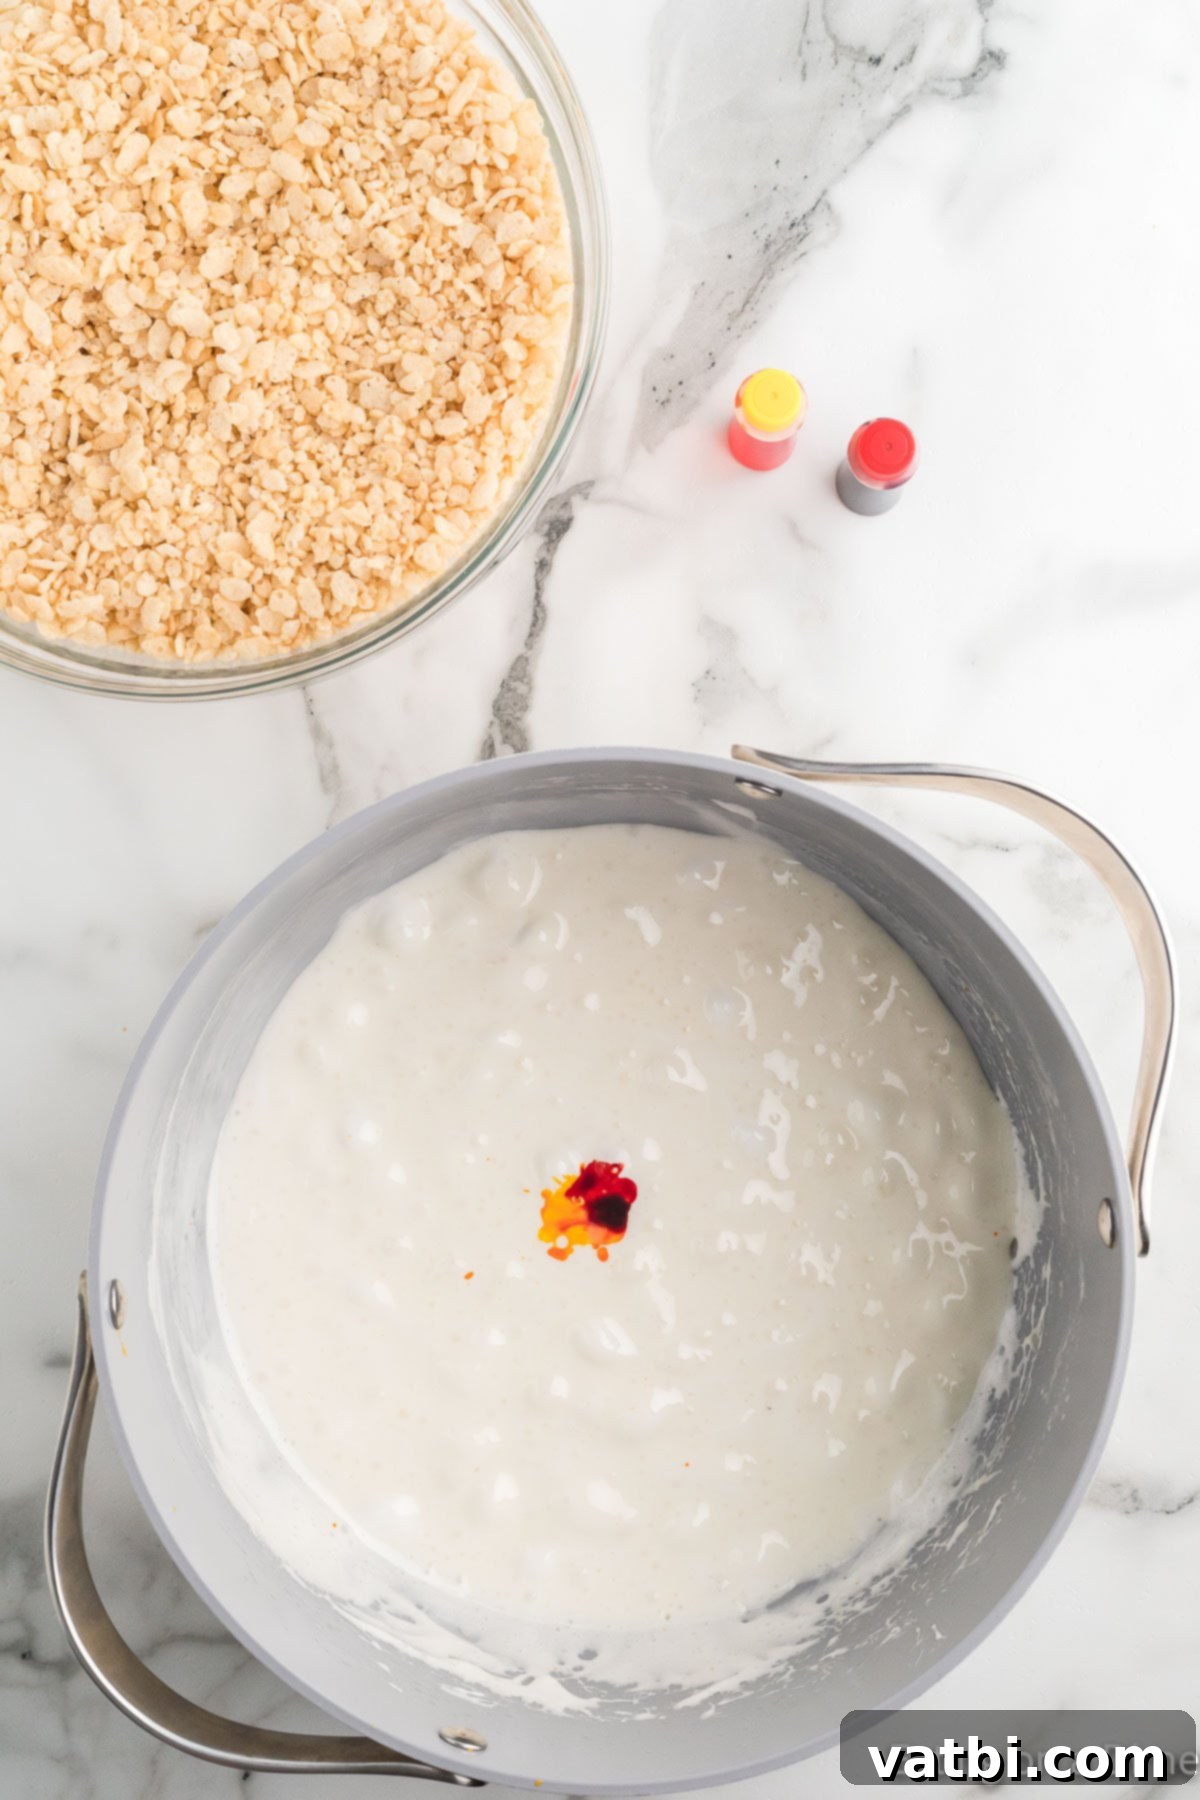
Step 4. Add Food Coloring: Remove the marshmallow mixture from the heat. This is the fun part! Add your yellow and red food coloring to achieve that perfect pumpkin orange hue. Start with about 4 drops of yellow and 2 drops of red, and adjust as needed to reach your desired shade of orange.
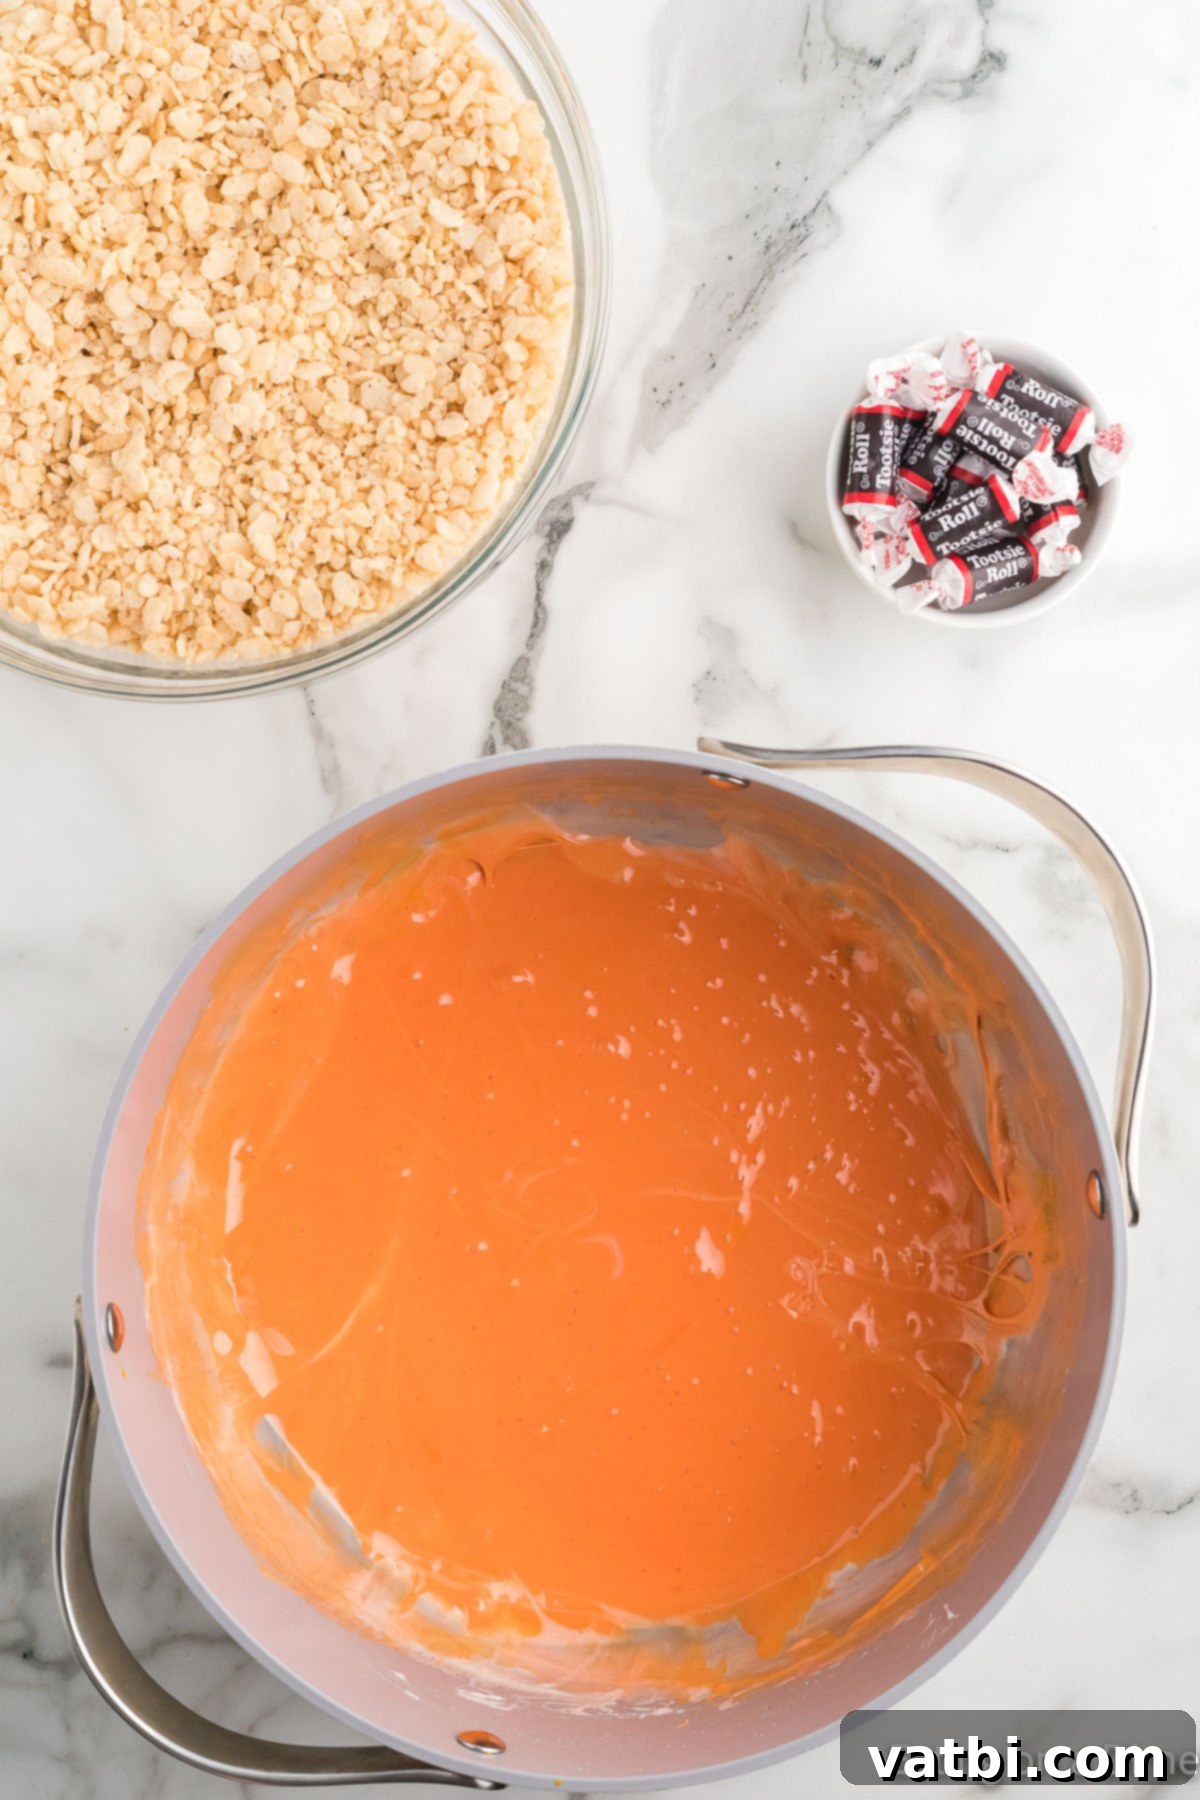
Step 5. Achieve Orange Color: Stir the mixture vigorously until the food coloring is thoroughly incorporated and the marshmallow mixture has transformed into a beautiful, uniform orange. This vibrant color is essential for making your treats look like mini pumpkins.
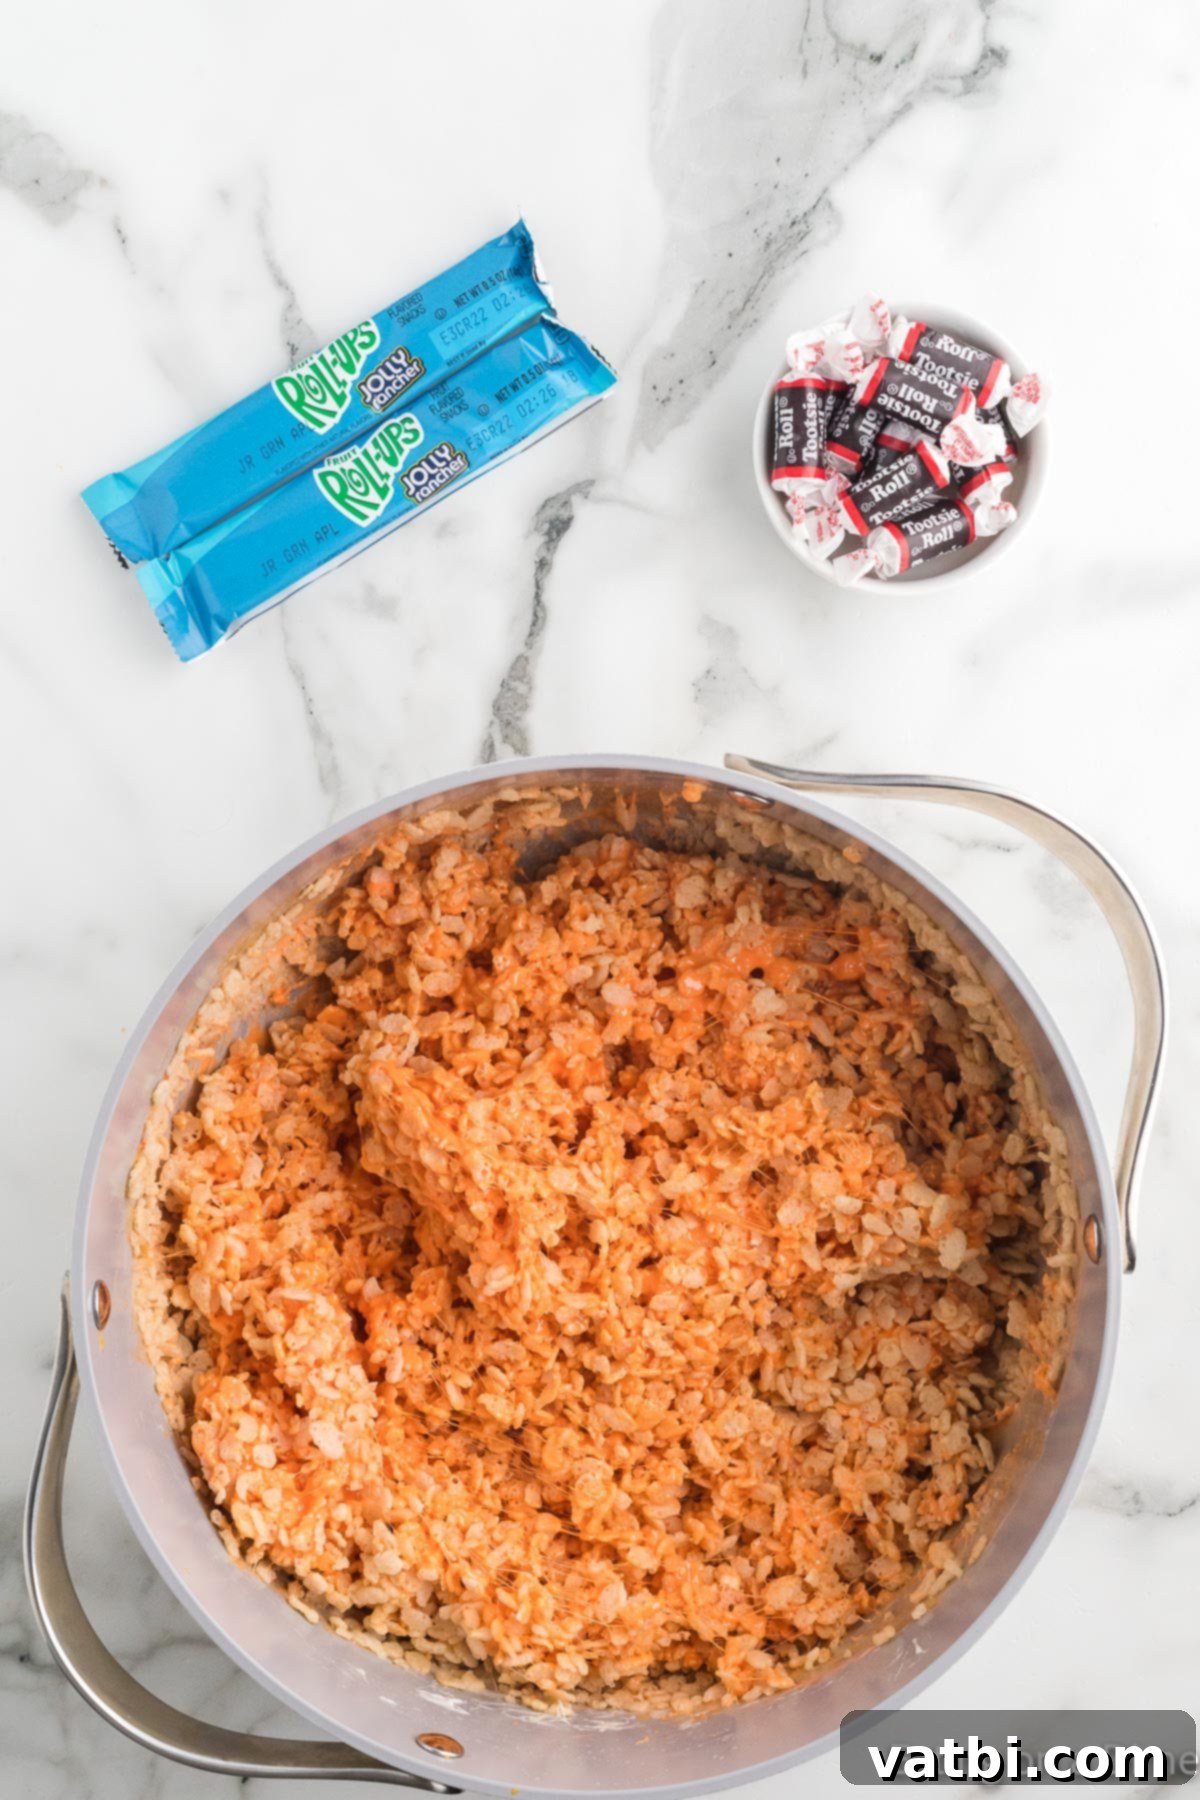
Step 6. Incorporate Cereal: Gradually add the Rice Krispie cereal to the orange marshmallow mixture. Gently fold and mix with a spatula until every piece of cereal is thoroughly coated. It’s important to mix well but not to over-mix, which can crush the cereal and reduce the crispiness.
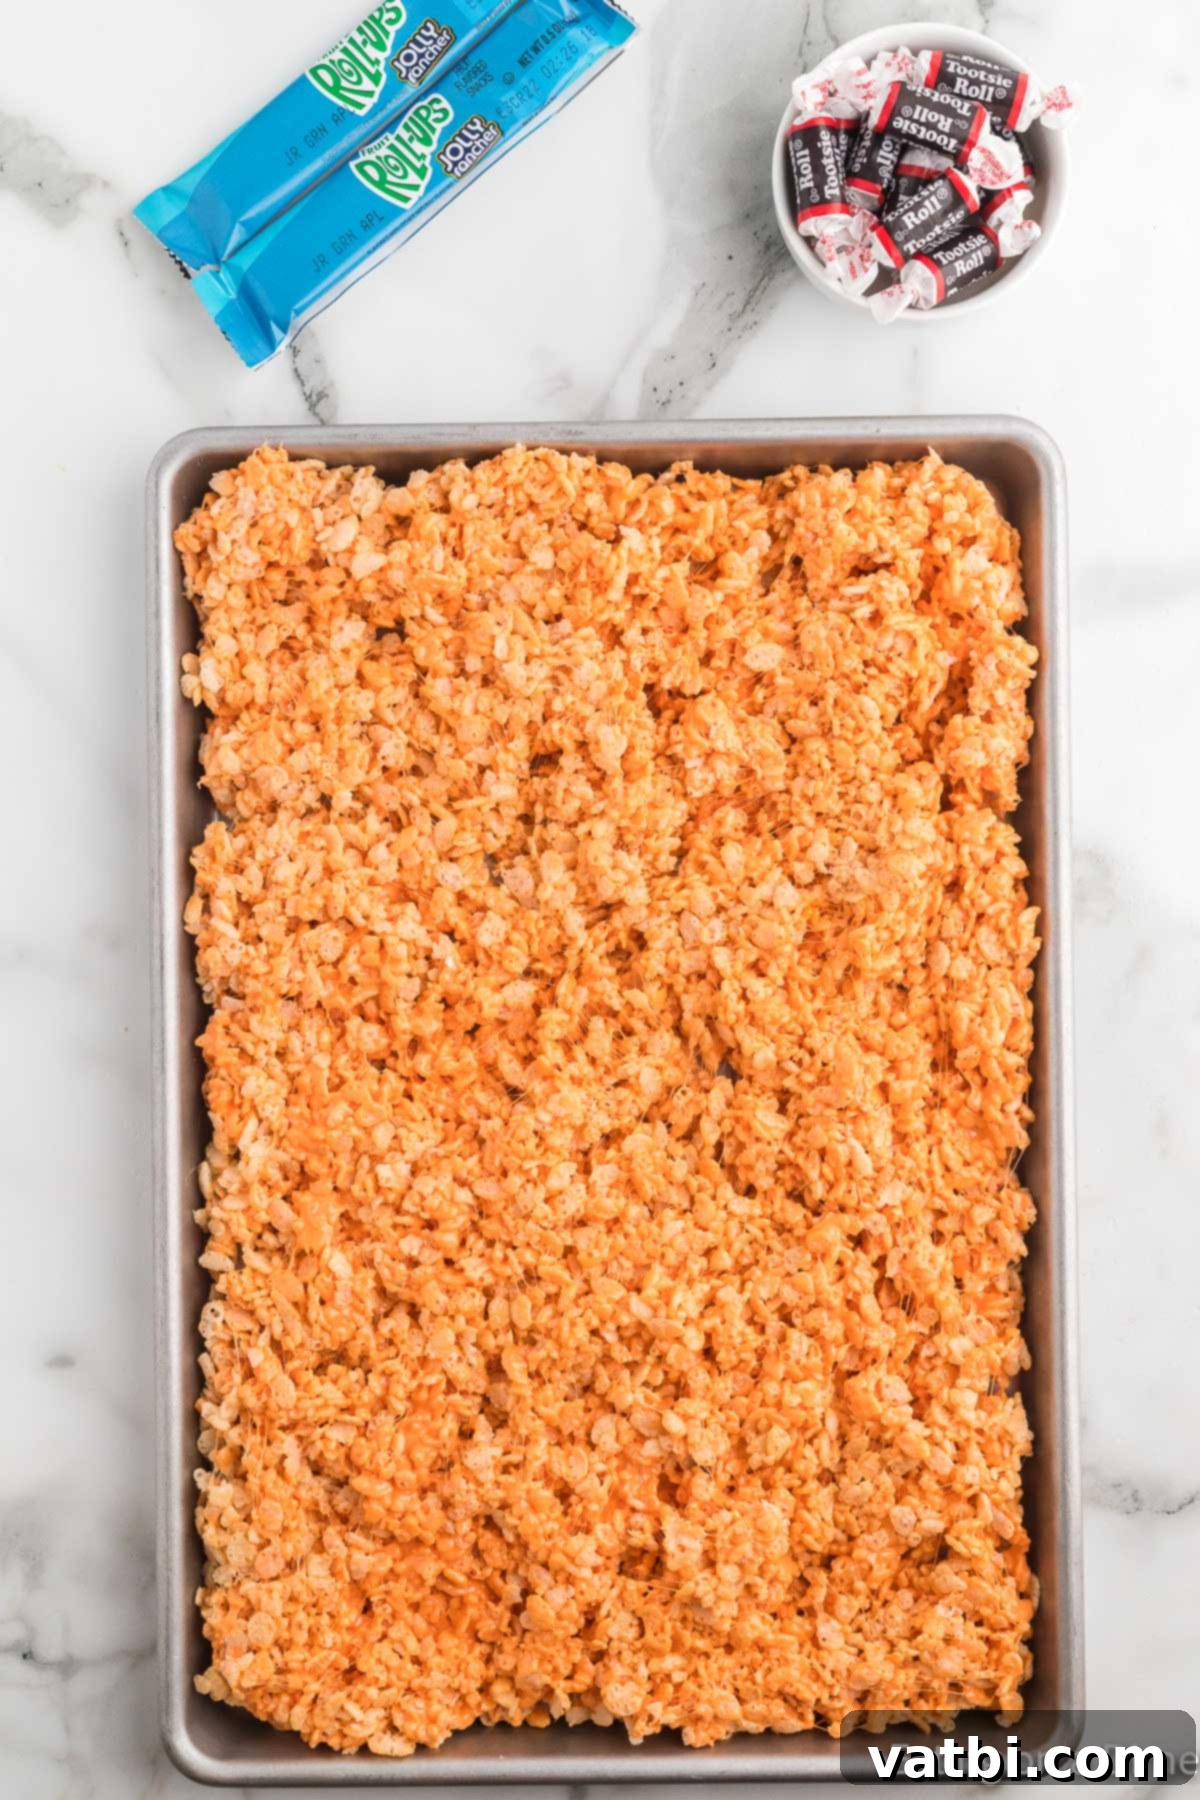
Step 7. Cool the Mixture: Spread the cereal mixture evenly into a large pan, such as a jelly roll pan. Gently press it down; avoid pressing too firmly, as this can make the finished treats too dense and hard. Allow the mixture to cool at room temperature for at least 30 minutes. Do not refrigerate, as chilling will cause the Rice Krispie treat mixture to become overly hard and difficult to shape or enjoy.
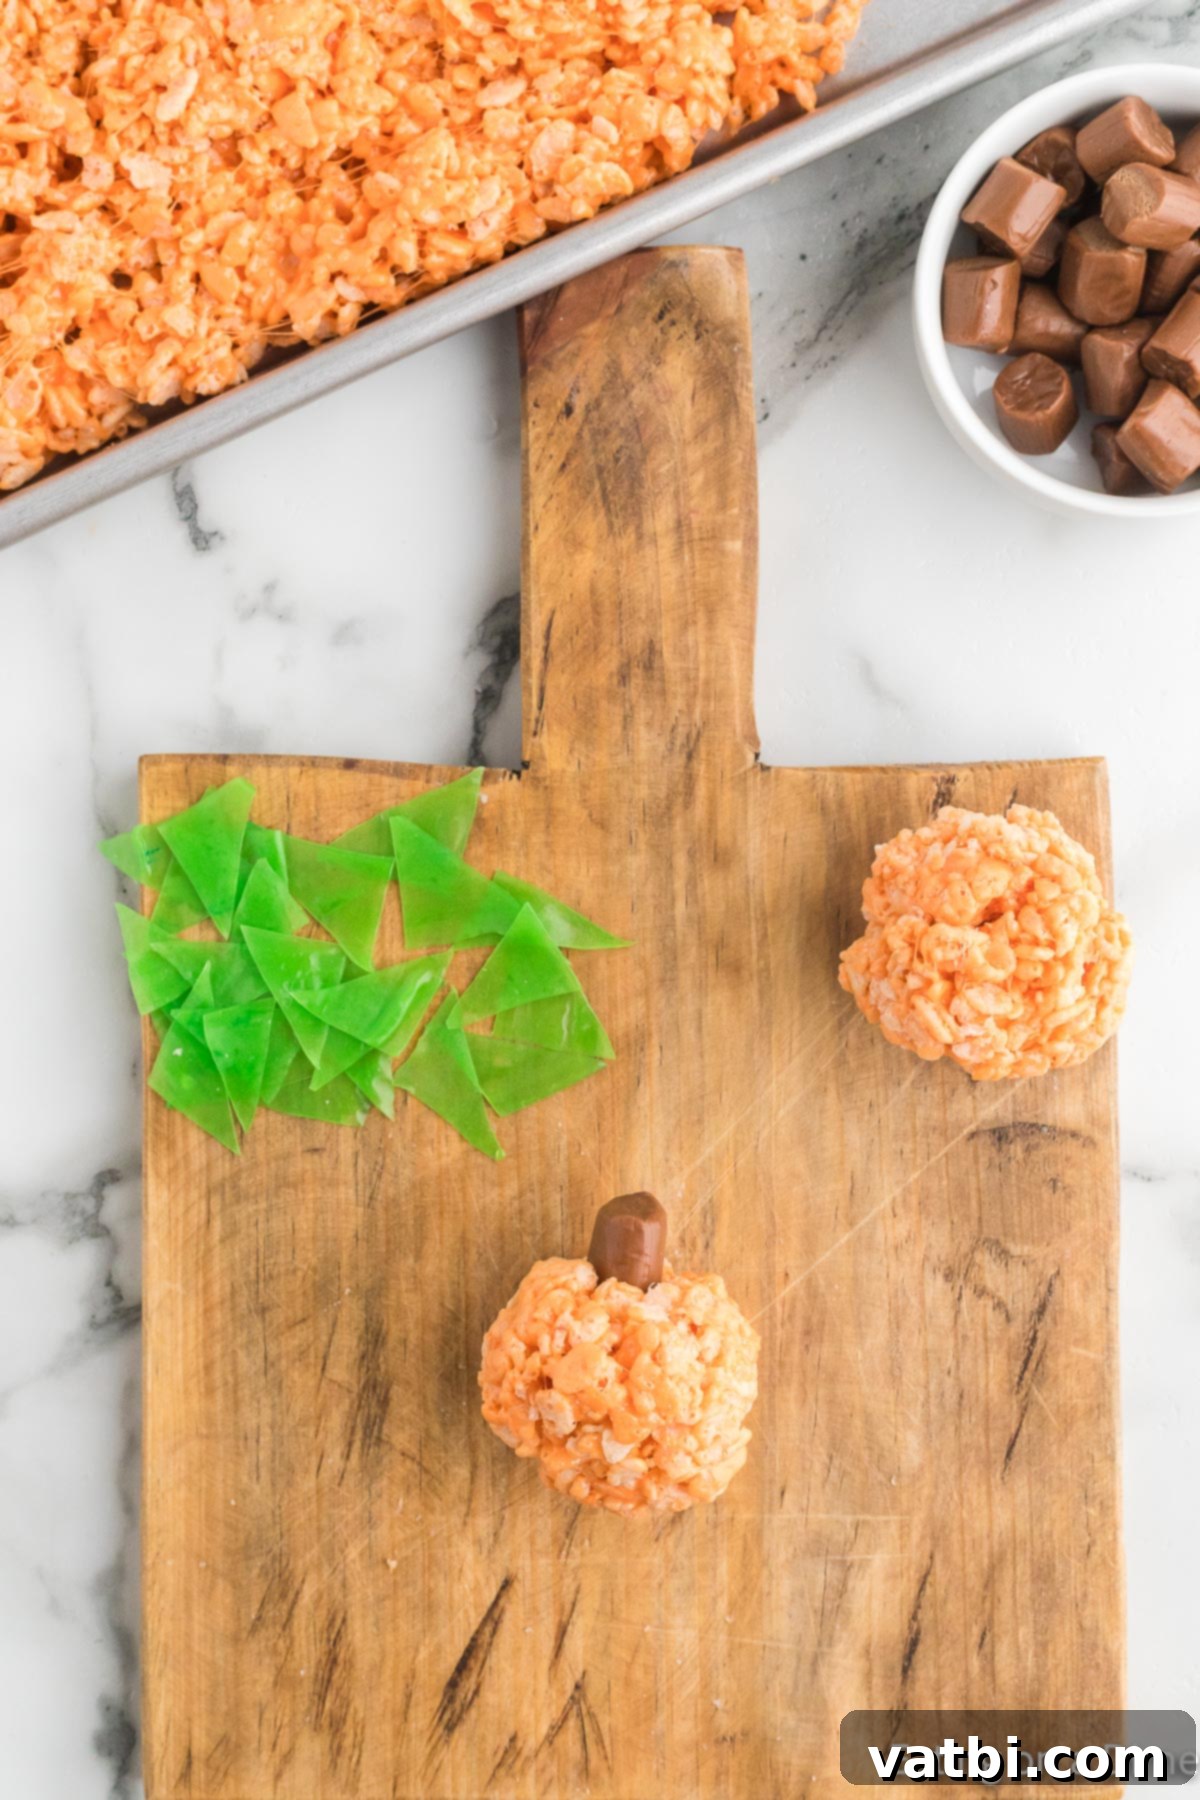
Step 8. Form Pumpkin Balls: Once the mixture has cooled sufficiently and is easy to handle, lightly grease your hands with butter or cooking spray. Scoop portions of the mixture and gently form them into small, round balls, roughly 2 inches in diameter. You can gently indent the top and bottom to create a more defined pumpkin shape.
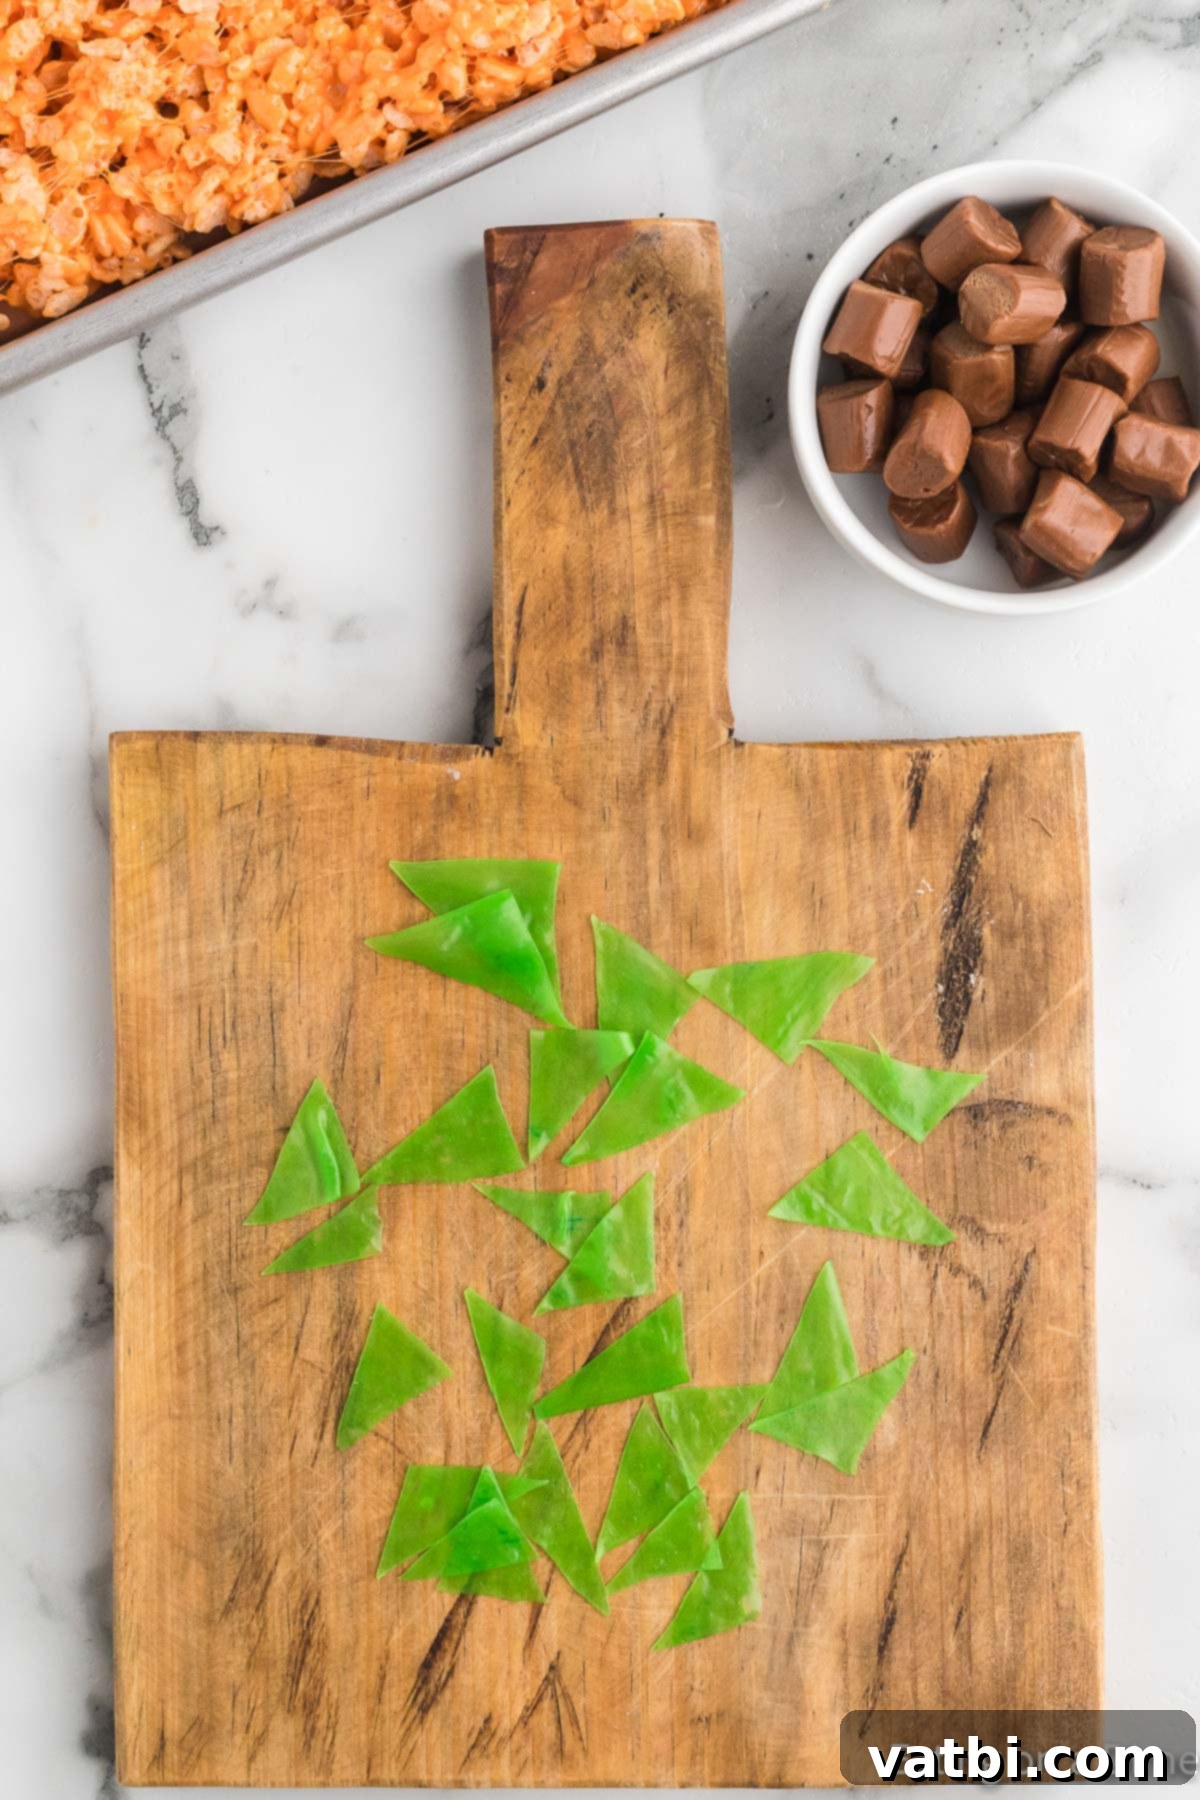
Step 9. Create the Leaves: To make the charming pumpkin leaves, unroll your green fruit roll-ups. Cut them into small squares, and then cut each square diagonally to form small triangles. These triangles will serve as your pumpkin leaves, adding a lovely touch of greenery.
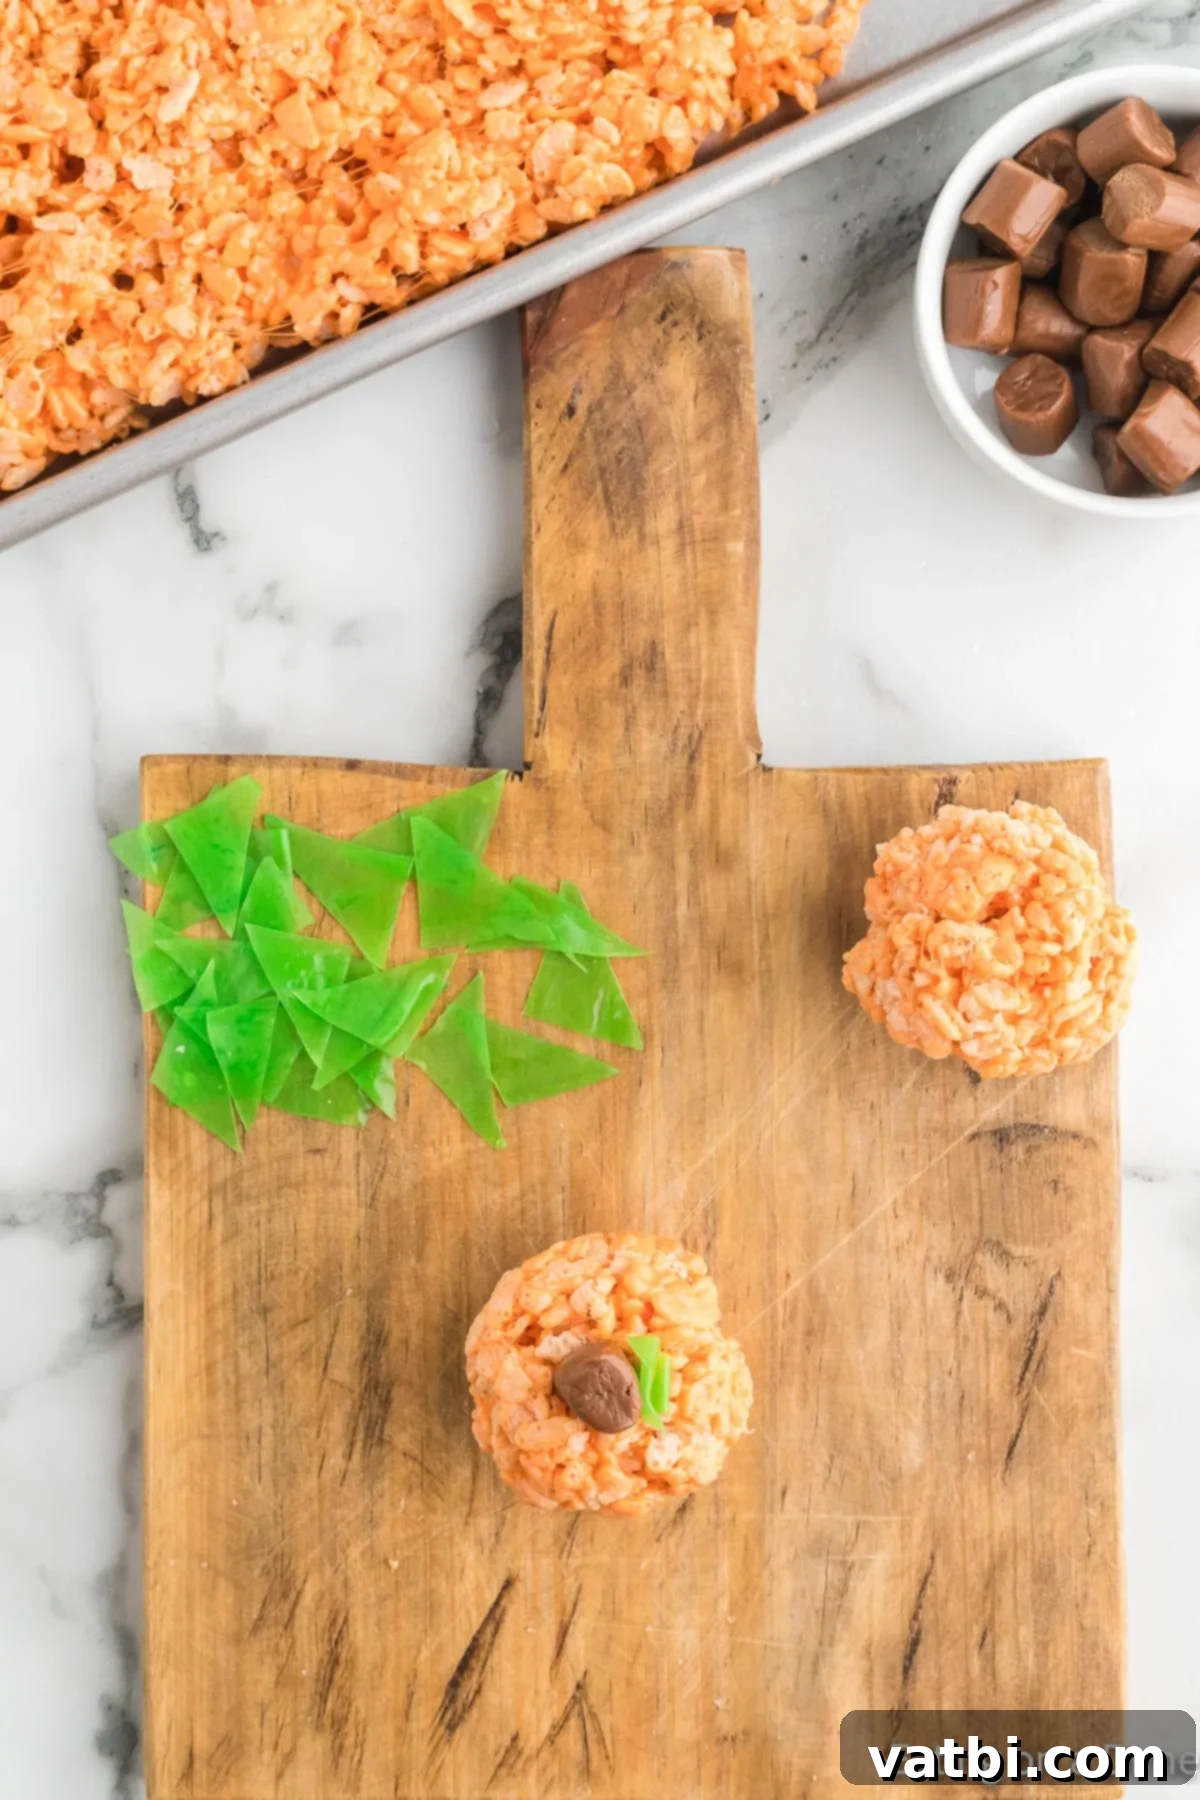
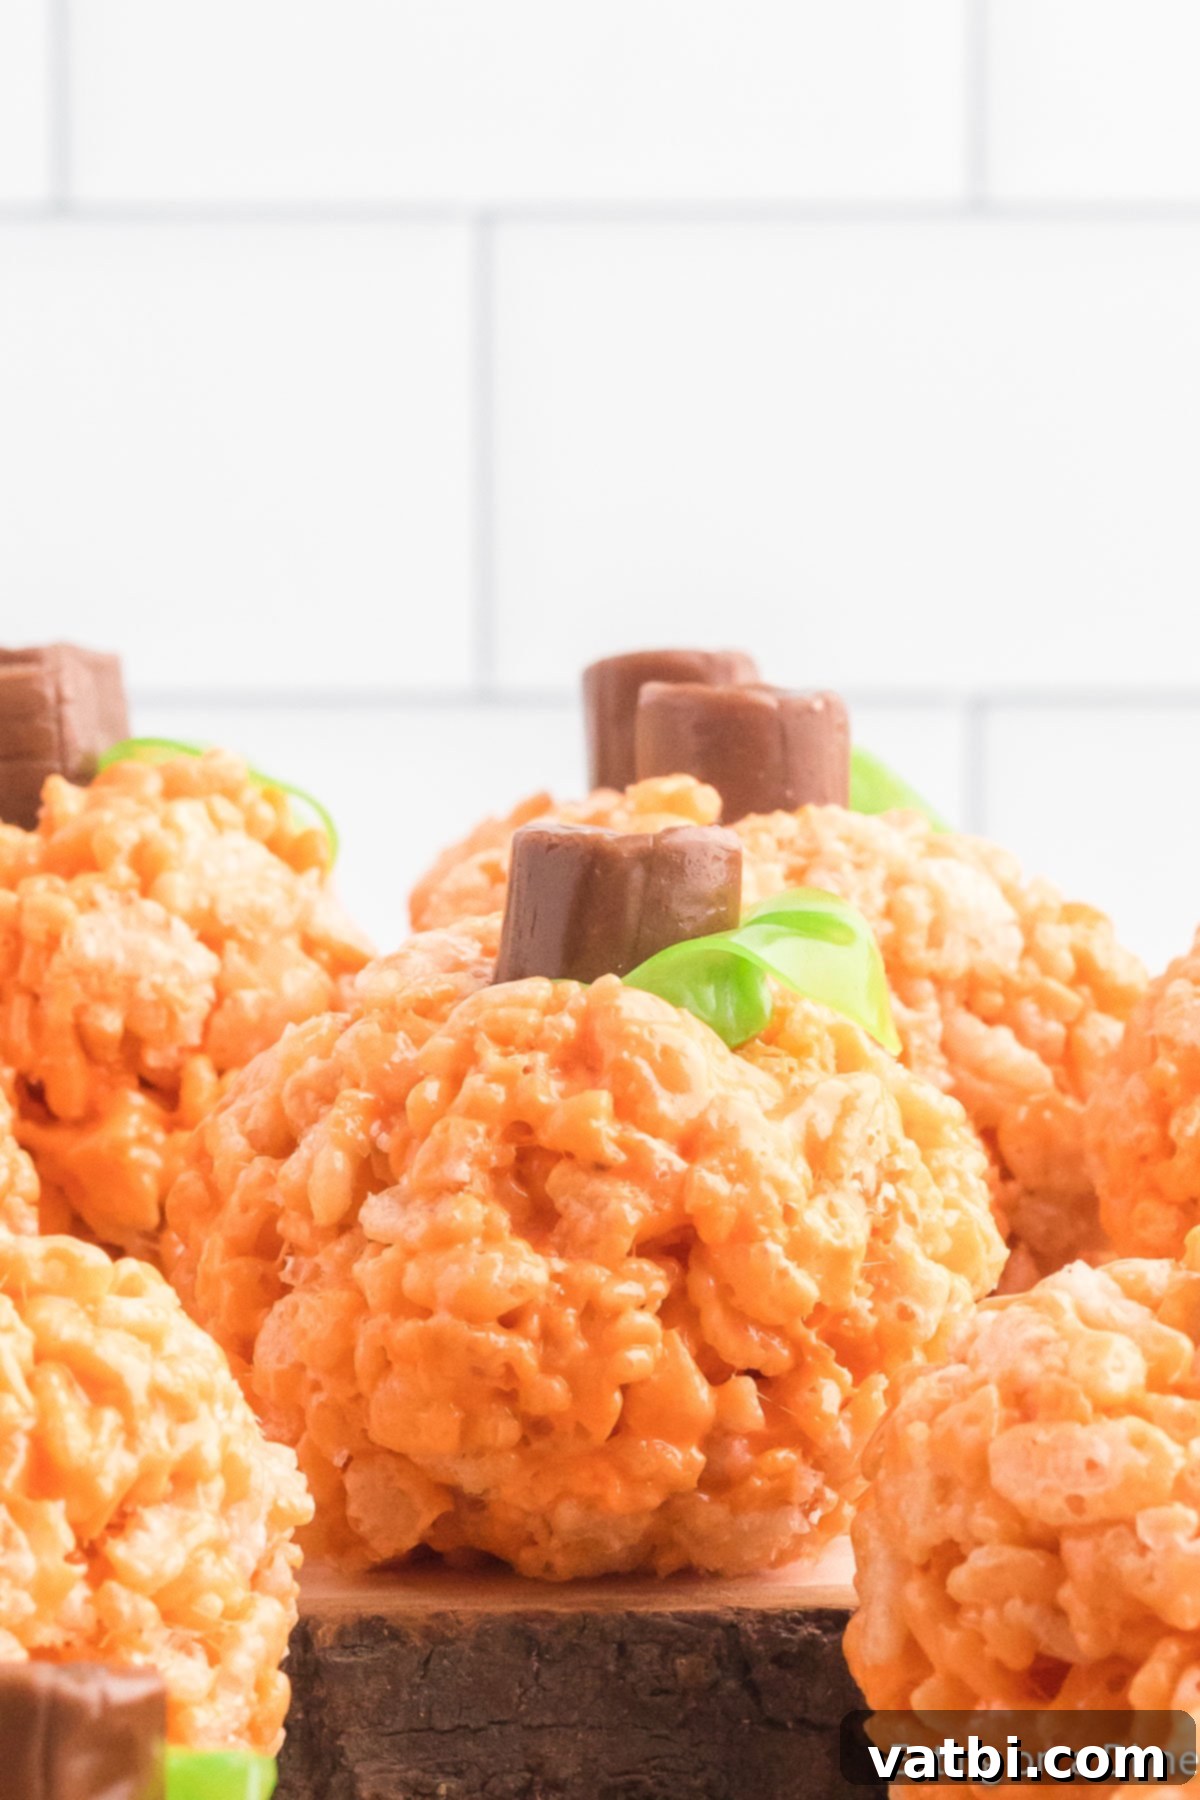
Step 10. Assemble Your Pumpkins: Take the halved Tootsie Rolls and gently press one piece into the very center of the top of each Rice Krispie ball to create the pumpkin stem. Next, carefully place your fruit roll-up leaves on the pumpkin next to the Tootsie Roll stem. Arrange them slightly to make them look as if they’re naturally growing from the stem. Your delightful pumpkin treats are now complete!
Storing Your Pumpkin Rice Krispie Treats for Optimal Freshness
Proper storage is key to keeping your Pumpkin Rice Krispie Treats delicious and perfectly textured. These treats are best enjoyed when stored at room temperature on your kitchen counter, away from direct sunlight and heat. To maintain their freshness, chewy consistency, and prevent them from drying out, place the finished pumpkins in an airtight container. When stored correctly, they will remain wonderfully fresh and enjoyable for up to 7 to 10 days. Avoid stacking them too tightly to prevent the decorations from getting squished.
It’s important to remember a critical storage tip: do not place the pumpkin treats in the refrigerator. While it might seem like a good idea for preservation, the cold temperature will cause the Rice Krispie Treats to harden significantly, losing their desirable soft and chewy texture. For the best eating experience, keep them at room temperature until ready to serve.
Expert Tips for Perfect Pumpkin Rice Krispie Treats Every Time
Achieving the perfect batch of Rice Krispie Treat Pumpkins is simple with these insider tips:
- Fresh Cereal is a Must: Always use fresh Rice Krispie cereal for optimal results. Stale cereal can lead to a chewy, less crunchy treat. Fresh cereal ensures that satisfying crispness that makes Rice Krispie Treats so enjoyable.
- Avoid Refrigeration: As mentioned, never place your finished Rice Krispie Treats in the fridge. The cold temperature will cause the marshmallow and cereal mixture to harden considerably, making them tough and less palatable. Room temperature is ideal for preserving their soft, chewy texture.
- Gentle Pressing is Key: When spreading the cereal mixture into the pan before shaping, press down gently and evenly. Over-compressing or pressing too hard will result in a denser, harder treat. A light touch will ensure they remain wonderfully soft and chewy.
- Melt in Intervals: Whether you’re melting butter, marshmallows, or both, do so in short intervals, especially if using a microwave. Stir frequently between intervals to ensure even melting and to prevent scorching or burning the marshmallows, which can give your treats an undesirable flavor and texture.
- Gradually Add the Cereal: Adding the Rice Krispie cereal gradually to the melted marshmallow mixture makes it much easier to combine everything thoroughly. This method ensures every piece of cereal is coated evenly without breaking the delicate cereal pieces.
- Utilize Cooking Spray for Hands: The marshmallow mixture is notoriously sticky. To make forming the pumpkin balls much easier and less messy, lightly spray your hands with cooking spray or rub a tiny bit of butter on them. This creates a non-stick surface, allowing you to shape the treats effortlessly.
More Easy Halloween Treats to Spook and Delight
Looking for more fun and easy treats to make for Halloween? Check out these other fantastic ideas that are sure to be a hit:
- Jack o Lantern Chocolate Covered Oreos
- Easy Spider Cupcakes
- Halloween Dirt Cake Recipe
- Jack-O-Lantern Cupcakes
- Halloween Puppy Chow
- Monster Eye Ball Rice Krispie Treats
Even More Delicious Rice Krispie Treats Recipes to Try
If you love Rice Krispie Treats as much as we do, you’ll want to explore these other fantastic recipes:
- How to Make Classic Rice Krispie Treats
- Irresistible Chocolate Covered Rice Krispie Treats Recipe
- Classic Pumpkin Rice Krispie Treats (another great option!)
I truly can’t wait for you to try this fun and festive recipe. Once you’ve had a chance to make it, please take a moment to leave a star rating and a comment below. Your feedback means so much, and it’s always exciting to hear from you all about your culinary adventures! Happy baking!
Pin
Pumpkin Rice Krispie Treats
Ingredients
- 6 cups Rice Krispie Cereal
- 3 Tablespoon Butter
- 10 oz package of Marshmallows
- Red Food Coloring
- Yellow Food Coloring
- 12 Tootsie Rolls Cut in Half
- 2 Green Fruit Roll Ups
Instructions
-
Melt the butter on low heat in a large saucepan or in the microwave.
-
Add the marshmallows and stir until completely melted or you can melt in the microwave in 30 second increments.
-
Remove from heat and add 4 drops of the yellow food coloring and 2 drops of the red food coloring. Stir until the marshmallow mixture is the orange,
-
Gradually add in the rice krispies cereal. Mix until completely coated.
-
Spread evenly into a large pan to cool slightly. We poured ours onto a jelly roll pan.
-
Allow the mixture to cool for at least 30 minutes. Do not refrigerate as it will cause the rice krispies to be too hard.
-
After this cooling time, form the rice krispies into small balls that are approximately 2 inches in diameter.
-
Press the tootsie roll pieces into the center of the balls to form the pumpkin shape.
-
Create the pumpkin leaves by cutting the green fruit roll ups. I cut the fruit roll-ups into square and then cut them diagonally to form small triangles. Place them on the pumpkin rice krispies next to the tootsie roll stems.
-
Allow the pumpkins to cool completely and then enjoy!
Recipe Notes
Jelly Roll Pans – https://amzn.to/2ZnTpp8
Nutrition Facts
Pin This Now to Remember It Later
Pin Recipe
