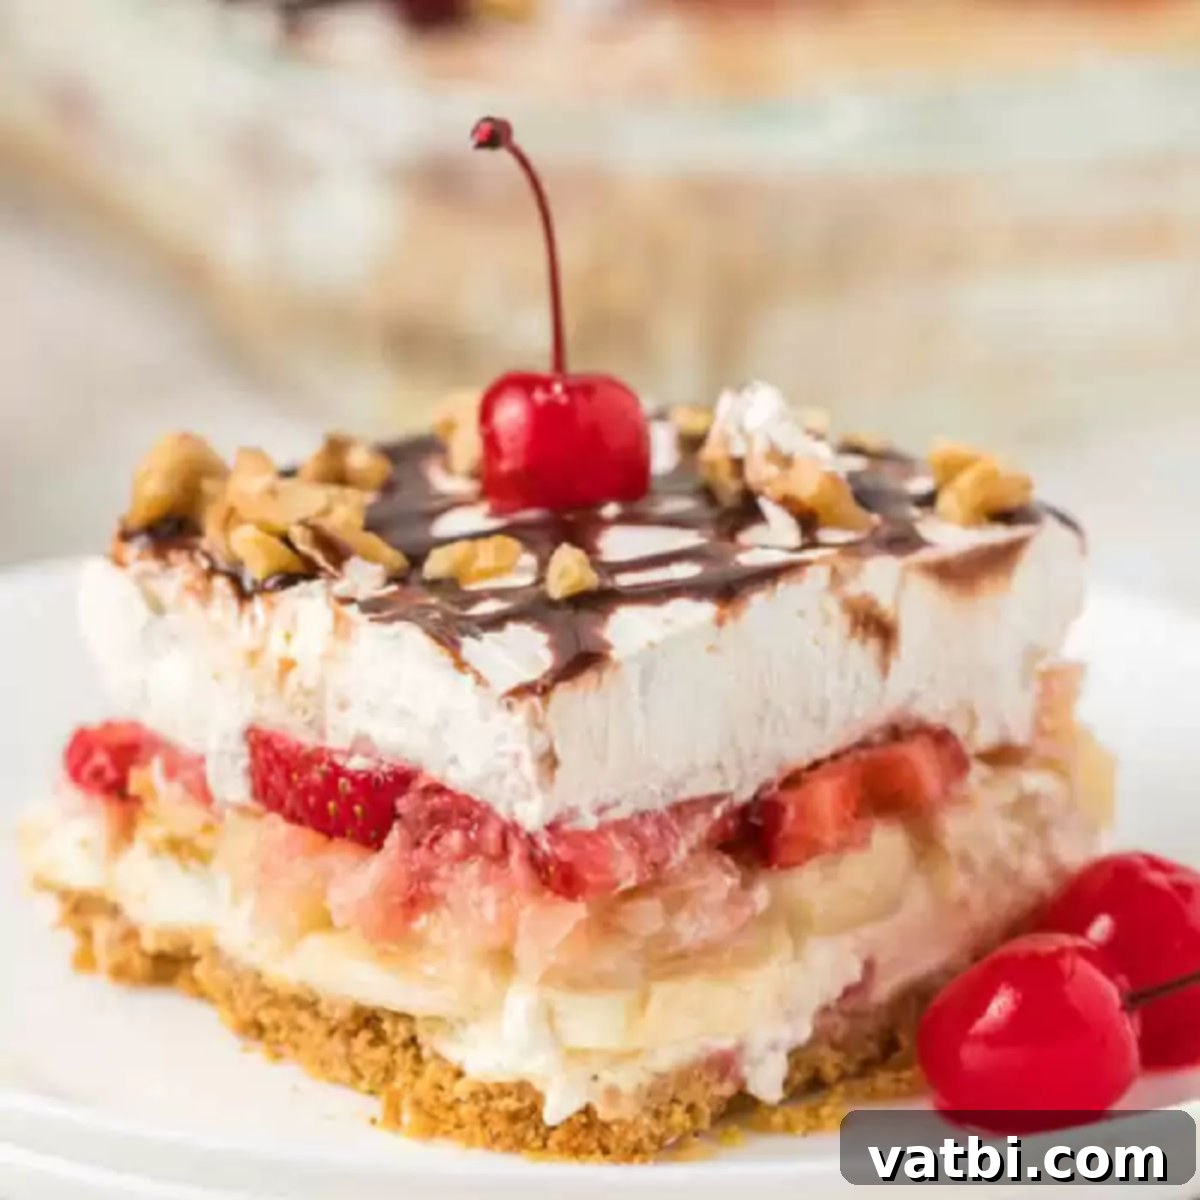
Easy No-Bake Banana Split Cake Recipe: A Decadent Dessert for Quick Entertaining
Indulge in the ultimate nostalgic treat with this incredibly simple and universally loved No-Bake Banana Split Cake recipe. This dessert delivers all the classic flavors and vibrant layers of a traditional banana split, transformed into an effortlessly impressive cake. Featuring a buttery graham cracker crust, a luscious cream cheese filling, and generous toppings of fresh strawberries, sweet pineapple, ripe bananas, rich chocolate syrup, and bright maraschino cherries, it’s a dessert that promises to be a spectacular hit at any gathering. Its no-bake nature makes it perfect for warm weather or when you simply need a quick, yet elegant, dessert solution without turning on the oven.
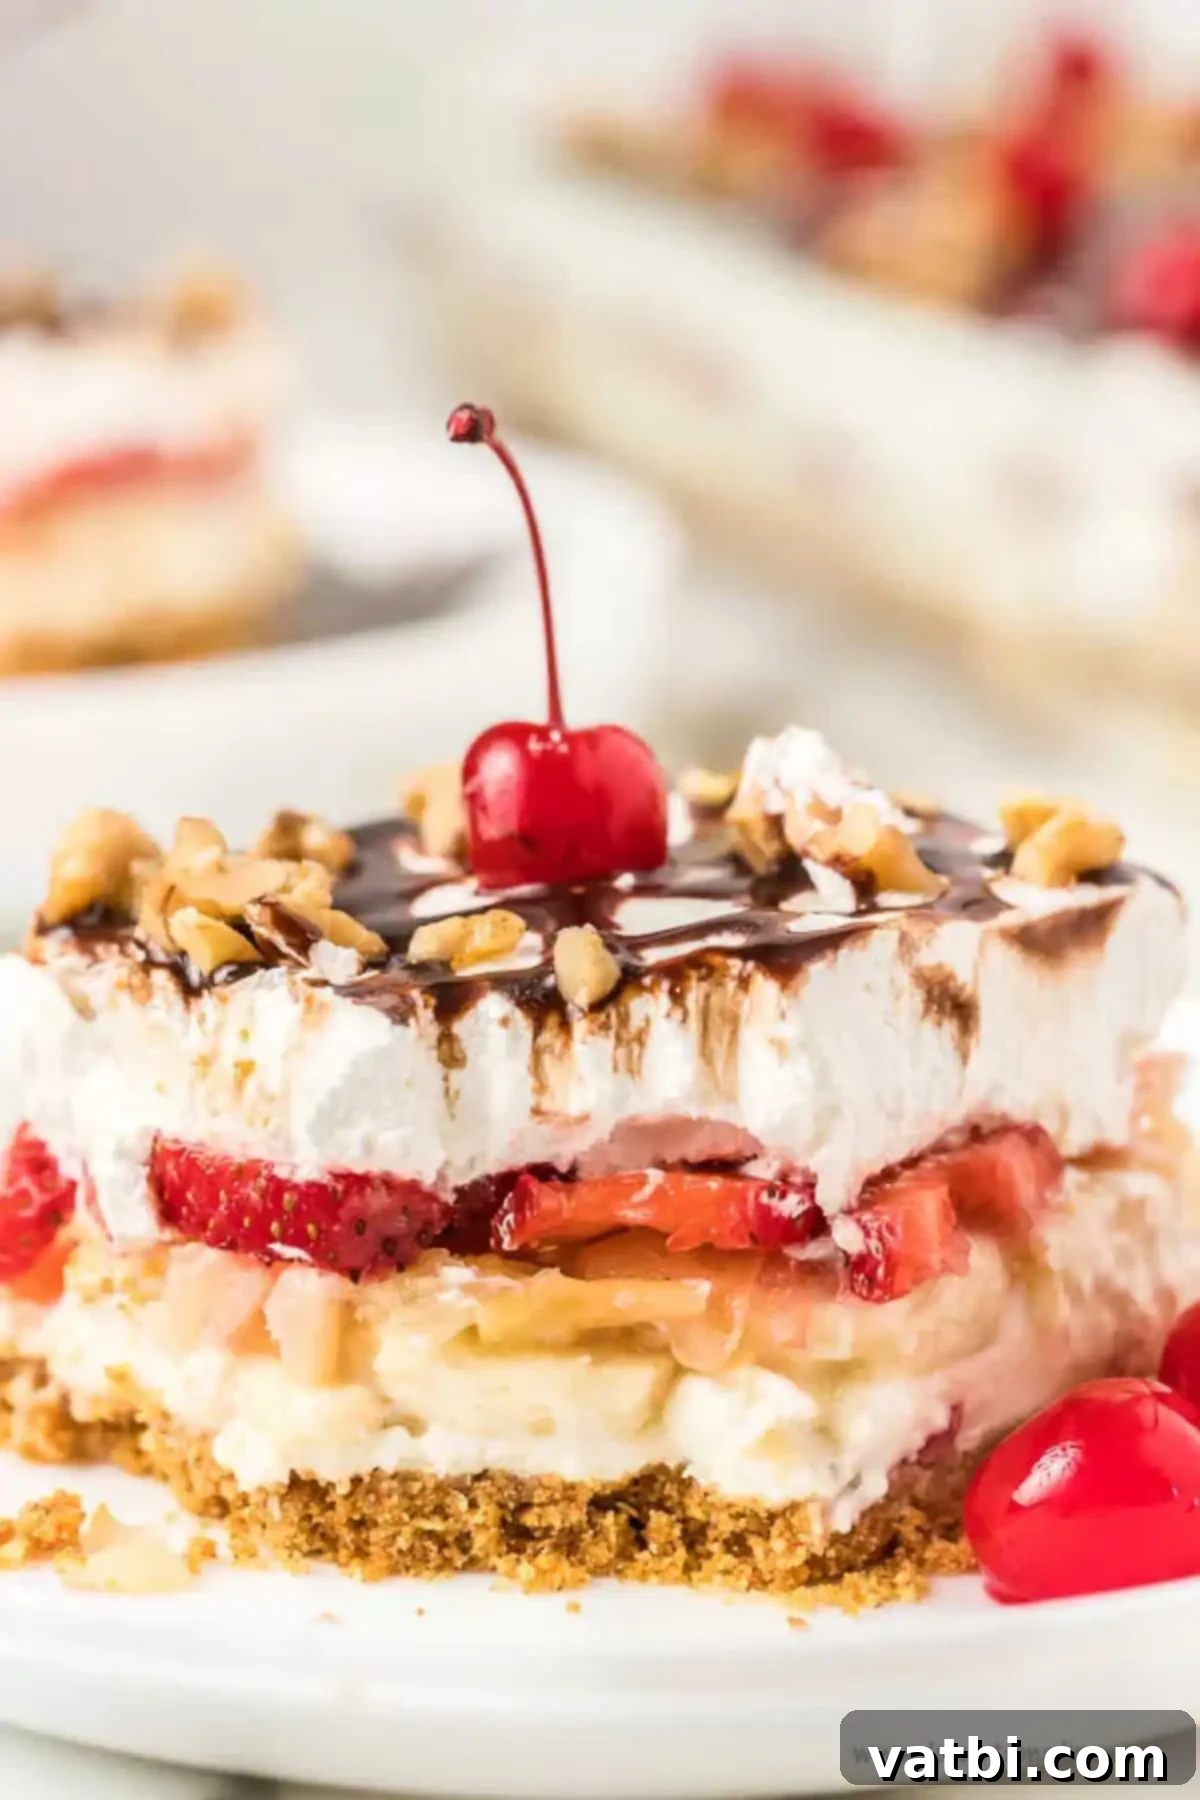
The iconic banana split, with its delightful combination of fruit, cream, and chocolate, has long been a favorite, and this recipe ingeniously captures that magic in an easy-to-slice cake format. Our no-bake dessert is a fantastic way to enjoy those beloved flavors with minimal fuss. If you’re a fan of the creamy, sweet taste of bananas, you’ll also adore our Banana Cream Cheesecake Bars, another fantastic banana-infused treat.
For those who appreciate simple yet delicious desserts, we also highly recommend trying our Eclair Cake, the vibrant Strawberry Crunch Poke Cake Recipe, or another delightful take on the classic, the Banana Split Dump Cake. These recipes offer diverse flavors and textures, ensuring there’s a perfect dessert for every occasion. Should you find yourself with leftover crushed pineapple after making this cake, don’t let it go to waste – whip up a batch of our simple and delicious Pineapple Angel Food Dump Cake Recipe for another effortless treat.
Table of contents
- Why This Recipe Works
- Ingredients
- Crust
- Cream Cheese Layer
- Toppings
- How to Make Banana Split Cake
- Storage
- FAQs
- Try More Banana Recipes
Why This No-Bake Banana Split Cake is a Must-Try Recipe
This Banana Split Cake isn’t just a dessert; it’s a guaranteed crowd-pleaser that embodies simplicity and sensational flavor. Here’s why this recipe deserves a spot in your rotation:
- Effortless Preparation: One of the biggest advantages of this cake is that it requires absolutely no baking. This means you can create a show-stopping dessert without heating up your kitchen, making it ideal for hot summer days or busy holidays when oven space is limited.
- Simple Steps, Big Flavor: The process is incredibly straightforward, making it accessible for home cooks of all skill levels. Despite its ease, the layers of buttery crust, creamy filling, fresh fruit, and rich chocolate combine to create an explosion of flavors that truly mimics the classic ice cream sundae.
- Perfect for Planning Ahead: This cake is designed to be made in advance, which is a huge convenience for entertaining. Prepare it the day before, or even earlier, and let it chill in the refrigerator. This allows the flavors to meld beautifully and the layers to set perfectly, freeing up your time on the day of your event. It’s an ideal choice for potlucks, family gatherings, picnics, or any occasion where you want to impress without stress.
- Unforgettable Taste and Texture: From the crunchy graham cracker base to the smooth cream cheese layer, the soft fruit, and the delightful crunch of nuts, every bite offers a symphony of textures and tastes. It’s a dessert that leaves a lasting impression, often eliciting requests for the recipe.
If you enjoy easy-to-make, delicious desserts, you might also love our collection of Dump Cake Recipes. For other memorable dessert ideas, consider our decadent Better Than Sex Cake Recipe or explore our festive 4th of July Cake Ideas.
Essential Ingredients for Your No-Bake Banana Split Cake
Creating this magnificent no-bake cake requires a few simple, readily available ingredients. The beauty lies in the combination of these components to build a dessert that’s both fresh and indulgent.
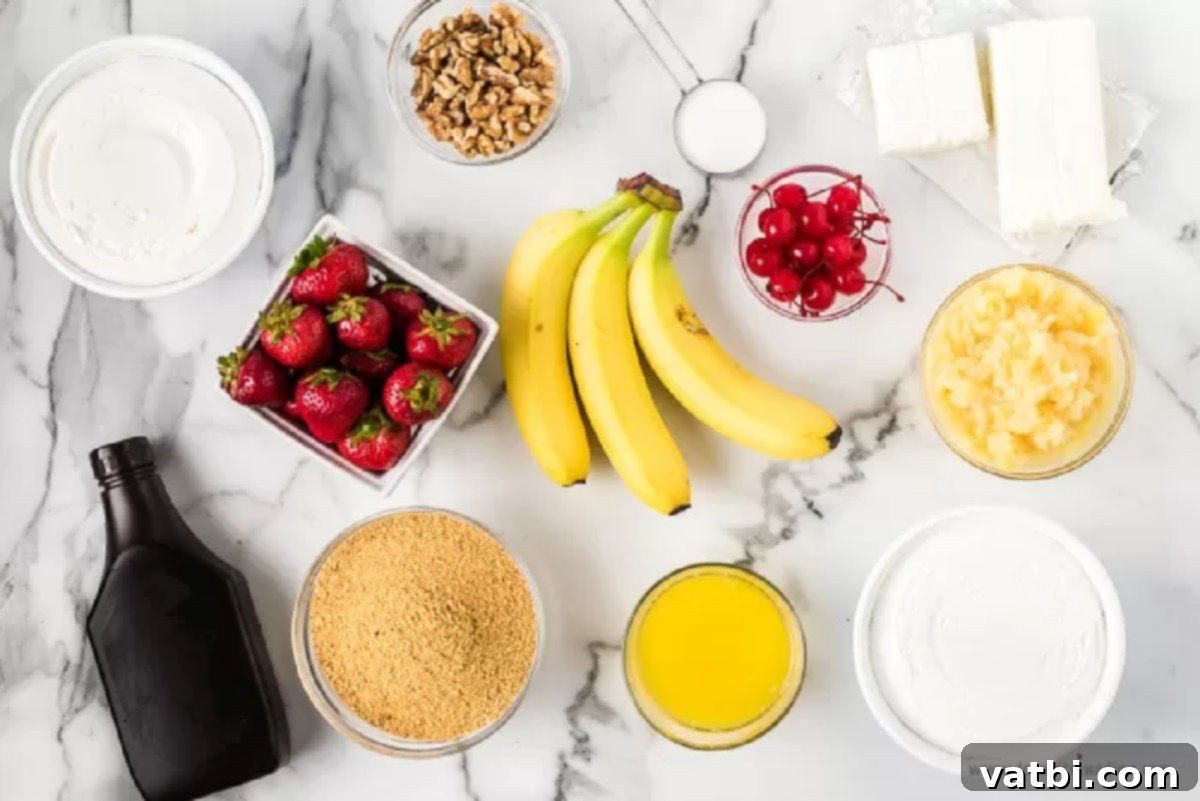
The Perfect Crust
- Graham Cracker Crumbs: These form the classic, subtly sweet, and crunchy base of our cake. You can conveniently purchase pre-crushed graham cracker crumbs, or easily make your own by pulsing whole graham crackers in a food processor until fine, or crushing them in a bag with a rolling pin. This allows for a fresh, customized texture.
- Unsalted Butter: Melting the butter and combining it with the crumbs creates a cohesive, rich crust. Always opt for real unsalted butter for the best flavor and texture in your crust.
Creamy Dreamy Cream Cheese Layer
- Cream Cheese: For a smooth and lump-free filling, it’s crucial that your cream cheese is softened to room temperature before mixing. This ensures it blends perfectly with the sugar and whipped topping.
- Granulated Sugar: Just a touch of sugar adds the right amount of sweetness to balance the tanginess of the cream cheese, creating a perfectly balanced flavor profile.
- Cool Whip: This airy, sweetened whipped topping provides the light and fluffy texture for the cream cheese layer. Alternatively, you can use our Homemade Whipped Cream Recipe for a richer, made-from-scratch option. If using homemade, ensure it’s stiffly whipped for stability.
Flavorful Fruit & Decadent Toppings
- Sliced Bananas: The star of the show! Slice your bananas thinly for even distribution and easier serving. A helpful tip to prevent browning is to slice them just before assembling or lightly toss them with a tiny amount of lemon juice (though this might slightly alter the flavor).
- Crushed Pineapple: This adds a burst of tropical sweetness and moisture. It is absolutely essential to drain the crushed pineapple exceptionally well, pressing out all excess liquid. This prevents the cake from becoming soggy and maintains the integrity of the layers.
- Strawberries: Fresh, hulled, and sliced strawberries provide a vibrant color, juicy texture, and delightful tartness that complements the other sweet components.
- Walnuts: Chopped walnuts add a wonderful crunch and earthy flavor, contrasting beautifully with the creamy and soft layers. Feel free to experiment with other types of nuts, such as chopped pecans or peanuts, for a different nutty twist.
- Chocolate Syrup: A generous drizzle of chocolate syrup is key to achieving that authentic banana split experience. For an extra luxurious touch, you can use our Hot Fudge Sauce Recipe.
- Maraschino Cherries: These iconic, bright red cherries are the quintessential garnish, adding a pop of color and a distinct, sweet-tart finish to your cake.
The complete list of ingredients, along with precise measurements, can be found in the recipe card below, ensuring you have everything you need for this irresistible dessert.
Step-by-Step Guide: How to Make Your No-Bake Banana Split Cake
Crafting this delightful no-bake cake is a breeze. Follow these easy steps to assemble your stunning dessert:
- Step 1: Prepare Your Pan – Begin by lightly greasing a standard 9×13 inch baking pan. This ensures your cake layers release easily once set. Set the prepared pan aside.
- Step 2: Create the Graham Cracker Crust – In a medium-sized mixing bowl, combine the graham cracker crumbs with the melted unsalted butter. Use a fork to thoroughly mix the ingredients until all the crumbs are evenly moistened and resemble wet sand. I typically melt the butter quickly in the microwave for convenience.
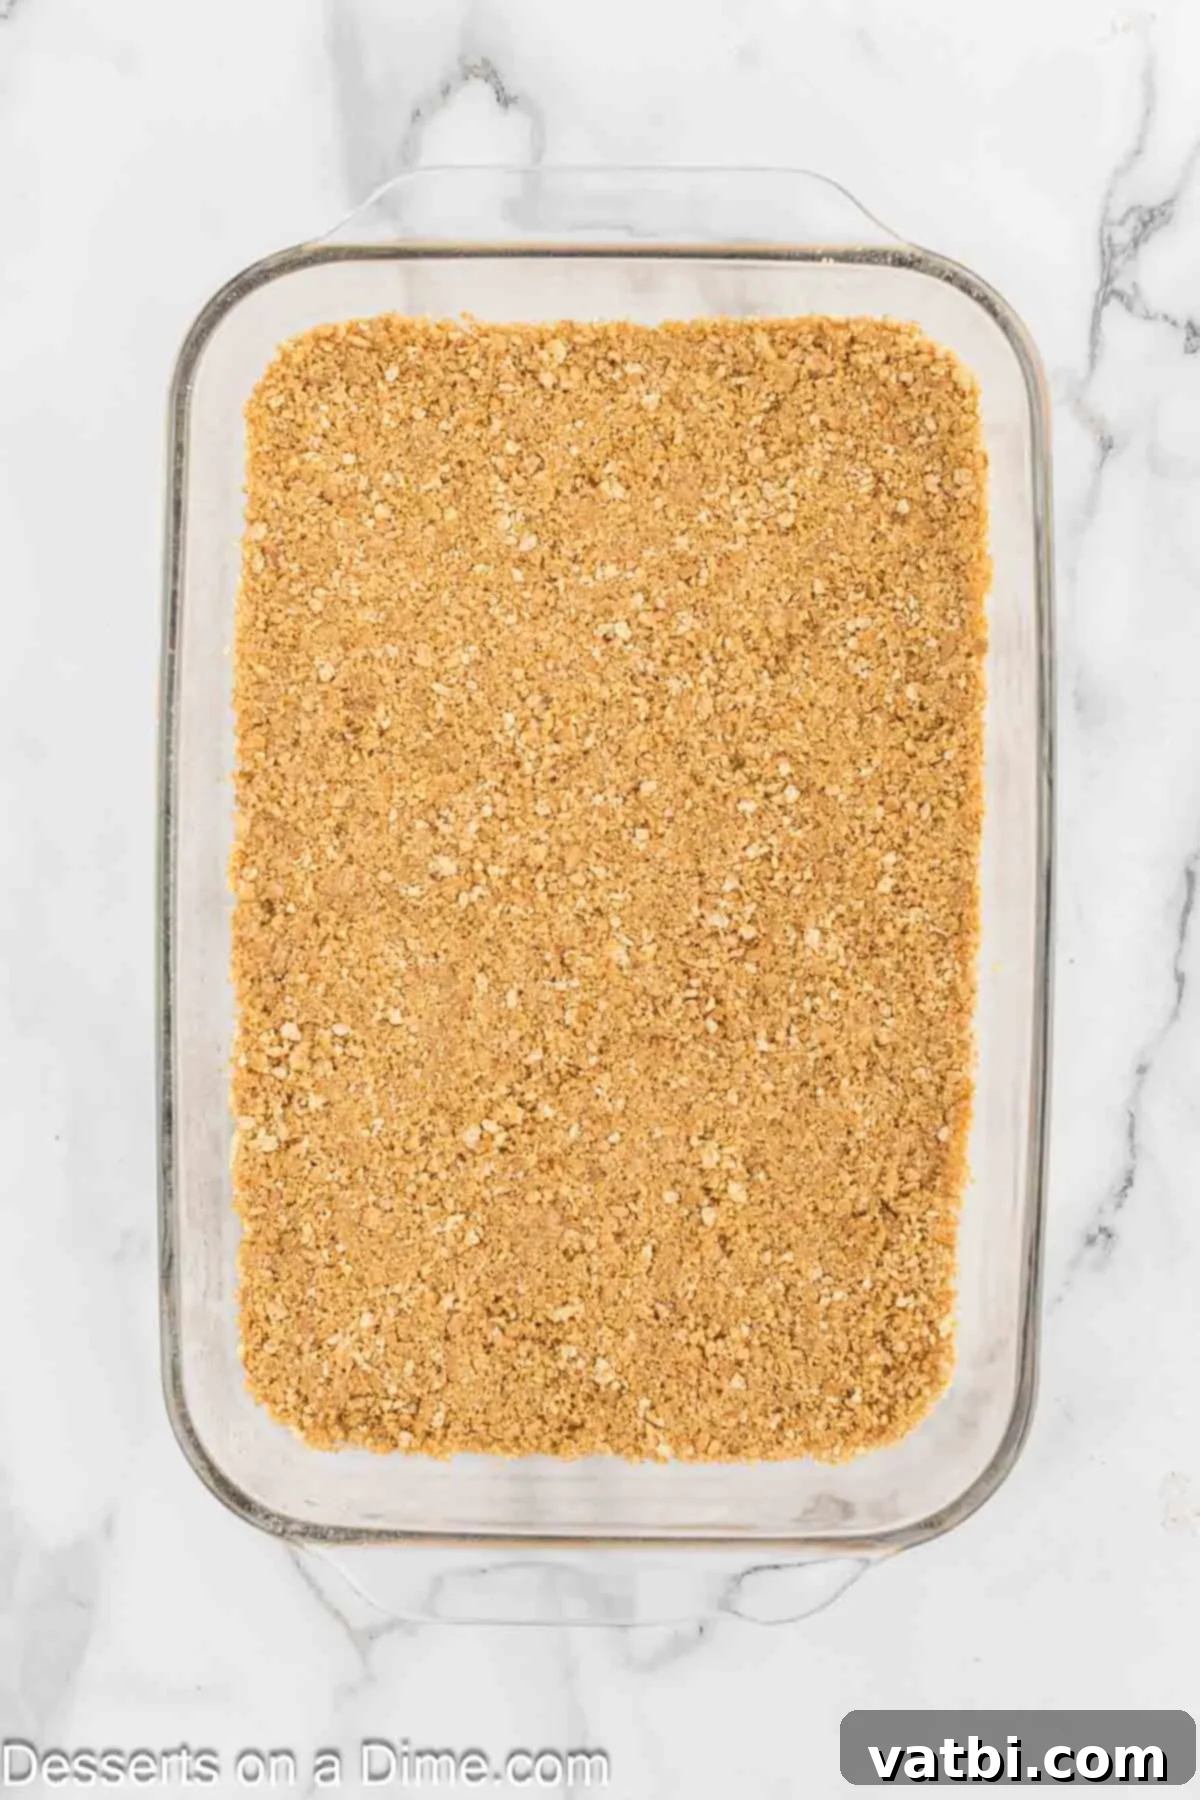
Step 3: Press the Crust – Transfer the moistened graham cracker mixture into your prepared 9×13 inch pan. Use the back of a spoon or your fingers to firmly and evenly press the crumbs across the bottom of the pan, forming a solid crust. Once pressed, place the pan in the refrigerator to chill and set while you prepare the next layer. This helps the crust firm up and prevents it from crumbling when sliced.
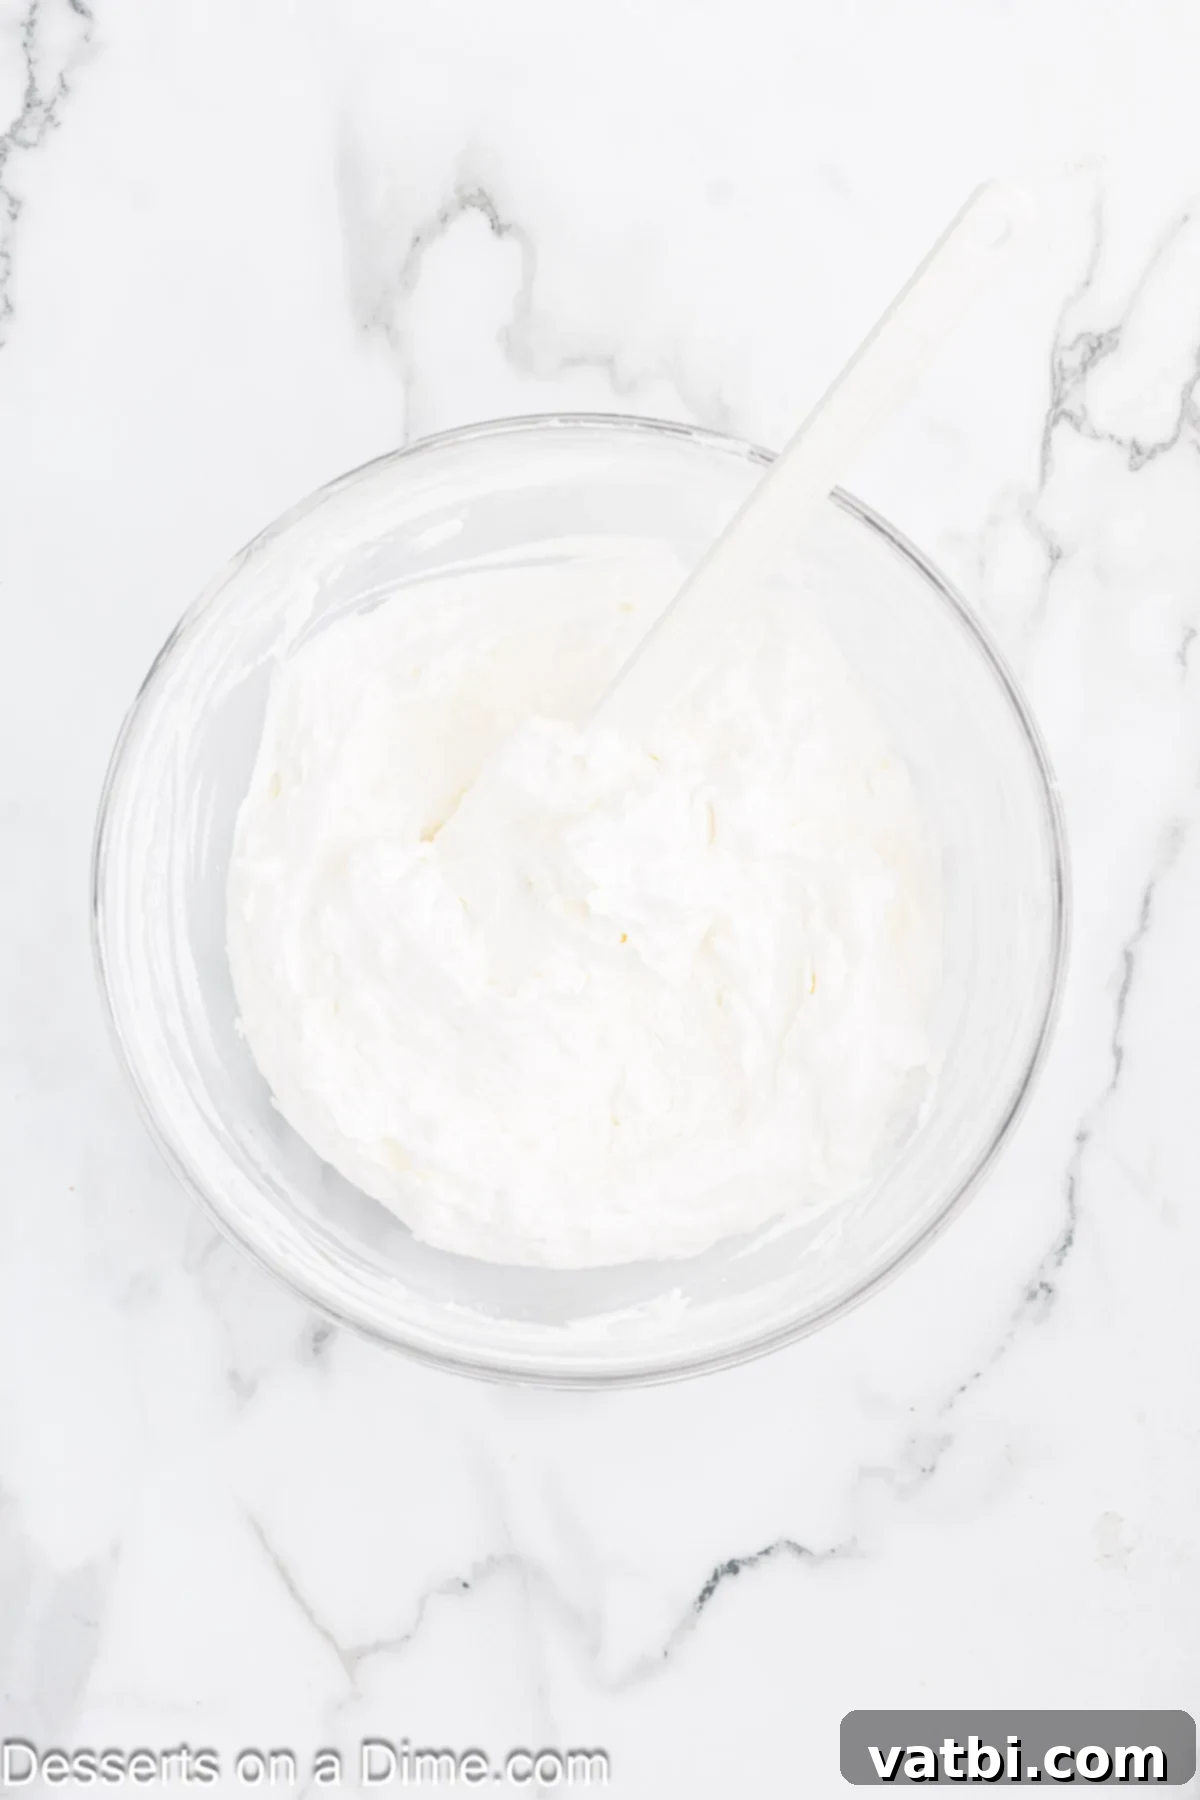
Step 4: Prepare the Cream Cheese Layer – In another medium bowl, using an electric mixer, beat together the softened cream cheese and granulated sugar on medium speed until the mixture is light, smooth, and fluffy (this usually takes about 2-3 minutes). Once thoroughly combined, gently fold in the whipped topping by hand with a rubber spatula. Be careful not to overmix, as this can deflate the airy texture of the Cool Whip. The goal is a uniform, creamy consistency.
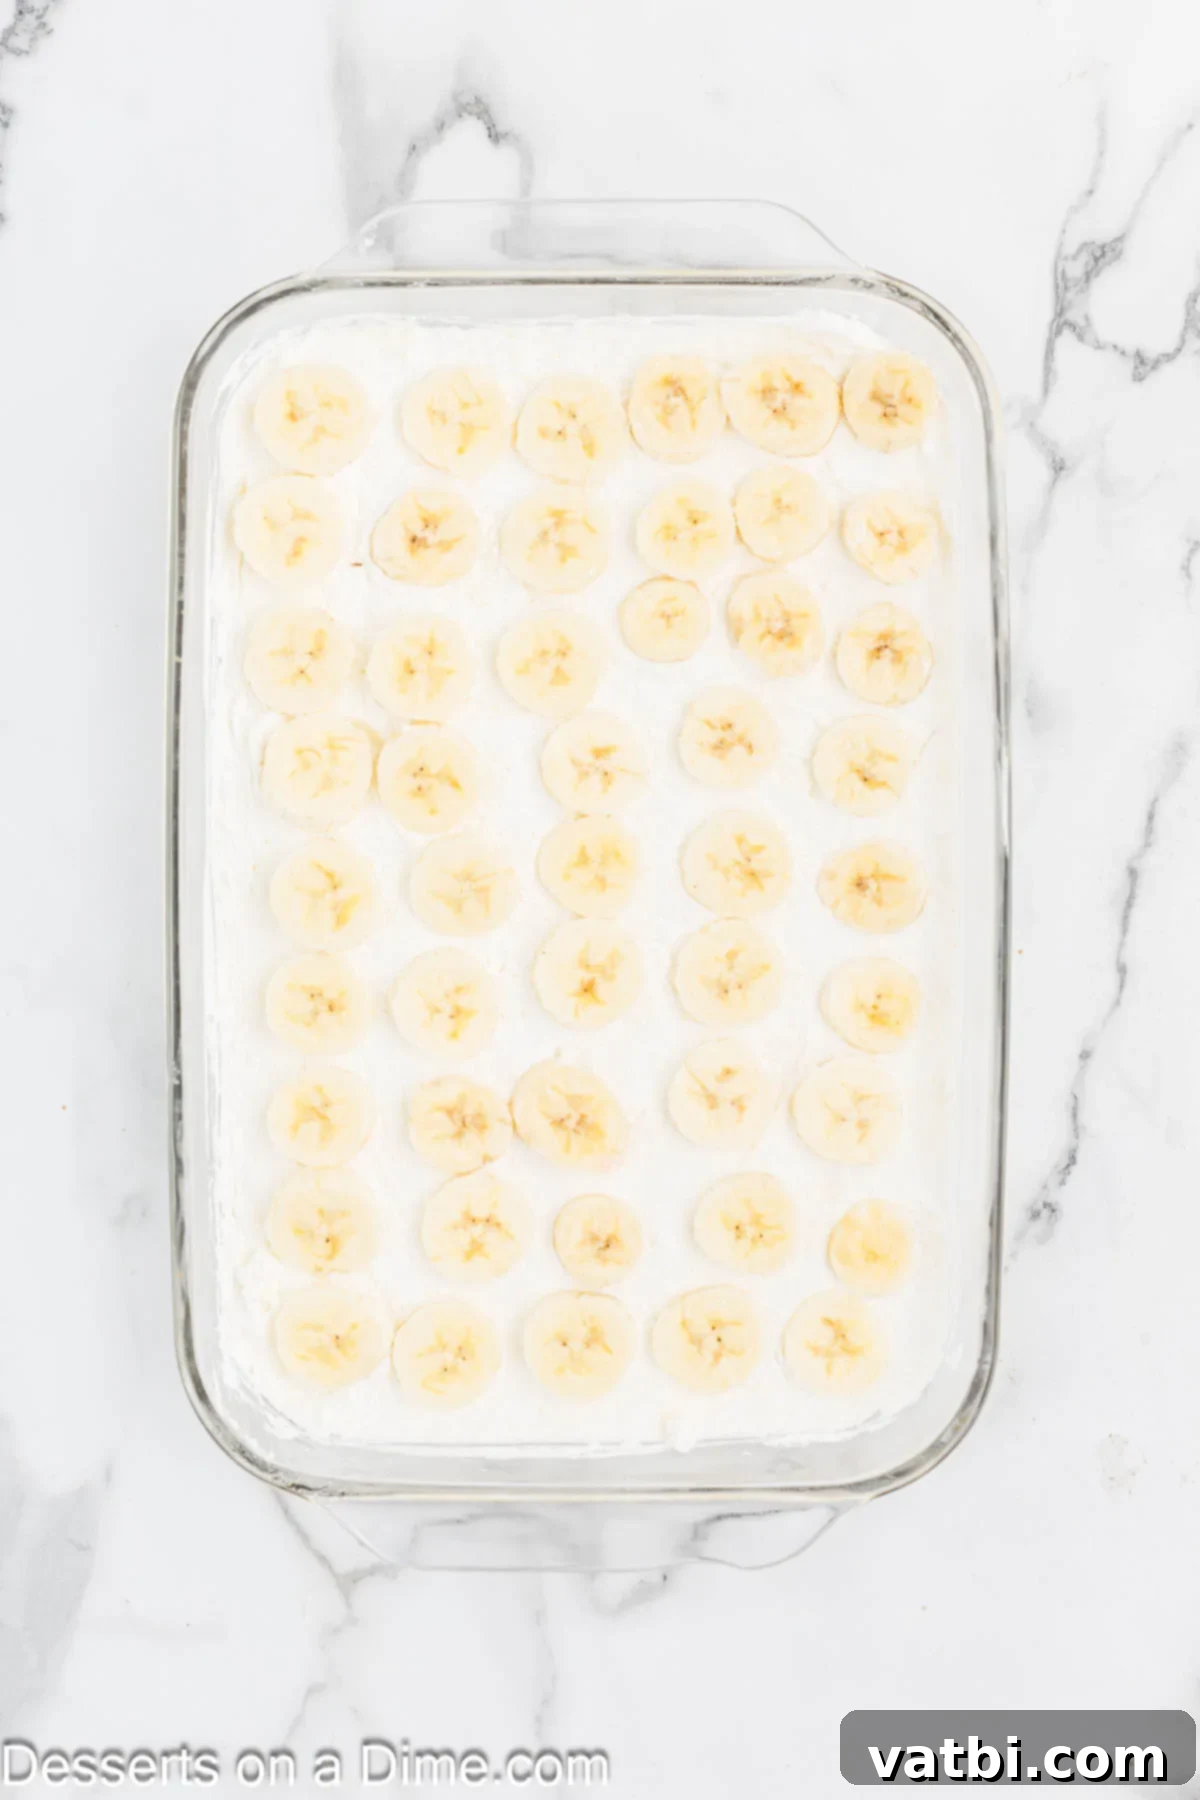
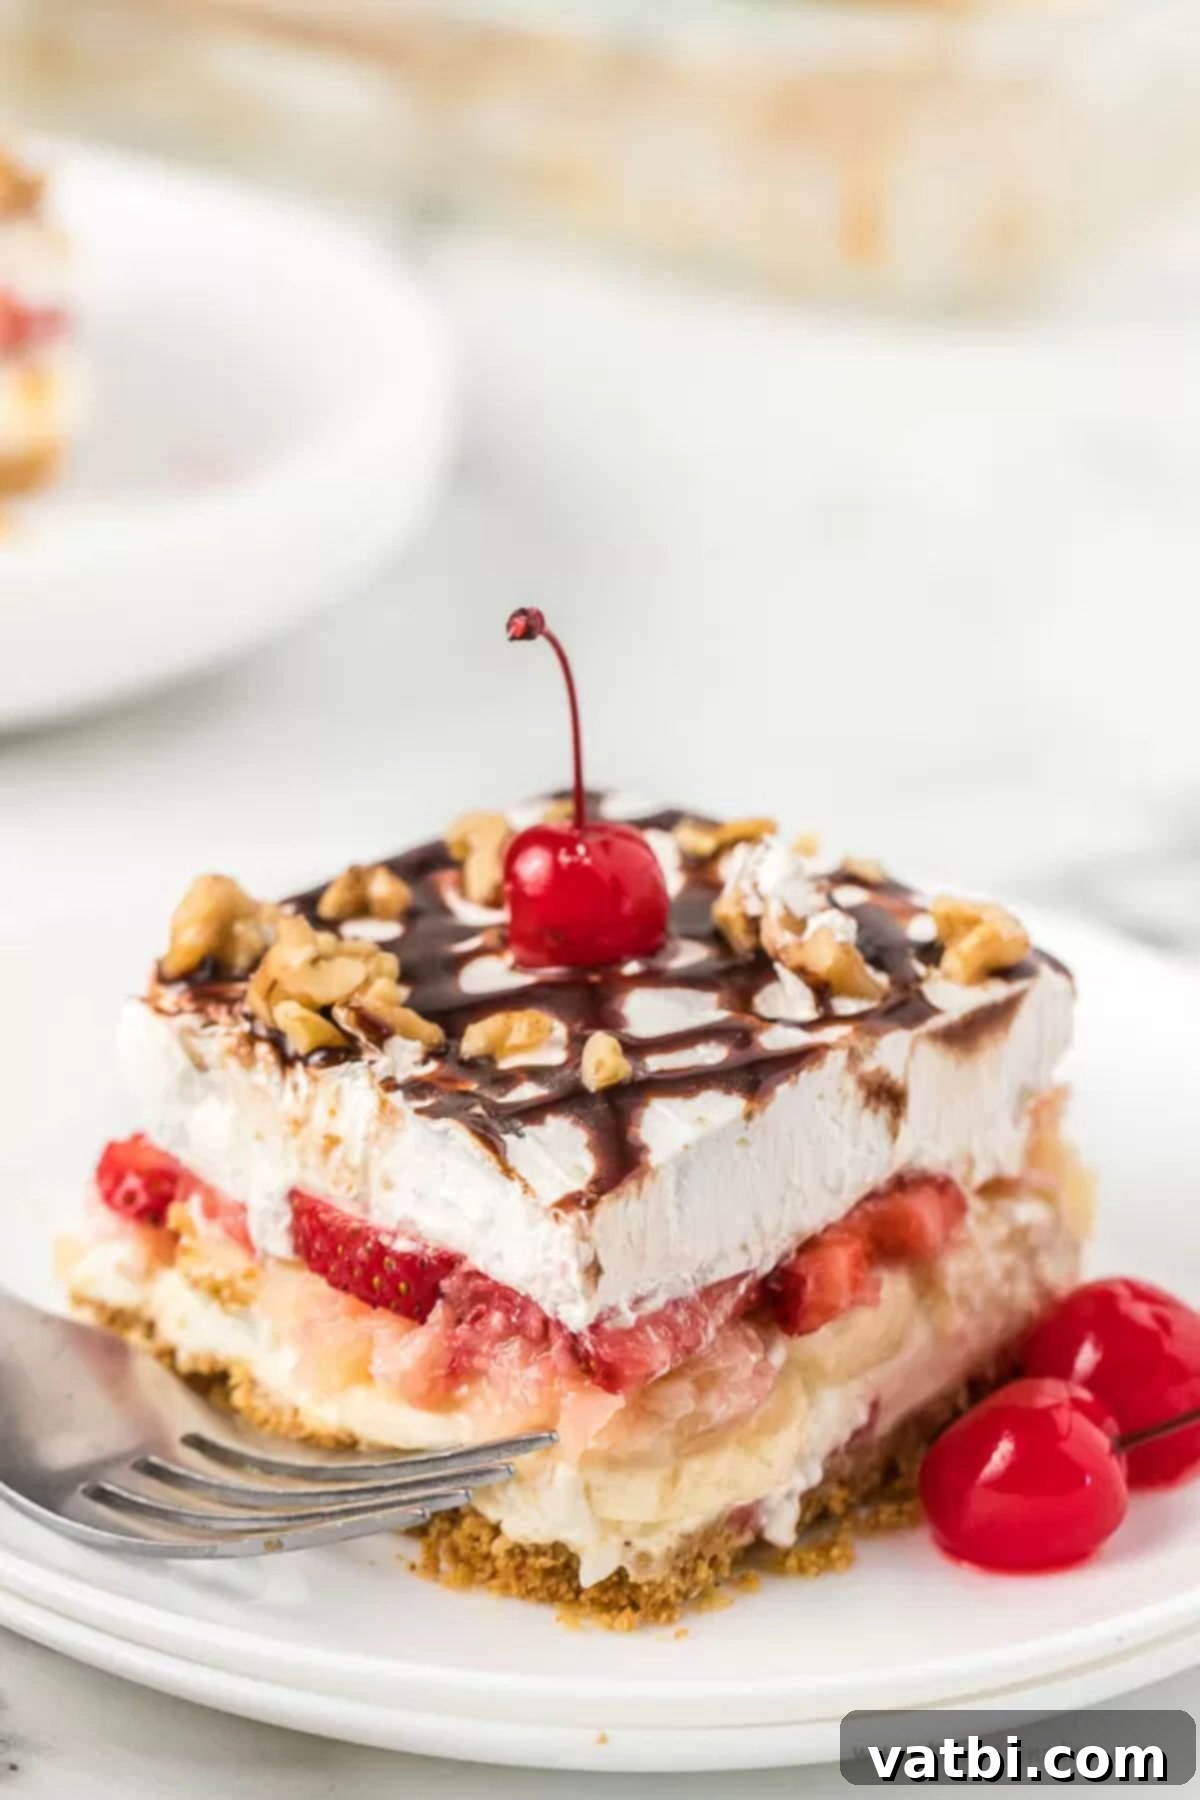
Step 5: Layer the Cream Cheese and Bananas – Retrieve the chilled graham cracker crust from the refrigerator. Carefully spread the prepared cream cheese mixture evenly over the entire surface of the crust. Then, arrange the thinly sliced bananas in a single, even layer directly on top of the cream cheese filling. This creates the foundational banana split flavor.
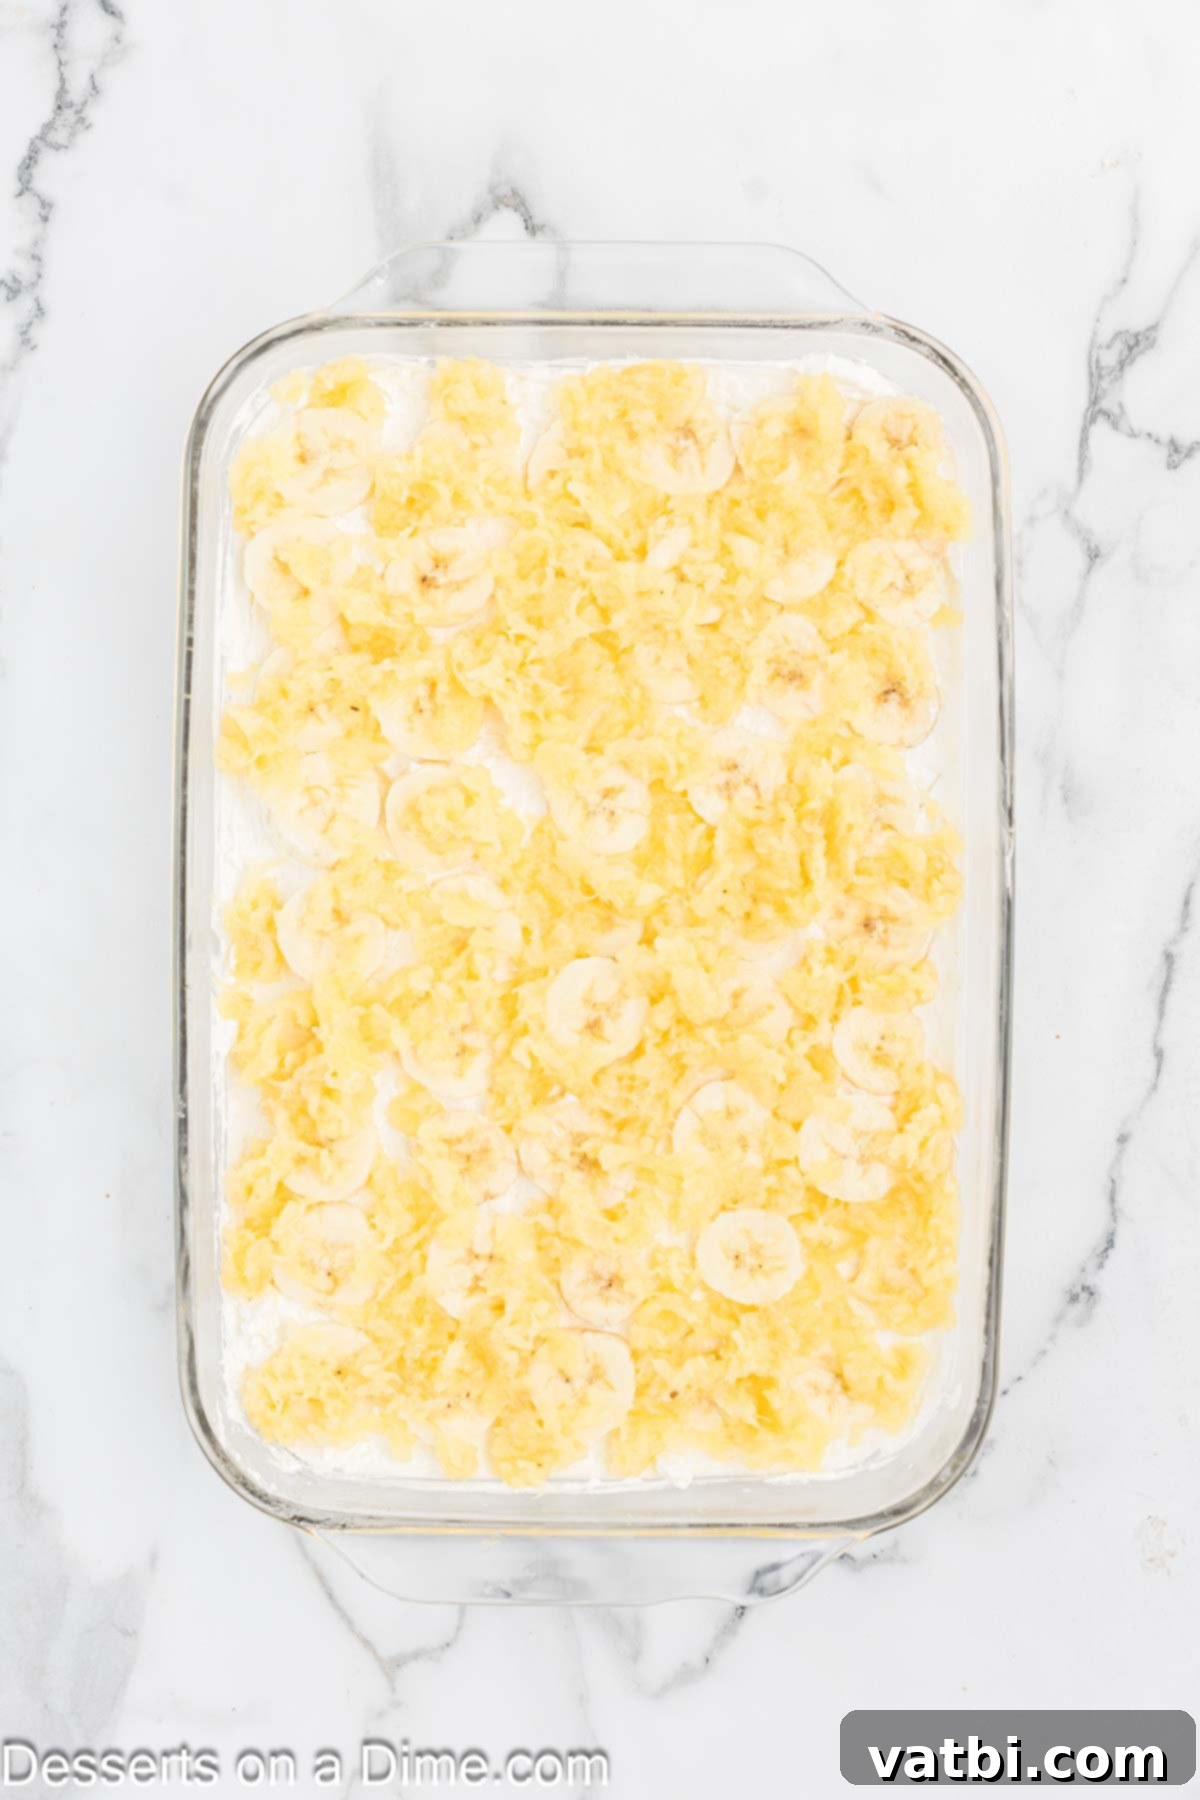
Step 6: Add the Pineapple Layer – Next, distribute an even layer of the well-drained crushed pineapple over the banana slices. Remember, thorough draining is key to prevent a soggy cake. Pat it dry with paper towels if necessary.
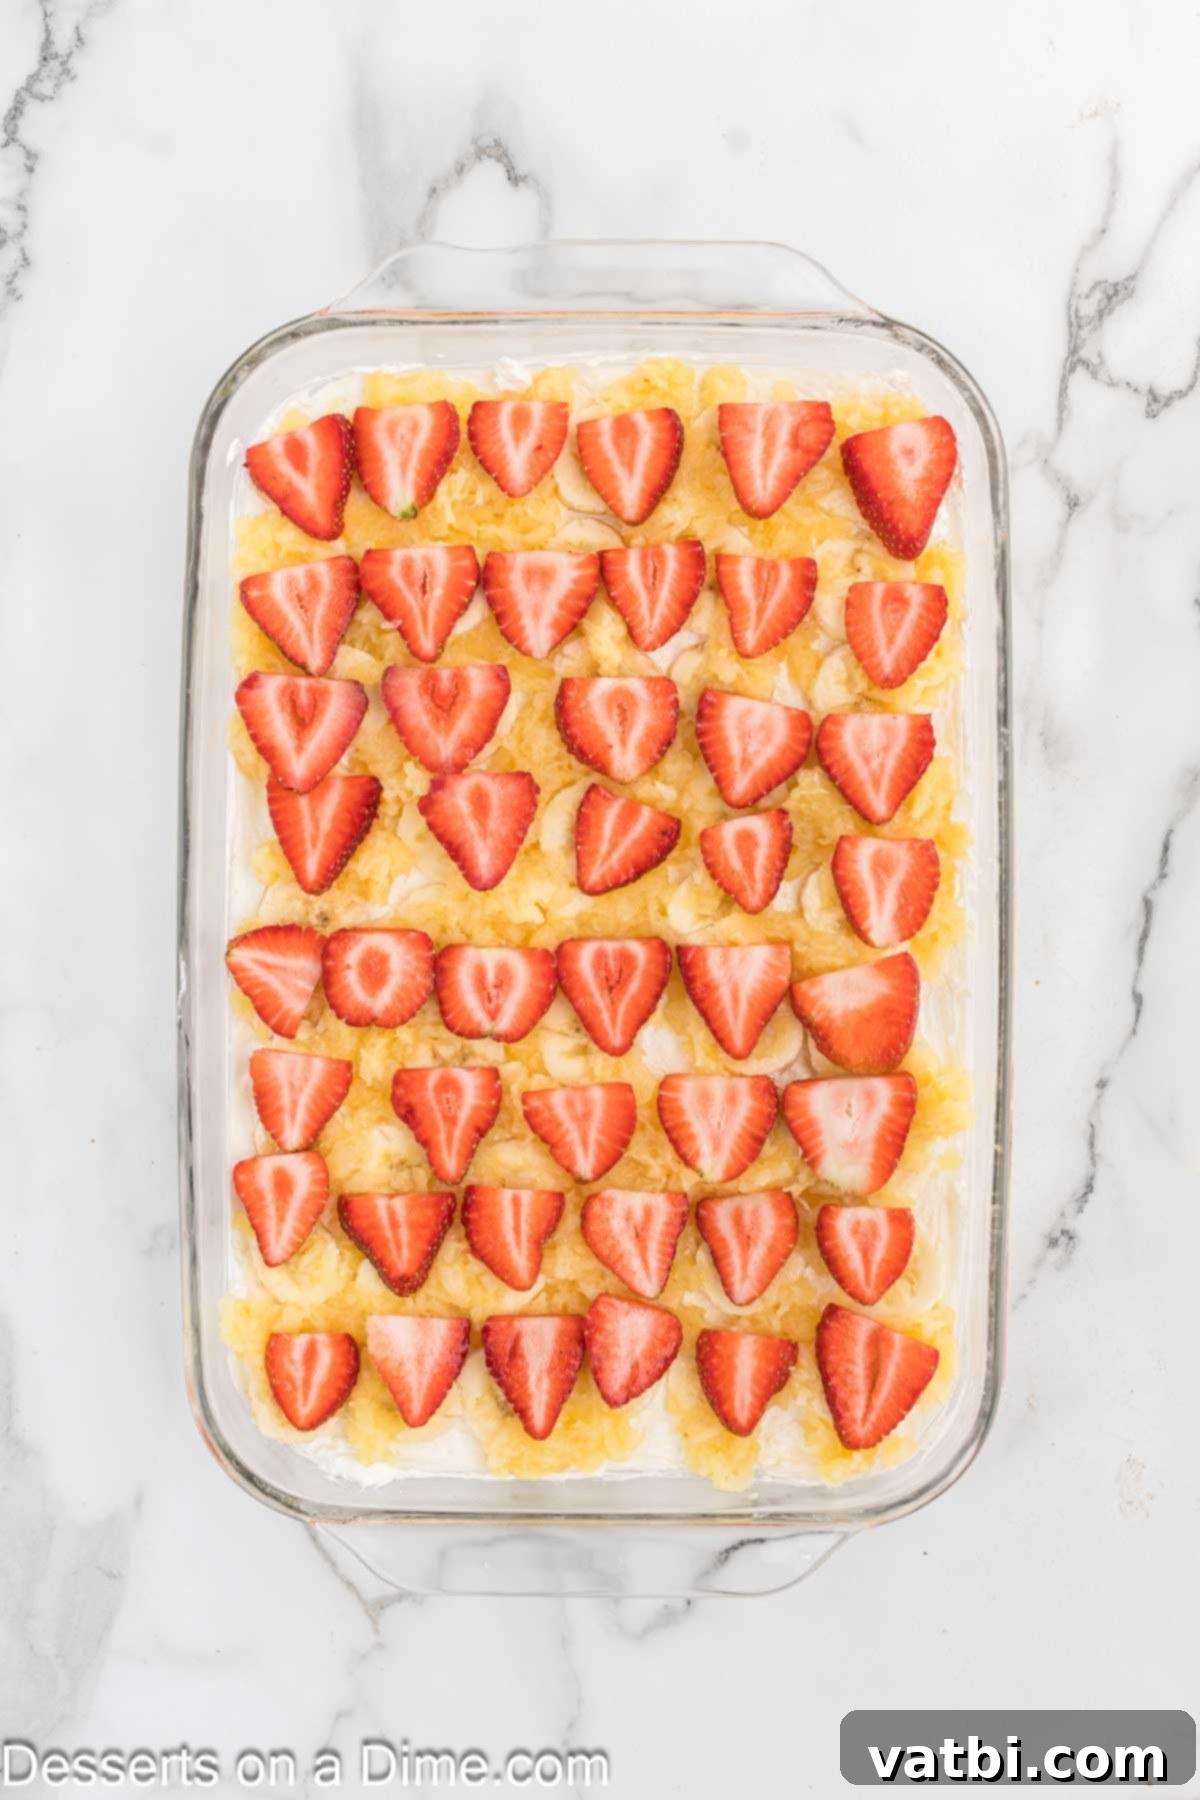
Step 7: Layer the Strawberries – Continue building your fruit layers by carefully arranging the sliced fresh strawberries over the pineapple. Aim for an even spread to ensure every slice of cake gets a burst of strawberry flavor.
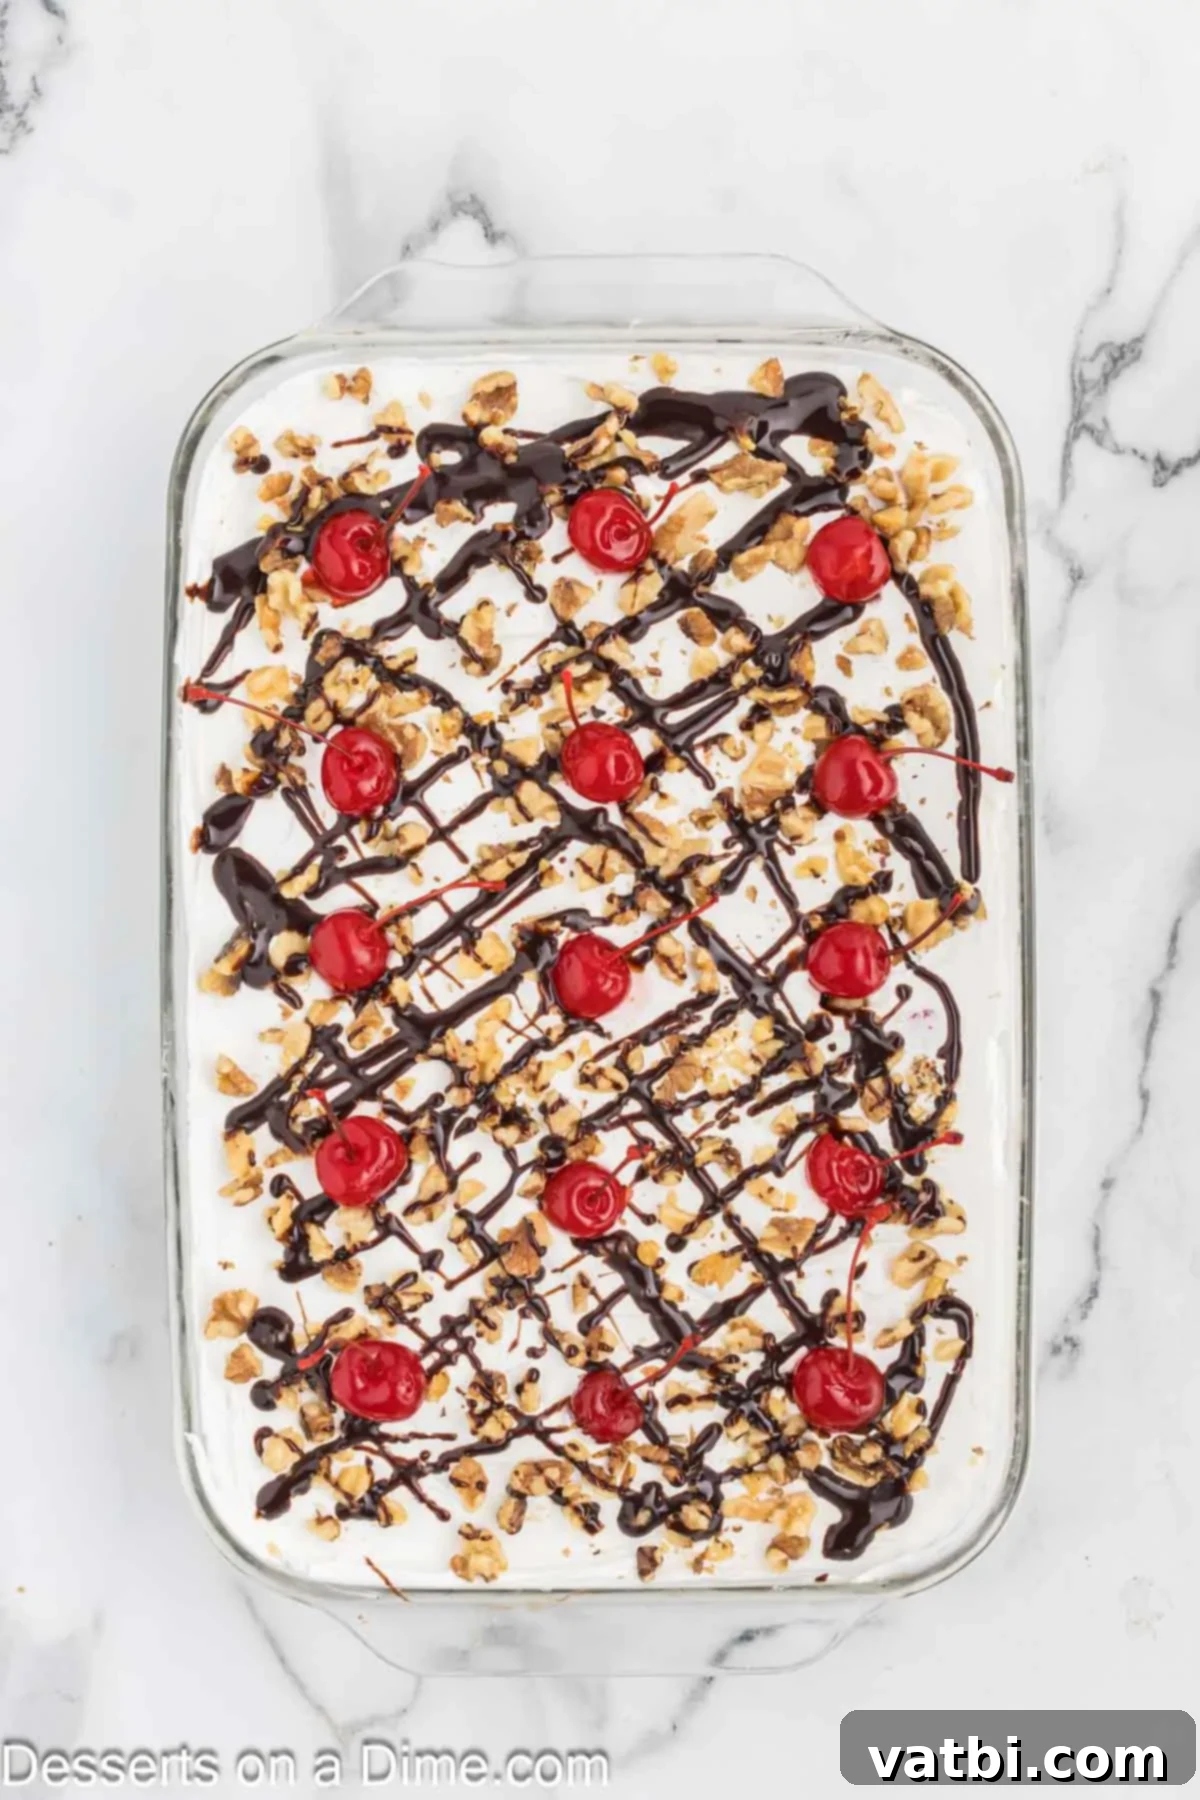
Step 8: Final Toppings and Chill Time – Gently spread another layer of Cool Whip over the fruit, smoothing the top to create a clean canvas. Finish by sprinkling the chopped walnuts evenly over the whipped topping. Then, artfully drizzle the chocolate syrup over the entire cake and dot it with the vibrant maraschino cherries. Place the finished cake back into the refrigerator for at least 4 hours, or ideally, overnight. This crucial chilling period allows all the layers to firm up and the flavors to fully meld, resulting in a perfectly set and delicious dessert.
Storage Tips for Your No-Bake Banana Split Cake
To keep your Banana Split Cake fresh and delicious, proper storage is essential. Cover any leftovers tightly with plastic wrap to prevent air exposure, which can dry out the cake and cause the bananas to brown more quickly. Store the cake in the refrigerator for up to 4 days. While it’s still safe to eat after this, the bananas may start to discolor and the overall texture might begin to change. For the best taste and appearance, we recommend enjoying it within 3 days.
Frequently Asked Questions About No-Bake Banana Split Cake
Absolutely! While graham cracker crumbs offer a classic taste, feel free to get creative with your crust. An Oreo cookie crust is a fantastic alternative, providing a rich chocolate flavor that pairs wonderfully with the banana and other toppings. You can also try Nilla Wafers, shortbread cookies, or even gingersnaps for a unique twist. Simply crush about 2 cups of your chosen cookies and mix with ½ cup of melted butter to form your crust. Experimenting with different cookie types is a fun way to customize this recipe and make it truly your own!
The beauty of this cake lies in its versatility! Beyond the classic toppings, consider these delicious additions:
- Confectioners’ Sugar: A light dusting adds a touch of elegance and extra sweetness.
- Caramel Syrup: Drizzle caramel sauce alongside or instead of chocolate for a different sweet note.
- Sprinkles: Add a festive touch, especially if serving for a birthday or celebration.
- Chopped Nuts: Beyond walnuts, try chopped pecans, almonds, or even candied nuts for an extra crunch.
- Shredded Coconut: Toasted or untoasted coconut flakes can add a tropical dimension.
- Extra Sliced Fresh Strawberries: For an even more vibrant fruit flavor and beautiful presentation.
- Mini Chocolate Chips: Sprinkle these over the top for more chocolatey goodness.
- Crushed Pretzels: For a sweet and salty crunch that’s unexpectedly delightful.
To maintain freshness and prevent spoilage, store any leftover Banana Split Cake in the refrigerator. It’s crucial to cover it tightly with plastic wrap or aluminum foil to shield it from air, which can cause the bananas to oxidize and turn brown. We highly recommend consuming the cake within 3 to 4 days. After this timeframe, the bananas will inevitably start to brown, and the texture of the other layers may soften, making the cake less appealing visually and texturally. Always keep it chilled for food safety and optimal enjoyment.
Yes, you absolutely can use fresh pineapple in place of canned crushed pineapple for a brighter, fresher flavor. However, there’s a crucial step: after finely chopping the fresh pineapple, you must ensure you pat it thoroughly dry with paper towels. Fresh pineapple contains significantly more moisture than canned, and if not properly dried, this excess liquid can seep into your graham cracker crust, making it soggy and compromising the cake’s structure. Taking the time to pat it dry will ensure your crust remains perfectly crisp.
While it is technically possible to freeze Banana Split Cake, we generally do not recommend it for optimal taste and texture. The primary reason is that freezing and thawing can significantly alter the consistency of the bananas, making them mushy, and the cream cheese layer may become grainy. If you absolutely must freeze it, ensure the cake is tightly wrapped first in plastic wrap, then in aluminum foil, to prevent freezer burn. It can be stored in the freezer for up to 2 months. Thaw it slowly in the refrigerator before serving. Be prepared for potential changes in texture and appearance.
Explore More Delicious Banana Recipes
If you’ve fallen in love with the banana flavors in this cake, you’ll be thrilled to discover our other amazing banana-centric recipes. From cookies to puddings and more, there’s a banana dessert for every craving:
- Banana Pudding Cookies Recipe: All the comforting flavors of banana pudding in a chewy cookie form.
- Banana Pudding Poke Cake Recipe: A moist cake infused with banana pudding, offering a delightful twist on a classic.
- Homemade Banana Pudding Recipe: The ultimate classic, creamy and comforting, just like grandma used to make.
- The Best Banana Dessert Recipes: A curated collection of our top banana-inspired treats.
- Banana Bundt Cake: A beautiful and moist cake, perfect for a slightly more formal occasion.
We are so excited for you to try this incredibly easy and delicious No-Bake Banana Split Cake recipe. It’s a true crowd-pleaser that brings joy with every bite. Once you’ve had a chance to make it, please come back and leave a comment sharing your experience – we love hearing from you!
Pin
No-Bake Banana Split Cake
Ingredients
- FOR THE CRUST:
- 2 cups graham cracker crumbs
- ½ cup unsalted butter melted
- FOR THE CREAM CHEESE LAYER:
- 12 oz cream cheese at room temperature
- ¼ cup granulated sugar
- 8 ounces Cool Whip
- FOR THE FRUIT & TOPPINGS:
- 3 bananas sliced
- 20 oz canned crushed pineapple drained well
- 16 oz strawberries hulled and sliced
- 8 oz Cool Whip
- ½ cup walnuts chopped
- Chocolate syrup
- Maraschino cherries
Instructions
-
Lightly grease a 9×13-inch baking dish to ensure easy removal of the finished cake; set it aside.
-
In a medium bowl, thoroughly mix the graham cracker crumbs and melted butter with a fork until all the crumbs are evenly moistened. This forms the buttery foundation of your cake. Transfer the mixture to the prepared pan and press firmly into an even, compact layer. Refrigerate the crust while you proceed with preparing the next layer; this helps it set properly and become firm.
-
In another medium bowl, using an electric mixer, beat together the softened cream cheese and granulated sugar on medium speed for about 3 minutes, until the mixture is light and fluffy. Using a rubber spatula, gently fold in the Cool Whip until it’s thoroughly combined and no streaks remain. Spread this creamy mixture evenly over the chilled graham cracker crust, creating a smooth and luscious layer.
-
Begin assembling the fruit layers. First, arrange the thinly sliced bananas in a single, even layer over the cream cheese filling. Then, distribute an even layer of the well-drained crushed pineapple on top of the bananas. Finally, carefully layer the sliced fresh strawberries over the pineapple.
-
Cover the fruit layers with the remaining Cool Whip, smoothing the top to create an attractive finish. Sprinkle the chopped walnuts evenly over the whipped topping. To complete the classic banana split look, generously drizzle with chocolate syrup and top with bright maraschino cherries. Place the finished cake in the refrigerator for at least 4 hours, or ideally, overnight. This crucial chilling period ensures the cake is well set and all the flavors have harmonized. Leftovers can be stored, covered tightly, in the refrigerator for up to 4 days, though for best quality, consume within 3 days.
Nutrition Facts
Pin This Now to Remember It Later
Pin Recipe
