Irresistible Homemade Cookie Dough Cake Pops: Easy & Fun for Any Occasion
Indulge in the ultimate dessert fusion with this incredible **Cookie Dough Cake Pop recipe**! Imagine everything you adore about classic cookie dough – that rich, creamy, utterly satisfying texture – transformed into a bite-sized, perfectly dippable treat. These cake pops are not only decadently delicious but also surprisingly simple to create, making them an ideal choice for bakers of all skill levels. Forget the complicated steps of traditional cake pops; our edible cookie dough base simplifies the process, delivering light, fluffy, and flavor-packed delights that will have everyone reaching for more.

These cookie dough pops are a fantastic twist on traditional cake pop recipes, often proving even easier to assemble since there’s no baking involved for the “cake” component. They are a delightful cake recipe alternative that brings the beloved taste of raw cookie dough safely to your palate. Each perfectly portioned ball is coated in a luscious layer of melted chocolate, creating a dessert that’s both visually appealing and incredibly satisfying.
If you’re a fan of edible cookie dough, you’ll definitely want to explore other favorites like our Edible Cookie Dough Balls Recipe. And for those who love the classic cake pop experience, our Chocolate Cake Pops are always a hit. Having crafted cake pop recipes for years, I can assure you that this cookie dough version is among the simplest and most rewarding to make.
What’s in this post: Cookie Dough Cake Pops
- Why we love this recipe:
- Ingredients:
- Variation ideas:
- How to make cookie dough cake pops
- Frequently Asked Questions
- More Cookie dough desserts
- More easy cake pop recipes
- Cookie Dough Cake Pops Recipe
Why We Love This Easy Cookie Dough Cake Pop Recipe:
- A Special Treat for Holidays, Celebrations, and Everyday Joy: These cookie dough cake pops aren’t just for holidays; they elevate any occasion into something truly special. Whether it’s a birthday party, a baby shower, a graduation, or just a simple family gathering, these charming, bite-sized delights add a festive touch. They’re perfect for impressing guests with a homemade dessert that looks gourmet but is surprisingly easy to make. Their unique flavor and fun presentation make them an instant crowd-pleaser and a memorable addition to any dessert table.
- Remarkably Simple to Make, Even for Beginners: One of the biggest advantages of this recipe is its simplicity. Unlike traditional cake pops that require baking and crumbling a cake, these start with an edible cookie dough base, cutting down on preparation time significantly. With clear, step-by-step instructions, even novice bakers can confidently create these delicious treats. The process is straightforward, focusing on mixing, chilling, and dipping, making it a stress-free baking project with impressive results.
- Saves Money Without Sacrificing Quality: Making your own desserts, especially elaborate-looking ones like cake pops, can lead to substantial savings compared to purchasing them from a bakery. This recipe uses readily available ingredients, allowing you to create a large batch of beautiful and delicious cookie dough cake pops for a fraction of the cost. Plus, there’s an immense satisfaction that comes from serving homemade treats, knowing exactly what ingredients went into them and enjoying the pride of your culinary creation.
Key Ingredients for Your Delicious Cookie Dough Cake Pops:
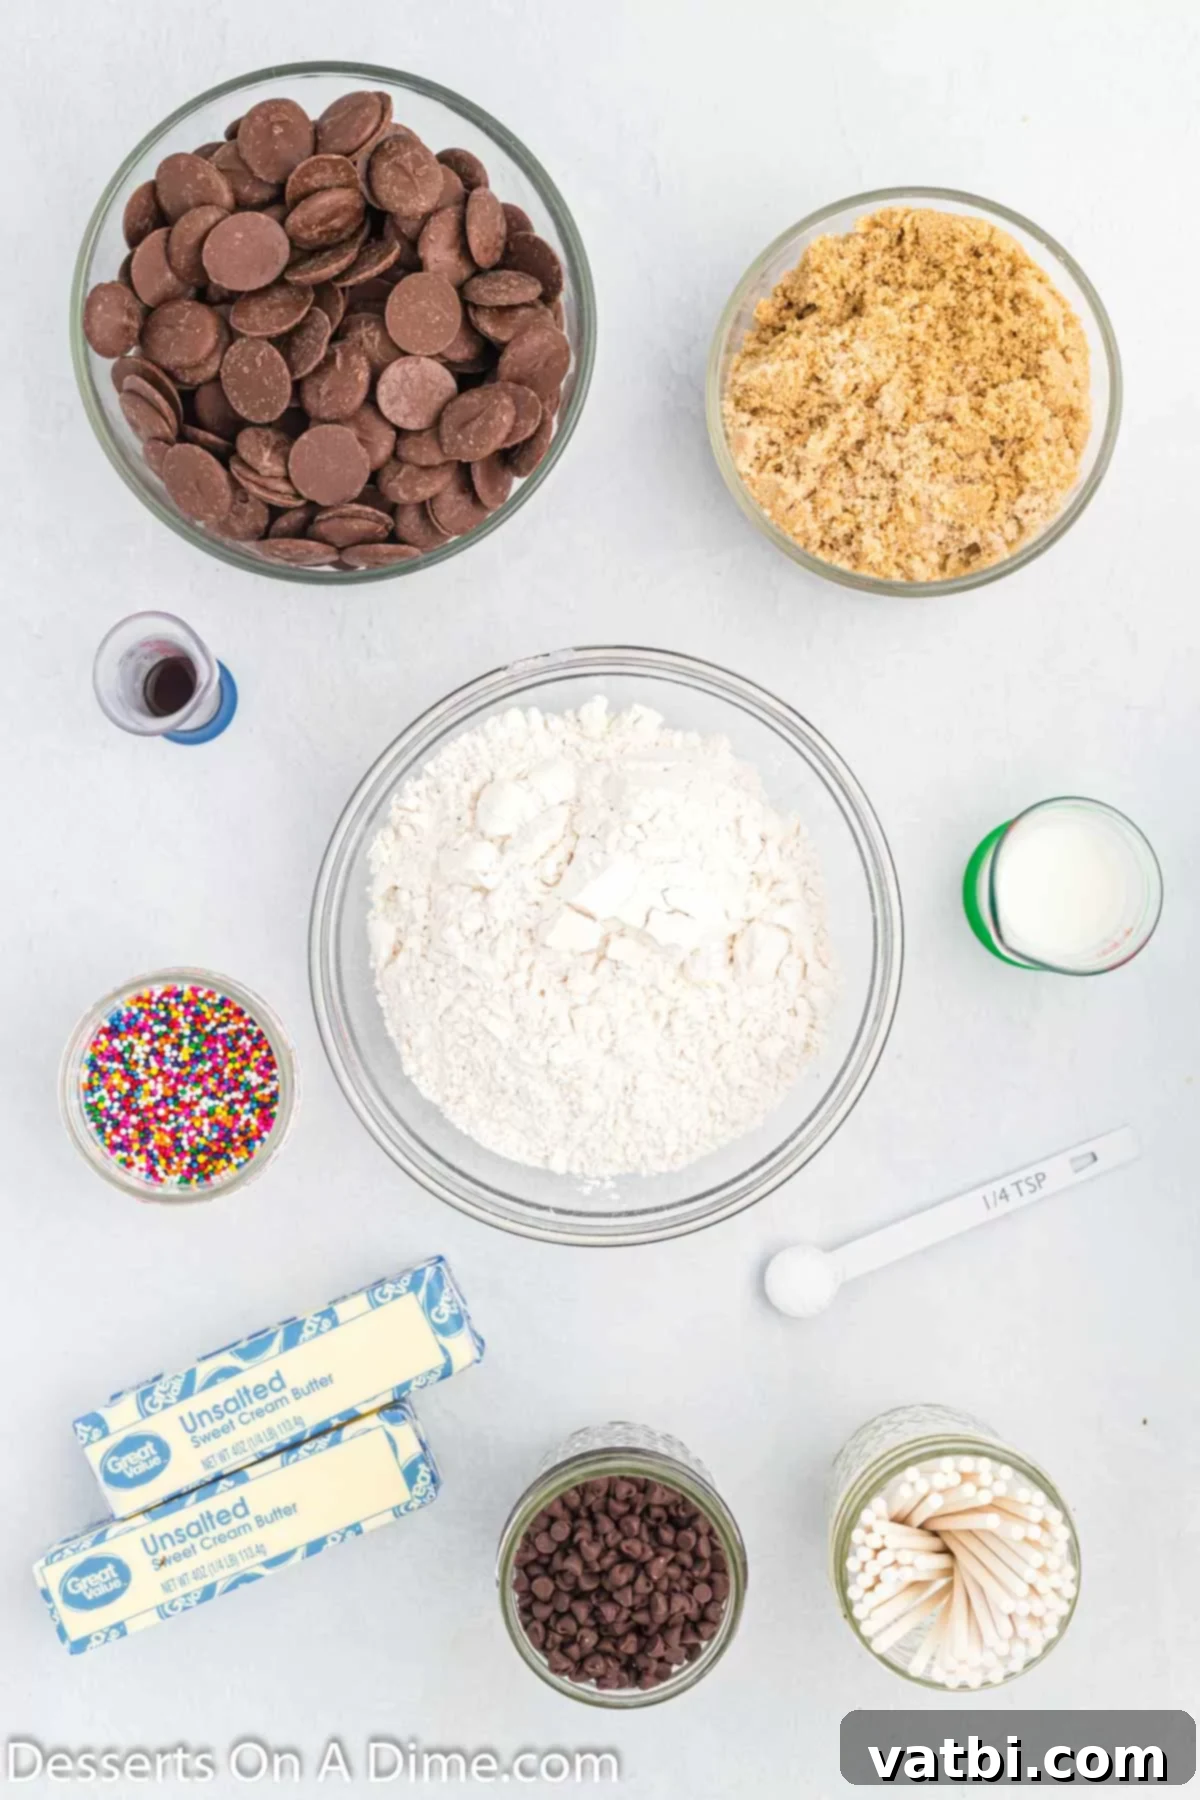
- All-Purpose Flour: For edible cookie dough, it’s crucial to **heat-treat your flour** to eliminate any potential bacteria. You can do this by spreading it on a baking sheet and baking at 300°F (150°C) for 5-7 minutes, or microwaving in a microwave-safe bowl on high for 1-2 minutes, stirring every 30 seconds, until it reaches 160°F (71°C).
- Unsalted Butter, Softened at Room Temperature: Using unsalted butter allows you to control the salt content in your dough. Ensure it’s properly softened for a smooth, creamy mixture that blends easily with the sugars.
- Brown Sugar: This is key to that classic, rich, caramel-like flavor and chewy texture that defines traditional cookie dough.
- Mini Chocolate Chips: Mini chocolate chips are perfect for cake pops as they distribute evenly in the small dough balls and don’t create bulky lumps. Feel free to use milk chocolate, semi-sweet, or dark chocolate, depending on your preference.
- Chocolate Candy Melts: These are ideal for coating your cake pops because they melt smoothly and harden quickly, providing a professional-looking, glossy finish without tempering.
- Multi-Colored Sprinkles: Sprinkles add a festive touch and a bit of crunch. Choose colors that match your event or simply go with a vibrant mix for a cheerful look.
- Lollipop Sticks: Essential for turning your cookie dough balls into actual “pops”! You can find these at most craft stores or in the baking aisle of supermarkets.
- Other standard baking ingredients: Such as salt and vanilla extract, which enhance the overall flavor profile.
The complete ingredient list with exact measurements can be found in the detailed recipe card at the bottom of this post. Make sure to consult it for perfect results!
Creative Variation Ideas for Your Cookie Dough Cake Pops:
- White Chocolate Perfection: Instead of classic chocolate candy melts, try using white chocolate candy melts. You can leave them plain for an elegant look or color them with food coloring to match any party theme. The creamy sweetness of white chocolate pairs wonderfully with the cookie dough.
- Diverse Topping Options: Get creative with your toppings! Beyond multi-colored sprinkles, consider:
- **Crushed Nuts:** Finely chopped pecans, walnuts, or almonds add a lovely texture and nutty flavor.
- **Shredded Coconut:** Toasted or untoasted, coconut flakes offer a tropical twist.
- **Drizzles:** After the main chocolate coating sets, drizzle with a contrasting color of melted chocolate (e.g., dark chocolate drizzle over white chocolate coating) for an artistic flair.
- **Crushed Candy Bars:** Think crushed Oreos, M&M’s, or any other favorite candy bar for an extra layer of flavor and texture.
- **Sea Salt Flakes:** A tiny sprinkle of flaky sea salt on top of the chocolate coating enhances the sweetness and adds a sophisticated touch.
- Flavorful Dough Enhancements:
- Peanut Butter Cookie Dough: Add a tablespoon or two of creamy peanut butter to your cookie dough mixture for a delightful peanut butter twist.
- Mint Chocolate: Stir in a few drops of peppermint extract and use dark chocolate chips for a refreshing mint-chocolate combination.
- Extract Variations: Experiment with different extracts like almond, rum, or orange to infuse your cookie dough with unique flavors.
Step-by-Step Guide: How to Make Irresistible Cookie Dough Cake Pops
Making these cookie dough cake pops is a fun and rewarding process. Follow these detailed steps for perfect, delicious results every time!
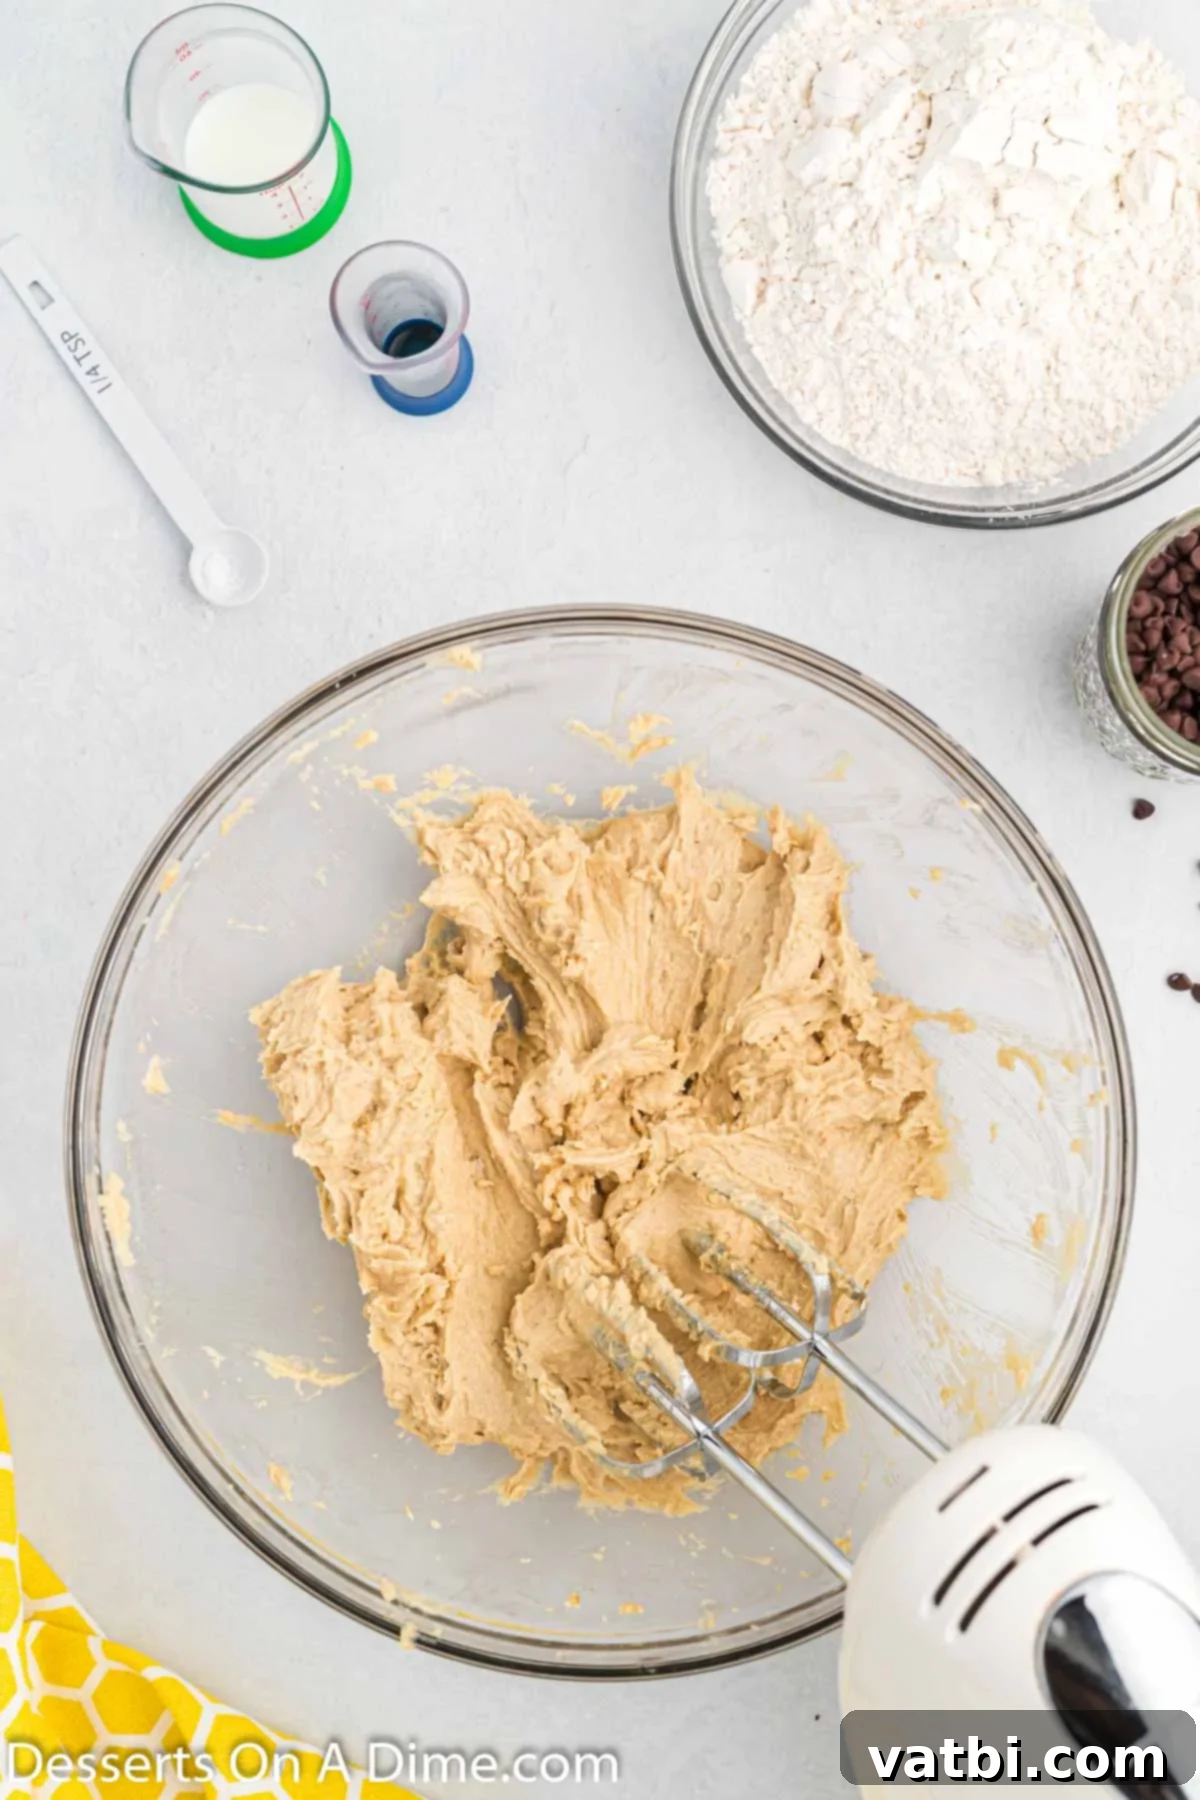
Step 1: Cream the Wet Ingredients. In a spacious mixing bowl, combine the softened unsalted butter, brown sugar, and vanilla extract. Using an electric hand mixer or a stand mixer, beat these ingredients together on medium speed until the mixture is light, fluffy, and well-combined. This creaming process incorporates air, making your cookie dough wonderfully smooth. Next, gradually add the milk and continue beating until everything is thoroughly integrated and forms a creamy base.
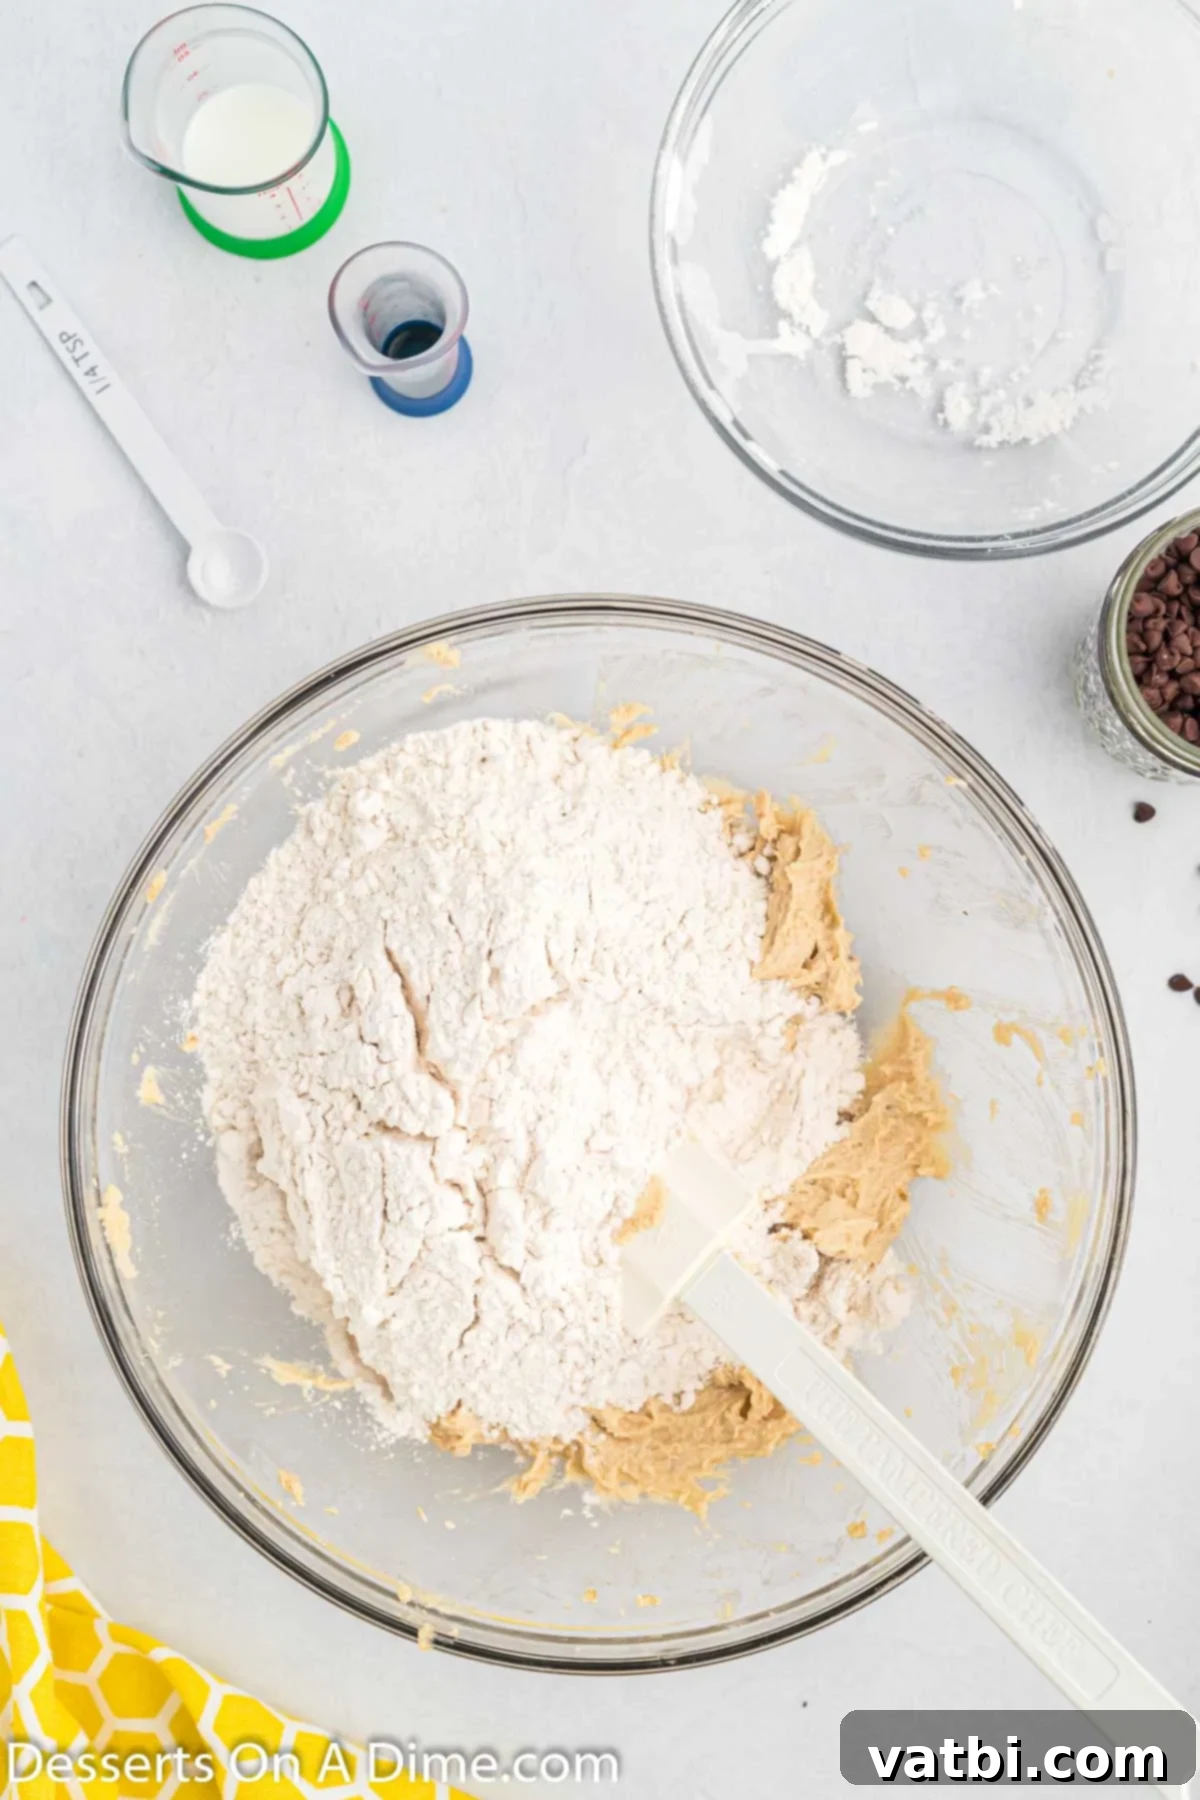
Step 2: Incorporate the Heat-Treated Flour. Now, it’s time to gently stir in your heat-treated all-purpose flour by hand. Make sure to incorporate it gradually until no dry streaks remain. Using a spatula or wooden spoon for this step helps prevent overmixing and ensures a perfectly textured dough. Remember, heat-treating the flour is crucial for food safety in edible cookie dough.
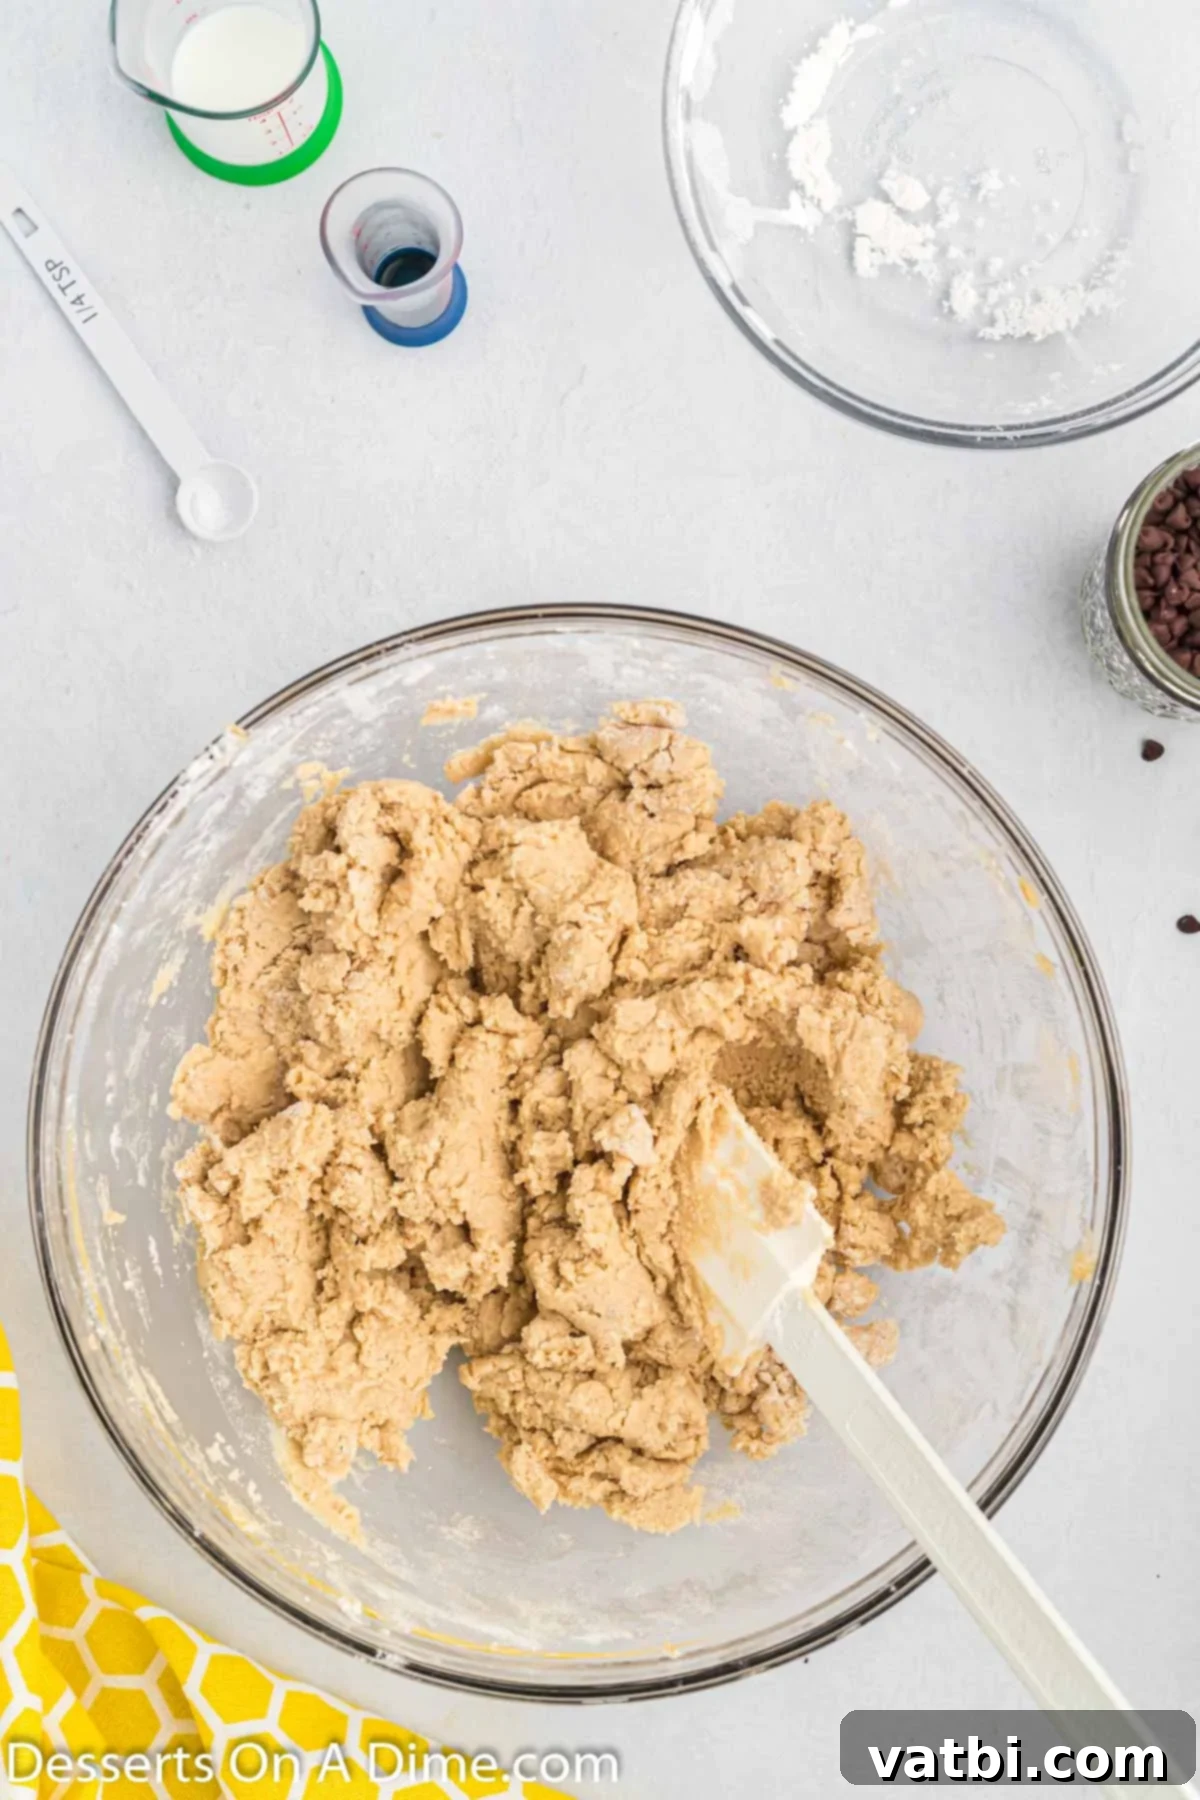
Step 3: Adjust Consistency if Needed. At this point, assess the consistency of your cookie dough. If it appears too dry or crumbly, add a tiny bit more milk, one teaspoon at a time, until the dough comes together and is easily moldable. The exact amount of milk needed can vary based on the humidity and how much your flour absorbed, so trust your judgment here for the perfect, pliable dough.
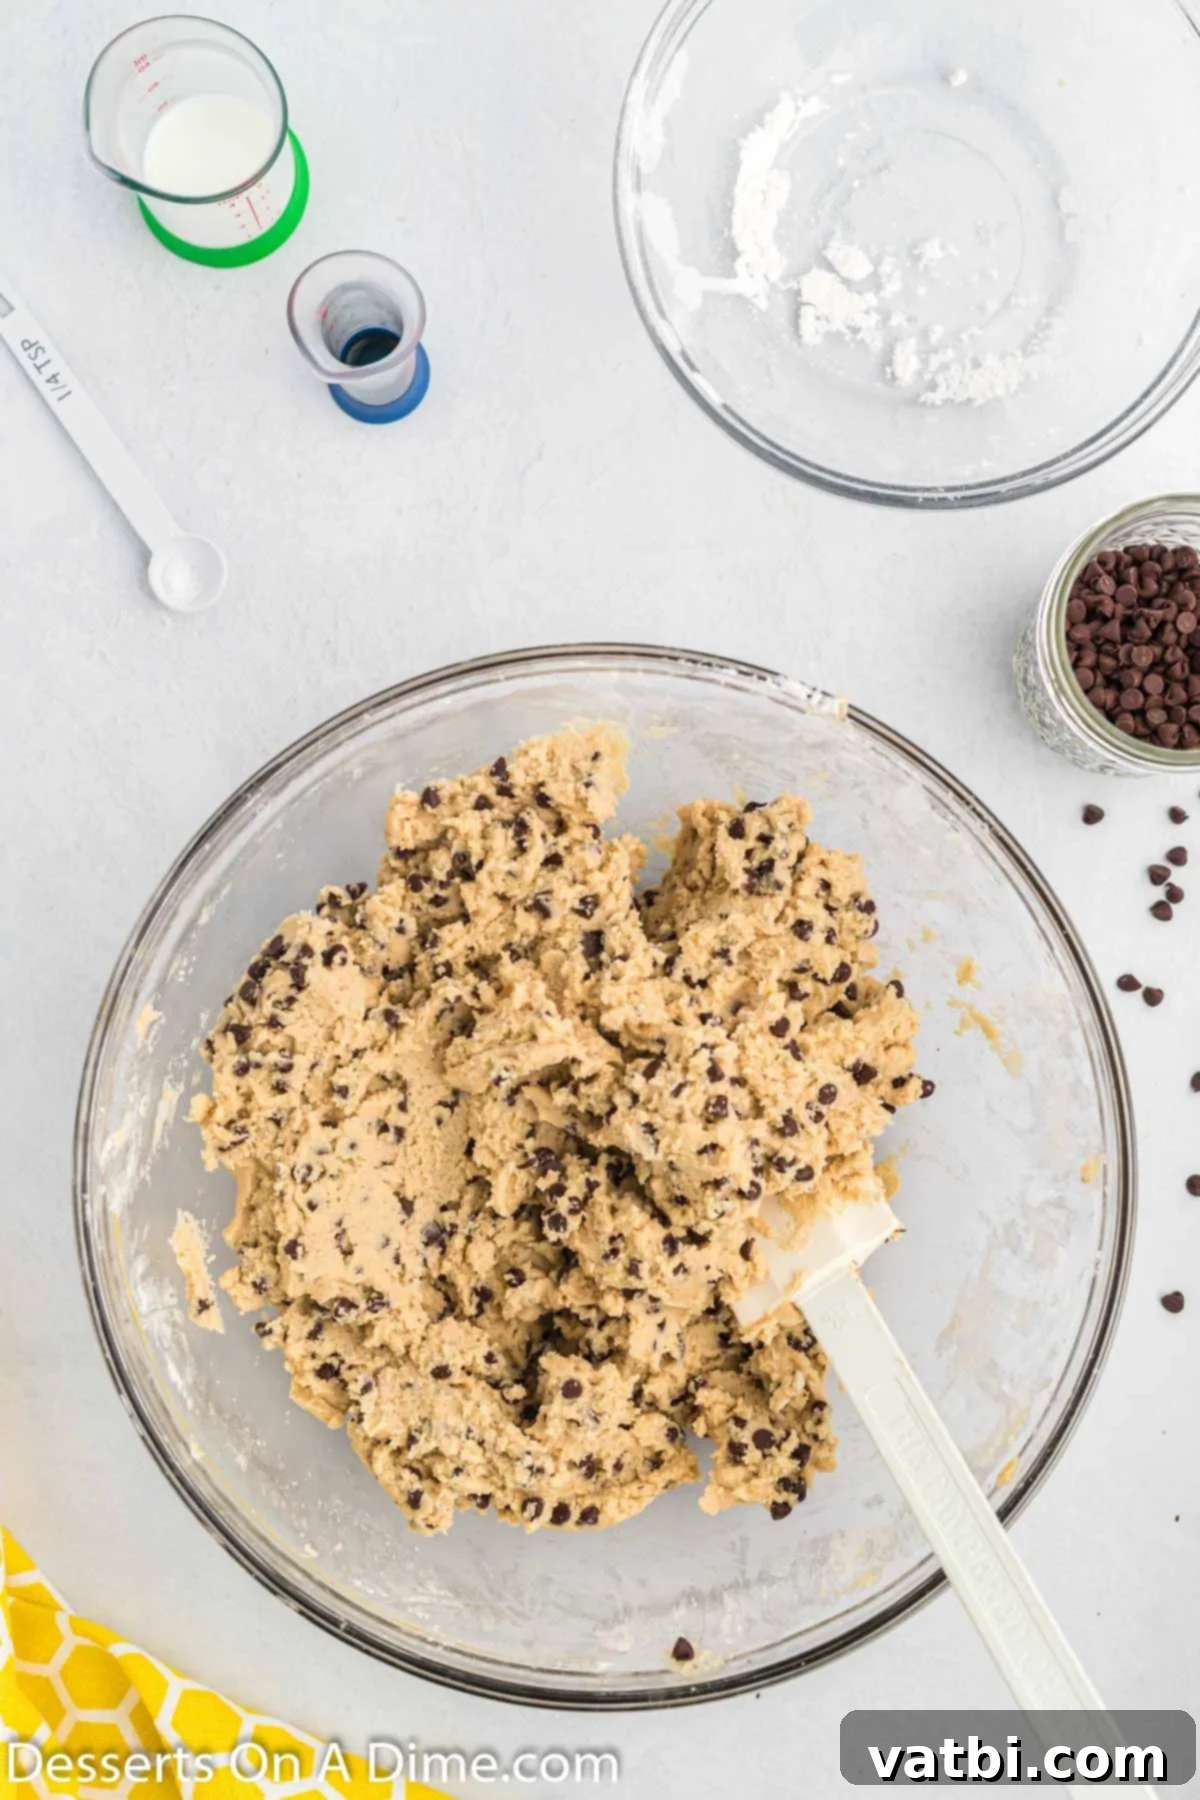
Step 4: Fold in the Chocolate Chips. Gently stir in the mini chocolate chips until they are evenly distributed throughout the cookie dough. Be careful not to overmix, as this can develop the gluten in the flour too much and result in a tougher dough. The goal is just to incorporate the chips for that classic cookie dough aesthetic and flavor.
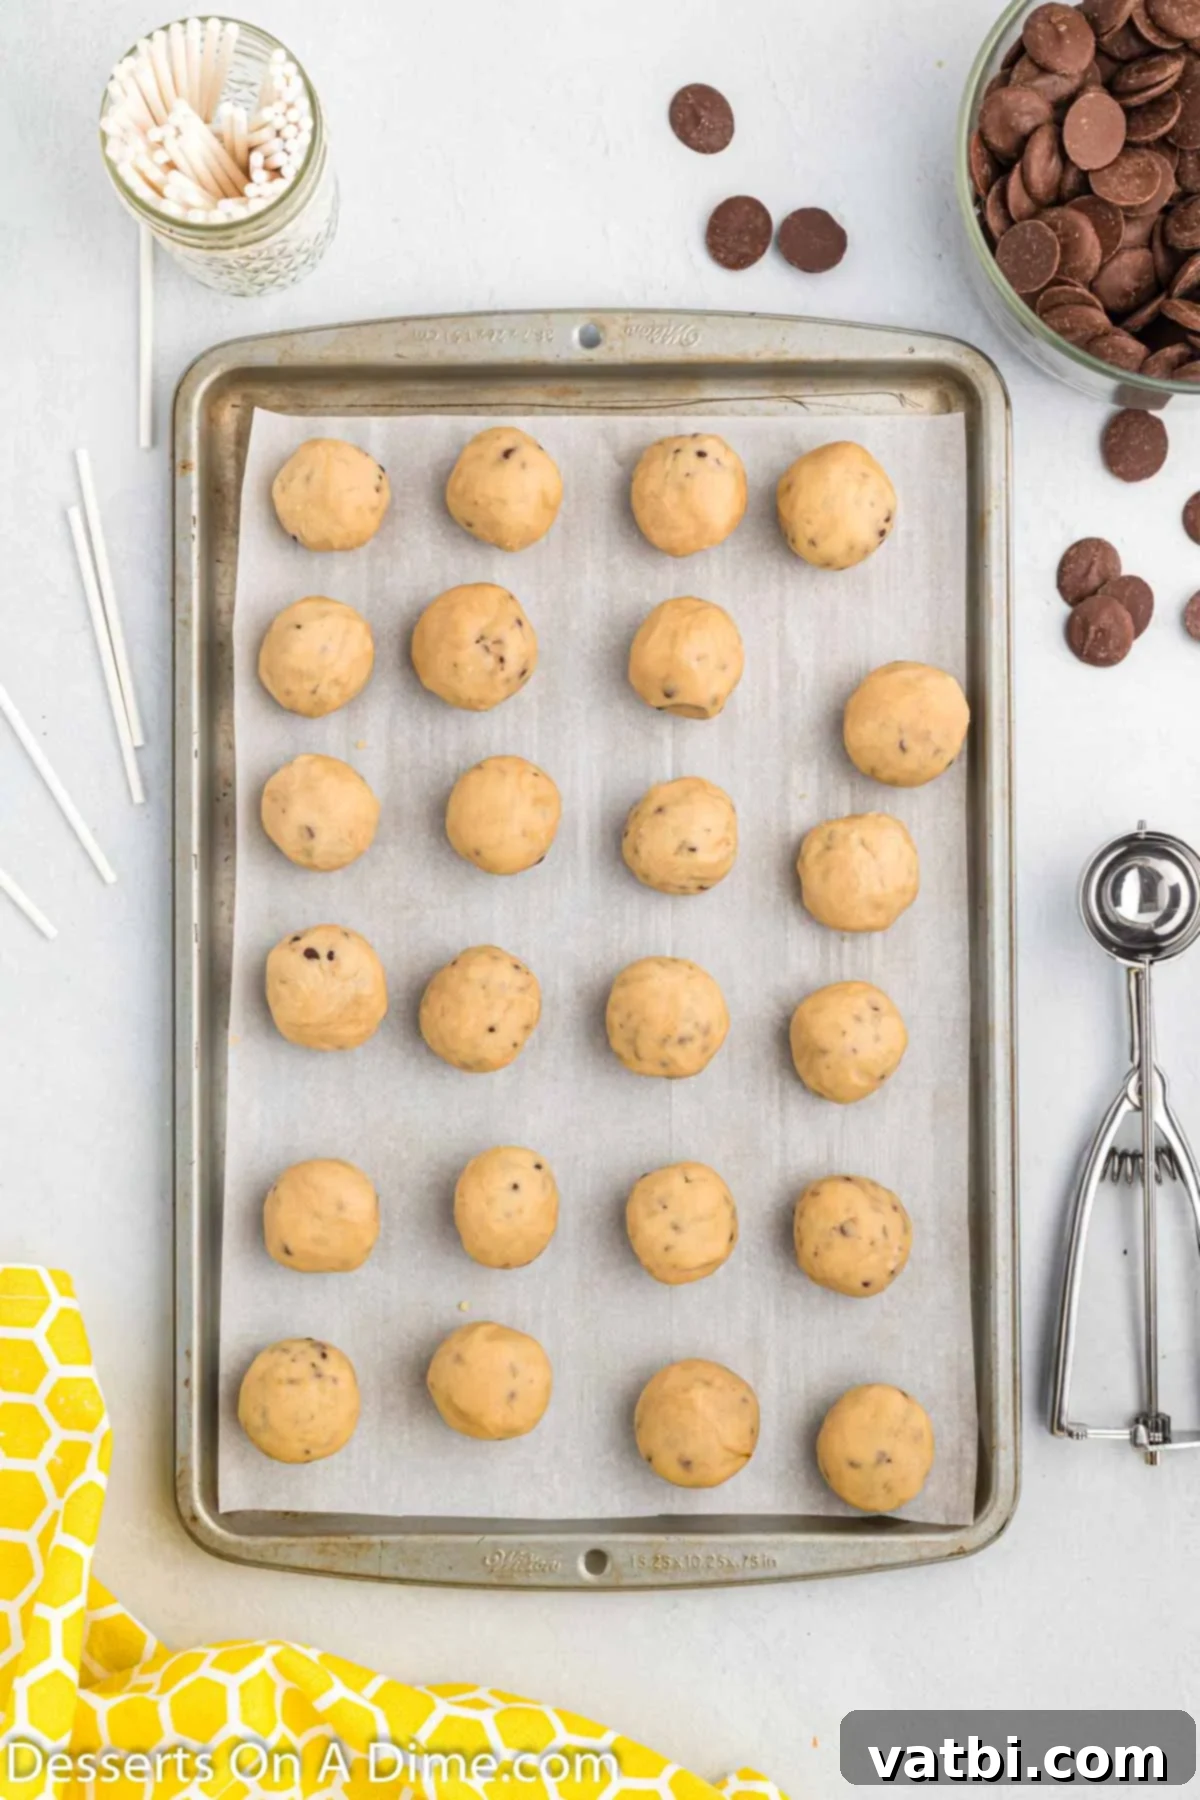
Step 5: Form Balls and Chill. Using a small cookie scoop or your hands, roll the cookie dough into approximately 1-inch (2.5 cm) sized balls. Aim for uniform size for even dipping. Place these dough balls onto a baking sheet lined with wax paper or parchment paper. Refrigerate them for about 20-30 minutes. This chilling period is crucial as it helps the balls firm up, making them easier to handle and ensuring the lollipop sticks stay securely in place without breaking the dough. However, avoid chilling for too long (e.g., overnight) as the dough might become too hard for the sticks to penetrate easily.
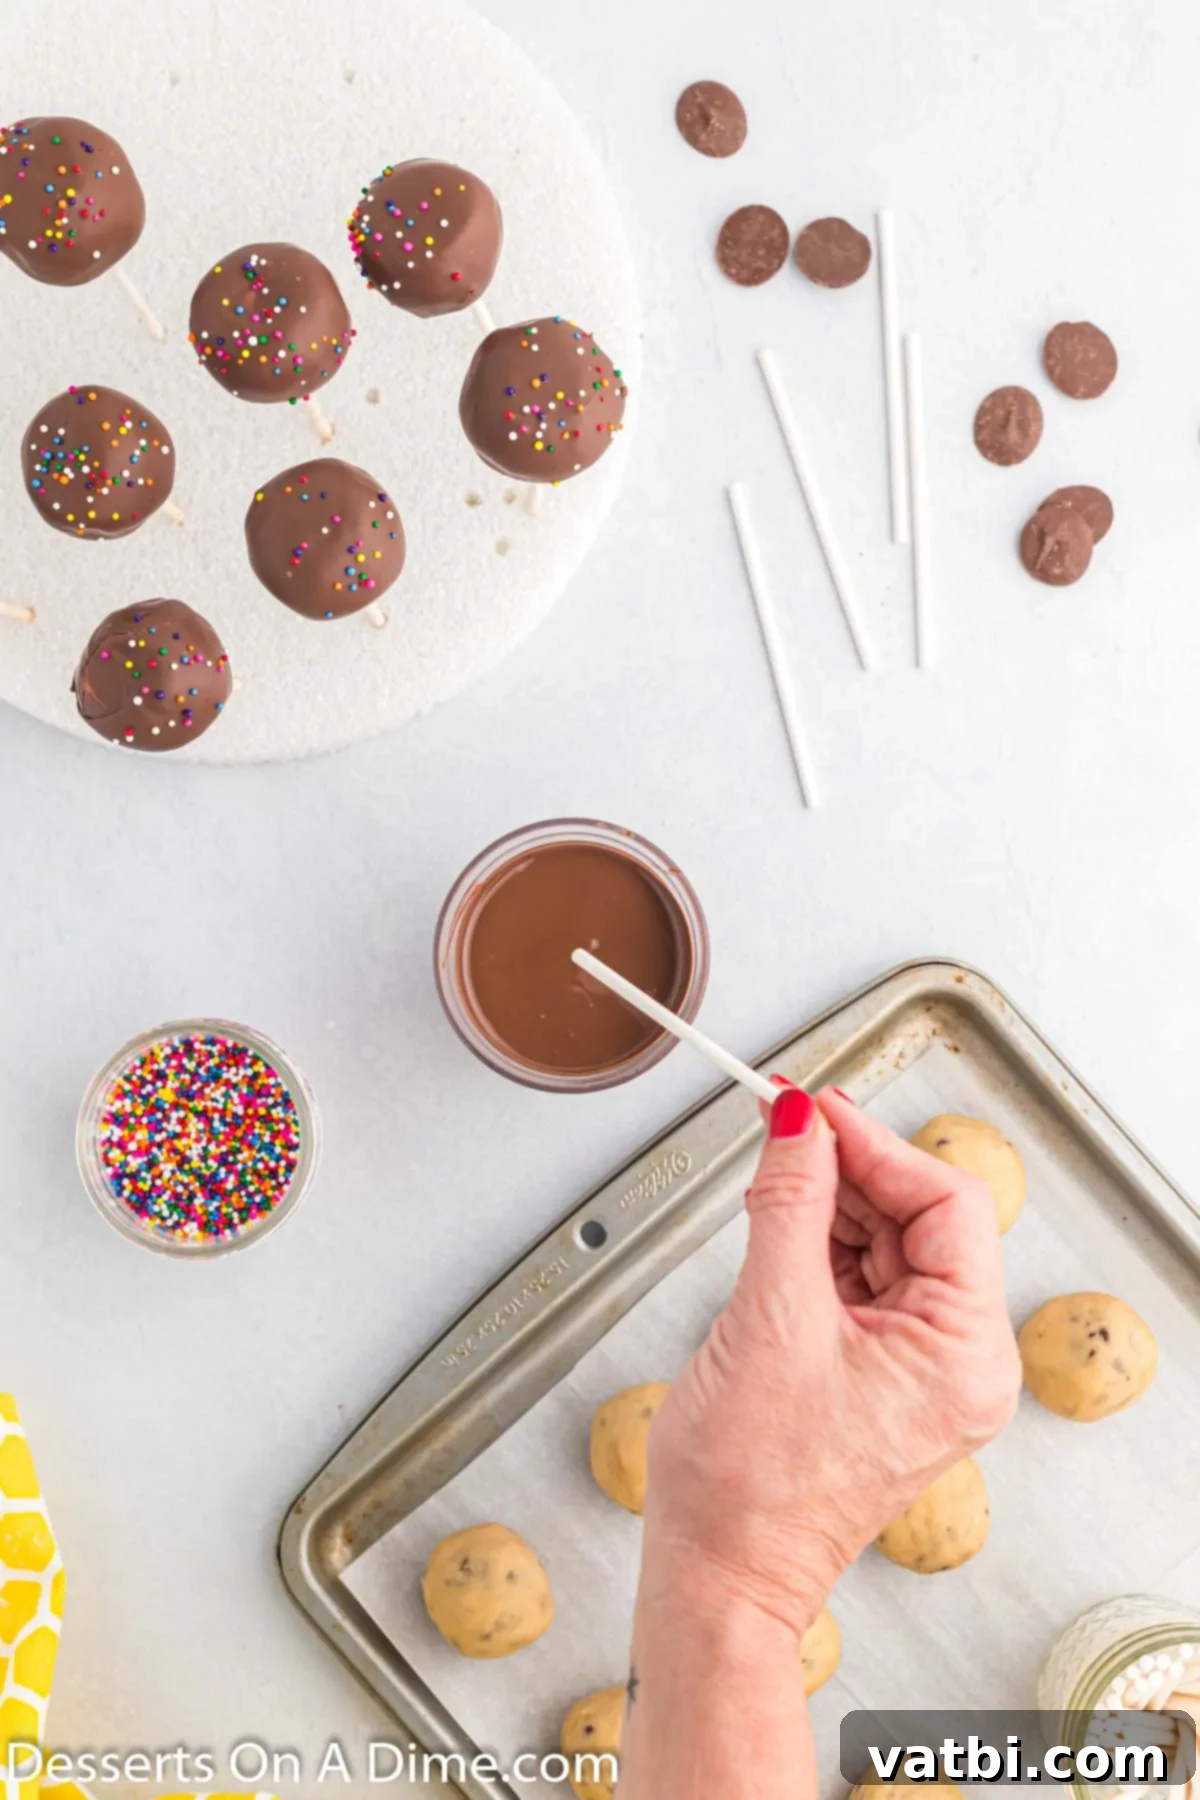
Step 6: Melt Candy and Insert Sticks. Place your chocolate candy melts into a small, microwave-safe bowl. Microwave for 30-second intervals, stirring thoroughly after each interval, until the candy is fully melted and smooth. This prevents scorching. Once melted, dip the tip of each lollipop stick into the melted candy, then gently insert it about halfway into a chilled cookie dough ball. The melted chocolate acts like a “glue” to secure the stick, preventing the pop from falling off during dipping.

Step 7: Dip the Cookie Dough Balls. Carefully dip each cookie dough ball, holding it by the stick, into the melted candy melts. Rotate the pop gently to ensure it is completely covered. Lift the pop out of the chocolate and lightly tap the stick against the edge of the bowl to allow any excess melted candy to drip off. This creates a smooth, even coating. Work quickly, as candy melts harden fast.

Step 8: Decorate and Dry. Immediately after dipping and while the chocolate is still wet, liberally apply your multi-colored sprinkles (or chosen topping) to the coated cake pop. To dry, insert the lollipop stick into a block of styrofoam or a tall glass. This allows the candy coating to dry evenly without smudging. Continue this process with the remaining cookie dough balls until all are coated, decorated, and drying. Once the chocolate has fully set, your irresistible cookie dough cake pops are ready to be enjoyed!
Frequently Asked Questions About Cookie Dough Cake Pops
Making Starbucks-style cookie dough cake pops involves a similar process to our recipe. The key difference lies in the specific topping. Starbucks versions are typically topped with additional mini chocolate chips, mimicking raw cookie dough. To achieve this, you need to add the mini chocolate chips as a topping *immediately* after dipping the cake pop in the melted chocolate and before the coating has a chance to set. This ensures the chips adhere firmly to the still-wet chocolate, giving you that authentic Starbucks look and texture.
To maintain their freshness and delicious taste, store leftover cookie dough cake pops in an airtight container at room temperature. They will remain fresh and enjoyable for up to 1 week. If you live in a very warm or humid climate, or if your kitchen tends to be hot, you might consider storing them in the refrigerator, but allow them to come to room temperature for about 15-20 minutes before serving for the best texture.
Absolutely, you can freeze cookie dough cake pops! This is a great way to prepare them in advance. First, form the cookie dough into balls and insert the lollipop sticks as described in the recipe. Place these un-coated cookie dough pops on a baking sheet and freeze until solid (about 1-2 hours). Once frozen, you can transfer them to an airtight freezer-safe container or bag for up to 1 month. When ready to enjoy, simply thaw them slightly in the refrigerator for about 30 minutes, then proceed with coating and decorating them with melted candy and sprinkles. This method ensures they retain their shape and freshness beautifully.
Heat-treating the flour is a crucial step for food safety when making edible raw cookie dough. Raw flour can sometimes contain harmful bacteria, such as E. coli, which is naturally present in the environment where wheat is grown. Cooking or baking typically kills these bacteria, but since this recipe involves no-bake cookie dough, heat-treating the flour beforehand ensures it’s safe to consume raw. You can easily do this by microwaving the flour or baking it in the oven until it reaches a safe temperature of 160°F (71°C).
While you can use regular chocolate bars or chocolate chips, candy melts are highly recommended for cake pops. Regular chocolate needs to be tempered to achieve a smooth, glossy finish that hardens properly without blooming (white streaks) or becoming sticky. Tempering chocolate can be a bit tricky and time-consuming. Candy melts, on the other hand, are specifically designed to melt smoothly and set quickly without any special techniques, making them much easier to work with for a perfect, professional-looking coating on your cookie dough cake pops.

Explore More Delicious Cookie Dough Desserts
If you can’t get enough of that wonderful cookie dough flavor, try these other fantastic recipes:
- Edible Cookie Dough: The classic, safe-to-eat cookie dough by the spoonful!
- Deep Fried Cookie Dough: A warm, crispy, and gooey indulgence that’s surprisingly easy to make.
- Cookie Dough Bars: Perfect for sharing, these bars combine a soft cookie dough base with a rich chocolate topping.
Discover More Easy Cake Pop Recipes
Once you master these cookie dough delights, broaden your cake pop horizons with these other simple and crowd-pleasing recipes:
- Brownie Cake Pops: Rich, fudgy, and always a hit – a chocolate lover’s dream!
- Red Velvet Cake Pops: Elegant and vibrant, perfect for holidays and special occasions.
- Oreo Cake Pops: The beloved cookie transformed into a delightful cake pop, simple and irresistible.
We hope you thoroughly enjoy creating and sharing this easy cookie dough cake pops recipe! It’s a fantastic way to bring joy to any celebration or simply treat yourself to a delightful homemade dessert. Please try this recipe and leave a star rating – your feedback helps us bring more delicious content to you!
Pin
Cookie Dough Cake Pops
Ingredients
- 2 cups All Purpose Flour (*see notes for heat-treating)
- 1 cup unsalted butter softened at room temperature
- 1 1/2 cup Brown Sugar
- 1/4 tsp Salt
- 1 Tbsp Milk (may need more to adjust consistency)
- 1 tsp Vanilla Extract
- 1 cup Mini Chocolate Chips
- 16 oz. Chocolate Candy Melts
- Multi-Colored Sprinkles
- Lollipop Sticks
Instructions
-
In a large mixing bowl, beat together the softened butter, brown sugar, and vanilla extract with an electric hand mixer or stand mixer until light and creamy. Then, add the milk and continue to beat until well combined.
-
Gently stir in the heat-treated all-purpose flour by hand until no dry streaks remain. If the dough appears too dry, you may add a tiny bit more milk, one teaspoon at a time, until the desired consistency is reached.
-
Fold in the mini chocolate chips until they are evenly distributed throughout the dough.
-
Roll the cookie dough into approximately 1-inch (2.5 cm) sized balls and place them on a baking sheet lined with wax paper. Refrigerate for 20-30 minutes to firm them up. Do not over-chill, as the dough might become too hard for the sticks.
-
Place the chocolate candy melts in a small microwave-safe bowl. Microwave for 30-second intervals, stirring thoroughly after each, until the candy melts are fully melted and creamy.
-
Dip one end of each lollipop stick into the melted candy, then insert the stick about halfway into a chilled cookie dough ball. The melted candy acts as glue to secure the stick.
-
Carefully dip each cookie dough ball, holding it by the stick, into the melted candy melts. Ensure the ball is completely covered. Gently tap the stick against the edge of the bowl to allow any excess melted candy to drip off.
-
Immediately after dipping, top with sprinkles (or your chosen topping) while the chocolate is still wet. Insert the stick of each finished cake pop into a block of styrofoam or a tall glass to allow the candy coating to dry completely.
-
Continue this coating and decorating process until all the cookie dough balls have been transformed into beautiful cake pops.
-
Once the candy coating is fully set and dry, your homemade cookie dough cake pops are ready to enjoy!
Recipe Notes
*If the melted candy melt is too thick for dipping, thin it out with a small amount of vegetable oil or coconut oil (about ½ to 1 teaspoon at a time). Add it slowly to the melted chocolate and stir until you reach a smooth, dippable consistency.
*For **edible cookie dough**, it is essential to **heat-treat your all-purpose flour** before mixing. Spread the flour on a baking sheet and bake at 300°F (150°C) for 5-7 minutes, or microwave in a microwave-safe bowl on high for 1-2 minutes, stirring every 30 seconds, until it reaches an internal temperature of 160°F (71°C). Allow it to cool completely before using.
Nutrition Facts
Pin This Now to Remember It Later
Pin Recipe
