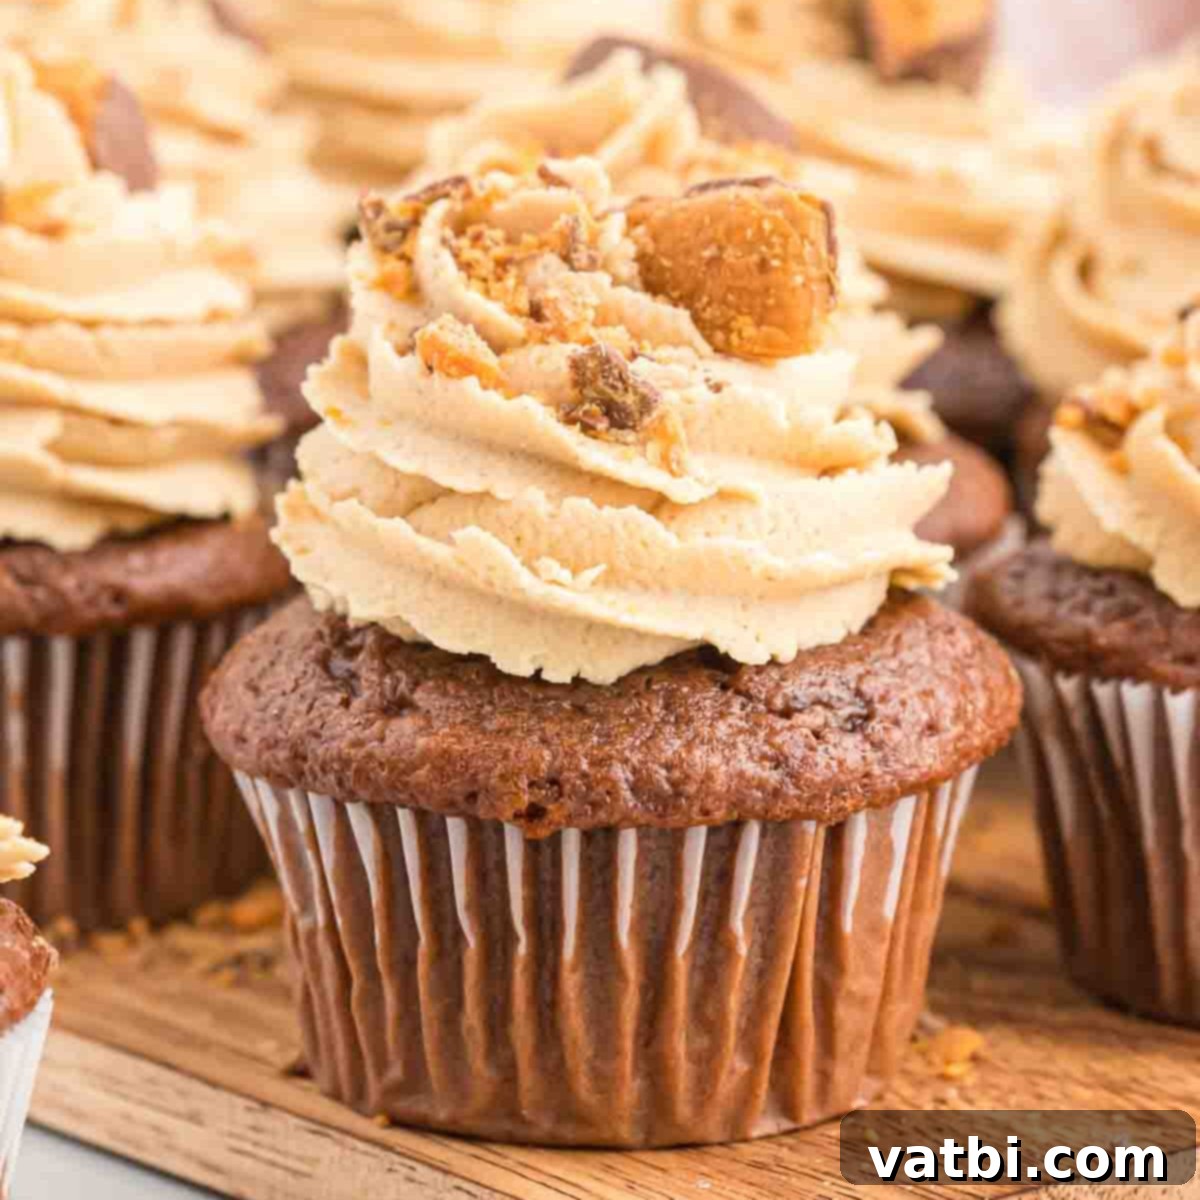
Decadent Butterfinger Cupcakes: The Ultimate Chocolate Peanut Butter Treat
Indulge in the ultimate dessert experience with these irresistible Butterfinger Cupcakes. This recipe masterfully combines the classic, beloved flavors of rich chocolate and creamy peanut butter with the unique crunch of Butterfinger candy, creating a truly unforgettable treat. Each bite delivers a harmonious blend of moist chocolate cupcake, luscious peanut butter frosting, and delightful pieces of crispy, buttery Butterfinger candy. Prepare to impress everyone with these bakery-quality cupcakes that are surprisingly simple to make right in your own kitchen.
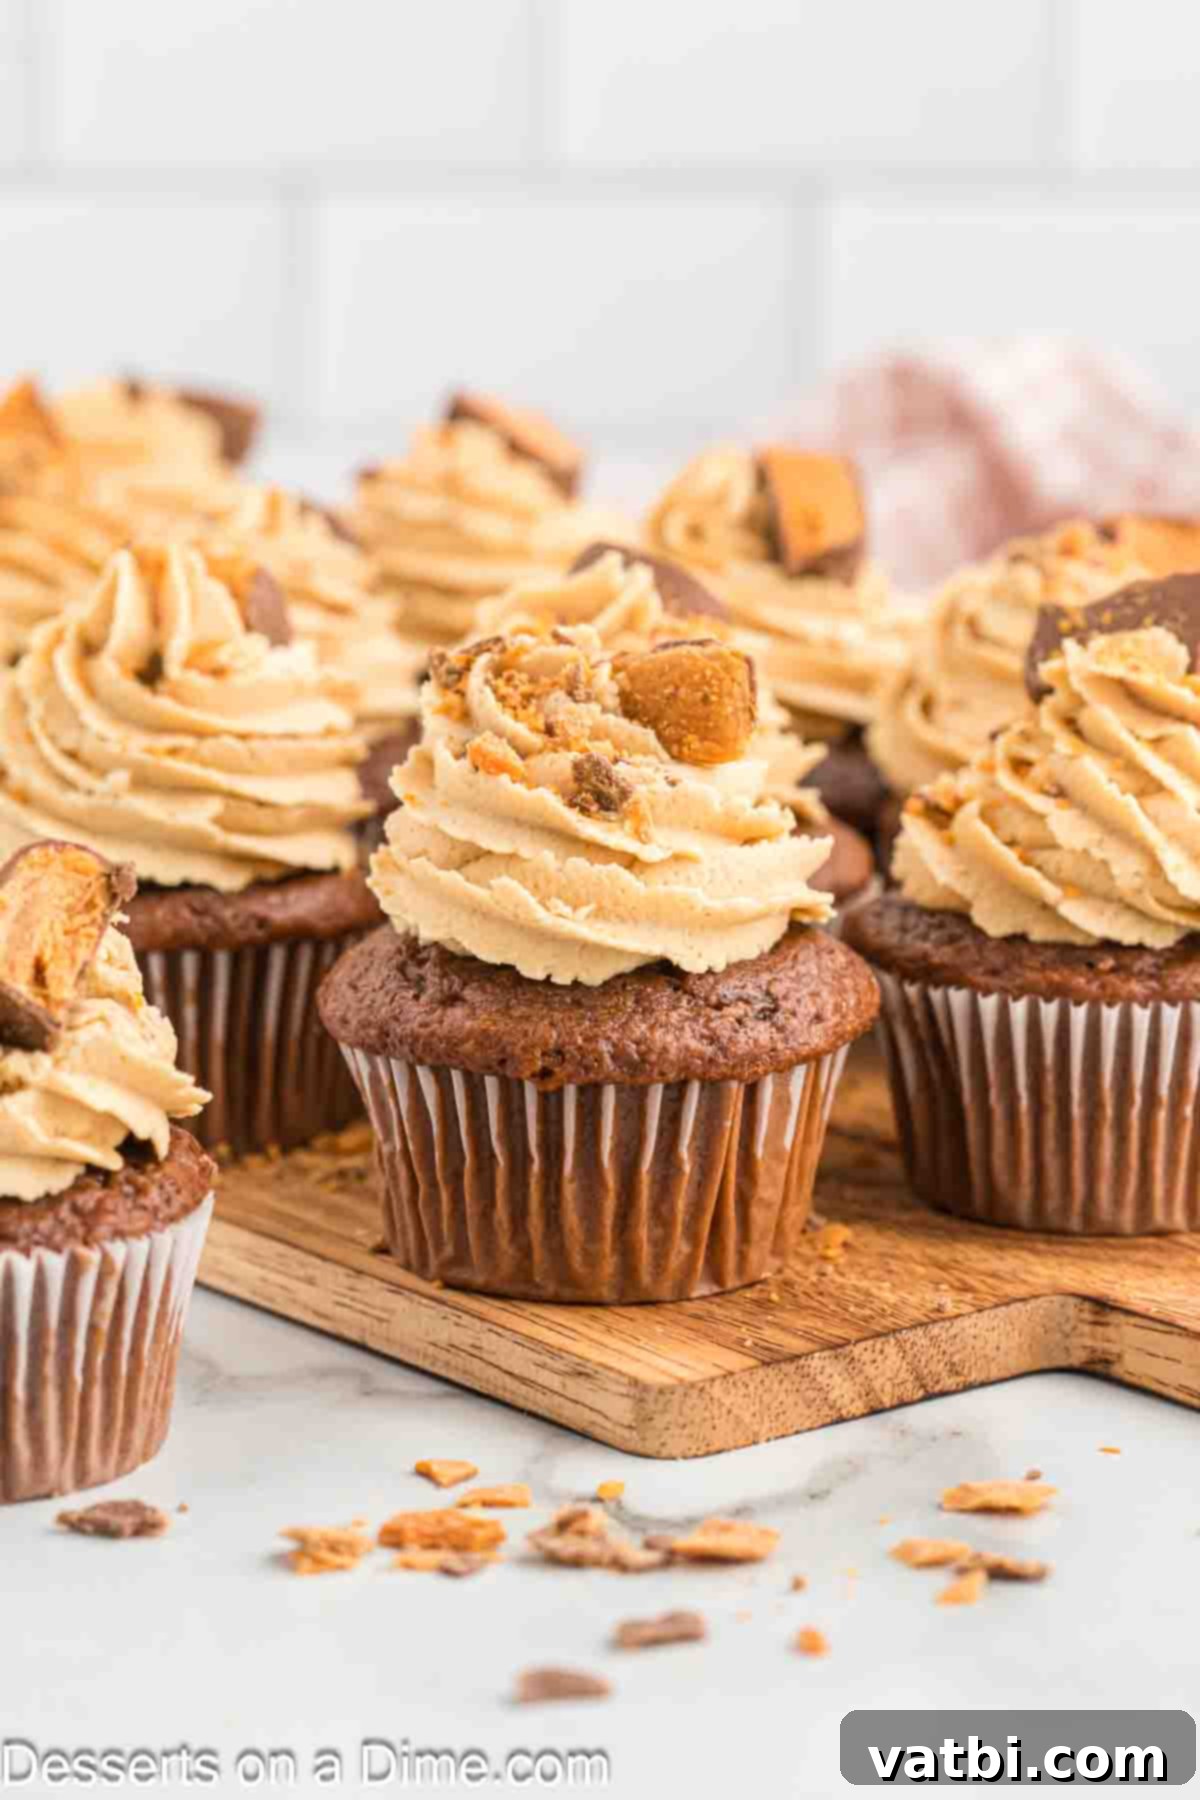
These Butterfinger Cupcakes not only look incredibly appealing, but they taste absolutely phenomenal. Every mouthful is an explosion of flavor, offering the perfect balance of chocolate, intense peanut butter, and the signature crunchy texture of Butterfinger. For an extra touch of personalization or if you simply enjoy crafting treats from scratch, you can even use Homemade Butterfinger pieces within this recipe. This adds an even fresher, more bespoke dimension to an already fantastic dessert.
If you’re a devoted fan of Butterfinger candy, you’ll be thrilled to explore other delicious ways to incorporate its iconic flavor into your desserts. Be sure to try our equally delightful Butterfinger Pie, scrumptious Butterfinger Cookies, and fun Butterfinger Balls. While these Butterfinger Cupcakes boast an impressive, professional appearance, similar to our popular Mocha Cupcakes, decadent Snickers Cupcakes, and classic Peanut Butter Cupcakes, the good news is that they are incredibly easy for anyone to prepare at home, regardless of their baking skill level. Even Milky Way enthusiasts will find something to love with our Milky Way Cookies!
Table of contents
- Why We Love This Recipe
- Ingredients
- Frosting
- How to Make Butterfinger Cupcakes
- Storage
- Pro Tips
- More Easy Cupcake Recipes
Why We Adore This Easy Butterfinger Cupcake Recipe
There are countless reasons to fall in love with these delightful Butterfinger Cupcakes. First and foremost, you won’t need any specialized kitchen gadgets, advanced culinary skills, or hours of complex preparation to achieve this fabulous and undeniably decadent dessert. These cupcakes effortlessly achieve a “bakery-quality” look and taste, making them perfect for any occasion – from casual family gatherings to more formal celebrations like birthdays or holidays.
Beyond their stunning appearance and incredible flavor, these cupcakes offer remarkable versatility. They make for an exquisite dessert when served alongside a cold glass of milk, complementing the rich chocolate and peanut butter notes beautifully. Alternatively, pair them with a hot cup of coffee for a sophisticated after-dinner treat. They are particularly popular as Easy Graduation Desserts, bringing a festive and crowd-pleasing element to any celebration. If you appreciate homemade candy bar-inspired desserts, you’ll also enjoy crafting Homemade Snickers or exploring our extensive collection of 55 Peanut Butter Desserts for more inspiration. This recipe truly offers maximum impact with minimal effort, ensuring a delicious outcome every time.
Essential Ingredients for Perfect Butterfinger Cupcakes
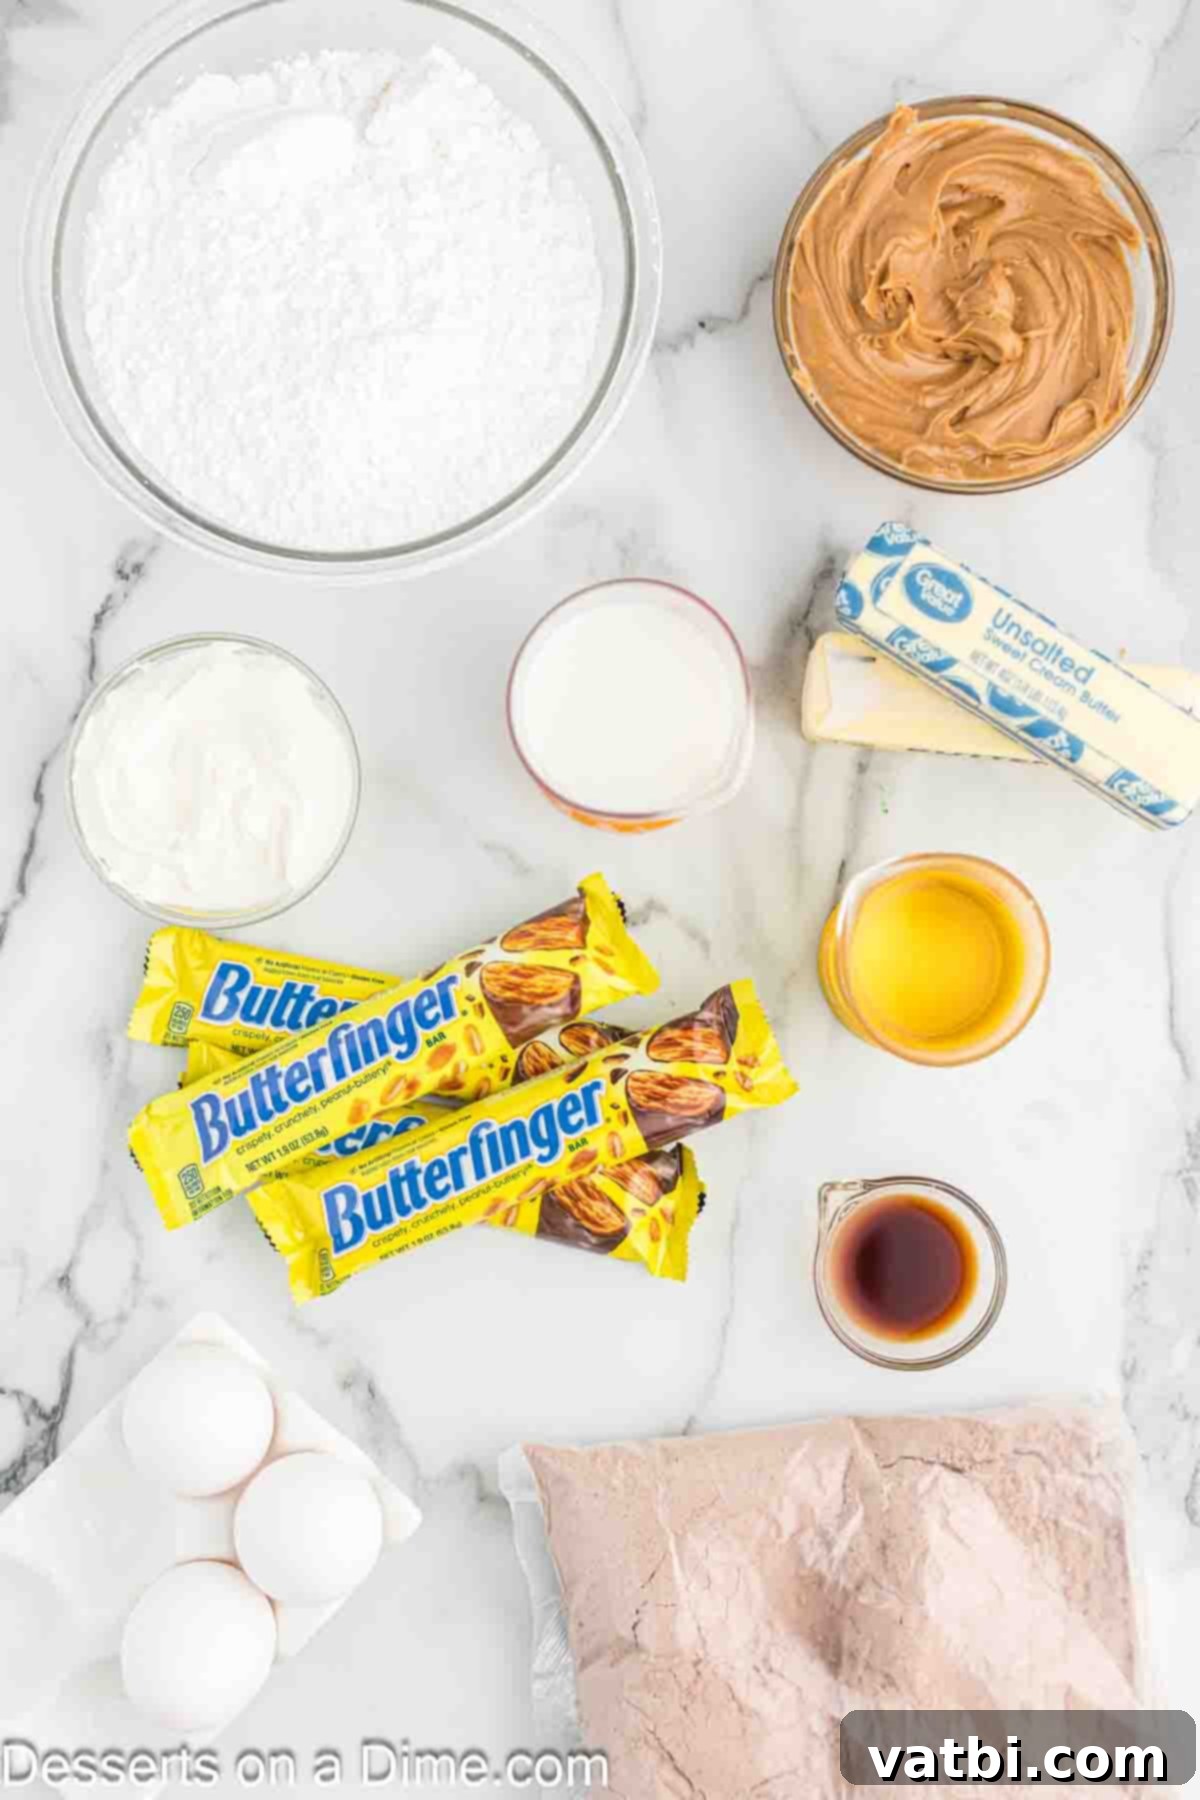
Creating these delightful cupcakes starts with a selection of readily available ingredients, ensuring convenience without compromising on flavor or texture. Here’s what you’ll need for the moist chocolate base and the crunchy Butterfinger additions:
- Chocolate Cake Mix. For simplicity and consistent results, any brand of standard box chocolate cake mix will work wonderfully. If you prefer to bake from scratch and have basic pantry staples like baking soda, all-purpose flour, and cocoa powder on hand, consider making this Easy Chocolate Cake recipe from scratch to use as your base.
- Eggs. We recommend using large eggs. They act as a binder, provide structure, and contribute to the rich texture of the cupcakes.
- Vegetable Oil. This is a key ingredient for achieving exceptionally moist and tender cupcakes. Unlike butter, oil remains liquid at room temperature, which helps keep the cake crumb soft and moist for longer.
- Milk. Whole milk is our preferred choice for this recipe. Its higher fat content results in a richer, more flavorful batter and a more tender crumb.
- Sour Cream. Don’t skip this ingredient! Sour cream is a secret weapon in baking. It adds incredible moisture, a delicate tang that balances the sweetness, and a wonderfully tender texture to the cupcakes, transforming them from good to truly exceptional.
- Vanilla Extract. For the purest and most vibrant flavor, always ensure you are using pure vanilla extract. It enhances the chocolate notes beautifully.
- Butterfinger Candy bars. The small, individually wrapped bars are ideal for this recipe. Crushed Butterfinger pieces are incorporated into the batter and used as a garnish. This is also an excellent and delicious way to utilize any leftover Halloween candy you might have!
Decadent Peanut Butter Frosting Ingredients
No Butterfinger Cupcake would be complete without a generous swirl of creamy, dreamy peanut butter frosting. Here’s what you’ll need to create this perfect complement:
- Unsalted butter. Make sure your butter is softened at room temperature before you begin. This is crucial for achieving a smooth, lump-free, and perfectly whipped frosting consistency.
- Peanut butter. Creamy peanut butter is highly recommended for the frosting. Its smooth texture ensures a silky-smooth frosting that pipes beautifully. Avoid using natural peanut butter with oil separation, as it can make the frosting grainy or difficult to incorporate.
- Powdered sugar. Also known as confectioners’ sugar, this ingredient is essential for the frosting’s structure and sweetness. Always sift the powdered sugar before adding it to prevent any lumps and ensure a perfectly smooth frosting.
- Milk (or Heavy Whipping Cream). A small amount of milk or heavy whipping cream is used to adjust the frosting’s consistency, making it smooth and pipeable.
You can find the comprehensive list of ingredients with exact measurements and detailed instructions in the recipe card located at the bottom of this page.
Step-by-Step Guide: How to Make Butterfinger Cupcakes
Follow these easy steps to create your own batch of amazing Butterfinger Cupcakes:
- Step 1: Prepare Your Baking Station. Begin by preheating your oven to 350 degrees Fahrenheit (175 degrees Celsius). While the oven heats up, line two standard cupcake tins with paper cupcake liners. This recipe makes approximately 24 cupcakes, so ensure you have enough liners and tins ready.
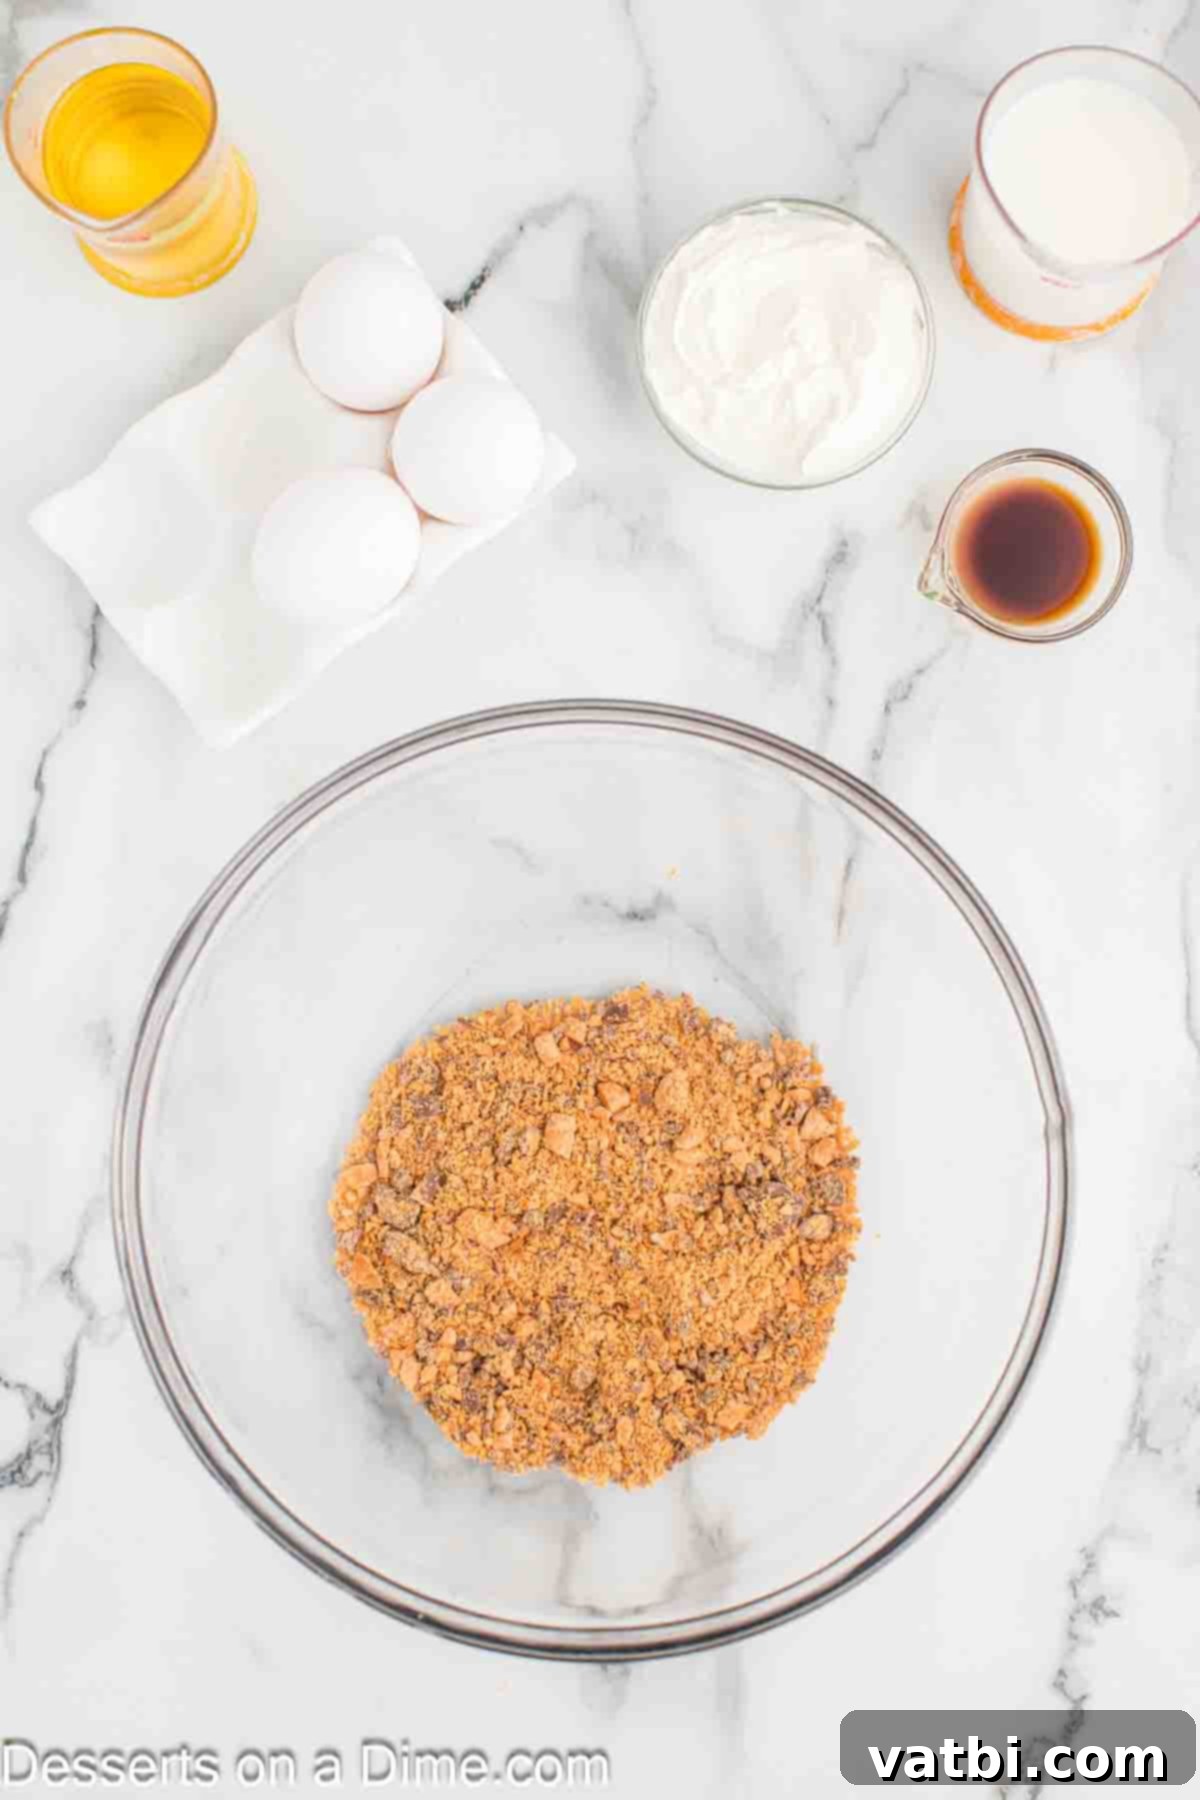
Step 2: Prepare the Butterfinger Candy. Take your Butterfinger candy bars and crush them into small, manageable pieces. A food processor is the quickest and most efficient way to achieve this. If you don’t have a food processor, simply place the candy bars in a ziplock bag, seal it, and use a rolling pin or the flat side of a meat tenderizer to crush them. Remember to save a portion of the crushed candy bars aside; these will be used later as a delicious topping for your frosted cupcakes.
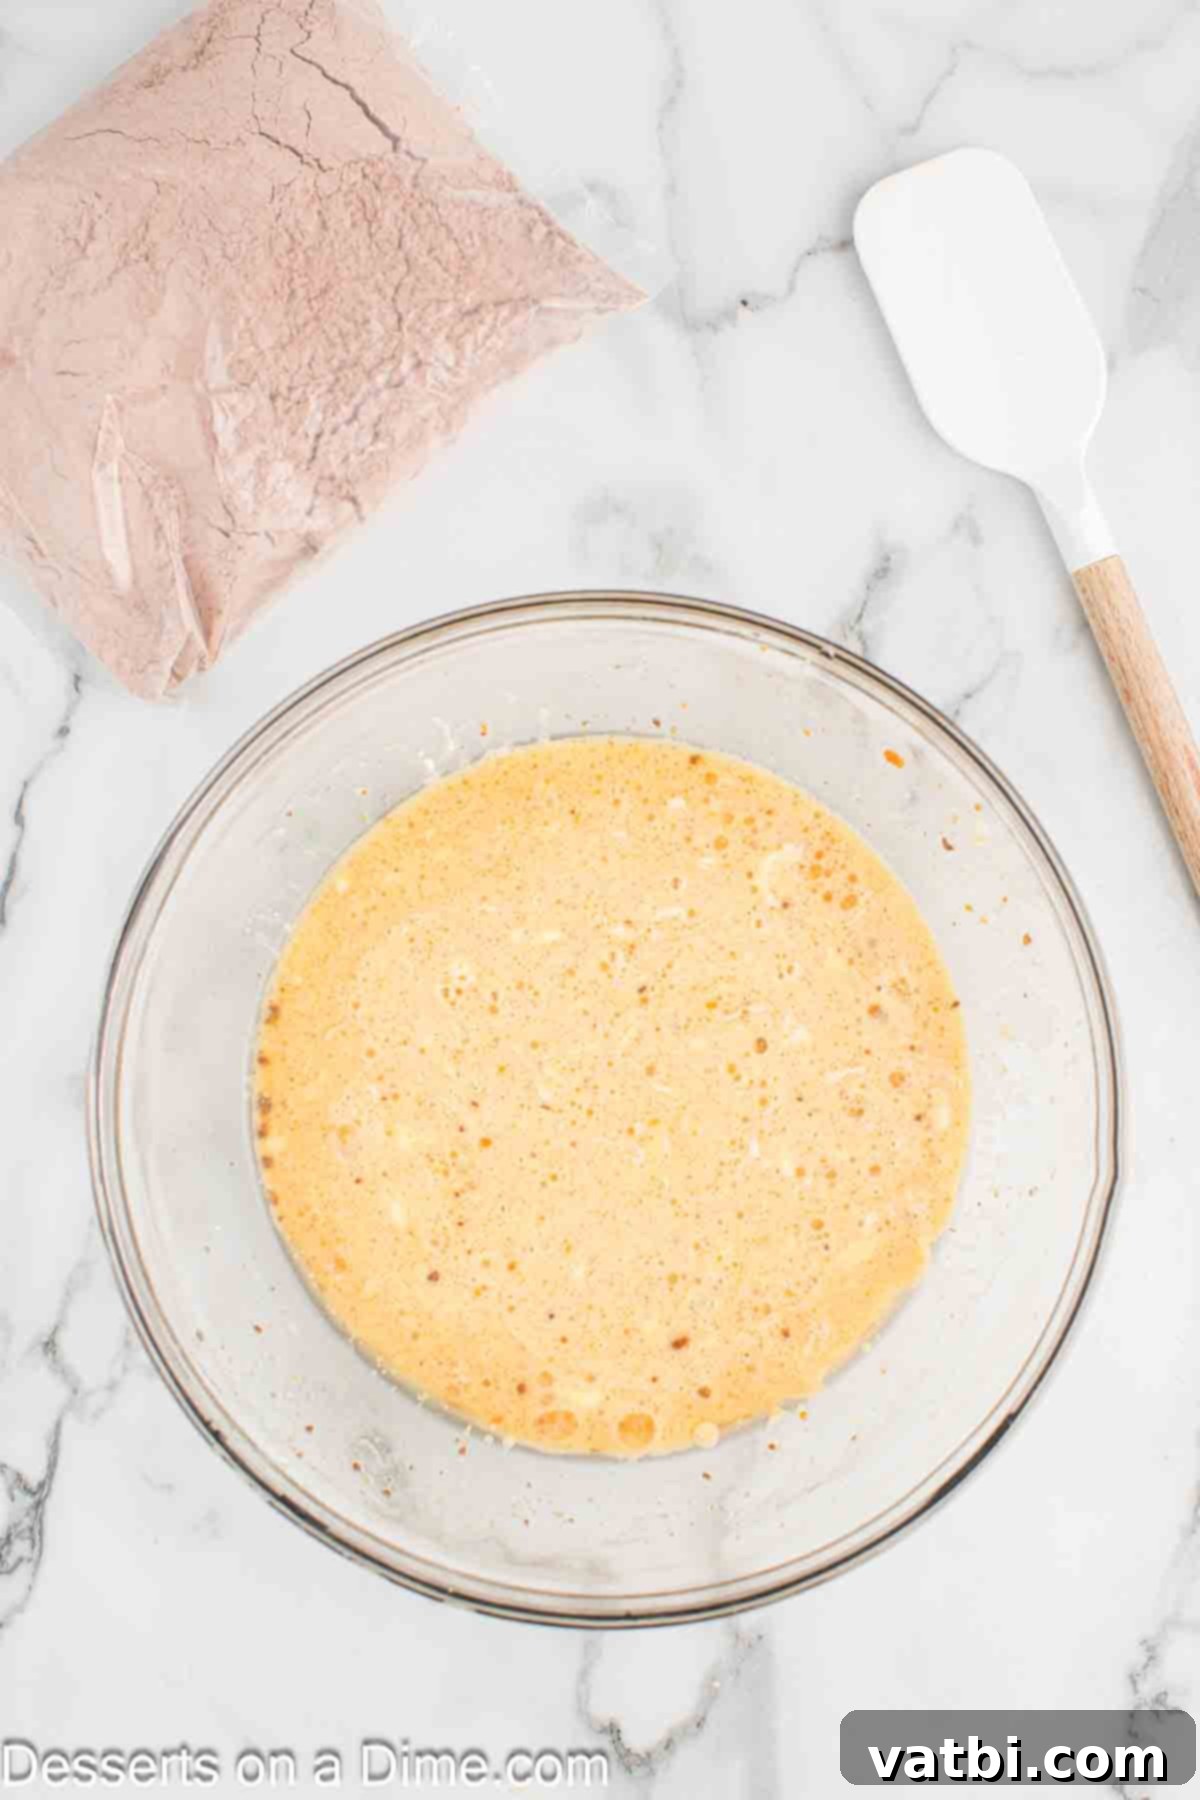
Step 3: Combine Wet Ingredients. In a large mixing bowl, add the eggs, vegetable oil, milk, sour cream, and vanilla extract. Whisk or stir these wet ingredients together thoroughly until they are well combined and smooth. This step ensures an even distribution of moisture and flavor throughout your cupcake batter.
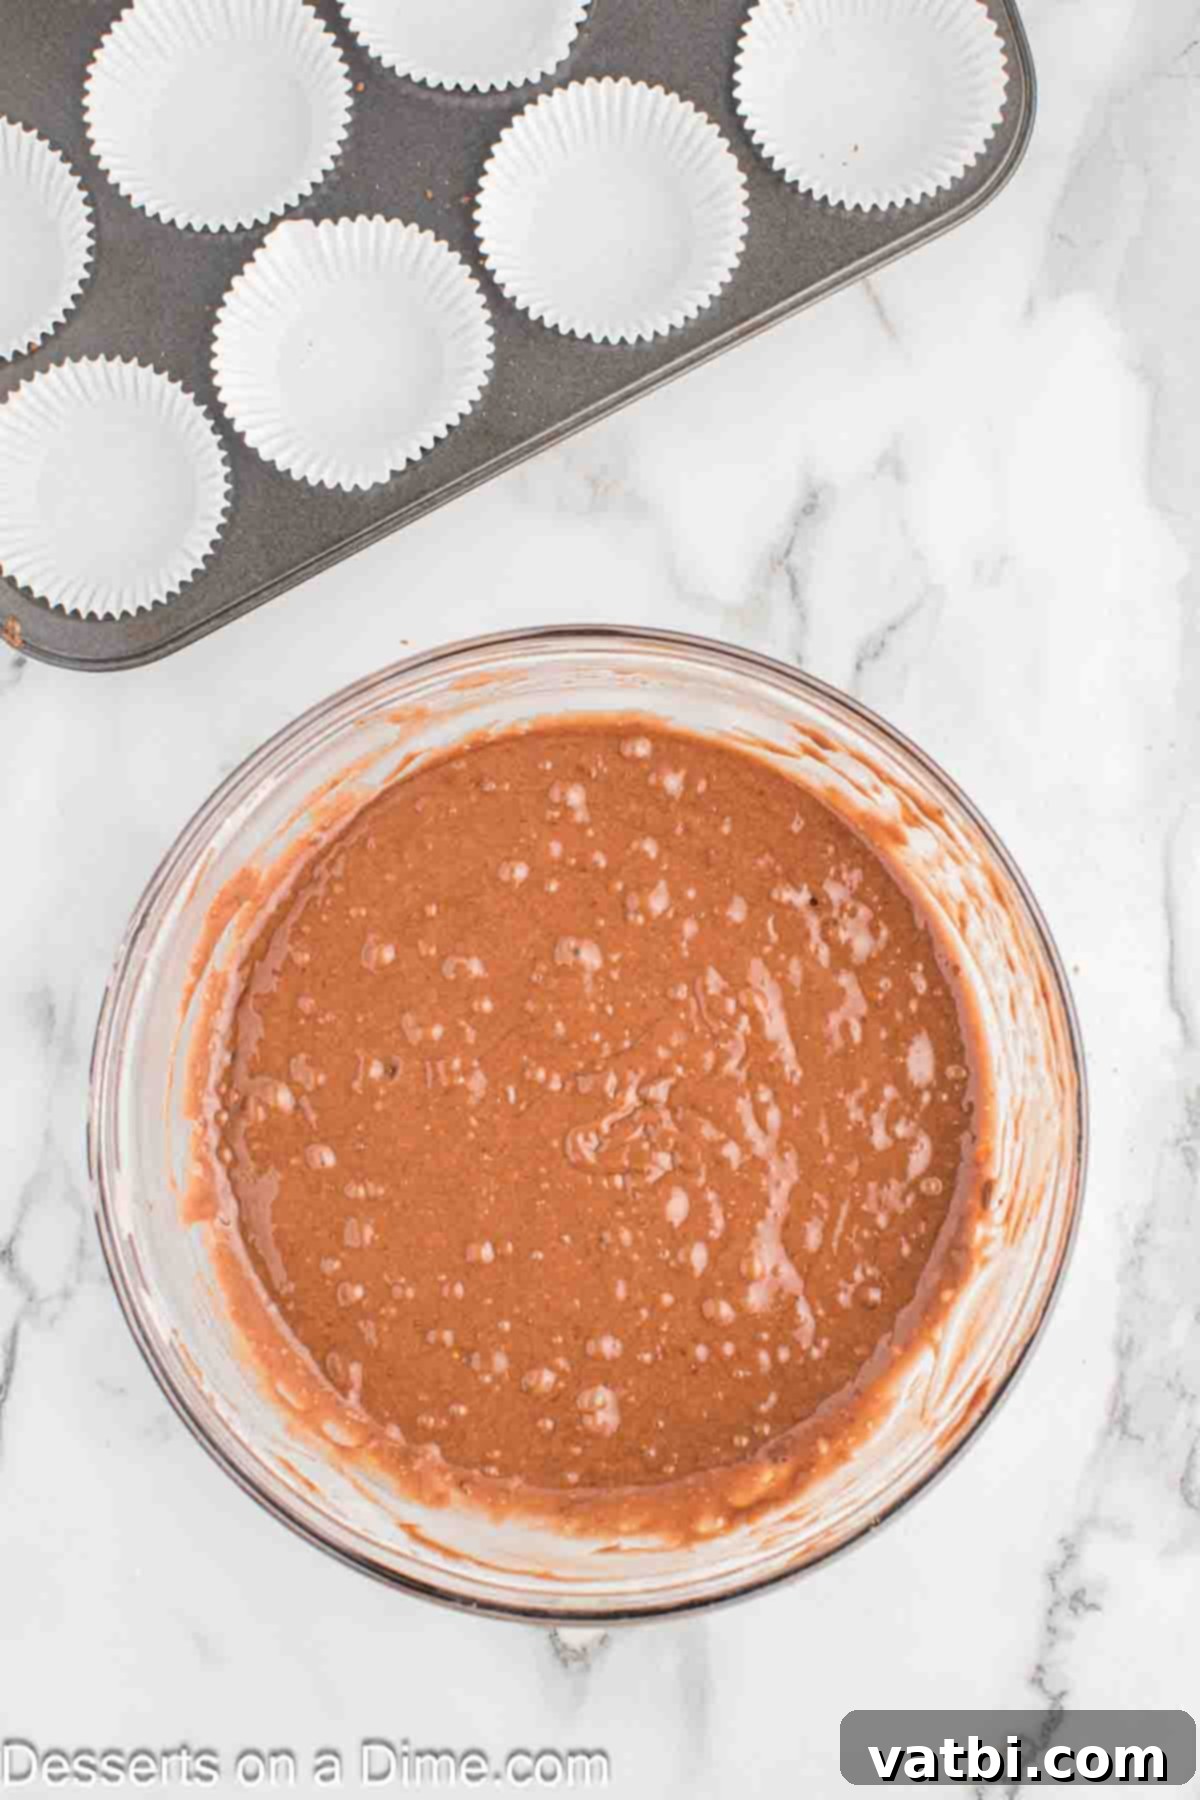
Step 4: Incorporate Dry Ingredients. To the wet mixture, gradually add the chocolate cake mix. Stir gently until the batter is smooth and just combined. Be careful not to overmix, as this can lead to tough cupcakes. Mix until no dry streaks of flour remain, but stop as soon as it’s smooth.
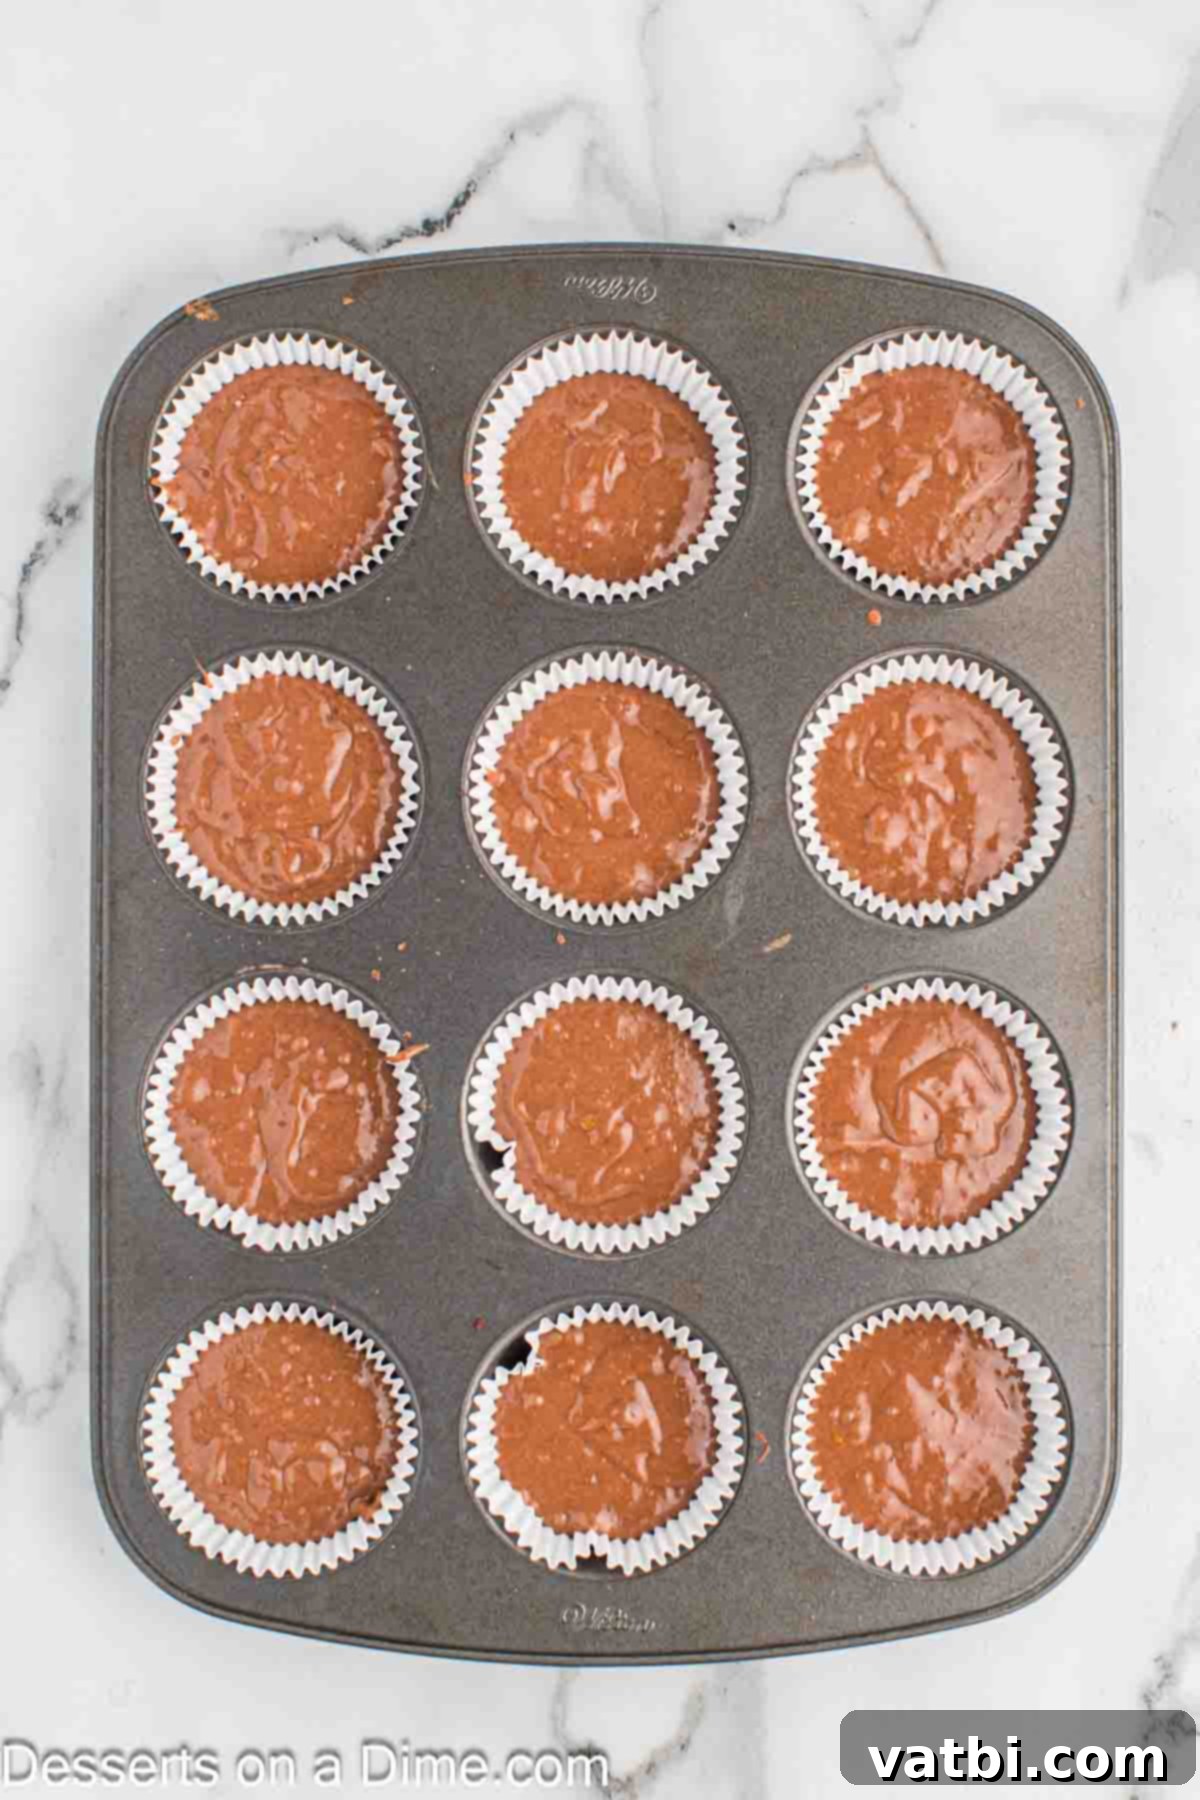
Step 5: Fill Cupcake Liners. Carefully pour or scoop the prepared batter into each cupcake liner, filling them approximately two-thirds to three-quarters full. This leaves enough room for the cupcakes to rise without overflowing, ensuring beautifully domed tops.
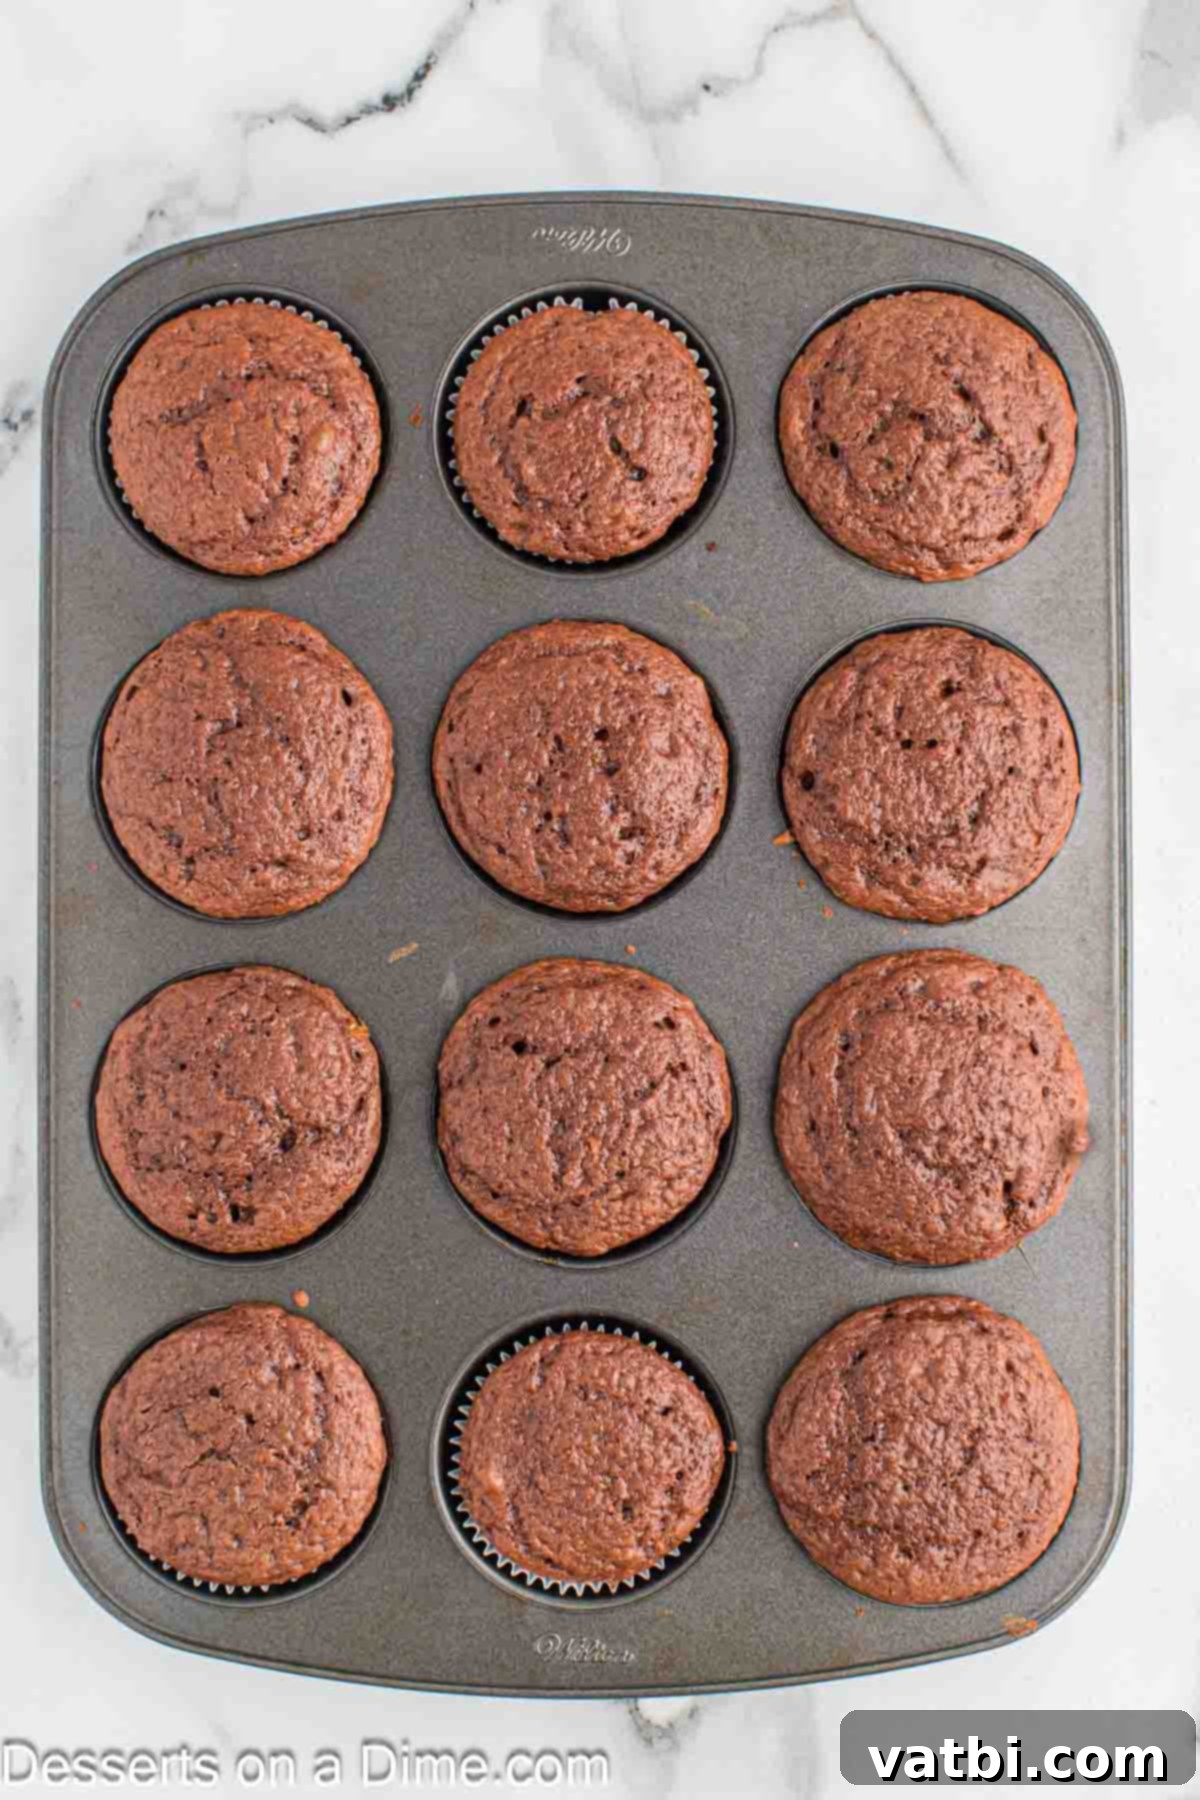
Step 6: Bake and Cool. Place the cupcake tins into your preheated oven and bake for 18-22 minutes. Baking times can vary slightly depending on your oven, so check for doneness by inserting a toothpick into the center of a cupcake; if it comes out clean, they are ready. Once baked, remove the cupcakes from the oven and allow them to cool in the tins for a few minutes before transferring them to a wire rack to cool completely. It’s crucial that they are entirely cool before frosting.
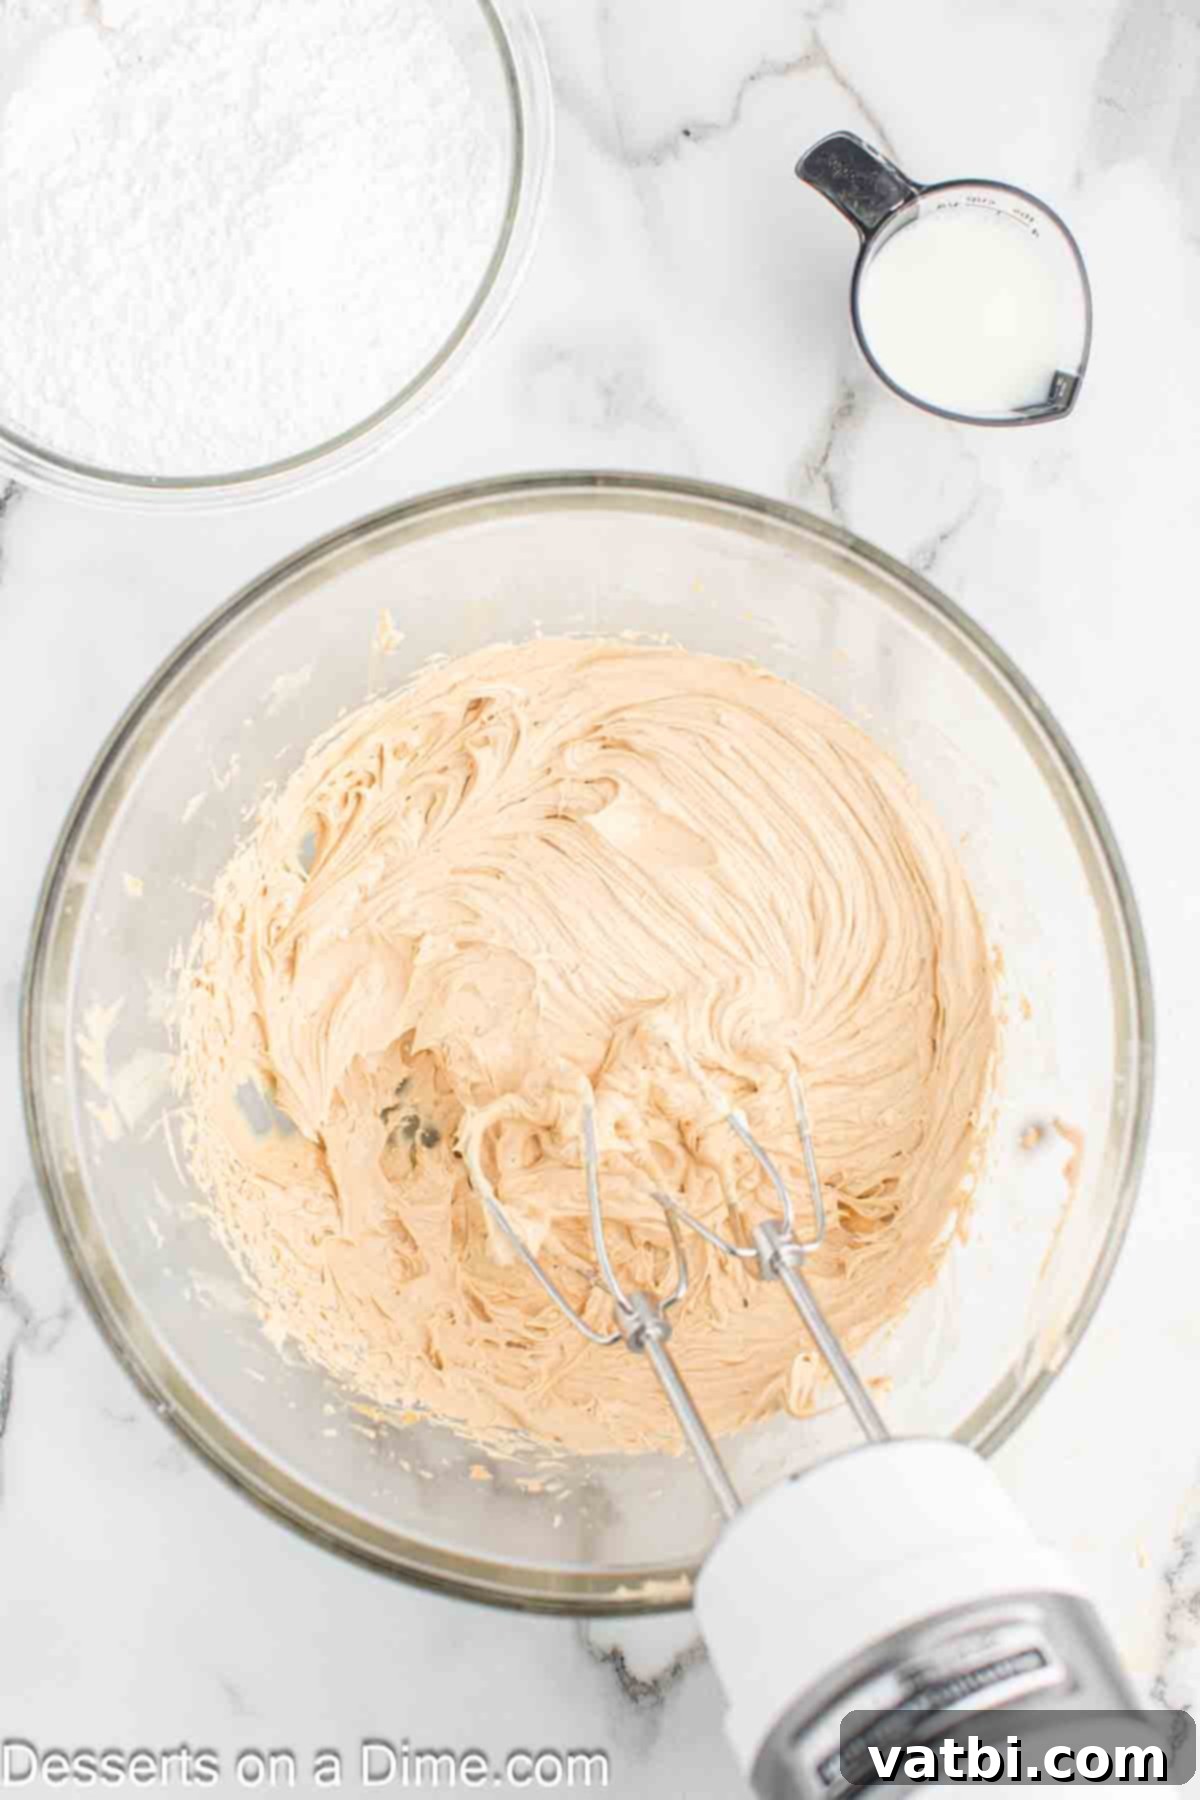
Step 7: Prepare the Peanut Butter Frosting Base. While your cupcakes are cooling, it’s the perfect time to make the delicious peanut butter frosting. In the bowl of an electric mixer (or using a stand mixer with the paddle attachment), combine the softened unsalted butter and creamy peanut butter. Beat them together on medium speed until the mixture is light, smooth, and fluffy. Make sure to frequently scrape down the sides of the bowl with a spatula to ensure everything is thoroughly incorporated.
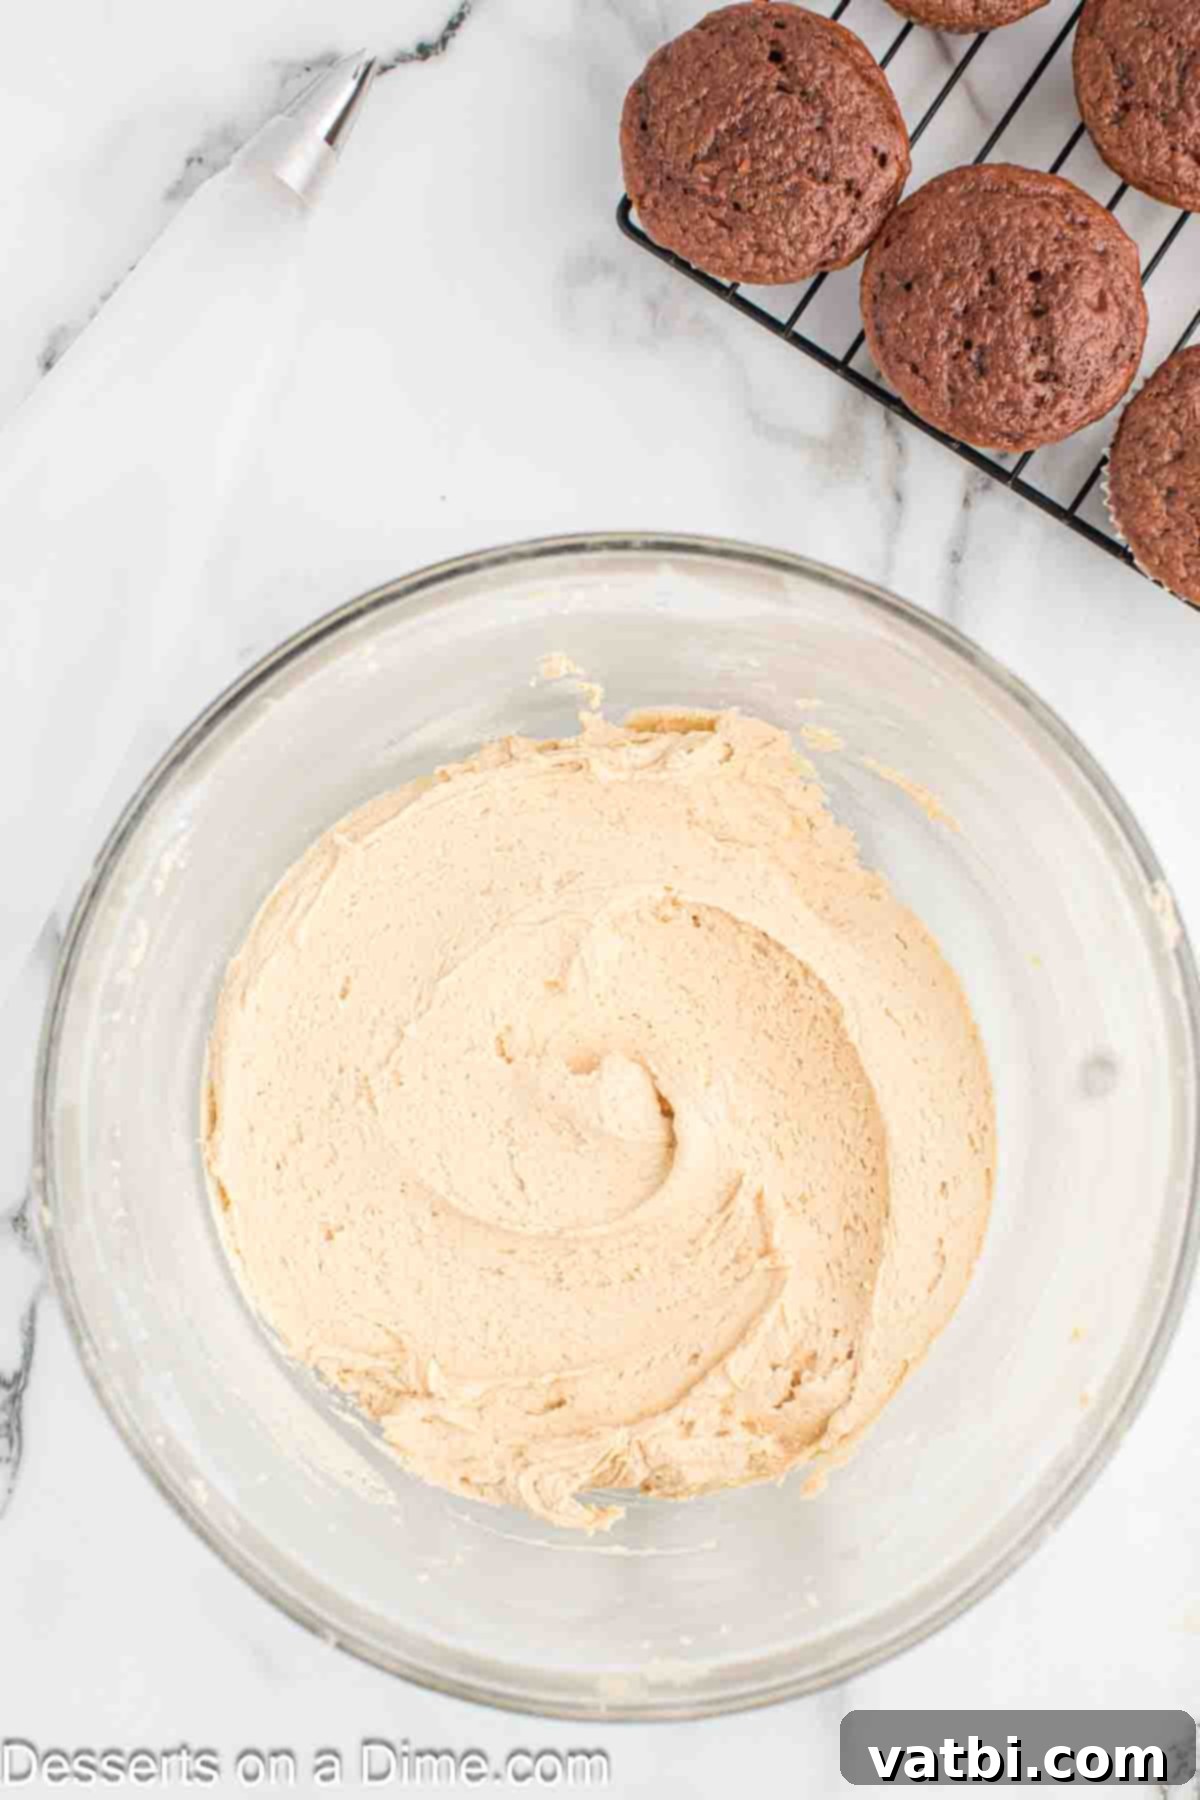
Step 8: Achieve Perfect Frosting Consistency. With the mixer on low speed, gradually add the sifted powdered sugar to the butter and peanut butter mixture. Alternate adding the sugar with small amounts (a tablespoon at a time) of milk or heavy whipping cream. Continue beating and adding until you reach your desired frosting consistency – it should be thick enough to hold its shape for piping, yet smooth and spreadable. Adjust the liquid amount as needed.
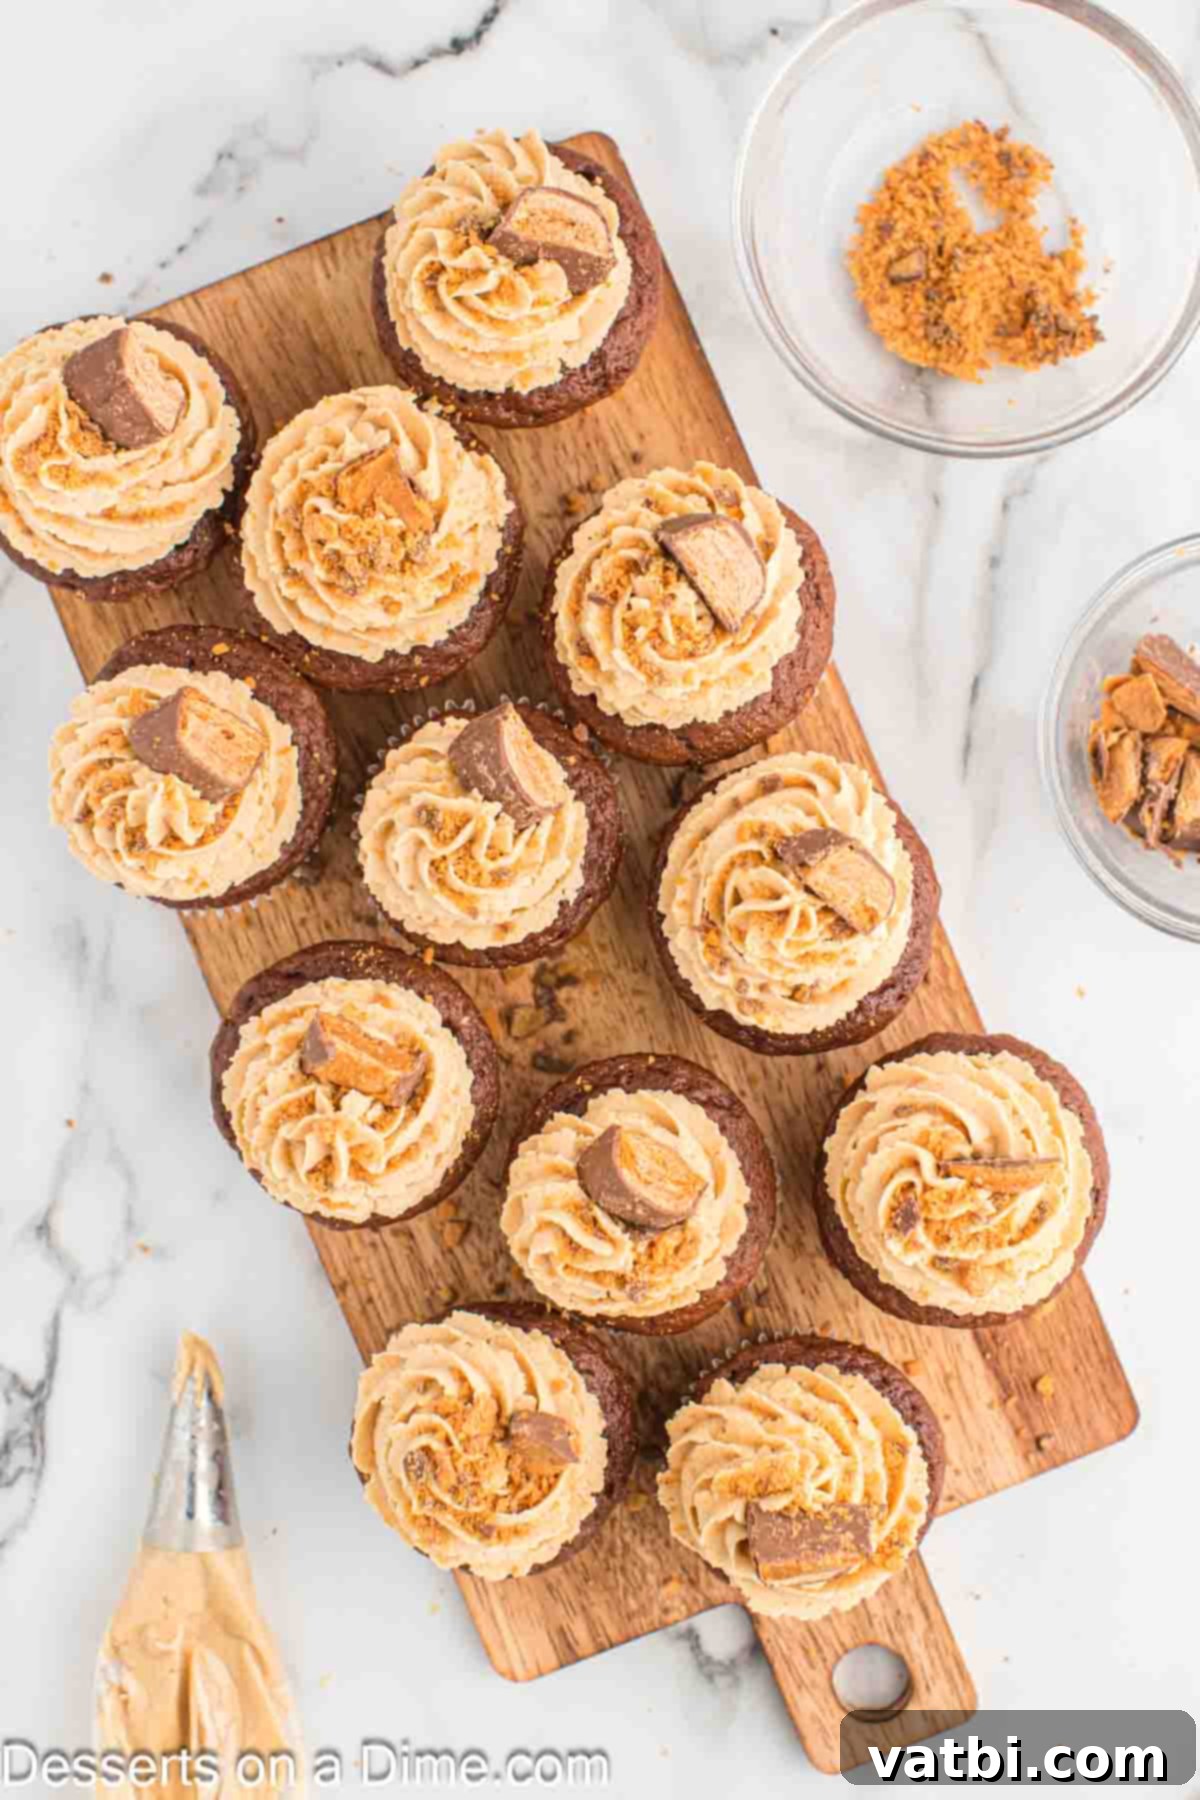
Step 9: Frost and Garnish. Once the cupcakes are completely cool, it’s time to decorate! Pipe the creamy peanut butter frosting onto each cupcake. I personally love using a star decorating tip (like a 1M tip) to create beautiful swirls. Finally, generously garnish each frosted cupcake with the crushed Butterfinger candy bars you reserved earlier. For extra flair, you can also top them with chocolate chips, a drizzle of chocolate ganache, or a sprinkle of sea salt to enhance the flavors. These cupcakes are also fantastic when served with a scoop of Homemade Butterfinger Ice Cream!
Storage Tips for Freshness
To keep your Butterfinger Cupcakes tasting their best, proper storage is key. If you have leftover frosted cupcakes, refrigerate them in an airtight container for up to 3-4 days. A dedicated cupcake carrier is incredibly handy for this, as it prevents the frosting from getting squashed and helps maintain their freshness and presentation.
For longer storage, these cupcakes freeze wonderfully. It’s best to freeze the chocolate cupcakes *before* they are frosted and decorated. Once the baked cupcakes have cooled completely, wrap each one individually in plastic wrap, then place them inside a freezer-safe container or a heavy-duty freezer bag. They can be frozen for up to 3 months.
When you’re ready to enjoy them, simply thaw the frozen cupcakes overnight in the refrigerator. Once fully thawed, prepare the peanut butter frosting and decorate them as you normally would. This make-ahead option is perfect for parties or when you want to enjoy a fresh batch without all the baking on the same day.
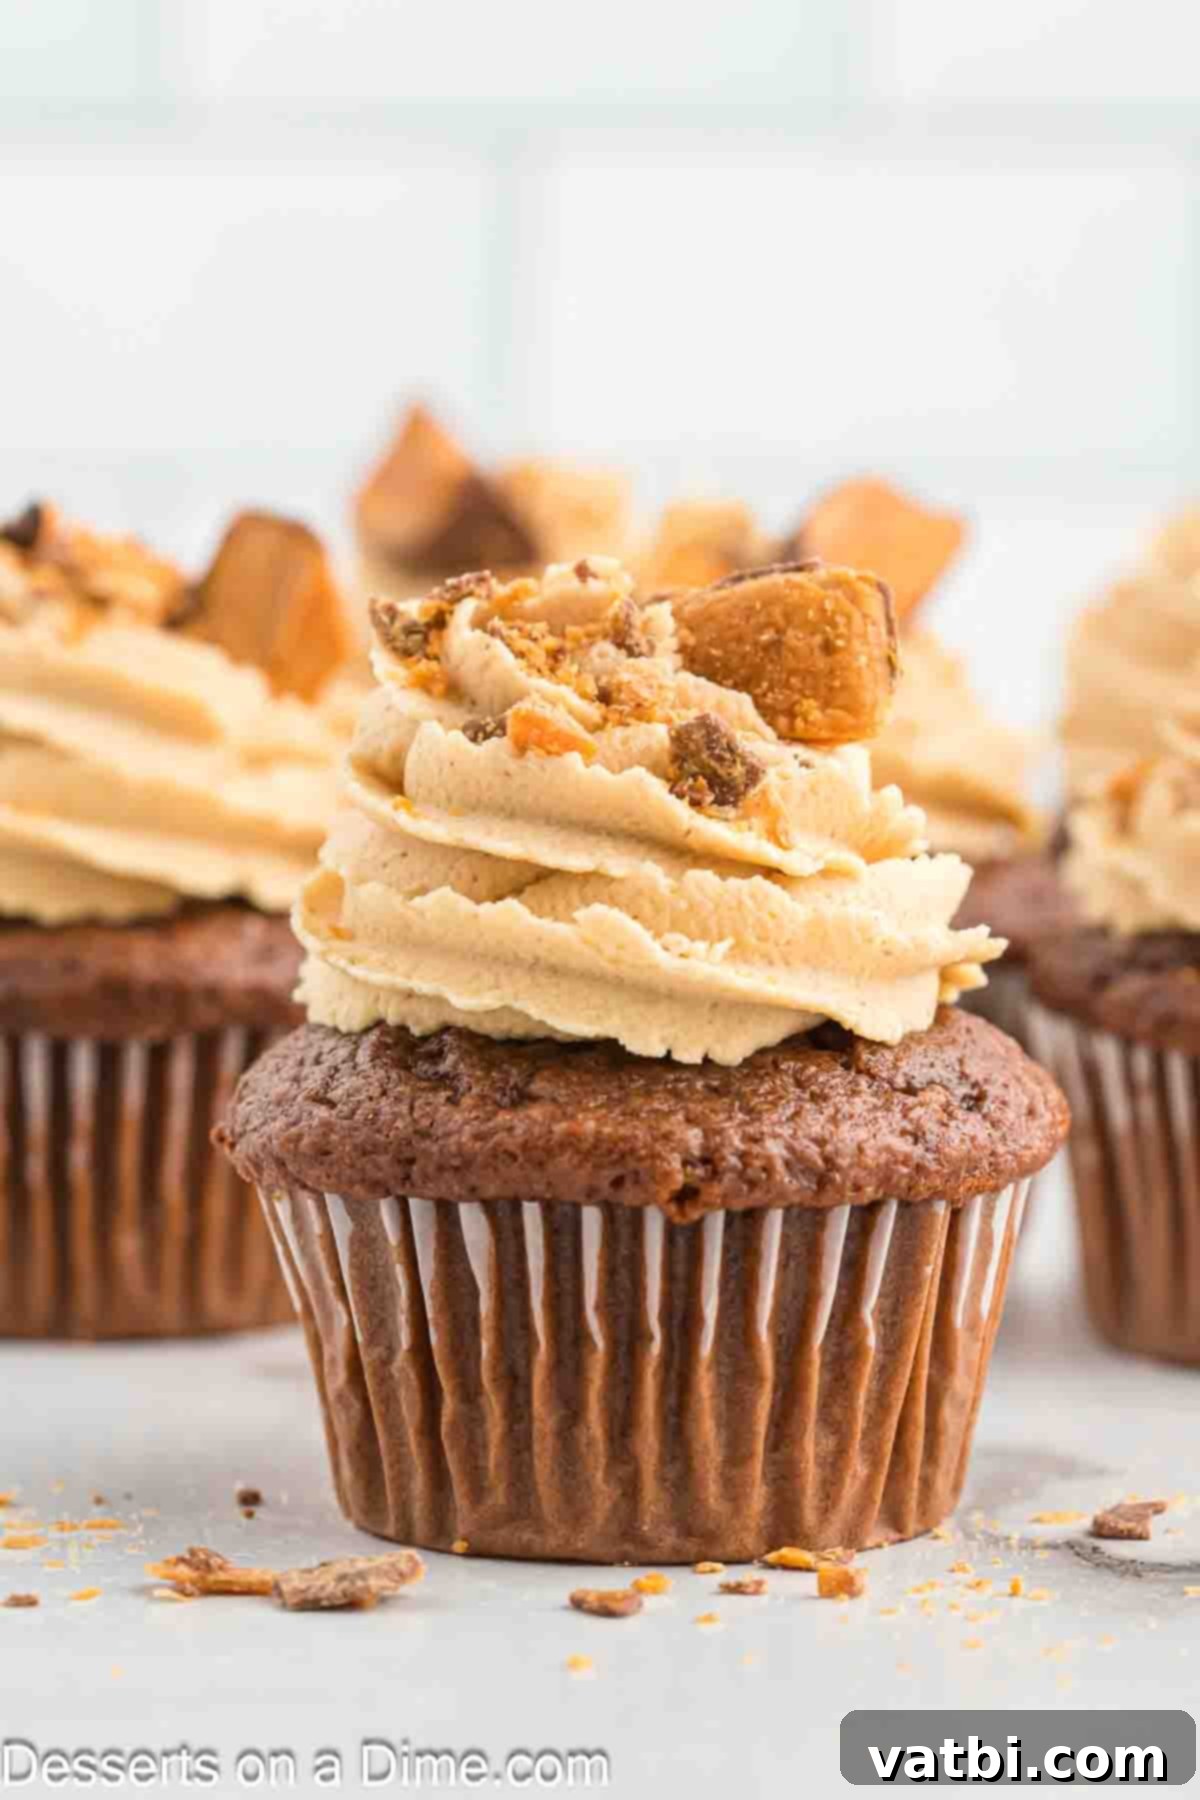
Expert Tips for Perfect Butterfinger Cupcakes
Elevate your Butterfinger Cupcakes from delicious to absolutely extraordinary with these professional baking tips:
- Piping Bag Alternatives for Easy Decorating. If you don’t own a fancy piping bag and tips, don’t worry! You can easily create a makeshift piping bag. Simply transfer the peanut butter frosting into a sturdy ziploc bag, push the frosting into one corner, and then snip off a small piece of the corner with scissors. You can then pipe the frosting directly onto your cupcakes with ease.
- Enhanced Chocolate Drizzle. For an even more intense chocolate flavor and a visually stunning finish, consider drizzling a rich chocolate sauce or melted chocolate ganache over the frosted cupcakes before adding the Butterfinger pieces. This adds another layer of decadent flavor and moisture.
- Choose Creamy Peanut Butter. For the smoothest and most luxurious frosting texture, we strongly recommend using a creamy peanut butter variety for this recipe. Natural peanut butters, especially those with visible oil separation, can result in a grainy or inconsistent frosting texture. Opt for a classic, smooth, and creamy brand.
- Make Ahead Option. Planning ahead can save you time and stress! You can bake the chocolate cupcakes up to 3 days in advance. Once cooled, store them in an airtight container at room temperature (or freeze them as described in the storage section). The peanut butter frosting can also be prepared up to 1 day in advance and stored in the refrigerator in an airtight container. Allow it to come to room temperature and re-whip briefly before frosting your thawed cupcakes.
- Creative Cupcake Decorations. While crushed Butterfinger candy bars are the star topping, feel free to get creative with your garnishes! In addition to the crushed candy pieces, you can also use Butterfinger baking chips, peanut butter baking chips, or even finely chopped roasted peanuts for an extra nutty crunch. A tiny sprinkle of flaky sea salt on top can also beautifully enhance the sweet and savory notes.
- Ensure Softened Butter. This tip is crucial for the frosting: make sure your unsalted butter is genuinely softened at room temperature. Butter that is too cold will result in a lumpy, difficult-to-mix frosting, while melted butter will make it too thin. Properly softened butter will cream together smoothly with the peanut butter, ensuring a light and airy consistency.
- Allow Cupcakes to Cool Completely. Patience is a virtue, especially when frosting! It is absolutely essential that your baked chocolate cupcakes cool completely to room temperature before you attempt to frost them. If you frost warm cupcakes, the heat will cause the delicate peanut butter frosting to melt, slide off, and lose its beautiful piped shape, resulting in a messy rather than magnificent dessert.
Discover More Easy Cupcake Recipes
If you’ve enjoyed making these Butterfinger Cupcakes, you’ll love exploring our other simple and delicious cupcake recipes:
- Fruity Pebbles Cupcakes
- Chocolate Chip Cupcakes
- Snickers Cupcakes
- Smores Cupcakes
- Tres Leche Cupcakes
- Black Forest Cupcakes
We encourage you to try these incredibly yummy Butterfinger Cupcakes. They are genuinely perfect for any celebration, gathering, or even just a sweet indulgence, and we guarantee everyone will absolutely rave about them. Don’t forget to leave a comment and share your experience once you make them – we love hearing from you!
Pin
Butterfinger Cupcakes
Ingredients
For the Delicious Chocolate Cupcakes:
- 1 box Chocolate Cake Mix (approximately 15.25 ounces, any brand preferred)
- 3 Large Eggs
- 1/2 cup Vegetable Oil
- 3/4 cup Milk
- 1/2 cup Sour Cream
- 2 teaspoon Vanilla Extract
- 2 Butterfinger Candy bars (1.9 ounces each, crushed)
For the Creamy Peanut Butter Frosting:
- ½ cup unsalted butter (softened to room temperature)
- 1 cup creamy peanut butter
- 2-3 tablespoons milk (or heavy whipping cream, adjust as needed for consistency)
- 3 cups powdered sugar (sifted)
- 2 Butterfinger Candy Bars (1.9 ounces each, for topping and garnish)
Instructions
For the Perfectly Moist Chocolate Cupcakes:
-
Preheat your oven to a precise 350 degrees Fahrenheit (175°C) and meticulously line two standard cupcake tins with paper cupcake liners, preparing for your delicious batch.
-
Carefully crush the Butterfinger candy bars into uniformly small pieces. Set aside a small portion of the crushed candy bars to use as a garnish later. Place the remaining crushed candy into a large mixing bowl, ready to be incorporated into the batter.
-
Into the bowl with the crushed Butterfinger, gently stir in the eggs, vegetable oil, milk, rich sour cream, and pure vanilla extract. Mix these wet ingredients until they are thoroughly combined and create a smooth, homogenous mixture.
-
Next, add the chocolate cake mix to the wet ingredients. Stir slowly and carefully, just until the mixture becomes smooth and no dry pockets of cake mix remain. Be sure not to overmix the batter, as this can result in tough cupcakes.
-
Evenly fill each of the prepared cupcake liners until they are approximately ¾ of the way full. This allows ample space for the cupcakes to rise beautifully without spilling over.
-
Bake the cupcakes for 18-22 minutes, or until a wooden toothpick inserted into the very center of a cupcake comes out clean. This indicates they are perfectly baked through.
-
Once baked, allow the cupcakes to cool completely on a wire rack at room temperature. This step is crucial before frosting to prevent any melting or sliding of your beautiful frosting.
For the Dreamy Peanut Butter Frosting:
-
In a medium bowl, using an electric mixer, cream together the softened unsalted butter and creamy peanut butter until the mixture is exceptionally smooth, light, and fluffy. Ensure all ingredients are well combined.
-
Gradually add the sifted powdered sugar to the butter and peanut butter mixture, alternating with small amounts of milk (or heavy whipping cream). Beat thoroughly after each addition until you achieve your desired, perfectly pipeable frosting consistency.
-
Transfer the prepared frosting into a piping bag fitted with a star decorating tip (such as a 1M tip). Pipe beautiful swirls of frosting onto the top of each cooled chocolate cupcake.
-
Generously top each frosted cupcake with the reserved crushed Butterfinger Candy Bars for that signature crunch and flavor.
-
As an optional extra touch, cut the other remaining Butterfinger candy bars into slightly larger pieces and place one piece artfully on top of each cupcake for an added visual and textual appeal.
-
With these steps complete, your decadent Butterfinger Cupcakes are now ready to be served and thoroughly enjoyed!
Recipe Notes
Nutrition Facts
Pin This Now to Remember It Later
Pin Recipe
