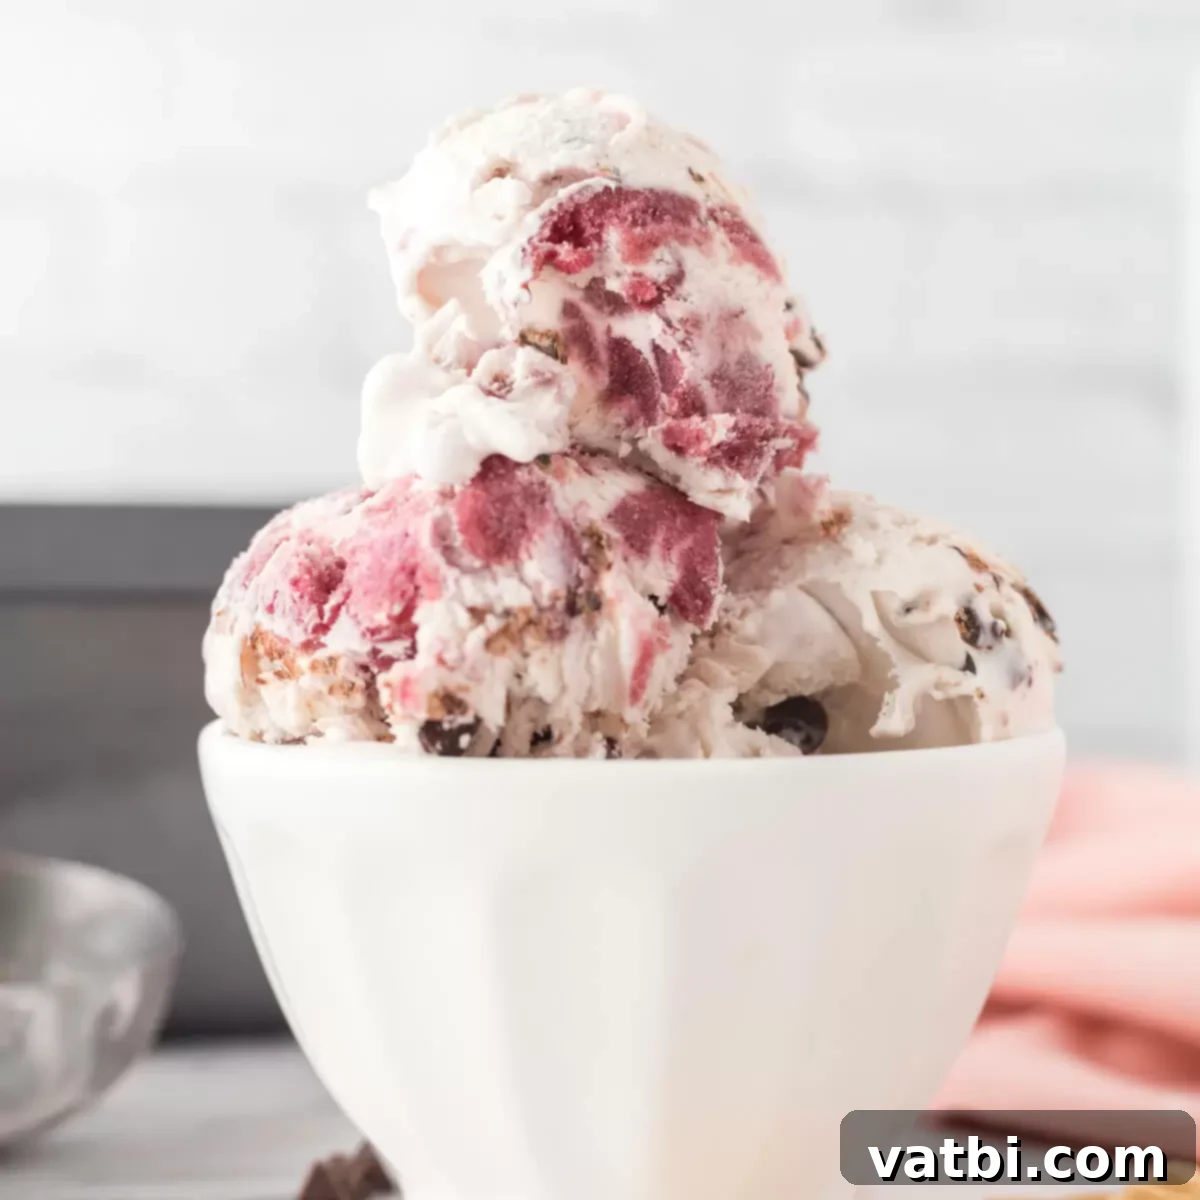
Ultimate No-Churn Cherry Chocolate Chip Ice Cream: Easy Homemade Recipe (No Machine Needed!)
Prepare to be delighted by this incredible **Cherry Chocolate Chip Ice Cream** recipe! It’s a luscious treat bursting with the vibrant sweetness of ripe cherries and the indulgent richness of chocolate chips, all swirled into a perfectly creamy base. The best part? You absolutely **do not need an ice cream maker** to create this easy homemade dessert. With just 5 simple ingredients and minimal effort, you can whip up a batch that’s every bit as delicious as store-bought, and arguably even better!
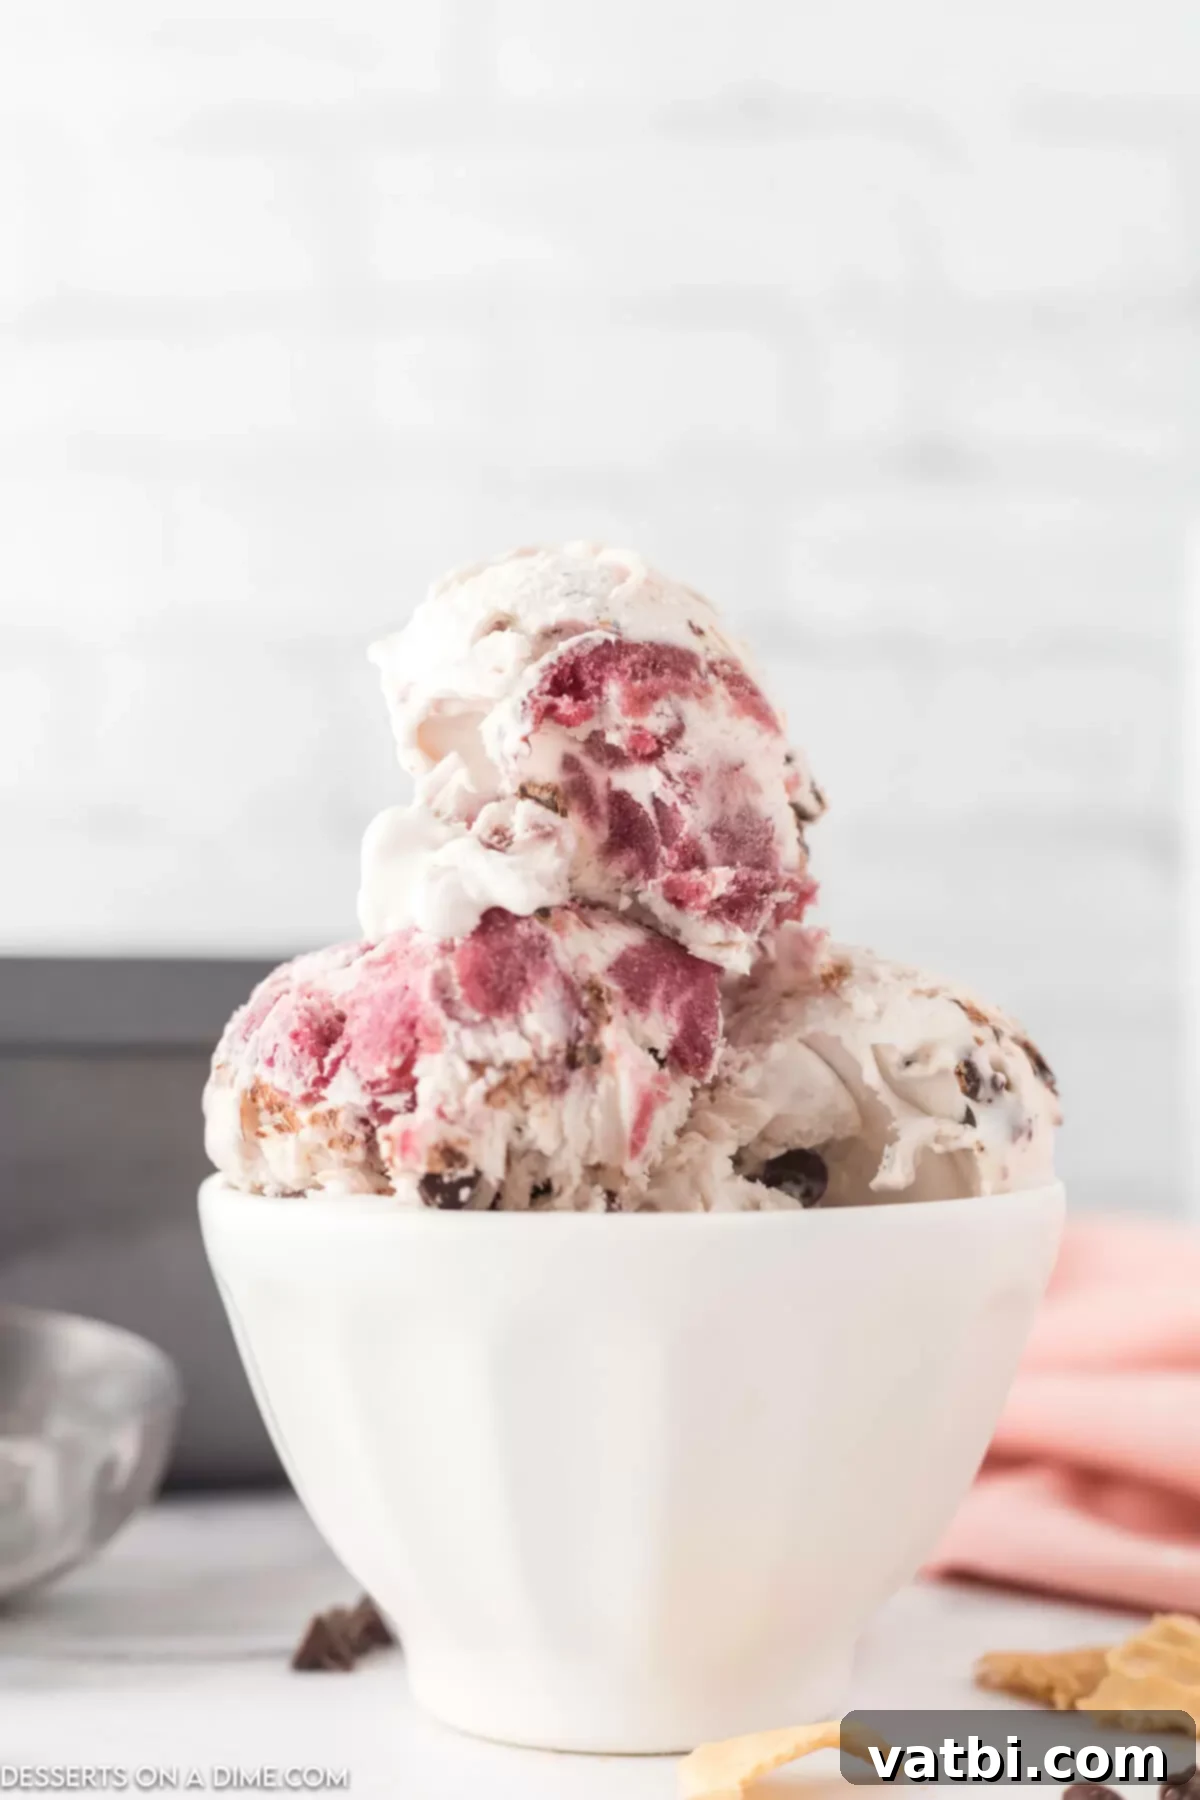
This decadent ice cream recipe offers a tantalizing combination of sweet, juicy cherries and rich, satisfying chocolate, all suspended in a velvety smooth, sweet cream base. Crafted with only 5 straightforward ingredients, it truly couldn’t be any simpler to make. We confidently call it the Best Cherry Dessert, and its effortless preparation makes it an ideal choice for anyone, especially busy individuals looking for a quick yet impressive homemade treat.
Having made countless batches of homemade ice cream over the years, I can attest to the magic of no-churn methods. The joy of creating a gourmet-quality dessert without specialized equipment is truly rewarding. If you love discovering new ice cream flavors, you might also enjoy our popular Twix Ice Cream Recipe and the surprisingly delightful Peanut Butter Banana Ice Cream Recipe.
Table of Contents
- Why This Recipe Works
- The Magic of No-Churn Ice Cream
- Essential Ingredients for Perfection
- Substitutions and Flavorful Additions
- Step-by-Step Guide to Creamy Ice Cream
- Storage and Freshness Tips
- How Long Does Homemade Ice Cream Last?
- Pro Tips for the Best No-Churn Ice Cream
- Serving Suggestions and Variations
- More Cherry Desserts to Love
- Explore More No-Churn Ice Cream Recipes
Why This Recipe Works
This Cherry Chocolate Chip Ice Cream recipe is a true winner for several reasons. Firstly, it offers a refreshing escape from the summer heat or a delightful indulgence year-round. Its simplicity is truly unmatched. You won’t need any special equipment like an ice cream machine, an ice bath, or even complicated techniques involving egg yolks or cooking. This recipe is a dream for beginners and seasoned home cooks alike, proving that delicious homemade ice cream doesn’t have to be a daunting task.
The combination of sweet vanilla ice cream, juicy, slightly tart cherries, and the rich, bittersweet chocolate creates a harmonious flavor profile that is simply irresistible. Each spoonful delivers a delightful contrast in textures and tastes, making it a perfect dessert for any occasion.
The Magic of No-Churn Ice Cream
No-churn ice cream relies on a clever trick to achieve its smooth, creamy texture without the need for churning. The secret lies in the combination of whipped heavy cream and sweetened condensed milk. When heavy cream is whipped to soft peaks, air is incorporated, which creates a light and airy base. Sweetened condensed milk, on the other hand, is rich, thick, and contains a high sugar content. This high sugar content acts as a natural antifreeze, preventing the formation of large ice crystals that can make homemade ice cream gritty. The result is a surprisingly smooth, scoopable, and delightful frozen treat that rivals traditional churned ice cream.
Essential Ingredients for Perfection
The beauty of this recipe lies in its minimal ingredient list, making it accessible and quick to prepare. Each ingredient plays a crucial role in creating the perfect no-churn ice cream.
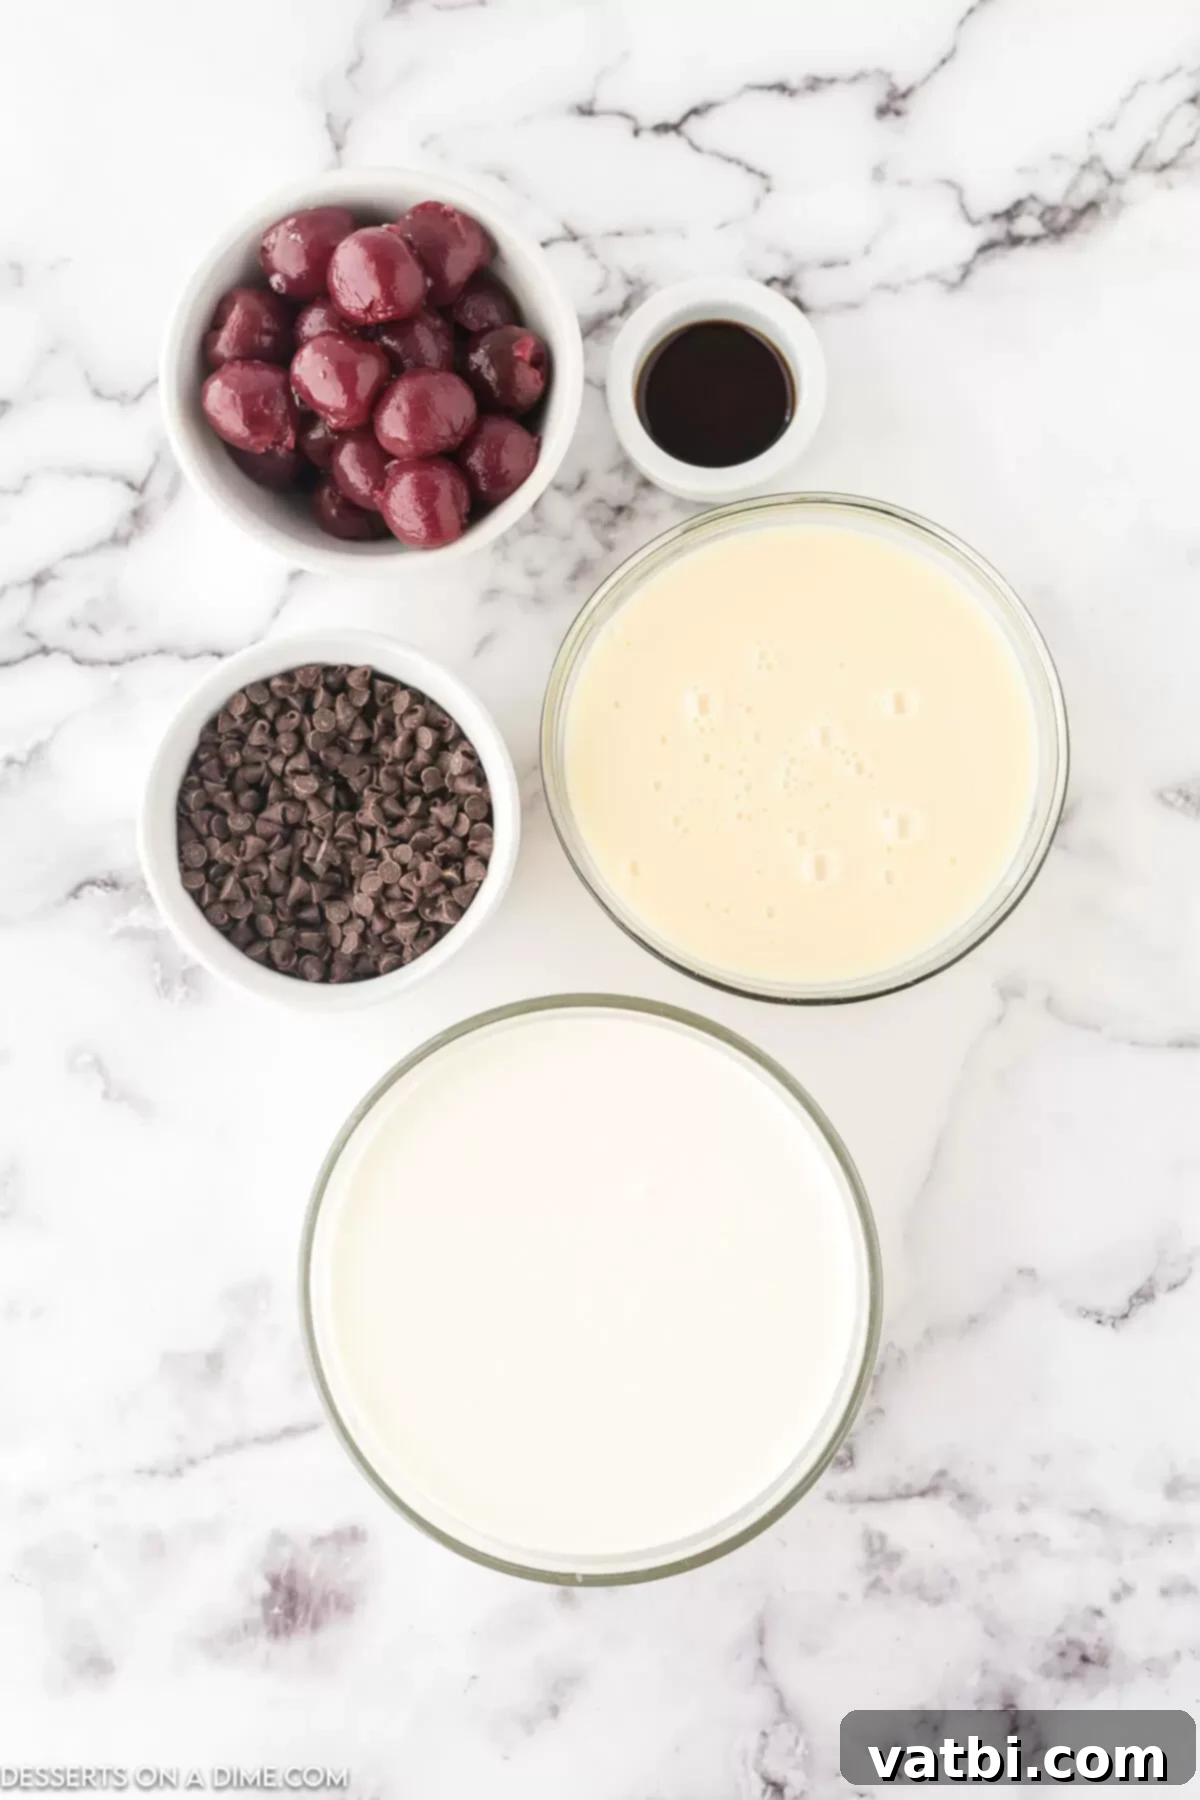
- Heavy whipping cream: This is the foundation of our creamy ice cream. Ensure it’s very well chilled before you start. Cold cream whips up faster and holds its peaks better, which is vital for achieving that light, airy texture.
- Dark red cherries: For this recipe, we use canned dark red cherries. Make sure to drain them thoroughly before adding them to the mixture. The rich, sweet-tart flavor of these cherries is a perfect complement to the chocolate. If you prefer, fresh cherries can also be used with a slight adjustment, as detailed in our substitutions section.
- Sweetened condensed milk: This magical ingredient provides both the sweetness and the incredibly smooth, rich texture without the need for an ice cream maker. It’s what prevents large ice crystals from forming, ensuring a silky finish.
- Vanilla extract: A good quality vanilla extract enhances all the other flavors, adding a warm, aromatic depth that rounds out the sweetness of the condensed milk and the fruitiness of the cherries.
- Mini chocolate chips: The miniature size is key here! They are easier to fold evenly into the ice cream base and distribute beautifully throughout each scoop. Unlike larger chips, mini chips tend to stay slightly softer when frozen, ensuring a pleasant bite every time.
You can find the entire list of ingredients with precise measurements in the recipe card located at the bottom of this article.
Substitutions and Flavorful Additions
While the classic cherry chocolate chip combination is divine, feel free to get creative with your no-churn ice cream! Here are some ideas to customize your batch:
- Flavoring variations: While vanilla extract is a classic choice that beautifully complements the fruity sweetness of the cherries, you can experiment with other extracts. For an intensified cherry flavor, substitute the vanilla extract with **1 teaspoon of almond extract**. Almond and cherry flavors are a classic pairing and will give your ice cream a distinct, sophisticated taste. A dash of cherry liqueur (like kirsch) could also add a boozy kick.
- Fresh Cherries: If you have access to fresh, ripe sweet cherries, they make an excellent substitute. You’ll need about 2 cups of fresh cherries, pitted and halved (or roughly chopped). To enhance their flavor and prevent them from freezing too hard, you can gently macerate them with a teaspoon of lemon juice and a tablespoon of sugar for about 15-30 minutes before adding them to the mix. Just ensure they are well-drained before folding them in to avoid excess moisture.
- Chocolate Choices: Don’t limit yourself to mini semi-sweet chocolate chips! You can use dark chocolate chips for a more intense, less sweet flavor, or milk chocolate for a milder, creamier profile. White chocolate chips would also be a lovely addition for a different color and taste contrast. You could even chop up your favorite chocolate bar!
- Additional Mix-ins: Consider adding toasted pecans or walnuts for a nutty crunch, shredded coconut for a tropical twist, or a swirl of cherry pie filling or homemade cherry compote for an extra burst of fruitiness. A drizzle of chocolate fudge or caramel sauce before freezing would also be heavenly.
Step-by-Step Guide to Creamy Ice Cream
Making this no-churn ice cream is remarkably simple, even for novice bakers. Follow these steps for a perfectly creamy, irresistible dessert:
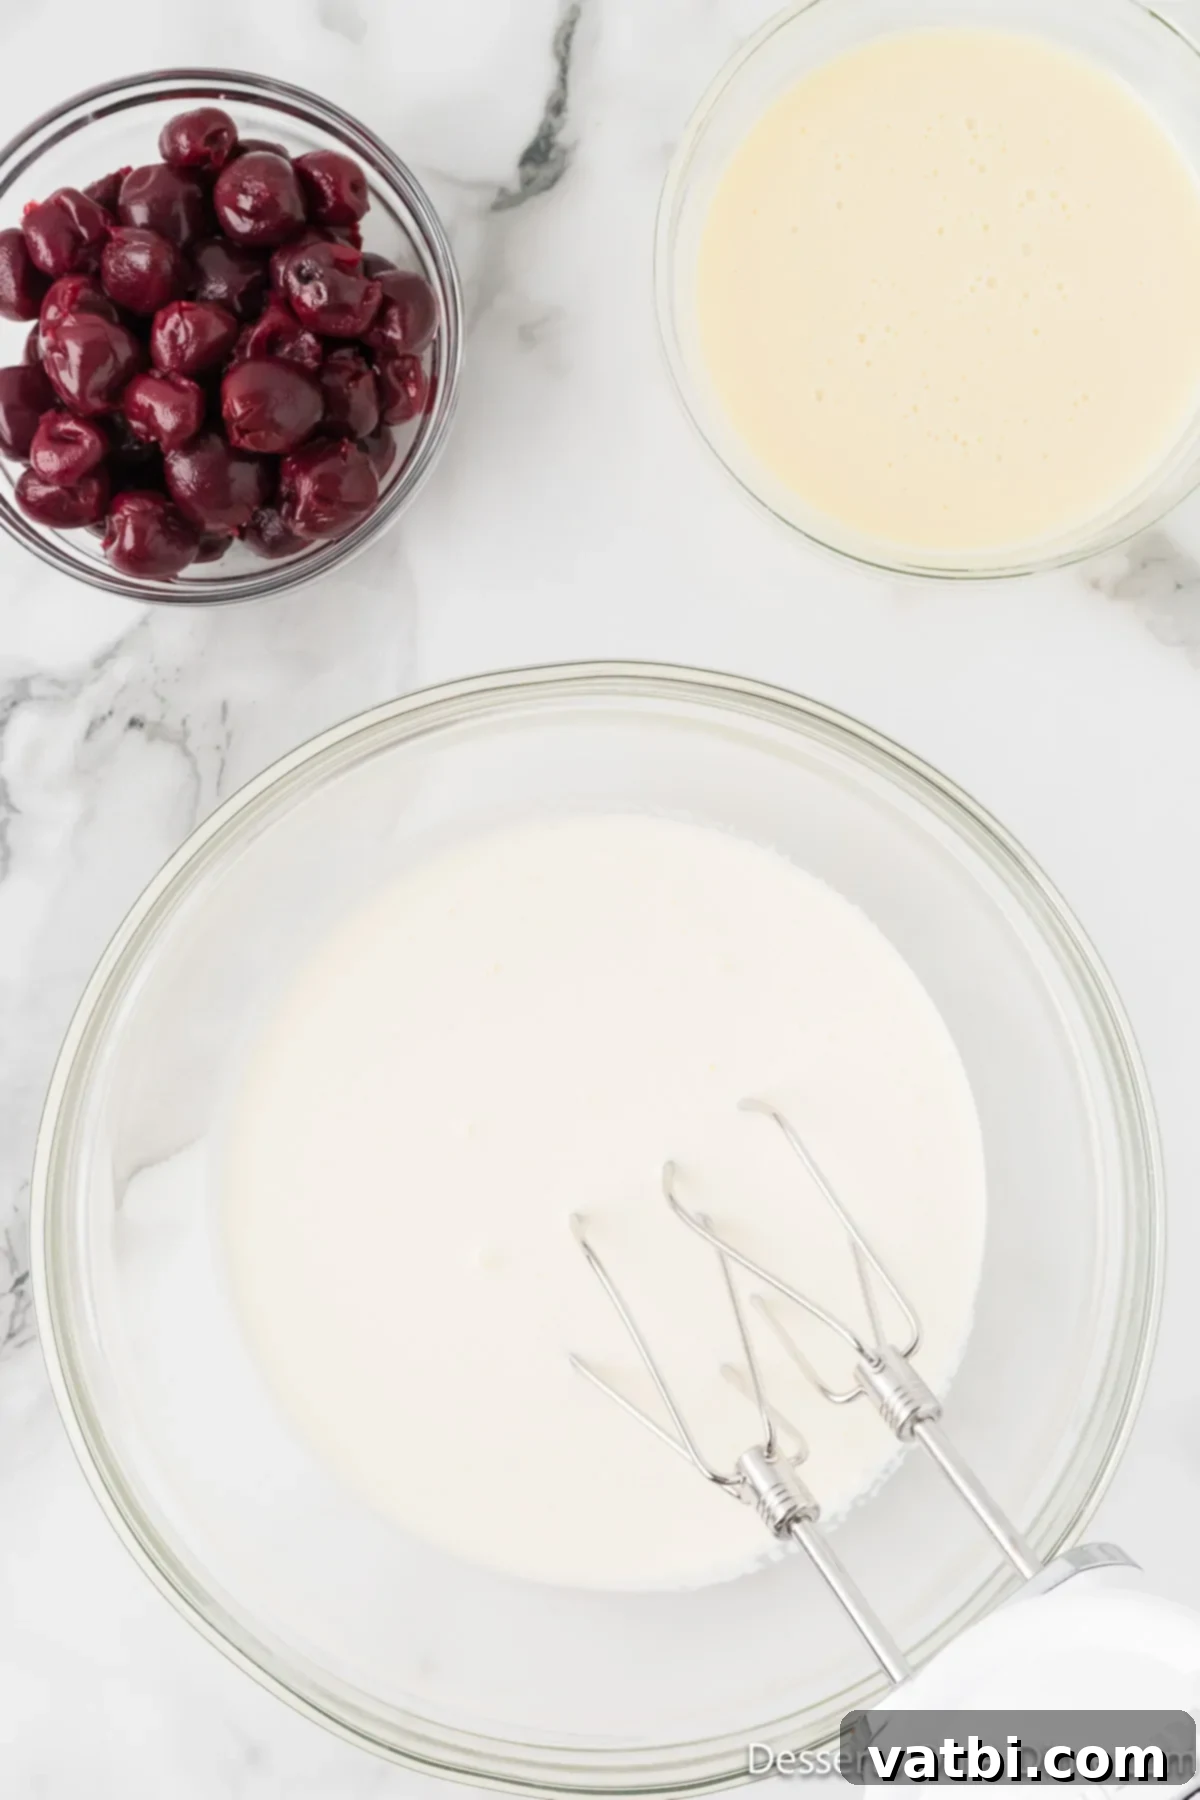
Step 1: Whip the Heavy Cream. In a large, chilled mixing bowl, use an electric hand mixer to whip the heavy cream. Begin on a low speed to prevent splattering, then gradually increase the speed as the cream starts to thicken. Continue whipping until the cream forms soft peaks. This means when you lift the beaters, the cream forms a peak that gently folds over on itself.
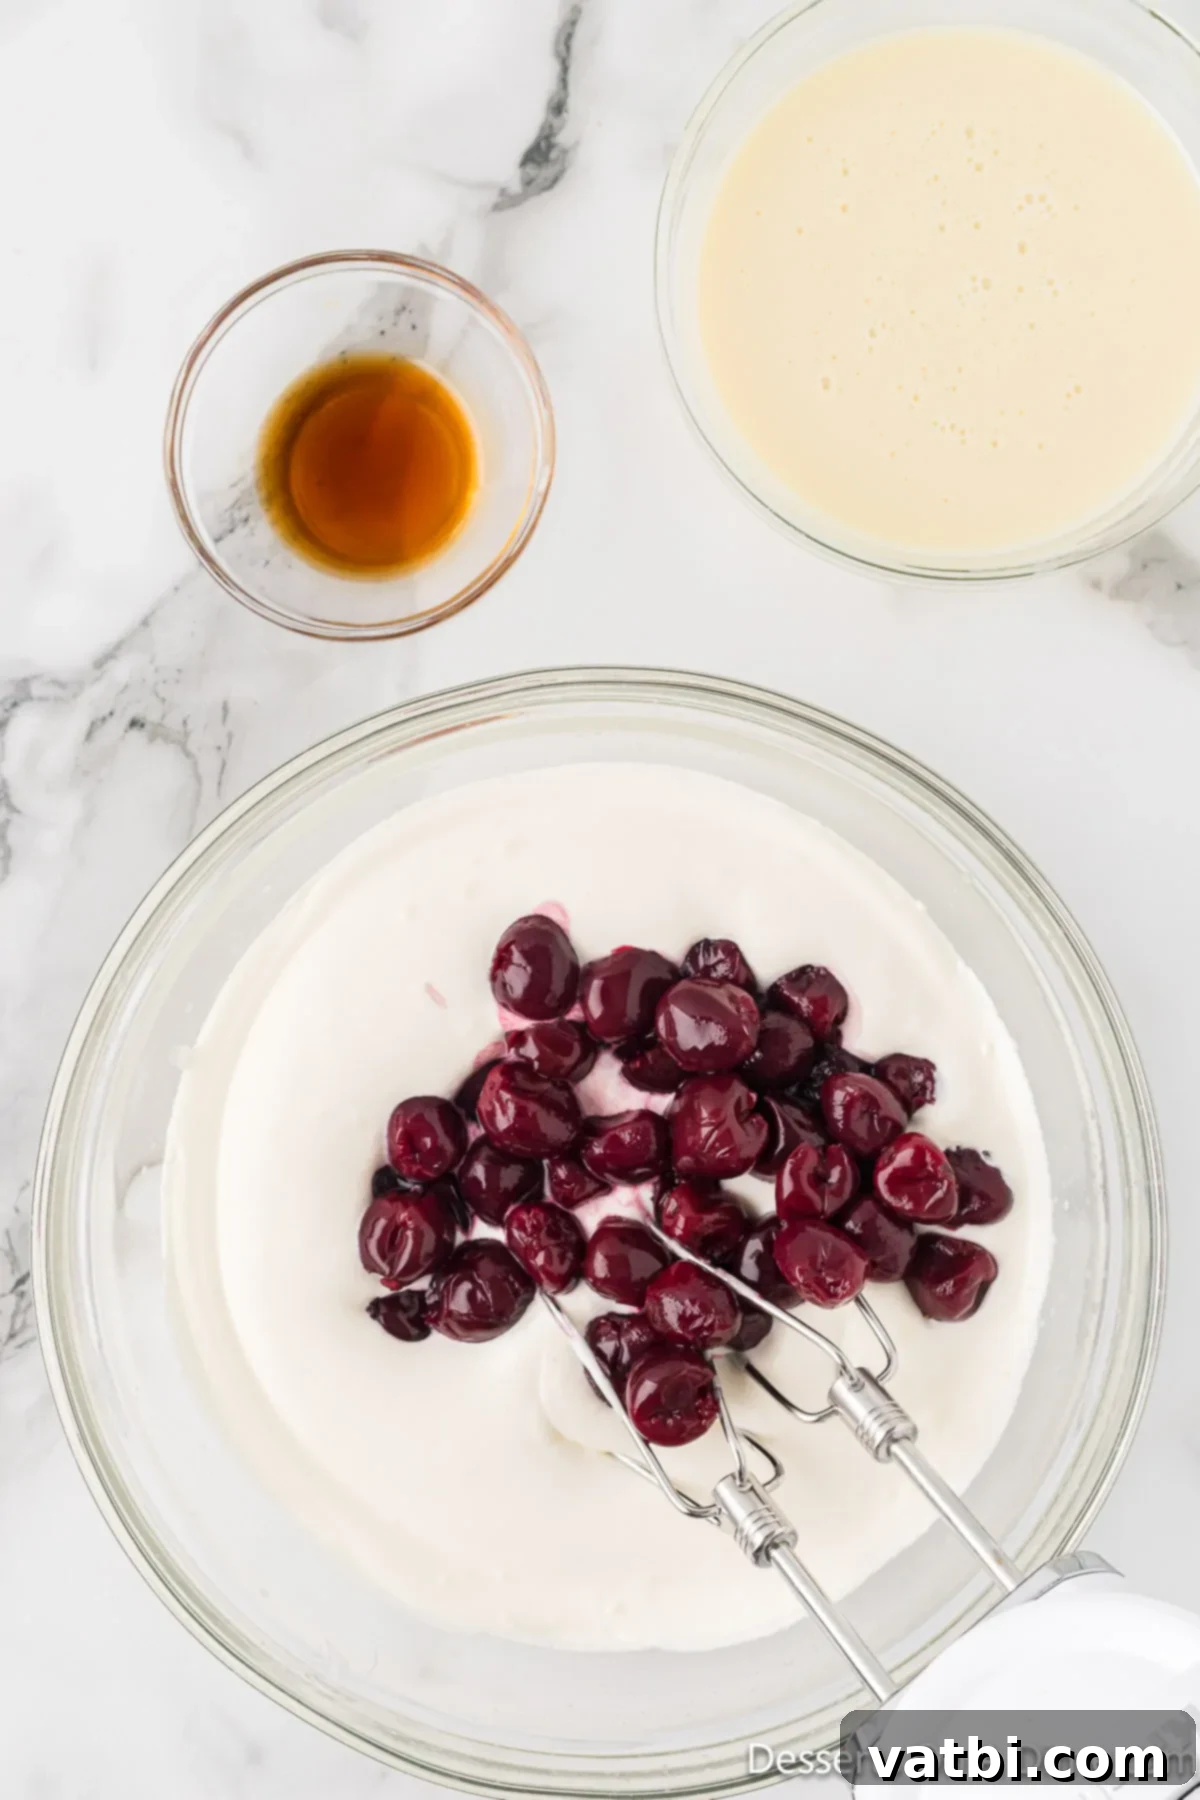
Step 2: Combine Wet Ingredients. Once your heavy cream has reached perfect soft peaks, carefully add the drained, prepared cherries, the sweetened condensed milk, and the vanilla extract (or almond extract, if using). Gently stir these ingredients together with a spatula until they are just combined. You want the cherries to be nicely distributed and their juice to start mingling with the creamy base.
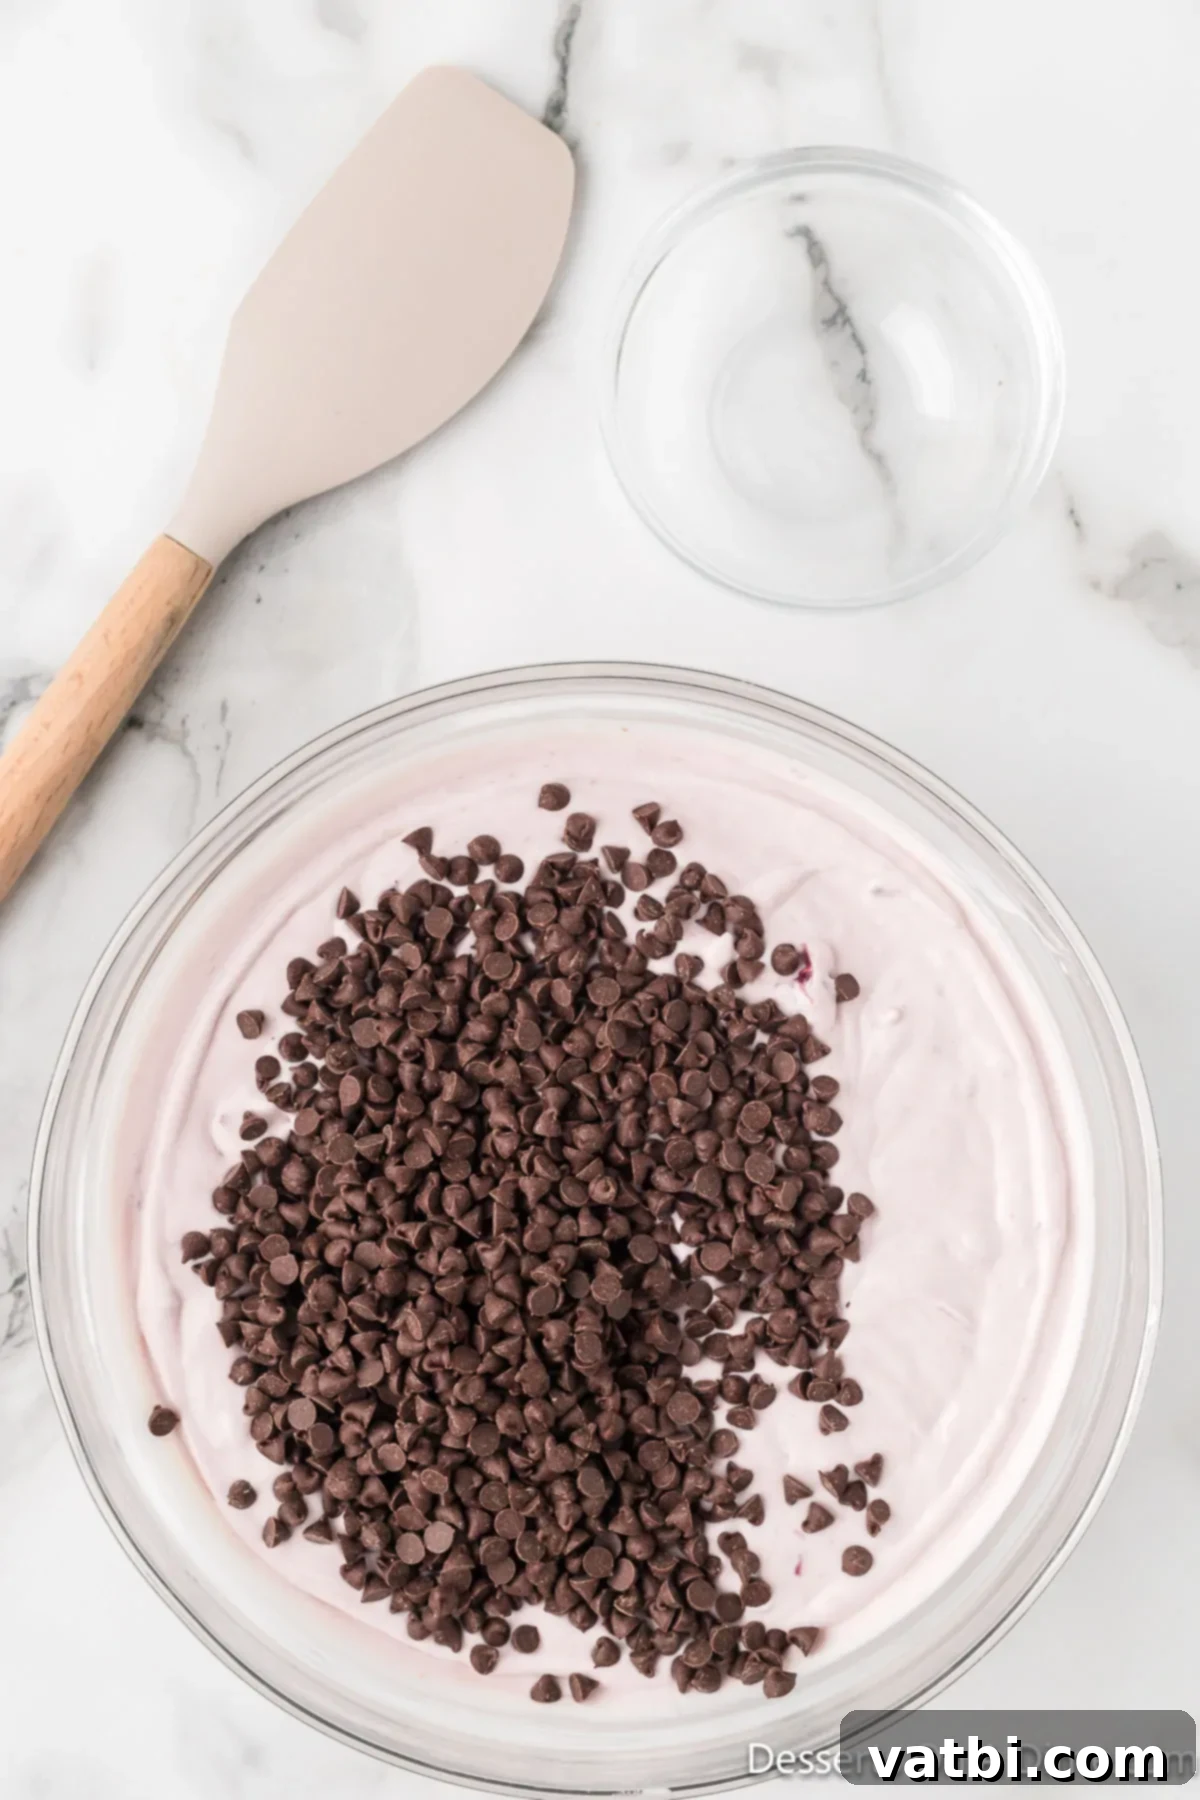
Step 3: Add Chocolate Chips. Now, it’s time for the chocolate! Add the mini chocolate chips to your creamy cherry mixture. The smaller size helps them stay suspended and prevents them from sinking to the bottom.
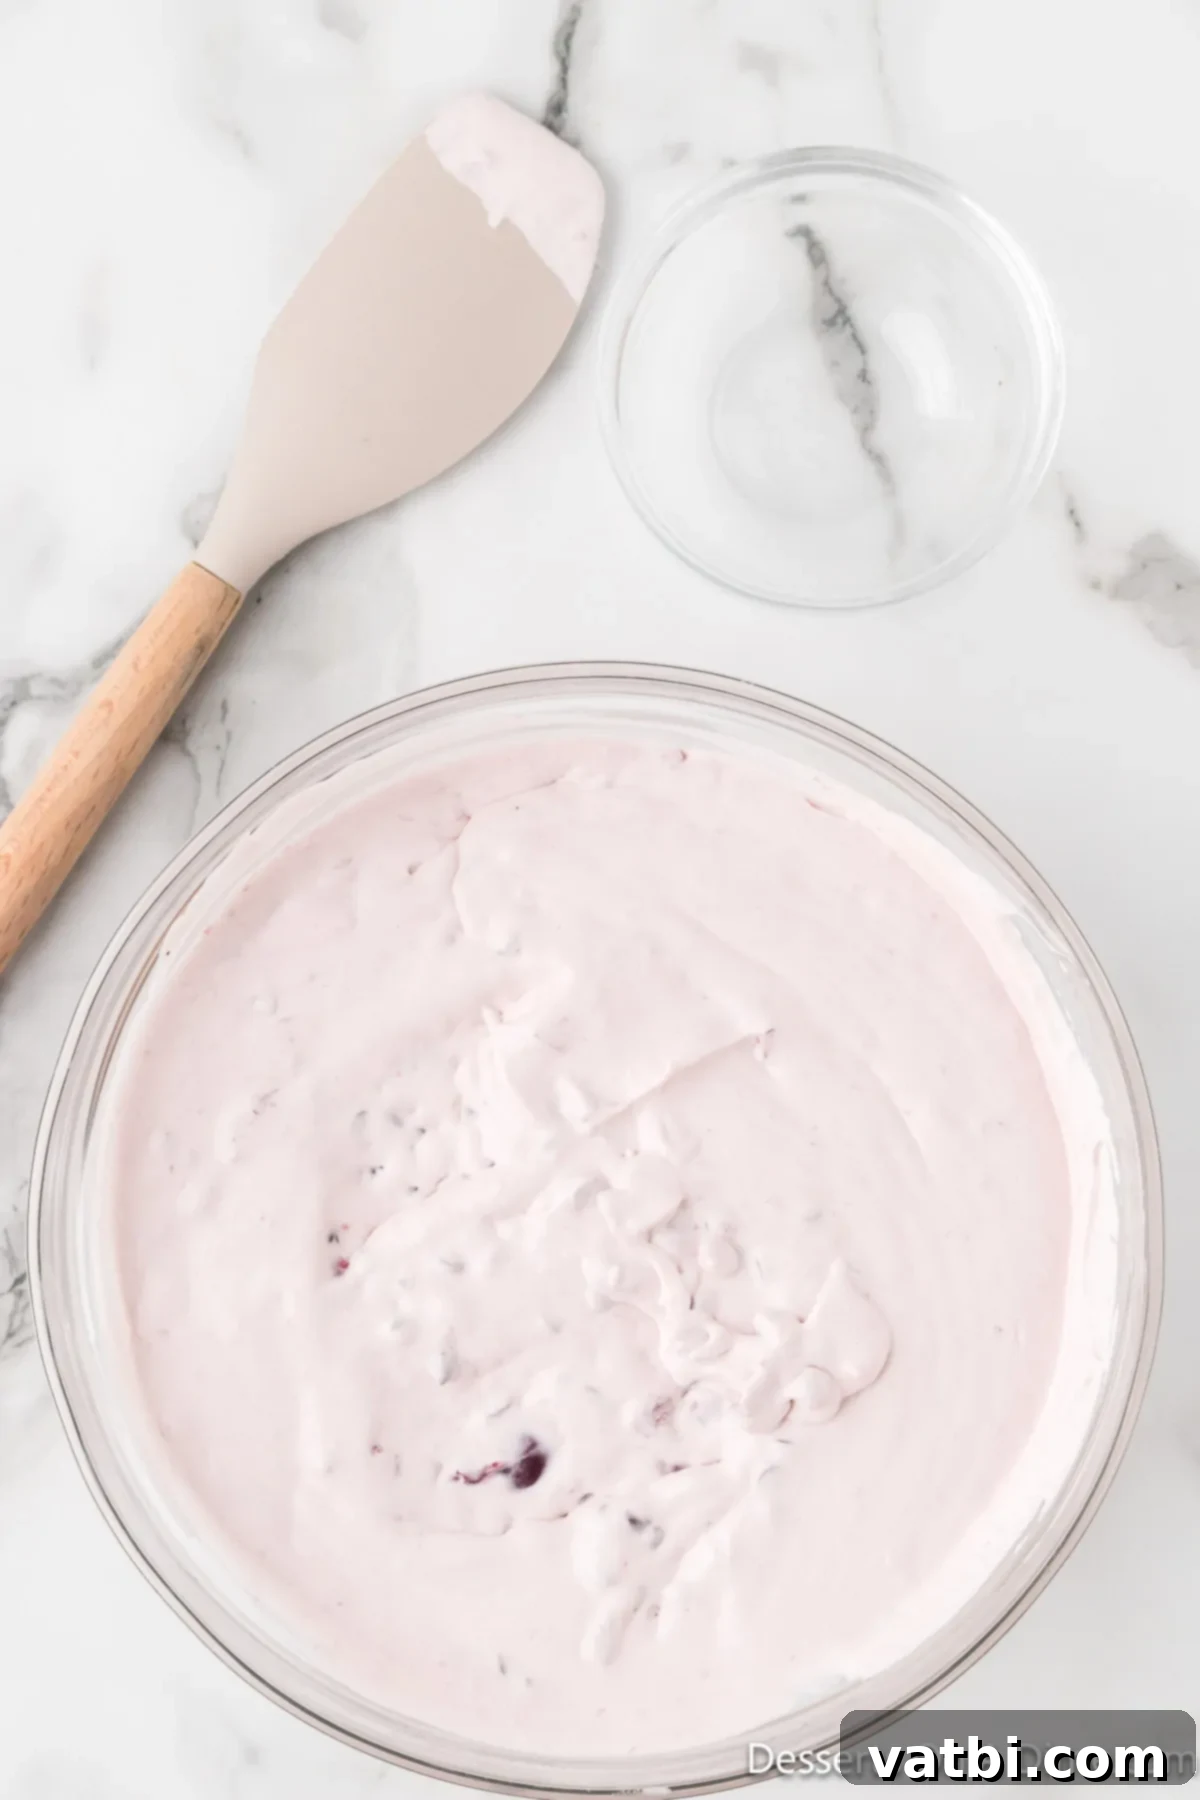
Step 4: Gently Fold. Using a spatula, gently fold the chocolate chips into the ice cream mixture. The key here is to fold, not to mix vigorously, to avoid deflating the whipped cream. You want to maintain as much of that lovely airy volume as possible.
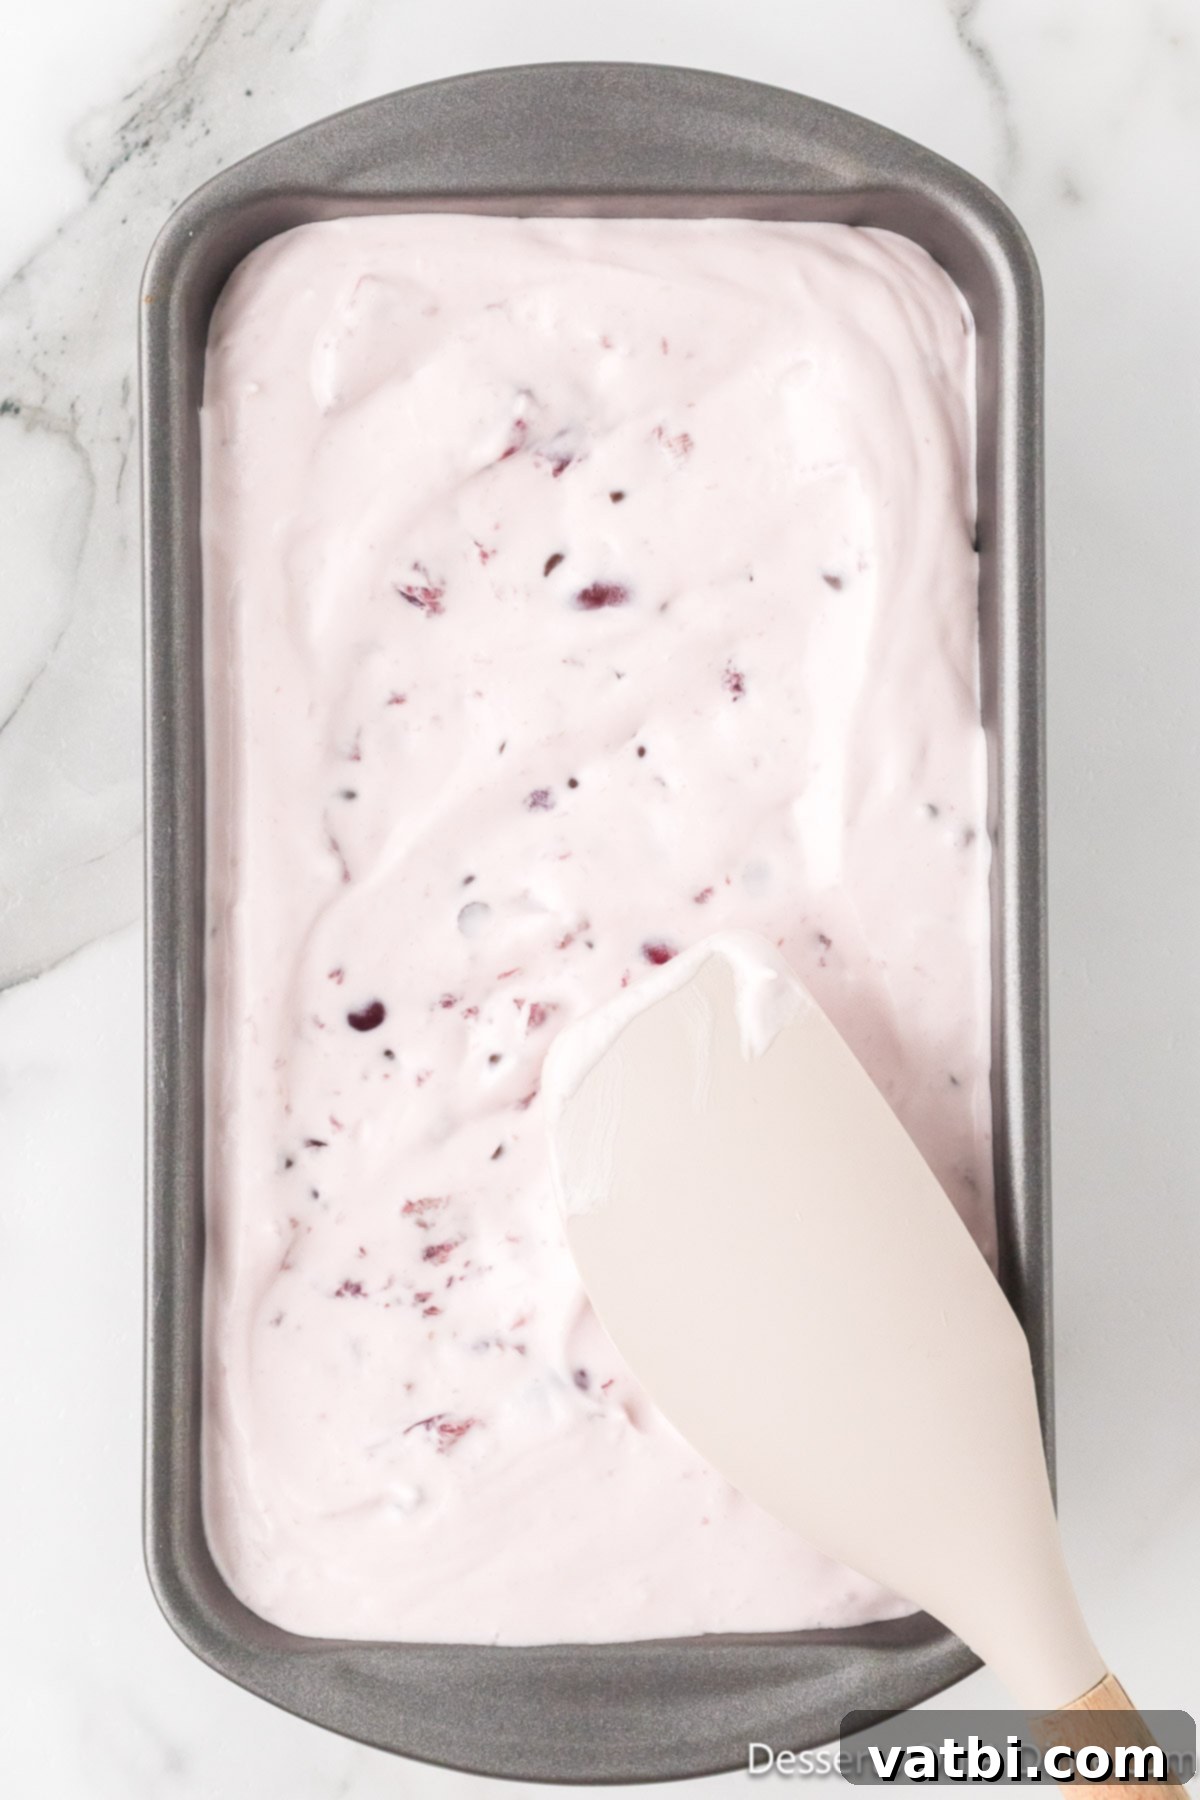
Step 5: Prepare for Freezing. Pour the combined ice cream mixture into a large, freezer-safe plastic container or a standard 9×5 inch loaf pan. You can gently tap the container on the counter a few times to help settle the mixture and remove any large air bubbles.
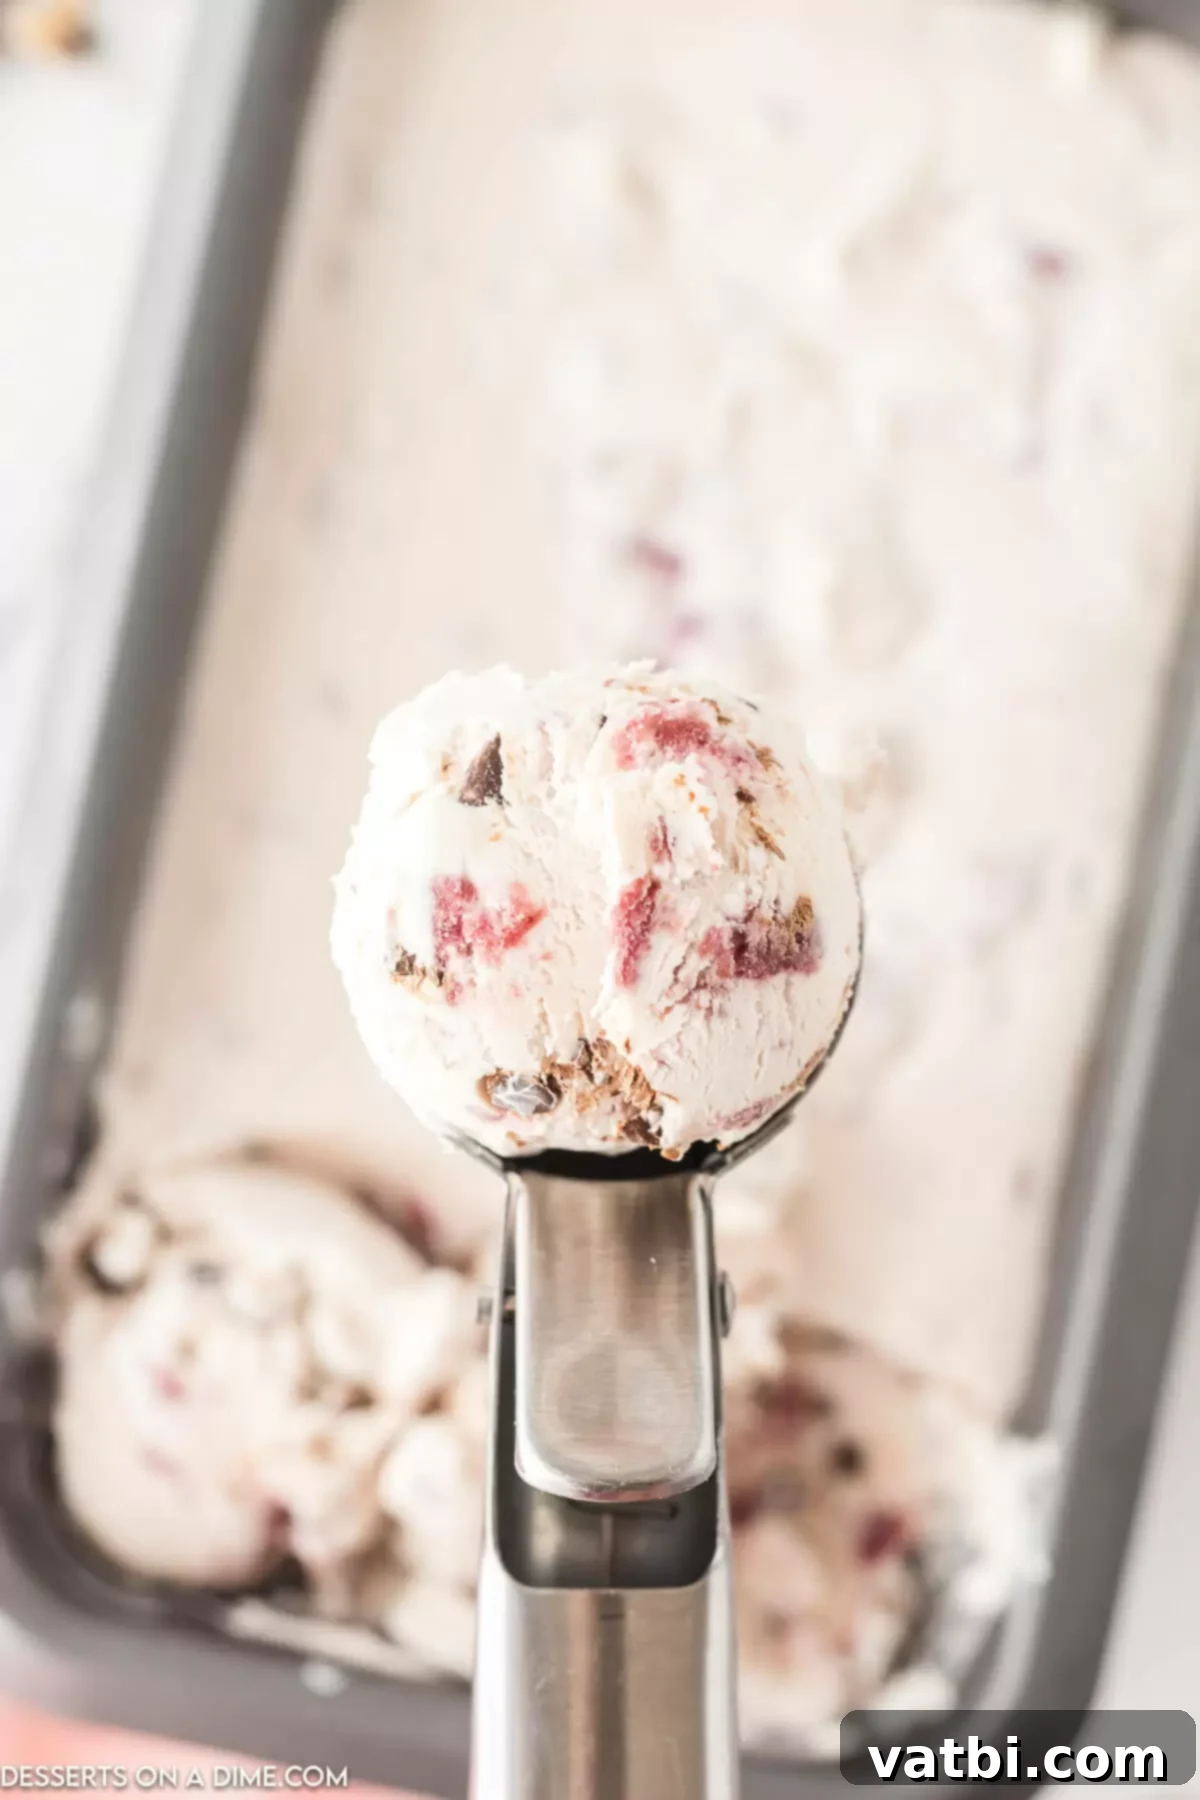
Step 6: Freeze and Enjoy! Cover the container tightly with plastic wrap, ensuring the wrap touches the surface of the ice cream to prevent ice crystals from forming. Place it in the freezer for at least 24 hours, or until completely firm. Once set, grab a spoon and dig in! If you prefer a soft-serve style texture, simply allow the ice cream to sit at room temperature for about 10-15 minutes before scooping.
Storage and Freshness Tips
Proper storage is essential to maintain the creamy texture and delicious flavor of your homemade ice cream. Once frozen, you can store this ice cream in the freezer for up to one month. To prevent the formation of pesky ice crystals and protect against freezer burn, always ensure the container is airtight. For an extra layer of protection, I highly recommend placing a layer of parchment paper or plastic wrap directly on top of the ice cream’s surface before sealing the container. This creates a barrier against air, which is the primary cause of freezer damage.
How Long Does Homemade Ice Cream Last?
When stored correctly in an airtight container and properly covered (ideally with plastic wrap touching the surface of the ice cream), your homemade no-churn ice cream will maintain its optimal flavor and texture for up to one month in the freezer. While it might still be safe to eat after this period, the quality and creaminess might start to decline due to ice crystal formation. For the best experience, aim to enjoy it within a few weeks of making it.
Pro Tips for the Best No-Churn Ice Cream
Achieving perfectly creamy, delicious no-churn ice cream every time is easy with a few simple tricks:
- Combining the Cherries: For maximum flavor infusion and even distribution, I like to add the cherries with the condensed milk and vanilla extract, rather than waiting to add them with the chocolate chips. Stirring them in at this stage helps them to break up slightly and release their wonderful cherry juice throughout the entire ice cream mixture. This ensures a rich cherry flavor in every bite.
- Mini Chocolate Chips are Superior: Opting for mini chocolate chips isn’t just a suggestion; it’s a game-changer! Unlike normal-sized chocolate chips, which can freeze rock-hard and be unpleasant to bite into, mini chocolate chips remain slightly softer in the cold. This provides all the rich chocolate flavor you desire without compromising the smooth, creamy texture of your ice cream.
- Timing of Additions is Key: It’s crucial that your heavy cream has reached distinct soft peaks before you introduce any other ingredients like cherries, condensed milk, or chocolate chips. If the cream isn’t properly whipped, your mix-ins can sink to the bottom of the container before the ice cream has a chance to fully set in the freezer. Proper whipping ensures everything remains beautifully suspended throughout.
- Quality Chocolate Makes a Difference: When it comes to chocolate, always use the best quality you can afford. The flavor of the chocolate significantly impacts the overall taste of your ice cream. High-quality chocolate (like Ghirardelli, a personal favorite) melts smoothly and offers a richer, more nuanced flavor compared to lower-quality alternatives.
- Chill Your Tools: For even faster and more efficient whipping, consider chilling your mixing bowl and electric mixer beaters in the freezer for 10-15 minutes before you start. This helps the heavy cream stay colder and whip up to stiff peaks more quickly.
- Room Temperature Condensed Milk: While heavy cream needs to be cold, having your sweetened condensed milk at room temperature can help it incorporate more smoothly into the whipped cream, preventing any lumps or uneven texture.
- Patience is a Virtue: The 24-hour freezing time might seem long, but it’s essential for the ice cream to fully set and for the flavors to meld beautifully. Resist the urge to check it too often!
Serving Suggestions and Variations
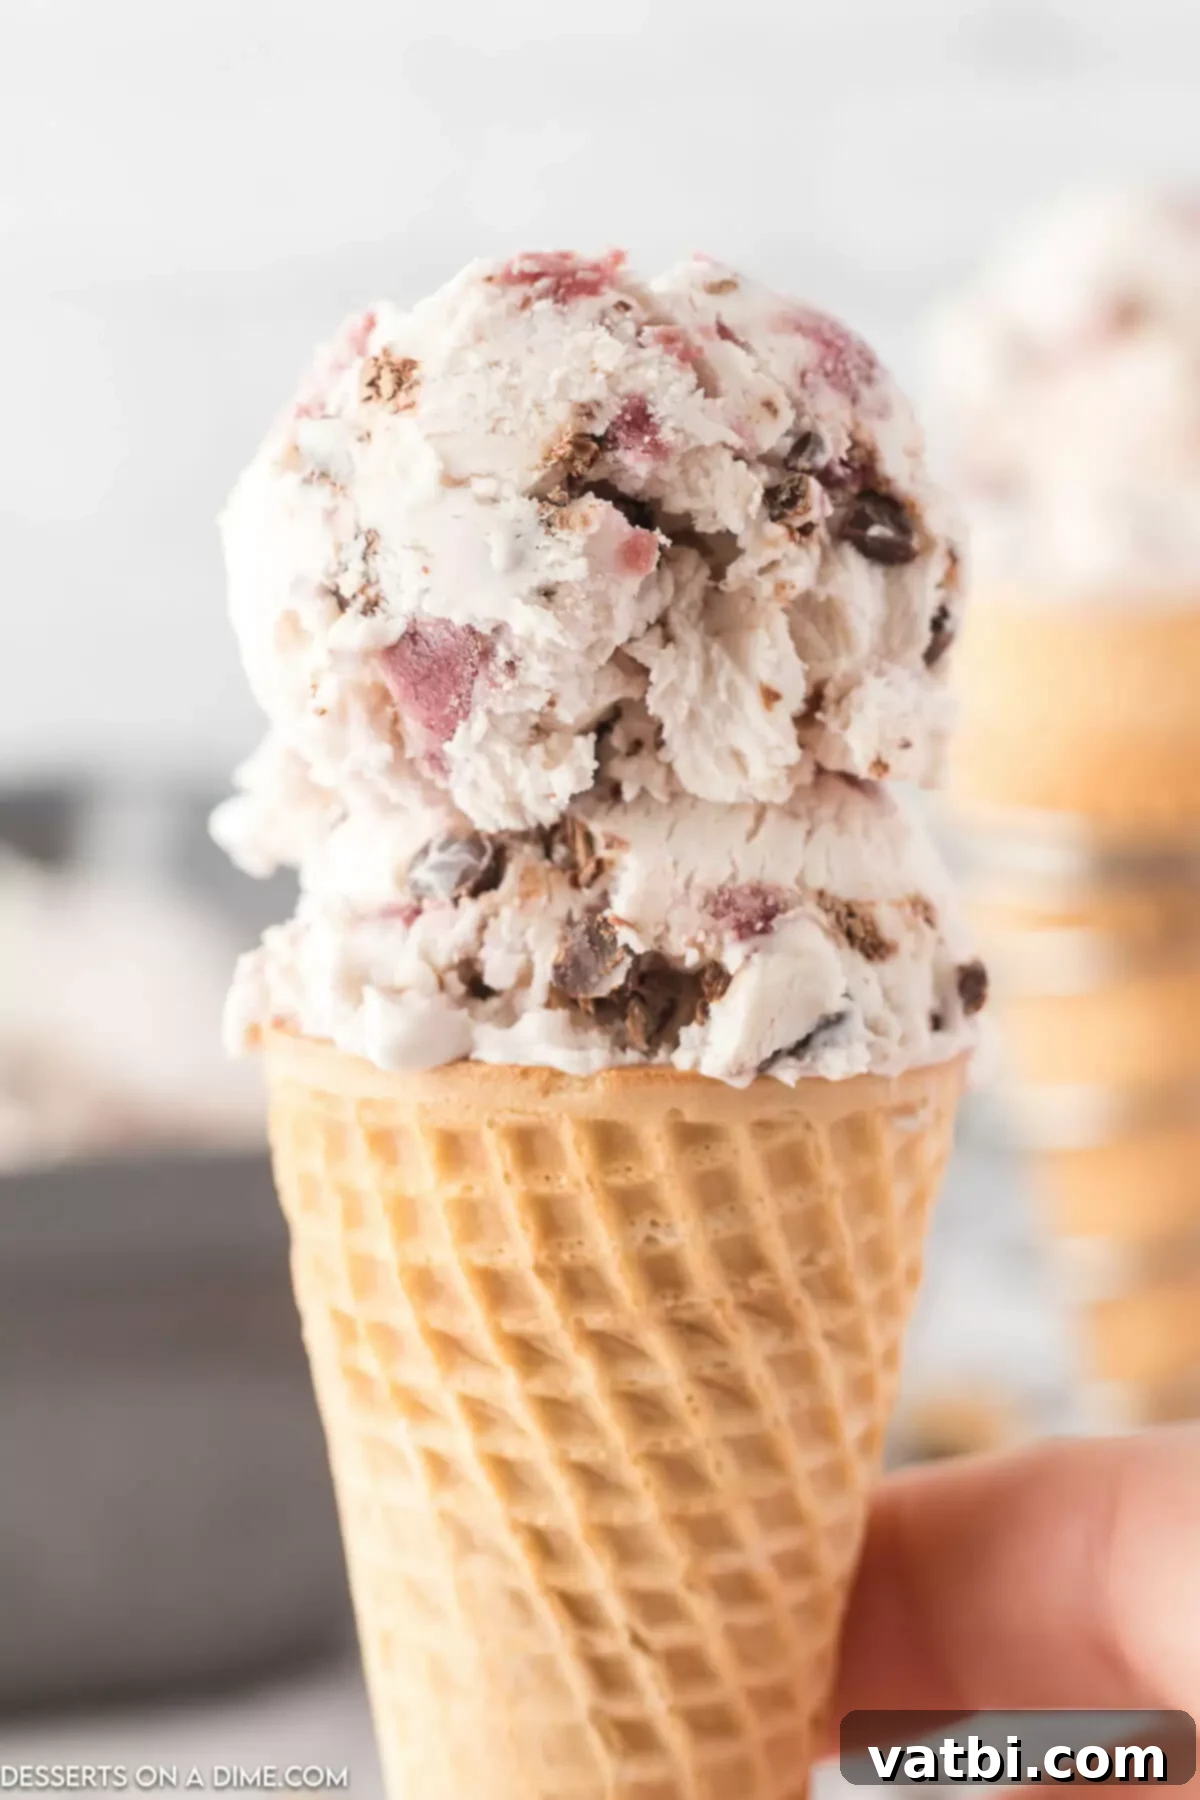
Once your no-churn cherry chocolate chip ice cream is perfectly set, the serving possibilities are endless! Scoop it into classic waffle cones or elegant dessert bowls. Top it with extra fresh cherries, a drizzle of chocolate fudge sauce, a dollop of whipped cream, or a sprinkle of chopped nuts. For a delightful sundae, pair it with a warm brownie or a slice of chocolate cake. This ice cream is also fantastic served alongside a fruit crumble or pie for an added layer of indulgence.
More Cherry Desserts to Love
If you’re a fan of cherries, you’re in luck! There are so many delightful ways to enjoy this vibrant fruit. Here are some of our other favorite cherry-filled desserts:
- Chocolate Cherry Cake Recipe
- **No-Bake Cherry Cheesecake Recipe**
- Cherry Fluff Recipe
- **Easy Cherry Cobbler**
Explore More No-Churn Ice Cream Recipes
The world of no-churn ice cream is vast and exciting! Once you master this cherry chocolate chip version, you’ll want to try all the different flavors. Here are a few more easy no-churn ice cream recipes to inspire your next homemade frozen treat:
- **Cherry Garcia Ice Cream**
- **No-Churn Strawberry Ice Cream**
- Dulce de Leche Ice Cream
- Puppy Chow Ice Cream
- **Salted Caramel Ice Cream Recipe**
Don’t wait any longer to try this simple yet spectacular **Cherry Chocolate Chip Ice Cream** recipe! It’s perfect for a quick dessert, a delightful snack, or a crowd-pleasing treat at any gathering. We’re confident it will become a new family favorite. Once you’ve whipped up your own batch, please come back and leave a comment and star rating – we’d love to hear how much you enjoyed it!
Pin
Cherry Chocolate Chip Ice Cream
Ingredients
- 1 ¾ cups heavy whipping cream
- 15 oz can dark red cherries drained
- 1 ½ cups sweetened condensed milk
- 2 tsp vanilla extract
- 1 cup mini chocolate chips
Instructions
-
Use an electric hand mixer to whip the chilled heavy cream in a large mixing bowl. Start on a low speed and gradually increase the speed as the cream thickens, continuing until it forms soft peaks.
-
Once the heavy cream forms soft peaks, gently fold in the drained cherries, sweetened condensed milk, and vanilla extract (or almond extract). Stir until just combined, ensuring the cherries are well distributed.
-
Add the mini chocolate chips to the mixture.
-
Gently fold them into the ice cream mixture with a spatula, being careful not to deflate the whipped cream. Pour the final mixture into a large plastic freezer container or a 9×5 inch loaf pan. Cover tightly with plastic wrap, pressing it directly onto the surface of the ice cream. Freeze for at least 24 hours until firm.
-
Scoop and enjoy your homemade no-churn cherry chocolate chip ice cream!
Recipe Notes
Store your homemade ice cream in an airtight container in the freezer, covered with plastic wrap pressed directly onto the surface, for up to one month to prevent ice crystals and freezer burn.
Mini chocolate chips are highly recommended. They freeze softer than regular chips, providing delicious chocolate flavor without a hard, frozen bite.
For a flavor twist, substitute vanilla extract with 1 teaspoon of almond extract to amplify the cherry notes.
Always ensure the heavy cream is whipped to soft peaks before adding any other ingredients. This crucial step prevents cherries and chocolate chips from sinking to the bottom before the ice cream sets.
Nutrition Facts
Pin This Now to Remember It Later
Pin Recipe
