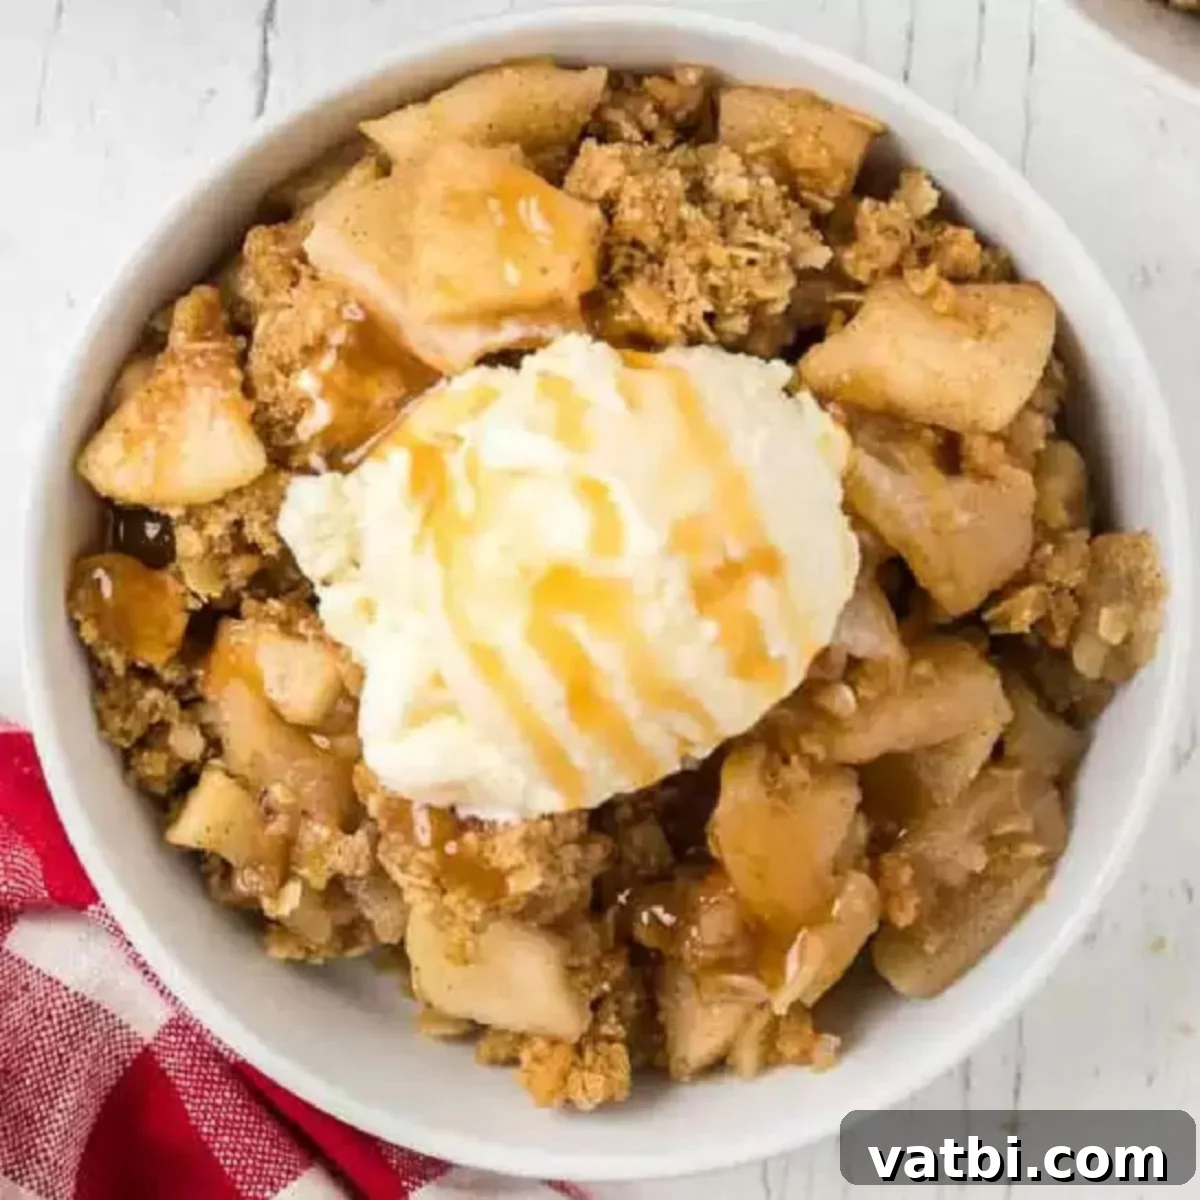
The Ultimate Homemade Apple Crisp Recipe: Your Go-To Comforting Fall Dessert
There’s nothing quite like the comforting aroma of a freshly baked **Apple Crisp Recipe** filling your home. This quintessential fall dessert is a true delight, featuring a tender, spiced apple filling crowned with a perfectly crunchy, buttery oat topping. It’s not just a dish; it’s an experience that evokes warmth, nostalgia, and the crisp flavors of autumn. Whether you’re gathering with family for Thanksgiving, hosting a casual dinner, or simply craving a sweet treat, this easy apple crisp promises to be a memorable addition to any occasion.
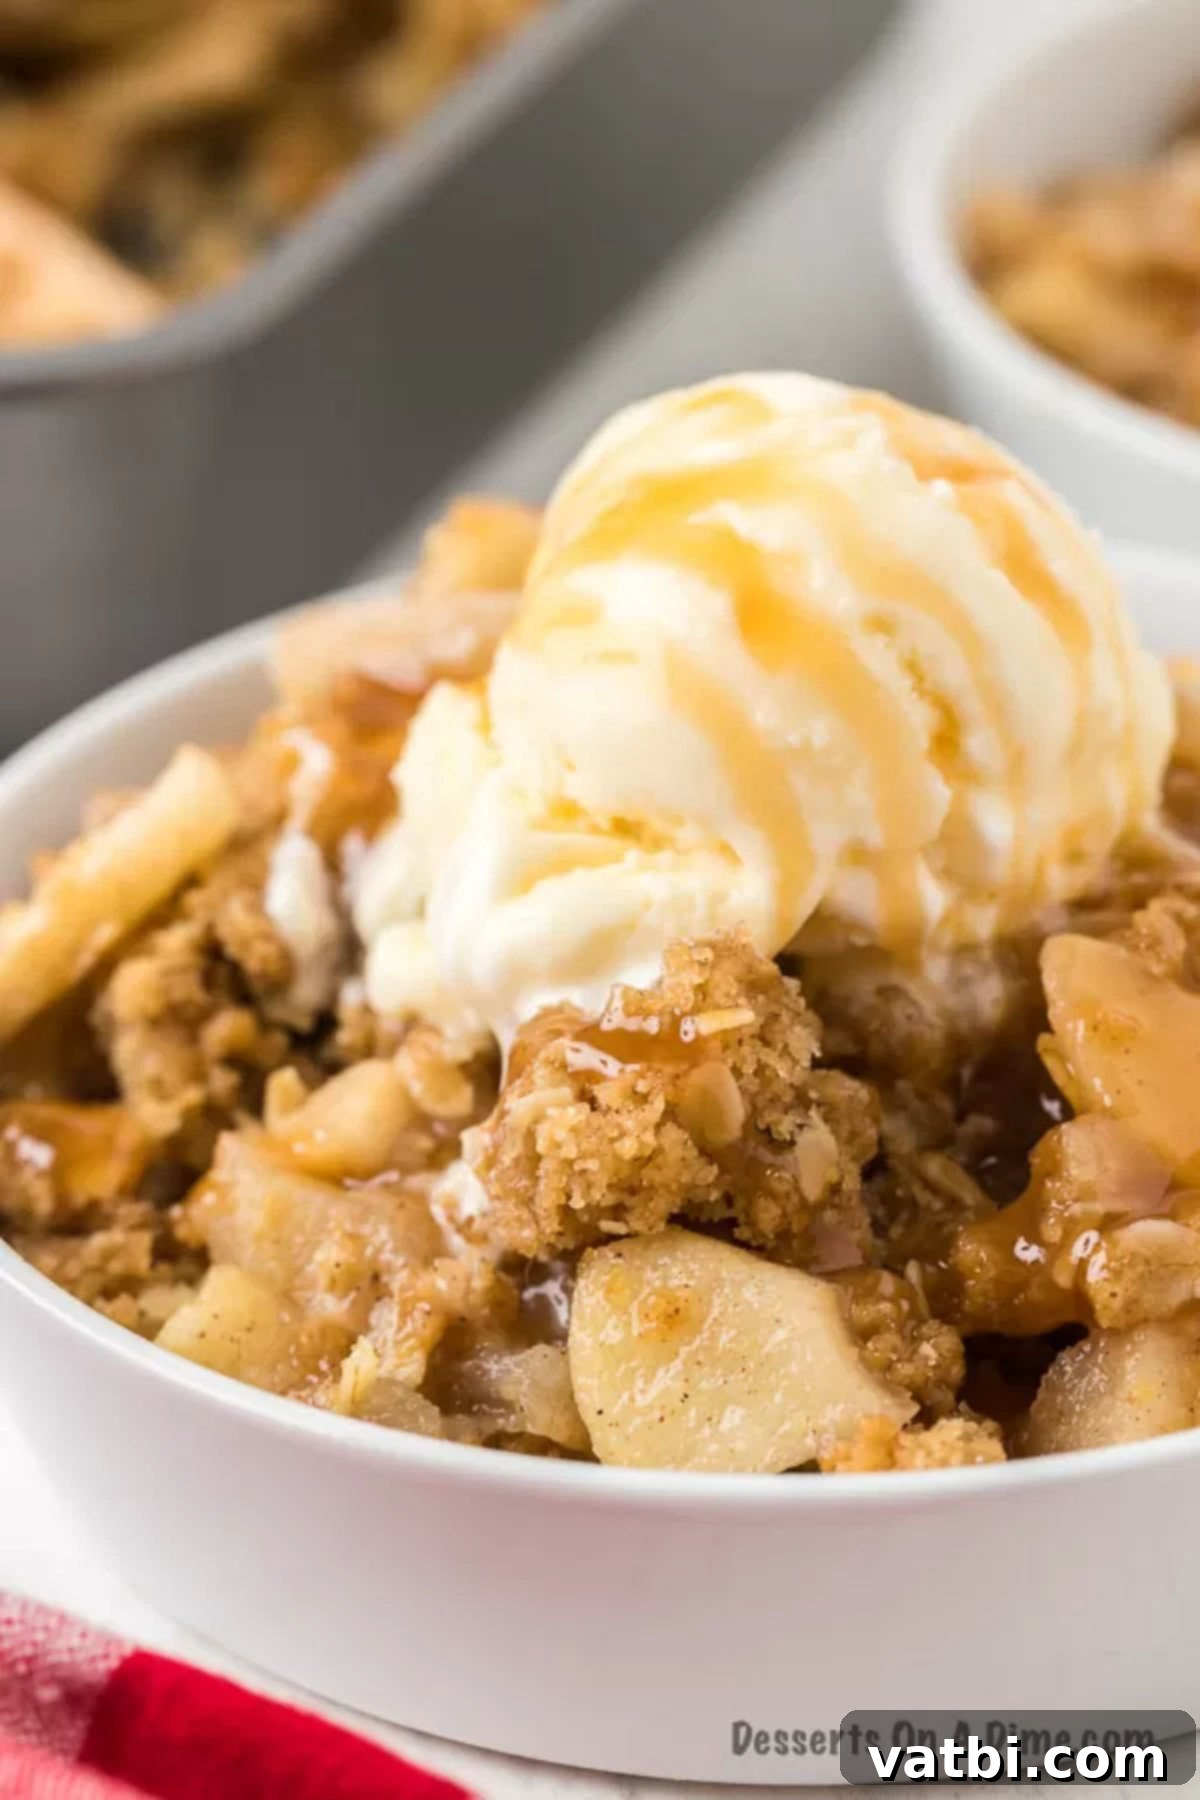
Our recipe elevates the classic apple crisp, ensuring a delicious balance of sweet and tart apples, infused with aromatic cinnamon and rich brown sugar, all simmering together to create the best possible flavor. It’s truly one of the most beloved ways to enjoy apples, especially during the fall season when they are at their peak abundance and most flavorful. Beyond this delicious crisp, apples lend themselves beautifully to many other desserts. For more delightful apple-centric treats, be sure to explore our Deep Fried Apples and Easy Fried Apple Pies Recipe, which are fantastic options for Thanksgiving Apple Desserts or any time you want to celebrate this versatile fruit.
You’ll quickly fall in love with this incredibly easy oven-baked dessert. It delivers an abundance of flavor with minimal effort, making it the perfect choice for a crowd-pleasing treat. If you enjoy this crisp, you might also want to try our cozy Pumpkin Crisp for another seasonal favorite.
Table of contents
- Why We Love This Recipe
- Key Ingredients for the Perfect Crisp
- Delicious Additions and Variations
- How to Make the Best Apple Crisp
- Expert Tips for Success
- Irresistible Topping Ideas
- Storage Solutions for Leftovers
- Can You Freeze This Apple Crisp?
- More Easy Apple Desserts to Try
Why We Love This Recipe
While the sweet and tangy apple filling is undoubtedly the star of the show, let’s not overlook the incredible oat topping. These two elements work in perfect harmony to create a dessert that is simply amazing from the first bite to the last!
The crispy, buttery oat topping is sweet, crumbly, and wonderfully textured. There’s nothing quite like scooping up a spoonful that combines both the warm, soft apple filling and the irresistible crunchy topping. This combination of textures and flavors makes it a standout among desserts. It’s easily one of the best and most satisfying 51 Easy Apple Desserts you can whip up, proving that simplicity can lead to profound deliciousness.
Beyond its delicious taste, this apple crisp is incredibly easy to prepare. With straightforward steps and readily available ingredients, even beginner bakers can achieve spectacular results. It’s also a fantastic make-ahead option, perfect for holiday gatherings or busy weeknights when you want a comforting dessert without the last-minute fuss. The aroma that fills your kitchen while it bakes is an added bonus, instantly making your home feel cozy and inviting. It’s a dessert that not only tastes good but also creates wonderful memories.
Key Ingredients for the Perfect Crisp
Crafting the perfect apple crisp starts with selecting the right ingredients. Here’s a closer look at what you’ll need and why each component is important:
- Golden Delicious Apples. These apples are renowned for their sweet flavor and tender texture when baked, holding their shape beautifully without becoming mushy. Ensure they are peeled and chopped to your desired size – typically about ½-inch thick slices or cubes work best. While Golden Delicious are a favorite, feel free to experiment with other varieties like Honeycrisp for a firmer bite, Granny Smith for a tart contrast, or a mix of both for a complex flavor profile.
- Ground Cinnamon. This warm spice is the perfect companion to apples, enhancing their natural sweetness and adding a cozy, aromatic depth to the filling. You can easily adjust the amount to your personal taste, adding a little extra if you love a pronounced cinnamon flavor.
- Lemon Juice. A splash of fresh lemon juice is essential. It prevents the apples from browning too quickly and, more importantly, brightens the overall flavor of the apple filling, balancing the sweetness and adding a subtle tang. Freshly squeezed lemon juice will always yield the best results.
- Brown Sugar. This provides a deep, molasses-like sweetness and helps create that luscious, caramelized apple filling. The moistness of brown sugar also contributes to the rich texture of the topping. For an extra touch of homemade goodness, try this Homemade Brown Sugar Recipe.
- Old Fashioned Oats. The key to a truly “crisp” topping! Make sure to use old-fashioned (rolled) oats, not quick-cooking or instant oats. Old-fashioned oats retain their texture, providing a delightful chewiness and crunch, while quick oats can become soggy.
- Flour. All-purpose flour is used in the topping to bind the ingredients together and help create that perfectly crumbly, golden-brown texture. For accurate measurement, I highly recommend spooning the flour into your measuring cup and then leveling it off, rather than scooping directly from the bag, which can compact the flour and lead to too much being used.
- Butter. Cold, diced butter is critical for achieving that signature crumbly topping. When cut into the dry ingredients, the cold butter creates pockets of steam as it bakes, resulting in a light and crispy texture. Avoid melted butter, as it will lead to a more cake-like or greasy topping.
The complete ingredient list with precise measurements can be found in the detailed recipe card at the bottom of the page.
Delicious Additions and Variations
While classic apple crisp is perfect on its own, a few simple additions can elevate its flavor and texture even further. Here are some ideas to customize your crisp:
- Nuts. Adding a handful of chopped nuts to your oat topping introduces a fantastic crunch and earthy flavor. Walnuts and pecans are classic choices that pair wonderfully with apples and cinnamon. For best results, lightly toast the nuts before adding them to enhance their flavor even more.
- Extra Spices. Beyond cinnamon, consider adding a pinch of ground nutmeg, allspice, or even a touch of cardamom to the apple filling for a more complex and aromatic spice blend. These spices complement the apples beautifully and deepen the fall flavors.
- Dried Fruit. For an added burst of sweetness and chewiness, mix in some dried cranberries, golden raisins, or chopped dried apricots with the apples. They plump up during baking, adding another layer of texture and flavor.
- Citrus Zest. A bit of orange or lemon zest grated into the apple filling can brighten the flavors significantly, adding a fragrant, zesty note that complements the spices.
- Caramel Swirl. For an indulgent twist, drizzle a bit of homemade or store-bought caramel sauce over the apple filling before adding the topping. The caramel will melt into the apples, creating a rich, gooey layer.
How to Make the Best Apple Crisp
Making this apple crisp is surprisingly simple, and following these steps will ensure a perfect dessert every time. Let’s walk through the process:
- Step 1. First, begin by preheating your oven to 350 degrees Fahrenheit (175 degrees Celsius). This ensures the oven is at the correct temperature for even baking from the moment your crisp goes in. While the oven preheats, lightly spray an 8×8 inch baking pan with non-stick cooking spray. This prevents sticking and makes for easy serving.
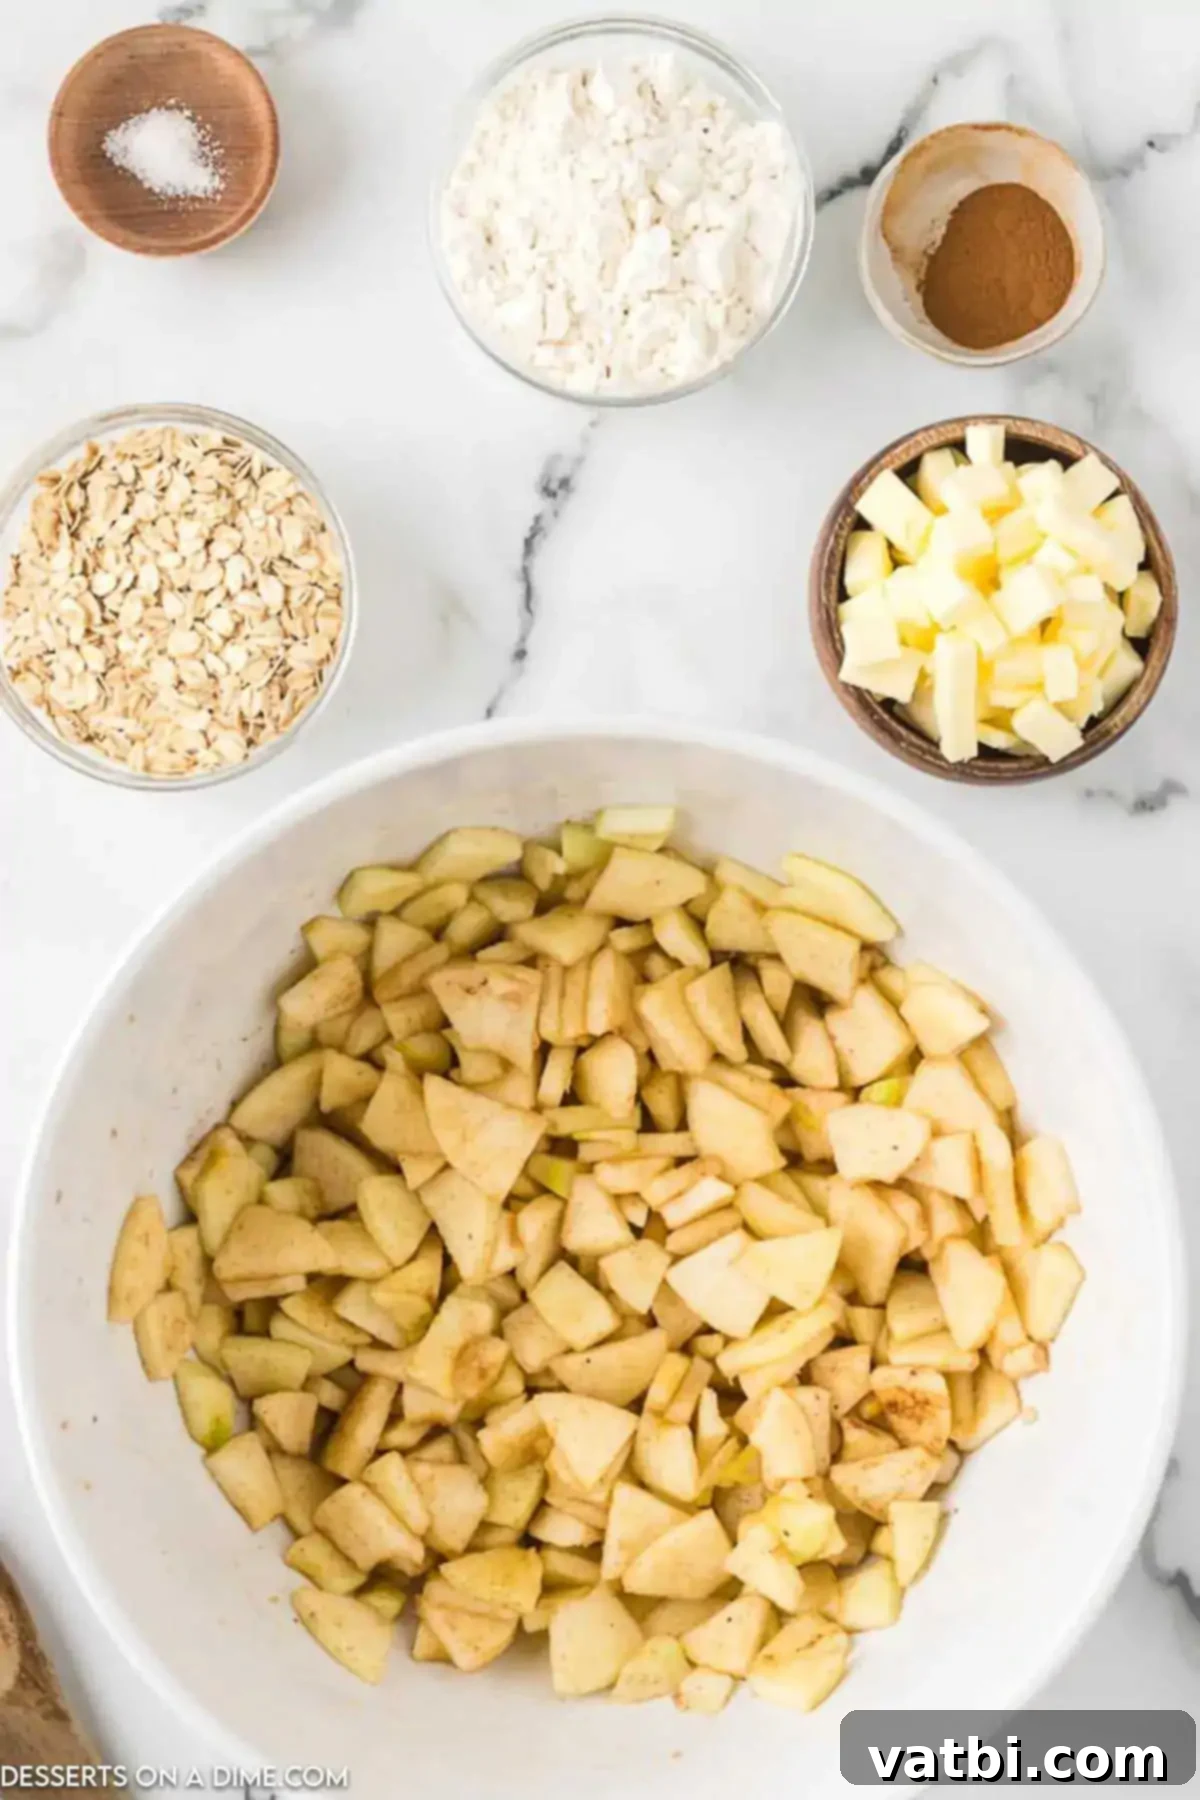
Step 2. Next, you will need a large mixing bowl to prepare the apple filling. In the bowl, combine your peeled and chopped apples, granulated sugar, fresh lemon juice, and half of the ground cinnamon. Make sure to mix everything thoroughly. This ensures that every apple slice is beautifully coated with the flavorful mixture, which will create a juicy, perfectly spiced filling as it bakes.
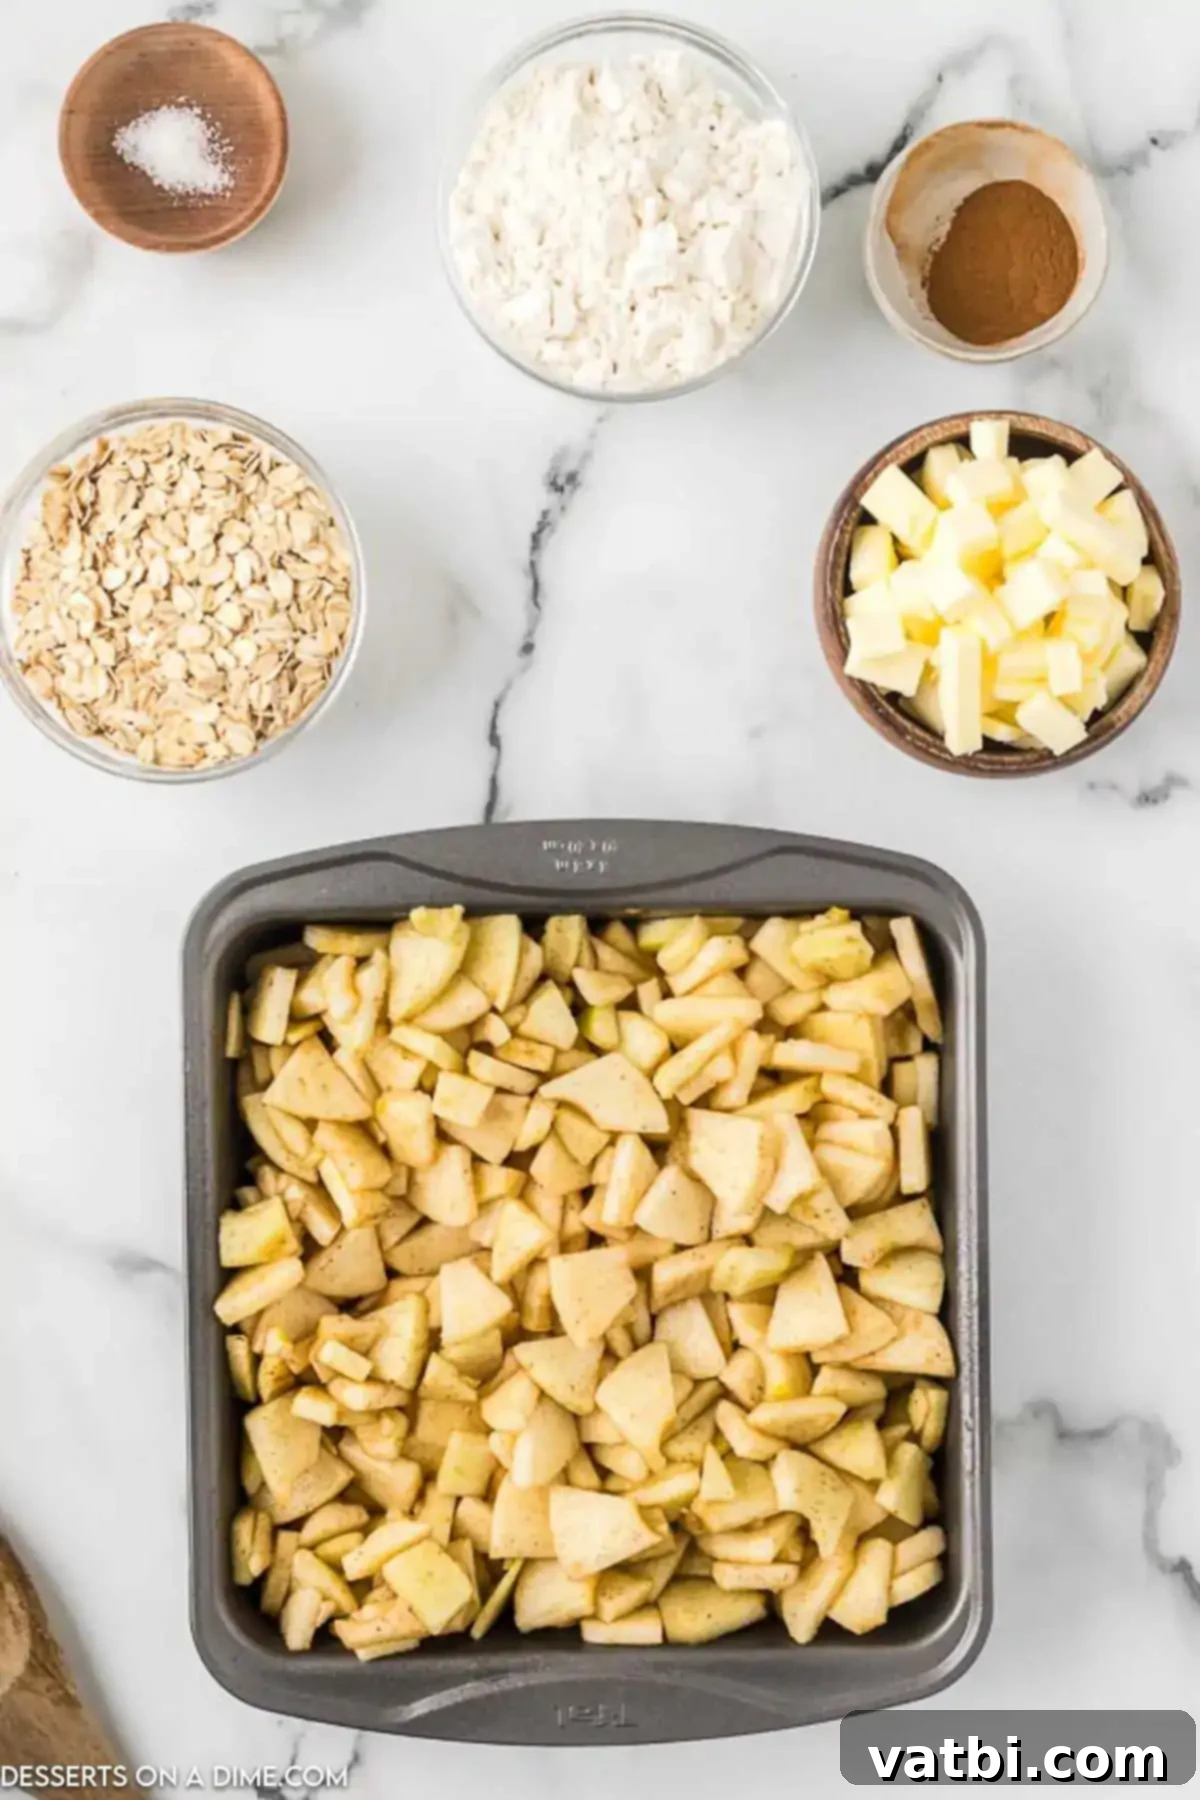
Step 3. Once the apples are fully coated, carefully add the apple mixture into your prepared 8×8 inch baking pan. Spread the apples evenly across the bottom of the pan to ensure uniform baking.
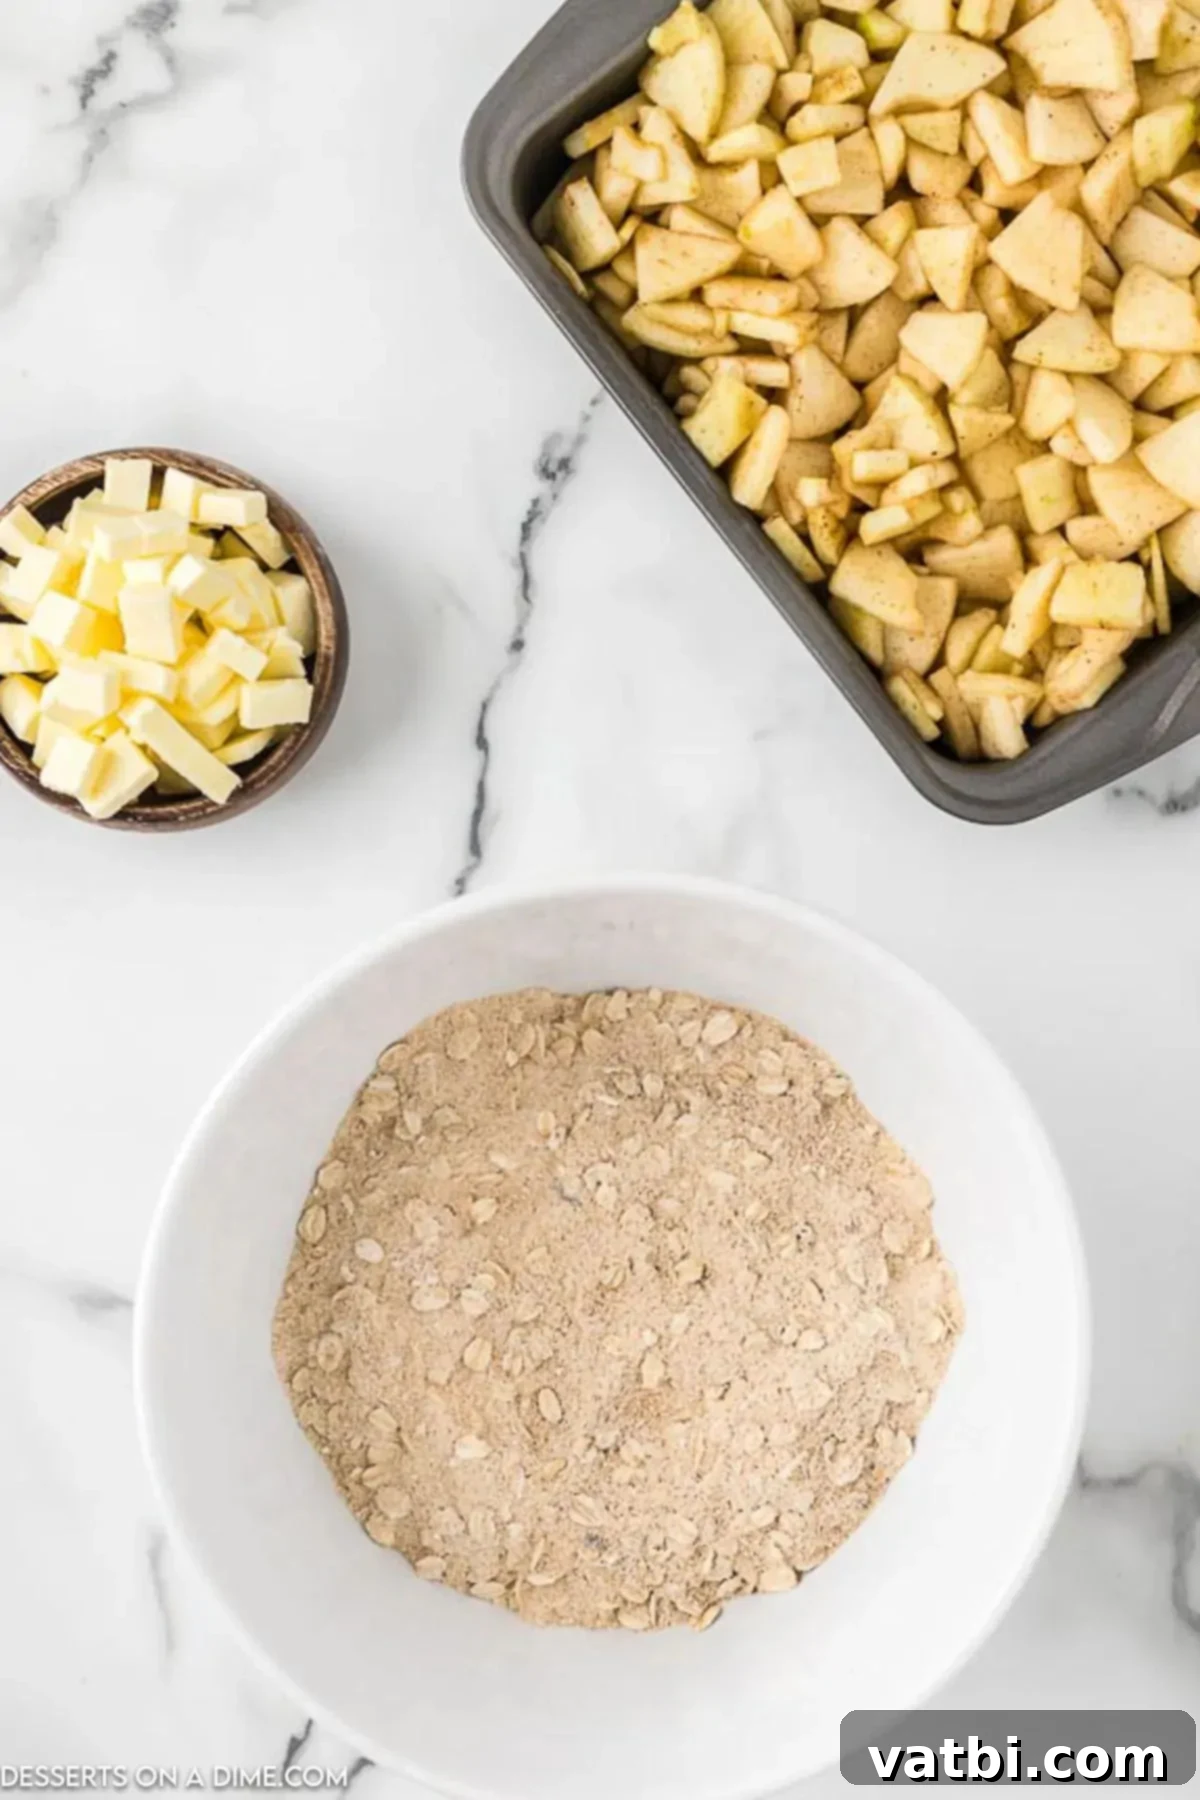
Step 4. Now, it’s time to prepare the delectable oat topping. In a separate mixing bowl, combine the brown sugar, old-fashioned oats, all-purpose flour, salt, and the remaining ground cinnamon. Stir these dry ingredients together thoroughly to ensure they are well integrated before adding the butter.
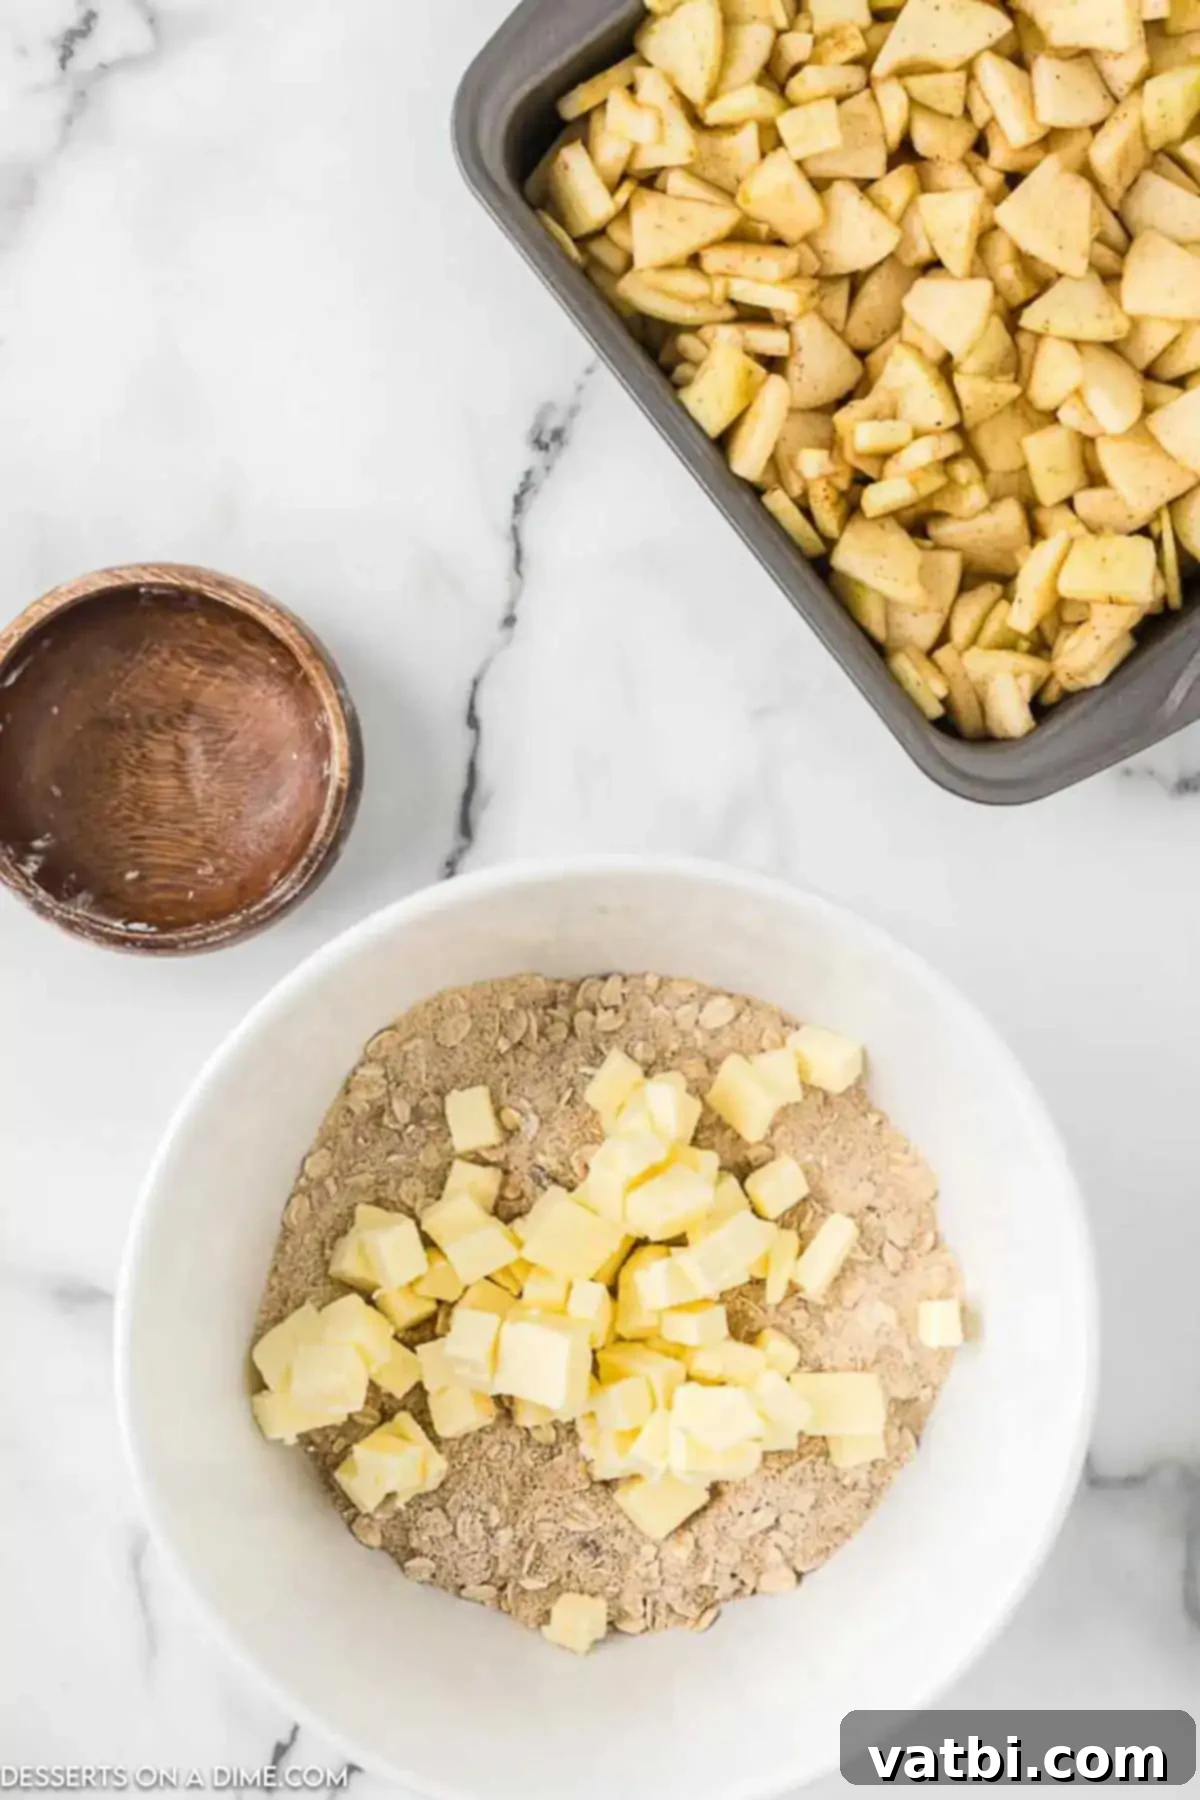
Step 5. Next, add the cold butter, which has been diced into small pieces, into the dry topping mixture. This is a crucial step for achieving that signature crisp texture.
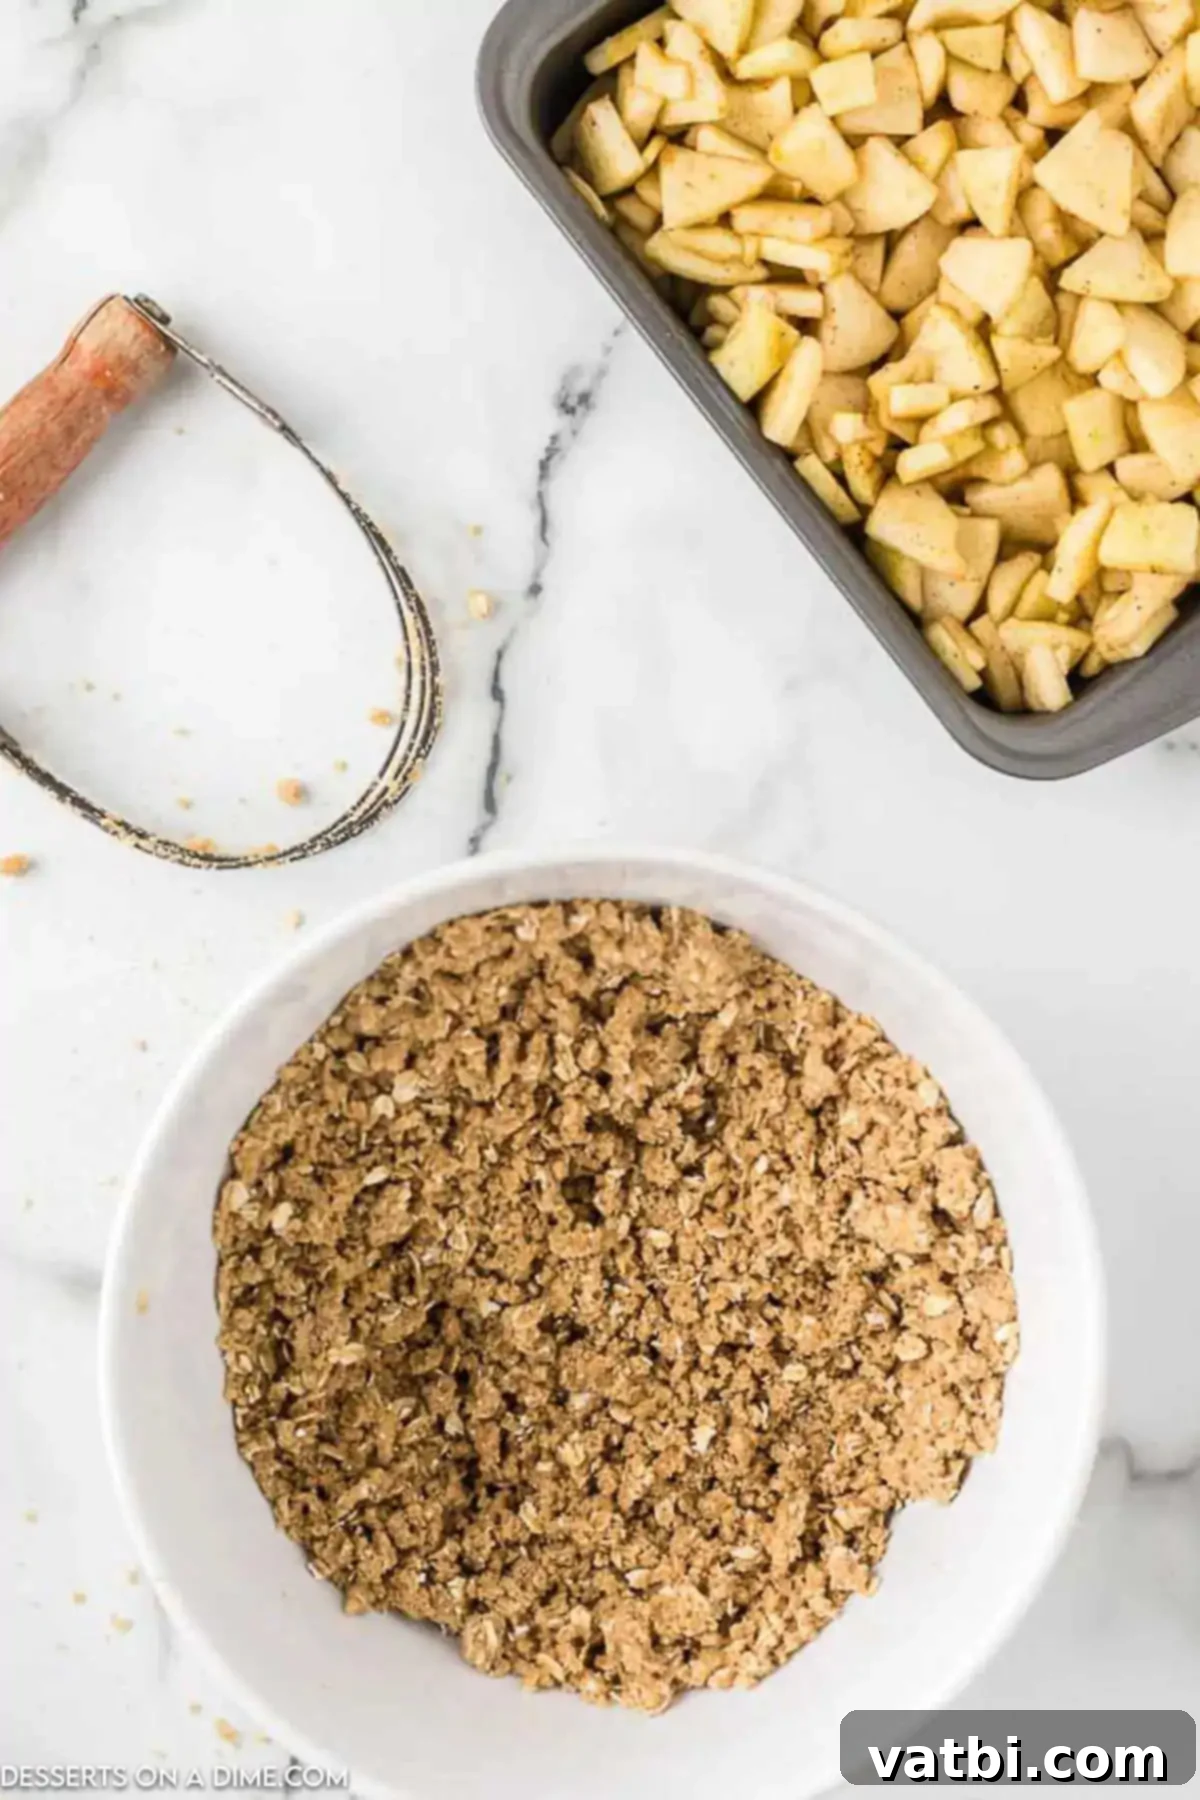
Step 6. To incorporate the butter into the dry ingredients, you want to “cut” it in until the mixture resembles coarse crumbs. If you have a pastry cutter, it works exceptionally well for this task. Alternatively, you can use two forks or even your fingertips (working quickly to prevent the butter from warming too much) to combine the butter with the mixture until it’s evenly distributed and crumbly.
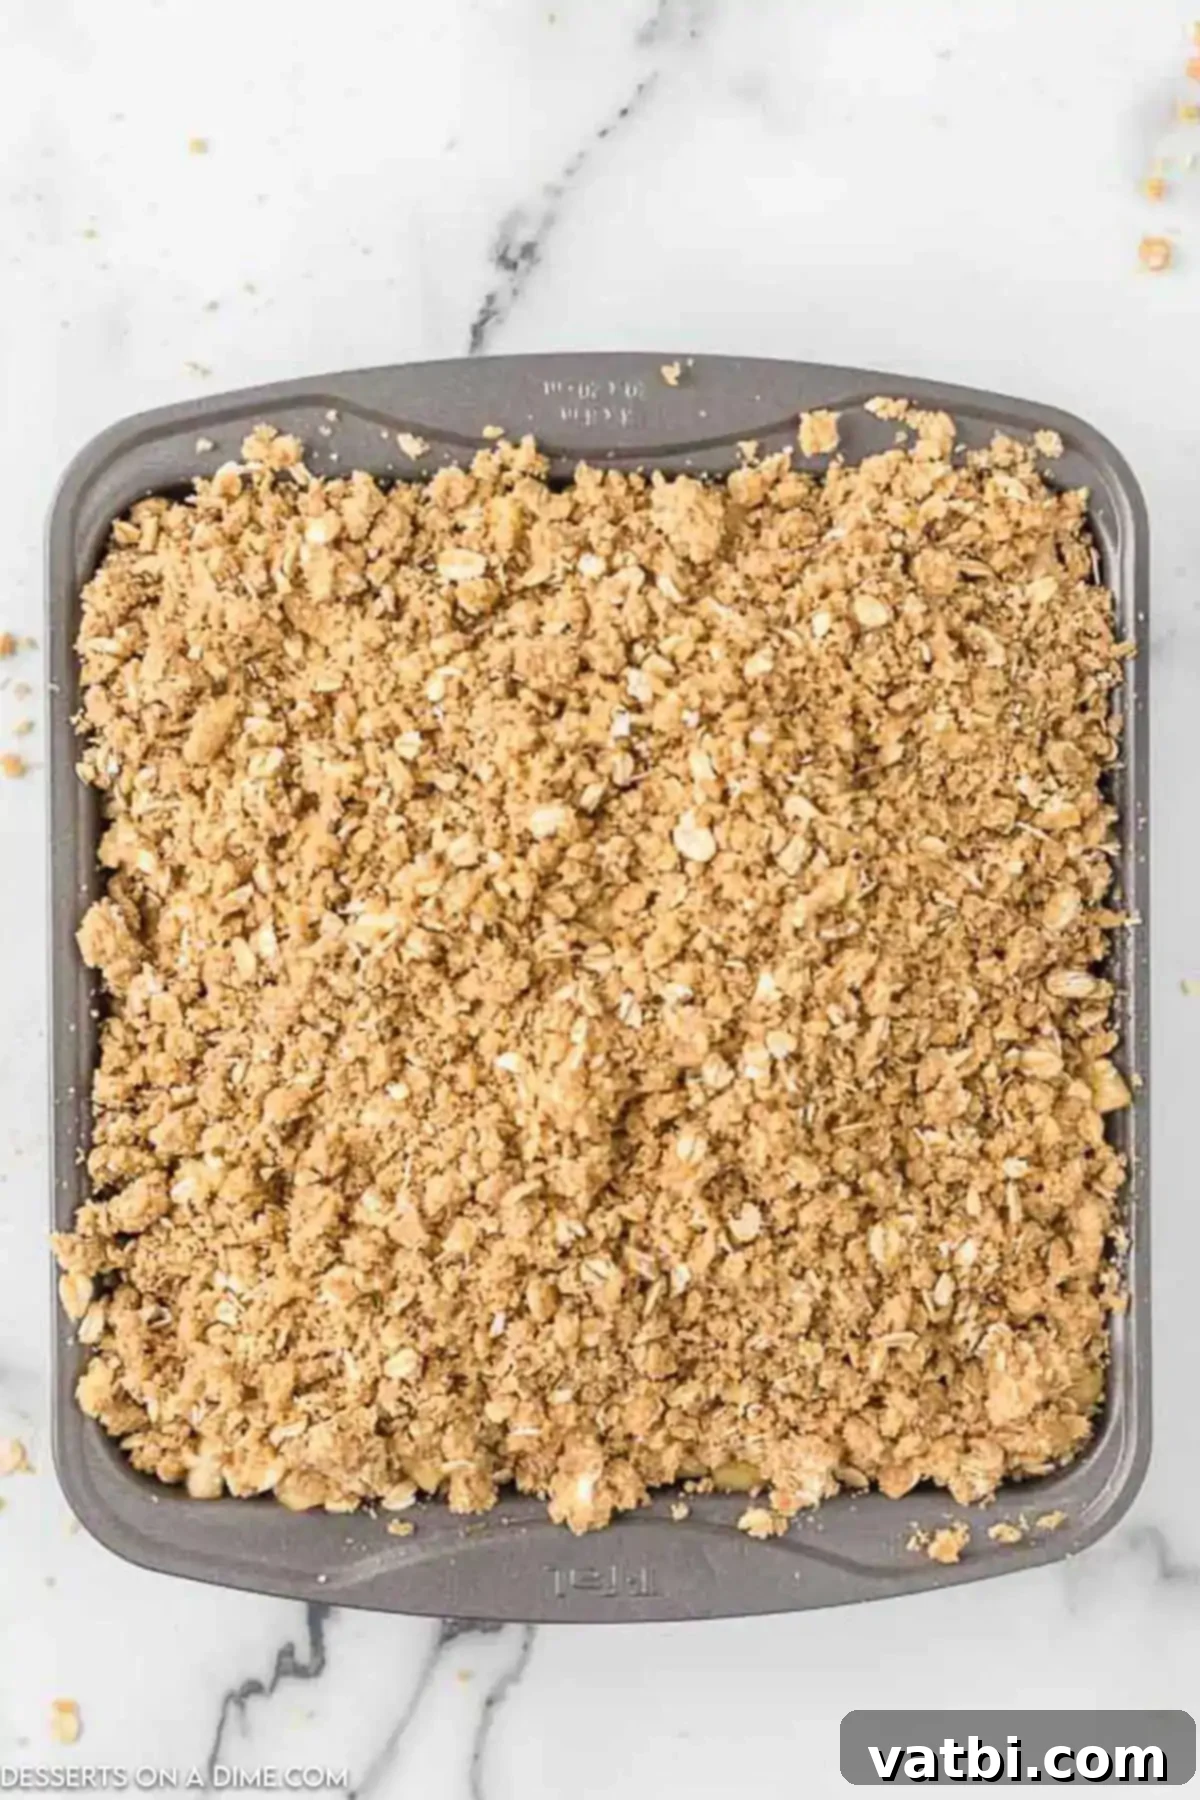
Step 7. Finally, evenly sprinkle the crumbly oat topping over the apple mixture in the baking dish. Gently spread it to cover the apples from edge to edge. Place the dish in your preheated oven and bake as directed in the recipe card.
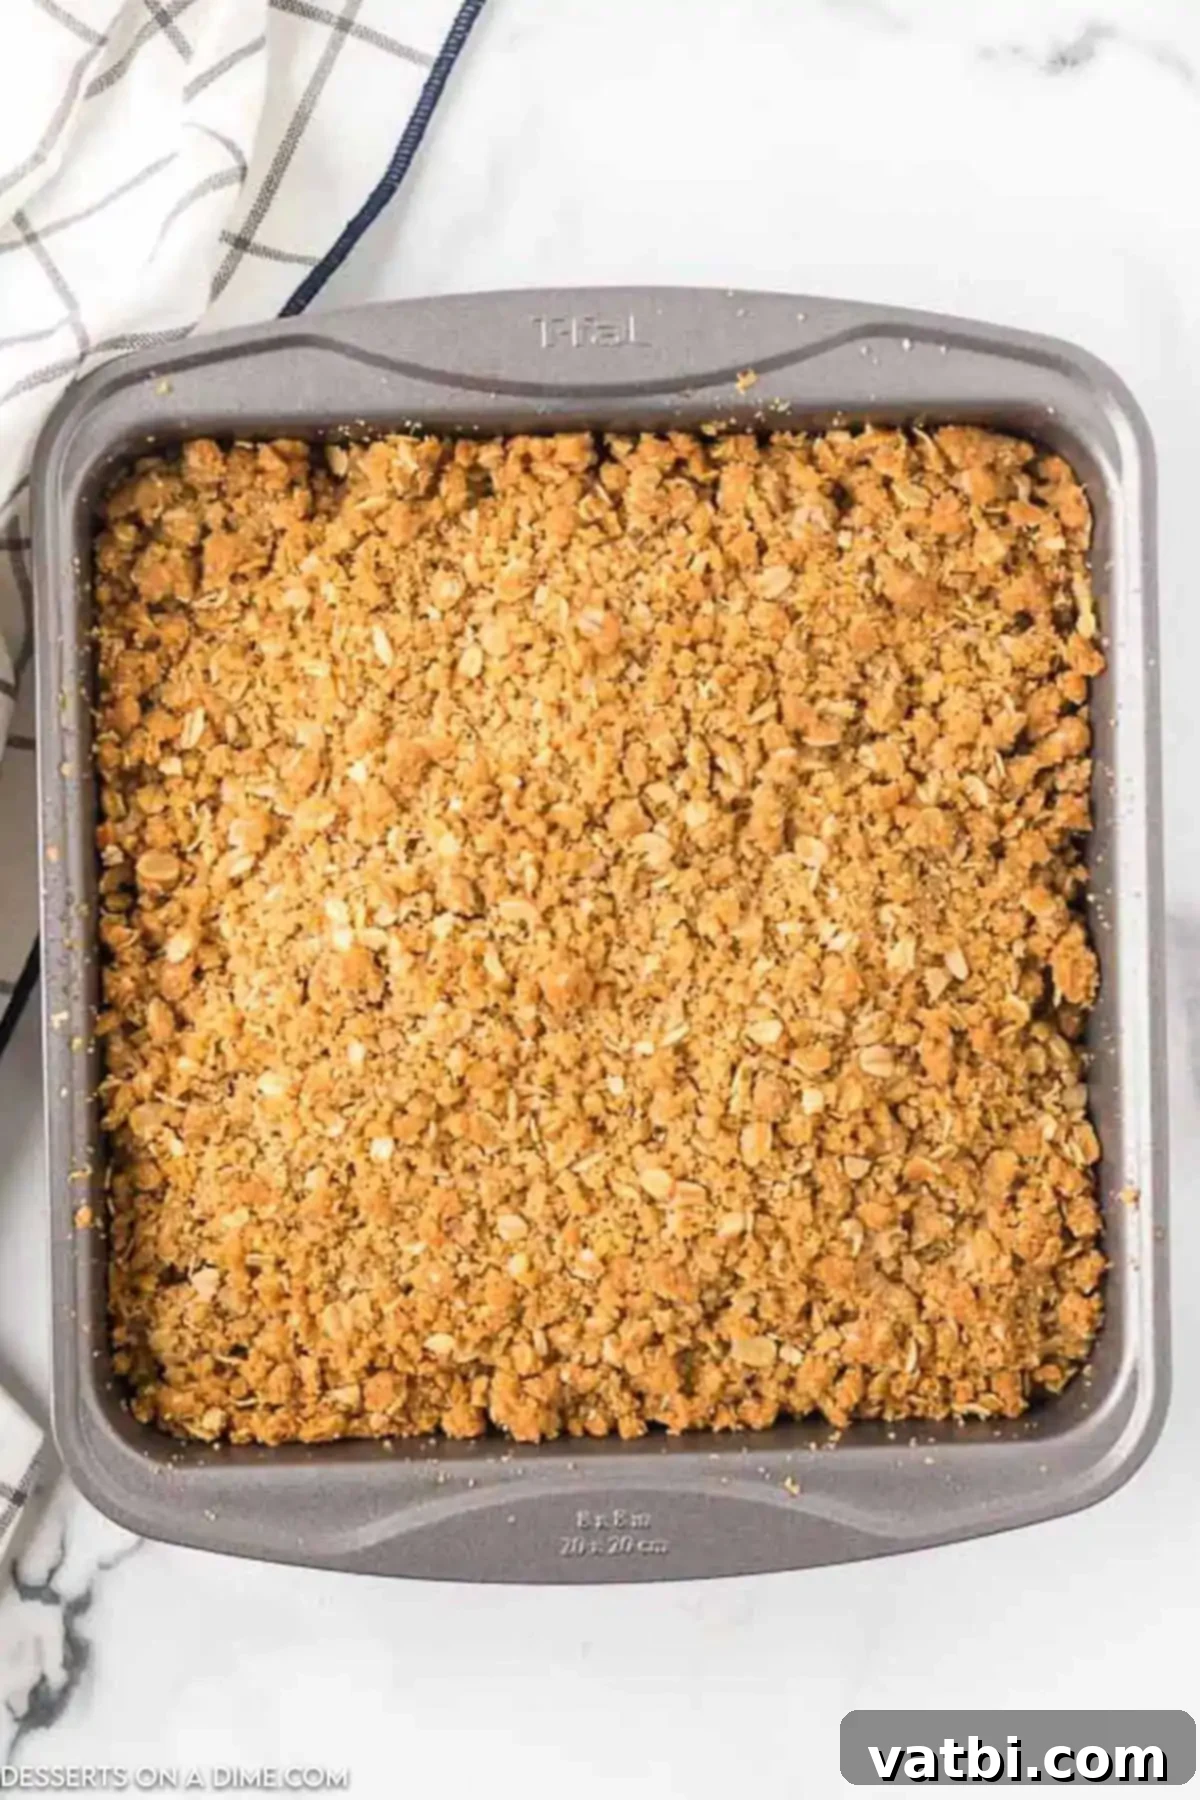
Step 8. The apple crisp is ready when the apple mixture underneath is visibly bubbly around the edges, indicating that the apples are tender and the juices have thickened. The topping should be a beautiful golden brown and feel firm and crisp to the touch. This usually takes about 40-50 minutes, but keep an eye on it as oven temperatures can vary.
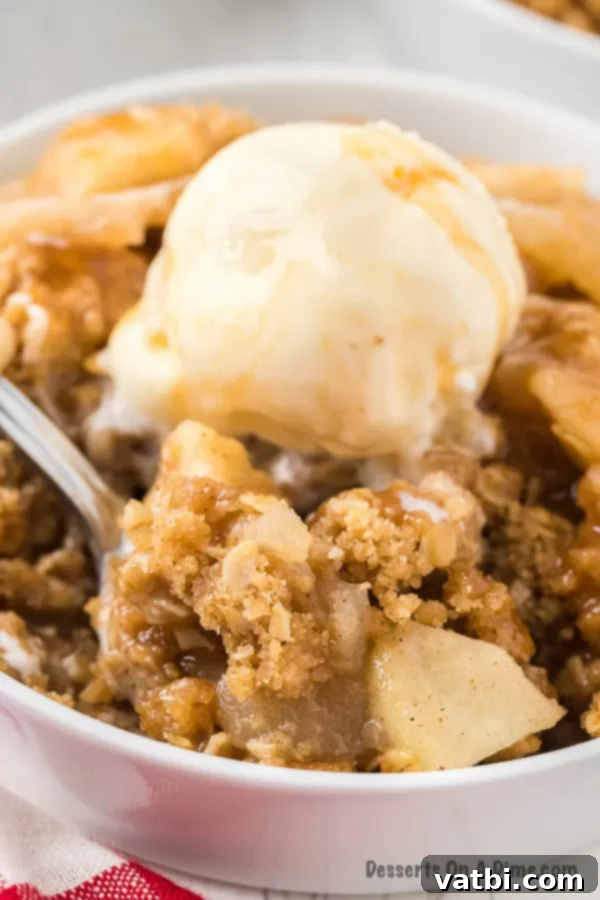
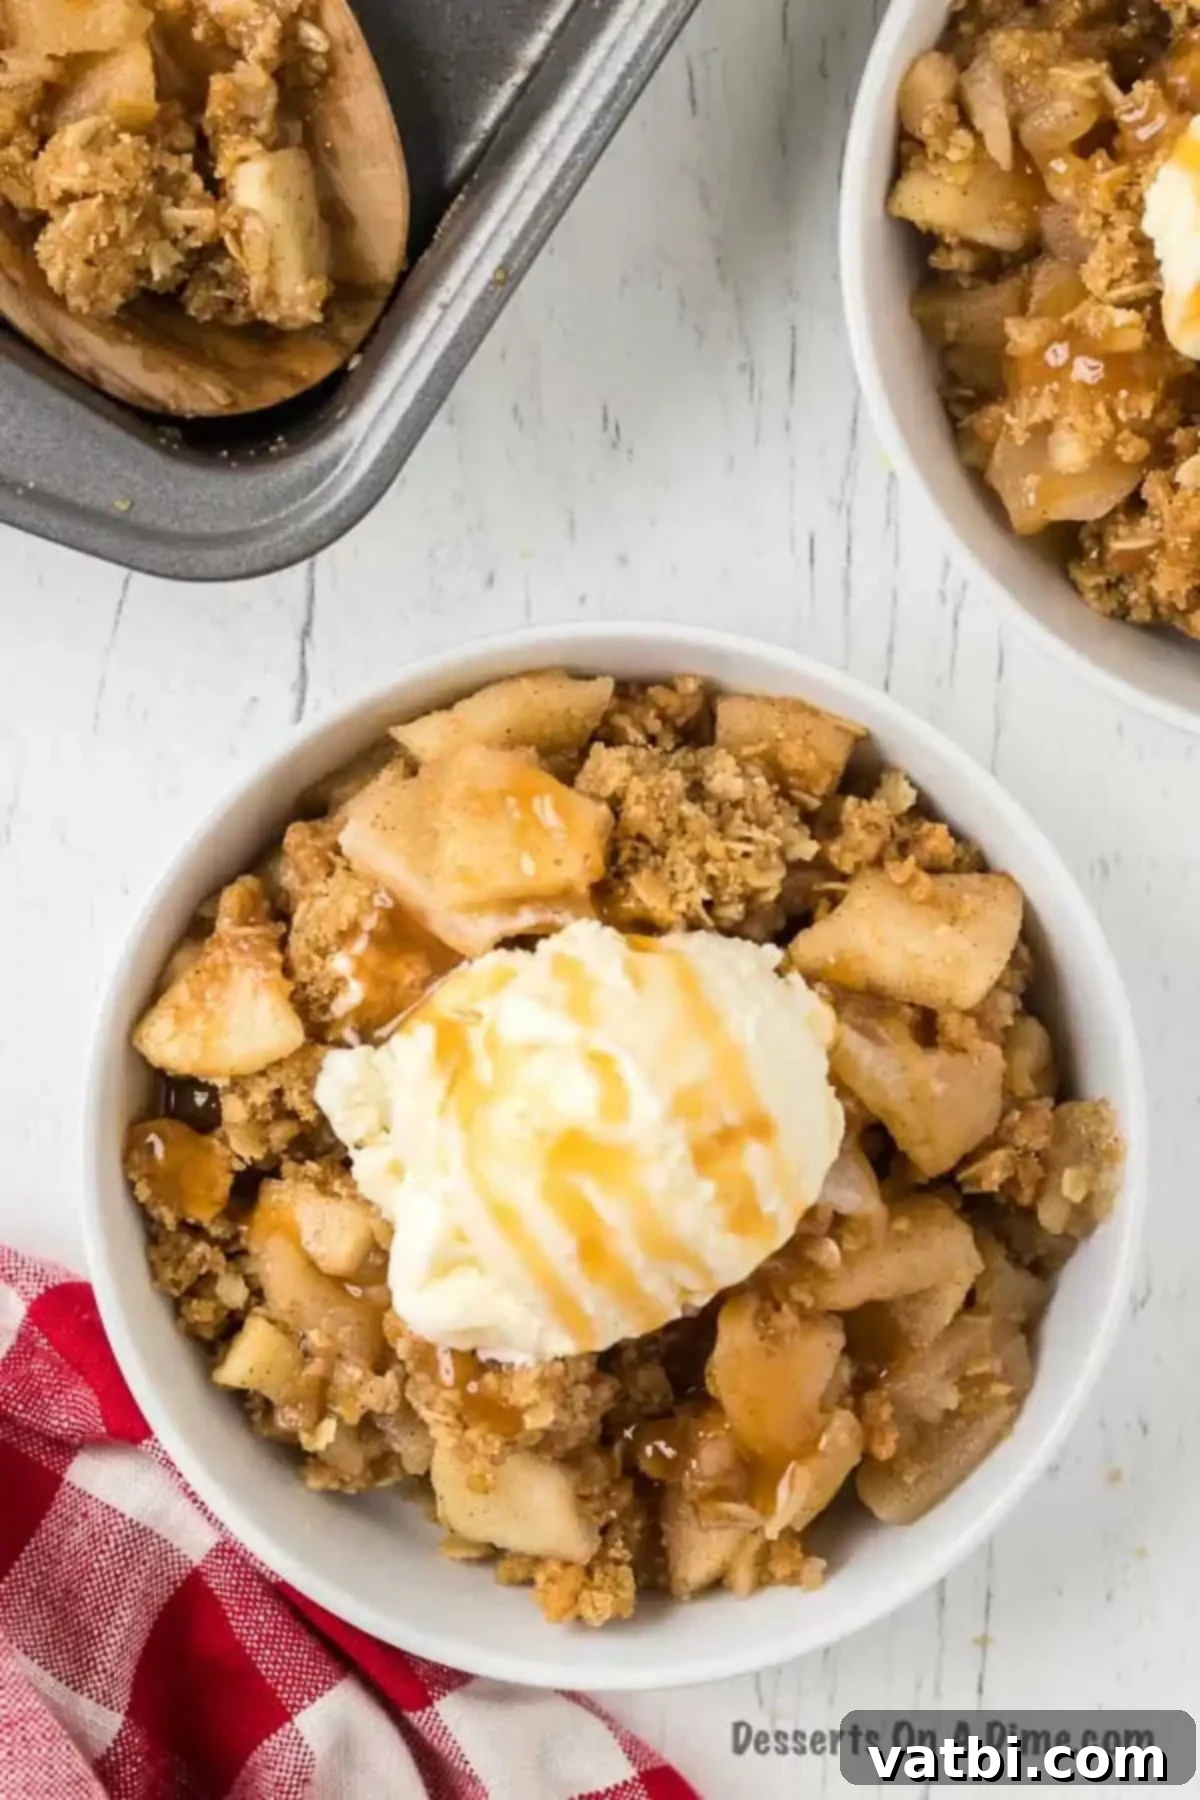
Step 9. Once baked to perfection, remove the apple crisp from the oven and allow it to cool slightly for a few minutes before serving. This allows the filling to set a bit. Serve warm, ideally topped with a generous scoop of creamy vanilla ice cream, which melts into the warm apples and creates an irresistible contrast.
Expert Tips for Success
Achieving the perfect apple crisp involves a few key techniques. Here are some pro tips to ensure your dessert is absolutely fantastic:
- Use Real Butter – For an unparalleled flavor and texture, always opt for real butter. It provides a richness and depth that substitutes simply can’t match, resulting in a topping that tastes infinitely better. Also, resist the urge to add more butter than the recipe calls for. Too much butter in the topping can make it overly greasy and less crisp, which is the opposite of what we want.
- Do not use melted butter – This is a critical point for the topping’s texture. I have tested both methods, and using cold, diced butter consistently yields a far superior, crumbly, and crisp topping. Melted butter will cause the flour and oats to absorb the fat too quickly, leading to a dense, cake-like texture rather than a light and airy crumble.
- Use Unsalted Butter – When baking, unsalted butter is generally preferred because it gives you precise control over the salt content in your recipe. Different brands of salted butter can vary significantly in their saltiness. Keep unsalted butter in your fridge specifically for all your baking needs.
- Try different Apples – While we recommend Golden Delicious apples for their balanced sweetness and soft texture, don’t be afraid to experiment! If you prefer a tart apple to offset the sweetness of the crisp, try using Granny Smith apples. For a firmer texture that holds up well, Honeycrisp or Braeburn are excellent choices. A combination of sweet and tart apples can also create a more complex and interesting flavor profile.
- You do not have to peel the apples – While I personally prefer to peel the apples for most of my apple dessert recipes, including this crisp, it is entirely optional. Leaving the skin on adds a bit of extra fiber and a rustic touch. Just ensure you wash the apples thoroughly if you choose not to peel them. The crisp will still be delicious either way.
- Don’t Overmix the Topping: When combining the butter with the dry ingredients for the topping, mix only until coarse crumbs form. Overmixing can develop the gluten in the flour, resulting in a tougher, less crumbly topping. You want small, distinct pieces of butter throughout the mixture.
- Pan Size Matters: Using the specified 8×8 inch baking pan ensures the apples cook through properly and the topping gets adequately crisp. If you use a larger pan, your crisp will be thinner and might dry out quicker; a smaller pan might result in a longer baking time and a less crisp topping.
- Serve it Warm: For the ultimate experience, serve your apple crisp warm from the oven. The contrast between the warm, tender apples and the crisp topping is simply divine, especially when paired with a cold topping like ice cream.
- Adjust Sweetness: Taste your apples before mixing. If they are very tart (like Granny Smith), you might want to add an extra tablespoon or two of sugar to the apple filling to balance the flavors. Conversely, if your apples are very sweet, you can slightly reduce the sugar.
Irresistible Topping Ideas
While apple crisp is fantastic on its own, adding a topping elevates it to an even more indulgent dessert. Here are some of our favorite irresistible topping ideas:
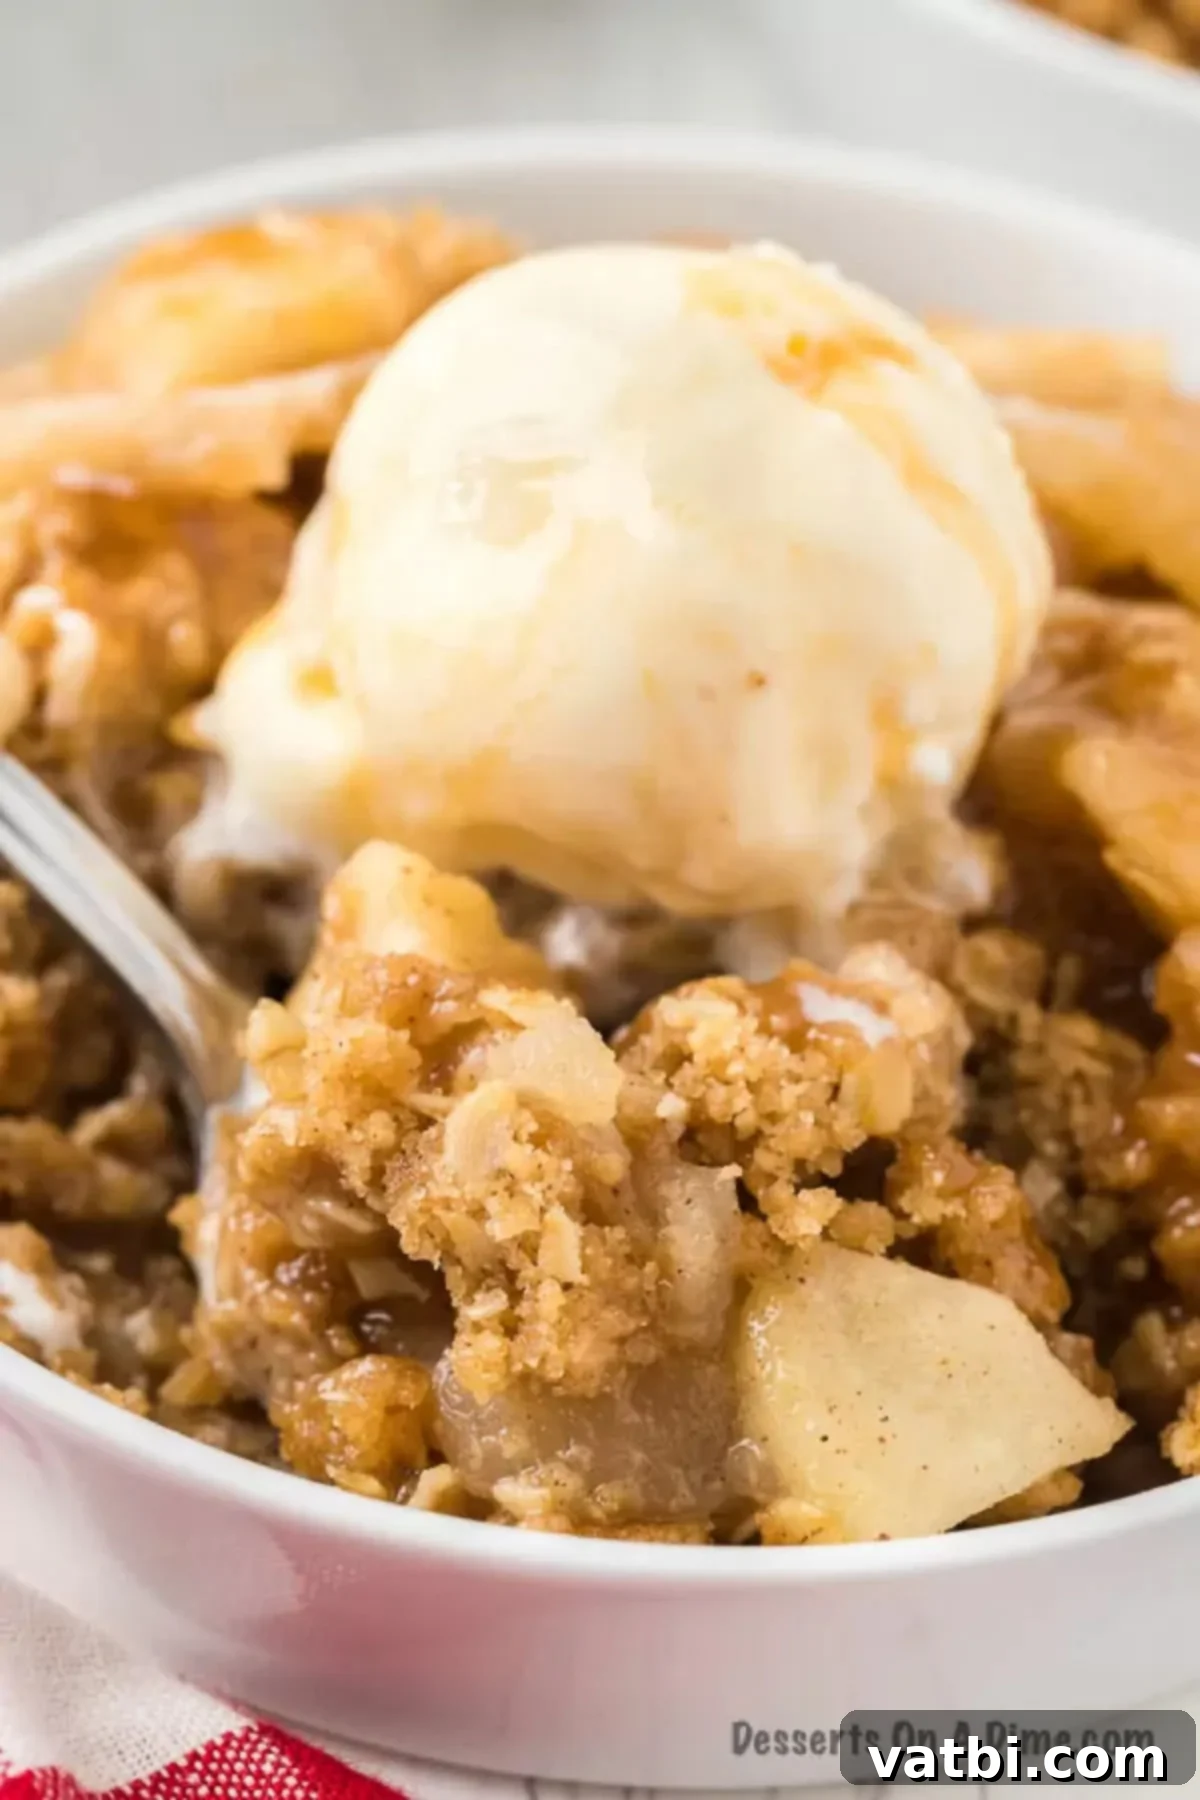
- This is absolutely amazing with a scoop of creamy No Churn Vanilla Ice Cream. The cold, melting ice cream creates a delightful contrast against the warm, spiced apple crisp, creating a spoonful of pure bliss.
- For another wonderfully light and airy option, top your apple crisp with a dollop of homemade whipped cream. Its delicate sweetness complements the rich flavors of the crisp without overpowering them.
- Plus, a generous drizzle of luscious caramel sauce takes this dessert to the next level. The rich, buttery notes of caramel pair perfectly with apples and oats, adding a touch of decadent sweetness.
- Toasted Chopped Nuts: If you love nuts, a sprinkle of extra toasted walnuts or pecans on top before serving adds a lovely texture and nutty flavor.
- A Pinch of Spice: A final dusting of cinnamon or even a mix of apple pie spice just before serving can enhance the aromatic experience.
Storage Solutions for Leftovers
Having leftover apple crisp is a delicious bonus, perfect for easy future desserts or a quick breakfast treat. To store your crisp properly, allow it to come to room temperature completely after baking. This prevents condensation from forming, which can make the topping soggy.
Once cooled, transfer the apple crisp to an airtight container. Alternatively, you can simply cover the baking dish tightly with aluminum foil or plastic wrap. Stored this way in the refrigerator, it will stay fresh and delicious for up to 5 days. When you’re ready to enjoy it again, you can easily reheat individual portions in the microwave for a quick warm-up, or place the entire dish (covered with foil to prevent over-browning) in a 300°F (150°C) oven for about 15-20 minutes until warmed through and the topping crisps up again.
Can You Freeze This Apple Crisp?
Yes, absolutely! Apple crisp is a fantastic dessert to freeze, whether baked or unbaked, making it perfect for meal prepping or preparing for future gatherings. Freezing ensures you always have a comforting dessert on hand.
Freezing Baked Apple Crisp:
If you have an already baked apple crisp that you’d like to save, first allow it to cool completely to room temperature. This is crucial to prevent ice crystals from forming. Once cool, cover the entire baking dish tightly with a layer of plastic wrap, followed by a layer of heavy-duty aluminum foil. Label with the date. You can freeze the baked crisp for up to 3 months. When you’re ready to enjoy, thaw it in the refrigerator overnight. Then, bake it in a 350°F (175°C) oven (still covered with foil) until it’s completely warmed through and bubbly, usually about 20-30 minutes. Remove the foil for the last 5-10 minutes if you want to crisp up the topping again.
Freezing Unbaked Apple Crisp:
You can also prepare the apple crisp up to the point of baking and freeze it unbaked. Assemble the apple filling and topping in a freezer-safe baking dish. Cover it very tightly with plastic wrap and then aluminum foil, just as you would with a baked crisp. Freeze for up to 3 months. When you’re ready to bake, you have two options:
- Bake from frozen: Place the frozen crisp (still covered with foil) into a preheated 350°F (175°C) oven. It will take longer to bake, typically around 60-75 minutes. Remove the foil for the last 15-20 minutes to allow the topping to brown and crisp.
- Thaw and bake: Thaw the crisp in the refrigerator overnight. Then, bake as directed in the original recipe card (40-50 minutes at 350°F / 175°C).
Freezing is a fantastic way to do all the prep work ahead of time. This is especially convenient when you are making it for a party, a holiday like Thanksgiving, or simply when you want to minimize effort on a busy day. Just pop the apple crisp in the oven on the day of the event, and you’ll have a fresh, warm dessert ready to serve!
More Easy Apple Desserts to Try
If you’re an apple enthusiast, there’s a whole world of delicious apple desserts waiting to be explored! Here are some more easy and tempting recipes to add to your baking repertoire:
- Caramel Apple Cheesecake Bars
- Fried Apple Pies
- Mini Apple Pie Bites Recipe
- Southern Fried Apples Recipe
- Apple Crostata Recipe
- Crock Pot Apple Pie Dump Cake
We hope you truly enjoy trying this delicious and easy apple crisp recipe. It’s more than just a dessert; it’s a taste of autumn, a warm hug in a bowl, and a guaranteed crowd-pleaser. Look no further for the perfect Fall dessert that will have everyone asking for seconds! Don’t forget to come back and leave a comment and star recipe rating to let us know how much you loved it!
Pin
Apple Crisp Recipe
Ingredients
- 6 Golden Delicious Apples Peeled and Chopped
- 2 Tbsp Granulated Sugar
- 1 1/2 tsp Ground Cinnamon Divided (½ tsp for apples, 1 tsp for topping)
- 1 1/2 tsp Lemon Juice
- 1 cup Brown Sugar (packed)
- 3/4 cup Old Fashioned Oats (not quick-cooking)
- 3/4 cup All-Purpose Flour
- 1/4 tsp Salt
- 1/2 cup Butter diced into small pieces
Instructions
-
Preheat the oven to 350 degrees F (175°C) and spray an 8×8 inch baking pan with non-stick cooking spray.
-
In a large mixing bowl, add the peeled and chopped apples, granulated sugar, fresh lemon juice, and ½ tsp of the ground cinnamon. Mix thoroughly to coat the apples with the mixture.
-
Pour the coated apples evenly into the prepared baking pan.
-
In a separate bowl, combine the brown sugar, old-fashioned oats, all-purpose flour, salt, and the remaining 1 tsp of ground cinnamon. Stir to combine all dry ingredients. Then, add the cold, diced butter into this mixture. Cut the butter into the dry ingredients using a pastry cutter or two forks until the mixture resembles coarse crumbs.
-
Evenly spread the crumbly topping over the apples in the baking dish. Bake for 40-50 minutes, or until the apple mixture is bubbly around the edges and the topping is beautifully golden brown and crisp.
-
Remove from oven and allow to cool slightly for a few minutes before serving warm. Enjoy!
Nutrition Facts
Pin This Now to Remember It Later
Pin Recipe
