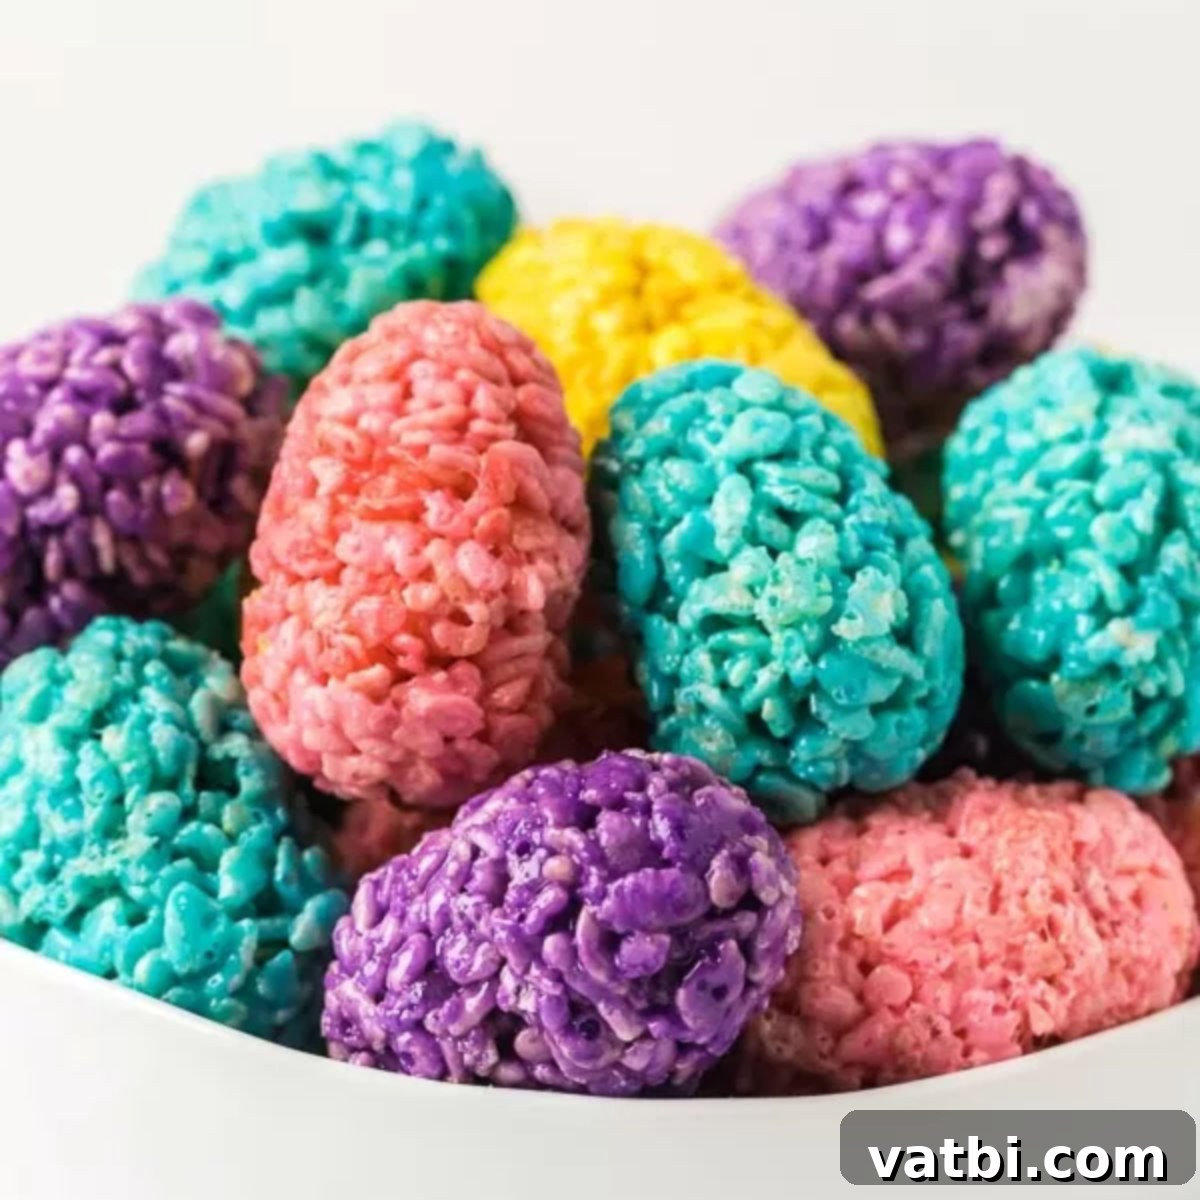
Festive & Fun Easter Egg Rice Krispie Treats: Your Ultimate No-Bake Guide
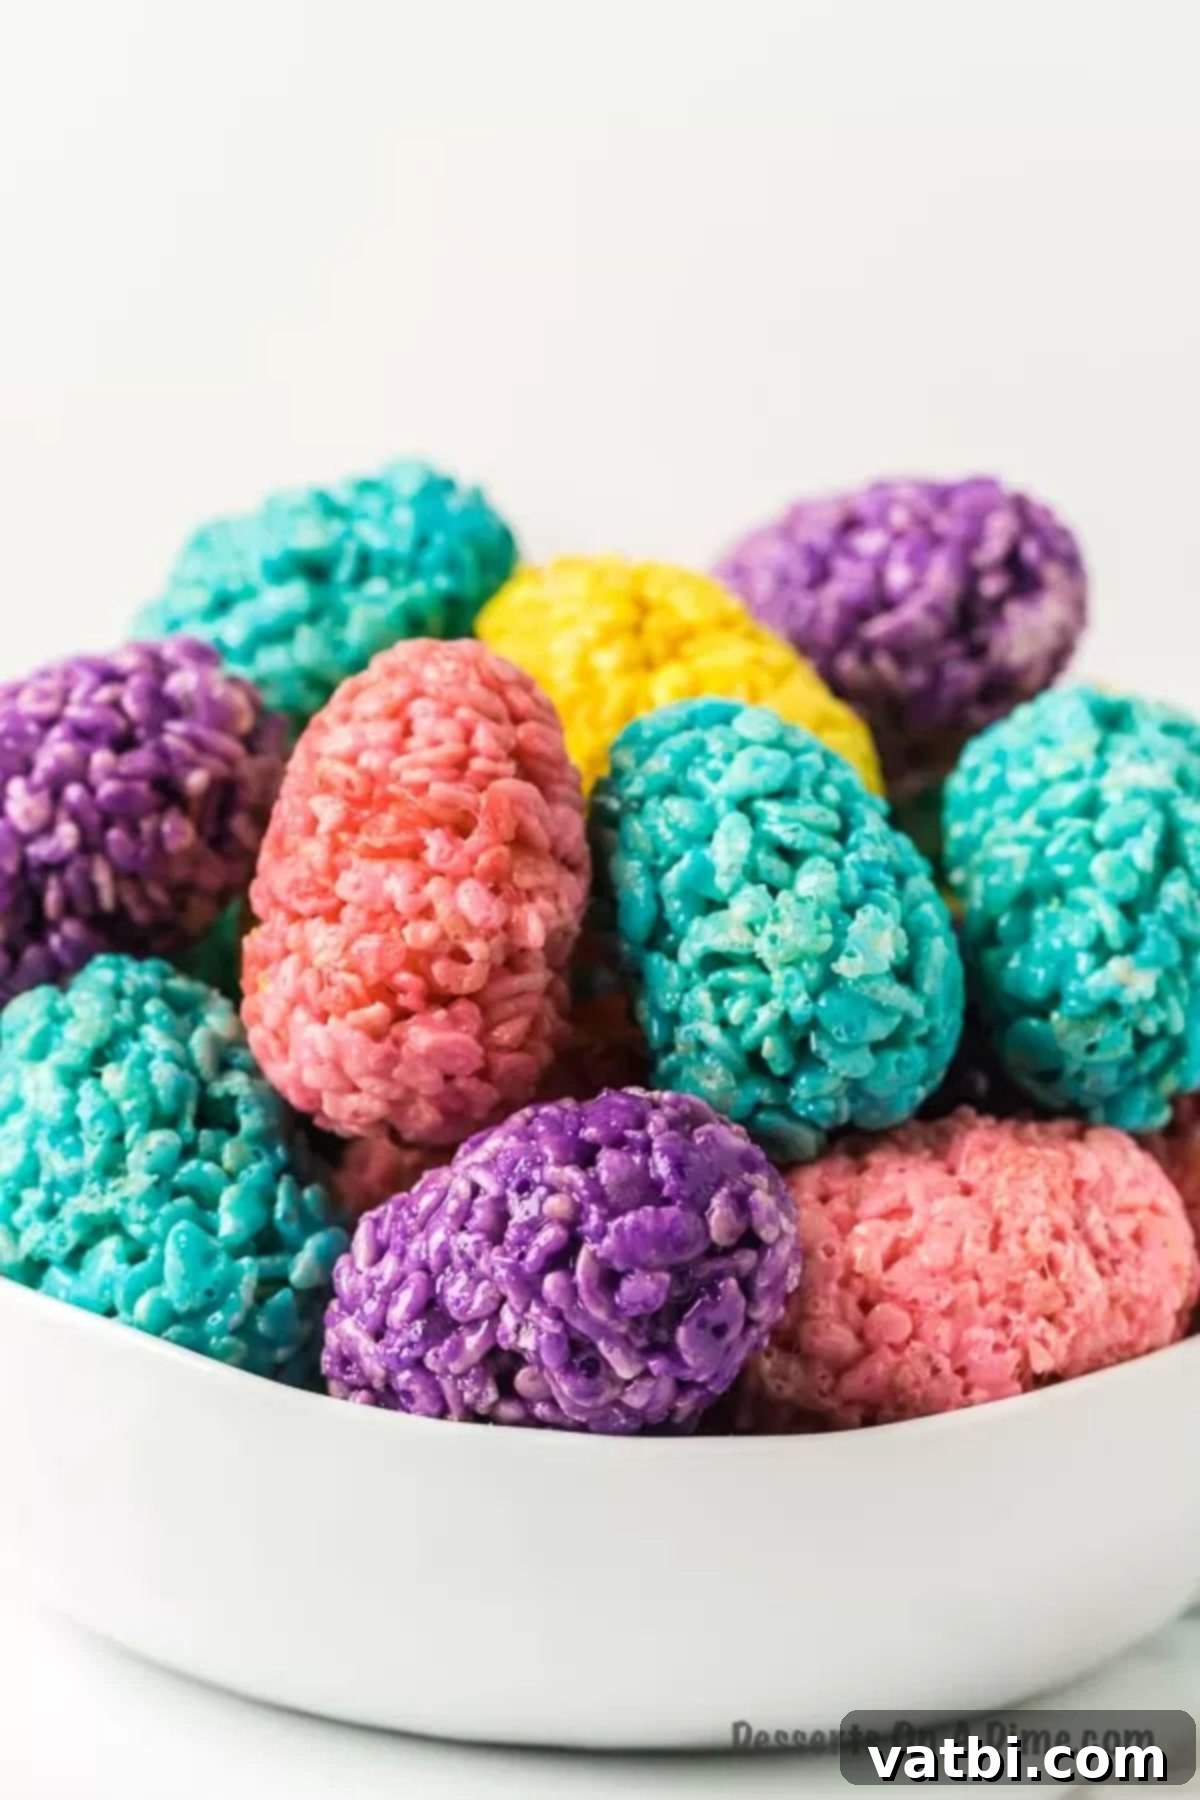
Easter Egg Rice Krispie Treats are an absolute delight, bringing vibrant colors and irresistible sweetness to your holiday celebration. These charming, egg-shaped confections are not only festive and incredibly tasty but also remarkably simple to prepare, making them a perfect activity for the whole family. Imagine creating these bright, gooey treats that capture the spirit of Easter in every bite – a truly memorable addition to your spring festivities.
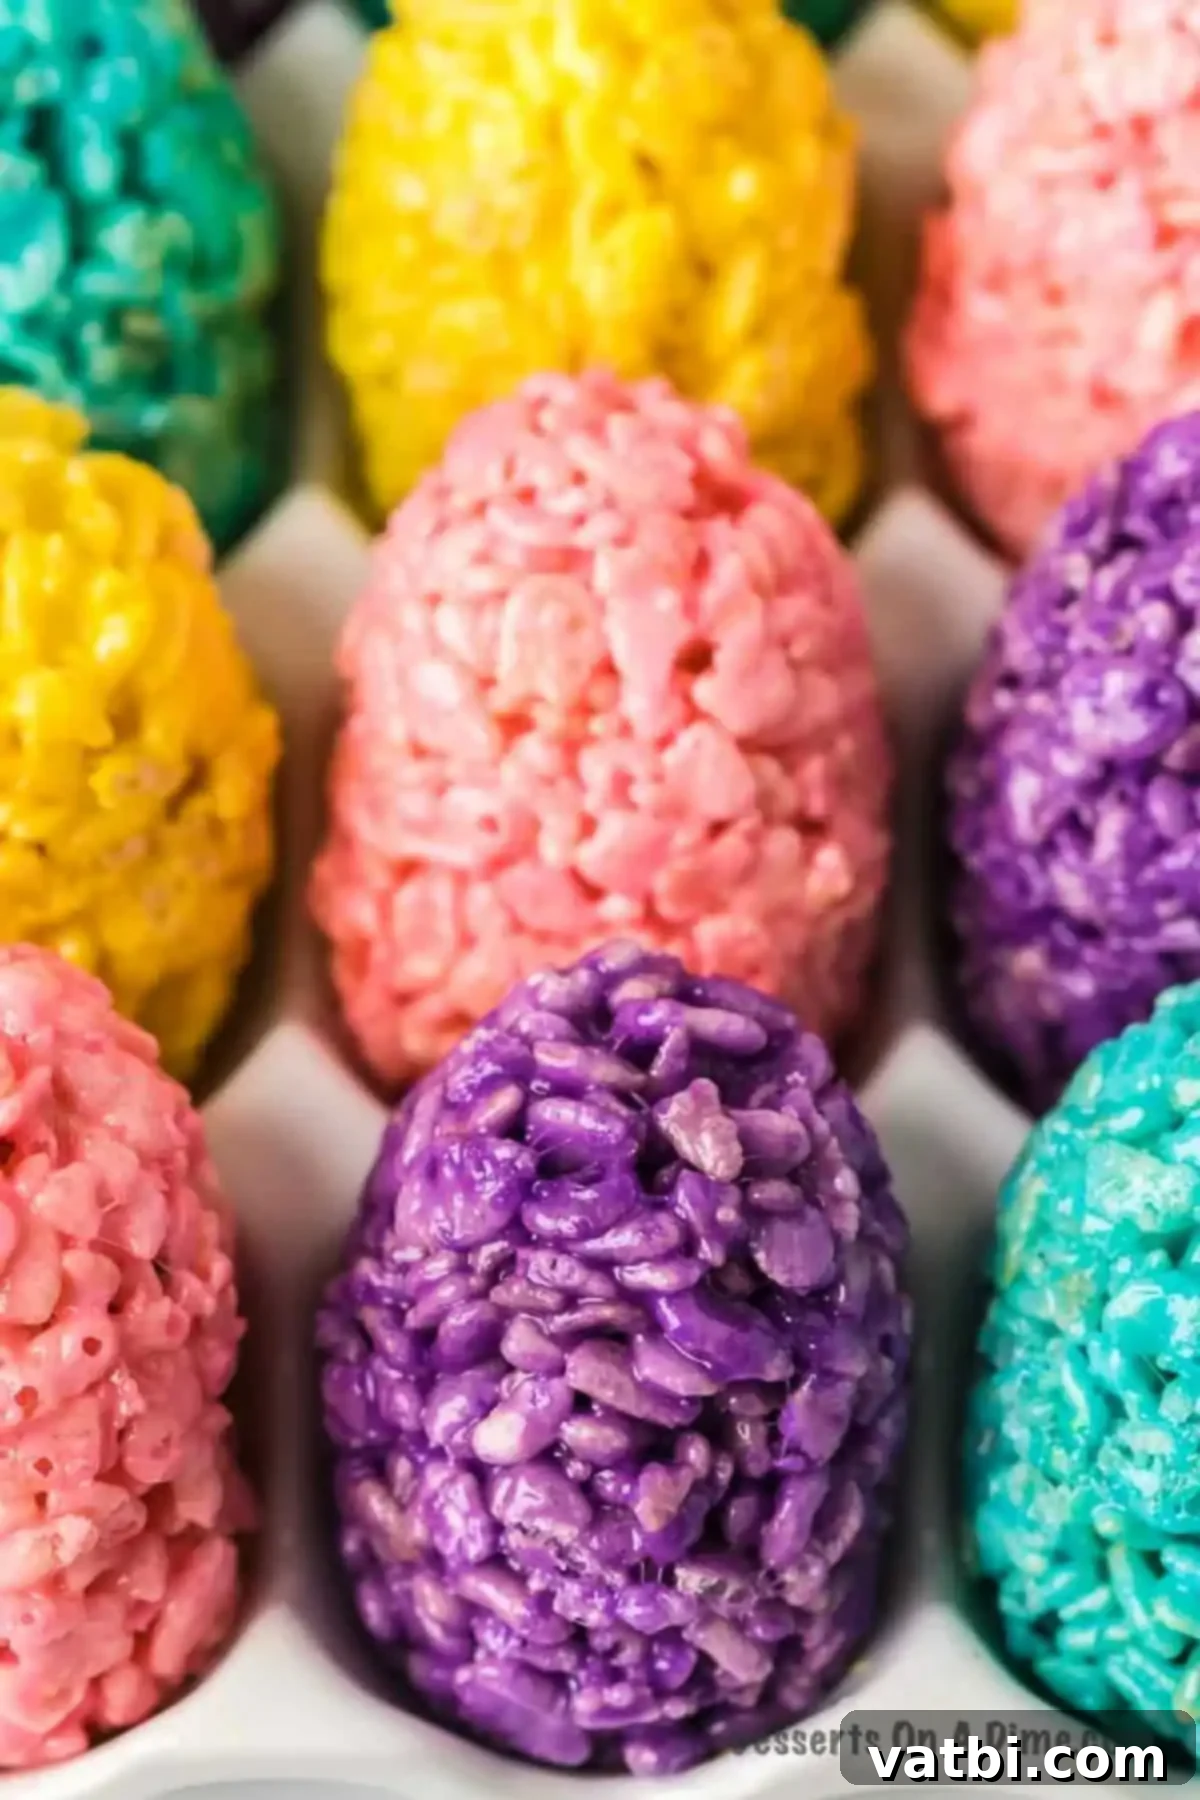
Classic Rice Krispie Treats are renowned for being a blast to make and impressively easy. This beloved no-bake dessert recipe is fantastic for getting kids involved in the kitchen, turning a simple task into a fun, hands-on experience. As you melt marshmallows and stir in cereal, the aroma alone is enough to get everyone excited for the delicious outcome.
Whether you’re hosting a grand Easter party, preparing for an Easter egg hunt, or simply looking to surprise your little ones with a special seasonal treat, this easy Easter dessert will exceed expectations. Egg-shaped treats are the quintessential way to celebrate Easter, symbolizing new beginnings and the joy of spring. Best of all, they’re so straightforward to make that you’ll have plenty of time left to whip up other delightful confections like Mini Easter Cheesecakes, charming Bunny Butt Cupcakes, and decadent Easter Chocolate Covered Pretzels. These Rice Krispie Easter eggs truly stand out as a simple yet impactful festive treat.
Table of Contents
- Why We Adore These Easter Egg Rice Krispie Treats
- Essential Ingredients for Perfect Rice Krispie Easter Eggs
- Creative Variations and Delightful Additions
- Step-by-Step: Crafting Your Easter Egg Rice Krispie Treats
- Serving and Storing Your Festive Treats
- Frequently Asked Questions
- Expert Tips for the Best Easter Egg Rice Krispie Treats
- More Irresistible Easter Desserts
- Other Amazing Rice Krispie Treat Recipes
Why We Adore These Easter Egg Rice Krispie Treats
While traditional Easter egg dyeing is a cherished activity, transforming classic Rice Krispie treats into colorful Easter eggs takes the holiday fun to a whole new level. This recipe offers the ultimate Easter egg treat, allowing you to create edible masterpieces with your children without the mess of dyes. It’s a wonderful way to make lasting memories, engaging kids in a creative and delicious cooking project that results in a snack everyone can enjoy immediately.
The beauty of this recipe lies in its simplicity and versatility. You can mix the treat mixture with any of your favorite food colors to create a truly vibrant and festive dessert that perfectly complements the joyous Easter atmosphere. For those who want to master the basics before diving into these fun shapes, we also offer comprehensive tips and tricks on how to make classic Rice Krispie treats, ensuring a perfect gooey base every time.
These treats are not just for kids; adults will appreciate their nostalgic appeal and delicious taste. They are ideal for a school party, a church potluck, an Easter brunch, or simply as a special snack at home. Their bright colors naturally draw attention and add a cheerful touch to any dessert table. Plus, being a no-bake option means less time in the oven and more time celebrating!
Essential Ingredients for Perfect Rice Krispie Easter Eggs
Gathering your ingredients for these delightful Easter egg Rice Krispie treats is straightforward. With just a few basic items, you’ll be well on your way to creating a batch of colorful, chewy confections. Ensuring you have fresh ingredients will make a noticeable difference in the texture and overall deliciousness of your treats.
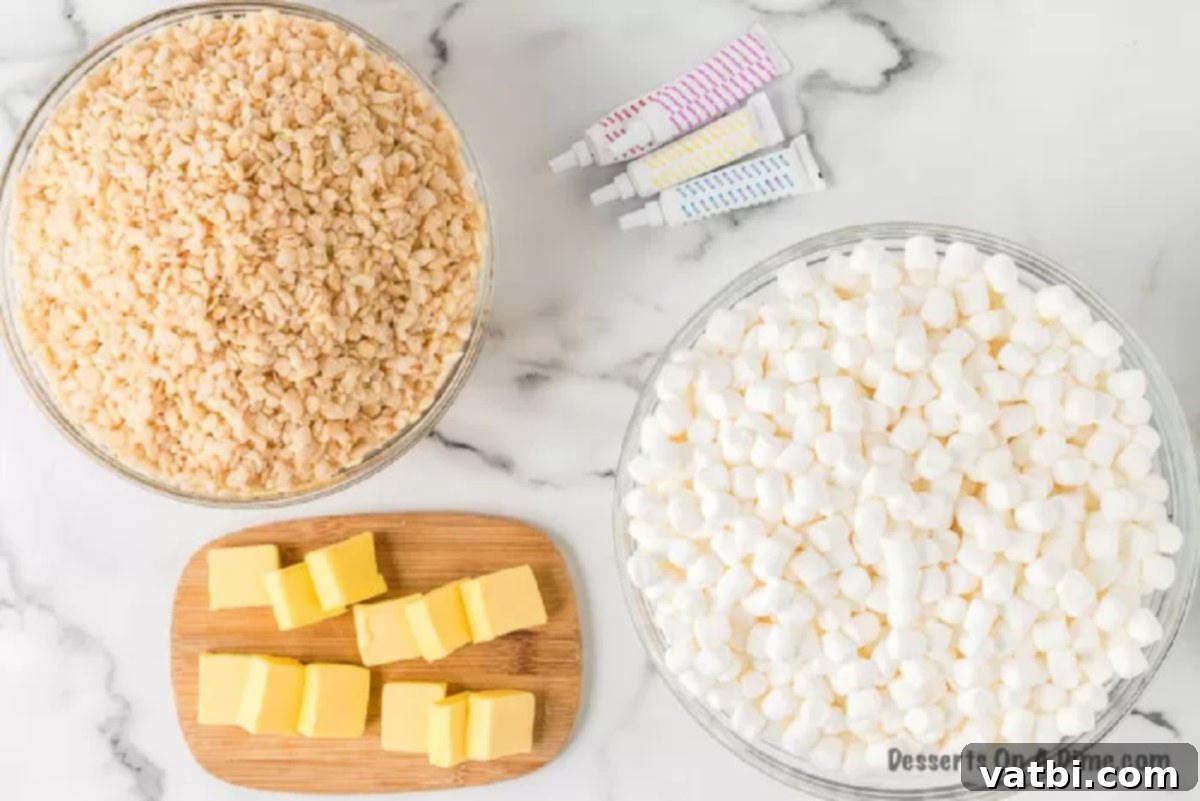
- Mini Marshmallows: Fresh mini marshmallows are crucial for that perfectly gooey and soft texture. Avoid stale marshmallows as they won’t melt as smoothly.
- Butter: High-quality butter adds richness and helps prevent the treats from sticking. Unsalted butter is preferred, allowing you to control the salt content.
- Rice Krispies Cereal: The classic crispy cereal is the star! Ensure it’s fresh for maximum crunch.
- Pink, Purple, Yellow, and Blue Food Coloring: These vibrant colors are perfect for Easter, but feel free to experiment with any shades you prefer. Gel food coloring often yields more intense colors without diluting the mixture.
You can find the exact measurements and a complete list of ingredients in the detailed recipe card below, ensuring you have everything you need for success.
Creative Variations and Delightful Additions
One of the best aspects of making Rice Krispie treats is how easily they can be customized. These Easter Egg Rice Krispie Treats are no exception! Elevate your holiday dessert with these exciting variations and additions:
- Sprinkles: Before the treats fully set, generously top your egg-shaped Rice Krispies with a festive assortment of sprinkles. Think pastel nonpareils, sparkling sanding sugar, bunny-shaped sprinkles, or even tiny edible glitter for an extra magical touch. Apply them immediately after shaping while the mixture is still warm and slightly sticky.
- Candy Melts or Chocolate Chips: For a decadent finish, melt white chocolate, milk chocolate, or colored candy melts. You can dip part of each egg into the melted chocolate, then drizzle it over the top, or even create intricate patterns. Before the chocolate sets, you can add more sprinkles, chopped nuts, or mini chocolate chips for added texture and flavor.
- Flavor Extracts: Introduce new flavors by adding a small amount of extract to your melted marshmallow mixture. Vanilla bean paste enhances the classic flavor, while almond extract adds a subtle nutty note. Coconut, lemon, or even a hint of strawberry extract can add a delightful twist, perfectly complementing the spring theme.
- Marshmallow Flavors: While mini marshmallows are standard, try using flavored marshmallows if you can find them! Strawberry or chocolate marshmallows could create unique color and taste combinations.
- Edible Decorations: Beyond sprinkles, consider using small edible pearls, miniature candies, or even edible markers to draw intricate designs on your cooled treats. This is a fantastic way to personalize each Easter egg.
Step-by-Step: Crafting Your Easter Egg Rice Krispie Treats
To achieve a beautiful array of colorful Easter eggs, you will need to prepare the Rice Krispie treat mixture in separate batches for each desired color. This ensures vibrant, distinct shades for your festive creations. The recipe detailed below is for one batch, so repeat for each color you wish to make.
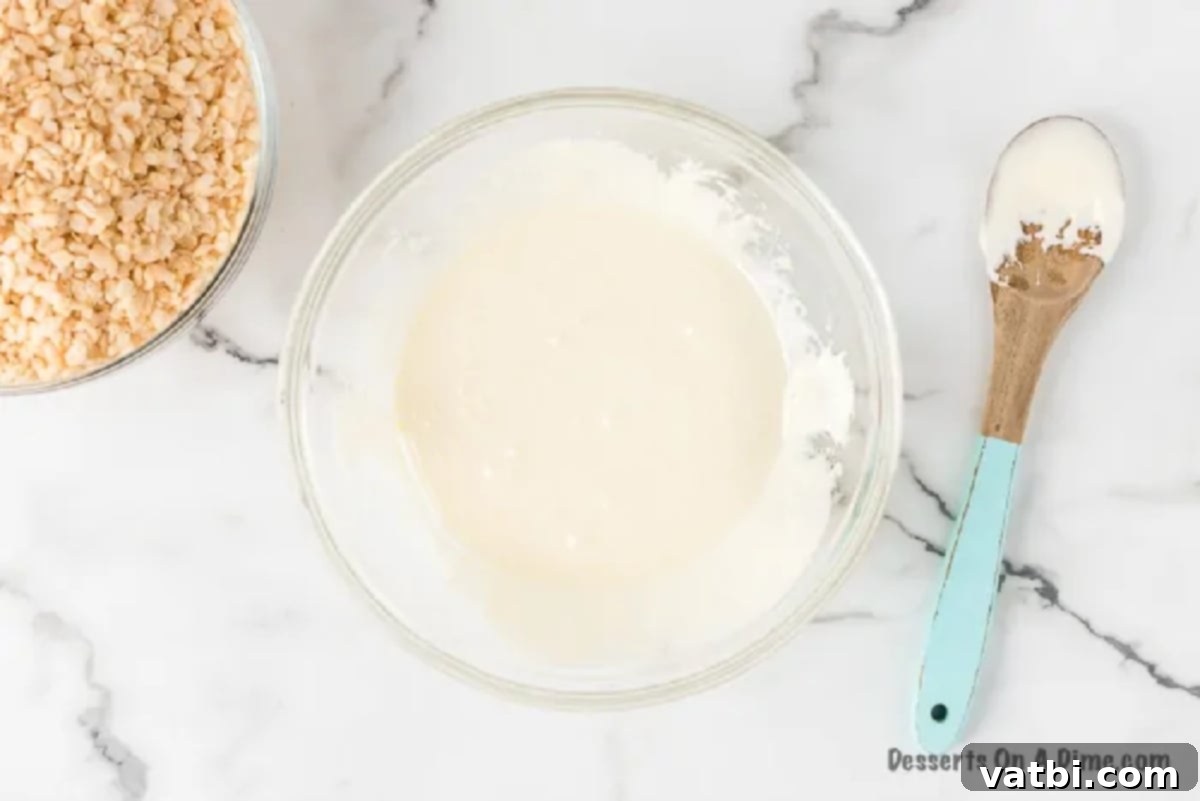
Step 1: Melt Butter and Marshmallows. Begin by melting the butter in a large, microwave-safe bowl. Use 3 tablespoons of butter for each batch. Once melted, add 5 cups of mini marshmallows to the bowl. Heat the mixture in 30-second intervals in the microwave, stirring thoroughly after each interval. Continue this process until the marshmallows are completely melted and the mixture is smooth and glossy. Ensure you stir well to combine the butter and marshmallows evenly.
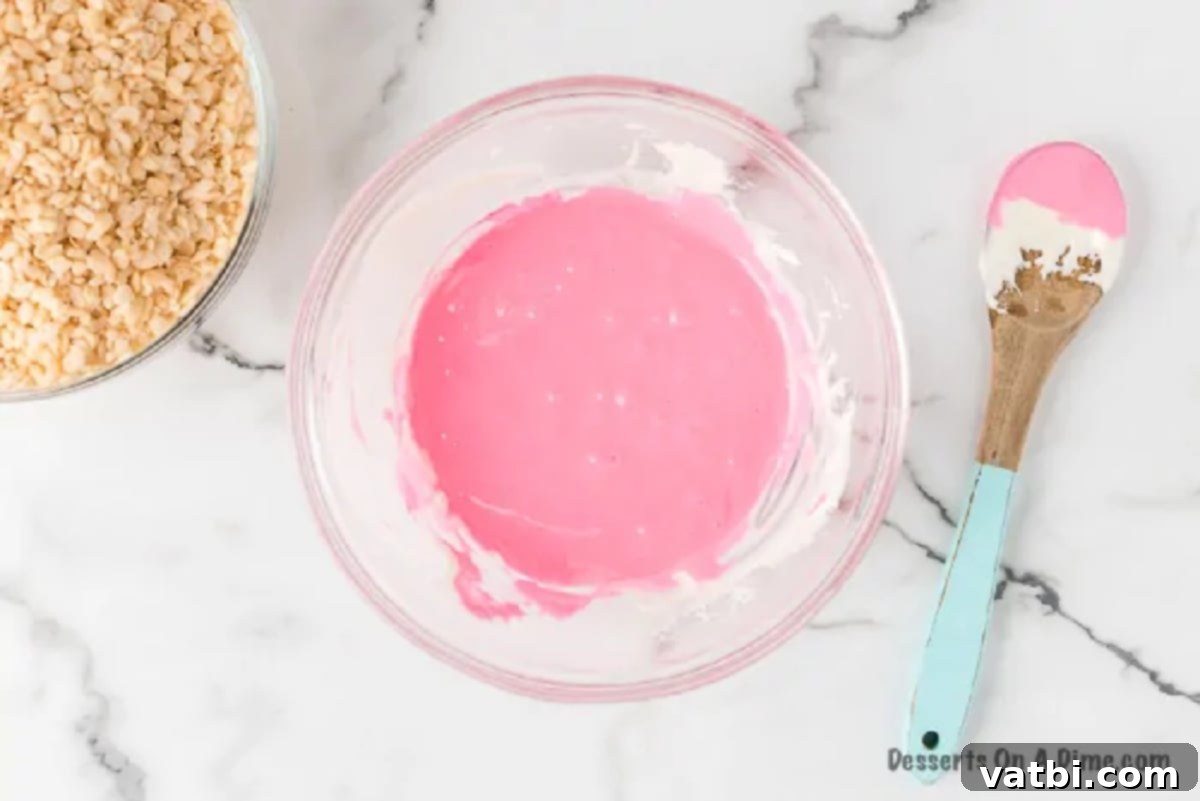
Step 2: Add Food Coloring. Once your marshmallow mixture is fully melted, add a few drops of your chosen food coloring (e.g., pink). Gel food coloring is recommended for more intense and vibrant hues. Stir the mixture vigorously until the color is evenly distributed and the desired shade is achieved. This is where the magic begins, transforming the white marshmallow base into a canvas of Easter colors.
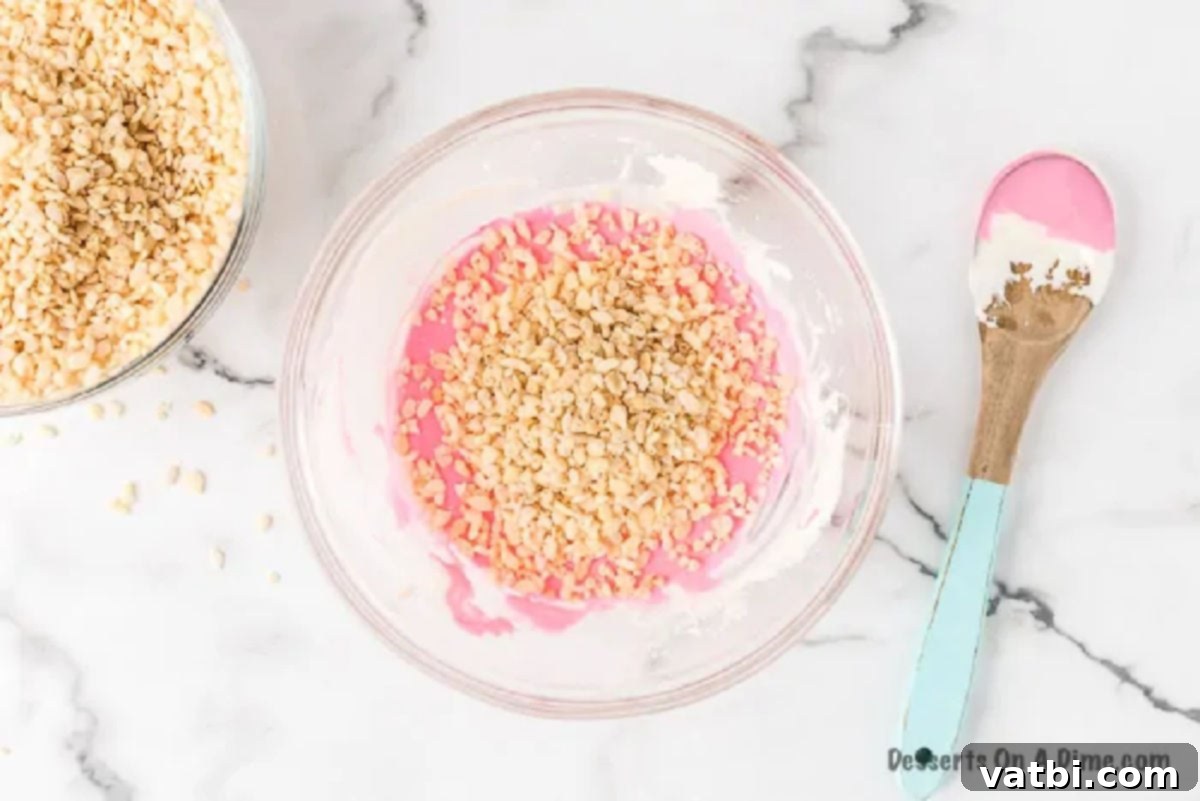
Step 3: Incorporate Cereal and Prepare Batches. Gently fold in 4 cups of Rice Krispies cereal into the colored marshmallow mixture. Stir until every piece of cereal is thoroughly coated with the sweet, sticky marshmallow. Avoid over-mixing, which can crush the cereal. Once combined, spread this batch evenly into a lightly greased pan (a parchment-lined baking sheet also works well) to cool slightly before shaping. Repeat this entire process three more times, using purple, yellow, and blue food coloring for your additional batches. This ensures you have a variety of vibrant colors for your Easter eggs.
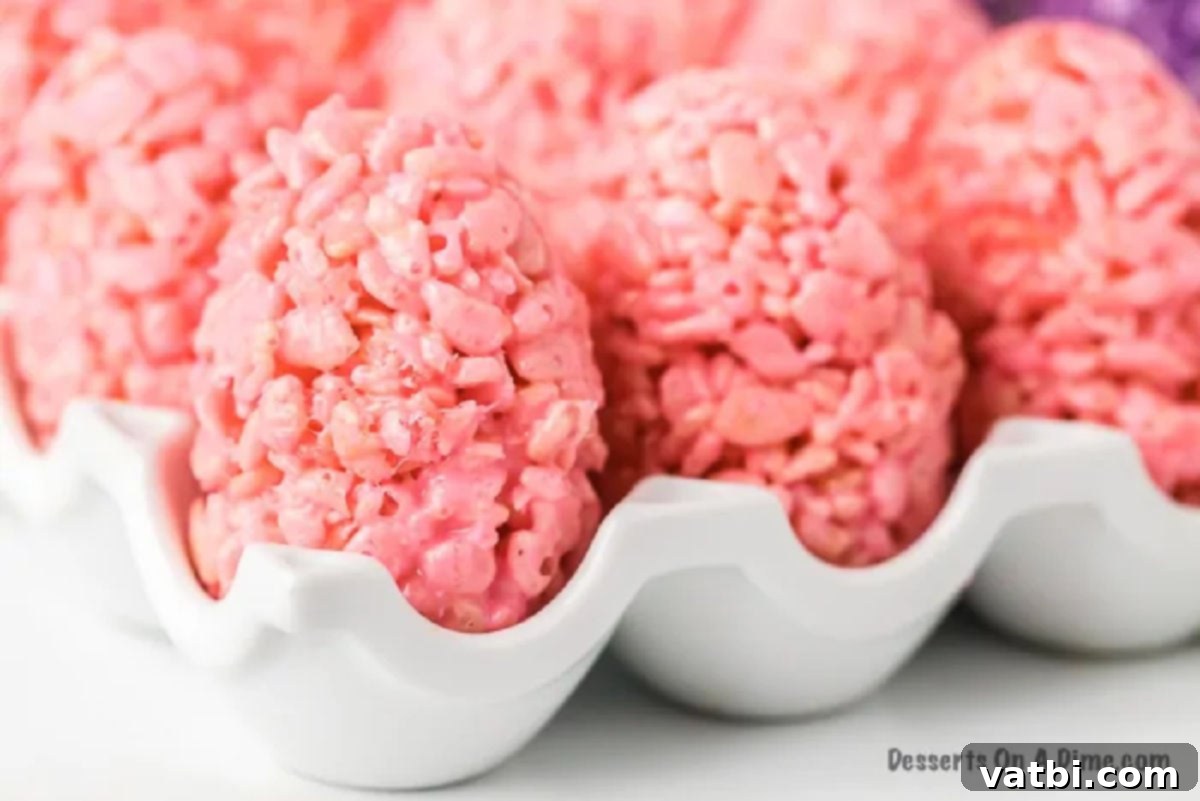
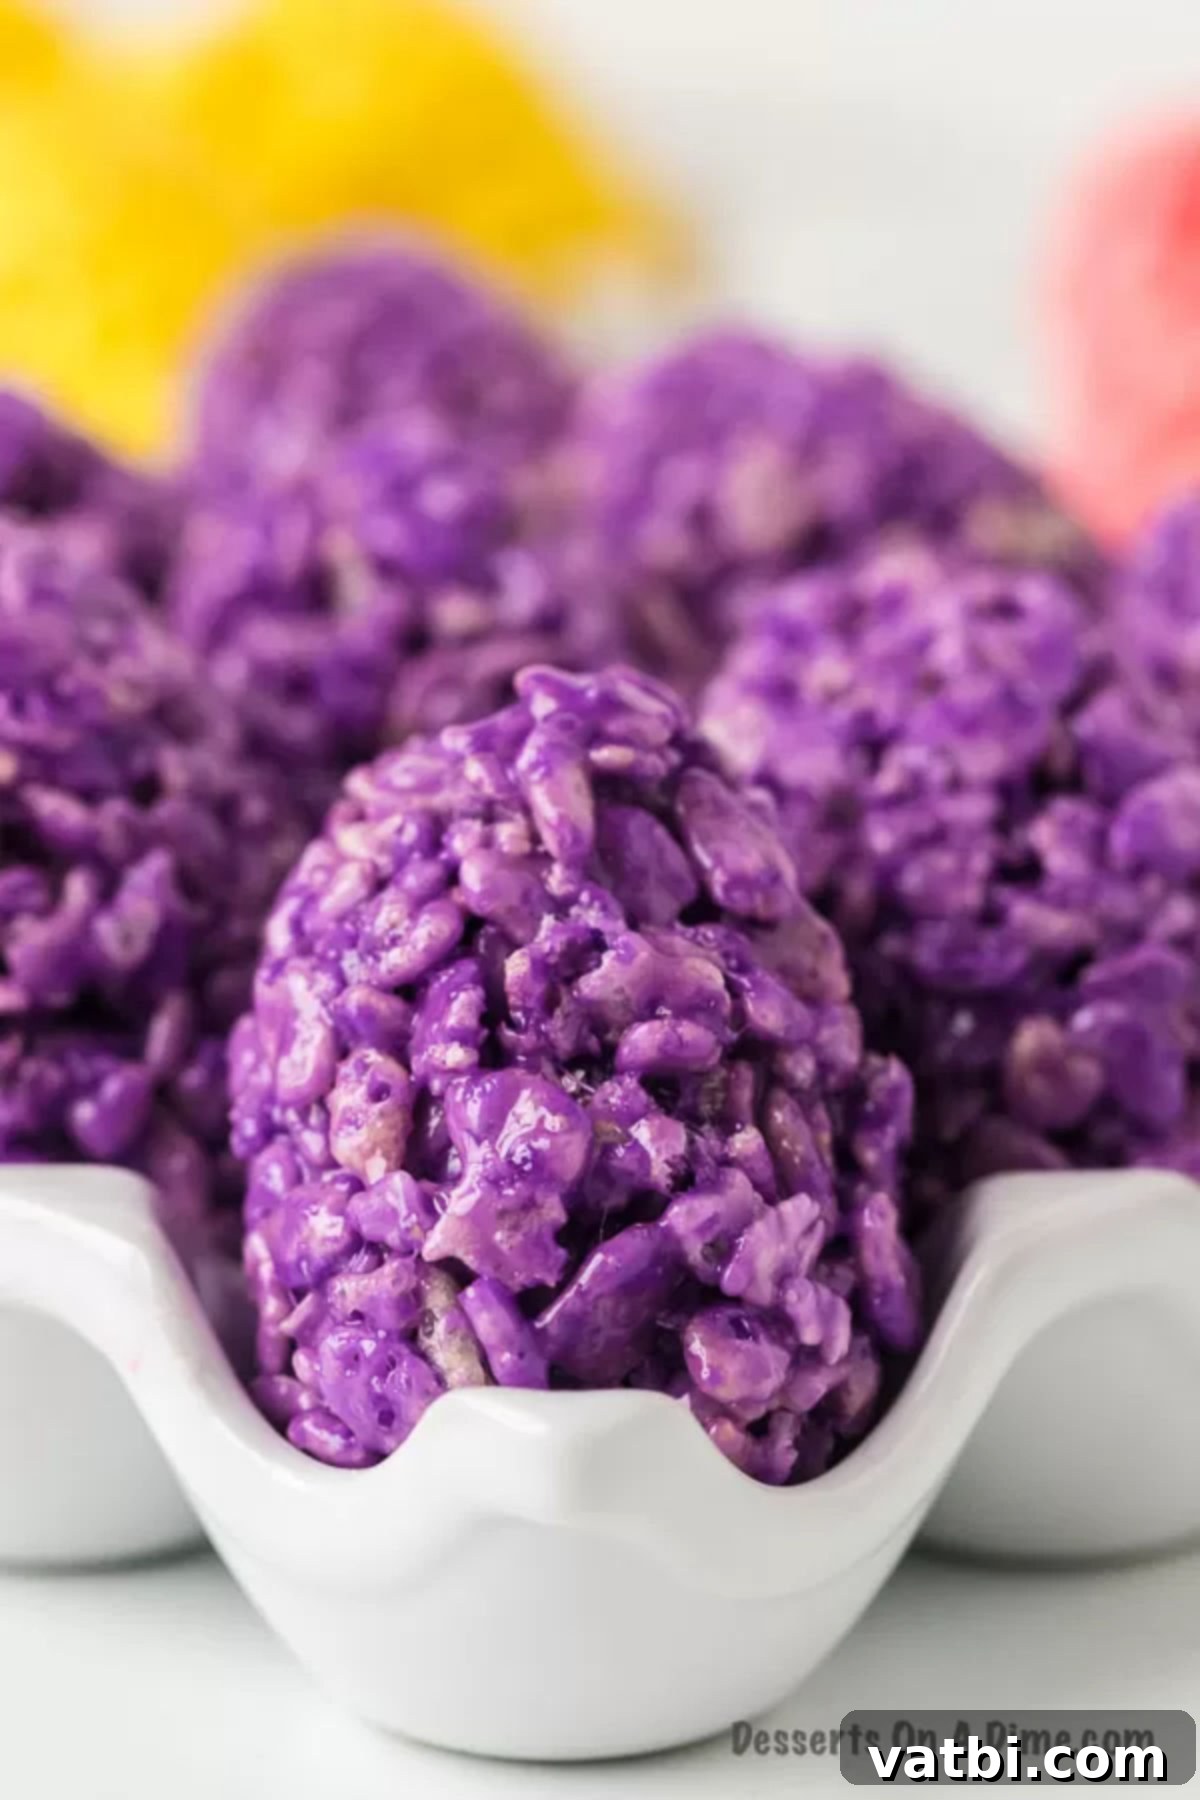
Step 4: Shape the Easter Eggs. Allow each batch of cereal mixture to cool slightly until it’s warm enough to handle but not too hot or sticky. Now comes the fun part: shaping the Easter eggs! Lightly spray your hands with cooking spray or butter to prevent sticking. Grab a handful of the mixture and gently compress it, then use your hands to mold it into the desired egg shape. Aim for a firm but not overly compressed form to keep them soft and gooey. You can also use plastic Easter egg molds, pressing the mixture into each half and then joining them for perfectly uniform eggs. Place the shaped eggs on a parchment-lined surface to cool completely.
Serving and Storing Your Festive Treats
Once your Easter Egg Rice Krispie Treats have cooled and set, they are ready to be enjoyed! Arrange them creatively in a decorative Easter basket, a pristine white egg carton for a charming presentation, or on a tiered dessert stand to showcase their vibrant colors. They make excellent party favors, delightful gifts, or simply a fun snack for the family.
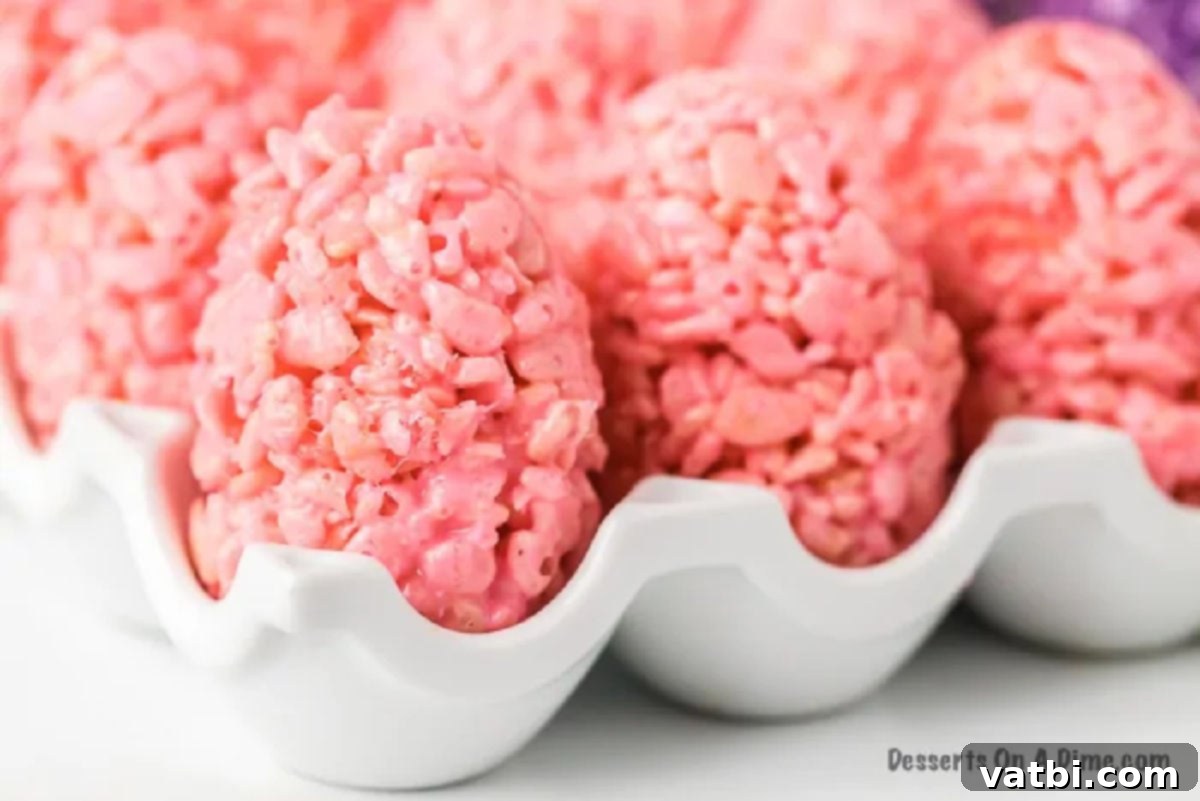
For storage, we highly recommend keeping your Rice Krispie Easter Egg Treats at room temperature in an airtight container. If you need to stack them, place a sheet of parchment paper between layers to prevent them from sticking together. Stored properly, these treats will retain their wonderful flavor and chewy texture for about 3-4 days. While they are safe to eat for up to a week, they are definitely at their best within the first few days of making them when they are at their freshest and gooest.
Frequently Asked Questions
It is generally not recommended to store Rice Krispie Treats in the refrigerator. Placing them in the fridge will cause the marshmallows to harden, resulting in treats that are tough and lose their delightful gooey texture, which is arguably the best part!
For optimal freshness and texture, store your Rice Krispie Easter Egg Treats at room temperature in an airtight container. They will last approximately 3 to 4 days when stored correctly. If you need to stack them, place a piece of parchment paper between each layer to prevent sticking.
For the brightest and most intense colors, use gel food coloring instead of liquid food coloring. Add a few drops to the melted marshmallow mixture and stir well until the color is evenly distributed. You can add more drops for a deeper hue.
There are a couple of common reasons for hard Rice Krispie treats. Overcooking the marshmallows can make them stiff once cooled, so melt them slowly and stir frequently. Additionally, packing the mixture too tightly when shaping the eggs will result in a dense, hard treat. Aim for gentle compression to keep them soft and chewy.
Yes, you can absolutely make these treats ahead of time! They are best enjoyed within 1-2 days of preparation to maintain their optimal freshness and gooeyness. Store them in an airtight container at room temperature until you’re ready to serve.
Expert Tips for the Best Easter Egg Rice Krispie Treats
- Storing for Freshness: As mentioned, store your Rice Krispie treats in an airtight container at room temperature. They will typically remain fresh and delicious for about 3 to 4 days. Beyond that, they may start to lose their soft, chewy texture.
- Gentle Cooking is Key: Always cook your butter and marshmallows over low heat, or in short intervals in the microwave, stirring often. Increasing the heat too much or overcooking the marshmallow mixture will result in hard, tough treats rather than the desired soft and gooey consistency.
- Maintain Room Temperature: Resist the urge to refrigerate these treats. While it might seem like a good way to set them faster, chilling them will make them stiff and less enjoyable. They are truly best when allowed to cool and set naturally at room temperature.
- Shaping Made Easy: If you find the mixture too sticky to shape into eggs, spraying your hands with cooking spray or lightly buttering them will make the process much smoother. For perfectly uniform egg shapes, consider using clean plastic Easter egg molds. Simply press the mixture into each half and then gently press the halves together.
- Fresh Marshmallows Make a Difference: For the ultimate chewy and gooey texture, always use fresh marshmallows. Older marshmallows can be drier and may not melt as smoothly, affecting the final consistency of your treats.
- Even Color Distribution: When adding food coloring, stir thoroughly until the color is completely blended and no streaks remain. This ensures each Easter egg is uniformly vibrant.
- Don’t Over-Compress: When shaping the eggs, press the mixture just enough to hold its form. Over-compressing will squeeze out air, making the treats dense and hard instead of light and chewy.
More Irresistible Easter Desserts
Looking for more sweet inspiration for your Easter celebration? Pair your festive Rice Krispie eggs with these other delicious holiday treats:
- Easter Chocolate Bark
- Easter Rice Krispie Treats (Traditional)
- Peeps Rice Krispie Treats Recipe
- Italian Easter Cookies Recipe
- Easter Egg Sugar Cookies Recipe
- Easter Chocolate Covered Oreos
Other Amazing Rice Krispie Treat Recipes
If you’re a fan of Rice Krispie treats, you’ll love exploring these other creative and delicious variations beyond the classic and seasonal Easter eggs:
- Peanut Butter Rice Krispie Treats (Note: original link was Peanut Butter Fudge, corrected to reflect a Rice Krispie treat variation)
- How to Make Perfect Classic Rice Krispie Treats
- Neapolitan Rice Krispie Treats
- 25 Best Rice Krispie Treats Recipes
Give this delightful recipe a try for a truly festive and memorable Easter treat that’s sure to impress everyone. After you’ve made them, please take a moment to leave a star rating and share your comments – I always love hearing from you and seeing your wonderful creations!
Pin
Easter Egg Rice Krispie Treats
Ingredients
- 18 cups Mini Marshmallows
- 12 Tablespoons Butter
- 16 cups Rice Krispies Cereal
- Pink Purple, Yellow and Blue Food Coloring
Instructions
-
For distinct and vibrant colors, prepare the Rice Krispie treats in 4 separate batches, one for each color of Easter eggs you wish to create.
-
For the first batch, melt 3 tablespoons of butter in a large microwave-safe bowl. Add 5 cups of mini marshmallows. Heat in 30-second intervals, stirring thoroughly between each interval, until the mixture is completely melted and smooth.
-
Add a few drops of pink food coloring to the melted marshmallow mixture. Stir until the color is well combined and evenly distributed throughout.
-
Gently stir in 4 cups of Rice Krispies cereal. Mix until the cereal is completely coated with the pink marshmallow mixture. Spread this batch evenly in a prepared pan (lightly greased or lined with parchment paper).
-
Repeat the entire melting, coloring, and mixing process three more times, using purple, yellow, and blue food coloring for your subsequent batches to create a variety of colorful eggs.
-
Allow each batch of the Rice Krispie mixture to cool slightly until it’s warm enough to handle comfortably.
-
Now it’s time for the most creative step: shaping the Easter eggs!
-
Lightly grease your hands with cooking spray or butter. Grab a handful of the Rice Krispie mixture from one of your colored batches and use your hands to gently form it into an egg shape. Repeat with all colors.
-
Place the shaped Rice Krispie Eggs on parchment paper and allow them to cool and set completely at room temperature.
-
Serve and enjoy your festive Easter Egg Rice Krispie Treats!
Recipe Video
Recipe Notes
Nutrition Facts
Pin This Now to Remember It Later
Pin Recipe
