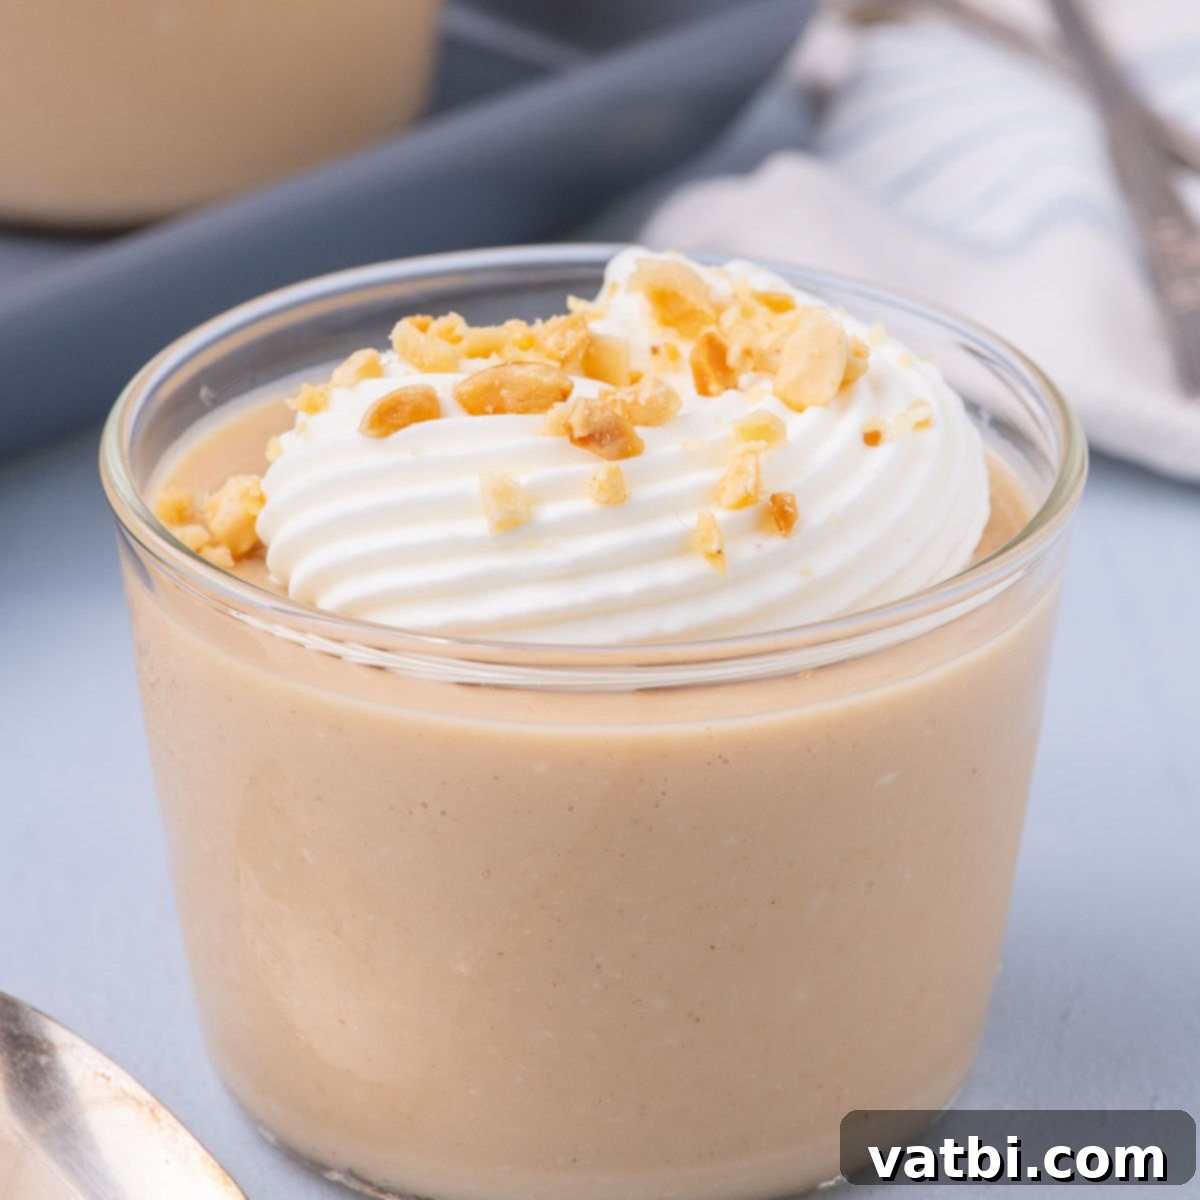
Classic Homemade Peanut Butter Pudding: An Easy, Creamy, and Irresistible Dessert Recipe
Dive into the delightful world of homemade desserts with our **Peanut Butter Pudding**! This isn’t just any pudding; it’s a lusciously creamy creation, bursting with rich, authentic peanut flavor. What makes it even better? It’s incredibly easy to make from scratch using simple pantry staples, promising a dessert that’s both deeply satisfying and wonderfully rich.
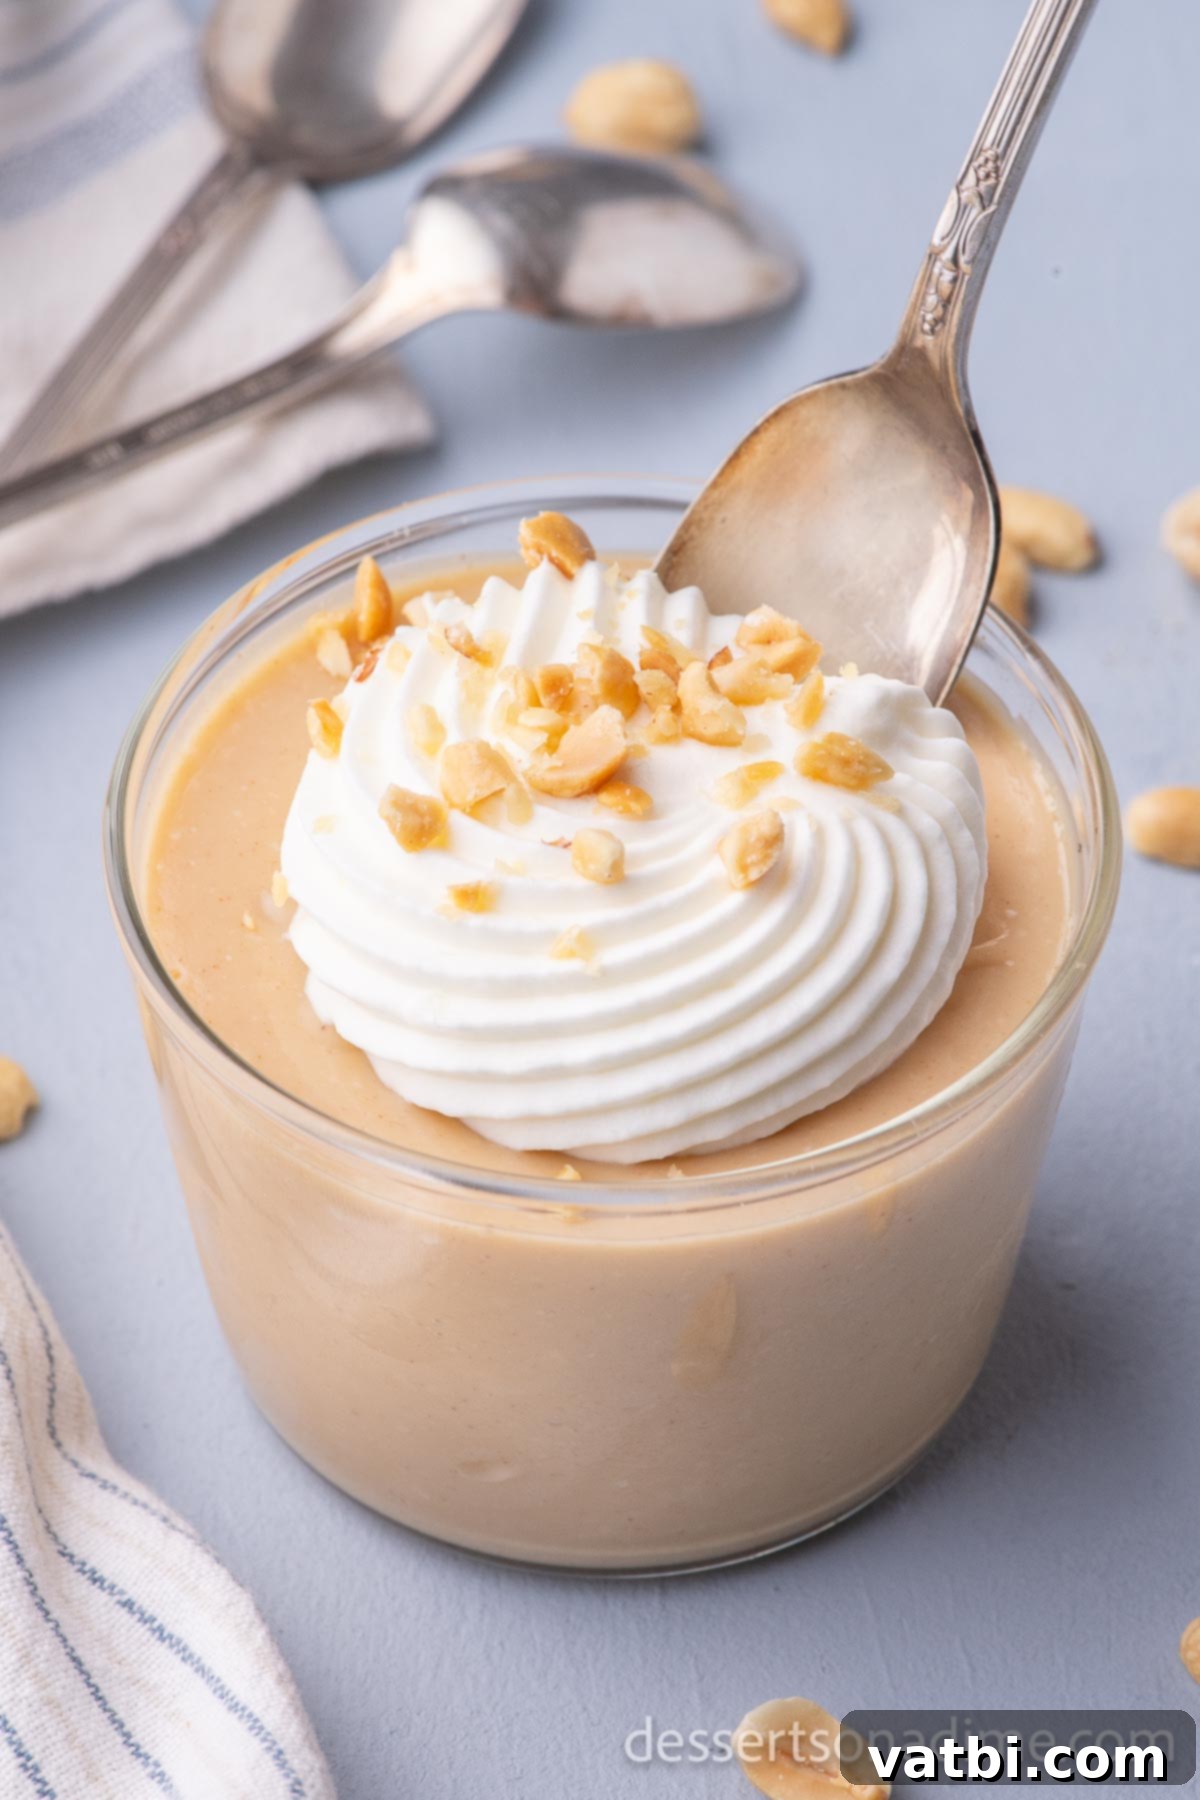
If you consider yourself a peanut butter enthusiast, then this dessert is an absolute must-try. Our recipe simplifies the art of making homemade pudding, requiring just a few basic ingredients and minimal effort. The result is a velvety smooth treat that’s perfect on its own or elevated with a generous dollop of whipped cream and a scattering of extra peanuts or chocolate shavings.
Making homemade pudding is a cherished activity in our kitchen, and this peanut butter rendition quickly became a family favorite, joining the ranks of our beloved Tapioca Pudding, vibrant Orange Pudding, and classic Chocolate Pudding. Beyond puddings, we adore Peanut Butter Desserts, offering a range of delicious options like our crowd-pleasing Peanut Butter Rice Krispie Treats Recipe, the airy Peanut Butter Fluff, and the delightfully chewy Peanut Butter Cake Mix Cookies. This pudding recipe offers yet another fantastic way to enjoy that irresistible peanut butter flavor.
What’s in this post: Peanut Butter Pudding
- What is Peanut Butter Pudding?
- Why Choose Homemade Pudding?
- Ingredients:
- Variations & Serving Suggestions
- Step-by-Step Instructions
- Pro Tips for Perfect Pudding
- Frequently Asked Questions
- More Pudding Recipes:
- Peanut Butter Pudding Recipe Card
What is Peanut Butter Pudding?
At its heart, Peanut Butter Pudding is a delightful homemade dessert featuring a smooth, creamy base infused with the unmistakable flavor of peanut butter. Unlike instant mixes, this from-scratch recipe utilizes common pantry staples to create a pudding that’s far superior in taste and texture. It’s a simple yet elegant dessert that comes together surprisingly quickly, perfect for satisfying those sudden sweet cravings or impressing guests with a classic, comforting treat.
The magic happens when creamy peanut butter is carefully folded into a cooked custard base, resulting in a rich, velvety consistency and an intensely nutty flavor that peanut butter lovers dream of. Each spoonful offers a harmonious blend of sweetness and the deep, roasted notes of peanuts, making it an utterly irresistible experience. It’s truly a testament to how a few basic ingredients can transform into something extraordinary.
If you’re fond of all things peanut butter, you might also enjoy making Homemade Nutter Butter Cookies or our ridiculously simple 3 Ingredient Peanut Butter Cookies. And for those who enjoy the satisfaction of creating from scratch, our 3 Ingredient Pie Crust Recipe is a game-changer for homemade pies.
Why Choose Homemade Pudding?
While convenience often steers us towards store-bought options, there’s an unparalleled joy and flavor that comes with homemade pudding. Opting to make your peanut butter pudding from scratch gives you complete control over the ingredients, allowing you to choose high-quality milk, fresh vanilla, and your favorite brand of creamy peanut butter. This attention to detail translates directly into a richer, more authentic flavor profile that simply can’t be replicated by a box mix.
Beyond taste, the process itself is surprisingly therapeutic and rewarding. There’s a comforting nostalgia associated with whisking ingredients on the stovetop and watching them transform into a thick, glossy pudding. Plus, homemade pudding often has a superior, velvety-smooth texture without the artificial aftertaste that can sometimes be present in commercial varieties. It’s a simple pleasure that elevates any meal or snack, providing a wholesome and delicious treat for the whole family.
Ingredients:
This recipe relies on a handful of straightforward ingredients that you likely already have in your pantry or can easily find at any grocery store. The quality of these ingredients will directly impact the final flavor and texture of your pudding, so choose wisely!
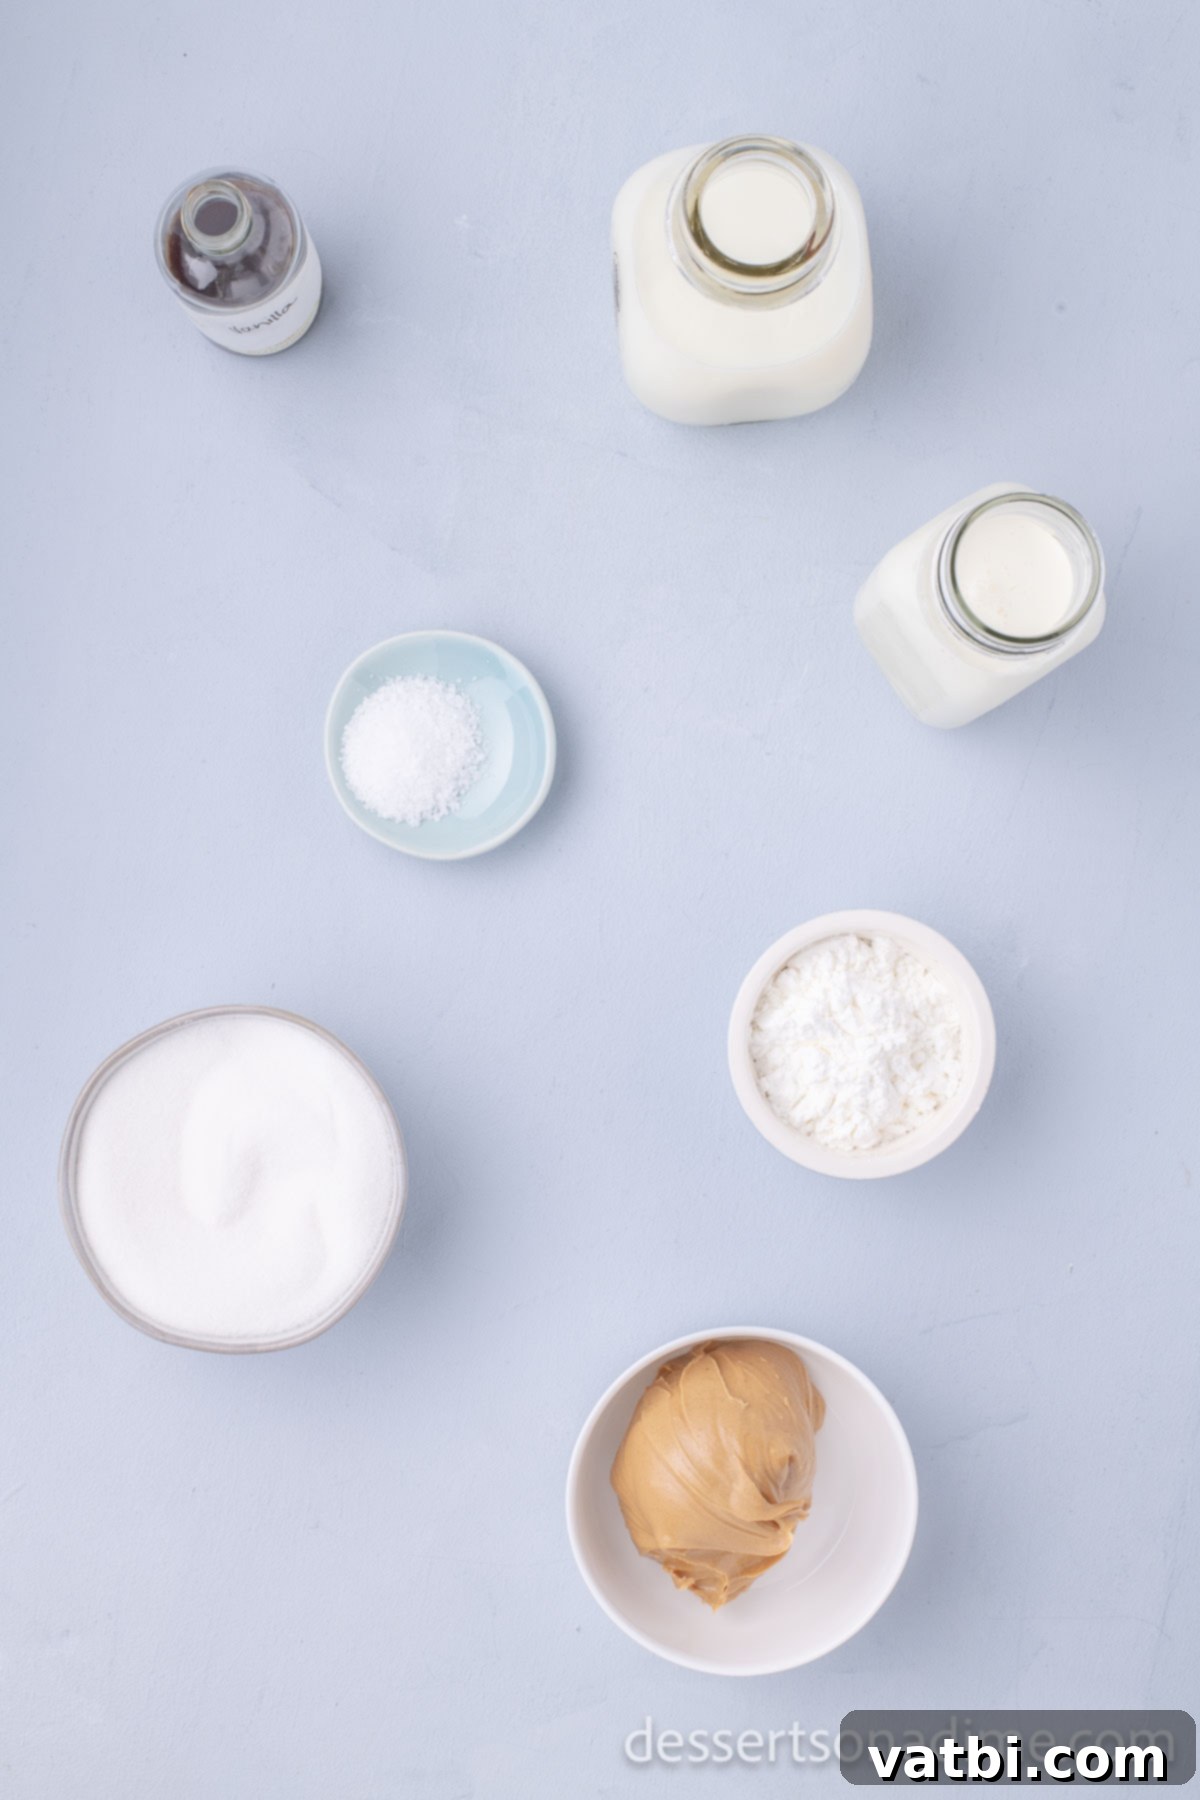
- Granulated Sugar: Provides the essential sweetness. You can adjust the amount slightly to suit your preference.
- Cornstarch: This is our key thickening agent, giving the pudding its characteristic smooth and creamy consistency.
- Whole Milk: Contributes to the rich, full-bodied texture of the pudding. Using whole milk is recommended for the best results, but 2% milk can also work in a pinch.
- Half and Half: Adds an extra layer of creaminess and indulgence, making the pudding exceptionally smooth and luxurious.
- Creamy Peanut Butter: The star of the show! Use your favorite creamy variety for a silky-smooth pudding. Natural peanut butter might separate, so choose a processed, creamy brand for consistency.
- Vanilla Extract: Enhances all the other flavors, adding a subtle warmth and depth to the peanut butter.
For precise measurements and detailed instructions, scroll down to the complete recipe card at the bottom of this post.
Variations & Serving Suggestions
This versatile Peanut Butter Pudding recipe can be easily customized and served in many delightful ways. Here are some ideas to inspire you:
- Decadent Pie Filling: This luscious pudding makes an exceptional filling for a graham cracker crust or a traditional pie crust. Simply pour the cooled pudding into a prepared crust, chill thoroughly, and serve for an effortless yet impressive peanut butter pie. Top with whipped cream and a sprinkle of chocolate shavings!
- Ultimate Toppings: Elevate your pudding cups with a variety of delicious toppings. Beyond the classic whipped cream and chopped peanuts, consider:
- Mini Chocolate Chips: A natural pairing with peanut butter.
- Chopped Peanut Butter Cups: For an extra layer of peanut butter and chocolate goodness.
- Chocolate Syrup Drizzle: A simple way to add rich chocolate flavor.
- Crushed Cookies: Oreos, Nutter Butters, or even shortbread cookies add wonderful texture.
- Sprinkles: Especially fun for kids or festive occasions.
- Melted Chocolate Drizzle: White, milk, or dark chocolate can all work beautifully.
- Layered Parfaits: Create stunning parfaits by layering the peanut butter pudding with whipped cream, crushed cookies, chocolate chips, or even sliced bananas in clear glasses.
- Crunchy Peanut Butter: If you love a textural contrast, you could try using crunchy peanut butter, but be aware it will change the smooth texture of the pudding. Alternatively, use creamy peanut butter and stir in some roasted, chopped peanuts at the end for crunch.
- Dairy-Free Option: For a dairy-free version, substitute whole milk and half-and-half with a combination of full-fat canned coconut milk and plant-based milk (like almond or oat milk). Ensure your peanut butter is also dairy-free.
Step-by-Step Instructions
Creating this rich and creamy peanut butter pudding is a straightforward process. Follow these detailed steps for perfect results every time:
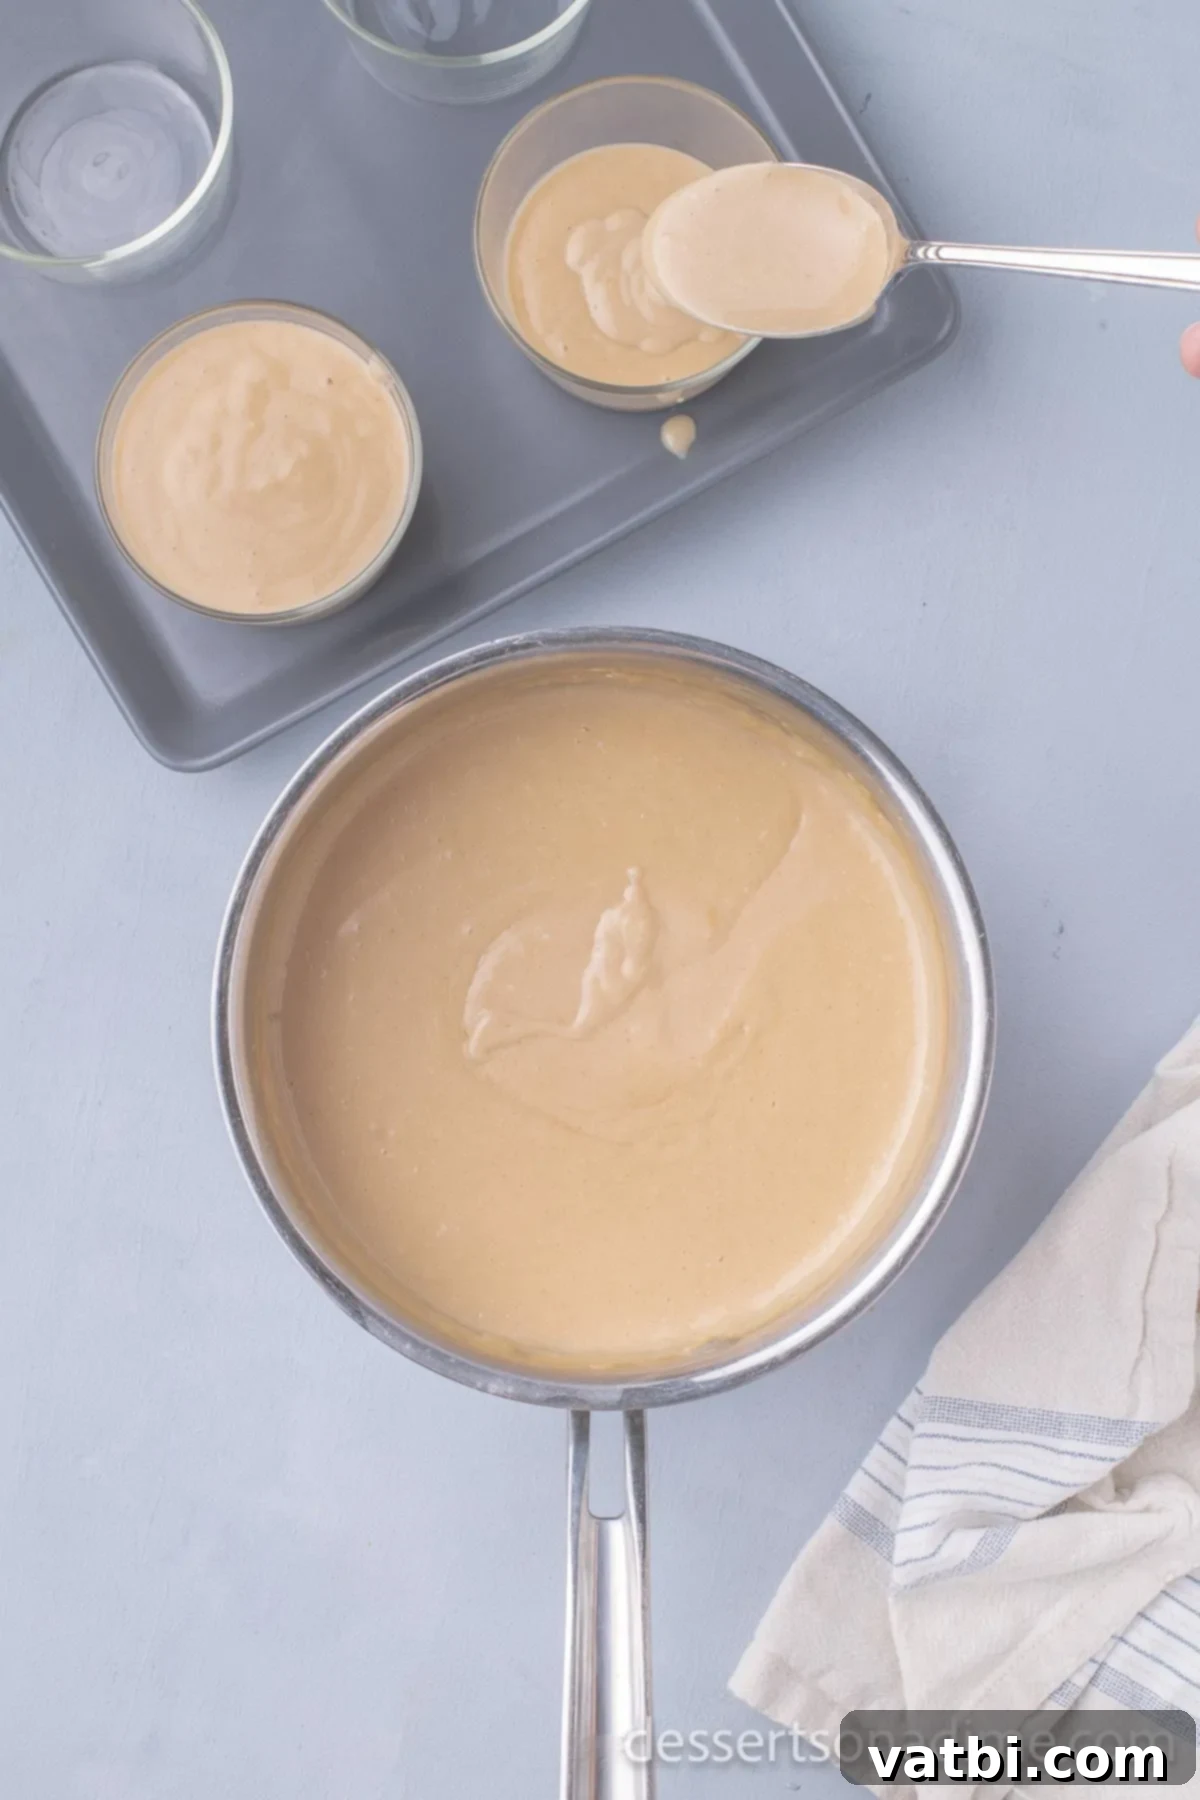
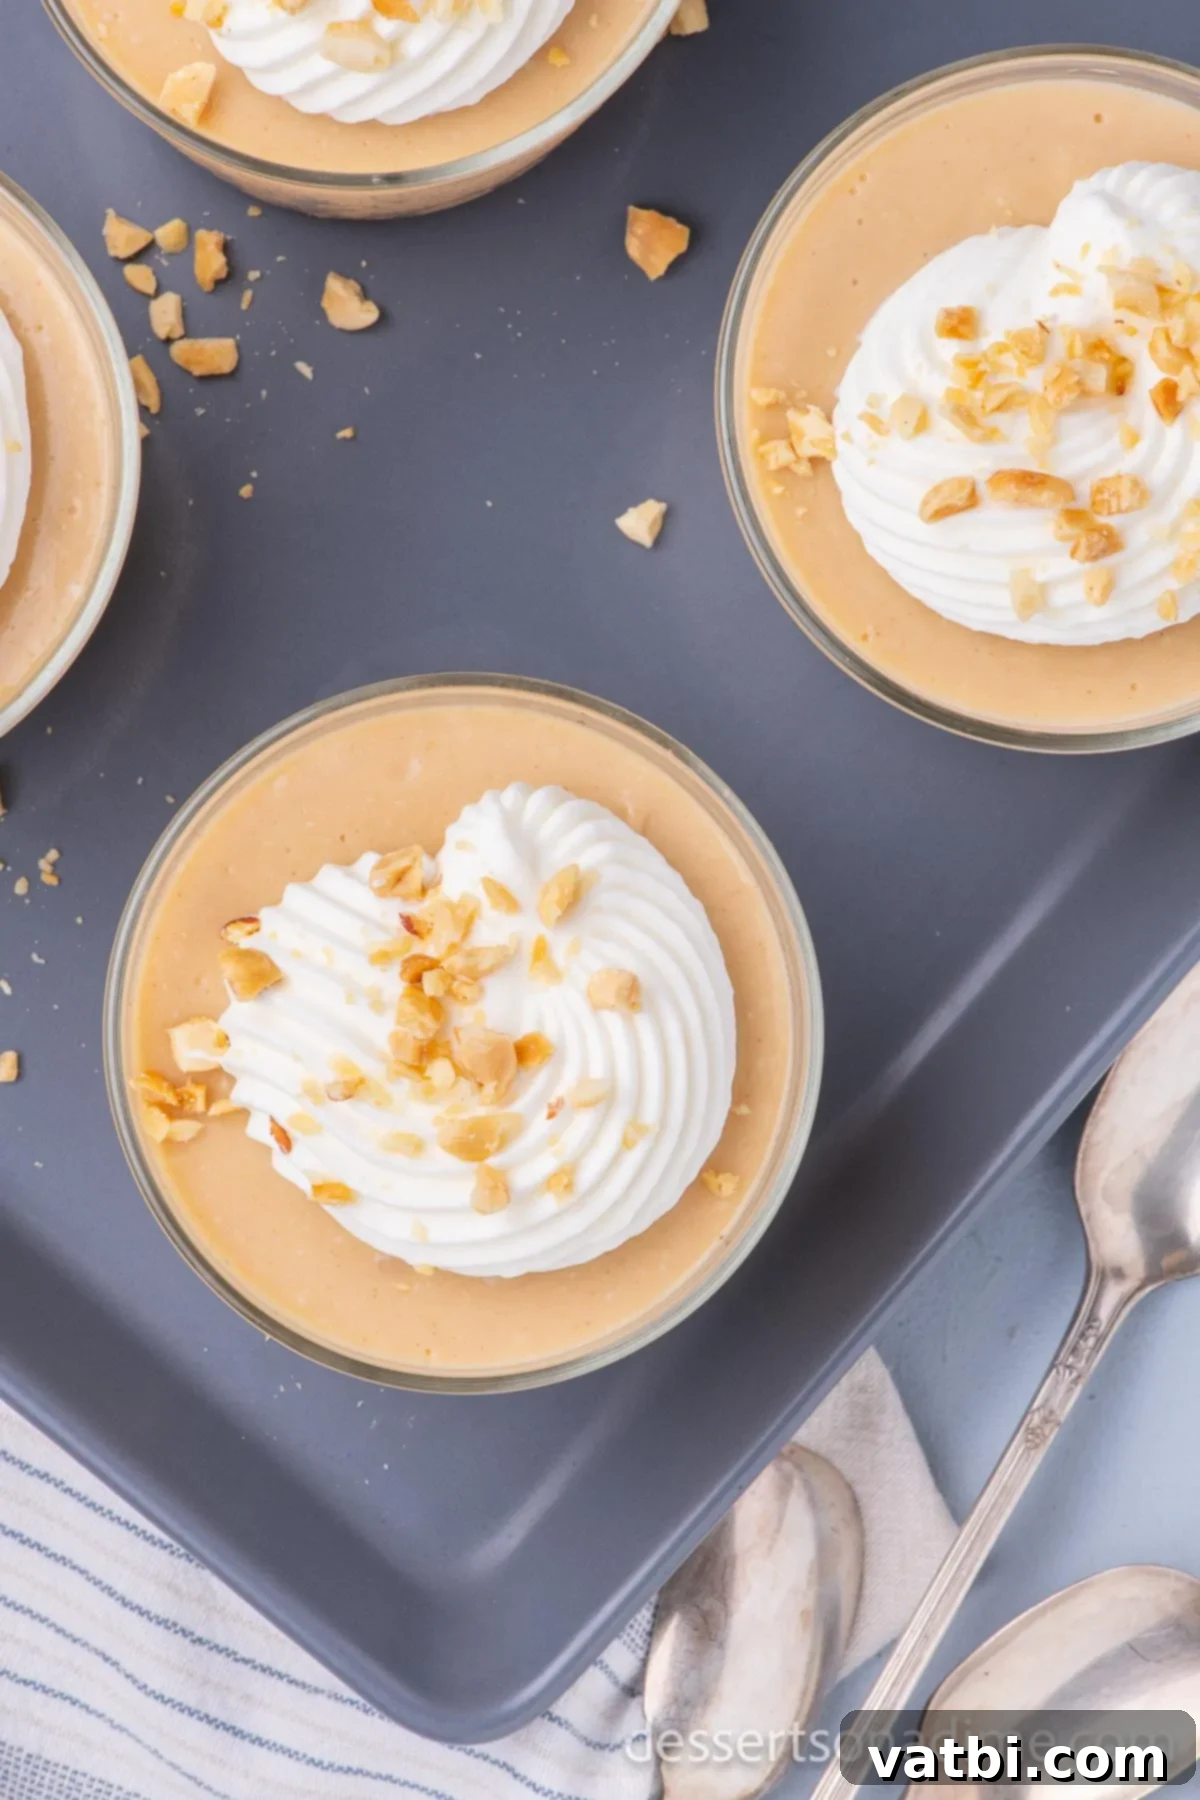
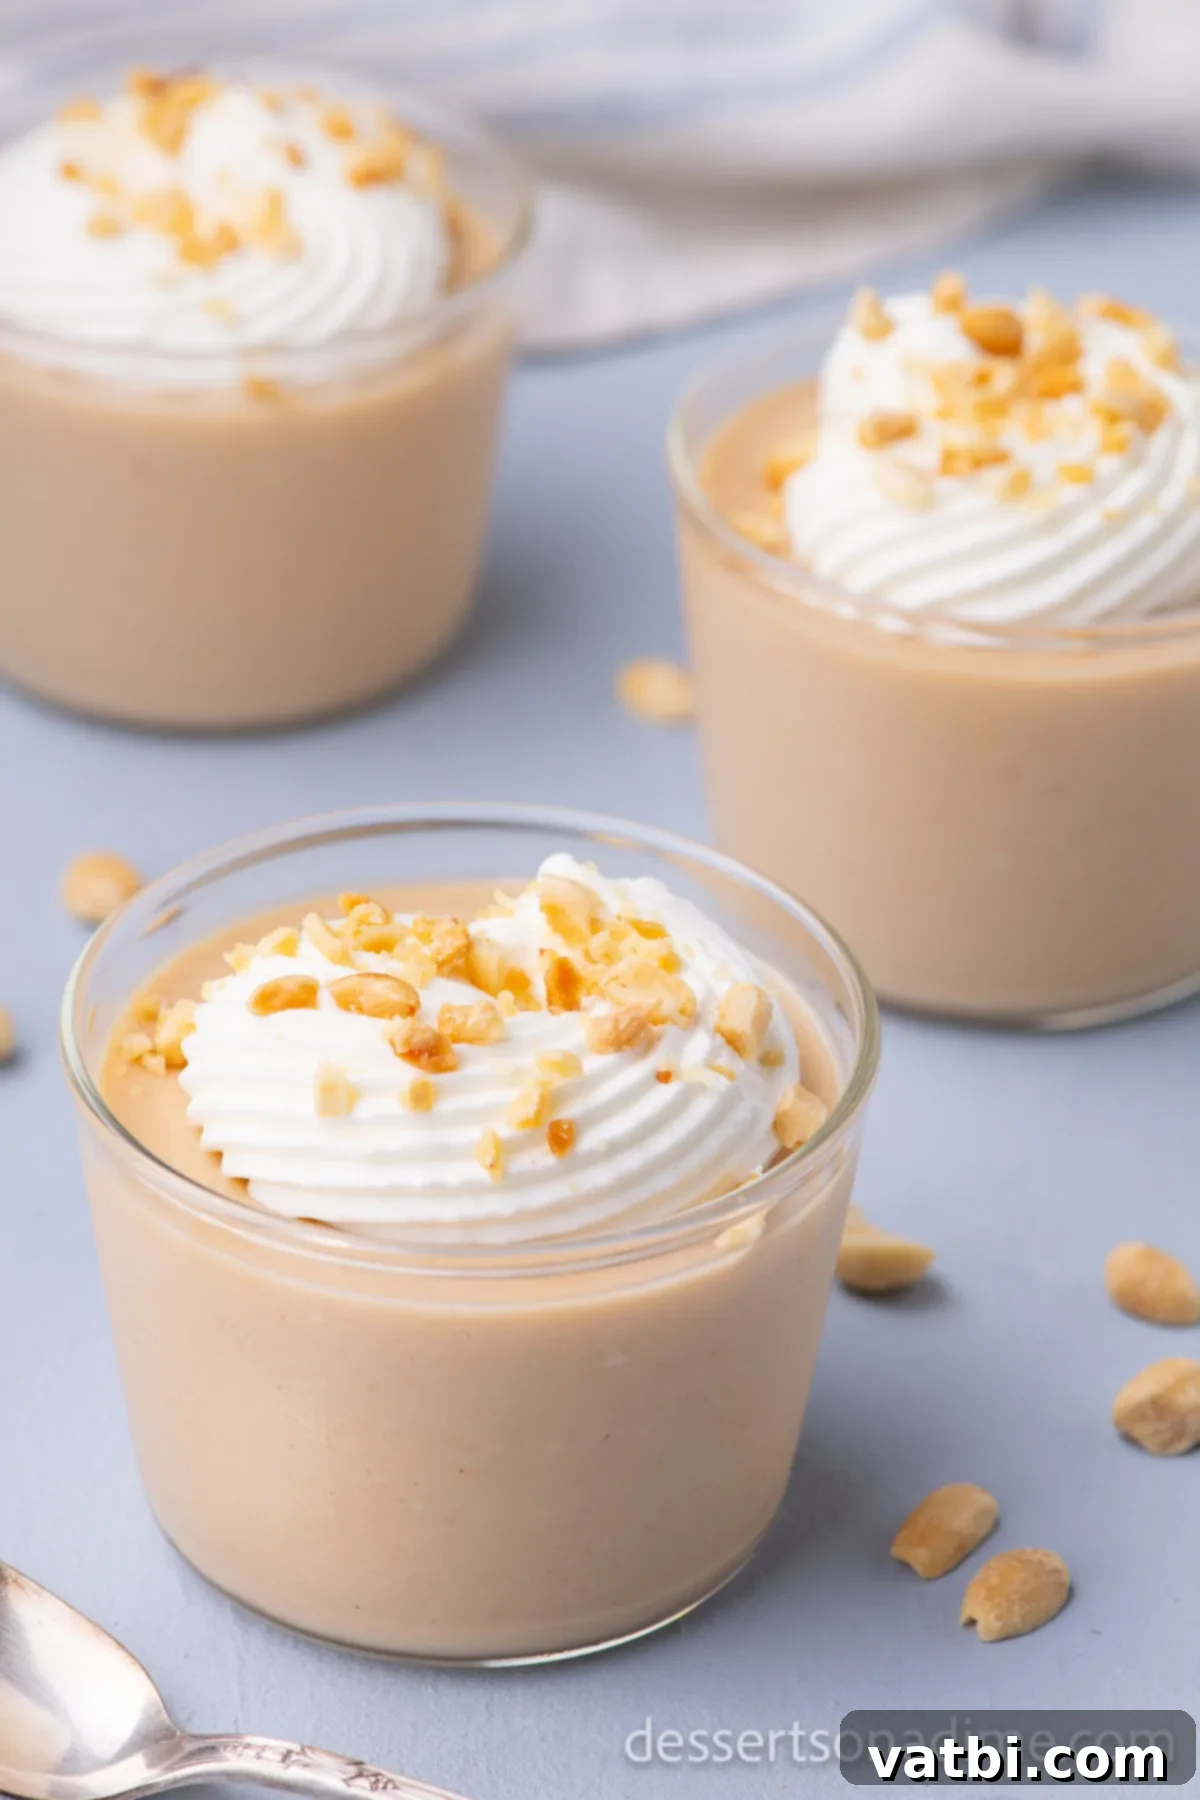
Pro Tips for Perfect Pudding
Achieving a consistently smooth and delicious homemade pudding is easier than you think, especially with these expert tips:
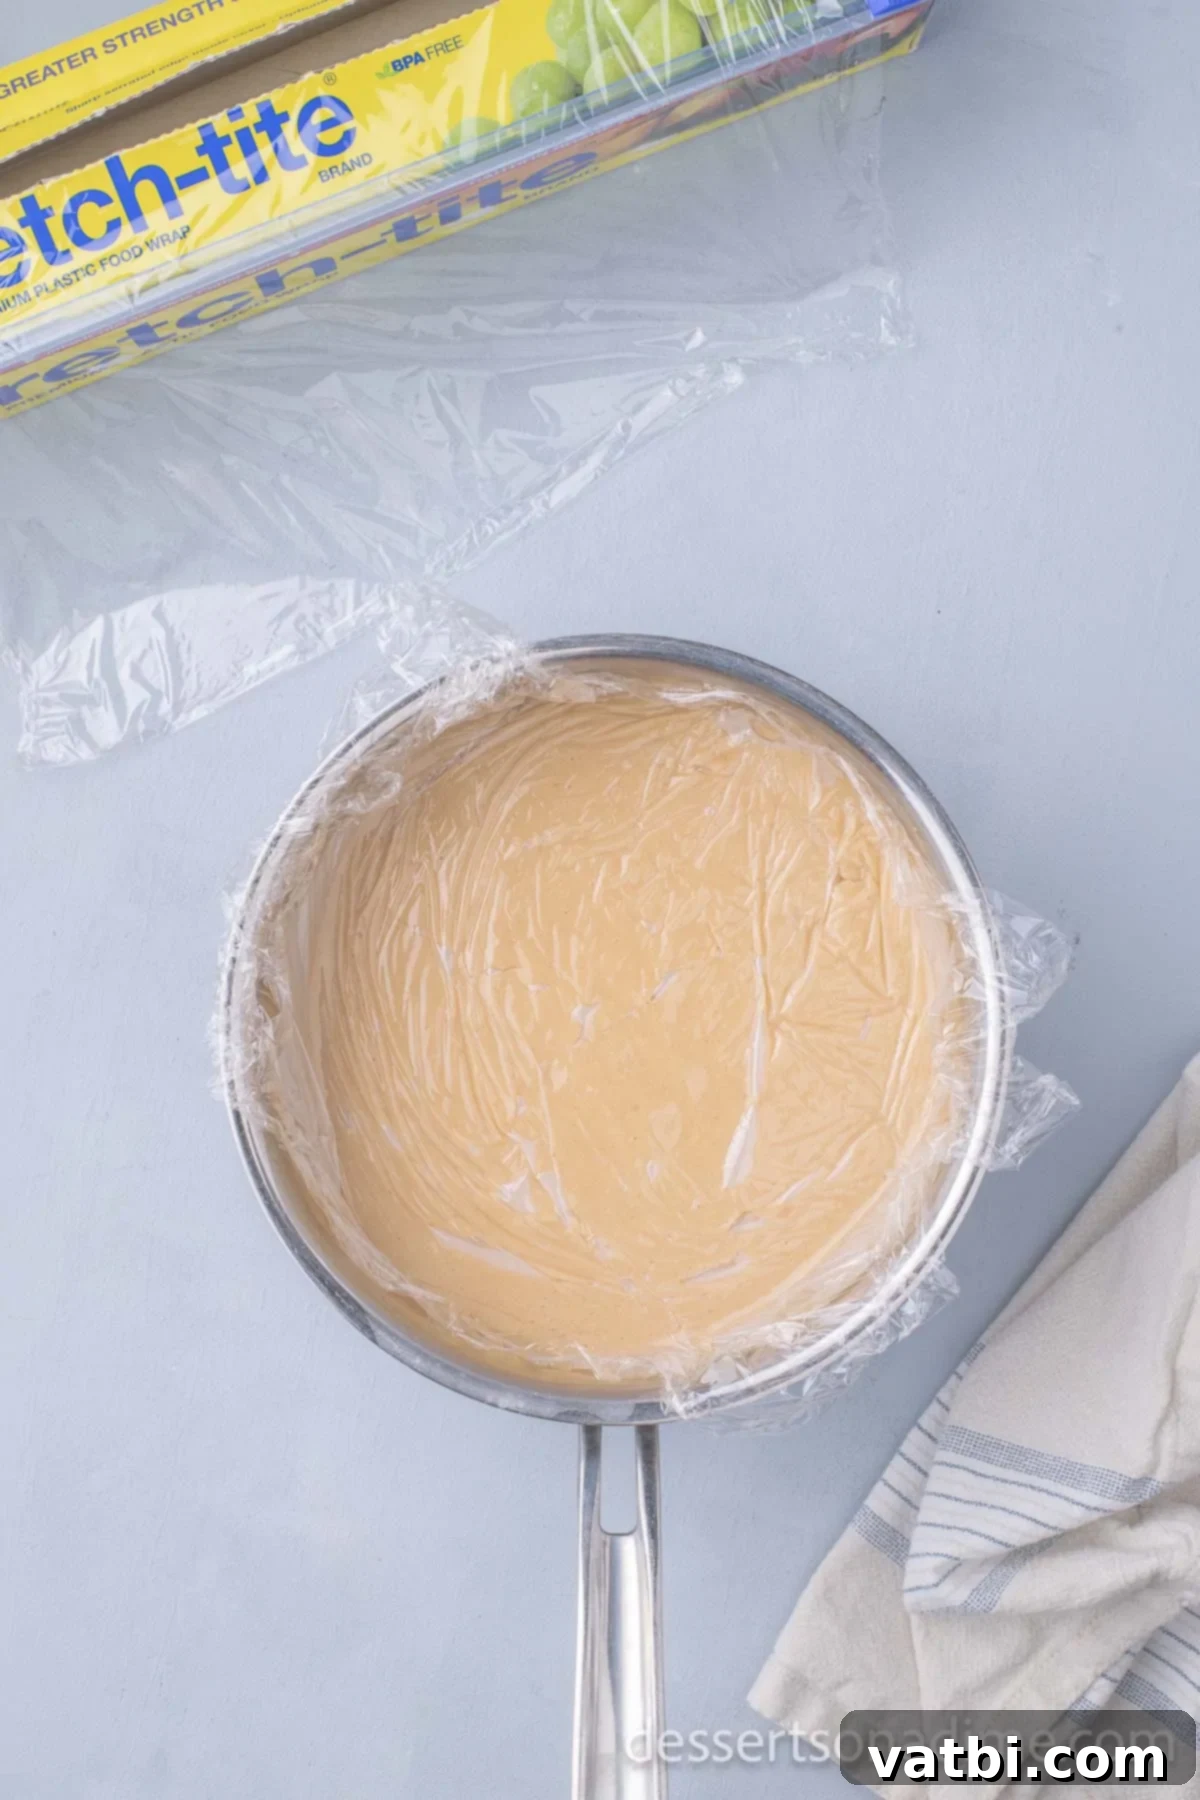
- Preventing the “Skin”: It’s absolutely crucial to use plastic wrap correctly. After the pudding has cooled to room temperature, press the plastic wrap down directly onto the surface of the pudding. This prevents air from forming a tough, unappealing film on top as it chills in the refrigerator.
- Patience is Key for Chilling: While it might be tempting to dig in immediately, refrigerating the pudding for at least 1 hour (or even longer) is essential. This not only allows it to properly chill but also gives it time to thicken to its ideal, luscious consistency and for the flavors to meld beautifully.
- Whisking is Your Best Friend: Constant whisking, especially when adding liquids and bringing the mixture to a boil, is vital. This prevents lumps from forming and ensures that the cornstarch dissolves completely, leading to a perfectly smooth pudding. Don’t stop stirring!
- Heavy-Bottomed Saucepan: Using a heavy-bottomed saucepan helps distribute heat more evenly, reducing the risk of the pudding scorching on the bottom.
- Testing for Doneness: The pudding is done cooking when it thickens significantly and coats the back of a spoon. If it’s too thin after the recommended cook time, you can continue to cook and whisk for another minute or two, but be careful not to overcook.
- Troubleshooting Lumps: If, despite your best efforts, you end up with a few lumps, don’t despair! You can press the warm pudding through a fine-mesh sieve before chilling to achieve a perfectly smooth texture.
- Quality Ingredients Matter: Since this recipe uses only a few ingredients, the quality truly shines through. Opt for good quality creamy peanut butter and fresh vanilla extract for the best flavor.
Frequently Asked Questions
Store any leftover pudding in an airtight container in the refrigerator for up to 1 week. Ensure the container is sealed well to maintain freshness and prevent any odors from the fridge affecting its taste.
Yes, you can freeze pudding, but be aware that its texture might change slightly upon thawing, potentially becoming a bit grainier. To freeze, transfer the pudding to an airtight, freezer-safe container, leaving about half an inch of headspace. Freeze for up to 3 months. When you’re ready to enjoy it, thaw the pudding in the refrigerator overnight. A quick whisk after thawing can help restore some of its original creaminess.
Lumps usually occur if the cornstarch wasn’t fully dissolved or if the mixture wasn’t whisked constantly. If you find your pudding has lumps after cooking, you can easily remedy this! Simply pour the warm pudding through a fine-mesh sieve or strainer into a clean bowl. Press it through with a spatula to remove any lumps, and you’ll have a perfectly smooth pudding.
While natural peanut butter is often healthier, it tends to separate more easily and can result in a slightly less smooth or consistent pudding texture. For the creamiest and most traditional pudding, we recommend using a processed creamy peanut butter (like Jif or Skippy) that doesn’t require stirring.
The amount of sugar in this recipe provides a balanced sweetness. If you prefer a less sweet pudding, you can reduce the granulated sugar by 1-2 tablespoons. If you like it sweeter, you can add an extra tablespoon of sugar. Taste the mixture before it thickens to get an idea, but remember the flavor will intensify as it cools.
More Pudding Recipes:
If you’ve fallen in love with homemade pudding, be sure to explore some of our other fantastic recipes:
- Eggnog Pudding
- Cheesecake Pudding
- Caramel Pudding
- Butterscotch Pudding
- Easy Homemade Banana Pudding Recipe
- Homemade Vanilla Pudding Recipe
We’re confident that once you try this easy peanut butter pudding recipe, you’ll be amazed by the incredible homemade flavor and creamy texture. It’s a simple dessert that delivers big on taste, making it perfect for any occasion. Give it a whirl, and then come back to leave a comment and let us know what you think!
Pin
Peanut Butter Pudding
Ingredients
- 1/2 cup Granulated Sugar
- 3 Tablespoons Cornstarch
- 1/4 teaspoon Salt
- 1 1/2 cups Whole Milk
- 1/2 cup Half and Half
- 1/2 cup Creamy Peanut Butter
- 2 teaspoons Vanilla Extract
Instructions
-
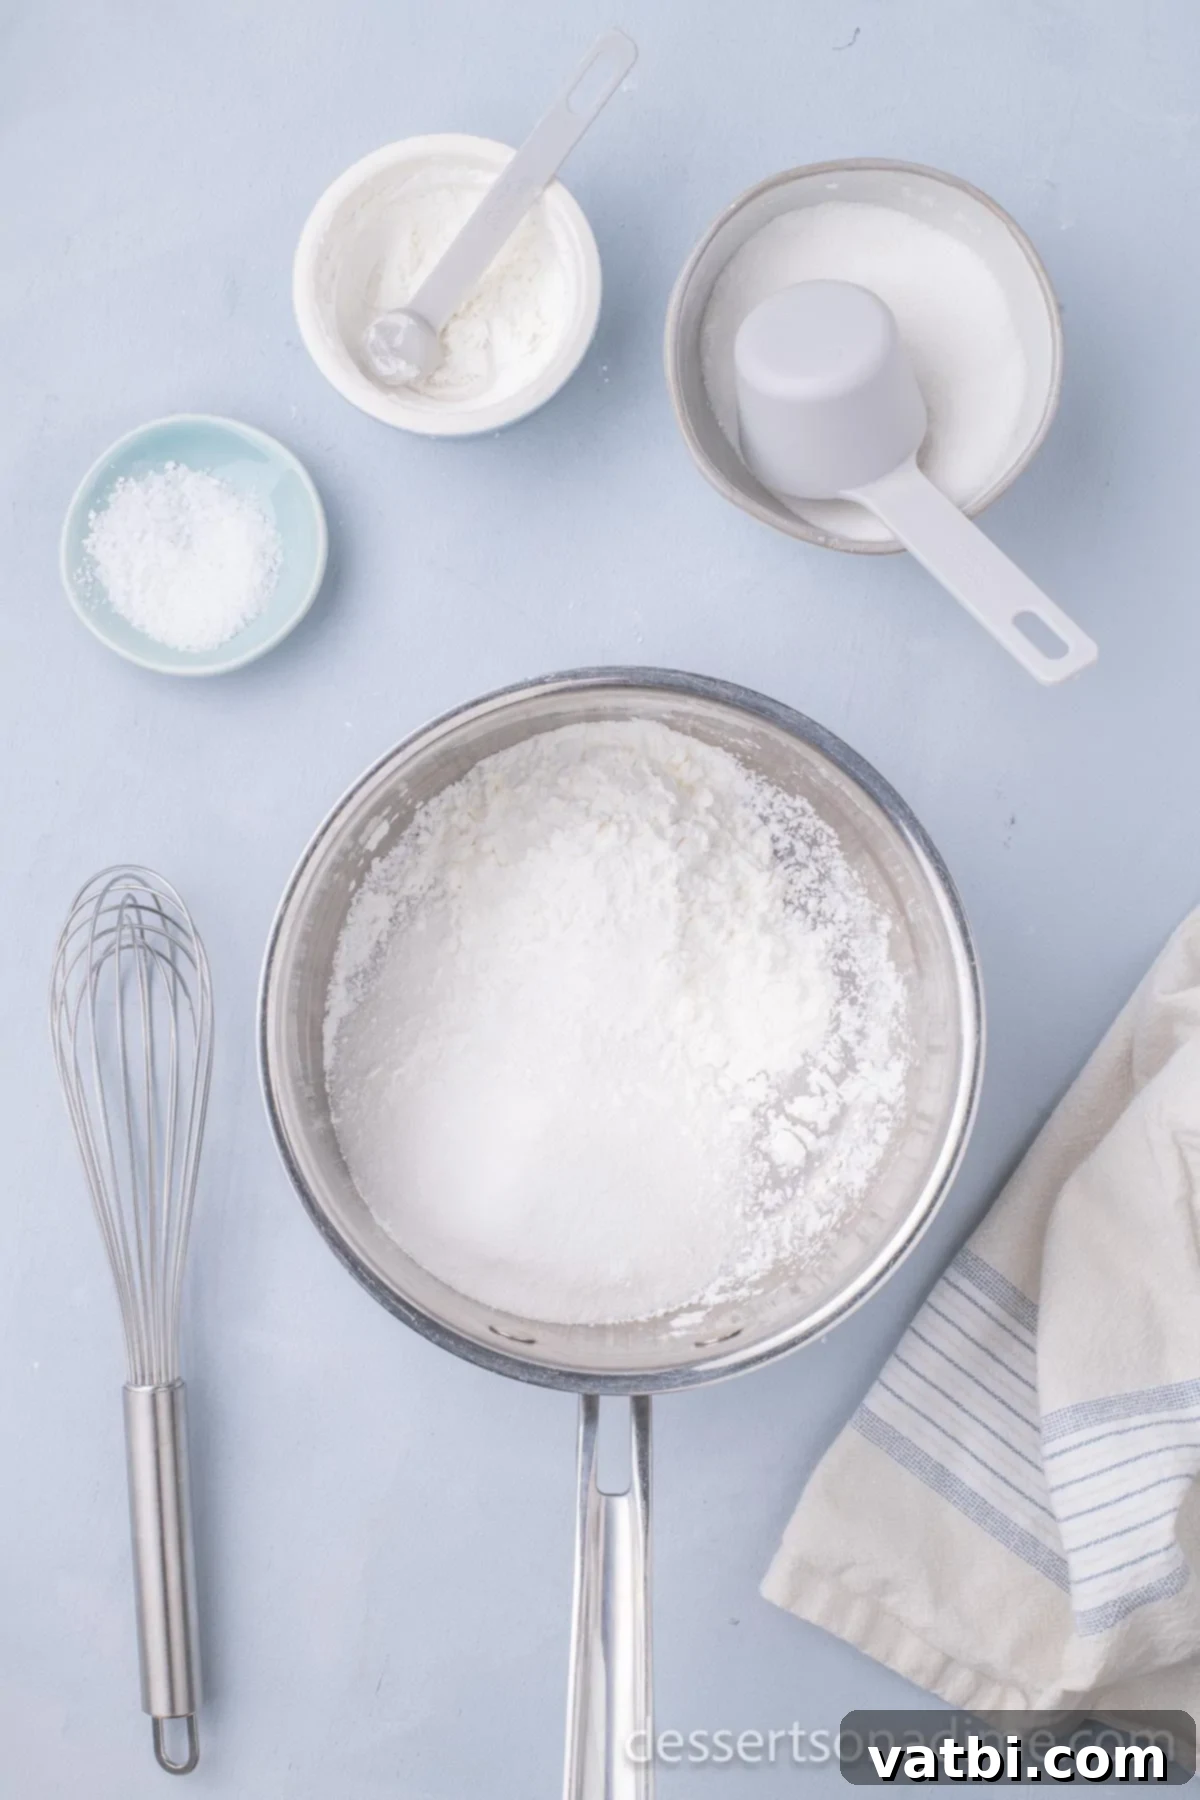
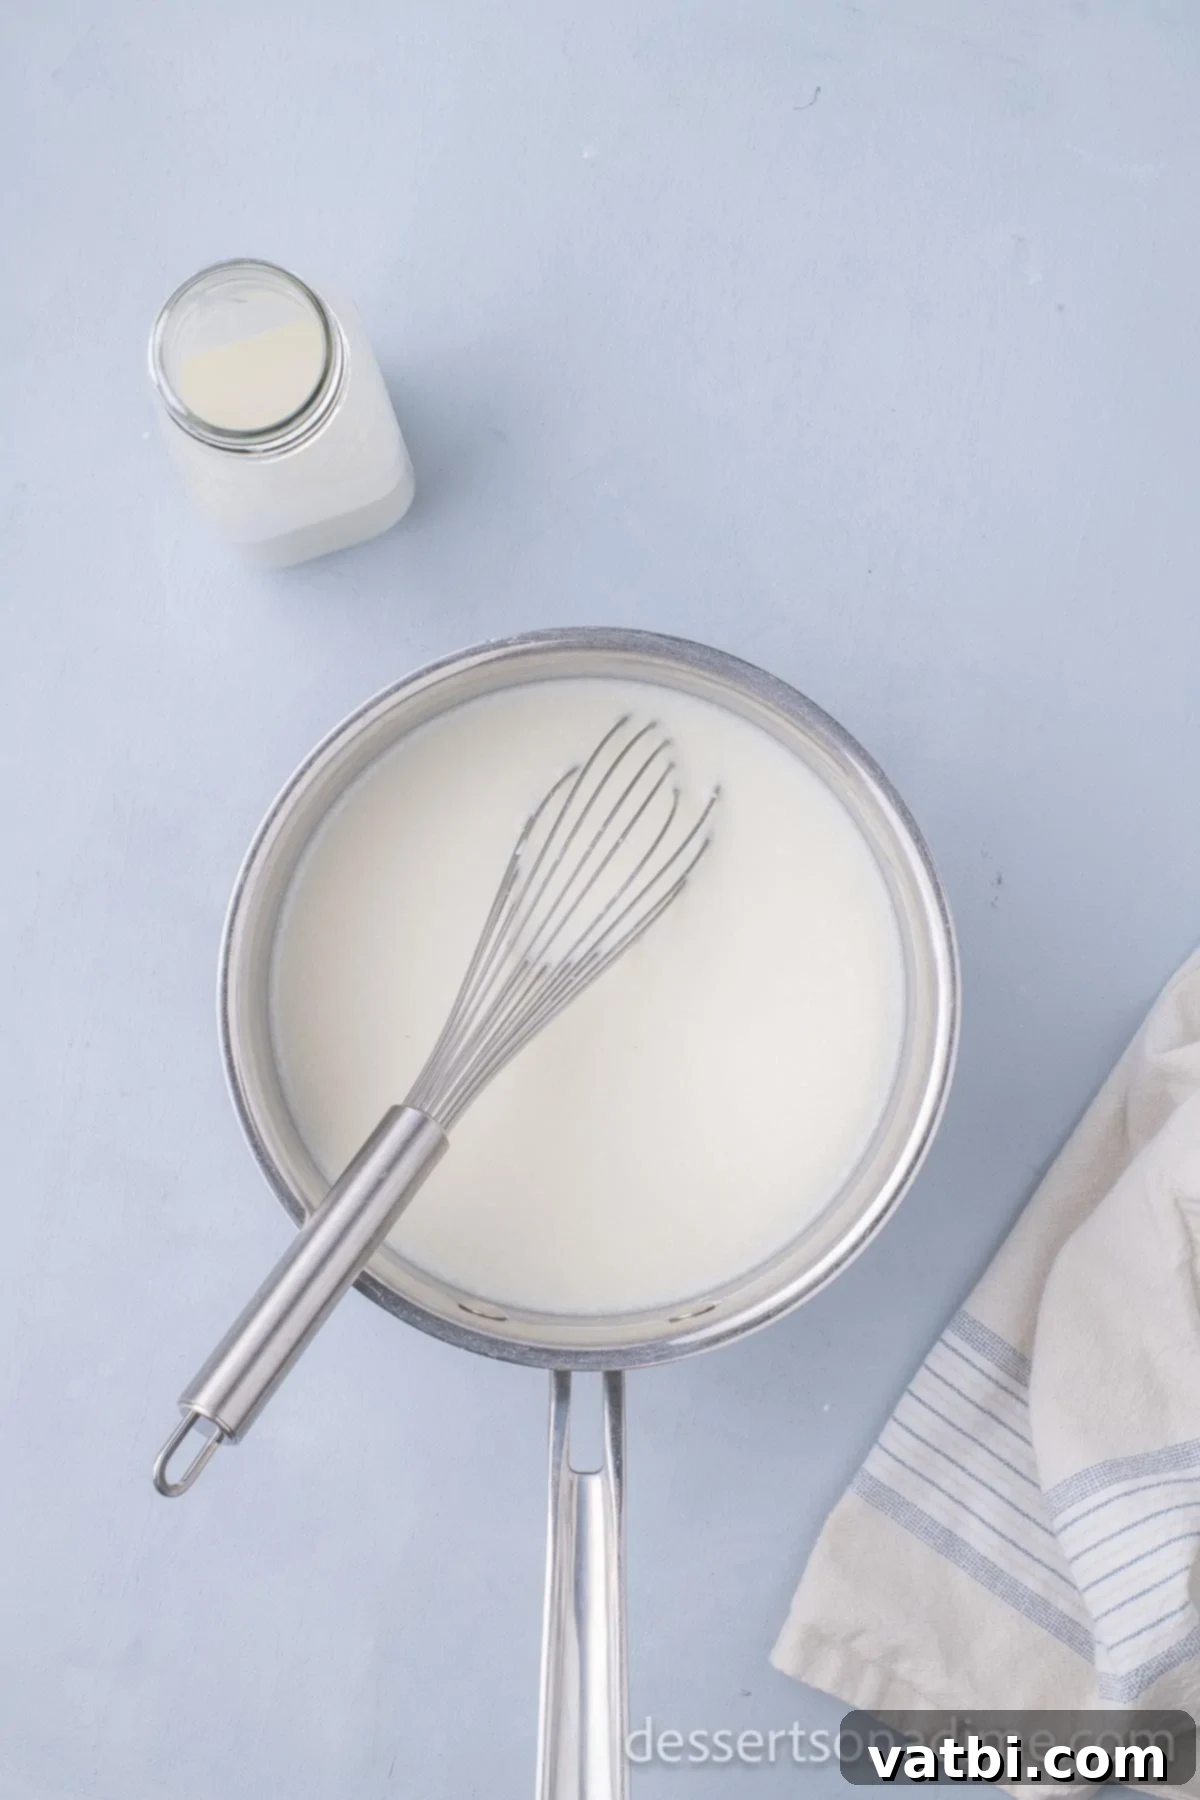
Place the sugar, cornstarch and salt in a saucepan over medium high heat. Slowly add in the milk, whisking it constantly until the sugar is fully dissolved. Whisk in the half and half and heat until fully heated through.
-
Bring the mixture to a boil. Reduce the heat to medium low and cook for 2 minutes stirring the mixture constantly so that it does not burn.
-
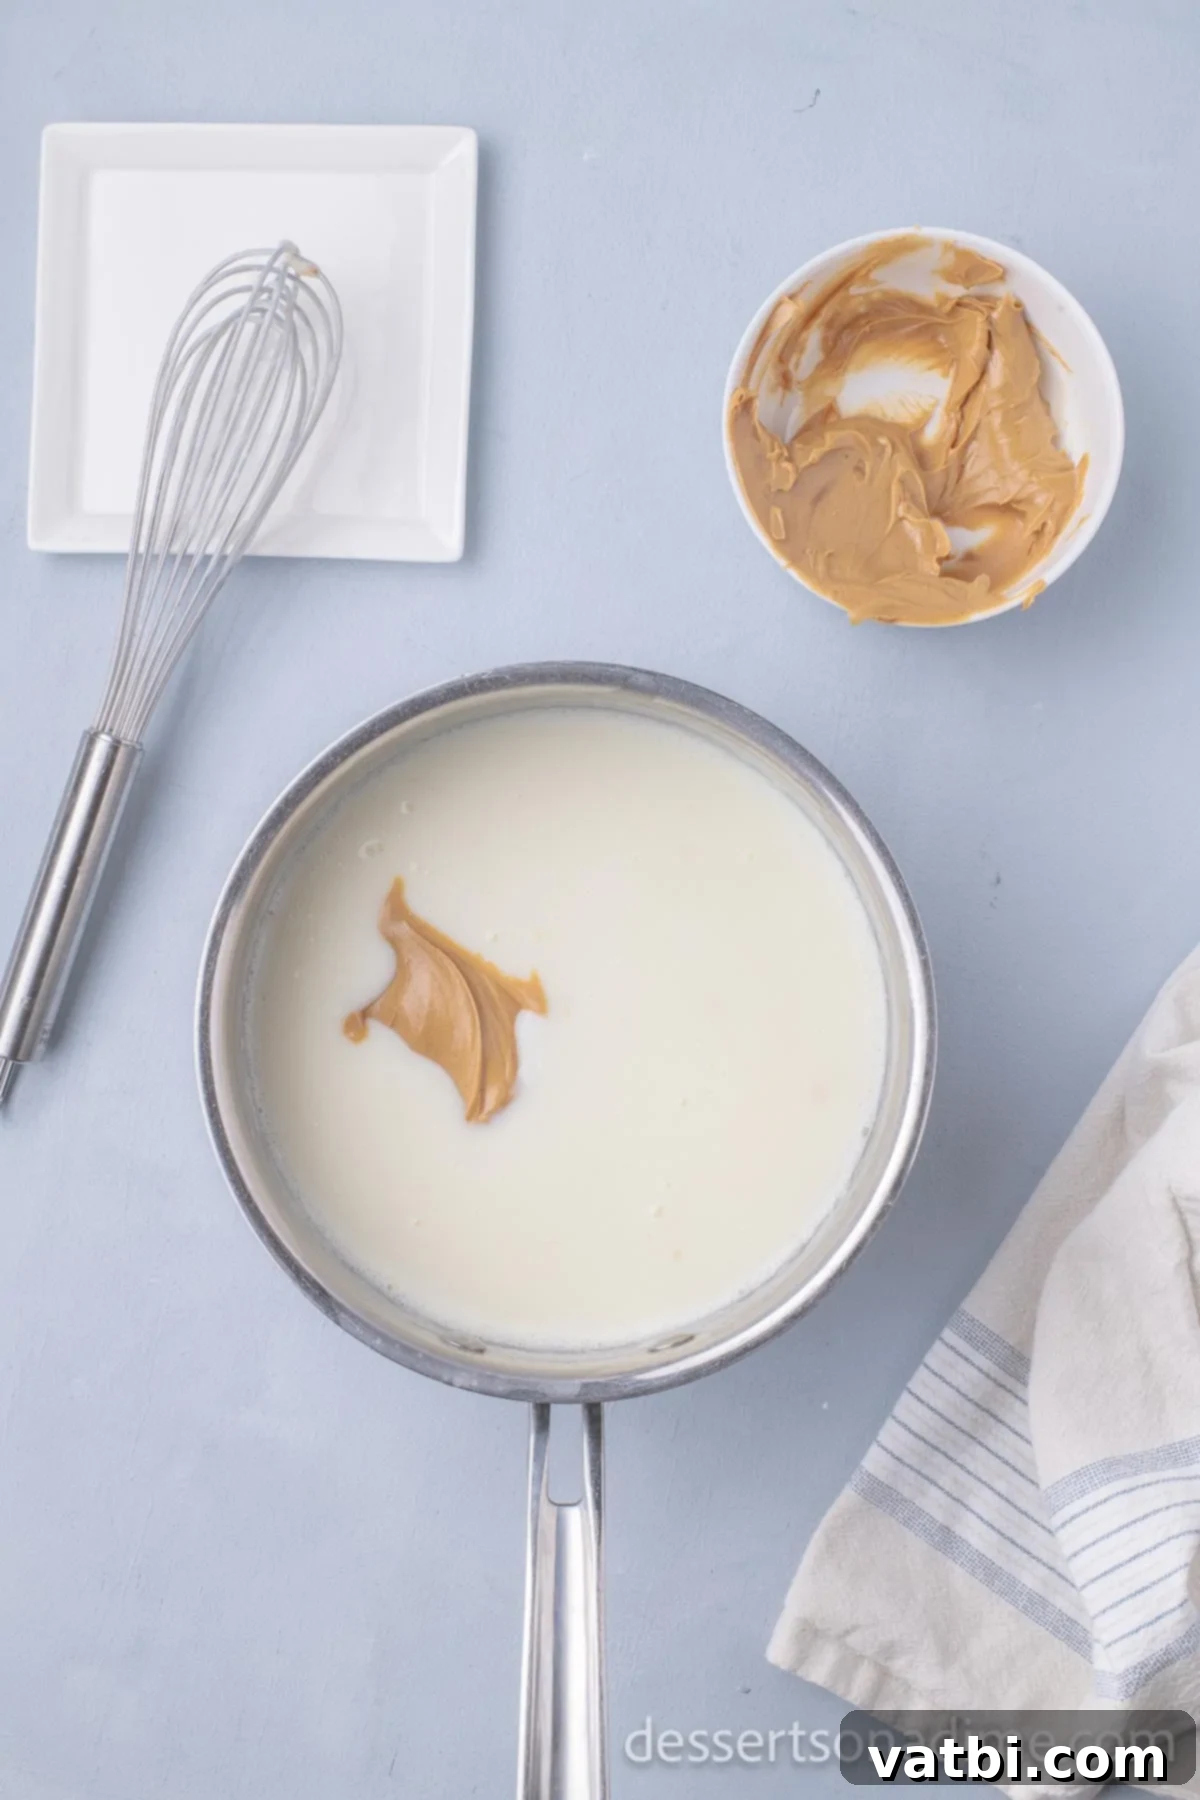
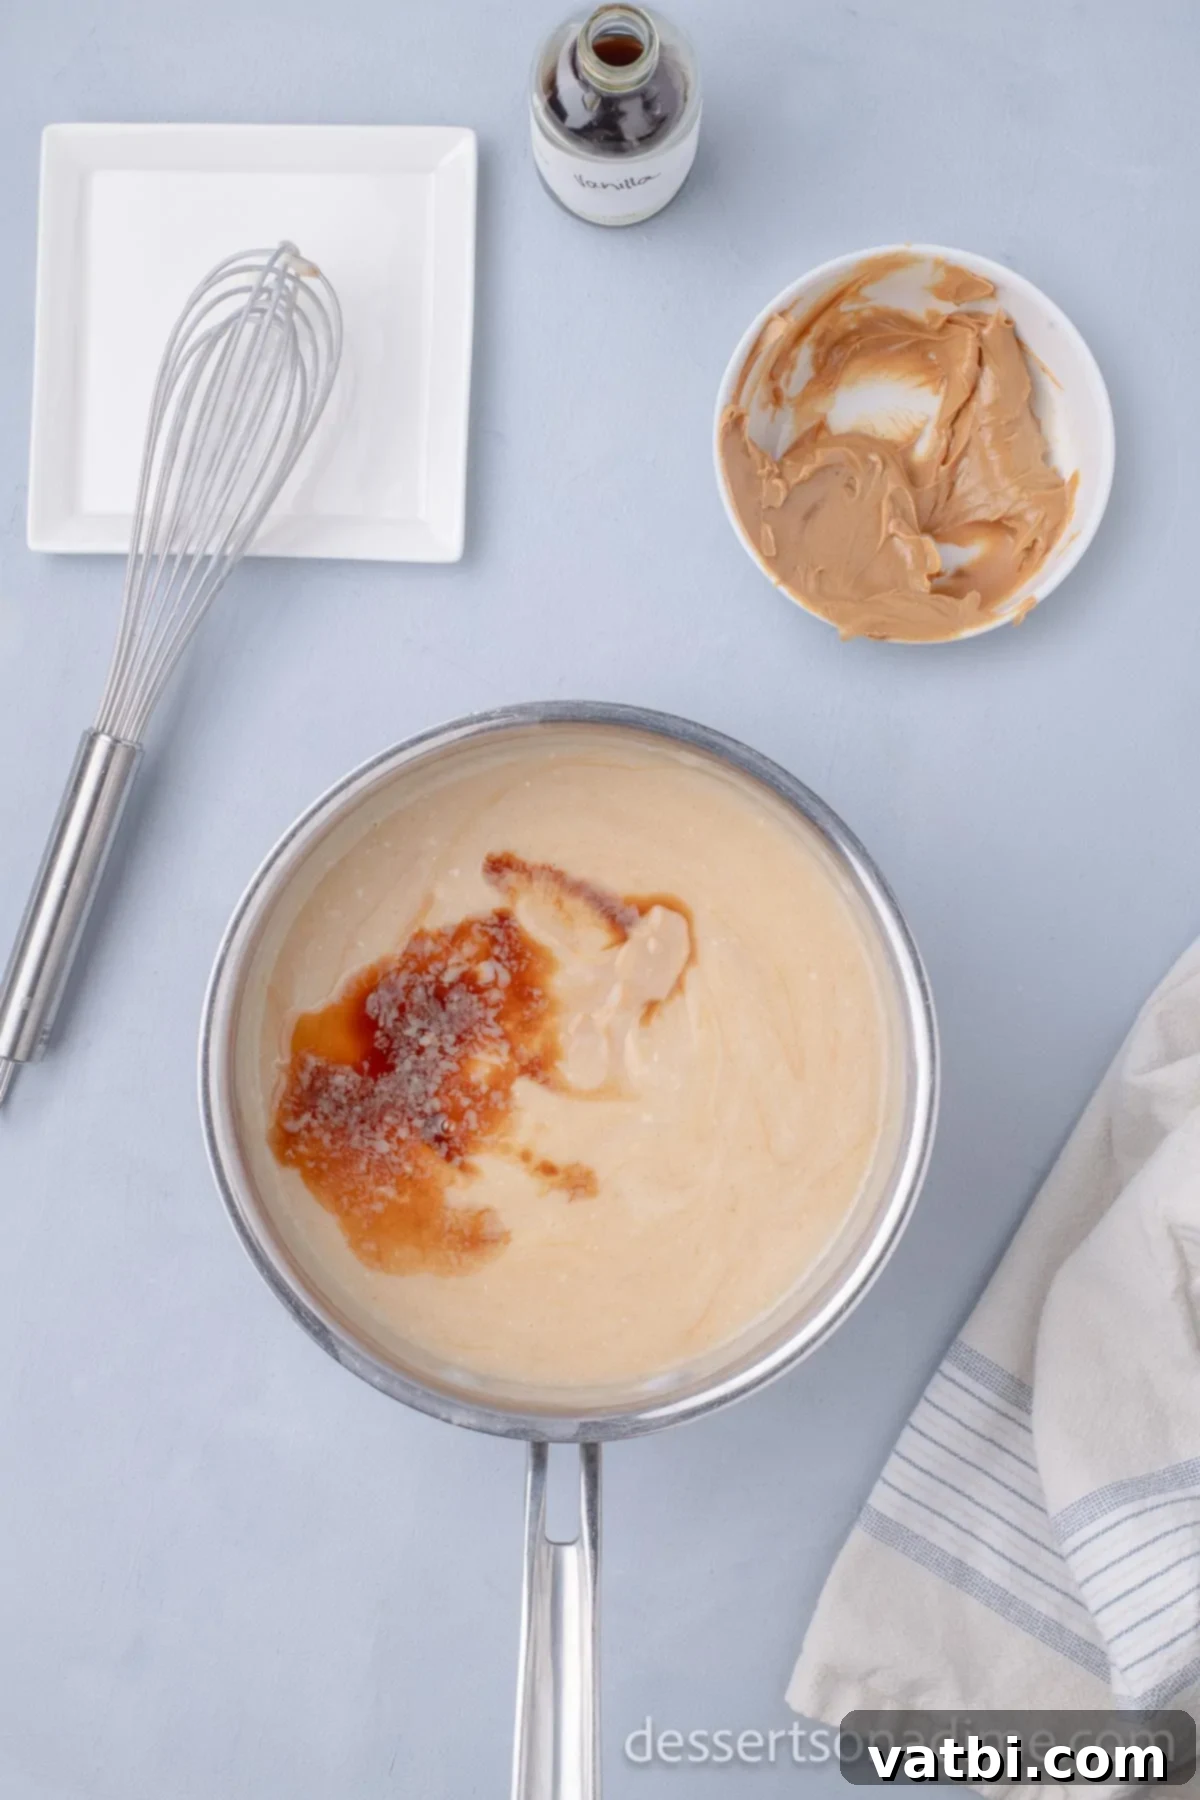
Remove the pan from the heat. Stir in the peanut butter and vanilla extract.
-
Let the pudding cool to room temperature, then transfer it to a bowl.
-
Cover it with plastic wrap and gently press the plastic wrap down so that it touches the top of the pudding to prevent a skim layer forming on top of the pudding.
-
Refrigerate for at least 1 hour. Then the pudding is ready to serve chilled and enjoy!
Recipe Notes
Nutrition Facts
Pin This Now to Remember It Later
Pin Recipe
