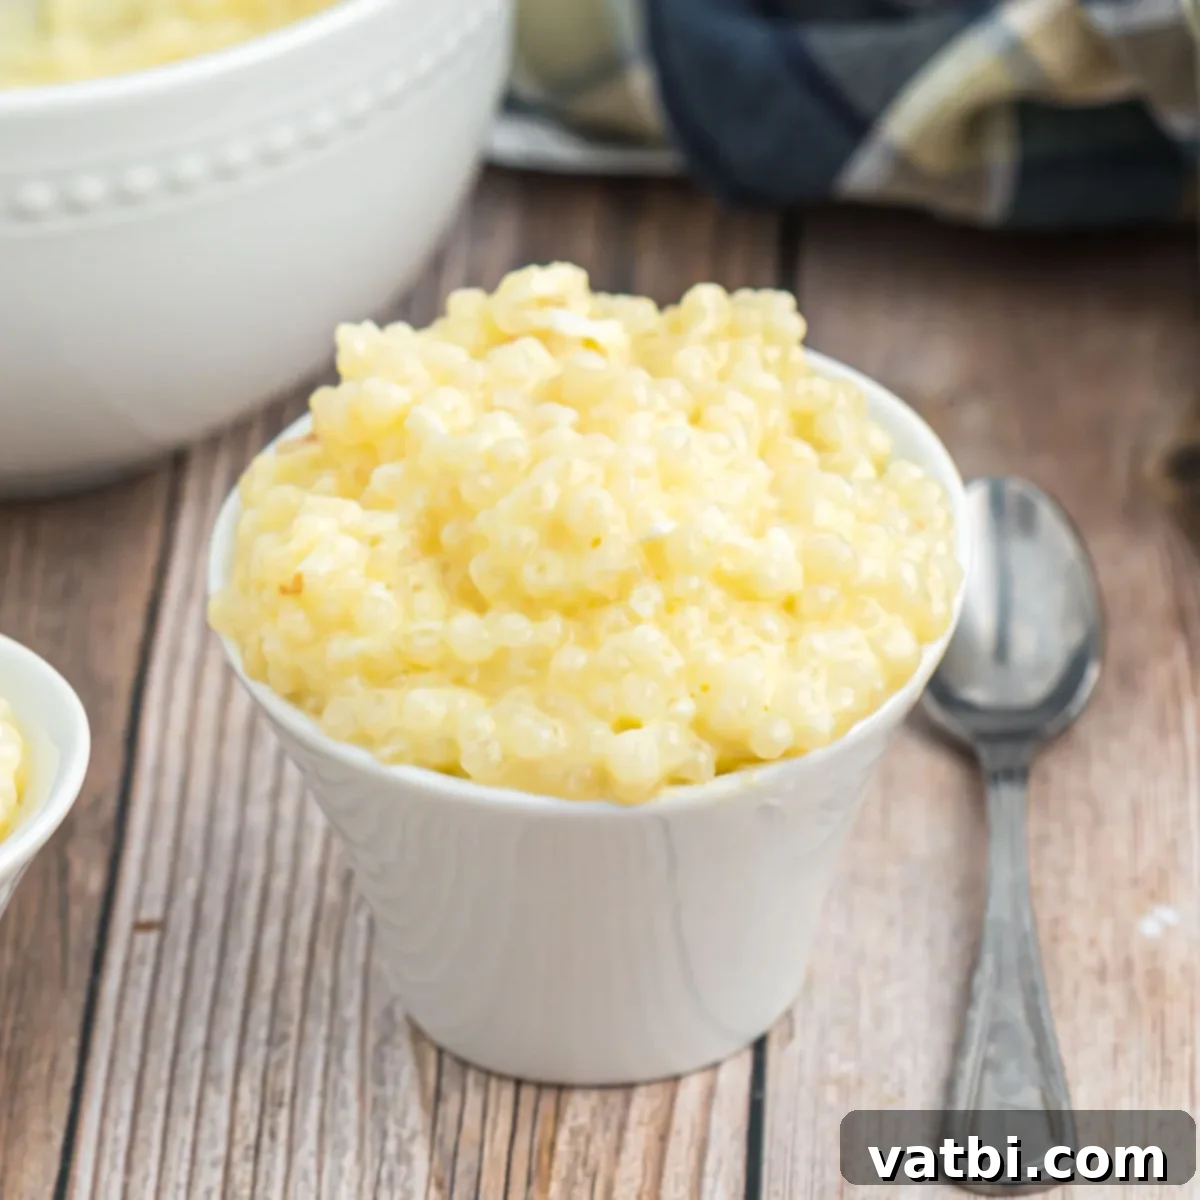
Creamy Homemade Tapioca Pudding: The Ultimate Classic Recipe
There’s something incredibly comforting and nostalgic about a bowl of **Tapioca Pudding**. This isn’t just any dessert; it’s a wonderfully **rich and creamy pudding** that brings warmth and a touch of childhood memories with every spoonful. Made primarily with simple pantry ingredients and featuring those delightful small pearl tapiocas, this classic recipe delivers a signature texture that’s both intriguing and incredibly satisfying. If you’ve ever yearned for that perfect, velvety smooth pudding with chewy pearls, you’ve come to the right place. We’ll guide you through making a homemade version that far surpasses any store-bought alternative, creating a dessert that tastes just like mom used to make.
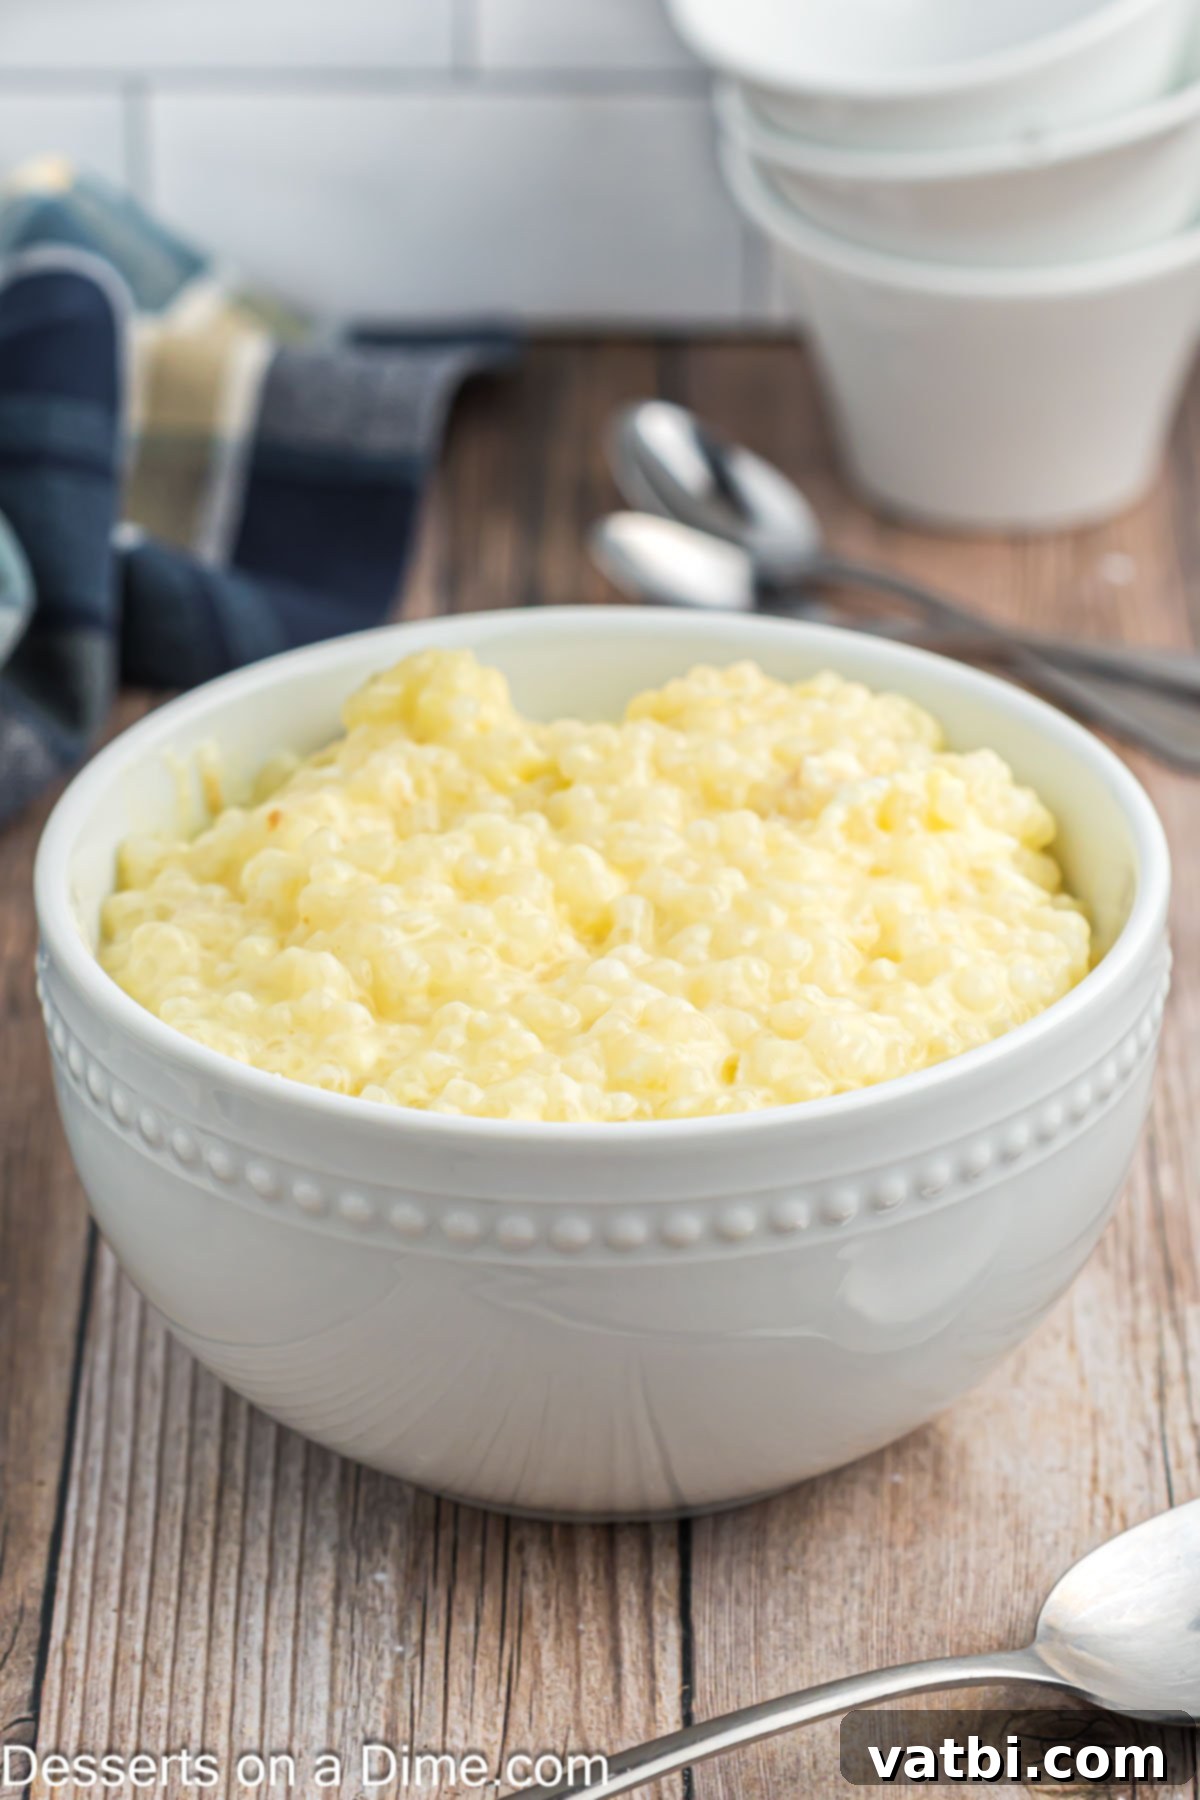
Creating **homemade tapioca pudding** is a truly rewarding experience. The superior flavor and texture are simply incomparable to pre-made versions. When you craft this dessert from scratch, you control the quality of ingredients, ensuring a richer, more authentic taste and the perfect balance of creamy custard and tender tapioca pearls. This easy pudding recipe is a testament to the fact that some of the best traditional pudding desserts are crafted right in your own kitchen. Our family absolutely loves homemade puddings, and while we enjoy exploring other delightful options like Cheesecake Pudding, Pumpkin Pudding, or Peanut Butter Pudding, this classic tapioca pudding holds a special place as a beloved, comforting treat that’s perfect for any occasion.
What’s in this post: Tapioca Pudding
- What is Tapioca Pudding?
- Why Make Homemade Tapioca Pudding?
- Ingredients for Classic Tapioca Pudding
- Delicious Tapioca Pudding Variations
- How to Make Tapioca Pudding: Step-by-Step Guide
- Tips for Perfect Tapioca Pudding
- Frequently Asked Questions About Tapioca Pudding
- More Easy Pudding Recipes: Explore Our Favorites
- Full Tapioca Pudding Recipe Card
What is Tapioca Pudding?
At its heart, tapioca pudding is a beloved classic dessert that derives its unique texture from tapioca pearls. But what exactly is tapioca? Tapioca itself is a starch extracted from the cassava root, a tuber native to South America and a staple crop in many tropical regions. This versatile starch is then processed and formed into various shapes, most commonly into small, pearly beads known as tapioca pearls. These pearls are the undeniable star of our pudding, possessing the remarkable ability to absorb liquid and swell to create those delightful, chewy, translucent spheres that are instantly recognizable.
The distinctive texture provided by these small pearls truly sets tapioca pudding apart from other creamy desserts. It offers a playful, almost bouncy contrast to its smooth, rich, and often custardy base. This combination of textures makes tapioca pudding a fascinating and satisfying experience for the palate. It’s important to note that for this classic recipe, we specifically use “small pearl tapioca” rather than “instant tapioca.” Small pearls require a brief soaking and a more gradual cooking process, which results in the perfectly tender, chewy bite that defines traditional tapioca pudding. Understanding the origin and form of tapioca helps us appreciate this simple yet remarkable ingredient that transforms basic dairy and sugar into an extraordinary, comforting treat.
Why Make Homemade Tapioca Pudding?
While store shelves might offer convenient pre-made tapioca puddings, nothing truly compares to the fresh, vibrant taste and superior texture of a homemade version. When you make tapioca pudding from scratch, you’re in complete control of the quality and freshness of your ingredients, ensuring a richer, more authentic flavor profile that simply can’t be replicated by mass-produced options. Homemade pudding allows you to precisely adjust the sweetness to your personal preference, use fresh, high-quality dairy and eggs, and achieve the ideal balance of creamy custard and perfectly tender tapioca pearls. The process itself, while simple and straightforward, is a delightful culinary experience, and the warm, sweet aroma filling your kitchen is an added bonus.
Beyond the taste and texture, there’s a certain satisfaction that comes with preparing a dessert from scratch. Serving a dish you’ve lovingly crafted yourself adds an extra layer of warmth and care to any meal, making it a truly cherished treat for family and friends. It evokes feelings of nostalgia and comfort, often reminiscent of childhood desserts. This easy pudding recipe, therefore, isn’t just about the delicious outcome; it’s about the joy of creation, the superior quality, and the heartwarming experience it brings. It’s an easy pudding recipe that consistently yields gourmet results, proving that the best flavors often come from the simplest, freshest ingredients prepared with care.
Ingredients for Classic Tapioca Pudding
One of the most appealing aspects of this classic tapioca pudding recipe is that it relies on readily available, common pantry ingredients. You likely have most, if not all, of these on hand already! Each component plays a crucial role in achieving the perfect balance of flavor, undeniable creaminess, and that irresistible signature tapioca texture. Here’s a closer look at the key ingredients you’ll need and why they are essential for creating this delightful and comforting dessert.
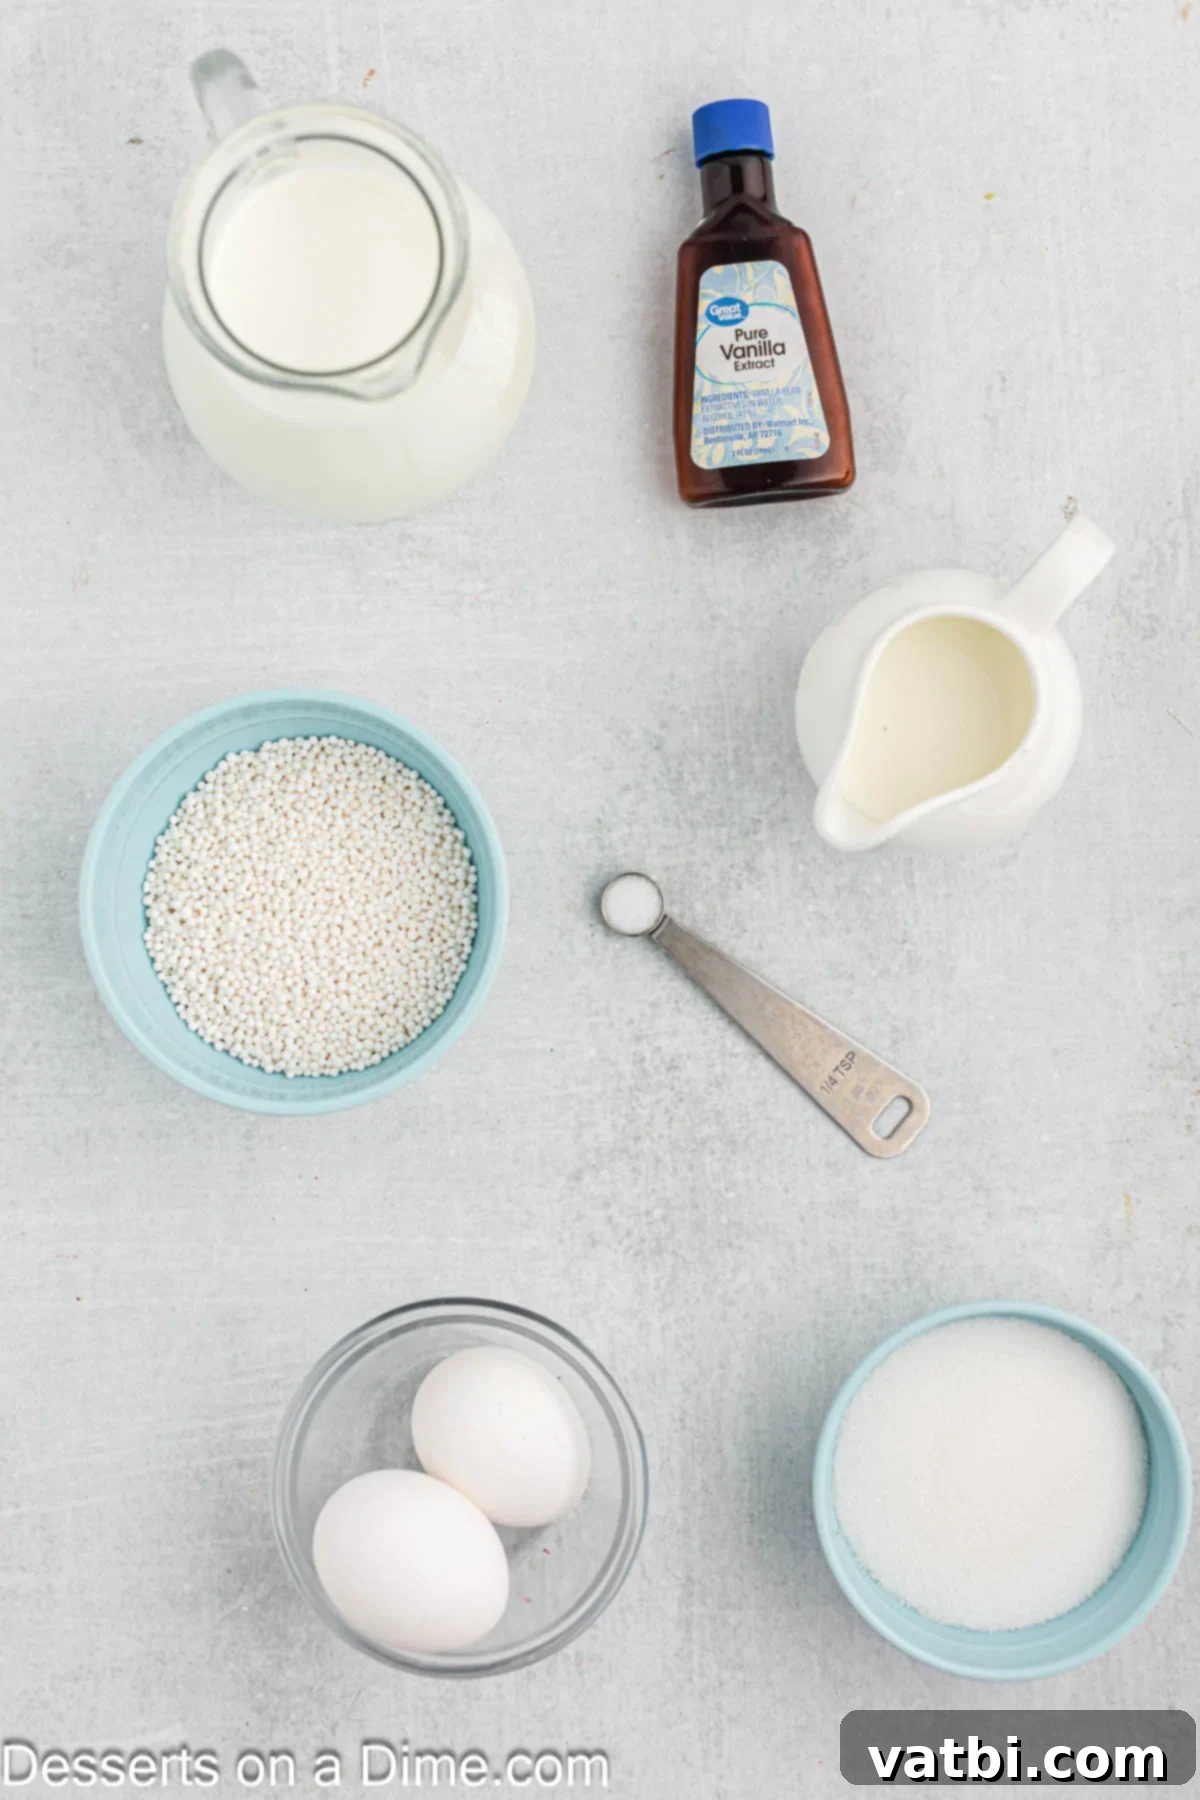
- Small Tapioca Pearls (not instant tapioca): These are absolutely non-negotiable for achieving the authentic, classic tapioca pudding texture. Small pearls require a brief soaking period and a more gradual cooking process, which is fundamentally different from instant tapioca that cooks much faster and results in a less distinct, often mushier, pearl. The traditional small pearls provide that delightful, slightly chewy bite and visible sphere shape that makes tapioca pudding so unique and satisfying.
- Whole Milk: This forms the creamy foundation of our pudding. Whole milk contributes significantly to the richness and velvety texture of the final product. Its higher fat content is crucial in preventing the pudding from becoming too thin or runny, ensuring a truly luxurious and indulgent mouthfeel.
- Half and Half: Added specifically to enhance the creaminess even further. Half and half, which is a delightful blend of milk and light cream, significantly boosts the fat content and contributes to the decadent, smooth, and deeply satisfying consistency that defines a truly great homemade tapioca pudding.
- Large Eggs (beaten): Eggs are a vital component, serving multiple purposes. They are essential for thickening the pudding, creating a luscious custard-like base, and adding a beautiful richness and golden hue. When properly tempered and cooked, they contribute to the silky texture that holds the tapioca pearls beautifully. Beating them thoroughly beforehand ensures they incorporate smoothly into the hot mixture without curdling.
- Granulated Sugar: The primary source of sweetness! The amount can be adjusted to your personal preference, but the ½ cup suggested in the recipe provides a perfectly balanced sweetness that complements the rich dairy and aromatic vanilla without being overly saccharine or cloying.
- Vanilla Extract: Often considered the soul of many classic desserts, vanilla extract adds a warm, inviting, and aromatic depth of flavor that elevates the entire pudding experience. Always opt for good quality pure vanilla extract for the most pronounced and delightful results.
- Salt: A small pinch of salt is absolutely essential to balance and enhance all the other flavors. It prevents the pudding from tasting flat, brightens the natural sweetness of the dairy and sugar, and rounds out the overall flavor profile beautifully.
You can find the complete ingredient list with exact measurements and any specific notes at the bottom of this post in the detailed recipe card.
Delicious Tapioca Pudding Variations
While the classic tapioca pudding is undeniably perfect and cherished on its own, its simple base offers remarkable versatility, allowing for a myriad of delicious variations. Don’t hesitate to get creative and customize this easy recipe to suit your unique taste preferences, specific dietary needs, or simply to add an exciting new twist to a beloved classic. Here are some popular and delightful ideas to inspire your culinary exploration:
- Dairy-Free Delight: For a fantastic dairy-free option that doesn’t compromise on creaminess, you can easily substitute the whole milk and half and half with plant-based alternatives. Full-fat coconut cream or coconut milk will lend a wonderfully luscious texture and a subtle, appealing tropical flavor. Almond milk or cashew milk offer a lighter, nutty note, perfect for those seeking a less rich alternative. Ensure your chosen dairy-free milk is unsweetened to maintain control over the overall sweetness of the pudding.
- Chocolate Indulgence: Transform your classic tapioca pudding into a truly decadent chocolate treat! Simply add 2-3 tablespoons of unsweetened cocoa powder to the hot pudding mixture along with the granulated sugar. Whisk thoroughly until the cocoa powder is fully dissolved and the pudding takes on a rich, uniform chocolatey hue. For an even more intense chocolate experience, you can stir in a handful of your favorite chocolate chips (dark, milk, or semi-sweet) during the final cooling stage, allowing them to melt slightly into the warm pudding.
- Fruity Additions: Elevate the pudding with the natural sweetness and pleasant chewiness of dried fruit. Mix in plump raisins, tart dried cranberries, finely chopped dried apricots, or even dried cherries after the pudding has finished cooking and is beginning to cool. This addition creates a wonderful textural contrast and introduces a burst of concentrated fruity flavor. For a fresh touch, garnish individual servings with fresh berries, sliced peaches, or mango.
- Flavor Boosts & Toppings: The possibilities for garnishes and internal flavor enhancers are virtually endless. Feel free to sprinkle each serving with a dash of ground cinnamon or nutmeg for a warm, spicy note, particularly delightful in cooler months. Toasted shredded coconut adds a lovely crunchy texture and a subtle nutty flavor. Fresh seasonal berries, beautifully sliced bananas, or a generous dollop of homemade whipped cream can also make for elegant and delicious toppings, transforming a simple pudding into a showstopping dessert. A drizzle of caramel or chocolate sauce is another indulgent option.
- Citrus Zest: For a bright, refreshing, and aromatic twist, add a teaspoon of finely grated lemon or orange zest to the pudding mixture along with the vanilla extract. The vibrant citrus oils will infuse the pudding with a subtle, aromatic tang that beautifully cuts through the richness, offering a delightful counterpoint to the sweetness.
How to Make Tapioca Pudding: Step-by-Step Guide
Making homemade tapioca pudding might initially seem intimidating due to its unique texture, but it’s surprisingly simple and incredibly rewarding. Following these detailed steps attentively will help you achieve a perfectly creamy, dreamy pudding with that delightful chewy texture every single time. Paying close attention to each stage of the process ensures a smooth, lump-free, and utterly delicious outcome that will impress everyone.
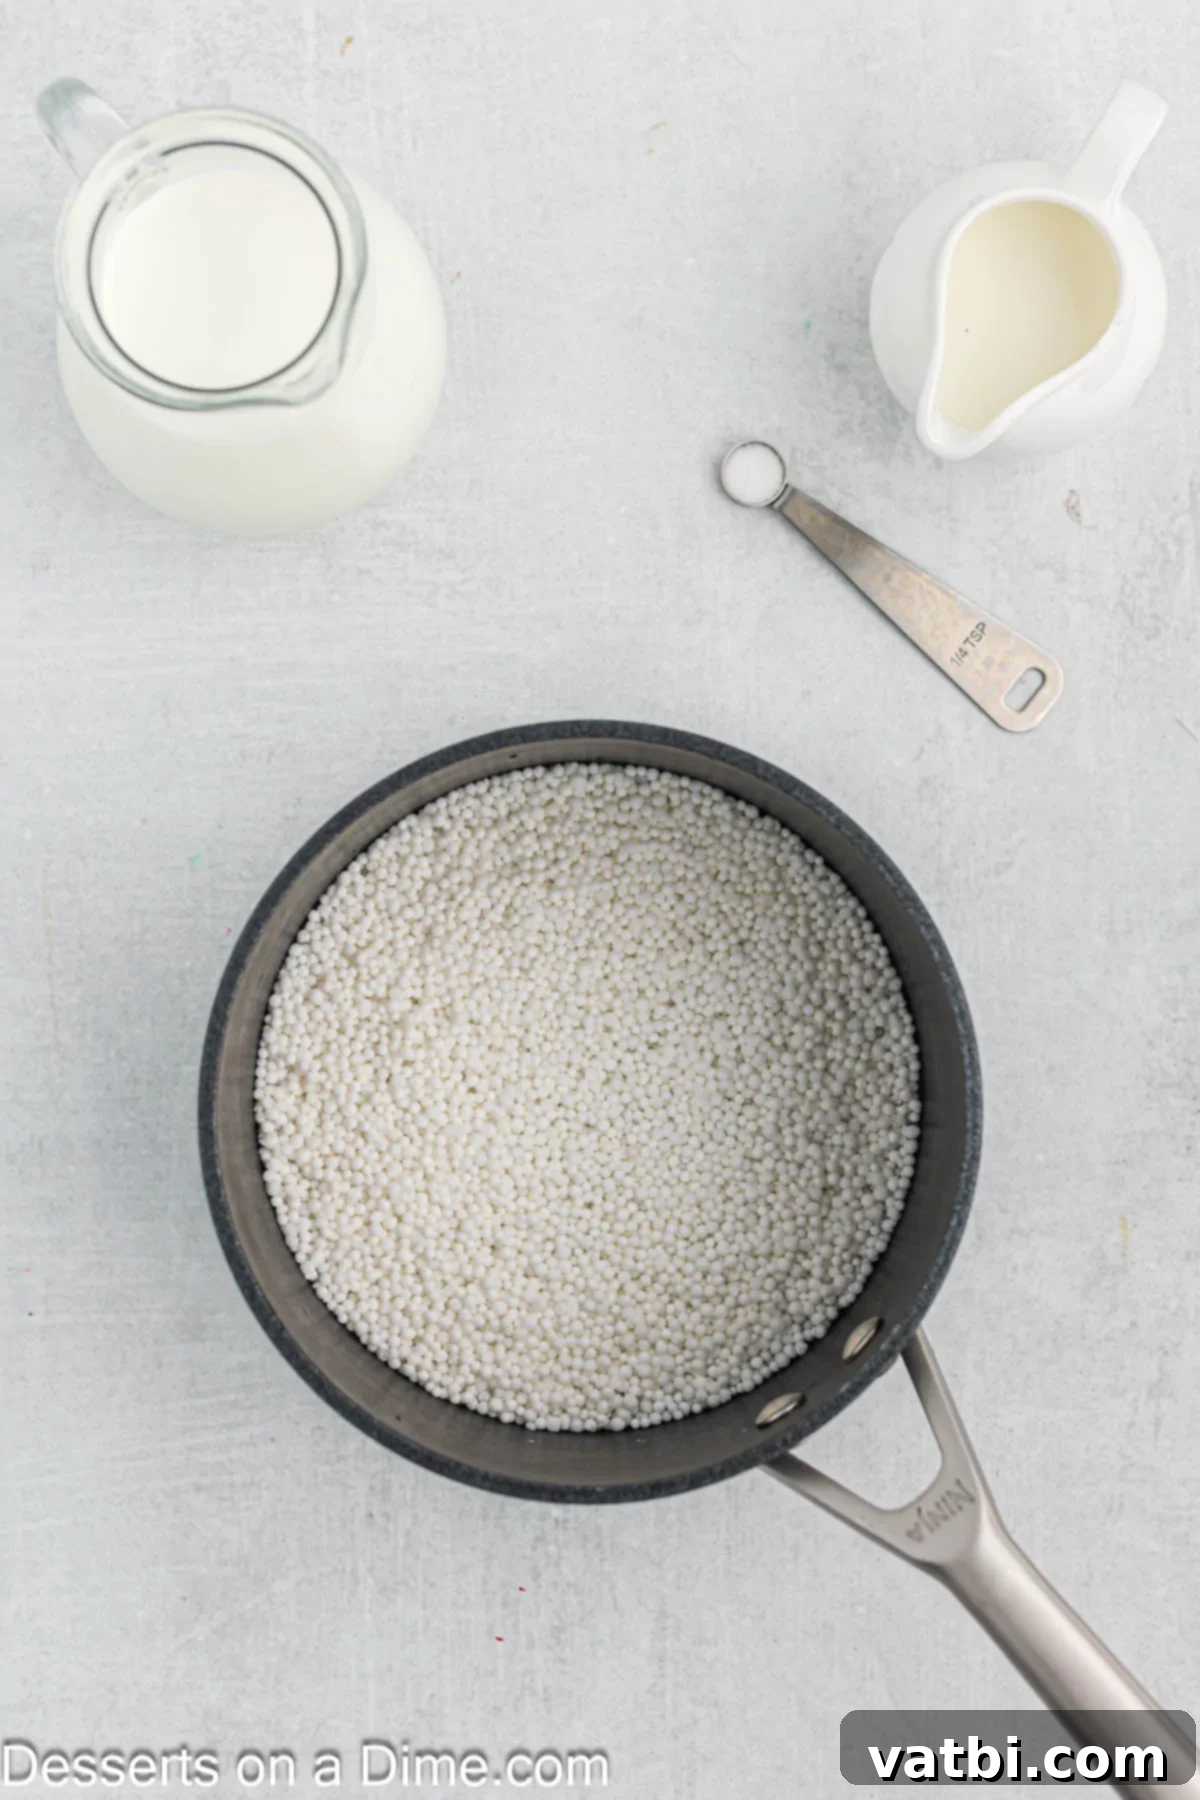
- Step 1: Soak the Tapioca Pearls. Begin by placing the specified amount of small tapioca pearls into a medium-sized, heavy-bottomed saucepan. Cover them generously with about 1 cup of cold water, ensuring the pearls are fully submerged. It’s crucial to let them soak for a minimum of 20 minutes, or up to 45 minutes. This vital soaking process allows the small tapioca pearls to absorb most of the water, causing them to become noticeably plump and slightly translucent. This step is absolutely essential for their even cooking and for achieving the desirable soft, chewy texture in the final pudding. Do not skip or shorten this step, as it prevents the pearls from becoming hard or brittle during cooking.
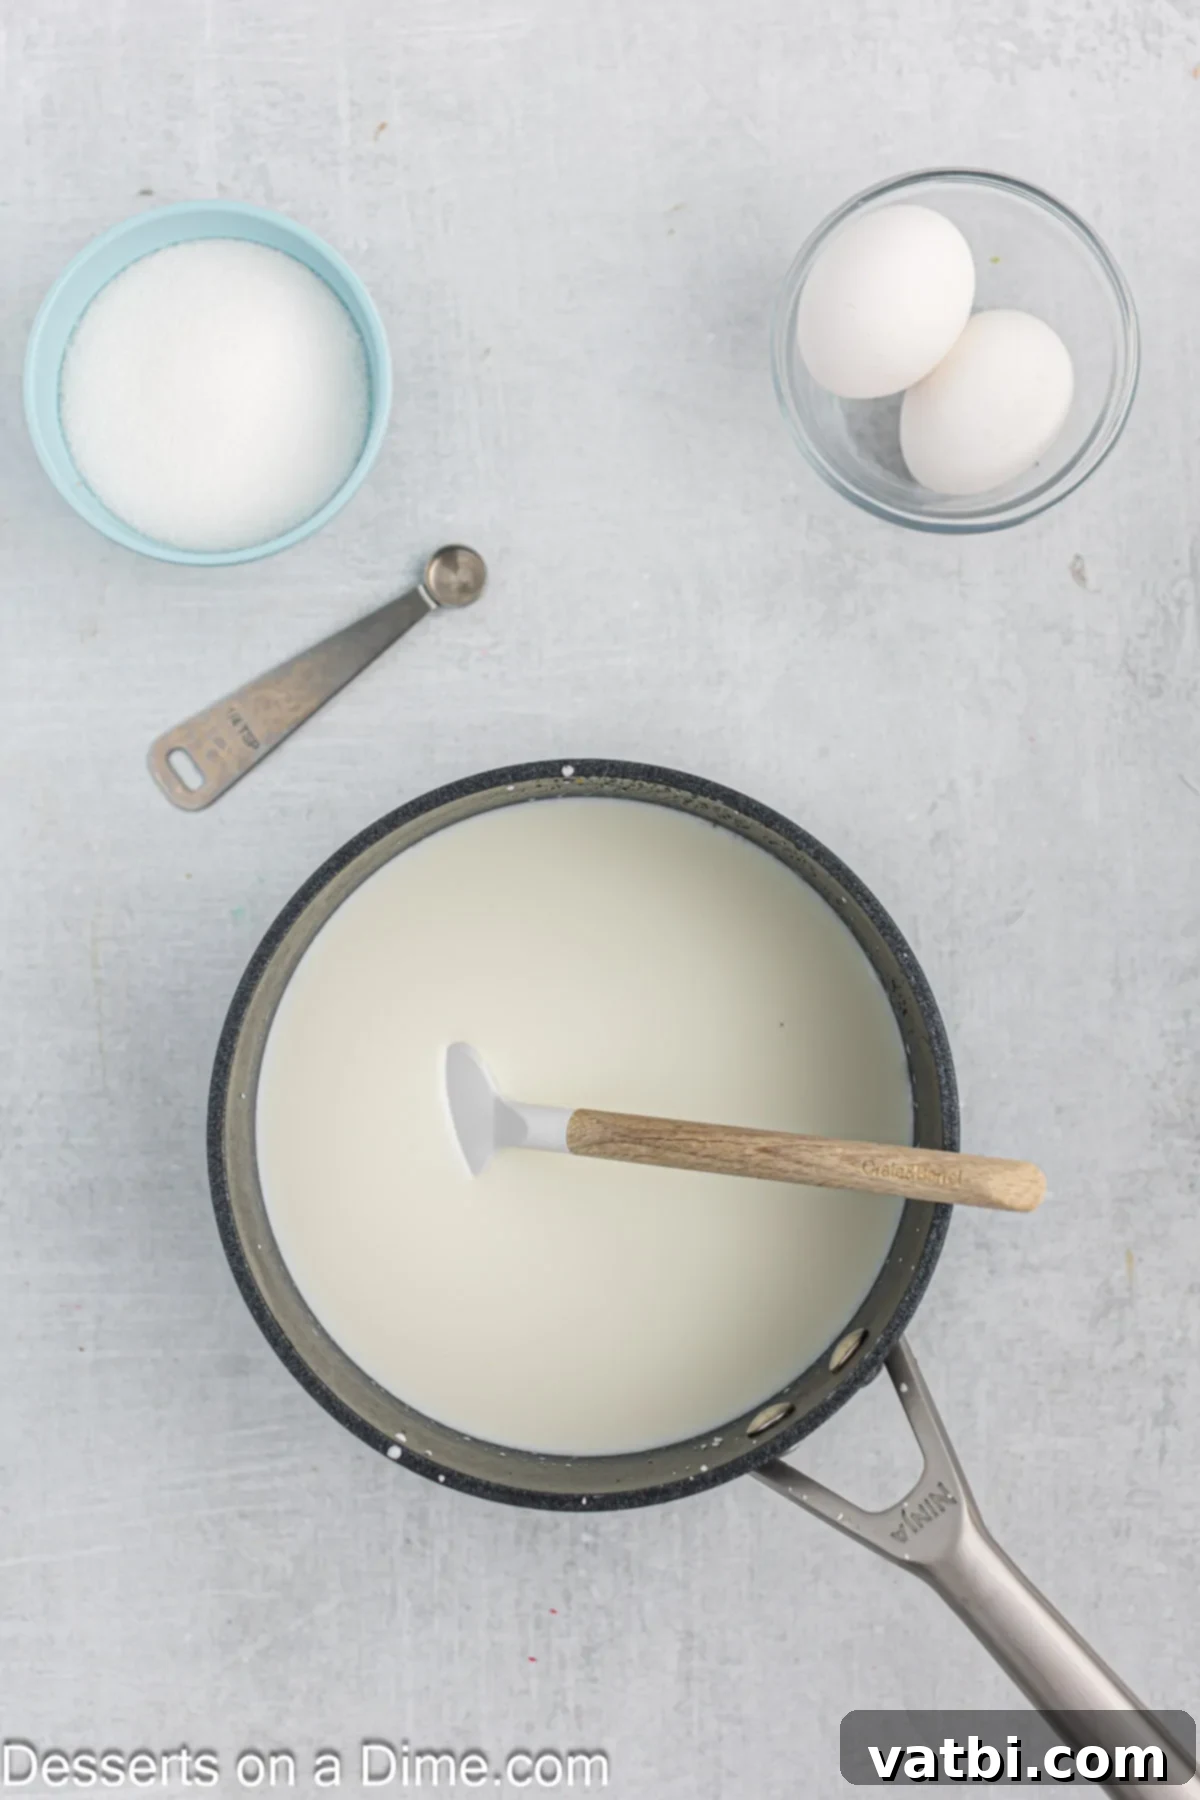
Step 2: Combine Dairy and Heat. After the tapioca pearls have finished soaking, carefully drain any excess water that remains in the saucepan. Then, add the whole milk, half and half, and a small pinch of salt to the plump tapioca pearls in the same saucepan. Stir everything together gently with a whisk or wooden spoon to ensure all ingredients are well combined. Place the saucepan over medium-low heat and slowly bring the mixture to a very low boil, or a gentle simmer. It is critically important to stir frequently and consistently during this stage to prevent the milk from scorching at the bottom of the pan and to ensure the tapioca pearls don’t stick together. Keep a close eye on the mixture to avoid a rapid, rolling boil, as this can cause the milk to boil over or curdle.
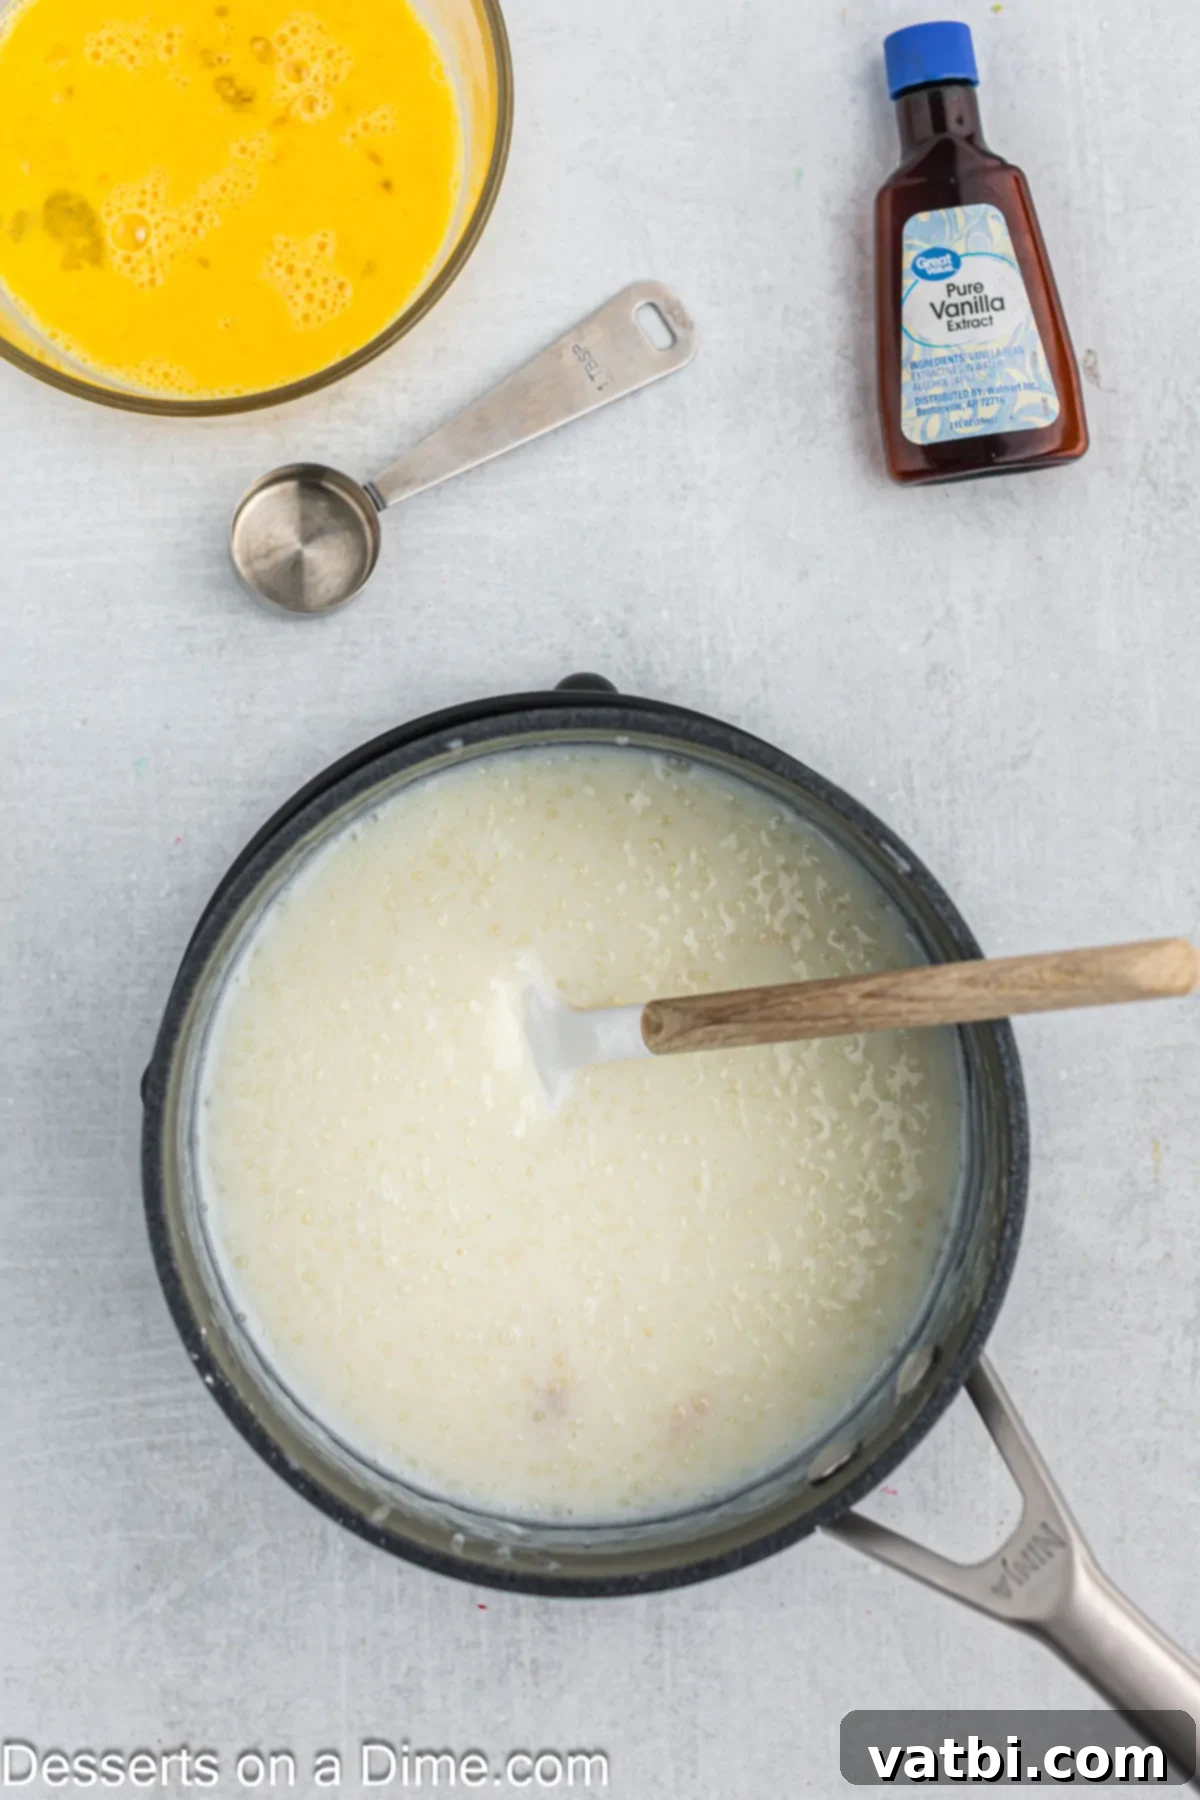
Step 3: Sweeten and Thicken. Once the milk and tapioca mixture reaches that gentle simmer, stir in the granulated sugar until it completely dissolves, ensuring no grains remain. Continue to cook the mixture on this low simmer for an additional 5-7 minutes. Throughout this period, the tapioca pearls will continue their magical transformation, absorbing more liquid and becoming even more plump and translucent. You will also notice the entire pudding mixture beginning to thicken slightly, taking on a more viscous consistency. Remember to keep stirring consistently to prevent any sticking to the bottom of the pan and to ensure the pearls cook evenly. The pudding will further thicken considerably as it cools, so don’t expect it to be super thick at this immediate stage.
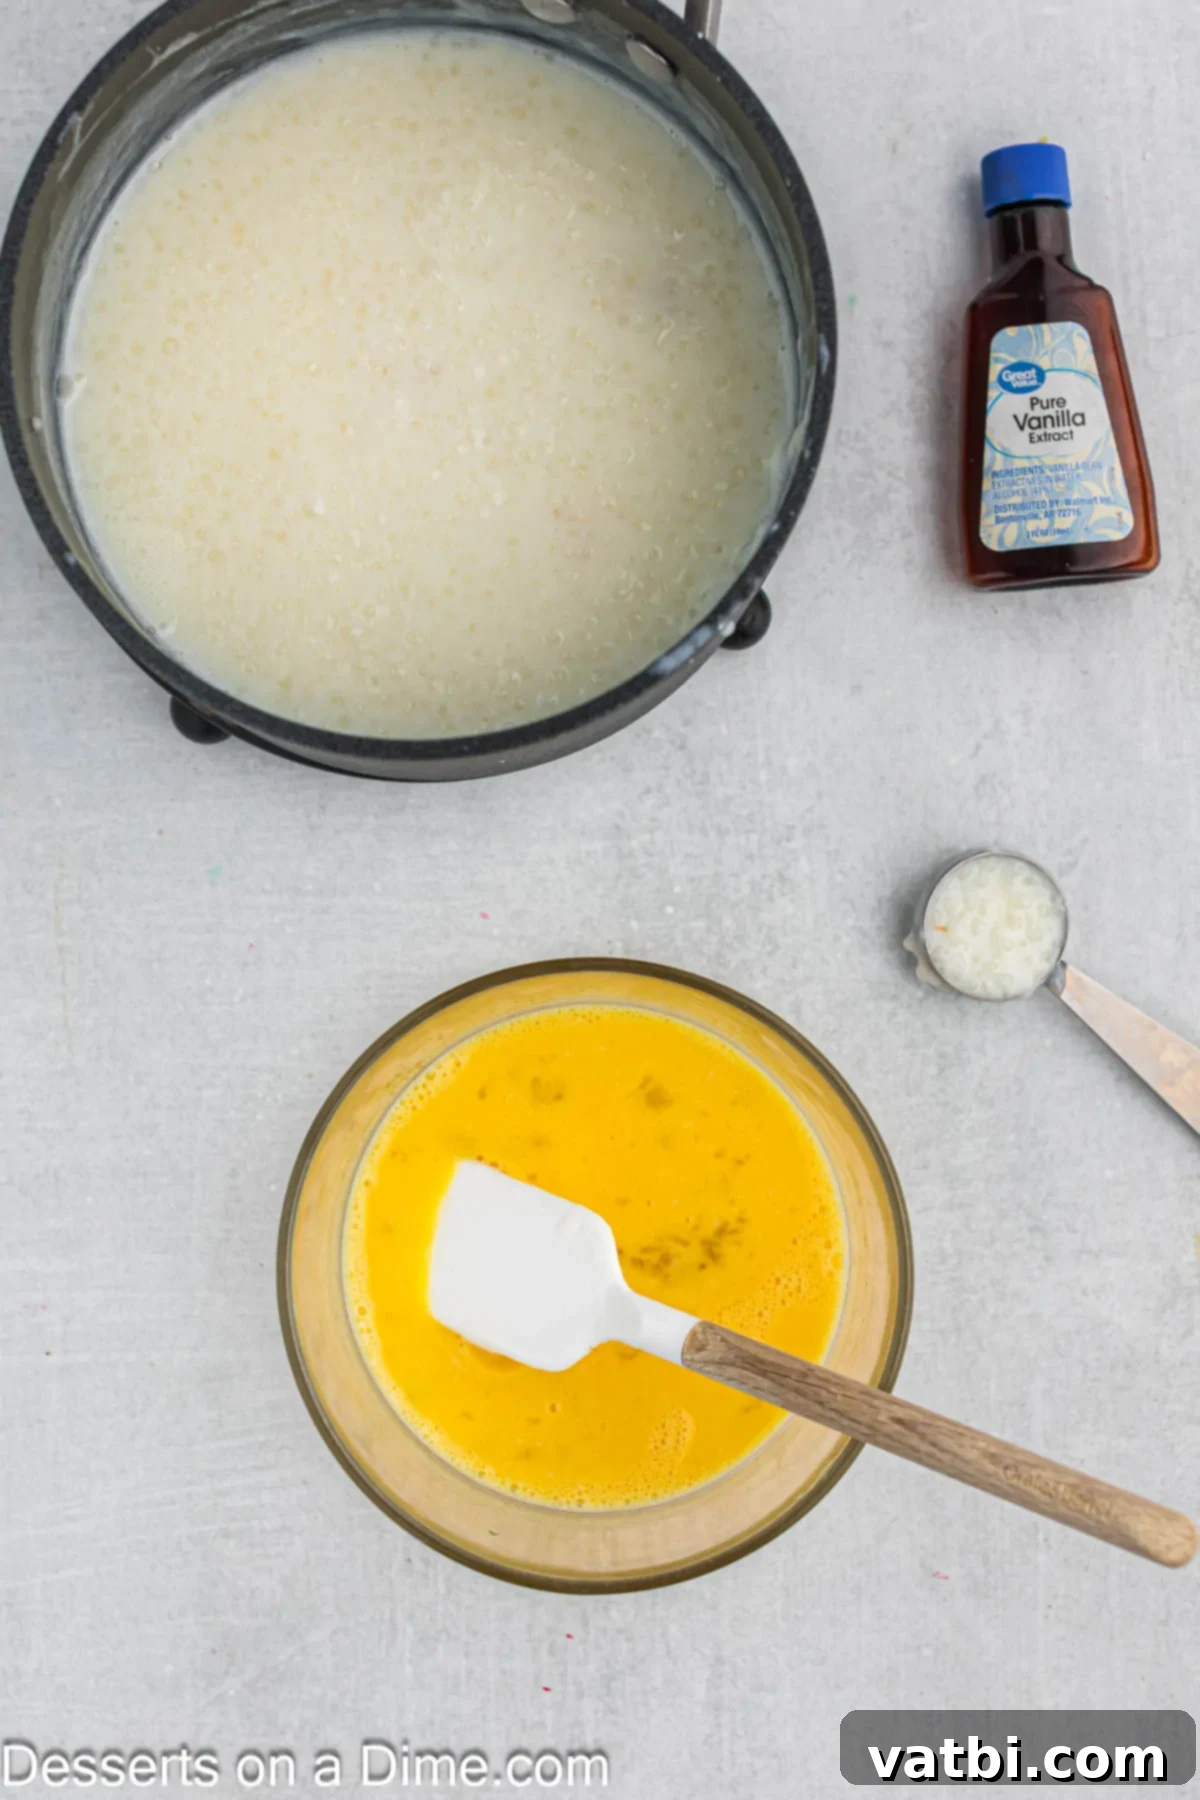
Step 4: Prepare and Temper the Eggs. This is a critical step for a smooth, creamy pudding. Remove the saucepan with the tapioca mixture from the heat. In a separate, medium-sized, heat-proof bowl, thoroughly beat the large eggs until the yolks and whites are fully combined and slightly frothy, creating a uniform yellow color. To prevent the eggs from scrambling when they meet the hot pudding, you must temper them. Slowly drizzle a small amount (about 2-3 tablespoons at a time) of the hot tapioca mixture into the beaten eggs, whisking constantly and vigorously. Repeat this tempering process 2-3 more times until the egg mixture is noticeably warm to the touch. This gradual heating of the eggs prevents them from cooking too quickly when added back to the main pot.
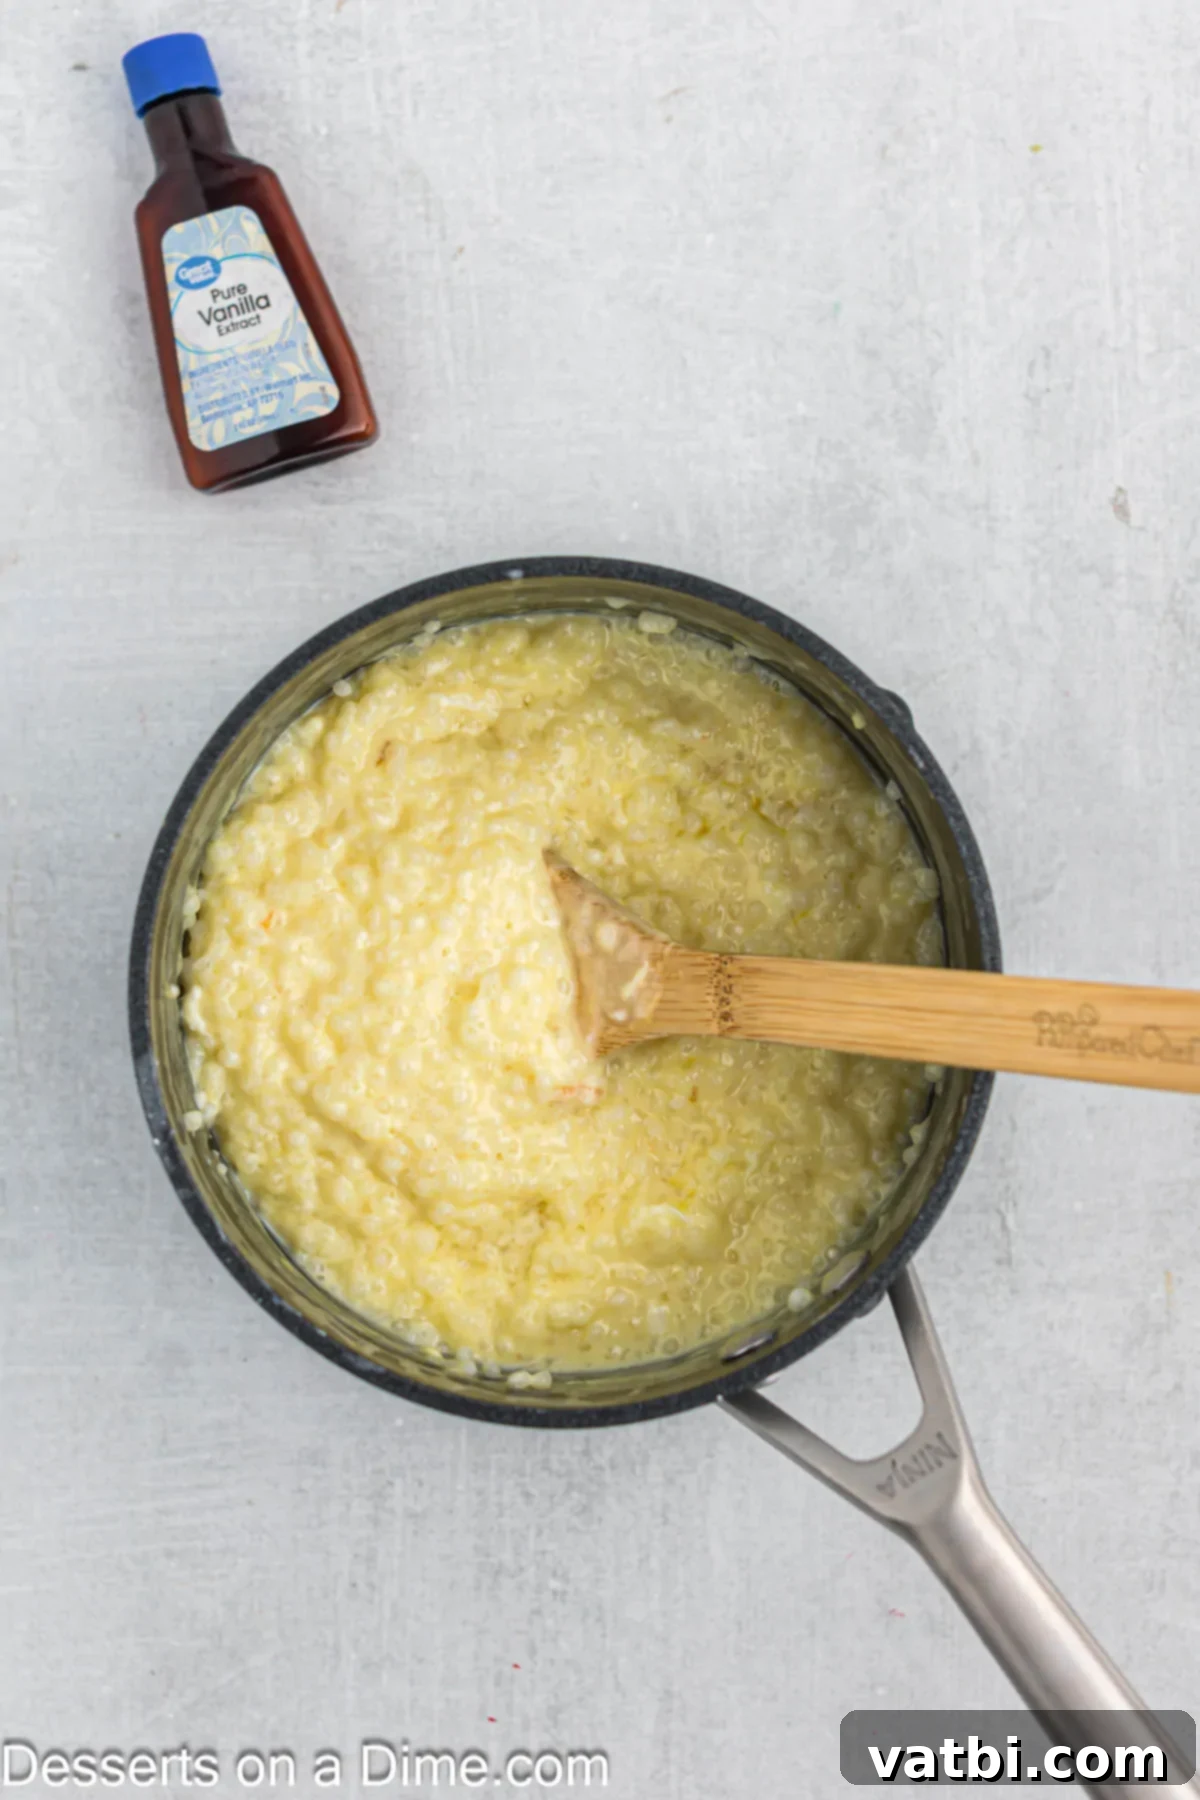
Step 5: Incorporate Eggs and Final Thicken. Slowly pour the tempered egg mixture back into the saucepan containing the remaining tapioca mixture, whisking continuously as you pour. Return the pan to medium heat, but be extremely careful not to let it come to a full boil at this stage. Continue to stir the mixture consistently with your whisk or wooden spoon. You will observe the pudding thickening further, gradually reaching a luscious, creamy consistency that can visibly coat the back of a wooden spoon. This final thickening usually takes another 3-5 minutes. The constant stirring prevents any lumps from forming and ensures the eggs cook evenly into the pudding, resulting in a perfectly smooth and rich custard base. Remove it from the heat as soon as it reaches the desired thickness.
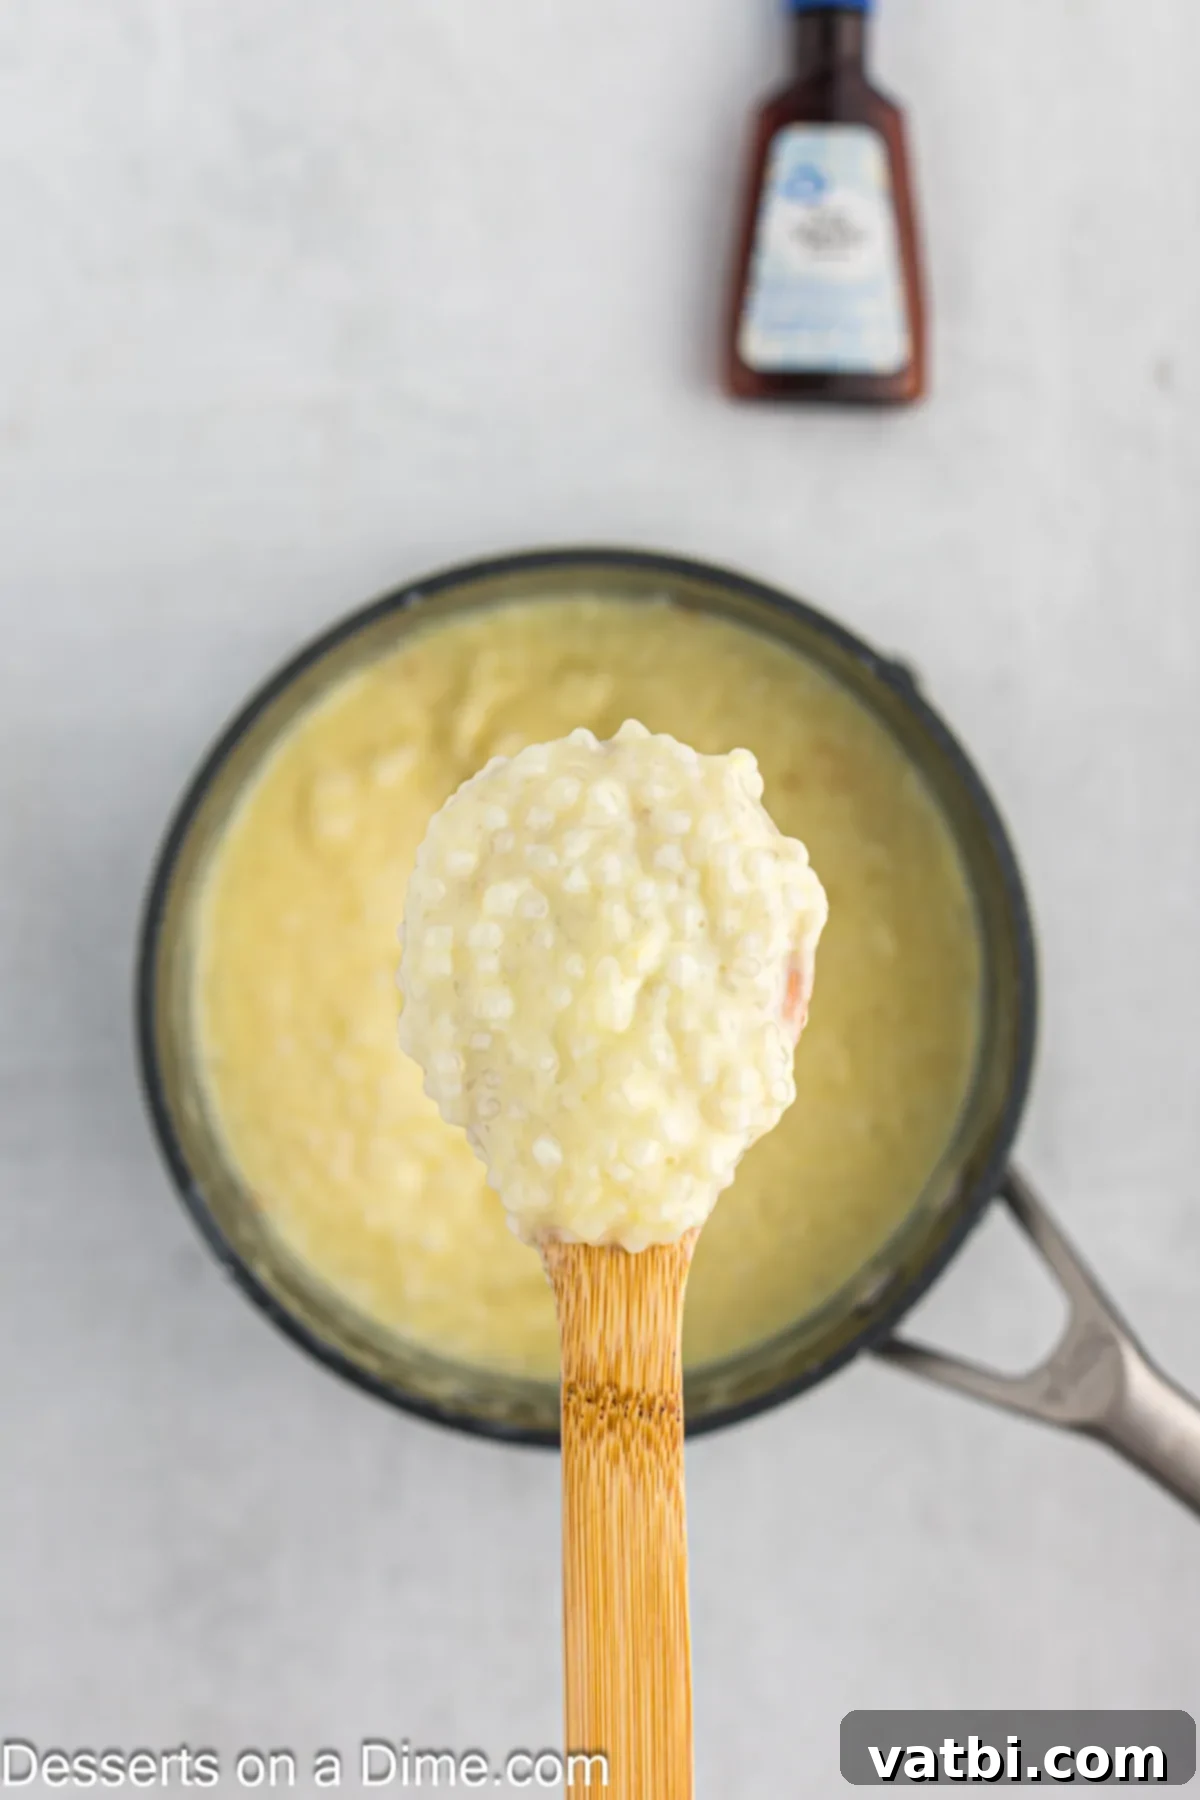
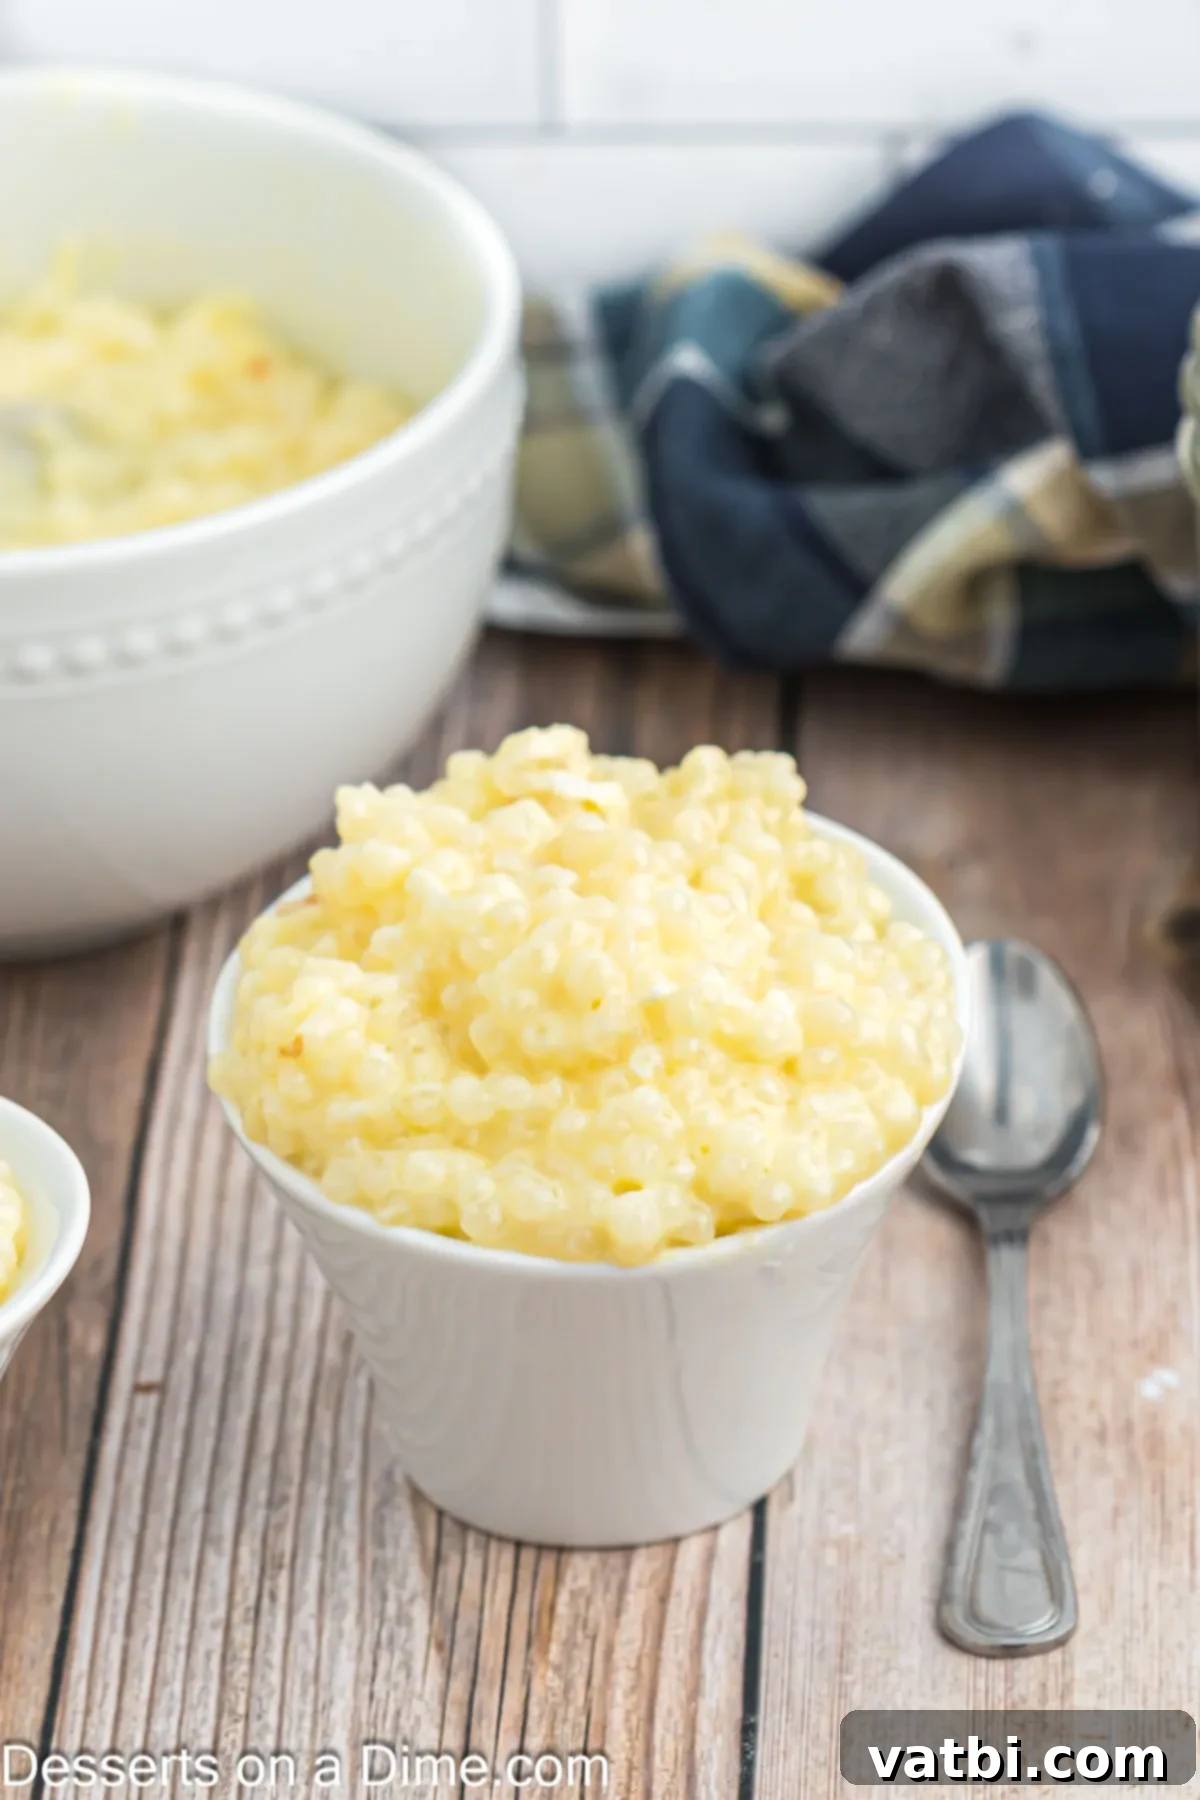
Step 6: Add Vanilla and Cool. Once the pudding has achieved its desired thickness and coats the spoon, remove the pan from the heat entirely. Allow the mixture to sit undisturbed for about 10-15 minutes; this brief cooling period allows the tapioca pearls to fully swell and the pudding to begin setting slightly. After this time, stir in the vanilla extract. It’s best to add vanilla after the main cooking process to preserve its delicate aroma and potent flavor, as excessive heat can diminish its potency. To prevent an undesirable “skin” from forming on top of the pudding as it cools, you have two options: either stir it occasionally every 10-15 minutes, or, for a foolproof method, place a piece of plastic wrap directly onto the surface of the pudding, ensuring it touches the entire surface. Chill thoroughly in the refrigerator for at least 2-4 hours before serving for the best texture and flavor. Enjoy your perfectly homemade tapioca pudding!
Tips for Perfect Tapioca Pudding
Achieving that perfectly creamy, luscious tapioca pudding with tender, distinct pearls is easier than you might think, especially when you arm yourself with a few expert tips. These simple yet crucial pointers will ensure your homemade tapioca pudding turns out flawless and deliciously satisfying every single time, elevating you to a true tapioca dessert master.
- Continuous Stirring is Key: To prevent the formation of an undesirable thick “skin” on the surface of your pudding as it cools, continue to stir it occasionally (every 10-15 minutes) until it reaches room temperature. Alternatively, for a completely hands-off method, press a sheet of plastic wrap directly onto the entire surface of the warm pudding. This creates an airtight seal that effectively prevents skin formation and helps maintain a perfectly smooth top layer.
- Master the Art of Tempering Eggs: Tempering the eggs is arguably the most critical step to ensure a smooth, lump-free, and creamy pudding. The process involves gradually adding small amounts (a few tablespoons at a time) of the hot pudding mixture to your vigorously whisked beaten eggs. This slowly raises the temperature of the eggs, preventing them from cooking too quickly and scrambling into unsightly bits when they are finally incorporated back into the main pot. Always add the tempered egg mixture back to the main pudding pot slowly while continuously stirring the main pudding mixture.
- Choose Whole Milk for Unmatched Richness: For the most luxurious and authentic homemade tapioca pudding, opting for whole milk in conjunction with half and half is highly recommended. The significantly higher fat content in whole milk contributes profoundly to the pudding’s rich, deeply satisfying texture and actively prevents it from becoming watery or disappointingly runny. Using skim or low-fat milk will invariably result in a thinner, less flavorful, and less satisfying pudding.
- Don’t Rush the Soak: Allowing adequate time for the small tapioca pearls to soak in water as directed is paramount. This crucial pre-soaking step effectively softens the pearls, ensuring they cook evenly throughout the pudding and become delightfully chewy and translucent, rather than remaining hard, grainy, or undercooked. Patience during this stage is key to the perfect tapioca texture.
- Low and Slow for Best Results: Always cook the pudding over medium-low to medium heat, ensuring you maintain a gentle simmer rather than allowing it to reach a rapid, rolling boil. High heat is the enemy of a smooth pudding; it can cause the milk to scorch and stick to the bottom of the pan, cause the delicate eggs to curdle, and ultimately lead to a lumpy, unpleasant pudding. Patience and a gentle heat are virtues when crafting perfect tapioca pudding!
- Taste and Adjust Sweetness: While the recipe provides an excellent starting point for sweetness, remember that taste is subjective. Feel free to taste the pudding once the sugar has fully dissolved and before adding the eggs. This allows you to adjust the sweetness level to your personal preference. It’s always easier to add a little more sugar than to try and reduce it later.
Frequently Asked Questions About Tapioca Pudding
We’ve gathered some of the most common questions about making, serving, and enjoying tapioca pudding to help you confidently prepare and savor this delightful dessert. Whether you’re a first-time maker or a seasoned pro looking for extra insights, these frequently asked questions and their comprehensive answers will ensure your tapioca pudding experience is nothing short of fantastic.
One of the most wonderful and versatile qualities of homemade tapioca pudding is that it is absolutely delicious served either warm or cold! Many people adore it warm, straight from the stove, as a comforting and cozy treat, especially on a chilly evening. Others prefer it thoroughly chilled from the refrigerator, where the flavors deepen and the texture sets more firmly, making it a refreshing indulgence on a hot day. Both temperatures offer a unique and delightful experience, so feel free to enjoy it whichever way you prefer, or even try both to see which is your favorite!
Proper storage is key to keeping your homemade tapioca pudding fresh, delicious, and at its best for longer. Once the pudding has cooled completely to room temperature, transfer any leftovers into an airtight container. To effectively prevent a “skin” from forming on top of the pudding – which can be a common occurrence – you can press a layer of plastic wrap directly onto the surface of the pudding before sealing the container with its lid. Refrigerate promptly, and your homemade tapioca pudding will stay wonderfully fresh and enjoyable for up to 5 days. We generally do not recommend freezing tapioca pudding, as the delicate texture of the tapioca pearls can change and become unpleasantly rubbery or mushy upon thawing.
While instant tapioca pearls are designed for quicker preparation, this specific recipe is meticulously crafted and optimized for small pearl tapioca to achieve its signature chewy texture and classic, substantial consistency. Instant tapioca cooks much faster and generally results in a softer, often less distinct, and sometimes mushier pearl, which fundamentally alters the characteristic mouthfeel of traditional tapioca pudding. If you absolutely must use instant tapioca, you would need to significantly adjust the cooking times and completely omit the initial soaking step. However, be aware that the final outcome will be quite different from this authentic, traditional recipe. For the best, most authentic, and satisfying homemade tapioca pudding experience, we highly recommend sticking with small pearl tapioca as specified.
Several factors can contribute to a tapioca pudding that is disappointingly thin or runny. The most common reasons include not cooking the pudding mixture long enough, particularly after adding the tempered eggs, for the eggs to fully thicken the mixture into a proper custard. It needs to reach a point where it visibly coats the back of a spoon. Another factor could be not heating it to the correct temperature; while you don’t want a rolling boil after adding eggs, it needs sufficient gentle heat. Additionally, using low-fat milk or other dairy alternatives can significantly result in a thinner consistency due to less fat. To ensure a perfectly thick and creamy pudding, make sure you use whole milk and half and half, cook until it visibly thickens to the desired consistency, and remember that it will continue to thicken even further as it cools and chills in the refrigerator.
Absolutely! Tapioca pudding is an excellent dessert to prepare ahead of time, which makes it perfect for entertaining or enjoying throughout the week. In fact, many people find that the flavors meld and deepen even further after a few hours (or overnight) in the refrigerator. Just follow the storage instructions: once cooled, transfer to an airtight container and press plastic wrap directly onto the surface to prevent a skin from forming. It will stay fresh for up to 5 days, allowing you to enjoy a delicious, ready-to-eat dessert whenever the craving strikes.
More Easy Pudding Recipes: Explore Our Favorites
If you’ve fallen in love with the comforting simplicity and delightful versatility of homemade pudding, then you’re truly in for a treat! There’s a whole wonderful world of easy and delicious pudding recipes waiting to be explored beyond the classic tapioca. From rich and decadent chocolate creations to light and fruity options, puddings offer endless possibilities for a quick, satisfying dessert, a comforting family favorite, or even a nostalgic trip down memory lane. Broaden your dessert horizons and discover your next go-to sweet treat with these other easy and delicious pudding recipes that are sure to become cherished staples in your kitchen:
- Classic Homemade Chocolate Pudding: A timeless and universally adored favorite, this rich and utterly satisfying chocolate pudding is incredibly easy to make from scratch and always hits the spot.
- Fluffy Banana Pudding Fluff: Experience a lighter, airy, and delightfully fluffy twist on traditional banana pudding, perfect for a refreshing and not-too-heavy dessert.
- Versatile Vanilla Pudding Desserts: Vanilla pudding serves as the perfect creamy base for countless dessert creations, but it’s also wonderfully delicious and comforting when enjoyed simply on its own.
- Decadent Butterscotch Pudding: Indulge in a sweet and buttery delight with this rich butterscotch pudding, boasting a luxurious caramel-like flavor that’s both complex and incredibly satisfying.
- Refreshing Orange Pudding: For something a little different, try this bright, zesty, and surprisingly invigorating orange pudding. Its vibrant citrus notes offer a delightful contrast to richer desserts.
Once you’ve had a chance to try this incredible, easy tapioca pudding recipe and experience its rich, creamy goodness for yourself, please consider taking a moment to leave a comment below and a star recipe rating. Your valuable feedback not only helps us improve but also helps us share the joy of delicious homemade desserts with even more people!
Pin
Tapioca Pudding
Ingredients
- 1/2 cup Small Tapioca Pearls not instant
- 1 cup Water
- 2 cups Whole Milk
- 1/2 cup Half and Half
- 1/4 teaspoon Salt
- 2 Large Eggs beaten
- 1/2 cup Granulated Sugar
- 1 teaspoon Vanilla Extract
Instructions
-
Place the tapioca pearls in a saucepan. Cover them with the water. Let them sit for 20-45 minutes until the tapioca pearls have soaked up most of the water and become plump.
-
Drain any excess water from the pan.
-
Stir in the whole milk, half and half and salt. Bring the mixture to a very low boil. Watch it closely so it does not over boil. Stir constantly.
-
Then stir in the granulated sugar. Cook on a low simmer for 5-7 minutes until the pearls continue to get plump and the mixture thickens slightly.
-
Remove from heat.
-
Place the beaten eggs in a separate bowl. Stir in a few tablespoons of the tapioca mixture into the eggs. Do this 2-3 more times. This is an important step to bring the eggs to a warm temperature without scrambling them.
-
Pour the egg mixture into the saucepan with the remaining tapioca mixture. Increase the temperature on the pan to medium heat. Stir and heat (but do not boil) until the mixture has thickened and can coat the back of a wooden spoon.
-
Remove the pan from the heat. Let the mixture sit for 10-15 minutes. Then stir in the vanilla extract.
-
Continue to stir the pudding while it cools so that a skim does not form on the top of the pudding mixture. Cover with plastic wrap and chill until ready to serve. Enjoy!
Recipe Notes
To store leftovers, ensure the pudding is completely cooled to room temperature, then transfer it to an airtight container. For best results and to prevent an undesirable skin from forming, press plastic wrap directly onto the surface of the pudding before sealing the container with its lid. It will keep wonderfully fresh in the refrigerator for up to 5 days, making it perfect for preparing ahead or enjoying throughout the week.
Nutrition Facts
Pin This Now to Remember It Later
Pin Recipe
