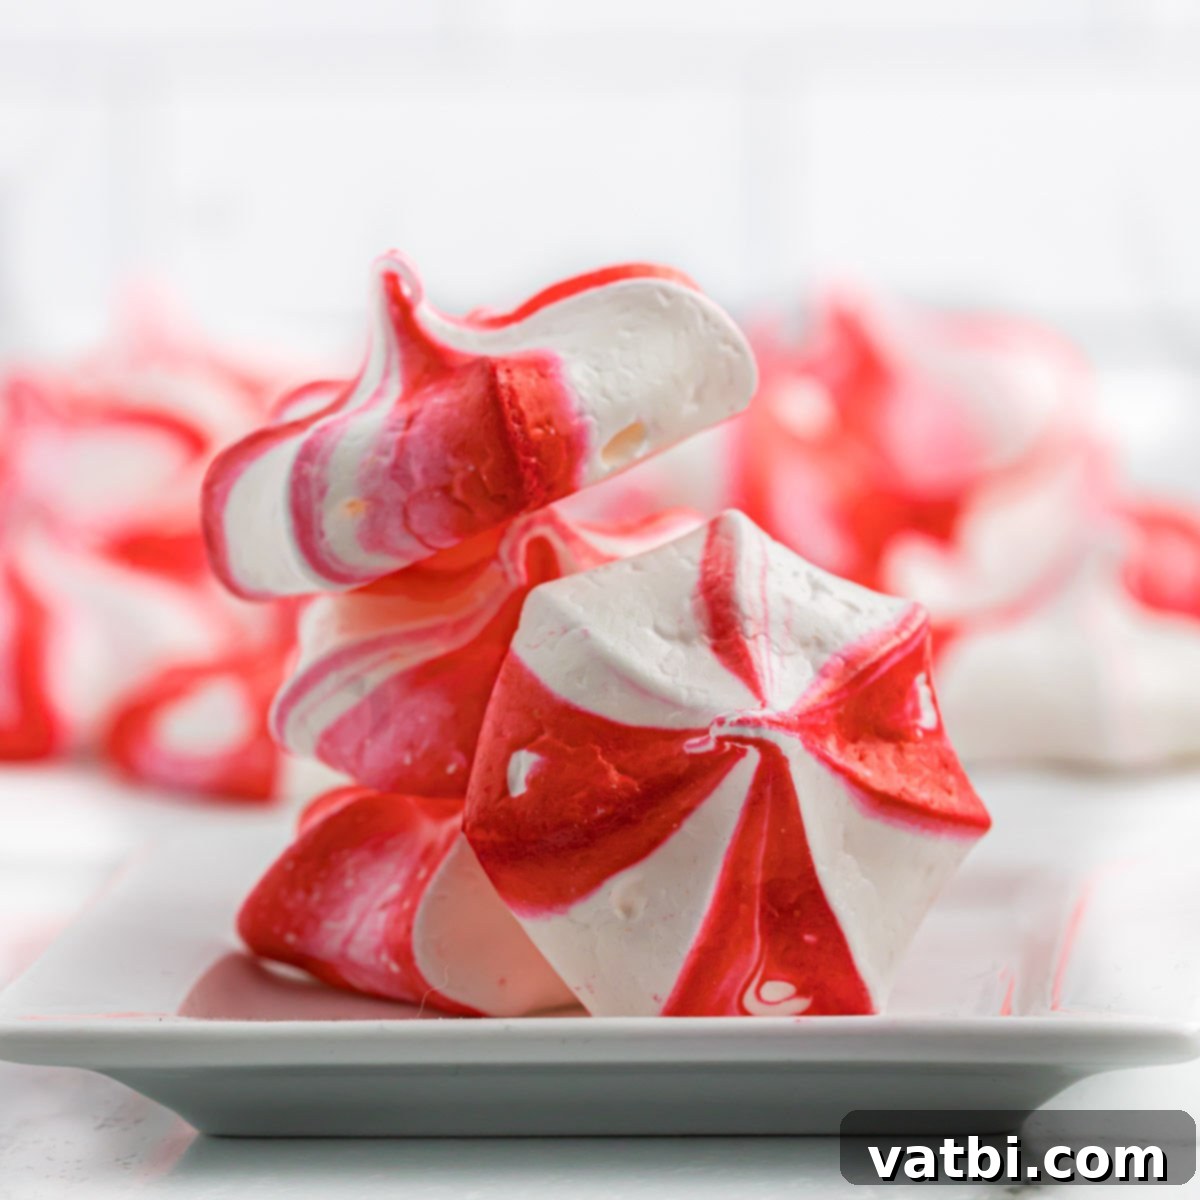
Easy & Festive Peppermint Meringues: Your Perfect Holiday Cookie Recipe
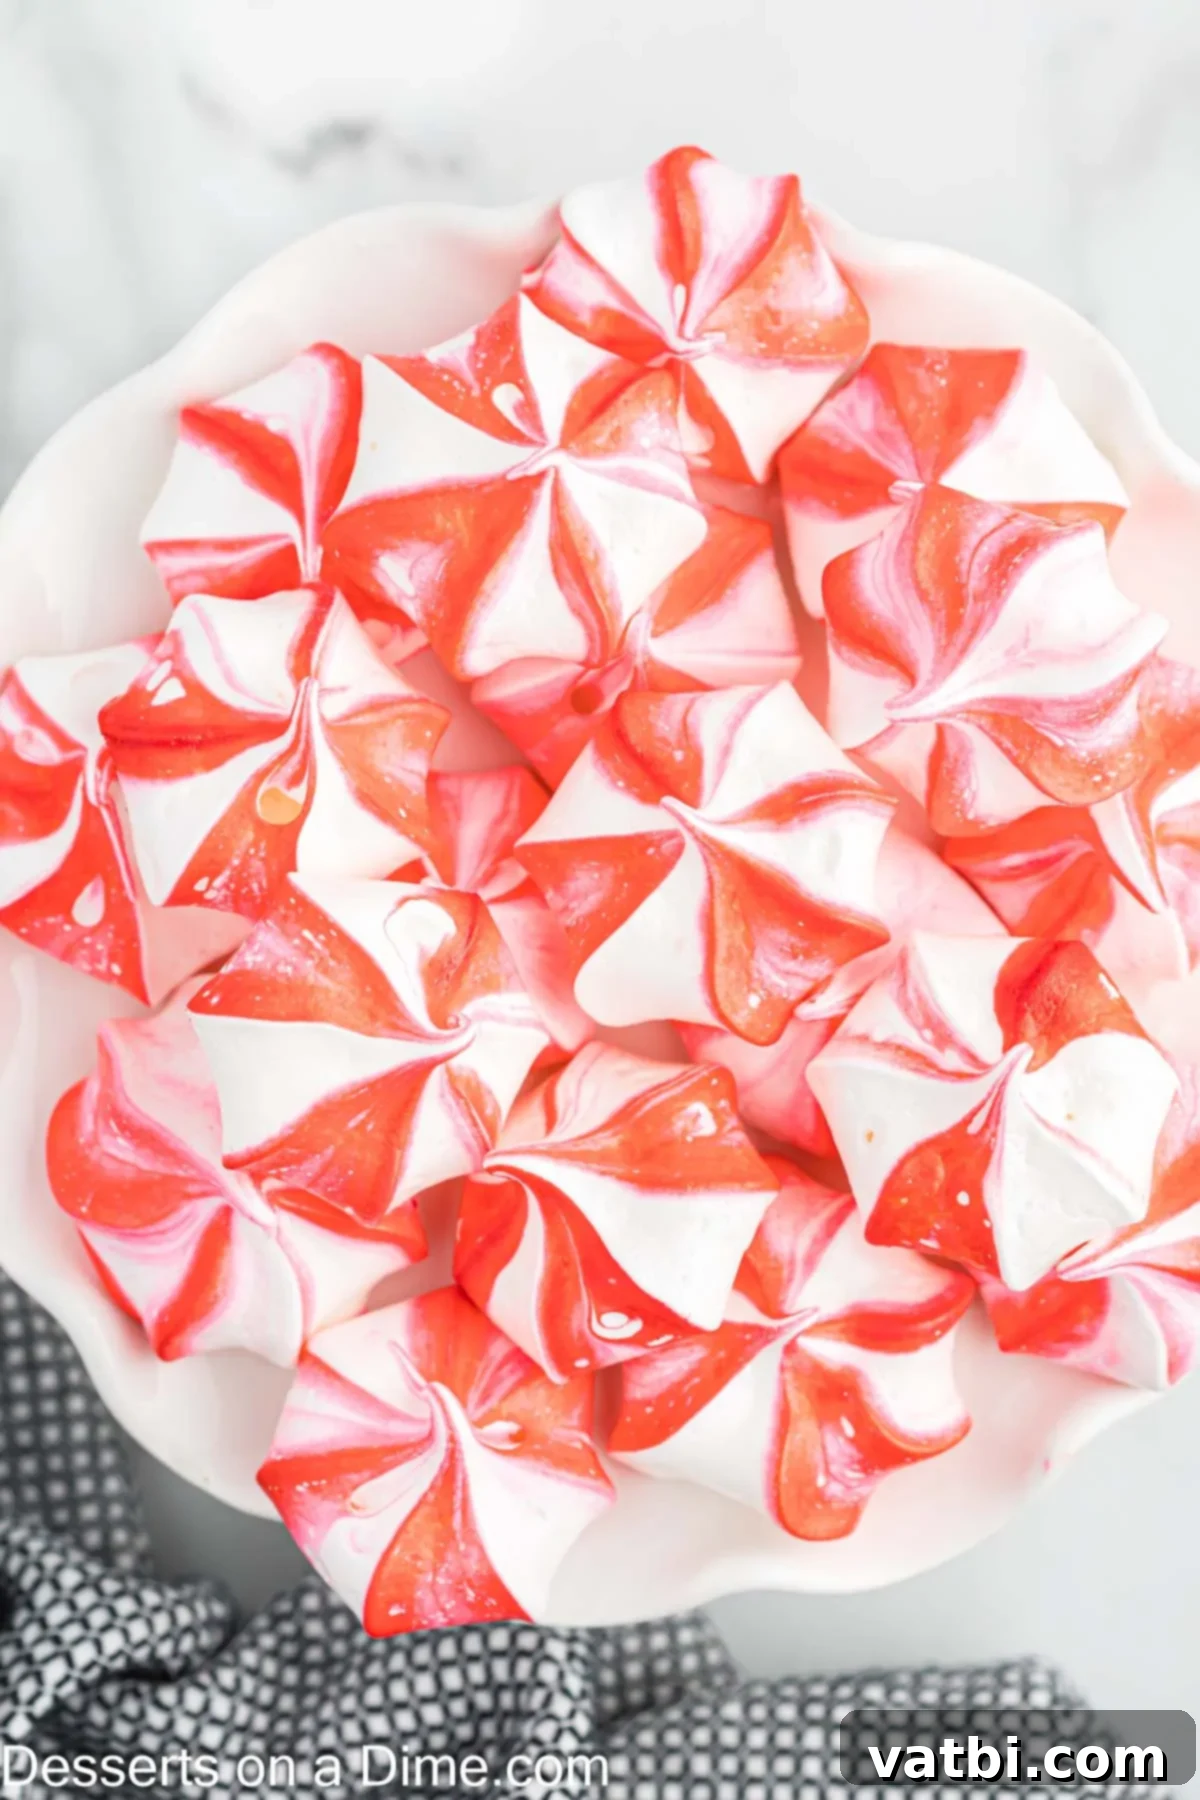
Prepare to fall in love with these delightful Peppermint Meringues! With their eye-catching red and white stripes and unbelievably light, airy texture, these cookies are a true showstopper during the holiday season. Requiring just 5 simple ingredients, they offer a burst of delicious peppermint flavor in every melt-in-your-mouth bite, making them an instant hit for any gathering.
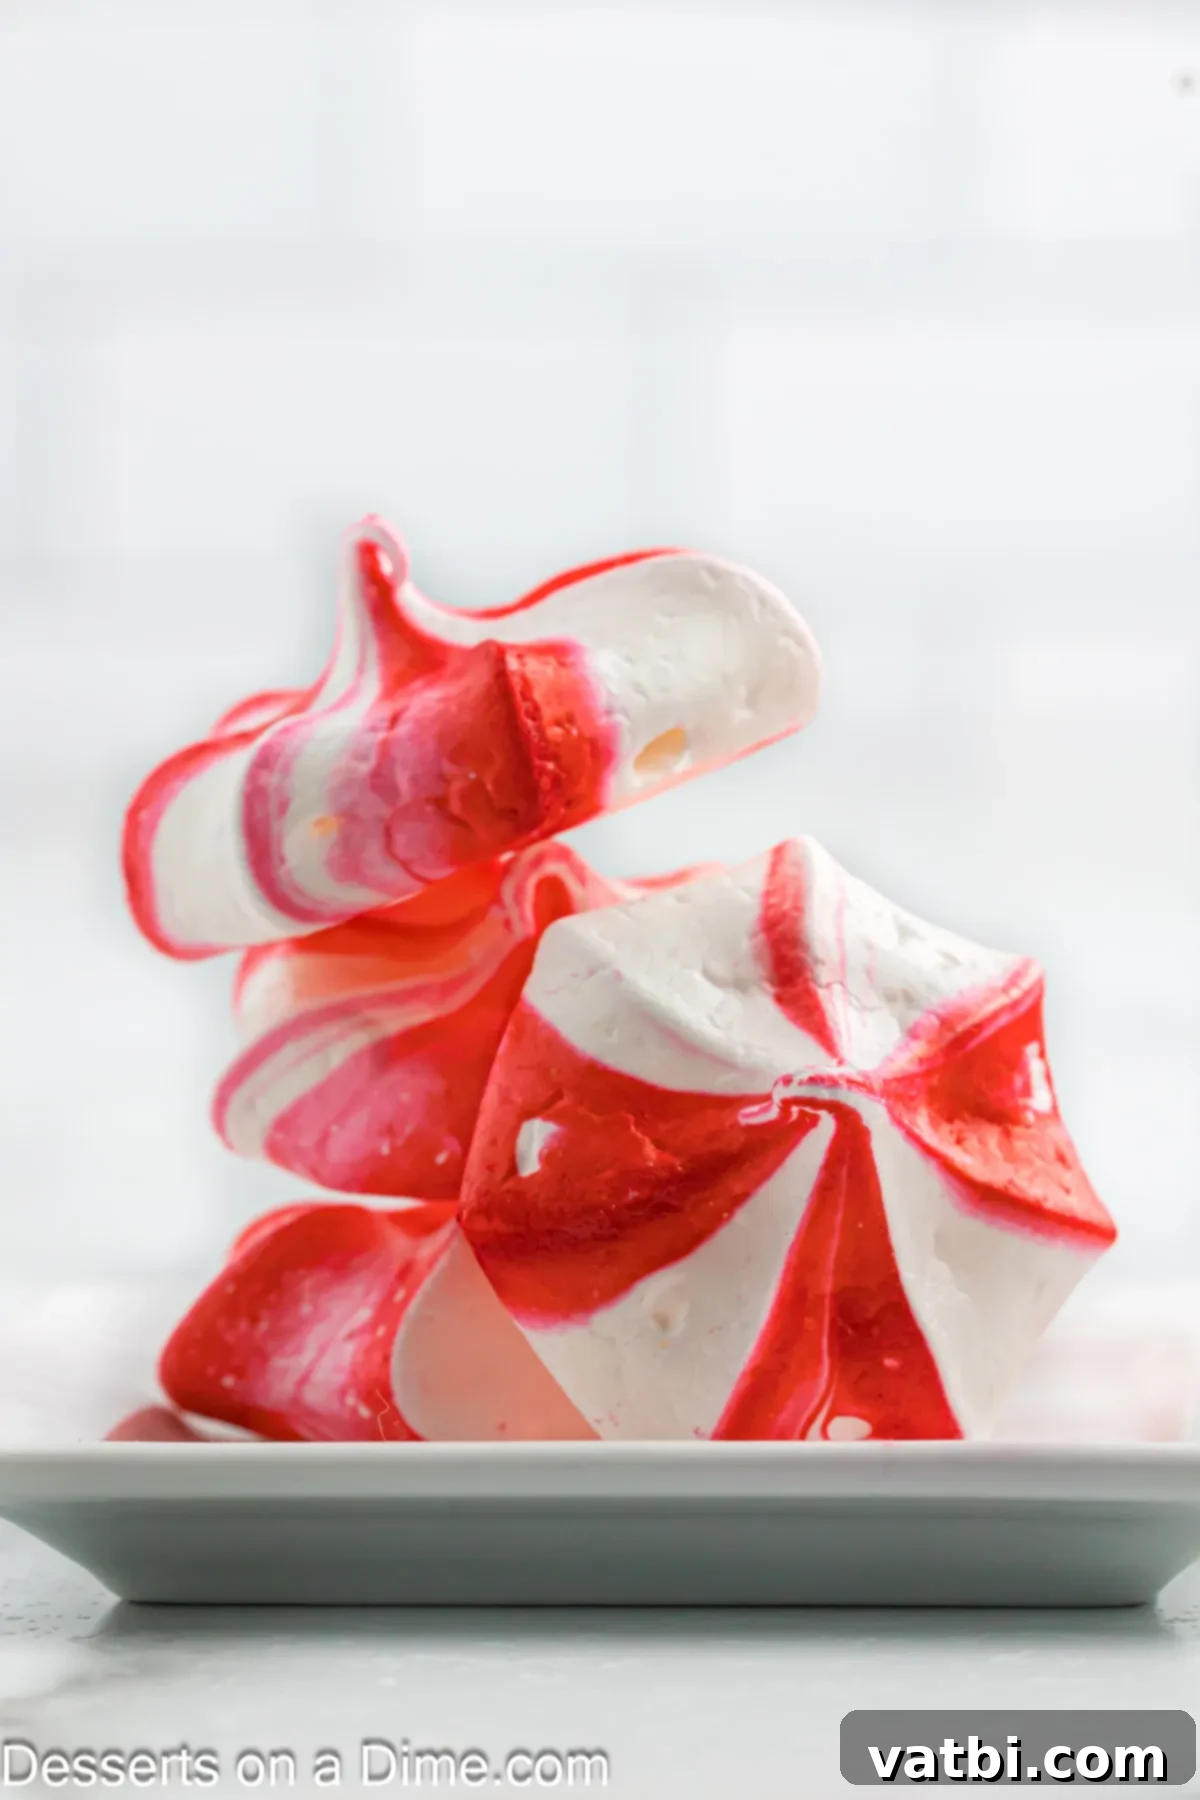
While these gorgeous peppermint meringue cookies might look incredibly fancy and intricate, you’ll be surprised at how effortlessly they come together. This Peppermint Meringue Recipe is deceptively easy, making it an ideal choice for anyone looking to impress without spending hours in the kitchen. Whether you’re hosting a grand Christmas Dessert party, preparing a festive cookie tray for friends and family, or simply enjoying a cozy movie night at home, these meringues are a fantastic option that adds a touch of holiday magic.
If you’re a fan of peppermint-flavored treats, be sure to also check out our popular Chocolate Peppermint Bark Recipe and White Chocolate Peppermint Fudge Recipe. These delicious confections also bring that signature cool and refreshing peppermint taste, perfect for rounding out your holiday cookie assortment or gifting to loved ones.
What’s in this post: Peppermint Meringues
- Why You’ll Adore This Easy Meringue Recipe
- Essential Ingredients for Peppermint Meringues
- Creative Substitutions & Flavorful Additions
- Step-by-Step Guide: How to Make Peppermint Meringues
- Expert Tips for Perfect Meringue Cookies
- Frequently Asked Questions about Meringues
- More Delightful Peppermint Recipes
- Printable Peppermint Meringues Recipe Card
Why You’ll Adore This Easy Meringue Recipe
These peppermint meringues are more than just a treat; they’re a simple joy that embodies the spirit of the holidays. Here are just a few reasons why this recipe will become a cherished part of your festive baking traditions:
- Budget-Friendly Delight. You don’t need expensive ingredients to create something truly spectacular. This recipe uses common pantry staples, making it an incredibly inexpensive way to bake a large batch of beautiful cookies. It’s proof that elegance doesn’t have to break the bank, allowing you to share more holiday cheer without financial stress.
- Minimum Ingredients, Maximum Flavor. Simplicity is key! With only a handful of ingredients – just 5, to be exact – you can whip up these impressive cookies in no time. This means less shopping, less fuss, and more time enjoying the festive season. The short ingredient list makes it an ideal recipe for beginner bakers or those short on time.
- Sweet and Airy Texture. Each bite of these peppermint meringues is a delicate experience. They are wonderfully crisp on the outside and melt-in-your-mouth airy on the inside, creating a cloud-like confection that’s perfectly sweet and satisfying. The lightness of the meringue combined with the vibrant peppermint flavor makes them an irresistible treat for any holiday occasion.
- Visually Stunning. The vibrant red and white stripes make these meringues incredibly festive and appealing. They instantly add a pop of color and sophistication to any dessert table or cookie platter, making them look like they came straight from a gourmet bakery. They’re sure to draw compliments from guests!
- Perfect for Gifting. Because they are so charming and hold up well, these meringues make excellent homemade gifts. Package them in decorative bags or boxes, and you have a thoughtful, delicious present that shows you care.
Essential Ingredients for Peppermint Meringues
The beauty of this peppermint meringue recipe lies in its simplicity, requiring just a few key ingredients to create a truly magical dessert. Ensure your ingredients are fresh and at the right temperature for the best results.
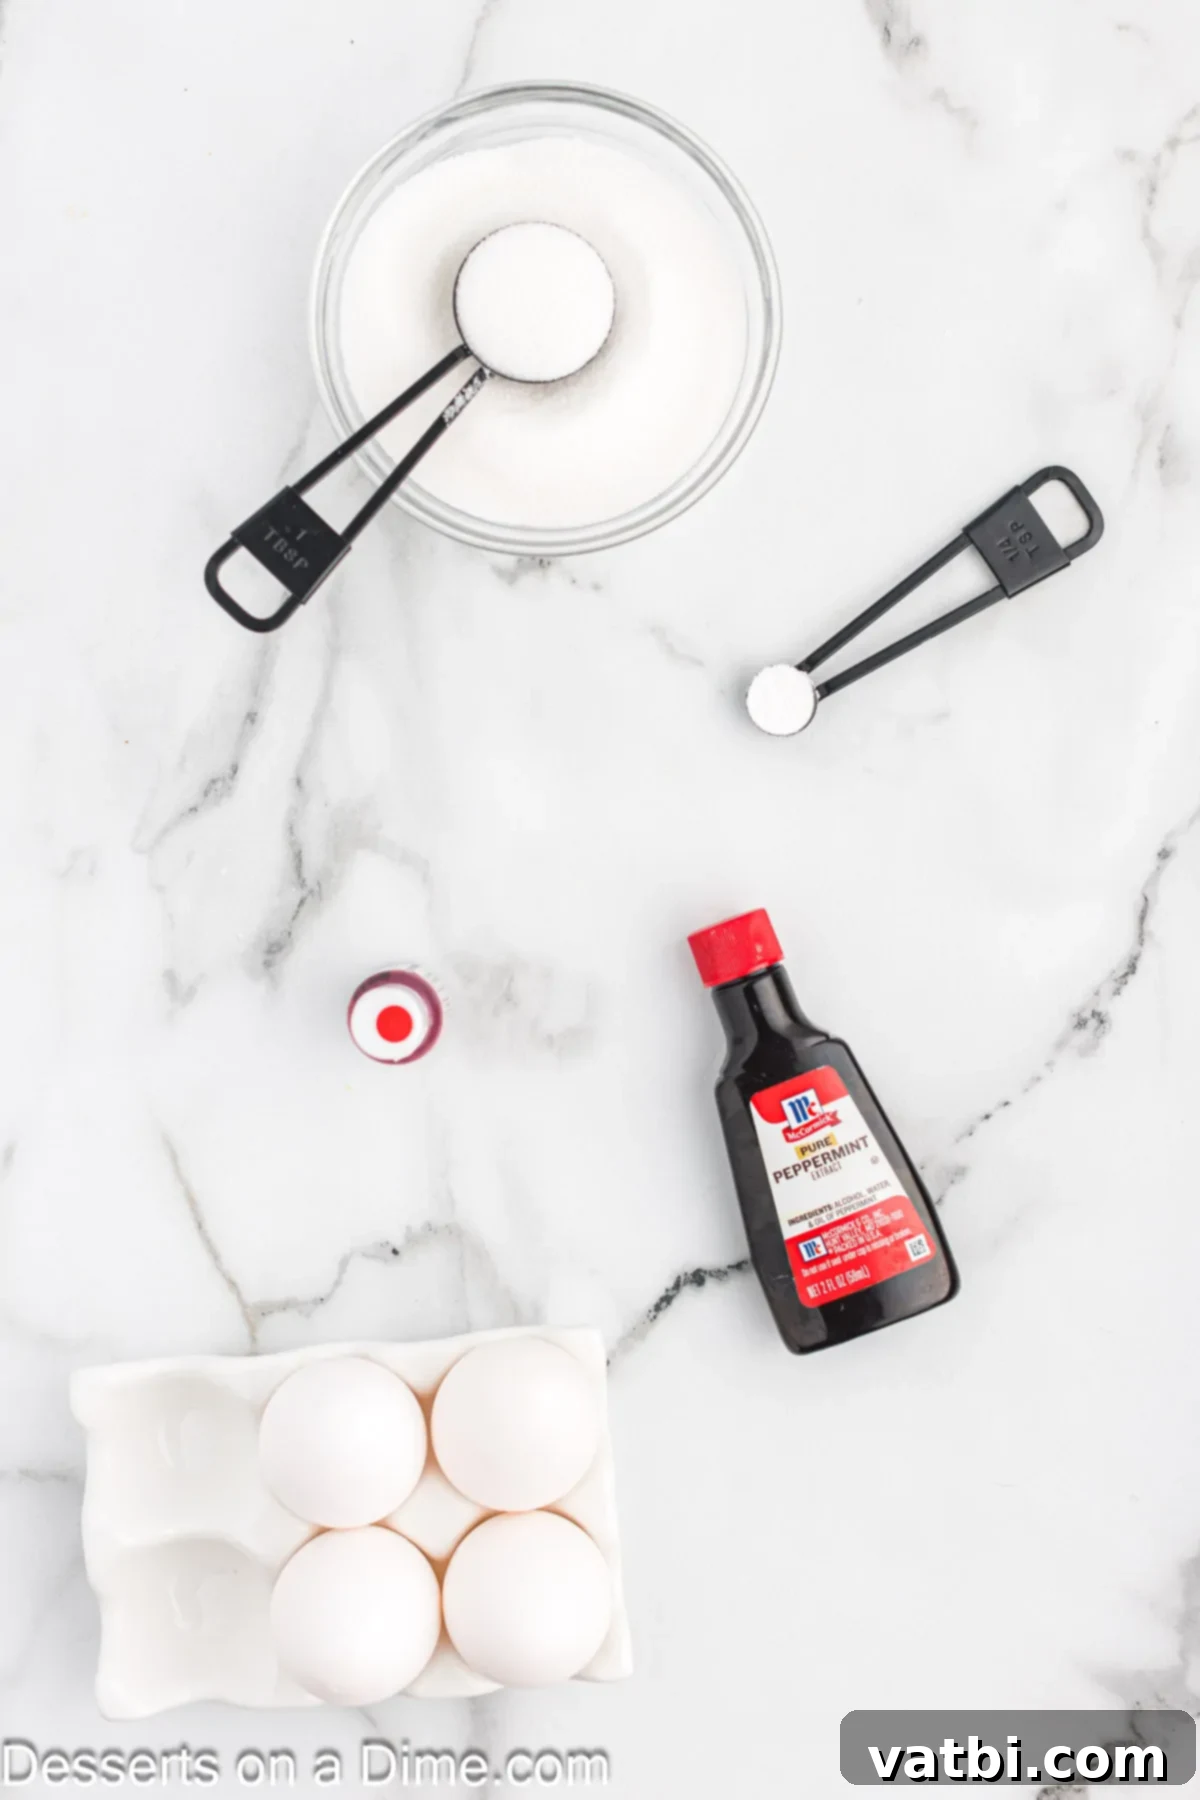
- Large Egg Whites. It’s crucial that your egg whites are at room temperature. This allows them to whip up to their maximum volume, creating that signature light and airy meringue texture. Carefully separate the egg whites from the yolks, ensuring no trace of yolk gets into the whites, as fat can prevent them from whipping properly. Don’t toss those egg yolks – save them for another recipe like custards or hollandaise sauce!
- Cream of Tartar. This often-overlooked ingredient is a true meringue hero. Cream of tartar is an acidic salt that stabilizes the whipped egg whites, preventing them from collapsing and helping them achieve a smooth, glossy, and firm texture. It’s essential for creating those beautiful stiff peaks that define a perfect meringue cookie.
- Granulated Sugar. Fine granulated sugar is ideal for meringues as it dissolves quickly into the egg whites, preventing a gritty texture. It provides the necessary sweetness and also contributes to the meringue’s stability and crispness. Gradually adding it helps achieve the desired glossy finish.
- Peppermint Extract. This is where the festive flavor truly comes alive! Peppermint extract provides that crisp, cool, and undeniably holiday-like taste. Ensure you’re using peppermint extract, not just general mint extract, as the flavors are distinct. A good quality extract will make all the difference in the final taste of your cookies.
- Red Gel Food Coloring. To achieve those vibrant, striking red stripes, we highly recommend using gel food coloring. Unlike liquid food coloring, gel colors are highly concentrated and won’t thin out your meringue mixture, ensuring you get a deep, rich color with minimal product. This is key for creating a truly festive and eye-catching visual effect.
You can find the exact measurements and a complete list of ingredients in the detailed recipe card at the bottom of the page. Make sure to gather all your ingredients before you begin for a smooth baking experience!
Creative Substitutions and Flavorful Additions
While this peppermint meringue recipe is perfect as is, you can always get creative and customize it to your liking or for different occasions. Here are a few ideas to get you started:
- Crushed Candy Canes. For an extra festive crunch and burst of peppermint flavor, sprinkle crushed candy canes generously on top of the piped meringue cookies before baking. The candy canes will slightly melt and adhere to the meringues, creating a beautiful and delicious finish.
- Chocolate Drizzle. Once the meringues are completely cooled, you can drizzle them with melted dark or white chocolate. This adds a lovely visual contrast and an extra layer of sweetness that pairs wonderfully with the peppermint.
- Edible Glitter. For an even more magical and sparkling presentation, lightly dust the finished meringues with edible glitter. This is especially fun for holiday parties or special occasions.
- Different Extracts. While peppermint is central to this recipe, you could experiment with other extracts for a different flavor profile if you’re not bound by the “peppermint” theme. Vanilla, almond, or even a touch of orange extract could create a unique twist, though the classic red stripes would then be purely for visual appeal.
- Food Coloring Variations. Instead of red, consider green food coloring for a different holiday look, or use multiple colors for a rainbow effect. The gel food coloring technique works beautifully with any vibrant shade.
Step-by-Step Guide: How to Make Peppermint Meringues
Creating these beautiful peppermint meringues is a straightforward process, but paying attention to a few key details will ensure your success. Follow these steps carefully for light, crispy, and perfectly striped meringue cookies:
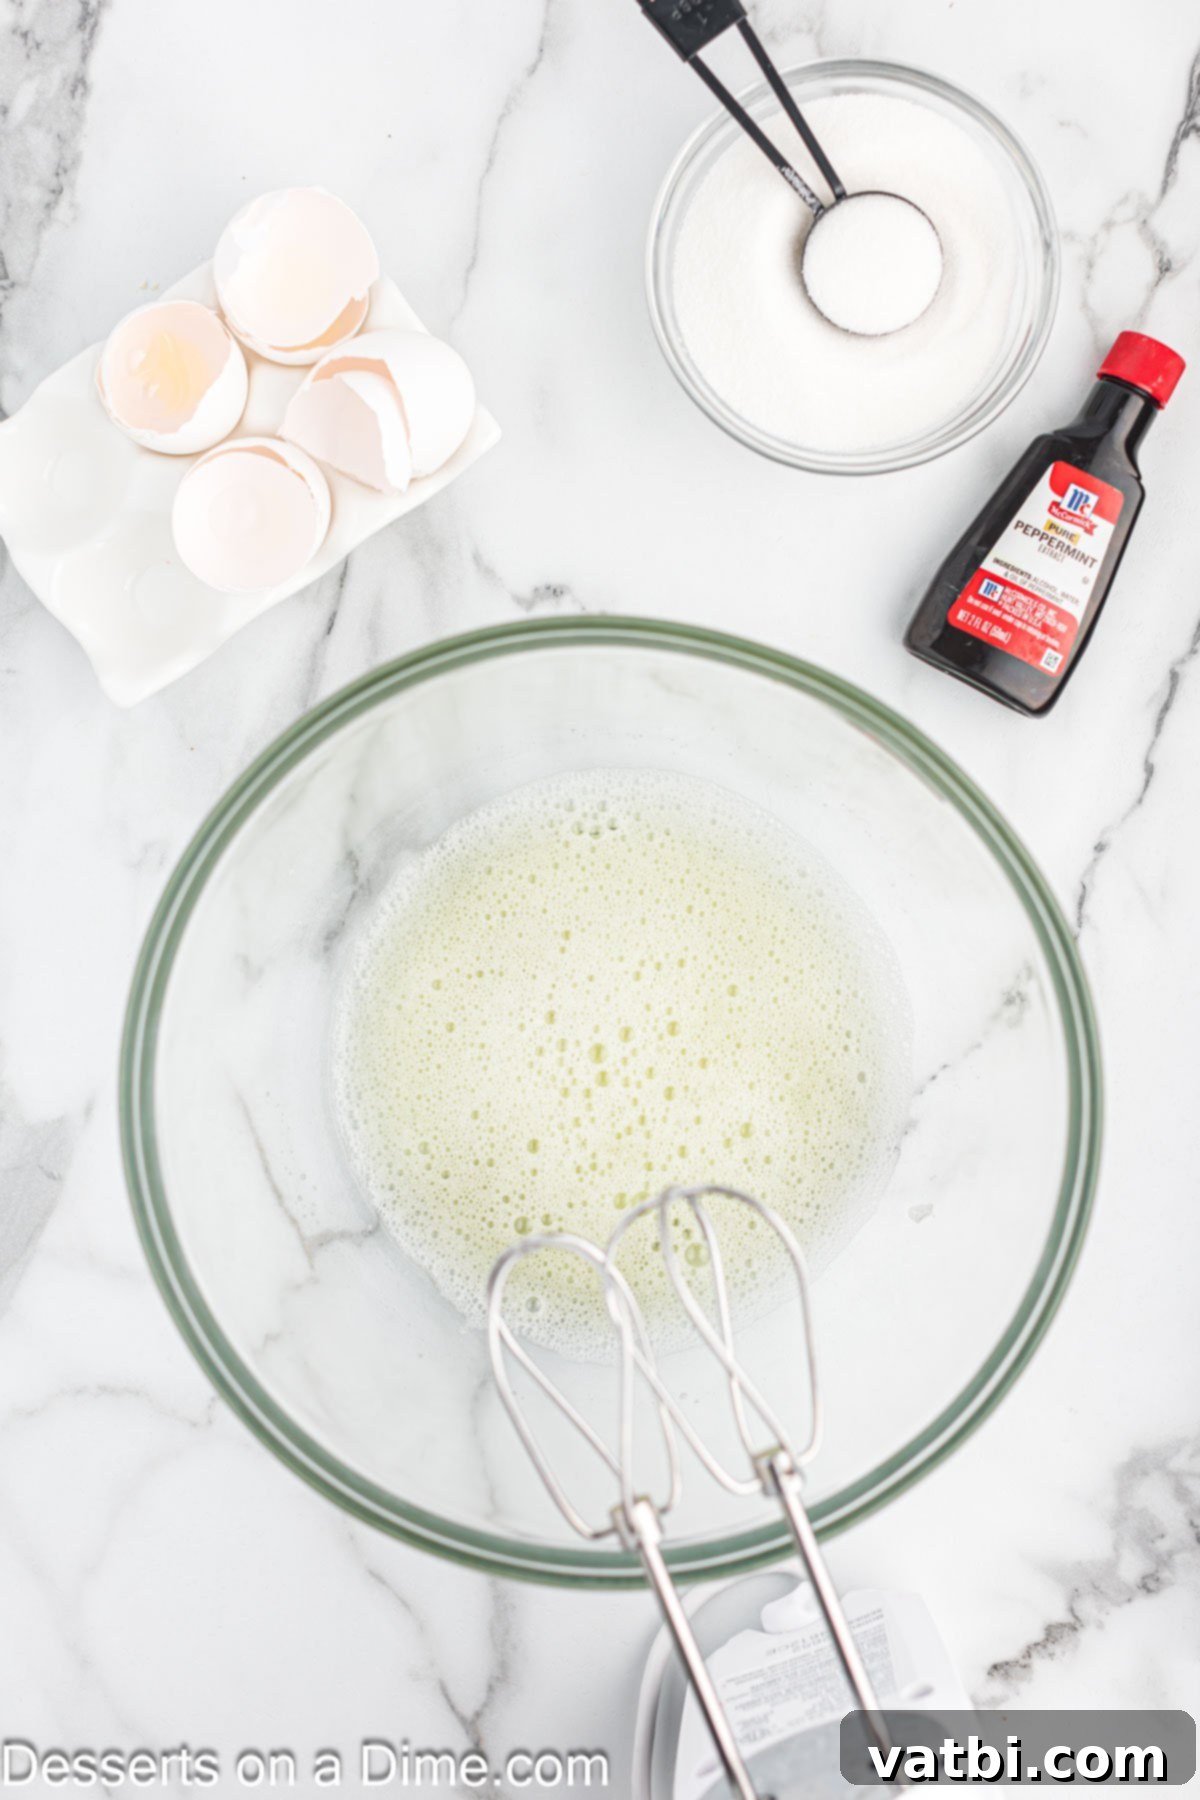
Step 1: Prepare the Meringue Base. Before you begin, preheat your oven to 375 degrees Fahrenheit and line two baking sheets with parchment paper. This parchment paper is essential to prevent sticking and for easy removal. Next, in the clean bowl of a stand mixer (or using a hand mixer), combine your room temperature large egg whites and cream of tartar. Beat them on medium speed for about 2-3 minutes until the egg whites become frothy and slightly opaque, resembling light foam. This initial beating helps to incorporate air and create a good foundation for your meringue.
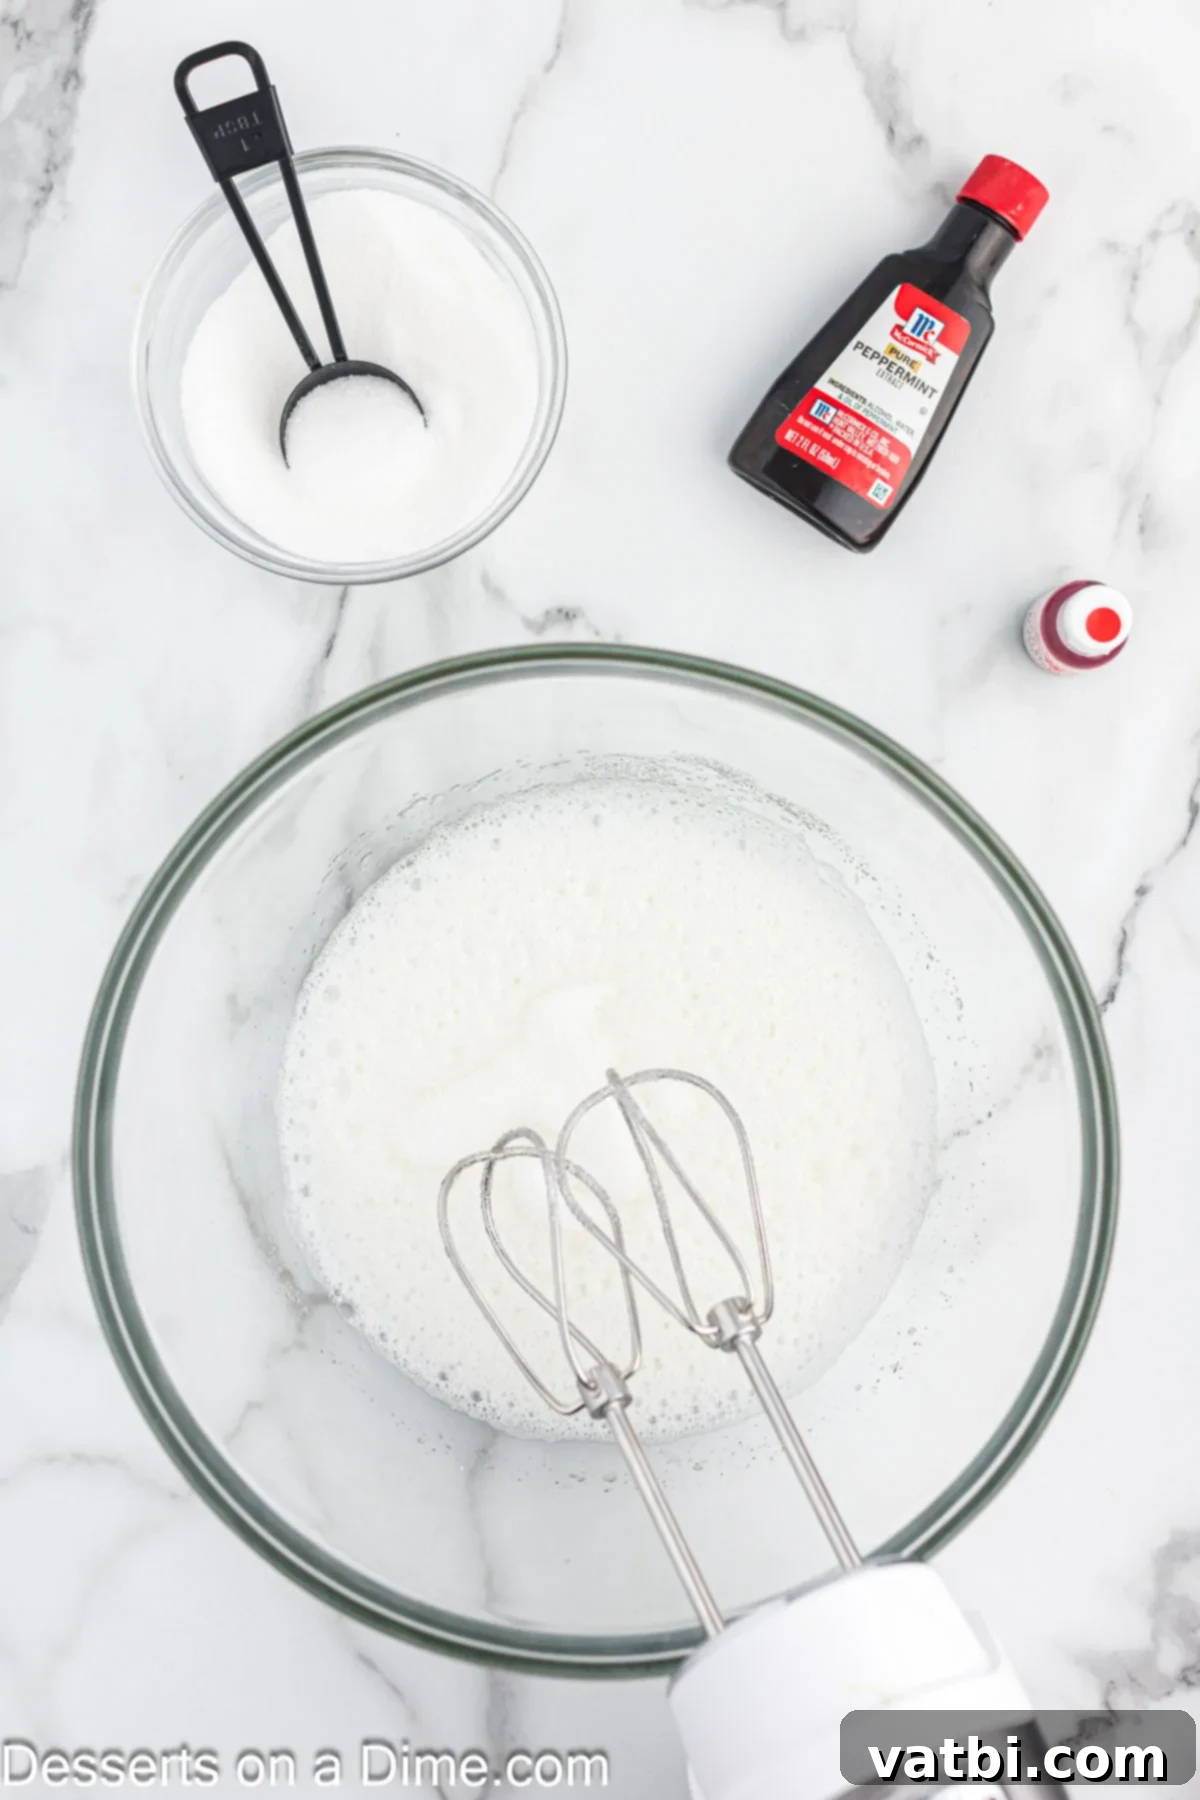
Step 2: Incorporate Sugar and Peppermint. Once the egg whites are frothy, increase the mixer speed to medium-high. Begin adding the granulated sugar very slowly, about one tablespoon at a time, allowing it to fully dissolve into the egg white mixture before adding more. This gradual addition ensures the sugar integrates properly and helps create a stable, glossy meringue. Continue beating for 4-5 minutes on high speed until stiff, glossy peaks form. You’ll know they’re ready when you lift the whisk and the meringue holds its shape firmly. Finally, lower the mixer speed to low and mix in the peppermint extract until just combined. Be careful not to overmix at this stage.
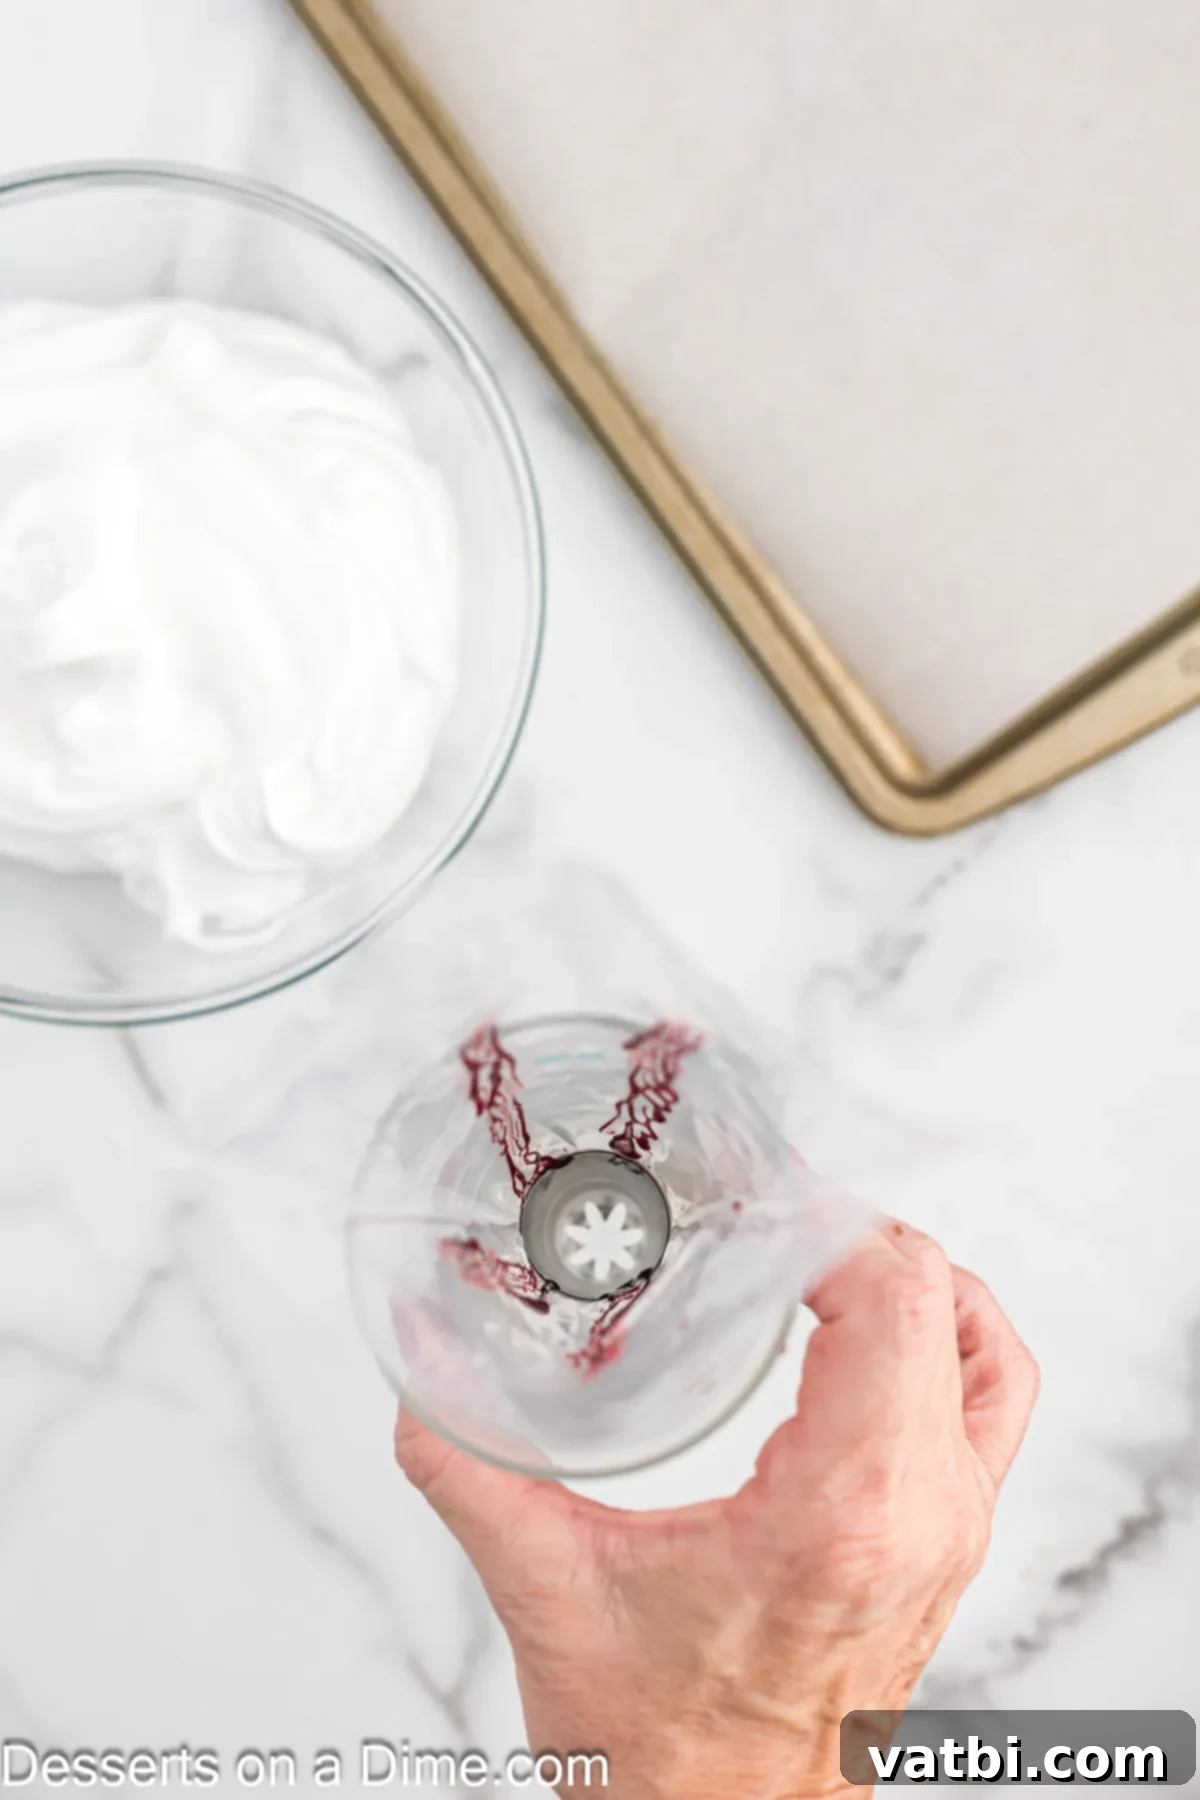
Step 3: Prepare the Piping Bag for Stripes. This step is key for achieving the beautiful striped effect. Fit a large piping bag with a small open star tip. Then, using a small, clean food-safe paintbrush, carefully paint 3-4 distinct stripes of red gel food coloring along the inside length of the piping bag. These stripes will transfer onto your meringue as you pipe. Once the stripes are painted, gently fill the piping bag with the prepared peppermint meringue mixture. Avoid smearing the coloring as you fill.
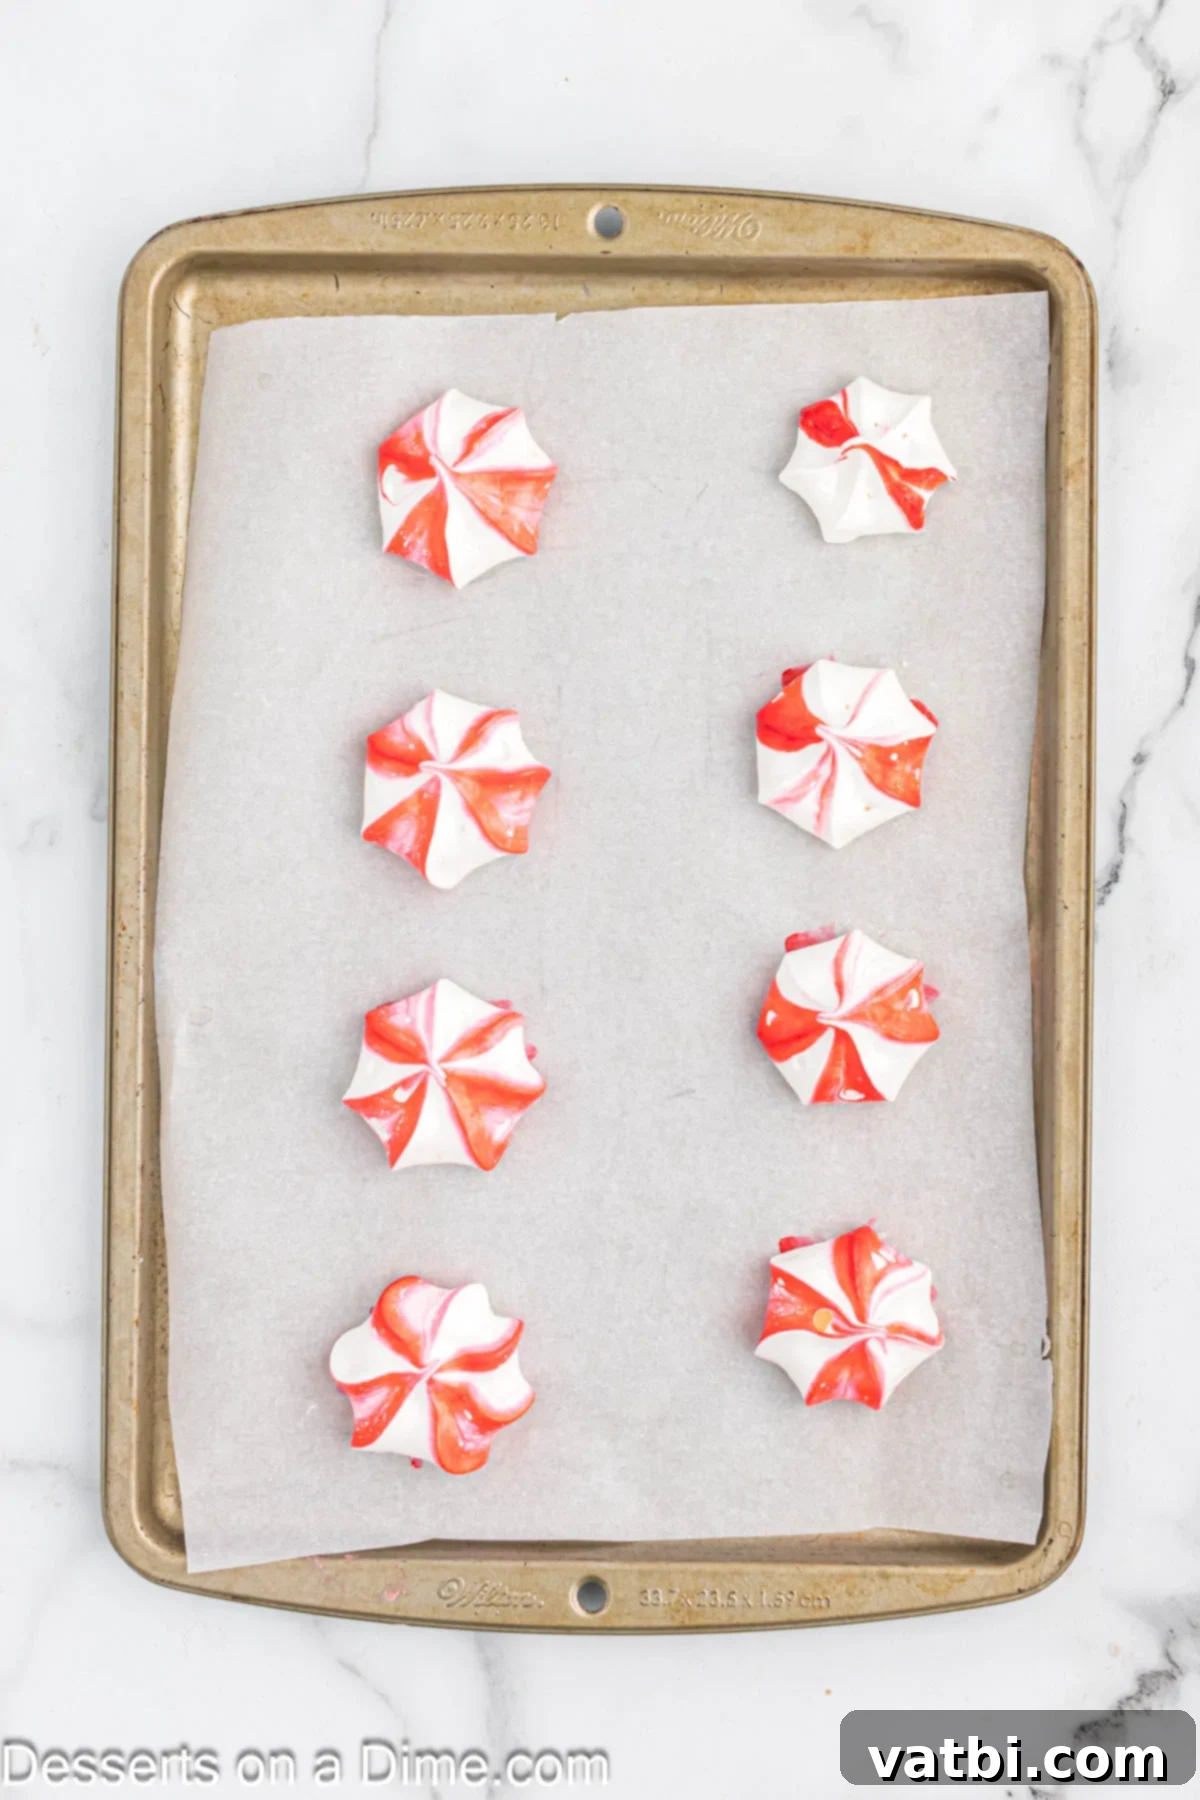
Step 4: Pipe and Bake the Meringues. Hold the piping bag perpendicular to the parchment-lined baking sheet and pipe small star-shaped cookies. Apply even pressure and lift straight up to create neat shapes. Continue piping until you’ve used all the meringue. Remember that you will need to re-apply the food coloring stripes inside the piping bag each time you refill it with more meringue to maintain the vibrant striped effect. Bake the cookies in the preheated oven until they are completely crispy and dry to the touch, but critically, not browned. This slow baking process typically takes about 1 hour and 45 minutes. Once baked, turn off the oven but leave the cookies inside for an additional 30 minutes to allow them to slowly dry out and become perfectly crisp without browning.
Expert Tips for Perfect Meringue Cookies
Achieving perfect peppermint meringues is easier than you think, especially with these insider tips:
- Allow to Cool Completely. Patience is key! After baking, leave the cookies in the turned-off oven to dry out, and then let them cool completely on the baking sheets placed on wire racks. Meringues are delicate and can become soft or chewy if not cooled thoroughly, potentially losing their crisp texture. Only serve once fully cooled and firm.
- Use a Small Paintbrush. For those stunning red stripes, a small, clean, food-safe paintbrush is your best friend. It allows for precise application of the gel food coloring along the inside of the piping bag, ensuring sharp, distinct stripes on your meringues.
- Make the Cookies Using a Piping Bag. While you *could* spoon meringue onto the tray, using a piping bag fitted with an open star tip is highly recommended. Not only does it make the process easier, but it also creates beautifully consistent, star-shaped cookies with an elegant, professional finish.
- Don’t Substitute the Peppermint Extract. For that authentic holiday flavor, stick with peppermint extract. Mint extract, while similar, has a different flavor profile that can be more like spearmint and won’t give you the classic taste you’re aiming for. Ensure your extract is fresh for maximum potency.
- Ensure Your Bowl and Utensils Are Spotlessly Clean. Any trace of grease or oil on your mixing bowl or whisk can prevent egg whites from whipping up properly. Wipe down all equipment with a little lemon juice or vinegar and then dry thoroughly before starting.
- Separate Eggs Carefully. Even a tiny bit of egg yolk (which contains fat) can ruin your meringue. Separate the eggs one by one into a small bowl before adding the whites to the main mixing bowl. This way, if you accidentally break a yolk, it only contaminates one egg white, not the whole batch.
- Avoid Baking on a Humid Day. Meringues are very sensitive to moisture. Baking on a dry day will help them crisp up better. High humidity can make them sticky or chewy.
- Do Not Open the Oven Door. Resist the temptation to peek! Opening the oven door during baking, and especially during the cooling period, can cause a sudden temperature drop, which might lead to your meringues cracking or deflating.
Frequently Asked Questions about Meringues
Here are answers to some common questions about making and storing peppermint meringues:
The key to perfectly baked meringues is ensuring they are crispy and dry all the way through, but without any browning. This typically takes about 1 hour and 45 minutes in a 375-degree Fahrenheit oven. After the baking time, turn off the oven completely but leave the cookies inside for an additional 30 minutes. This allows them to continue drying out slowly as the oven cools, preventing them from becoming chewy. To test for doneness, carefully remove one cookie; if it’s still soft or chewy in the middle, return the entire batch to the turned-off oven to continue drying.
These delicious peppermint meringues have a surprisingly long shelf life! When stored properly in an airtight container at room temperature, away from any moisture or humidity, they will maintain their crisp texture and delicious flavor for a few weeks. Ensure they are completely cool before storing to prevent condensation, which can make them sticky.
Sticky or flat meringues are usually a result of too much moisture or not enough air incorporated. This can happen if there was any fat (even a tiny bit of egg yolk) in your egg whites, if you didn’t beat them long enough to achieve stiff, glossy peaks, or if you added the sugar too quickly. High humidity in your kitchen can also make meringues sticky. Always use clean, grease-free equipment and beat until truly stiff peaks form.
Absolutely! Meringues are an excellent make-ahead dessert. Since they can last for weeks when stored correctly in an airtight container at room temperature, you can easily bake them a week or two before your event. This helps reduce stress during busy holiday preparations, allowing you more time to enjoy your guests.
More Delightful Peppermint Recipes
If you can’t get enough of that refreshing peppermint flavor, explore some of our other favorite holiday recipes:
- Chocolate Dipped Peppermint Cookies Recipe
- Peppermint Oreo Balls
- Double Chocolate Peppermint Cookies Recipe
- 22 Easy Peppermint Desserts Recipes
Don’t wait for the holidays to kick off! Make this easy and impressive peppermint meringue recipe for your family and friends today. Once you’ve tried them, please come back and leave a star rating to share your experience with other bakers. Happy baking!
Pin
Peppermint Meringues
Ingredients
- 4 large Egg Whites room temperature
- 1/4 teaspoon Cream of Tartar
- 3/4 cup Granulated Sugar
- 1/2 teaspoon Peppermint Extract
- Red Gel Food Coloring
Instructions
-
Preheat the oven to 375 degrees Fahrenheit and line 2 baking sheets with parchment paper.
-
Place the egg white and cream of tartar in a large mixing bowl. With an electric mixer, beat on medium speed until the egg whites become frothy (2-3 minutes).
-
Increase the speed to medium high and slowly add in the sugar (1 tablespoon at a time) until all the sugar is added. Turn the speed up to high and beat for 4-5 minutes until stiff peaks start to form.
-
Turn the speed on the mixer down to a low speed and mix in the peppermint extract.
-
Fit a piping bag with a small open star tip. Use a small brush to paint 3-4 stripes of the red food coloring inside the piping bag. Then fill the piping bag with the meringue.
-
Pipe small star shaped cookies onto the baking sheet.
-
Continue this process until all the meringue is used. Make sure to add the food coloring stripes each time you add more meringue to the piping bag.
-
Bake the cookies until they are crisp but not browned (approximately 1 hour 45 minutes). Then turn off the oven but leave the cookies in the oven for 30 minutes. Test a cookie and if it’s still chewy in the middle, let them continue to dry out in the oven.
-
Let the cookie cool completely on the baking sheets on wire racks and then they are ready to serve and enjoy!
Recipe Notes
Nutrition Facts
Pin This Now to Remember It Later
Pin Recipe
