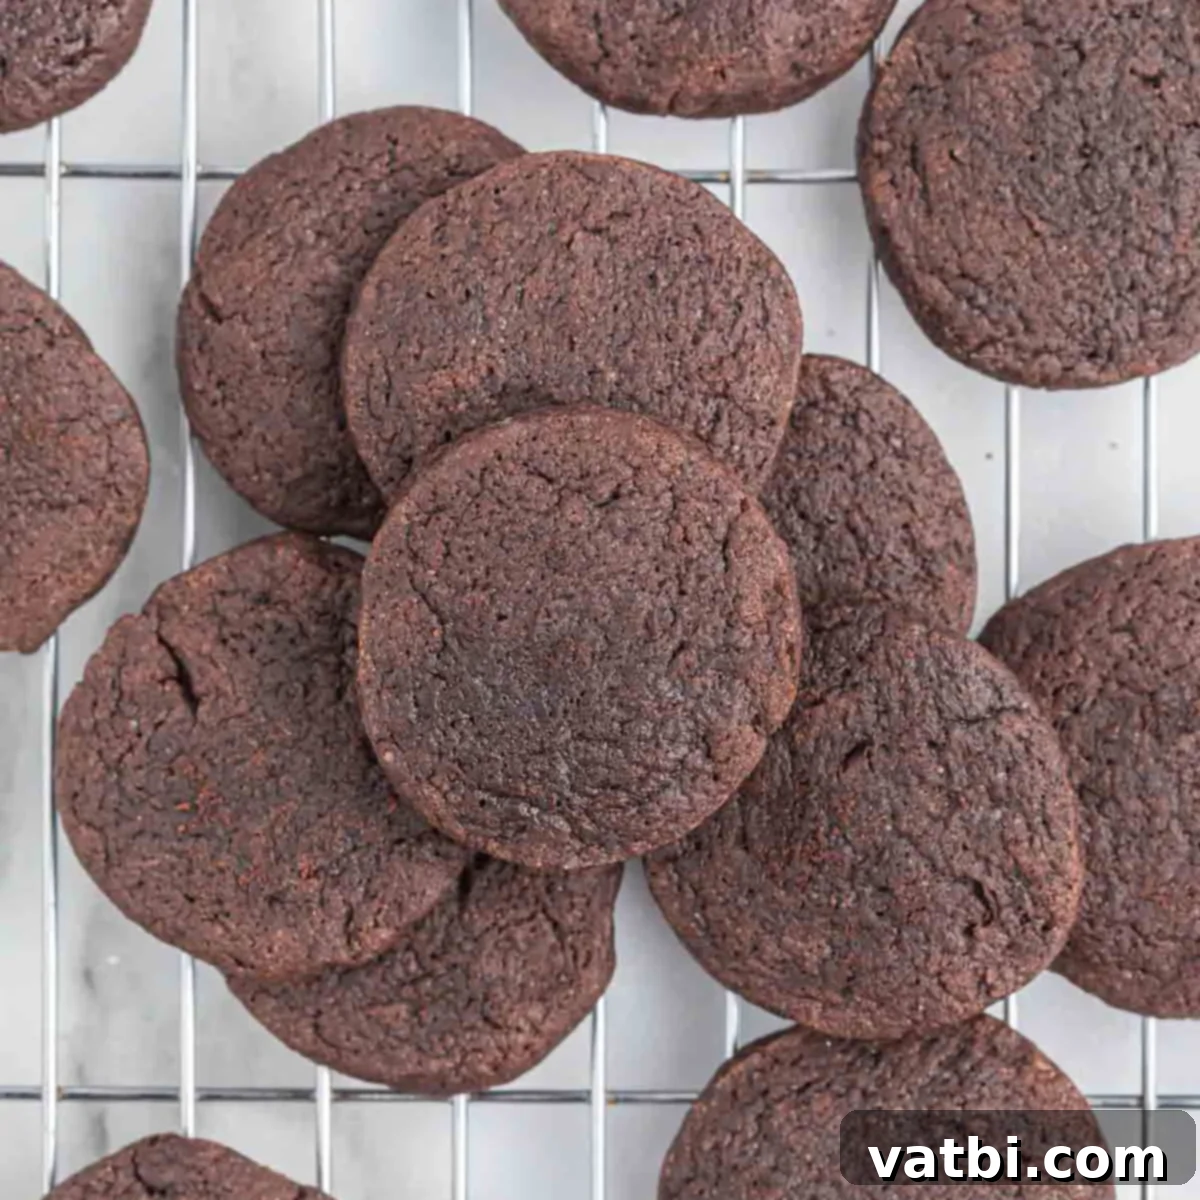
Mastering Homemade Chocolate Wafer Cookies: Crispy, Rich, and Irresistibly Versatile
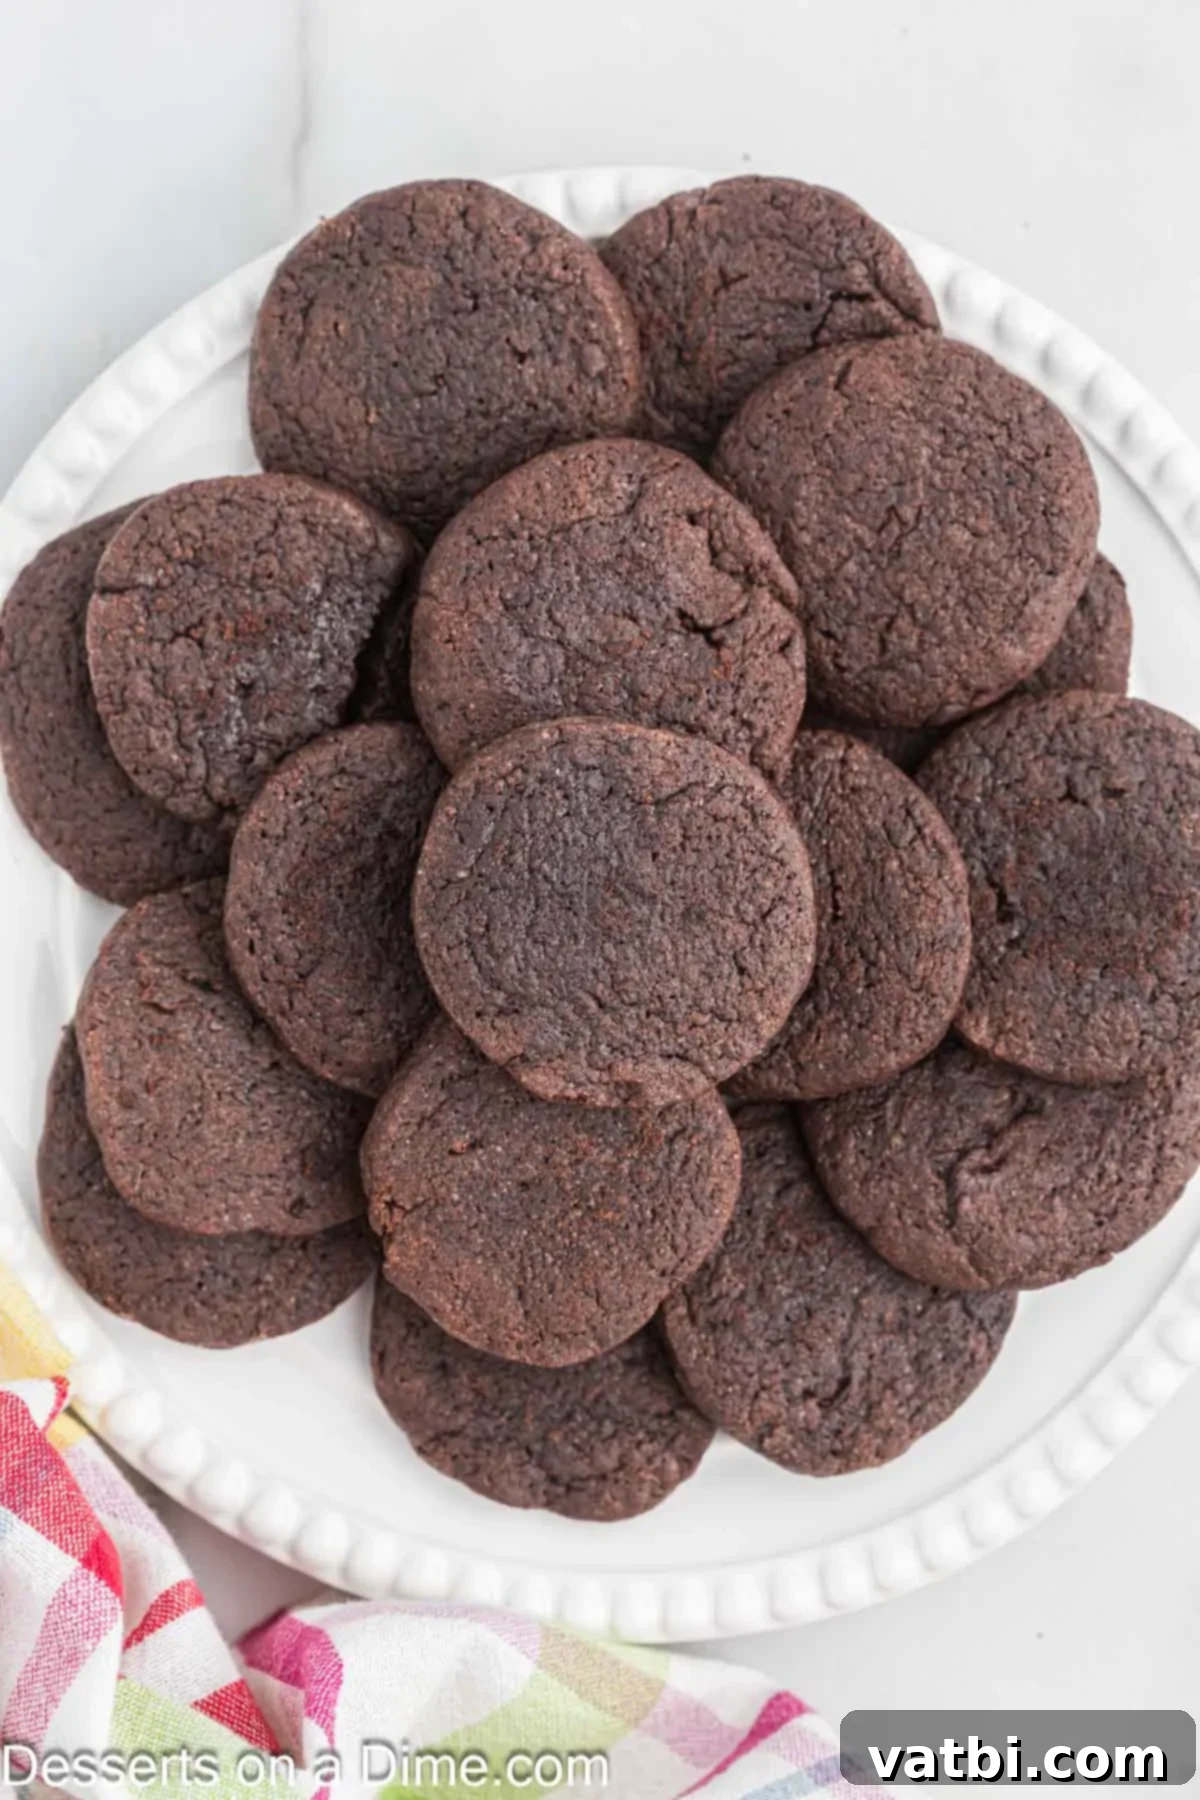
There’s a special kind of magic in homemade treats, and these Chocolate Wafer Cookies are no exception. Far surpassing store-bought versions in flavor and freshness, they offer a truly rich, indulgent, and deeply satisfying chocolate experience. Imagine thin, crisp, and intensely chocolatey discs that melt in your mouth – that’s precisely what you’ll achieve with this simple recipe. Whether you’re a seasoned baker or just starting your culinary journey, these easy chocolate cookies are a must-try.
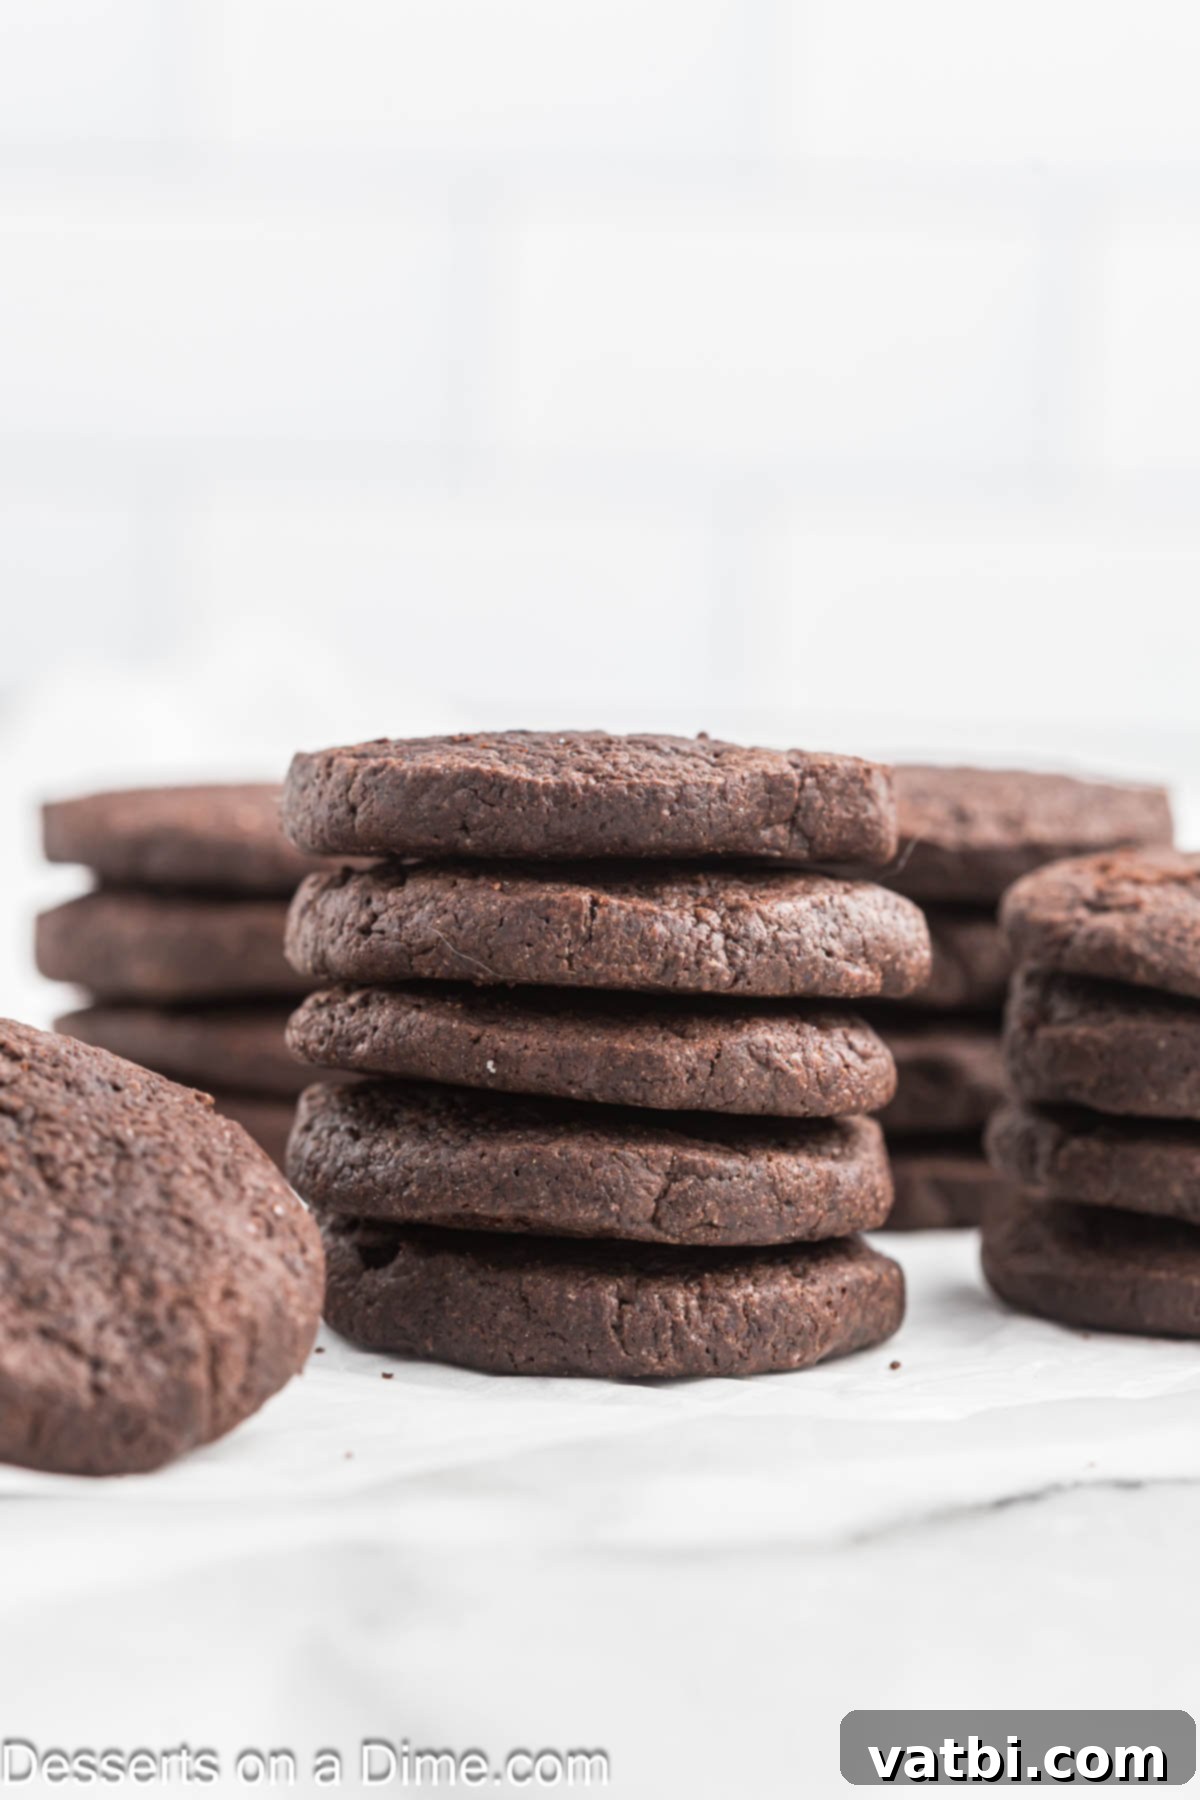
Many of us grew up loving the classic Nabisco chocolate wafers, but once you taste these homemade delights, you’ll never look back. Crafted with basic pantry staples, this recipe transforms humble ingredients into something extraordinary. They are incredibly versatile, perfect for enjoying on their own, or as a key component in a wide array of decadent desserts. Think of them as the ultimate secret ingredient for your next Icebox Cake, a sophisticated pie crust, or a base for exquisite cookie sandwiches. The deep chocolate flavor and satisfying crispness make them an indispensable addition to any dessert repertoire. Get ready to elevate your baking with this remarkably simple yet profoundly delicious cookie recipe.
Table of contents
- What Exactly Are Chocolate Wafer Cookies?
- Essential Ingredients for Perfect Chocolate Wafers
- Step By Step Instructions for Homemade Chocolate Wafers
- Storing Your Homemade Chocolate Wafer Cookies
- Expert Tips for Perfect Chocolate Wafer Cookies
What Exactly Are Chocolate Wafer Cookies?
Chocolate wafer cookies are distinctively thin, crisp, and intensely flavored chocolate biscuits. Unlike many other chocolate cookies that are soft or chewy, wafers are known for their delicate snap and robust cocoa taste. Their signature deep, dark color and subtle sweetness, often achieved through Dutch-processed cocoa, make them instantly recognizable. These characteristics aren’t just for show; they are crucial to their immense versatility in the culinary world.
Beyond being a delightful standalone snack, these wafers are a cornerstone ingredient in many beloved dessert recipes. Their ability to absorb moisture and create a firm yet tender base makes them ideal for various crusts. They are the traditional choice for crafting rich and flavorful crusts for creamy pies, velvety cheesecake recipes, and an essential layer in classic icebox cakes. Beyond crusts, they can be crushed for toppings, used whole for elegant ice cream sandwiches, or even as decorative elements. Their simple, elegant form and powerful chocolate flavor provide a perfect complement to almost any sweet creation.
Essential Ingredients for Perfect Chocolate Wafers
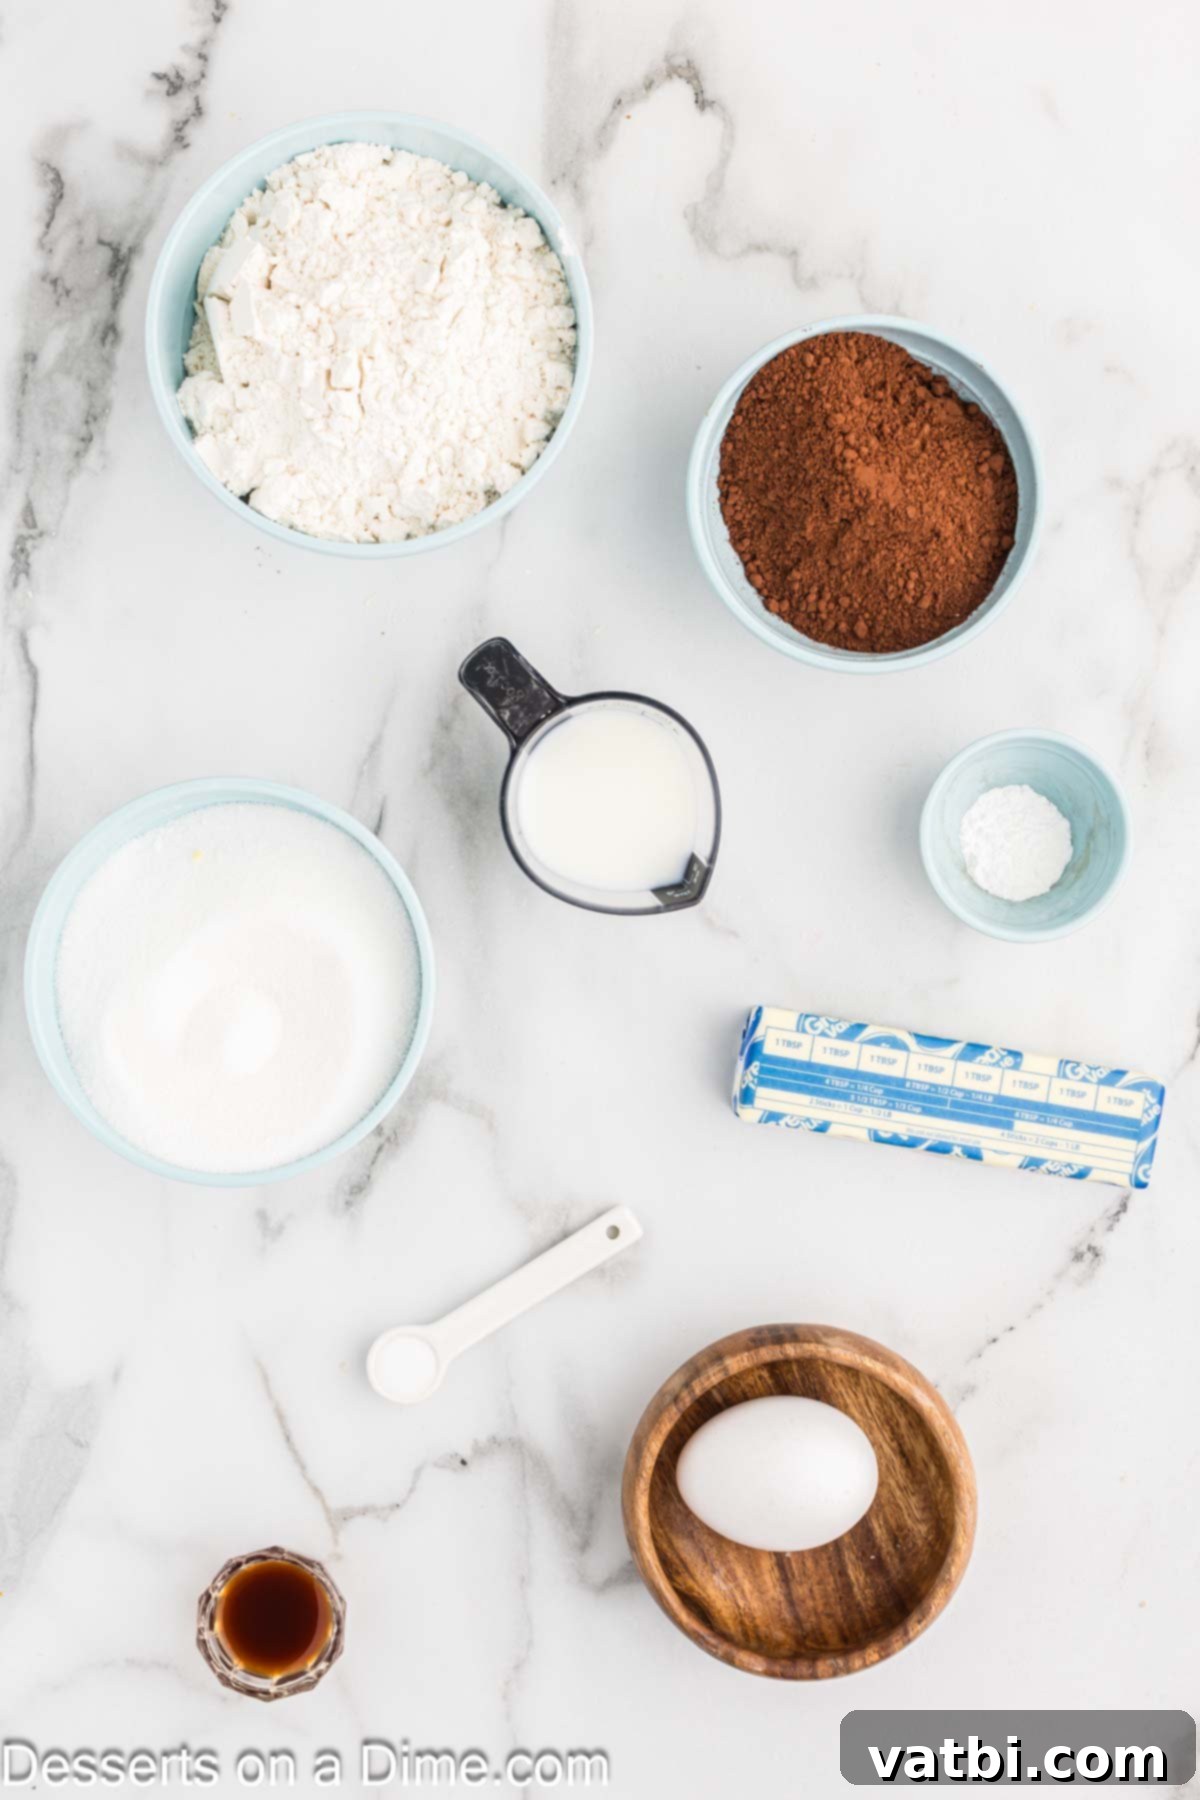
Crafting these delectable chocolate wafer cookies requires a few basic, high-quality ingredients, most of which you likely already have in your pantry. Each component plays a vital role in achieving the perfect texture, flavor, and crispness. Pay close attention to the details, especially regarding preparation, to ensure the best results.
- All-Purpose Flour. The foundation of our cookies. For accurate measurement, always use the “spoon and level” method: gently spoon the flour into your measuring cup until it overflows, then level it off with the back of a knife. This prevents overpacking, which can lead to dense, dry cookies.
- Dutch-Processed Cocoa Powder. This is a crucial ingredient for achieving the signature deep, dark color and rich, mellow chocolate flavor of authentic chocolate wafer cookies. Unlike natural cocoa powder, Dutch-processed cocoa has been treated with an alkali to neutralize its acidity, resulting in a smoother, less bitter taste.
- Large Egg. Ensure your egg is at room temperature before you begin. A room-temperature egg emulsifies more easily with the butter and sugar, creating a smoother, more uniform dough and a better overall cookie texture.
- Granulated Sugar. Standard white granulated sugar provides the perfect level of sweetness and contributes to the crisp texture of the wafers. It also helps with the browning process.
- Pure Vanilla Extract. Don’t skimp on quality here! Pure vanilla extract adds a layer of depth and warmth that beautifully complements the chocolate flavor, enhancing the overall richness of the cookies.
- Salt. A small amount of salt is essential. It doesn’t just make the cookies salty; it acts as a flavor enhancer, balancing the sweetness and intensifying the chocolate notes.
- Unsalted Butter, Softened. Using unsalted butter gives you control over the salt content. It’s crucial that the butter is softened (but not melted) to room temperature, allowing it to cream properly with the sugar for a light and airy dough structure.
- Whole Milk. Whole milk adds a touch of moisture and richness to the dough, contributing to its smooth consistency and helping the ingredients bind together effectively.
For precise measurements and the full recipe details, please refer to the comprehensive recipe card located at the very bottom of this page. Gathering and preparing your ingredients properly is the first step towards baking success!
Step By Step Instructions for Homemade Chocolate Wafers
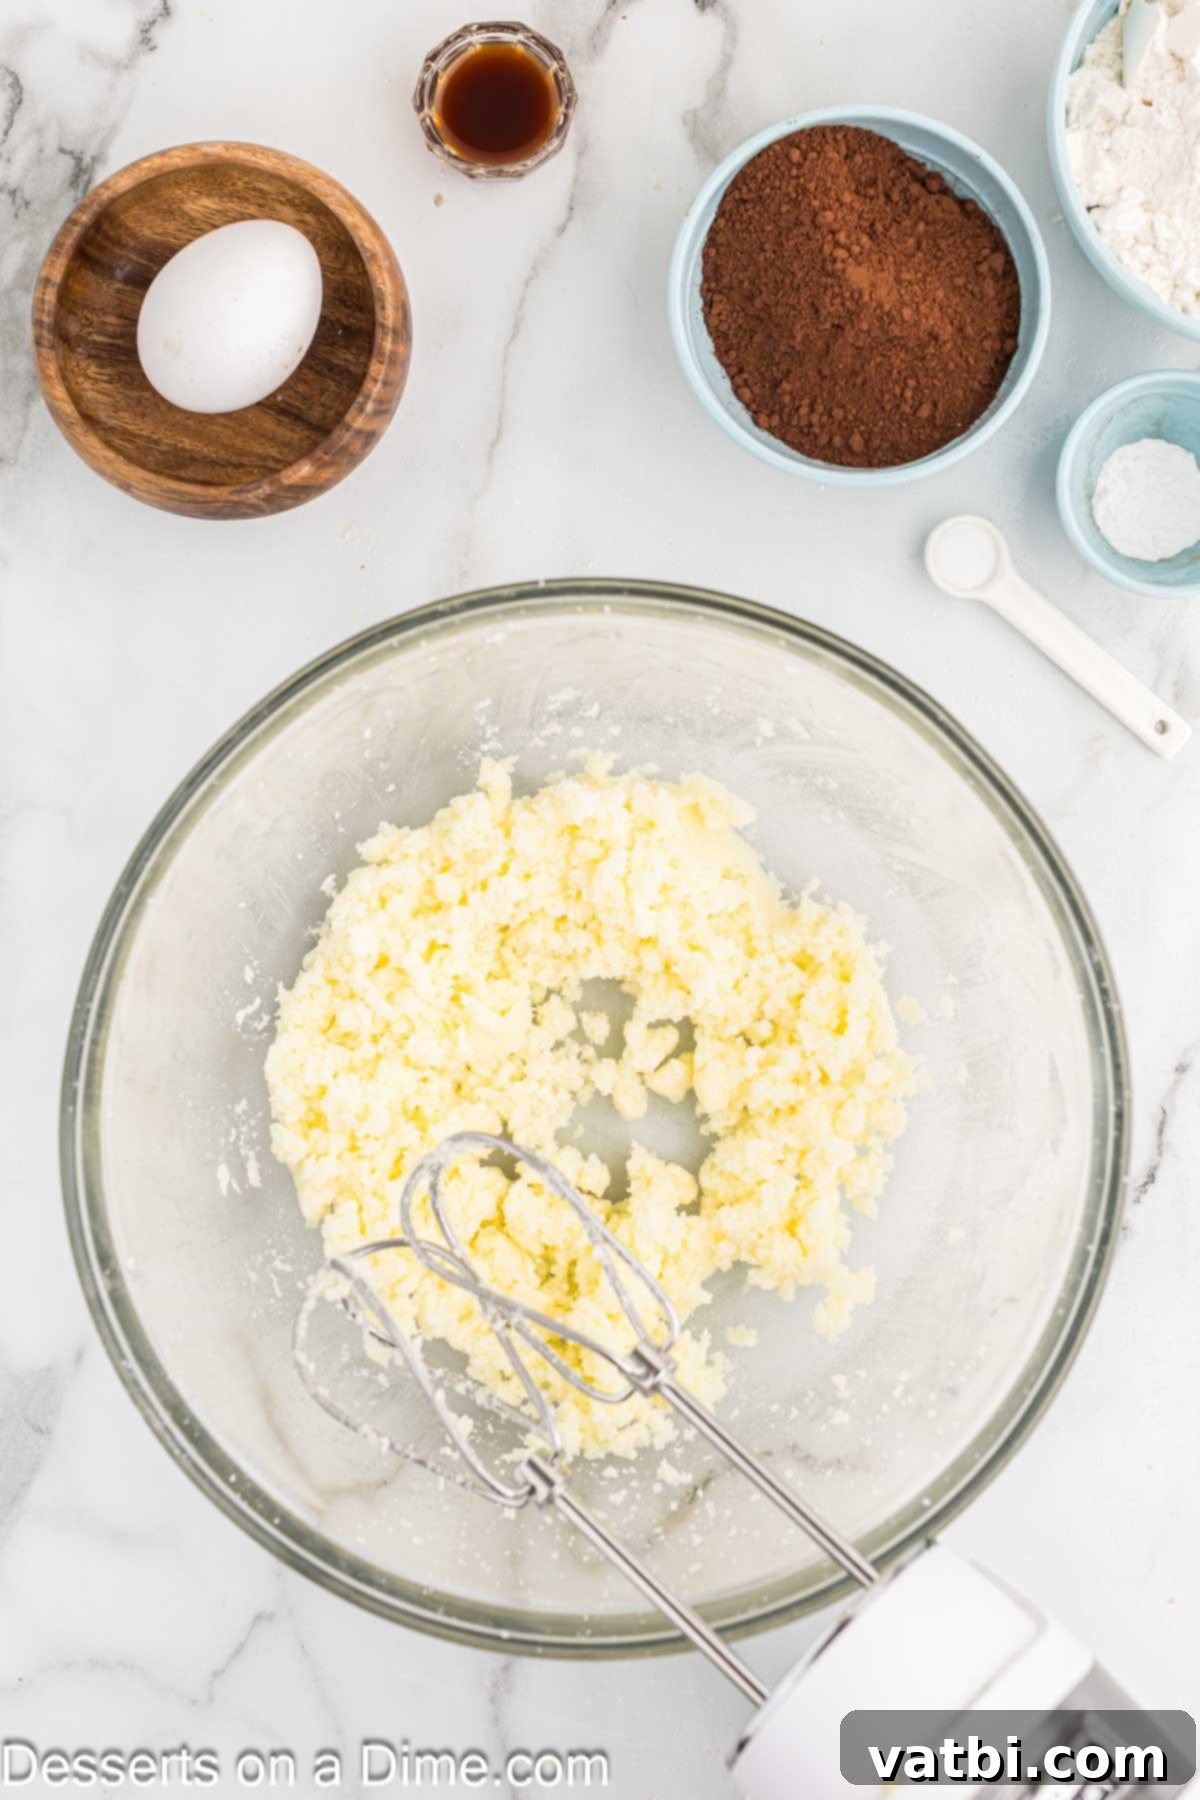
Step 1: Cream Butter and Sugar. In the bowl of a stand mixer fitted with the paddle attachment, or a large mixing bowl if using a hand mixer, combine the softened unsalted butter and granulated sugar. Beat on medium speed for 2-3 minutes until the mixture is light, fluffy, and pale in color. This creaming process incorporates air, which is vital for the cookies’ delicate crispness. Once creamy, add the room-temperature large egg and pure vanilla extract. Continue to beat until these wet ingredients are fully incorporated, scraping down the sides of the bowl as needed to ensure everything is evenly mixed.
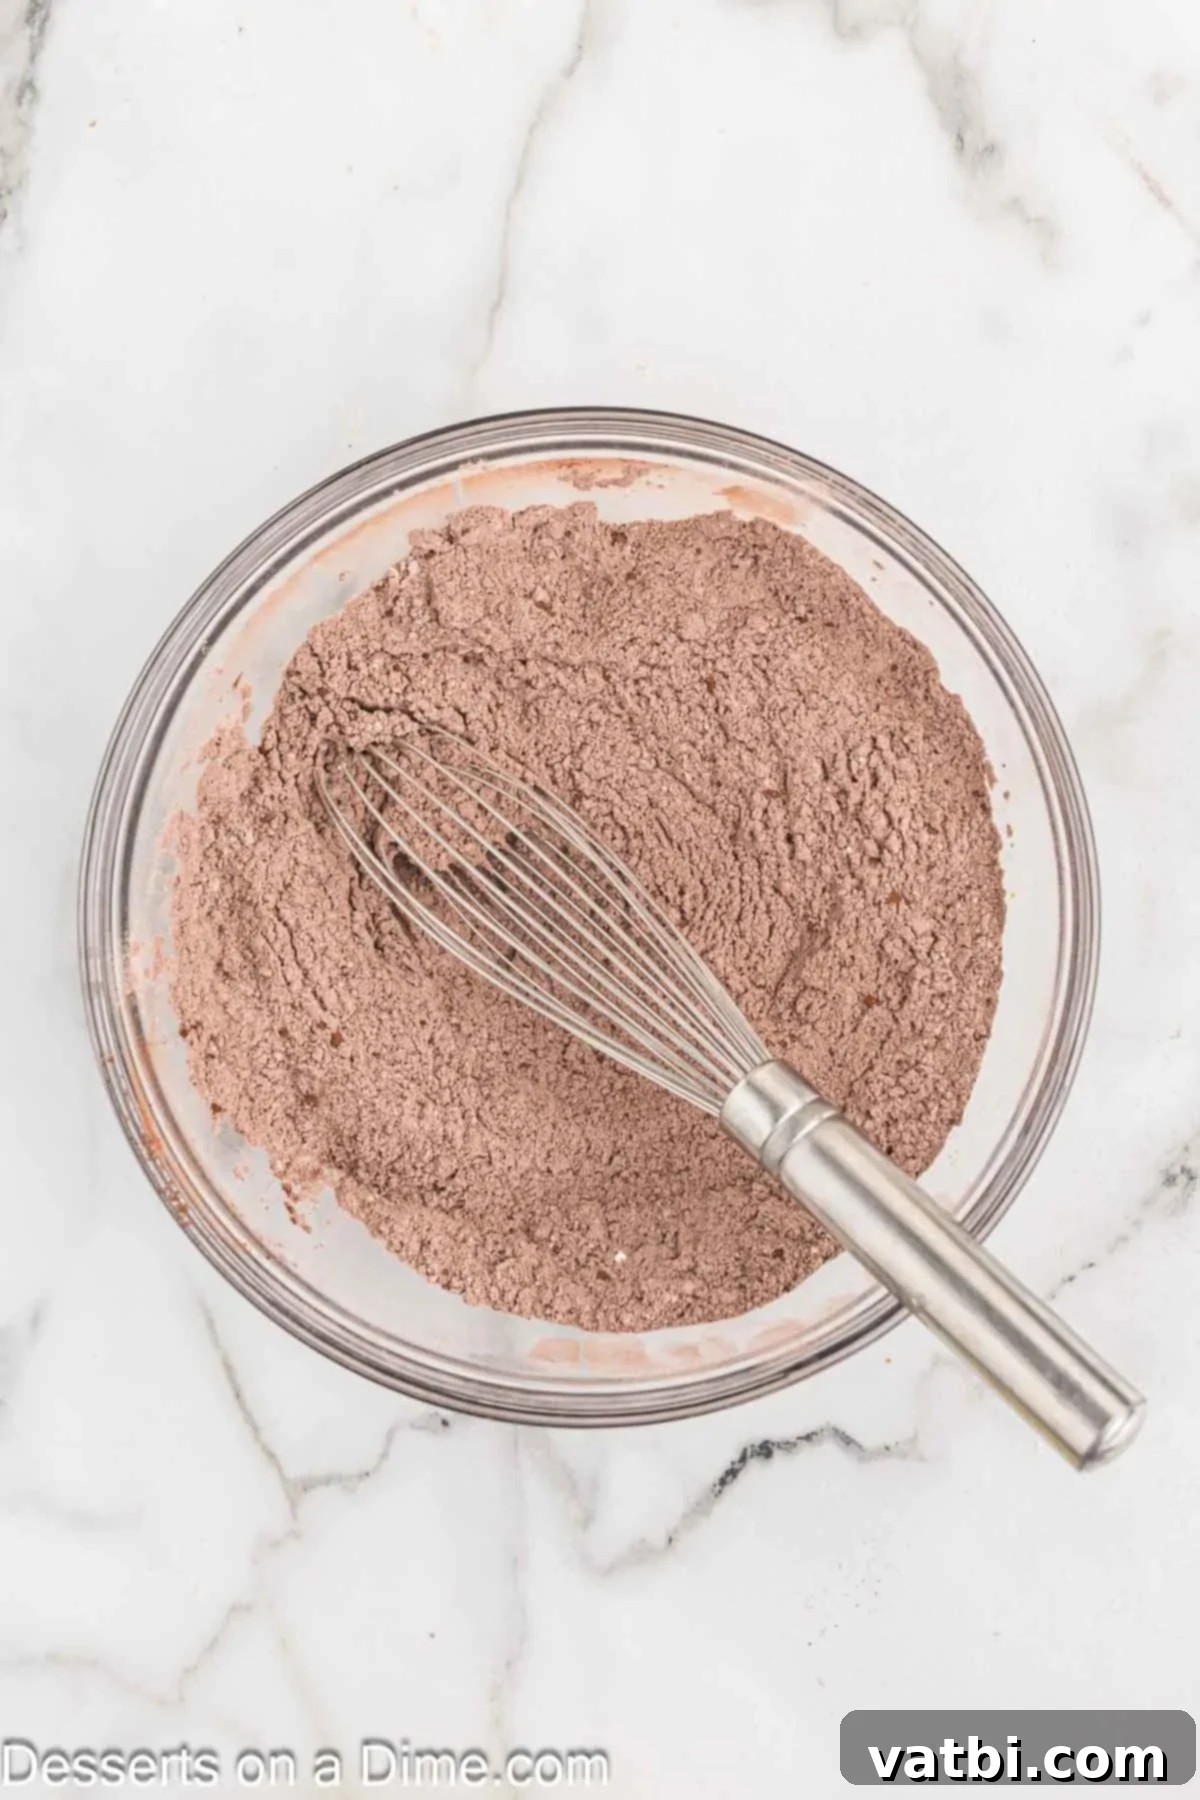
Step 2: Whisk Dry Ingredients. Get out a separate medium bowl. In this bowl, whisk together the all-purpose flour (spooned and leveled for accuracy), Dutch-processed cocoa powder, baking powder, and salt. Whisk thoroughly for about 30 seconds to ensure all dry ingredients are evenly distributed, which is crucial for uniform leavening and flavor in every cookie.
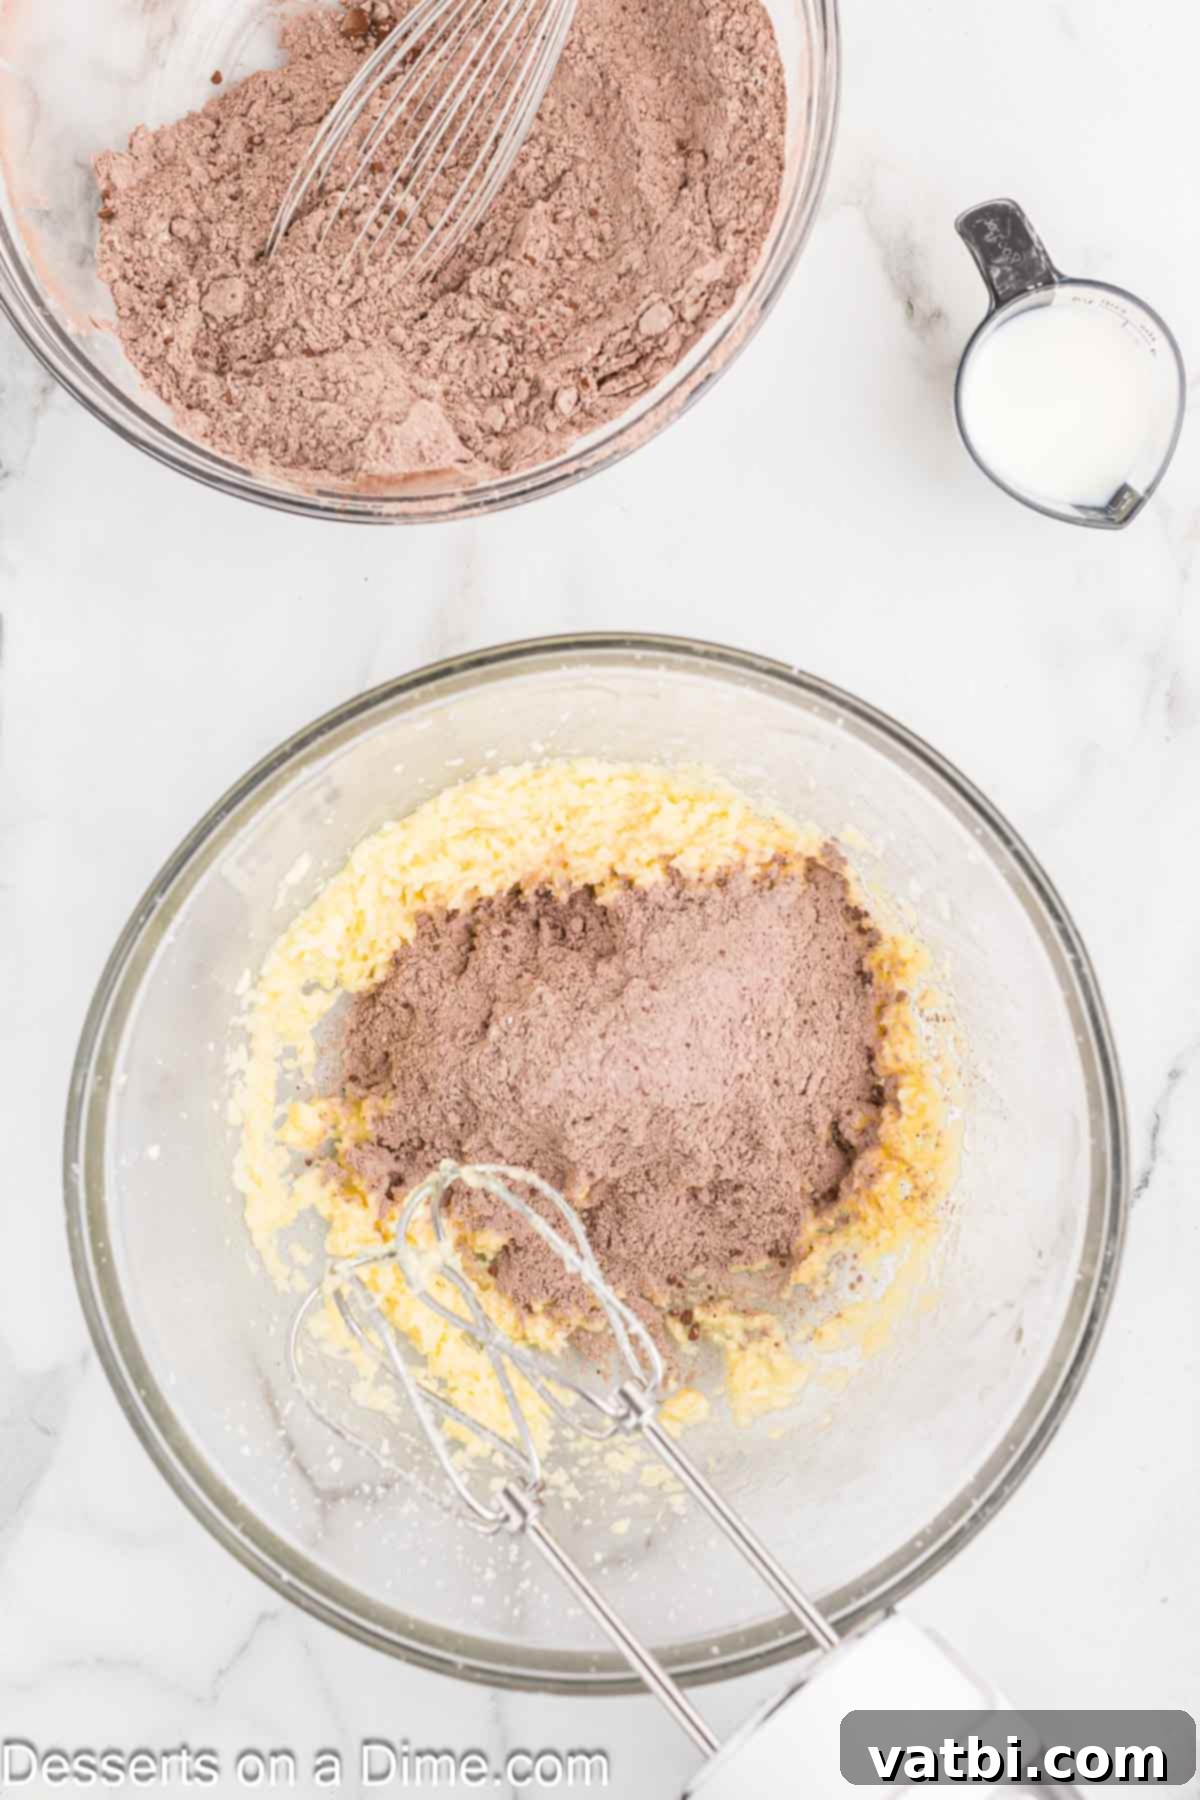
Step 3: Combine Wet and Dry. Next, gradually add the dry flour mixture to the butter mixture in the stand mixer bowl. Add it in two or three additions, allowing it to incorporate slightly after each addition. This slow introduction helps prevent a cloud of flour and ensures smooth mixing.
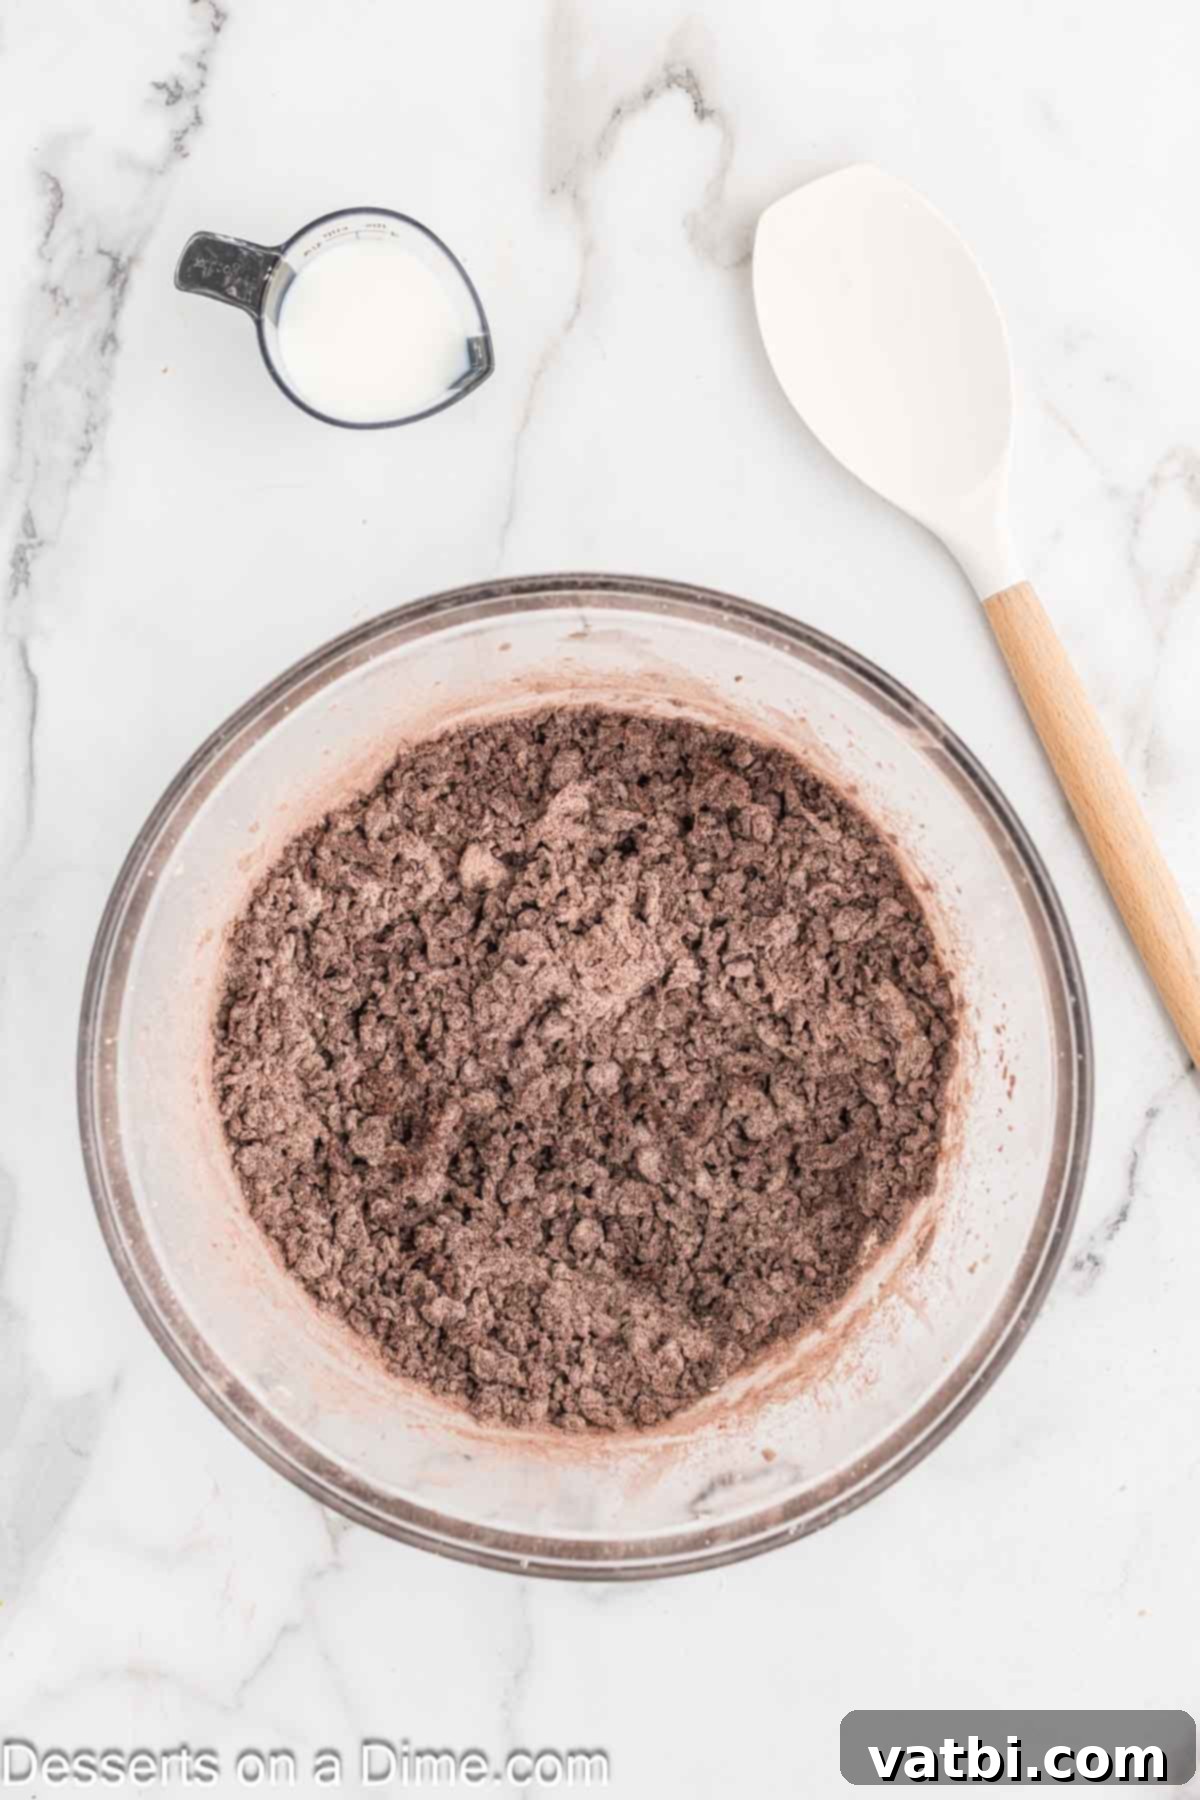
Step 4: Mix to Combine. Mix on low speed using an electric mixer until the dry and wet ingredients are just combined. Stop mixing as soon as no dry streaks of flour are visible. Be careful not to overmix the dough, as overworking it can develop the gluten in the flour, resulting in tougher, less tender cookies.
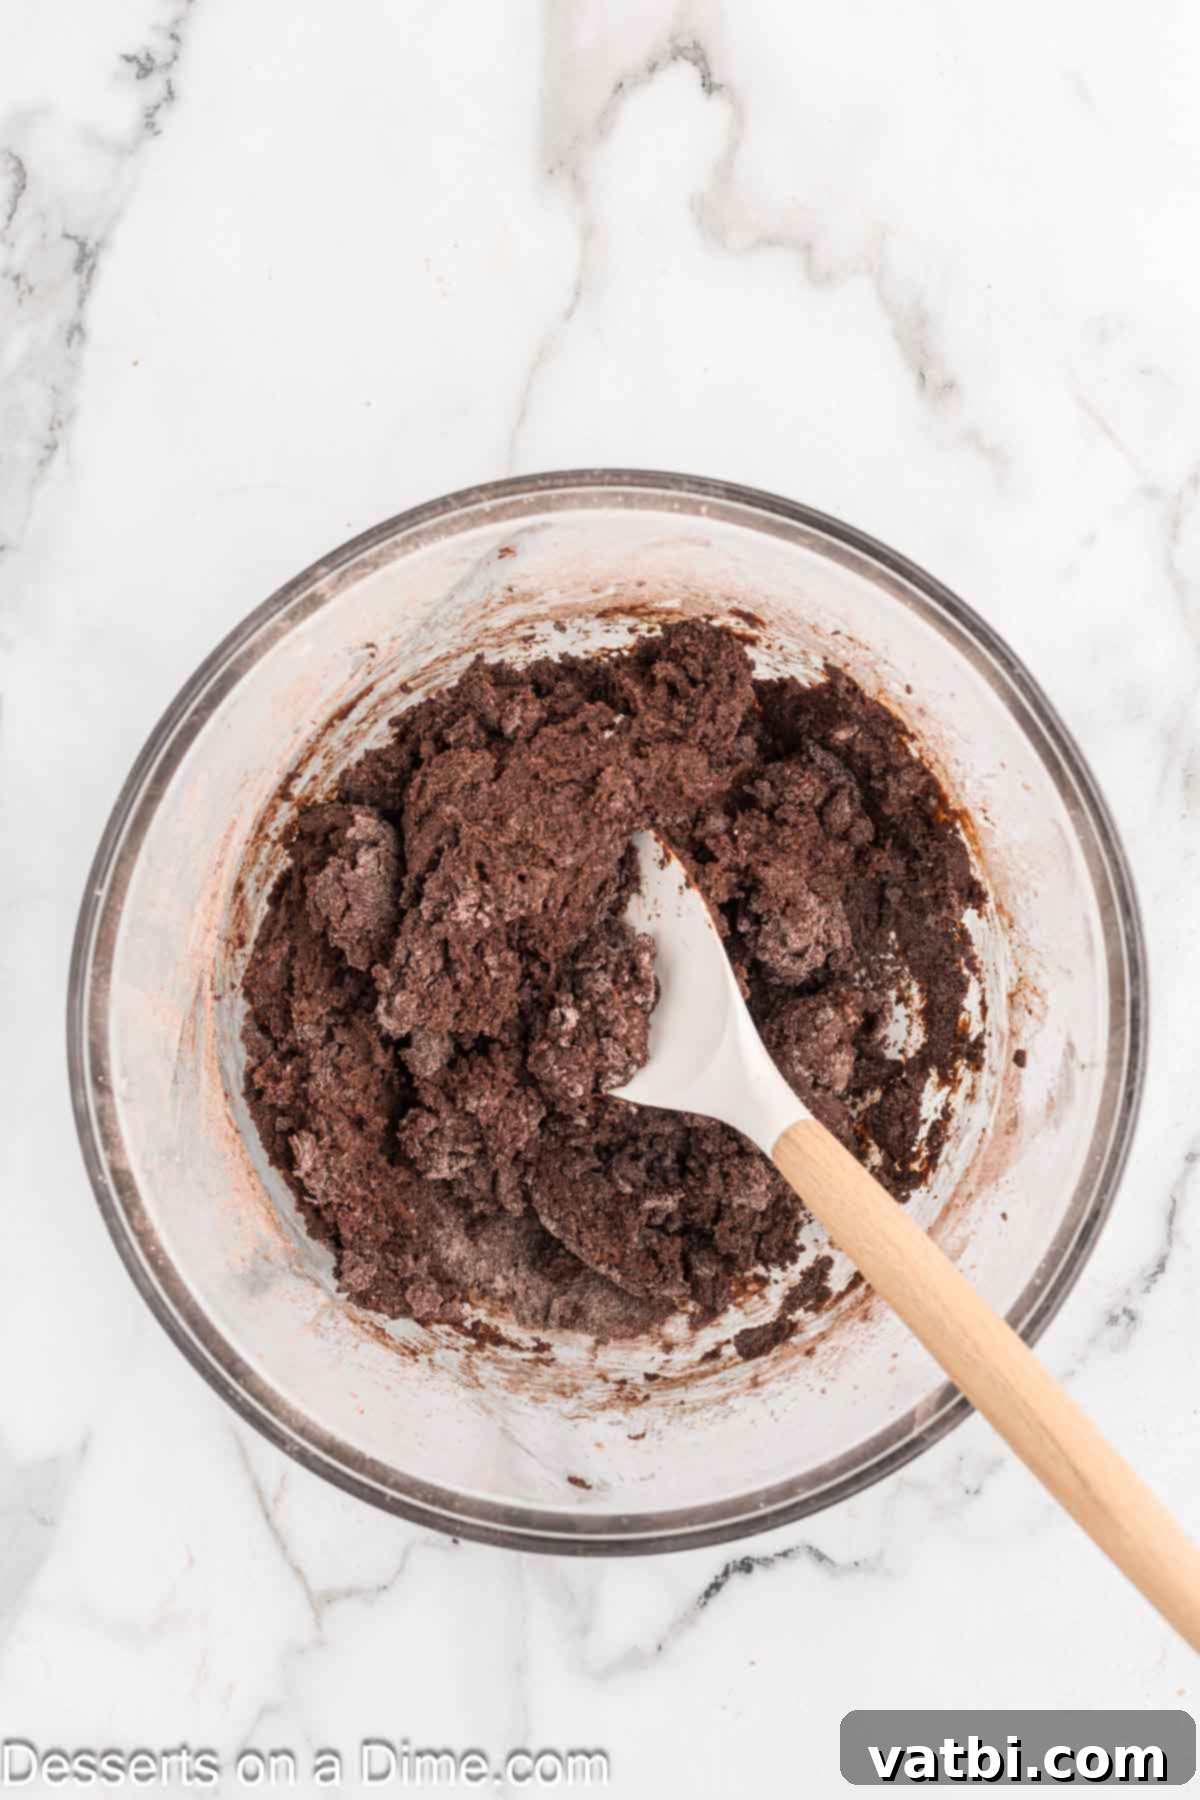
Step 5: Incorporate Milk. Then, add in the whole milk and continue to mix on low speed or stir by hand until it is fully incorporated and the dough forms a cohesive, uniform mass. The dough will be dark and slightly sticky at this point. Scrape down the sides of the bowl to ensure everything is well-combined.
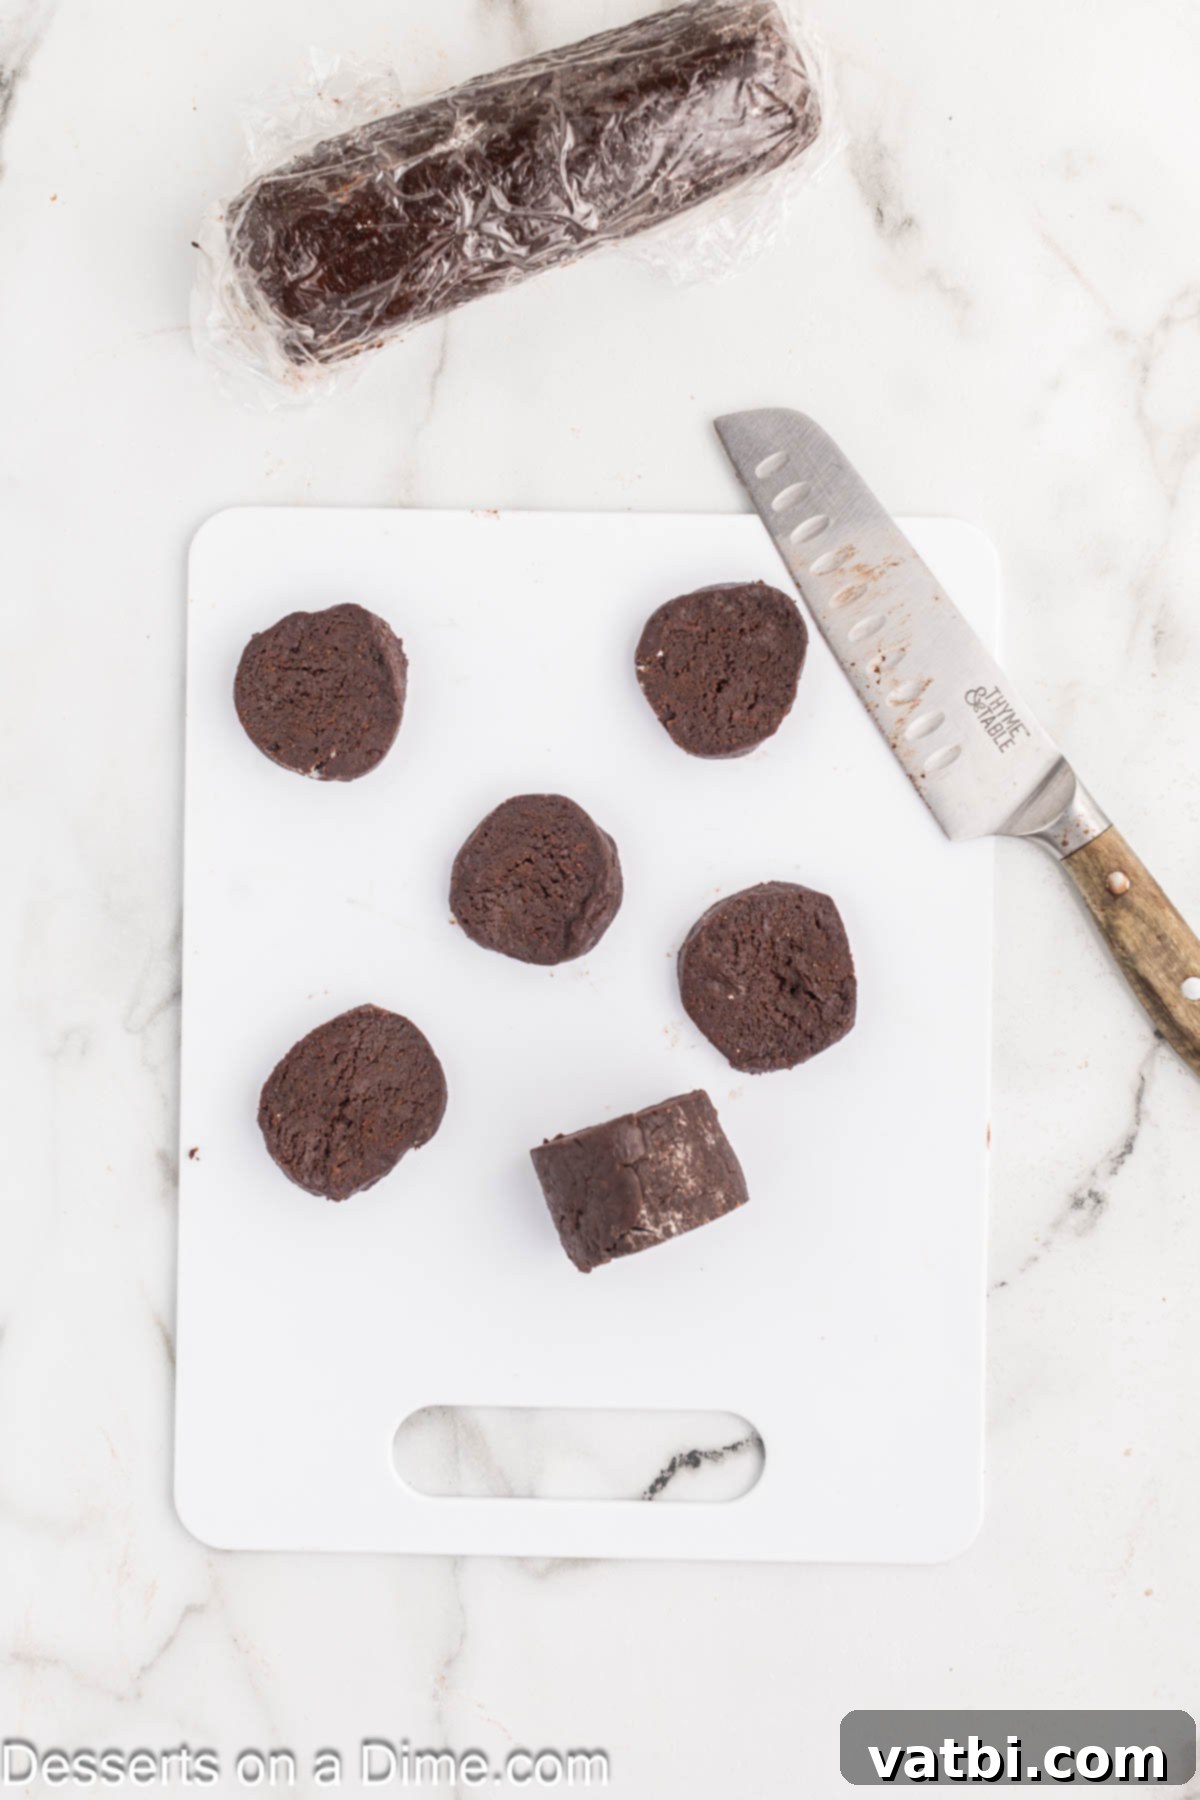
Step 6: Form and Chill Dough. Divide the dough into two equal portions. On a clean surface or a piece of parchment paper, gently shape each portion into a log approximately 1 ½ inches in diameter. You can use a rolling pin or your hands to achieve a uniform cylinder. Tightly wrap each log in plastic wrap. Allow them to chill in the refrigerator for at least 2 hours, or even better, overnight. This crucial chilling step firms up the butter, makes the dough easier to handle, and prevents excessive spreading during baking. Next, remove the firm logs from the refrigerator and, using a very sharp knife, slice them into uniform ⅛-inch-thick rounds. Consistency in thickness is key for even baking and crispness.
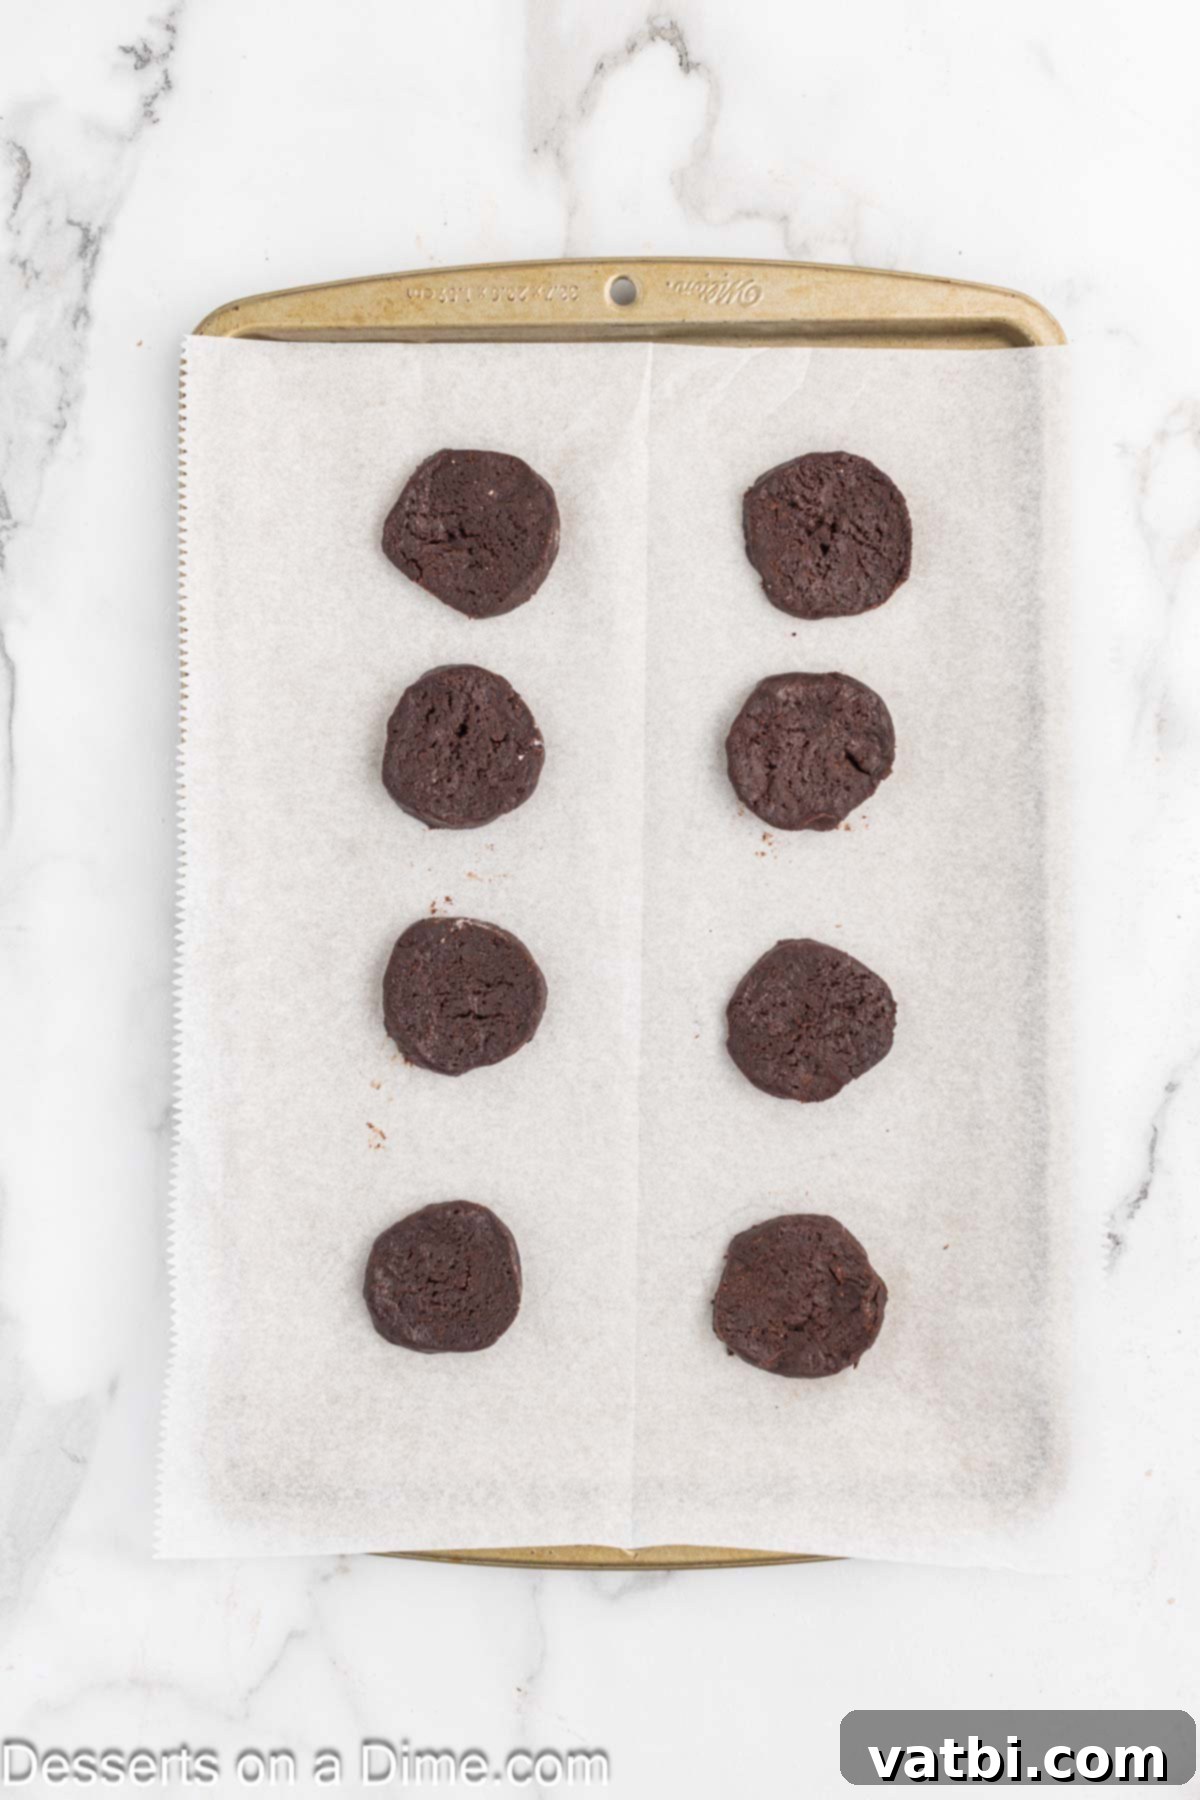
Step 7: Prepare for Baking. Preheat your oven to 350°F (175°C) and line two large baking sheets with parchment paper. This prevents the cookies from sticking and aids in easy cleanup. Place the thinly sliced cookies on the prepared baking sheets, ensuring they are spaced about 1 inch apart to allow for proper air circulation during baking.
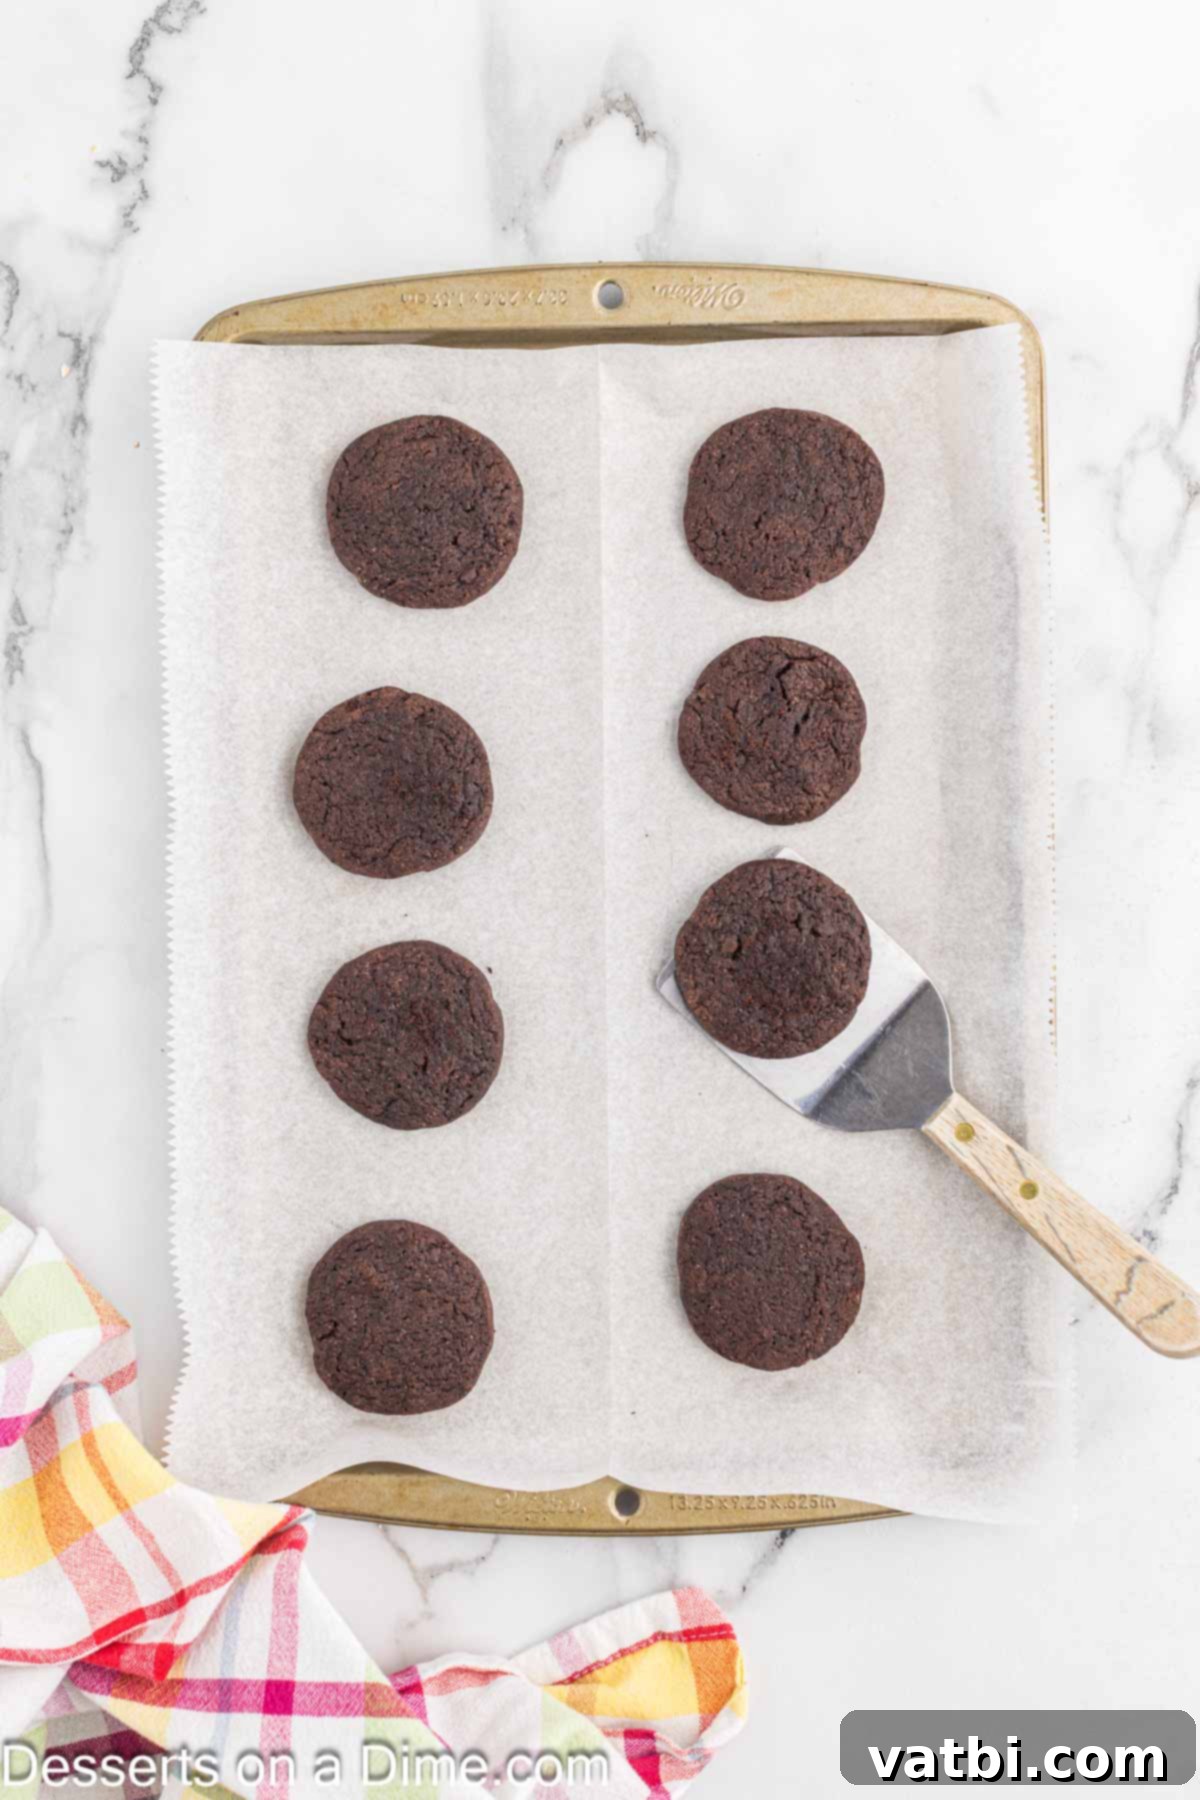
Step 8: Bake and Cool. Finally, bake the cookies for 10-12 minutes. Due to their dark color, you won’t see a golden-brown hue; instead, the cookies are done when they appear just set and firm to the touch. It’s important to rotate the pans halfway through the baking time to ensure even cooking. Once baked, let the cookies sit on the baking sheet for 5 minutes. This brief cooling period helps them firm up before you move them. Then, carefully transfer them to a wire rack to cool completely. They will become perfectly crisp as they cool.
Storing Your Homemade Chocolate Wafer Cookies
Proper storage is key to maintaining the delightful crispness and rich flavor of your homemade chocolate wafer cookies. Once completely cooled, store the cookies in an airtight container at room temperature. They will retain their freshness and snap for up to 1 week. To prevent them from sticking together and to maintain their individual crispness, it’s a good idea to separate each layer of cookies with a piece of parchment paper or wax paper. A classic trick for keeping them soft, if you prefer a slightly less crisp texture, is to place a slice of fresh bread in the container; the cookies will absorb moisture from the bread, keeping them tender.
For longer-term storage, both the baked cookies and the cookie dough can be frozen. Baked chocolate wafer cookies can be frozen in an airtight container for up to 2-3 months. To prevent freezer burn, ensure they are well-wrapped. If you prefer to prepare ahead, the raw cookie dough logs can also be frozen, offering a convenient way to have fresh cookies on demand. For detailed instructions on how to freeze cookie dough effectively, refer to our guide on How to Freeze Cookie Dough, ensuring you can enjoy these delightful treats whenever a craving strikes.
Expert Tips for Perfect Chocolate Wafer Cookies
Achieving bakery-quality chocolate wafer cookies at home is entirely possible with a few insider tips. These expert recommendations will help you navigate common baking challenges and ensure your cookies turn out perfectly crisp, flavorful, and beautifully dark every time.
- Prioritize Unsweetened Cocoa. This recipe contains a generous amount of granulated sugar, so it’s critical to use unsweetened cocoa powder. Using sweetened cocoa would result in overly sweet, unbalanced cookies. The unsweetened variety ensures the deep, rich chocolate flavor shines through without being cloying.
- Embrace Dutch-Processed Cocoa. As mentioned earlier, Dutch-processed cocoa is non-negotiable for these wafers. Its alkaline treatment yields a deep, dark color and a wonderfully smooth, less acidic chocolate flavor that is characteristic of classic chocolate wafer cookies. Do not substitute with natural cocoa powder, as it will affect both the color and taste profile, making them lighter and more acidic.
- Chill the Dough Thoroughly. This step is non-negotiable for success! Chilling the dough for at least 2 hours (or even overnight) allows the butter to firm up, making the dough much easier to handle and slice. It also prevents the cookies from spreading too much in the oven, ensuring they maintain their thin, crisp shape. Cold dough also develops more flavor.
- Mastering Dough Thickness. Precision matters when slicing the dough logs. Aim for an even ⅛-inch thickness for each cookie. If the slices are too thin, they might become overly brittle and prone to burning. If they are too thick, they won’t achieve that characteristic wafer-like crispness and might bake unevenly. A sharp knife is your best tool here.
- Prevent Overbaking. Due to their dark chocolate color, it can be tricky to visually assess when these cookies are done. Unlike lighter cookies that turn golden brown, chocolate wafers simply appear “set” and firm when ready. Overbaking will lead to a dry, hard texture rather than a crisp one. Start checking at the 10-minute mark; the edges should be firm, and the centers should no longer look wet.
- Consider Cookie Cutters for Uniformity. While slicing chilled dough logs is the traditional method, you can also roll out the chilled dough between two sheets of parchment paper to a uniform ⅛-inch thickness. Then, use a small round cookie cutter (about 1.5-2 inches in diameter) to cut out perfect circles. This method ensures perfectly round cookies and can be a fun alternative, especially if you want a very consistent shape.
- Properly Measure Flour. Always spoon and level your flour, as mentioned in the ingredients section. Scooping directly can add up to 25% more flour, leading to a dry, tough cookie dough that’s difficult to work with and results in crumbly cookies.
- Room Temperature Ingredients. For optimal blending and a smooth dough, ensure your butter and egg are at room temperature. This allows them to emulsify correctly, resulting in a cohesive and well-textured dough.
By following these detailed tips, you’re well on your way to baking a batch of chocolate wafer cookies that are not only delicious but also perfectly executed, ready to impress on their own or in your favorite dessert applications.
More Easy Chocolate Cookie Recipes
Cookies
Triple Chocolate Cookies Recipe
Cookies
Chocolate Cake Mix Cookies
Cookies
Chocolate Peppermint Cookies
This incredible chocolate wafer cookie recipe is genuinely easy to follow and delivers an intense chocolate flavor that is simply irresistible. Whether you enjoy them as a delightful snack or incorporate them into more elaborate desserts, they are sure to become a new favorite. We wholeheartedly encourage you to give this recipe a try and experience the joy of homemade chocolate wafers. Once you’ve baked a batch, we’d love to hear your thoughts! Please feel free to leave a comment below and share your experience, along with a star rating, to help other home bakers discover this fantastic recipe.
Pin
Chocolate Wafer Cookies
Ingredients
- 1 1/2 cups All Purpose Flour
- 1/2 cup Dutch Processed Cocoa Powder
- 3/4 teaspoons Baking Powder
- 1 Large Egg room temperature
- 1 cup Granulated Sugar
- 1 teaspoon Vanilla Extract
- 1/4 teaspoon Salt
- 1/2 cup Unsalted Butter softened
- 3 Tablespoons Milk
Instructions
-
Beat the softened unsalted butter and granulated sugar in a large bowl using a stand mixer with a paddle attachment or a hand mixer on medium speed for 2-3 minutes until light, fluffy, and pale. Incorporate the room-temperature large egg and vanilla extract, mixing until just combined and scraping down the bowl as needed.
-
In a separate medium bowl, thoroughly whisk together the all-purpose flour (spooned and leveled), Dutch-processed cocoa powder, baking powder, and salt until uniformly combined. This ensures even distribution of leavening and flavor.
-
Gradually add the dry flour mixture to the wet butter mixture. Mix on low speed using your electric mixer until the ingredients are just combined and no streaks of dry flour remain. Be careful not to overmix, as this can develop gluten and lead to tough cookies.
-
Pour in the whole milk and continue to mix on low speed, or stir by hand, until it is fully incorporated into the dough and you have a cohesive, uniform chocolate dough.
-
Divide the cookie dough in half and shape each portion into a log, approximately 1 ½ inches in diameter. Tightly wrap each log in plastic wrap and refrigerate for a minimum of 2 hours, or ideally overnight, to allow the dough to firm up and flavors to meld.
-
Preheat your oven to 350°F (175°C). Line two large baking sheets with parchment paper, which prevents sticking and ensures even baking.
-
Remove the chilled dough logs from the refrigerator. Using a sharp knife, slice the dough into uniform ⅛-inch thick rounds. Carefully place the sliced cookies onto the prepared baking sheets, leaving about 1 inch of space between each cookie.
-
Bake the cookies for 10-12 minutes. Be sure to rotate the baking pans halfway through the baking time to ensure even cooking. Since these cookies are dark, they won’t show golden brown edges; instead, look for them to appear just set and firm to the touch in the center. Avoid overbaking to maintain their crisp yet tender texture.
-
Once baked, allow the chocolate wafer cookies to cool on the baking sheets for 5 minutes. This allows them to firm up before handling. After 5 minutes, carefully transfer them to a wire rack to cool completely. Enjoy your perfect homemade chocolate wafer cookies on their own, or use them in your favorite dessert recipes!
Recipe Notes
Nutrition Facts
Pin This Now to Remember It Later
Pin Recipe
