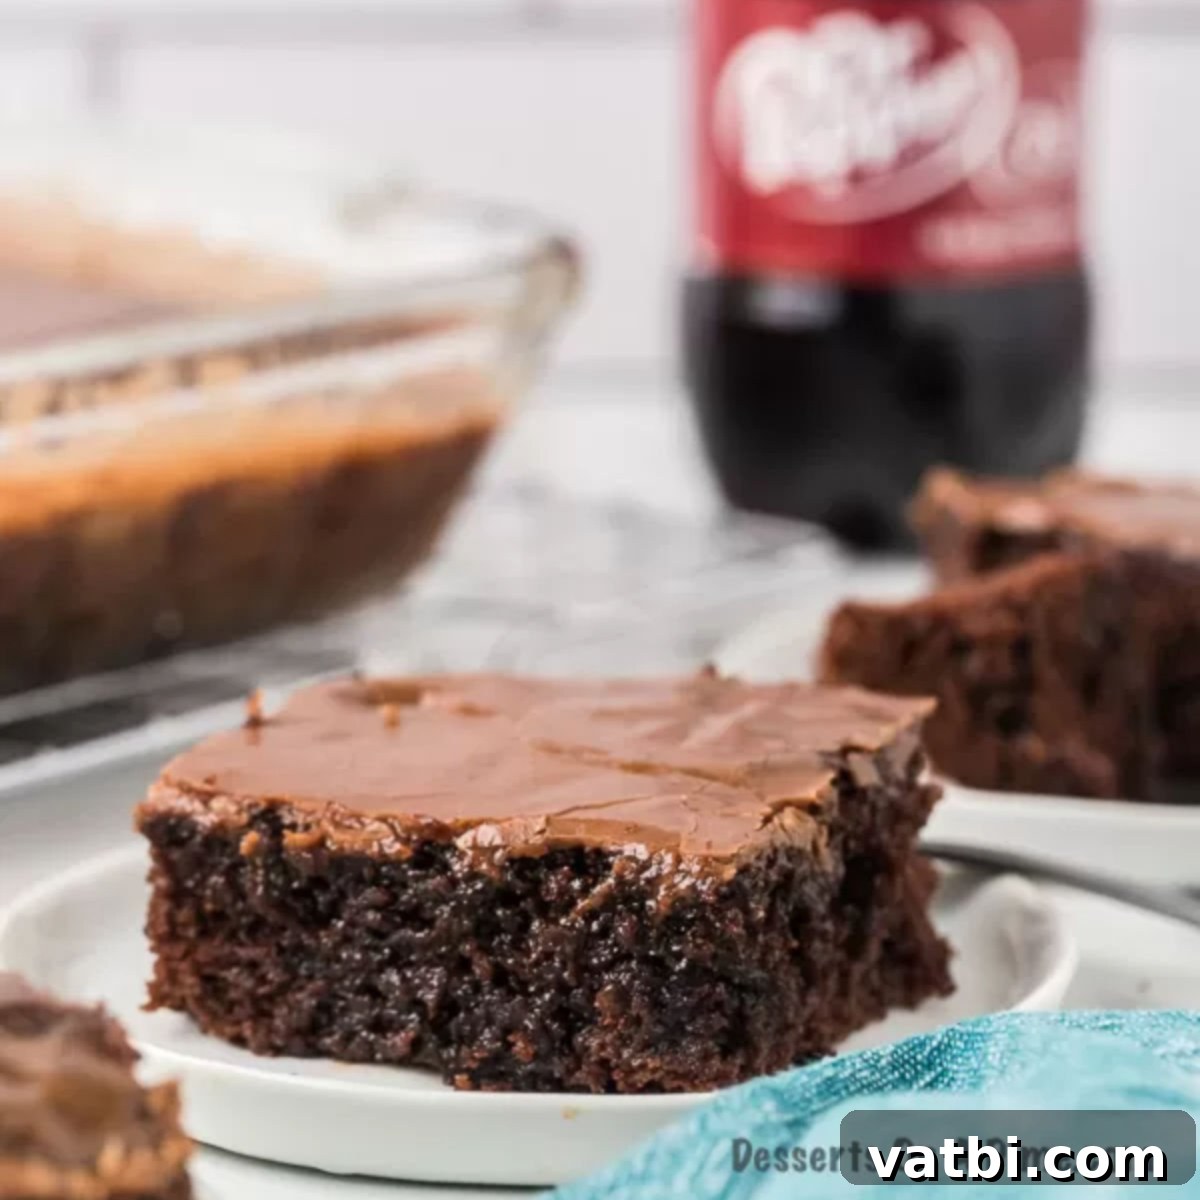
Deliciously Moist Dr Pepper Cake: The Ultimate Easy Chocolate Dessert Recipe
Prepare to be amazed by this incredible **Dr Pepper Cake recipe**, a dessert so unbelievably moist and rich, it will effortlessly satisfy your deepest chocolate cravings. This cake isn’t just a treat; it’s an experience. With an incredibly simple preparation that starts with a boxed mix and a decadent, easy-to-make chocolate icing infused with Dr Pepper, this recipe promises a show-stopping dessert that tastes completely homemade. The unique flavor of Dr Pepper adds a subtle, almost indescribable depth to the chocolate, creating a symphony of flavors that will have everyone asking for your secret ingredient.
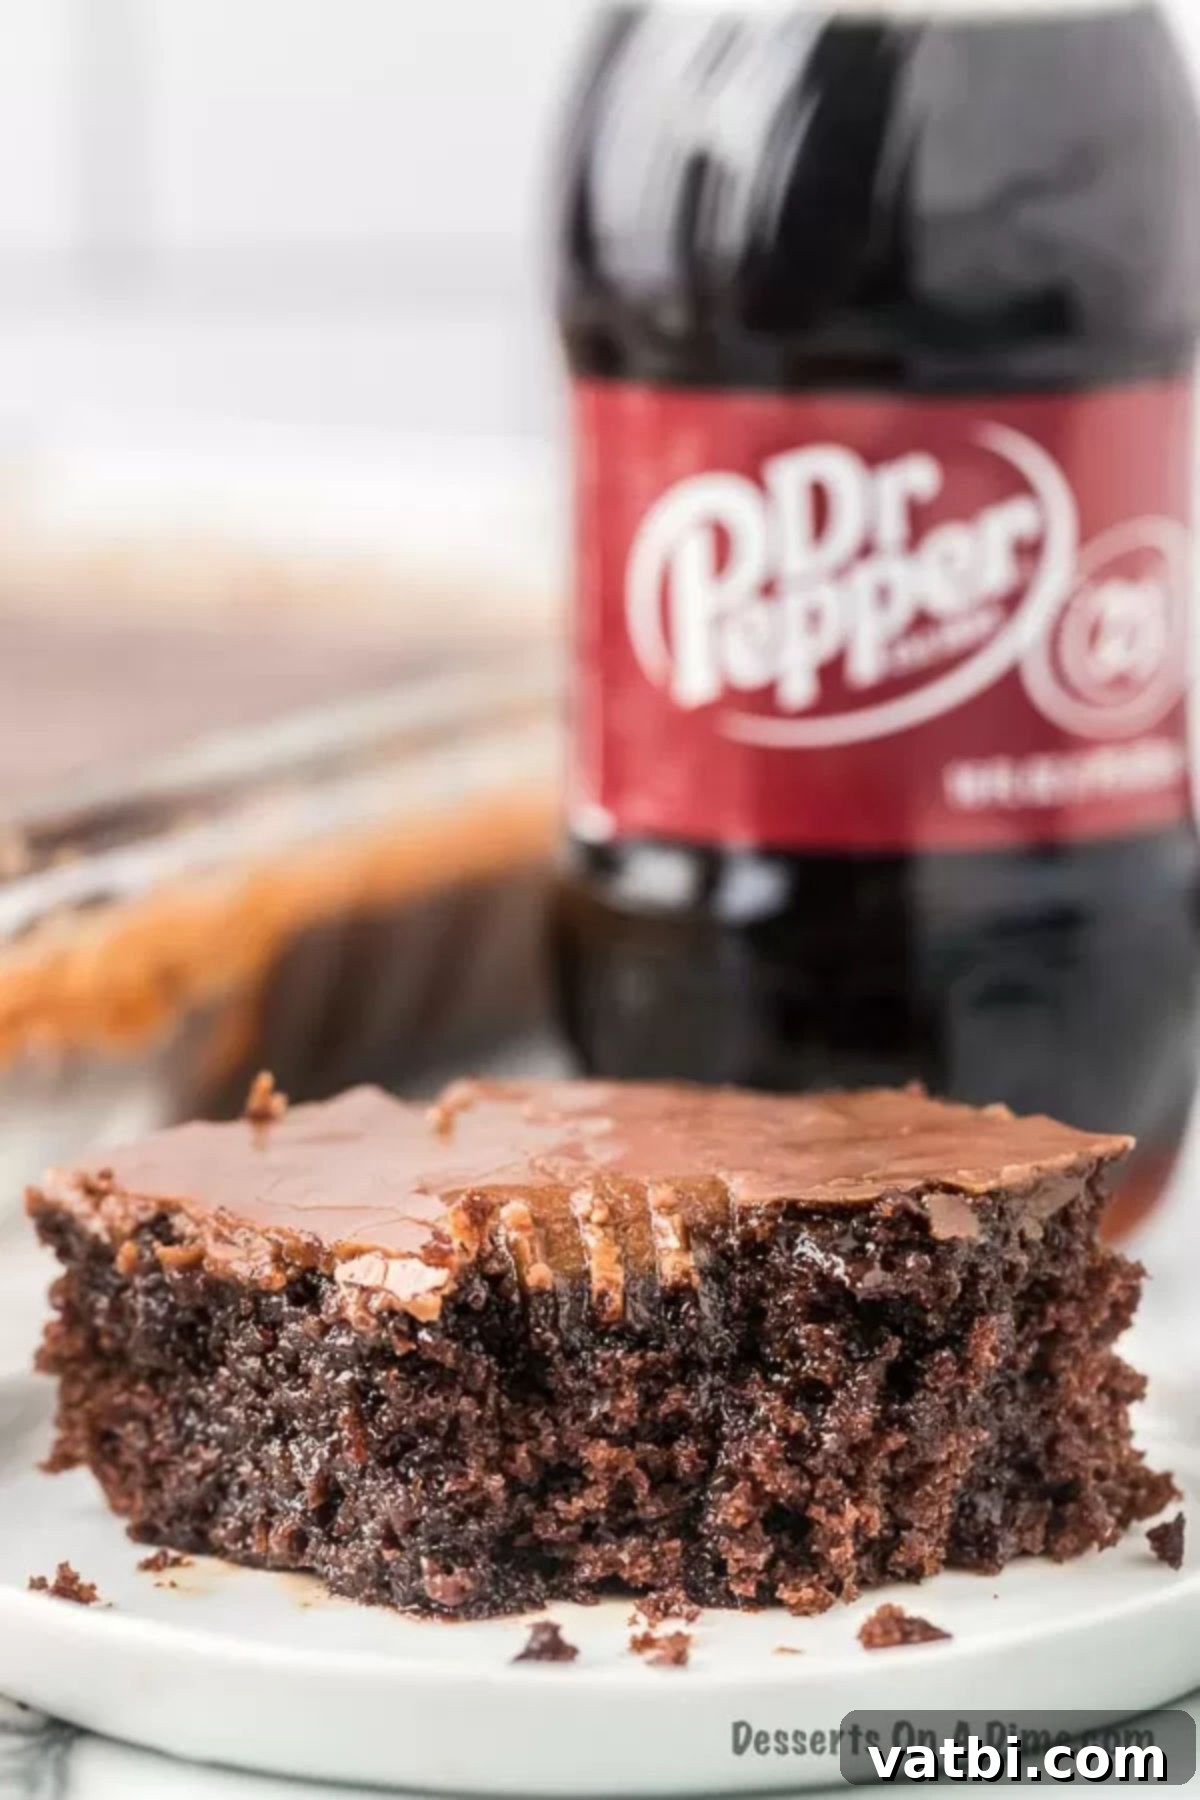
As an avid fan of Chocolate Desserts, I’m always on the lookout for new and exciting ways to transform a classic chocolate cake. This extraordinary recipe featuring Dr Pepper has become an absolute staple in our home. I discovered this gem a few years ago, and since then, it has consistently earned the title of “best cake recipe” according to my family. The first time I served it, everyone went absolutely wild over the unique and delightful flavor combination. Its remarkably moist texture, perfectly complemented by the luscious chocolate frosting, makes it an unforgettable dessert. If you’ve ever enjoyed a Cola Chocolate Cake, you’re going to fall head over heels for this Dr Pepper version.
Table of contents
- Why This Recipe Works
- Ingredients
- Cake
- Icing
- Variations
- How to Make Dr. Pepper Cake
- Storage
- Can You Freeze This Cake?
- Pro Tips
- Frequently Asked Questions
- More Easy Cake Recipes
- More Chocolate Desserts
Why This Recipe Works
This Dr Pepper cake is a culinary triumph for several compelling reasons, making it a favorite for both novice and experienced bakers alike. First and foremost, the recipe smartly utilizes a readily available **boxed chocolate cake mix**, drastically simplifying the baking process. This means less time spent measuring individual dry ingredients and more time enjoying the delightful aroma filling your kitchen. The convenience factor makes it a perfect choice when you need a fantastic dessert with minimal effort.
What truly sets this cake apart is the clever infusion of Dr Pepper. Far from being just a quirky ingredient, the carbonation in the soda contributes to an incredibly **fluffy and light texture**, while its unique blend of 23 flavors adds a subtle, caramel-like sweetness and a distinctive depth to the chocolate. This creates a cake that is exceptionally **moist** – a quality often sought after but rarely achieved with such ease. The combination results in a cake that is not overly sweet, but perfectly balanced with a rich chocolate flavor that truly sings.
Beyond its incredible taste and texture, this Dr Pepper cake is a versatile crowd-pleaser. Whether you’re preparing for a casual family dinner, a bustling potluck, a festive birthday celebration, or a summer BBQ, this cake fits every occasion. It’s guaranteed to elicit compliments and requests for the recipe, making you the star baker of any gathering. Its straightforward nature, coupled with its sophisticated taste, makes this Dr Pepper cake an absolute must-try for anyone looking for a yummy recipe that requires very little work but delivers maximum impact.
Ingredients
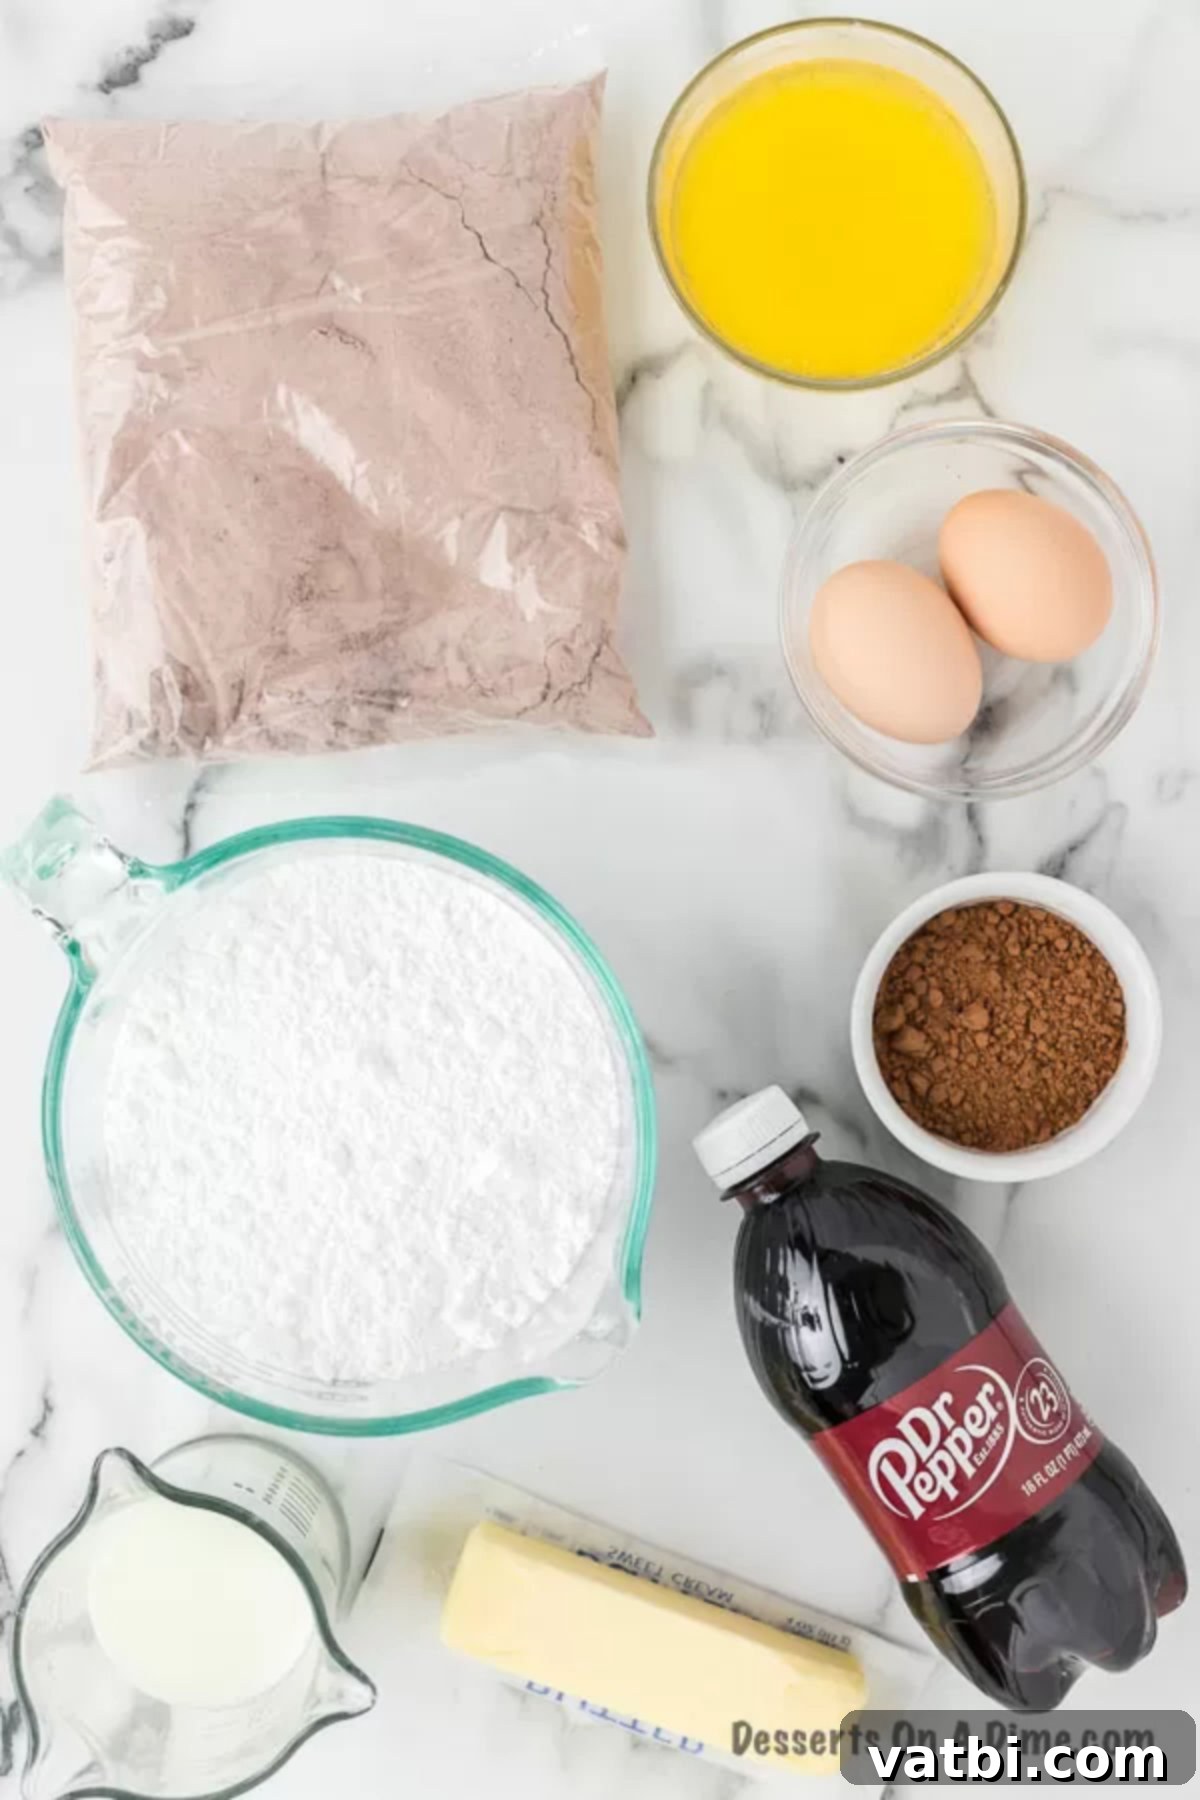
Crafting this delightful Dr Pepper cake requires a blend of common pantry staples and that special ingredient – Dr Pepper! Each component plays a crucial role in achieving the cake’s signature moist texture and rich flavor. Here’s a detailed look at what you’ll need:
For the Cake
- Chocolate Cake Mix: The foundation of our easy cake! Using a quality boxed chocolate cake mix saves time and ensures a consistent base. Any standard brand of your preference will work wonderfully, just make sure it’s chocolate flavored for that decadent cocoa taste.
- Butter: For unparalleled richness and a tender crumb, real butter is highly recommended. Melted butter adds a depth of flavor that complements the chocolate and Dr Pepper beautifully, giving the cake a more homemade taste compared to using vegetable or canola oil.
- Dr Pepper: This is the star ingredient! Dr Pepper adds an intriguing, subtle spice and caramel note, alongside its carbonation which helps to create a light and airy texture. For the best results and flavor, I do not recommend using diet Dr Pepper, as the artificial sweeteners can alter the taste and texture of the cake.
- Milk: Whole milk is ideal for the richest, most luxurious taste and moistness. However, if whole milk isn’t available, reduced-fat milk can be substituted without significantly compromising the outcome.
- Eggs: Large eggs bind the ingredients together and contribute to the cake’s structure and moistness. Using room temperature eggs is a pro tip as they incorporate more evenly into the batter, leading to a smoother mixture and a more uniformly baked cake.
For the Icing
- Unsweetened Cocoa Powder: This provides the deep, intense chocolate flavor for your frosting. I personally prefer and recommend using Hershey’s cocoa powder for its consistent quality and rich taste.
- Dr Pepper: Yes, more Dr Pepper! Incorporating it into the frosting further enhances the unique flavor profile of the cake and ensures a cohesive taste. It gives the frosting a distinct, rich taste that perfectly mirrors the cake.
- Powdered Sugar: Also known as confectioners’ sugar, this is essential for achieving a smooth, creamy frosting. To prevent lumps and ensure a silky texture, always remember to sift the powdered sugar before adding it to your icing mixture.
For a precise, step-by-step breakdown of quantities and measurements for both the cake and icing, please refer to the complete ingredient list conveniently located at the bottom of the page in the recipe card.
Variations
While this Dr Pepper Cake is absolutely perfect as is, it also serves as a fantastic canvas for creative culinary experimentation. Here are some delightful variations you can try to customize your cake and make it even more special:
- Nuts: For an added layer of texture and a nutty crunch, generously sprinkle chopped walnuts or pecans over the top of the cooled frosting. Toasting the nuts lightly before adding them can enhance their flavor even further.
- Sprinkles: To make your cake more festive and suitable for various celebrations, add a colorful array of sprinkles! Whether it’s for birthdays, holidays, or just a fun gathering, sprinkles instantly elevate the visual appeal.
- Chocolate Chips: Fold in a cup of mini chocolate chips into the cake batter before baking for an extra burst of chocolatey goodness in every bite. Or, sprinkle them on top of the frosting while it’s still wet for a lovely garnish.
- Coffee Enhancement: For an even deeper chocolate flavor, consider adding 1-2 teaspoons of instant espresso powder to the cake mix. Coffee naturally amplifies the taste of chocolate without making the cake taste like coffee.
- Cream Cheese Frosting: While the Dr Pepper chocolate icing is divine, if you’re a fan of cream cheese, you could opt for a classic cream cheese frosting instead. It offers a tangy counterpoint to the sweet chocolate cake.
- Spice It Up: A pinch of cinnamon or a tiny dash of cayenne pepper (for a “Mexican Hot Chocolate” vibe) in the cake batter can add an unexpected and delightful warmth to the chocolate and Dr Pepper flavors.
- Different Sodas: Feeling adventurous? While Dr Pepper is unique, you could experiment with other dark sodas like Coca-Cola or Pepsi for a slightly different flavor profile. The principles of carbonation and sweetness remain, but the subtle notes will change.
How to Make Dr. Pepper Cake
Creating this wonderfully moist and flavorful Dr Pepper Cake is surprisingly simple. Follow these easy steps to bring this decadent dessert to life in your kitchen:
- Step 1: Prepare Your Oven and Pan. Begin by preheating your oven to 350°F (175°C). This ensures the oven is at the correct temperature for even baking as soon as your batter is ready. While the oven is warming up, take a 9 x 13-inch baking pan and lightly spray it generously with cooking spray, or grease it with butter and flour, to prevent the cake from sticking. Proper pan preparation is key to an easy release.
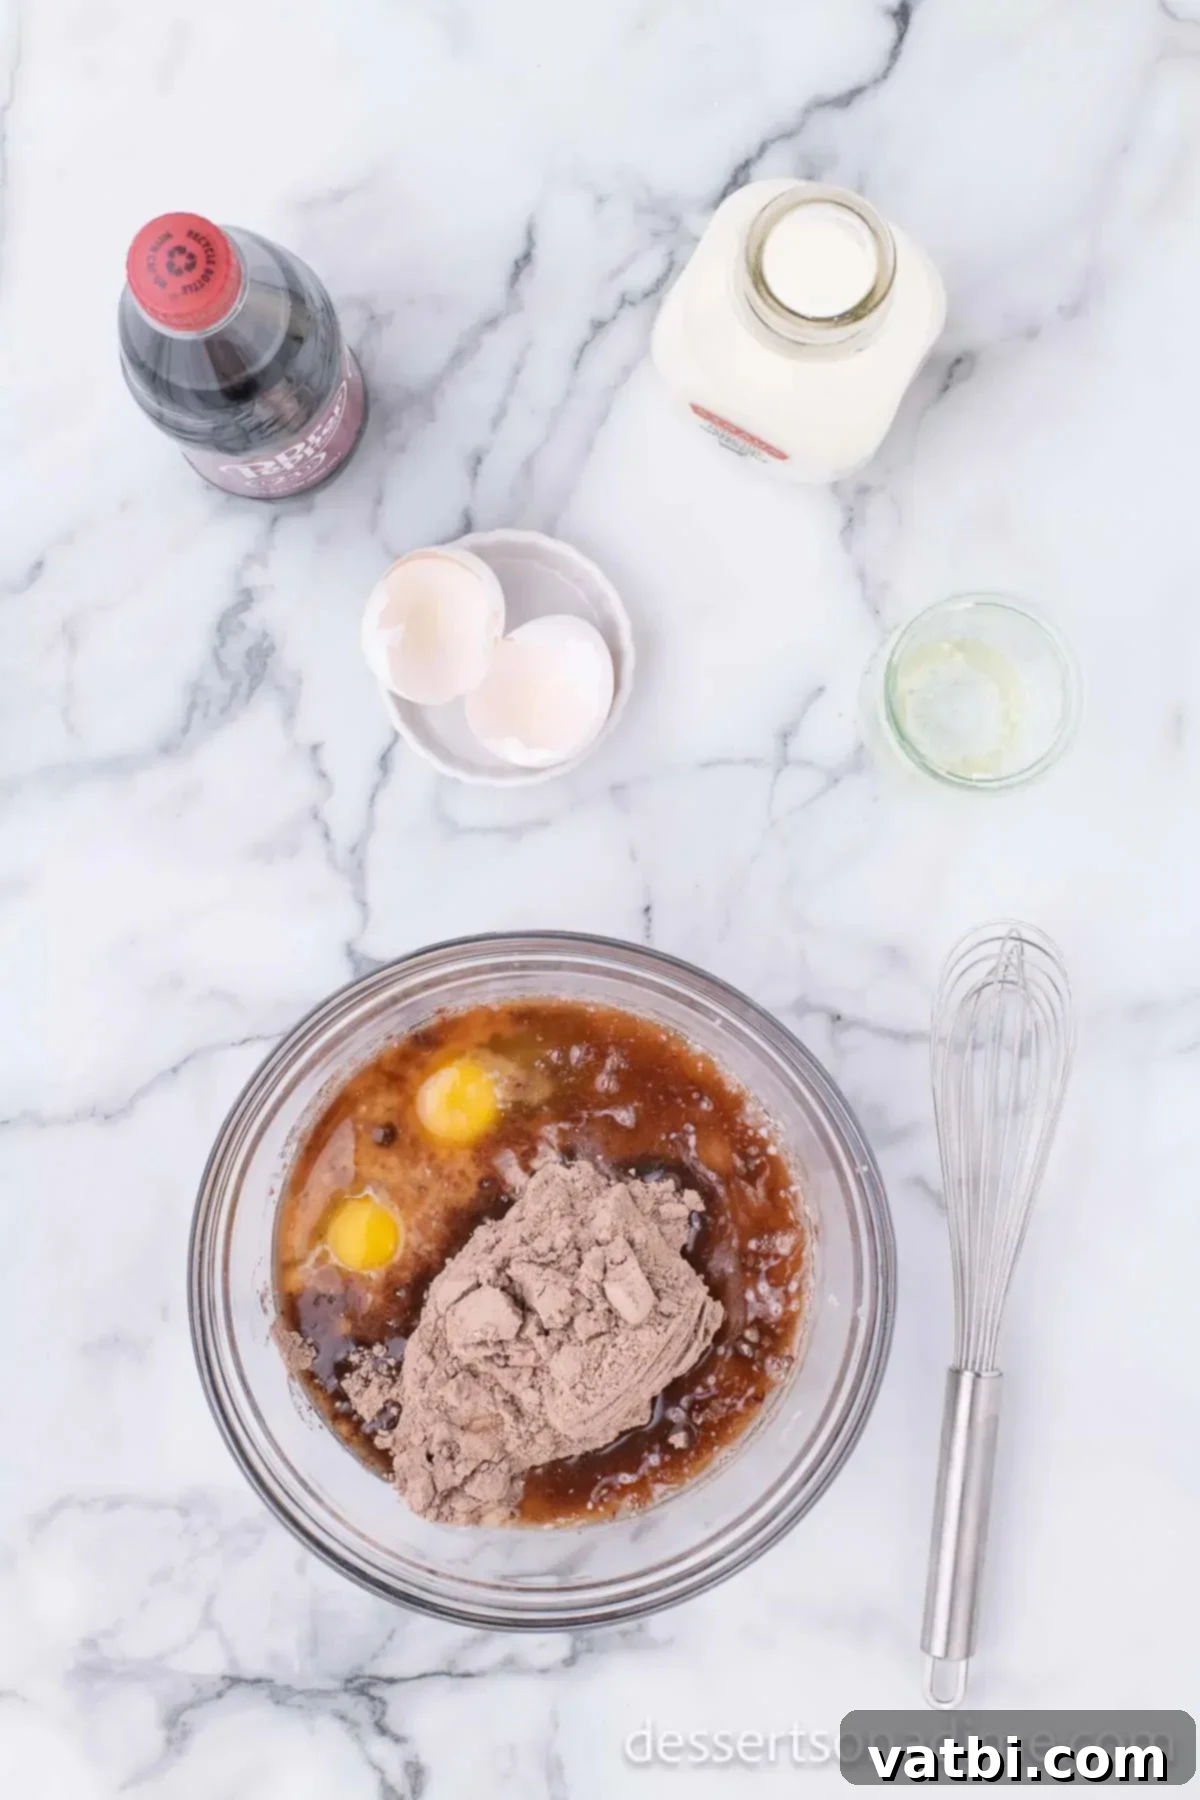
Step 2: Mix the Cake Batter. In a large mixing bowl, combine the chocolate cake mix, Dr Pepper soda, melted butter, milk, and eggs. Use a whisk to gently incorporate all the ingredients until they are thoroughly mixed together. For a quicker and smoother batter, you can also use an electric mixer on medium speed until the cake batter mixture is well combined and free of large lumps. Be careful not to overmix, as this can lead to a tougher cake texture.
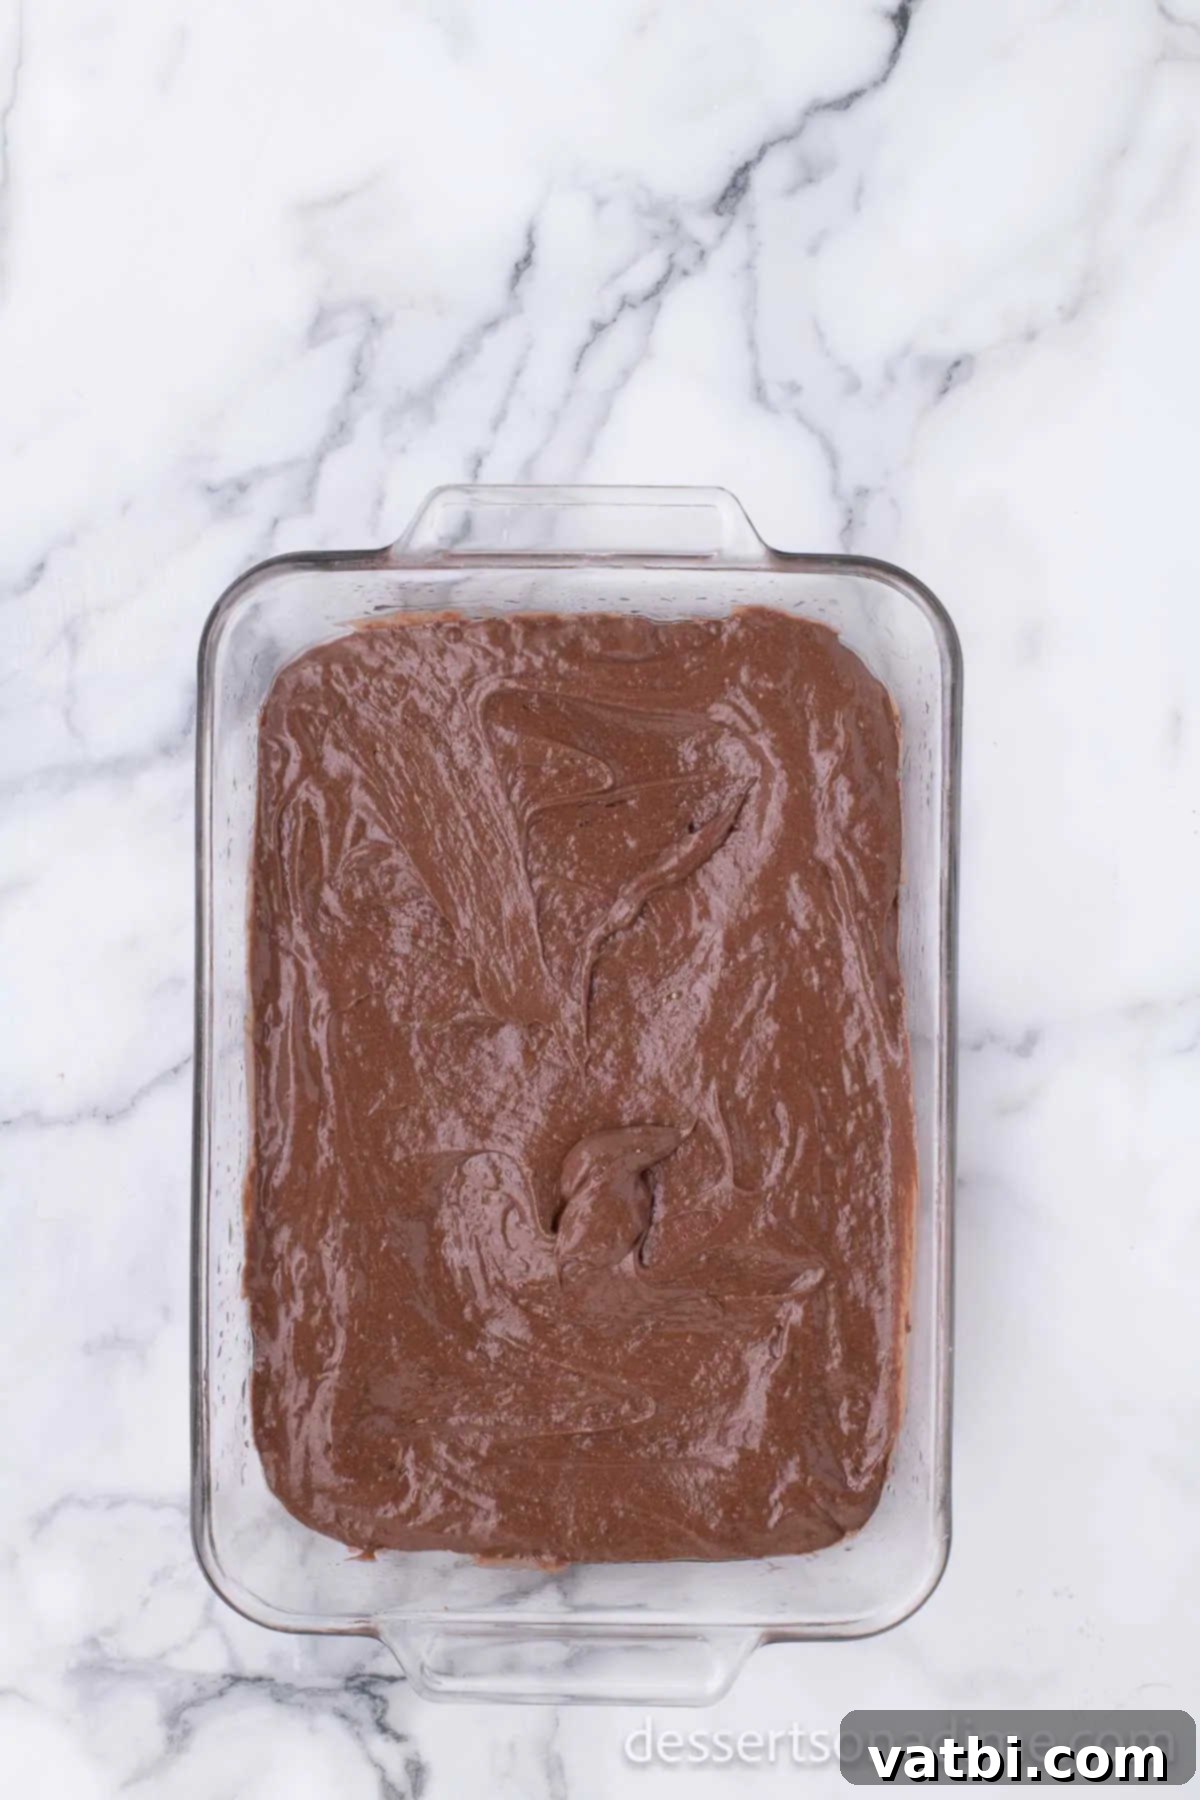
Step 3: Bake the Cake. Once your batter is smooth and ready, pour it evenly into the prepared 9×13-inch baking pan. Spread the batter gently to ensure an even layer. Place the pan in the preheated oven and bake for approximately 40 to 45 minutes. To check for doneness, insert a toothpick into the center of the cake; if it comes out clean, your cake is ready. If it comes out with wet batter, continue baking for a few more minutes and test again.
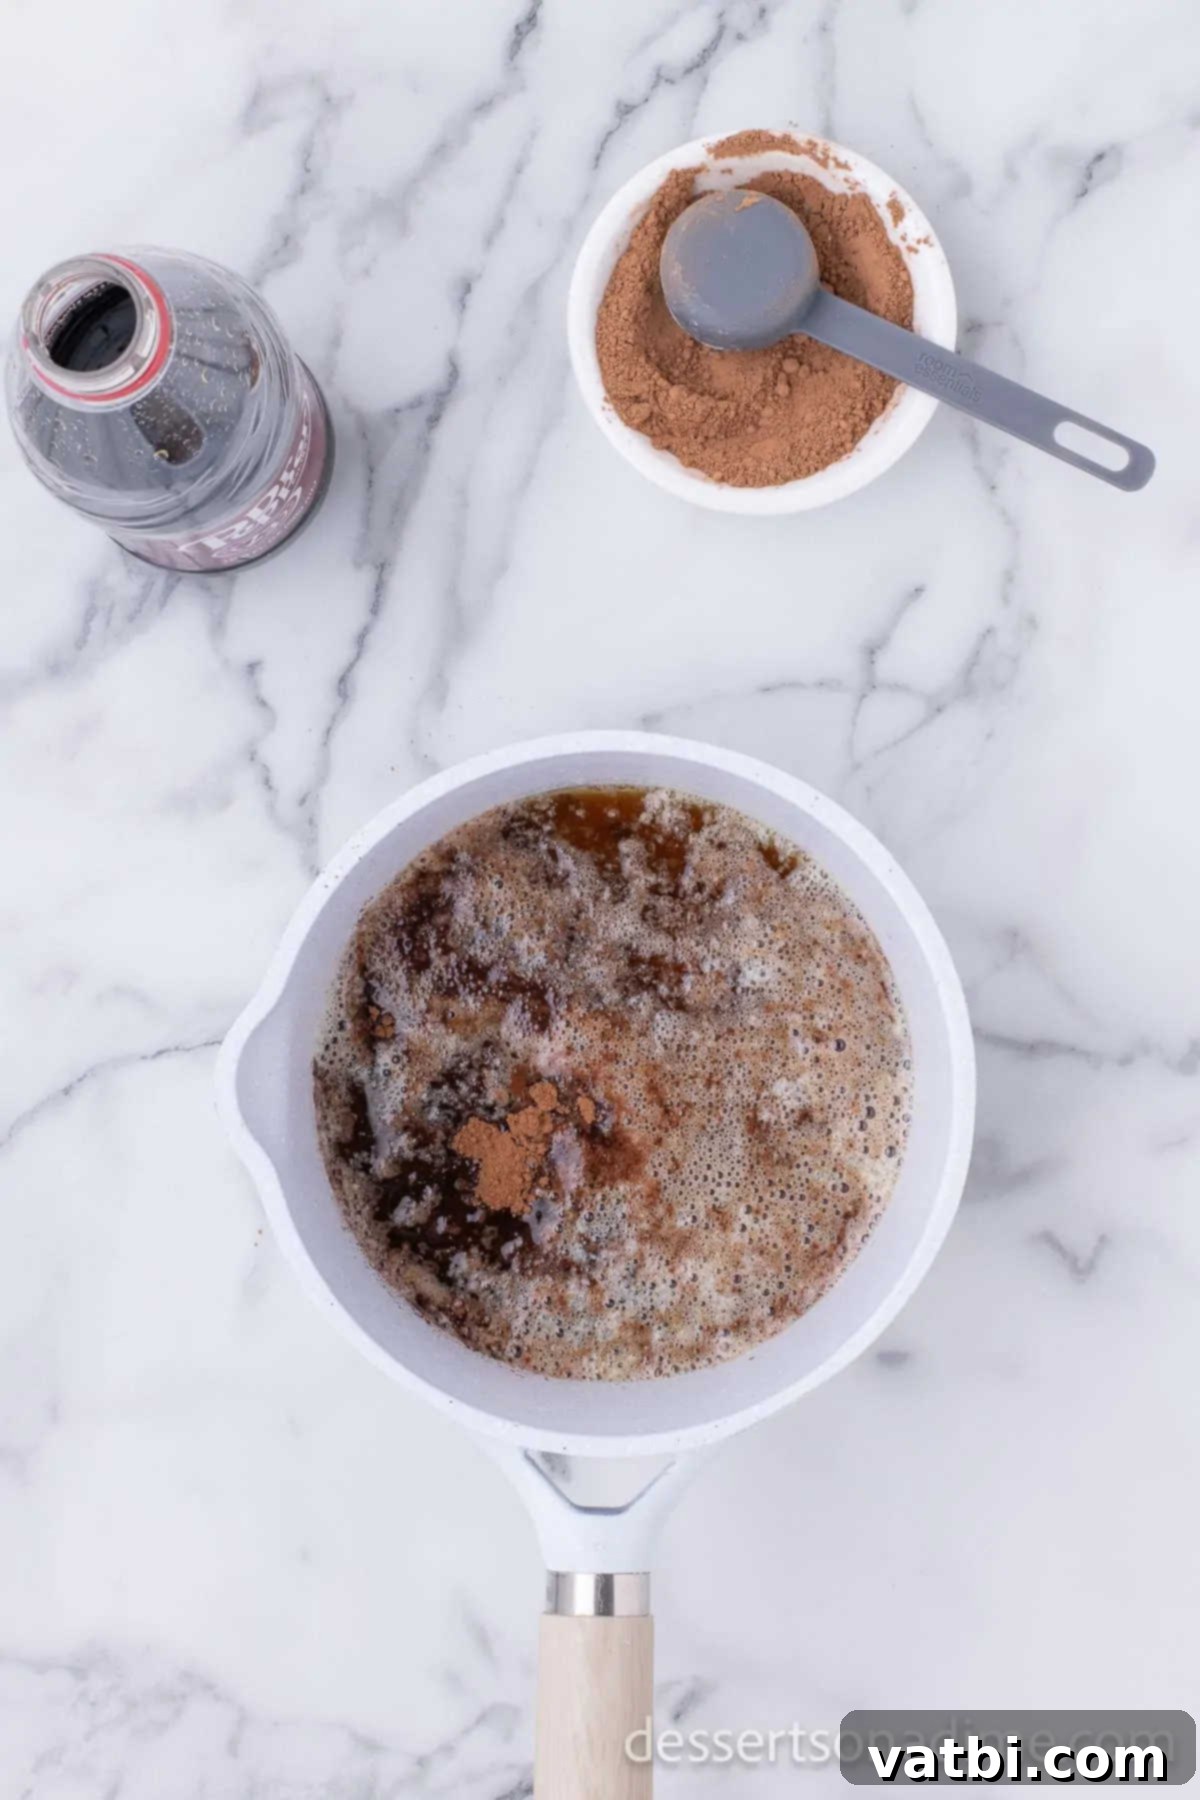
Step 4: Prepare the Icing Mixture. While your cake is baking, begin preparing the decadent Dr Pepper chocolate icing. In a medium saucepan, melt the stick of butter over low heat. Once melted, add the unsweetened cocoa powder and the 1/3 cup of Dr Pepper. Whisk everything together until well combined. Increase the heat to medium and bring the mixture to a gentle boil, stirring continuously to prevent sticking or burning.
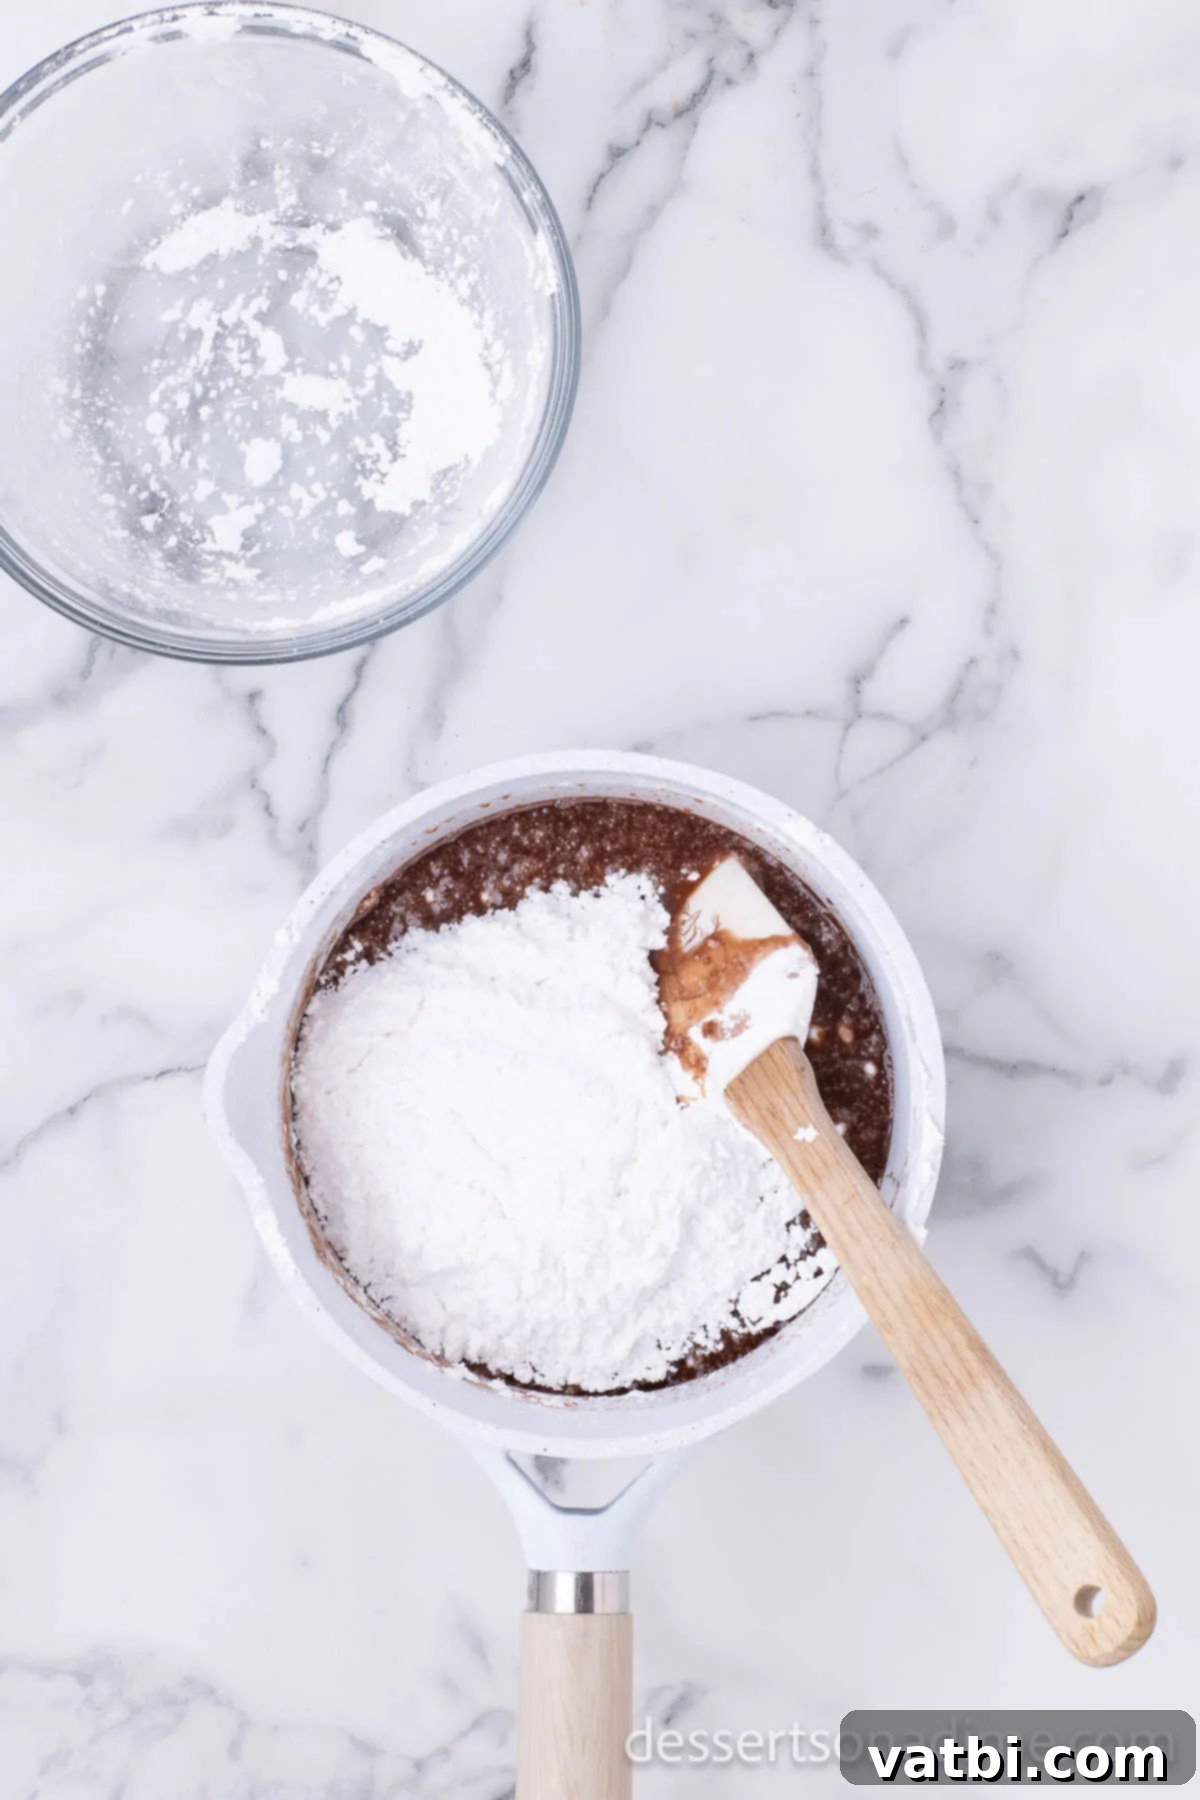
Step 5: Finish the Icing and Frost the Cake. As soon as the icing mixture starts to boil, immediately remove it from the heat. Continue to stir constantly to prevent the formation of a skin and to aid in cooling. Gradually add the sifted powdered sugar, mixing vigorously until the icing thickens to a pourable consistency. Allow the icing to cool slightly – it should still be warm but not scalding hot – before pouring it evenly over the still-warm, but not hot, cake. Spread the frosting gently across the top, letting some drip down the sides for an appealing rustic look. Finally, allow the entire cake to cool completely before slicing and serving into individual, irresistible portions. Enjoy!
Storage
Proper storage is essential to keep your Dr Pepper Cake as fresh and delicious as the day you baked it. Once the cake has completely cooled and the frosting has set, cover it tightly. The best way to do this is to wrap the entire pan in plastic wrap, ensuring no air can get in. Then, place the wrapped cake inside an airtight container or cover it with a tight-fitting lid. Stored this way, the cake will maintain its incredible moistness and flavor for up to 4 days in the refrigerator. The cool temperature helps preserve the cake’s delicate texture and prevents the frosting from becoming sticky. For individual slices, you can wrap them separately in plastic wrap and store them in an airtight container for convenience.
Can You Freeze This Cake?
Absolutely! This Dr Pepper Cake is an excellent candidate for freezing, making it perfect for meal prepping desserts or saving leftovers for a future treat. You can freeze the entire cake or individual slices for up to 3 months without compromising its quality. To freeze, ensure the cake is completely cooled. For best results, wrap the cake (or individual slices) tightly in at least two layers of plastic wrap, followed by a layer of aluminum foil. This double-layer protection helps prevent freezer burn and keeps the cake fresh. Then, place the well-wrapped cake inside a freezer bag or an airtight freezer-safe container. When you’re ready to enjoy it, simply transfer the cake from the freezer to the refrigerator and allow it to thaw overnight. For a quicker thaw, individual slices can be left at room temperature for an hour or so, or gently microwaved for a few seconds until soft. The texture will remain delightfully moist and flavorful.
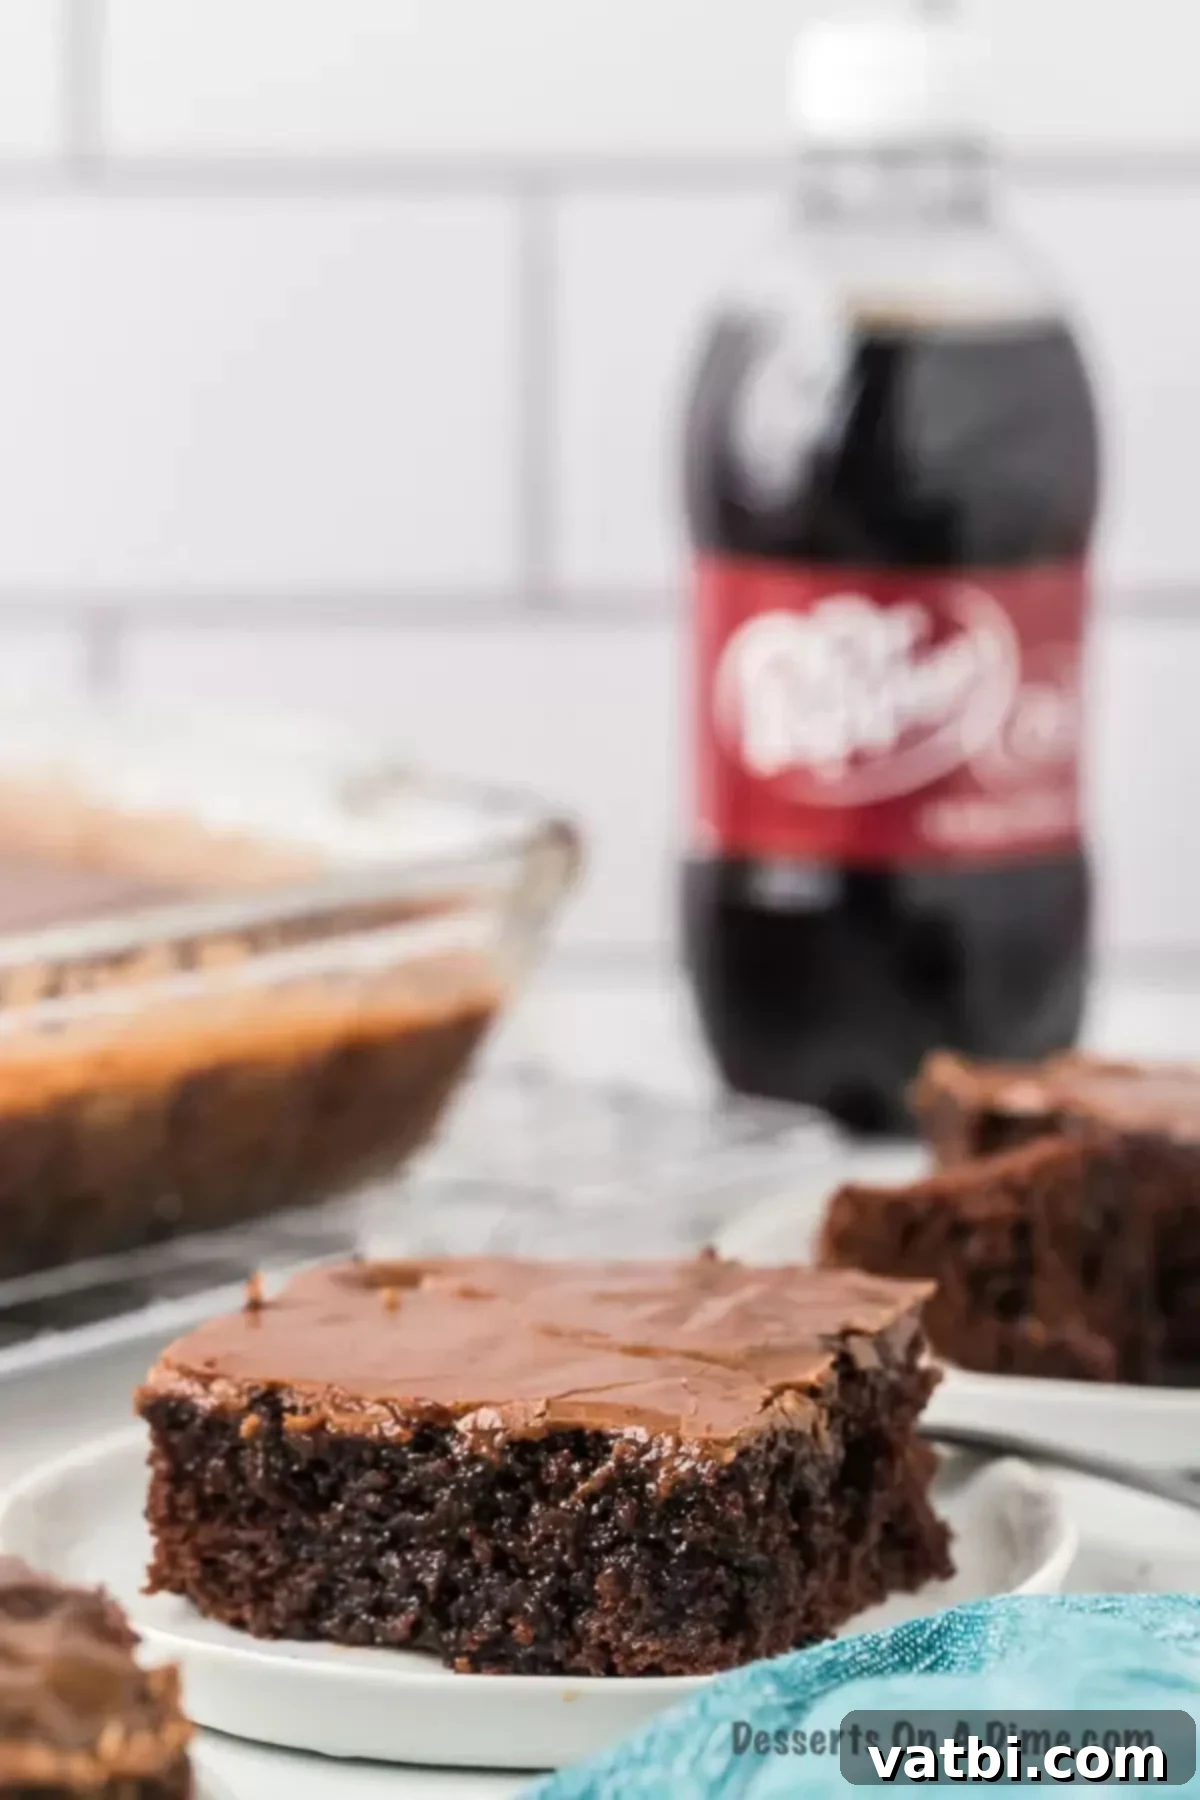
Pro Tips
Achieving bakery-quality results with your Dr Pepper Cake is easier than you think, especially with these insider tips:
- Choose the Right Baking Dish: A good quality 9 x 13 baking dish is essential for this cake, as it provides the perfect surface area for even baking and cooling. If you plan on transporting this delicious dessert to a potluck or party, consider investing in cake pans with a lid. These are incredibly convenient, helping to prevent spills during travel and making storage of leftovers a breeze.
- Do Not Overmix the Batter: When combining the cake mix ingredients, stir only until they are just moistened and no dry streaks of flour remain. Overmixing develops the gluten in the flour, which can lead to a dense, tough cake rather than the desired fluffy and light texture. A few small lumps are perfectly fine and will disappear during baking.
- Sift the Powdered Sugar: This step is crucial for achieving a perfectly smooth, velvety frosting. Powdered sugar often contains small lumps from moisture, and sifting it before adding it to your icing mixture ensures that your frosting will be wonderfully silky and spreadable, without any gritty texture.
- Cool Icing Slightly Before Pouring: While the cake should still be warm when you pour the icing, the icing itself shouldn’t be boiling hot. Allowing the icing to cool slightly (but still be pourable) helps it to set better on the cake, creating a beautiful, somewhat firm layer that won’t melt into the cake too quickly. This also allows some of the Dr Pepper flavor to mellow slightly into the cocoa.
- Room Temperature Ingredients: For the cake batter, ensure your eggs and milk are at room temperature. Room temperature ingredients emulsify better, creating a smoother, more uniform batter and a more consistently baked cake. Take them out of the fridge about 30 minutes to an hour before you start baking.
- Don’t Skimp on Quality Ingredients: While this recipe uses a cake mix for convenience, using good quality butter and cocoa powder can significantly enhance the overall flavor of your cake and frosting, making it taste truly gourmet.
- Let the Cake Cool Completely: This is perhaps the most important tip! Although the icing goes on a warm cake, the cake needs to be fully cooled before slicing and serving. This allows the cake to set properly and prevents it from crumbling when cut. Patience is key for the best experience!
Frequently Asked Questions
Got questions about this unique Dr Pepper Cake? We’ve got answers to help you bake with confidence!
- Why use Dr Pepper in cake? Does it make it taste like soda?
Dr Pepper is used for several reasons! The carbonation in the soda helps to create an incredibly moist and fluffy cake texture, similar to how buttermilk reacts with baking soda. Flavor-wise, Dr Pepper has a unique blend of 23 flavors, including notes of cherry, vanilla, and caramel. These subtle flavors enhance the chocolate, adding a complex depth that’s hard to pinpoint but incredibly delicious. It doesn’t make the cake taste distinctly like soda, but rather gives it a richer, more nuanced chocolate flavor with a hint of something special. - Can I use a different soda instead of Dr Pepper?
While Dr Pepper provides a distinct flavor, you can absolutely experiment! Other dark sodas like Coca-Cola or Pepsi will also work well, contributing to the moistness and adding their own unique caramel or cola notes to the chocolate. The overall principle of soda in cake will remain, but the subtle undertones will change. - Is it okay to use diet Dr Pepper?
It’s generally not recommended to use diet sodas in baking. The artificial sweeteners in diet sodas can react differently with the other ingredients and heat, potentially affecting the cake’s texture and overall taste. For the best results in terms of flavor and moisture, stick to regular Dr Pepper. - Can I make this cake from scratch instead of using a box mix?
Yes, you certainly can! If you prefer to bake from scratch, you would need to adapt a classic homemade chocolate cake recipe. Replace the liquid component (usually water or milk) with Dr Pepper and adjust leavening agents if necessary, though the carbonation will help. The convenience of the box mix is a key feature of *this* particular recipe, but scratch baking is always an option for more experienced bakers. - How do I know when the cake is perfectly baked?
The best way to test for doneness is to insert a toothpick into the center of the cake. If it comes out clean or with a few moist crumbs attached, the cake is ready. If it’s still wet, bake for an additional 2-5 minutes and test again. Overbaking can lead to a dry cake, so keep a close eye on it! - What kind of cocoa powder is best for the icing?
For a rich, deep chocolate flavor in your icing, good quality unsweetened cocoa powder is key. Brands like Hershey’s or Ghirardelli are widely available and produce excellent results. Dutch-processed cocoa powder can also be used for a darker color and milder chocolate taste.
More Easy Cake Recipes
- Strawberry Dump Cake Recipe
- White Texas Sheet Cake
- Carrot Cake Recipe
- Tres Leches Cake
- 7 Up Cake Recipe
More Chocolate Desserts
- Chocolate Cherry Cake Recipe
- Texas Sheet Cake Recipe
- Easy S’Mores Cake Recipe
- Saltine Cracker Toffee
- Homemade Brownie Recipe
Now that you have all the tips and tricks, it’s time to create this show-stopping dessert in your own kitchen! Give this delightful Dr Pepper Cake a try today and experience the magic of its moist texture and rich, unique flavor. I am truly confident that this cake will become a new favorite for you and everyone you share it with. Don’t forget to leave a comment below letting us know how much you loved it!
Pin
Dr Pepper Cake
Ingredients
- For cake:
- 1 chocolate cake mix
- 1 stick of butter melted
- 1 cup Dr pepper
- ½ cup milk
- 2 large eggs
- for icing:
- 1 stick of butter
- 2 tablespoons cocoa powder
- 1/3 cup dr pepper
- 4 cups powdered sugar sifted
Instructions
-
Preheat the oven to 350 degrees.
-
Lightly grease a 9×13 pan.
-
Mix the cake mix, cola, butter, milk and eggs until thoroughly mixed.
-
Once completely mixed, Pour into the pan.
-
Bake at 350 degrees for 40 to 45 minutes.
-
Meanwhile make the icing:
-
In a medium saucepan, melt the butter.
-
Mix in the cocoa power and cola. Bring just to a boil.
-
Remove from the heat and stir constantly.
-
Mix in the powdered sugar until a the icing thickens. Allow it to cool slightly.
-
Pour on top of the cake.
-
Let the cake cool completely before serving.
Nutrition Facts
Pin This Now to Remember It Later
Pin Recipe
