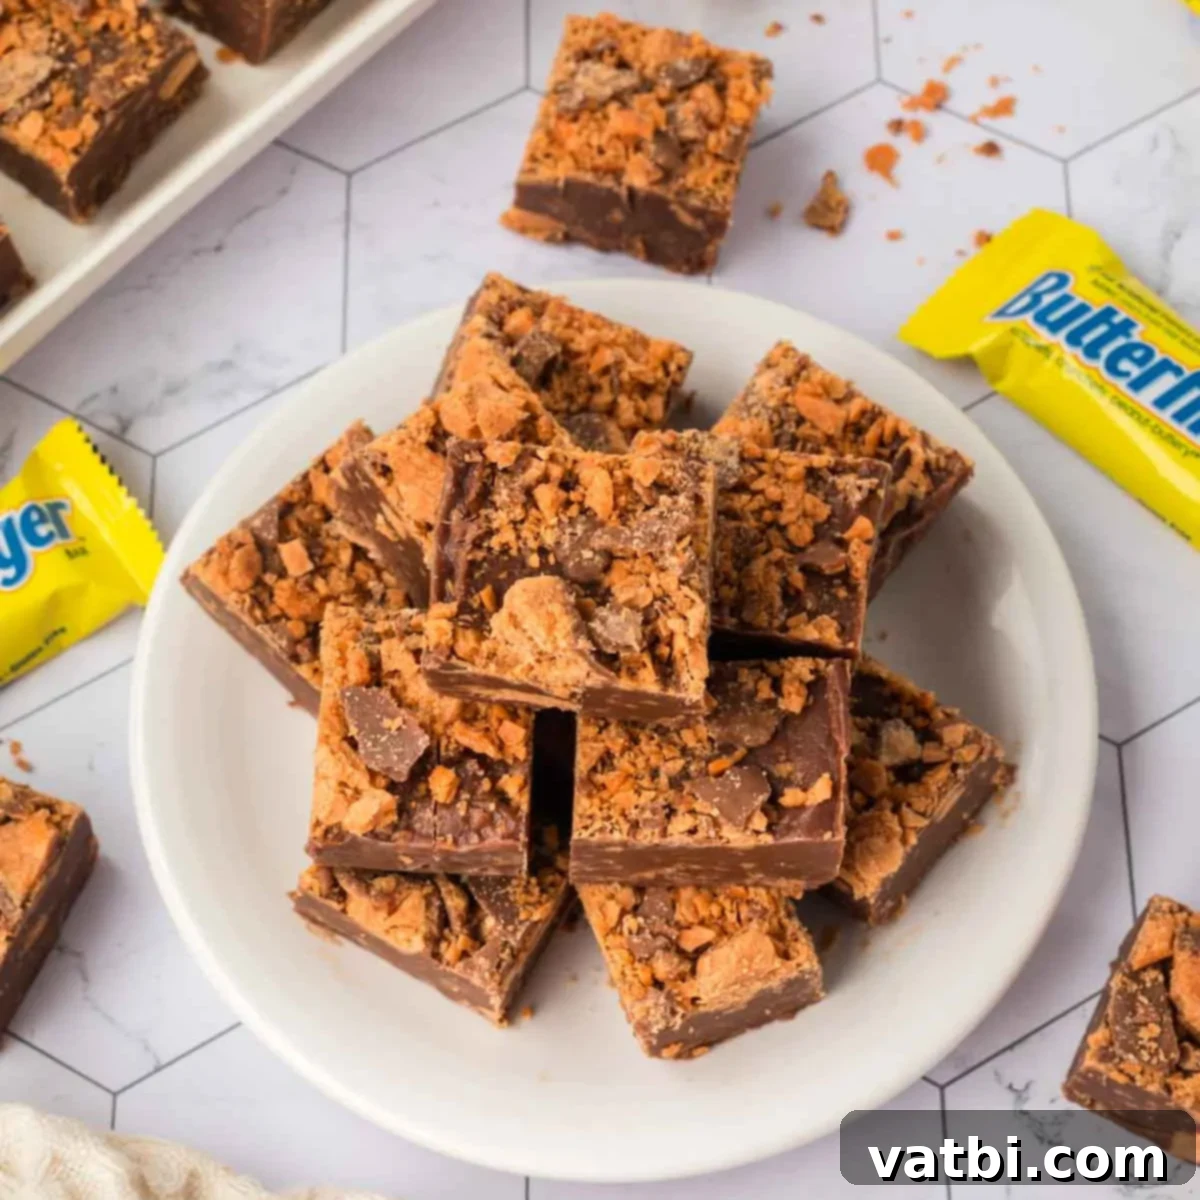
Easy No-Bake Butterfinger Fudge: Creamy Chocolate Peanut Butter Recipe with a Satisfying Crunch
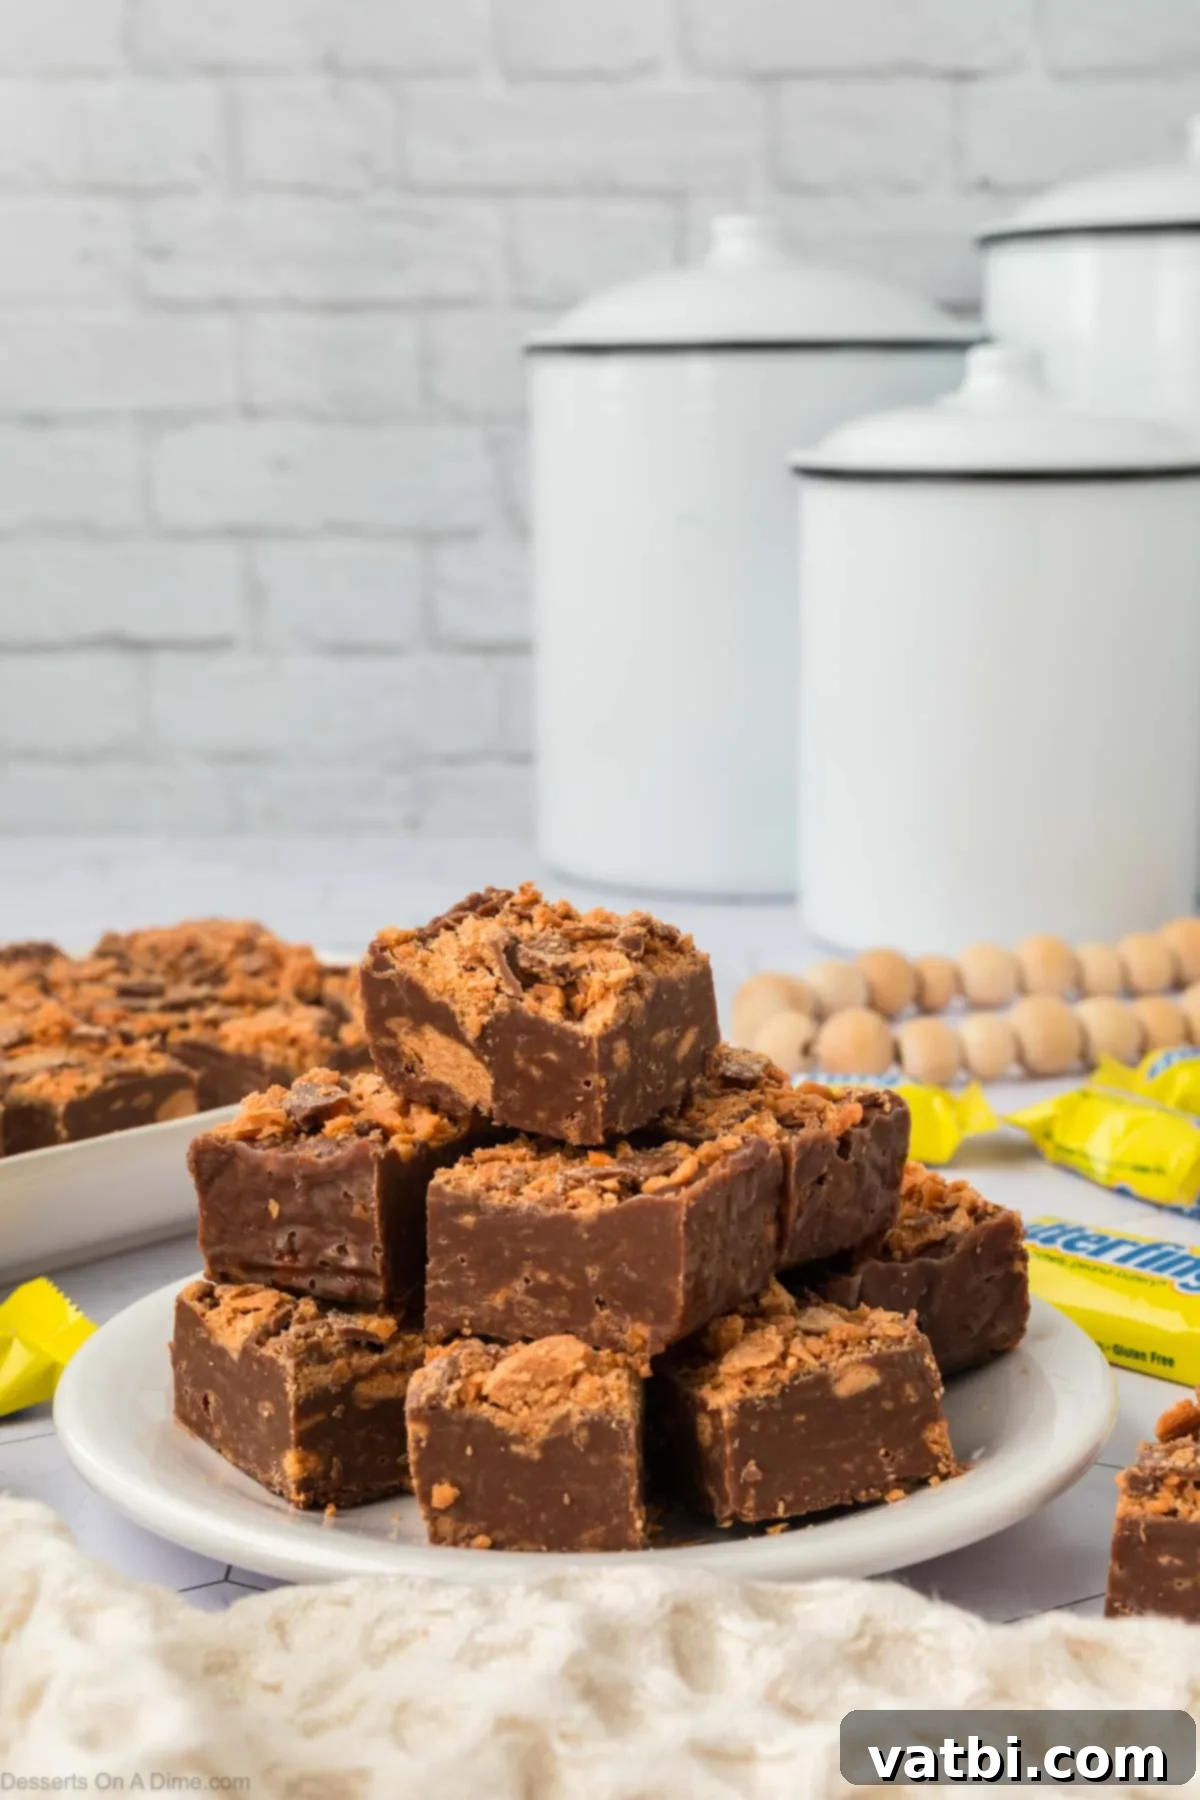
Indulge in the ultimate treat with this incredibly easy Butterfinger Fudge. This no-bake wonder combines the smooth richness of chocolate and peanut butter with the irresistible, crispy crunch of Butterfinger candy bars, creating a dessert that’s truly out of this world. Perfect for holidays, parties, thoughtful gifts, or simply satisfying your sweet tooth, this homemade Butterfinger fudge recipe is a guaranteed crowd-pleaser that comes together in minutes with minimal effort.

This delightful Butterfinger Fudge is a rich, creamy, and wonderfully textured dessert loaded with a harmonious blend of luscious chocolate, savory peanut butter, and distinctive crunchy Butterfinger candy pieces. What makes this recipe truly special is its simplicity: it requires no baking, comes together quickly, and uses just a handful of readily available ingredients. Whether you’re a seasoned baker or a beginner in the kitchen, you’ll find this easy fudge recipe incredibly straightforward and rewarding.
Ideal for festive holidays, casual get-togethers, or those moments when you simply crave something sweet and satisfying, this Butterfinger fudge strikes a perfect balance. Each bite offers a melt-in-your-mouth smoothness, followed by a delightful textural contrast from the crisp, buttery, and peanut-flavored candy bars. It’s a fun, nostalgic dessert that evokes cherished memories, making it a beloved treat for all ages. If you love Butterfinger candy, you’ll adore this fudge, alongside other favorites like Butterfinger Cookies and Butterfinger Balls, all showcasing that iconic flavor profile.
Table of contents
- Why We Love This Easy Butterfinger Fudge
- Key Ingredients for Homemade Butterfinger Fudge
- Delicious Variations for Your Butterfinger Fudge
- Step By Step Instructions: How to Make Butterfinger Fudge
- Proper Storage for Fresh Butterfinger Fudge
- Pro Tips for Perfect No-Bake Fudge
- Explore More Butterfinger Recipes
Why We Love This Easy Butterfinger Fudge
- Quick & Effortless – Say goodbye to complicated baking! This Butterfinger fudge recipe is a true no-bake marvel, requiring no oven and coming together in mere minutes. It’s the perfect solution for busy schedules or when you need a fantastic dessert in a hurry. You’ll spend more time enjoying it than preparing it.
- Rich & Decadently Creamy – The base of this fudge is a luxurious blend of milk chocolate and peanut butter, softened by sweetened condensed milk and butter. This combination creates an incredibly smooth, melt-in-your-mouth texture that is intensely satisfying and indulgent. It’s a truly decadent experience for chocolate and peanut butter lovers.
- Irresistible Crunchy Twist – The star ingredient, chopped Butterfinger bars, provides an incredible textural contrast. Their crisp, flaky, and distinctively peanut buttery crunch elevates the smooth fudge, adding an exciting dimension that makes each bite even more enjoyable. It’s the perfect counterpoint to the creamy base.
- Perfect for Sharing & Gifting – This homemade Butterfinger fudge is designed for sharing! It’s an excellent addition to holiday dessert platters, a standout at potlucks and parties, and makes a beautiful, personalized gift when packed in treat boxes or festive tins. Everyone appreciates a homemade, delicious confection.
- A Universal Crowd Favorite – There’s something inherently nostalgic and comforting about Butterfinger candy, and this fudge captures that magic. Its combination of familiar flavors and exciting textures makes it a hit with both children and adults, ensuring there are never any leftovers when you bring this creamy fudge to the table.
- Customizable & Versatile – While phenomenal as is, this Butterfinger fudge recipe is also incredibly adaptable. You can easily tweak the ingredients or add extra toppings to suit different tastes or occasions, making it a versatile staple in your dessert repertoire.
Key Ingredients for Homemade Butterfinger Fudge
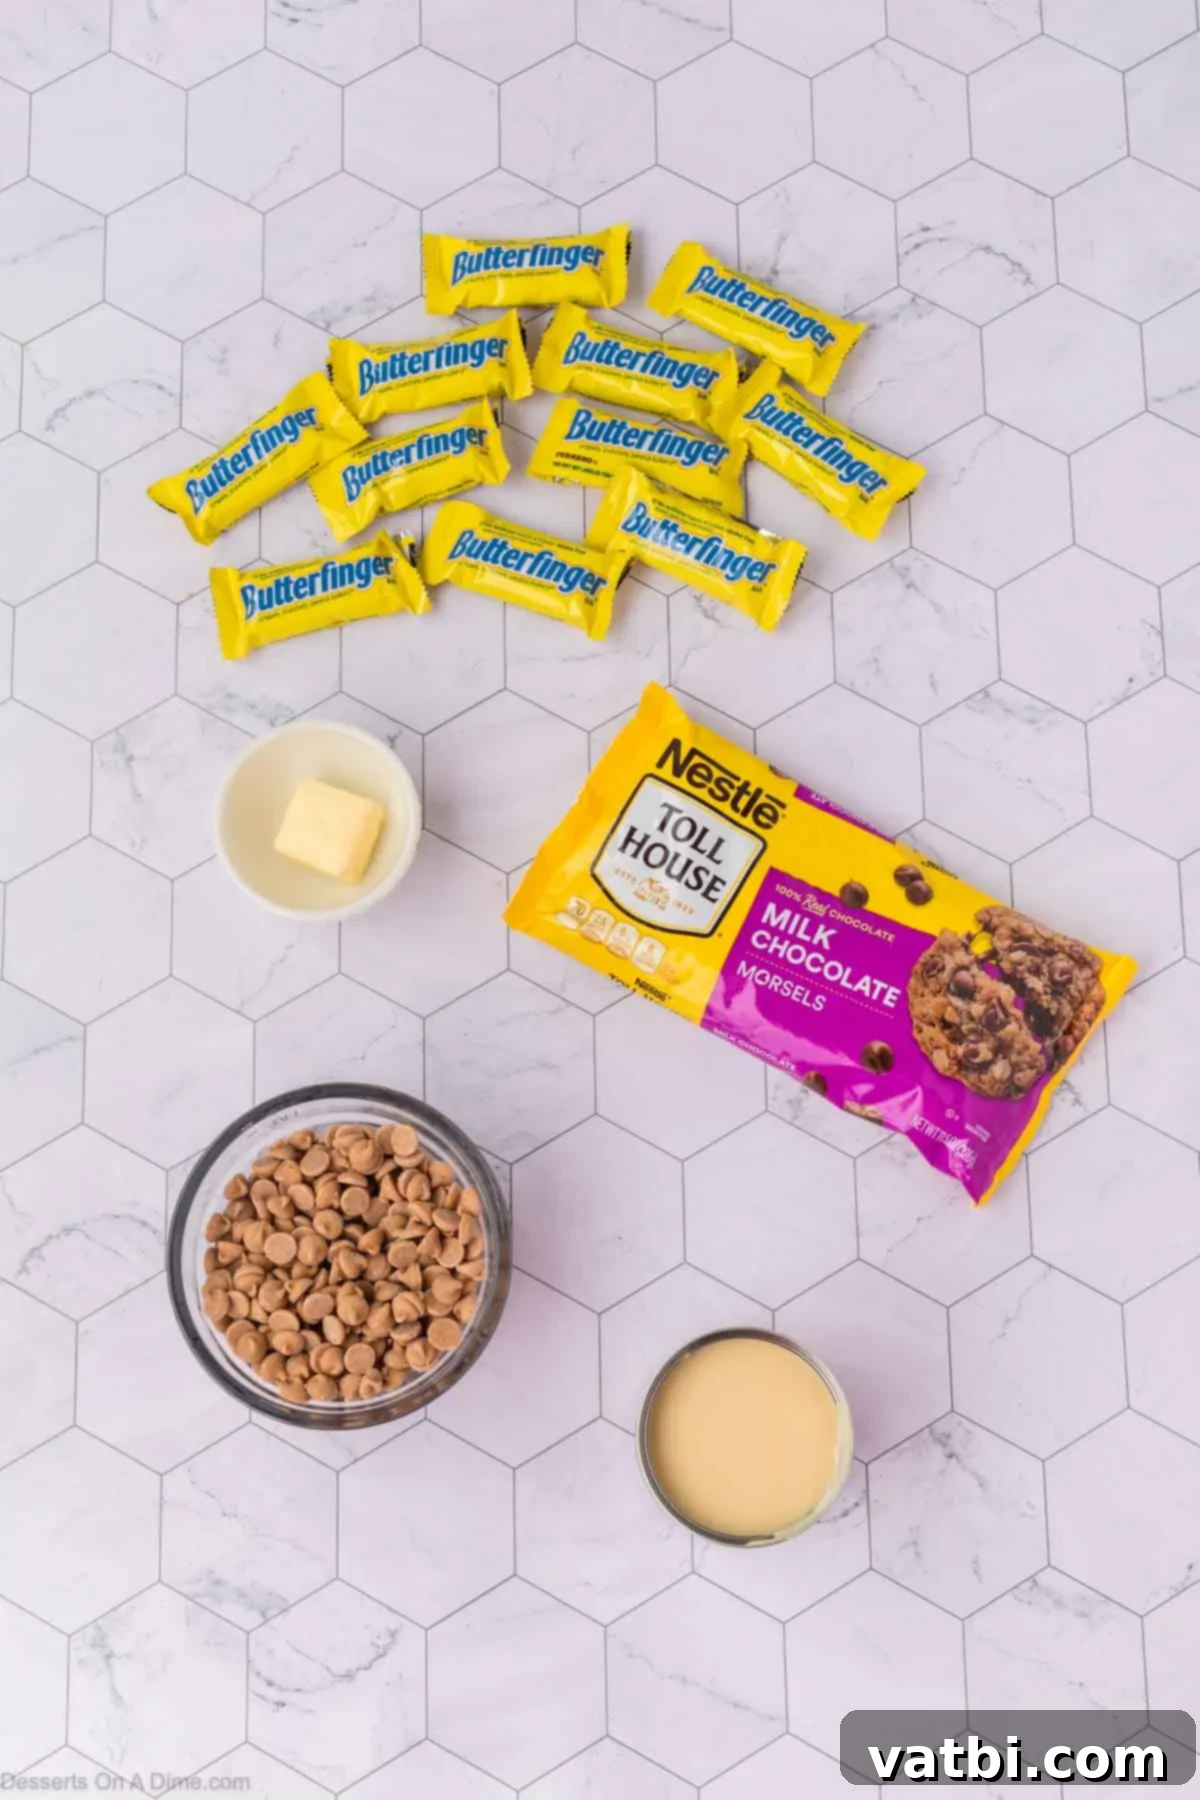
- Sweetened Condensed Milk – This is the magical ingredient that gives our fudge its signature creamy, smooth texture and rich sweetness. It’s crucial for achieving that perfect, melt-away consistency without needing to temper chocolate or use a candy thermometer. Make sure you use sweetened condensed milk, not evaporated milk.
- Milk Chocolate Chips – Forming the rich, decadent chocolate base of the fudge, milk chocolate chips provide a classic, sweet flavor. For the best results, opt for a good quality brand, as this will significantly impact the overall taste and smoothness of your fudge. You can also experiment with semi-sweet or dark chocolate chips for a less sweet, more intense chocolate flavor.
- Peanut Butter Chips – These chips are key to enhancing the peanut butter flavor profile that beautifully complements the Butterfinger candy. They melt smoothly into the fudge, adding a rich, nutty, and slightly salty balance to the sweetness. If you can’t find peanut butter chips, a good quality creamy peanut butter can be used, though it will alter the texture slightly.
- Butter – A small amount of butter is essential for a silky-smooth finish. It helps prevent the fudge from becoming too firm or grainy and adds a subtle richness that rounds out the flavors of the chocolate and peanut butter. Unsalted butter is typically preferred, allowing you to control the salt content.
- Chopped Butterfingers – The undeniable star of this recipe! Chopped Butterfinger candy bars infuse the fudge with their iconic, crisp, and flaky texture, along with their signature sweet and slightly salty peanut butter flavor. We’ll be adding some into the fudge mixture and reserving some for a delightful crunchy topping. Approximately 12 fun-size bars or 3-4 standard bars should yield the 1 ½ cups needed.
- Parchment Paper or Wax Paper (for pan lining) – While not an ingredient in the fudge itself, it’s a vital tool for easy removal and clean slicing.
Delicious Variations for Your Butterfinger Fudge
One of the best things about this easy Butterfinger fudge recipe is how versatile it is! Once you master the basic no-bake technique, you can get creative with these fun and delicious variations to suit any preference or occasion:
- White Chocolate Butterfinger Fudge – For a different flavor profile, swap the milk chocolate chips for high-quality white chocolate chips. This will result in an even creamier, sweeter fudge with a delightful vanilla undertone, allowing the distinct Butterfinger flavor to shine through in a new way.
- Layered Chocolate and Peanut Butter Fudge – Create a stunning visual and flavor dynamic by making half the fudge with milk chocolate and the other half predominantly with peanut butter (perhaps using extra peanut butter chips or a swirl of creamy peanut butter). Swirl the Butterfinger pieces into both layers before chilling for a beautiful marble effect.
- Extra Crunchy Fudge – If you crave maximum crunch, consider adding extra mix-ins along with the Butterfinger pieces. Chopped roasted peanuts, crushed pretzels, or even crispy rice cereal can provide additional texture and a savory note that complements the sweet fudge.
- Peanut Butter Lovers’ Delight – To intensify the peanut butter flavor, replace the peanut butter chips with an equal amount of creamy peanut butter. This will yield a fudge with a richer, more pronounced peanut butter taste and a slightly softer, chewier texture. Adjust sweetness to your liking if using unsweetened peanut butter.
- Holiday Butterfinger Fudge – Dress up your fudge for seasonal celebrations! After sprinkling the reserved Butterfinger pieces, top your fudge with festive sprinkles in holiday colors, or drizzle it with melted white chocolate or a contrasting colored candy melt. This makes it perfect for Christmas, Halloween, or any special occasion.
- Dark Chocolate Butterfinger Fudge – For those who prefer a less sweet and more sophisticated chocolate experience, use dark chocolate chips (60-70% cacao) instead of milk chocolate. The slight bitterness of the dark chocolate will beautifully cut through the sweetness of the Butterfinger, creating a more complex flavor.
- Salted Caramel Butterfinger Swirl – Just before chilling, drizzle a homemade or store-bought salted caramel sauce over the fudge and gently swirl it with a knife. This adds an extra layer of decadence and a harmonious sweet-and-salty combination that pairs wonderfully with the Butterfinger.
Step By Step Instructions: How to Make Butterfinger Fudge
Making this irresistible Butterfinger Fudge is incredibly simple. Follow these detailed steps for a perfect batch every time:
- Step 1. Prepare Your Pan. Start by preparing an 8×8 square baking pan. Line the pan with parchment paper or wax paper, ensuring that there’s an overhang on two sides. This overhang will act as handles, making it much easier to lift the firm fudge out of the pan once it’s set. This step is crucial for clean removal and effortless slicing.
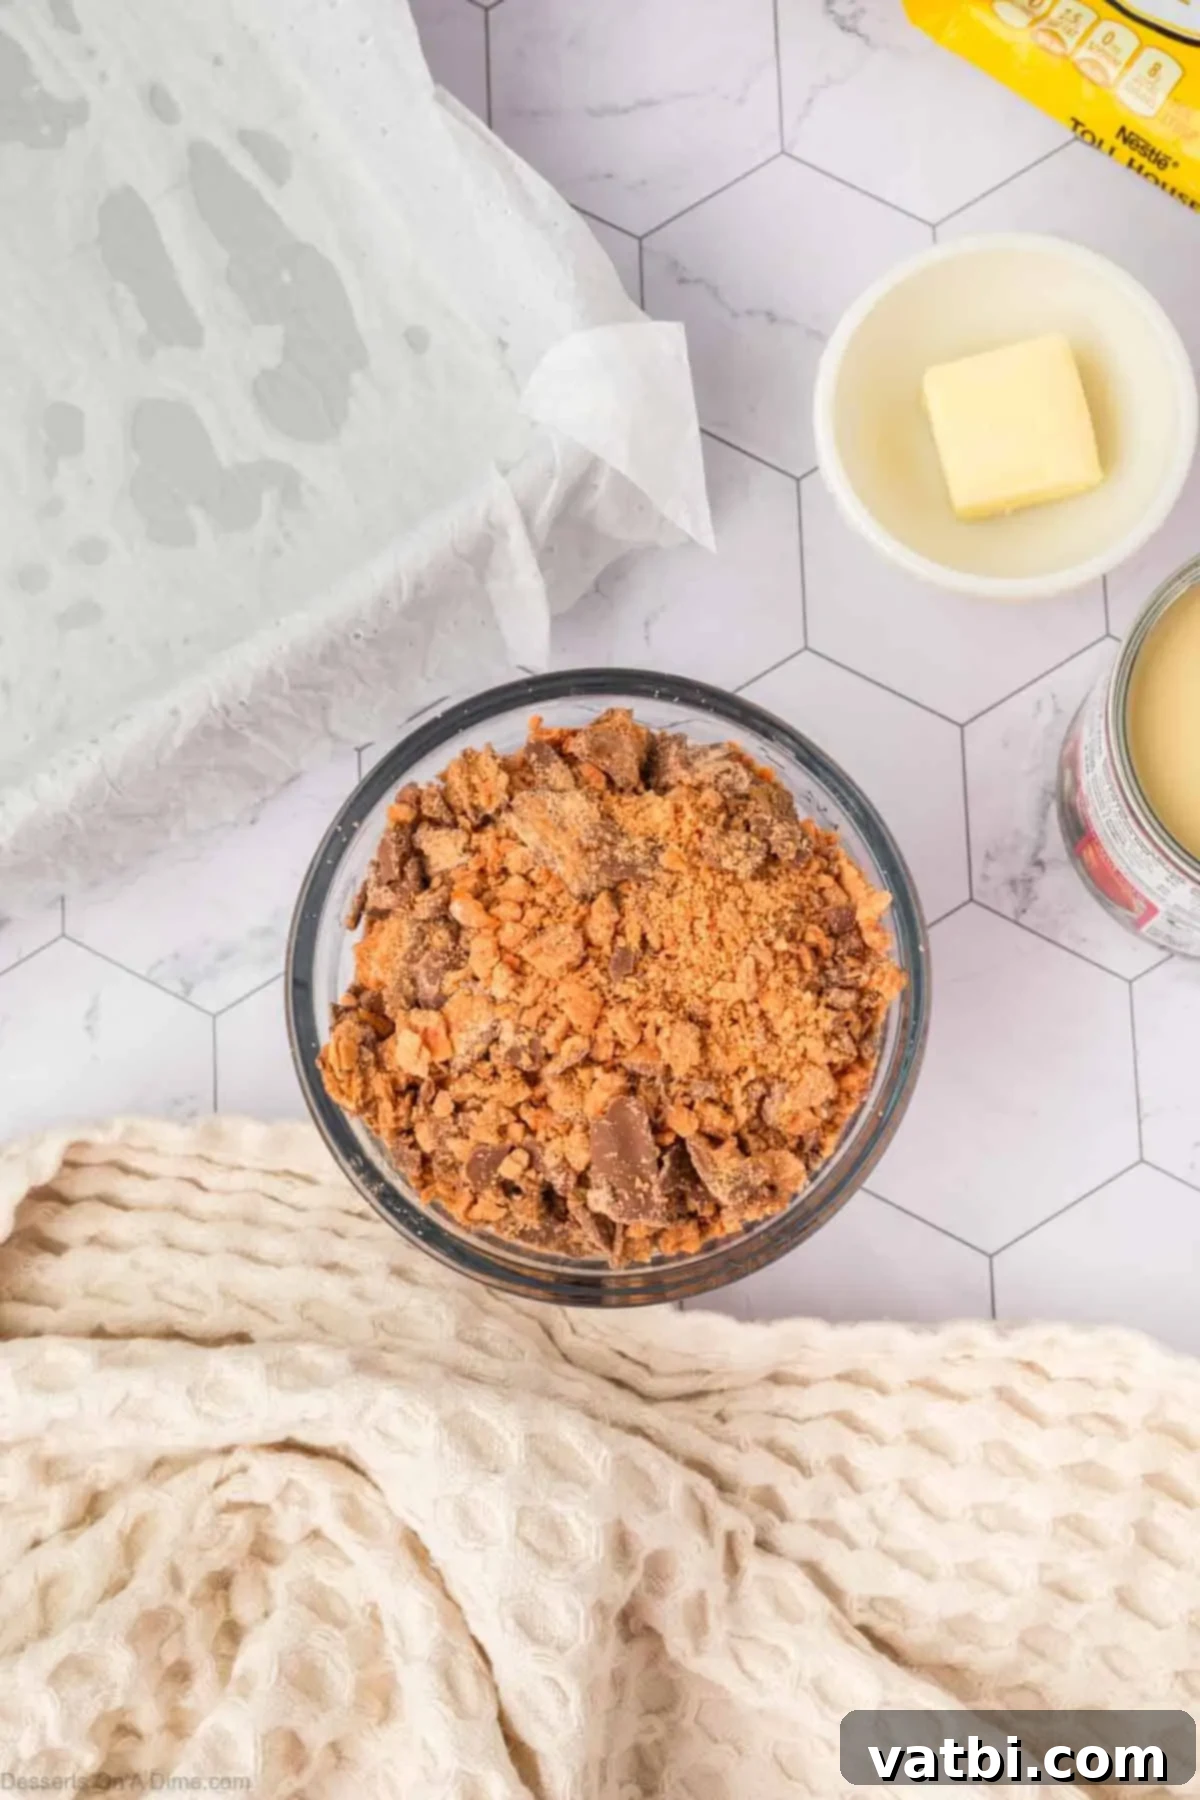
Step 2. Chop the Butterfingers. Take your Butterfinger candy bars and coarsely chop them into small, bite-sized pieces. You can do this with a sharp knife or by placing them in a Ziploc bag and crushing them with a rolling pin for a more rustic look. Measure out a total of 1 ½ cups of chopped Butterfingers. Set aside ½ cup of these chopped pieces; this portion will be used later for topping the fudge. The remaining 1 cup will be folded into the fudge mixture.
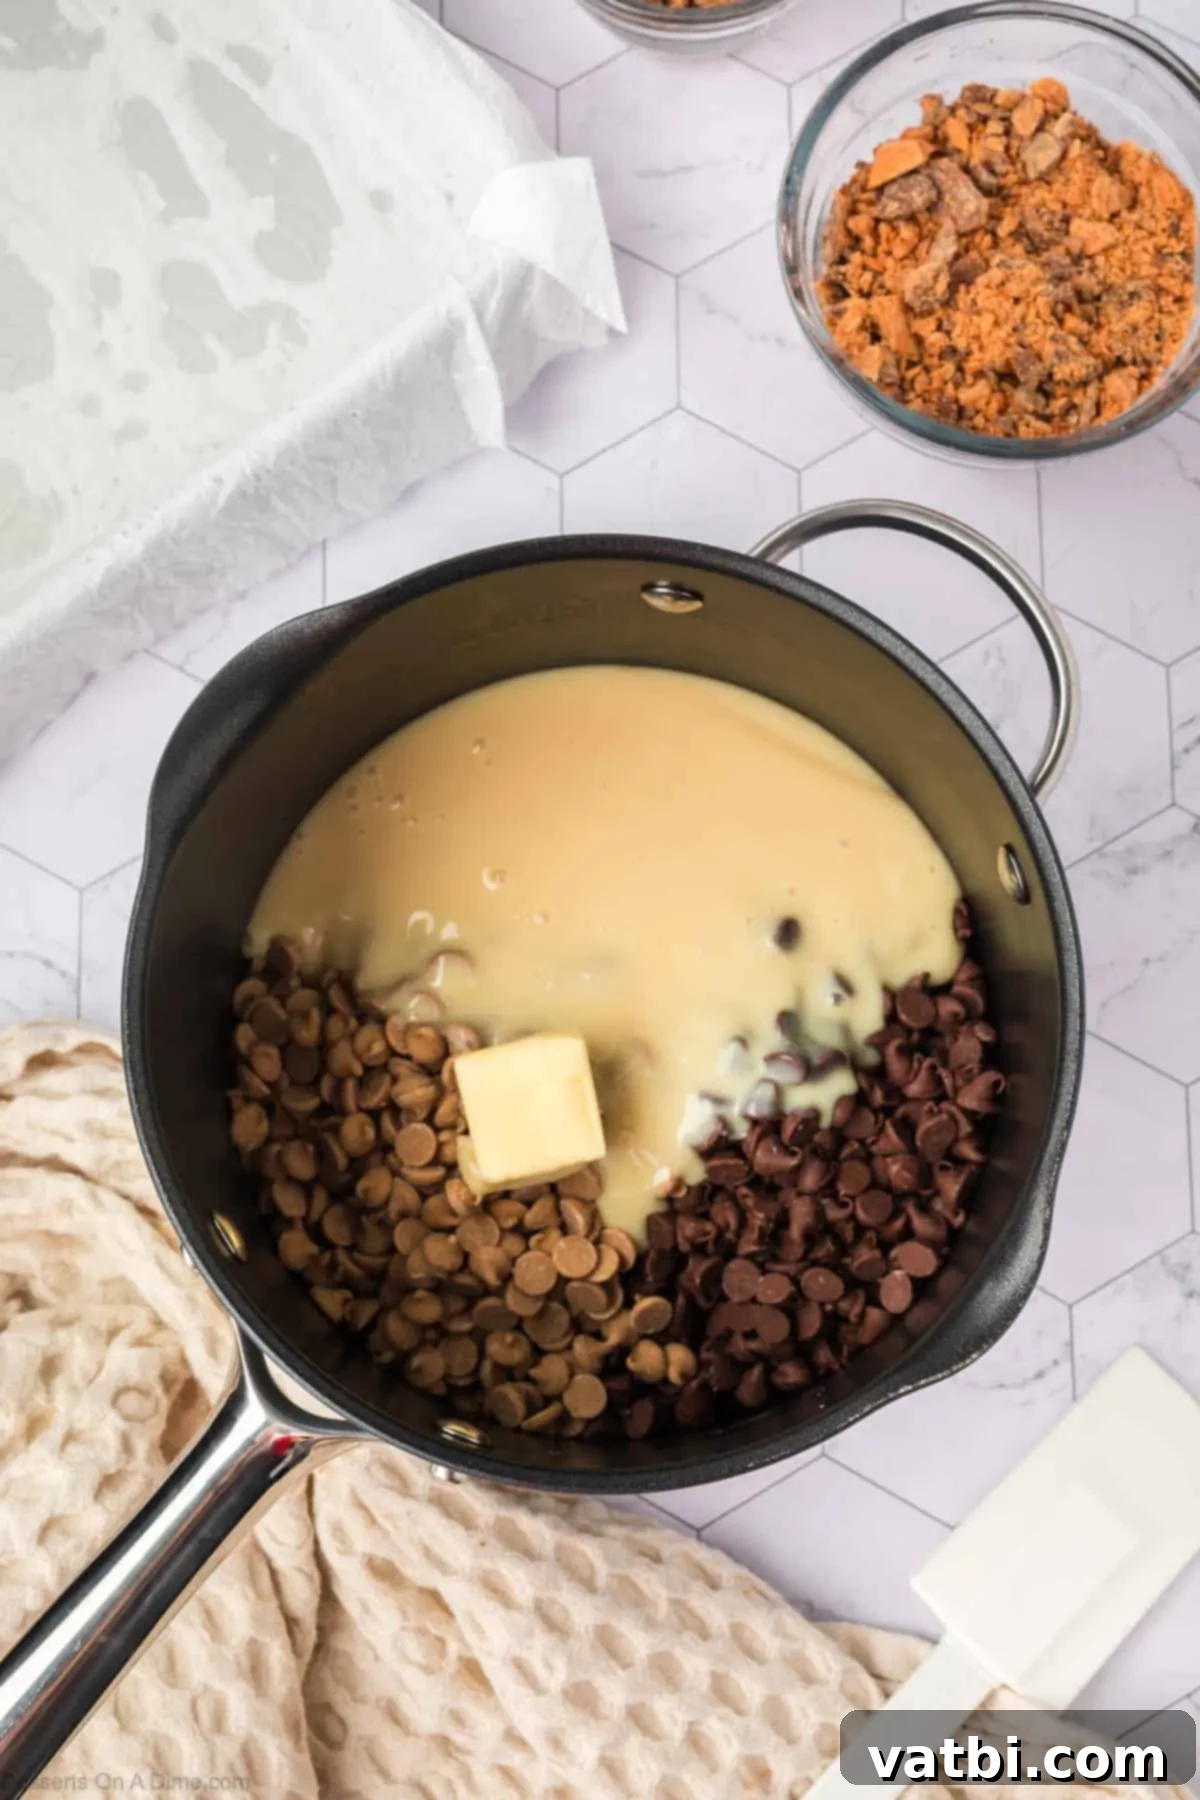
Step 3. Combine Ingredients in a Saucepan. In a medium-sized, heavy-bottomed saucepan, combine the milk chocolate chips, peanut butter chips, sweetened condensed milk, and butter. Place the saucepan over low heat. It’s important to use low heat to prevent the chocolate and peanut butter from scorching or seizing, which can lead to a grainy texture.

Step 4. Melt and Stir Until Smooth. Continue to stir the mixture continuously with a rubber spatula or a wooden spoon. Stir patiently until all the chocolate chips, peanut butter chips, and butter are fully melted and thoroughly combined with the sweetened condensed milk. The mixture should be completely smooth, glossy, and uniform in color and consistency. Once smooth, remove the saucepan from the heat immediately to prevent overcooking.
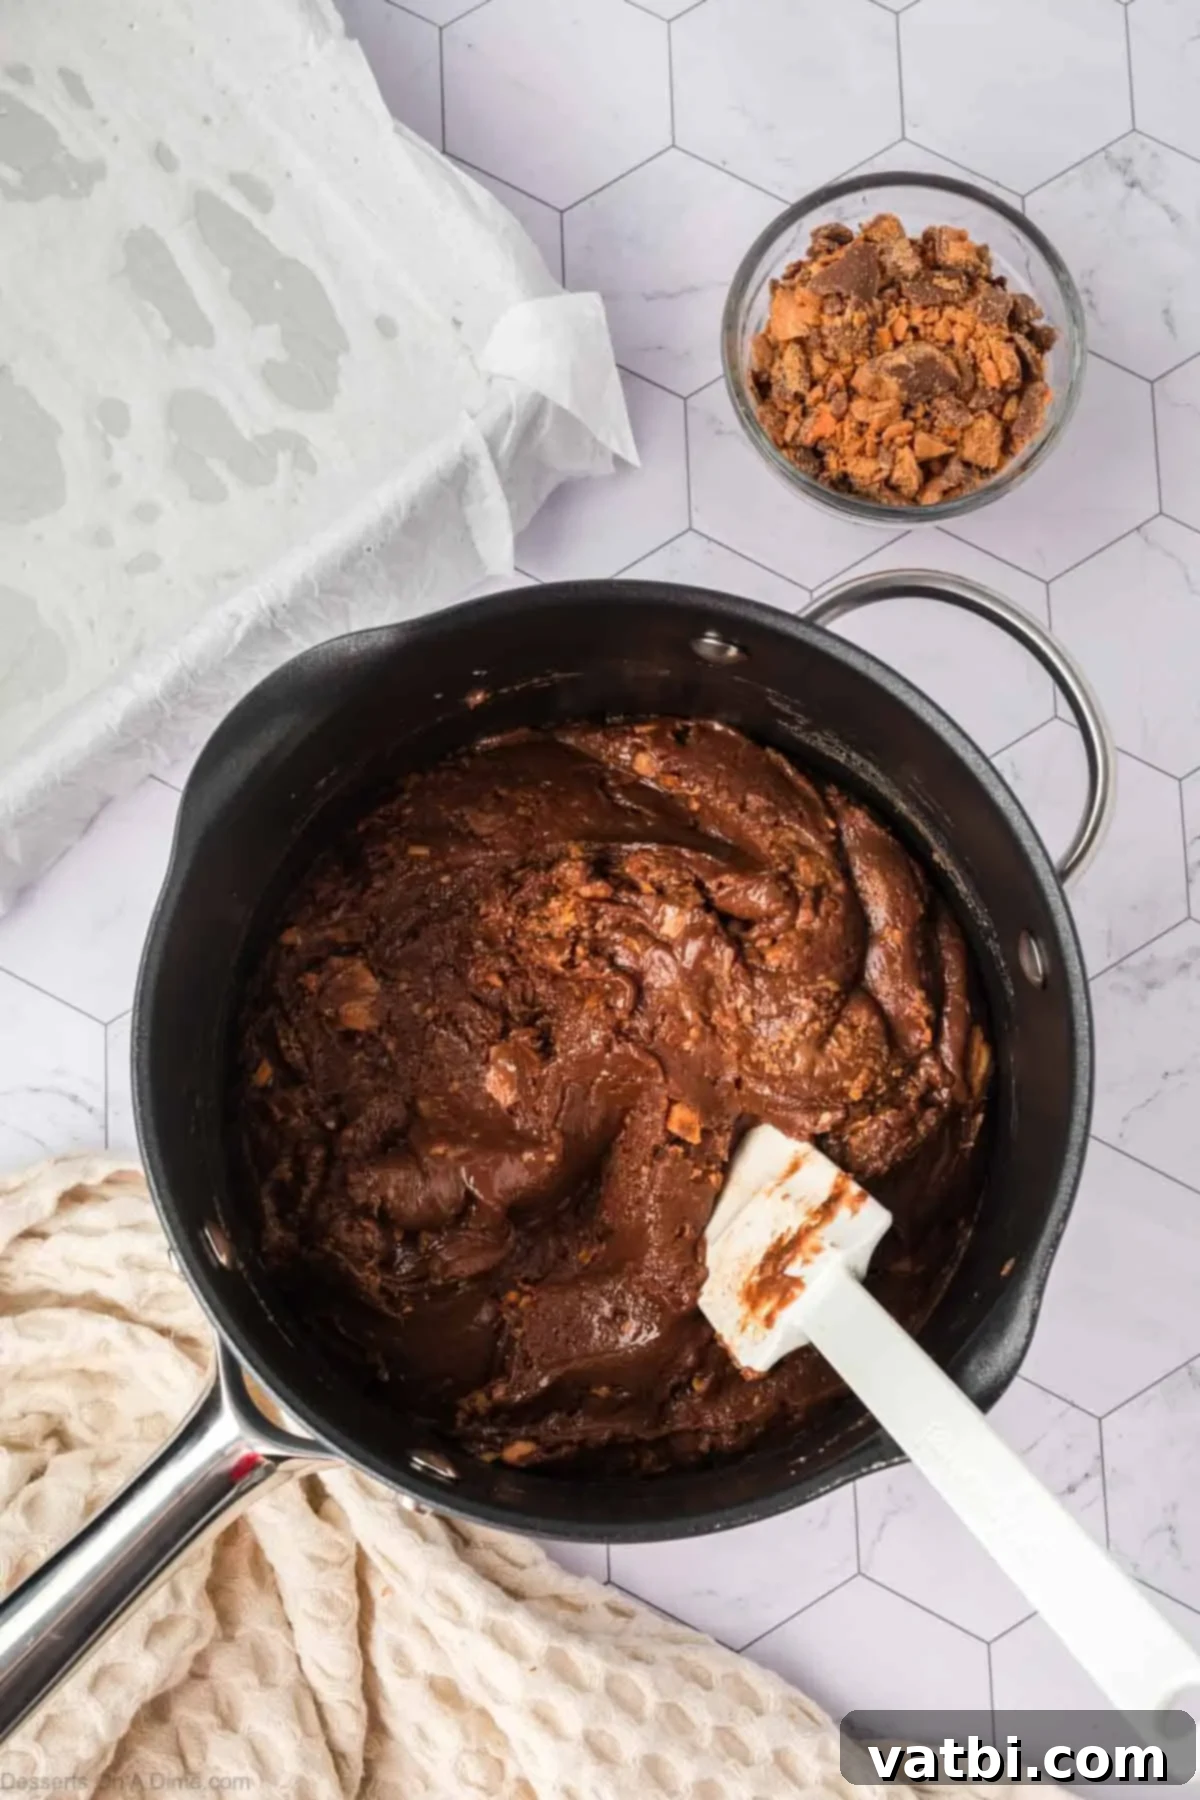
Step 5. Fold in Butterfinger Pieces. Carefully add 1 cup of the chopped Butterfingers (the portion not reserved for topping) into the warm chocolate and peanut butter mixture. Gently fold them in until they are evenly distributed throughout the fudge. Avoid overmixing, as you want to maintain the distinct pieces and crunch of the candy bars.
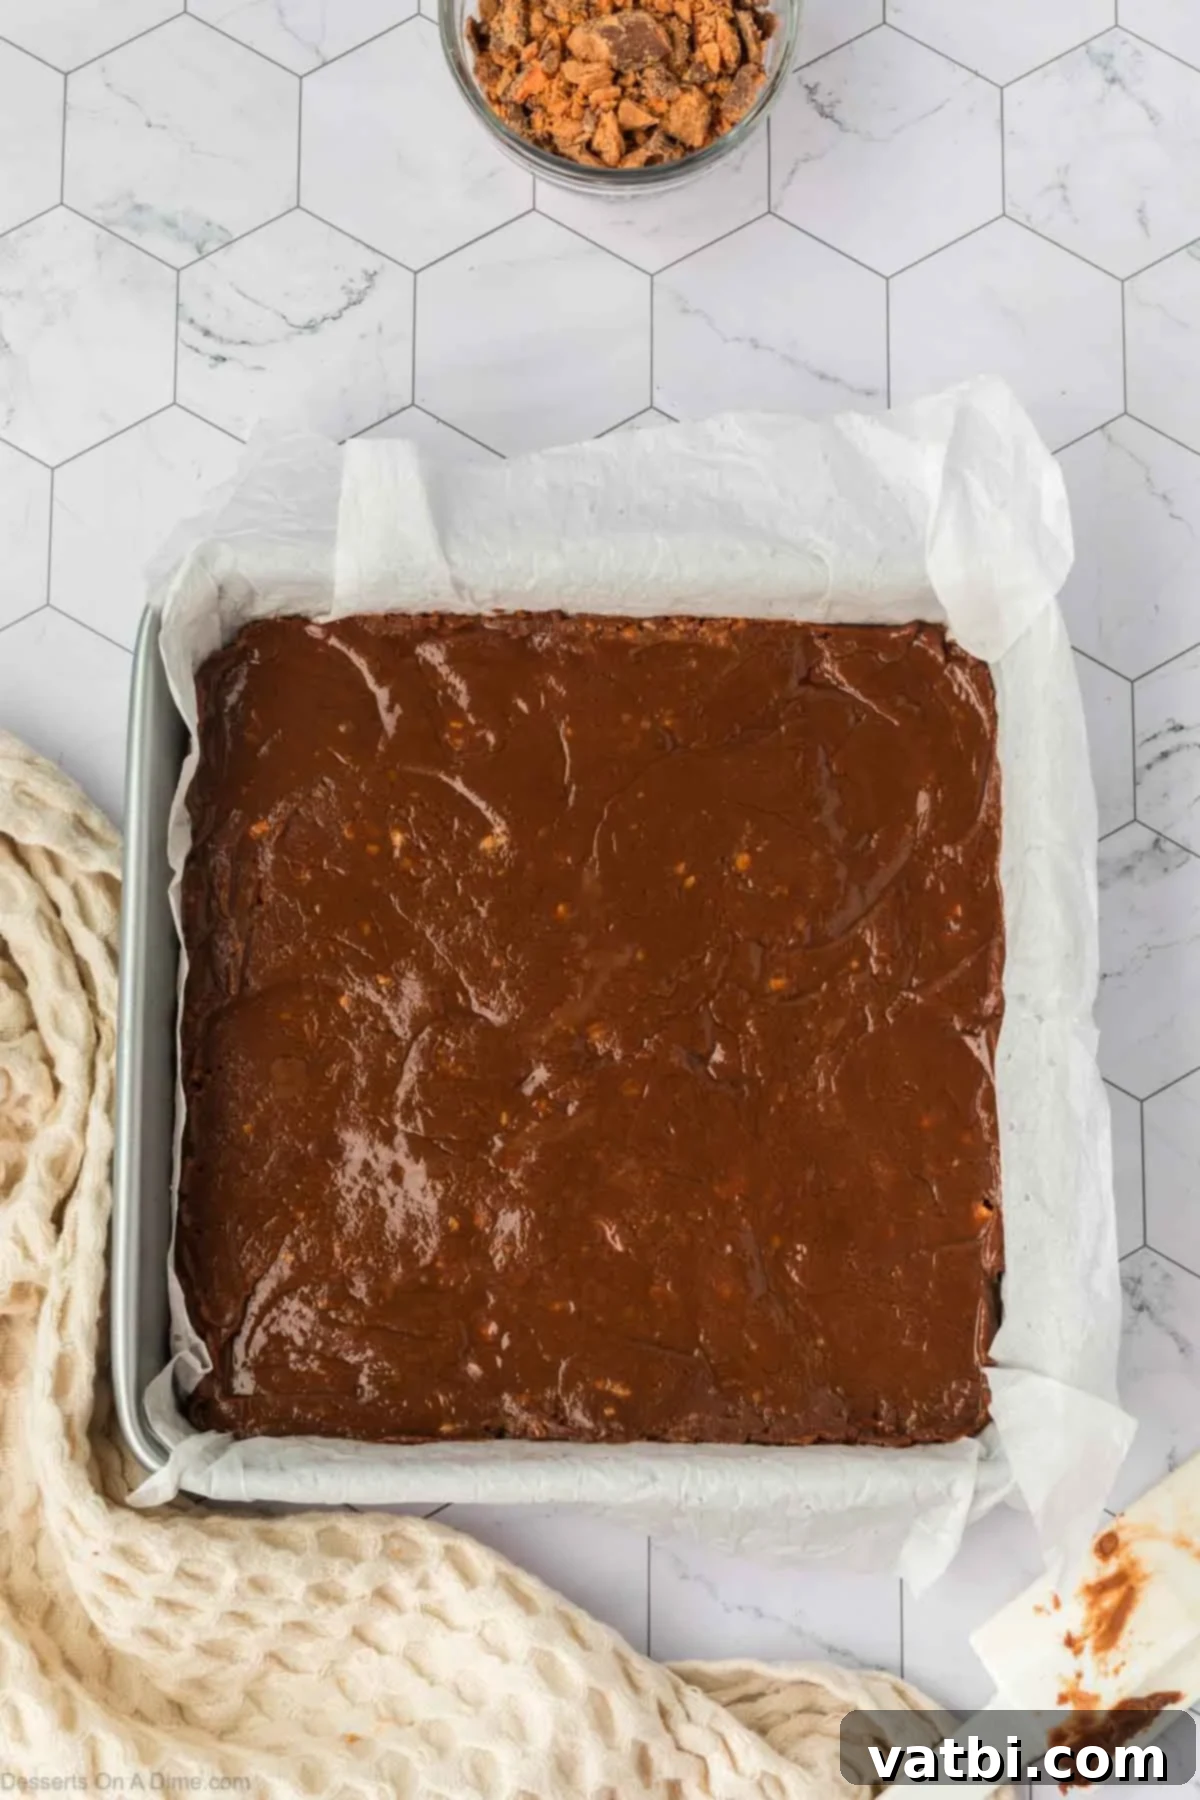
Step 6. Spread into Pan. Pour the warm fudge mixture into your prepared 8×8 inch pan. Use a rubber spatula to carefully spread the mixture out evenly, ensuring it fills the pan from edge to edge and creates a smooth, flat top. Consistency in thickness is key for uniform squares.
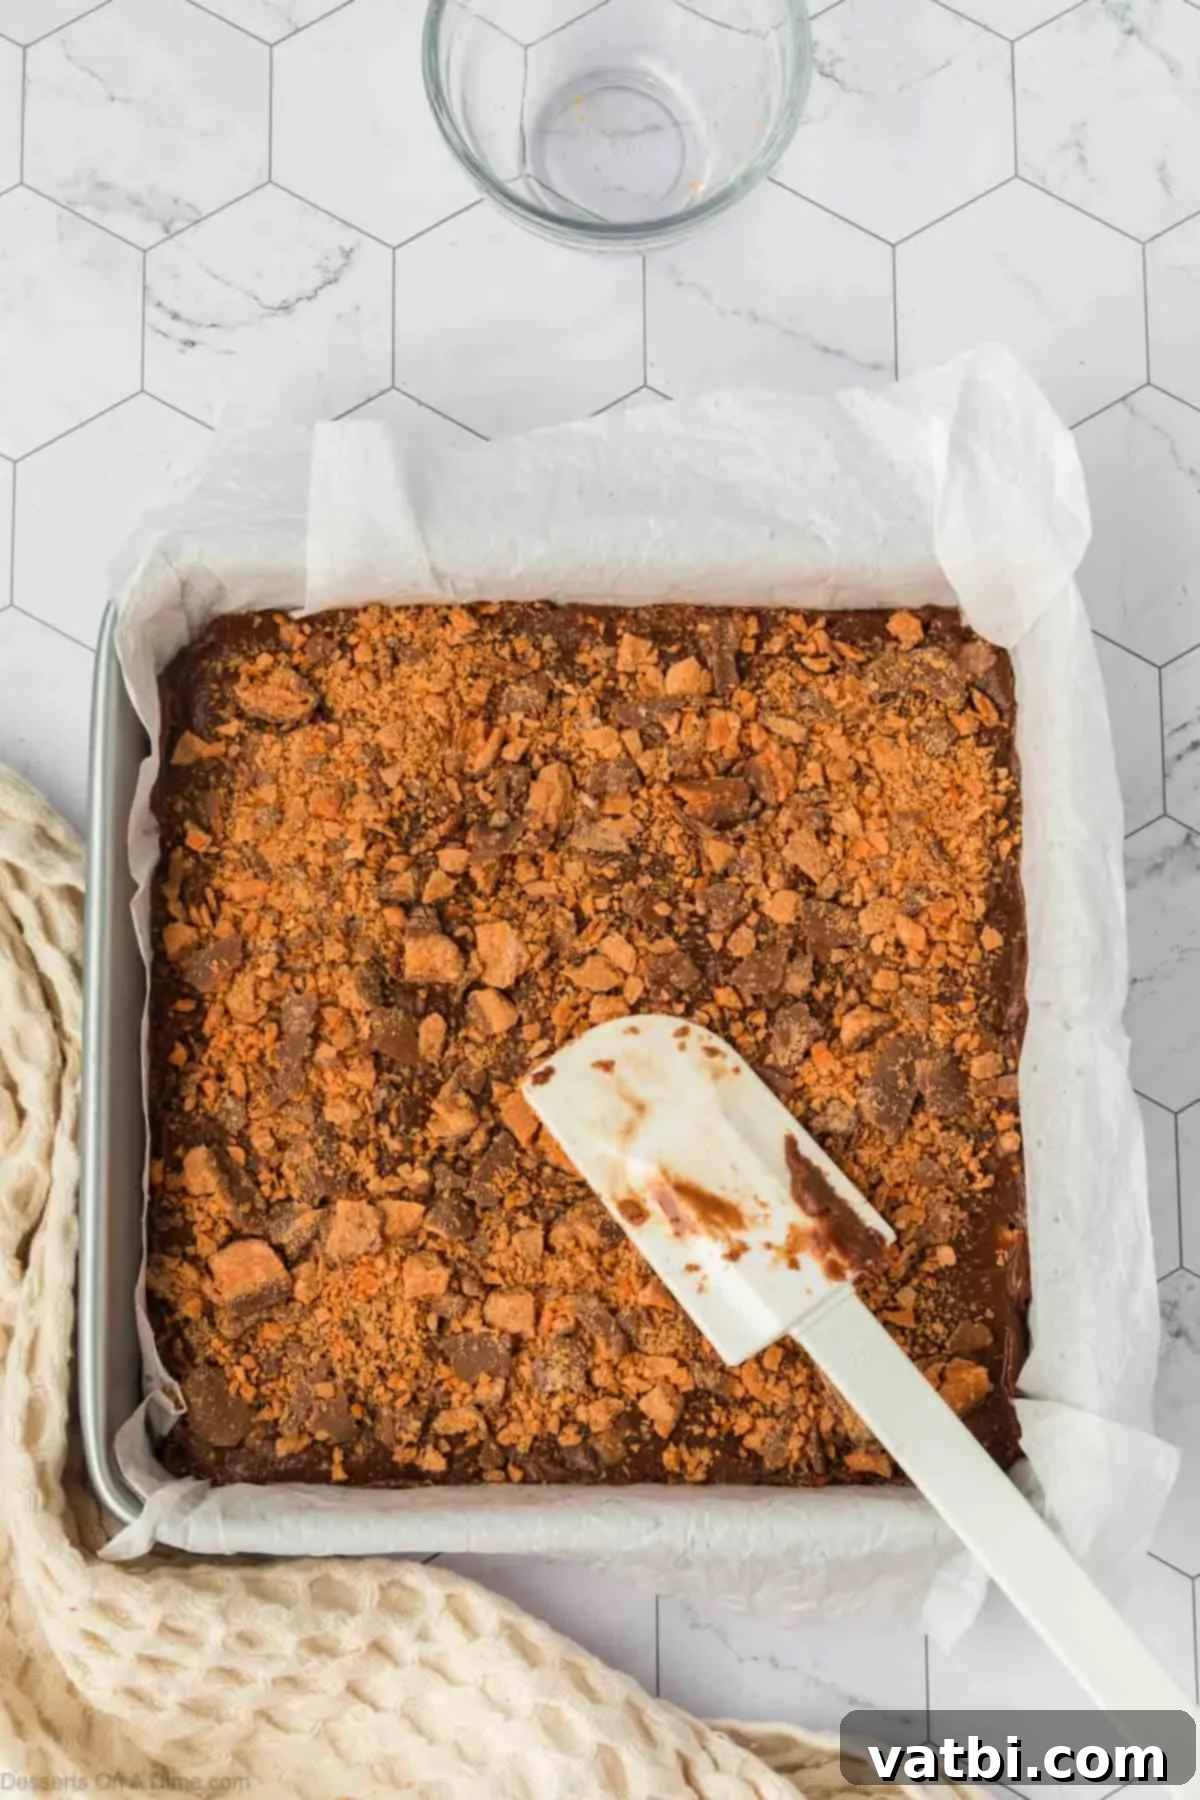
Step 7. Top with Reserved Butterfingers. Now, take the reserved ½ cup of chopped Butterfinger pieces and evenly sprinkle them over the entire top surface of the fudge. Gently press the candy bar pieces lightly into the fudge using your fingertips or the back of your spatula. This helps them adhere to the fudge and adds an attractive visual element as well as extra crunch.
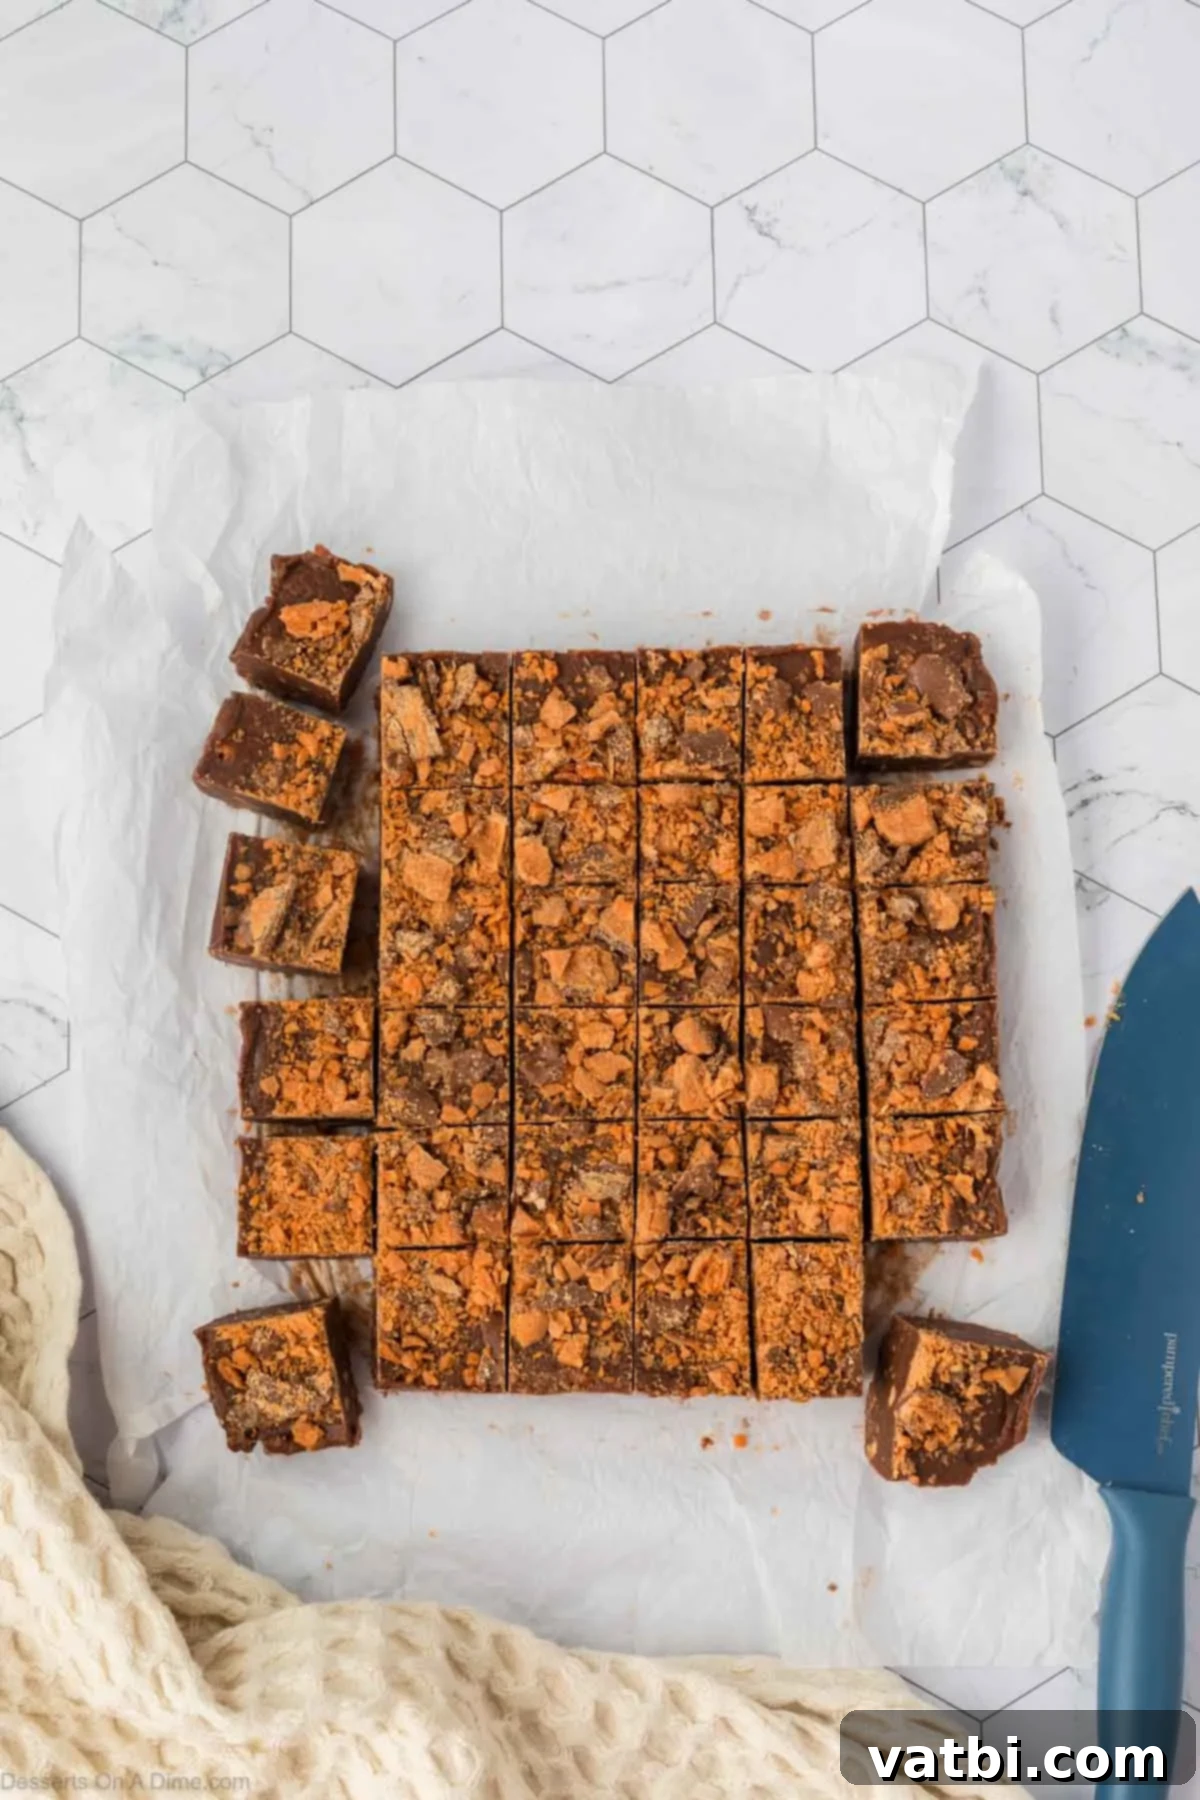
Step 8. Chill Until Firm. Finally, place the pan into the refrigerator to chill. Let it refrigerate for at least 1 hour, or until the fudge is completely firm and set. The cooling process allows the fudge to solidify and achieve its dense, sliceable texture. To check if it’s ready, gently touch the center; it should feel solid and not sticky. Once firm, use the parchment paper overhang to carefully lift the entire slab of fudge out of the pan and onto a cutting board.

Step 9. Slice and Serve. Using a sharp knife, slice the firm fudge into even squares. For the best presentation and cleanest cuts, wipe your knife clean between each slice, especially after the first few cuts. This recipe yields approximately 36 delicious squares. Arrange them on a platter and get ready to enjoy your homemade Butterfinger Fudge!
Proper Storage for Fresh Butterfinger Fudge
Once you’ve made a batch of this delicious Butterfinger fudge, knowing how to store it properly will ensure its freshness and delightful texture for as long as possible. Here’s a detailed guide:
Room Temperature – This fudge stores wonderfully at room temperature, making it ideal for gifting or leaving out for guests. Place the fudge squares in an airtight container. To prevent them from sticking together, separate layers with pieces of parchment paper or wax paper. Stored this way, the fudge will maintain its quality and taste for up to 1 week. Keep it away from direct sunlight or heat sources to prevent melting.
Refrigerator – For extended freshness and a firmer texture, you can store your Butterfinger fudge in the refrigerator. Again, use an airtight container and layer with parchment paper. When chilled, this fudge can last beautifully for up to 2 weeks. Before serving, allow the fudge to sit at room temperature for a few minutes (about 10-15 minutes) to soften slightly. This brings out its creamy texture and enhances the flavors, as excessively cold fudge can be quite firm.
Freezer – Yes, you can freeze Butterfinger fudge! This is an excellent option for long-term storage or for preparing ahead of a big event. To freeze, first wrap individual fudge squares tightly in plastic wrap, or wrap the entire block of fudge. Then, place the wrapped fudge into a freezer-safe zip-top bag or an airtight freezer container. This double layer of protection helps prevent freezer burn. It can be frozen for up to 3 months. When you’re ready to enjoy, thaw the fudge overnight in the refrigerator, and then let it come to room temperature for the best serving experience. This method is perfect for ensuring you always have a delicious treat on hand!
Pro Tips for Perfect No-Bake Fudge
Achieving consistently perfect no-bake fudge is easier than you think with these expert tips. Follow these guidelines to ensure your Butterfinger Fudge is smooth, creamy, and wonderfully crunchy every time:
- Opt for Quality Chocolate – The type of chocolate you use significantly impacts the final taste and texture of your fudge. While any milk chocolate chips will work, investing in a good quality brand will yield a much smoother, richer flavor and a more luxurious mouthfeel. Better chocolate melts more consistently and creates a superior base.
- Always Line Your Pan – This simple step is a game-changer! Lining your 8×8 inch baking dish with parchment paper (leaving an overhang on the sides) ensures easy removal of the entire fudge block once it’s set. This eliminates any sticking issues and allows for clean, precise cuts, making presentation a breeze.
- Avoid Overheating the Mixture – Patience is key when melting your ingredients. Always use low heat and stir constantly. High heat can cause the chocolate or peanut butter chips to “seize” (become grainy and stiff) or even scorch, resulting in a gritty texture and an unpleasant burnt taste. Gentle, consistent melting is the secret to a silky-smooth fudge.
- Incorporate Butterfingers Last – To preserve the signature crunch and texture of the Butterfinger pieces, fold them into the fudge mixture only after it has been removed from the heat. Adding them too early while the mixture is still very hot can cause them to soften or even dissolve, losing their delightful crispness.
- Ensure Complete Chilling Before Cutting – It’s tempting to cut into your delicious fudge right away, but resist the urge! Allow the fudge to fully chill and set in the refrigerator for at least an hour (or longer if needed). Cutting into warm or semi-set fudge will result in messy, uneven squares and a less appealing presentation. A fully firm fudge slices beautifully.
- Use a Sharp, Clean Knife for Slicing – For the neatest and cleanest squares, use a very sharp knife. For even better results, wipe the blade clean with a damp cloth between each cut. This prevents the fudge from sticking to the knife and dragging crumbs, ensuring perfectly defined pieces.
- Consider a Double Boiler – If you’re nervous about melting the chocolate mixture directly over low heat, a double boiler method offers a gentler alternative. Place your saucepan over a pot of simmering water (ensuring the bottom of the saucepan doesn’t touch the water). The indirect heat provides a controlled melting environment, reducing the risk of scorching.
- Balance Sweetness with a Pinch of Salt – While Butterfingers themselves offer a salty note, a tiny pinch of fine sea salt added to the chocolate mixture can help balance the overall sweetness of the fudge and enhance the flavors of both the chocolate and peanut butter.
Explore More Butterfinger Recipes
If you’ve fallen in love with the unique flavor and crunch of Butterfinger in this delightful fudge, there’s a whole world of other Butterfinger-infused desserts waiting for you to explore! This candy bar’s distinct peanut-buttery, crunchy goodness translates beautifully into a variety of sweet treats. Don’t stop at fudge; expand your Butterfinger horizons with these fantastic recipes:
- Butterfinger Cake: Layers of delicious cake infused with Butterfinger magic.
- Easy Butterfinger Cupcakes: Individual servings of pure Butterfinger bliss.
- Butterfinger Bars: A different take on a classic, perfect for a quick snack or dessert.
- Homemade Butterfinger Ice Cream: Cool, creamy, and packed with crunchy candy pieces.
Each of these recipes offers a unique way to enjoy that beloved Butterfinger taste and texture. They are perfect for family gatherings, parties, or whenever you want to elevate a classic dessert with a touch of crunchy, peanut-buttery goodness. Get ready to add even more Butterfinger favorites to your recipe collection!
Ready to experience the joy of homemade, no-bake goodness? Try this incredible Butterfinger Fudge today! Its irresistible combination of creamy chocolate, rich peanut butter, and crunchy Butterfinger pieces is sure to become a fast favorite. We’d love to hear about your experience, so please don’t forget to leave a comment and a star rating below. I truly hope you love this easy fudge recipe as much as we do!
Pin
Butterfinger Fudge
Ingredients
- 14 oz sweetened condensed milk
- 12 oz milk chocolate chips
- 1 cup peanut butter chips
- 1 tablespoon butter
- 1 ½ cups chopped Butterfingers 12 fun-size candy bars
Instructions
-
Line an 8×8-inch baking dish with parchment paper.
-
Chop the butterfinger candy bars and set aside ½ cup for topping.
-
In a medium saucepan over low heat, combine the chocolate chips, peanut butter chips, sweetened condensed milk, and butter.
-
Stir continuously until the mixture is smooth and the chocolate is fully melted. Remove from heat.
-
Stir in 1 cup of the chopped Butterfingers until evenly distributed.
-
Pour the mixture into the prepared pan and spread it evenly with a rubber spatula. Sprinkle the reserved ½ cup of Butterfinger pieces over the top, pressing them lightly into the fudge.
-
Refrigerate for about 1 hour, or until the fudge is firm and set.
-
Lift the fudge out of the pan using the parchment paper, then slice into 36 squares with a sharp knife. Enjoy!
Recipe Notes
For longer storage, place the fudge in an airtight container and refrigerate for up to 2 weeks.
Allow it to come to room temperature before serving for the best texture.
Nutrition Facts
Pin This Now to Remember It Later
Pin Recipe
