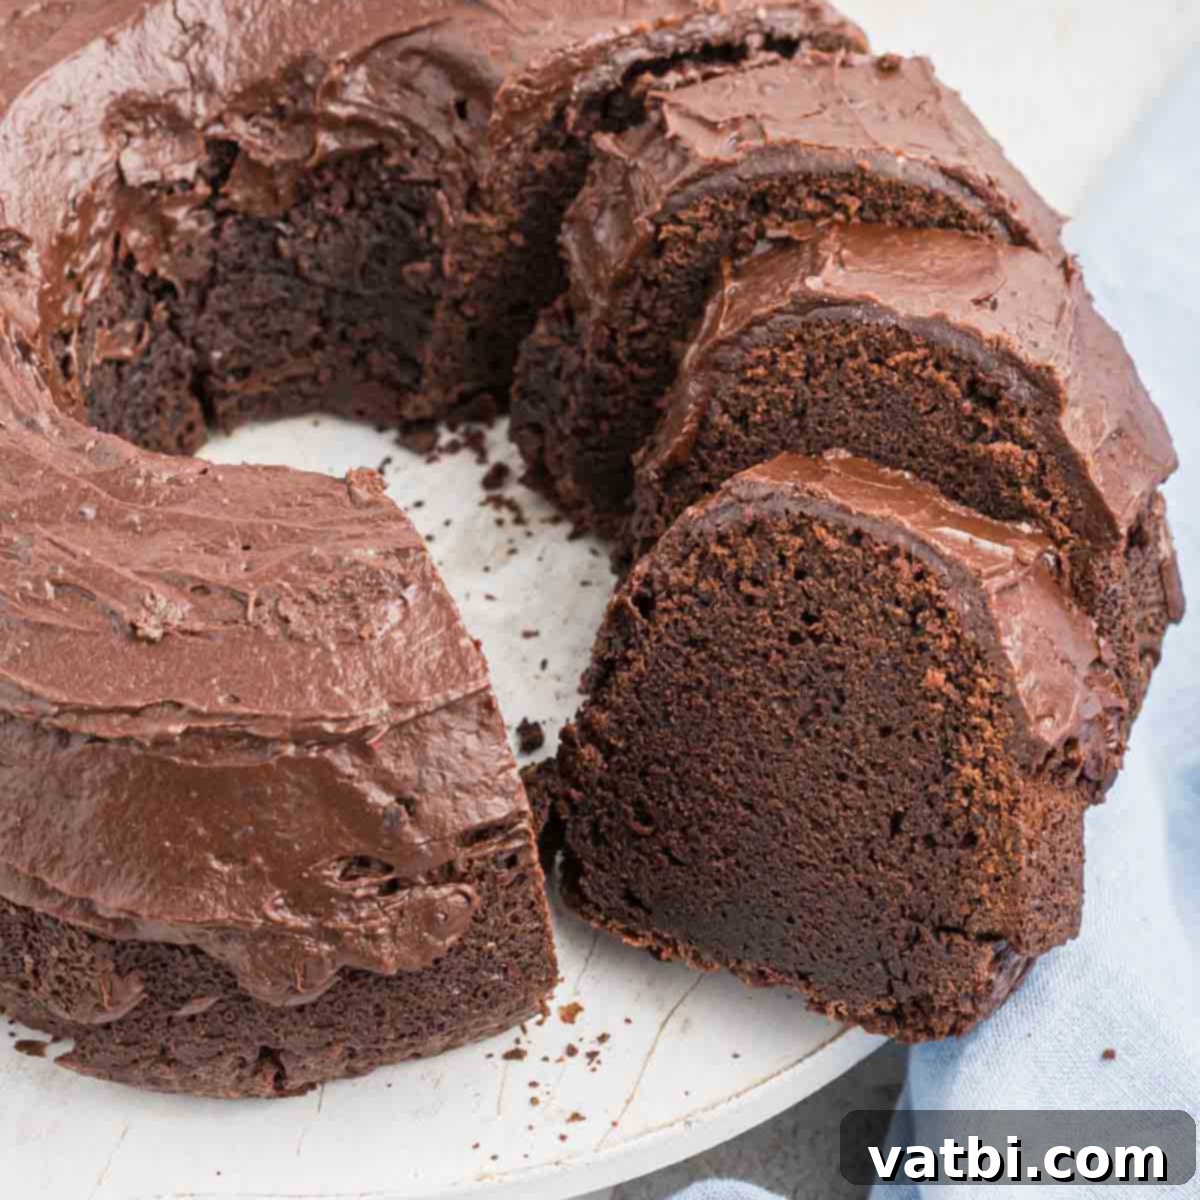
The Ultimate Decadent Chocolate Pound Cake: Moist, Rich, and Perfectly Simple
Indulge your deepest chocolate cravings with this incredible Chocolate Pound Cake recipe. Revered for its wonderfully moist and intensely decadent texture, this cake is a dream come true for any chocolate enthusiast. Not only does it deliver an extraordinary flavor experience, but it’s also surprisingly straightforward to prepare, making it a perfect dessert for both seasoned bakers and beginners alike.
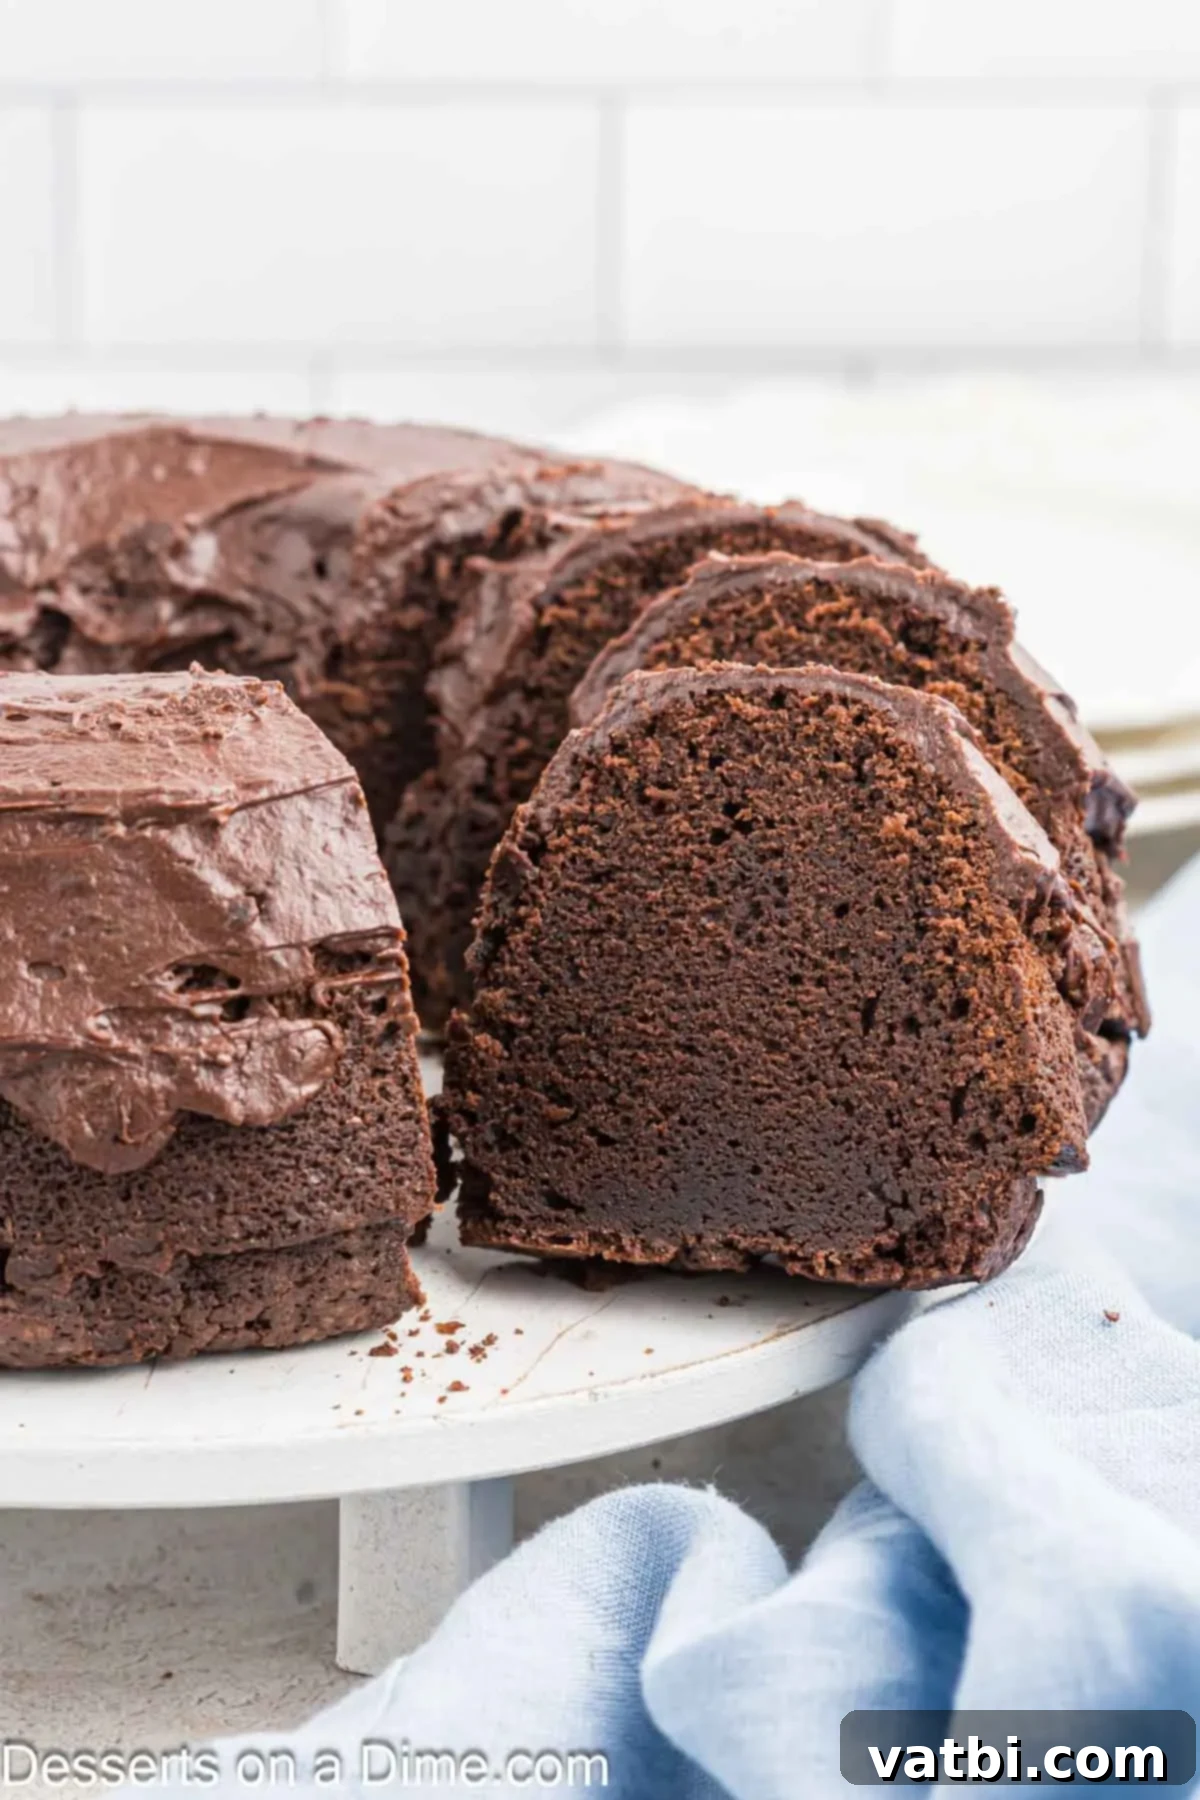
Having a passion for baking traditional Pound Cake, I was inspired to create a chocolate version that truly stands out. This homemade cake recipe proves that an exceptional dessert doesn’t have to be complicated. Every single bite is packed with a rich, deep chocolate flavor, from the tender crumb of the cake itself to the luscious, irresistible chocolate frosting that crowns it. It’s more than just a cake; it’s an absolute delight that guarantees to impress.
This particular Chocolate Pound Cake has quickly become a cherished family favorite, frequently requested for special occasions like birthdays and festive holidays. Its robust chocolate profile and wonderfully dense yet tender texture make it universally loved. If you’re looking to explore more intensely chocolatey desserts, you might also enjoy our Guinness Chocolate Cake or the no-bake indulgence of Chocolate Icebox Cake. But for a truly classic, comforting, and deeply satisfying chocolate experience, this pound cake reigns supreme.
Table of contents
- Why This Recipe Works
- Ingredients
- Cake
- Frosting
- Variations
- Step By Step Instructions
- Storage
- Expert Tips
Why This Recipe Works: The Secret to a Perfect Chocolate Pound Cake
There are countless reasons why this Chocolate Pound Cake stands out as a true masterpiece of home baking. It’s more than just a dessert; it’s a culinary experience designed for maximum enjoyment with minimal fuss. Here’s why this recipe deserves a prime spot in your baking repertoire:
- Unforgettably Rich and Decadent. This isn’t just a chocolate cake; it’s a celebration of deep, complex chocolate flavors. The careful balance of cocoa powder and other ingredients results in an incredibly rich taste that’s never overly sweet, allowing the true essence of chocolate to shine through. Paired with its dense yet unbelievably moist crumb, every slice offers a luxurious mouthfeel that truly melts away. It’s a guaranteed showstopper that will leave a lasting impression on anyone who tries it.
- Effortlessly Easy to Make. Don’t let its sophisticated flavor fool you—this recipe is designed with simplicity in mind. We provide clear, straightforward, step-by-step instructions that guide you through each stage, ensuring a successful bake every time. You won’t need any fancy equipment or advanced baking techniques; just a few basic kitchen tools and a desire for deliciousness. It’s the perfect recipe for busy schedules or for those new to baking who want to achieve professional-level results.
- Remarkably Inexpensive. Crafting a gourmet-quality dessert doesn’t have to break the bank. This Chocolate Pound Cake relies on readily available, common pantry staples that are both affordable and easy to source. By using simple ingredients, we ensure that everyone can enjoy the joy of baking and savoring this incredible cake without worrying about the cost. It’s proof that the most satisfying treats often come from the most humble beginnings.
Essential Ingredients for Your Perfect Chocolate Pound Cake
Creating an exceptional Chocolate Pound Cake begins with selecting the right ingredients. Each component plays a vital role in achieving that signature rich flavor and incredibly moist texture. Here’s a breakdown of what you’ll need, along with important tips for success:
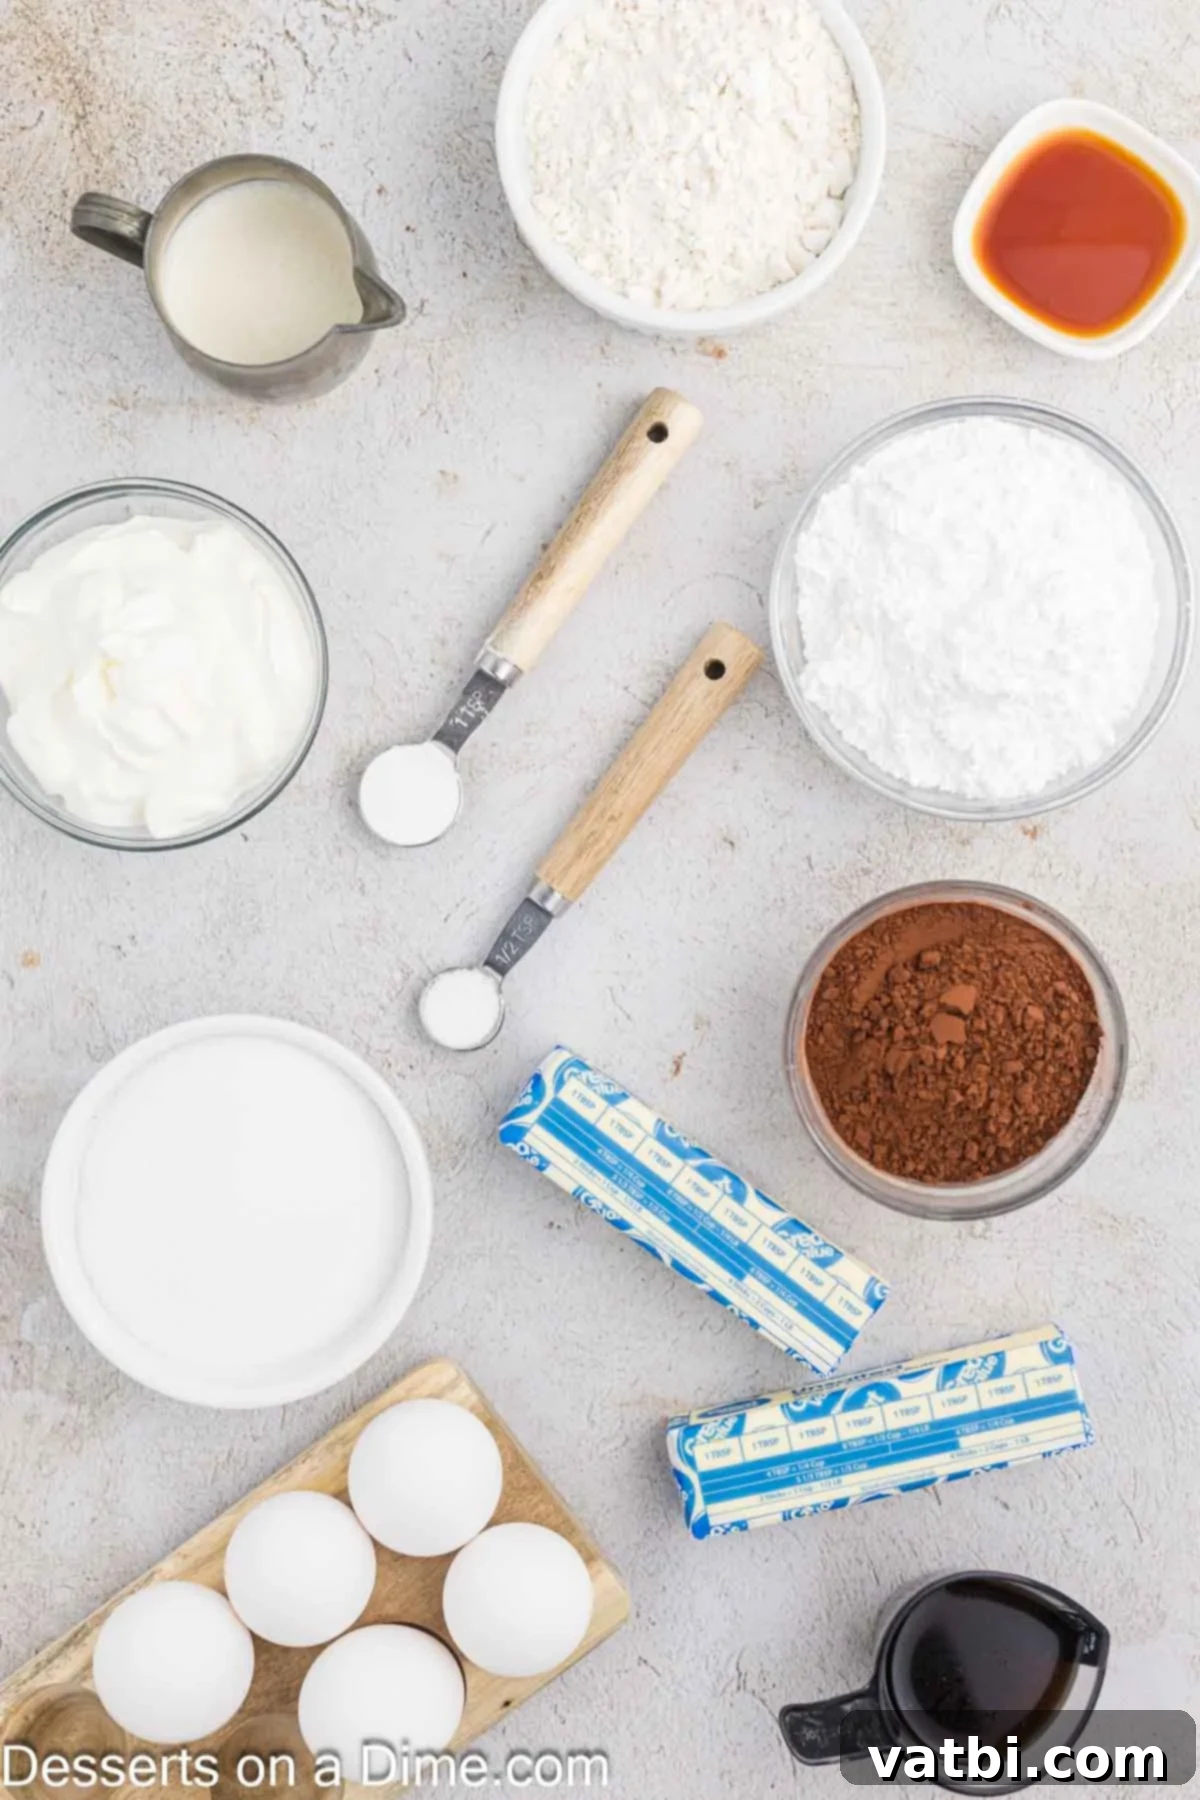
For the Moist Chocolate Pound Cake:
- All-Purpose Flour. Accuracy in measuring flour is paramount for pound cake perfection. Always use plain all-purpose flour – never self-rising flour, as it contains leavening agents that will alter the cake’s structure. For precise measurement, spoon the flour into your measuring cup and then level it off with a straight edge. This prevents overpacking, which can lead to a dense, dry cake.
- Dutch-Process Cocoa Powder. This is your secret weapon for a deep, rich chocolate color and a smoother, milder chocolate flavor compared to natural cocoa powder. Dutch-process cocoa has been treated with an alkali to reduce its acidity, resulting in a less bitter taste and a darker hue. This distinct characteristic significantly contributes to the overall decadence of the pound cake.
- Softened Unsalted Butter. Ensure your unsalted butter is at true room temperature. This isn’t just a suggestion; it’s crucial for properly creaming with the sugar, which incorporates air into the batter. This aeration is what gives pound cake its tender, fluffy texture. Cold butter won’t cream properly, and melted butter will lead to a greasy, dense cake.
- Large Eggs. Just like the butter, large eggs should be at room temperature before you start baking. Room temperature eggs emulsify more effectively with the butter and sugar mixture, creating a more cohesive and evenly mixed batter. This leads to a smoother texture and a more consistent rise in your cake.
- Pure Vanilla Extract. For the most authentic and vibrant flavor, always opt for pure vanilla extract over imitation. Vanilla acts as a flavor enhancer, bringing out the best in the chocolate and adding a layer of aromatic depth to your pound cake.
- Room Temperature Liquid Coffee. While you won’t taste coffee in the final product, it dramatically intensifies the chocolate flavor, making it richer and more profound. It’s essential that the coffee is at room temperature to prevent it from scrambling the eggs or altering the consistency of your batter. Any brewed coffee will do, just ensure it’s cooled.
- Room Temperature Sour Cream. Sour cream is a star ingredient in pound cakes, providing exceptional moisture and a subtle tang that balances the sweetness. Its acidity also helps tenderize the cake, creating that incredibly soft, plush crumb. Ensure it’s at room temperature to blend seamlessly into the batter without clumping.
For the Irresistible Chocolate Frosting:
- Powdered Sugar. Also known as confectioners’ sugar, this fine powder is key to a silky-smooth frosting. If your powdered sugar has any lumps, take the extra minute to sift it before mixing to ensure a perfectly smooth glaze.
- Dutch-Process Cocoa Powder. Again, we turn to Dutch-process cocoa for the frosting to achieve a rich, deep chocolate color and flavor. This unsweetened cocoa powder ensures your frosting is intensely chocolatey without being overly sweet.
- Melted Real Butter. Using real butter is non-negotiable for a superior frosting. Melting it helps create a smooth, pourable glaze that perfectly coats the cake, adding richness and a beautiful sheen.
- Heavy Cream. This ingredient is what makes the frosting truly rich and wonderfully creamy. You can adjust the amount of heavy cream to achieve your desired consistency—from a thicker, more opaque glaze to a thinner, more translucent drizzle.
The complete, detailed list of ingredients with exact measurements can be found in the recipe card at the bottom of this page. This comprehensive guide ensures you have everything you need for baking success!
Exciting Variations to Elevate Your Chocolate Pound Cake
While this Chocolate Pound Cake recipe is phenomenal on its own, it also serves as a fantastic base for customization. Feel free to experiment with these delicious variations to tailor the cake to your personal taste or to suit any occasion:
- Add a Nutty Crunch. For an added layer of texture and flavor, gently fold in about 1 cup of chopped pecans, walnuts, or even hazelnuts into the batter just before pouring it into the bundt pan. Toasting the nuts lightly beforehand can enhance their flavor, adding a warm, earthy contrast to the rich chocolate.
- Creative Topping Ideas. Beyond the luscious chocolate frosting, consider other delightful toppings. A homemade chocolate ganache, poured over the warm cake, creates an even more intensely chocolatey and glossy finish. Alternatively, for a lighter touch, serve slices with a generous dollop of fluffy Homemade Whipped Cream. A scoop of creamy Vanilla Ice Cream alongside a warm slice is a classic pairing that never disappoints.
- Fresh Berry Medley. Introduce a vibrant burst of freshness by topping your chocolate pound cake with a medley of fresh berries. Strawberries, blueberries, or raspberries (or a combination of all three!) provide a beautiful visual contrast and a tart counterpoint to the cake’s sweetness. A light dusting of powdered sugar over the berries can complete the presentation.
- Boost the Chocolate with Chips. For an extra dose of chocolate in every bite, stir in 1 to 1.5 cups of chocolate chips (dark, semi-sweet, or milk chocolate) into the batter. If you’re feeling adventurous, white chocolate chips can offer a creamy, contrasting flavor and a lovely aesthetic swirl throughout the dark cake.
- Richness with Brown Sugar. For a deeper, more caramel-like sweetness and an even moister crumb, substitute some or all of the granulated sugar with brown sugar. This subtle change can add a lovely complexity to the chocolate flavor profile.
- Simplify with a Powdered Sugar Dusting. If you prefer a less indulgent topping or are short on time, simply omit the chocolate frosting. Instead, allow the cake to cool completely and then elegantly dust it with powdered sugar. This creates a beautiful, minimalist presentation that lets the cake’s natural beauty shine.
- Instant Coffee for Convenience. If you don’t have brewed coffee on hand, you can easily substitute it with instant coffee granules. Dissolve 1-2 teaspoons of instant coffee in the specified amount of hot water, then allow it to cool completely to room temperature before adding it to the batter.
- Espresso Powder for Intense Flavor. For an even more profound boost to the chocolate flavor, a teaspoon or two of high-quality espresso powder can be used directly in the dry ingredients instead of liquid coffee. This provides a concentrated depth that enhances the chocolate without adding a distinct coffee taste.
Step-by-Step Instructions: Baking Your Perfect Chocolate Pound Cake
Follow these detailed instructions carefully to ensure your Chocolate Pound Cake turns out beautifully moist, rich, and utterly delicious. Precision in baking leads to perfection!
- Step 1: Prepare Your Oven and Pan. Begin by preheating your oven to a precise 325 degrees Fahrenheit (160°C). This ensures the oven is at the correct temperature when the cake goes in, promoting an even bake. Next, meticulously grease and flour a 10-cup bundt pan. This crucial step prevents the cake from sticking and helps it release cleanly, preserving its intricate shape. Make sure to get into all the nooks and crannies of the pan with both the grease and the flour.
- Step 2: Combine Dry Ingredients. In a large mixing bowl, thoroughly whisk together your all-purpose flour, Dutch-process cocoa powder, baking powder, and salt. Whisking ensures these dry ingredients are evenly distributed, which is essential for uniform leavening and flavor throughout the cake. Set this flour mixture aside for later use.
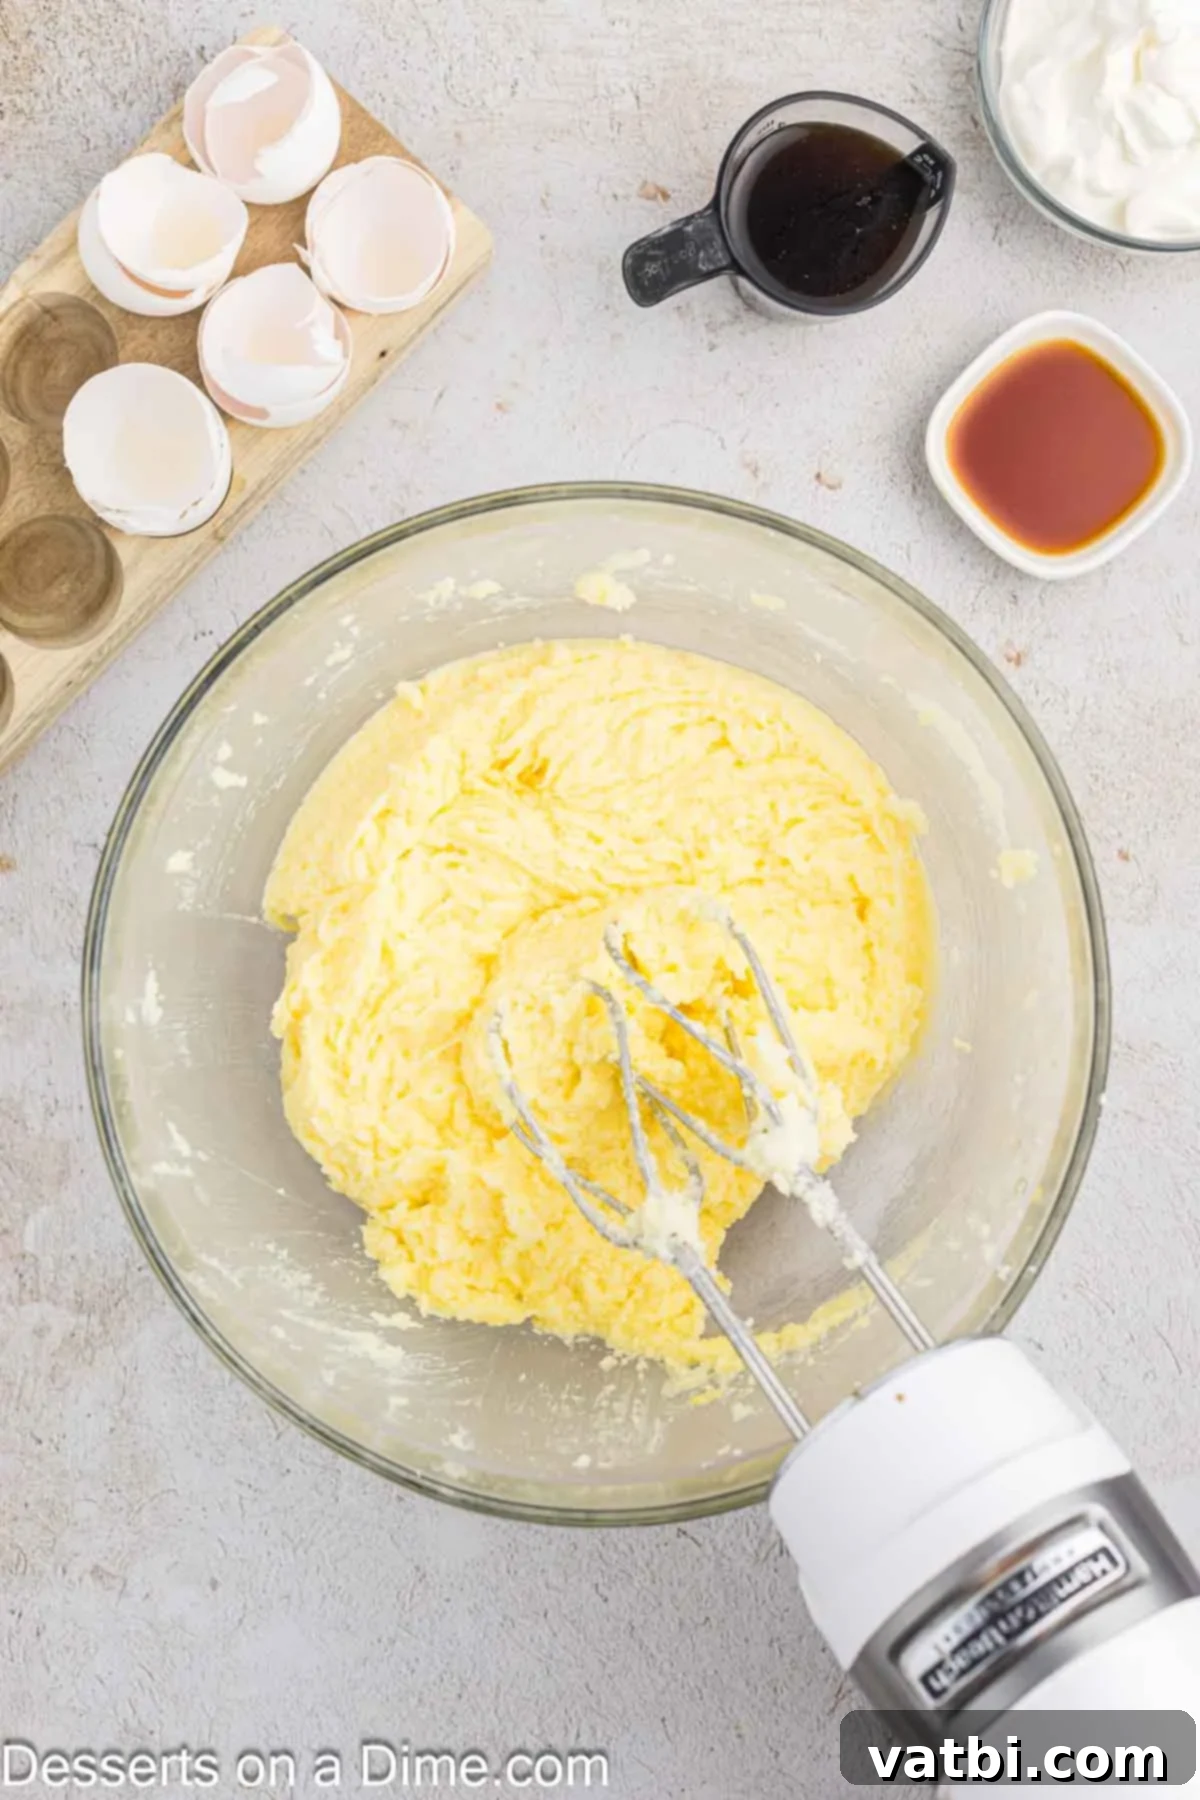
Step 3: Cream Butter and Sugar. In the bowl of a stand mixer fitted with a paddle attachment, combine the softened butter and granulated sugar. Beat on medium speed for about 3-4 minutes, or until the mixture becomes light, fluffy, and noticeably pale in color. This creaming process incorporates air, which is vital for the cake’s tender crumb and overall volume.
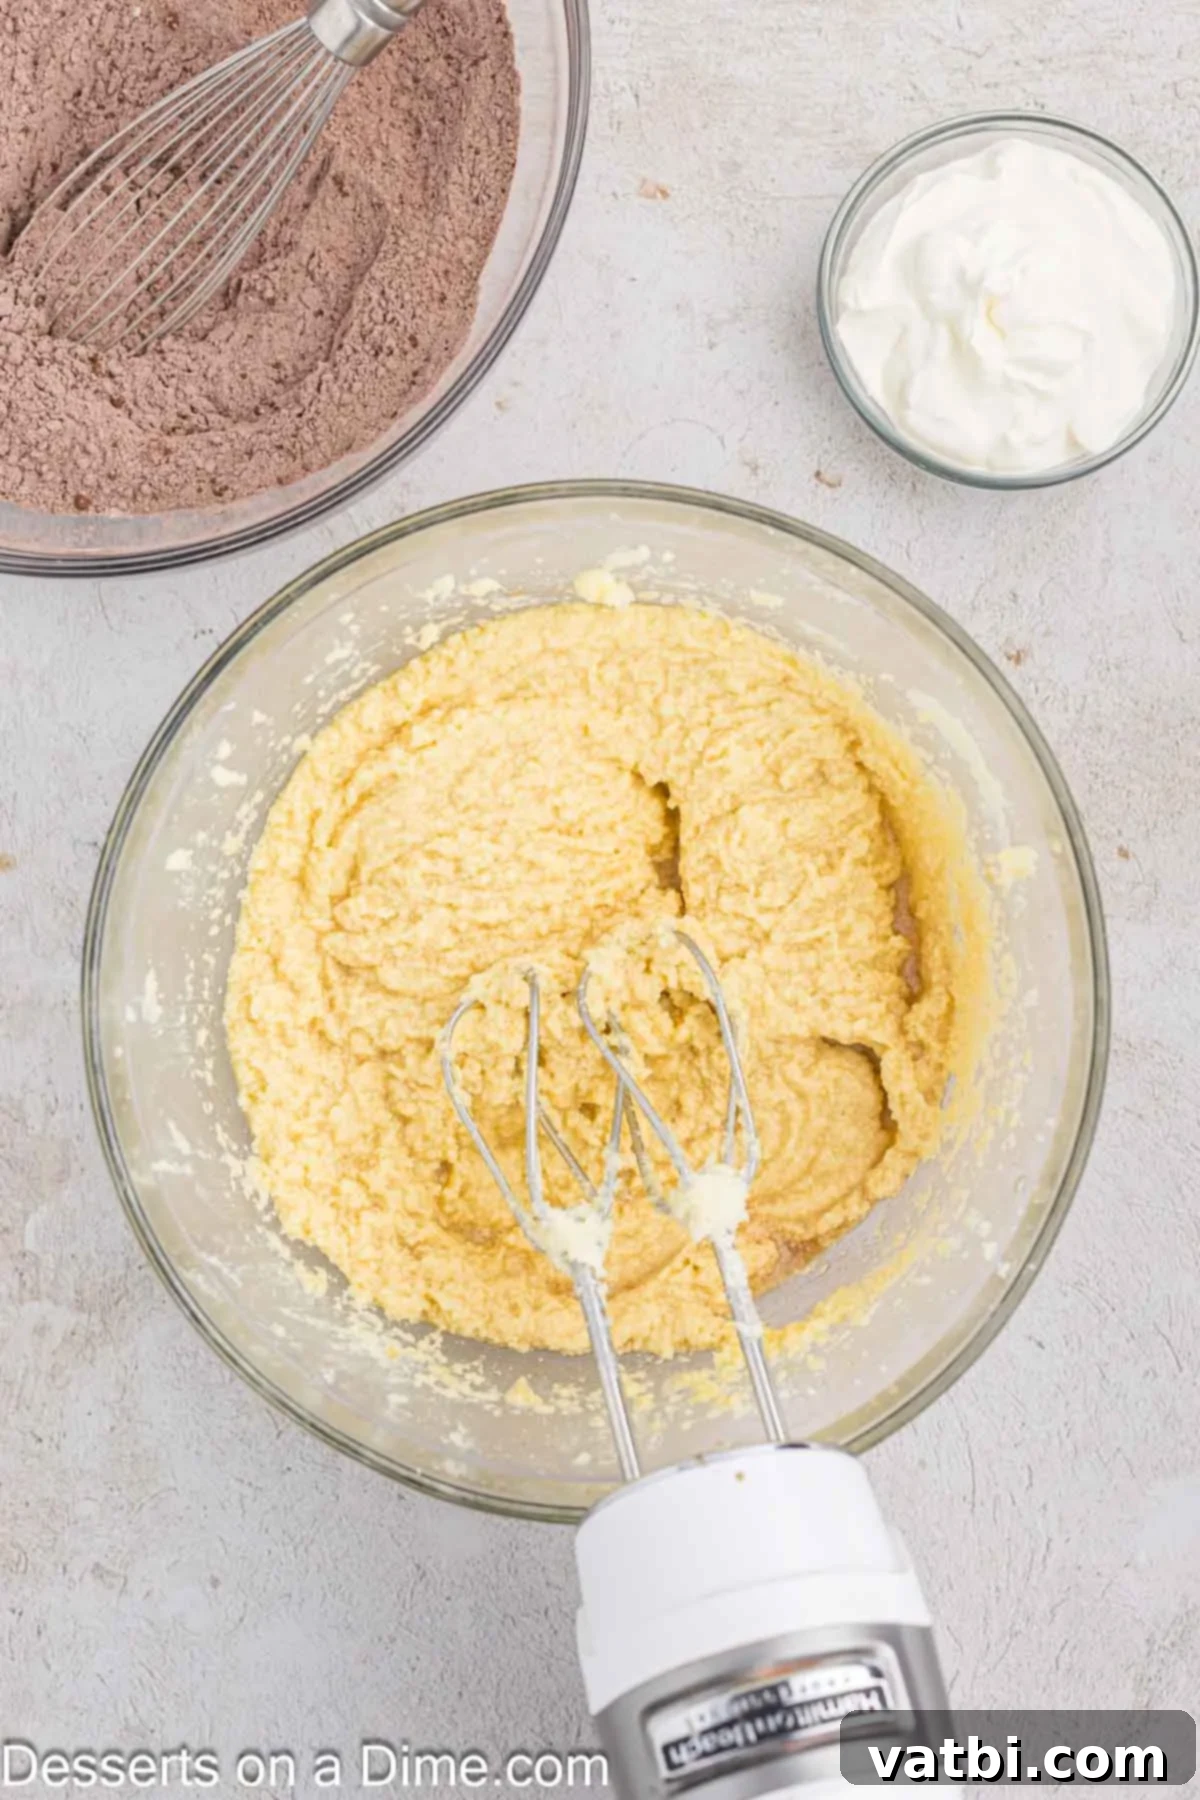
Step 4: Incorporate Wet Ingredients. Reduce the mixer speed to low. Add the room temperature eggs one at a time, mixing well after each addition until just combined. Scrape down the sides of the bowl as needed to ensure everything is fully incorporated. Finally, mix in the pure vanilla extract and the cooled, room temperature liquid coffee. Be careful not to overmix at this stage.
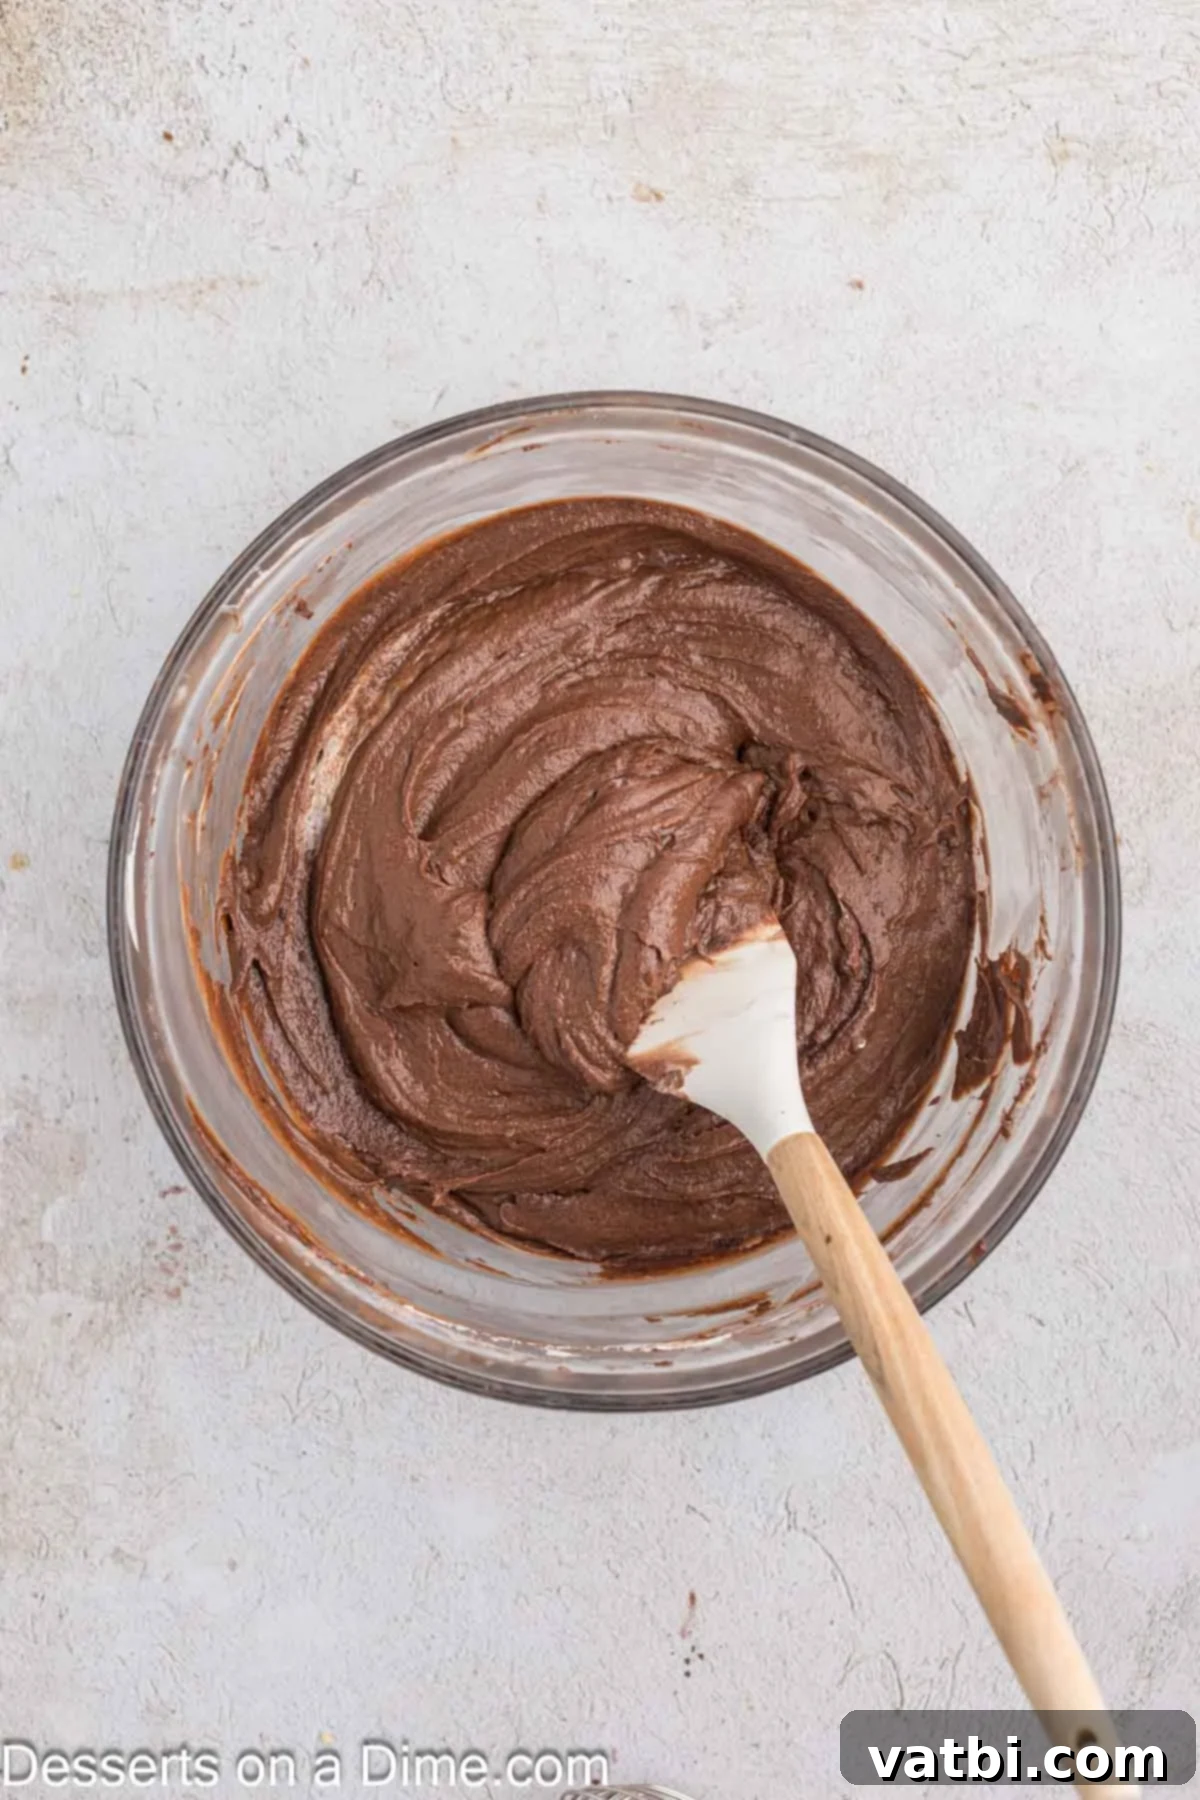
Step 5: Combine Wet and Dry Mixtures. With the mixer still on low speed (or by hand with a spatula), gradually add the reserved dry ingredients to the butter mixture. Mix only until just combined, ensuring no streaks of flour remain. Overmixing will develop the gluten in the flour, resulting in a tough cake. Once combined, gently stir in the room temperature sour cream until it’s fully incorporated, adding that final touch of moisture and tenderness.
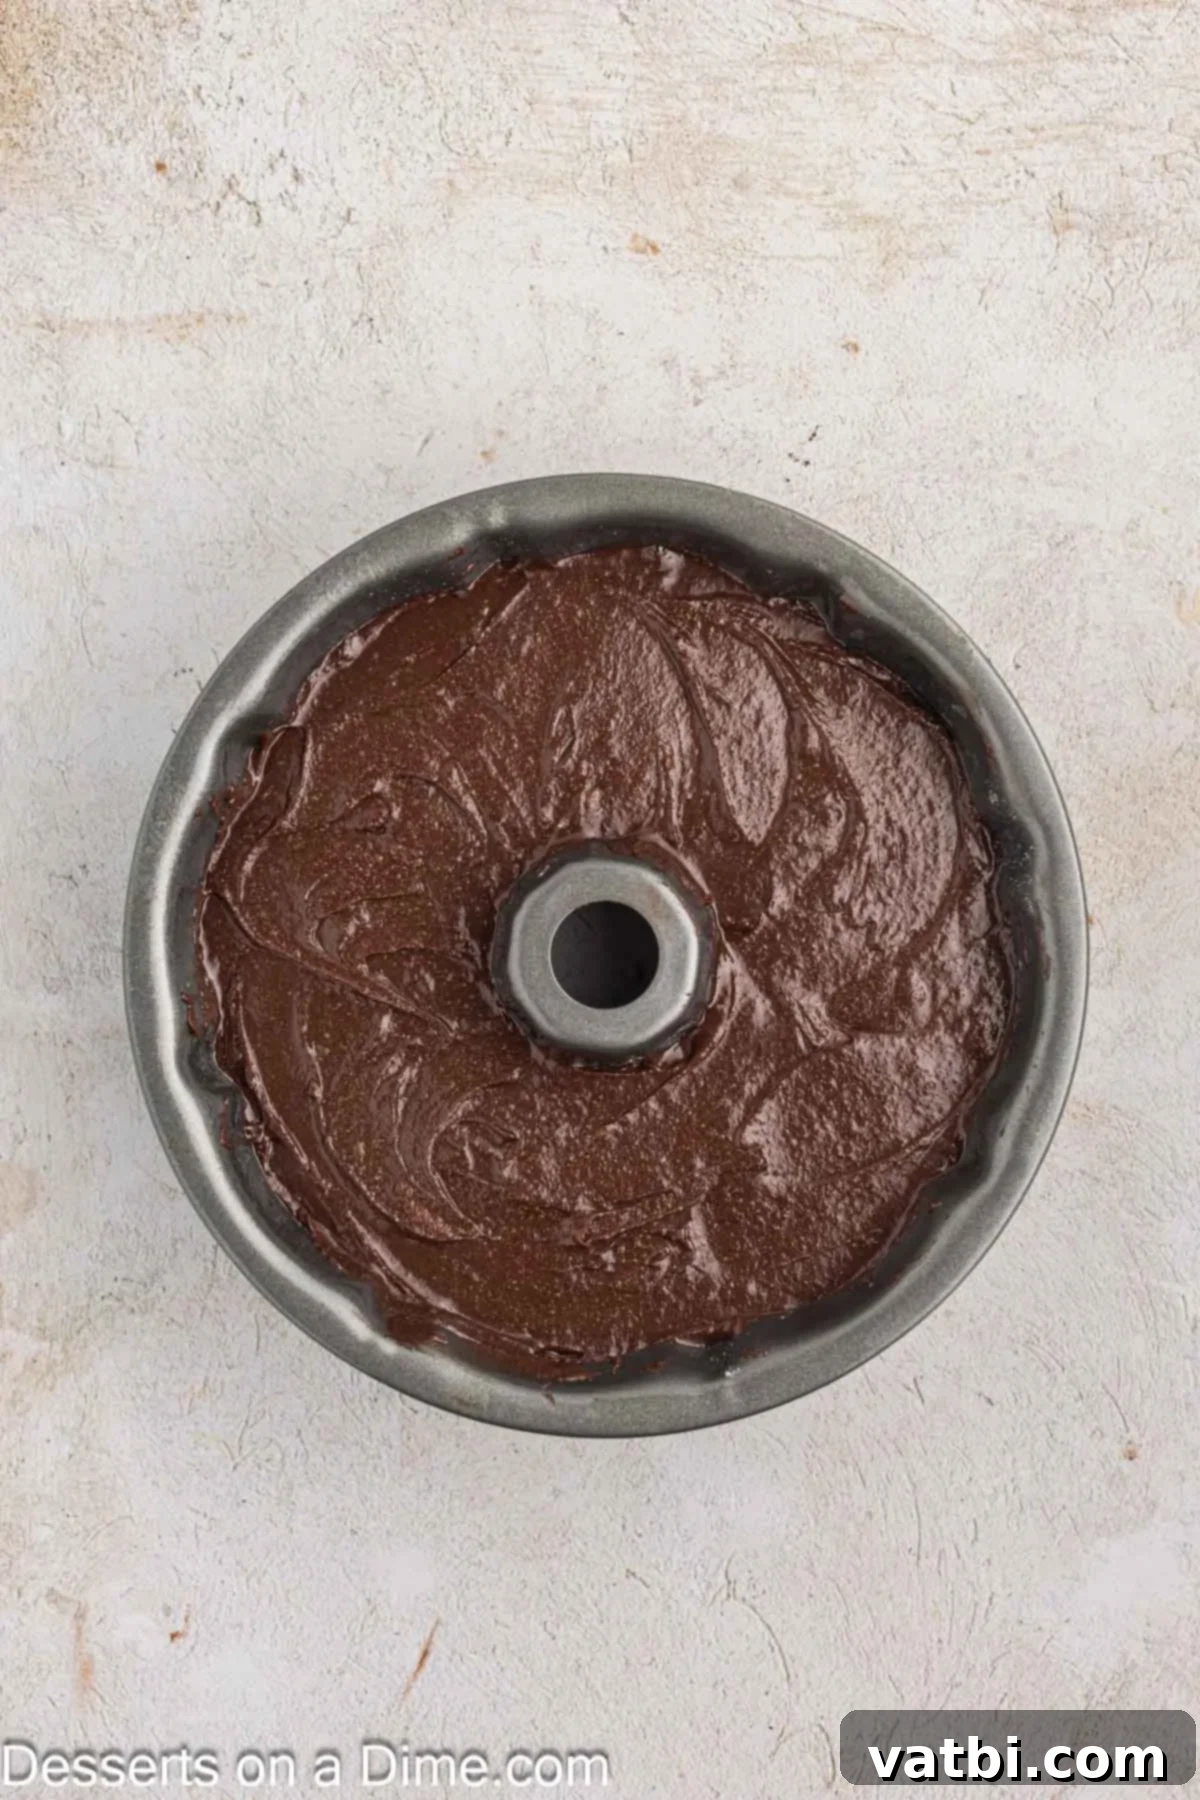
Step 6: Fill Pan and Bake. Pour the prepared chocolate pound cake batter evenly into your greased and floured bundt pan. Gently tap the pan a few times on your countertop. This helps to release any trapped air bubbles, ensuring a smooth, even texture and preventing large air pockets in the finished cake. Bake in the center of your preheated oven for 60-70 minutes, or until a wooden skewer or toothpick inserted into the thickest part of the cake comes out clean, with no wet batter clinging to it.
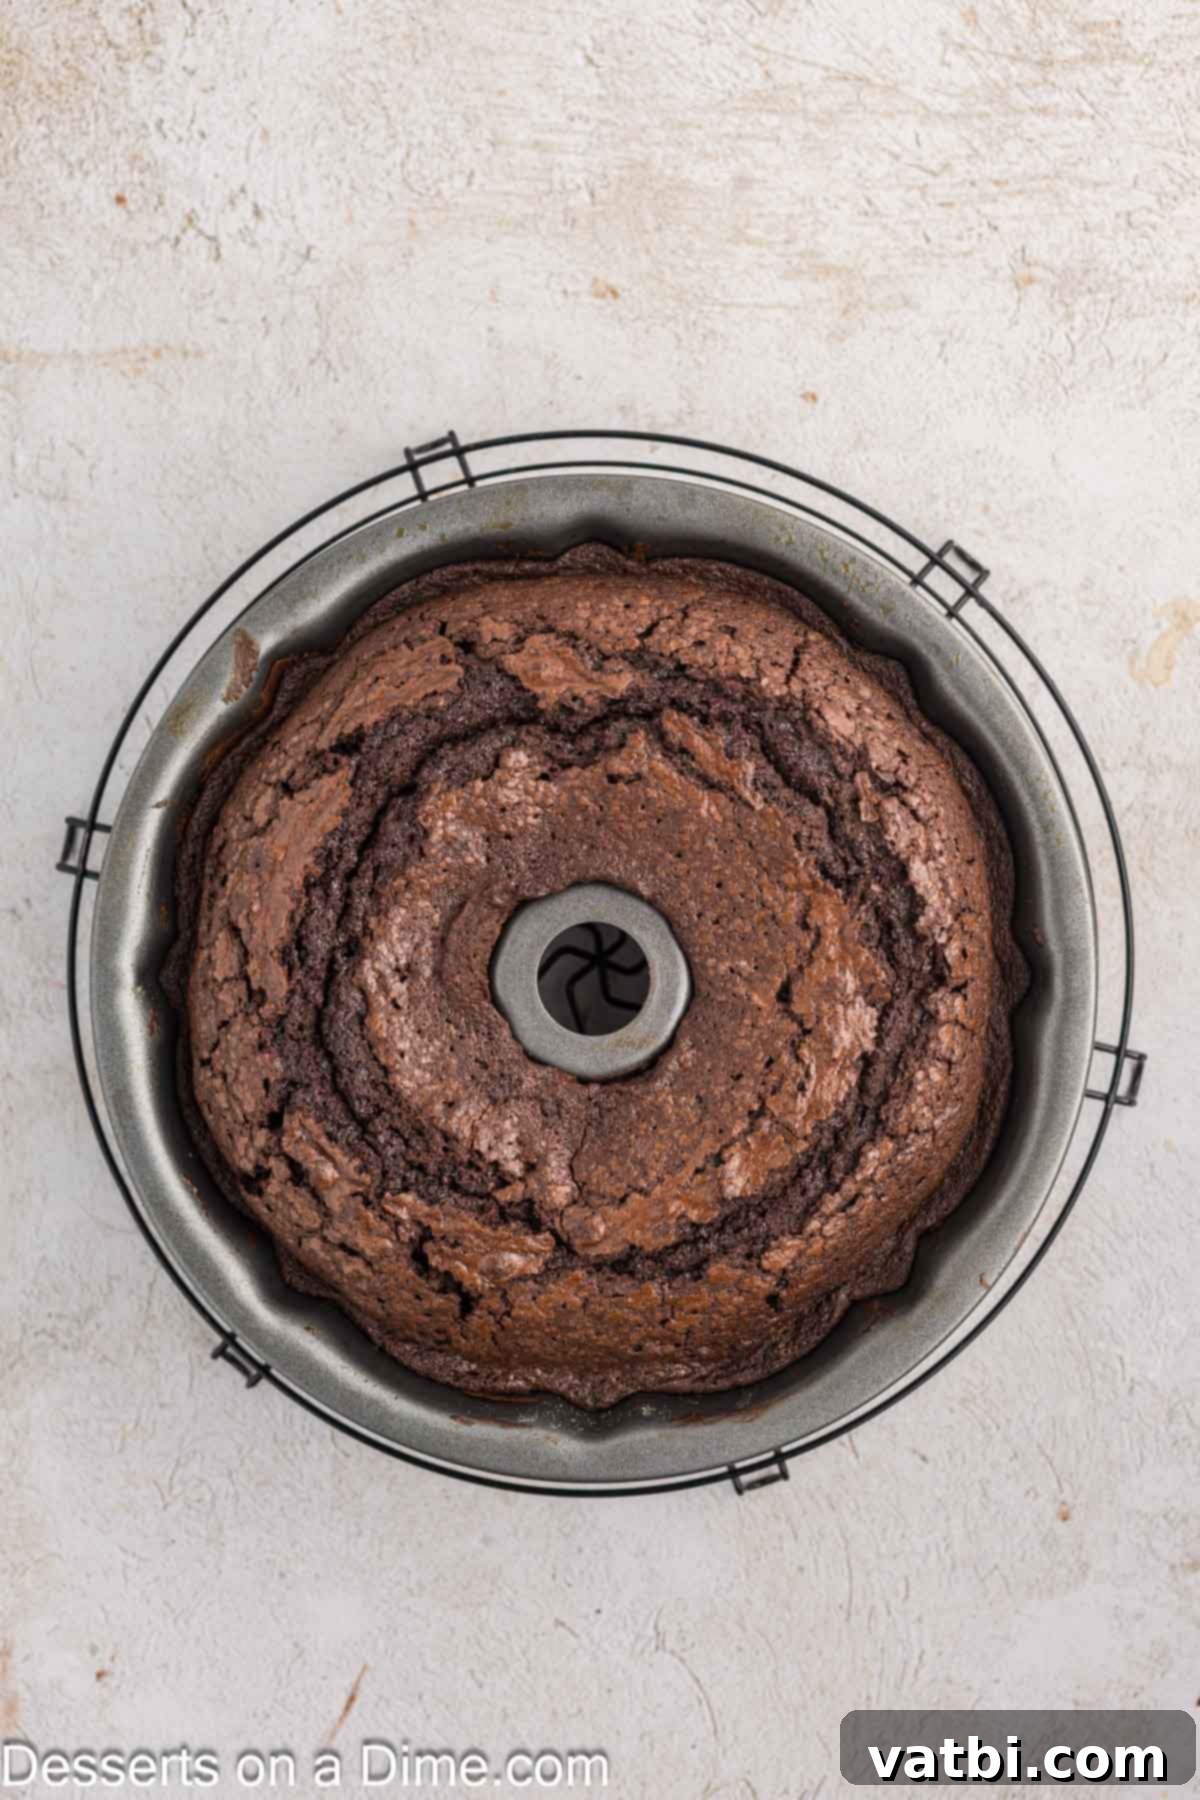
Step 7: Cool the Cake. Once baked, remove the bundt pan from the oven and let the cake cool in the pan on a wire rack for precisely 10 minutes. This allows the cake to firm up slightly, making it less fragile. After 10 minutes, carefully invert the pan onto the wire rack or a serving plate to cool completely. Ensure it’s fully cooled before frosting to prevent the glaze from melting.
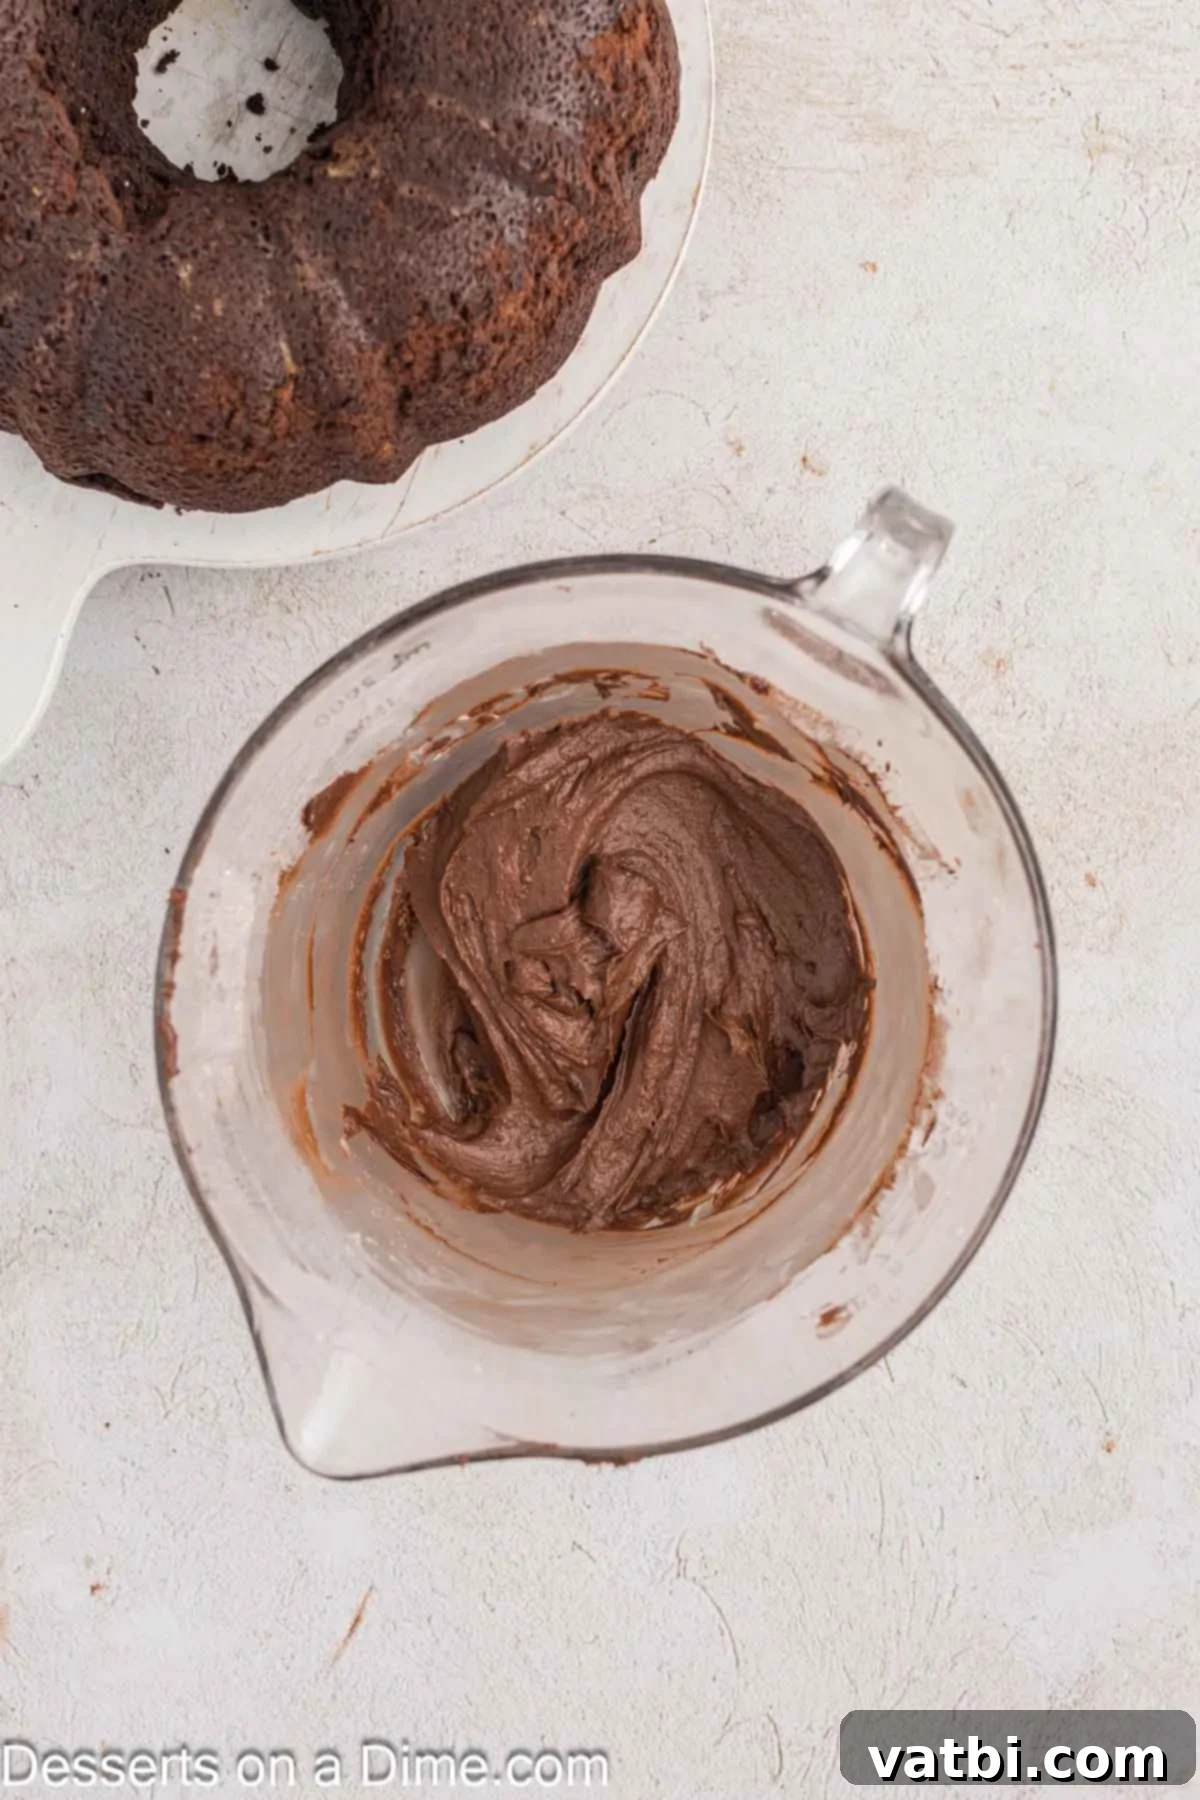
Step 8: Prepare the Chocolate Frosting. While your cake is cooling, you can prepare the decadent chocolate frosting. In a medium bowl, beat together the powdered sugar, Dutch-process cocoa powder, and melted butter using an electric mixer until well combined. Gradually add the heavy cream, mixing until the frosting reaches your desired pourable consistency – whether you prefer a thick, glossy glaze or a lighter drizzle.
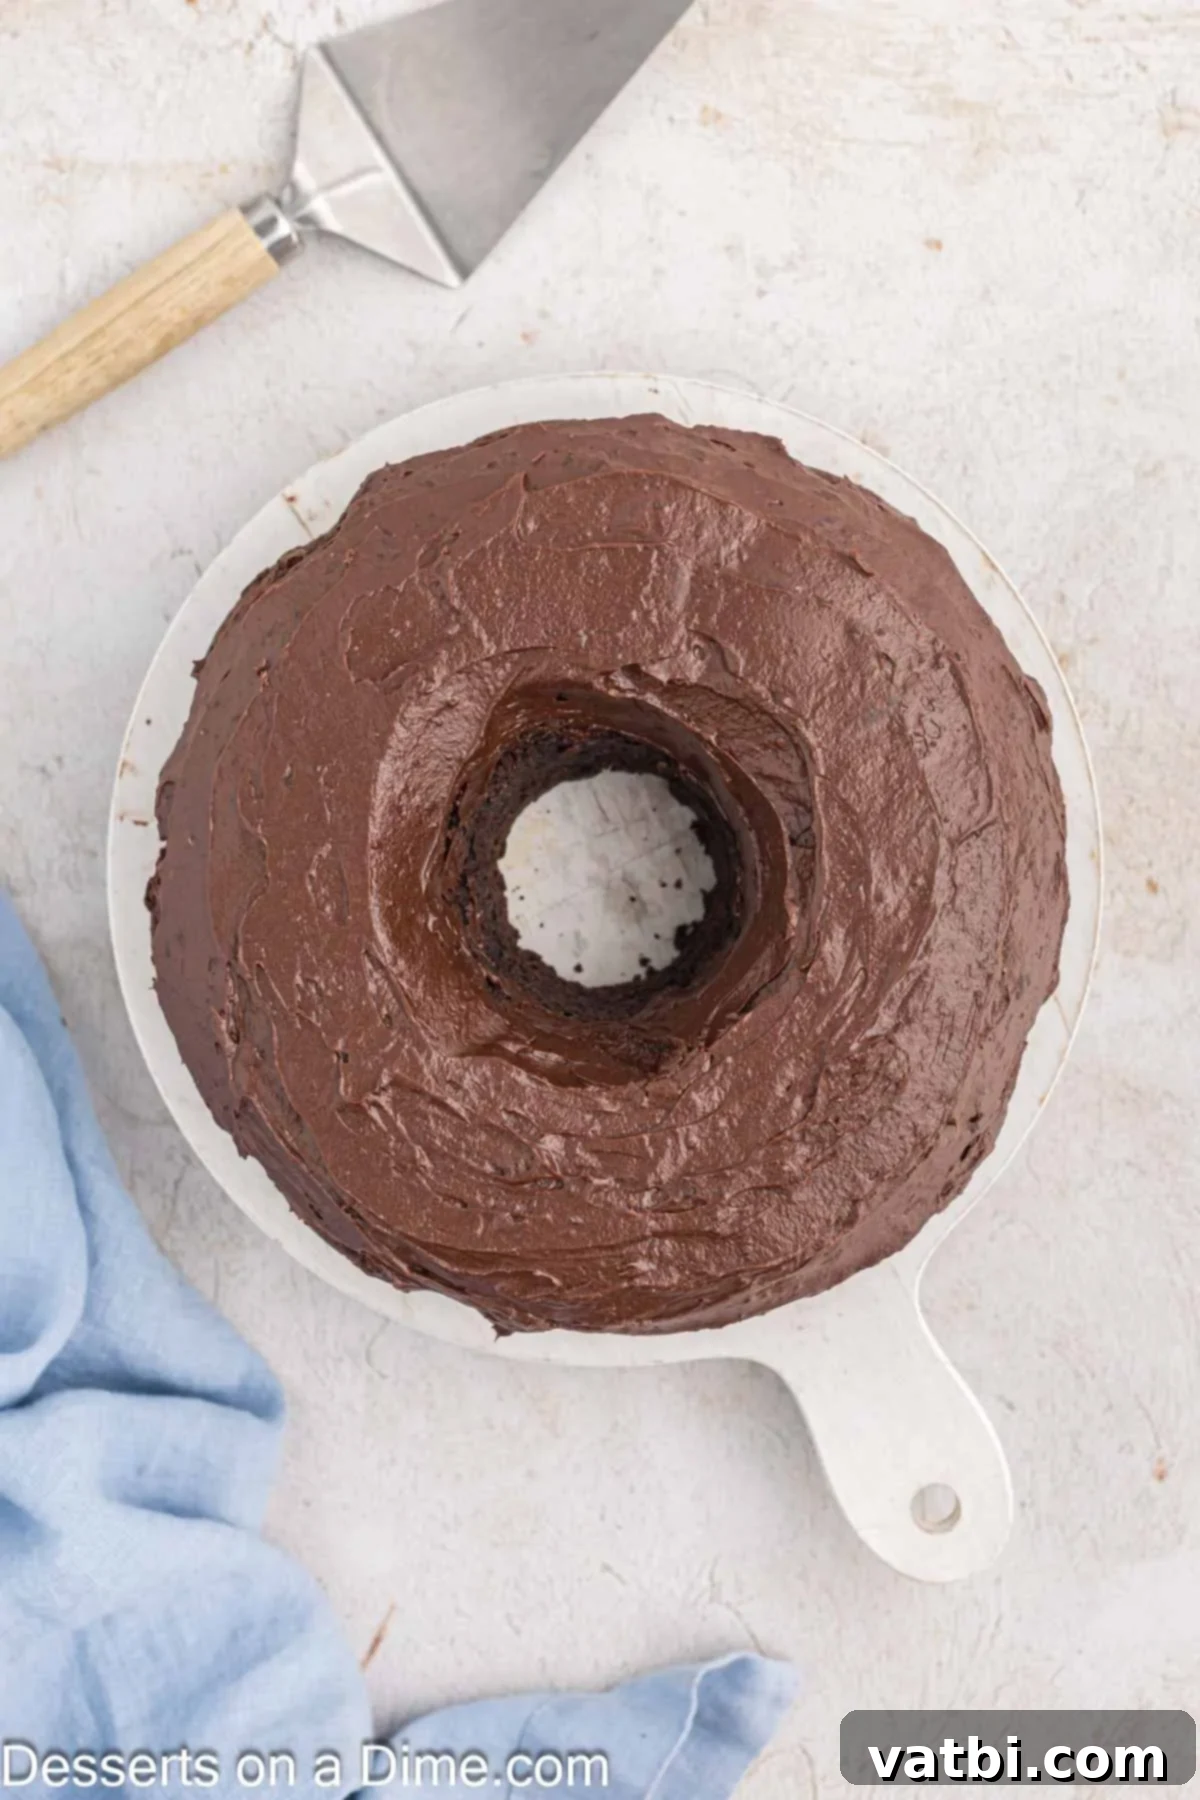
Step 9: Glaze the Cake. Once the cake is completely cool and the frosting is ready, carefully pour the chocolate glaze evenly all over the top of the bundt cake, allowing it to drip beautifully down the sides. For a truly professional finish, you can use a spoon to guide the drips if desired.
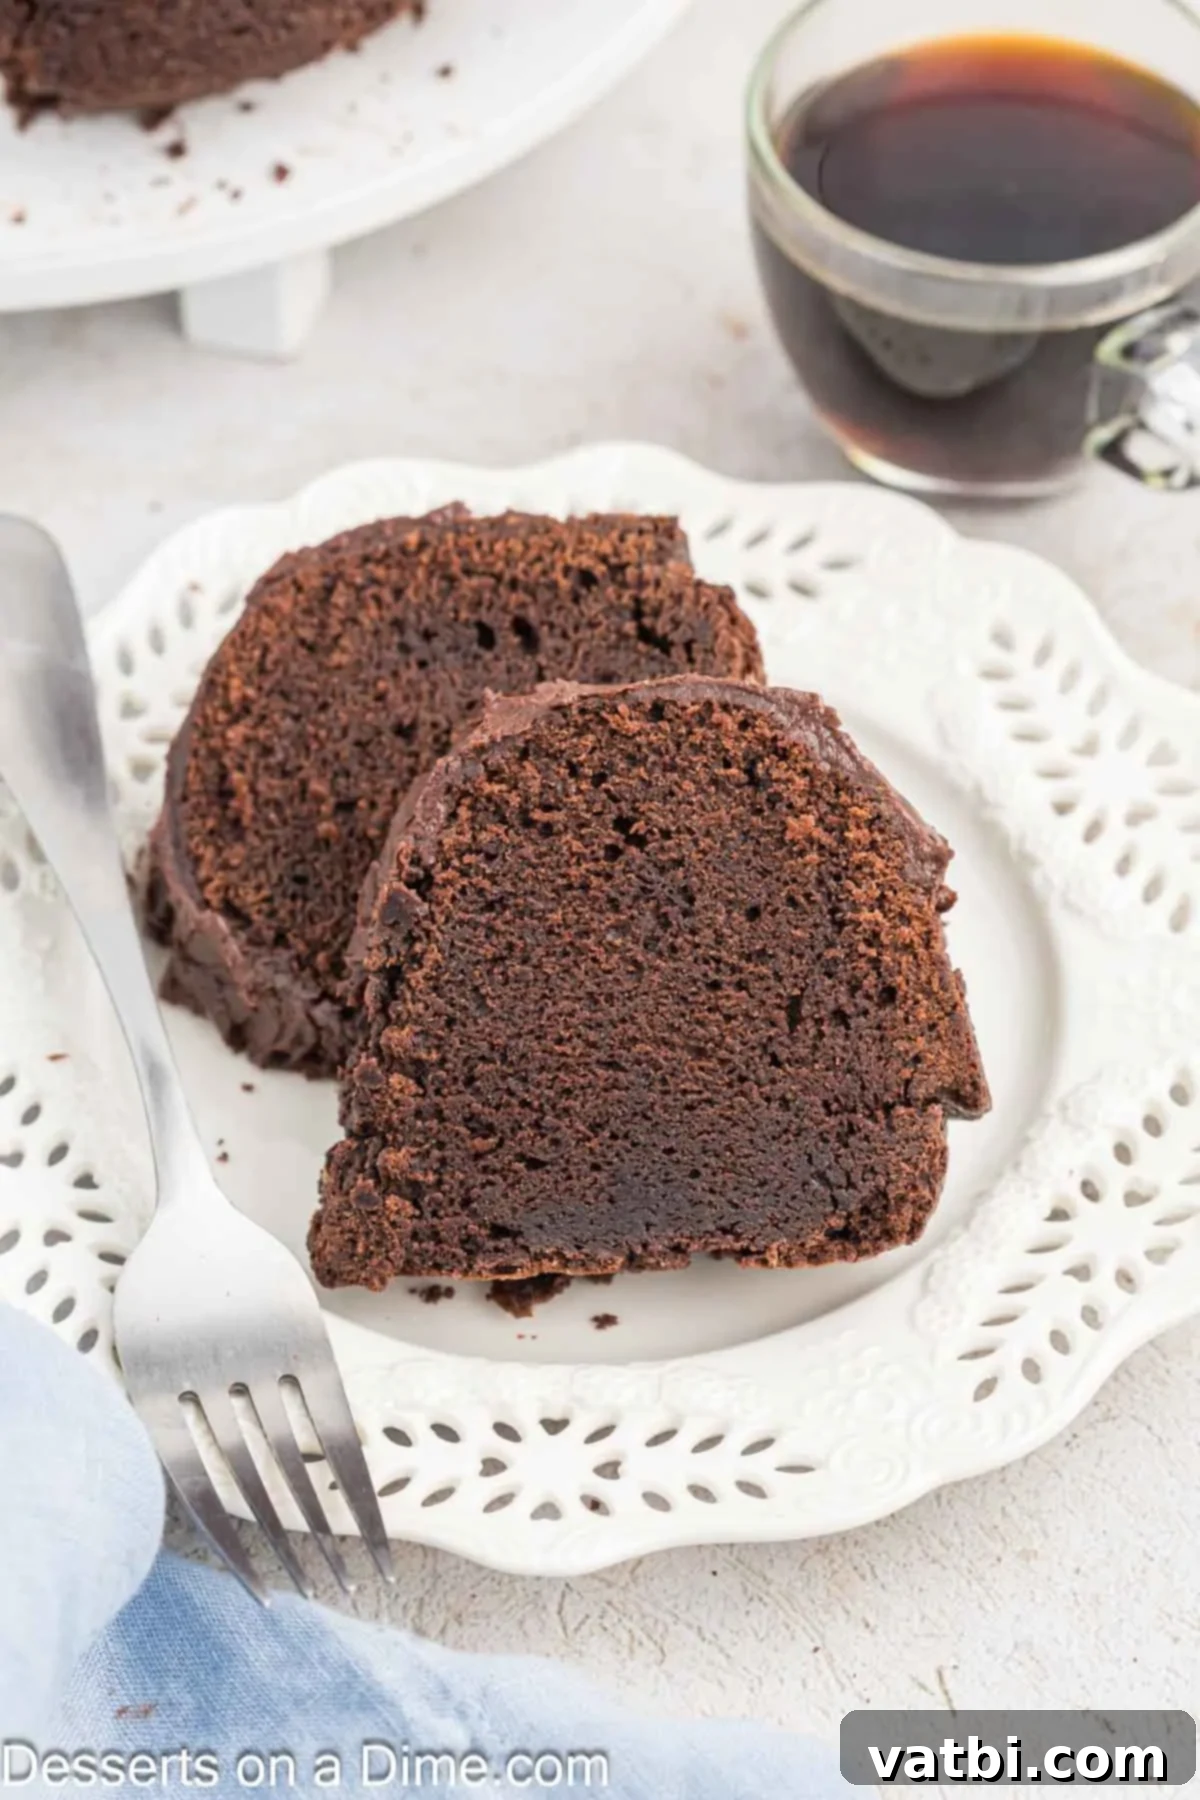
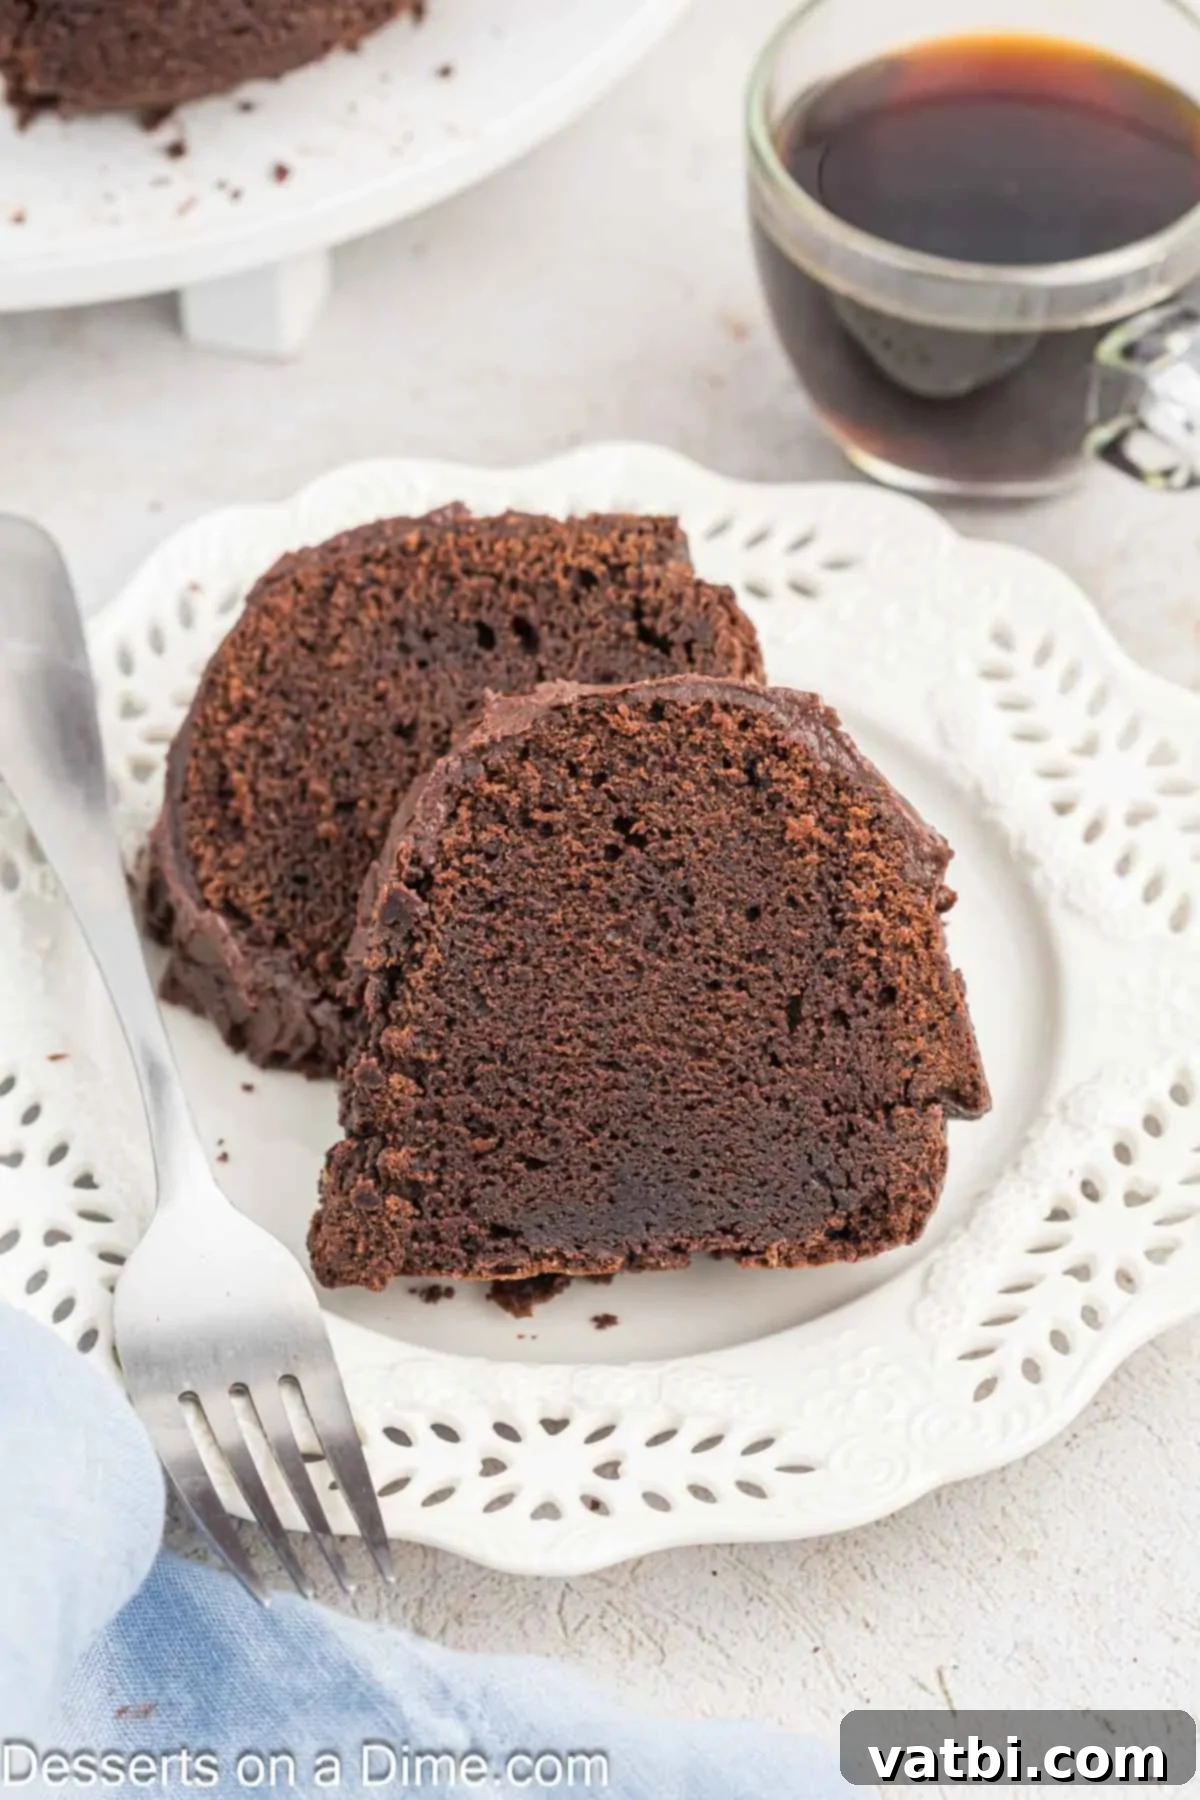
Step 10: Set and Serve. Allow the chocolate glaze to set for at least 30-40 minutes at room temperature. This allows the frosting to firm up slightly, preventing it from running when sliced. Once set, your magnificent Chocolate Pound Cake is ready to be sliced and served. Enjoy every rich, moist bite!
Storage Tips for Your Chocolate Pound Cake
Proper storage is key to maintaining the freshness, moisture, and delicious flavor of your homemade Chocolate Pound Cake. Here’s how to best preserve your masterpiece, whether you plan to enjoy it immediately or save it for later:
Room Temperature Storage: Any leftover slices or the entire un-sliced cake can be stored at room temperature for up to 5 days. To keep it optimally fresh and moist, ensure the cake is well-covered. An airtight cake dome or a large container works perfectly. If you don’t have these, simply wrap the cake tightly in plastic wrap to prevent it from drying out.
Freezing for Longer Enjoyment: This Chocolate Pound Cake freezes beautifully, making it an excellent candidate for meal prep or for having a ready-made dessert on hand. You can freeze the entire cake or individual slices for up to 3 months. To freeze, first wrap the cooled cake tightly in several layers of plastic wrap, then follow with a layer of heavy-duty aluminum foil. This double wrapping protects against freezer burn and helps preserve its moisture and flavor. When you’re ready to enjoy, simply transfer the wrapped cake to the refrigerator and allow it to thaw overnight. Once thawed, you can bring it to room temperature before serving for the best texture and taste.
Expert Tips for Chocolate Pound Cake Perfection
Achieving the perfect chocolate pound cake is a blend of quality ingredients and smart techniques. These expert tips will help you avoid common pitfalls and ensure your cake turns out flawlessly every time:
- Prioritize Room Temperature Ingredients. This cannot be stressed enough! Ingredients like butter, eggs, and sour cream that are at room temperature emulsify much more effectively. This creates a smoother, more uniform batter that holds air better, resulting in a perfectly blended texture and the desired fine crumb in your finished pound cake. Cold ingredients can cause the batter to curdle and affect the cake’s structure.
- Thoroughly Prepare Your Bundt Pan. To guarantee a clean release and preserve the beautiful details of your bundt cake, it’s highly recommended to grease *and* flour the pan meticulously. Simply spraying with non-stick cooking spray might not be enough. Use softened butter or shortening to coat every crevice, then dust generously with flour (or even cocoa powder for a truly dark cake!), tapping out any excess. This creates a non-stick barrier that ensures your cake will slide out effortlessly.
- Absolutely Do Not Skip the Coffee. It might seem counterintuitive to add coffee to a chocolate cake, but trust us on this one! The coffee doesn’t impart a coffee flavor to the cake; instead, it acts as a powerful enhancer, deepening and intensifying the natural bitterness and richness of the chocolate. The result is a more profound, complex chocolate flavor that truly stands out.
- Allow the Cake to Cool Completely. Patience is a virtue in baking, especially when it comes to pound cake. Slicing into a warm pound cake before it has fully cooled can cause it to crumble and lose its structure. Cooling allows the internal structure to set properly and the flavors to meld, ensuring clean, firm slices and the best eating experience.
- Scrape the Sides of the Bowl Regularly. During the mixing process, especially when creaming butter and sugar or incorporating eggs, always pause to scrape down the sides and bottom of your mixing bowl. This ensures that all ingredients are thoroughly combined and no pockets of unmixed butter or flour remain, leading to a consistently textured batter and a uniformly baked cake.
- Consider Making it in Advance. One of the wonderful secrets of pound cakes is that they often taste even better the next day! Allowing the cake to rest overnight gives the flavors a chance to deepen and the moisture to redistribute throughout the cake, resulting in an even more delicious and tender crumb. Store it properly at room temperature.
- Stick with Dutch-Processed Cocoa Powder. For this recipe, it’s crucial not to substitute Dutch-processed cocoa powder with natural cocoa powder. Dutch-processed cocoa has a milder, less acidic flavor and a darker color, which is essential for the rich chocolate profile and appearance of this cake. Natural cocoa is acidic and reacts differently with baking powder, potentially affecting the cake’s rise and taste.
- Avoid Overmixing the Batter. Overmixing is a common culprit for tough, dry cakes. Once you add the dry ingredients to the wet, mix only until just combined. Excessive mixing develops gluten in the flour, which makes the cake chewy rather than tender. It can also incorporate too much air, causing the cake to rise too quickly and then deflate, resulting in a dense texture.
- Adapt for Loaf Pans. If you don’t have a bundt pan or prefer a different shape, this recipe can be successfully baked in two standard loaf pans. Be sure to line the loaf pans with parchment paper, leaving an overhang on the sides, which makes lifting the baked cakes out much easier. Remember to adjust the baking time accordingly; loaf cakes typically bake for a shorter duration than bundt cakes, so start checking for doneness around the 45-55 minute mark.
Discover More Delicious Pound Cake Recipes
Cakes
Lemon Pound Cake Recipe
Cakes
Peach Cobbler Pound Cake Recipe
Cakes
Red Velvet Pound Cake
There you have it – a truly easy-to-make, rich, and intensely flavored Chocolate Bundt Cake that promises to be a favorite. We encourage you to give this recipe a try and experience its incredible deliciousness for yourself. Once you’ve baked and savored this delightful treat, please come back and share your experience by leaving a comment and a star rating below. Your feedback helps other bakers in our community!
Pin
Decadent Chocolate Pound Cake Recipe
Ingredients
For the Cake:
- 2 cups all-purpose flour
- 3/4 cup Dutch process Cocoa
- 1 teaspoon baking powder
- 1/2 teaspoon salt
- 1 1/2 cups softened butter
- 3 cups white granulated sugar
- 5 eggs room temperature
- 3 teaspoons vanilla extract
- 1/4 cup liquid coffee room temperature
- 3/4 cup Sour Cream room temperature
For the Frosting:
- 1 cup Powdered Sugar
- 2 Tablespoons Dutch process Cocoa
- 2 Tablespoons Butter melted
- 1/4 cup Heavy Cream
Instructions
For the Cake:
-
Preheat the oven to 325 degrees Fahrenheit and grease and flour a bundt pan (10 cup bundt pan).
-
In a large mixing bowl, whisk together the flour, cocoa, baking powder and salt until combined. Set aside.
-
Beat together the butter and sugar in the bowl of a stand up mixer on medium speed until light and fluffy (approximately 3-4 minutes).
-
Reduce the speed on the mixer to low and slowly add in the eggs, 1 at a time, until just combined. Mix in the vanilla extract and coffee.
-
Carefully mix the dry ingredients into the butter mixture either on low speed or by hand until just combined. Be careful not to over mix the ingredients.
-
Gently stir in the sour cream.
-
Pour the batter into the prepared pan. Gently tap the pan on the countertop to get the air bubbles out of the batter.
-
Bake for 60-70 minutes in the center of the oven until a toothpick inserted into the center of the cake comes out clean.
-
Cool the cake in the pan for 10 minutes and then carefully invert the pan onto a serving plate or platter to cool completely.
For the Frosting:
-
While the cake is cooling, beat together the powdered sugar, cocoa and butter for the frosting until combined with a hand held mixer. Gradually mix the heavy cream into the frosting until the frosting is the consistency that you prefer.
-
Pour the chocolate glaze onto the cake and let it set for 30-40 minutes before slicing and serving. Enjoy!
Recipe Notes
Make sure that all ingredients are at room temperature before making to ensure that they are all thoroughly mixed together.
I highly recommend greasing and flouring the bundt pan instead of just spraying it with a non-stick cooking spray to ensure that the cake can easily be removed from the pan.
Nutrition Facts
Pin This Now to Remember It Later
Pin Recipe
