Easy No-Bake Chocolate Lasagna: The Ultimate Layered Dessert with Oreo Crust and Creamy Chocolate Pudding
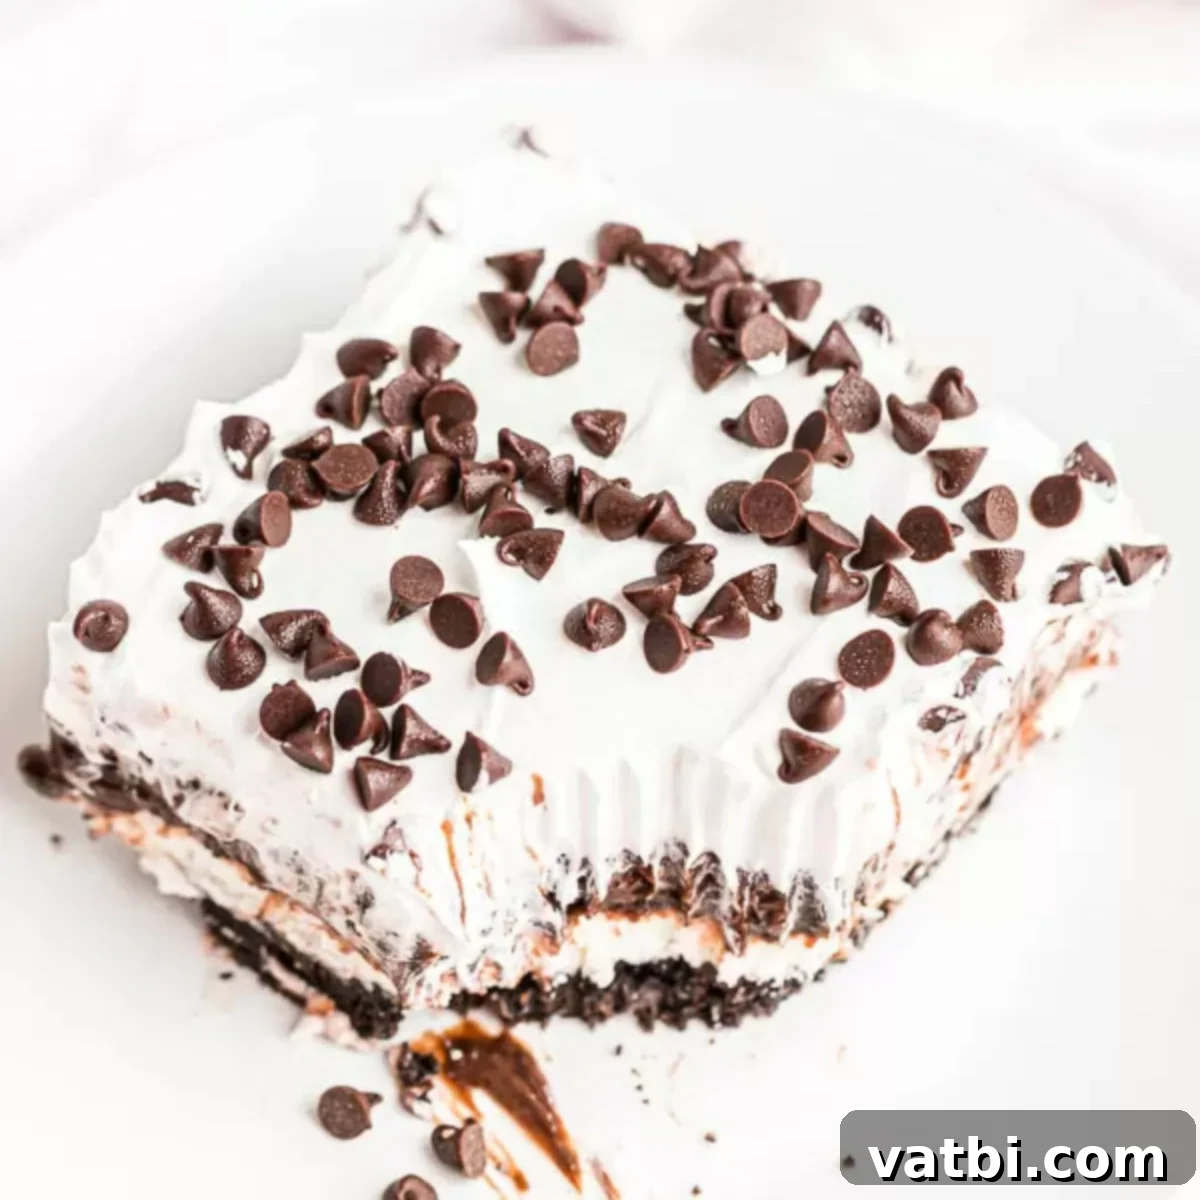
Prepare to indulge in a dessert that truly has it all! This Chocolate Lasagna Recipe is a masterpiece of delicious layers, offering a perfect blend of textures and rich chocolatey flavor without ever needing to turn on your oven. Imagine a crunchy Oreo cookie crust, followed by a sweet and tangy cream cheese filling, then a thick layer of smooth chocolate pudding, all topped with light and airy Cool Whip and a sprinkle of mini chocolate chips. It’s a symphony of flavors that comes together effortlessly, making it one of our absolute favorite no-bake desserts.
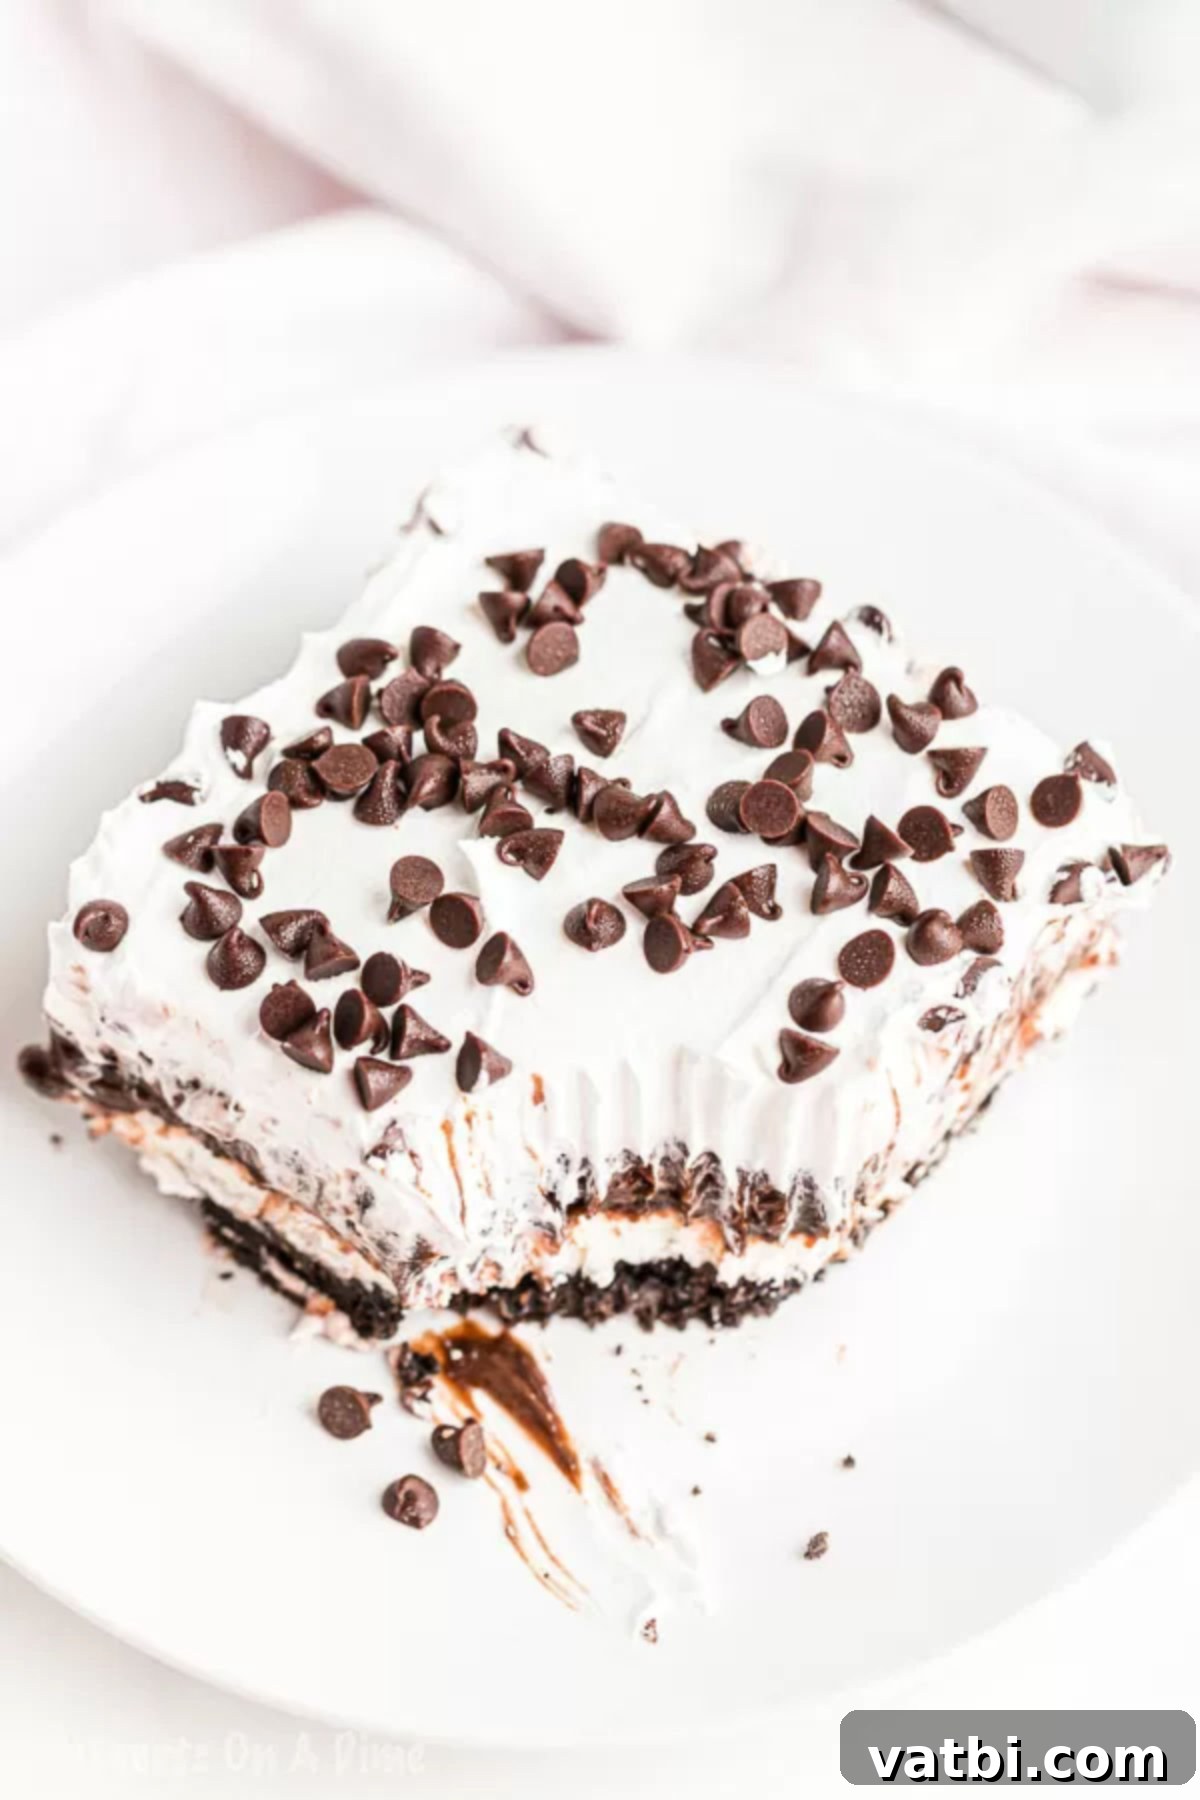
If you’ve never experienced the pure joy of no-bake Chocolate Lasagna, now is the time to change that. This dessert isn’t just easy to make; it’s a showstopper that consistently earns rave reviews. It’s become a signature dish for me over the years, a delightful tradition that started when my kids were young and has since evolved into my go-to dessert for any gathering. Whether it’s a backyard BBQ, a casual potluck, or a special family celebration, this Chocolate Lasagna is always the requested treat. Its irresistible combination of classic flavors ensures everyone will be asking for the recipe!
While this classic version remains a beloved staple, I’ve also experimented with other exciting variations to satisfy different cravings. You might enjoy my Hot Chocolate Lasagna for a cozy twist, the rich and savory notes of Chocolate Peanut Butter Lasagna, or the ultimate indulgence of Chocolate Brownie Lasagna. Each variation brings its own unique charm, but the original No-Bake Chocolate Lasagna holds a special place in our hearts for its simple elegance and undeniable deliciousness.
The beauty of this no-bake chocolate dessert lies in its simplicity and the use of everyday ingredients. The distinct layers—from the perfectly crushed Oreo crust to the luscious cream cheese filling, the creamy chocolate pudding, and the airy Cool Whip topping—create a harmonious balance that is both satisfying and incredibly light. Finished with a generous sprinkle of mini chocolate chips, every bite is pure bliss. It’s an ideal recipe for beginner bakers or anyone looking for a quick yet impressive dessert.
Looking for other delightful dessert options? You might also want to try our refreshing Chocolate Mousse Cups for a lighter chocolate treat. For a completely different but equally delicious no-bake experience, our Lemon Blueberry Dessert offers a bright and fruity alternative.
Table of Contents
- What is Chocolate Lasagna?
- Ingredients
- How to Make Chocolate Lasagna
- Storage
- Topping Ideas
- Pro Tips
- Frequently Asked Questions
- More No Bake Desserts
What is Chocolate Lasagna?
Chocolate Lasagna is a delightful no-bake dessert that, as its name suggests, is constructed in layers much like its savory pasta counterpart. However, instead of pasta and sauce, this dessert features sweet, creamy, and crunchy layers of pure indulgence. While often associated with popular restaurants like Olive Garden, this homemade version is just as good, if not better, and incredibly simple to prepare. It’s the perfect treat for chocolate lovers who appreciate a dessert that’s rich, satisfying, and doesn’t require any baking skill.
The magic begins with a buttery, crushed Oreo cookie crust that forms a solid, flavorful base. On top of this, you’ll spread a light and fluffy cream cheese mixture, providing a delightful tang that perfectly balances the sweetness. Next comes a smooth, rich chocolate pudding layer, which adds deep chocolate flavor and a wonderfully soft texture. Finally, it’s all crowned with a generous topping of creamy Cool Whip and a sprinkling of mini chocolate chips for extra crunch and visual appeal. This layered construction makes it an aesthetically pleasing dessert that’s always a hit, whether served at home or brought to a potluck. Plus, its ability to be made ahead of time makes it a convenient choice for any occasion, from casual family dinners to holiday feasts or even as a thoughtful meal-train dessert for friends recovering from surgery or welcoming a new baby.
Essential Ingredients for Your Chocolate Lasagna
Crafting the perfect Chocolate Lasagna relies on a few simple, yet crucial ingredients. Here’s what you’ll need, along with some tips for each:
- Regular Oreo Cookies – The foundation of our crust! Be sure to use regular Oreos, not Double Stuffed or any other flavored variety. The classic wafer-to-cream ratio of regular Oreos creates the ideal texture for a firm, yet crumbly crust when combined with butter. You’ll need about 36 cookies for a standard 9×13 inch pan.
- Butter – Melted – Unsalted butter is preferred, as it allows you to control the overall saltiness of the dessert. Melting it ensures it binds perfectly with the crushed Oreos, creating a cohesive and flavorful crust.
- Cream Cheese – Softened – Full-fat cream cheese works best for a rich, creamy, and stable filling. It’s crucial that your cream cheese is softened to room temperature before mixing; this prevents lumps and ensures a smooth, airy layer when combined with other ingredients.
- Granulated Sugar – Just a touch of sugar to sweeten the cream cheese layer, balancing its slight tanginess and making it perfectly palatable.
- Milk – Cold – Cold milk is essential for both the cream cheese layer and the instant pudding. For the cream cheese mixture, it helps achieve the right consistency. For the pudding, cold milk is vital for proper setting and a thick, smooth texture.
- Cool Whip – Divided – This ready-to-use whipped topping is a key component for its stability and light texture. A 12-ounce tub will be divided between the cream cheese layer and the final topping. While you can make Homemade Whipped Cream, Cool Whip offers unmatched stability, especially when freezing or making ahead.
- Chocolate Instant Pudding (two 3.9 oz. boxes) – This is non-negotiable! Make absolutely sure you buy *instant* pudding and not the cook-and-serve type. Instant pudding contains stabilizers that allow it to set quickly and firmly when mixed with cold milk, forming a perfect, thick layer in your lasagna.
- Mini Chocolate Chips – These tiny chocolate morsels are perfect for sprinkling over the top. Their small size provides bursts of chocolate flavor and a pleasant textural contrast without being overwhelming. Feel free to use more than a cup if you’re a true chocoholic!
You can find the complete list of exact measurements in the detailed recipe card at the bottom of the page.
How to Make Decadent Chocolate Lasagna: Step-by-Step Guide
Creating this irresistible Chocolate Lasagna is a straightforward process, broken down into simple, manageable steps. Follow these instructions to assemble your stunning layered dessert:
- Step 1: Prepare the Oreo Crust. Begin by crushing your Oreo cookies. For the finest crumbs and quickest process, I highly recommend using a food processor. Simply pulse the entire package of regular Oreos (cream filling included!) until they resemble fine, uniform crumbs. If you don’t have a food processor, place the cookies in a large Ziplock bag, seal it tightly, and use a rolling pin or the bottom of a heavy glass to crush them thoroughly. The finer the crumbs, the more compact and stable your crust will be.
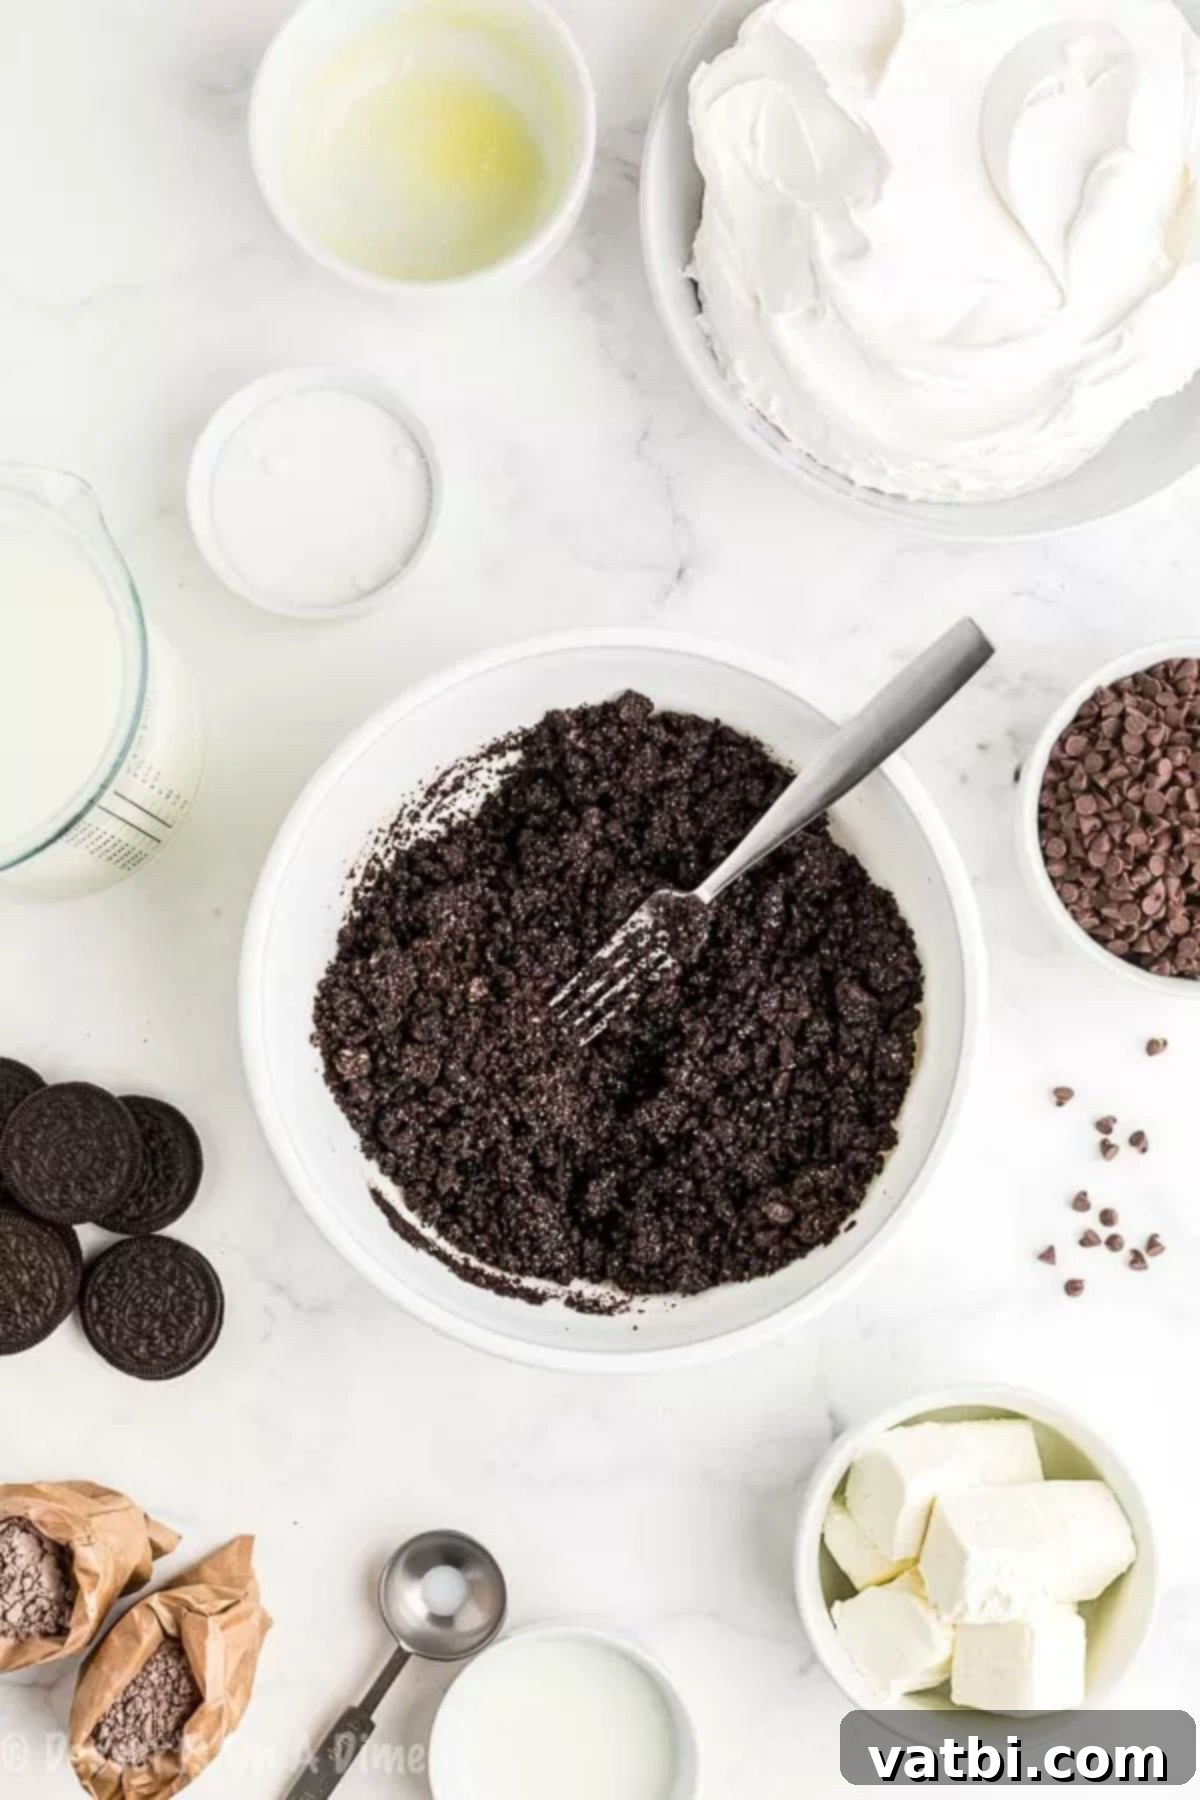
Step 2: Form the Cookie Crust Layer. Once your Oreos are perfectly crushed, transfer the crumbs to a large mixing bowl. Pour in the melted butter and use a fork to thoroughly combine the ingredients. Mix until the crumbs are evenly moistened and resemble wet sand. This ensures that the crust will hold together beautifully. Press this mixture firmly and evenly into the bottom of a 9×13 inch baking dish. A flat-bottomed glass or your hands work well for this. Once pressed, refrigerate the crust while you prepare the remaining layers to allow it to firm up and set. This initial chill time is key for a stable base.
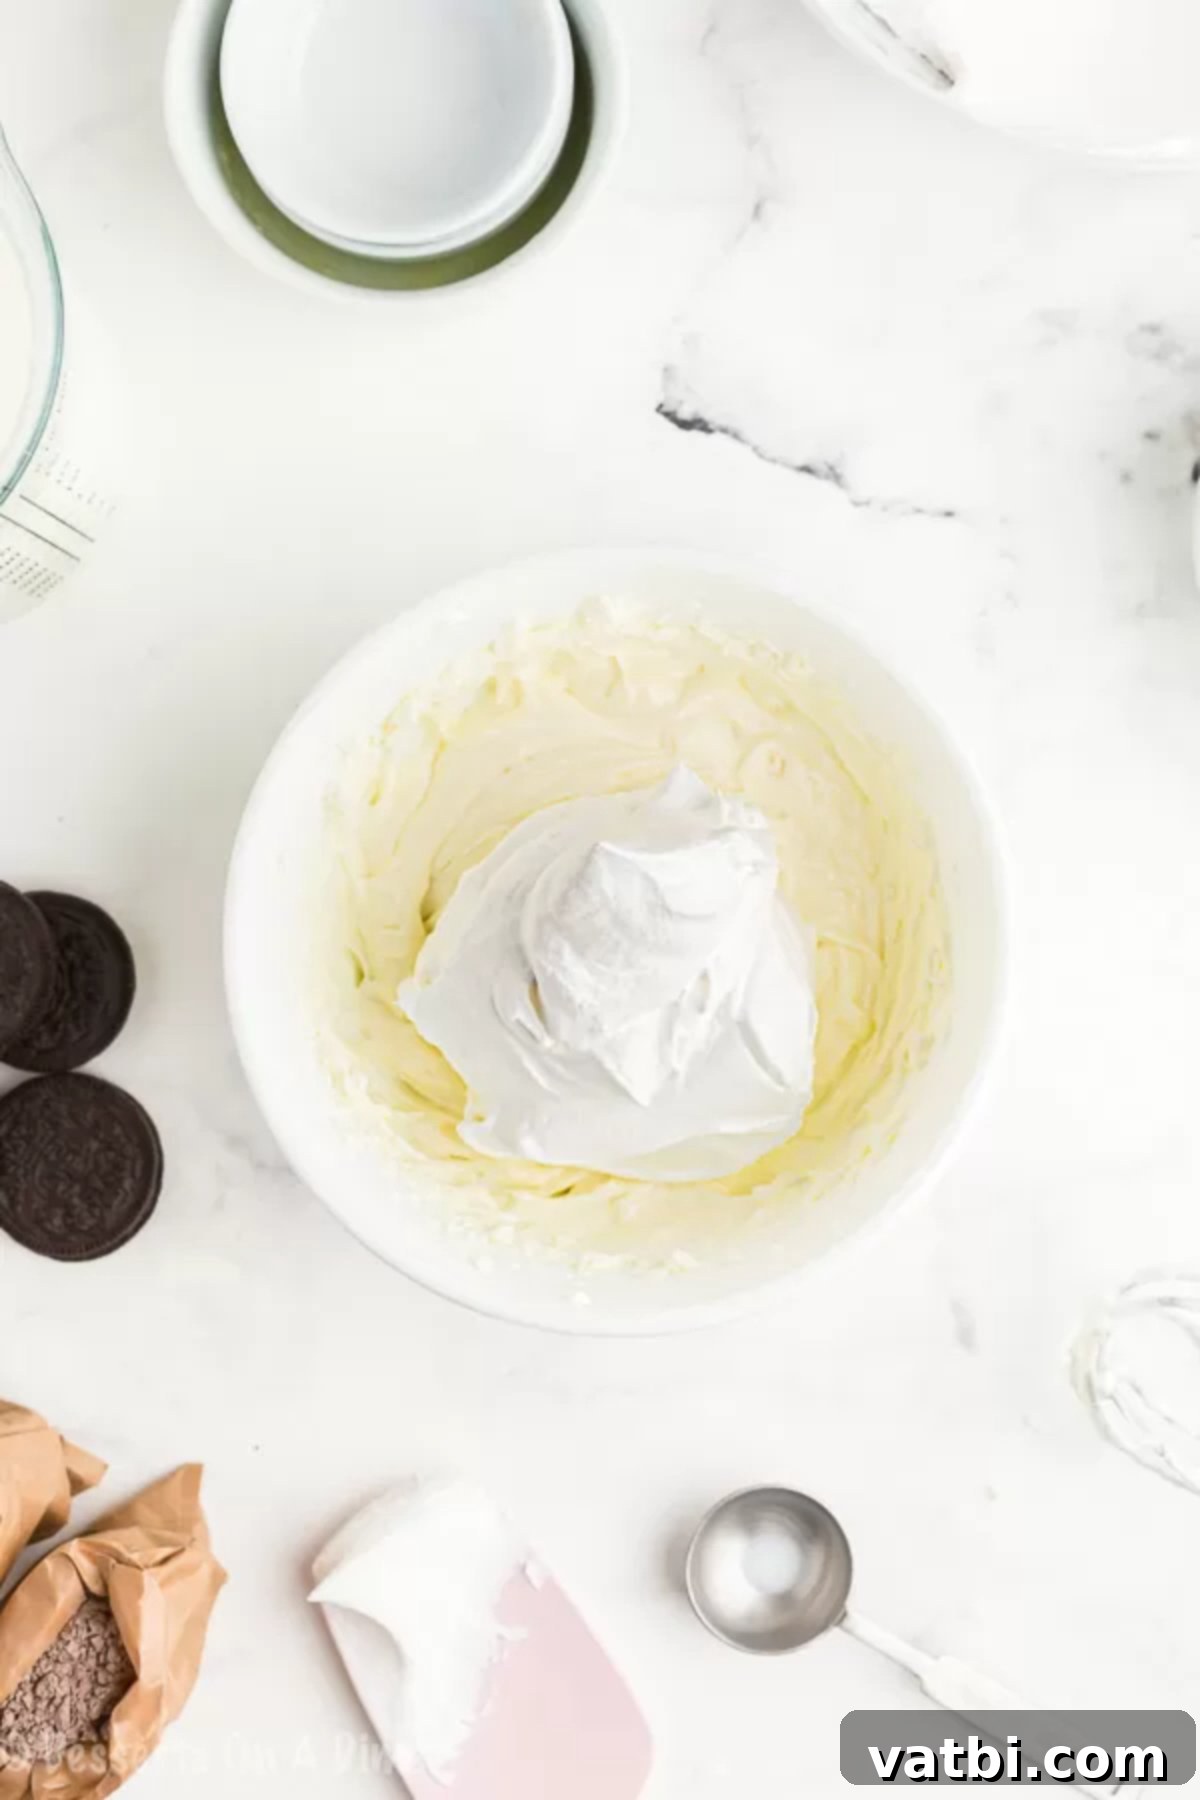
Step 3: Create the Cream Cheese Layer. In a medium-sized mixing bowl, use an electric hand mixer to beat the softened cream cheese until it’s light, fluffy, and completely smooth, with no lumps. This usually takes 2-3 minutes. Next, add the granulated sugar and 2 tablespoons of cold milk, continuing to mix until well combined and creamy. Gently fold in 1 and ¼ cups of Cool Whip until no streaks remain and the mixture is uniformly light and airy. Carefully spread this cream cheese mixture evenly over your chilled Oreo crust. Use an offset spatula or the back of a spoon to ensure a smooth, consistent layer from edge to edge.
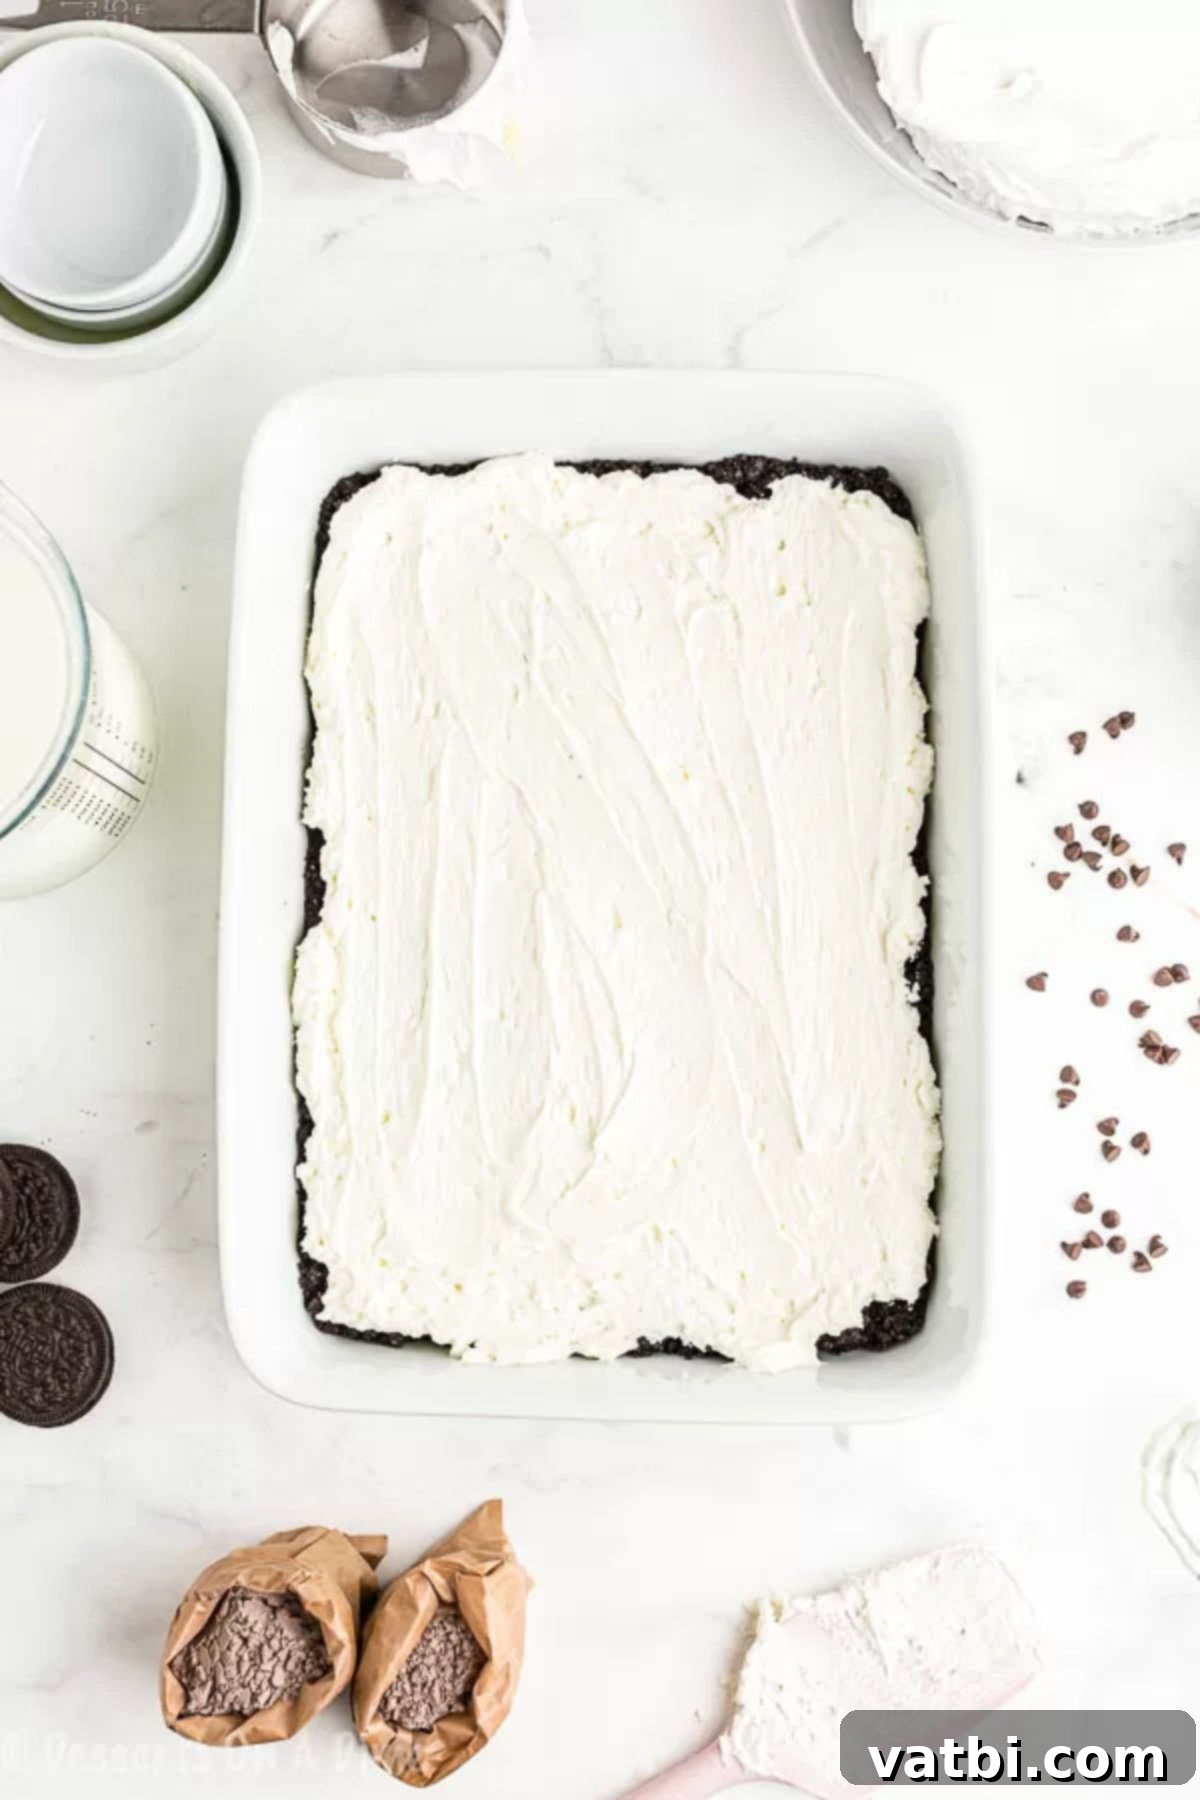
Step 4: Add the Chocolate Pudding Layer. In a separate bowl, combine the two packages of instant chocolate pudding mix with 3 and ¼ cups of cold milk. Whisk vigorously for about 2-3 minutes, or until the pudding visibly starts to thicken. It’s crucial to use cold milk for instant pudding to ensure it sets properly. Once thickened, gently spread this rich chocolate pudding layer over the cream cheese mixture, again aiming for an even coverage. Allow the dessert to rest for approximately 5 minutes at room temperature, or briefly in the refrigerator, to allow the pudding to firm up further before proceeding. This prevents the layers from mixing too much. Finally, spread the remaining Cool Whip (approximately 2 and ¾ cups) evenly over the set pudding layer, creating a beautiful, cloud-like topping.
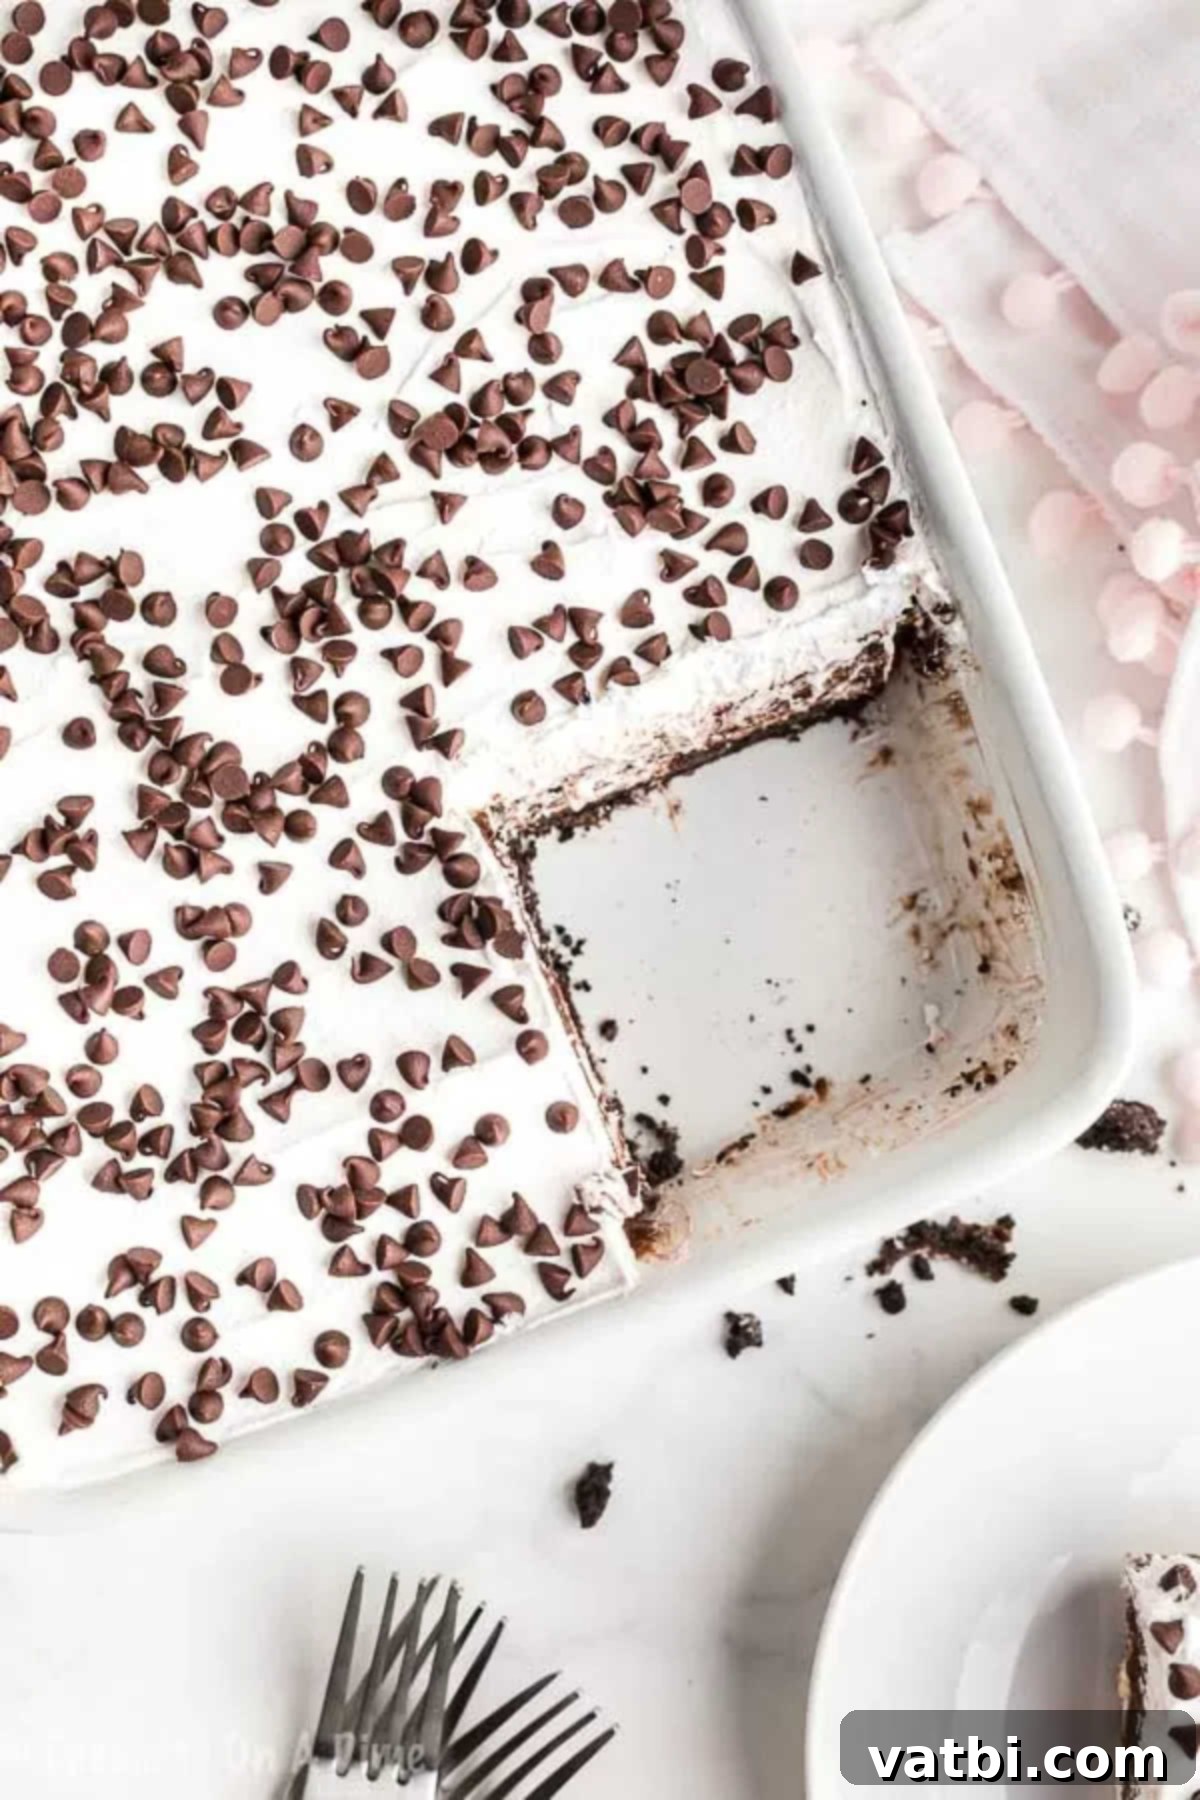
Step 5: Garnish and Chill. The final touch! Evenly sprinkle the mini chocolate chips over the Cool Whip topping. For an optimal dessert experience, this Chocolate Lasagna requires significant chilling time to allow all the layers to set completely and for the flavors to meld beautifully. Place the entire baking dish in the freezer for at least 1 hour for a quicker set, or for a more traditional chill, refrigerate for a minimum of 4 hours before serving. Chilling ensures clean slices and a truly delightful texture.
Storage Tips for Your Chocolate Lasagna
One of the many benefits of this no-bake dessert is its excellent storage capabilities, making it perfect for preparing ahead of time. Store any leftover Chocolate Lasagna in the refrigerator, ensuring it’s tightly covered with plastic wrap or aluminum foil to prevent it from absorbing any odors and to maintain its freshness. When properly stored, it will remain delicious for 3 to 5 days in the fridge. For longer storage, this dessert freezes beautifully. Simply wrap the entire dish (or individual slices) in multiple layers of plastic wrap, followed by a layer of aluminum foil, then place it in the freezer. It can be frozen for up to 1-2 months. To serve from frozen, allow it to thaw in the refrigerator for several hours until soft enough to slice, or enjoy it slightly frozen for a unique, ice cream-like texture.
Creative Topping Ideas to Elevate Your Chocolate Lasagna
While delicious on its own, adding extra toppings can transform your Chocolate Lasagna into an even more personalized and festive dessert. Here are some fantastic ideas to get your creativity flowing:
- Chocolate Mint Pieces: Crush some chocolate mint candies (like Andes Mints) and sprinkle them over the top for a refreshing burst of minty flavor that pairs wonderfully with chocolate.
- Mini Chocolate Chips: A classic for a reason! These add an extra layer of chocolatey texture and are perfect for a simple, yet satisfying garnish.
- Chopped Candy Bar Pieces: Elevate your lasagna with your favorite candy bars. Think Snickers, Reese’s, Kit Kat, or Twix, roughly chopped for added crunch and flavor.
- Reese’s Pieces or Peanut Butter Cups: If you’re a fan of the chocolate and peanut butter combination, these are a must-try. Crushed Reese’s Peanut Butter Cups or a handful of Reese’s Pieces will add a delightful nutty sweetness.
- Chocolate Ganache: For an extra layer of decadence, drizzle a homemade or store-bought chocolate ganache over the Cool Whip topping just before serving. It adds a glossy finish and intense chocolate flavor.
- Chocolate Shavings or Curls: Use a vegetable peeler on a block of chocolate to create elegant chocolate shavings or curls for a sophisticated presentation.
- Sweet Sauces: Drizzle with warm Homemade Hot Fudge Sauce and rich Homemade Caramel Sauce for a gooey, sweet, and visually appealing finish.
- Mini Marshmallows and Chocolate Chips: Create a “s’mores” inspired topping by sprinkling mini marshmallows and chocolate chips, perhaps lightly toasting the marshmallows with a kitchen torch for a camp-fire flair.
- Crushed Oreo Topping: Reserve a few extra crushed Oreos to sprinkle over the final Cool Whip layer for an extra layer of cookie crunch and a cohesive look.
- Toasted Coconut Flakes: For a tropical twist, lightly toast some coconut flakes until golden brown and sprinkle them over the top.
- Sprinkles: Festive sprinkles can add a pop of color, making this dessert perfect for birthdays and holidays.
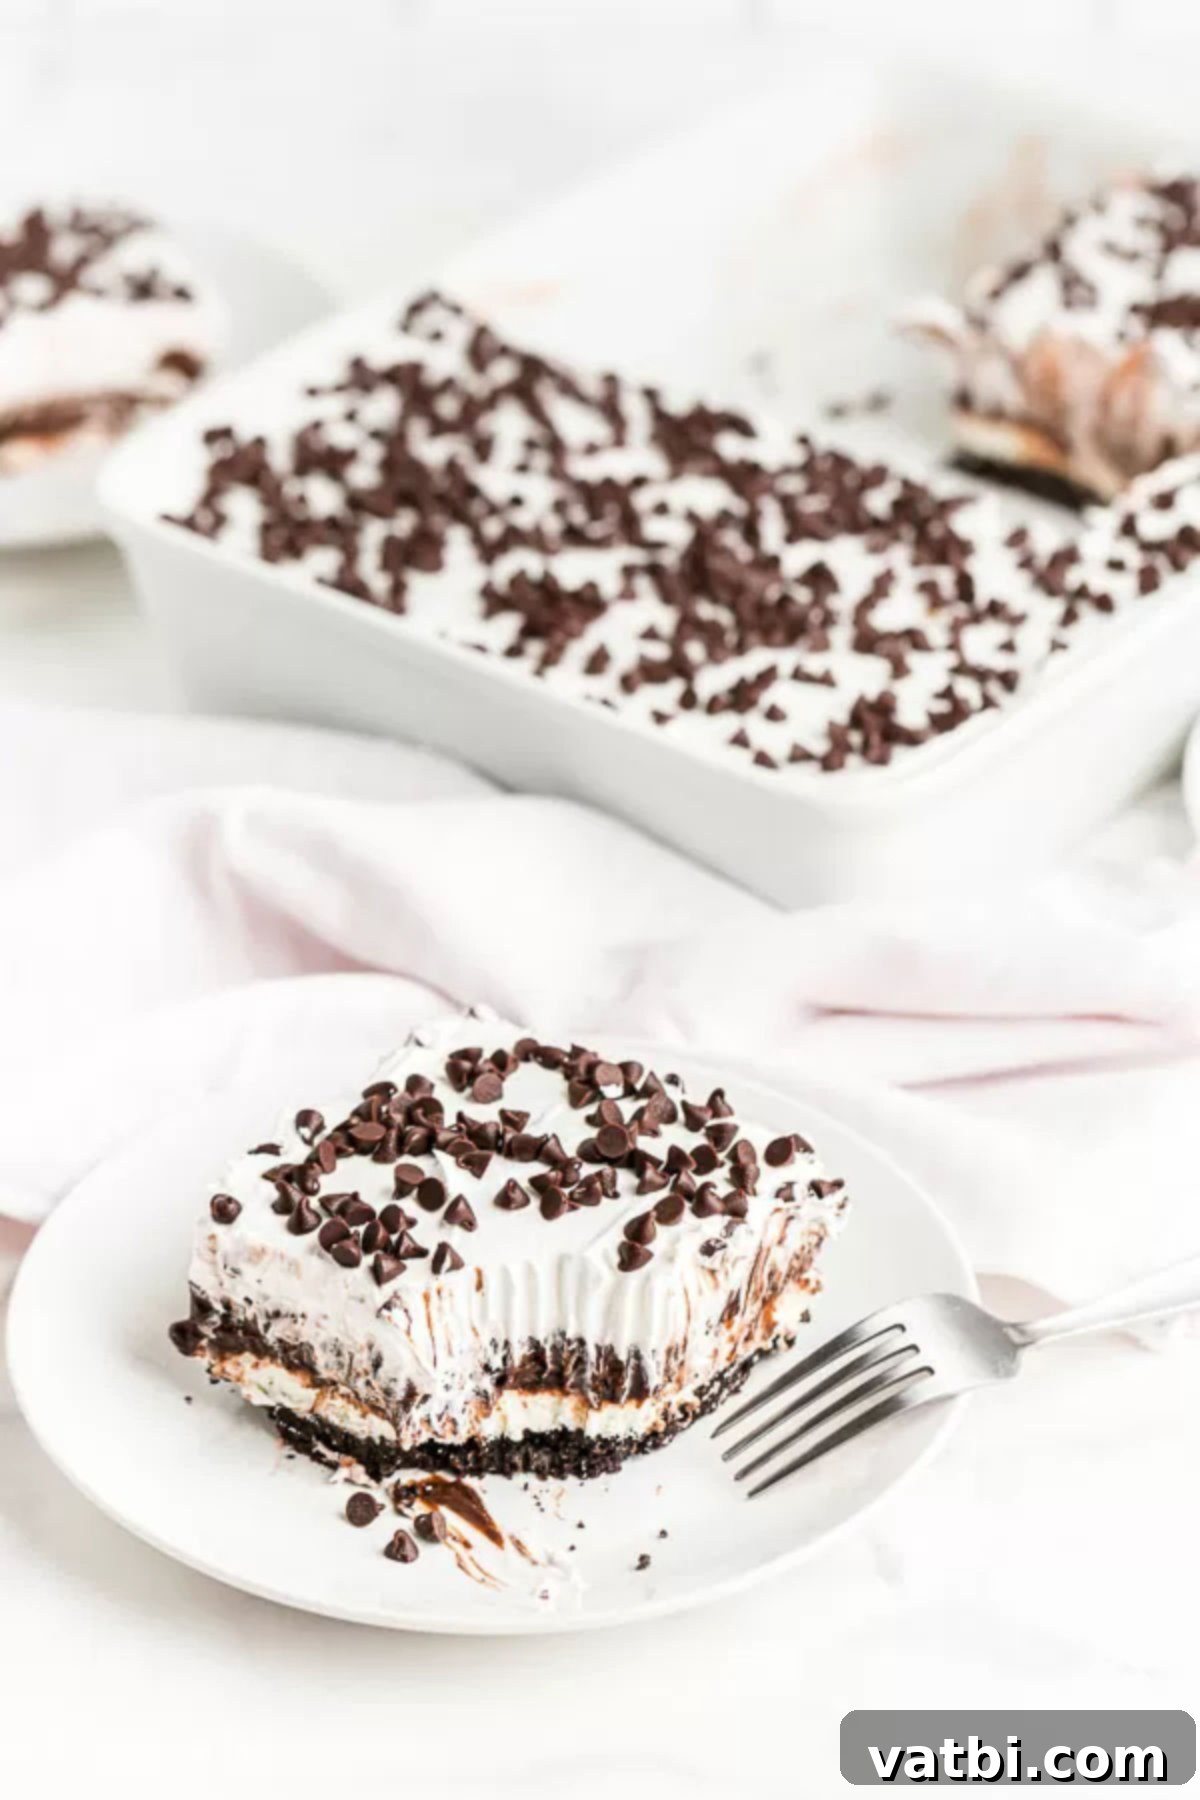
Pro Tips for the Best No-Bake Chocolate Lasagna
Achieving a perfect Chocolate Lasagna is easy with a few insider tricks. These pro tips will ensure your dessert is not only delicious but also visually stunning and perfectly textured every time:
- Spread the Layers Evenly: This is crucial for both appearance and balanced flavor distribution. Take your time to carefully spread each layer—the Oreo crust, cream cheese, pudding, and Cool Whip—as uniformly as possible across the entire pan. An offset spatula is an excellent tool for this, helping you achieve smooth, clean layers.
- Choose the Right Oreos: Stick to regular Oreo cookies for the crust, not Double Stuffed or any other specialty varieties. The standard ratio of cookie to cream in regular Oreos provides the best texture and stability for the crust when mixed with butter. You can keep the cream in the center of the Oreo when crushing them; it adds to the richness and binds the crumbs.
- Ensure Adequate Chilling: Patience is key! This dessert absolutely needs sufficient time to chill before serving. A minimum of 4 hours in the refrigerator (or 1 hour in the freezer) allows all the layers to firm up completely and the flavors to meld beautifully. Rushing this step will result in a messy, less satisfying dessert.
- Achieve Clean Slices: For a professional, eye-appealing presentation, cut clean lines when serving. To do this, use a sharp knife and clean it with warm water and a paper towel after each slice. This prevents sticky residue from dragging between cuts and keeps your dessert looking pristine.
- Soften Your Cream Cheese: Always ensure your cream cheese is at room temperature and fully softened before you begin mixing. This prevents lumps and allows it to whip up into a light, airy, and fluffy layer that’s easy to spread and contributes to the dessert’s creamy texture.
- Use Instant Pudding and Cold Milk: Verify that you are using *instant* chocolate pudding mix and not the “cook and serve” variety. Instant pudding relies on very cold milk to activate its setting agents quickly and effectively. Ensure your milk is straight from the refrigerator to guarantee the pudding layer becomes thick and firm. Mix thoroughly but don’t overmix once thickened.
- Don’t Skimp on the Cool Whip: Cool Whip provides a wonderful, stable, and light topping that holds its shape much better than homemade whipped cream, especially for make-ahead or frozen desserts.
- Adjust Sweetness to Taste: If you prefer a less sweet dessert, you can slightly reduce the amount of granulated sugar in the cream cheese layer, though the specified amount is generally well-balanced.
Frequently Asked Questions About Chocolate Lasagna
While you can technically make your own homemade whipped cream, we highly recommend sticking with Cool Whip for this recipe. Cool Whip contains stabilizers that allow it to hold its shape much longer and perform significantly better when the dessert is refrigerated or frozen. This stability is crucial for the overall structure and longevity of your Chocolate Lasagna. If you do opt for homemade whipped cream, be aware that it may not hold up as well over time, particularly if you plan to freeze the dessert or store it for more than a day.
Absolutely! This Chocolate Lasagna is an excellent make-ahead dessert, which is one of its most appealing features, especially when entertaining. You can prepare the entire dessert up to 3 days in advance. Simply cover it tightly with plastic wrap and store it in the refrigerator until you’re ready to serve. Making it ahead allows the flavors to deepen and meld beautifully, often making it taste even better on the second or third day.
Yes, this Chocolate Lasagna is perfectly freezer-friendly, making it an ideal dessert for future enjoyment or for large batch preparation. If you intend to freeze it, ensuring you use Cool Whip (rather than homemade whipped cream) is important, as its stability helps it hold up better in the freezer without becoming watery or separating upon thawing. To freeze, cover the dessert tightly with several layers of plastic wrap, followed by a layer of aluminum foil to prevent freezer burn. Place it in the freezer for up to 1-2 months. When you’re ready to enjoy, simply defrost it in the refrigerator for a few hours until it’s easy to slice, or serve it slightly frozen for a refreshing, almost ice cream-like dessert experience.
A standard 9×13 inch baking dish (glass or ceramic) is ideal for this recipe. The size ensures you have enough room for all the delicious layers and allows for easy slicing into generous portions.
More Delicious No-Bake Desserts to Try
If you’ve fallen in love with the ease and deliciousness of no-bake desserts, you’re in luck! There are many other fantastic recipes that don’t require an oven. Here are a few more favorites to add to your repertoire:
- No Bake Salted Caramel Pie Recipe
- Oreo Pie No Bake Recipe
- No Bake Peanut Butter Oatmeal Bars Recipe
- The Best Strawberry Lasagna Recipe
- Chocolate Milkshake Recipe
I truly hope you enjoy making and devouring this incredible Chocolate Lasagna Recipe as much as my family and I do. It’s more than just a dessert; it’s a guaranteed crowd-pleaser and a simple way to bring a little extra sweetness to any occasion. Don’t forget to leave a comment with your feedback—I’d love to hear how it turned out for you!
Pin
Chocolate Lasagna Recipe
Ingredients
- 1 pkg regular Oreo cookies Not Double Stuff – about 36 cookies
- 6 Tablespoon butter melted
- 8 ounce package cream cheese softened
- 1/4 cup granulated sugar
- 2 Tablespoons cold milk
- 12 ounce cool whip divided
- (2) 3.9 oz. Chocolate instant pudding
- 3 1/4 cups cold milk
- 1 cups mini chocolate chips you can do more if you want
Instructions
-
Begin by crushing 36 regular Oreo cookies. For the finest and most consistent crumbs, I recommend using a food processor; pulse until they resemble fine sand. Alternatively, place them in a large ziplock bag and crush them thoroughly with a rolling pin. Ensure no large chunks remain.
-
Transfer the crushed Oreo crumbs to a large bowl. Pour in the 6 tablespoons of melted butter and mix well with a fork until all the crumbs are evenly moistened and fully incorporated. This mixture forms your crust. Press the buttery crumbs firmly and evenly into the bottom of a 9×13 inch baking dish. Refrigerate the crust for at least 15-20 minutes while you prepare the next layers to help it set.
-
In a separate medium bowl, beat the softened cream cheese with an electric hand mixer until it is light, fluffy, and completely smooth. Add 2 tablespoons of cold milk and the granulated sugar, continuing to mix until fully combined and creamy. Gently fold in 1 and ¼ cups of Cool Whip until no streaks are visible and the mixture is uniformly airy. Carefully spread this creamy mixture over your chilled Oreo crust, ensuring an even layer across the entire pan.
-
In another bowl, whisk together the two packages of chocolate instant pudding mix with 3 and ¼ cups of cold milk. Whisk continuously for 2-3 minutes until the pudding visibly thickens to a spreadable consistency. Immediately spread this thickened chocolate pudding evenly over the cream cheese layer using a spatula. Allow the dessert to rest for about 5 minutes at room temperature (or briefly chill) to let the pudding set further.
-
Finally, spread the remaining Cool Whip (approximately 2 and ¾ cups) over the set pudding layer. Sprinkle the 1 cup of mini chocolate chips evenly over the top for garnish. For optimal setting and flavor, place the dessert in the freezer for 1 hour, or refrigerate for at least 4 hours, before slicing and serving. Enjoy your decadent no-bake Chocolate Lasagna!
Nutrition Facts
Pin This Now to Remember It Later
Pin Recipe
