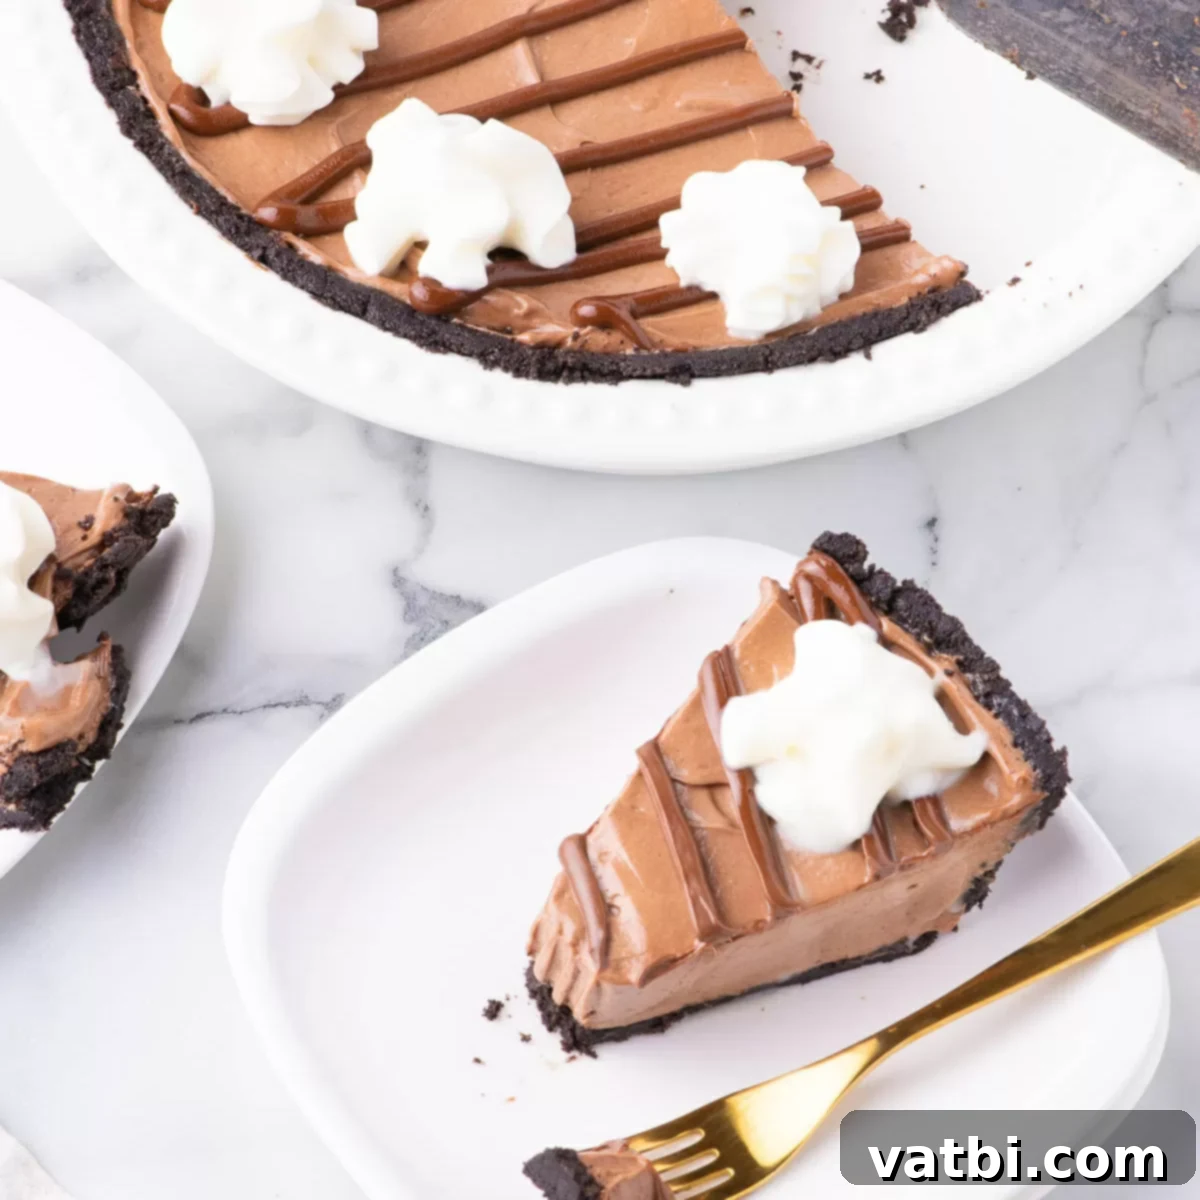
Indulge in Bliss: The Ultimate No-Bake Nutella Cheesecake Recipe for Dessert Lovers
Prepare to be enchanted by this incredibly rich and satisfying No-Bake Nutella Cheesecake. This recipe offers a truly luxurious dessert experience without the need for an oven, making it a perfect choice for any occasion. Featuring a delectable Oreo cookie crust and an unbelievably smooth, indulgent Nutella-infused filling, this easy-to-make treat is an absolute must-try for every Nutella enthusiast and cheesecake connoisseur alike. Its simplicity paired with its decadent flavor profile makes it a standout dessert that will impress with minimal effort.
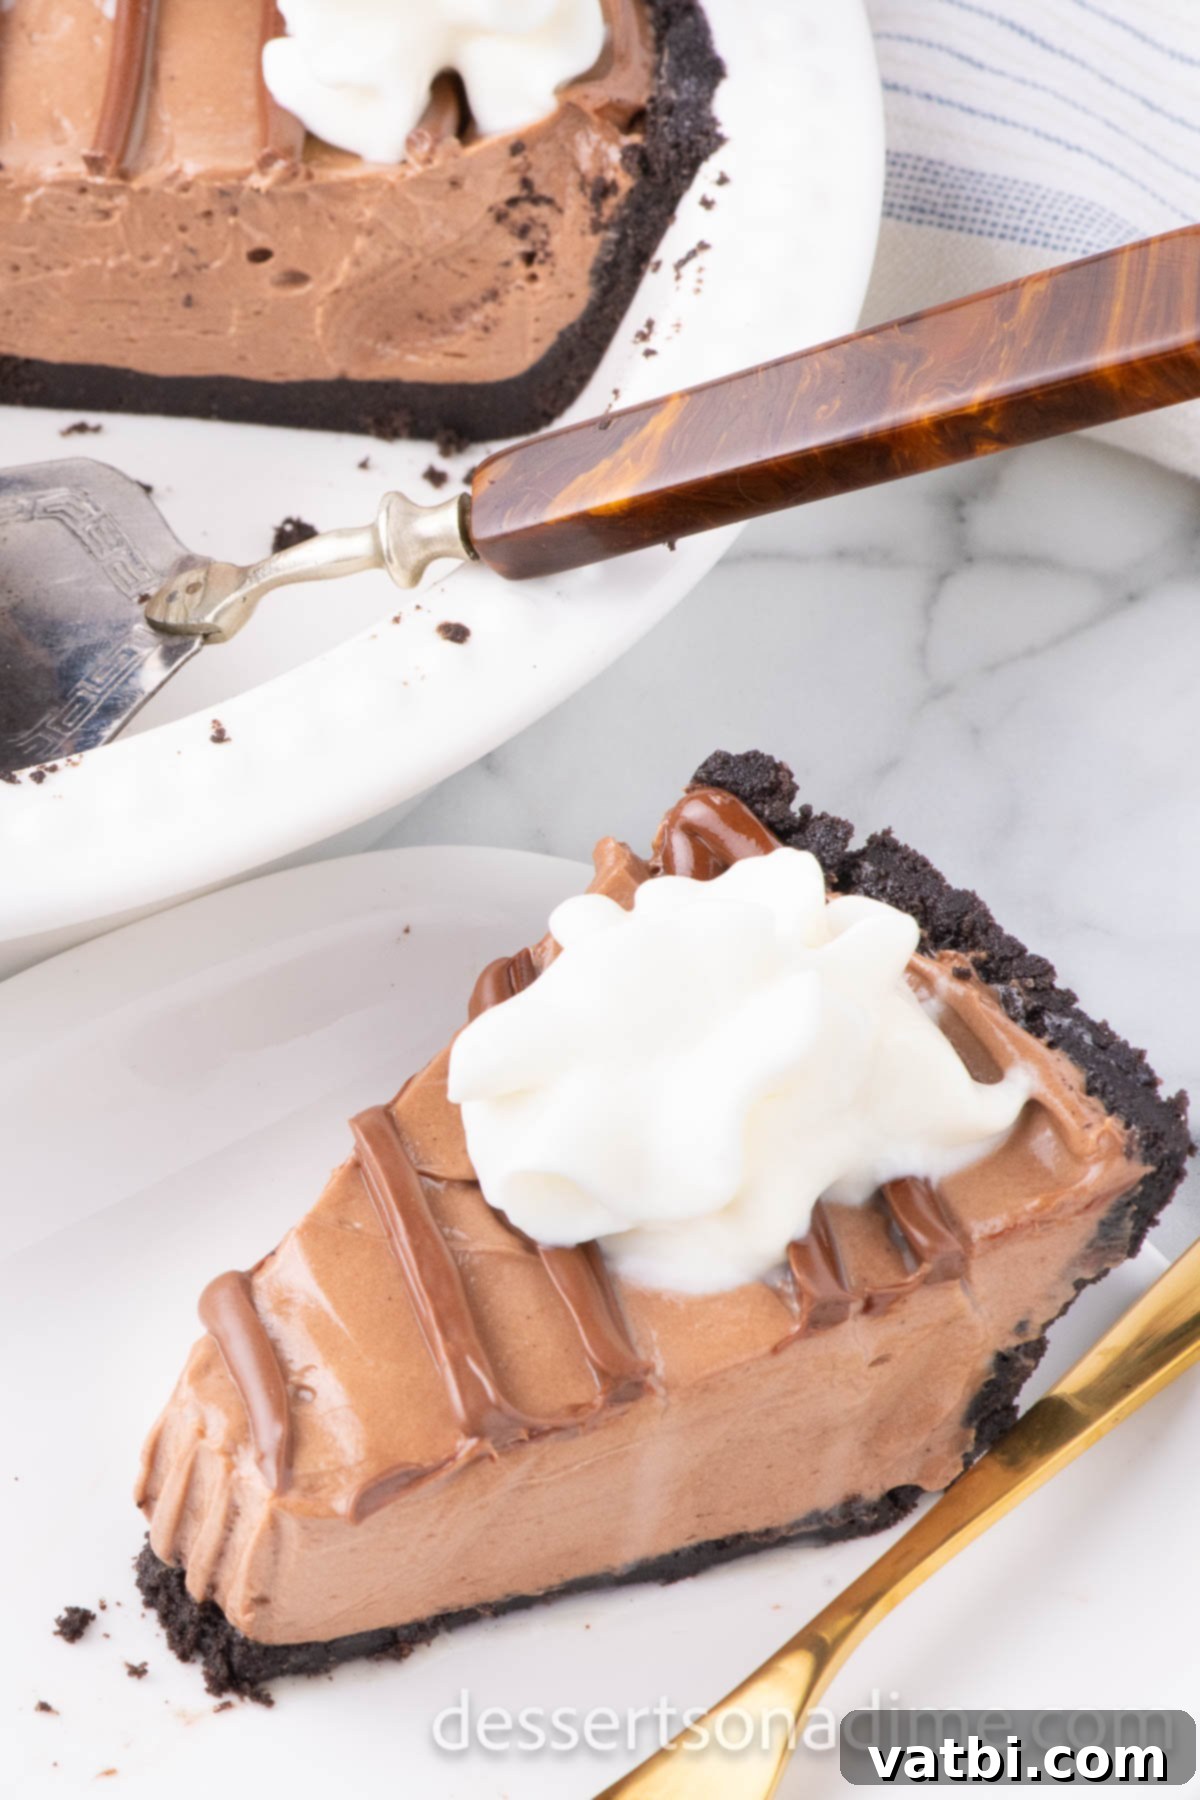
Every single bite of this no-bake dessert recipe is pure bliss, bursting with the irresistible hazelnut and chocolate flavor of Nutella combined with the creamy tang of cheesecake. As someone who could easily enjoy an entire jar of Nutella on its own, this particular spin on our Easy No-Bake Cheesecake Recipe is a definite winner in my book. From the perfectly crunchy Oreo cookie crust that provides a delightful texture contrast to the gloriously rich and velvety filling, this Nutella dessert promises an unforgettable experience that absolutely does not disappoint.
If you’re looking for even more delightful ways to enjoy your favorite chocolate hazelnut spread, you might also like to try our recipes for Nutella Bars and Nutella Pie. These are just a few more amazing recipes that celebrate the magic of Nutella.
Table of contents
- Why We Love This Recipe
- Ingredients You’ll Need
- For the Oreo Crust
- For the Creamy Nutella Cheesecake Filling
- For the Topping and Garnish
- Step by Step Instructions for a Perfect Cheesecake
- Storage Tips
- Can You Freeze This Cheesecake?
- Expert Pro Tips for Success
- Creative Topping Ideas
- More Easy Desserts with Nutella
Why We Adore This No-Bake Nutella Cheesecake
This No-Bake Nutella Cheesecake isn’t just another dessert; it’s a culinary triumph for several wonderful reasons. Firstly, its sheer convenience is unmatched – no oven is required, which means less time spent slaving over a hot stove, especially during warmer months. It’s truly the perfect blend of rich, creamy cheesecake and the nutty, chocolatey goodness of Nutella, all cradled within a delightfully crunchy cookie crust. The entire recipe is incredibly straightforward, making it accessible even for novice bakers. The cream cheese mixture is whipped to perfection and packed with an explosion of flavor that will have everyone asking for more.
Beyond its ease and taste, we love how versatile this recipe is. It’s a fantastic make-ahead dessert, ideal for parties, potlucks, or simply satisfying a sudden sweet craving. The textures are a dream: the crisp crust, the silky-smooth filling, and the optional fluffy whipped cream on top create a multi-sensory experience with every spoonful. It’s genuinely a crowd-pleaser that appeals to both adults and children, guaranteeing smiles around the table. If you’re looking for a show-stopping dessert that delivers on both flavor and simplicity, this Nutella cheesecake is your answer.
Ingredients You’ll Need
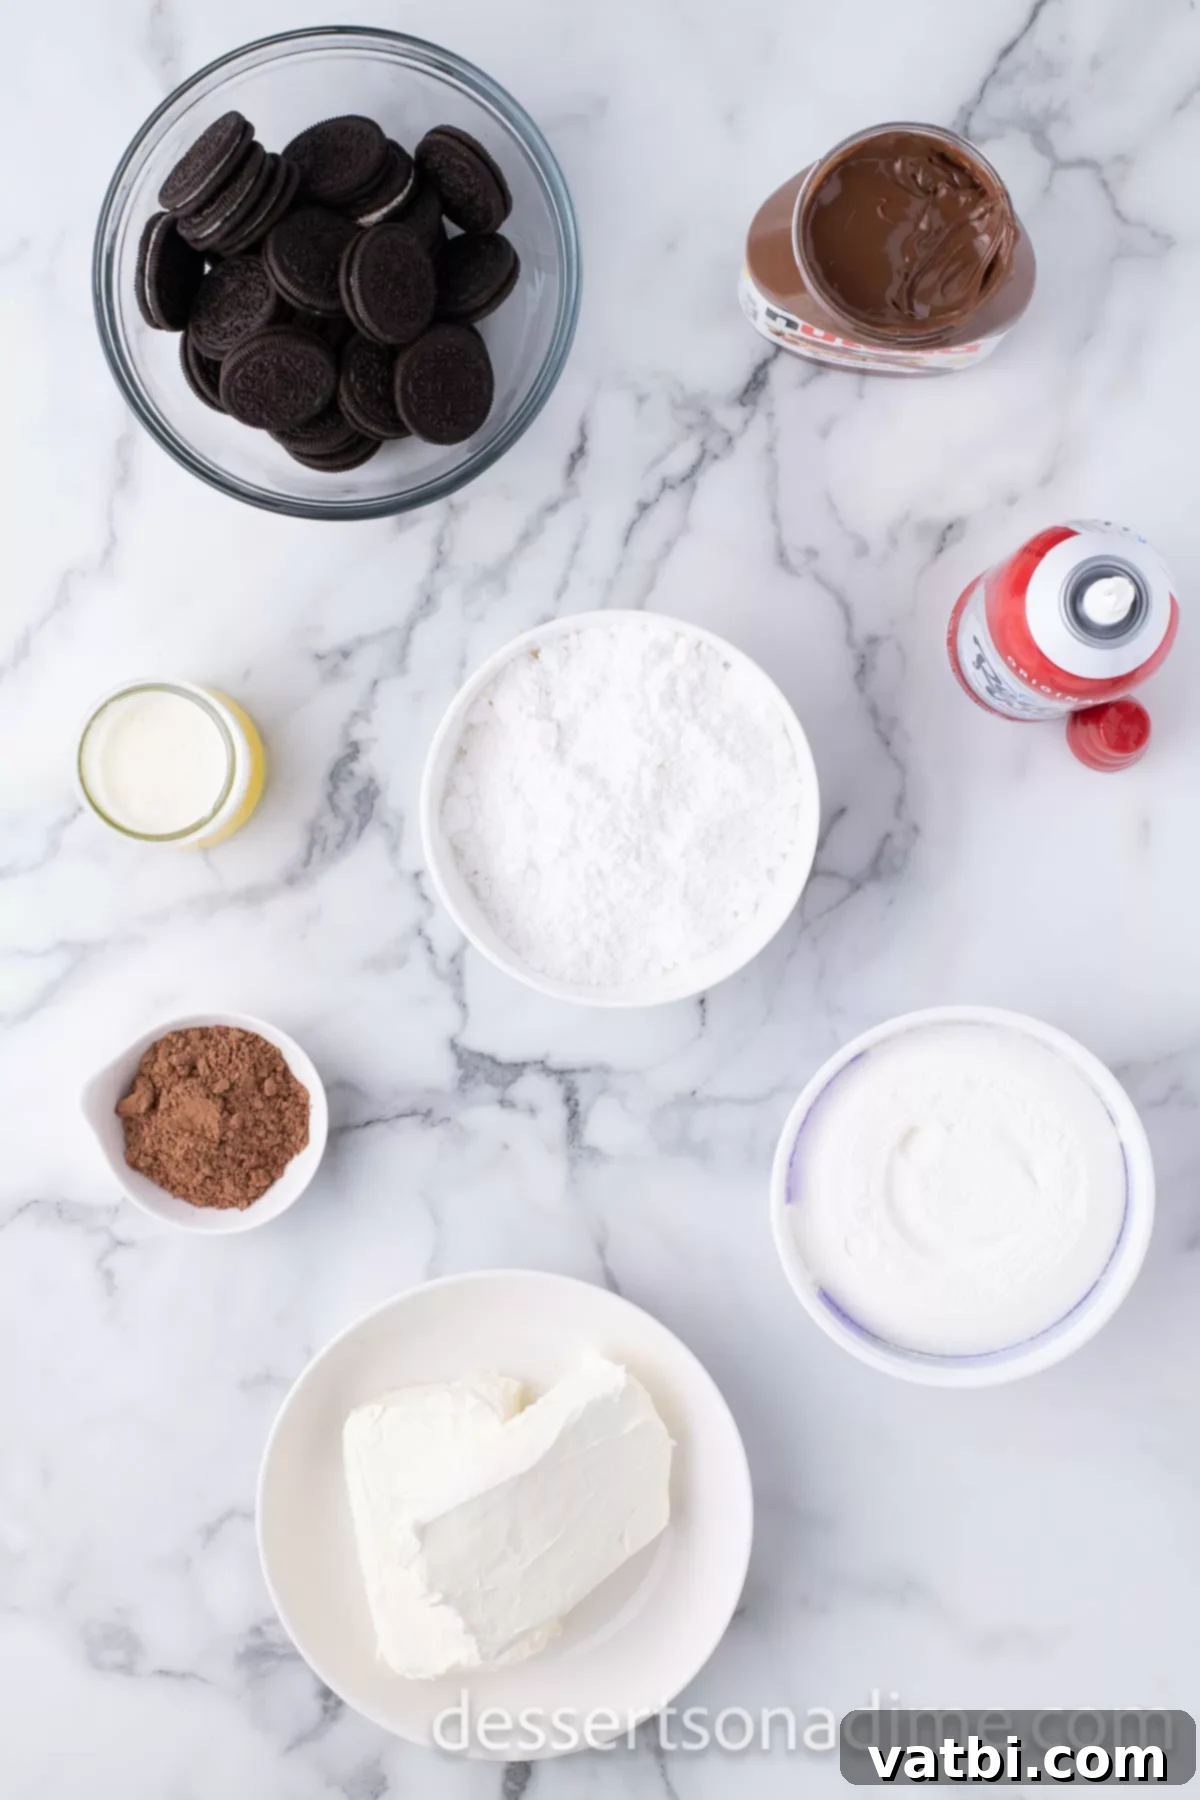
Gathering your ingredients is the first step towards creating this masterpiece. Each component plays a vital role in achieving the perfect balance of flavor and texture. Here’s a detailed look at what you’ll need:
For the Oreo Crust
- Oreo Cookies. You’ll need about 25 regular Oreo Cookies for this recipe. It’s important to use the standard, classic Oreos, not the “double stuffed” or other flavored varieties, as they can alter the consistency and richness of the crust.
- Unsalted Butter. Always opt for real unsalted butter. Melting it and combining it with the crushed cookies creates the perfect binder and adds a rich, buttery flavor to the crust.
For the Creamy Nutella Cheesecake Filling
- Cream Cheese. Two packages (8 ounces each) of full-fat cream cheese, softened at room temperature. This is crucial for a smooth, lump-free filling that blends beautifully with the other ingredients.
- Chocolate Hazelnut Spread. One 13-ounce jar of Nutella is our brand of choice. Its signature rich, creamy, and nutty flavor is what makes this cheesecake truly special and always turns out great.
- Cocoa Powder. Two tablespoons of unsweetened cocoa powder, such as Hershey’s, enhance the chocolate depth of the filling, complementing the Nutella without making it overly sweet.
- Powdered Sugar. One cup of powdered sugar (also known as confectioners’ sugar) provides sweetness and helps achieve that silky-smooth texture. Remember to sift the powdered sugar before using it to ensure there are no lumps in your cheesecake filling.
- Whipped Topping. An 8-ounce container of whipped topping, like Cool Whip, or an equal amount of Homemade Whipped Cream, adds an airy lightness to the cheesecake, making it incredibly creamy and fluffy.
For the Topping and Garnish
- Chocolate Hazelnut Spread. You will need an additional half cup of Nutella for the luscious topping, as the cheesecake filling already takes an entire jar. This extra drizzle amplifies the Nutella flavor.
- Whipped Cream. This is an optional but highly recommended addition for serving. A few dollops of whipped cream add a beautiful visual appeal and a fresh, creamy contrast to the rich cheesecake.
You can find the complete list of ingredients with precise measurements and any additional notes at the bottom of the page in the detailed recipe card.
Step by Step Instructions for a Perfect Cheesecake
Making this no-bake Nutella cheesecake is surprisingly simple. Just follow these easy steps to create a dessert that tastes like it came from a professional bakery!
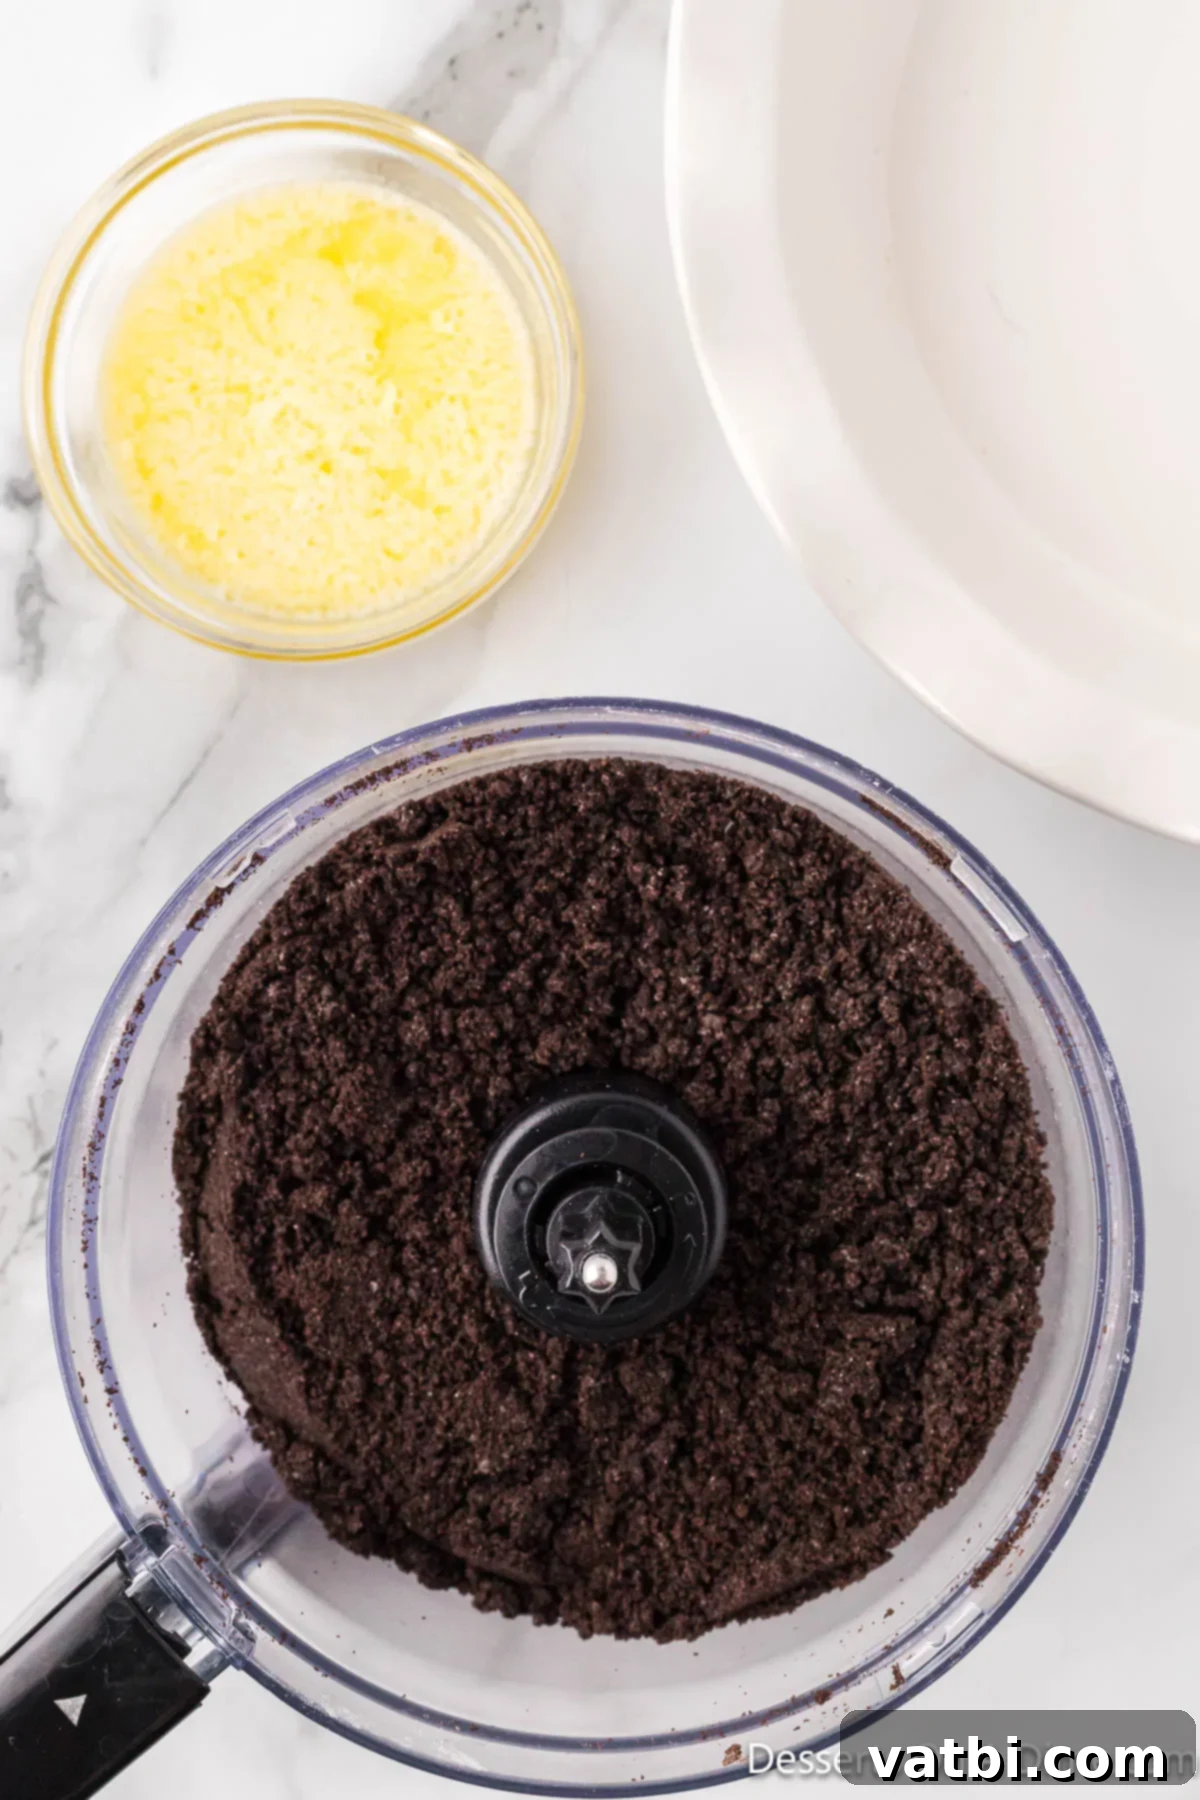
Step 1. Crush the cookies. Begin by crushing your Oreo cookies. You can achieve this easily using a food processor for fine, even crumbs. Alternatively, place the cookies in a sturdy Ziploc bag and bash them with a rolling pin until thoroughly crushed. The finer the crumbs, the more compact your crust will be.
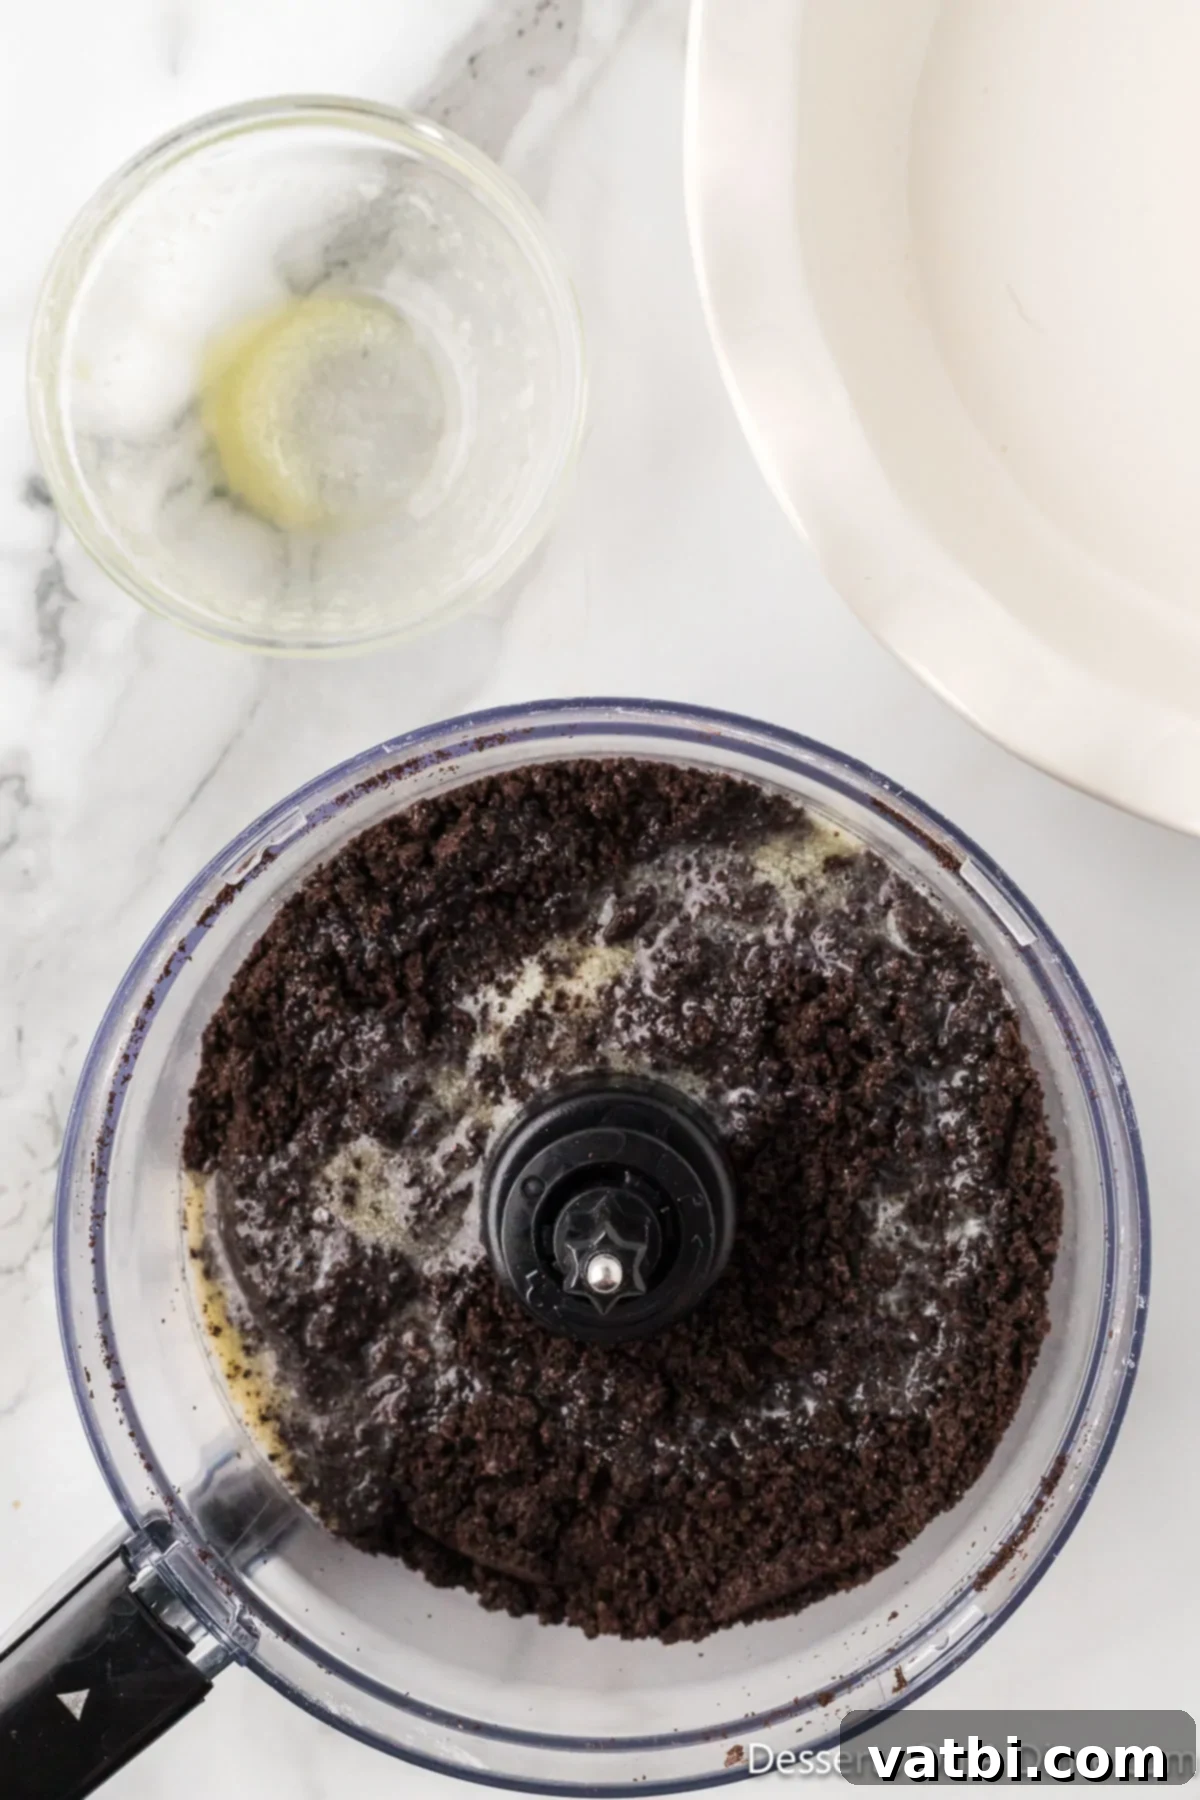
Step 2. Combine cookie crumbs with butter. Once your cookies are crushed, transfer them to a medium bowl. Pour the melted unsalted butter over the crumbs and mix thoroughly until the crumbs are evenly coated. The mixture should resemble wet sand, ready to form a crust.
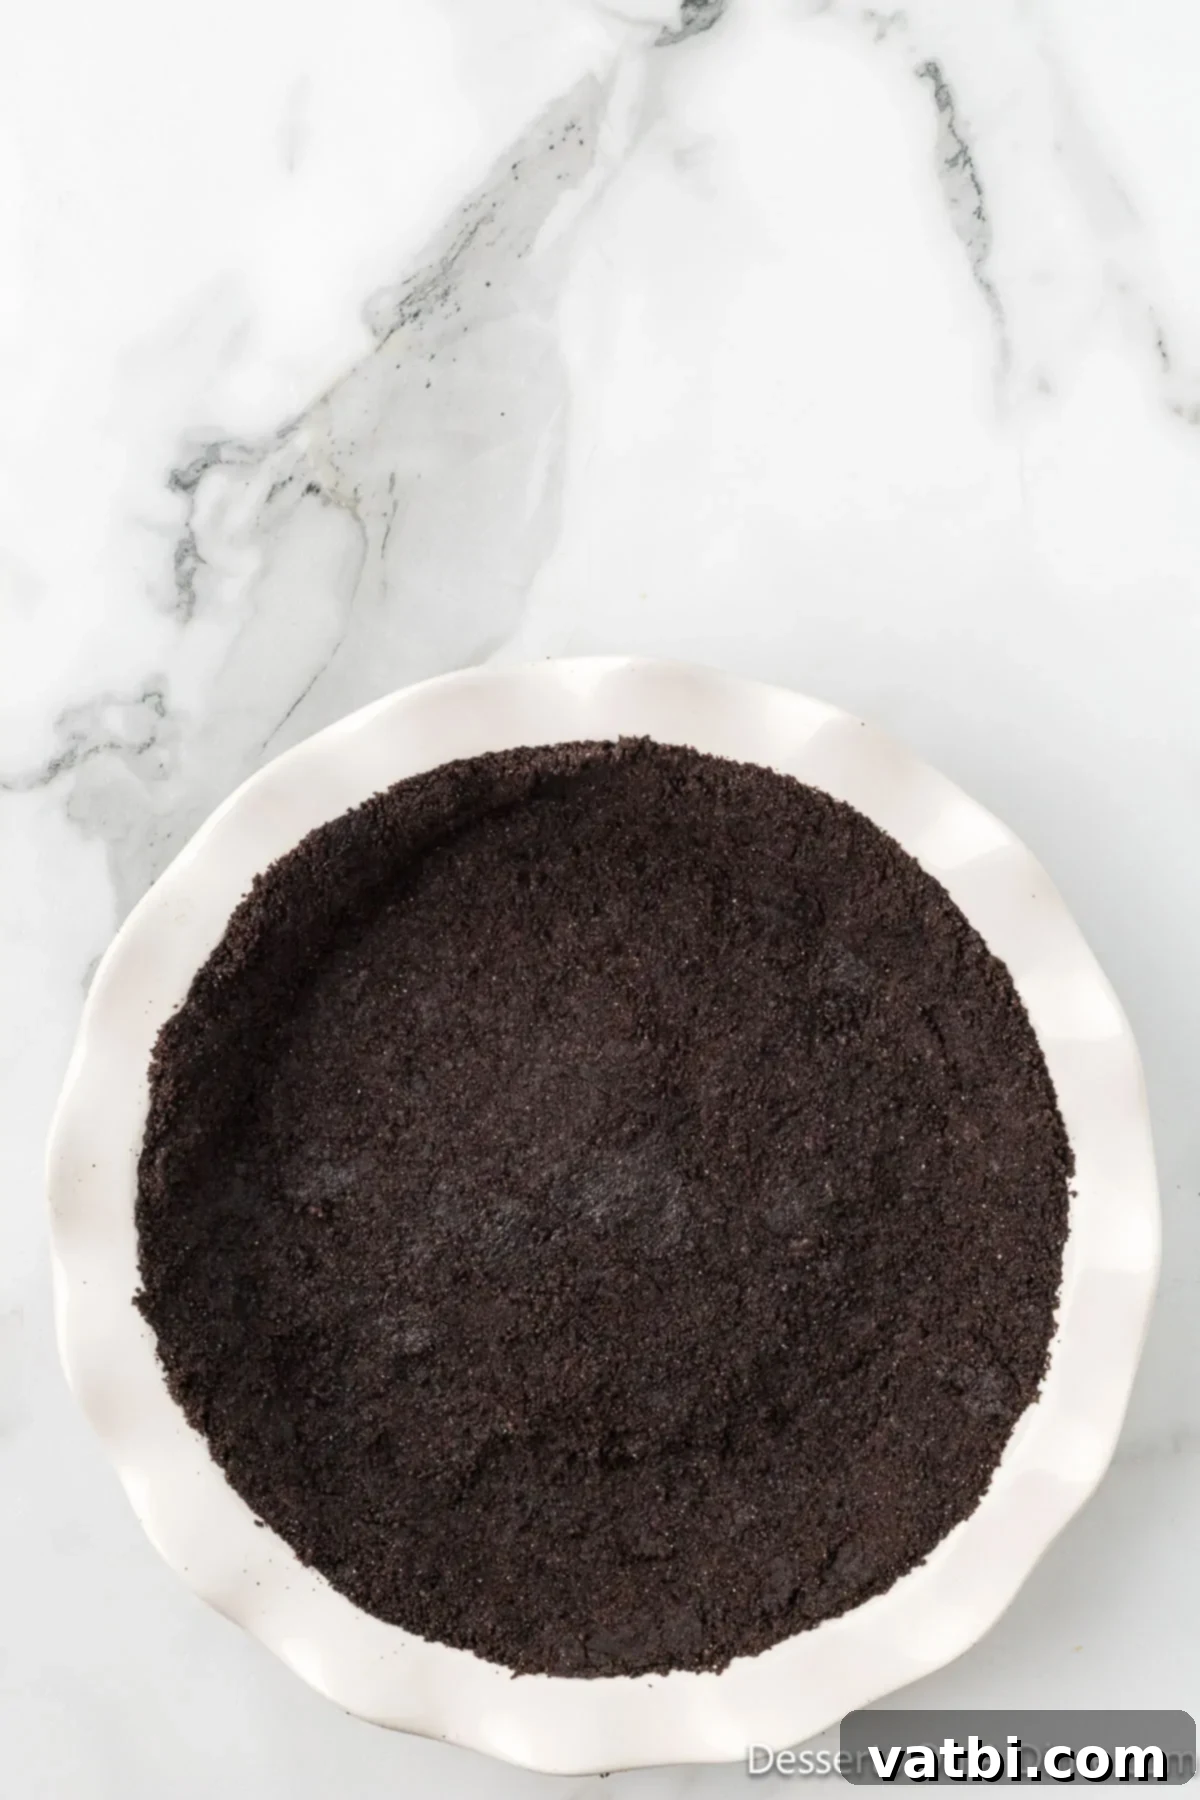
Step 3. Spread the crumbs into a pie plate. Carefully press the buttered cookie crumbs into the bottom and gently up the sides of a 9-inch pie plate. To achieve an even and firm crust, I find it incredibly helpful to use the flat bottom of a glass cup or a measuring cup to firmly press the crumbs down. Once pressed, place the crust in the fridge to chill while you prepare the filling. This crucial step helps the crust set and prevents it from crumbling when you slice the cheesecake.
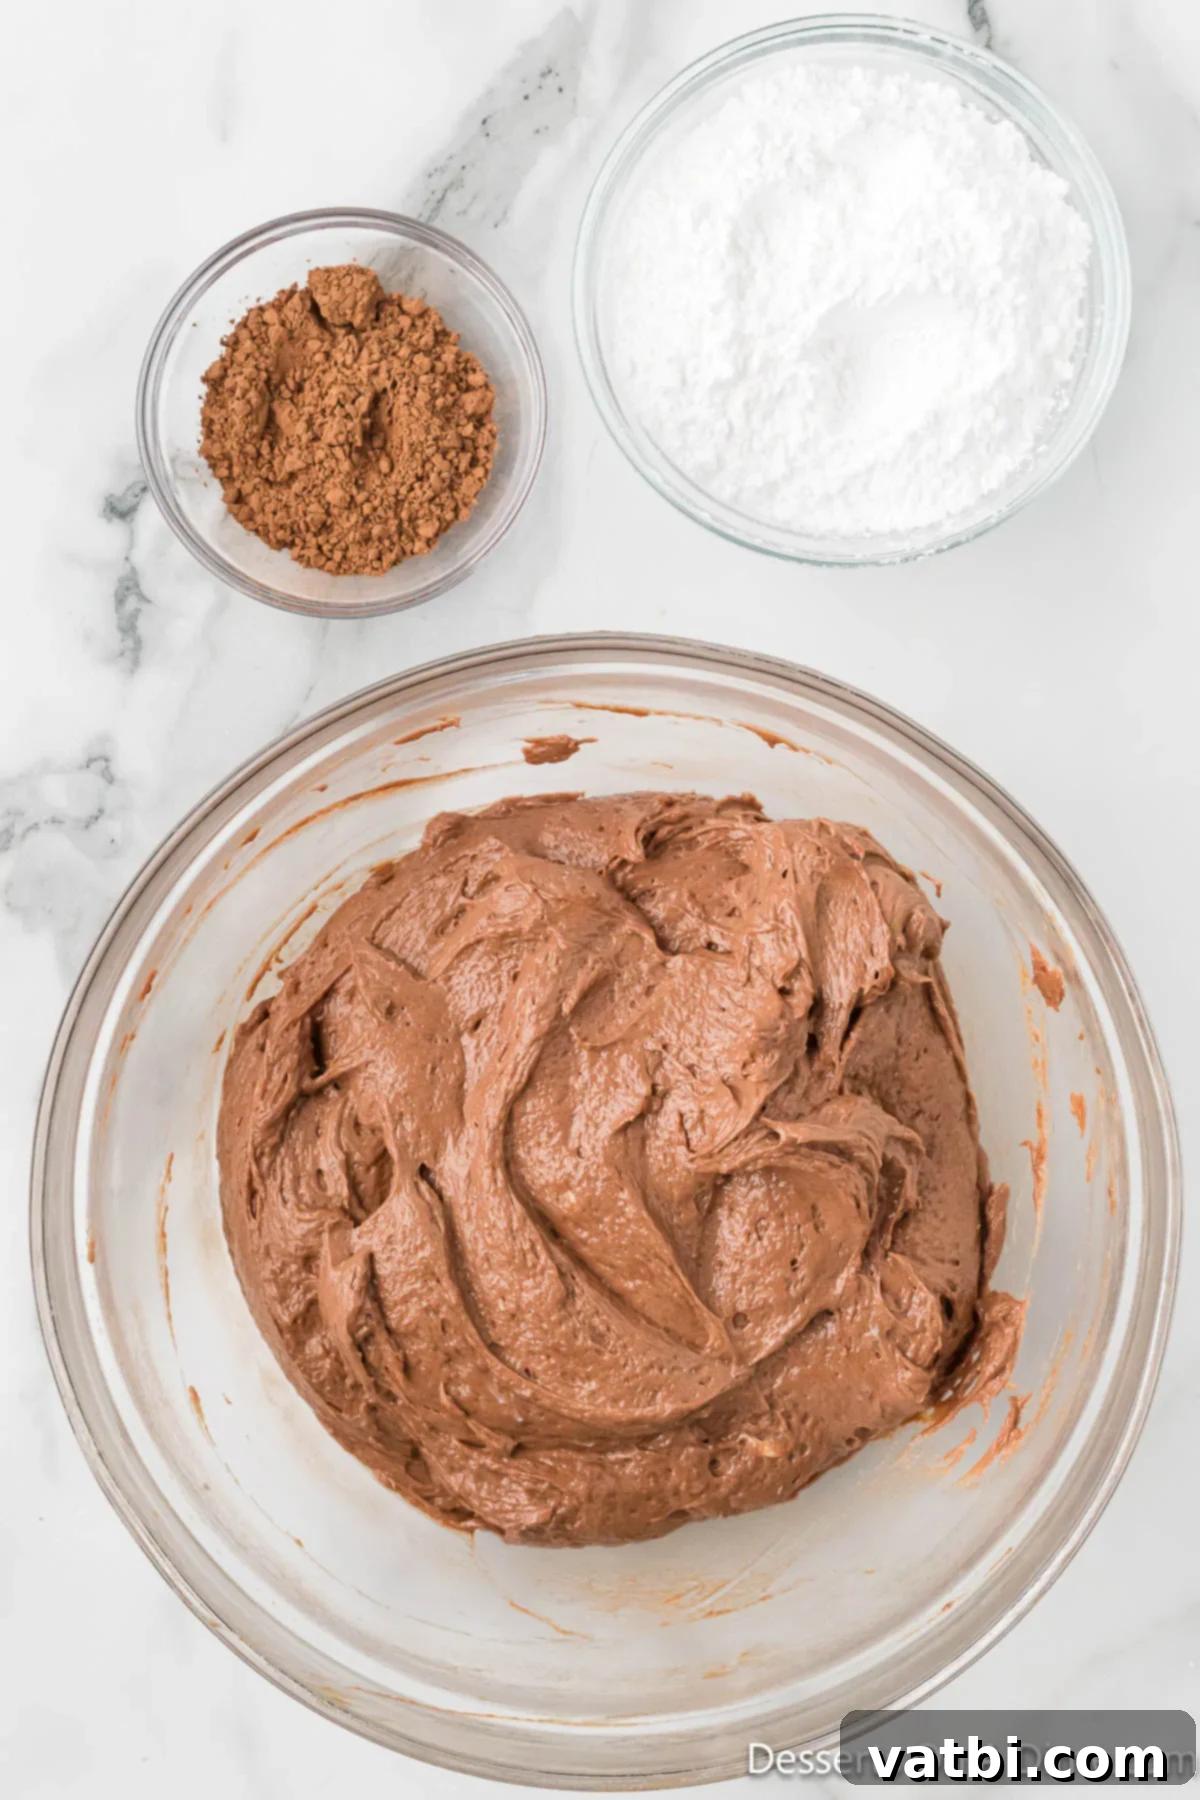
Step 4. Combine the cream cheese and Nutella. In a large mixing bowl, beat together the room-temperature cream cheese and the chocolate hazelnut spread (Nutella). Use either a stand mixer with a paddle attachment or a hand mixer on medium speed. Beat until the mixture is completely smooth, creamy, and thoroughly combined, with no lumps of cream cheese remaining.
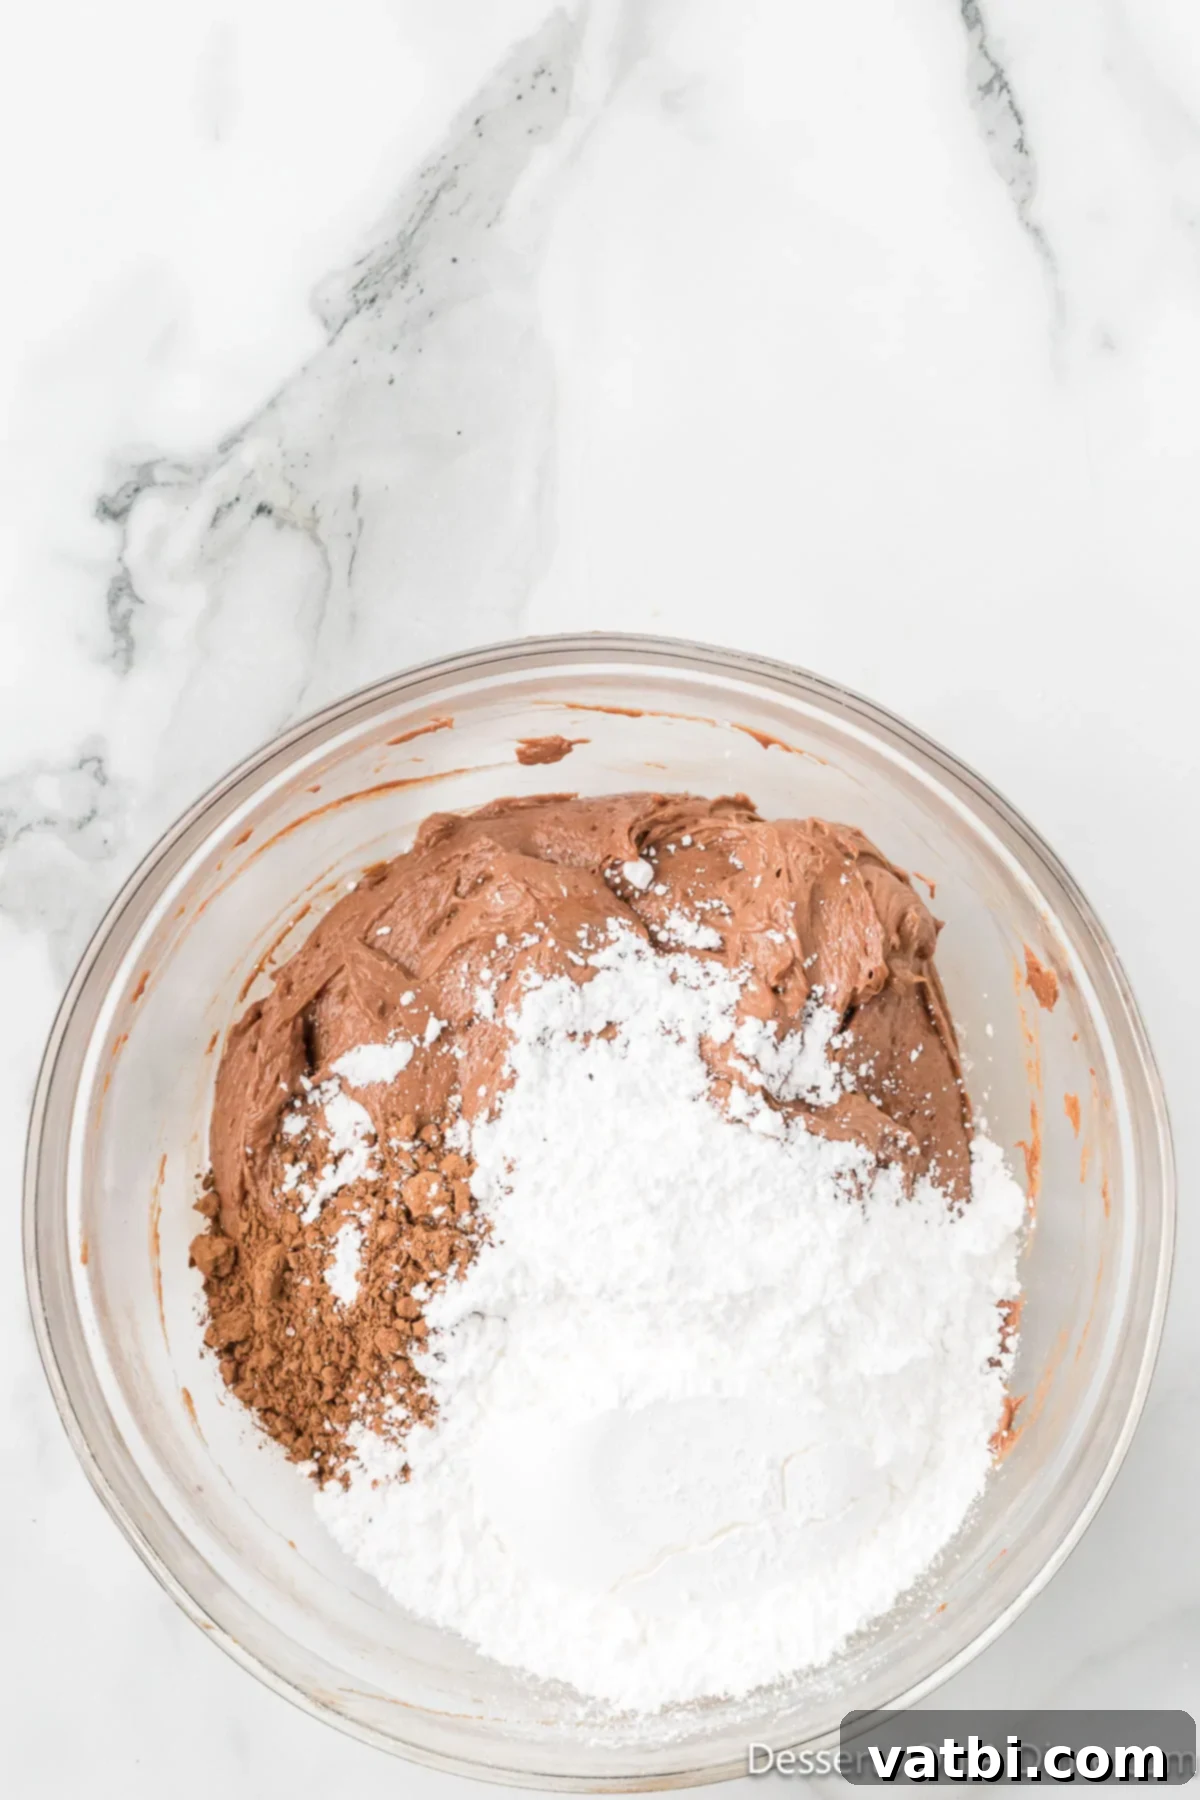
Step 5. Add the cocoa powder and sugar. Once the Nutella and cream cheese are smooth, gradually mix in the sifted cocoa powder and powdered sugar. Continue to beat on low to medium speed until all ingredients are perfectly combined and the mixture is silky smooth, ensuring there are no dry pockets of cocoa or sugar.
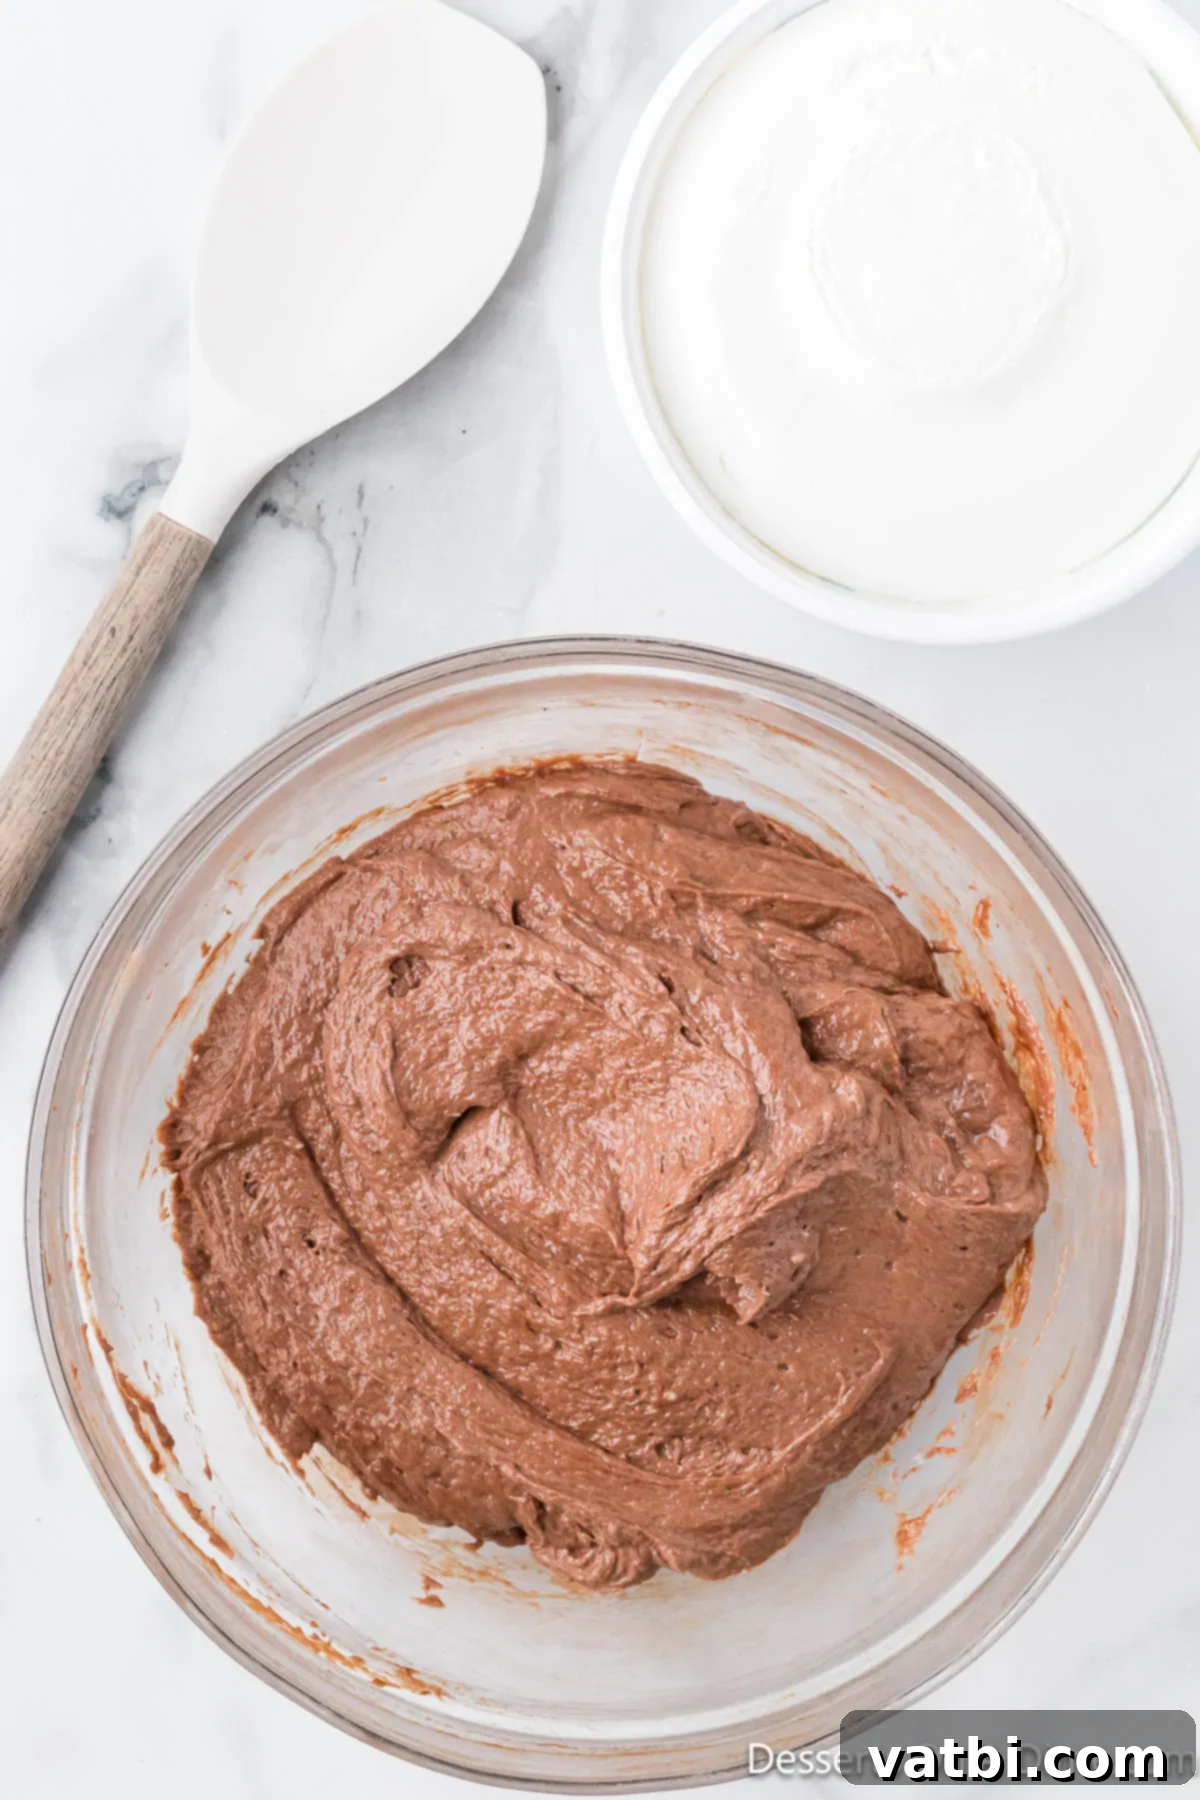
Step 6. Fold in the whipped cream carefully. This step requires a delicate touch. Gently stir in the whipped topping by hand using a spatula, folding it in until it is just combined. The goal is to incorporate the whipped topping without deflating it, which helps maintain the light and airy texture of the cheesecake. Do not use a mixer for this ingredient, as it can cause the filling to become dense.
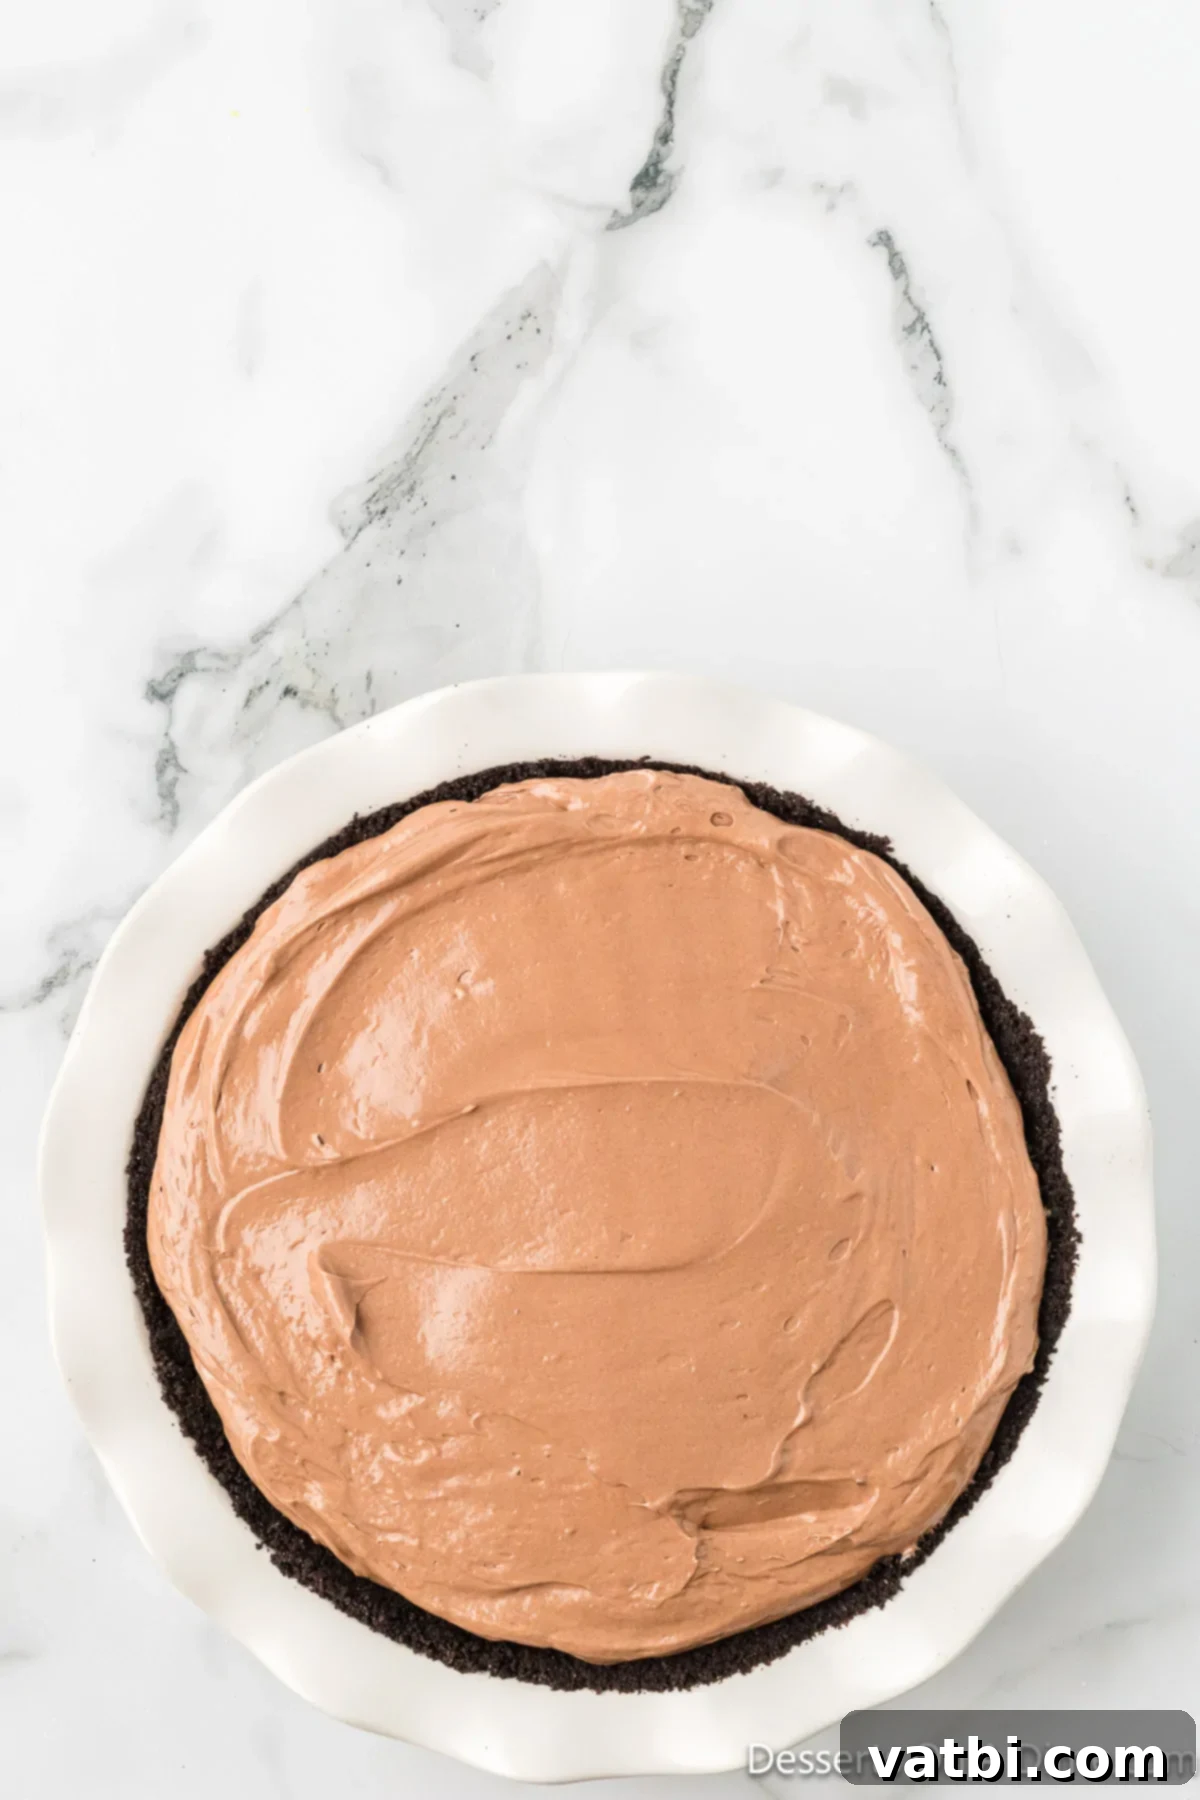
Step 7. Spread the filling into pie crust. Carefully pour the prepared creamy Nutella filling into the chilled Oreo crust. Use your spatula to gently spread the filling evenly across the crust, ensuring a smooth top surface. Once spread, cover the pie plate tightly with plastic wrap and chill it in the refrigerator for at least 4 hours. This extended chilling period is vital for the cheesecake to fully set and achieve its firm, sliceable consistency.
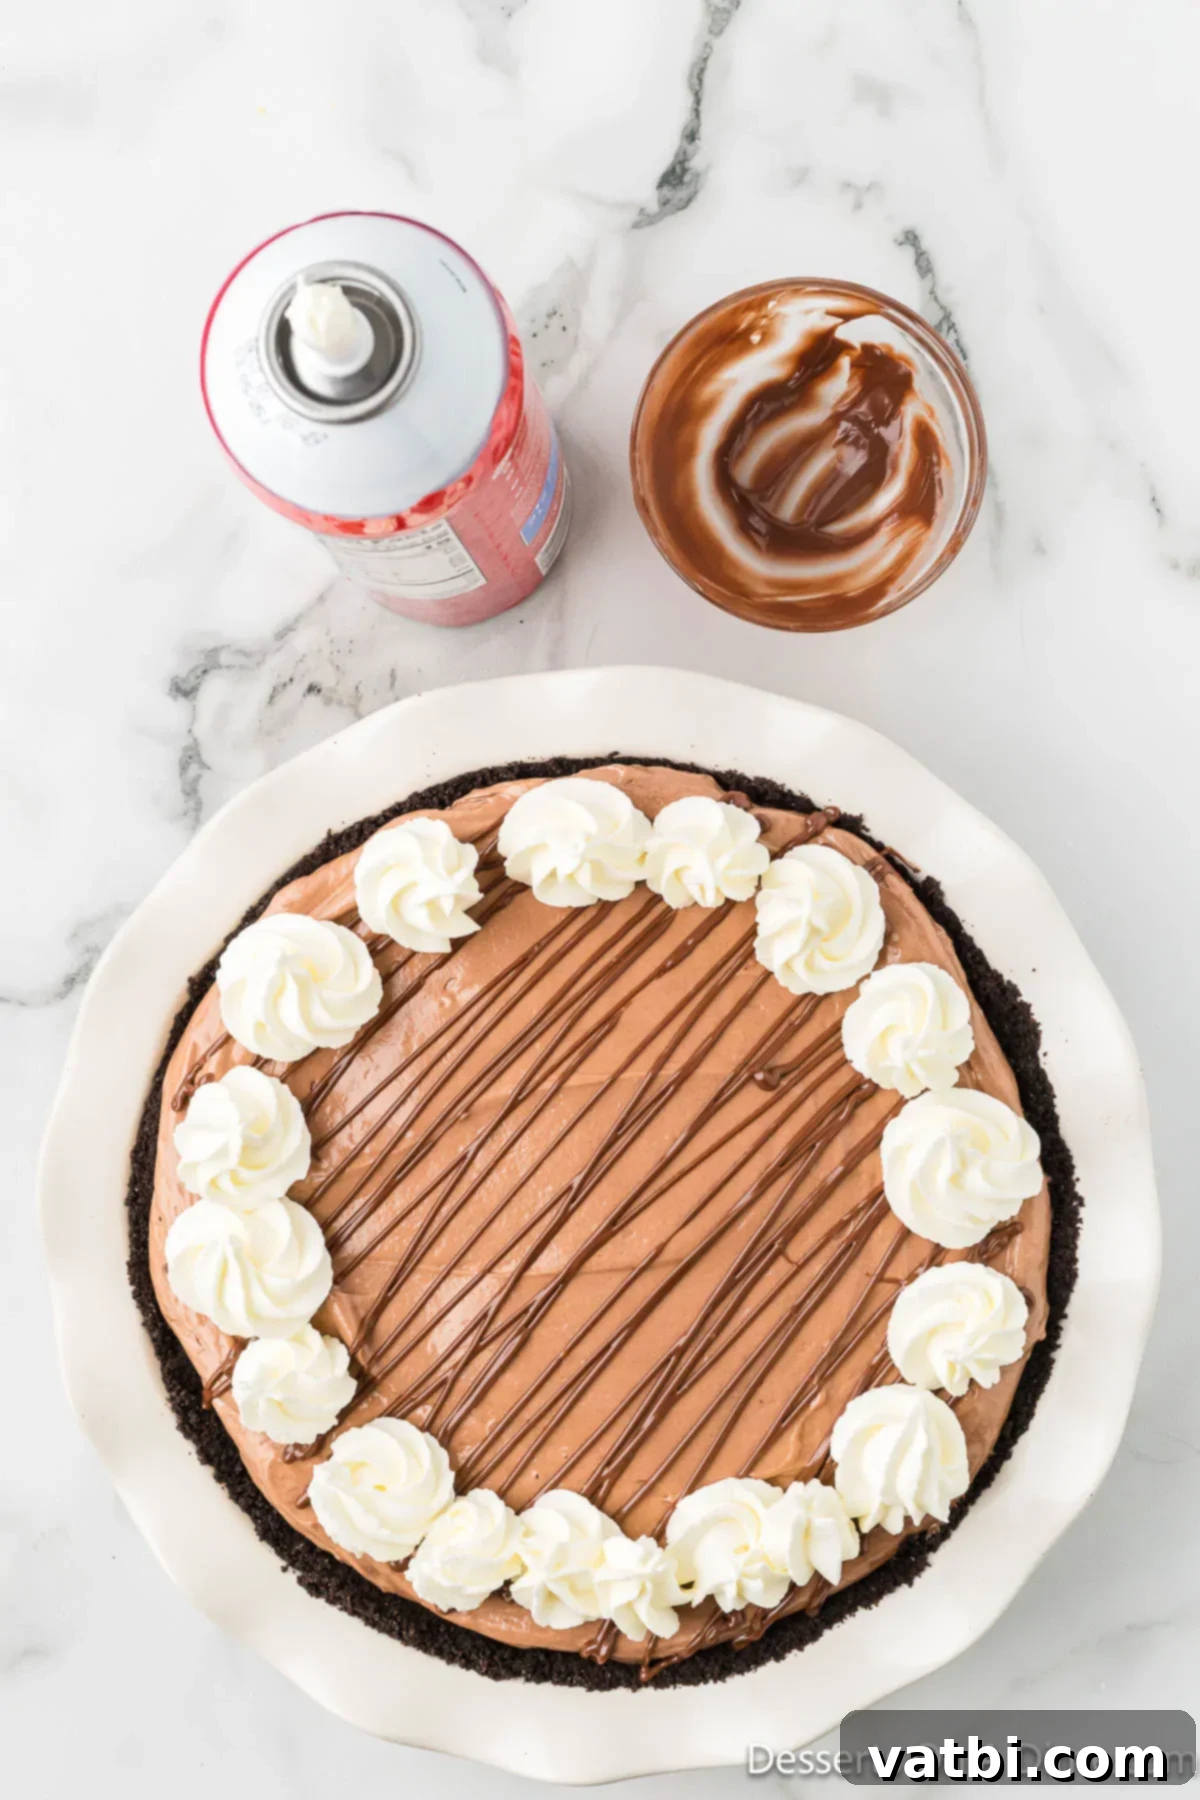
Step 8. Garnish the Pie. Once the cheesecake is thoroughly chilled and set, it’s time for the final touches. Gently melt the additional Nutella in the microwave (in short bursts, stirring frequently) until it’s pourable, then elegantly drizzle it on top of the cheesecake. For an extra flourish, decorate the edges or center with dollops of whipped cream. Now, it’s ready to slice and enjoy this delightful creation!
Storage Tips for Your Cheesecake
One of the many benefits of this no-bake cheesecake is how well it stores, making it an excellent option for meal prep or entertaining. To store leftovers, simply cover the pie plate tightly with plastic wrap or transfer individual slices to an airtight container. Keep the cheesecake refrigerated, and it will remain fresh and delicious for up to 6 to 7 days. This makes it a perfect dessert to prepare in advance for parties, family gatherings, or special occasions, allowing you to focus on other preparations without last-minute dessert stress. The flavors also tend to meld and deepen slightly over time in the fridge, making it arguably even more enjoyable a day or two after preparation.
Can You Freeze This Cheesecake?
Absolutely! This no-bake Nutella cheesecake freezes remarkably well, which is fantastic news for planning ahead or enjoying portions over a longer period. To freeze, ensure the cheesecake is fully set and chilled, and wrap the plain cheesecake (without any toppings or garnishes) tightly first in plastic wrap, making sure to cover all surfaces. Then, wrap it again securely in aluminum foil. This double-layer protection helps prevent freezer burn and keeps the cheesecake fresh.
Place the well-wrapped cheesecake inside a freezer-safe, airtight container for an extra layer of protection. You can freeze the cheesecake for up to 6 weeks. When you’re ready to serve, simply transfer the frozen cheesecake to the refrigerator and allow it to thaw overnight, typically for 8-12 hours. Once thawed, slice it as normal and garnish with fresh whipped cream, a drizzle of warm Nutella, or any of your favorite toppings. Freezing allows you to extend the enjoyment of this delightful dessert significantly!
Expert Pro Tips for Success
Achieving a perfectly creamy and delicious no-bake Nutella cheesecake is easy with a few expert tips:
- Room Temperature Cream Cheese. This is perhaps the most crucial tip for a velvety smooth filling. Ensure your cream cheese has been softened at room temperature for at least 30-60 minutes before mixing. Cold cream cheese will result in a lumpy mixture that’s difficult to combine and won’t yield that desired smooth, creamy texture.
- Block of Cream Cheese. Always use block cream cheese for this recipe, not the whipped or spreadable kind found in tubs. Block cream cheese has a firmer consistency and higher fat content, which is essential for the cheesecake to set properly and maintain its structure.
- Choosing the Right Pan. We successfully used a regular 9-inch pie dish, and it turned out great. However, for a more elegant presentation and easier slicing and serving, you can also use a 9-inch springform pan. A springform pan allows you to release the cheesecake from the sides, creating a clean, impressive presentation.
- Allow to Completely Set in the Fridge. Patience is a virtue here! The cheesecake filling requires a minimum of 4 hours to chill and fully set in the refrigerator. Resist the urge to slice it sooner; if you attempt to cut it before it’s properly set, the slices will be soft, messy, and hard to manage. Overnight chilling is even better for the firmest results.
- Crust Customization. While the Oreo crust offers a classic chocolatey base, feel free to swap it out for a regular graham cracker crust if you prefer a different flavor profile. Simply follow the same method, but use crushed graham crackers instead of Oreos. You could also experiment with other cookie types like shortbread.
- Press the Crust Evenly with a Glass. For a neat and compact crust, after spreading the buttered crumbs in the pan, use the bottom of a flat-bottomed drinking glass or a measuring cup to gently but firmly press the crust into the bottom and up the sides of the pan. This technique ensures a smooth, even, and well-packed crust that holds together beautifully.
- Don’t Overmix the Whipped Topping. When folding in the whipped topping, mix just until combined. Overmixing can deflate the air incorporated into the topping, making your cheesecake filling denser than intended.
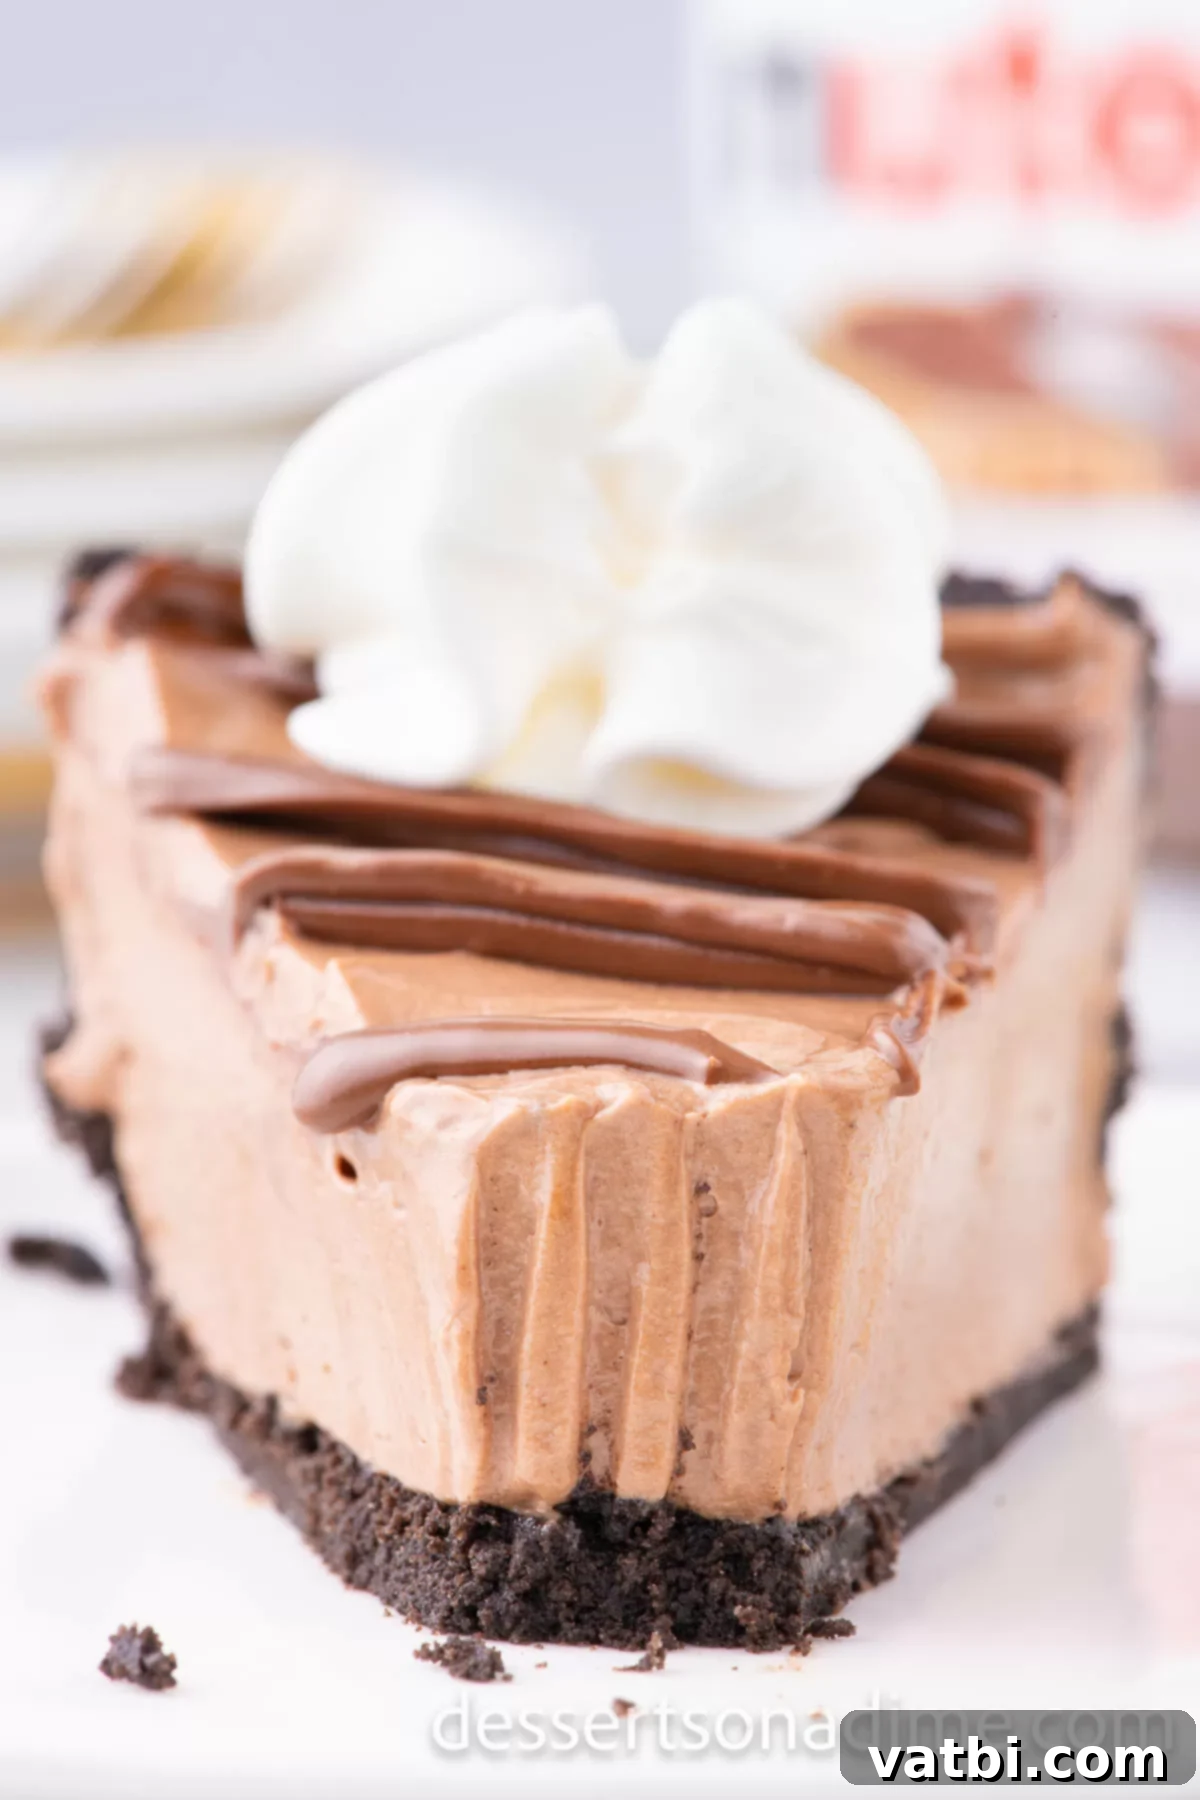
Creative Topping Ideas to Elevate Your Cheesecake
While delicious on its own, adding a topping can truly elevate your No-Bake Nutella Cheesecake. Here are some fantastic ideas to consider:
- Whipped Cream. A classic choice! Freshly made or store-bought whipped cream adds a light, airy contrast to the rich cheesecake and is always a crowd-pleaser. Dollop it generously around the edges or on individual slices.
- Warm Nutella. For an extra layer of hazelnut-chocolate flavor, gently warm a bit of Nutella in the microwave until it’s drizzly. Create an elegant swirl pattern on top of the cheesecake or offer it on the side for guests to add themselves.
- Chocolate Curls or Chunks. Shave some chocolate bars to create delicate curls, or simply chop up your favorite chocolate for a textural crunch. This adds more chocolatey goodness and a sophisticated garnish.
- Powdered Sugar. A simple yet elegant touch. A light dusting of powdered sugar over the top creates a beautiful visual contrast with the dark Nutella filling, making it look incredibly professional.
- Chocolate Drizzle. Beyond Nutella, a drizzle of melted dark, milk, or white chocolate sauce can add another dimension of chocolate flavor and visual appeal to each slice.
- Fresh Berries. For a pop of color and a touch of tartness to cut through the richness, top with fresh raspberries, strawberries, or a mix of seasonal berries. Their vibrant hues make the cheesecake even more appealing.
- Crushed Candy. Feeling extra decadent? Crush some Ferrero Rocher candies for an intense hazelnut-chocolate crunch, or place whole Ferrero Rocher candies artfully on each slice. Other crushed candies like Heath bars or M&Ms could also work for a fun twist.
Remember, if you do not plan to serve this cheesecake right away, it’s best to wait until just before serving to add any fresh garnishes like whipped cream or berries to ensure they look their best.
More Easy Desserts with Nutella You’ll Love
If you’re as enamored with Nutella as we are, you’ll want to explore these other fantastic and easy dessert recipes that feature the beloved hazelnut spread:
- Nutella Cupcakes
- Nutella Stuffed Cookies Recipe
- Easy Nutella Mug Cake
- Nutella Dip
- Nutella Frosting
This easy No-Bake Nutella Cheesecake truly is a spectacular dessert that combines incredible flavor with remarkable simplicity. It’s the ideal treat for satisfying any sweet craving or impressing guests with minimal effort. We highly encourage you to try it today and experience the magic for yourself! Don’t forget to leave a comment below and let us know what you think!
Pin
No Bake Nutella Cheesecake
Ingredients
For the Crust:
- 25 Oreo Cookies
- 5 tbsp unsalted butter melted
For the Cheesecake:
- 2 pkgs Cream Cheese 8 ounces each, softened
- 1 jar Chocolate Hazelnut Spread 13 ounces
- 2 Tablespoons Cocoa Powder
- 1 cup Powdered Sugar
- 1 container Whipped Topping 8 ounces
For the Topping:
- 1/2 cup Chocolate Hazelnut Spread
- Whipped Cream for serving
Instructions
For the Oreo Crust:
-
Crush the Oreo cookies in a food processor. Or place them in a Ziploc bag and bash with a rolling pin.
-
Mix the crushed cookies with melted butter.
-
Press into the bottom and up the sides of a 9-inch pie plate. I like to use the bottom of a glass cup for this.
-
Place in the fridge as you make the filling.
For the Cheesecake Filling:
-
Beat together the cream cheese and chocolate Hazelnut spread with a stand up or hand held mixer until the mixture is smooth.
-
Mix in the cocoa powder and powdered sugar. Mix until combined and smooth.
-
Gently stir in the whipped topping by hand until just combined.
-
Pour the filling into the chilled Oreo crust.
-
Cover and refrigerate for at least 4 hours (or up to overnight).
For Serving:
-
Heat the chocolate hazelnut spread and drizzle it on top of the cheesecake.
-
Decorate with dollops of the whipped cream around the edge of the cheesecake.
-
Then it’s ready to slice, serve and enjoy!
Recipe Notes
Nutrition Facts
Pin This Now to Remember It Later
Pin Recipe
