Decadent Red Velvet Fudge: The Ultimate Easy Microwave Recipe for Any Celebration
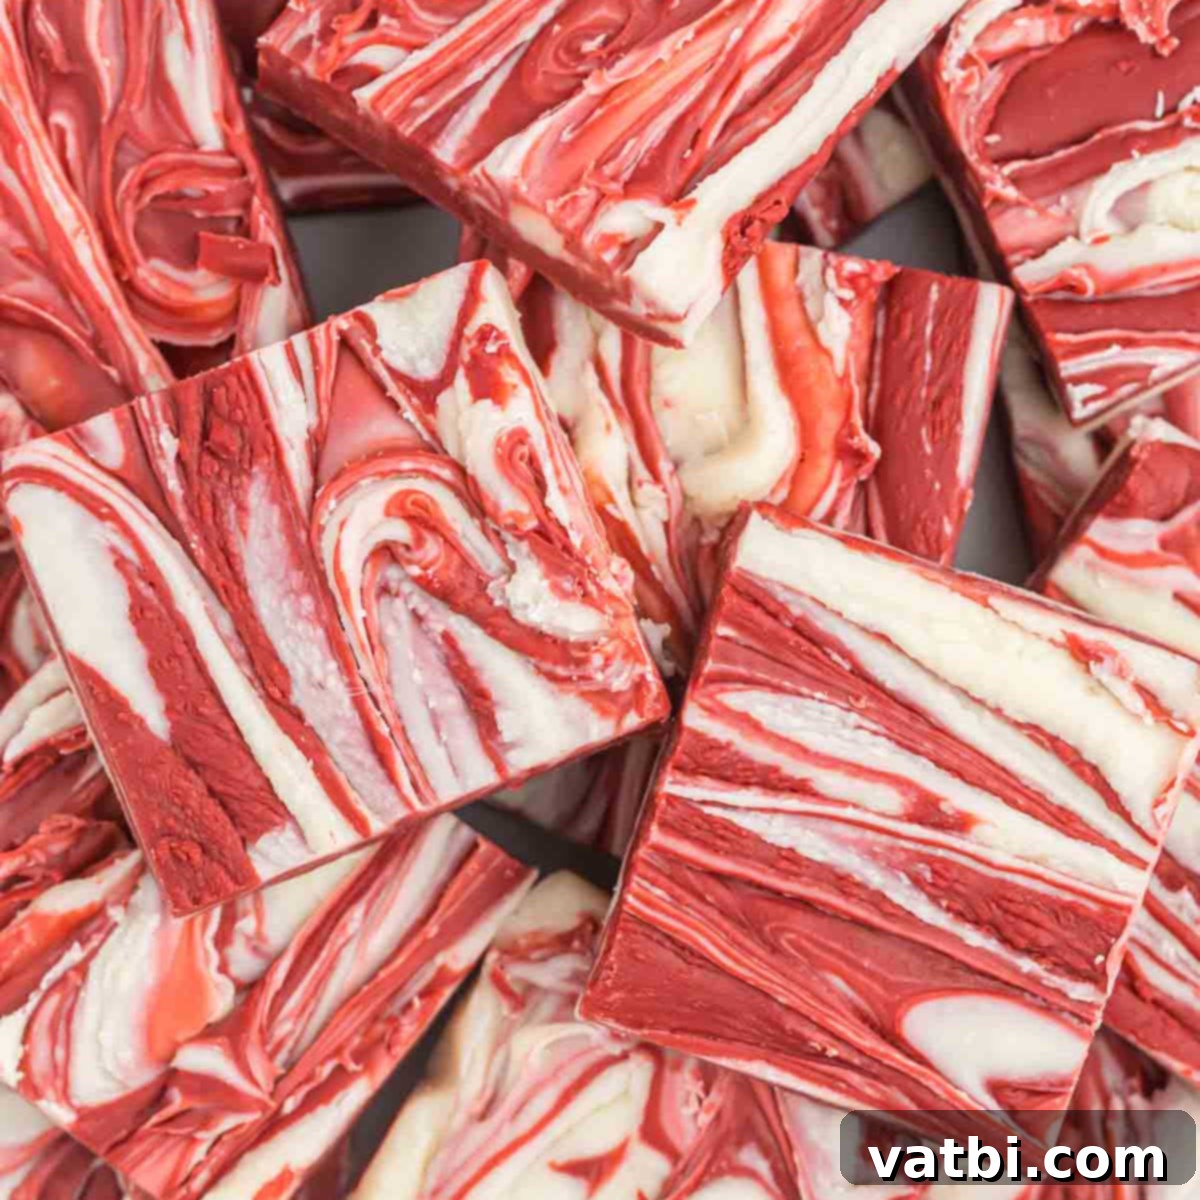
Prepare to delight your senses with this incredibly easy Red Velvet Fudge, featuring stunning swirls of vibrant red and creamy white that make it the perfect showstopper for Valentine’s Day, Christmas, or any special occasion. This simple, no-bake chocolate fudge recipe is not only guaranteed to satisfy even the most intense sweet tooth but also adds a touch of elegance to your dessert spread with minimal effort.
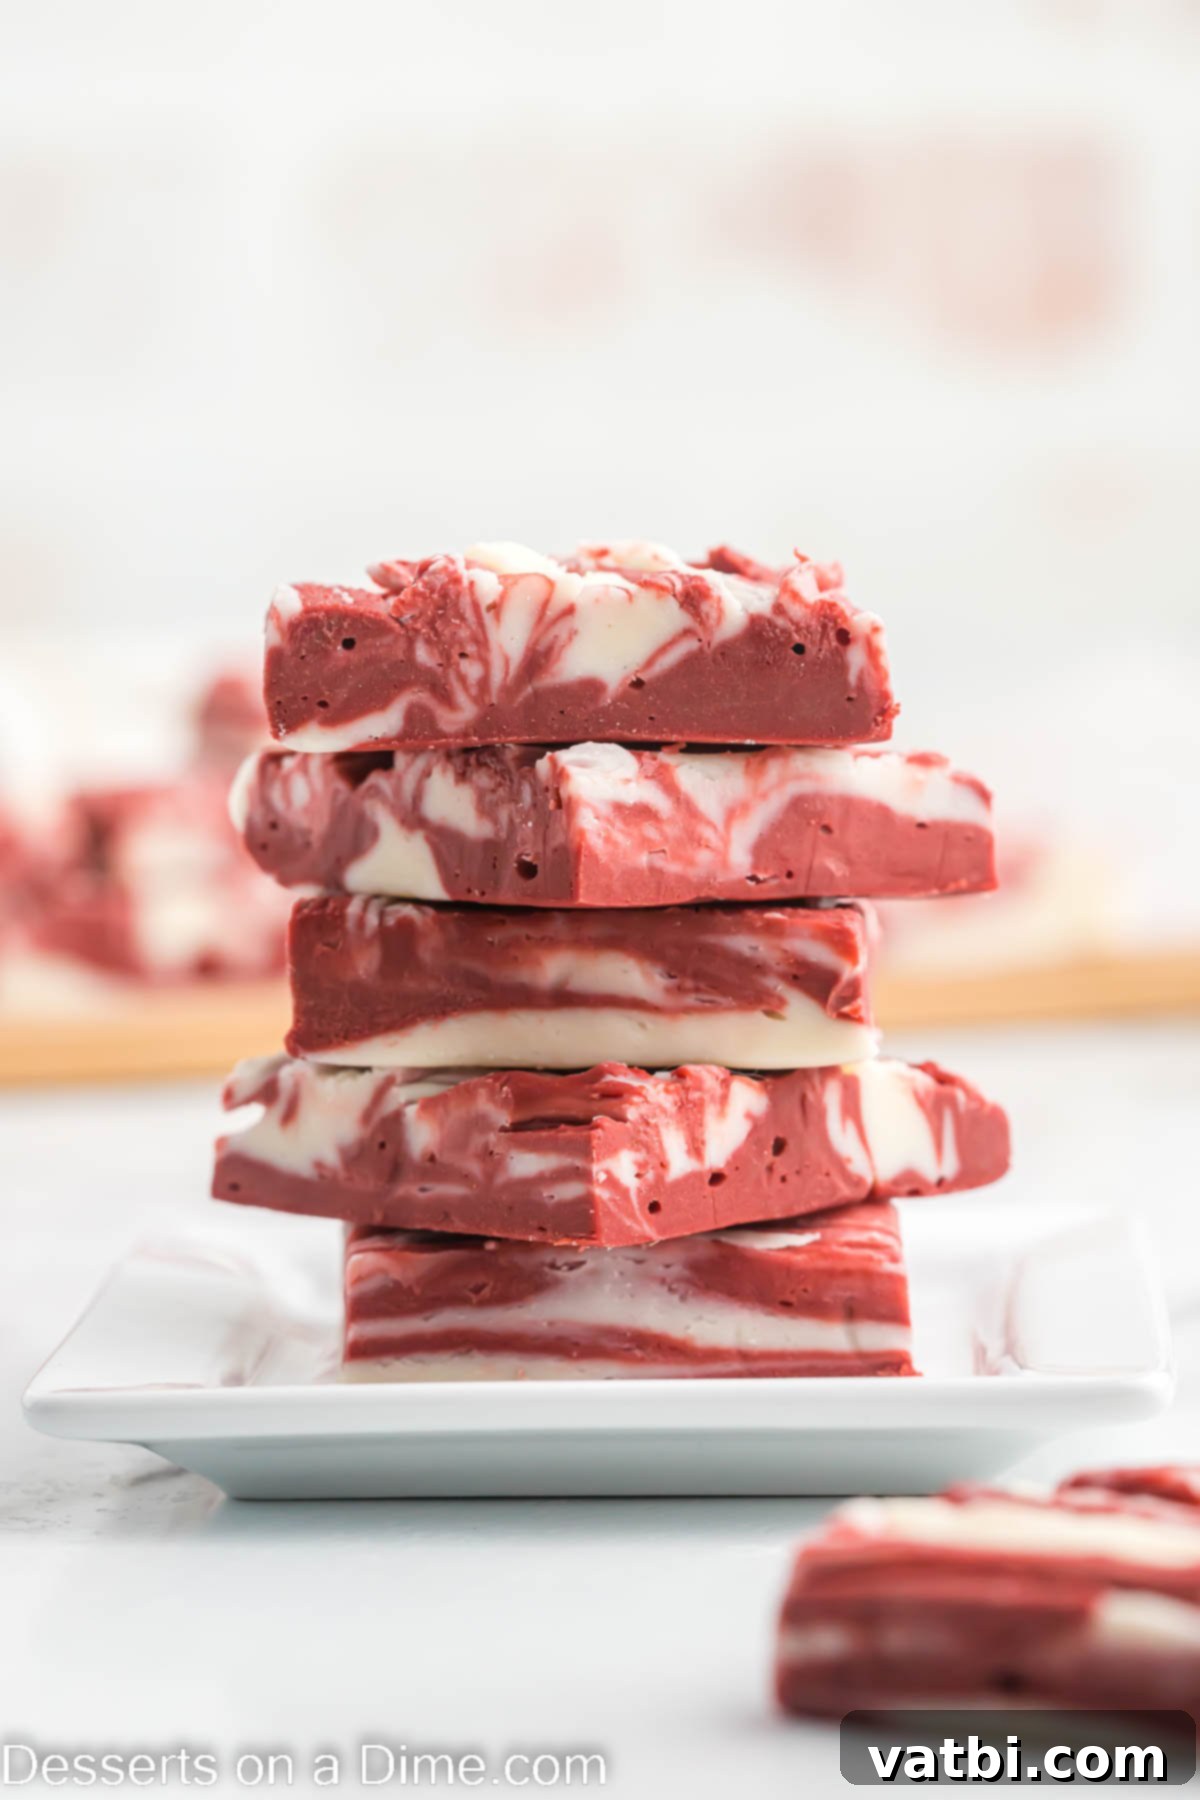
This fantastic fudge recipe encapsulates all the rich, cocoa-infused flavors of classic red velvet dessert in a remarkably easy-to-make confection. If you adore homemade fudge and are a fan of Red Velvet Sheet Cake adorned with its signature cream cheese frosting, then this recipe truly offers the best of both worlds. The convenience is unbeatable – it’s made entirely in the microwave, eliminating the need for any special equipment like a candy thermometer or a stand mixer. You’ll be amazed at how quickly you can create such an impressive sweet treat!
With over a decade of experience crafting various fudge flavors, from classic chocolate to delightful Lemon Fudge, I can confidently say this red velvet version has become a beloved staple in my kitchen. It’s a recipe that consistently delivers on taste, texture, and visual appeal, making it a favorite among family and friends.
Table of contents
- Why This Recipe Works
- Essential Ingredients
- Creative Substitutions & Additions
- How to Make Red Velvet Fudge (Step-by-Step)
- Storage Best Practices
- How to Freeze Fudge for Later
- Expert Tips for Perfect Fudge
- More Easy Fudge Recipes to Try
Why This Easy Red Velvet Fudge Recipe Works
This red velvet fudge recipe is a true kitchen hero for several compelling reasons, making it one of the easiest and most reliable fudge recipes you’ll ever encounter. First and foremost, it requires only a handful of readily available ingredients, simplifying your grocery run and making it accessible for even novice bakers. Forget about complicated candy-making techniques or constantly monitoring temperatures with a candy thermometer – this recipe uses the microwave, streamlining the entire process and virtually guaranteeing success.
The beauty of this simple recipe lies in its speed and efficiency. In just a few minutes of active prep time, you can have a batch of this gorgeous, delicious fudge ready for chilling. This makes it an ideal choice for last-minute desserts, homemade gifts, or simply a quick indulgence. Once you experience how effortlessly this fudge comes together and tastes, it will undoubtedly become a permanent fixture in your recipe collection.
Beyond its ease, this red velvet fudge shines with its versatility for various occasions. The striking red and white swirls make it a naturally festive treat. We regularly prepare this microwave fudge for Christmas gatherings, where its vibrant color perfectly complements holiday decor and cookie platters. It’s also an absolute dream for Valentine’s Day, serving as a romantic and heartfelt homemade gift. Looking for a patriotic dessert? The red hue makes it a fantastic addition to Fourth of July celebrations, especially when served alongside fun treats like Patriotic Crack. Its eye-catching appeal and delicious flavor ensure it’s always a hit, no matter the season or reason.
Essential Ingredients for Red Velvet Fudge
Crafting this delightful Red Velvet Fudge requires only a few key ingredients, each playing a crucial role in achieving its rich flavor and perfect texture. Here’s a closer look at what you’ll need:
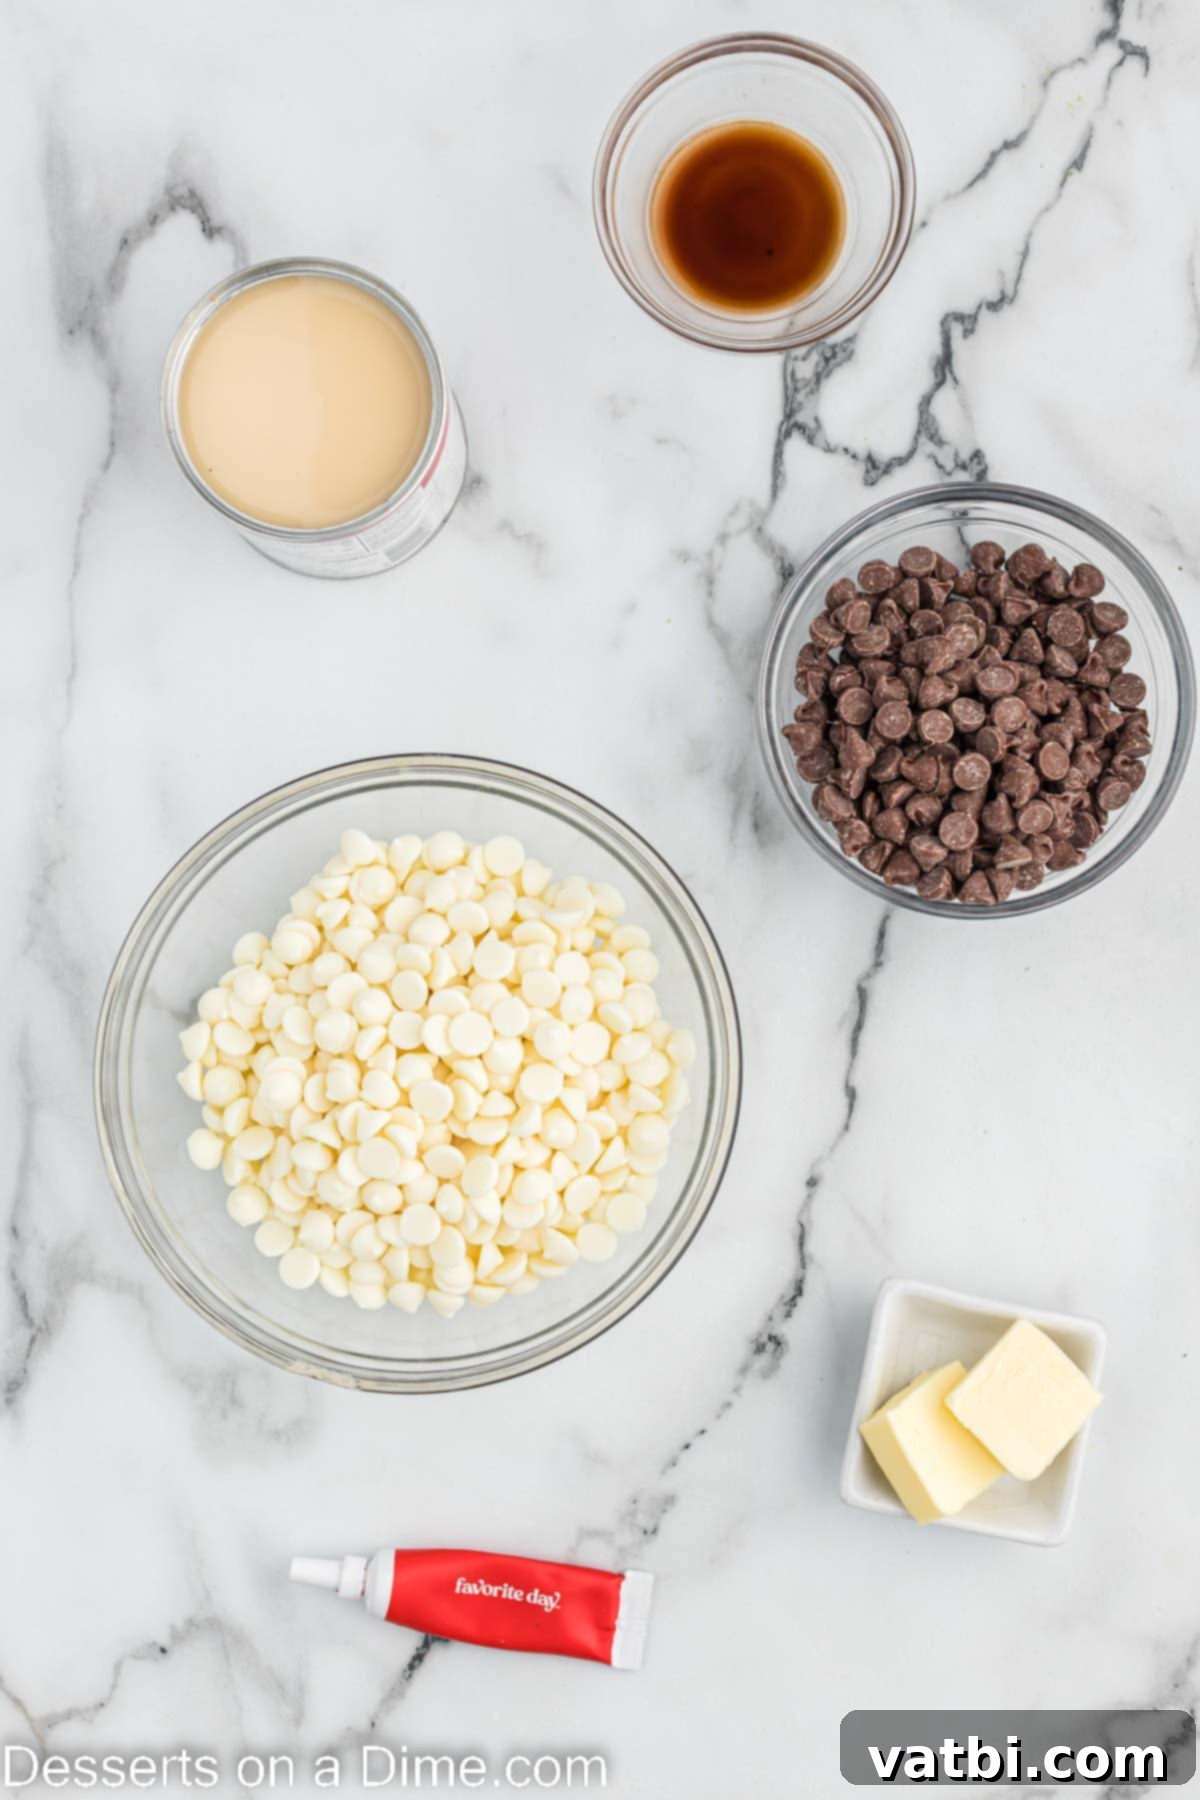
- White Chocolate Chips and Milk Chocolate Chips: The foundation of our fudge. Using a good quality brand of chocolate chips will significantly impact the final flavor and melt consistency. The combination of white and milk chocolate creates a balanced sweetness and depth, while also allowing for the distinct red and white layers.
- Sweetened Condensed Milk: This is the magic ingredient that gives our fudge its irresistible sweetness and smooth, creamy texture. It’s crucial not to substitute this with heavy cream or evaporated milk, as they will not achieve the same firm-yet-creamy consistency needed for fudge.
- Butter: Always opt for real butter in this recipe. Butter adds richness, helps with the texture, and prevents the fudge from becoming too dry.
- Vanilla Extract: Pure vanilla extract is highly recommended for the best flavor. It enhances the chocolate notes and adds a warm, aromatic depth to the fudge.
- Red Gel Food Coloring: To achieve that iconic vibrant red velvet hue, gel food coloring is preferred over liquid. Gel coloring provides a much more intense color without altering the consistency of the fudge mixture. Start with a small amount and add more until you reach your desired shade of rich red.
You can find the precise measurements for these ingredients, along with the full, printable recipe card, at the bottom of this page. Gather these simple items, and you’ll be well on your way to creating a stunning batch of homemade red velvet fudge!
Creative Substitutions and Additions for Your Fudge
While the classic Red Velvet Fudge is absolutely delicious as is, this recipe is wonderfully adaptable! Feel free to customize it with these delightful substitutions and additions to match your taste preferences or the occasion:
- Chocolate Varieties: We’ve used a blend of milk chocolate and white chocolate chips for a balanced sweetness. However, if you prefer a slightly less sweet fudge with a deeper cocoa flavor, you can try using semi-sweet chocolate chips instead of milk chocolate. For an even more intense chocolate experience, a small portion of unsweetened cocoa powder can be mixed into the red portion.
- Crunchy Nuts: Add a wonderful textural contrast by incorporating nuts. Chopped pecans or walnuts are excellent choices that pair beautifully with chocolate and red velvet flavors. You can either fold them into the fudge mixture before chilling or generously sprinkle them on top for a visible crunch. If you’re catering to different preferences, simply sprinkle nuts over half of the fudge before it sets, leaving the other half plain.
- White Chocolate Almond Bark: If you don’t have white chocolate chips on hand, white chocolate almond bark can be a suitable substitute. Keep in mind that almond bark typically has less cocoa butter, so you might need to add 1 to 2 tablespoons of oil or shortening to the mixture to ensure a smooth, pliable consistency.
- Adjusting the Red Color: The red gel food coloring is what gives this fudge its signature red velvet appearance. However, if you prefer to omit it, the fudge will still taste amazing – it just won’t be red! This creates a delicious, simple chocolate and white chocolate swirled fudge, perfect for any time of year.
- Fun Toppings: Before the fudge completely sets, consider adding a variety of festive or complementary toppings. Some fantastic ideas include:
- Coconut flakes: For a tropical twist.
- Crushed candy canes or peppermint: Ideal for a holiday-themed treat.
- Sprinkles: Add a pop of color and fun for birthdays or themed parties.
- Mini marshmallows: For added softness and sweetness.
- Other candies: Chopped candy bars or mini M&M’s can create a playful texture and flavor.
- Flaky Sea Salt: A sprinkle of sea salt on top provides a sophisticated contrast, enhancing the chocolate flavors beautifully.
Experiment with these options to make this easy red velvet fudge truly your own!
How to Make Red Velvet Fudge (Step-by-Step)
Creating this stunning red velvet fudge is incredibly simple, especially with the convenience of a microwave. Follow these easy steps to achieve perfect, swirled squares every time:
- Step 1: Prepare Your Pan. Start by lining a 9×9 inch square pan with parchment paper. Ensure the parchment paper hangs over the edges of the pan; these overhangs will serve as convenient “handles” to easily lift the entire block of fudge out once it’s set. Set the prepared pan aside.
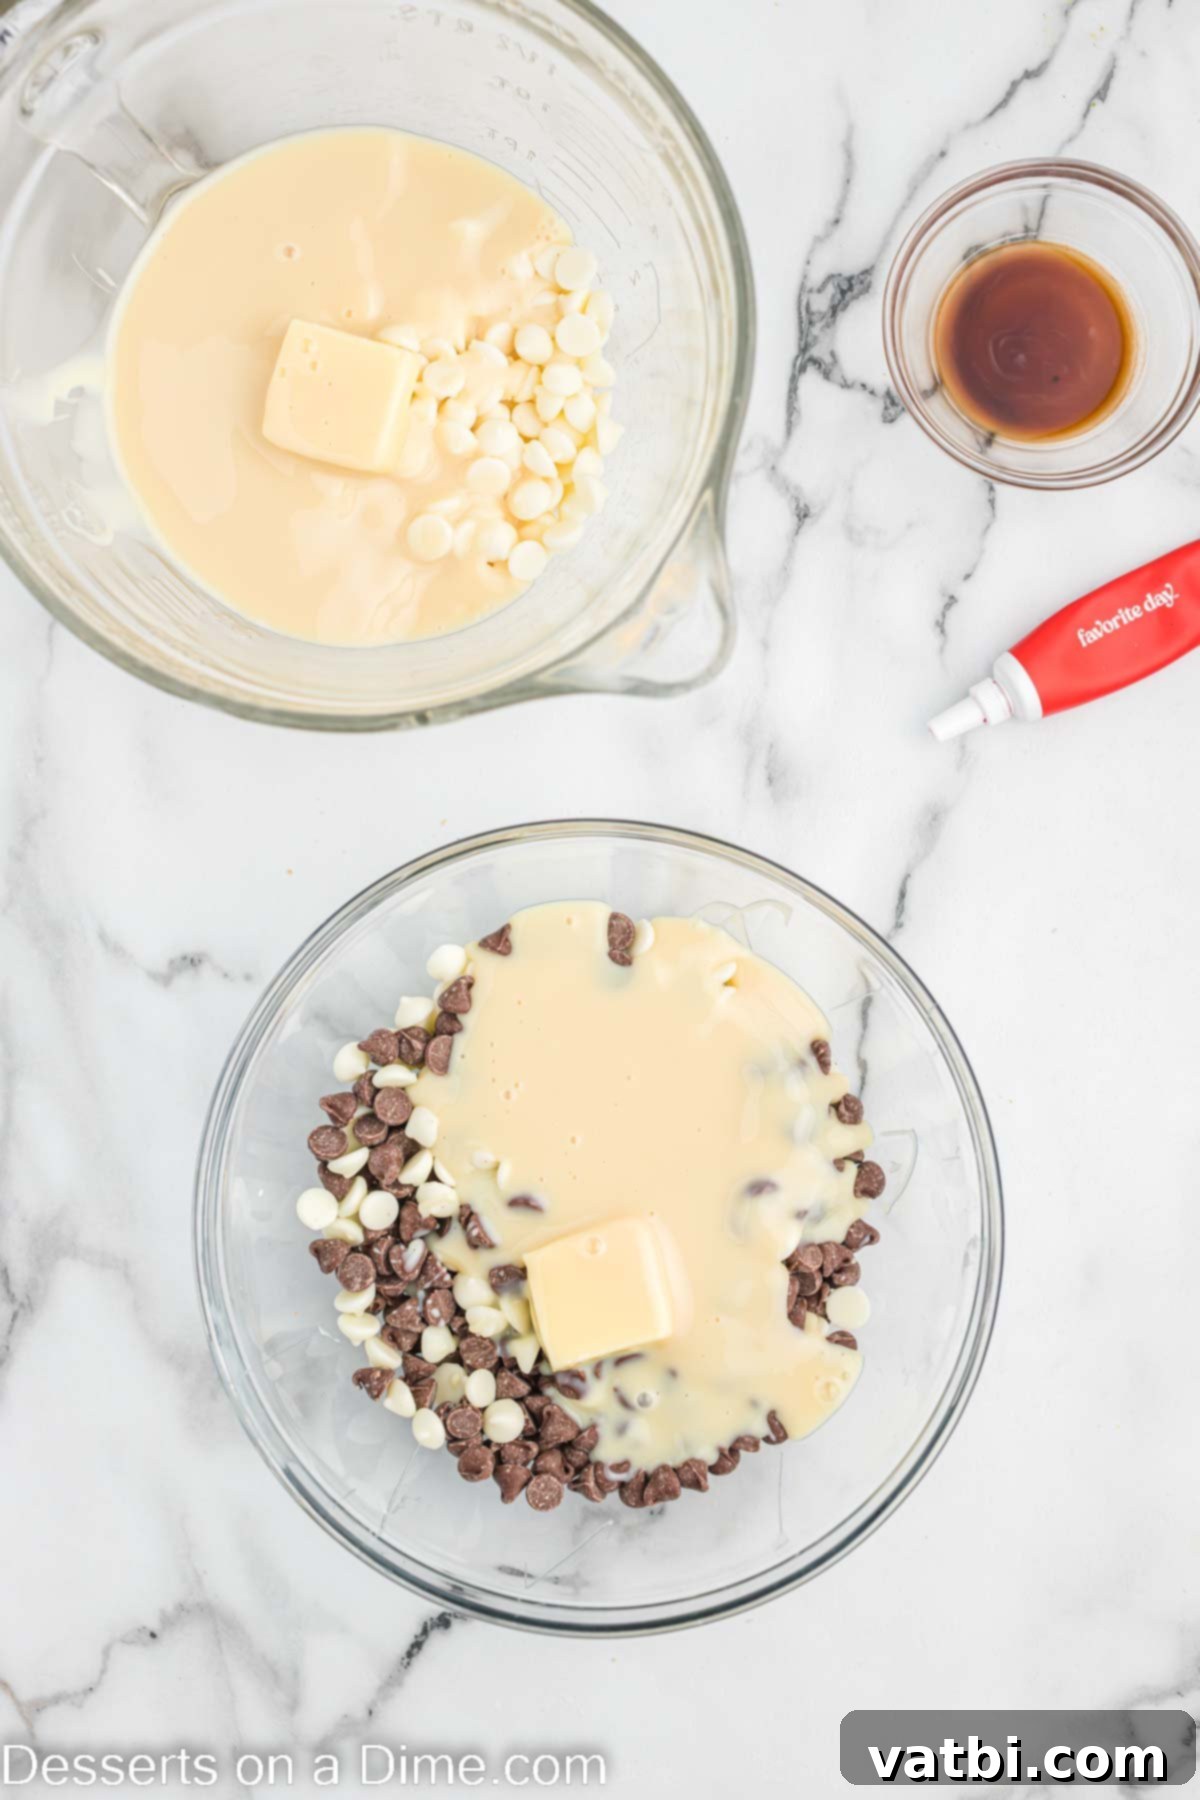
Step 2: Divide and Combine Ingredients. Grab two medium-sized, microwave-safe bowls. In the first bowl, place 9 ounces of the white chocolate chips. In the second bowl, combine the milk chocolate chips with the remaining white chocolate chips. Now, distribute the other ingredients: add 1 tablespoon of butter and half of the sweetened condensed milk to each bowl. This division is key to creating both the white and red fudge mixtures.
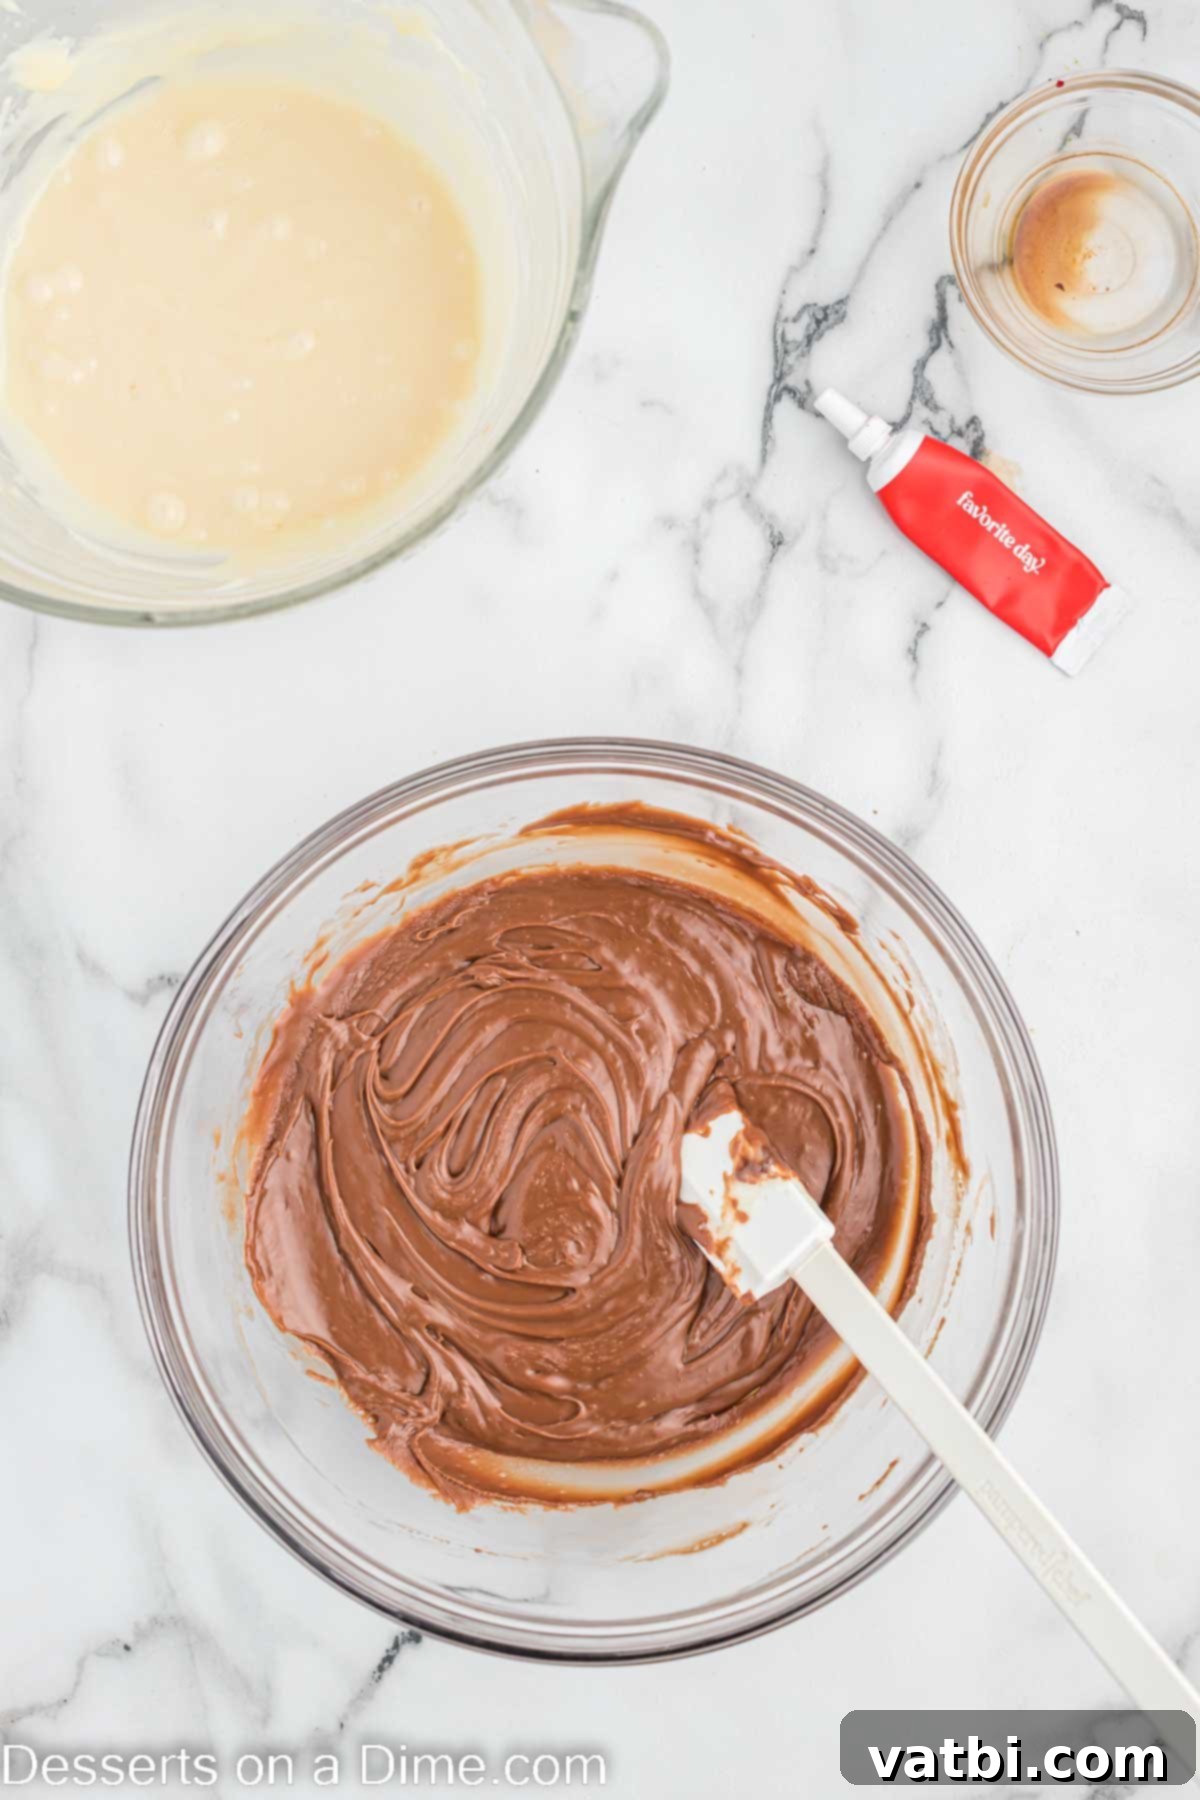
Step 3: Melt the Chocolate. Place each bowl into the microwave separately. Heat on high for 30-second intervals, stirring thoroughly after each increment. Continue this process until the chocolate chips are completely melted and the mixture is smooth and glossy. Be vigilant during this step to prevent the chocolate from burning.
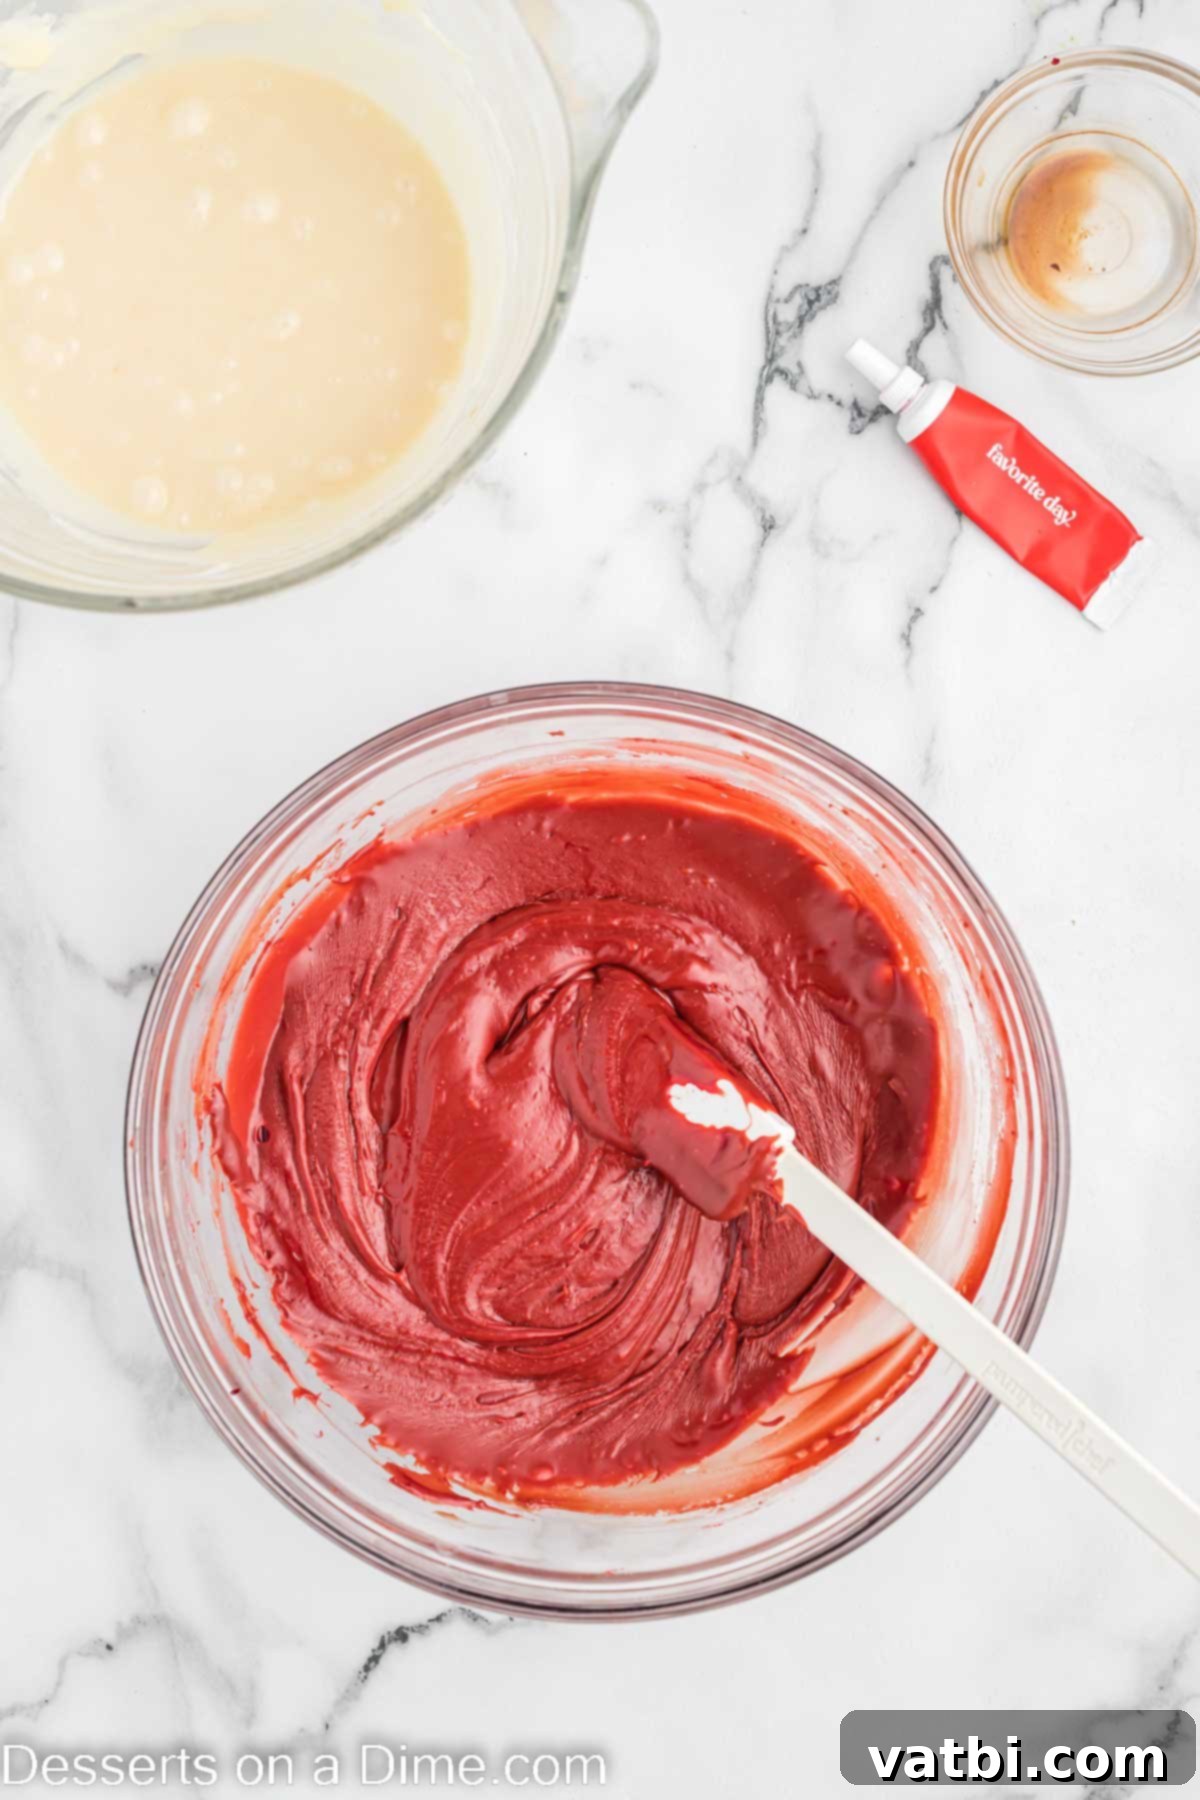
Step 4: Add Flavor and Color. Once both chocolate mixtures are melted, stir 1 teaspoon of vanilla extract into each bowl. Now, to the bowl containing the milk chocolate mixture (which will become your red velvet base), add the red gel food coloring. Start with a few drops and stir to combine, gradually adding more until you achieve a vibrant, deep red color characteristic of red velvet. Make sure the color is evenly distributed.
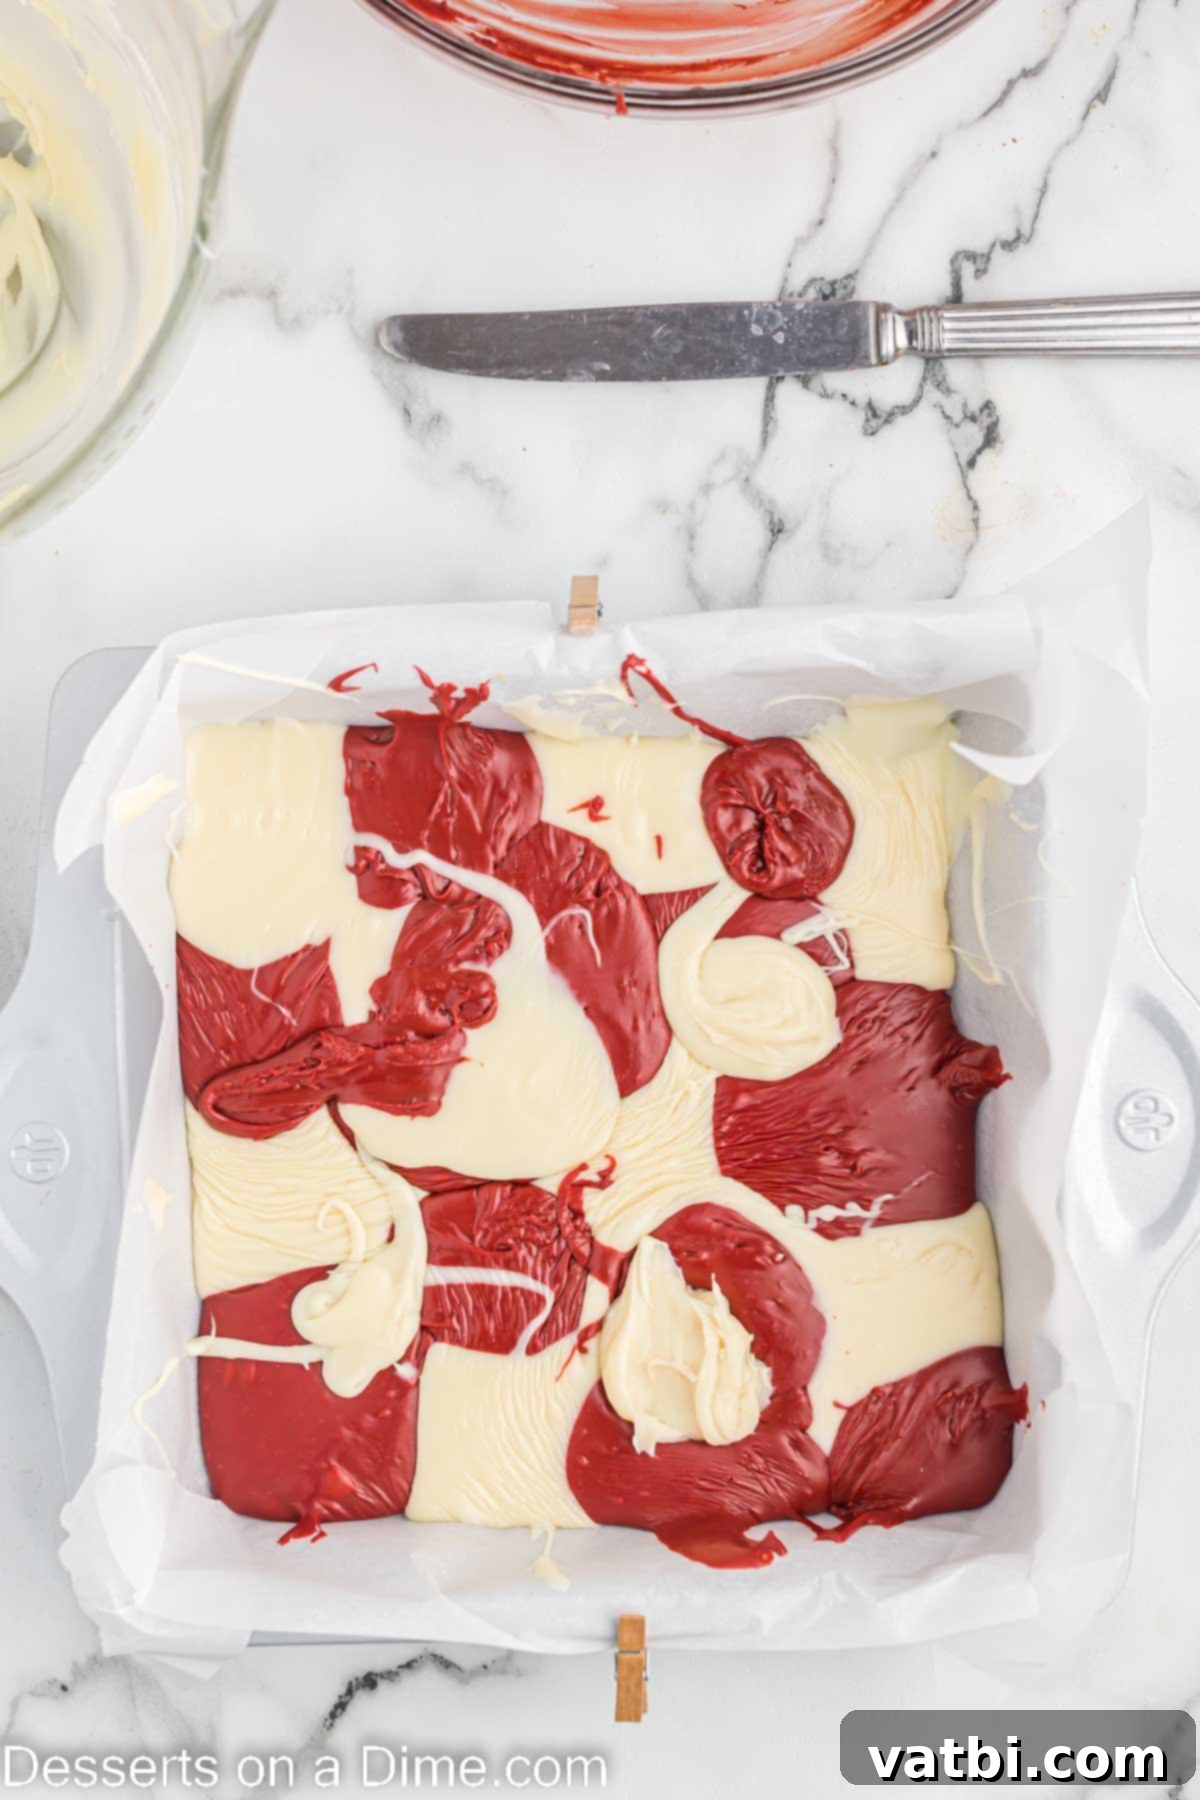
Step 5: Layer the Fudge. This is where the magic happens! Begin pouring spoonfuls of each the red and white mixtures alternately into the prepared 9×9 inch pan. Aim for a “patchwork” or “checkerboard” pattern, dropping dollops of each color side-by-side. Continue this process until all of both the red and white fudge mixtures have been used, creating an even layer in the pan.
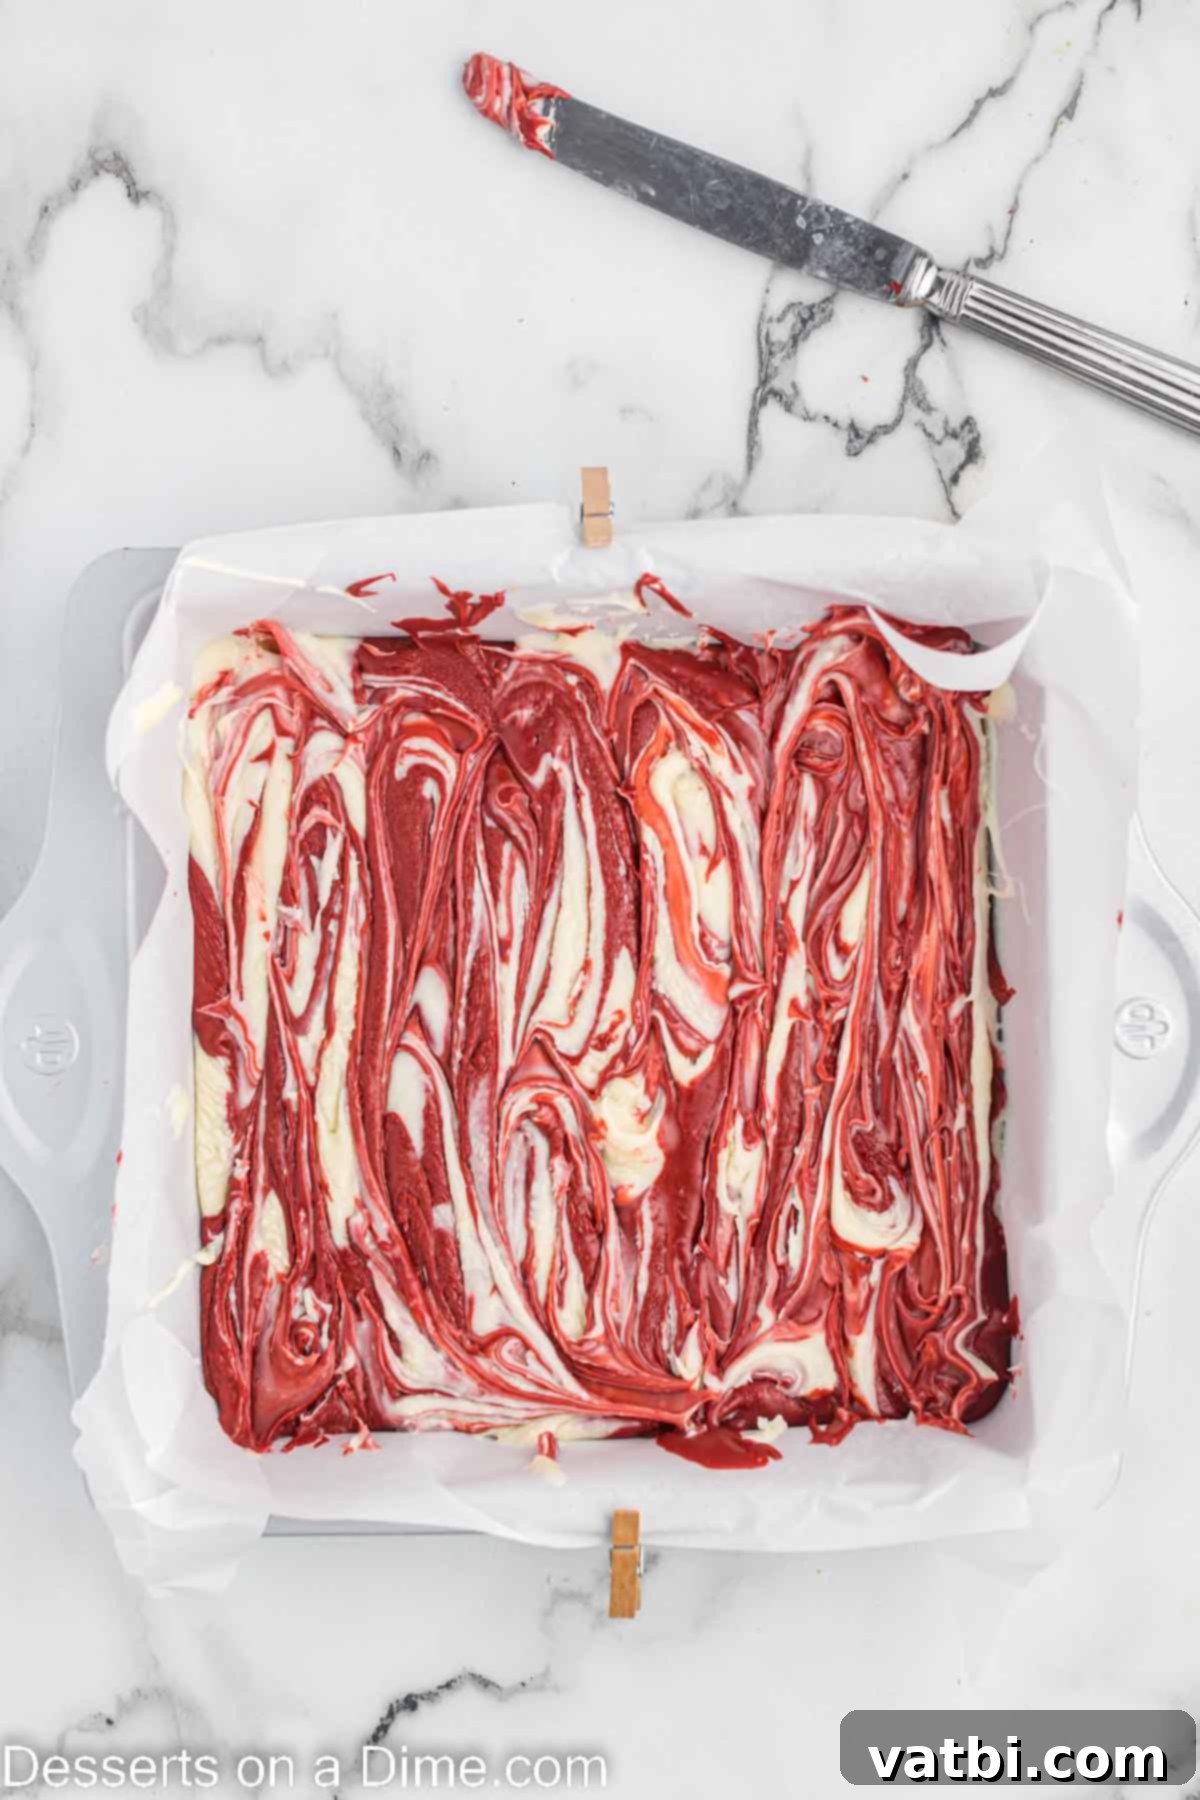
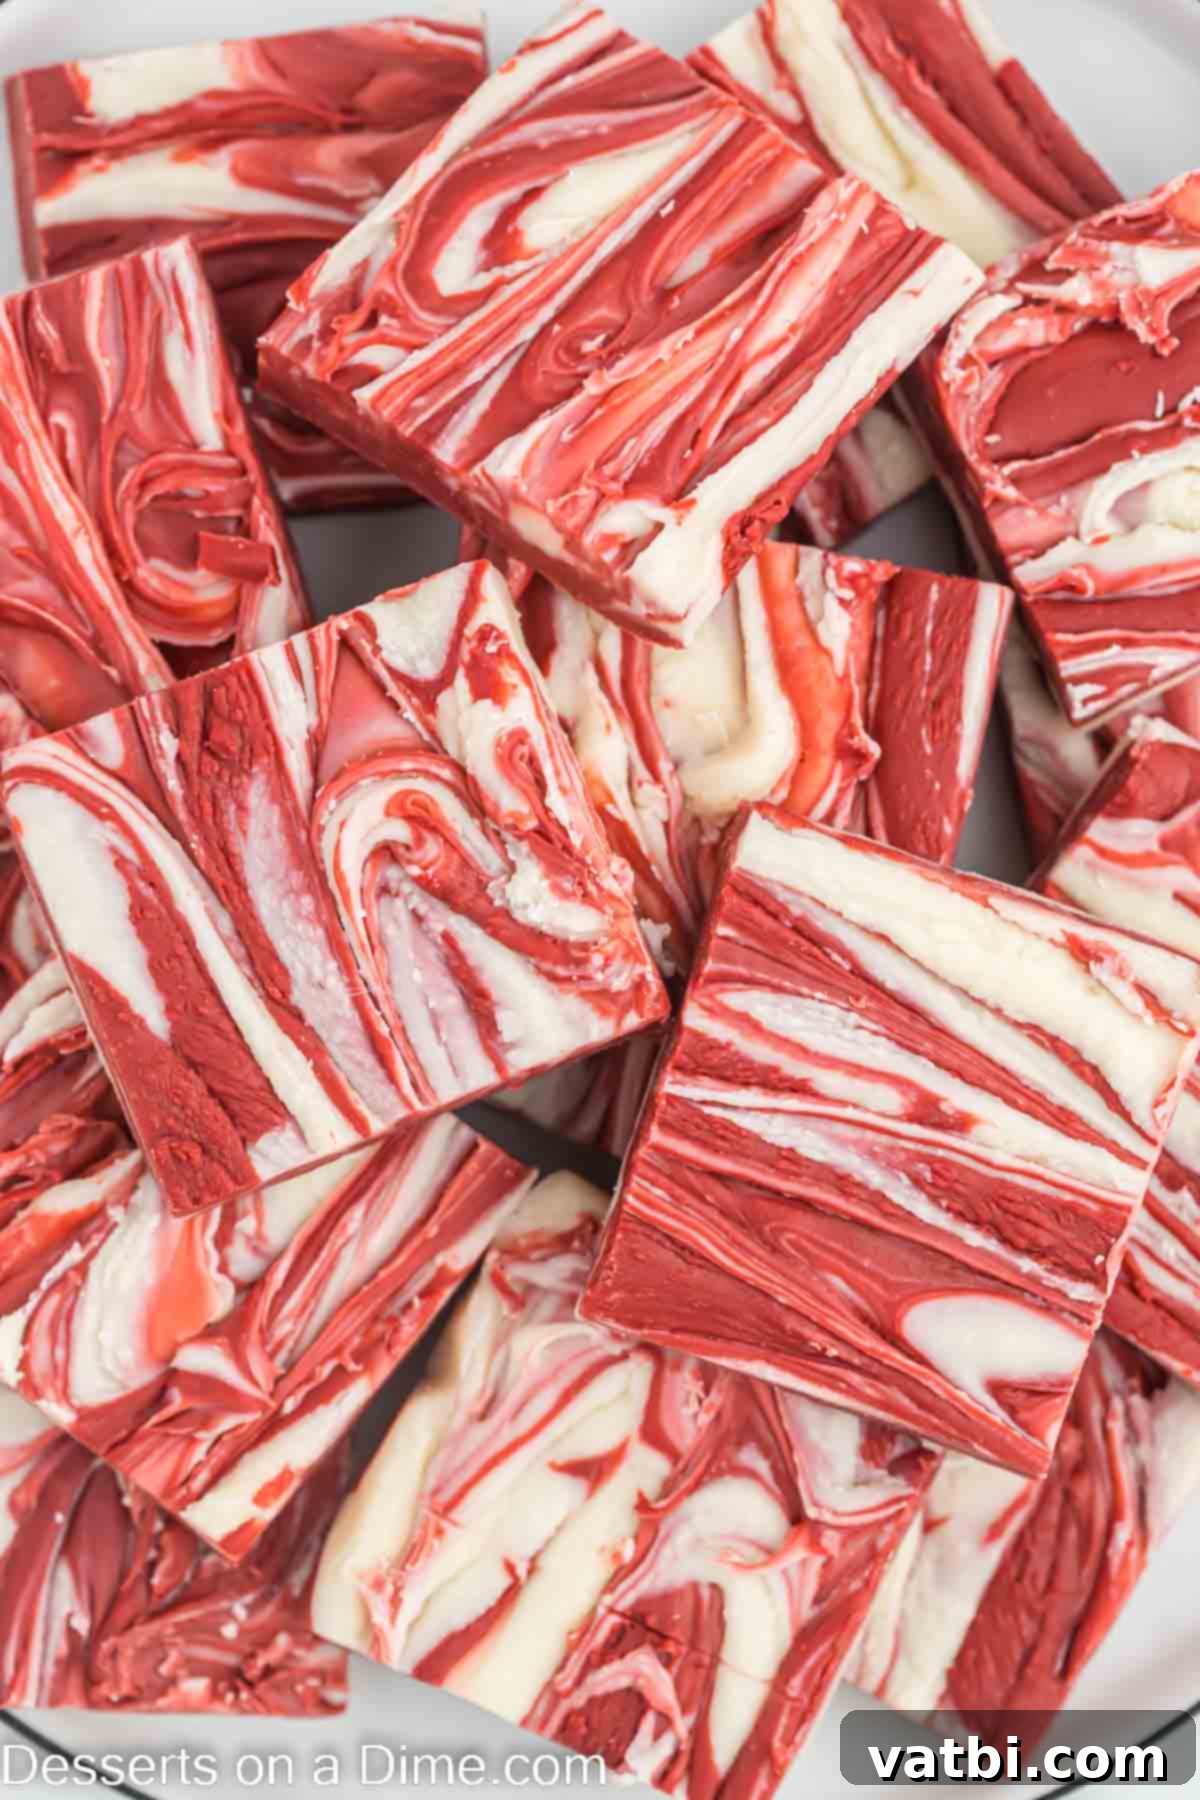
Step 6: Swirl and Chill. Take a knife or a skewer and gently swirl through the red and white fudge mixtures in the pan. Avoid over-mixing; a few gentle swirls are all it takes to create beautiful marble patterns. Once swirled to your liking, place the pan into the refrigerator for at least one hour, or until the fudge is completely hardened and firm to the touch.
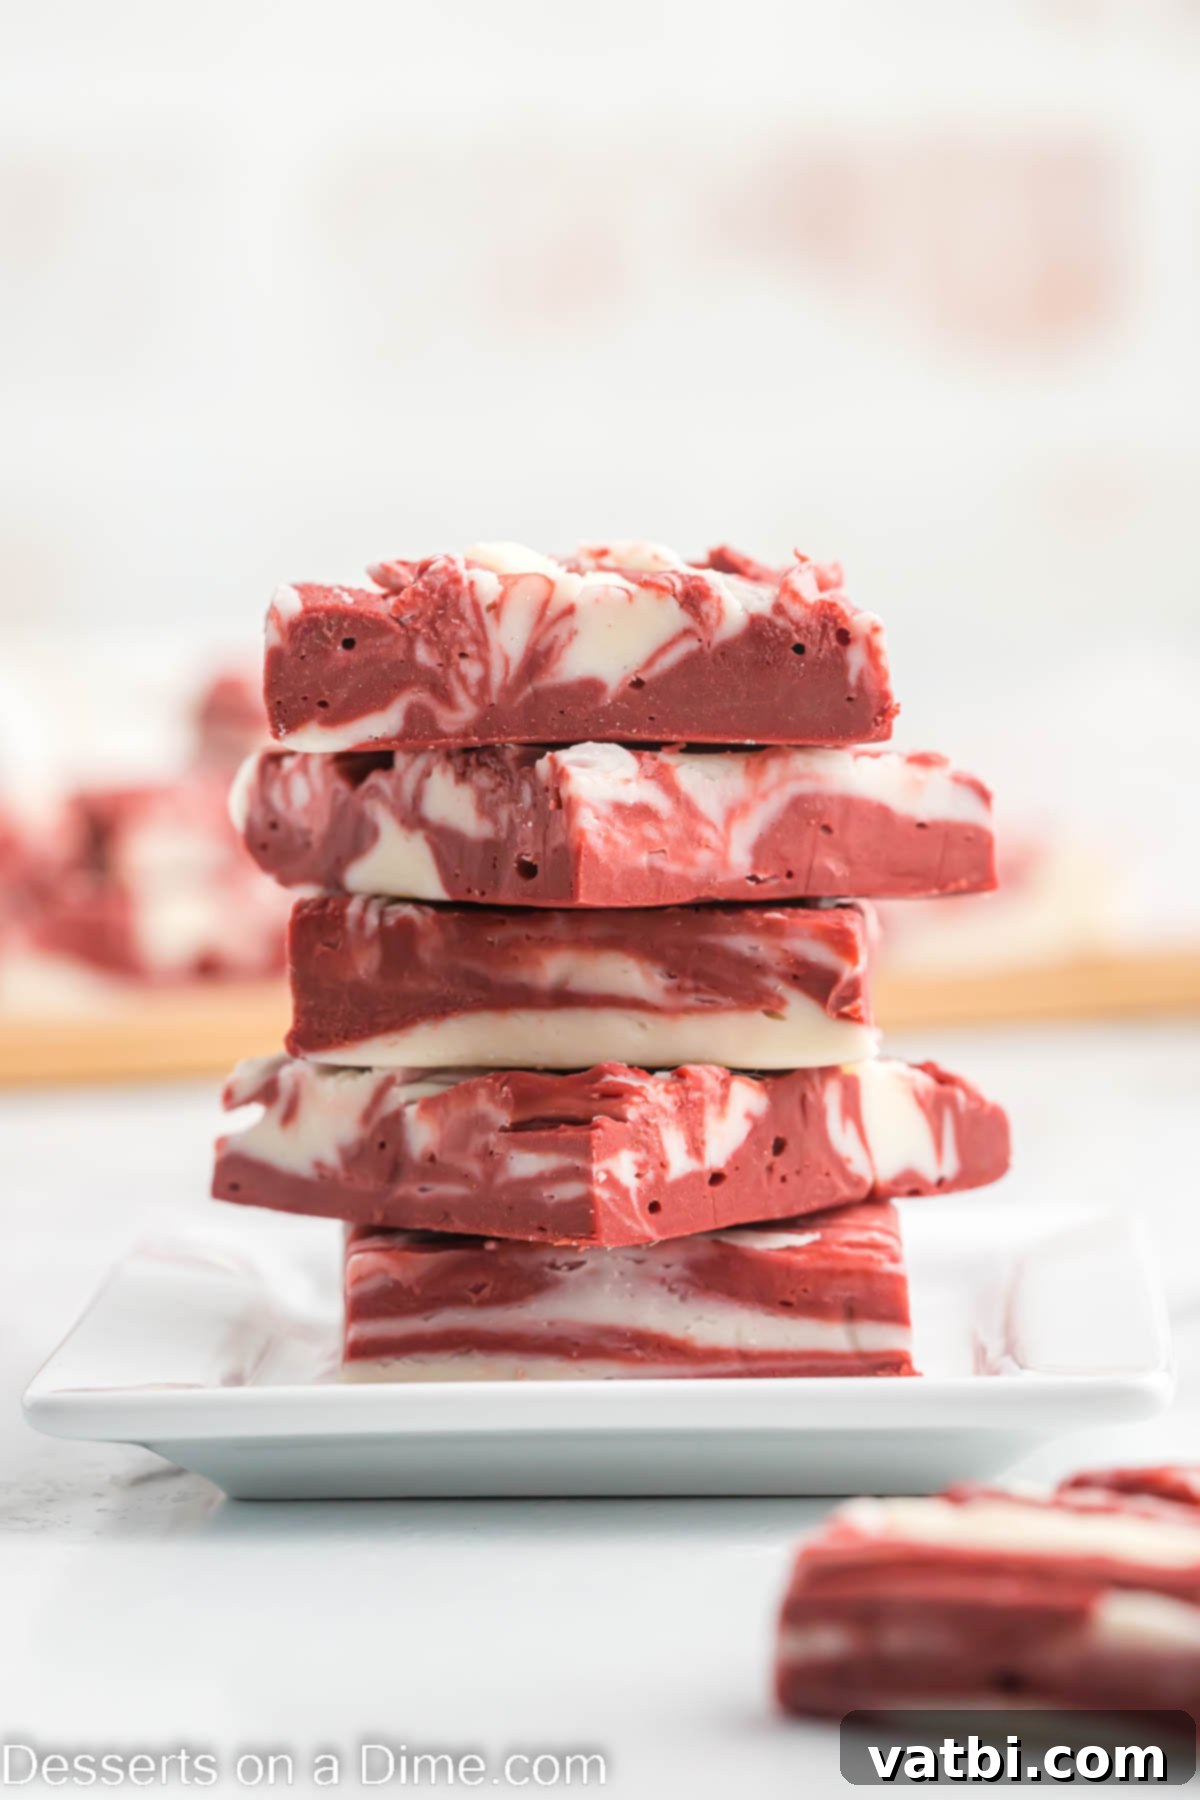
Step 7: Cut into Squares. Once fully chilled and hardened, use the parchment paper overhangs to carefully lift the entire block of fudge out of the pan. Place it on a cutting board. Using a sharp knife, cut the fudge into desired squares or rectangles. For the cleanest cuts, wipe your knife clean between cuts. Serve and enjoy your homemade red velvet fudge!
Storage Best Practices for Your Fudge
Proper storage is key to keeping your delicious Red Velvet Fudge fresh and enjoyable for as long as possible. Once the fudge has been cut into squares, transfer any leftovers into an airtight container. This will protect it from drying out and absorbing other odors from the refrigerator. Store the container in the refrigerator for up to 1 week.
When you’re ready to enjoy a piece, remove it from the fridge and allow it to sit at room temperature for about 20-30 minutes. This brief period helps the fudge soften slightly, bringing it to a more desirable, melt-in-your-mouth texture that enhances its rich flavors.
How to Freeze Fudge for Later
Freezing fudge is an excellent way to extend its shelf life, allowing you to prepare desserts in advance or save some for a future sweet craving. This Red Velvet Fudge freezes beautifully without compromising its texture or flavor. To freeze, simply place the cooled and cut fudge squares into an airtight, freezer-safe container. For best results and to prevent the pieces from sticking together, separate layers of fudge with small sheets of parchment paper.
Properly stored, the fudge can be frozen for up to 3 months. When you’re ready to enjoy it, simply transfer the container from the freezer to the refrigerator and let it thaw overnight, or allow individual pieces to come to room temperature for about an hour before serving. Freezing fudge is a convenient trick for always having a delicious homemade treat on hand!
Expert Tips for Perfect Red Velvet Fudge
Achieving perfectly swirled, creamy red velvet fudge is simple with these expert tips:
- Choosing the Right Pan Size: A 9×9 inch square pan is ideal for this recipe, yielding fudge that is neither too thick nor too thin, making it easy to cut into uniform squares. If you prefer a noticeably thicker fudge, you can opt for an 8×8 inch square pan instead, but be aware that the chilling time might need to be slightly extended.
- Always Line the Pan: This step is non-negotiable for easy removal! Lining your pan with parchment paper, leaving an overhang on the sides, allows you to effortlessly lift the entire block of hardened fudge out. This prevents sticking and makes cutting a breeze. As an alternative or extra precaution, you can also lightly spray the parchment paper or the pan itself with cooking spray.
- Preventing Overcooked Chocolate: When melting chocolate in the microwave, patience is key. Heat the chocolate in short, 30-second intervals, stirring thoroughly after each one. Chocolate can burn quickly, and once it’s overcooked, it becomes grainy and unusable. Stirring helps distribute the heat evenly and prevents scorching.
- Use a Large Microwave-Safe Bowl: Ensure you are using a bowl that is large enough to contain the chocolate mixture comfortably, with room to stir. This helps prevent spills and makes the melting process more manageable and less messy.
- Alternative Melting Method: While the microwave method is quick and easy, you can also melt the chocolate using a double boiler. If you prefer this traditional method, set a heatproof bowl over a saucepan of simmering water, ensuring the bottom of the bowl doesn’t touch the water. Stir gently until the chocolate is smooth and melted.
- Gentle Swirling for Beautiful Marbling: When creating the signature red and white swirls, use a knife or a skewer to gently drag through the mixture a few times. The goal is to create a lovely marble effect, not to fully combine the colors. Over-stirring will cause the colors to blend completely, losing that beautiful contrast.
- Chill Thoroughly Before Cutting: Allow the fudge ample time to chill in the refrigerator until it is completely firm and hardened. Attempting to cut warm or soft fudge will result in messy, uneven pieces. A well-chilled block will slice cleanly, giving you perfectly shaped, attractive squares.
More Irresistible Red Velvet Recipes
Easy Cupcake
Best Red Velvet Cupcake Recipe
Cookies
Red Velvet Cake Mix Cookies
Cakes
Red Velvet Cake Balls Recipe
More Easy Fudge Recipes to Try
If you’ve fallen in love with how simple and delicious this microwave fudge is, you’ll be thrilled to explore our other fantastic fudge recipes that require minimal effort but deliver maximum flavor. Expand your sweet treat repertoire with these easy-to-make options:
- Unicorn Fudge Recipe
- Peanut Butter Chocolate Chip Fudge
- 2-Ingredient Chocolate Peanut Butter Fudge
- Christmas Coal Fudge
- Classic Christmas Fudge
This Red Velvet Fudge is truly a delightful and effortless dessert that brings a touch of sophistication to any table. Its vibrant colors and rich flavor make it a festive favorite, while its simple microwave preparation ensures anyone can achieve perfect results. We hope you give this tasty recipe a try and enjoy the process as much as the finished product! Your feedback is invaluable, so please come back and leave a comment and a star recipe rating once you’ve whipped up your own batch.
Pin
Red Velvet Fudge
Ingredients
- 12 oz White Chocolate Chips divided
- 6 oz Milk Chocolate Chips divided
- 1 can sweetened condensed milk 14 oz can
- 2 Tablespoons Butter divided
- 2 teaspoons Vanilla Extract divided
- Red Gel Food Coloring
Instructions
-
Line a 9X9 pan with parchment paper and set aside.
-
Place 9 oz of the white chocolate chips in a microwave safe bowl. Then place the milk chocolate chips and remaining white chocolate chips in a separate microwave safe bowl. Top each bowl with 1 tablespoon of butter and half of the sweetened condensed milk.
-
Microwave each bowl on high for 30 seconds. Stir well.
-
Continue to microwave in 30 second intervals, stirring after each interval until the chocolate chips are melted. Be careful not to over cook.
-
Stir in 1 teaspoon of the vanilla extract into each bowl. Add red food coloring to the milk chocolate chip bowl a little at a time until it’s a vibrant red color.
-
Drop spoonfuls of each of the red and white mixture into the prepared pan so that they look patchwork. Keep adding until all the mixtures are used.
-
Take a knife and swirl the fudge so that the red and white mixtures are swirled together.
-
Refrigerated for an hour or until completely hardened.
-
Lift the parchment paper out of the pan and cut into cubes.
Recipe Notes
Refrigerate the leftover fudge in an airtight container for up to 1 week. Let the fudge sit at room temperature for 20-30 minutes to soften some and then it’s ready to enjoy!
Nutrition Facts
Pin This Now to Remember It Later
Pin Recipe
