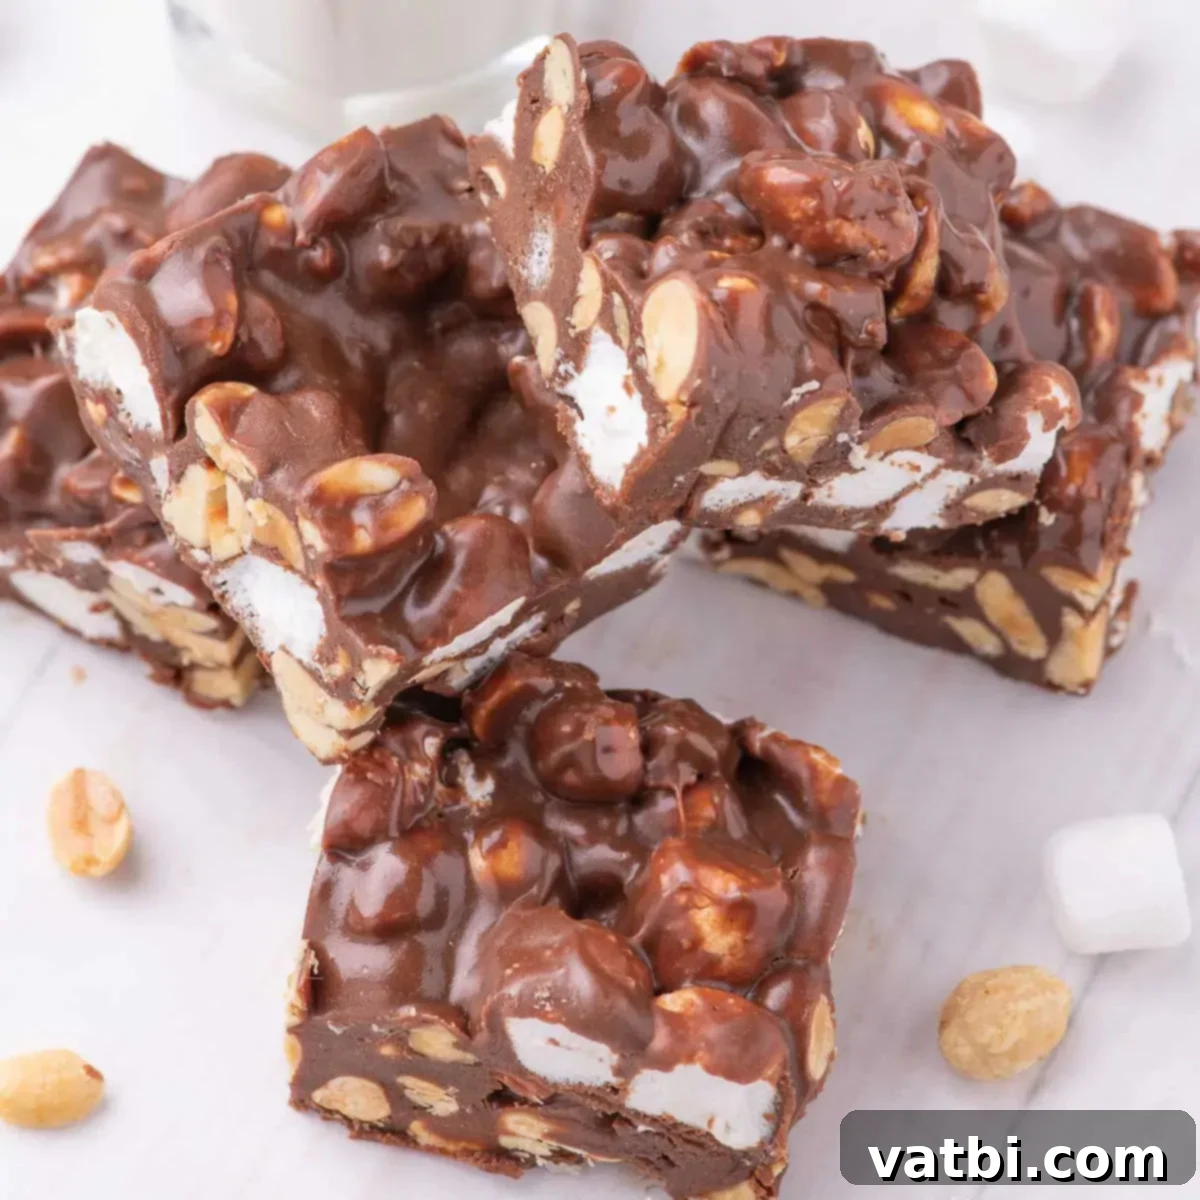
Irresistible No-Bake Rocky Road Candy: The Ultimate Easy Recipe Guide
Indulge your sweet tooth with this incredibly easy Rocky Road Candy recipe. You’ll be amazed at how quick and simple it is to whip up, yet the final result is a wonderfully festive and undeniably delicious treat that’s perfect for any occasion. Forget complicated baking; this no-bake delight delivers maximum flavor with minimal effort, making it a favorite for busy households and eager dessert lovers alike.
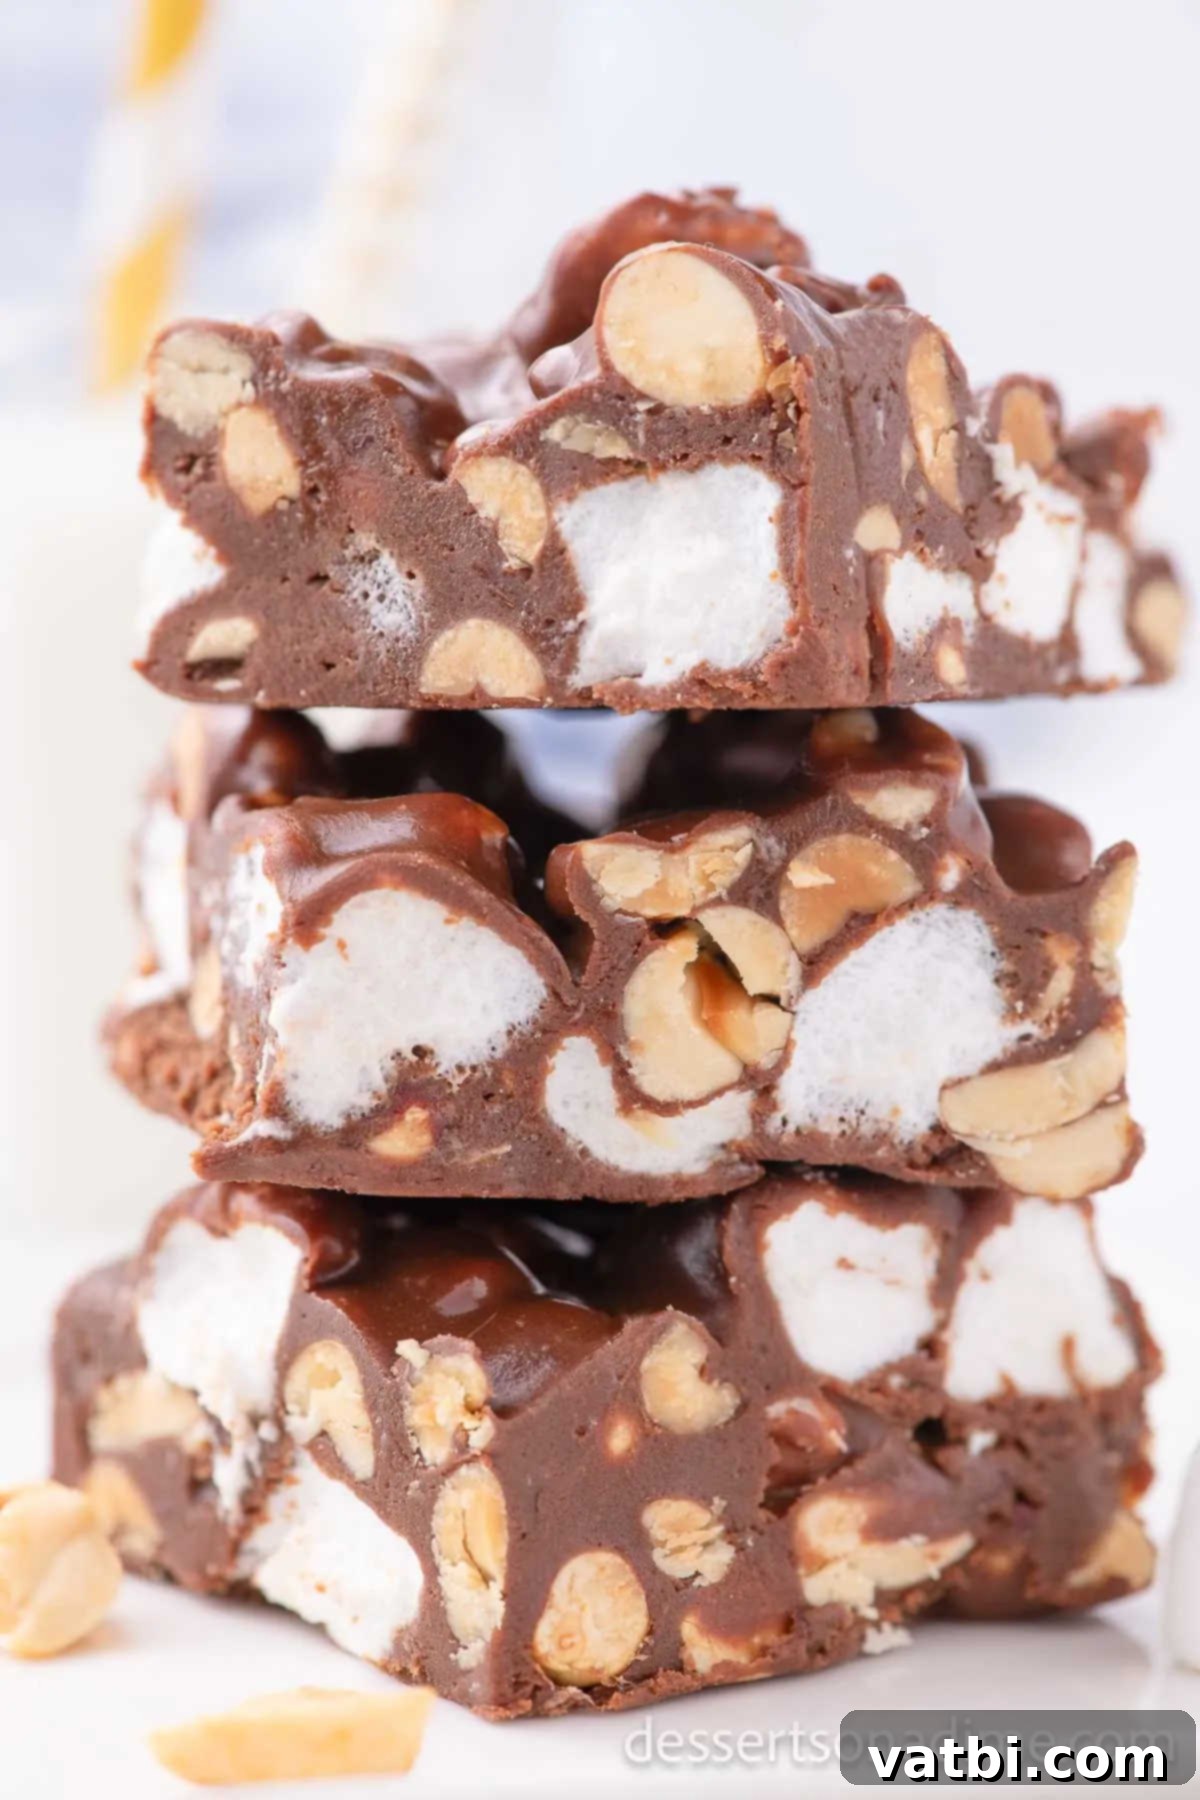
We adore easy candy recipes, and this homemade Rocky Road is a perennial favorite in our kitchen. I’ve been perfecting this simple confection for years, and its reliance on just 5 key ingredients means it’s straightforward enough for even the busiest home cooks to master. It’s a fantastic staple for holiday dessert trays, potlucks, or simply as a special treat for your family.
For a truly impressive dessert spread, consider pairing this Rocky Road Candy with other effortless delights like 2-Ingredient Chocolate Peanut Butter Fudge or Crock Pot Chocolate Peanut Clusters. If you’re feeling adventurous, explore more fun candy-making with guides on How to Make Rock Candy and a classic Hard Candy Recipe. Another family favorite we often make is Chocolate Covered Cherries, which adds a touch of elegance to any assortment.
Table of contents
- What is Rocky Road Candy?
- Why You’ll Love This Rocky Road Recipe
- Ingredients for Classic Rocky Road
- How to Make Easy Rocky Road Candy
- Recipe Tips for Perfect Rocky Road
- Variations and Customizations
- Storage
- How to Freeze Rocky Road Candy
- More Easy Candy Recipes to Try
What is Rocky Road Candy?
Homemade Rocky Road Candy is a delightful no-bake confection that offers a rich, chewy, and crunchy experience in every bite. Essentially, it’s a type of fudge that combines melted chocolate with a medley of nuts and soft marshmallows, creating a satisfying texture contrast. This treat is incredibly versatile and can be whipped up for holidays, special occasions, or simply as a comforting indulgence. The beauty of Rocky Road lies in its simplicity – no oven time is required, making it a stress-free dessert option for any skill level.
The traditional combination typically features a smooth chocolate base generously mixed with crunchy peanuts and pillowy mini marshmallows. This creates that iconic sweet-and-salty flavor profile that everyone loves. While often associated with specific holidays like Christmas or Easter, a festive touch like red and pink sprinkles can transform it into a perfect Valentine’s Day Rocky Road or birthday party treat. Its robust flavors and varying textures ensure it’s a hit year-round.
Why You’ll Love This Rocky Road Recipe
There are countless reasons why this easy Rocky Road Candy will become a staple in your recipe repertoire. First and foremost is the incredible ease of preparation. With minimal ingredients and no baking, it’s a fantastic entry-level recipe for new cooks or a quick fix for seasoned pros. The melted chocolate, butter, and condensed milk create a rich, velvety fudge base that requires no fussy candy thermometers or complex techniques.
Beyond its simplicity, the versatility of Rocky Road is a huge draw. You can effortlessly customize it to suit different tastes and dietary preferences. Swap out peanuts for other nuts, change the type of chocolate, or add various mix-ins to create unique flavor combinations every time. This adaptability makes it an ideal treat for holidays, where you can tailor decorations and ingredients to fit the theme, or for everyday snacking when you just need a reliable, delicious dessert.
Finally, the sheer delight of its taste and texture is unparalleled. The creamy chocolate, combined with the satisfying crunch of nuts and the soft chewiness of marshmallows, creates a harmonious blend that’s incredibly satisfying. It’s a treat that brings smiles, whether shared at a gathering or enjoyed quietly at home. This recipe truly proves that decadent desserts don’t have to be difficult.
Ingredients for Classic Rocky Road
This delightful Rocky Road Candy comes together with just a handful of common pantry staples. Each ingredient plays a crucial role in achieving the perfect balance of flavor and texture:
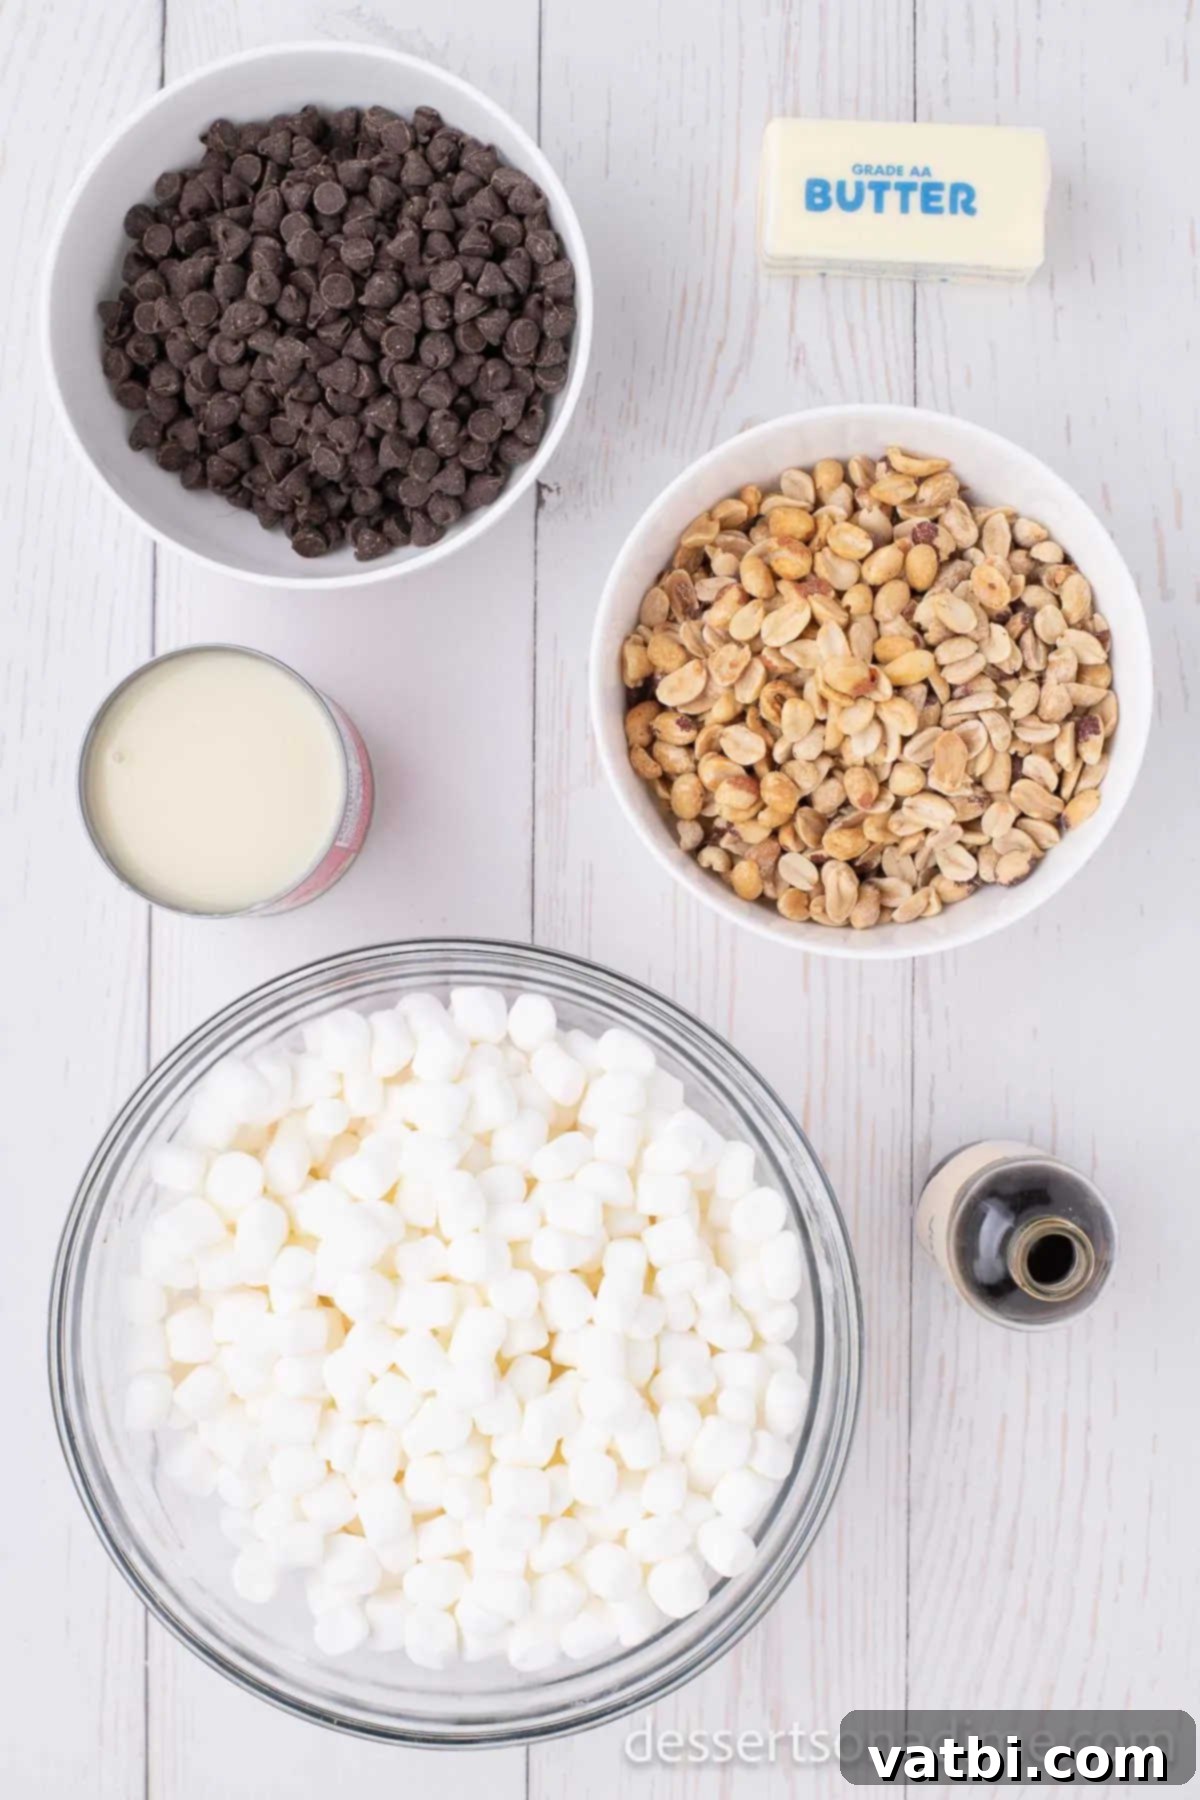
- Semi-Sweet Chocolate Chips: These form the rich, chocolatey foundation of your candy. Semi-sweet offers a balanced sweetness that pairs well with other ingredients.
- Butter: A small amount of butter adds richness and helps create a smooth, pliable texture for the fudge base.
- Sweetened Condensed Milk: This is the magic ingredient that gives the Rocky Road its characteristic fudgy consistency and adds significant sweetness without needing extra sugar.
- Dry Roasted Peanuts: Providing a delightful crunch and a hint of saltiness, peanuts are a classic Rocky Road addition that balances the sweetness.
- Mini Marshmallows: The signature fluffy component of Rocky Road, mini marshmallows add chewiness and light pockets of sweetness throughout the candy.
For the precise measurements and the full recipe card, please scroll down to the bottom of this page.
How to Make Easy Rocky Road Candy
Creating this delicious no-bake Rocky Road Candy is incredibly straightforward. Follow these simple steps for a perfect batch every time:
- Step 1: Prepare Your Pan. Begin by lining a 13×9 inch baking pan with either parchment paper or wax paper. This crucial step will make it incredibly easy to lift out and cut your Rocky Road once it’s set, ensuring a clean and hassle-free removal.
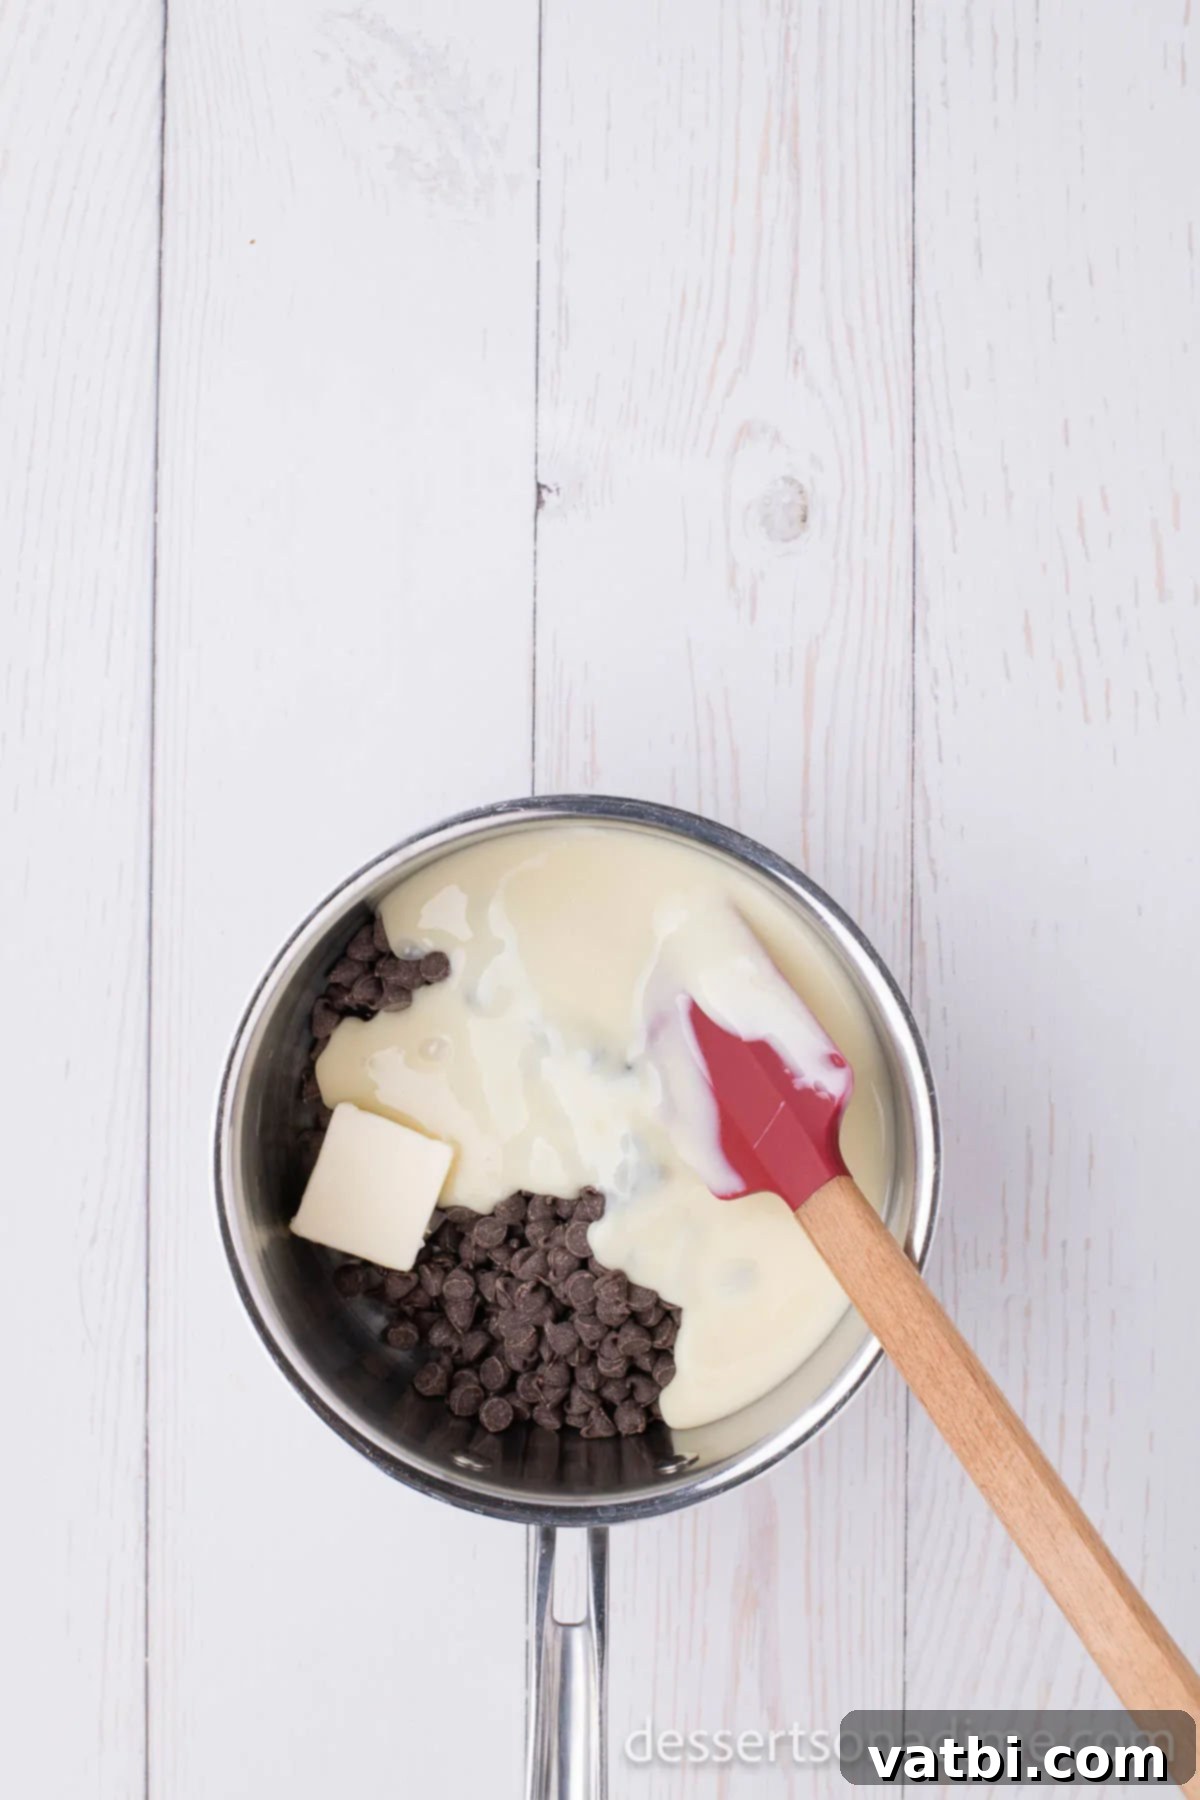
Step 2: Melt the Chocolate Base. In a medium to large saucepan, combine the semi-sweet chocolate chips, butter, and sweetened condensed milk. Place the pan over medium/low heat and stir constantly. Continuous stirring is key to prevent the chocolate from scorching or sticking to the bottom of the pan, ensuring a smooth, uniform melt.
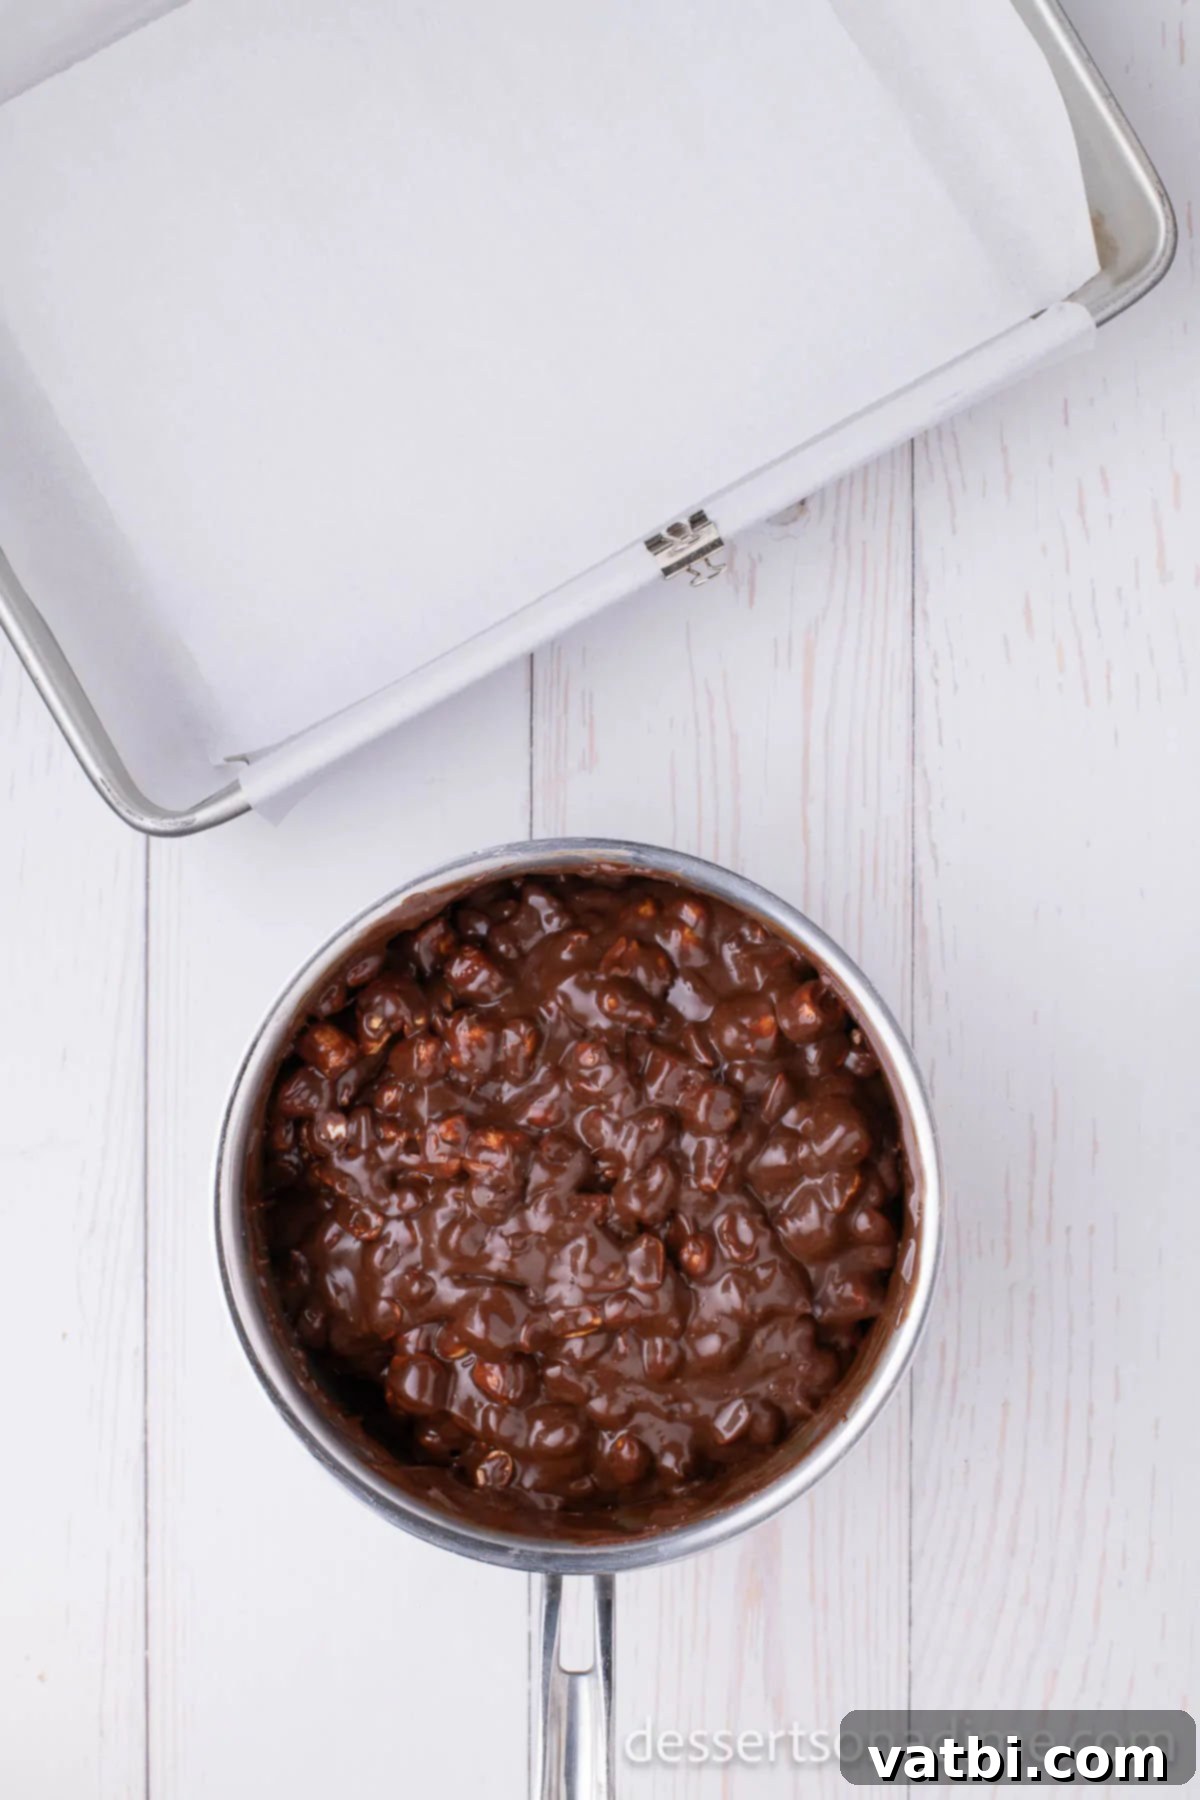
Step 3: Combine with Peanuts and Marshmallows. Once the chocolate mixture is fully melted and smooth, remove the pan from the heat. Allow it to cool for a few minutes – just enough so it’s not piping hot but still liquid. Then, gently fold in the dry roasted peanuts and mini marshmallows. Stir well until all the peanuts and marshmallows are thoroughly coated in the rich chocolate mixture.
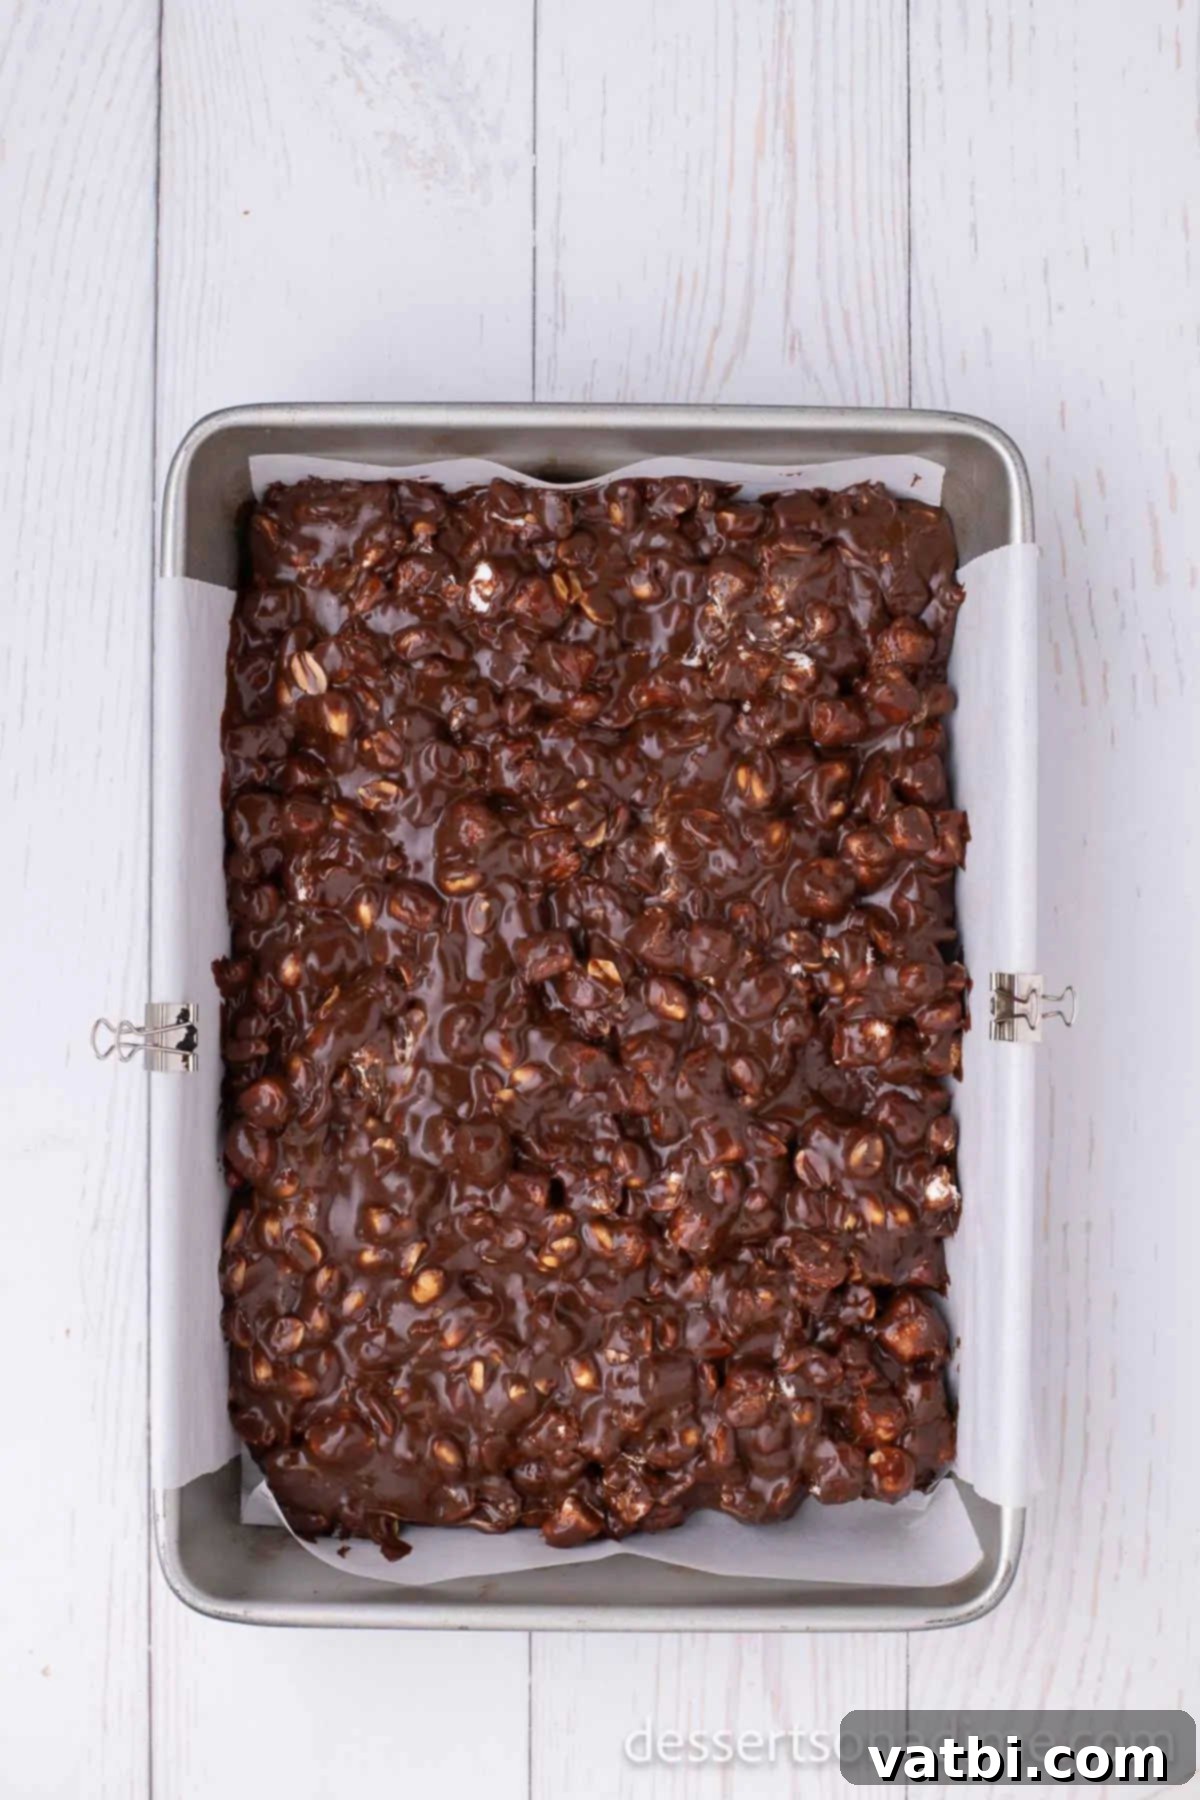
Step 4: Set the Rocky Road. Pour the entire rocky road mixture into your prepared 13×9 inch baking sheet. Use a spatula or the back of a spoon to spread it evenly across the pan. Once smoothed, refrigerate the pan for a minimum of 2 to 3 hours, or until the candy is completely set and firm to the touch.
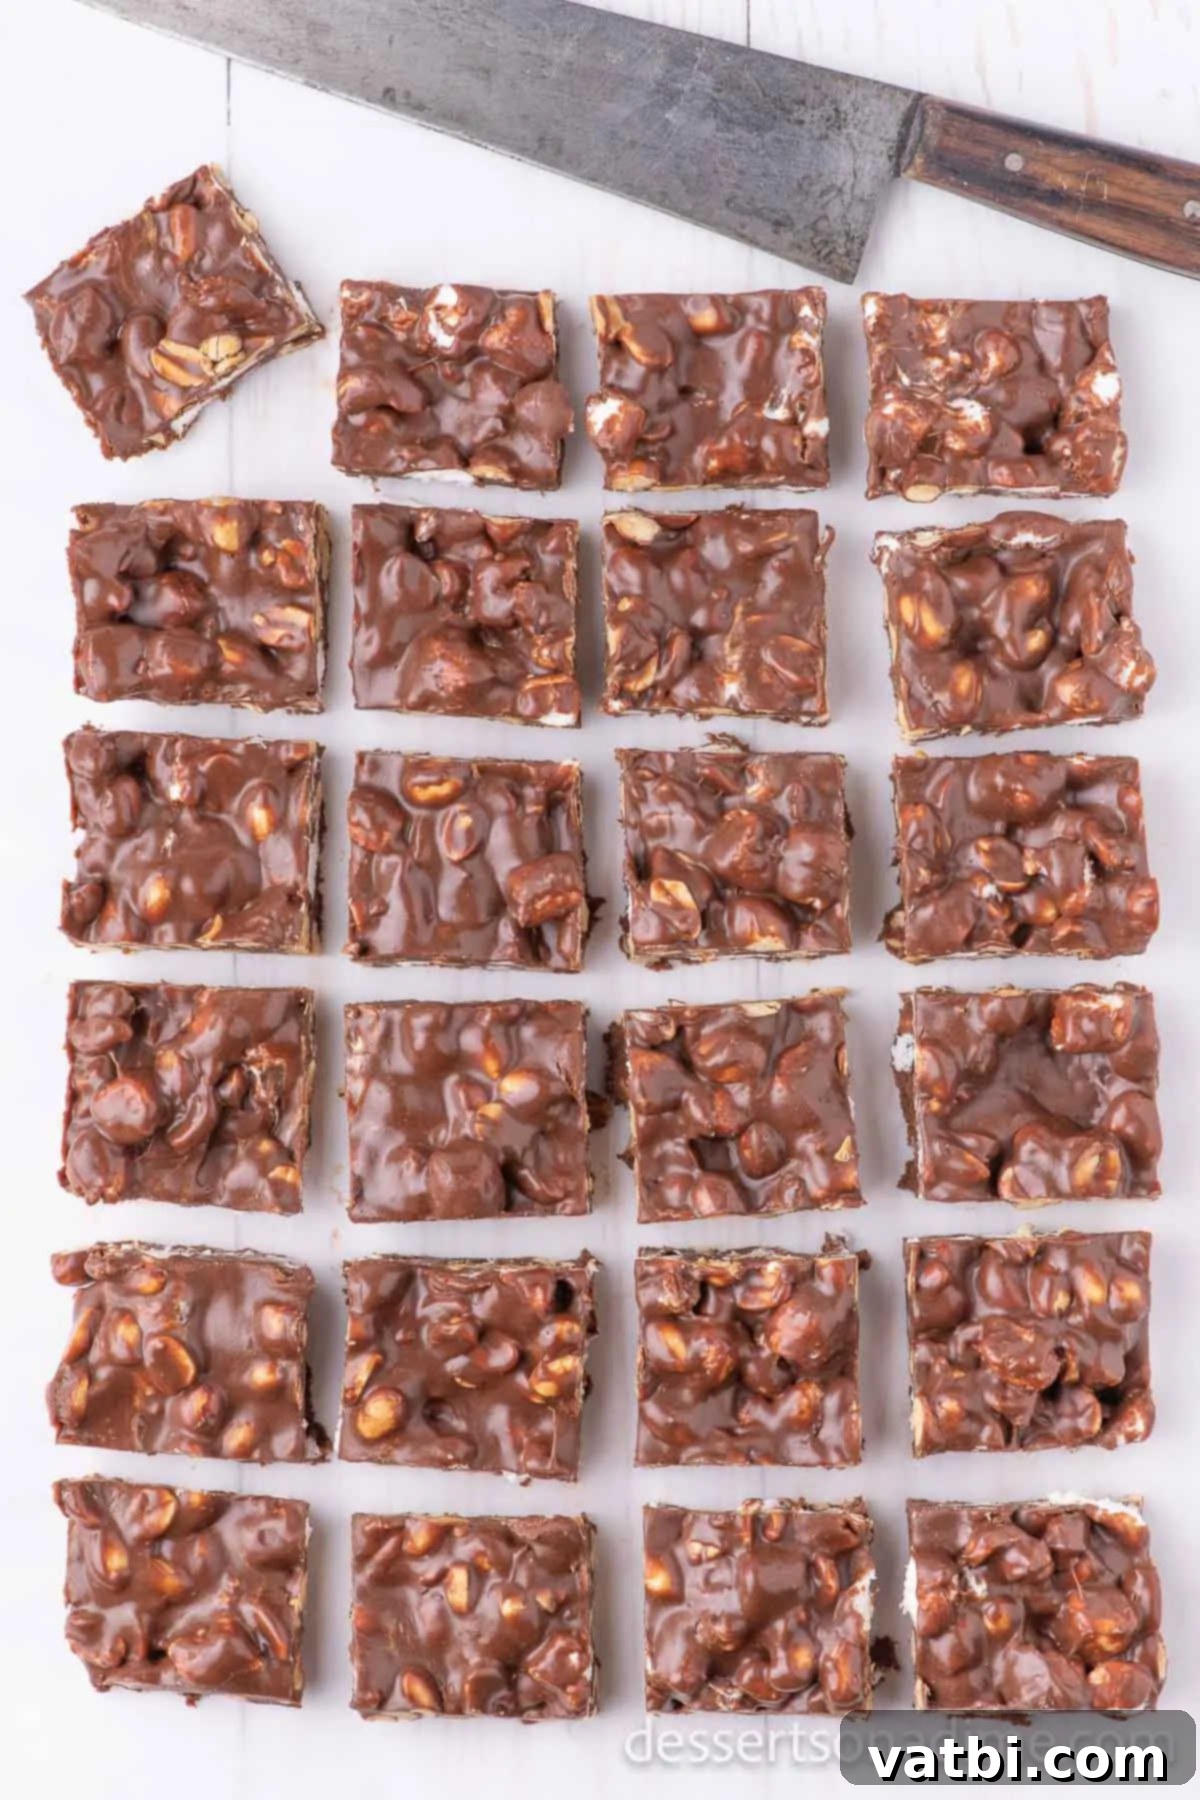
Step 5: Cut and Serve. Once the Rocky Road is fully set, lift it out of the pan using the parchment paper. Place it on a cutting board and slice it into desired squares or bars. Your homemade Rocky Road Candy is now ready to be served and enjoyed!
Recipe Tips for Perfect Rocky Road
Achieving the perfect Rocky Road Candy is easy with these helpful tips and tricks:
- Choose Your Preferred Nuts: While peanuts are traditional, feel free to get creative! Chopped pecans, walnuts, or even a mix of different nuts can be substituted for peanuts. This is also a great way to accommodate nut allergies by using seeds like roasted pumpkin seeds if suitable.
- Opt for Salted Nuts: The subtle saltiness of dry roasted salted nuts provides a wonderful contrast to the sweet chocolate and marshmallows, enhancing the overall flavor profile. If you only have unsalted nuts, a small pinch of sea salt added to the mixture can achieve a similar effect.
- Melt Chocolate Slowly and Gently: Patience is key when melting the chocolate mixture. Always use low to medium-low heat and stir constantly. High heat can cause the chocolate to burn, seize, or become grainy, ruining the smooth consistency of your Rocky Road.
- Line Your Baking Sheet Properly: Using parchment paper or wax paper to line your baking pan is essential for easy removal and cleanup. Leave a slight overhang on the sides to create “handles” that you can use to lift the entire slab of candy out once it’s firm.
- Prevent Sticking with Cooking Spray: For easier handling and spreading of the mixture, lightly spray your spatula or spoon with a non-stick cooking spray. This will prevent the sticky chocolate from adhering to your utensils, allowing for a smoother distribution in the pan.
- Experiment with Chocolate Types: Don’t limit yourself to semi-sweet chocolate chips. Dark chocolate chips will yield a richer, less sweet candy, while milk chocolate chips will create a creamier, sweeter treat. White chocolate chips can also be used for a unique twist, perhaps with dried cranberries and pistachios!
- Add a Touch of Sea Salt: For an elevated gourmet touch, sprinkle a tiny bit of flaky sea salt over the top of the Rocky Road fudge just after spreading it into the pan, before it goes into the refrigerator. This intensifies the flavors and adds a sophisticated edge.
- Chill Thoroughly: Ensure your Rocky Road is completely chilled and firm before attempting to cut it. Rushing this step will result in a messy, sticky slab that’s difficult to slice cleanly.
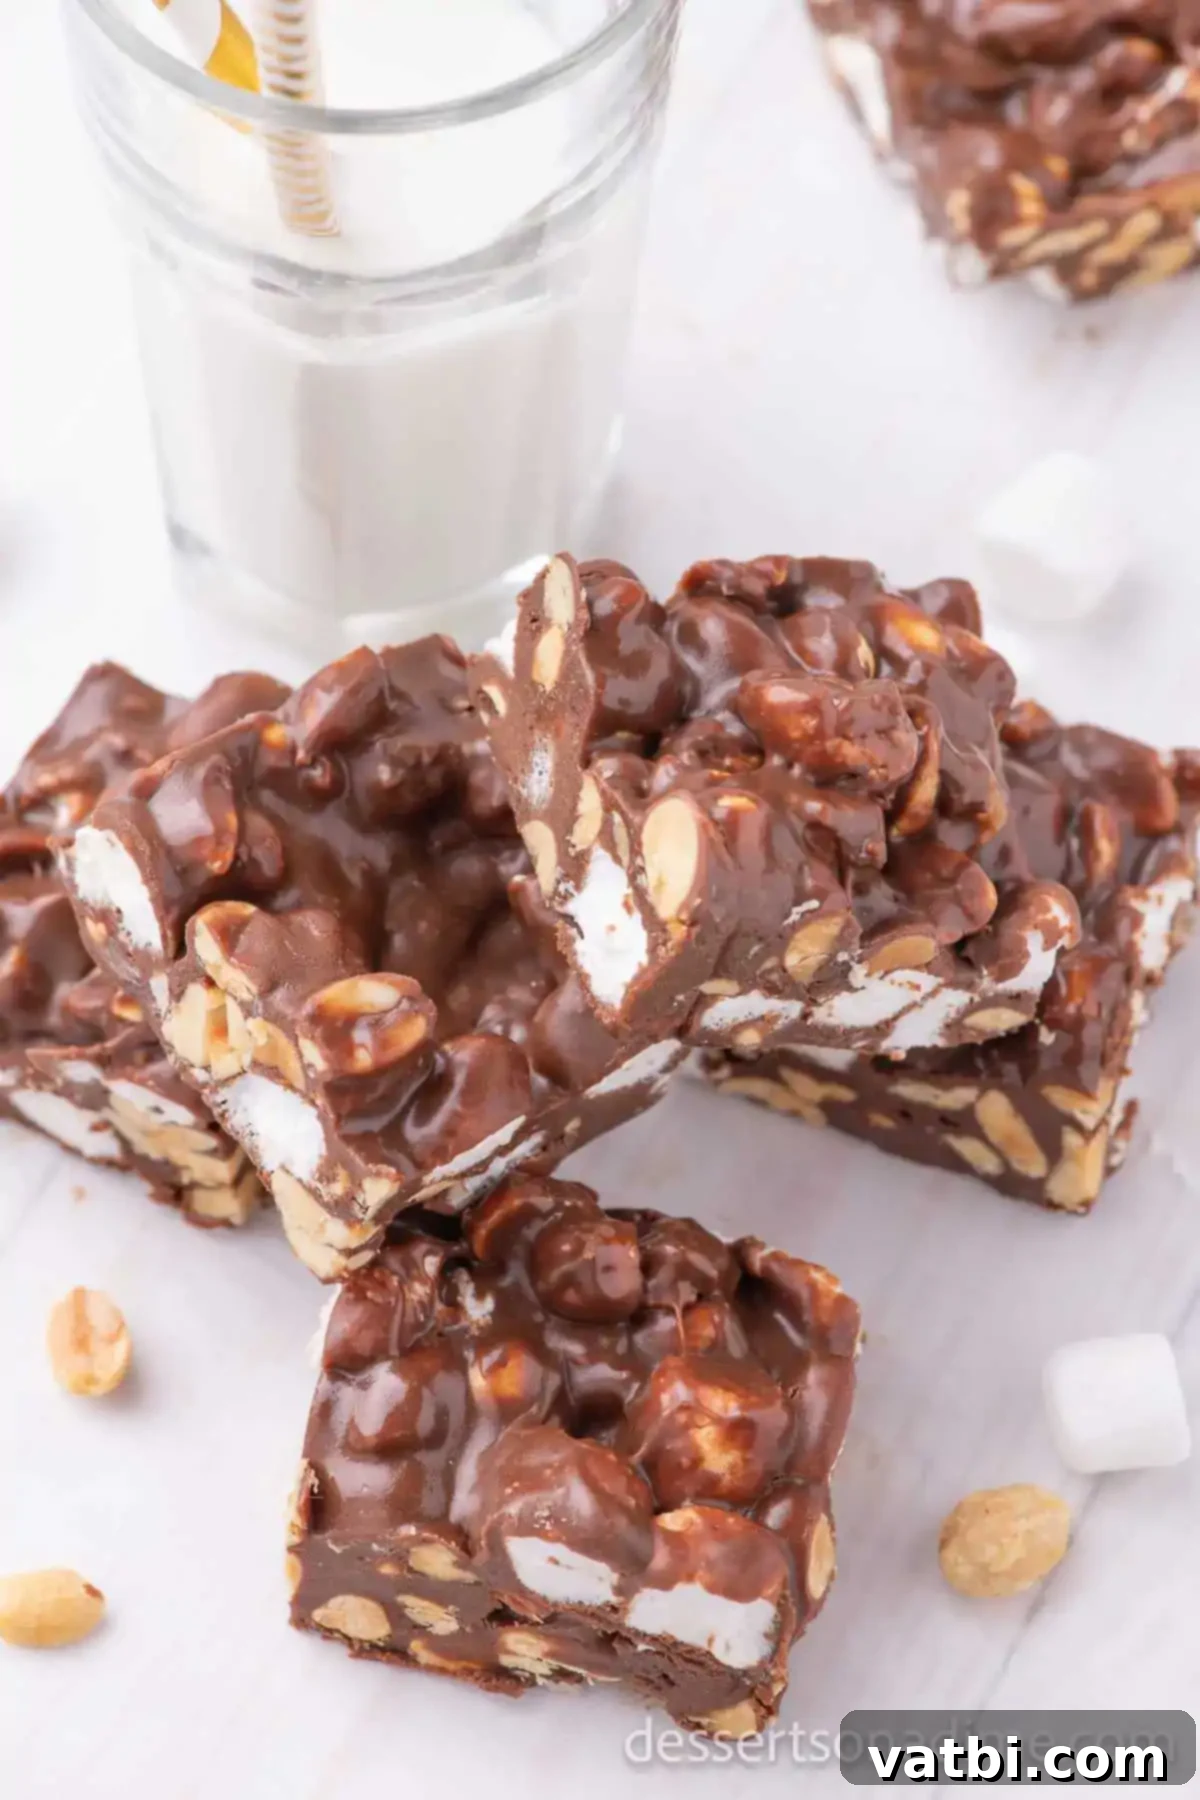
Variations and Customizations
One of the best things about Rocky Road Candy is how easily it can be customized. Don’t be afraid to experiment and make it your own!
- Different Nuts: Beyond peanuts, try walnuts, pecans, almonds, or even cashews. For a nut-free version, use roasted sunflower seeds or pumpkin seeds.
- Chocolate Varieties: While semi-sweet is classic, milk chocolate offers a sweeter, creamier profile, while dark chocolate provides a more intense, less sugary experience. You could even swirl in some melted white chocolate for a marbled effect.
- Added Mix-ins:
- Dried Fruits: Dried cranberries, cherries, raisins, or chopped apricots can add a lovely chewiness and tart contrast.
- Pretzels: Crushed pretzels introduce an extra layer of salty crunch.
- Cookies: Roughly chopped Oreos, graham crackers, or shortbread cookies make fantastic additions.
- Candy Pieces: M&M’s, chopped candy bars (like Snickers or Butterfinger), or even mini chocolate-covered candies can add bursts of flavor and color.
- Coconut Flakes: Toasted coconut flakes add a tropical flavor and texture.
- Flavor Extracts: A dash of vanilla extract is standard, but you could try almond extract, peppermint extract (for a holiday twist), or even a hint of orange zest to complement the chocolate.
- Toppings: Before chilling, sprinkle with extra mini marshmallows, chopped nuts, colorful sprinkles, or a dusting of cocoa powder. A drizzle of caramel or white chocolate once set also looks fantastic.
Storage
Proper storage is essential to keep your homemade Rocky Road Candy fresh and delicious. Any leftovers should be stored in an airtight container in the refrigerator. When stored correctly, your Rocky Road will maintain its quality for at least 1 week. However, in our experience, this delightful treat is usually gobbled up much faster!
The entire family consistently loves Rocky Road candy because of its irresistible combination of textures and flavors. It’s not just easy to make, but it’s also incredibly decadent, making it a highly requested item. Keeping it chilled not only extends its shelf life but also helps it retain its firm, fudgy texture, ensuring every bite is as good as the first.
How to Freeze Rocky Road Candy
Yes, you can absolutely freeze Rocky Road fudge! This makes it an excellent candidate for making ahead, especially if you’re preparing for holidays or events. When stored properly, your Rocky Road can be frozen for up to a month without compromising its taste or texture.
To freeze, first ensure the Rocky Road candy is at room temperature and fully set. Cut it into individual slices or bars. Then, place the slices in an airtight freezer-safe container. To prevent them from sticking together, I highly recommend placing a small piece of wax paper or parchment paper between each layer of fudge. This simple step makes it easy to grab just one piece without thawing the entire batch.
When you’re ready to enjoy, simply remove the desired amount from the freezer and let it thaw at room temperature for about 15-30 minutes, or until it reaches your preferred consistency. Freezing Rocky Road is a fantastic way to prepare for holiday baking in advance, saving you time and stress during busy periods.
More Easy Candy Recipes to Try
If you loved making this Rocky Road Candy, you’ll surely enjoy exploring other simple and delicious candy recipes. Here are a few more favorites that are just as easy to make and equally delightful:
- Old Fashioned Divinity Candy Recipe: A classic, fluffy, and sweet confection.
- Chocolate Peanut Butter Cups Recipe: Recreate this beloved candy with just a few ingredients.
- Sugar Cookie Fudge Recipe: A festive and sweet fudge reminiscent of sugar cookies.
- Crock Pot Fudge: The easiest way to make creamy fudge with minimal effort.
- Homemade Twix Bars Recipe: Layers of shortbread, caramel, and chocolate – better than store-bought!
- Homemade Mounds Bar Recipe: A delightful blend of coconut and dark chocolate.
These recipes offer a fantastic way to expand your candy-making repertoire without needing advanced skills or special equipment. Enjoy the process of creating homemade treats that taste incredible!
Now it’s your turn to try this easy Rocky Road Candy recipe. Once you make it, please leave a comment and let us know how much you loved it! Your feedback helps other home cooks discover delicious, simple recipes like this one.
Pin
Rocky Road Candy
Ingredients
- 12 ounces Semi Sweet Chocolate Chips
- 2 tablespoons Butter
- 14 oz. Sweetened Condensed Milk
- 2.5 cups Dry Roasted Peanuts
- 16 ounce Mini Marshmallows
Instructions
-
Line 13×9 pan with parchment or wax paper.
-
Melt chocolate chips, butter and condensed milk in a medium to large pan over medium/low heat, stirring constantly to keep it from scorching.
-
Once melted, remove chocolate mixture from heat and allow to cool slightly.
-
Stir peanuts and marshmallows into chocolate mixture.
-
Spread rocky road mixture into prepared pan.
-
Chill until set, approximately 2 – 3 hours.
-
Cut into squares and serve.
Recipe Notes
Nutrition Facts
Pin This Now to Remember It Later
Pin Recipe
