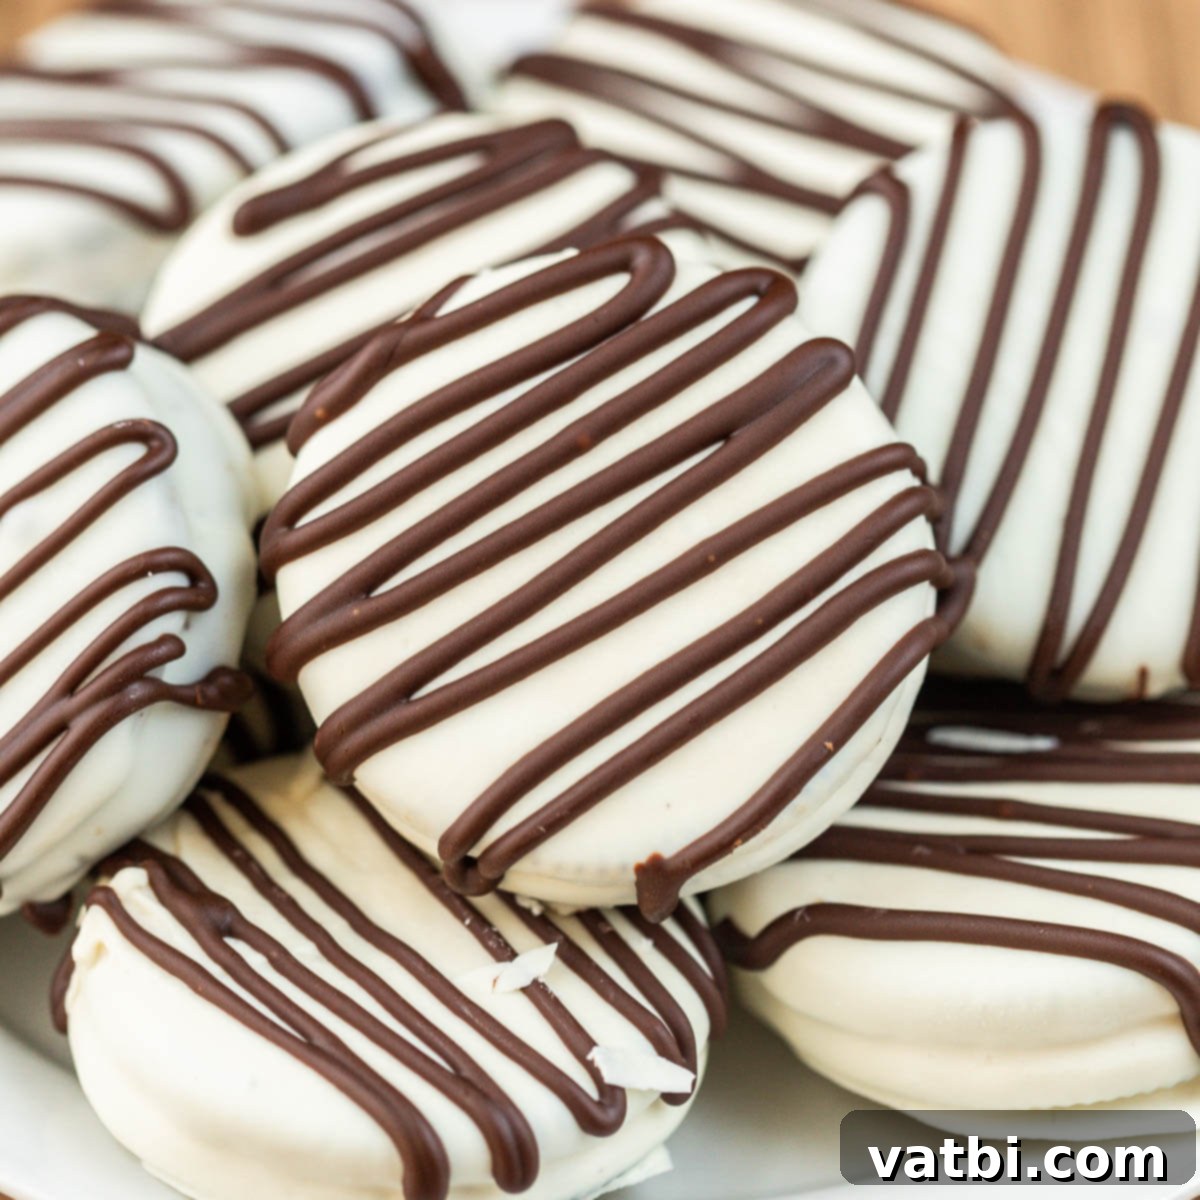
Decadent White Chocolate Covered Oreos: The Ultimate No-Bake Treat & Easy Homemade Gift
Transform the classic Oreo cookie into an extraordinary indulgence with this incredibly simple recipe for White Chocolate Covered Oreos. These delightful treats are not only remarkably easy to prepare but also serve as a perfect crowd-pleaser for any party and make for truly thoughtful homemade gifts. Imagine the satisfying crunch of your favorite chocolate sandwich cookie enveloped in a luscious, smooth layer of sweet white chocolate – it’s a taste sensation that’s both familiar and wonderfully elevated.
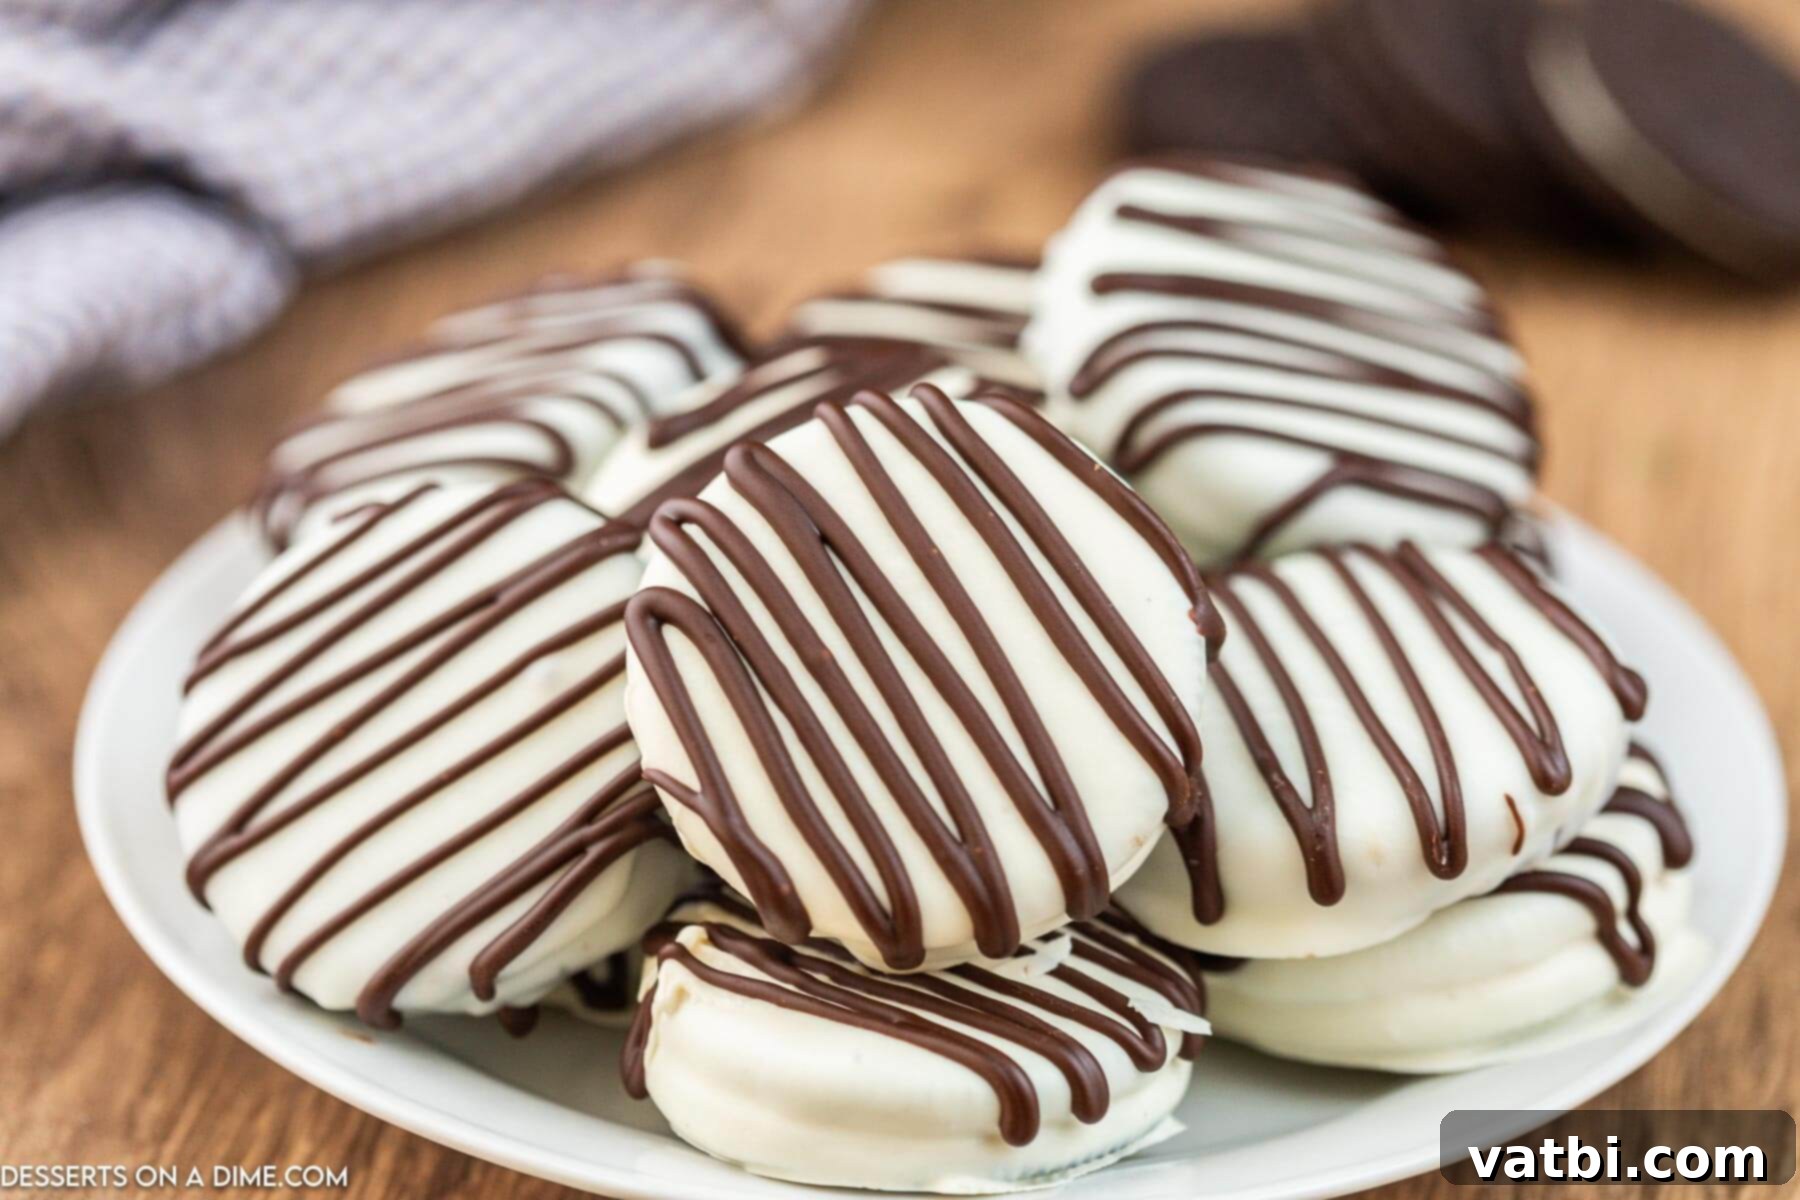
There’s a unique charm in taking a beloved, humble cookie and giving it a gourmet makeover. Dipping Oreos in perfectly melted white chocolate candy melts elevates them from a simple snack to an elegant dessert. The contrast between the rich, slightly bitter chocolate of the Oreo and the creamy, sweet white chocolate is simply irresistible. This method creates a beautifully smooth shell that locks in freshness and adds an extra layer of delicious texture.
Beyond their delightful taste and texture, White Chocolate Covered Oreos offer immense versatility. You can personalize them with a vibrant array of sprinkles, artistic drizzles of contrasting chocolate, or even crushed candies to match any theme or holiday. Once decorated, they can be beautifully packaged in cellophane bags or small boxes, making them an ideal token of affection for friends, family, or teachers. This no-bake Oreo dessert is genuinely enjoyable to make, promising fun for all ages, especially when children get involved in the decorating process. For more delightful Oreo creations, consider trying our popular Oreo Trifle recipe.
Table of contents
- Why We Love This Easy Oreo Recipe
- Essential Ingredients for White Chocolate Covered Oreos
- Creative Variations & Customization Ideas
- Step-by-Step Guide to Making Chocolate Dipped Oreos
- Proper Storage for Maximum Freshness
- Expert Tips for Perfect Chocolate Covered Oreos
- More Chocolate Covered Oreos Recipes
Why We Love This Easy Oreo Recipe
These White Chocolate Covered Oreos have earned their spot as a favorite for countless reasons. Their simplicity and versatility make them a go-to dessert for any occasion.
- Quick & Easy – Forget complicated baking schedules or lengthy prep work. This recipe requires absolutely no baking and uses just a handful of readily available ingredients. In mere minutes, you can transform ordinary cookies into extraordinary treats. It’s perfect for last-minute dessert cravings or when you need a speedy contribution to a potluck.
- Festive & Fun – The decorating possibilities are endless, making these cookies incredibly fun to make and customize. Whether you’re dressing them up for a specific holiday with themed sprinkles (think red and green for Christmas, pastels for Easter, or spooky colors for Halloween), adding elegant chocolate drizzles, or coloring the candy melts, they always look the part. They’re a fantastic activity for kids, allowing them to express their creativity while making a delicious snack.
- Crowd-Pleasing – Who doesn’t love an Oreo? And who can resist one coated in smooth, sweet white chocolate? This combination is a guaranteed hit with everyone, from the youngest children to the most discerning adults. The satisfying crunch of the cookie paired with the creamy chocolate coating creates an addictive texture and flavor contrast that makes them disappear quickly at any gathering.
- Great for Gifting – Thoughtful homemade gifts are always appreciated, and these chocolate-covered Oreos fit the bill perfectly. When neatly packaged in clear bags tied with a ribbon, or arranged in a decorative box, they make a stunning and delicious present for holidays, hostess gifts, birthday party favors, or just a sweet thank-you. They look professional and taste incredible, making them a memorable treat to share.
Essential Ingredients for White Chocolate Covered Oreos
Making these delightful cookies requires just four simple ingredients, ensuring a stress-free preparation process. Quality ingredients will yield the best results, though basic pantry staples work wonderfully.
- Oreo cookies – The undisputed star of the show! Use the classic chocolate sandwich cookie for its iconic crunch and distinct cocoa flavor, which provides the perfect contrast to the sweet white chocolate. You can also experiment with different Oreo flavors like Golden, Mint, or Peanut Butter for a unique twist.
- White candy melts – These are specifically designed for melting smoothly and setting quickly, creating a creamy, sweet, and firm shell around your Oreos. Candy melts are easier to work with than traditional white chocolate chips, as they are less prone to seizing and don’t require tempering. You can find them in various colors, making customization even easier.
- Vegetable oil – A small amount of vegetable oil is crucial for achieving the perfect consistency for your melted candy melts. It helps to thin the chocolate slightly, making it much easier to dip the Oreos evenly and ensures a beautifully smooth, glossy finish without clumps. Divide this amount for melting the white candy melts and then for the chocolate drizzle.
- Chocolate chips – While optional, chocolate chips (milk, semi-sweet, or dark) are excellent for drizzling patterns or adding decorative touches to your white chocolate-covered Oreos. They provide a contrasting color and flavor that enhances the overall appeal of the cookie.
Creative Variations & Customization Ideas
One of the best aspects of White Chocolate Covered Oreos is how adaptable they are. With a few simple tweaks, you can create a wide array of personalized treats perfect for any season, celebration, or simply to satisfy a creative craving.
- Dark or Milk Chocolate: While white chocolate provides a beautiful contrast, don’t hesitate to swap it for dark or milk chocolate chips or candy melts for a richer, deeper chocolate experience. You could even do a mix, dipping some in white and some in dark for a stunning platter.
- Flavored Candy Melts: Expand your palette beyond traditional white. Many brands offer pastel or vibrantly colored candy melts. Use green for St. Patrick’s Day, red for Valentine’s, orange for Halloween, or various colors for a rainbow effect at a birthday party.
- Exciting Toppings: The moment the chocolate is wet is your chance to get creative!
- **Classic Sprinkles:** Use jimmies, nonpareils, or sanding sugar in any color to match your theme.
- **Crushed Nuts:** Finely chop pecans, walnuts, almonds, or peanuts for a delightful textural crunch.
- **Crushed Candy Canes:** A festive choice for winter holidays, adding a minty kick and a beautiful red and white fleck.
- Mini Chocolate Chips: Add a double dose of chocolate with mini chips, either milk, dark, or white.
- Coconut Flakes: Toasted or untoasted coconut adds a tropical flavor and unique texture.
- Edible Glitter or Dust: For a truly elegant touch, a light dusting of edible glitter makes them sparkle.
- Crushed Cereal: Think crushed Fruity Pebbles for a colorful, playful look or crushed cornflakes for an unexpected crunch.
- Artistic Drizzles: After the main coating has set, melt a contrasting chocolate (e.g., dark chocolate drizzle over white chocolate, or white chocolate drizzle over milk chocolate) and use a spoon, a fork, or a piping bag with a small hole to create stripes, zigzags, or other decorative designs. This adds visual interest and another layer of flavor.
- Stuffed Oreos: Take your Oreos to the next level by using flavored varieties like mint, peanut butter, birthday cake, or even double-stuffed Oreos for an extra rich treat. Each bite will offer a delightful surprise.
- Oreo Pops: Insert a lollipop stick into the cream filling of the Oreo before dipping. This transforms them into fun cookie pops, perfect for parties and easier for kids to handle.
Step-by-Step Guide to Making Chocolate Dipped Oreos
Creating these delightful White Chocolate Covered Oreos is a straightforward process, making it an ideal activity for even novice bakers or a fun project with children. Follow these detailed steps for perfect results every time.
- Step 1: Prepare the White Chocolate Coating. Begin by placing the white candy melts and 1 ½ teaspoons of vegetable oil into a microwave-safe bowl. The oil helps to thin the candy melts, ensuring a smooth, even coating and preventing it from becoming too thick or seizing.
- Step 2: Melt the Candy Melts. Microwave the mixture in short 30-second intervals. After each interval, stir the candy melts thoroughly with a spoon or spatula. Continue this process until the candy melts are completely smooth and free of any lumps. Be careful not to overheat, as this can cause the candy melts to seize or burn.
- Step 3: Dip the Oreo Cookies. Using a fork, carefully submerge one Oreo cookie at a time into the melted white chocolate. Ensure the cookie is fully coated.
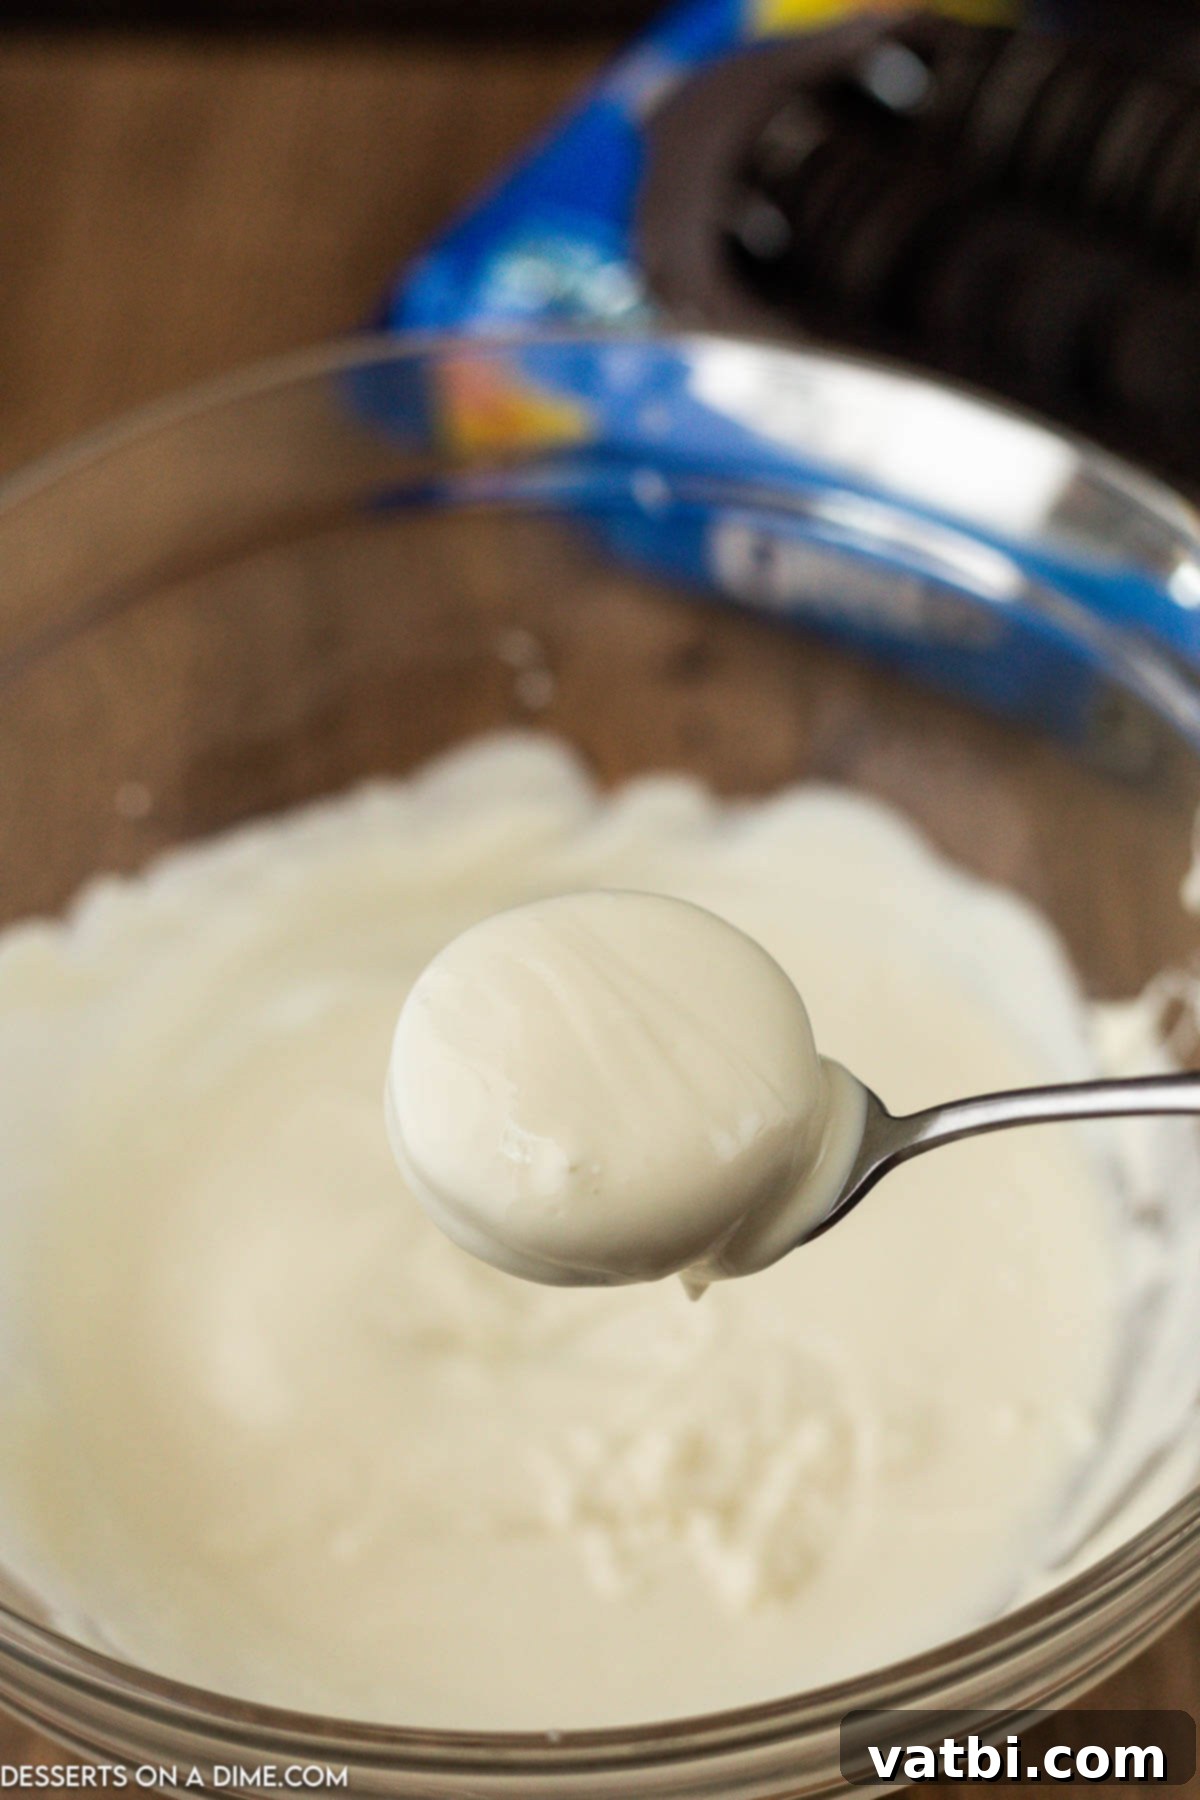
Step 4: Remove Excess Chocolate. Gently tap the fork on the side of the bowl to allow any excess white chocolate to drip off the cookie. This ensures a clean, even coating and prevents pooling around the base of the cookie. If you plan to add sprinkles, do so now while the chocolate is still wet.
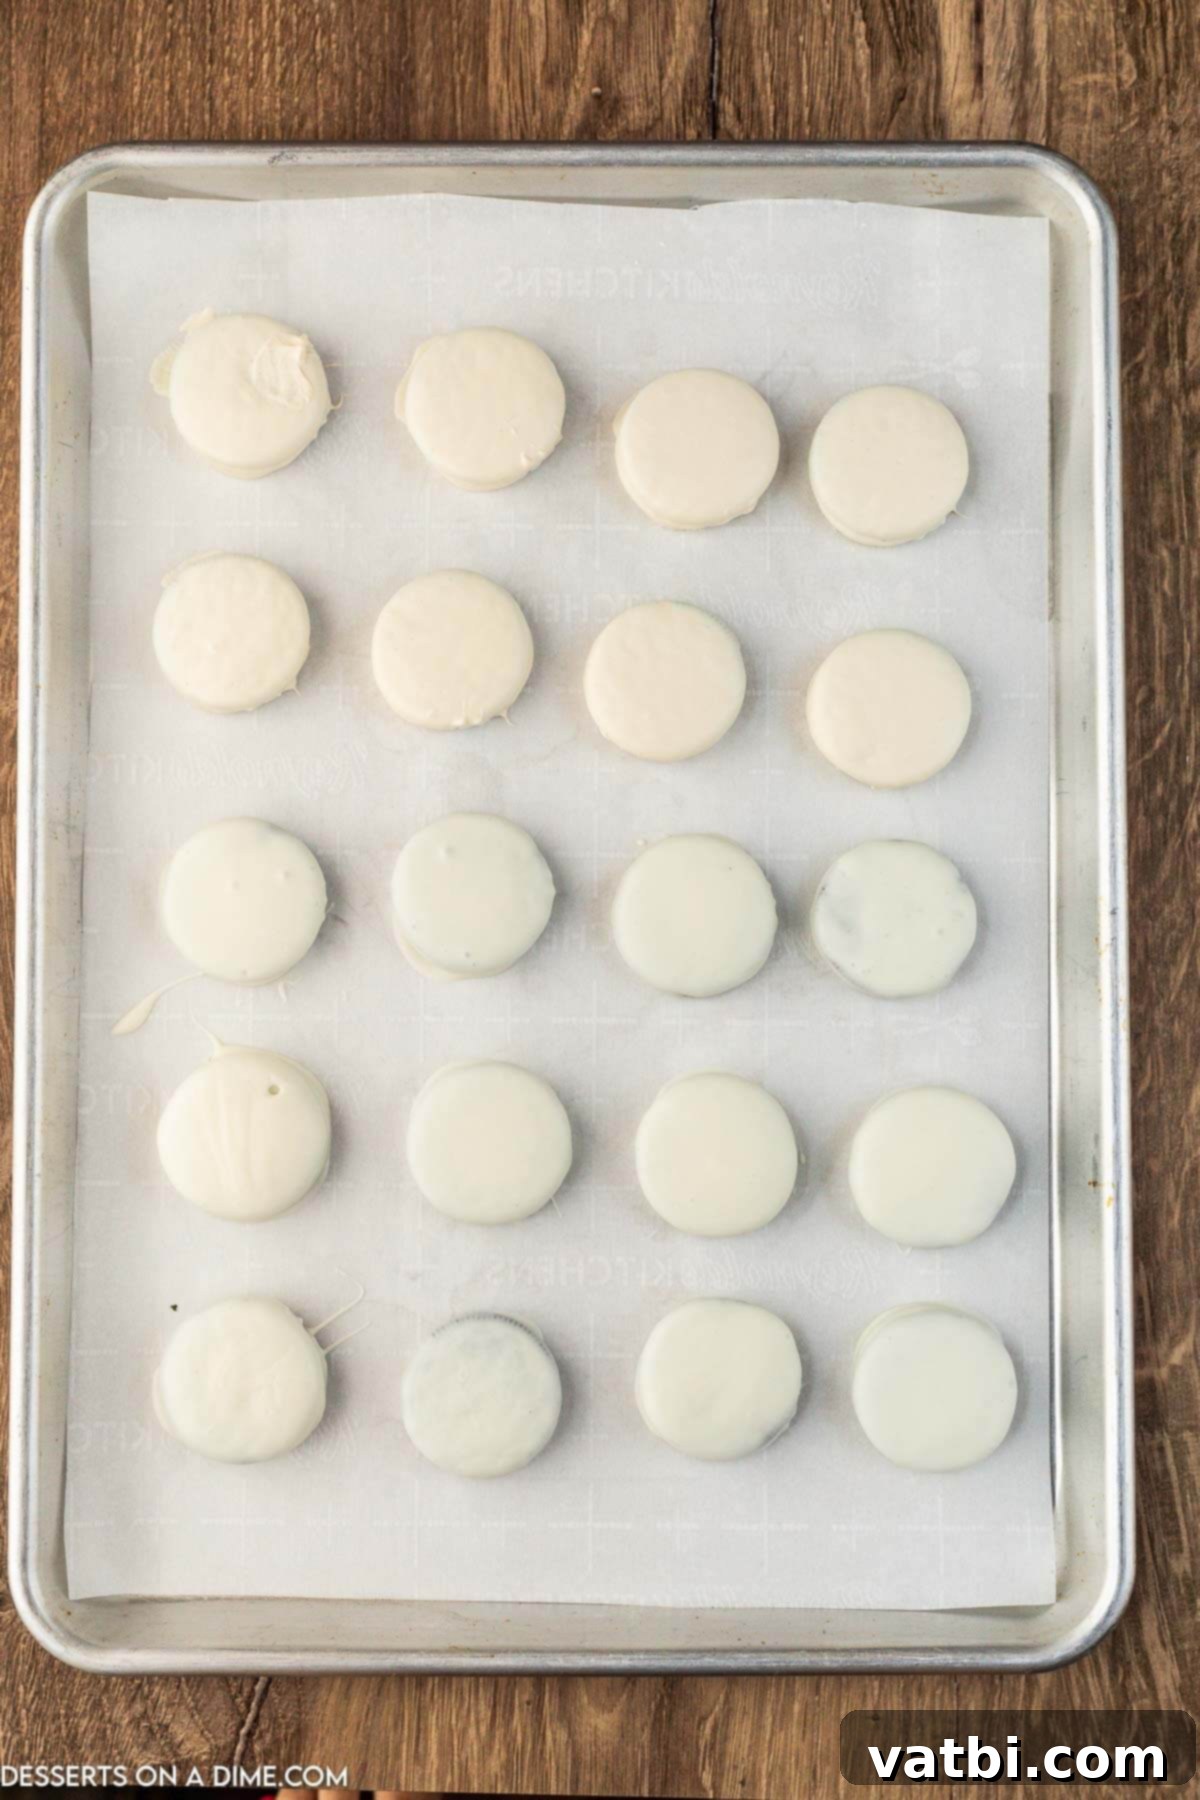
Step 5: Place on Baking Sheet. Carefully transfer the coated cookie onto a baking sheet that has been lined with parchment paper or wax paper. This prevents sticking and makes for easy cleanup. Repeat this dipping and transferring process until all your Oreo cookies are coated in the white chocolate.
- Step 6: Chill to Set. Once all cookies are coated and placed on the baking sheet, transfer the entire sheet to the refrigerator. Allow them to chill for at least one hour. This chilling time is essential for the white chocolate to fully set and harden, giving your cookies their crisp, stable coating.
- Step 7: Prepare Chocolate Drizzle (Optional). If you desire to add a decorative drizzle, place the chocolate chips and the remaining ½ teaspoon of vegetable oil in a separate microwave-safe bowl.
- Step 8: Melt Drizzle Chocolate. Just like the white candy melts, microwave this chocolate mixture in 30-second intervals, stirring after each, until it is fully melted and smooth. The small amount of oil will help achieve a perfect drizzling consistency.
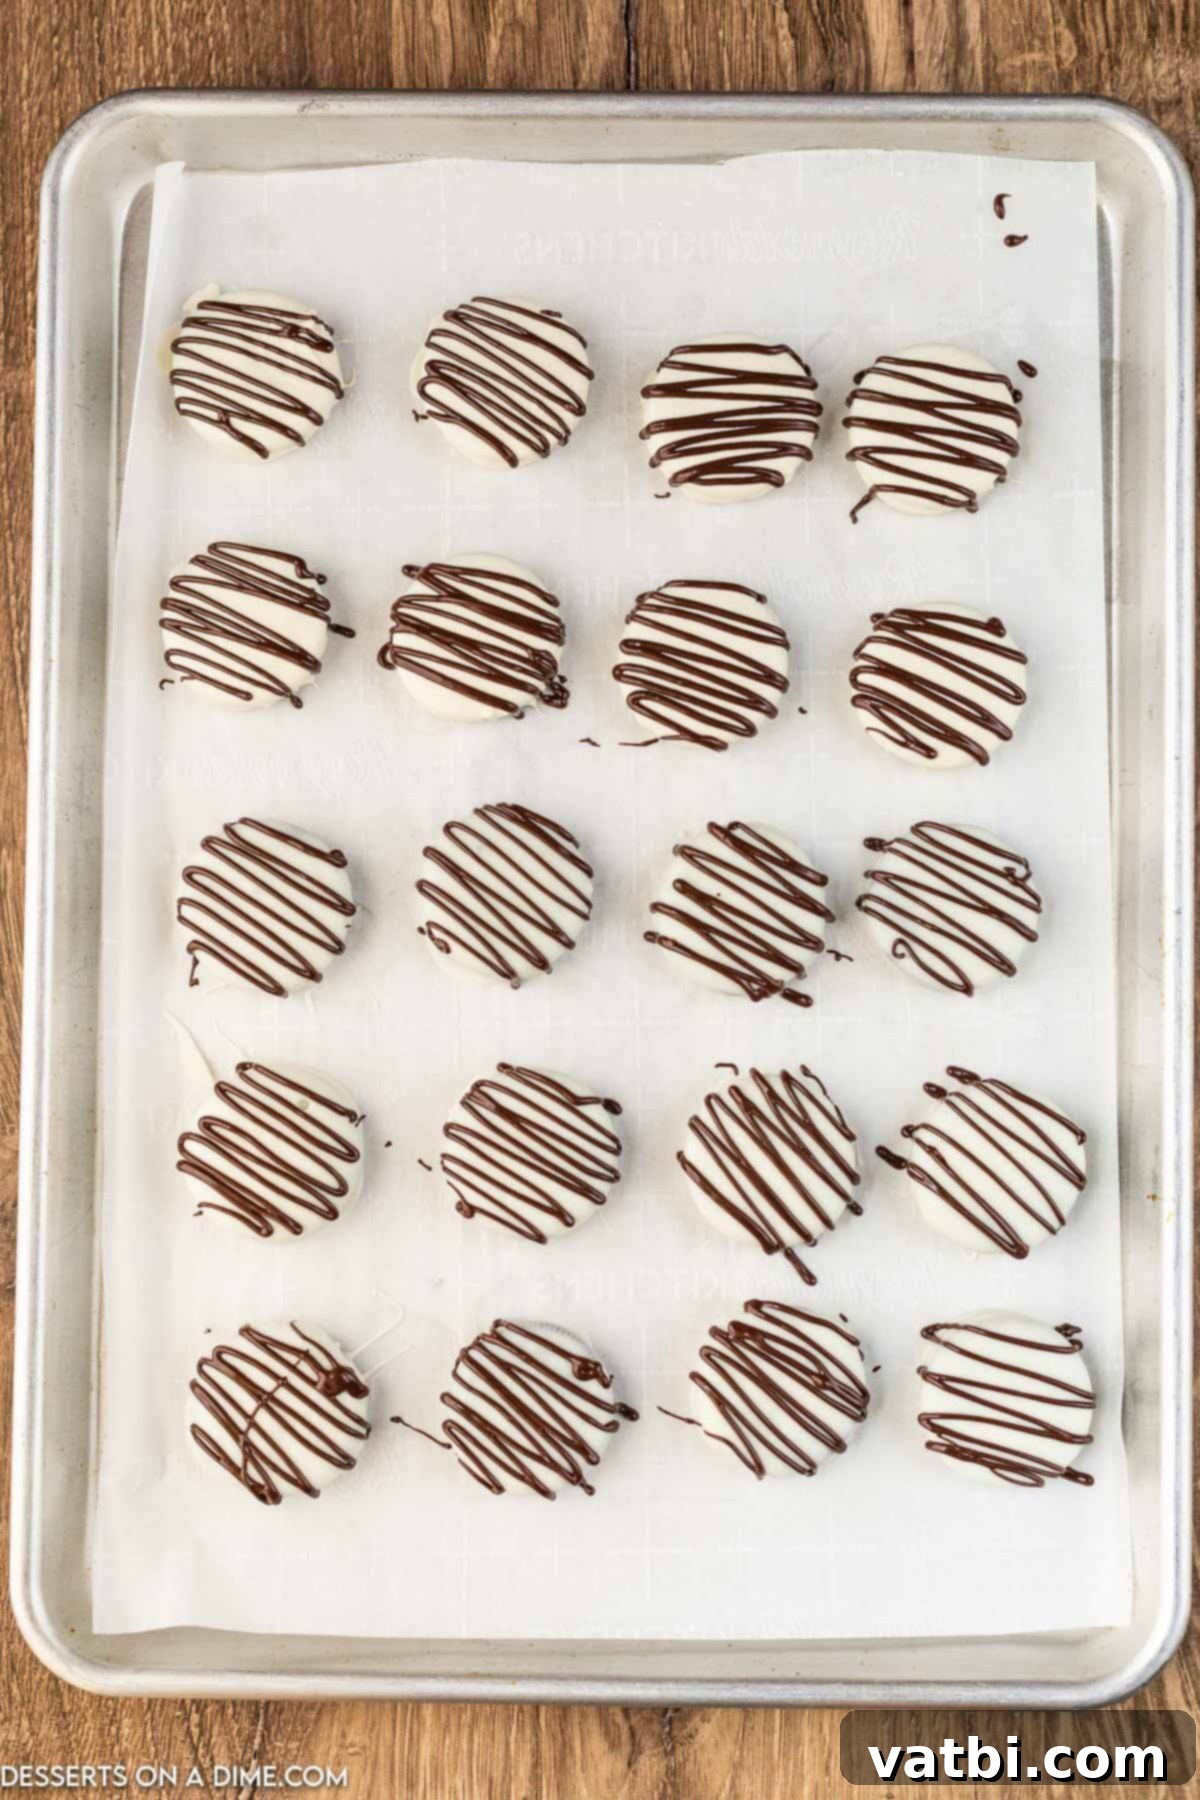
Step 9: Prepare for Drizzling. Pour the melted chocolate into a piping bag. If you don’t have a piping bag, a small zip-top bag with one corner snipped off will work just as well. Make sure the hole is very small for fine lines, or slightly larger for thicker drizzles.
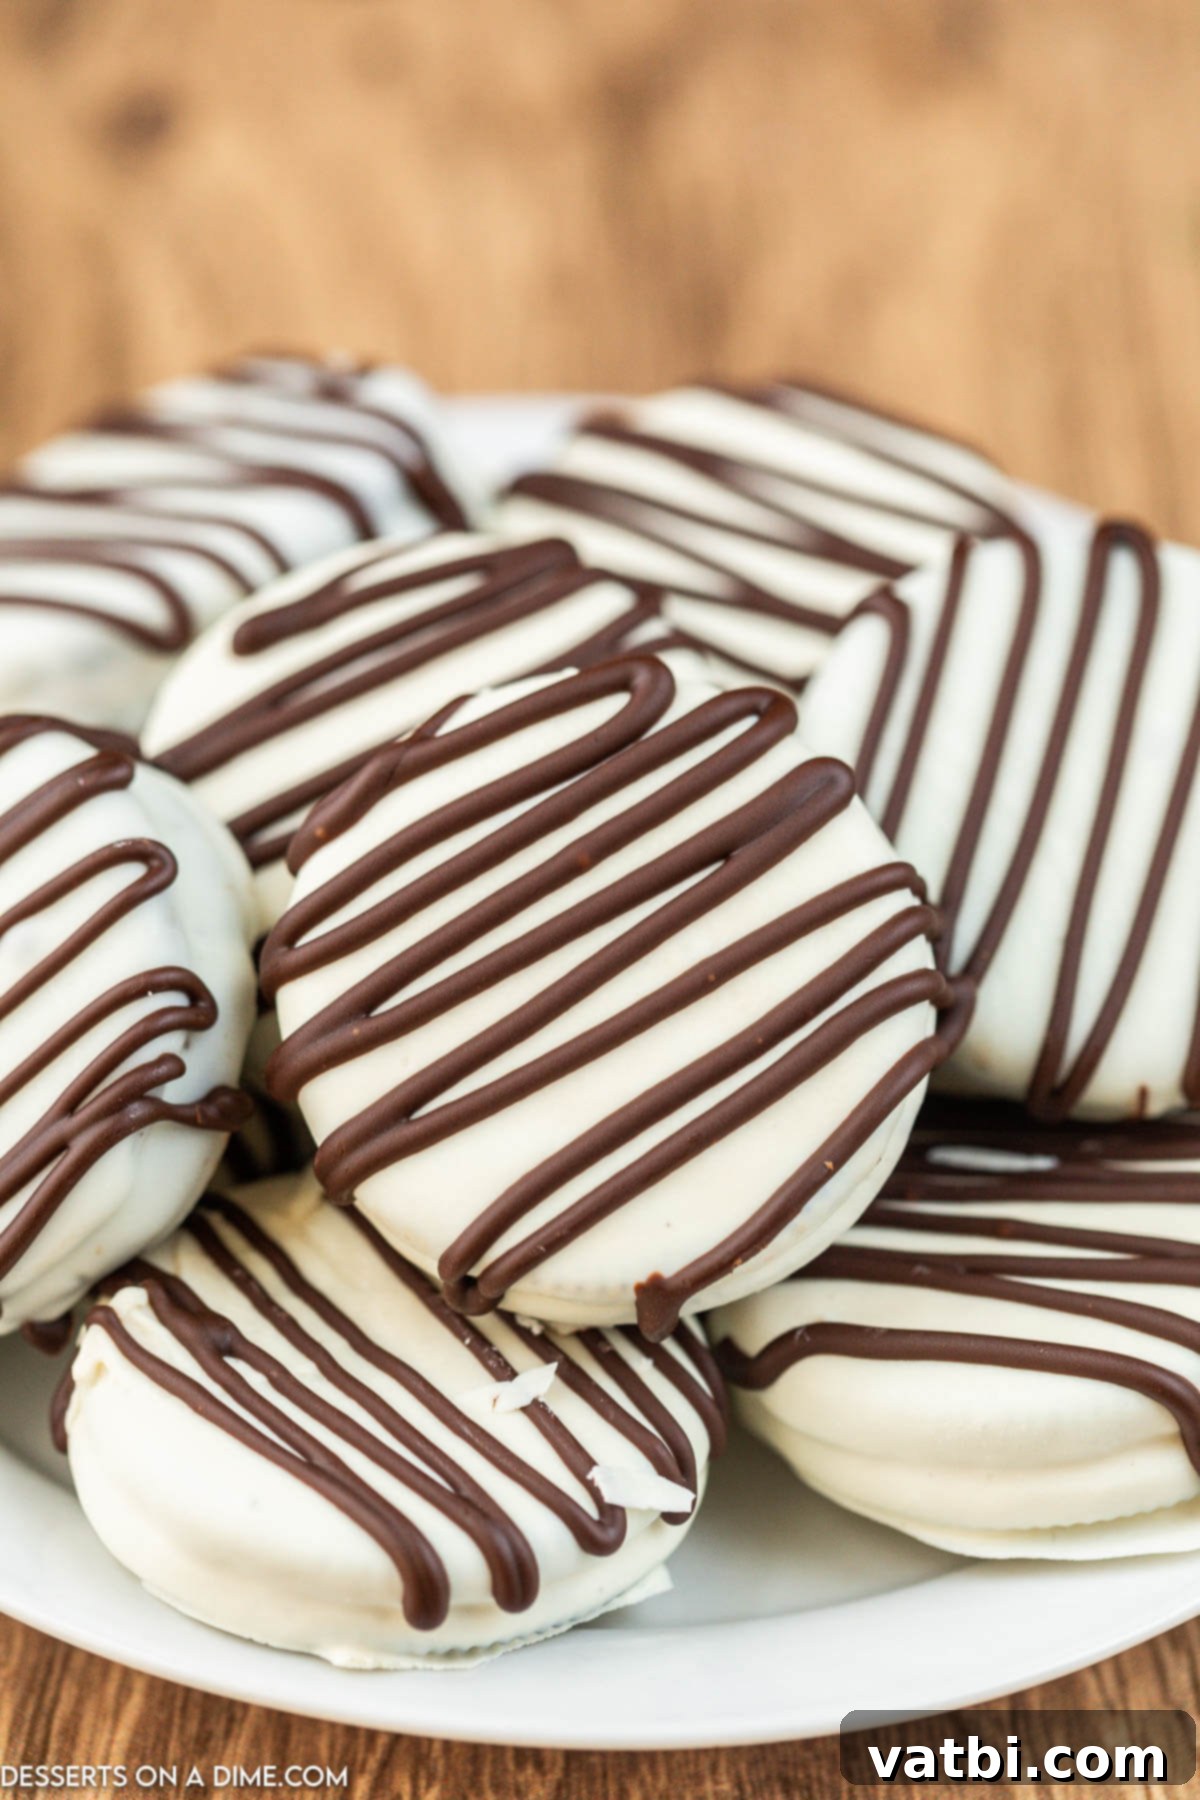
Step 10: Drizzle Over Cookies. Once your white chocolate coated Oreos are fully set, remove them from the refrigerator. Drizzle the melted chocolate over the cookies in your desired pattern. Get creative with zigzags, straight lines, or even small dots.
- Step 11: Final Set and Serve. Return the drizzled cookies to the refrigerator for an additional 15 minutes. This final chill allows the decorative chocolate drizzle to set firmly. Once completely hardened, your White Chocolate Covered Oreos are ready to be served and enjoyed!
Proper Storage for Maximum Freshness
To keep your White Chocolate Covered Oreos tasting their best and looking pristine, proper storage is key. Here’s how to ensure they remain fresh and delicious for as long as possible:
- Room Temperature: For short-term storage, you can keep these cookies in an airtight container at cool room temperature for up to 5 days. Ensure they are in a cool, dry place away from direct sunlight or heat, which can cause the chocolate to melt or become sticky.
- Refrigerator: To extend their shelf life, store White Chocolate Covered Oreos in an airtight container in the refrigerator for up to 2 weeks. The cool temperature helps maintain the chocolate’s firmness and prevents it from becoming soft. Make sure the container is truly airtight to prevent any condensation from forming on the chocolate, which can cause sugar bloom (a white, chalky film).
- Freezer: For long-term storage, these cookies freeze beautifully. Place them in a single layer in a freezer-safe container or bag. If stacking, separate layers with parchment paper to prevent sticking. They can be stored in the freezer for up to 2 months. When ready to enjoy, thaw them at room temperature for about 30 minutes to an hour before serving for the best texture.
Expert Tips for Perfect Chocolate Covered Oreos
Achieving perfectly coated and beautifully presented White Chocolate Covered Oreos is simple with a few insider tricks. These tips will help you elevate your no-bake dessert game.
- Chill for Best Results: While it might seem like an extra step, refrigerating the cookies for at least 15 minutes (or even up to an hour for the initial coating) after dipping is crucial. This helps the white chocolate set quickly and evenly, ensuring a firm, non-sticky coating and preventing any smudges. For the drizzled chocolate, a shorter chill is usually sufficient.
- Avoid Condensation: When storing in the refrigerator, always use a truly airtight container. Moisture is the enemy of chocolate; condensation can cause a dull, streaky appearance (known as sugar bloom) or make the chocolate sticky. Ensure your cookies are completely set before covering.
- Stack Carefully: Patience is a virtue when making chocolate-covered treats. Wait until the chocolate is fully firm and hard to the touch before attempting to stack cookies. If you need to stack them, place a piece of parchment or wax paper between each layer to prevent sticking, smudging, or breaking.
- Optional Quick Chill: If you’re in a hurry and need the chocolate to set extra fast, place the freshly dipped cookies on a parchment-lined baking sheet and pop them into the freezer for 5-10 minutes. Just be sure to transfer them to the fridge or room temperature storage once set to avoid freezer burn on the cookies themselves.
- Melting Mastery: When melting candy melts or chocolate chips, using a microwave in short bursts (30 seconds at a time) and stirring frequently is key to preventing overheating. Overheated chocolate can seize, becoming thick and crumbly, or even burn. If your chocolate does get too thick, a tiny bit more vegetable oil (half a teaspoon) can sometimes help thin it out again.
- Dipping Tools: While a fork works well, a specialized chocolate dipping tool or even a skewer can make the dipping process cleaner and easier, especially for removing excess chocolate.
- Decorate Immediately: If you plan to add sprinkles, nuts, or other toppings, do so immediately after dipping each cookie, while the white chocolate is still wet and tacky. Once the chocolate begins to set, toppings won’t adhere properly.
- Kid-Friendly Fun: This recipe is fantastic for involving kids! Let them help with dipping (under supervision) and especially with decorating. Provide a variety of sprinkles and let their creativity shine.
More Chocolate Covered Oreos Recipes
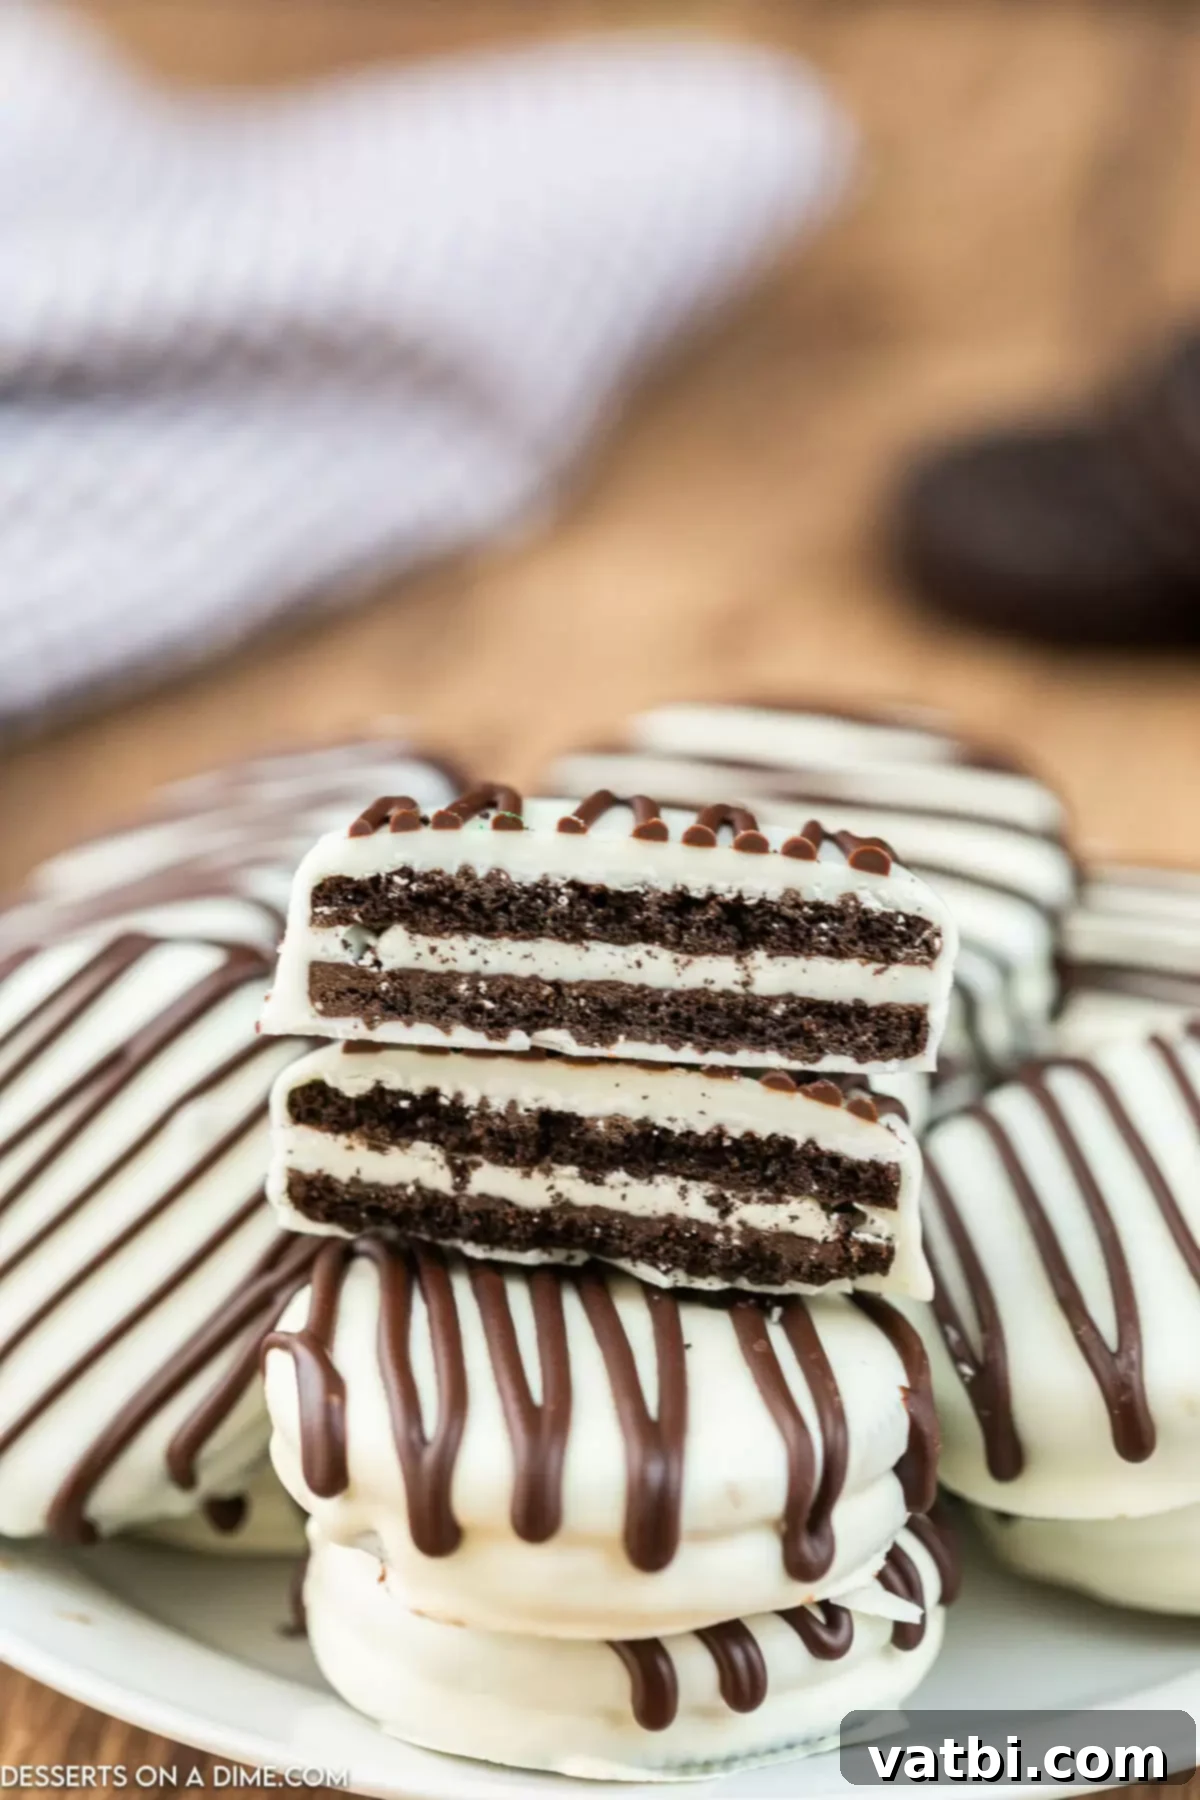
If you’ve fallen in love with the simplicity and deliciousness of White Chocolate Covered Oreos, you’ll be thrilled to discover how easily you can adapt this concept for various holidays and occasions. The versatile nature of chocolate-dipped Oreos means you can customize them with different colored candy melts and themed sprinkles to suit almost any festive celebration. Explore these other fantastic chocolate-covered Oreo recipes to add more fun and flavor to your treat repertoire:
- Easter Chocolate Covered Oreos
- Grinch Chocolate Covered Oreos
- Snowman Chocolate Covered Oreos
- Valentine’s Day Chocolate Covered Oreos
We hope you’ll give this incredibly easy and wonderfully satisfying recipe for White Chocolate Covered Oreos a try. Whether you’re making them for a party, a gift, or just a sweet treat for yourself, they are sure to be a hit. Once you’ve whipped up a batch, please come back and share your experience by leaving a comment and a star rating!
Pin
White Chocolate Covered Oreos
Ingredients
- 16 Oreo Cookies
- 12 ounces White Candy Melts
- 2 teaspoons Vegetable Oil divided
- ⅓ cup Chocolate Chips
Instructions
-
Place the white candy melts and 1 ½ teaspoons vegetable oil in a microwave safe bowl.
-
Microwave the mixture in 30 second intervals, stirring after each interval, until the candy melts are fully melted.
-
Dip the Oreo Cookies in the melted candy melts with a fork. Tap the fork on the side of the bowl to remove any excess chocolate from the cookie.
-
Then place the cookies on a baking sheet lined with parchment paper.
-
Continue this process until all the cookies are coated.
-
Place the baking sheet in the refrigerator for at least an hour for the chocolate to fully set.
-
Then place the chocolate chips and remaining vegetable oil (½ teaspoon) in a microwave safe bowl.
-
Microwave in 30 second intervals, stirring after each interval, until fully melted.
-
Pour the melted chocolate in a piping bag or a zip lock bag with one of the corners removed.
-
Drizzle the chocolate over the cookies.
-
Refrigerate for 15 more minutes for this chocolate to set and then the cookies are ready to serve and enjoy!
Recipe Notes
As an alternative to white candy melts, you can use almond bark in this recipe. Almond bark also melts smoothly and sets quickly, providing a similar crisp coating. When using regular white chocolate chips, you might need to add slightly more vegetable oil or a touch of coconut oil to achieve a perfect dipping consistency, as regular chocolate can be more prone to seizing than candy melts.
Nutrition Facts
Pin This Now to Remember It Later
Pin Recipe
