Decadent Homemade Whoopie Pies: The Ultimate Guide to Soft, Chewy, and Cream-Filled Perfection
Prepare to delight your taste buds with this incredible homemade Whoopie Pie recipe. These classic American treats are not only unbelievably delicious but also surprisingly easy to whip up in your own kitchen. Imagine two pillowy-soft, rich chocolate cookies embracing a generous layer of luscious, decadent marshmallow fluff icing. Every bite is a symphony of textures and flavors that will have everyone reaching for more. Perfect for any occasion, from casual family desserts to festive gatherings, these whoopie pies are guaranteed to be a showstopper.
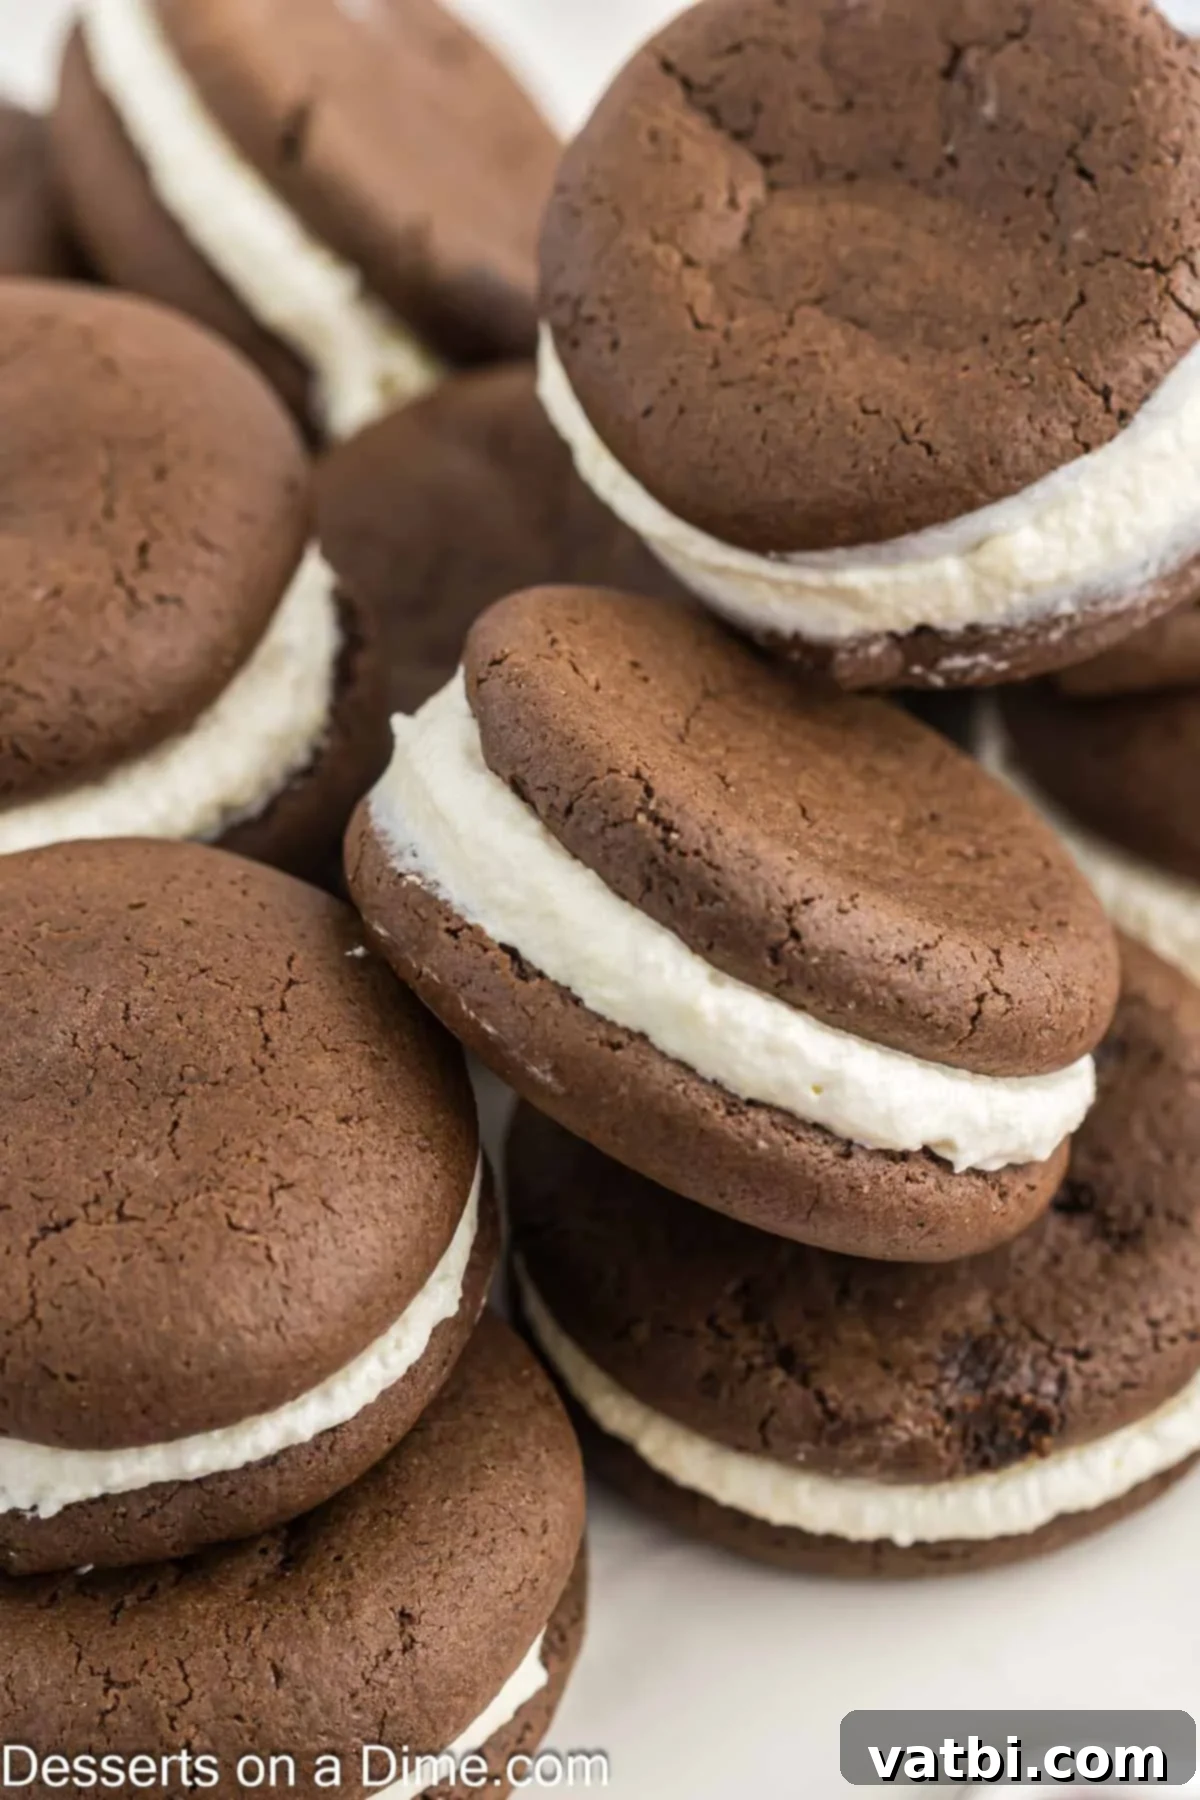
This particular homemade whoopie pie recipe has been a staple in our kitchen for over five years, consistently delivering perfect results every time. Its simplicity is truly its charm; the ingredients are straightforward, often already found in your pantry, and the process is remarkably forgiving. What you get are consistently soft, wonderfully chewy cookies that pair perfectly with the sweet, fluffy filling. It’s no wonder this recipe has become one of our absolute favorite cookie recipes, cherished by both adults and children alike.
For those new to these delightful confections, whoopie pies are essentially two soft, cake-like cookies—traditionally chocolate—sandwiched together with a sweet, creamy filling. Think of them as a delightful hybrid between a cookie and a mini cake, offering a unique texture that’s both tender and satisfying. While the classic version features chocolate cookies and a marshmallow creme filling, their versatility allows for endless creative possibilities. We love adapting them for various holidays, such as our festive Patriotic Whoopie Pies, making them a perfect addition to any celebration.
While you’re enjoying your baking adventure, why not also try this Easy Homemade Cream Puffs Recipe for another delightful treat?
Table of contents
- Why You’ll Adore This Whoopie Pie Recipe
- Essential Ingredients for Perfect Whoopie Pies
- The Chocolate Cookies
- The Luscious Marshmallow Filling
- Creative Variations and Additions
- Mastering the Art of Whoopie Pies
- Pro Baking Tips for Whoopie Pies
- Storage and Freshness
- More Irresistible Chocolate Recipes
Why You’ll Adore This Whoopie Pie Recipe
There are countless reasons why these homemade whoopie pies have earned a permanent spot in our hearts and recipe rotation. Here are just a few:
- Effortlessly Easy to Make – Despite their impressive appearance, whoopie pies are surprisingly simple to prepare. The cookie batter comes together quickly with minimal fuss, and the filling is a dream to create. Once baked and cooled, it’s just a matter of sandwiching the two cookies with that irresistible marshmallow creme, making it a perfect project for bakers of all skill levels.
- Utilizes Simple, Accessible Ingredients – You won’t need to hunt down obscure items for this recipe. Most of the ingredients required for both the cookies and the filling are common pantry staples. This means you can often decide to make a batch on a whim, without a special trip to the grocery store, making spontaneous baking sessions a breeze.
- A Guaranteed Family Favorite – Whoopie pies possess a universal appeal that makes them a hit with everyone, from the pickiest eaters to the most discerning dessert connoisseurs. Their rich, deep chocolate flavor, combined with the sweet and fluffy filling, creates a delightful balance that’s hard to resist. They’re perfect for birthday parties, potlucks, lunchbox treats, or simply as a comforting dessert after a family meal. Their unique look also makes them a fun conversation starter!
- Perfectly Balanced Texture – Unlike traditional cookies that might be crispy, whoopie pies offer a distinct cake-like softness. The cookies are moist and tender, providing a delightful contrast to the light and airy marshmallow fluff filling. This combination creates a truly melt-in-your-mouth experience that sets them apart from other desserts.
Essential Ingredients for Perfect Whoopie Pies
Crafting the perfect whoopie pie starts with understanding the role each ingredient plays. Here’s a detailed look at what you’ll need for both the rich chocolate cookies and the dreamy marshmallow filling, ensuring flawless results every time.
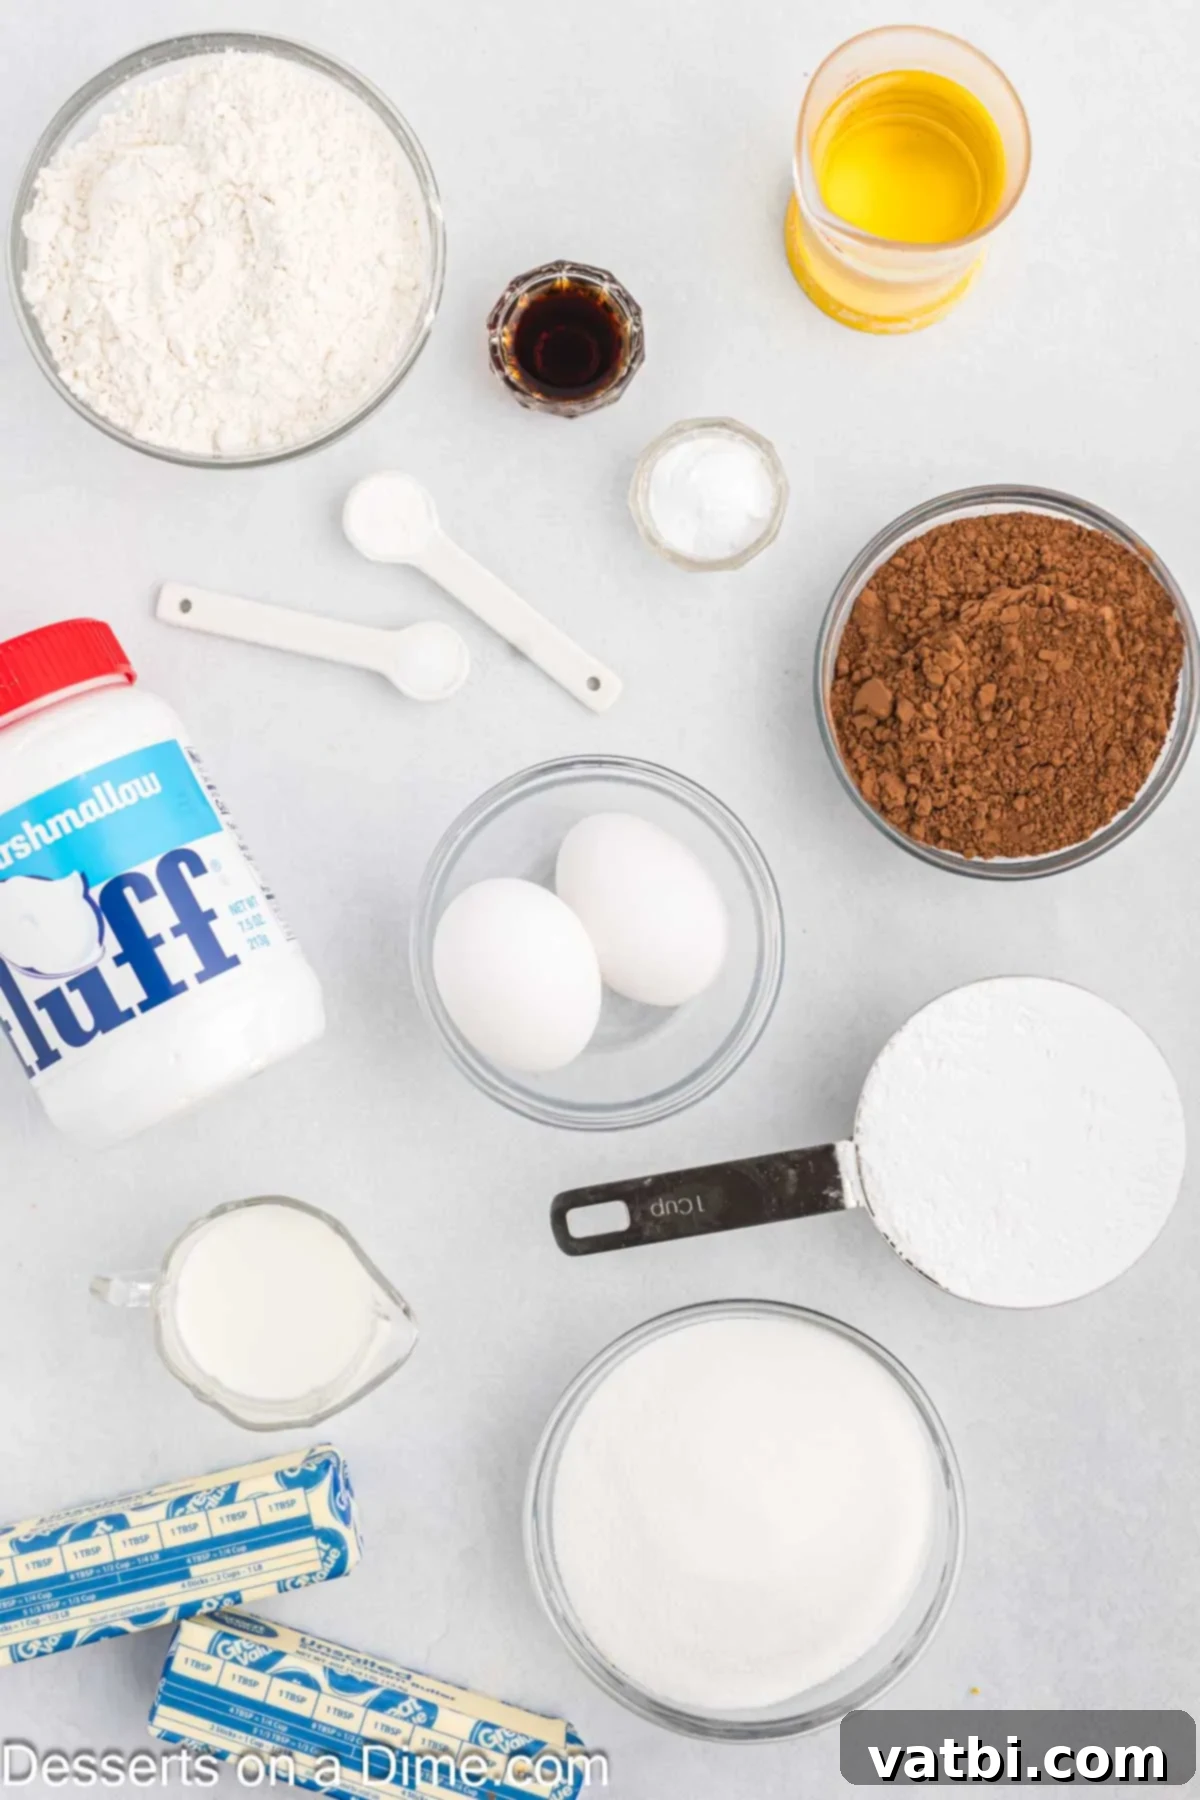
The Chocolate Cookies
The foundation of our whoopie pies is a soft, chocolatey, cake-like cookie. Here are the key ingredients:
- All-Purpose Flour. For best results and accurate measurement, gently spoon the flour into your measuring cup and level it off with a straight edge, rather than packing it down. This prevents adding too much flour, which can lead to dry, dense cookies.
- Unsweetened Baking Cocoa. Be sure to use unsweetened cocoa powder. This allows you to control the sweetness of the cookies, ensuring a rich chocolate flavor without being overly sugary. It’s the secret to that deep, inviting color and taste.
- Baking Soda and Baking Powder. These leavening agents work in harmony to give the cookies their signature light and airy texture. For tips on substitutes, you might find our guide on Best Baking Soda Substitutes helpful.
- Salt. A touch of salt is crucial for balancing the sweetness and enhancing the deep chocolate notes in the cookies. Don’t skip it!
- Granulated Sugar. Provides the essential sweetness and contributes to the cookie’s tender crumb.
- Vegetable or Canola Oil. Using oil helps to create a wonderfully moist and tender cookie texture, keeping them soft for longer than butter alone might.
- Large Eggs. Ensure your eggs are at room temperature before you start mixing. Room temperature eggs emulsify more easily with other ingredients, leading to a smoother, more uniform batter and a better final texture.
- Milk. While any milk will work, using whole milk can add a richer flavor and a slightly more tender crumb to your cookies. It helps to bring the batter to the perfect consistency.
- Vanilla Extract. A good quality vanilla extract enhances all the other flavors, especially the chocolate, adding a layer of warmth and complexity.
The Luscious Marshmallow Filling
The heart of a whoopie pie is its creamy, fluffy center. Our marshmallow fluff filling is perfectly sweet and incredibly smooth.
- Unsalted Butter, softened. Make sure your butter is truly softened to room temperature so it can cream properly with the sugar, creating a light and airy base for the filling.
- Powdered Sugar. Also known as confectioners’ sugar, this provides the sweetness and structure. If your powdered sugar is lumpy, a quick sift will ensure a silky-smooth filling.
- Marshmallow Fluff. The star of the show! A container of marshmallow fluff is the easiest route to that classic whoopie pie flavor and texture. If you’re feeling ambitious, you can also make Homemade Marshmallow Fluff for an extra special touch.
- Vanilla Extract. Just like in the cookies, vanilla brings a delightful aromatic depth to the filling.
- Salt. A pinch of salt cuts through the sweetness and balances the flavors in the filling.
You can find the complete, precise ingredient list with measurements and detailed instructions in the recipe card at the bottom of the page.
Creative Variations and Additions
One of the best things about whoopie pies is how adaptable they are! While the classic chocolate with marshmallow fluff is unbeatable, don’t be afraid to get creative and experiment with different flavors and decorations.
- Experiment with Cookie Flavors – While we adore the rich chocolate cake cookies, the possibilities don’t end there! You can easily adapt the base recipe to create a variety of whoopie pie flavors. Consider pumpkin whoopie pies for autumn, vibrant red velvet for holidays, or even a zesty lemon or classic vanilla cake cookie for a different twist. Just adjust the cocoa content and add alternative flavorings or spices to your batter.
- Change Up the Frosting – The filling is another excellent area for customization. Instead of the traditional marshmallow fluff, match your frosting to your cookie flavor. A rich cream cheese frosting is divine with pumpkin or red velvet cookies. For chocolate cookies, a classic buttercream, peanut butter frosting, or even a chocolate ganache would be incredible. Don’t be afraid to play with extracts like almond or mint to add new dimensions.
- Seasonal and Holiday Whoopie Pies – Transform your whoopie pies into festive treats for any holiday. For a wintery holiday whoopie pie, add a few drops of peppermint extract to your marshmallow filling for a delicious minty flavor. You can even roll the edges of the filled pies in chopped peppermint candies for a fun, festive look and an extra crunch. Red and green sprinkles are also a simple way to add holiday cheer. For Halloween, try orange-tinted filling; for Valentine’s Day, use pink or red food coloring.
- Utilize a Cake Mix for Simplicity – If you’re short on time or just prefer a super-convenient option, you can certainly start your whoopie pie cookies with a boxed cake mix. This shortcut can drastically reduce prep time while still yielding wonderfully moist and rich whoopie pies. Just be sure to follow package instructions for the cake part and then proceed with the whoopie pie filling. This is especially great for beginner bakers!
- Add Sprinkles or Toppings: Before the filling sets, roll the edges of your whoopie pies in festive sprinkles, mini chocolate chips, or shredded coconut for added visual appeal and texture.
- Vary the Size: Use a smaller cookie scoop for mini whoopie pies, perfect for parties or as bite-sized treats. For an extra-large indulgent dessert, use a larger scoop.
How to Make Whoopie Pies
Follow these detailed steps to create your perfect batch of homemade whoopie pies, from mixing the batter to crafting the creamy filling.
- Step 1: Prepare Your Workspace – First, begin by preheating your oven to 350 degrees F (175 degrees C). This ensures the oven is at the correct temperature for even baking. Next, line your baking sheets with parchment paper or silicone baking mats. This crucial step prevents the cookies from sticking and makes cleanup an absolute breeze, allowing them to lift off the pan effortlessly after baking.
- Step 2: Combine Dry Ingredients – In a medium-sized mixing bowl, whisk together all your dry ingredients: the all-purpose flour, unsweetened cocoa powder, baking soda, baking powder, and salt. Whisking them ensures they are thoroughly combined and evenly distributed throughout the batter, which is key for consistent leavening and flavor in your cookies.
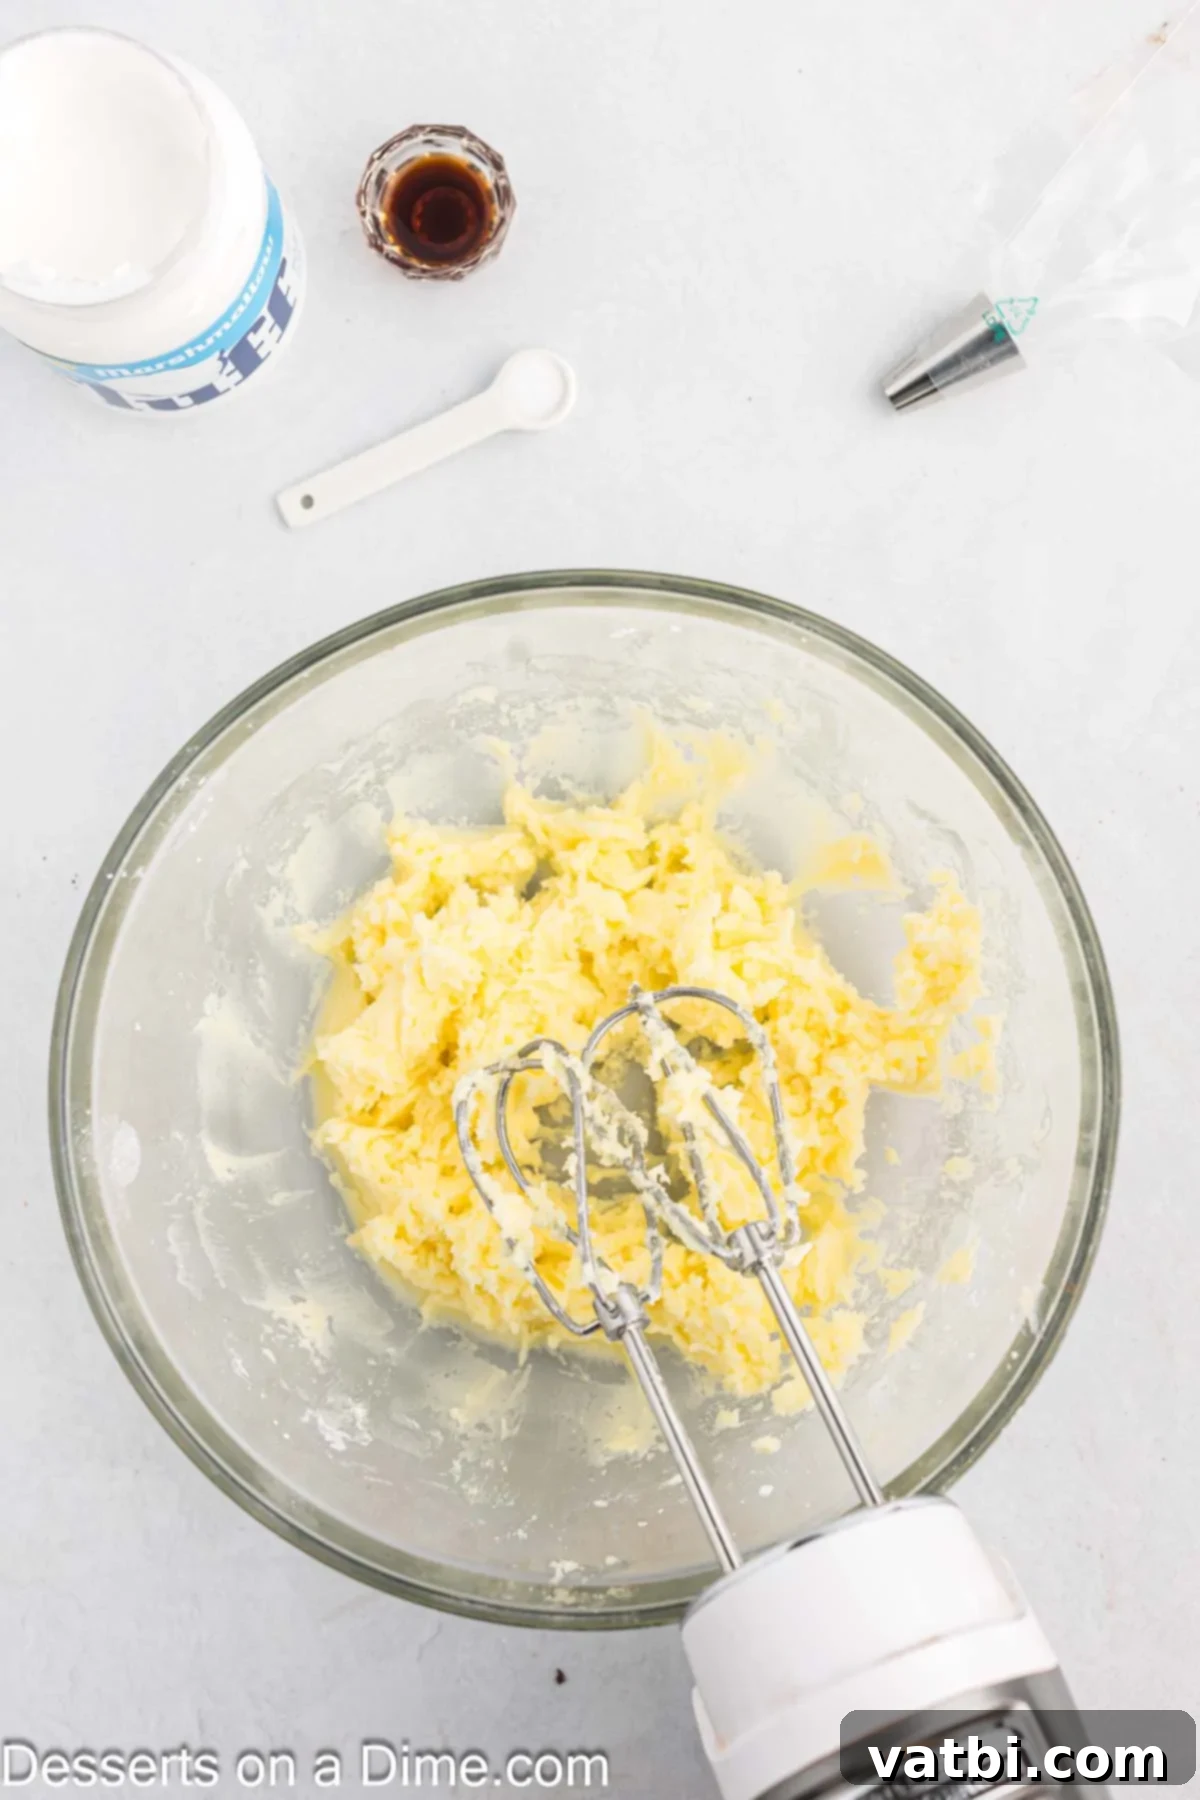
Step 3: Cream Sugar and Oil. In a separate, larger mixing bowl, combine the granulated sugar and ½ cup of vegetable or canola oil. Using an electric mixer on medium speed, beat these together until they are well combined. The mixture will have a slightly crumbly texture at this stage, which is perfectly normal and expected for the cookie base.
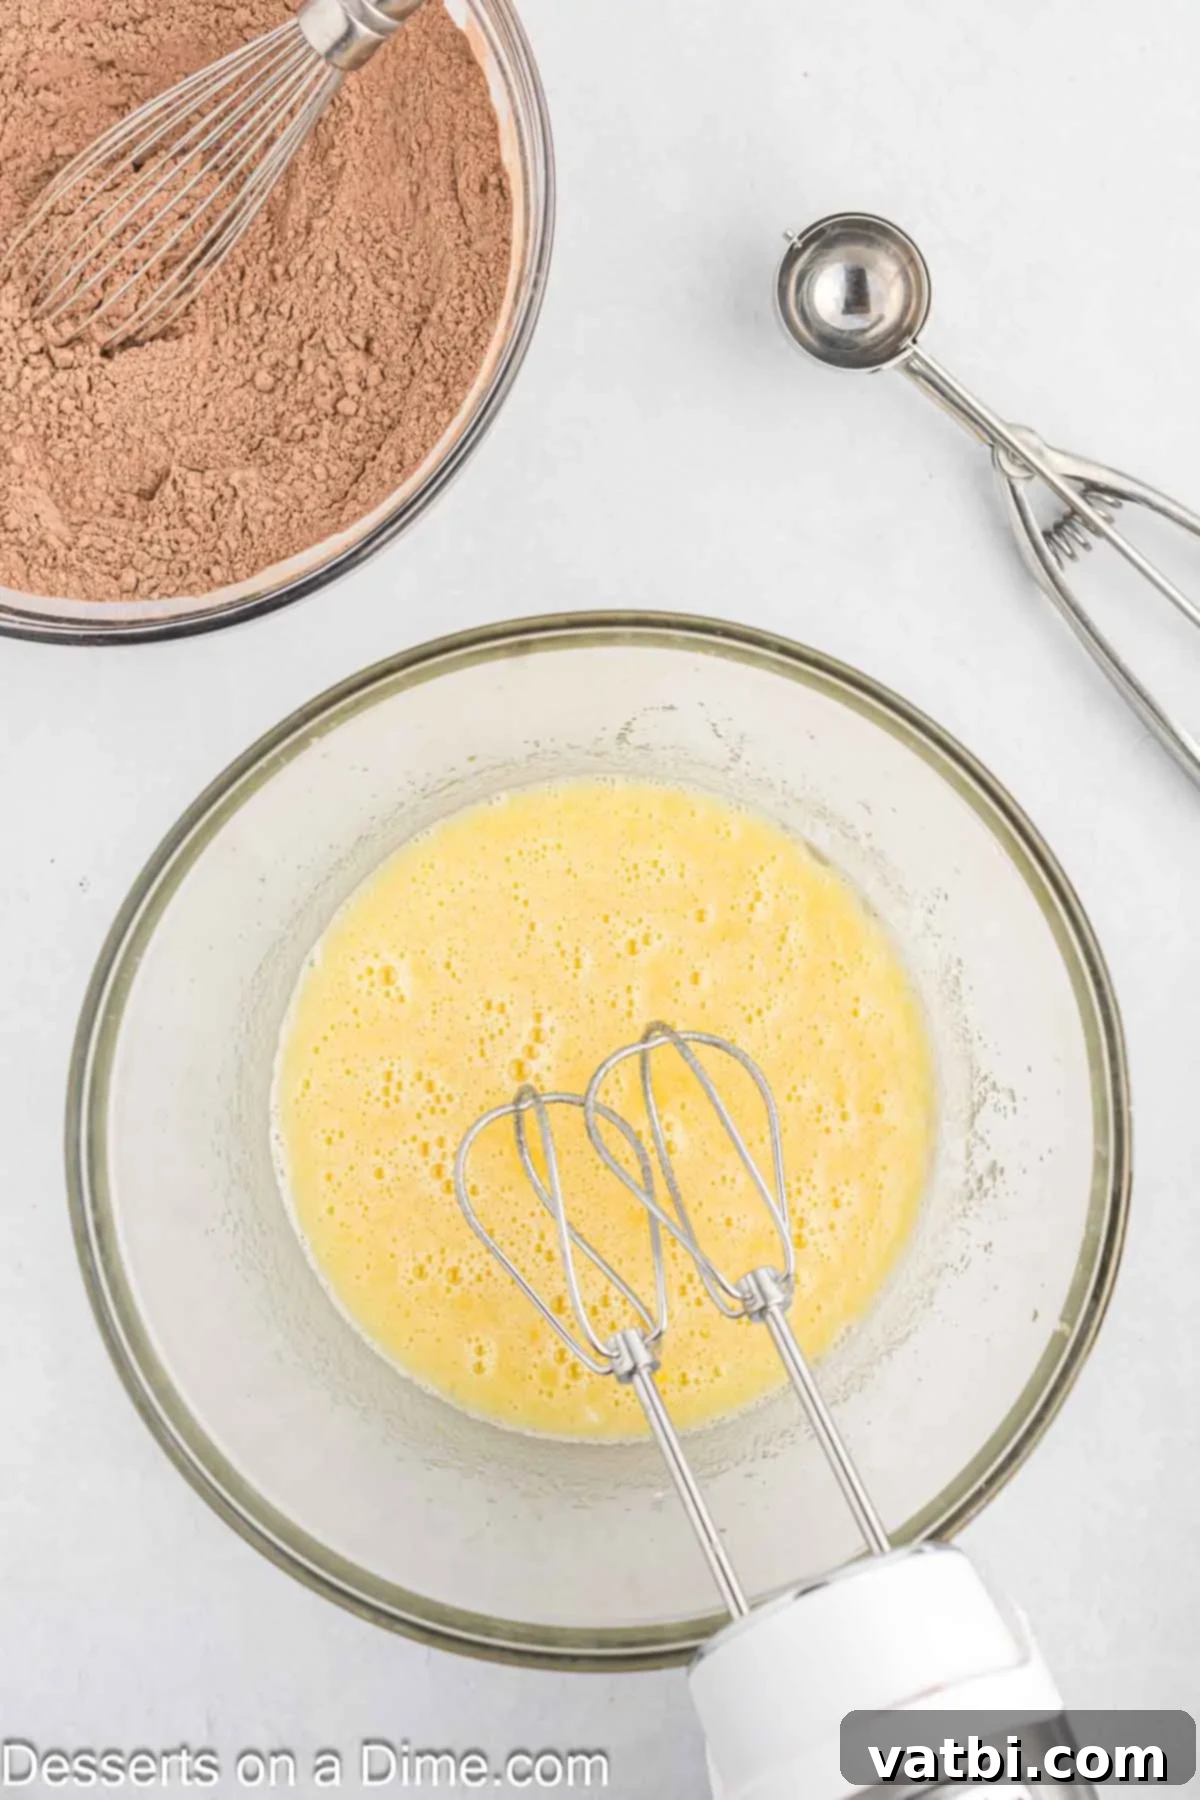
Step 4: Incorporate Wet Ingredients. To the sugar and oil mixture, add the room temperature large eggs, milk, and vanilla extract. Beat everything together until the mixture is smooth and evenly incorporated. Once the wet ingredients are thoroughly combined, gradually add the dry flour mixture from Step 2 into the wet ingredients. Mix on low speed after each addition until just combined, being careful not to overmix, as this can lead to tough cookies.
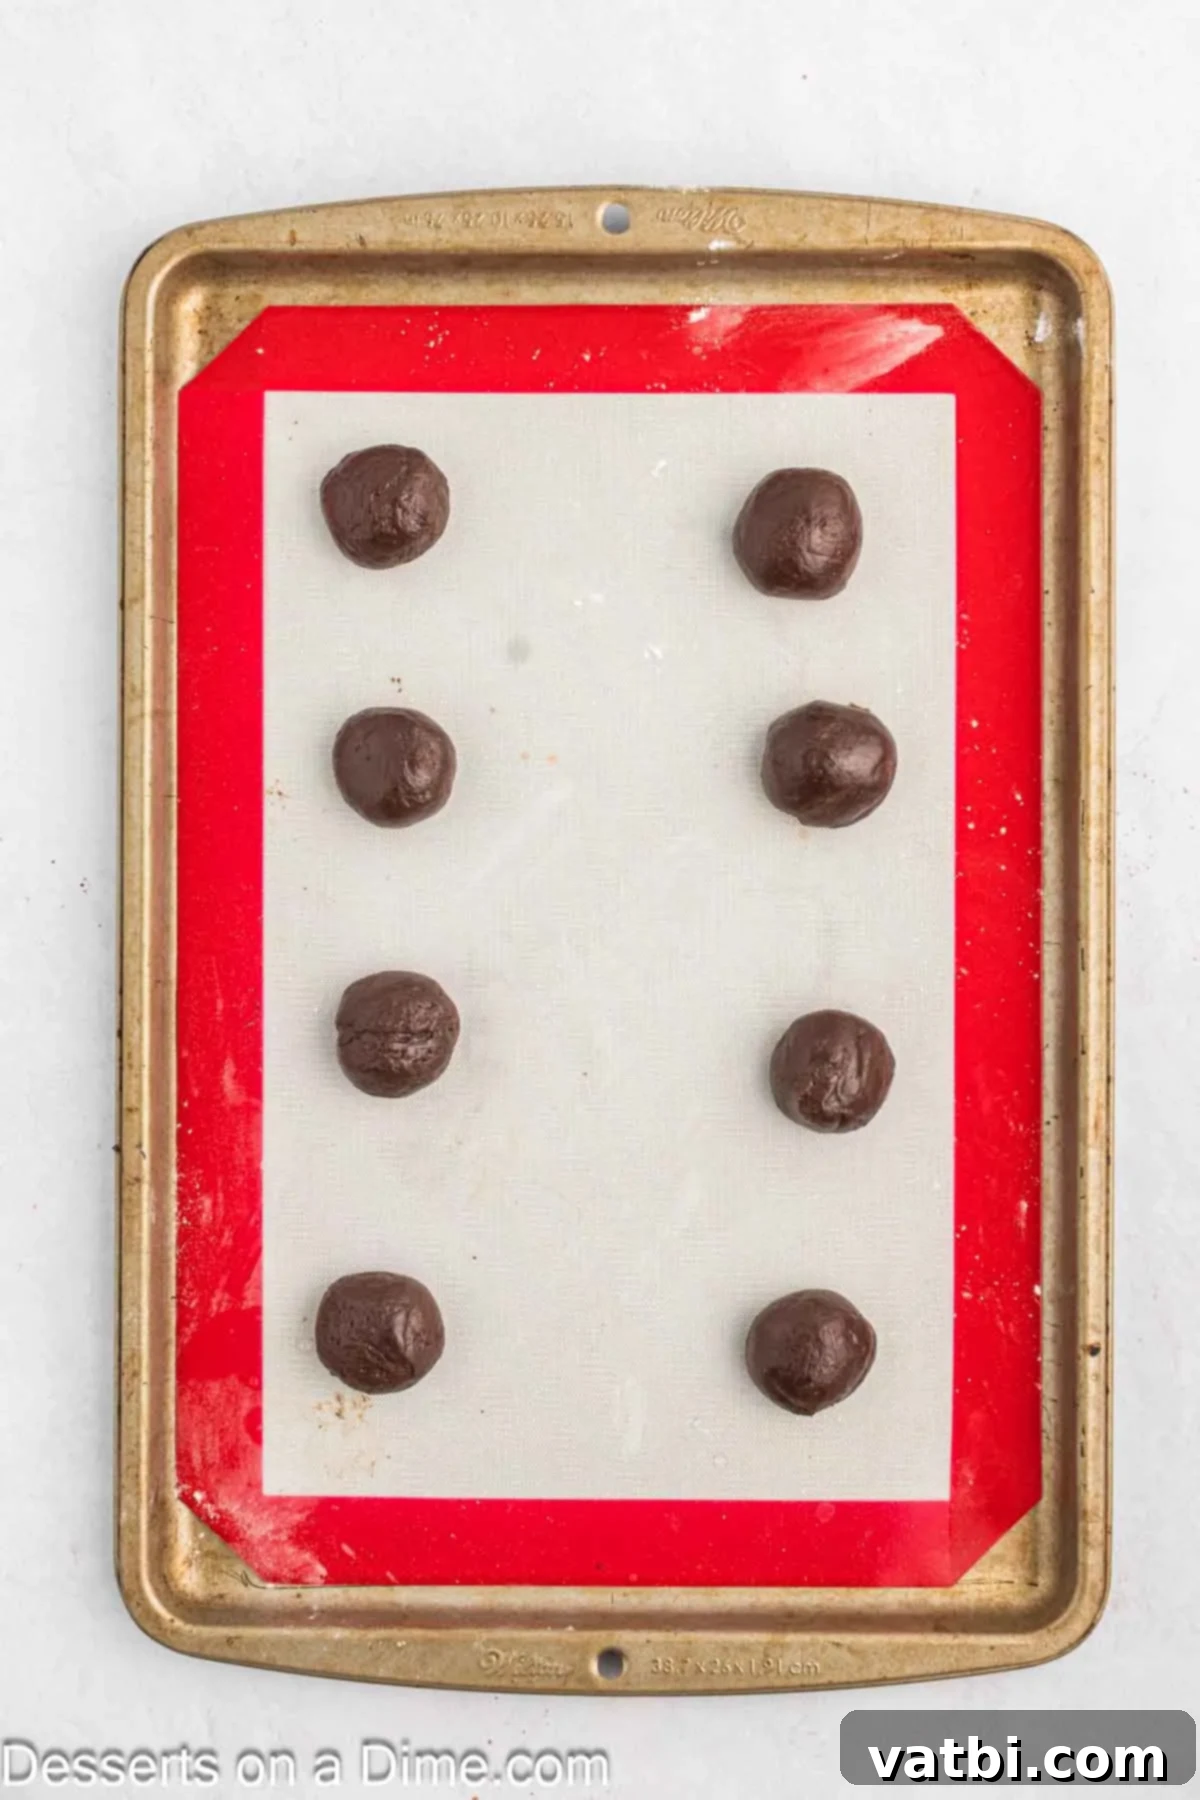
Step 5: Portion the Cookie Dough. Now it’s time to portion your cookie dough onto the prepared baking sheets. For consistent size and baking, I highly recommend using a cookie scoop (about 1 tablespoon in size). This not only makes the process much faster but also ensures that each whoopie pie cookie is uniform, leading to even baking and perfectly matched pairs for sandwiching.
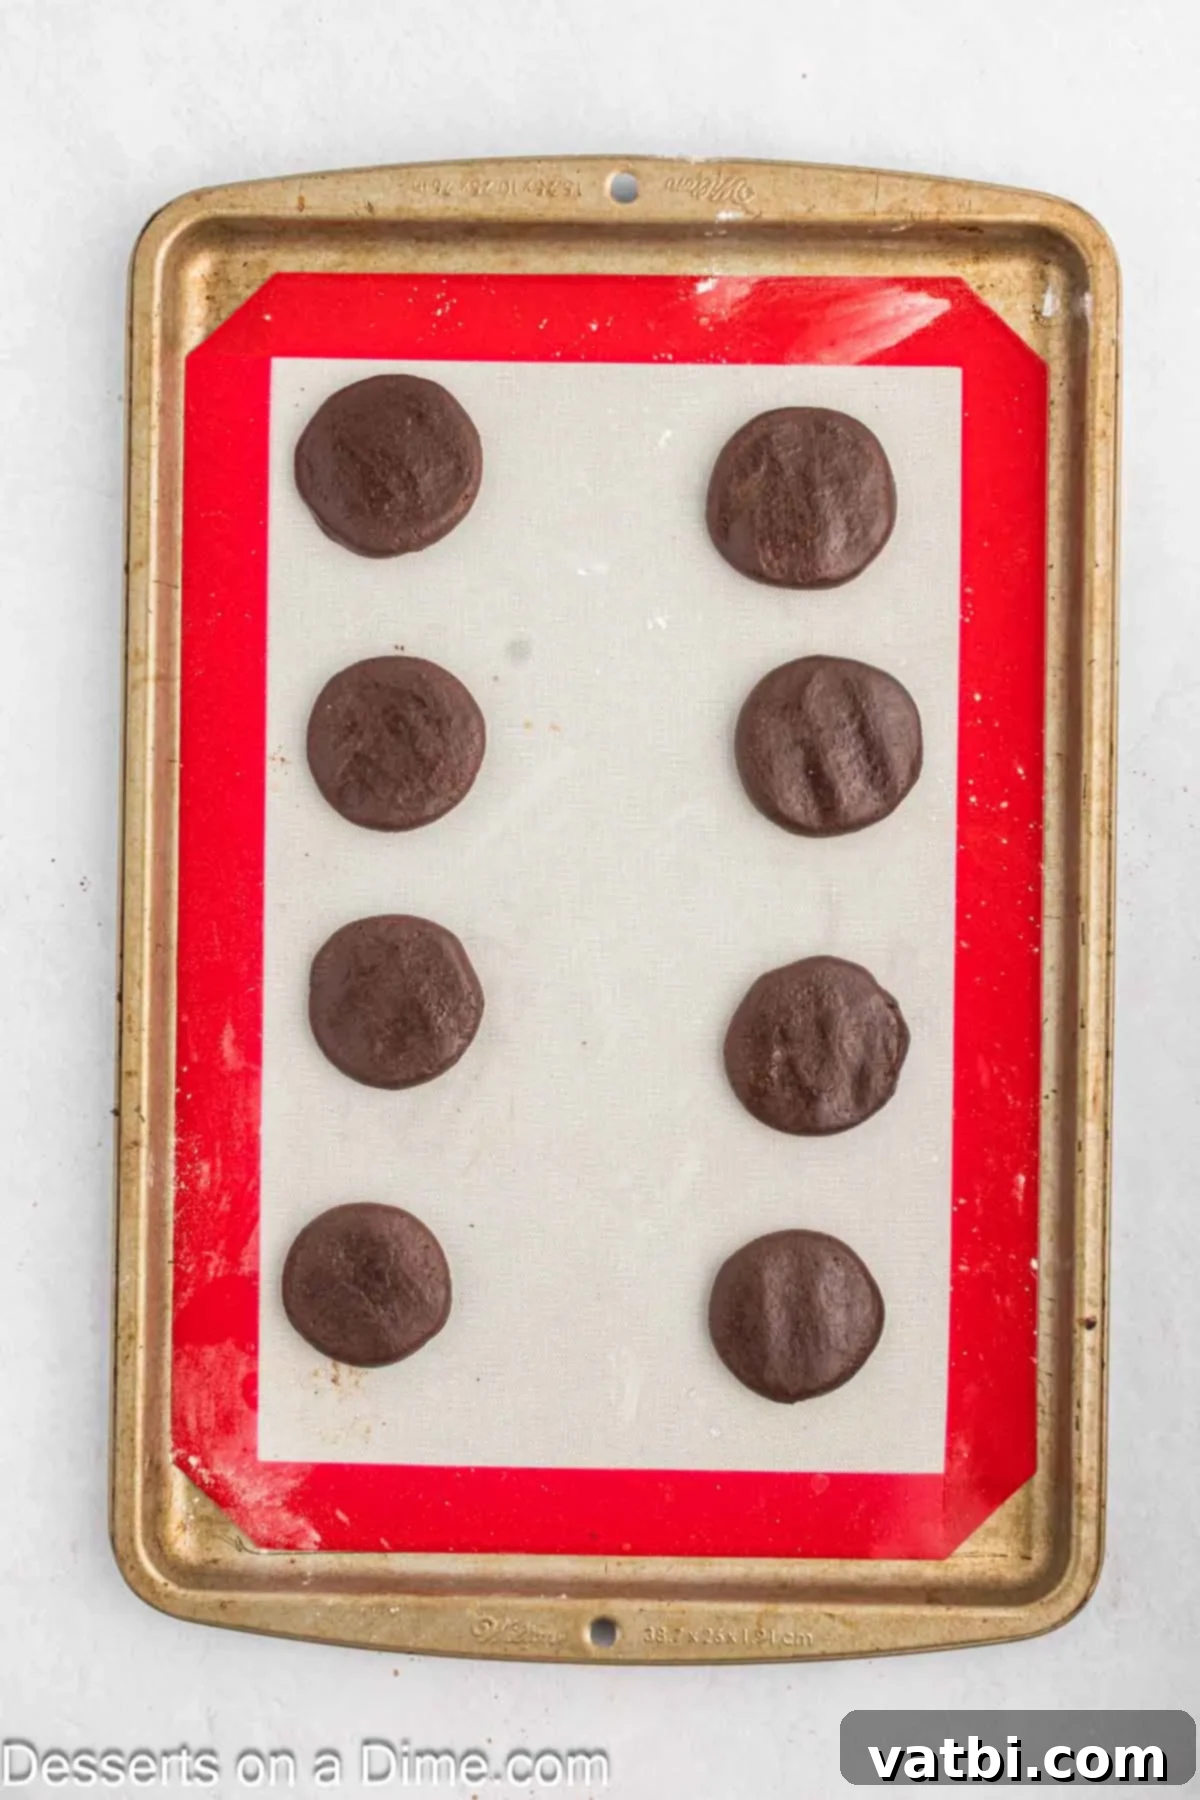
Step 6: Gently Flatten. Once the dough balls are on the baking sheet, gently press down on each one to slightly flatten them. You can achieve this using your fingertips or the bottom of a clean glass. This step helps the cookies spread evenly during baking and achieve that classic whoopie pie shape.
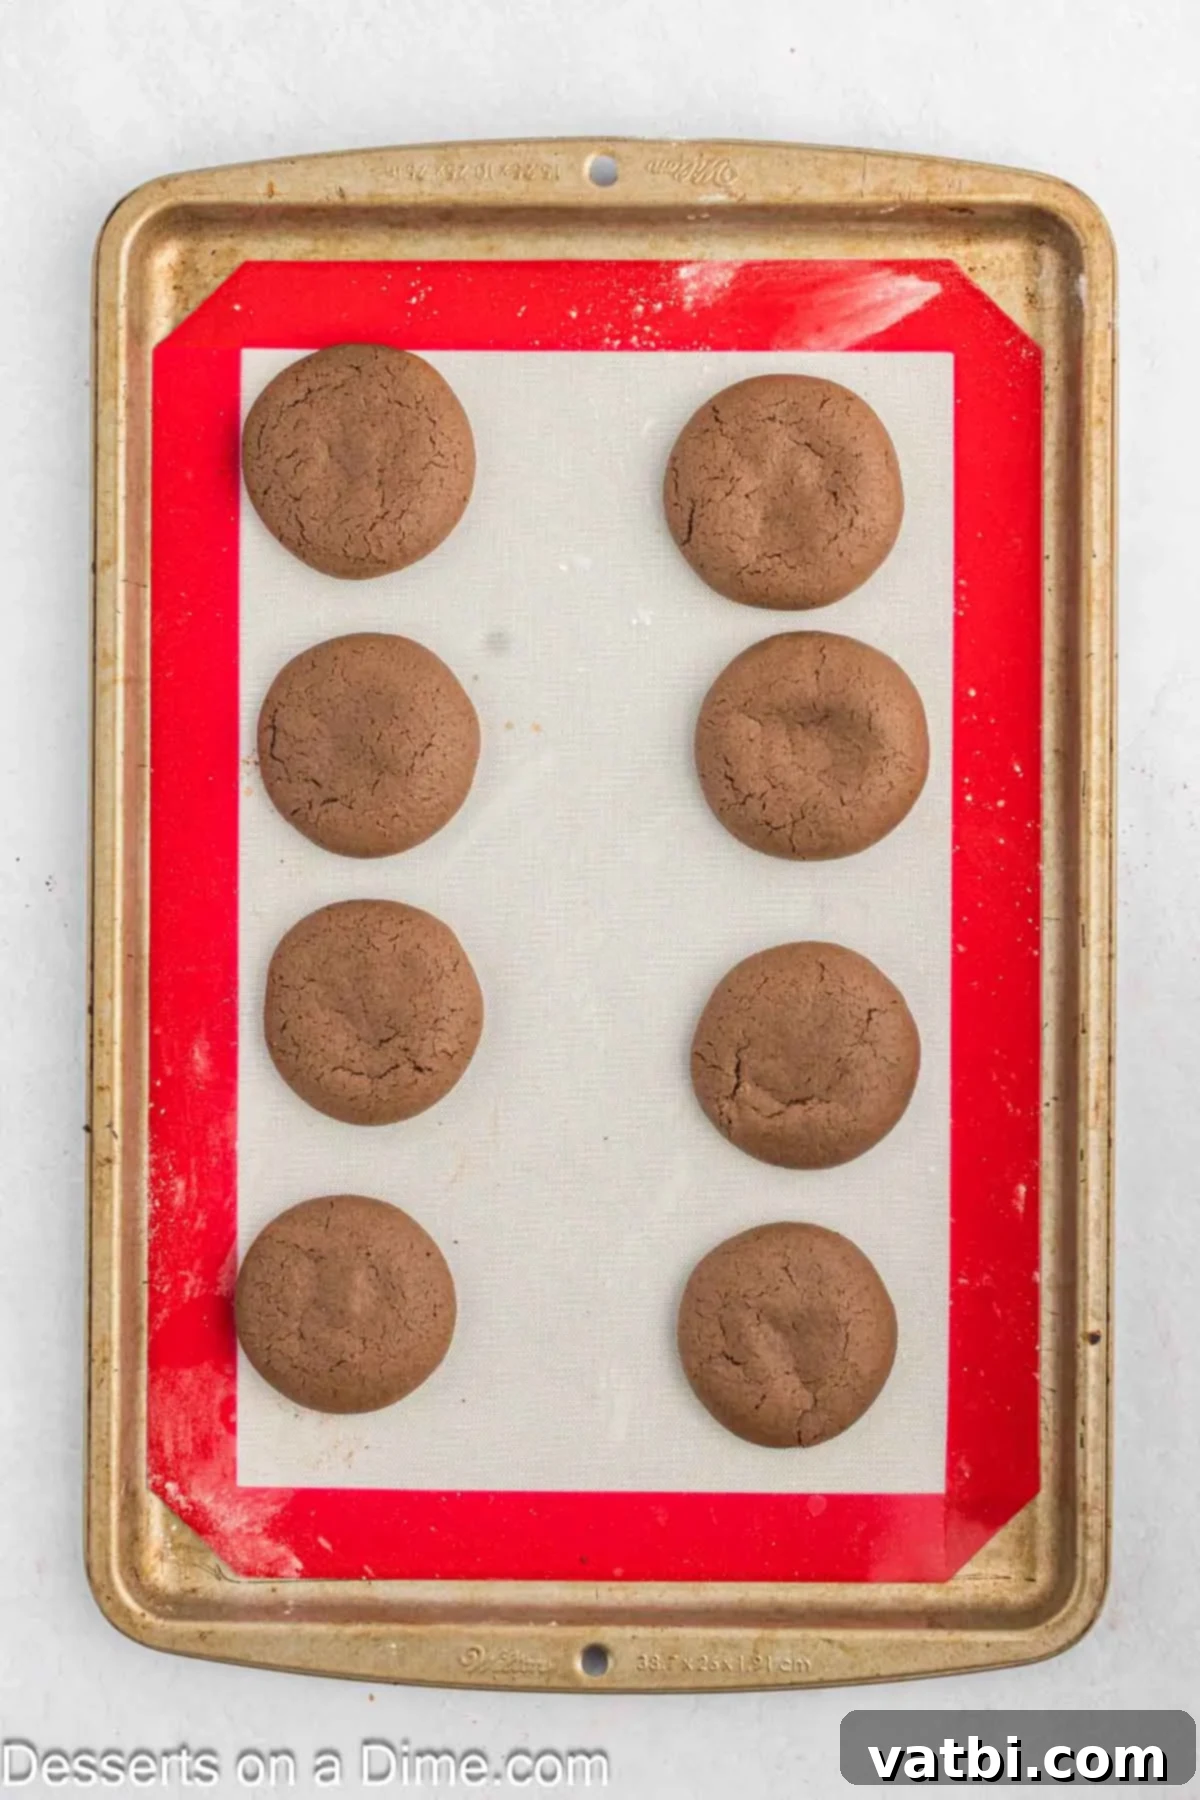
Step 7: Bake to Perfection. Place the baking sheets in your preheated oven and bake the cookies for 7-10 minutes. The cookies are done when the edges appear firm, but the centers still feel soft to the touch. Avoid overbaking, as this will dry out your whoopie pie cookies.
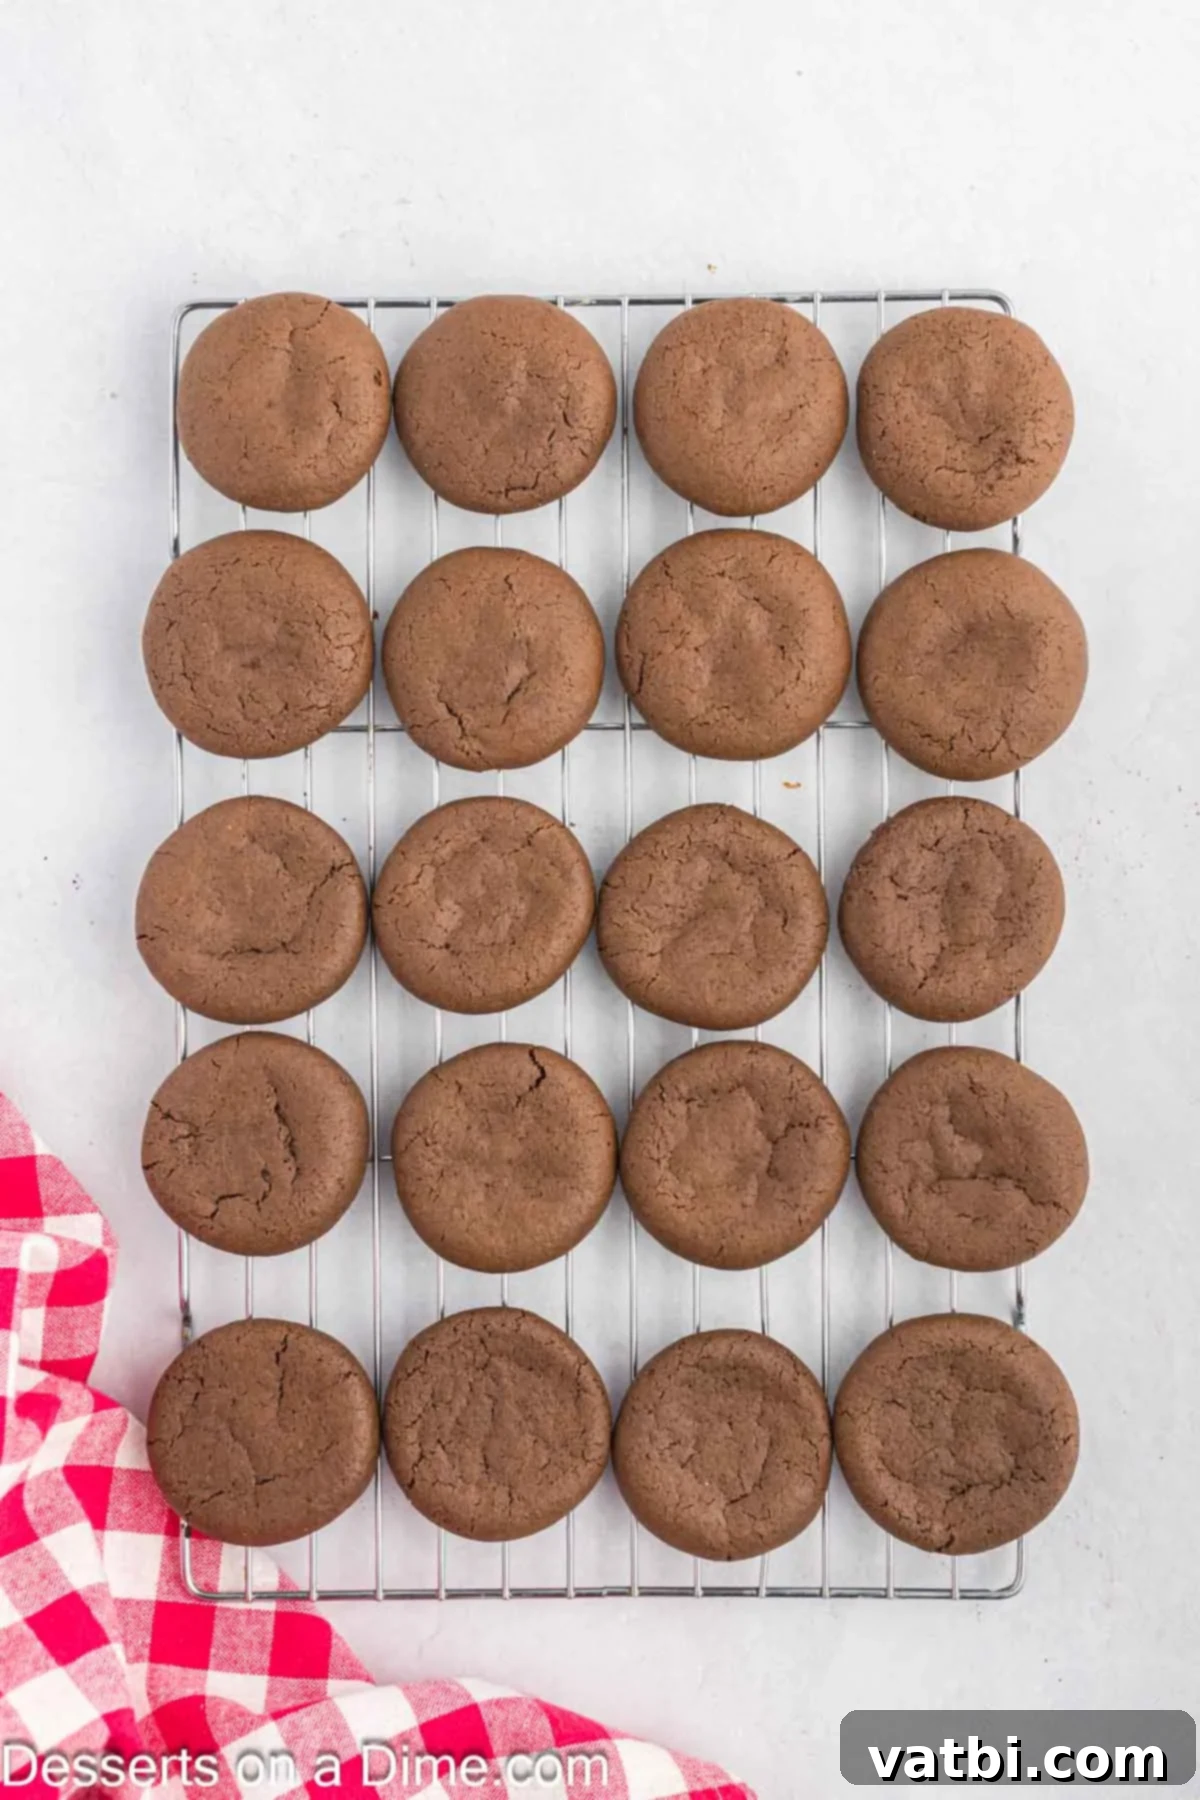
Step 8: Cool Completely. Once baked, remove the cookies from the oven and let them cool on the baking sheet for about 5 minutes. This allows them to set slightly before you move them. Then, carefully transfer the cookies to a wire rack to cool completely. It’s essential that the cookies are fully cooled before adding the filling to prevent the frosting from melting or becoming runny.
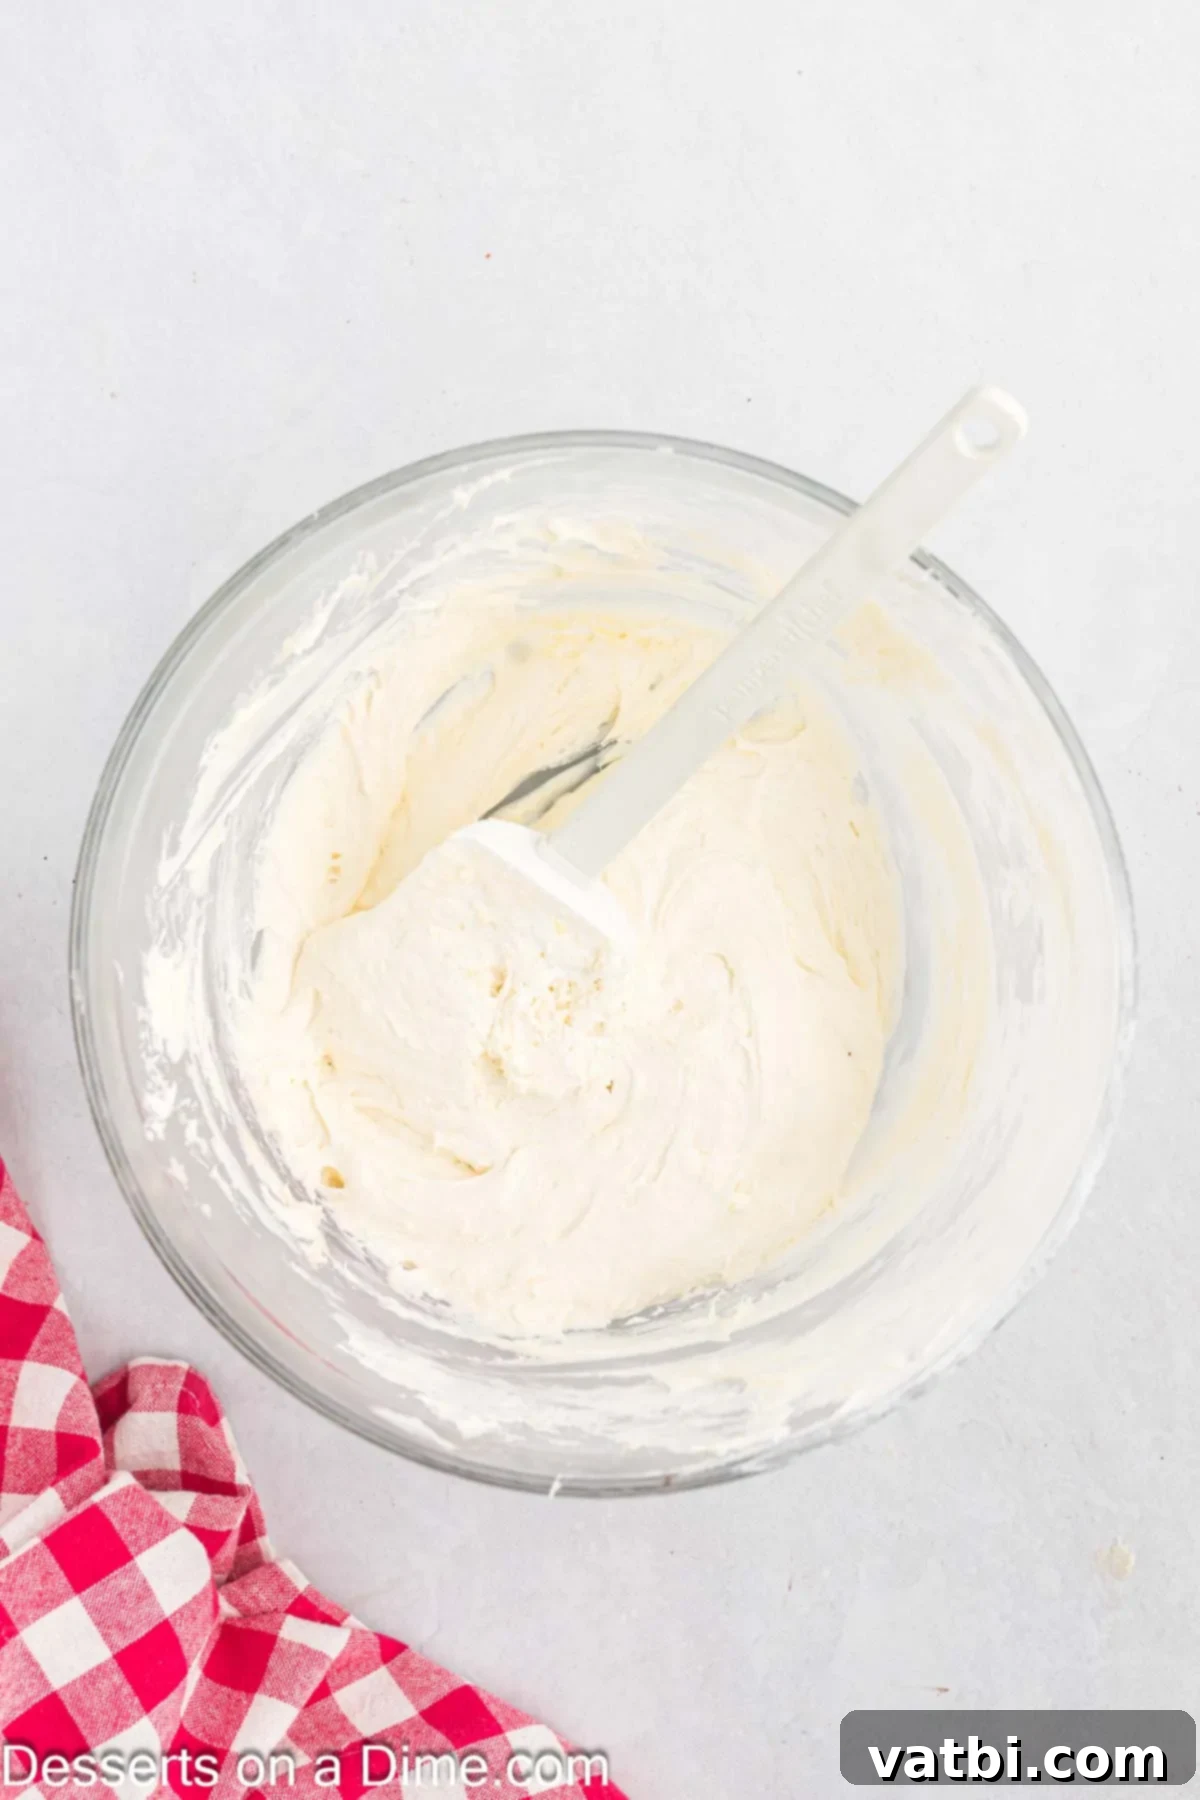
Step 9: Prepare the Marshmallow Fluff Filling. While your cookies are cooling, prepare the star of the show: the decadent filling! In a medium mixing bowl, use an electric mixer to cream together the softened unsalted butter and powdered sugar until the mixture is light and fluffy. This can take a few minutes. Next, beat in the vanilla extract and salt until well combined. Finally, carefully fold in the marshmallow fluff until it’s just incorporated and the filling is smooth and uniform. To ensure the filling is easy to pipe and holds its shape, allow it to chill in the refrigerator for 20-30 minutes.
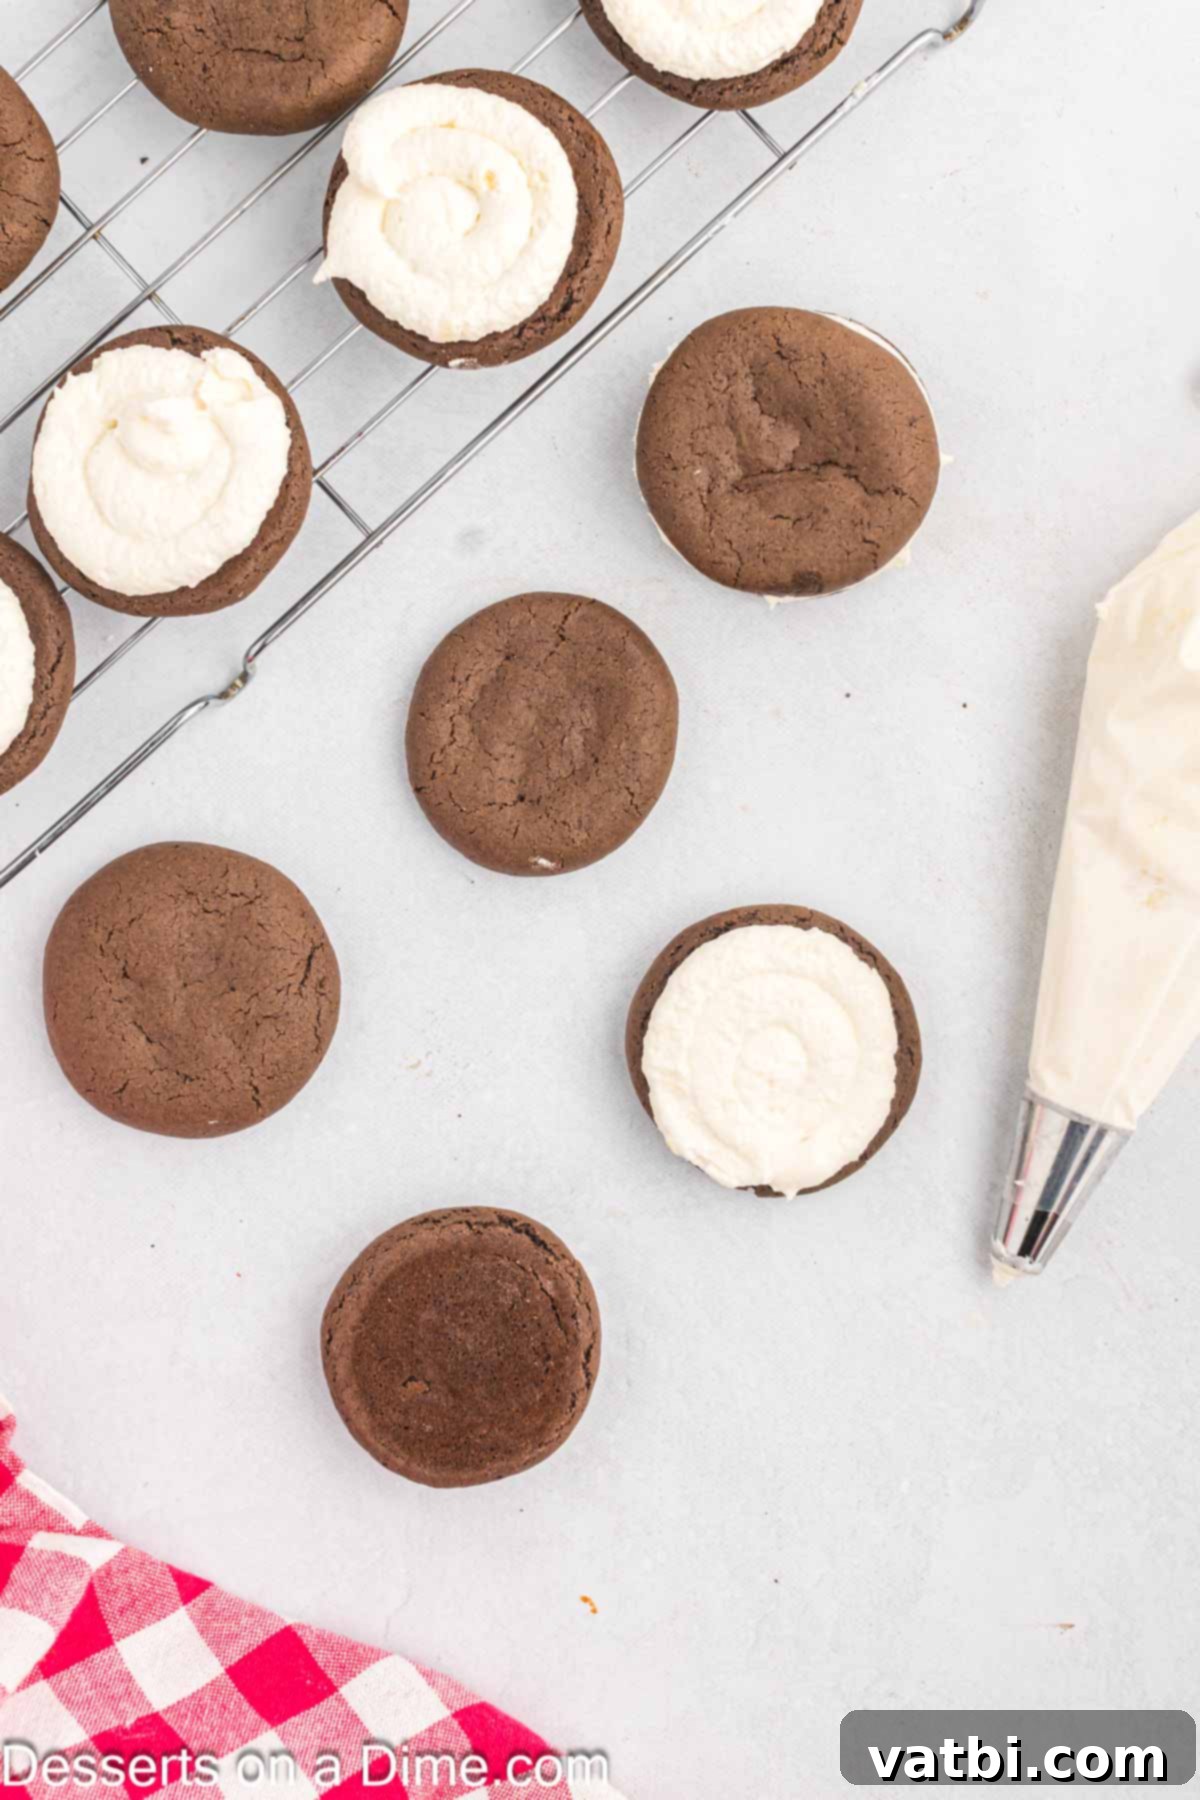
Step 10: Assemble Your Whoopie Pies. Once the cookies are completely cooled and the filling is chilled, it’s time for assembly! Transfer the marshmallow fluff filling into a piping bag fitted with a large round tip. Pipe a generous amount of filling onto the flat bottom of one cookie. Then, gently place another cookie on top, flat-side down, creating a delicious sandwich. Repeat with the remaining cookies and filling, and get ready to enjoy your magnificent homemade whoopie pies!
Pro Baking Tips for Whoopie Pies
Achieving whoopie pie perfection is easy with a few expert tips. These insights will help ensure your cookies are consistently soft, your filling is perfectly fluffy, and your overall baking experience is a success.
- Utilize a Cookie Scoop for Uniformity – Using a small cookie scoop (approximately 1 tablespoon in size) is a game-changer. Not only does it make portioning the dough incredibly fast, but it also ensures that all your cookies are the same size. This leads to even baking and makes it much easier to find matching pairs for your whoopie pie sandwiches. After scooping, remember to gently press down on each dough ball to flatten them slightly before baking, helping them achieve their characteristic shape.
- Boxed Cake Mix for a Time-Saving Shortcut – For those busy days or when you simply want to simplify the process, don’t hesitate to use a boxed cake mix. A chocolate cake mix works wonderfully as the base for whoopie pie cookies. Just prepare the cake mix according to package directions, sometimes adding a little extra flour to create a thicker, more cookie-like dough. This method delivers moist and delicious results with minimal effort.
- Always Prepare Your Baking Sheets – To prevent your precious whoopie pie cookies from sticking, always line your baking sheets with parchment paper or a silicone baking mat. This step ensures easy removal, helps with even baking, and makes cleanup significantly easier. A well-prepared surface is key to perfectly shaped, intact cookies.
- Cooling Rack is Essential – Patience is a virtue, especially when it comes to cooling your cookies. After removing them from the oven, let them cool on the baking sheet for a few minutes before transferring them to a wire cooling rack. It is absolutely crucial that the cookies cool completely on the wire rack before you even think about adding the filling. Applying filling to warm cookies will cause it to melt and seep, resulting in a messy and less appealing whoopie pie.
- Mixing Ingredients for Optimal Texture – Whether you choose to mix your ingredients by hand or with an electric mixer, be mindful of the process. While an electric mixer can speed things up and create a very smooth batter, avoid overmixing. Overmixing can develop the gluten in the flour too much, leading to tough, dense cookies. Mix until just combined for a tender, soft texture.
- Mastering the Frosting Application – For the neatest and most professional-looking whoopie pies, we highly recommend frosting the flat side of one cookie. This creates a clean base for your filling. Using a piping bag with a large round tip allows for precise and even distribution of the marshmallow fluff, creating that perfect, luscious layer between the two cookie halves.
- Room Temperature Ingredients: Always use room temperature eggs and softened butter for the filling. This allows for better emulsification and a smoother, more consistent batter and filling.
Storage and Freshness
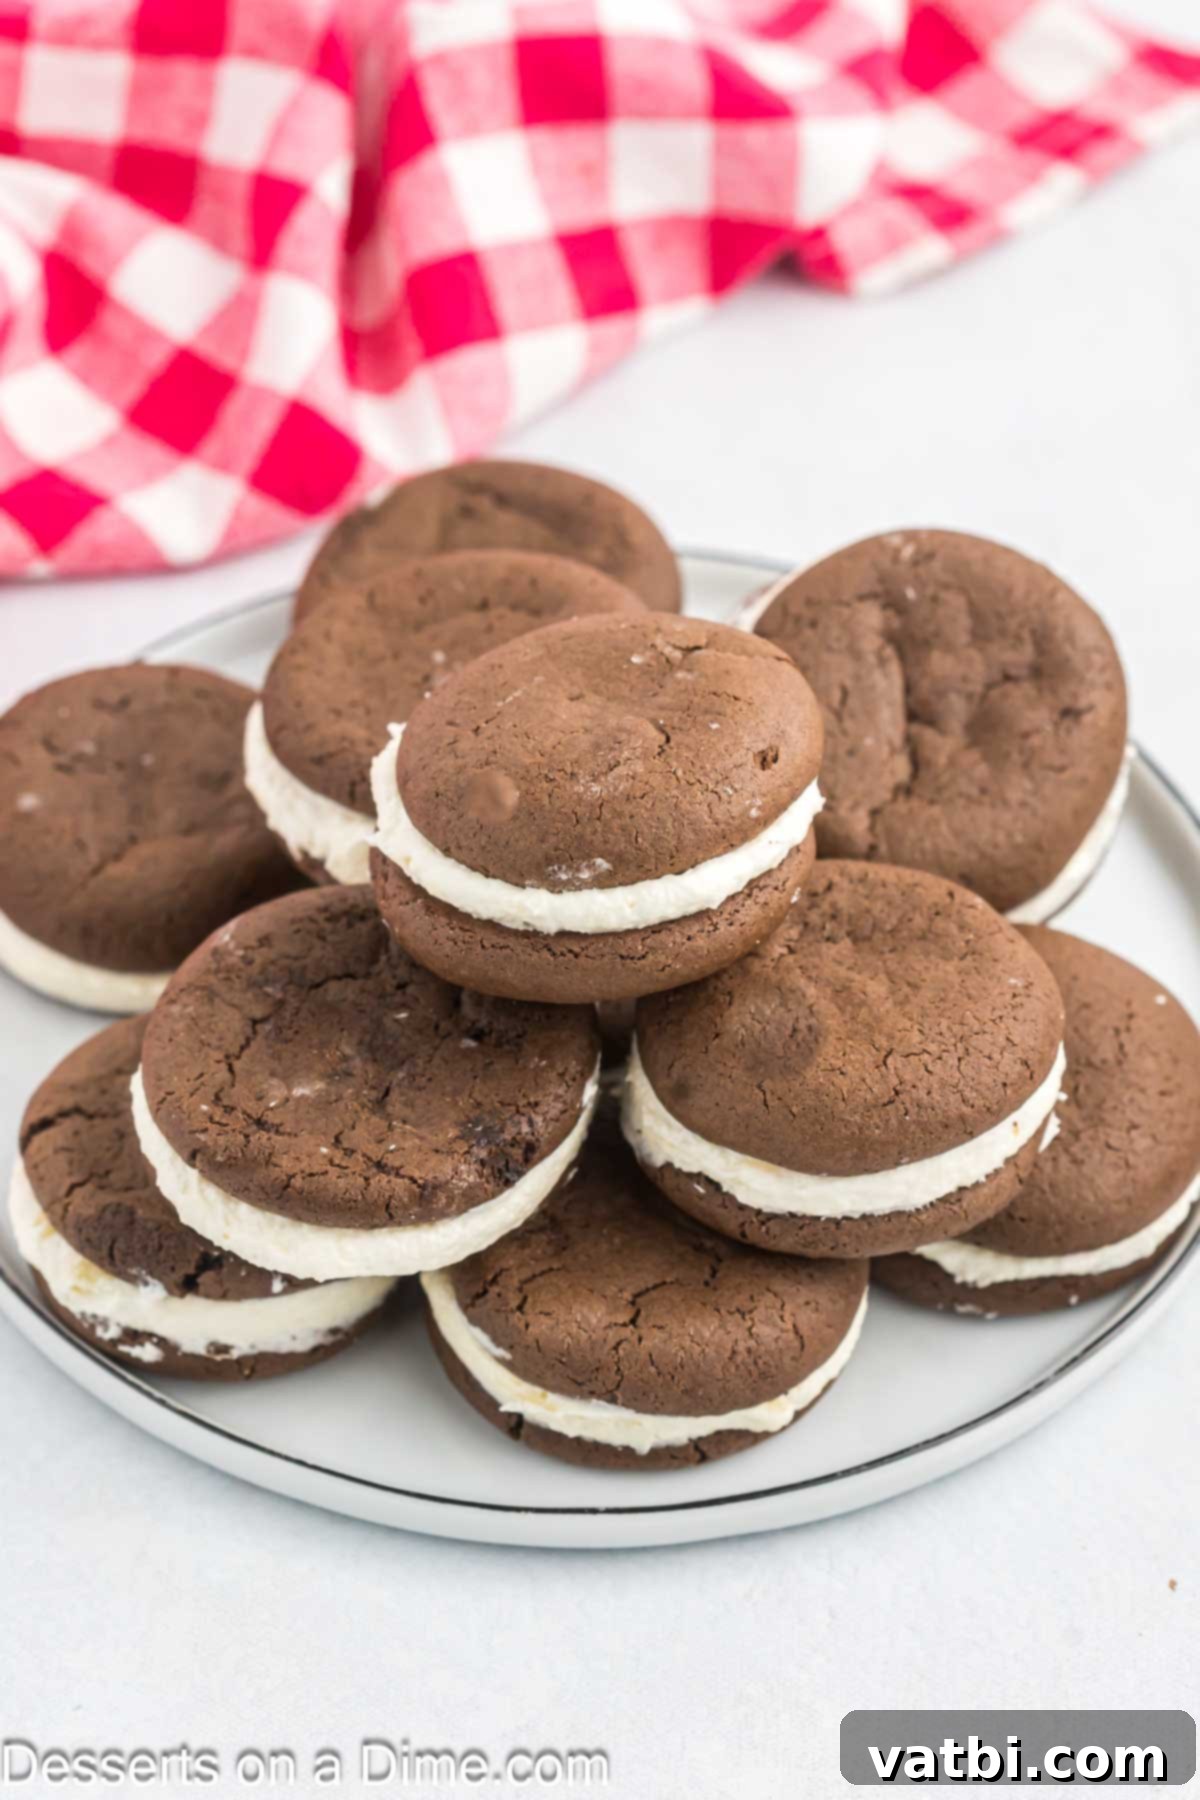
To keep your delicious whoopie pies tasting fresh and maintaining their perfect texture, proper storage is key. Once assembled, store your whoopie pies in an airtight container in the refrigerator. They will remain fresh and delightful for up to 3 days. We find that the flavors meld beautifully and the cookies become even softer as they sit in the fridge.
When you’re ready to serve, for the best experience, we recommend taking them out of the refrigerator approximately 30 minutes before enjoying. This allows the cookies to come back to a more pliable, soft texture and the filling to reach its ideal creamy consistency, enhancing the overall eating experience.
For longer storage, whoopie pies can also be frozen! Wrap individual whoopie pies tightly in plastic wrap, then place them in an airtight freezer-safe container or bag. They can be frozen for up to 1-2 months. Thaw them in the refrigerator overnight or at room temperature for a few hours before serving.
More Irresistible Chocolate Recipes
If you’re a chocolate lover, you’re in the right place! Here are more of our favorite easy chocolate recipes to satisfy your sweet cravings:
- Chocolate Covered Peanut Butter Balls Recipe
- White Chocolate Peppermint Brownies Recipe
- 4 Ingredient Chocolate Peanut Butter Cookies Recipe
- Homemade Oreos Recipe
- The Best Chocolate Fudge Recipe
- One Bowl Brownies
More Easy Cookie Recipes
Cookies
Funfetti Cake Mix Cookies Recipe
Cookies
Chocolate Crinkle Cookies
Cookies
Chocolate Chip Cake Mix Cookies
Cookies
Red Velvet Cake Mix Cookies
There’s truly nothing quite like a homemade whoopie pie. The combination of moist, tender chocolate cookies and the sweet, fluffy marshmallow creme filling creates a dessert that’s both nostalgic and irresistibly delicious. We encourage you to try this recipe for your family and experience the joy of these decadent treats. Once you do, please consider leaving a star recipe rating and a comment below – we’d love to hear about your experience and how much you loved them!
Pin
Whoopie Pie Recipe
Ingredients
- Cookie Ingredients:
- 1 ¾ cups all-purpose flour
- ¾ cup unsweetened baking cocoa
- 2 teaspoon baking soda
- ½ teaspoon baking powder
- ½ teaspoon salt
- 1 cup granulated sugar
- ½ cup tablespoons oil vegetable or canola
- 2 large eggs room temperature
- 4 tablespoons milk
- 1 teaspoon vanilla extract
- Filling Ingredients:
- 1 cup unsalted butter softened
- 1 cup powdered sugar
- 1 10 oz container marshmallow fluff
- 2 teaspoons vanilla extract
- ¼ teaspoon salt
Instructions
-
TO MAKE THE COOKIES:
-
Preheat oven to 350 degrees F.
-
Line a baking sheet with parchment paper or a silicone mat.
-
Whisk together flour, baking cocoa, baking soda, baking powder and salt in a medium size bowl.
-
Then in a separate large mixing bowl, beat together the sugar and oil until combined (mixture will be crumbly).
-
Next add in the eggs, milk and vanilla and beat until smooth.
-
Gradually add the dry ingredients into the wet ingredients and beat after each addition until well combined.
-
Divide dough by using a cookie dough scoop or tablespoon, roll into a ball and place on the baking sheet.
-
Gently press down on each ball to flatten them slightly. You can do this with your hands or the bottom of a glass.
-
Bake for 7-10 or until cookie is firm around the edges and soft to the touch.
-
Allow the cookies to cool for 5 minutes on the baking sheet and then transfer the cookies to a wire rack to cool completely.
-
TO MAKE THE FILLING:
-
In a medium bowl, cream together the butter and powdered sugar until fluffy with a hand held mixer or stand up mixer.
-
Add vanilla and salt and beat until light and fluffy.
-
Then gently stir in the marshmallow fluff until well combined.
-
Refrigerator the mixture for 20-30 minutes.
-
Place the filling into a piping bag fitted with a large round tip and pipe filling onto the bottom of one cookie, top with second cookie to create sandwich.
-
Enjoy!
Recipe Notes
Nutrition Facts
Pin This Now to Remember It Later
Pin Recipe
