Easy & Festive Chocolate Dipped Peppermint Cookies: Your Perfect Holiday Treat!
There’s something truly magical about the combination of rich chocolate and cool, refreshing peppermint, especially during the festive holiday season. These **Chocolate Dipped Peppermint Cookies** are not just a treat for the taste buds; they’re a feast for the eyes, looking incredibly festive and inviting. Imagine biting into a light and fluffy cookie, with that delightful burst of peppermint, all perfectly complemented by a smooth coating of chocolate and a sprinkle of crunchy candy canes. This recipe is designed to become a cherished part of your holiday baking traditions, bringing joy and deliciousness to every gathering.

No one will be able to resist these vibrant red peppermint cookies, generously dipped in decadent chocolate and adorned with festive crushed candy canes. Year after year, these cookies make their appearance alongside other holiday favorites like classic Chocolate Peppermint Cookies and elegant Chocolate Dipped Shortbread Cookies. As a busy parent, I understand the need for simple yet show-stopping Christmas desserts, and this recipe absolutely delivers.
The bright, crisp flavor of peppermint is simply irresistible, and these cookies not only taste incredible but also turn out beautifully, adding a festive splash of color to any holiday dessert platter. It’s the quintessential flavor for holiday baking, making it an absolute must-add to your festive baking list. For those who love the elegance of chocolate-dipped treats, you might also enjoy exploring other delightful options like Chocolate Dipped Potato Chips.
What’s in this post: Chocolate Dipped Peppermint Cookies Recipe
- Why This Recipe Works
- Essential Ingredients
- Substitutions and Creative Additions
- Easy Step-by-Step Instructions
- Pro Tips for Perfect Cookies
- Frequently Asked Questions (FAQs)
- Explore More Peppermint Desserts
- Chocolate Dipped Peppermint Cookies Recipe Card
Why This Recipe Works: The Magic Behind These Cookies
These Chocolate Dipped Peppermint Cookies aren’t just another holiday recipe; they’re a proven crowd-pleaser for several reasons that make them stand out in your festive baking repertoire:
- Irresistible Chocolate and Peppermint Harmony: The timeless pairing of rich, smooth chocolate and cool, invigorating peppermint is a match made in culinary heaven. This combination doesn’t just taste good; it evokes the festive spirit of the season, making these cookies an instant holiday classic. The chocolate provides a decadent base, while the peppermint offers a refreshing contrast that keeps you coming back for more.
- Effortlessly Simple Baking: You don’t need to be a seasoned baker to create these stunning cookies. The recipe calls for common, readily available pantry staples, and the instructions are straightforward and easy to follow. This means less stress in the kitchen and more time enjoying the holiday cheer, making it perfect for busy individuals or novice bakers alike.
- Visually Stunning Presentation: With their vibrant red hue, deep chocolate coating, and sparkling crushed candy canes, these cookies are a true showstopper. They add a beautiful pop of color to any dessert spread, cookie exchange, or gift basket. Their festive appearance alone is enough to bring smiles and make them a memorable part of your holiday celebrations. The visual appeal matches the delicious taste, creating a truly impressive homemade treat.
Essential Ingredients for Delightful Peppermint Cookies
Crafting these delicious cookies requires a few key ingredients, most of which you likely already have on hand. The quality of your ingredients can significantly impact the final taste and texture, so choose wisely!
- Unsalted Butter (Softened): Starting with unsalted butter allows you to control the exact amount of salt in your cookies. Ensure it’s softened to room temperature for optimal creaming with sugar, which creates that light, fluffy texture.
- Granulated Sugar: Provides sweetness and contributes to the cookie’s crisp-chewy texture.
- Salt: A small amount of salt is crucial. It balances the sweetness, enhances the other flavors, and prevents the cookies from tasting bland.
- Large Egg (Room Temperature): The egg acts as a binder, adding moisture and richness to the dough. Using a room temperature egg helps it emulsify better with the butter and sugar, resulting in a smoother, more uniform dough.
- Vanilla Extract: Always opt for pure vanilla extract over imitation for the best flavor. It complements the chocolate and peppermint beautifully, adding depth to the cookie base.
- All-Purpose Flour: The structural backbone of our cookies. For accurate measurement, remember to spoon the flour into your measuring cup and then level it off with a straight edge, rather than scooping directly from the bag, which can compact the flour and lead to dry, dense cookies.
- Peppermint Extract: This is key to the cookie’s signature flavor. Be sure to use peppermint extract, not mint extract, as they have distinct flavor profiles. Peppermint is bright and crisp, while mint can sometimes taste more like spearmint.
- Red Food Coloring: I highly recommend using gel food coloring for its vibrant color and concentrated pigment. A few drops are usually enough to achieve that beautiful, festive red without altering the dough’s consistency.
- Chocolate Almond Bark (or Melting Chocolate): Almond bark is fantastic for dipping because it melts smoothly and sets quickly, creating a shiny, hard shell. However, feel free to use your preferred type of melting chocolate, such as chocolate chips (milk, dark, or semi-sweet) or even white chocolate.
- Crushed Peppermint or Candy Canes: This festive topping adds both a delightful crunch and an extra burst of peppermint flavor, along with a beautiful visual appeal. Either store-bought crushed peppermint or homemade crushed candy canes will work perfectly.
You can find the complete ingredient list with precise measurements in the recipe card at the bottom of this post.
Substitutions and Creative Additions to Customize Your Cookies
One of the joys of baking is being able to customize recipes to suit your taste or what you have on hand. Here are some fantastic ways to personalize your chocolate-dipped peppermint cookies:
-
Chocolate Choices: While almond bark is convenient, you have many options for the chocolate dip!
- Milk Chocolate: For a sweeter, creamier coating that appeals to most palates.
- Dark Chocolate: If you prefer a more intense, less sweet flavor to balance the peppermint, dark chocolate (60-70% cacao) is an excellent choice.
- Semi-Sweet Chocolate: A classic option that provides a good balance of sweetness and rich chocolate flavor.
- White Chocolate Chips: For a beautiful contrasting look and a milder, sweeter flavor. You can even add a drop of green food coloring to white chocolate for a “mint chocolate” effect!
Ensure you use high-quality melting chocolate or chocolate chips for the best results, as they melt more smoothly.
- Festive Sprinkles: Instead of or in addition to crushed peppermint, top your freshly dipped cookies with a variety of festive sprinkles! Think silver and gold edible glitter, nonpareils, or holiday-themed sprinkle mixes to make them even more vibrant and personalized.
- Nutty Crunch: For an added layer of texture and flavor, consider sprinkling finely chopped pecans or walnuts onto the wet chocolate. The slight bitterness of the nuts can be a lovely counterpoint to the sweet peppermint and chocolate.
-
Flavor Variations:
- Almond Extract: Replace a portion of the vanilla extract with almond extract for a subtle nutty note.
- Orange Zest/Extract: A hint of orange can brighten the chocolate flavor beautifully, creating a “chocolate-orange-peppermint” fusion.
- Double Chocolate Peppermint: For the ultimate chocolate lover, consider adding a 1/2 cup of mini chocolate chips to your cookie dough along with the flour. This makes them extra rich and fudgy before even dipping!
Easy Step-by-Step Instructions to Bake Your Cookies
Follow these simple steps to create your batch of delicious Chocolate Dipped Peppermint Cookies. Each stage is designed for ease and guaranteed success!
Step 1: Prepare Your Baking Station
First, preheat your oven to 350 degrees F (175 degrees C). This ensures the oven is at the correct temperature for even baking. Next, line a baking sheet with parchment paper or a silicone mat. This prevents sticking and makes for easy cleanup.
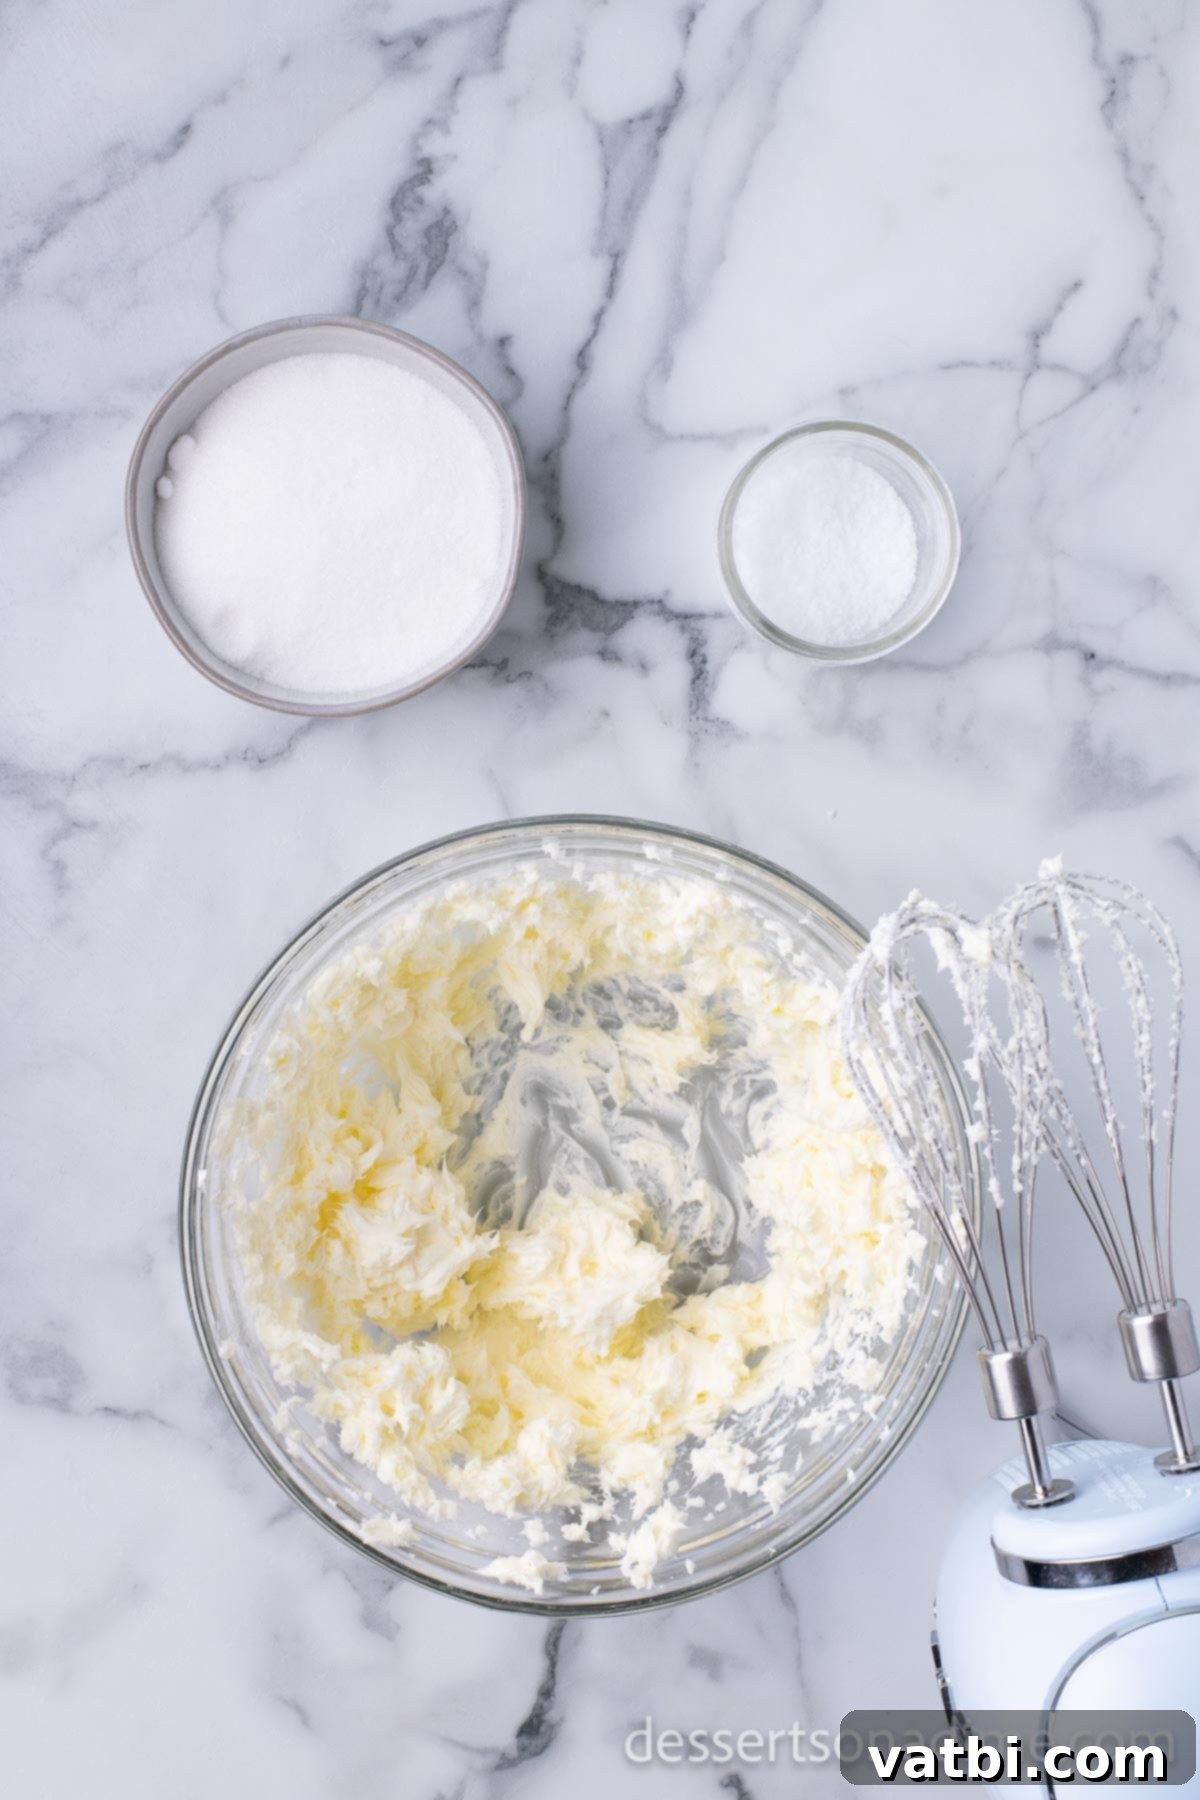
Step 2: Cream the Butter
In a large mixing bowl, using an electric mixer (stand mixer or hand-held), beat the softened unsalted butter on medium speed until it becomes light, pale, and fluffy. This incorporates air, which is essential for a tender cookie texture.
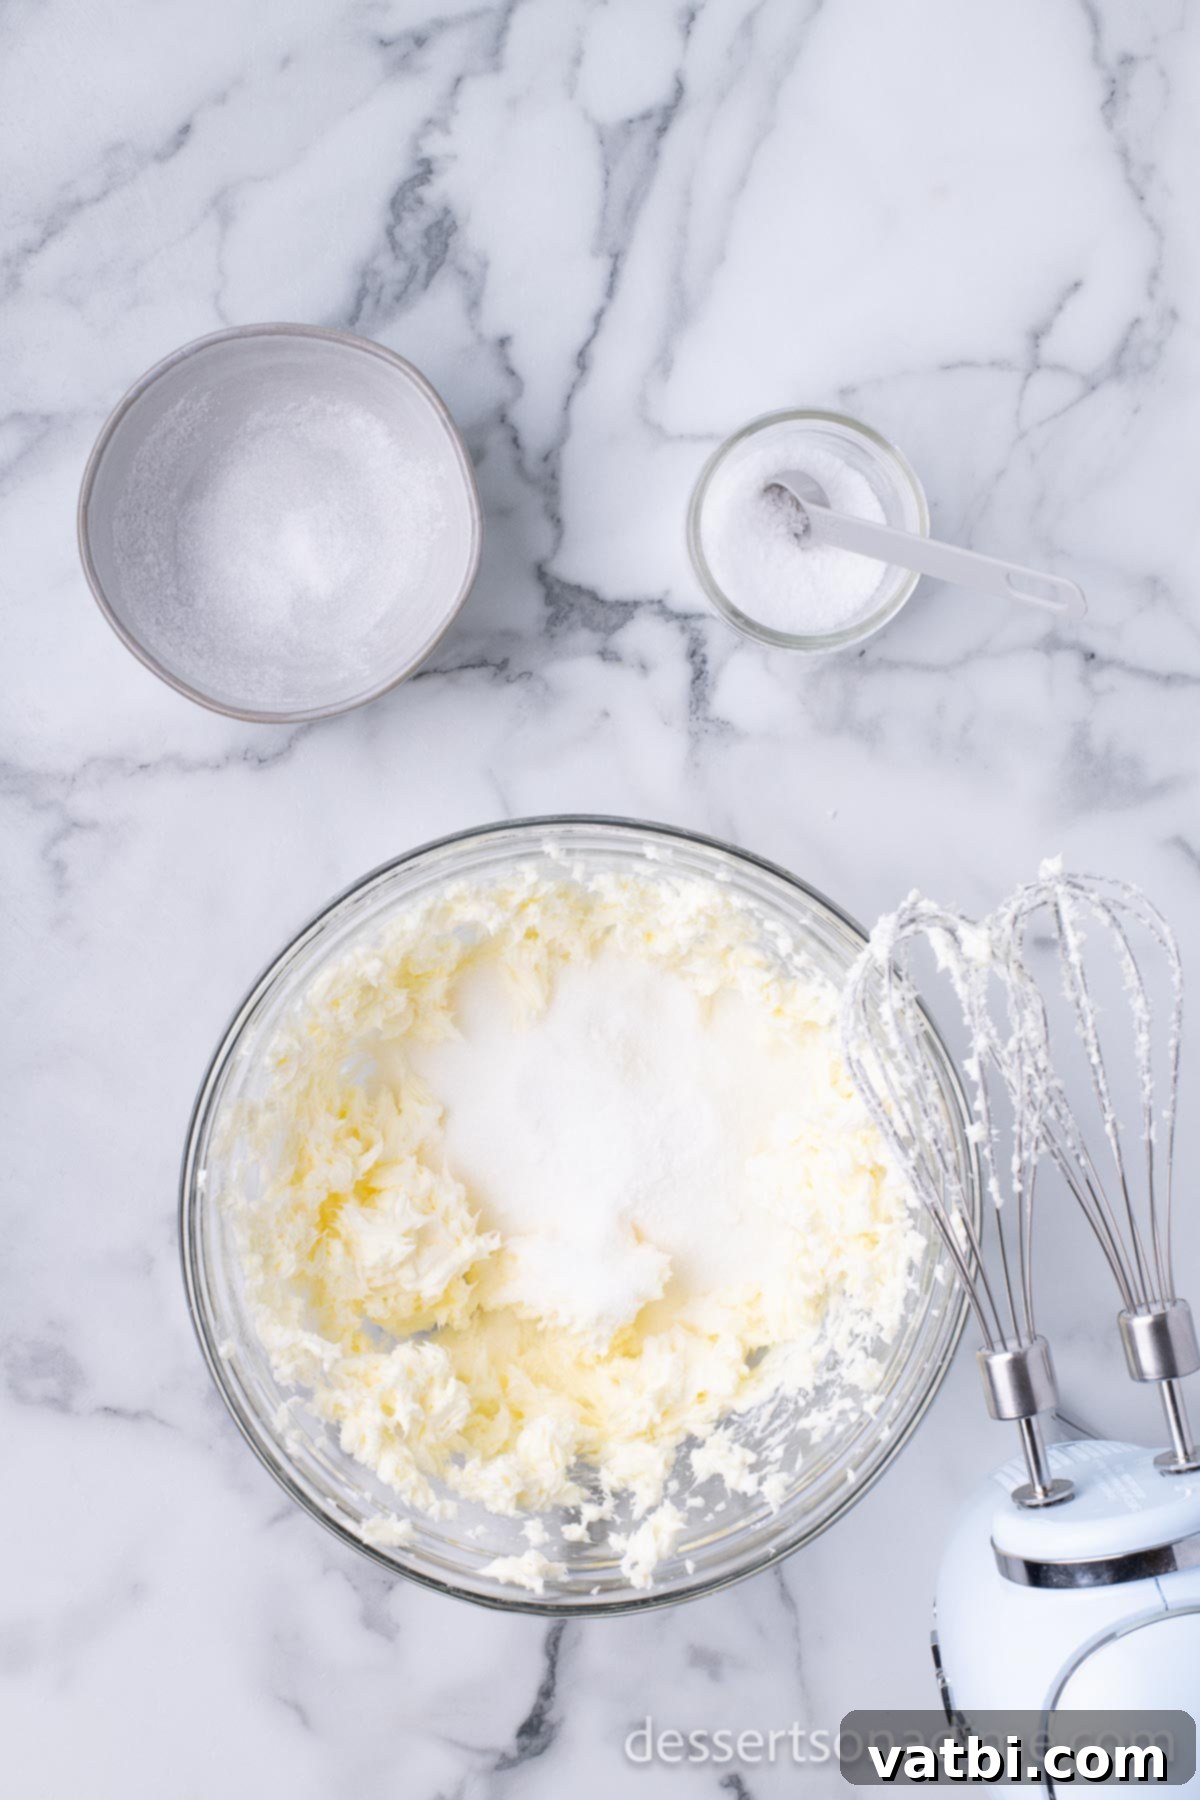
Step 3: Combine with Sugar and Salt
Add the granulated sugar and salt to the creamed butter. Continue to beat with your stand mixer until the mixture is truly light, airy, and fluffy, typically for 2-3 minutes. Scrape down the sides of the bowl as needed to ensure everything is incorporated.
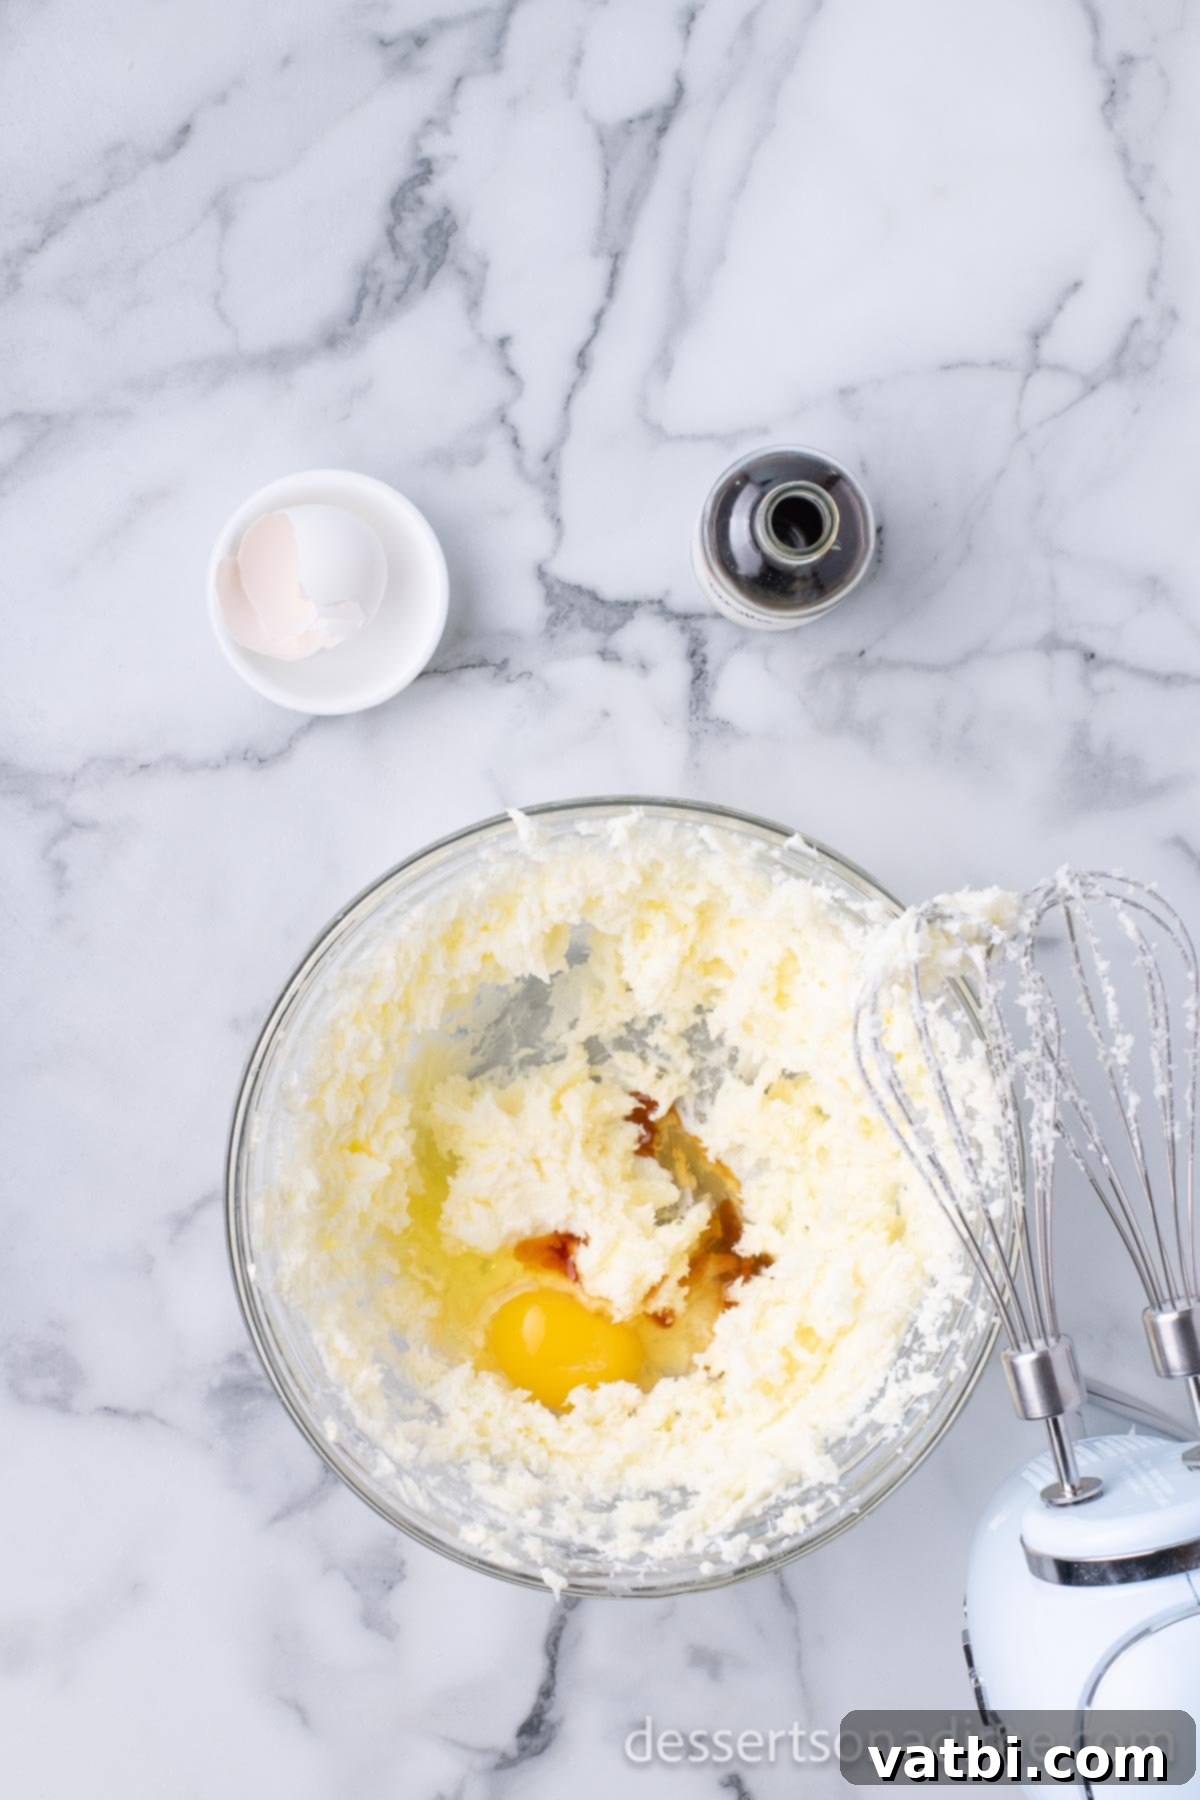
Step 4: Incorporate Egg and Vanilla
Crack in the large egg and pour in the vanilla extract. Whisk these ingredients together with the butter and sugar mixture until everything is thoroughly combined and smooth. Be careful not to overmix at this stage, just enough to incorporate.
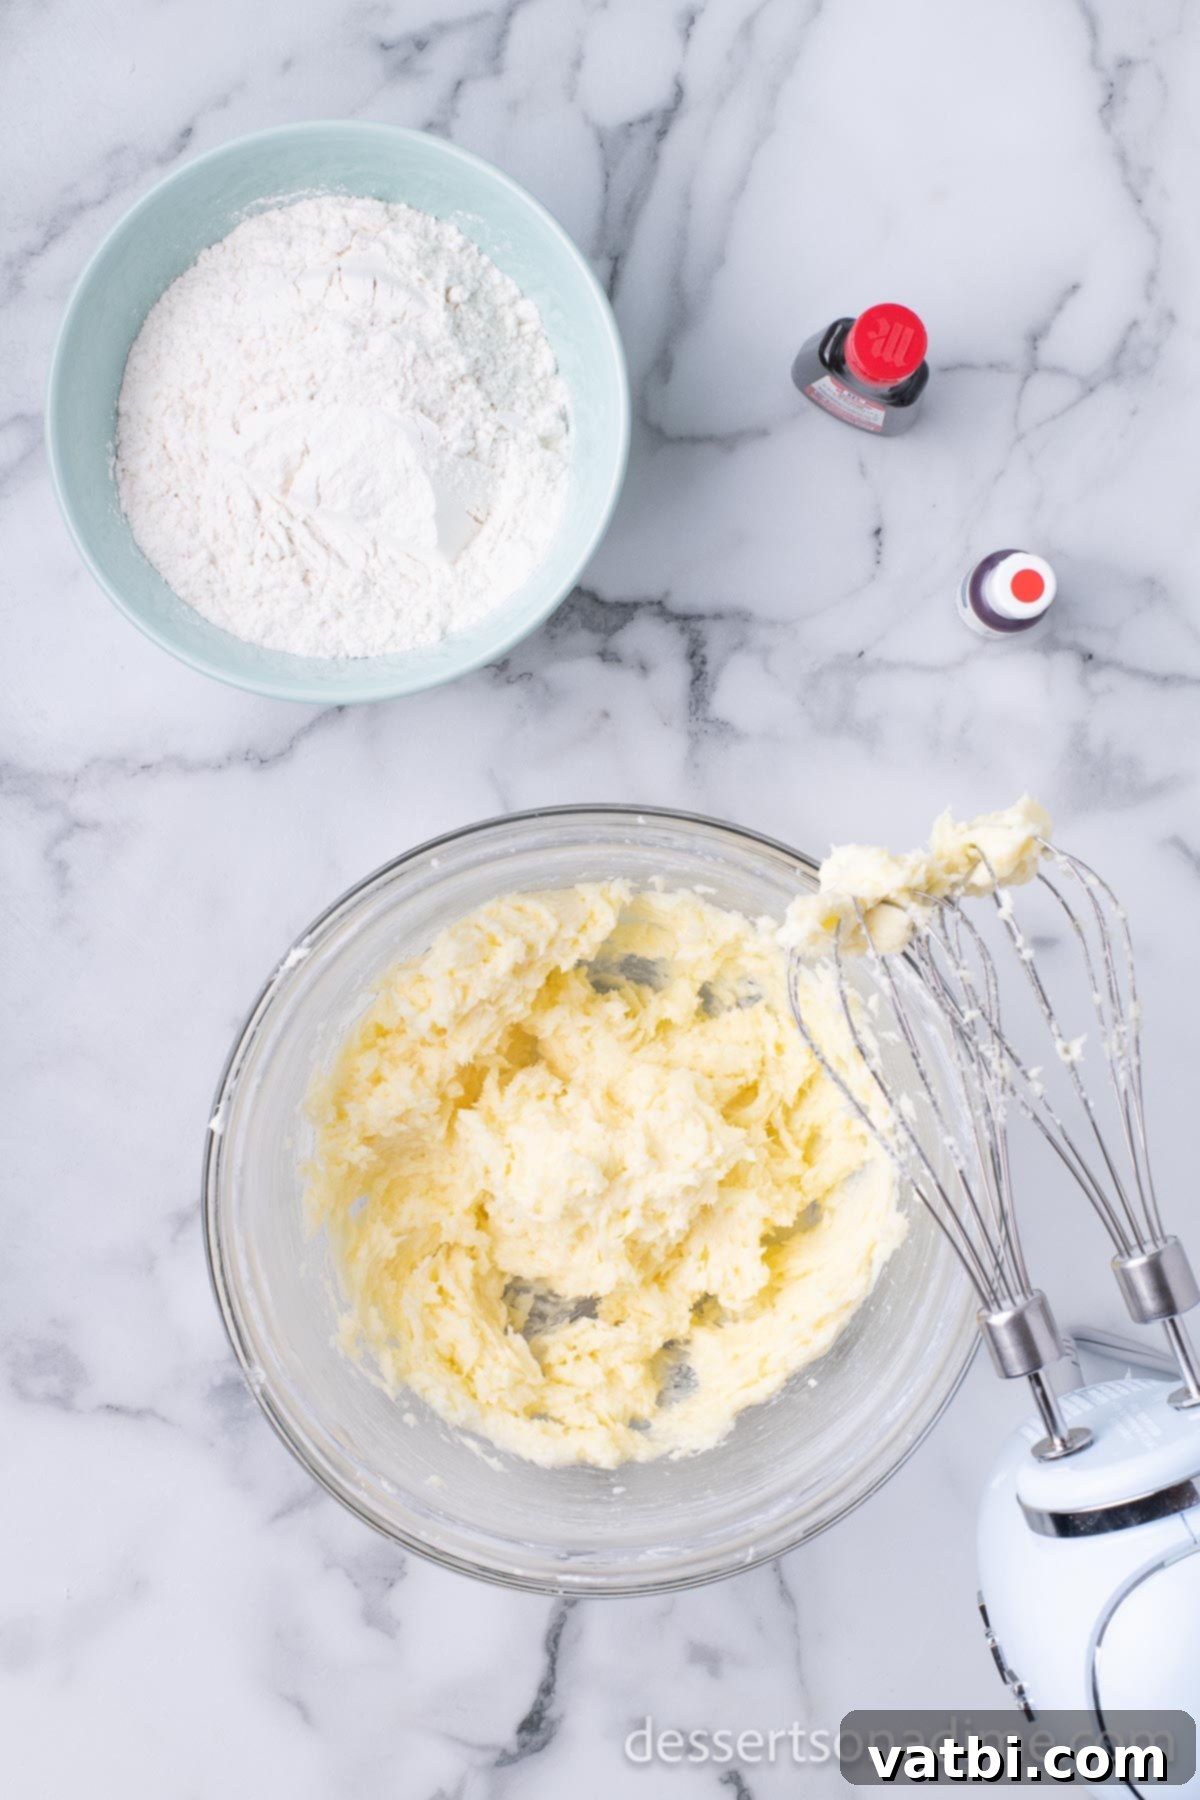
Step 5: Add Dry Ingredients Gradually
Gradually add the all-purpose flour to the wet mixture, beating on medium-low speed until just combined. Mix only until no streaks of dry flour remain to avoid developing too much gluten, which can make cookies tough. Scrape the bowl again.
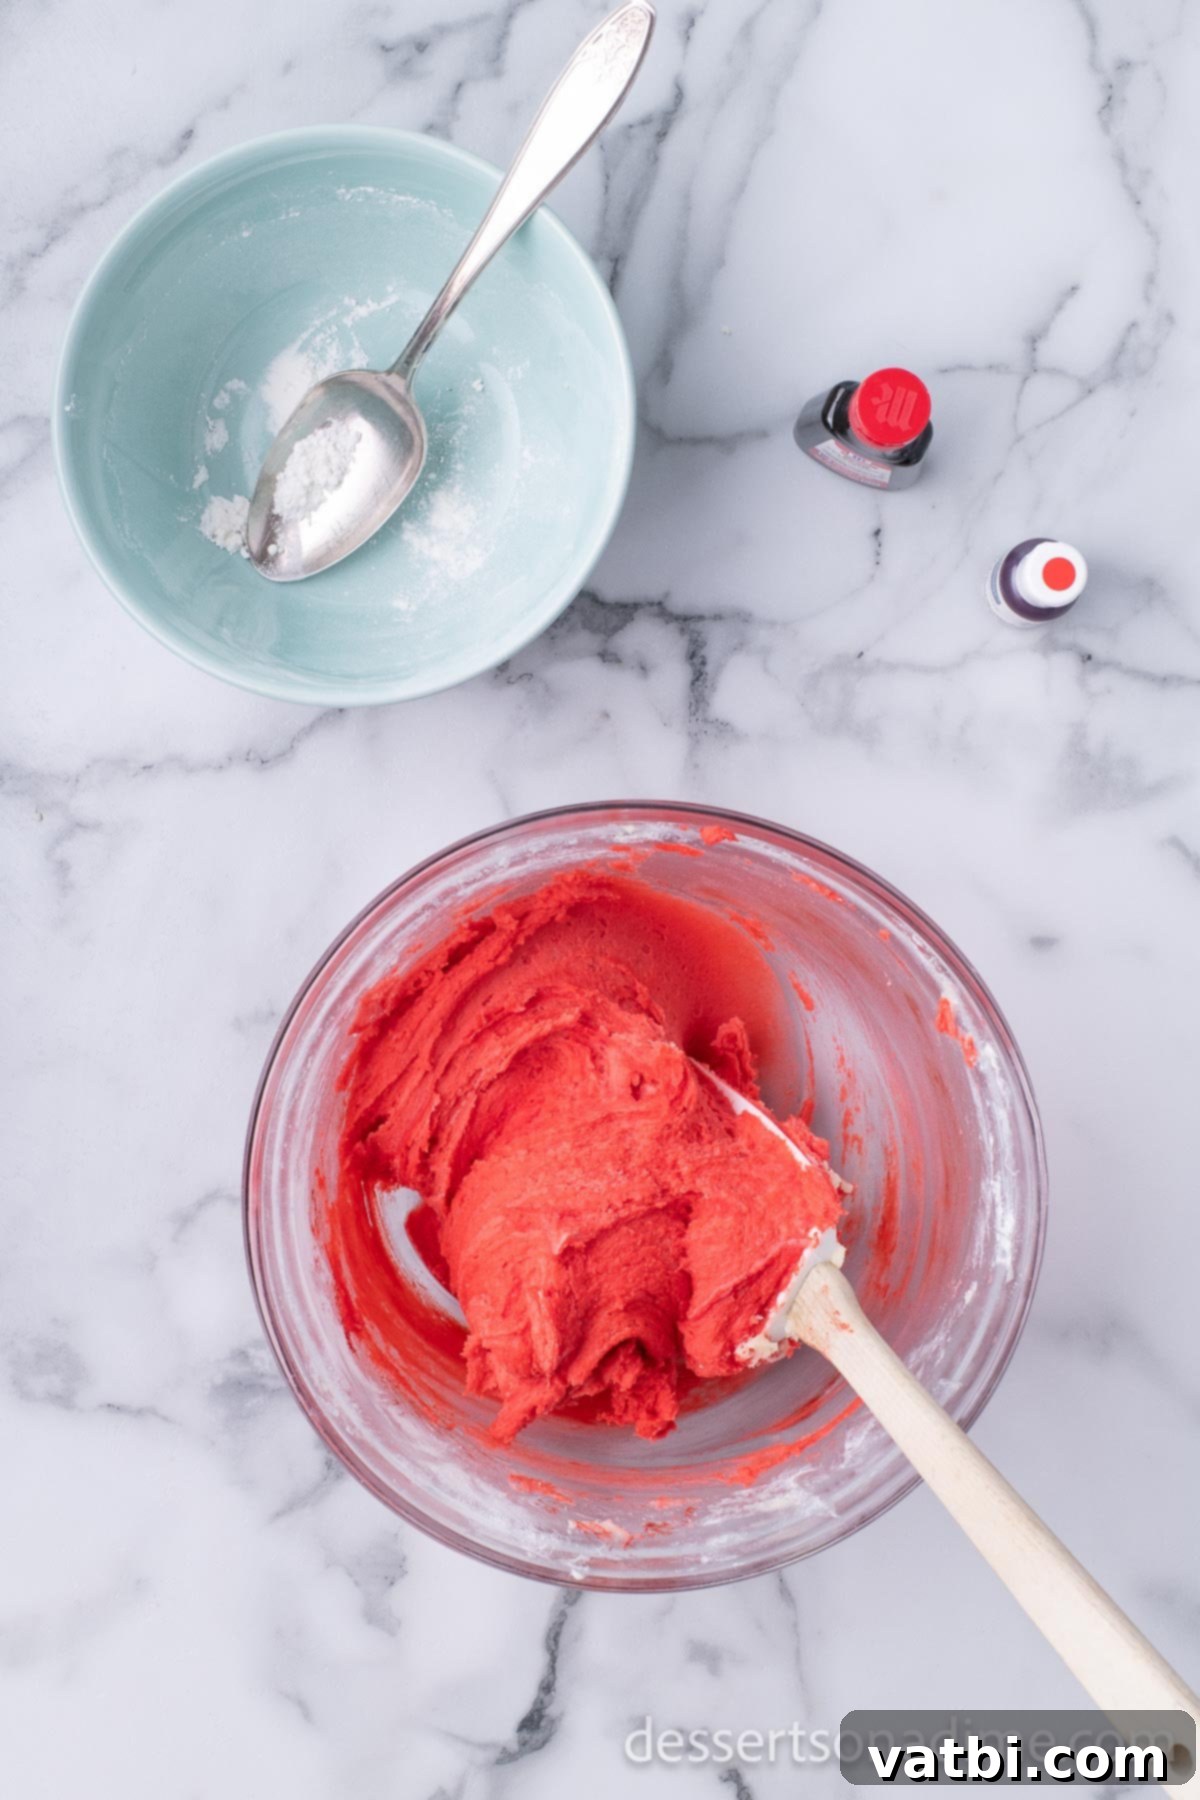
Step 6: Color and Flavor the Dough
Add the red food coloring and peppermint extract to the dough. Mix thoroughly until the color is evenly distributed throughout the dough and the peppermint scent is prominent. Gel food coloring provides the best vibrant red.
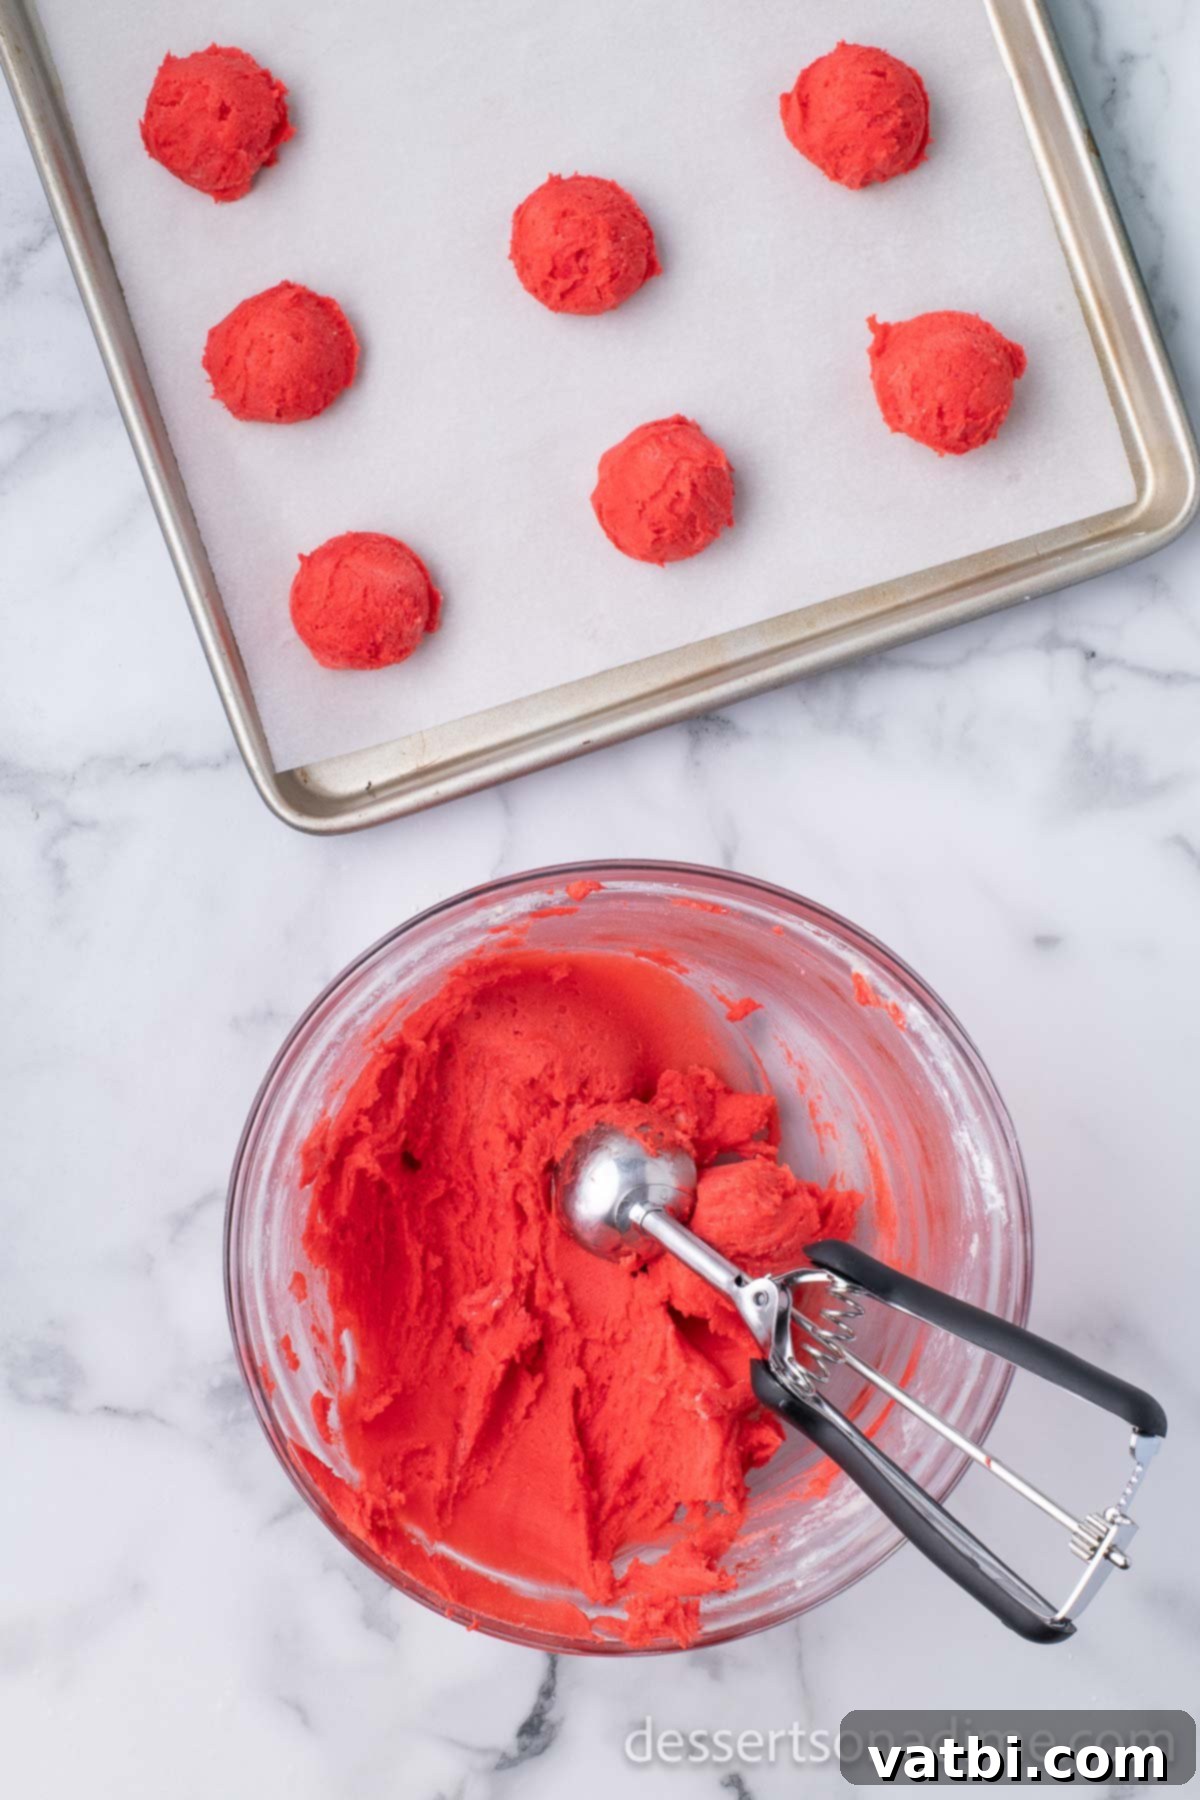
Step 7: Form the Cookies
Using a cookie scoop (about 1.5 tablespoons for consistent size), roll the dough into uniform balls. Place them onto your prepared baking sheet, leaving about 2 inches between each cookie for spreading.
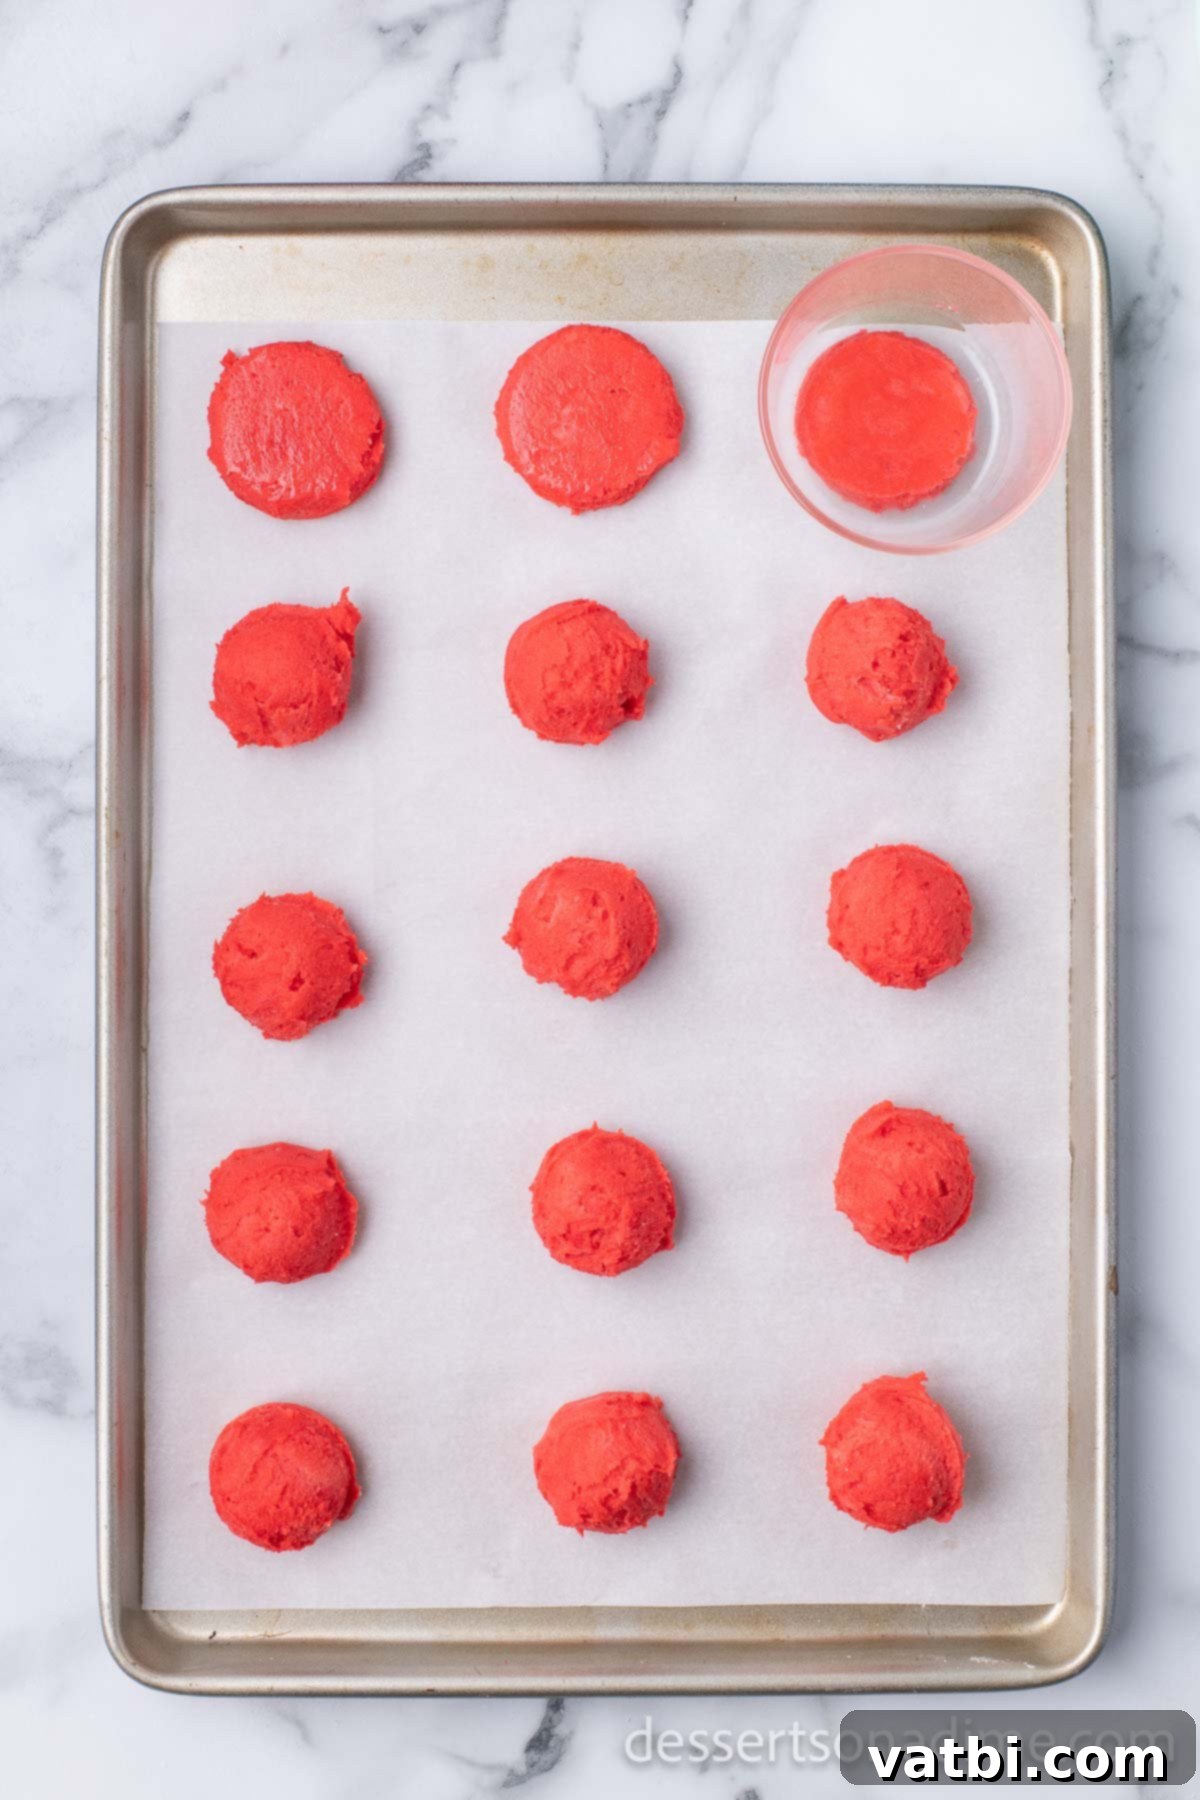
Step 8: Flatten the Dough Balls
For perfectly round and evenly baked cookies, lightly press down each dough ball using the bottom of a glass. Dip the bottom of the glass in water between each press to prevent sticking and create a smooth surface.
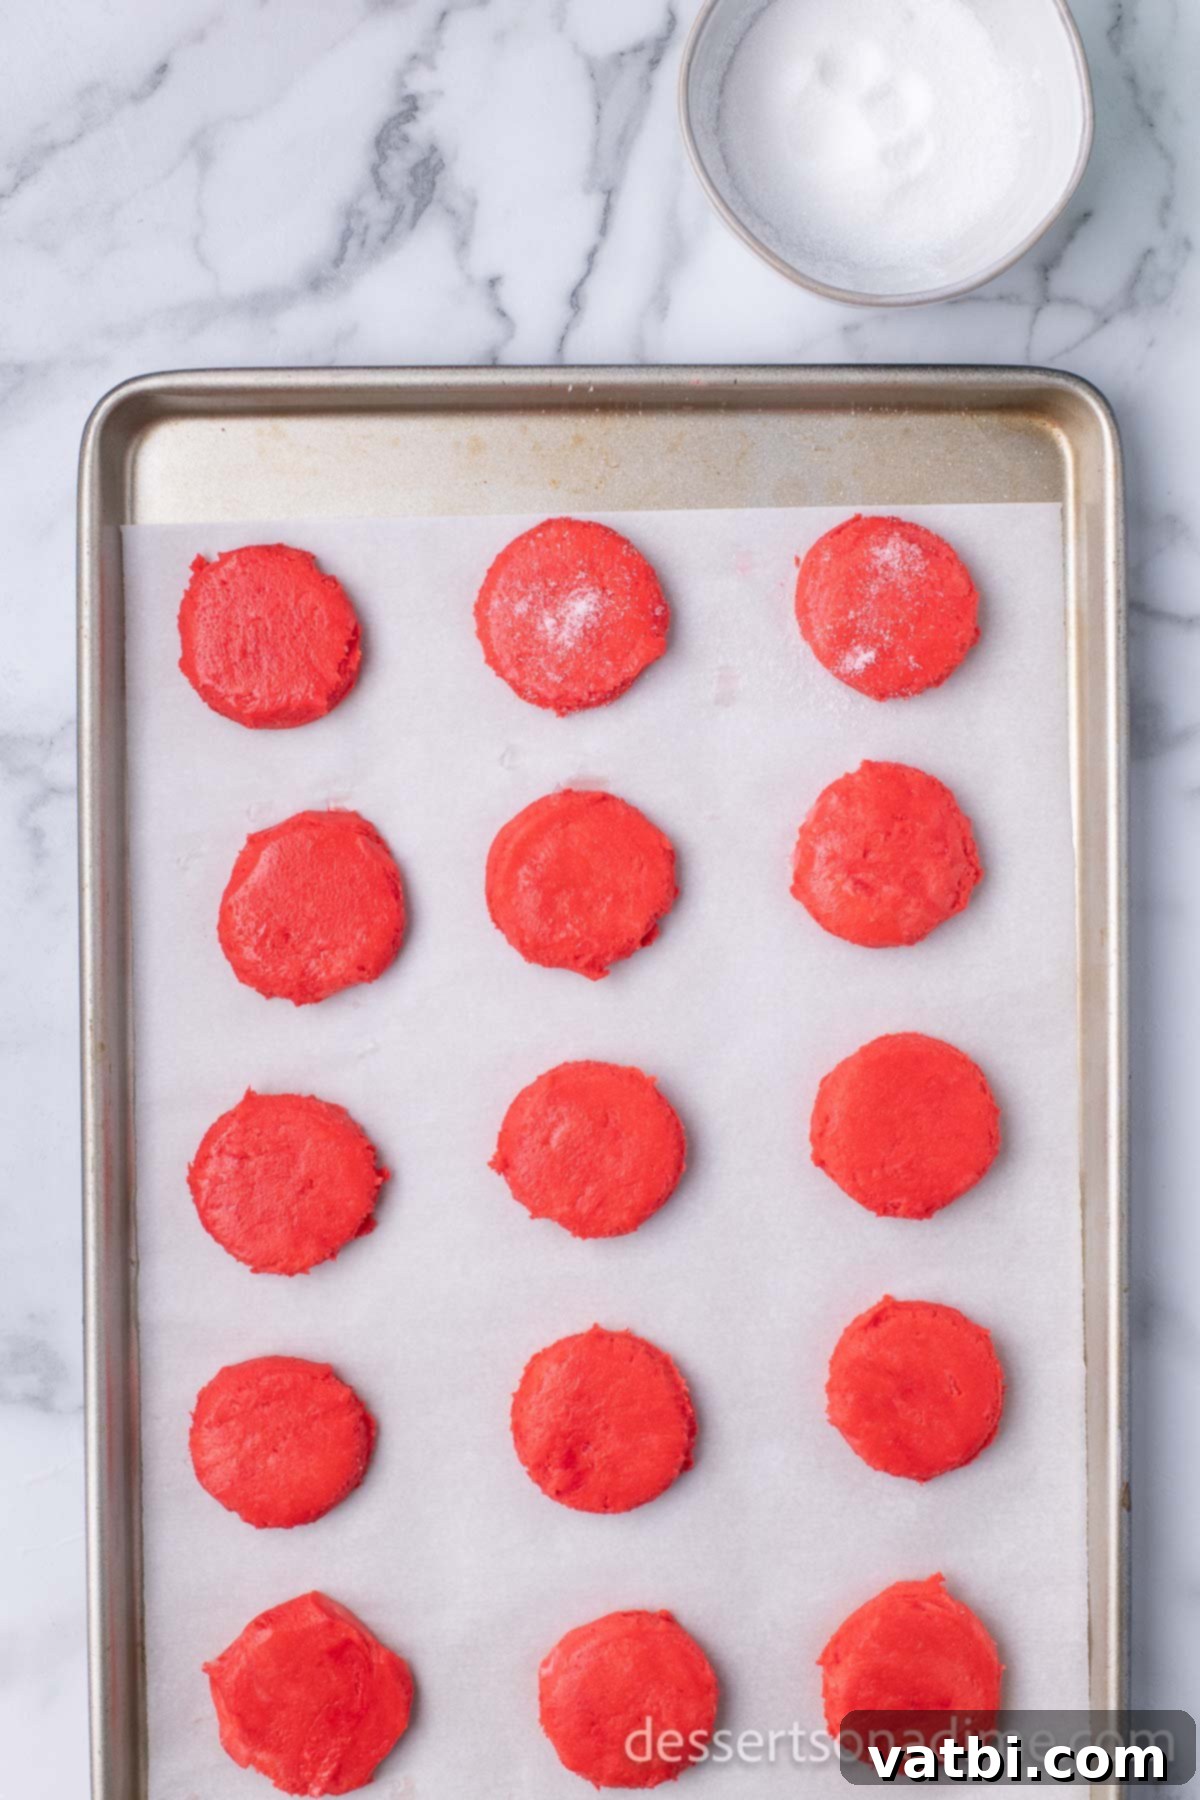
Step 9: Bake to Perfection
If desired, lightly sprinkle the flattened cookie dough with granulated sugar for an extra sparkle and slight crunch. Bake for 8-10 minutes, or until the edges are just set and very lightly golden brown. Be careful not to overbake; these cookies are best when slightly soft in the center. Some ovens may require 10-12 minutes, so keep a close eye on them.
Step 10: Prepare Toppings While Baking
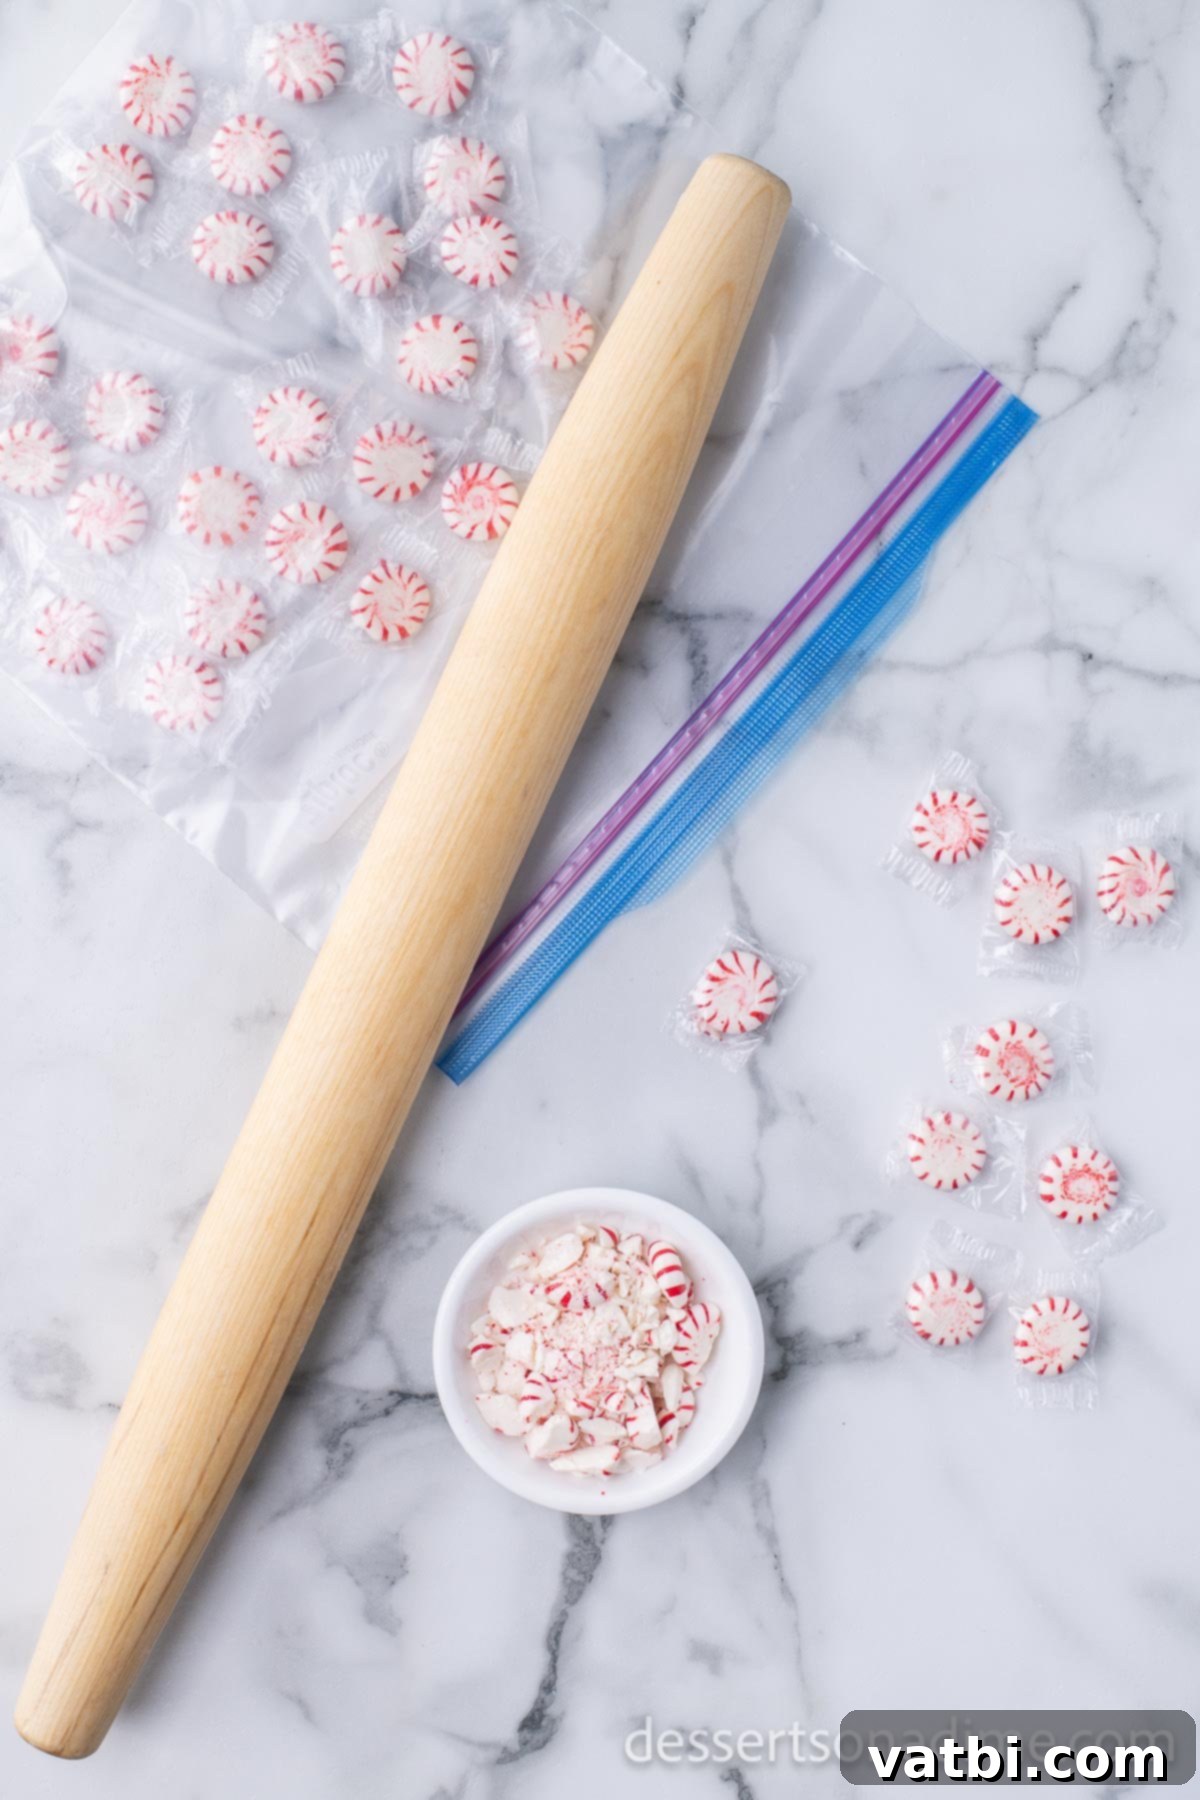
While your cookies are baking, prepare your toppings. Place peppermint candies or candy canes in a sturdy resealable bag and crush them using a rolling pin or a meat tenderizer until you have fine crumbs and some larger pieces for texture. Also, melt your chocolate almond bark or chosen melting chocolate in a separate microwave-safe bowl according to package directions (or use a double boiler method).
Step 11: Cool the Cookies Completely
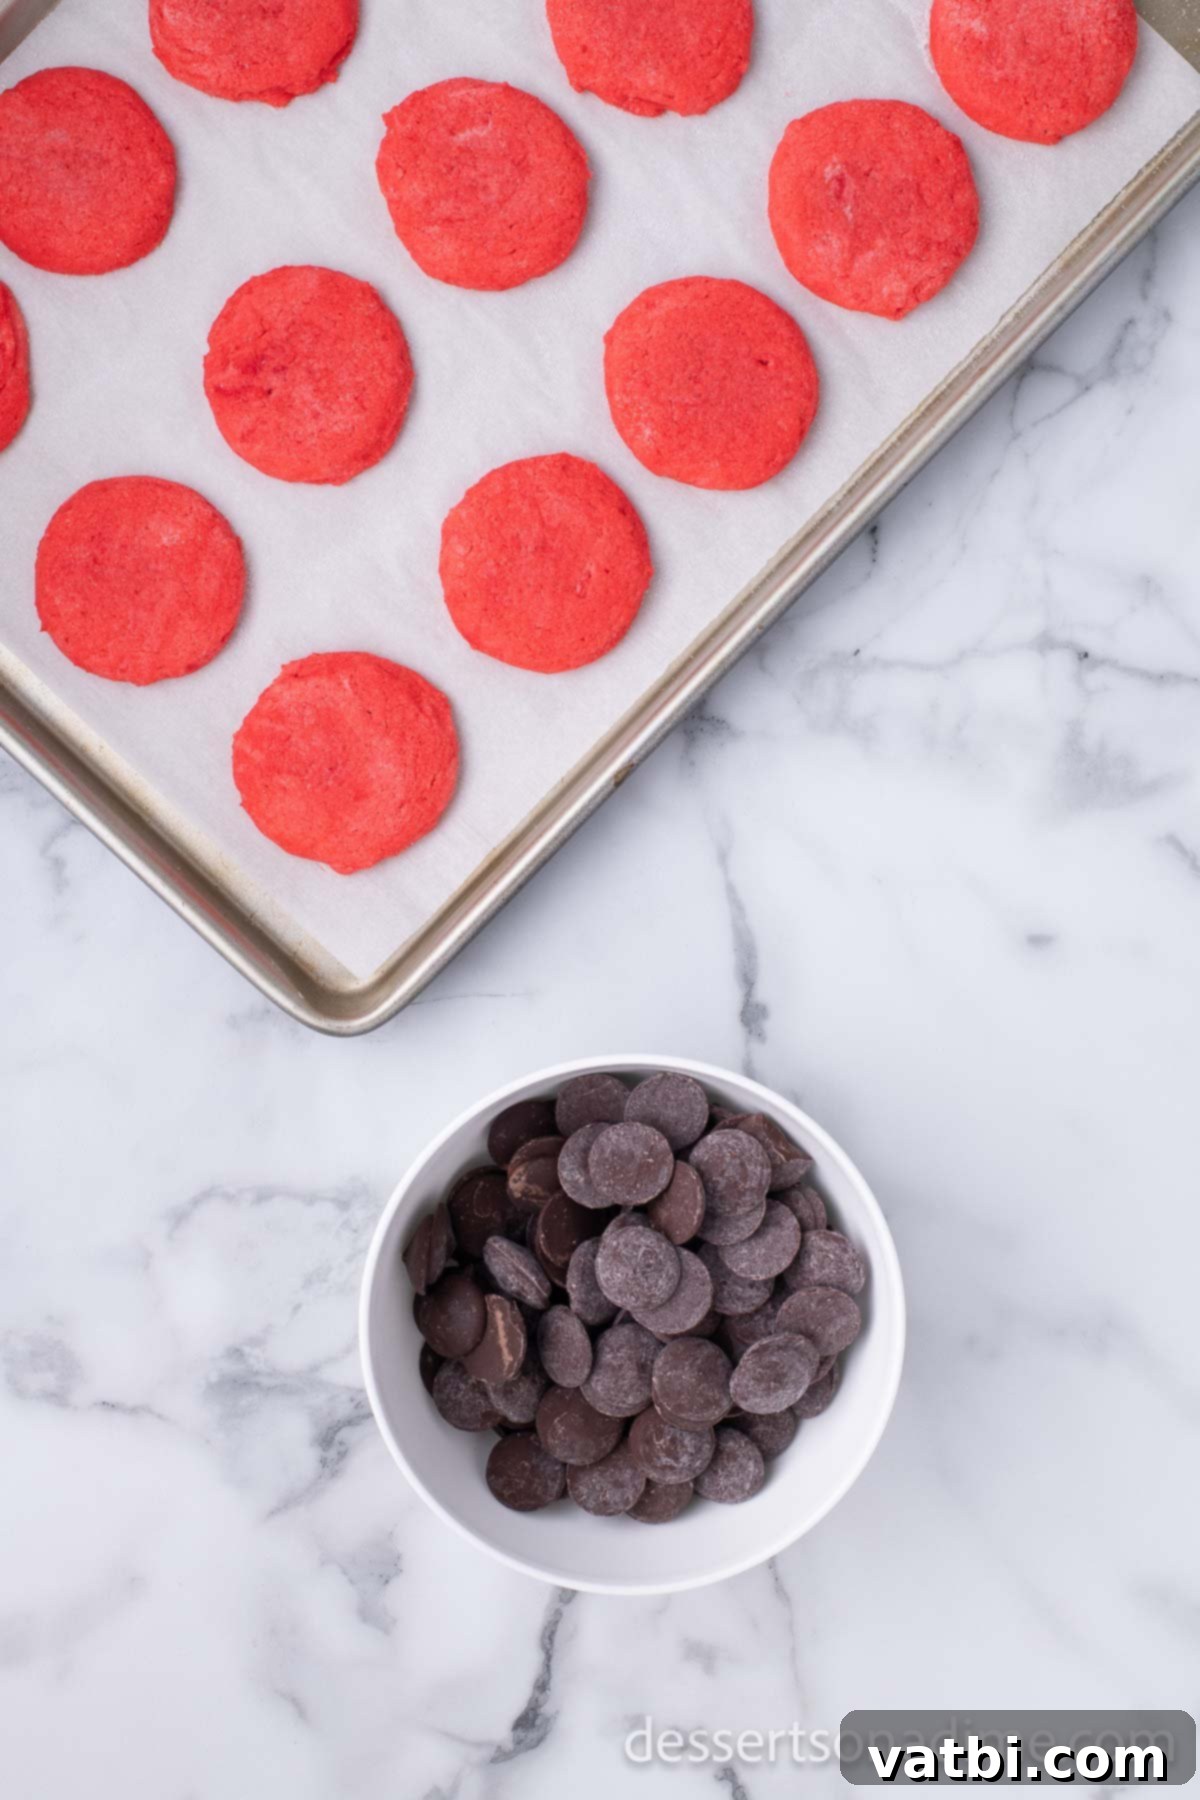
Once baked, remove the cookies from the oven and let them cool on the baking sheet for a few minutes before carefully transferring them to a wire rack. It is crucial for the cookies to cool completely before dipping them in chocolate; otherwise, the chocolate will not set properly and might melt the cookie.
Step 12: Dip in Chocolate
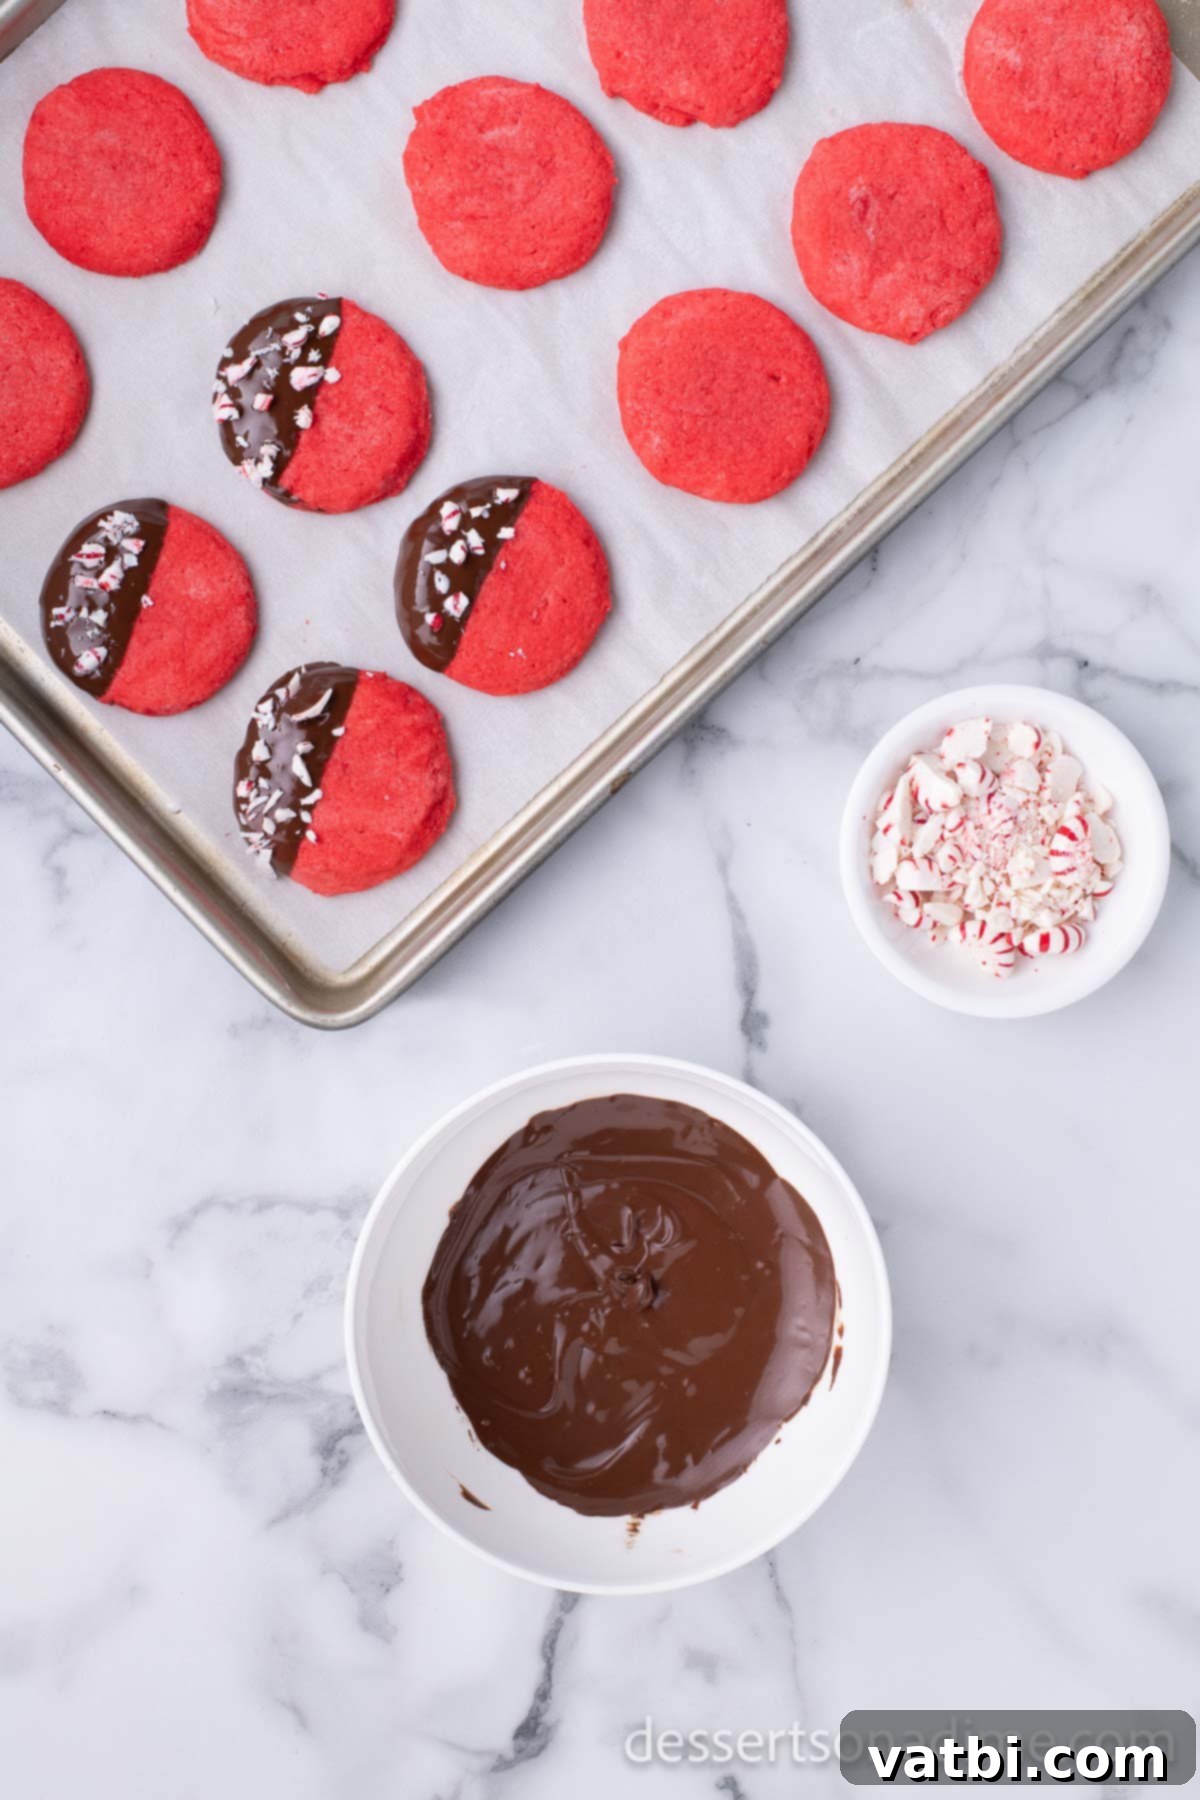
Once the cookies are thoroughly cooled, gently dip the edge (about halfway) of each baked cookie into the melted chocolate. Allow any excess chocolate to drip off back into the bowl for a clean finish.

Step 13: Top and Set
Immediately after dipping each cookie, sprinkle the crushed peppermint candy onto the wet chocolate. Work quickly, as the chocolate sets fast. Place the finished cookies back on the wire rack (or a parchment-lined surface) to allow the chocolate to fully set and harden. Ensure the chocolate is completely set before storing them.

Pro Tips for Perfect Peppermint Cookies Every Time
Achieving bakery-quality cookies at home is easier than you think with a few expert tips. Keep these in mind to ensure your Chocolate Dipped Peppermint Cookies are absolutely perfect:
- Act Fast with Toppings: The melted chocolate begins to set almost immediately, especially if your cookies are cool. To ensure the crushed peppermint (or any other topping) adheres properly, sprinkle it onto the chocolate as soon as you dip each cookie. Don’t wait until you’ve dipped all of them.
- Accurate Flour Measurement is Key: Baking is a science, and precise measurements matter. Never scoop flour directly from the bag with your measuring cup, as this compacts it, leading to too much flour and dry, dense cookies. Instead, use the “spoon and level” method: spoon the flour into your measuring cup until it overflows, then level it off with the back of a knife or a straight edge.
- Use a Cookie Scoop for Uniformity: For cookies that bake evenly and look professional, a cookie scoop is your best friend. It ensures that each dough ball is the same size, resulting in consistent baking times and beautifully uniform cookies. This also helps prevent some cookies from burning while others are still underdone.
- Don’t Overbake: The key to tender, chewy cookies is to remove them from the oven just as their edges are set and very lightly golden brown. The centers might still look slightly soft, but they will continue to set as they cool on the baking sheet and then on the wire rack. Overbaking will result in hard, dry cookies.
- Quality of Extracts Matters: When it comes to flavor, pure vanilla extract and genuine peppermint extract make a significant difference. Artificial extracts can leave a less desirable aftertaste. Investing in good quality extracts will elevate the flavor profile of your cookies.
- Chill the Dough (Optional but Recommended): If you find your cookies are spreading too much, or if you want to intensify the flavor, consider chilling the dough for 30 minutes to an hour before baking. This helps solidify the butter, preventing excessive spreading and allowing the flavors to meld.
Frequently Asked Questions (FAQs)
Once the chocolate has completely set, place the cookies inside an airtight container. They will stay fresh and delicious at room temperature for up to 3 days. For longer storage, you can freeze the baked cookies in a freezer-safe container or bag for up to 3 months. To enjoy, simply thaw them at room temperature.
Absolutely, the cookie dough is perfect for freezing! To do so, form the dough into balls as instructed, then place them on a baking sheet and freeze until solid. Once frozen, transfer the dough balls to a freezer-safe bag or container. They can be frozen for up to 2 weeks. When you’re ready to bake, allow the dough balls to come to room temperature on a lined baking sheet (this might take 30-60 minutes) and then bake as normal.
Several factors can cause cookies to spread. Your butter might have been too soft, you may have used too little flour (or measured it incorrectly), or your oven temperature might have been too low. Ensure your butter is softened but not melted, measure flour accurately using the spoon-and-level method, and verify your oven temperature with an oven thermometer. Chilling the dough for 30 minutes before baking can also significantly help prevent spreading.

Explore More Delicious Peppermint Desserts
If you’re a fan of peppermint, especially when paired with chocolate, you’ll love these other festive recipes. They’re perfect for expanding your holiday baking repertoire:
- Chocolate Peppermint Cookies Recipe: A classic chocolate cookie base with a vibrant peppermint flavor, a true holiday staple.
- Chocolate Dipped Sugar Cookies Recipe: For those who love the simple elegance of a sugar cookie elevated with a chocolate dip.
- Peppermint Bark: A quintessential holiday candy that’s incredibly easy to make and wonderfully addictive.
- Peppermint Ice Cream Recipe: A cool and creamy treat, perfect for serving alongside warm holiday desserts.
- White Chocolate Peppermint Brownies Recipe: Fudgy brownies topped with a swirl of white chocolate and peppermint, a delightful twist on a classic.
I genuinely can’t wait for you to make these delightful Chocolate Dipped Peppermint Cookies! They’re sure to become a beloved part of your holiday celebrations. Please leave a star recipe rating and comment once you do – your feedback is always appreciated!
Chocolate Dipped Peppermint Cookies
Chocolate Dipped Peppermint Cookies look so festive and taste delicious with the peppermint and chocolate combination. Make these light and fluffy chocolate dipped peppermint cookies for a tasty holiday tradition!
5
10
15
36
American
Dessert
106
Carrie Barnard
Ingredients
- 1 cup unsalted butter softened
- ⅔ cup granulated sugar
- ½ teaspoon salt
- 1 large egg room temperature
- 1 tablespoon vanilla extract
- 2 cups all-purpose flour
- 1 teaspoon peppermint extract
- 2-3 drops red food coloring
- Granulated sugar optional
- Chocolate almond bark or other melting chocolate
- Crushed peppermint or candy canes
Instructions
-
Preheat oven to 350 degrees F.
-
Line a baking sheet with parchment paper or silicone mat.
-
In a large bowl, beat the butter until fluffy.
-
Add sugar and salt and beat until well combined and fluffy.
-
Beat in the egg and vanilla until well combined.
-
Gradually add the flour and beat until just combined.
-
Add food coloring and peppermint extract and mix very well until color is even.
-
Roll dough into balls and place on prepared baking sheet.
-
Lightly press down each cookie ball using a flat bottom glass dipped in water.
-
Sprinkle lightly with granulated sugar if desired.
-
Bake for 8-10 minutes or until edges are set and slightly golden brown.
-
Remove cookies to wire rack and cool completely.
-
Crush peppermint candy in a resealable bag using a rolling pin.
-
Melt chocolate in a microwave-safe bowl (or using a double boiler).
-
Dip the edge of each cooled cookie into chocolate and immediately add crushed peppermint.
-
Set dipped cookies on a wire rack to allow the chocolate to set completely.
-
Store in an airtight container once chocolate is firm.
Nutrition Facts
Calories 106kcal
,
Carbohydrates 11g
,
Protein 1g
,
Fat 6g
,
Saturated Fat 4g
,
Cholesterol 18mg
,
Sodium 36mg
,
Potassium 11mg
,
Fiber 1g
,
Sugar 6g
,
Vitamin A 164IU
,
Calcium 3mg
,
Iron 1mg
Pin This Now to Remember It Later
Pin Recipe
