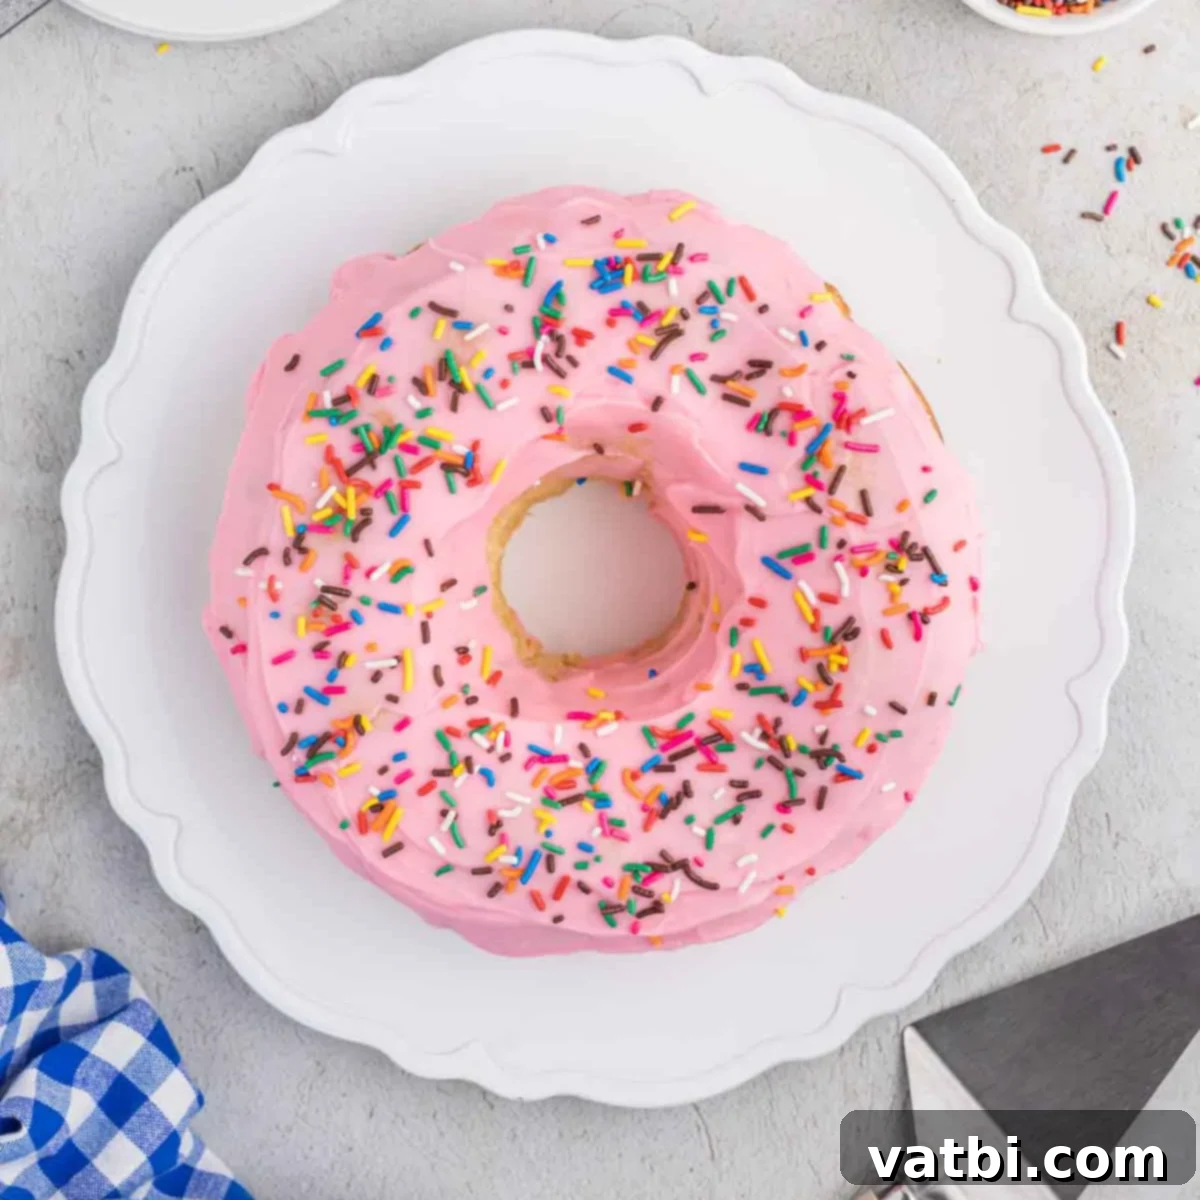
Easy & Delicious Donut Cake Recipe: Your Guide to a Perfect Bundt Cake Masterpiece!
Imagine the delightful taste of your favorite fluffy donut, but in a cake form that’s incredibly simple to bake right in your own kitchen! This **Donut Cake Recipe** is a true revelation, offering the beloved flavor and tender texture of a classic cake donut, beautifully transformed into an impressive bundt cake. Each bite delivers a nostalgic sweetness, enhanced by a vibrant, customizable frosting and playful sprinkles. It’s not just a dessert; it’s a celebration in a pan, stunning in its presentation and surprisingly effortless to create.
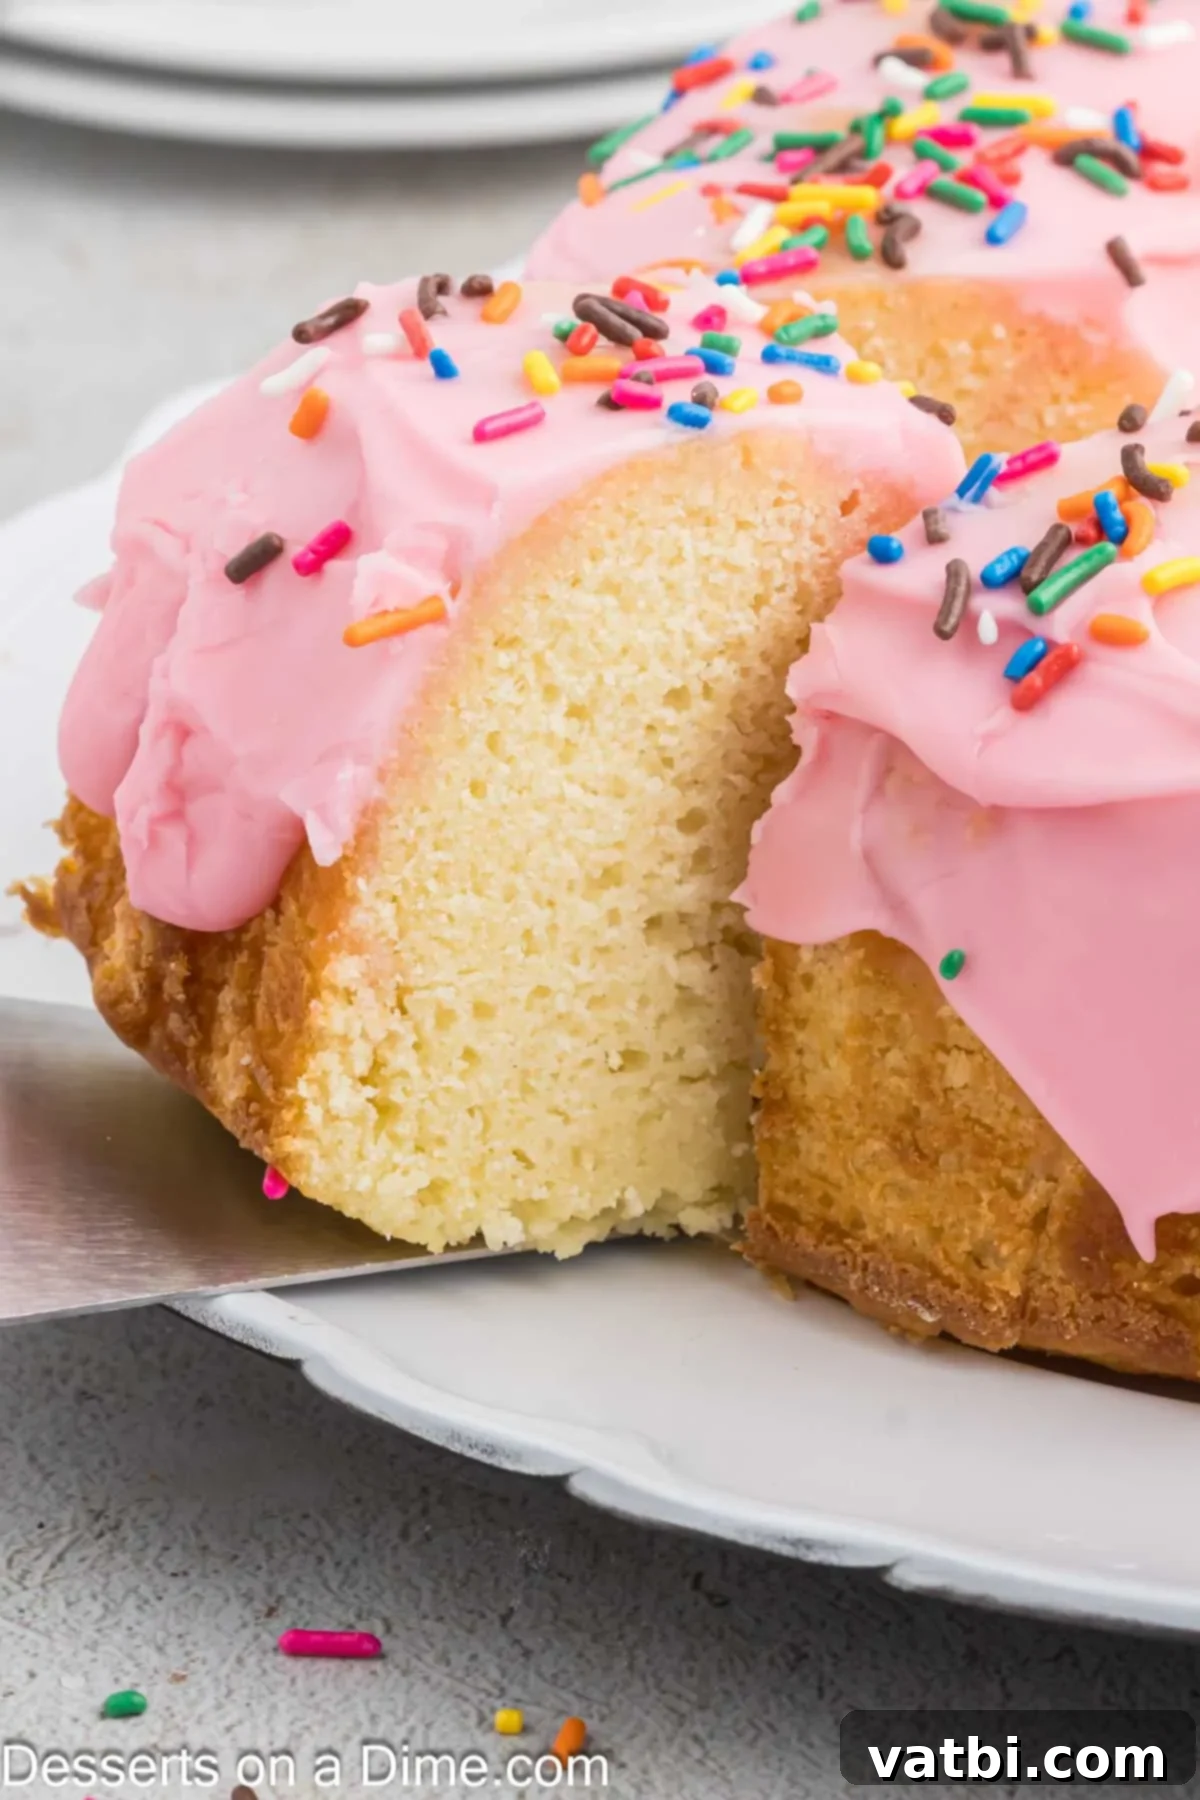
Forget the deep fryer and messy oil – this recipe brings all the charm and deliciousness of a bakery-style donut straight to your dessert table, baked to perfection. Its soft, fluffy interior and rich, sweet glaze with a hint of tang will have everyone asking for a second slice. The beautiful pink icing is not only a feast for the eyes but also a blank canvas for your creativity, allowing you to easily adapt its color and sprinkle choice to match any holiday, party theme, or personal preference. Whether it’s a bright blue for a baby shower or festive reds and greens for Christmas, this donut cake is always ready for its close-up.
If you’re a fan of the elegance and simplicity that bundt cakes offer, you absolutely must add this Donut Cake to your repertoire. For more delightful bundt cake adventures, be sure to explore our Blueberry Bundt Cake and Banana Bundt Cake recipes. They are equally delicious and perfect for expanding your baking horizons.
Table of Contents
- Why You’ll Adore This Donut Bundt Cake
- Essential Ingredients for Your Donut Cake
- For the Moist and Fluffy Cake
- For the Irresistible Glaze
- Exciting Variations to Customize Your Cake
- Step-by-Step Guide to Baking Your Donut Cake
- Proper Storage for Maximum Freshness
- Pro Tips for Donut Cake Success
- Can You Freeze This Donut Cake?
- Frequently Asked Questions (FAQ)
Why You’ll Adore This Donut Bundt Cake
There are countless reasons why this Donut Cake has become a firm favorite in our kitchen. First and foremost, its simplicity is unmatched. The recipe relies on common pantry staples, meaning you likely have most of the ingredients on hand already. This eliminates the need for last-minute grocery runs, making it an ideal choice for impromptu baking sessions or when a sudden sweet craving strikes. With straightforward instructions, even novice bakers can achieve a homemade cake that tastes incredibly professional.
Beyond its ease, the versatility of this cake is a huge draw. We frequently bake it for birthdays, holidays, and other special occasions. It’s incredibly fun to experiment with different food colorings for the glaze and a variety of sprinkles to match the theme of any event. Imagine a vibrant green glaze for St. Patrick’s Day, or festive red and white sprinkles for a Valentine’s celebration. The possibilities are endless, allowing you to personalize each cake and make it truly unique.
Perhaps the most compelling reason to love this recipe is that it delivers all the rich, comforting flavor of donuts without the hassle of deep-frying. Say goodbye to hot oil, special thermometers, and the lingering smell of fried food in your home. This baked version captures the essence of a classic cake donut – its tender crumb and sweet, slightly tangy profile – in a much healthier and more convenient format. It’s the perfect solution for satisfying that donut craving with the elegance and effortlessness of a beautifully baked bundt cake.
Essential Ingredients for Your Donut Cake
Crafting the perfect Donut Cake begins with understanding the role of each ingredient. Here’s a closer look at what you’ll need and why these components are crucial for achieving that signature donut-like texture and taste.
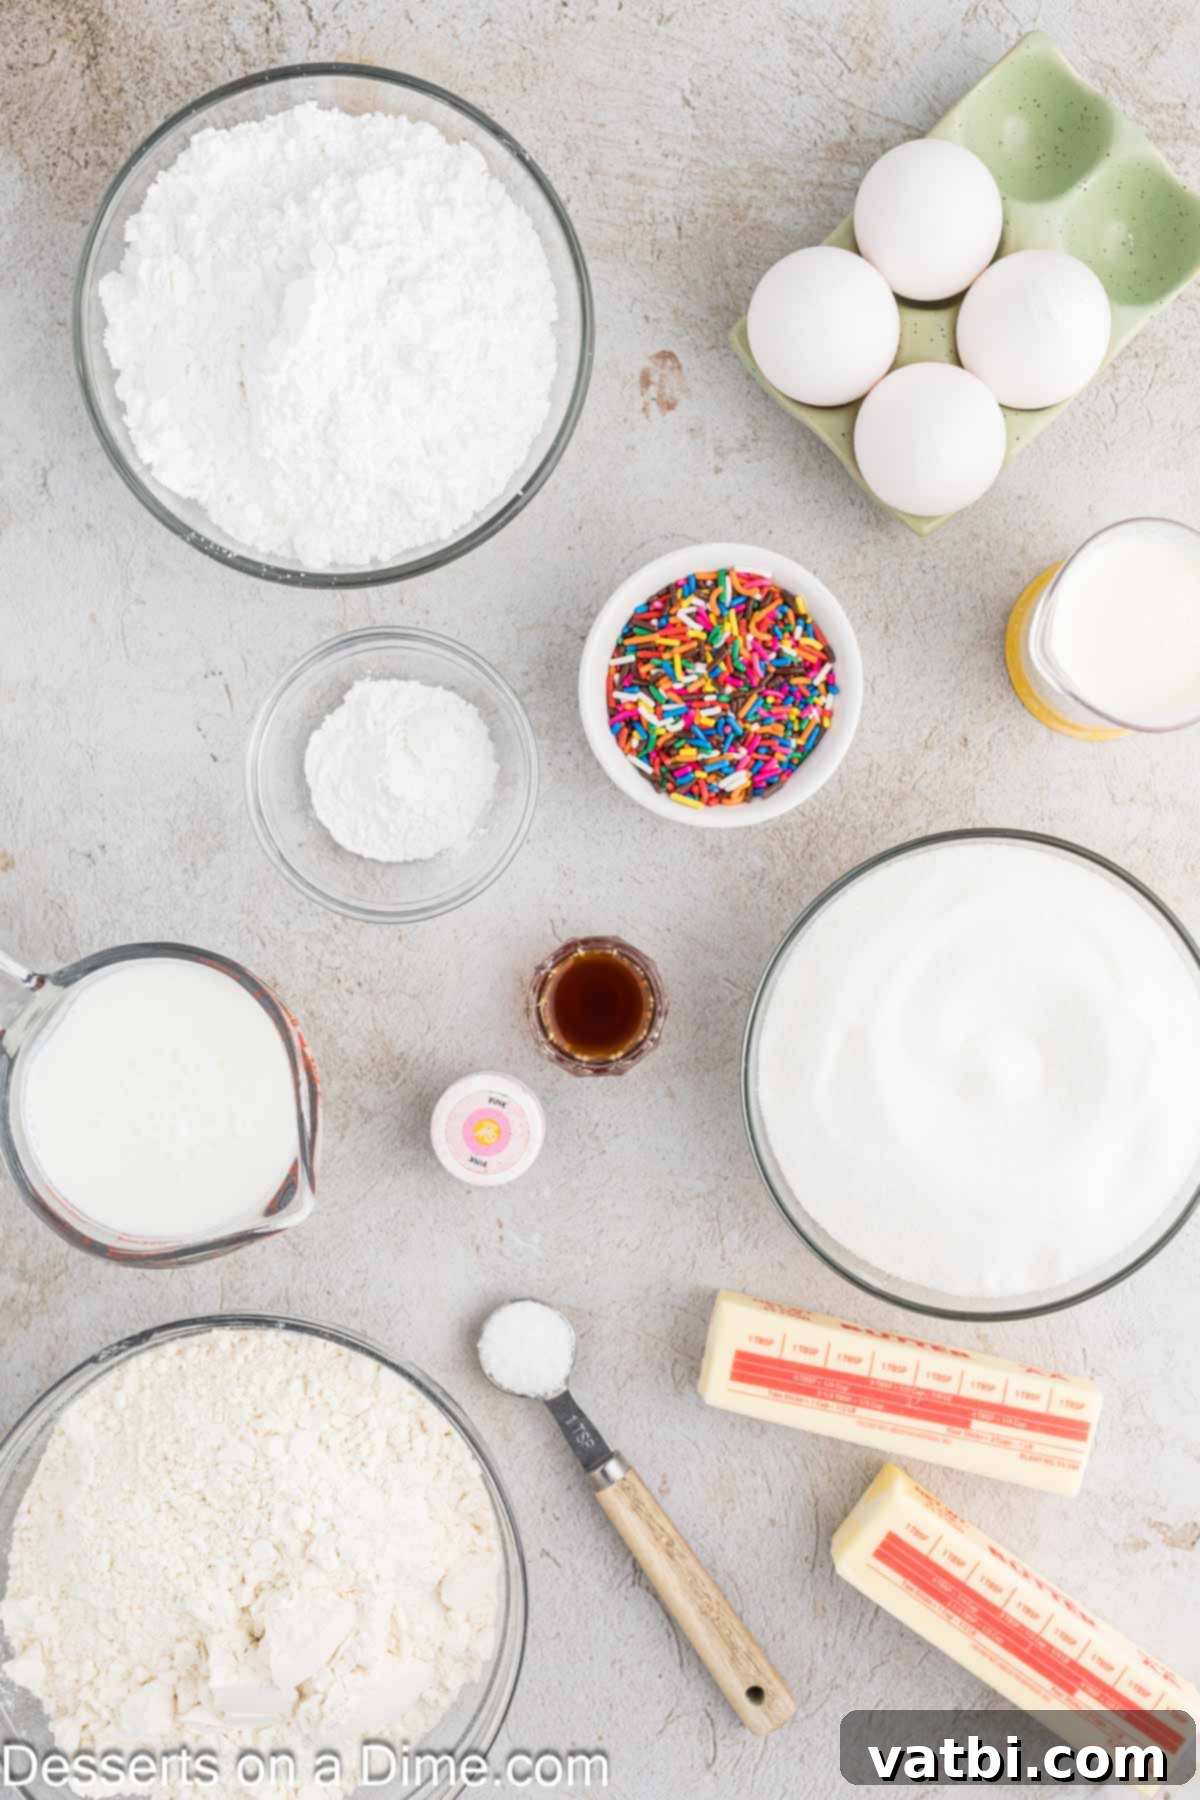
For the Moist and Fluffy Cake
- Butter. Using softened butter at room temperature is key for proper creaming. When butter and sugar are beaten together, the softened butter traps air, creating a light and fluffy base for your cake batter. This aeration is vital for a tender cake crumb.
- Large Eggs. Just like butter, room temperature eggs are essential. They emulsify better with the other ingredients, leading to a smoother, more uniform batter and a finer cake texture. Always plan ahead to let your eggs sit out for about 30 minutes before baking.
- Granulated Sugar. Provides the primary sweetness and helps with the cake’s structure when creamed with butter.
- Vanilla Extract. Pure vanilla extract is highly recommended here. Its rich, aromatic flavor elevates the overall taste profile, making the cake truly delicious. Avoid artificial vanilla for the best results.
- Cake Flour. This is a game-changer for achieving that desired soft and tender donut-like crumb. Cake flour has a lower protein content than all-purpose flour, which results in less gluten development and a more delicate texture. If you don’t have cake flour, you can easily make your own by sifting all-purpose flour with cornstarch.
- Baking Powder. Acts as the primary leavening agent, helping the cake rise and become airy and light. Ensure your baking powder is fresh for optimal results.
- Salt. A pinch of salt balances the sweetness and enhances all the other flavors in the cake, preventing it from tasting flat.
- Buttermilk. This ingredient is crucial for the cake’s signature moistness and rich, slightly tangy flavor, which is characteristic of many cake donuts. The acidity in buttermilk also reacts with the baking powder, contributing to a lighter crumb. If you don’t have buttermilk, you can easily make homemade Buttermilk by adding a tablespoon of lemon juice or white vinegar to regular milk and letting it sit for 5-10 minutes.
For the Irresistible Glaze
- Powdered Sugar. Also known as confectioners’ sugar, it forms the base of our smooth, pourable glaze. If your powdered sugar is lumpy, sifting it first will ensure a silky, lump-free glaze.
- Heavy Cream. Using heavy cream instead of milk for the glaze provides an incredibly rich and decadent texture. It gives the glaze a luxurious mouthfeel that beautifully complements the cake. You can adjust the amount to achieve your desired consistency – a thicker glaze for more coverage or a thinner one for a delicate drip.
- Food Coloring and Sprinkles. While optional, these additions are highly recommended for transforming your cake into a festive showstopper. Food coloring allows you to customize the glaze to any shade imaginable, making it perfect for themed parties. Sprinkles add a delightful crunch and visual appeal, elevating the fun factor of this dessert.
You’ll find the complete, precise list of ingredients and measurements conveniently located in the recipe card at the bottom of this page.
Exciting Variations to Customize Your Cake
One of the best things about this Donut Cake recipe is how easily it adapts to various flavors and occasions. Here are a few ideas to inspire your culinary creativity:
- Zesty Citrus Flavor. For a bright and refreshing twist, add 1-2 tablespoons of fresh lemon juice or orange juice to your glaze. You can also incorporate 1 teaspoon of citrus zest into the cake batter for a more pronounced flavor throughout. This is particularly delicious in the warmer months!
- Cinnamon Sugar Donut Cake. Instead of the traditional glaze, brush the warm cake with melted butter and then generously sprinkle it with a mixture of granulated sugar and ground cinnamon (about 1/2 cup sugar to 1 tablespoon cinnamon). This mimics a classic cinnamon sugar donut perfectly.
- Chocolate Drizzle. After the main glaze has set, melt some chocolate chips (dark, milk, or white) and drizzle it artfully over the cake for an extra layer of indulgence.
- Seasonal Sprinkles. Beyond just colors, explore different shapes and sizes of sprinkles. Think tiny hearts for Valentine’s Day, ghosts for Halloween, or snowflakes for winter holidays. This simple addition can completely change the cake’s theme.
- Nutty Crunch. For added texture and flavor, finely chop some toasted pecans or walnuts and fold them into the cake batter or sprinkle them over the glaze before it sets.
- Maple Glaze. Swap a portion of the heavy cream in the glaze for pure maple syrup for a rich, comforting maple donut flavor. This pairs wonderfully with a hint of cinnamon in the cake batter.
Step-by-Step Guide to Baking Your Donut Cake
Baking this delightful Donut Cake is a straightforward process when you follow these easy steps. Precision and attention to detail will ensure a perfectly moist and flavorful cake every time.
- Step 1: Preheat the Oven. Begin by preheating your oven to 350 degrees Fahrenheit (175°C). Ensuring your oven is at the correct temperature before the cake goes in is crucial for even baking.
- Step 2: Prepare Your Bundt Pan. This is a critical step to prevent your beautiful cake from sticking. Thoroughly coat the inside of your bundt pan with softened butter, ensuring you get into every nook and cranny of the design. Then, dust it generously with a light layer of flour, tapping out any excess. For extra security, you can also use a non-stick baking spray specifically designed for baking.
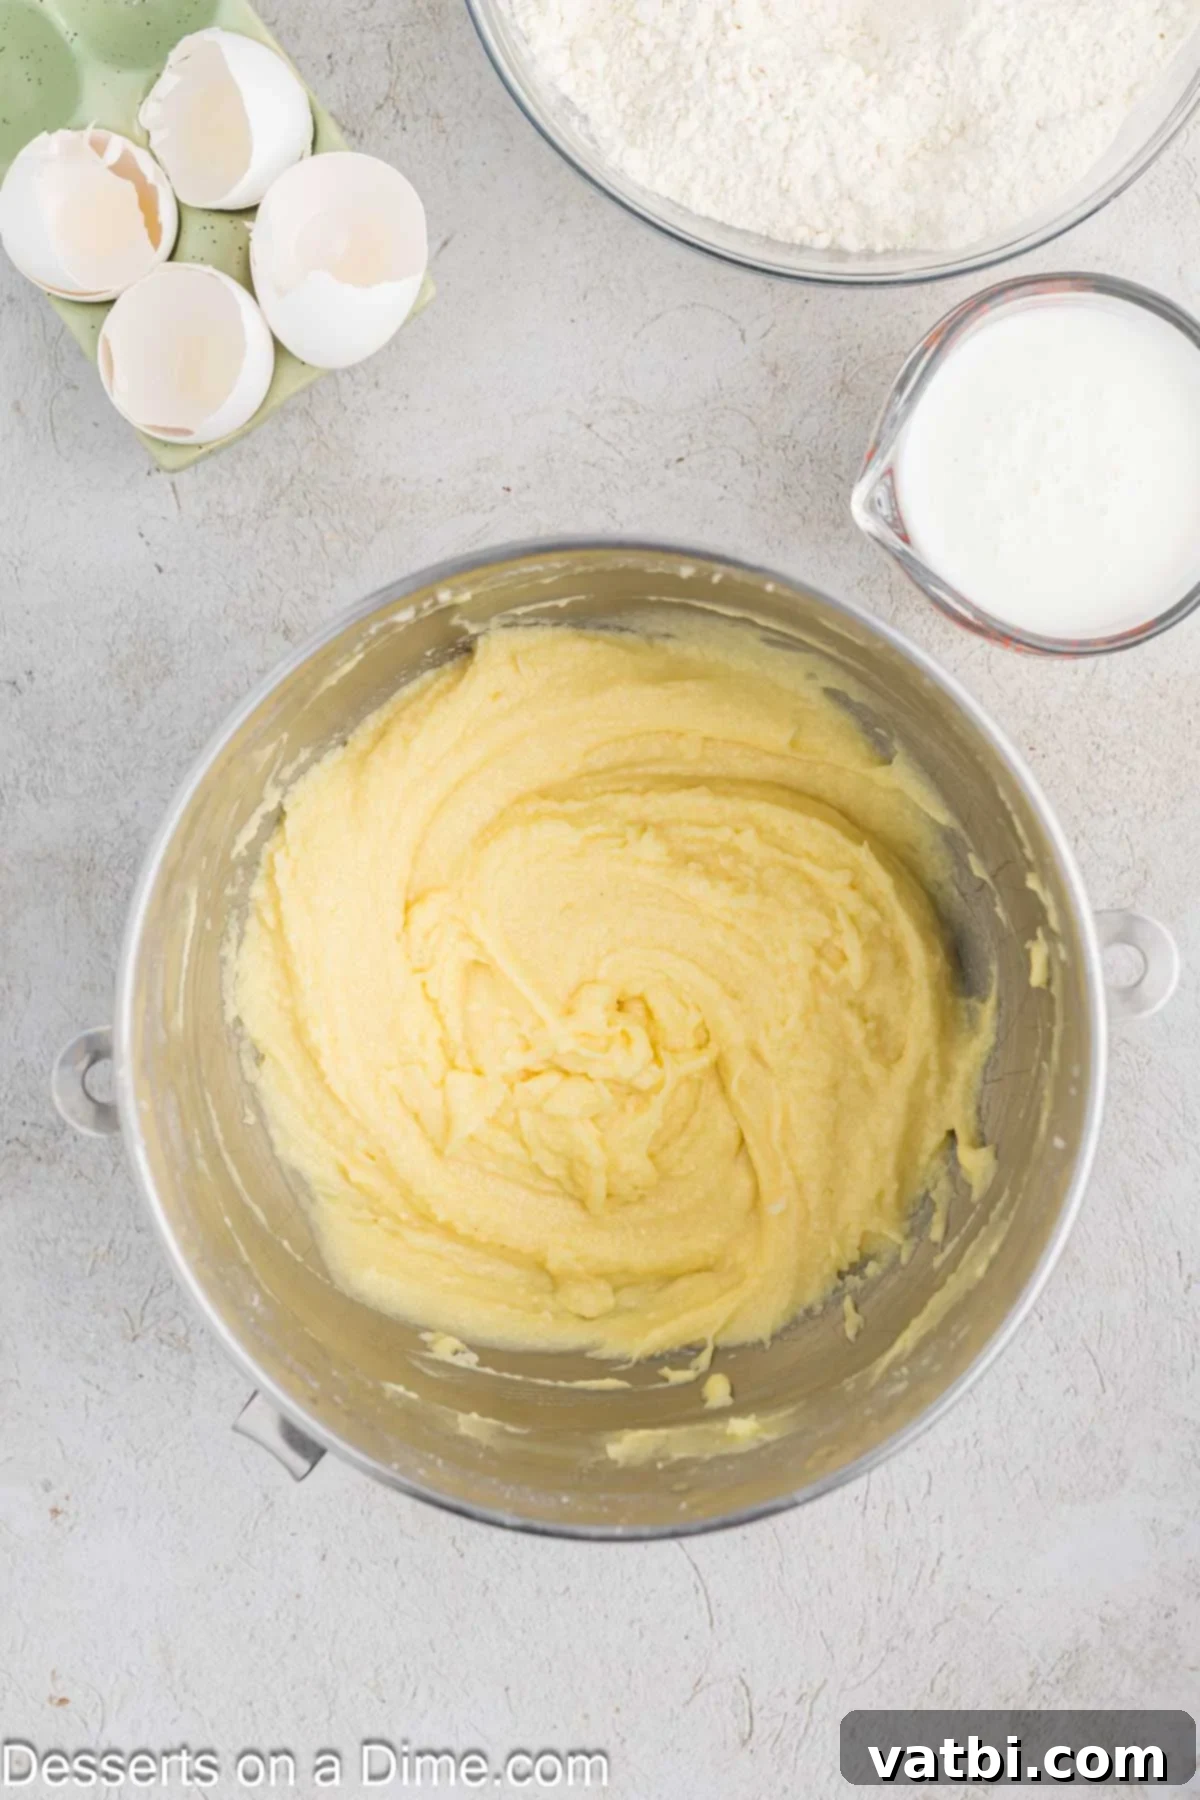
Step 3: Cream Butter and Sugar. In a large mixing bowl, ideally the bowl of a stand mixer fitted with a paddle attachment, beat the softened butter with the granulated sugar. Start on medium speed, then increase to medium-high speed. Continue beating until the mixture is light, fluffy, and pale in color, usually 3-5 minutes. This process incorporates air, contributing to the cake’s tender texture. Reduce the mixer speed to low and add the large eggs one at a time, mixing well after each addition until fully blended. Scrape down the sides of the bowl as needed to ensure everything is thoroughly combined.
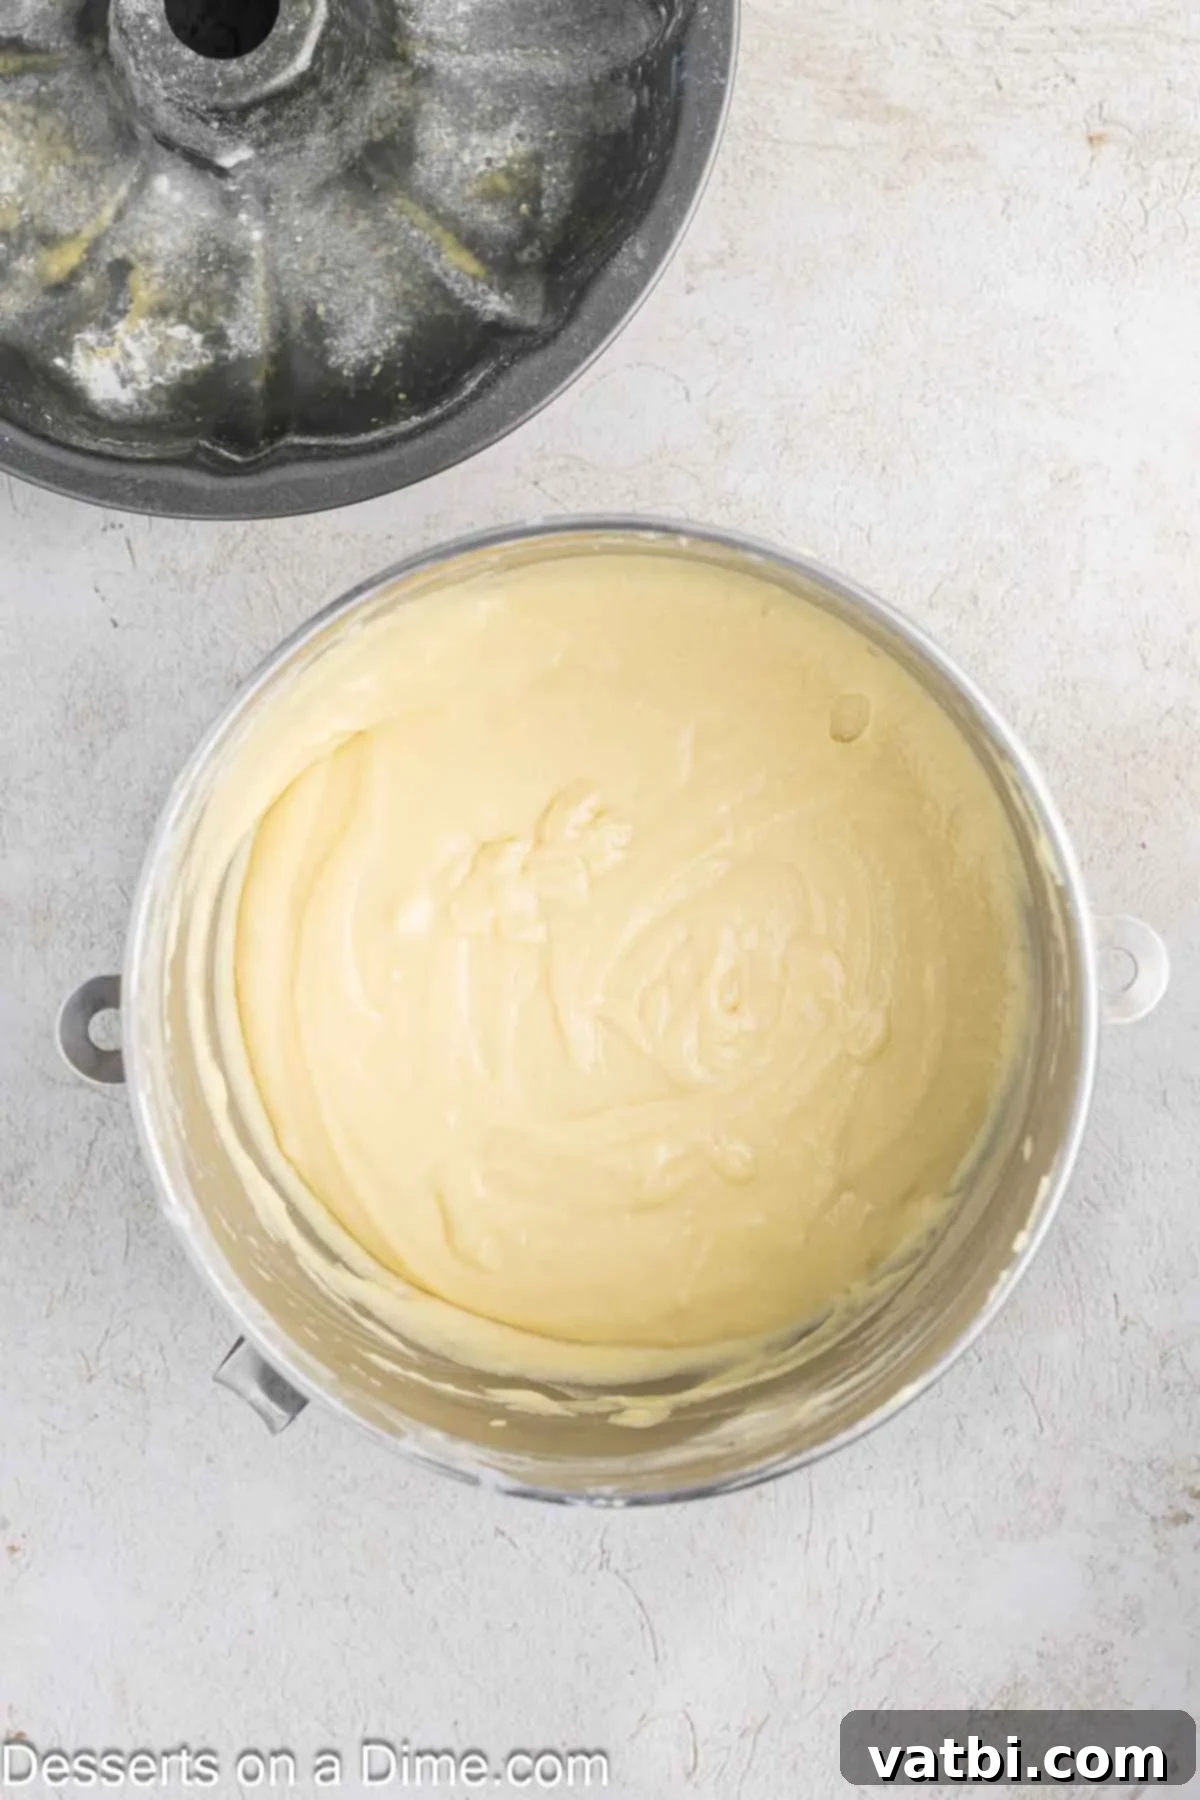
Step 4: Incorporate Wet and Dry Ingredients. Once the eggs are fully incorporated, mix in the vanilla extract. In a separate, medium-sized bowl, whisk together the cake flour, baking powder, and salt. Now, gradually add the dry flour mixture and buttermilk to the butter and sugar mixture, alternating between the two. Begin and end with the flour mixture. For example, add about a third of the flour, mix until just combined, then half of the buttermilk, mix, another third of flour, mix, remaining buttermilk, mix, and finally the last third of flour, mixing until just combined. Be careful not to overmix the batter; overmixing can lead to a tough cake.
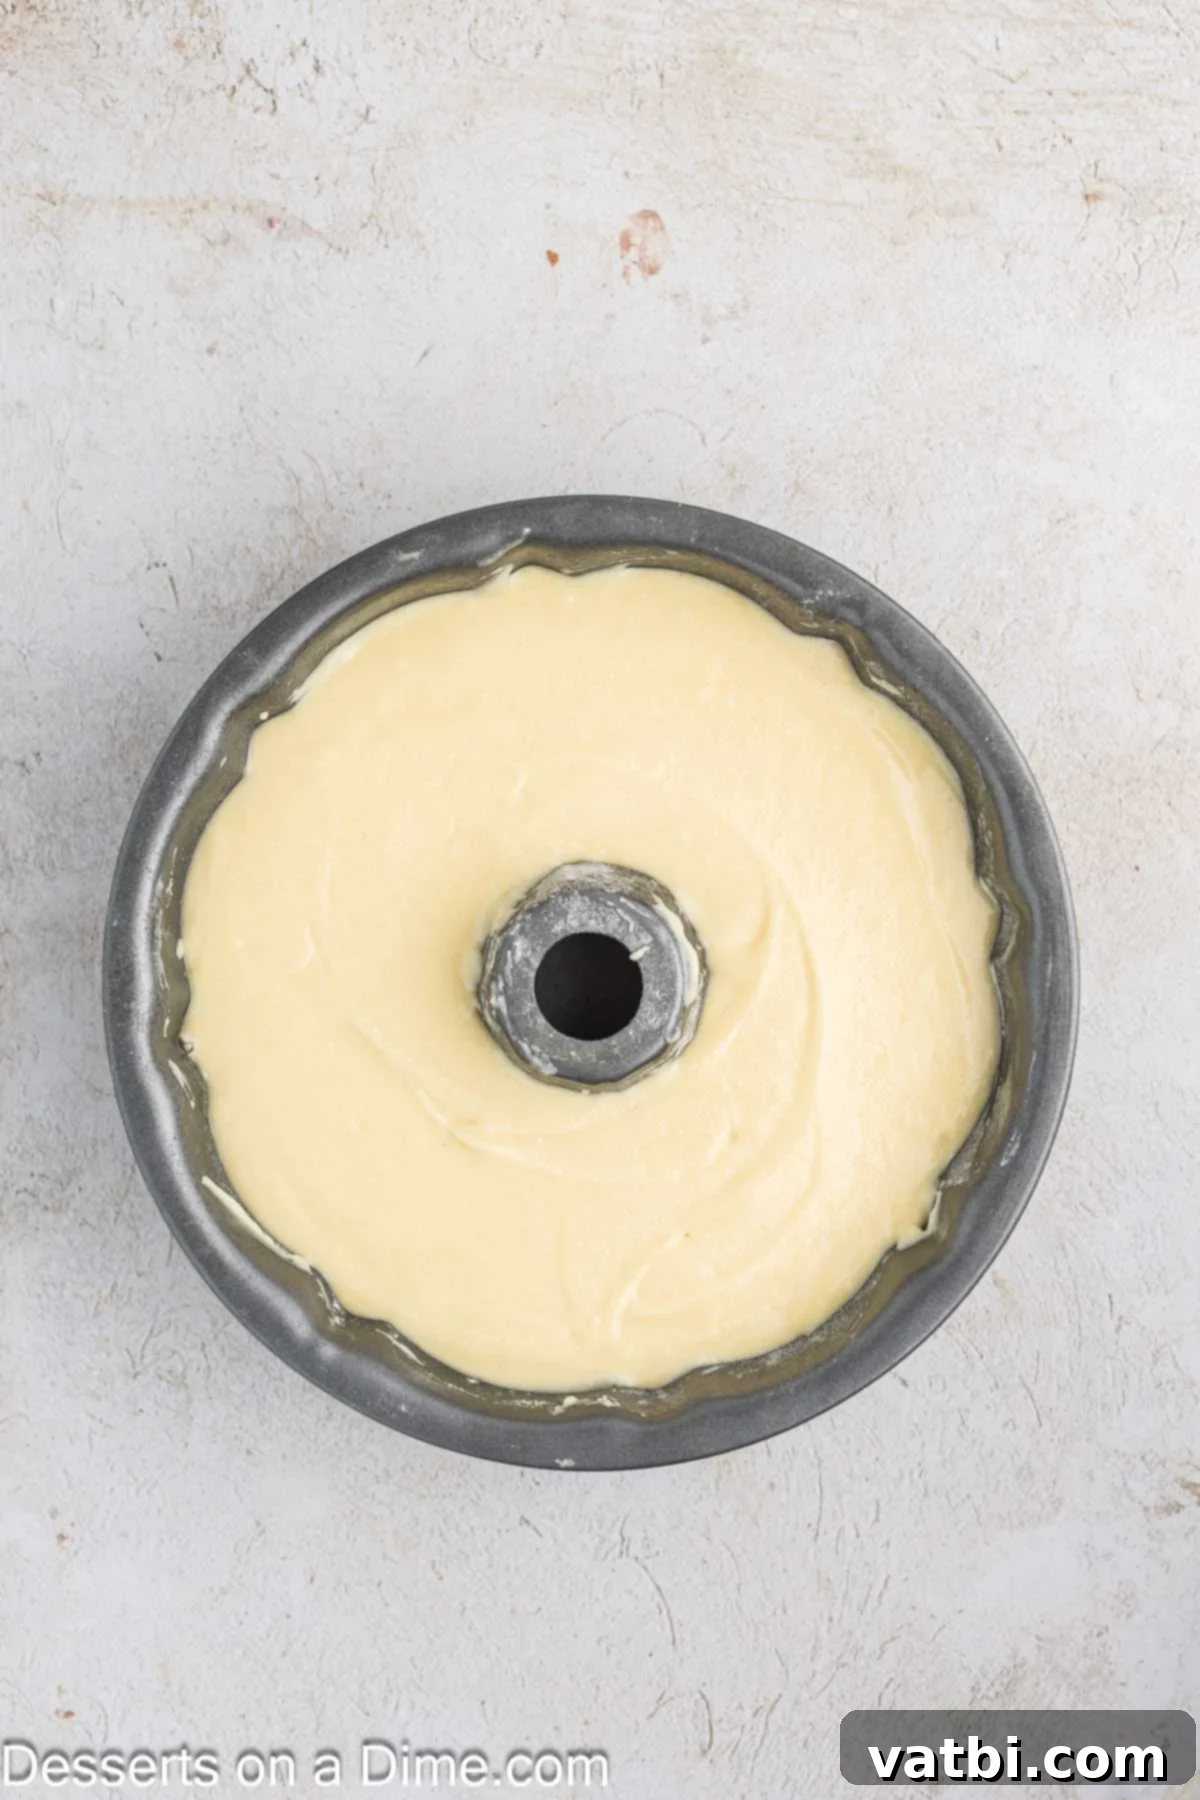
Step 5: Fill the Bundt Pan. Gently pour the perfectly combined batter into your meticulously prepared bundt pan. Spread the batter evenly with a spatula if necessary, ensuring it fills the pan uniformly for an even bake and beautiful shape. Give the pan a gentle tap on the counter a few times to release any large air bubbles.
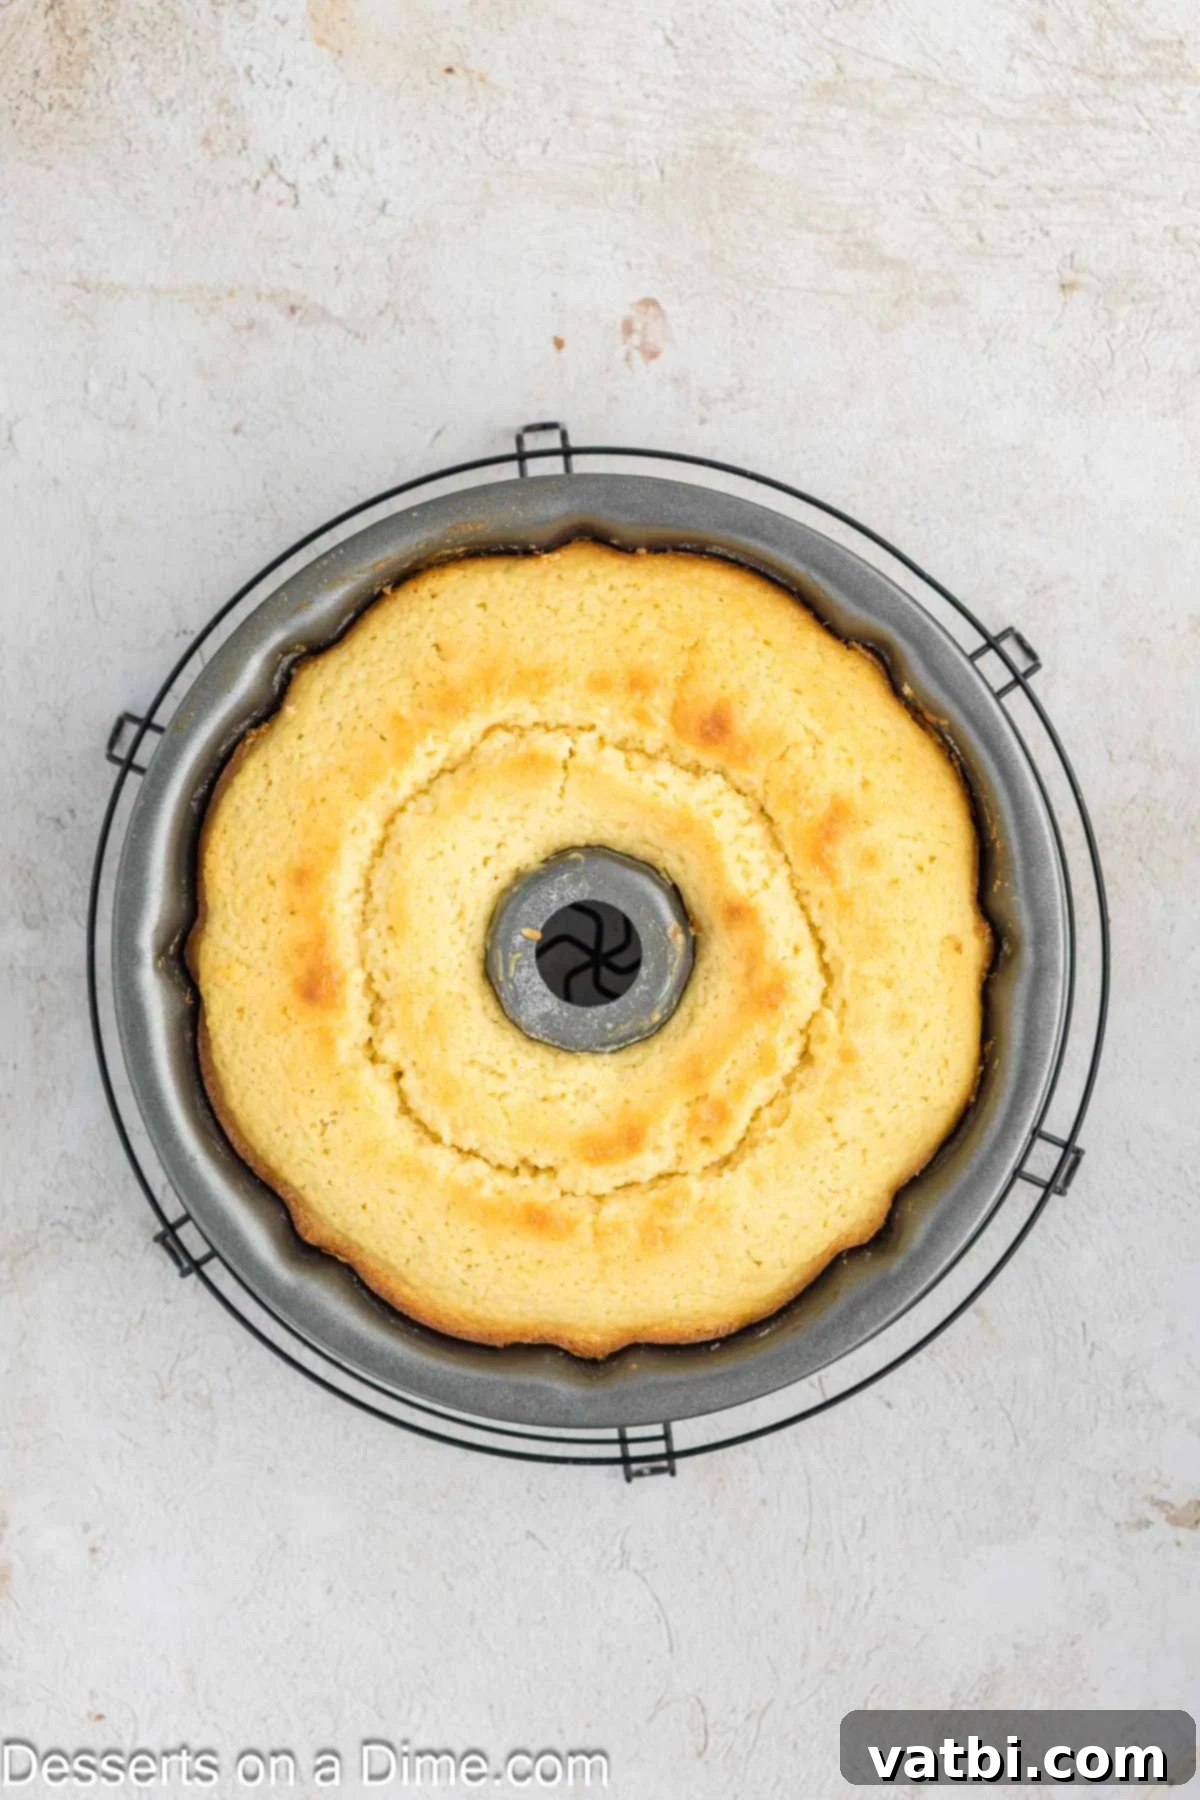
Step 6: Bake and Cool. Transfer the bundt pan to the preheated oven and bake for approximately 42-48 minutes. Baking times can vary depending on your oven, so keep a close eye on your cake. The cake is ready when a wooden toothpick or skewer inserted into the center comes out clean, with no wet batter attached. Once baked, remove the cake from the oven and let it cool in the pan on a wire rack for 10 minutes. This crucial cooling time allows the cake to set and firm up before you attempt to remove it. After 10 minutes, carefully invert the bundt pan onto a serving plate or platter, gently shaking until the cake is released. Allow it to cool completely before glazing.
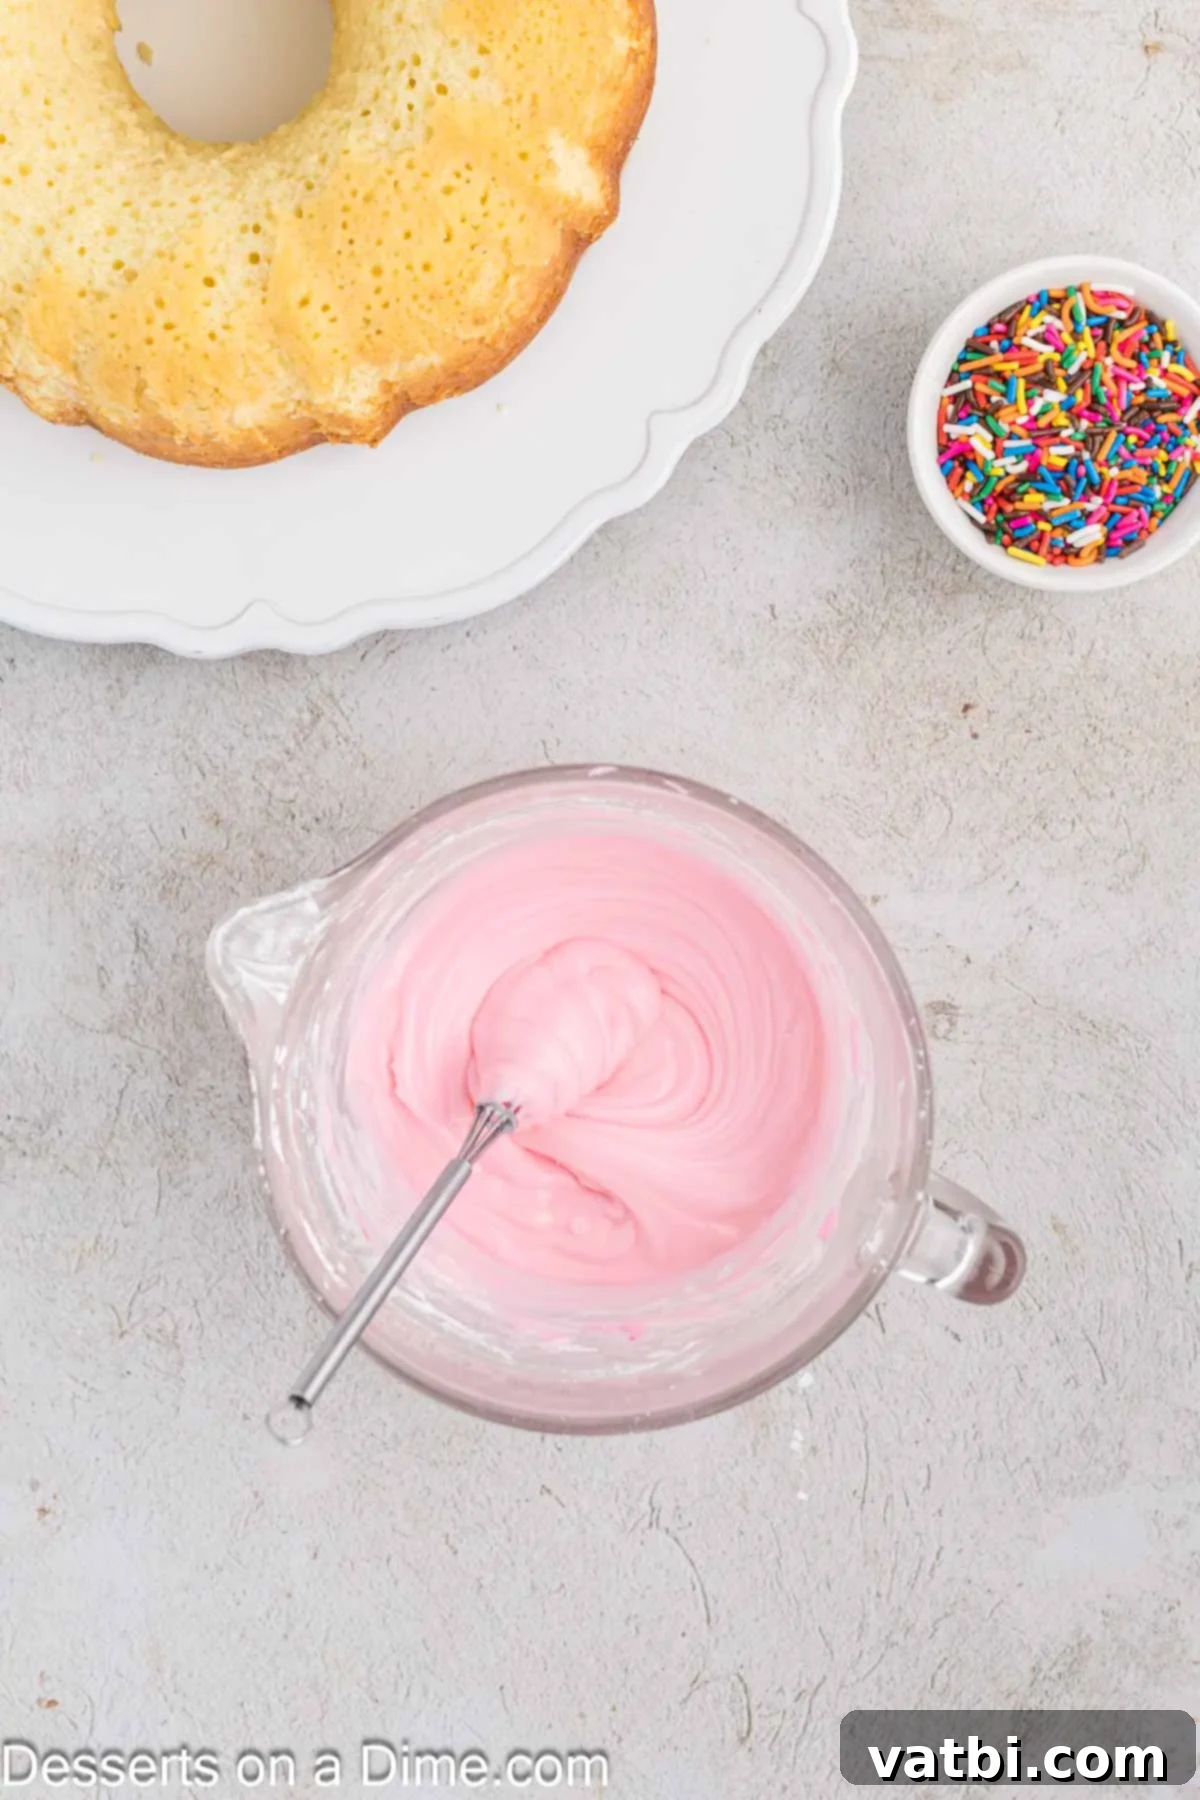
Step 7: Prepare the Glaze. While your cake is cooling, prepare the luscious glaze. In a small mixing bowl, whisk together the powdered sugar and heavy cream. Begin with 4 tablespoons of heavy cream and gradually add more, one tablespoon at a time, until the glaze reaches your desired consistency. You’re aiming for a consistency that is thick enough to coat the back of a spoon but still pourable. If you plan to use food coloring, now is the time to mix it in. A few drops can transform your glaze into any color you wish!
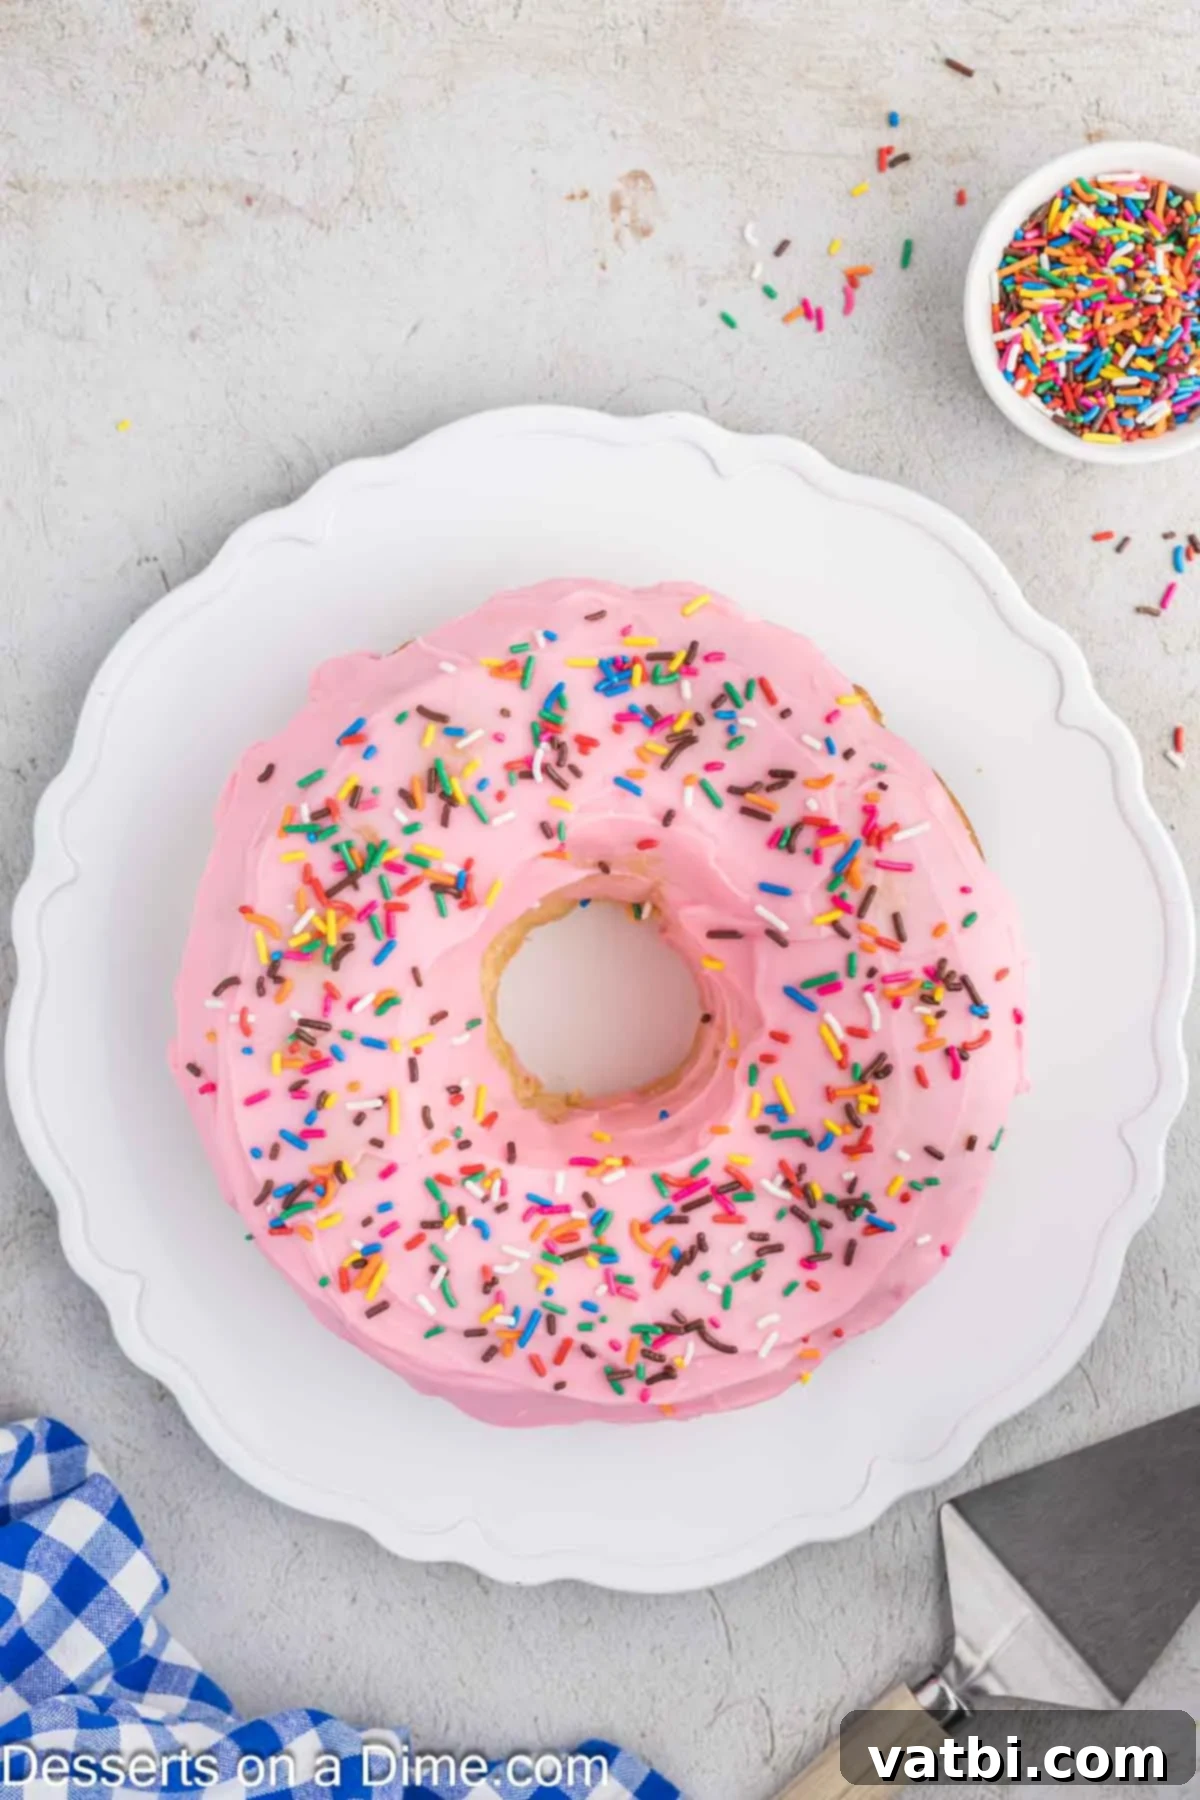
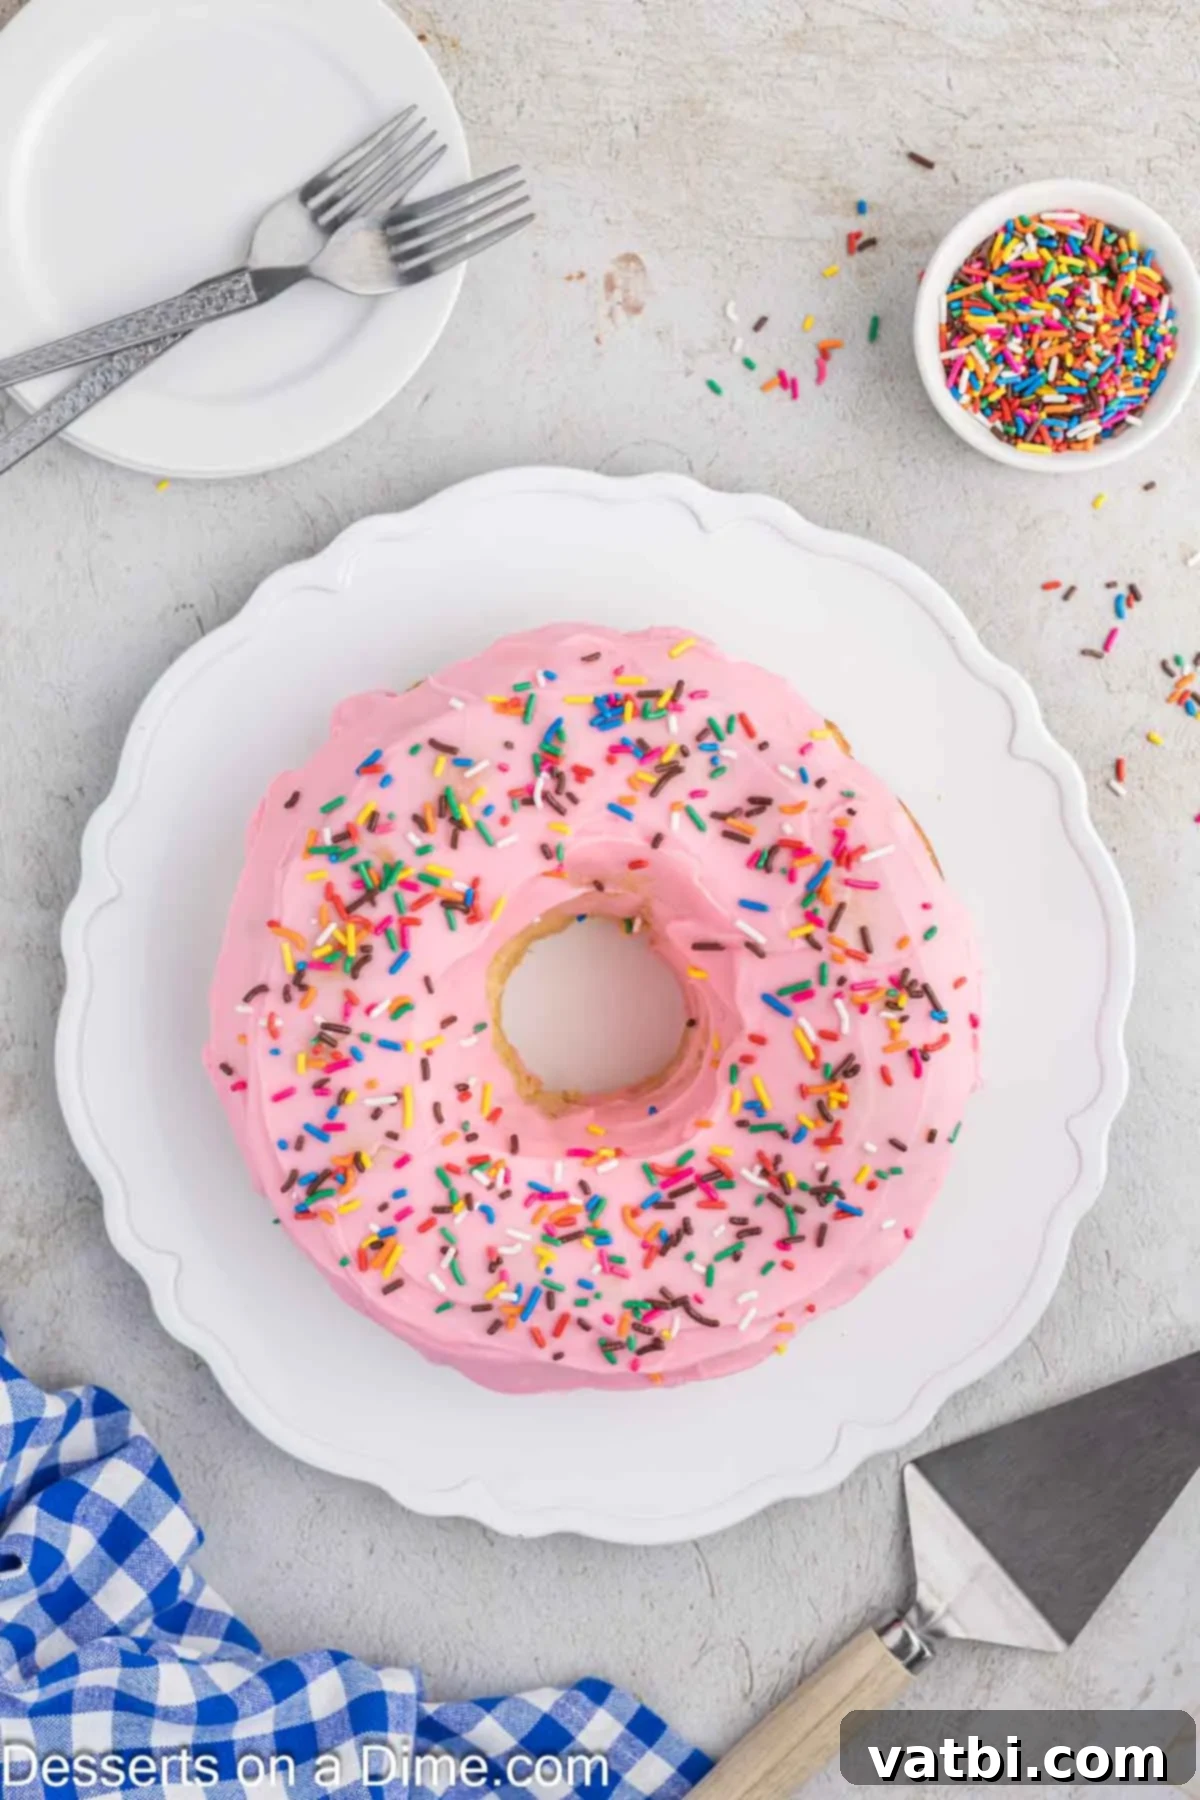
Step 8: Glaze and Garnish. Once the cake has completely cooled (this is vital!), gently pour the prepared glaze over the top, allowing it to drip down the sides for a beautiful, artful effect. Immediately after glazing, generously top with your chosen sprinkles. The glaze will set quickly, so add the sprinkles while it’s still wet to ensure they adhere. Slice, serve, and savor this homemade donut cake masterpiece!
Proper Storage for Maximum Freshness
To keep your Donut Cake tasting its best, proper storage is essential. Store any leftover cake tightly covered at room temperature for up to 3 days. If you prefer to extend its freshness, you can place it in an airtight container in the refrigerator for up to a week. Be aware that refrigeration can sometimes alter the texture of cakes, making them slightly denser. For optimal enjoyment, bring refrigerated cake back to room temperature before serving.
Pro Tips for Donut Cake Success
Achieving a bakery-quality Donut Cake is easy with these expert tips:
- Ensure Cake is Completely Cool Before Glazing. This is perhaps the most important tip for a perfect glaze. If the cake is even slightly warm, the glaze will melt and run off, resulting in a thin, patchy coating. Patience is key here; allow your cake to cool fully on a wire rack, which can take several hours depending on your kitchen’s temperature.
- Effortless Cake Removal from the Bundt Pan. To ensure your cake comes out of the bundt pan cleanly and without breakage, after the initial 10-minute cooling period in the pan, place a sturdy serving plate or platter on top of the cake pan. Then, confidently flip the entire assembly upside down. You may need to gently jiggle the pan a few times, or even give it a light tap, until you feel the cake release. The thorough buttering and flouring of the pan in Step 2 is crucial for this step.
- Do Not Substitute Buttermilk. While you can make homemade buttermilk, I strongly advise against substituting it with regular milk in this recipe. Buttermilk plays a dual role: its acidity contributes to the cake’s tender crumb by reacting with the baking powder, and it imparts that distinct, slightly tangy flavor and incredible moistness that makes this cake taste so much like a classic donut. Regular milk simply won’t yield the same results.
- Thorough Pan Preparation is Non-Negotiable. We’ve mentioned it before, but it bears repeating: proper pan prep is vital. A well-greased and floured bundt pan ensures a smooth release and preserves the intricate design of the cake. Don’t rush this step, and make sure to cover all the crevices.
- Room Temperature Ingredients for Best Results. As highlighted in the ingredients section, using room temperature butter and eggs allows them to emulsify correctly, creating a smooth, cohesive batter. This results in a lighter, more evenly textured cake.
- Avoid Overmixing the Batter. Once you start incorporating the dry and wet ingredients, mix only until just combined. Overmixing develops too much gluten in the flour, which can lead to a dense, tough cake rather than the desired soft and fluffy texture.
- Check Oven Temperature Accuracy. Ovens can vary widely in temperature. Using an oven thermometer can help ensure your oven is truly at 350°F (175°C), preventing over or under-baking.
Can I Freeze This Donut Cake?
Absolutely! This giant donut cake is wonderfully freezer-friendly, making it an excellent option for meal prepping desserts or saving leftovers for a future treat. To freeze, ensure the cake is completely cooled (and preferably unglazed, though a glazed cake can also be frozen, the glaze might become slightly softer upon thawing). Wrap the cooled cake tightly first in plastic wrap, then again in aluminum foil. This double layer of protection helps prevent freezer burn.
You can freeze the Donut Cake for up to 3 months. When you’re ready to enjoy it, simply transfer the wrapped cake from the freezer to the refrigerator and allow it to thaw overnight. Once thawed, you can add fresh glaze and sprinkles if it was frozen unglazed, or simply let the existing glaze come back to room temperature. Slice, serve, and delight in your perfectly preserved donut cake!
Frequently Asked Questions (FAQ)
- What kind of pan should I use for this Donut Cake?
This recipe is specifically designed for a standard 10-12 cup bundt pan. The unique shape of the bundt pan gives the cake its donut-like appearance. - Can I use all-purpose flour instead of cake flour?
While cake flour is highly recommended for its tenderizing properties, you can substitute it with all-purpose flour. For every cup of cake flour, use 1 cup of all-purpose flour minus 2 tablespoons, then add 2 tablespoons of cornstarch and sift together. This mimics the lower protein content of cake flour. However, the texture might be slightly less delicate. - How do I prevent my bundt cake from sticking?
Thorough pan preparation is crucial! Use softened butter or shortening to coat every surface of the pan, especially the crevices, then dust with flour. You can also use a baking spray that contains flour. Make sure the cake cools in the pan for 10 minutes before inverting. - My glaze is too thick/thin. How can I fix it?
If your glaze is too thick, add more heavy cream, one teaspoon at a time, until you reach your desired consistency. If it’s too thin, add more powdered sugar, one tablespoon at a time, until it thickens up. - Can I make this cake ahead of time?
Yes, the cake can be baked a day in advance and stored tightly covered at room temperature. Glaze and decorate it just before serving for the freshest look. You can also freeze it for longer storage as described above.
More Donut Recipes You’ll Love
All Recipes Dessert
Baked Apple Cider Donuts
St. Patricks Day Desserts
Rainbow Donuts
Oven Baked Desserts
Cake Mix Donuts
Easy Candy
Glazed Donut Popcorn
Go ahead and bake this incredible Donut Cake Recipe for a truly fabulous homemade dessert. It’s perfect for impressing guests or simply treating yourself to something special. Please leave a comment and a star rating once you’ve tried it – we love hearing your feedback! Happy baking!
Pin
Donut Cake Recipe
15 minutes
45 minutes
10 minutes
1 hour
10 minutes
12
American
Dessert
514
Carrie Barnard
Ingredients
For the Cake:
- 1 cup Butter softened at room temperature (2 sticks)
- 4 Large Eggs room temperature
- 2 cups Granulated Sugar
- 2 teaspoons Vanilla Extract
- 3 Cups Cake Flour
- 3 1/2 teaspoons Baking Powder
- 1 teaspoon Salt
- 1 1/2 cups Buttermilk
For the Glaze:
- 2 cups Powdered Sugar
- 4-6 Tablespoons Heavy Cream
- Food coloring and Sprinkles Optional
Instructions
-
Preheat your oven to 350°F (175°C) to ensure it’s ready for baking.
-
Prepare a 10-12 cup bundt pan by generously coating it with softened butter and then dusting it lightly with flour. Make sure to get into all the grooves and intricate details of the pan to prevent sticking.
-
In the large bowl of a stand mixer (with the paddle attachment), beat the softened butter with the granulated sugar on medium-high speed until the mixture is light, fluffy, and pale in color, typically 3-5 minutes.
-
Reduce the mixer speed to low. Add the large eggs one at a time, mixing well after each addition. Scrape down the sides of the bowl as needed to ensure everything is fully incorporated.
-
Once the eggs are combined, mix in the vanilla extract until just blended.
-
In a separate medium bowl, whisk together the cake flour, baking powder, and salt until well combined.
-
Alternate adding the dry flour mixture and buttermilk to the butter and sugar mixture. Begin and end with the flour mixture, mixing on low speed until each addition is just combined. Avoid overmixing to keep the cake tender.
-
Pour the prepared cake batter evenly into your buttered and floured bundt pan. Gently tap the pan on the counter a few times to release any air bubbles.
-
Bake for 42-48 minutes, or until a wooden toothpick inserted into the center of the cake comes out clean. Oven temperatures vary, so monitor your cake carefully.
-
Allow the cake to cool in the bundt pan on a wire rack for 10 minutes. Then, carefully invert the cake onto a serving plate or platter, gently shaking the pan until the cake releases. Let it cool completely before proceeding with the glaze.
-
While the cake is cooling, prepare your delicious glaze.
-
In a small mixing bowl, whisk together the powdered sugar and 4 tablespoons of heavy cream. Gradually add more heavy cream, one tablespoon at a time, until the glaze reaches a smooth, pourable consistency. If your powdered sugar is lumpy, sift it first for a perfectly smooth glaze.
-
If you desire to color your glaze, add a few drops of food coloring at this stage and mix until the color is uniform.
-
Finally, once the cake is completely cool, pour the glaze evenly over the top, allowing it to artfully drip down the sides. Immediately decorate with sprinkles if desired. Slice, serve, and enjoy your homemade Donut Cake!
Recipe Notes
Store the Donut Cake at room temperature, tightly covered, for up to 3 days, or in the refrigerator for up to a week in an airtight container.
For easy removal from the bundt pan, after cooling for 10 minutes, place a plate on top of the cake pan and invert it, gently jiggling until the cake is released.
Using room temperature ingredients and cake flour are key for a super moist and tender crumb.
Do not overmix the batter to avoid a tough cake texture.
