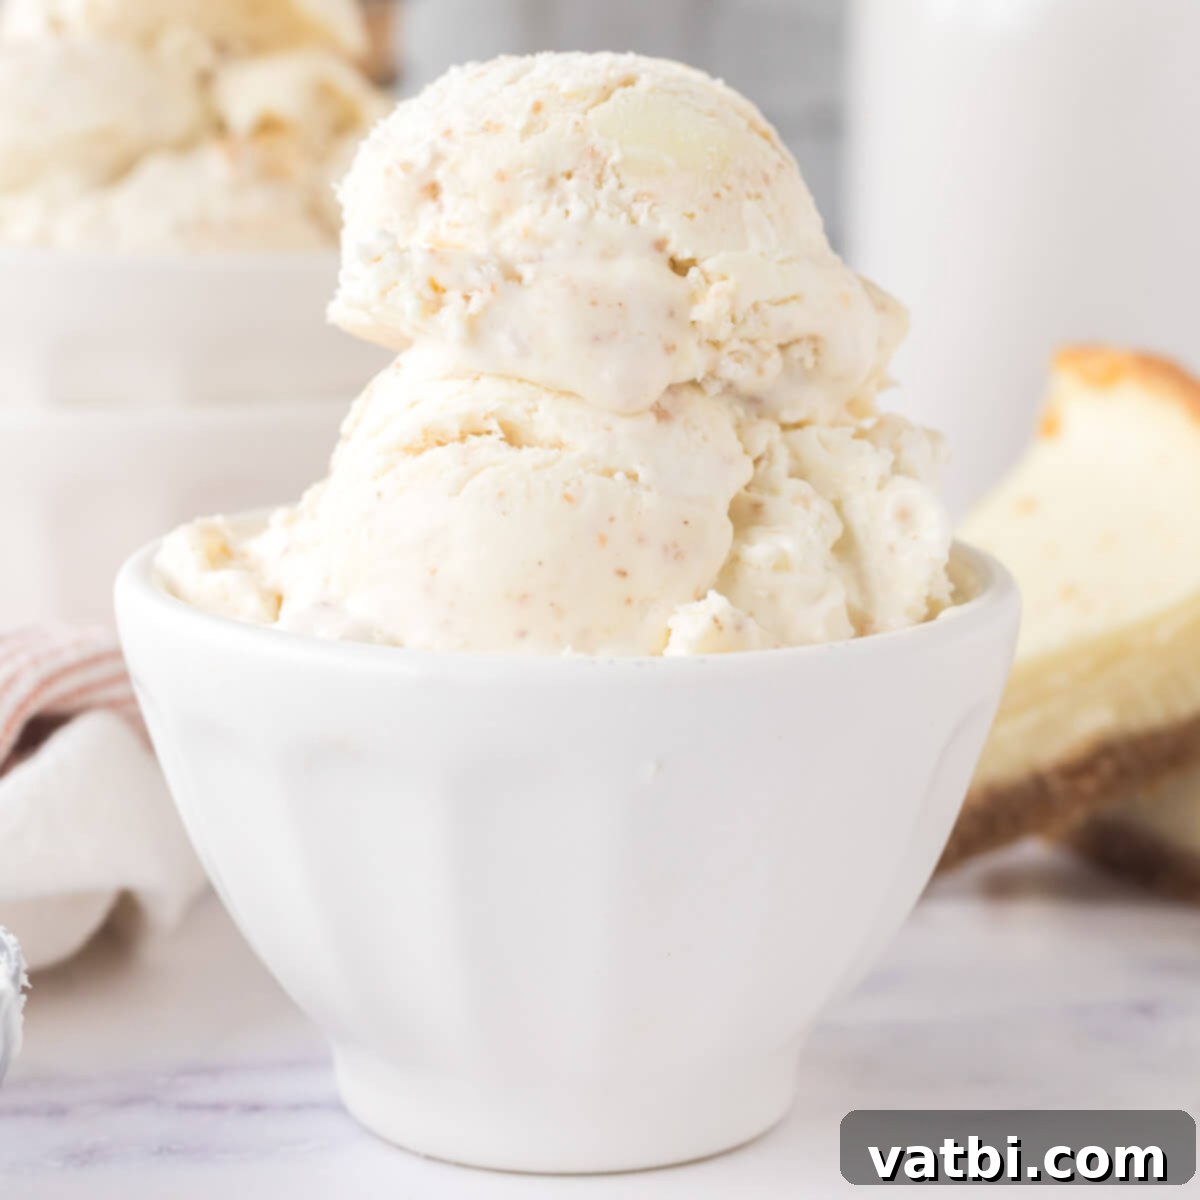
Homemade Bliss: The Ultimate 3-Ingredient No-Churn Cheesecake Ice Cream Recipe
Imagine a dessert that combines the creamy richness of your favorite cheesecake with the irresistible coolness of ice cream, all without the need for an expensive ice cream machine. With just three simple ingredients, you can whip up this incredible No-Churn Cheesecake Ice Cream right in your own kitchen. It’s a truly magical treat that delivers a sweet, tangy, and wonderfully smooth experience, making it perfect for any occasion or simply as a delightful indulgence.
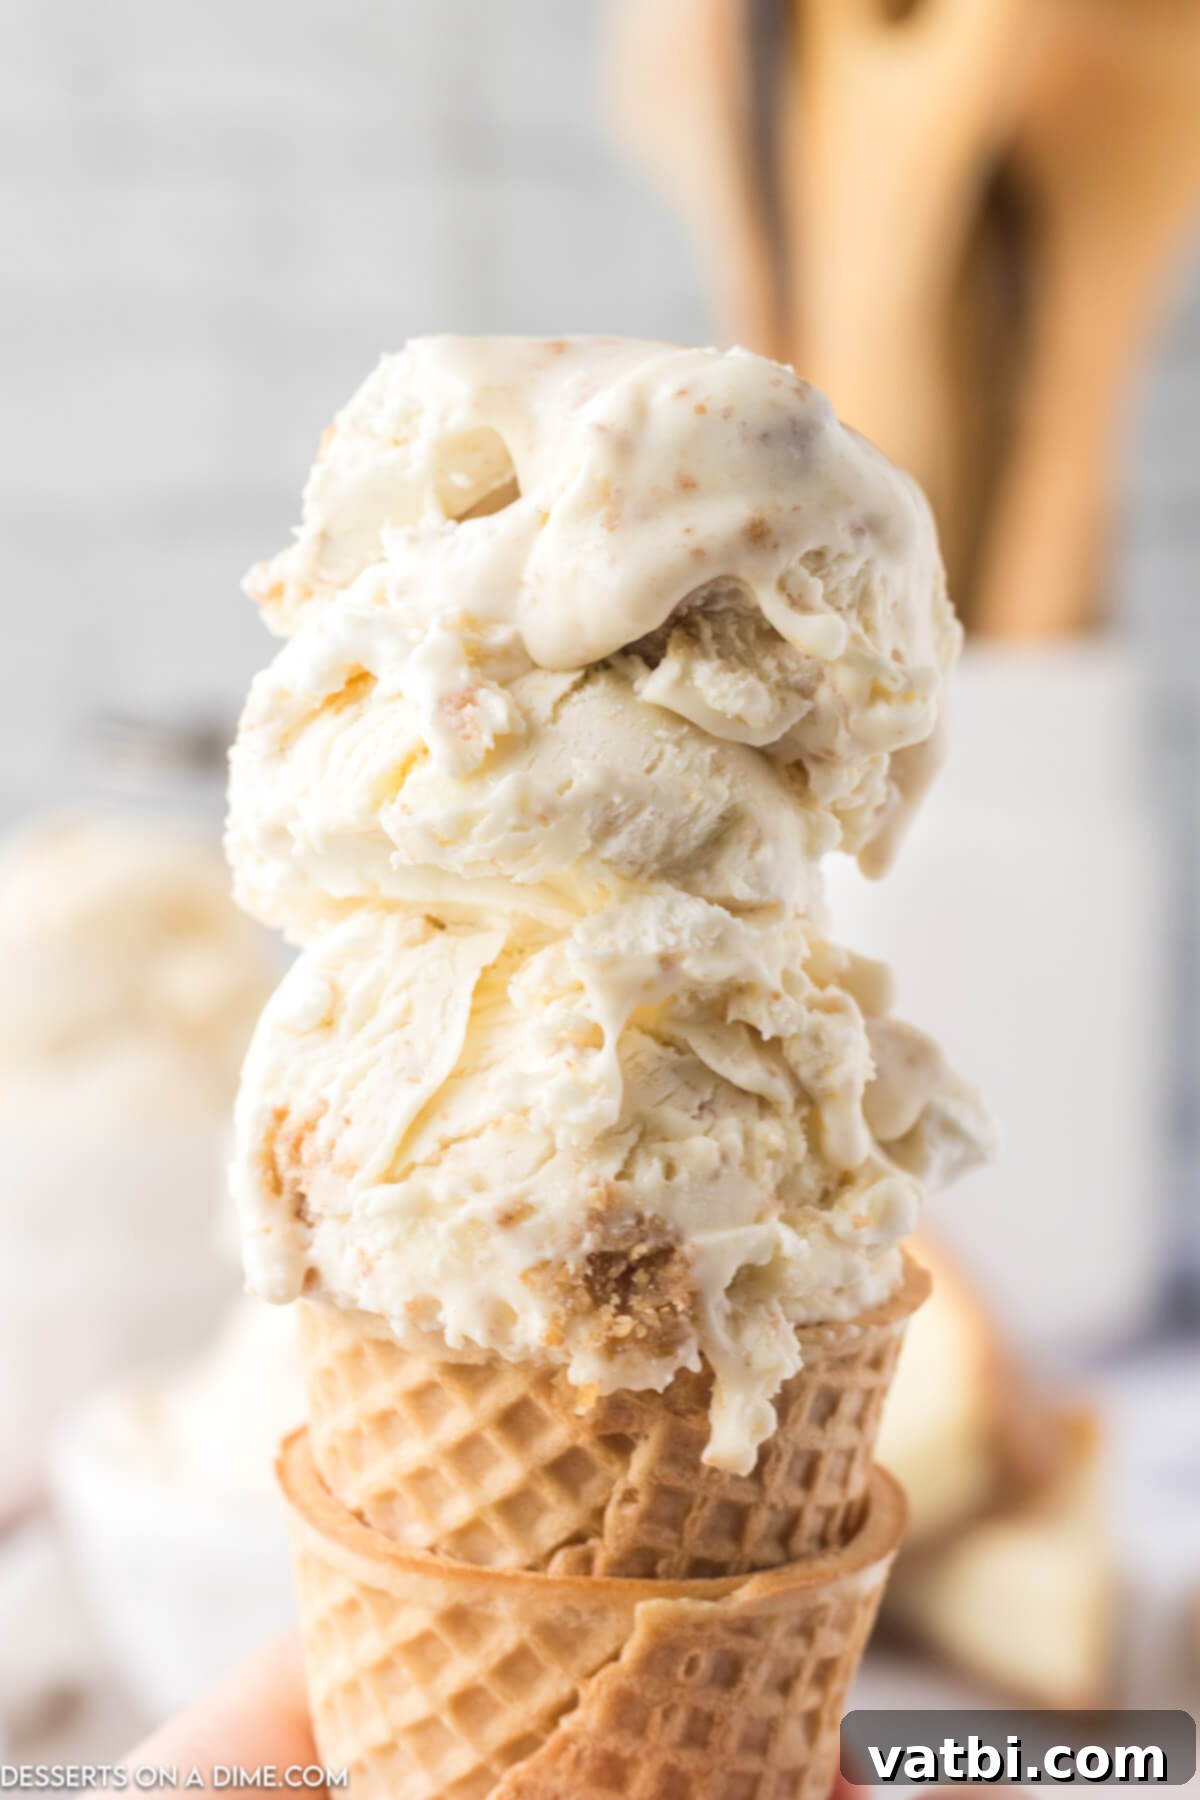
If you’re a devoted fan of easy ice cream recipes and crave the delightful tang of a classic no-bake cheesecake, then prepare for this recipe to become your new obsession. This innovative dessert perfectly marries everything we adore about a rich, creamy cheesecake into a frozen, spoonable delight. It’s an ideal treat to cool down on a warm day or to serve as an elegant, yet effortlessly made, dessert at your next gathering. This cheesecake ice cream would be absolutely exquisite served alongside a slice of Strawberry Shortcake Cheesecake for an elevated dessert experience, or paired with charming Mini Cheesecake Bites for a delightful medley of cheesecake textures and flavors.
You truly won’t believe how incredibly simple it is to achieve such a luxurious dessert with so few ingredients. The process is so straightforward that you might even find yourself with extra time to explore other frozen delights, such as our No-Churn Lemon Shortbread Ice Cream Recipe. For those who can’t get enough of that signature cheesecake flavor, we highly recommend trying out other fantastic recipes like the classic Philadelphia No-Bake Cheesecake, the convenient Instant Pot Cheesecake, the indulgent Cookies and Cream Cheesecake, or another timeless Easy No-Bake Cheesecake Recipe. Each offers a unique spin on this beloved dessert, but our no-churn ice cream stands out for its sheer simplicity and refreshing appeal.
For an even deeper dive into the world of cheesecake, consider exploring a collection of Instant Pot Cheesecake Recipes, proving just how versatile and beloved cheesecake truly is. But for now, let’s focus on creating the easiest, creamiest, and most satisfying cheesecake ice cream imaginable.
Table of contents
- Why We Adore This No-Churn Cheesecake Ice Cream
- The Simple Ingredients for Cheesecake Ice Cream
- Creative Variations & Delicious Additions
- Step-by-Step Guide to Perfect No-Churn Cheesecake Ice Cream
- Storage Instructions: Keeping Your Ice Cream Fresh
- Expert Tips for the Best No-Churn Ice Cream
- More Irresistible No-Churn Ice Cream Recipes
- Frequently Asked Questions (FAQs)
Why We Adore This No-Churn Cheesecake Ice Cream
There are countless reasons to fall in love with this incredibly simple yet indulgent dessert. Here are just a few of the highlights that make this no-churn cheesecake ice cream a must-try:
- Minimal Ingredients: You only need three core ingredients to bring this luscious dessert to life, making it a budget-friendly and accessible option for everyone.
- No Special Equipment Required: Forget about bulky ice cream makers taking up precious counter space. This homemade ice cream recipe requires no specialized machine, just a mixer and a freezer-safe container.
- Effortlessly Delicious: The preparation is quick and easy, yielding results that taste like they came from a gourmet ice cream shop. The creamy texture and perfect balance of sweet and tangy flavors are simply divine.
- Perfect for Any Skill Level: Whether you’re a seasoned baker or a complete novice in the kitchen, this recipe is incredibly forgiving and guarantees fantastic results every time.
- Customizable: It serves as an excellent base for a myriad of flavor additions and toppings, allowing you to personalize each batch to your heart’s content.
- A Unique Flavor Combination: It combines two universally loved desserts into one spectacular treat, offering the comforting taste of cheesecake in a refreshing, frozen form.
The Simple Ingredients for Cheesecake Ice Cream
The magic of this recipe lies in its simplicity and the quality of its core components. With just these three ingredients, you’re on your way to a truly remarkable dessert.
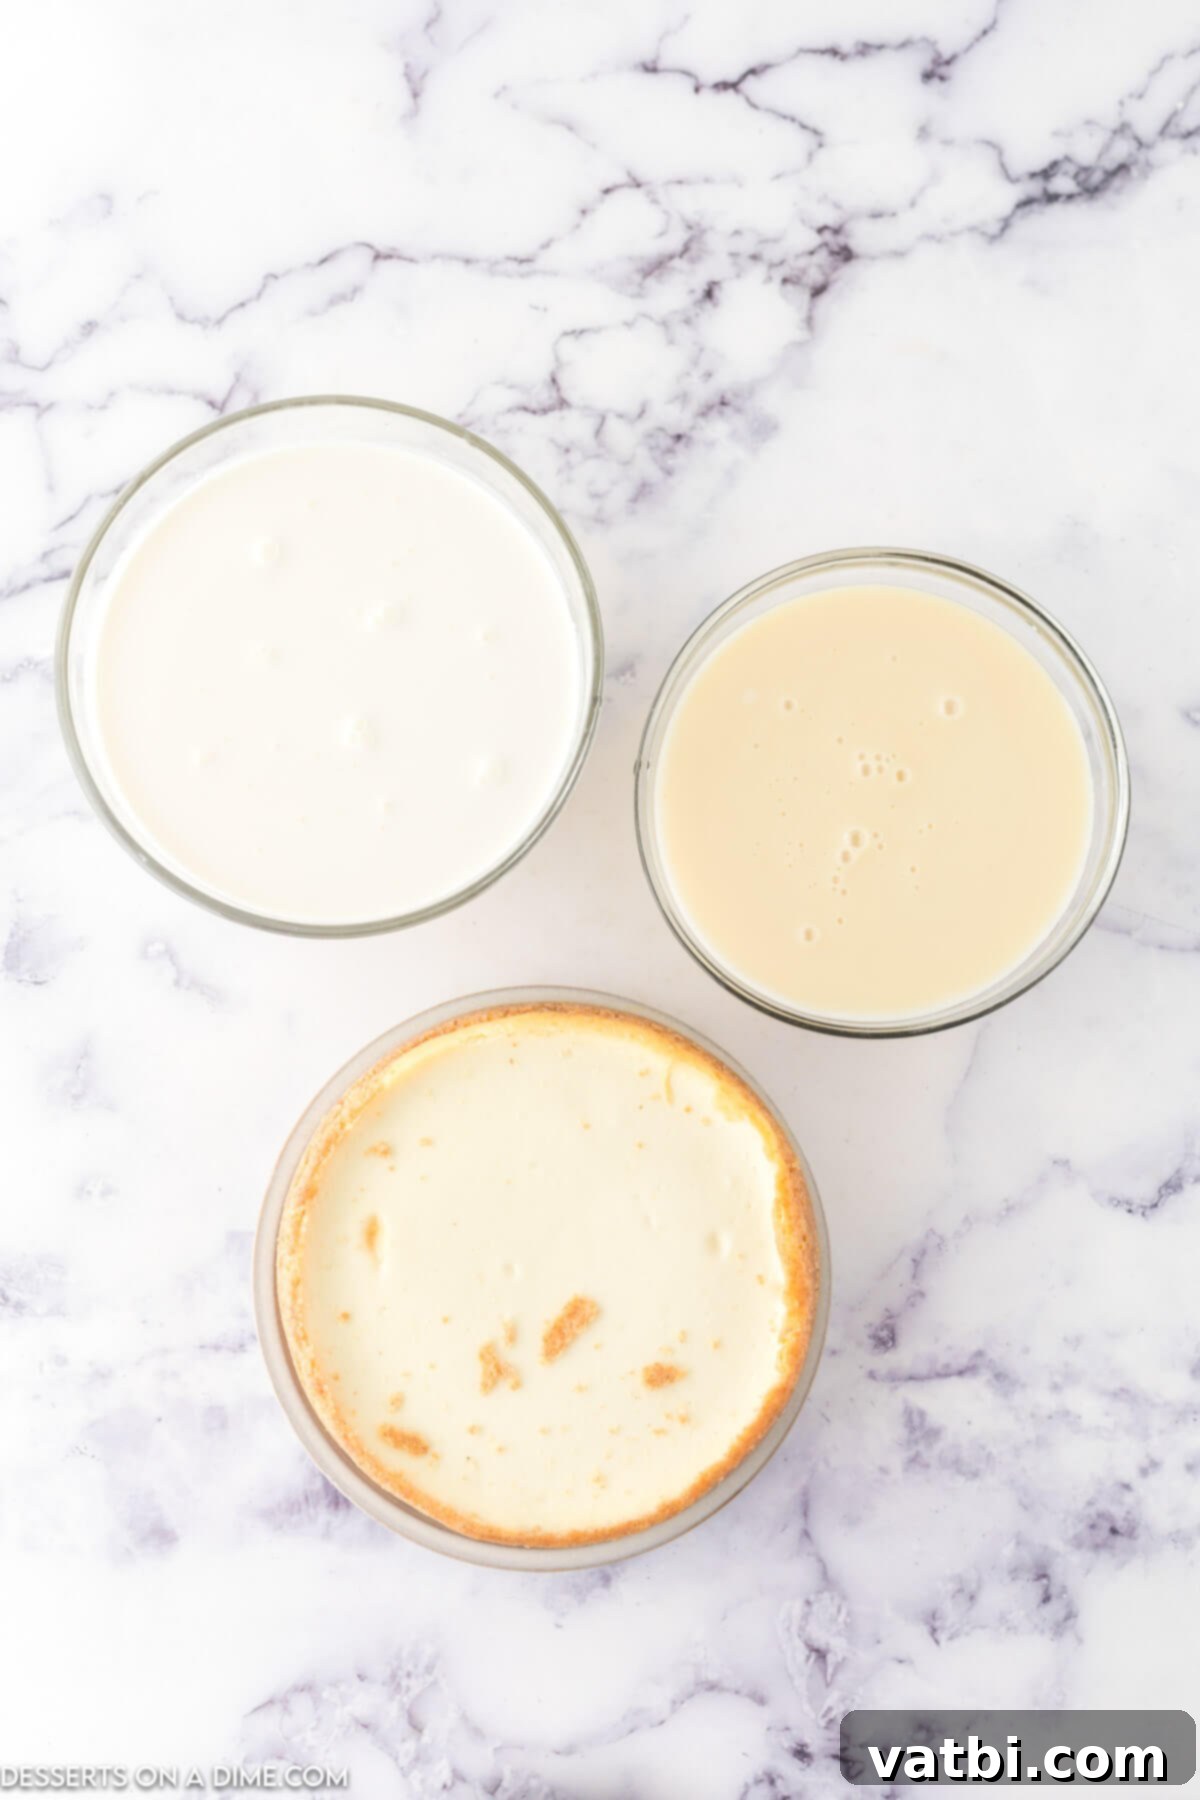
- Heavy Whipping Cream: This is the foundation of our creamy ice cream. When whipped, it incorporates air, creating a light and airy base that freezes beautifully without turning icy. Ensure it’s very cold for optimal whipping.
- Sweetened Condensed Milk: This ingredient provides the perfect amount of sweetness and a velvety smooth texture. Its thick consistency also helps prevent ice crystals from forming, contributing to that desirable creamy mouthfeel. You can even try making your own Homemade Sweetened Condensed Milk Recipe for an extra personal touch.
- Store-Bought Cheesecake: This is where the cheesecake flavor truly shines! Using a pre-made cheesecake eliminates several steps and ensures that distinct tangy, rich taste. Simply chop it into small pieces for easy incorporation.
For the complete ingredient list with precise measurements, please refer to the detailed recipe card located at the bottom of this page.
Creative Variations & Delicious Additions
While the classic No-Churn Cheesecake Ice Cream is fantastic on its own, it also serves as an excellent canvas for creative customizations. Feel free to experiment with these ideas to make it uniquely yours:
- Cheesecake Choice: Instead of using a plain store-bought cheesecake, you have options! You could use a flavored cheesecake (like strawberry or chocolate swirl) to infuse extra character into your ice cream. Alternatively, for a more hands-on approach that’s still convenient, you can use 1 ½ cups of Philadelphia no-bake cheesecake mix along with ½ cup of crushed graham crackers for added texture and a classic crust flavor. Of course, making a homemade cheesecake from scratch for this recipe would also be a wonderful, albeit more time-intensive, option.
- Fresh Fruit Flavors: Elevate your ice cream with vibrant fruit. For a delightful Strawberry Cheesecake Ice Cream, gently fold in diced fresh strawberries into the mixture before freezing. Other berries like ripe raspberries, sweet cherries, or juicy blackberries also work wonderfully. If you want beautiful swirls of fruit and a richer flavor, consider adding a few spoonfuls of cherry pie filling or strawberry jam.
- Chocolate Delights: Chocolate and cheesecake are a match made in heaven! Stir in your favorite chocolate chips, chocolate chunks, or even a swirl of melted chocolate sauce to create a decadent marble effect. White chocolate chips or dark chocolate shavings would also be exquisite additions.
- Crunchy Toppings: Enhance the texture with a delightful crunch. Sprinkle graham cracker crumbs or crushed cookies (like shortbread, vanilla wafers, or even Oreos) over each serving. For a contrasting texture, roasted nuts like pecans or walnuts would also be fantastic.
- Caramel Swirl: Indulge in a sweet and salty combination by drizzling ribbons of Easy Homemade Caramel Sauce into the ice cream mixture just before freezing. This creates beautiful streaks of gooey caramel throughout your dessert.
- Cookie Dough Chunks: For the ultimate sweet tooth, fold in small chunks of edible cookie dough. The combination of cookie dough and cheesecake is truly irresistible.
- Citrus Zest: A touch of lemon or orange zest can brighten the flavors and add a subtle aromatic note, enhancing the tanginess of the cheesecake.
Step-by-Step Guide to Perfect No-Churn Cheesecake Ice Cream
Creating this delicious no-churn cheesecake ice cream is surprisingly simple. Follow these detailed steps to achieve a perfectly creamy and flavorful frozen treat.
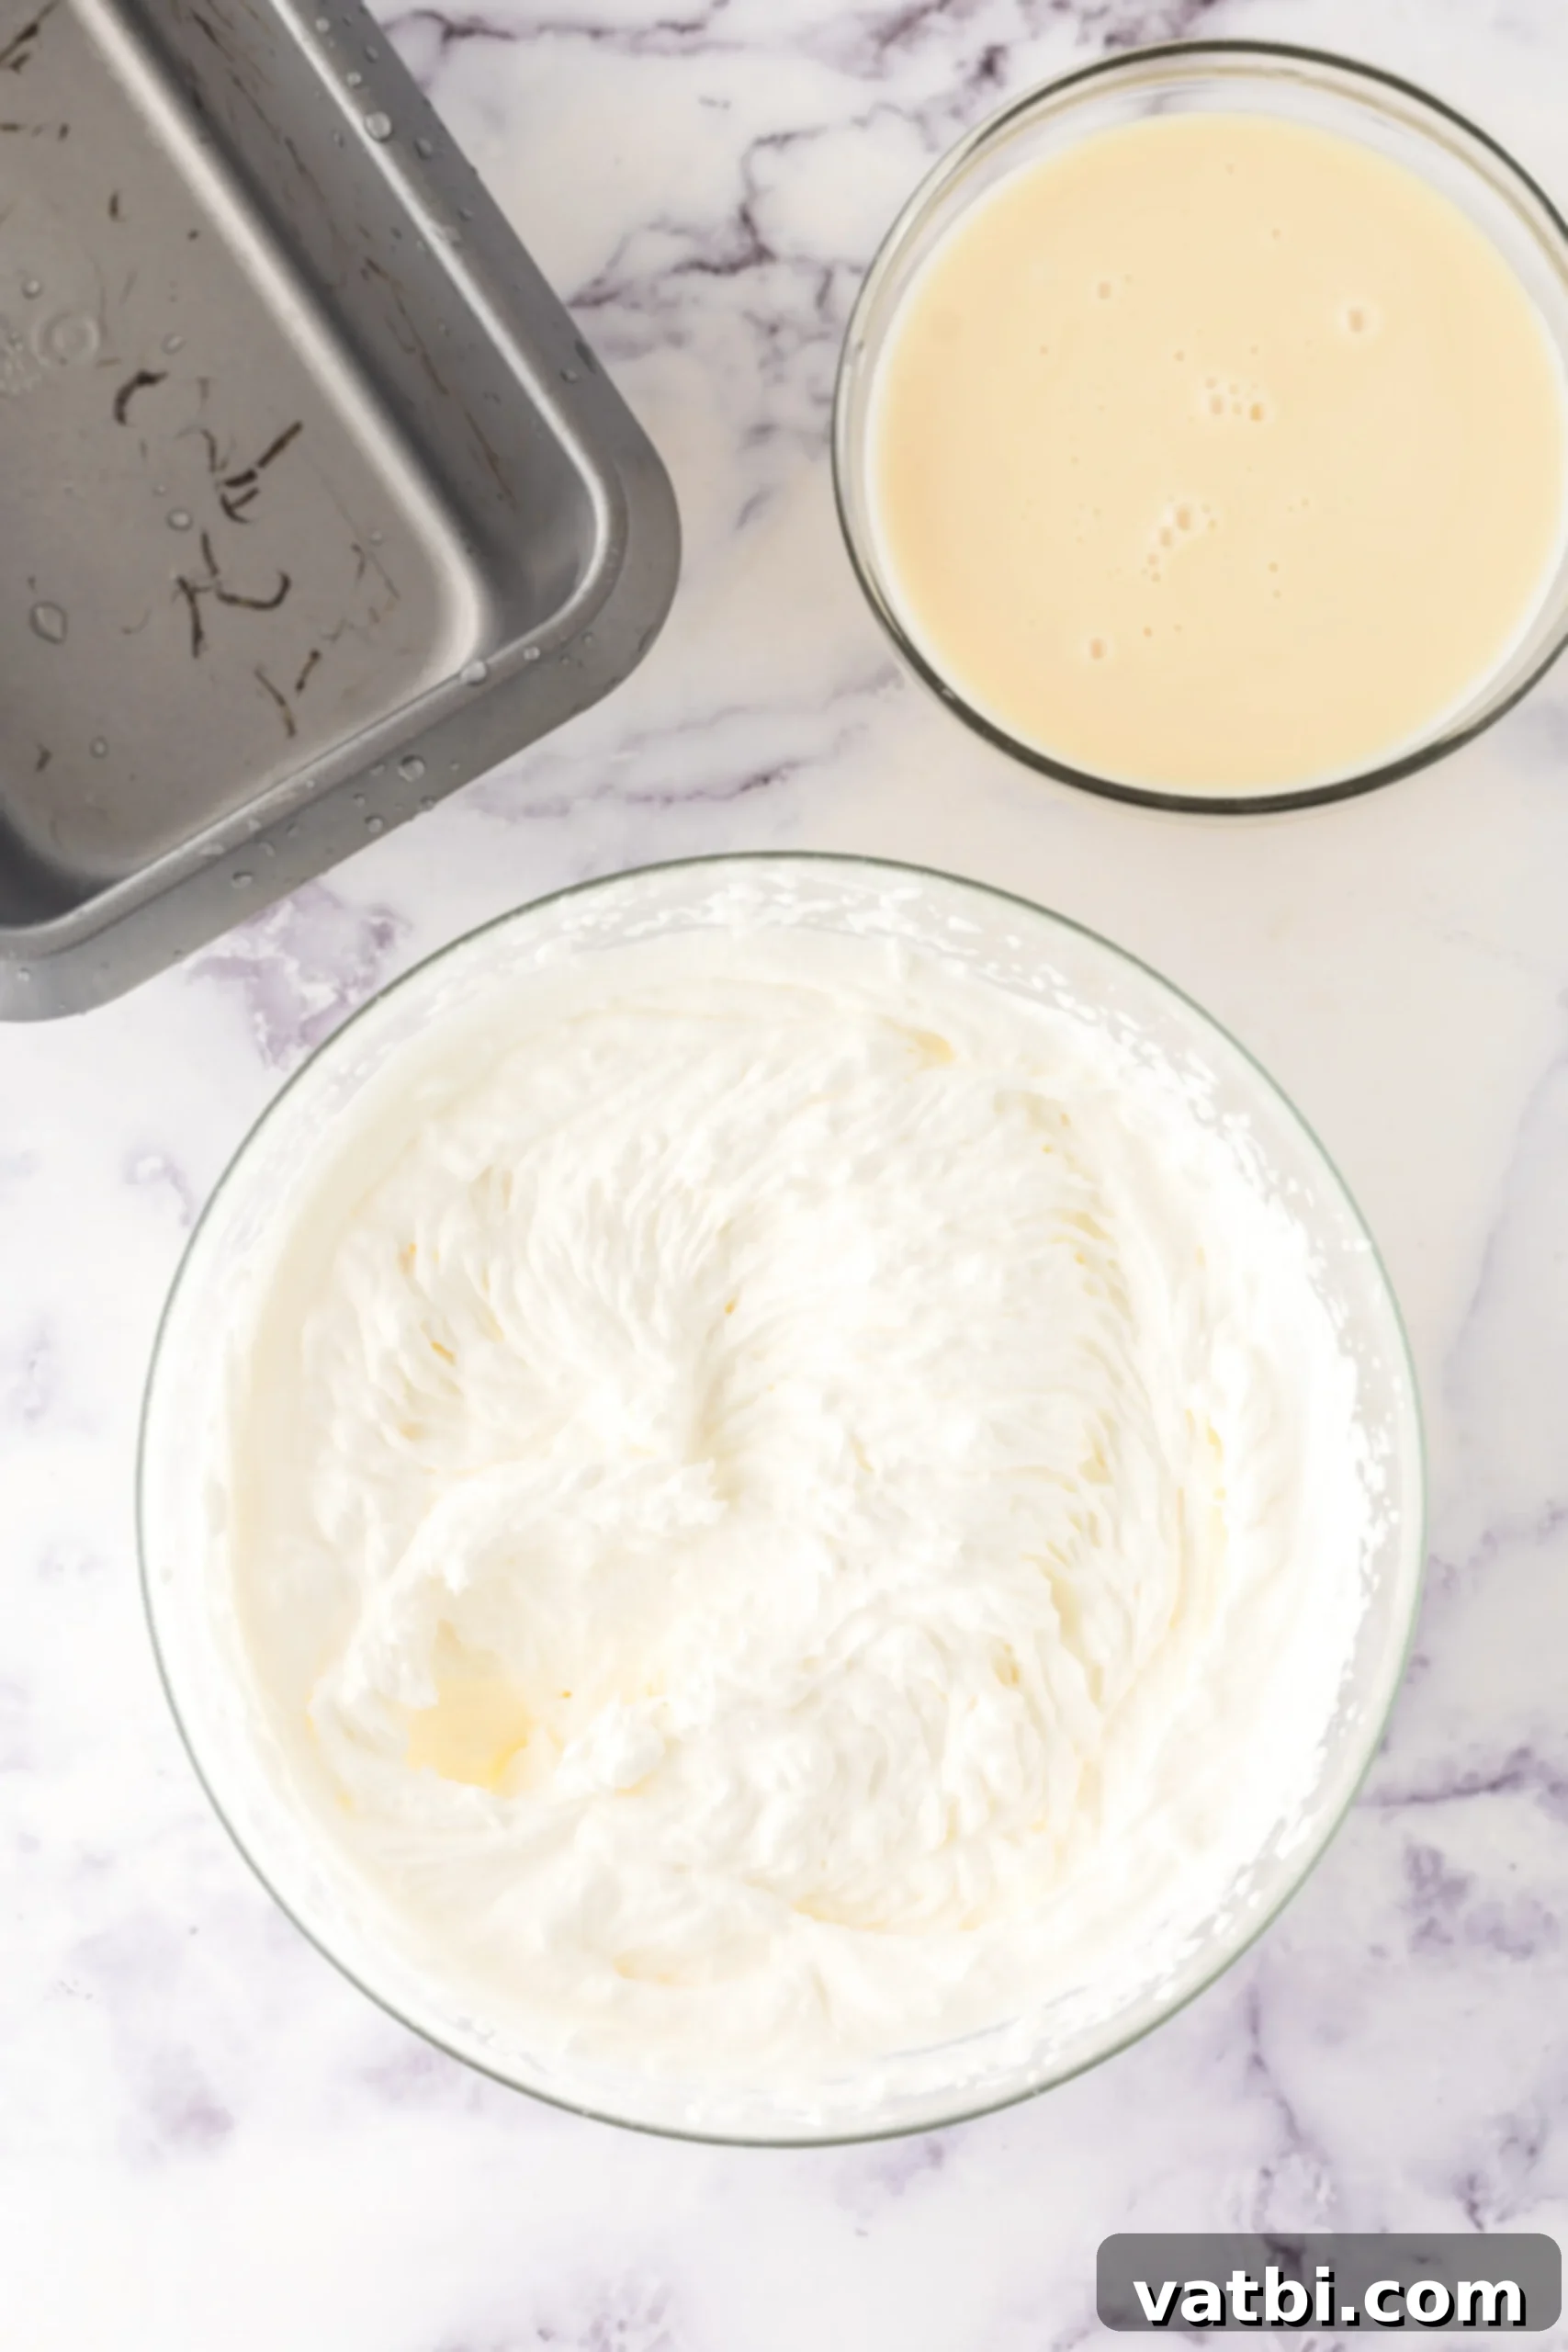
Step 1: Whip the Heavy Cream to Stiff Peaks. Begin by pouring your very cold heavy whipping cream into a large mixing bowl. Using an electric hand mixer on high speed, beat the cream continuously until stiff peaks form. This means that when you lift the beaters, the cream should hold its shape firmly. You can also achieve this using a stand mixer fitted with the whisk attachment, also on high speed. Ensure your bowl and beaters are clean and cold for the best results.
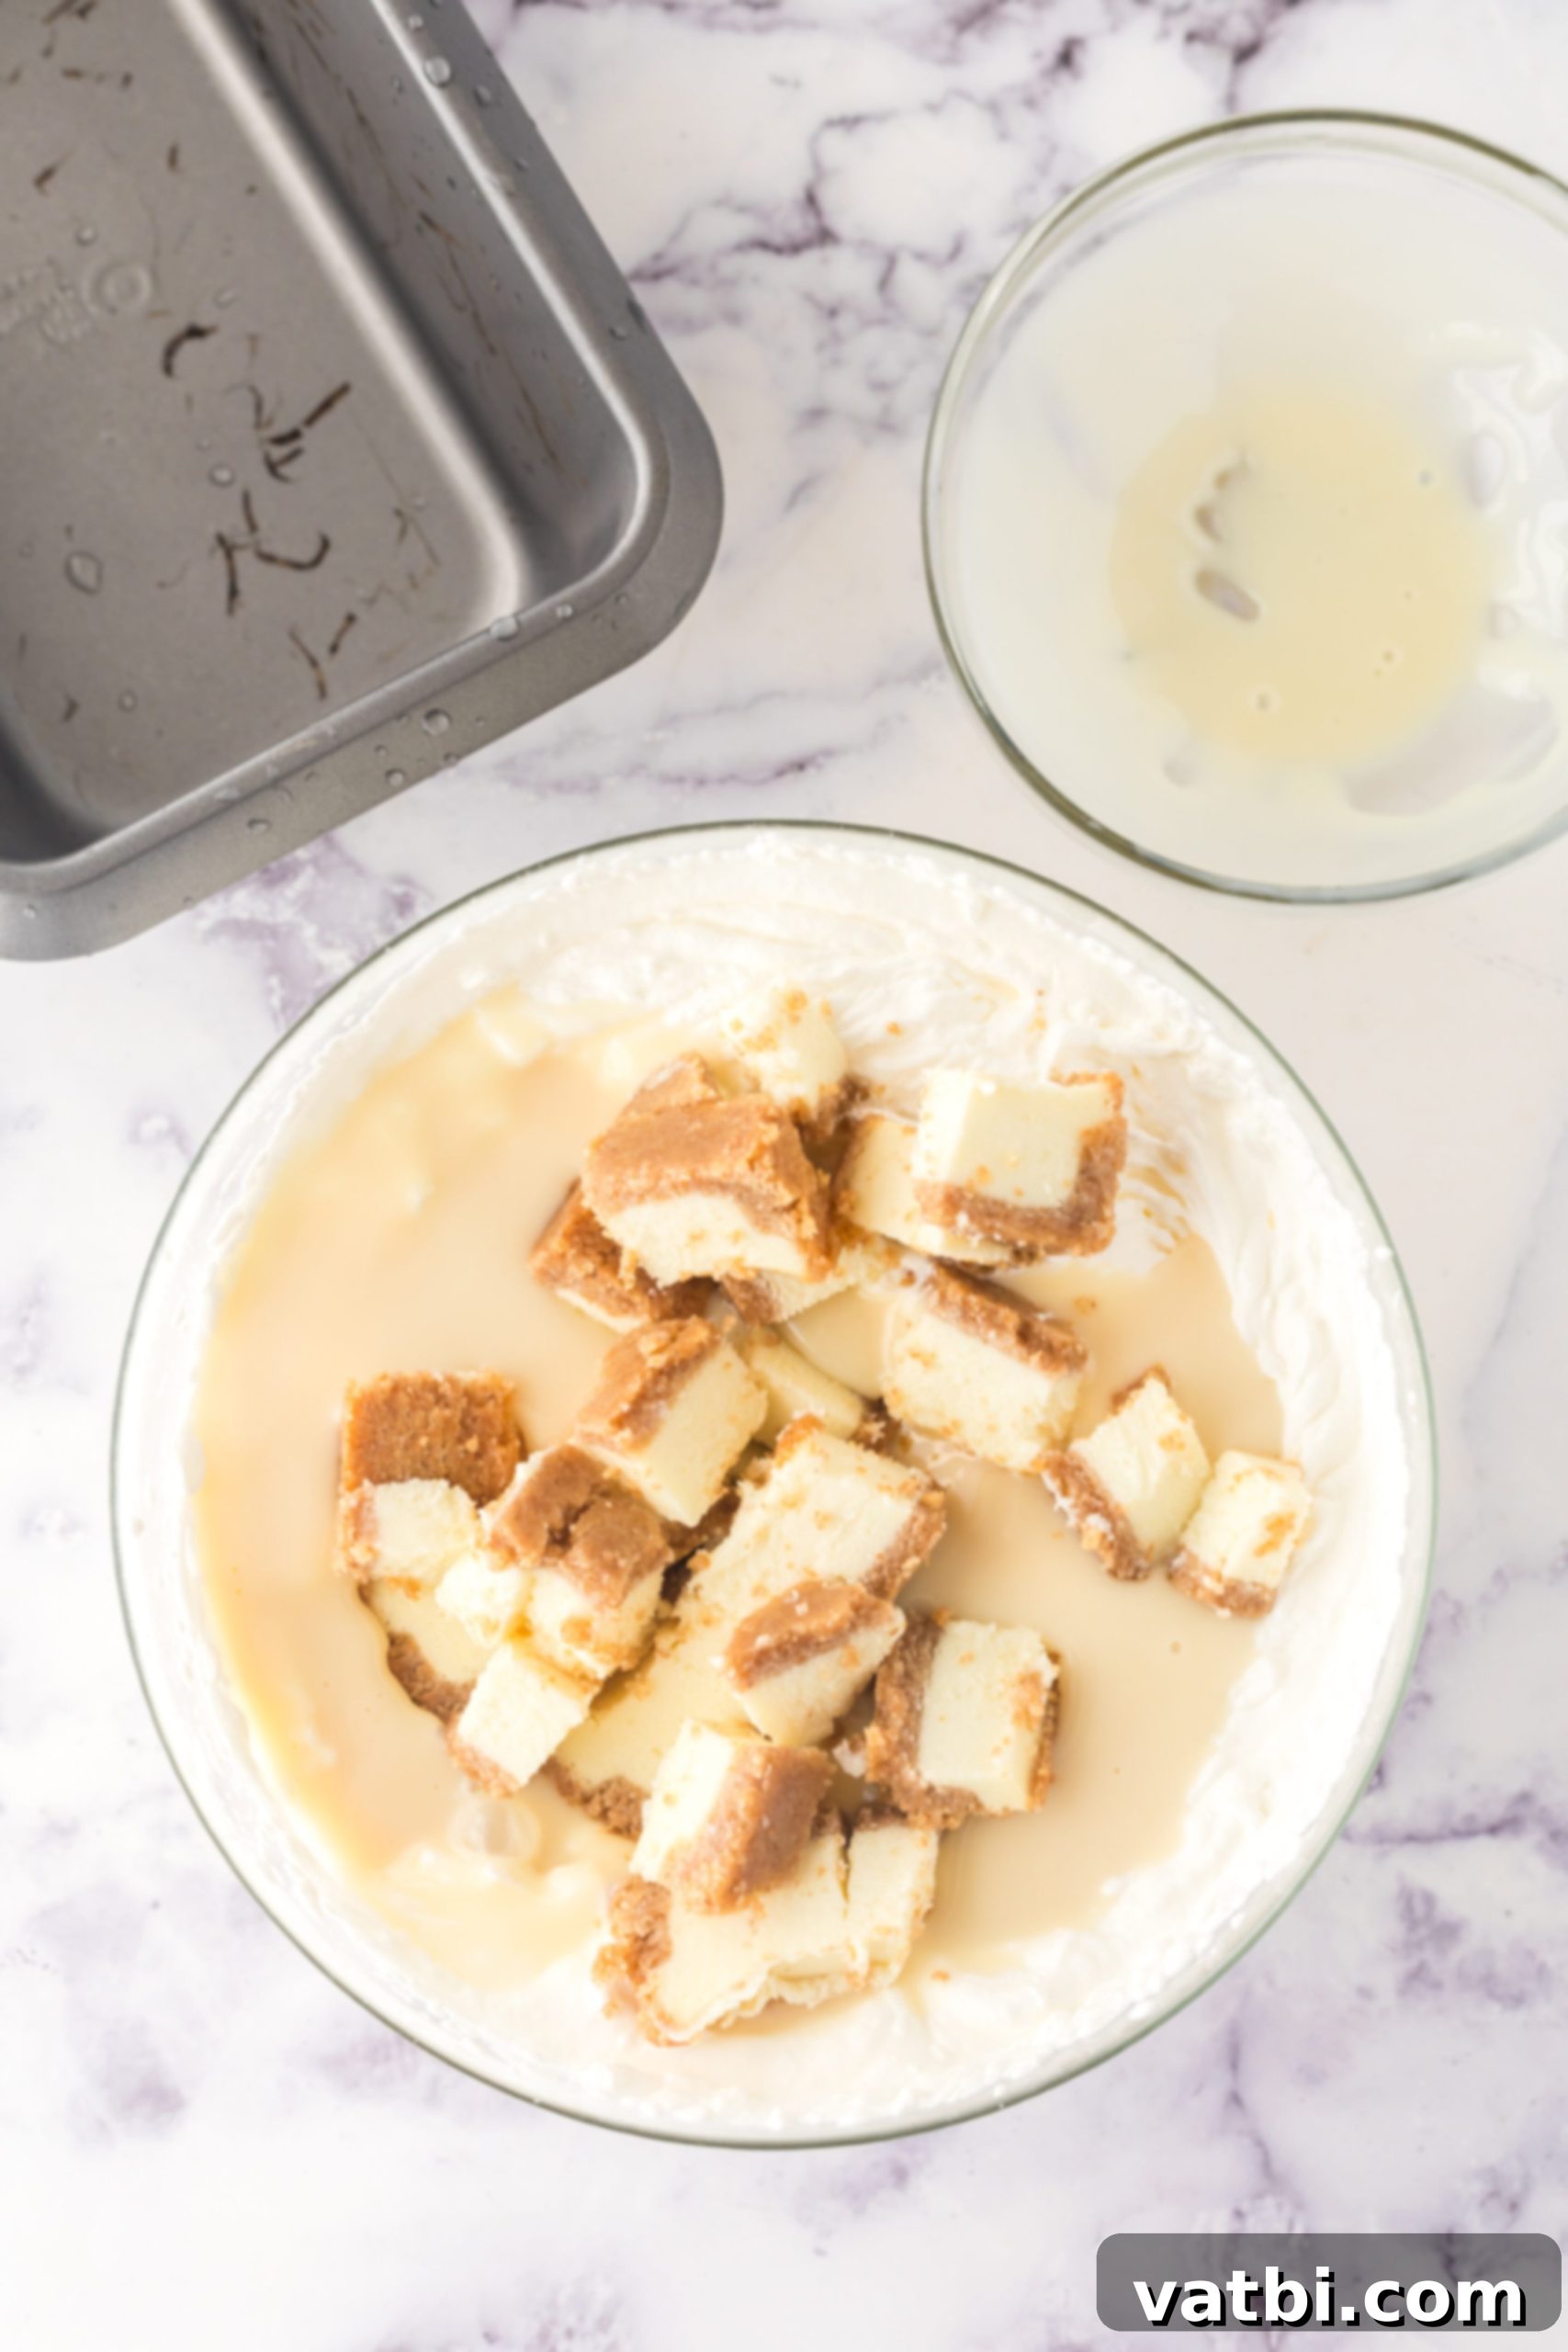
Step 2: Gently Combine Remaining Ingredients. Once your whipped cream has formed beautiful, free-standing stiff peaks, it’s time to incorporate the other flavors. Carefully add the sweetened condensed milk and the diced or crumbled cheesecake pieces to the bowl. Reduce the speed of your mixer to medium-low. Mix the ingredients just until they are thoroughly combined and the ice cream base appears homogenous. Be careful not to overmix, as this can deflate the whipped cream and result in a less airy ice cream.
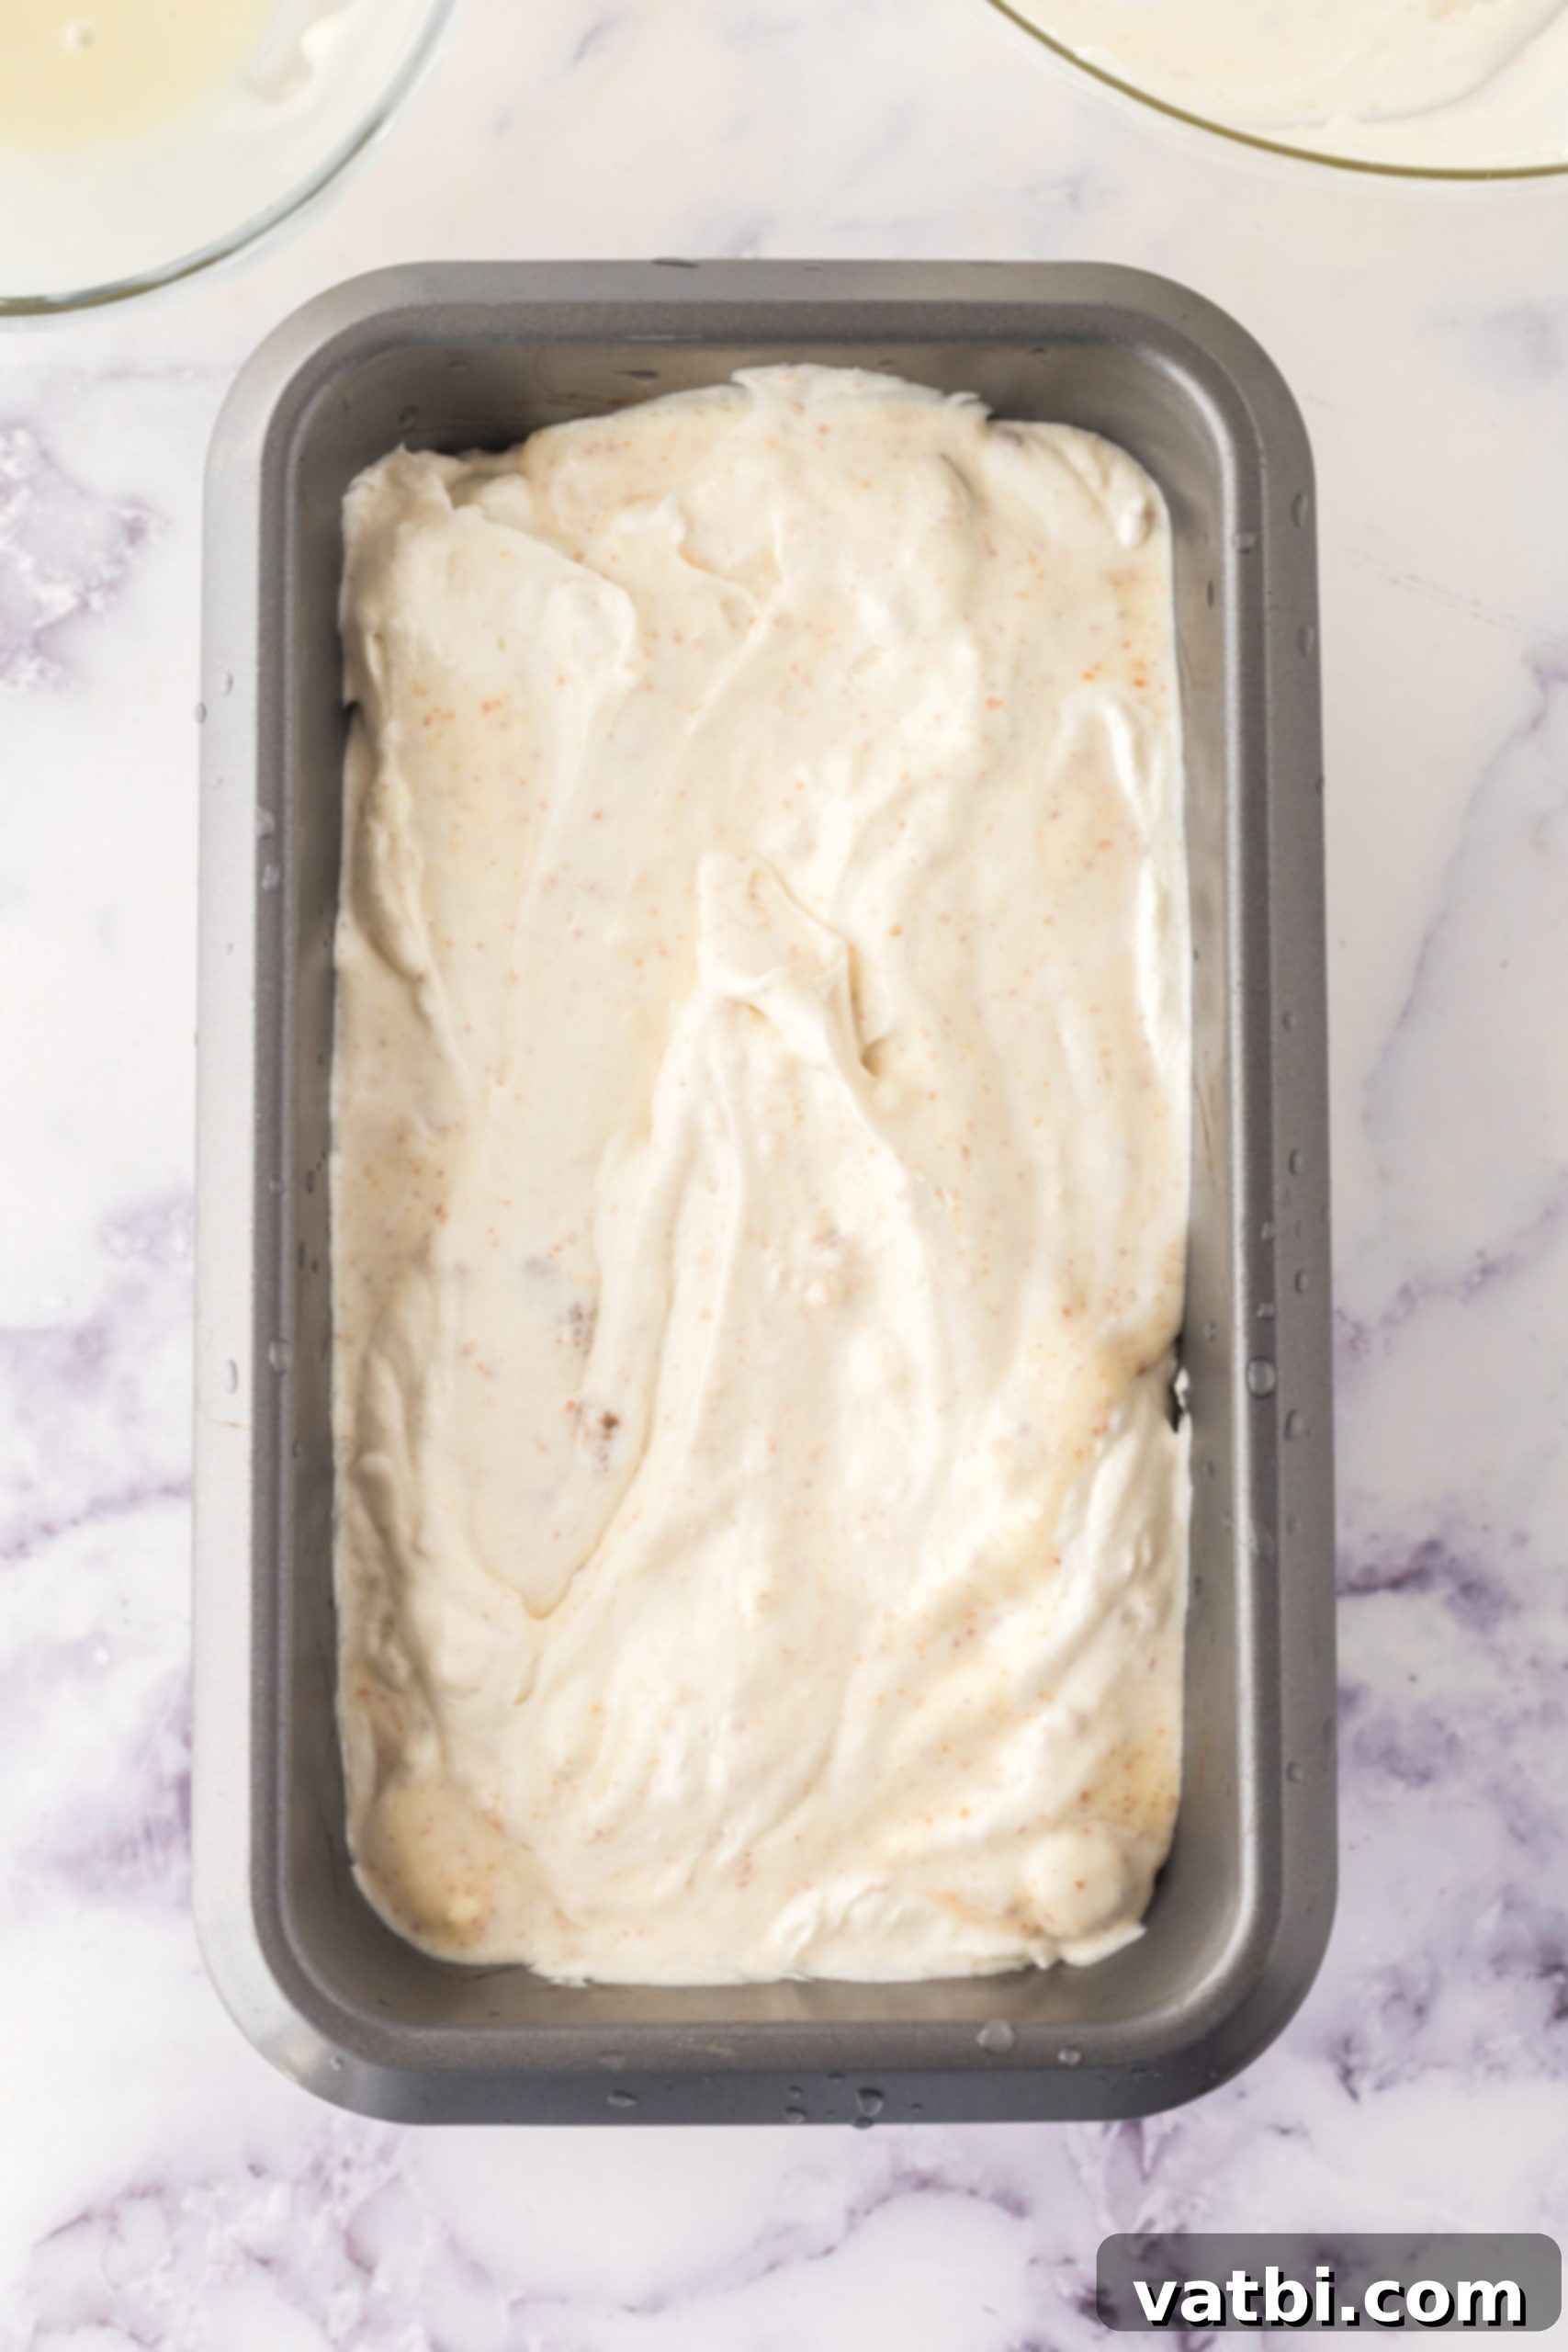
Step 3: Freeze for Optimal Setting. Pour the combined ice cream mixture into a freezer-safe loaf pan. A standard 9×5 inch loaf pan works perfectly for this recipe. Once the mixture is transferred, cover the pan tightly with plastic wrap. Ensure the plastic wrap makes direct contact with the surface of the ice cream to help prevent ice crystals from forming. Place the pan in the freezer and allow the ice cream to freeze for a minimum of 5 hours. For the absolute best consistency, freezing overnight is highly recommended.
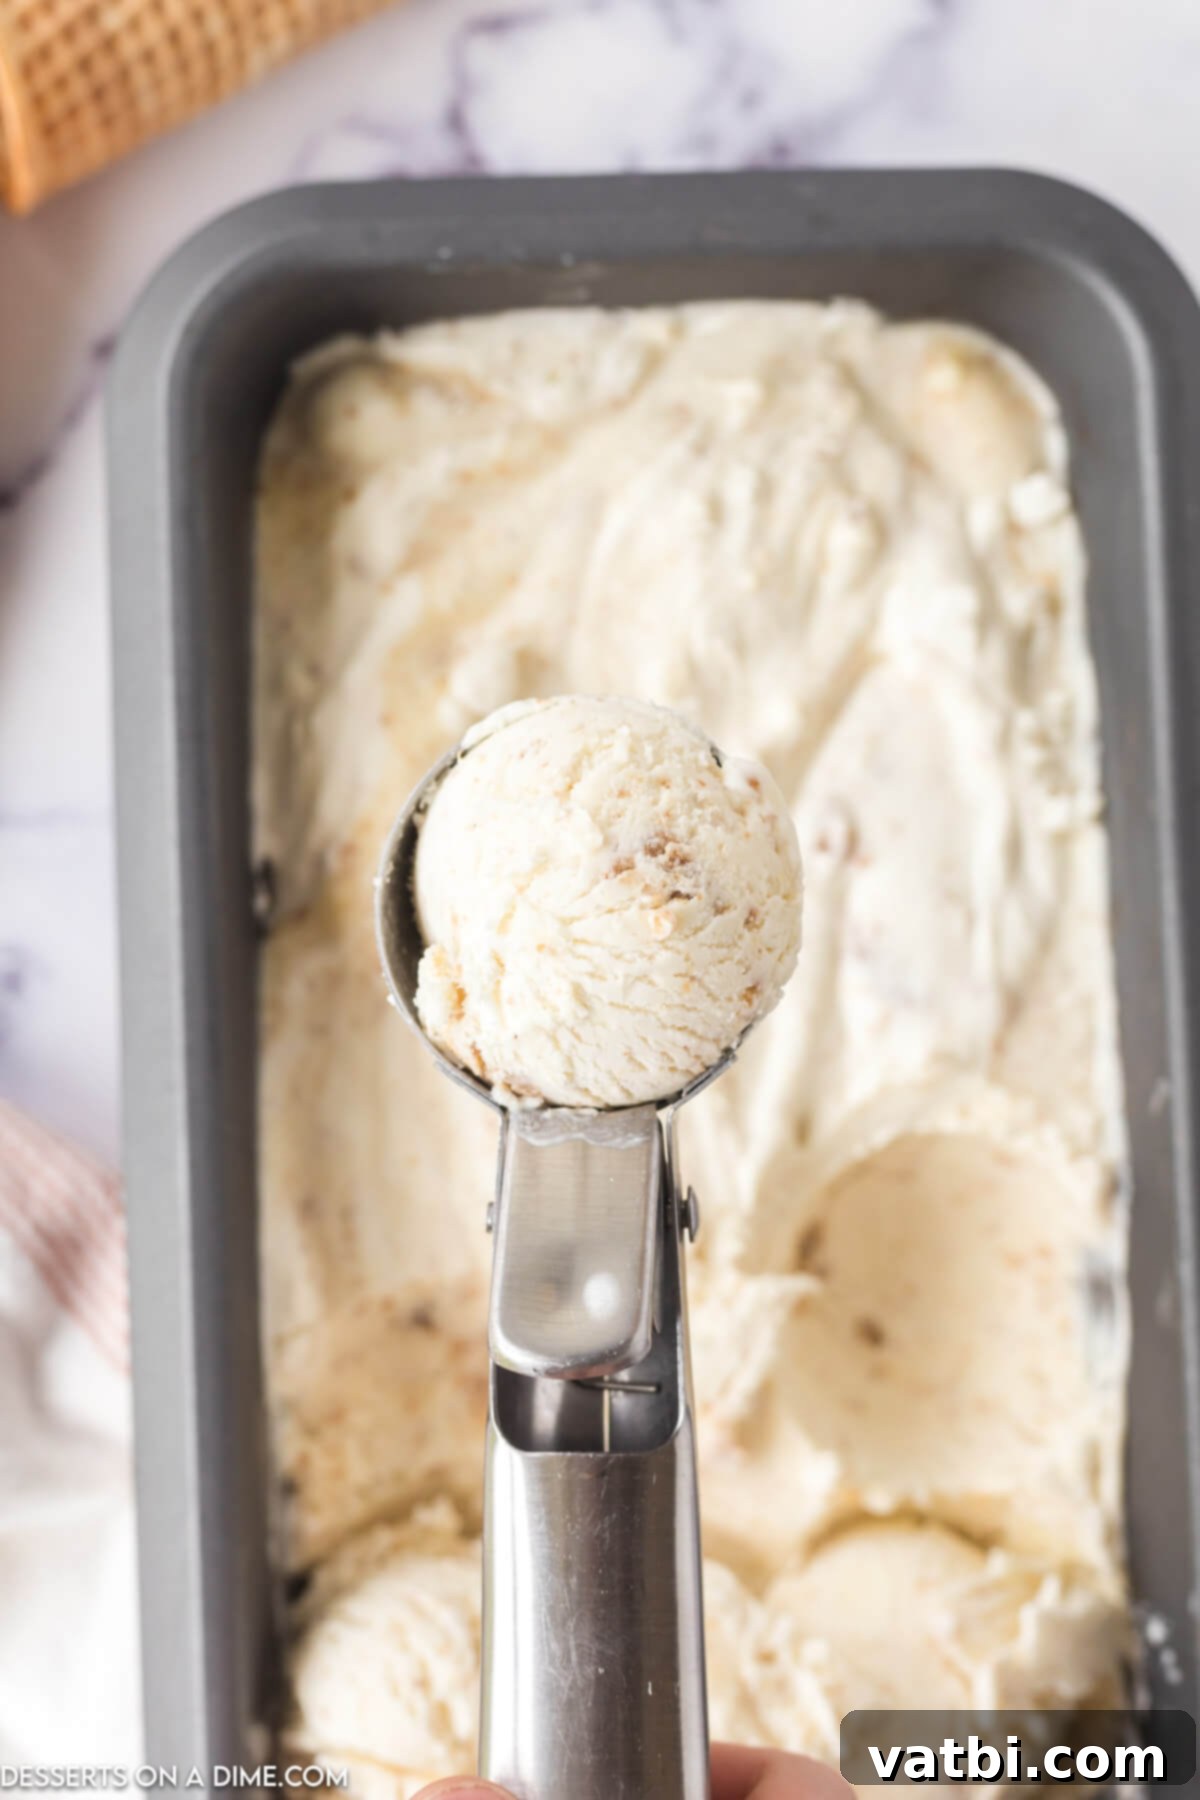
Step 4: Scoop, Serve, and Savor. Once the ice cream is firmly set, remove it from the freezer. If it’s very hard, let it sit at room temperature for 5-10 minutes to soften slightly, making it easier to scoop. Using a sturdy ice cream scoop, portion out generous servings and enjoy your homemade masterpiece. It’s absolutely delicious on its own, but also pairs wonderfully with a drizzle of Magic Shell Recipe, a sprinkle of fresh berries, or a few extra graham cracker crumbs.
Storage Instructions: Keeping Your Ice Cream Fresh
Proper storage is key to maintaining the creamy texture and delicious flavor of your homemade no-churn cheesecake ice cream. When stored correctly, this delightful dessert can last for a significant period in your freezer.
After your ice cream has fully set, ensure it’s either covered tightly with plastic wrap or transferred to an airtight container specifically designed for freezer use. This will protect it from freezer burn and absorb odors from other foods in your freezer. When properly sealed, this ice cream will retain its quality for approximately 2 months in the freezer. Beyond this timeframe, while still safe to eat, the texture may begin to degrade, becoming drier and slightly crumbly due to prolonged exposure to cold air and moisture loss.
To further prevent the formation of ice crystals and maintain that desirable smooth consistency, we highly recommend placing a layer of parchment paper or wax paper directly on the surface of the ice cream before sealing the container. This acts as an additional barrier against air, significantly extending its optimal texture and flavor. Always make sure the lid of your container is securely fastened to lock in freshness.
Expert Tips for the Best No-Churn Ice Cream
Achieving perfectly creamy, scoopable no-churn ice cream is easy, especially with these insider tips:
- Combine on Low Speed: When adding the sweetened condensed milk and cheesecake pieces to the whipped cream, it’s crucial to mix them on a lower speed. This gentle approach helps prevent knocking too much air out of the whipped cream, which is essential for maintaining the light and fluffy texture that contributes to easy scooping and a smooth consistency. Overmixing at high speeds can deflate the cream, leading to a harder, icier ice cream.
- Freeze Overnight for Best Results: While 5 hours is the minimum freezing time, if your schedule allows, I always recommend letting your no-churn ice cream freeze overnight. This ensures that it is as firm and perfectly set as possible, resulting in a more scoopable and enjoyable texture. Patience truly pays off with no-churn recipes!
- Allow to Sit Before Scooping: Directly from the deep freeze, your ice cream might be very firm. To get those perfect, effortless scoops, let the container sit out on the counter for about 5 to 10 minutes before serving. This brief tempering period allows the ice cream to soften slightly, making it much easier to scoop without it becoming a rock-hard block.
- Start with Cold Ingredients: Always ensure your heavy whipping cream and sweetened condensed milk are thoroughly chilled before you begin. Cold cream whips up faster and to a much better consistency, resulting in a more stable and airy base for your ice cream.
- Use a Metal Loaf Pan: While any freezer-safe container works, a metal loaf pan is ideal because it conducts cold more efficiently, helping the ice cream freeze faster and more evenly.
- Cover Directly with Plastic Wrap: As mentioned in storage, pressing plastic wrap directly onto the surface of the ice cream before freezing helps prevent ice crystal formation, keeping your ice cream smooth and creamy.
- Don’t Over-Whip the Cream: Whip the heavy cream until just stiff peaks form. Over-whipping can lead to a grainy texture in your finished ice cream.
- Quality Matters: Since there are so few ingredients, the quality of each really makes a difference. Opt for good quality heavy cream and a cheesecake you genuinely enjoy.
More Irresistible No-Churn Ice Cream Recipes
If you’ve fallen in love with the ease and deliciousness of this no-churn cheesecake ice cream, you’re in luck! There’s a whole world of simple, homemade ice cream waiting for you to explore:
- Mint Chocolate Chip Ice Cream Cake
- Nutter Butter Ice Cream
- No-Churn Strawberry Ice Cream
- Strawberry Cheesecake Ice Cream (a different take, also delicious!)
- Samoa Ice Cream
- Cinnamon Toast Crunch Ice Cream
Frequently Asked Questions (FAQs)
Can I use light cream instead of heavy whipping cream?
No, heavy whipping cream is essential for this recipe. It has a high-fat content (typically 36% or more) which allows it to whip into stiff peaks and creates the rich, creamy texture needed for no-churn ice cream. Lighter creams won’t whip sufficiently and will result in an icy, rather than creamy, texture.
What kind of store-bought cheesecake works best?
A plain, classic New York-style cheesecake works wonderfully as its neutral flavor allows the ice cream base to truly shine. However, you can experiment with flavored cheesecakes like strawberry or chocolate for unique twists. Just ensure it’s a solid, baked cheesecake, not a mousse or very light variety.
How long does no-churn ice cream typically take to freeze?
This cheesecake ice cream needs a minimum of 5 hours to freeze and set properly. For the best, most scoopable consistency, we highly recommend freezing it overnight (about 8-12 hours). The longer it freezes, the firmer and more stable it will be.
How can I prevent ice crystals from forming on my homemade ice cream?
Several factors help prevent ice crystals. First, ensure your heavy cream is whipped to stiff peaks to incorporate plenty of air. Second, sweetened condensed milk contributes to a smooth texture. Third, and perhaps most importantly, cover the surface of the ice cream directly with plastic wrap before placing the lid on your airtight container. This minimizes air exposure, which is the primary cause of ice crystals and freezer burn.
Can I make this recipe dairy-free?
While this specific recipe relies heavily on dairy (heavy cream, condensed milk, cheesecake), you might be able to find dairy-free alternatives for heavy whipping cream (like full-fat coconut cream, chilled overnight) and sweetened condensed milk (canned coconut sweetened condensed milk). You would also need a dairy-free cheesecake. The results may vary in texture and flavor, but it is possible to experiment with dairy-free substitutes.
Do I need to crush the cheesecake before adding it?
You can either dice the cheesecake into small chunks (about ½-inch pieces) or crumble it. Dicing will give you more distinct cheesecake bites, while crumbling will distribute the cheesecake flavor more evenly throughout the ice cream. Choose based on your preferred texture experience!
Don’t wait any longer to create this simple yet spectacular cheesecake ice cream recipe. It’s a guaranteed crowd-pleaser and a perfect way to satisfy your sweet cravings. Make it today and discover the joy of homemade no-churn ice cream. Then, please take a moment to leave a comment and a star rating below. We absolutely love hearing your feedback and seeing your wonderful creations!
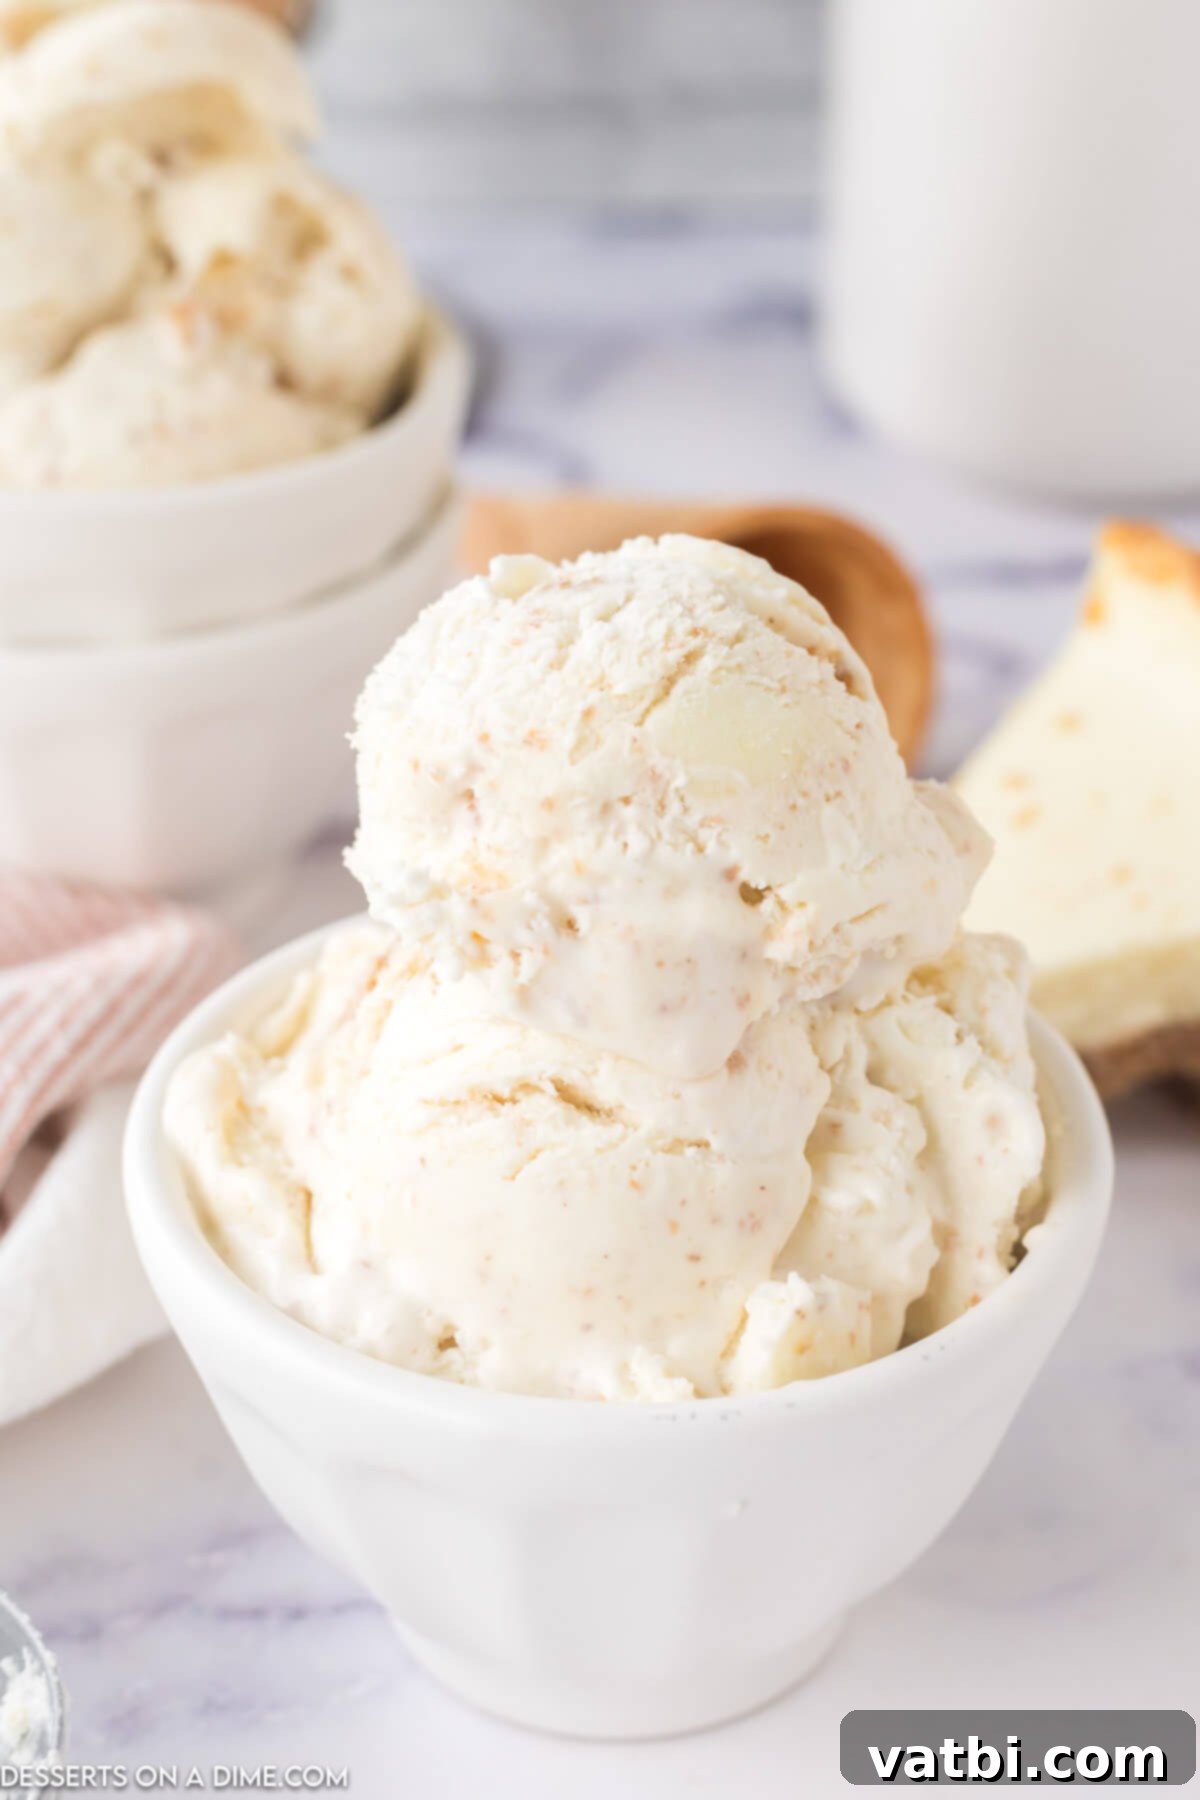
Pin
No-Churn Cheesecake Ice Cream
Ingredients
- 1 ¾ cups heavy whipping cream
- 14 ounce sweetened condensed milk
- ½ 6 inch store bought cheesecake
Instructions
-
Use an electric hand mixer on high speed to beat the cream into stiff peaks.
-
Once the cream begins to form stiff, free-standing peaks, add the sweetened condensed milk and cheesecake. Lower the speed of the hand mixer to medium and mix the ingredients until homogenous.
-
Transfer your ice mixture to a loaf pan that is about 9×5 inches and cover it with plastic wrap. Allow the ice cream to freeze for at least 5 hours.
-
Scoop, serve, and enjoy!
Recipe Notes
In addition to using store-bought cheesecake, you can also use 1 ½ cups of Philadelphia no-bake cheesecake mix and ½ cup of crushed graham crackers.
Mixing in the condensed milk and cheesecake on a lower speed helps prevent air from being knocked out of the whipped cream, which will cause the ice cream to be harder to scoop.
If you have the time, I always like to let my no-churn ice cream freeze overnight just to make sure it is as set as it is going to get.
Nutrition Facts
Pin This Now to Remember It Later
Pin Recipe
