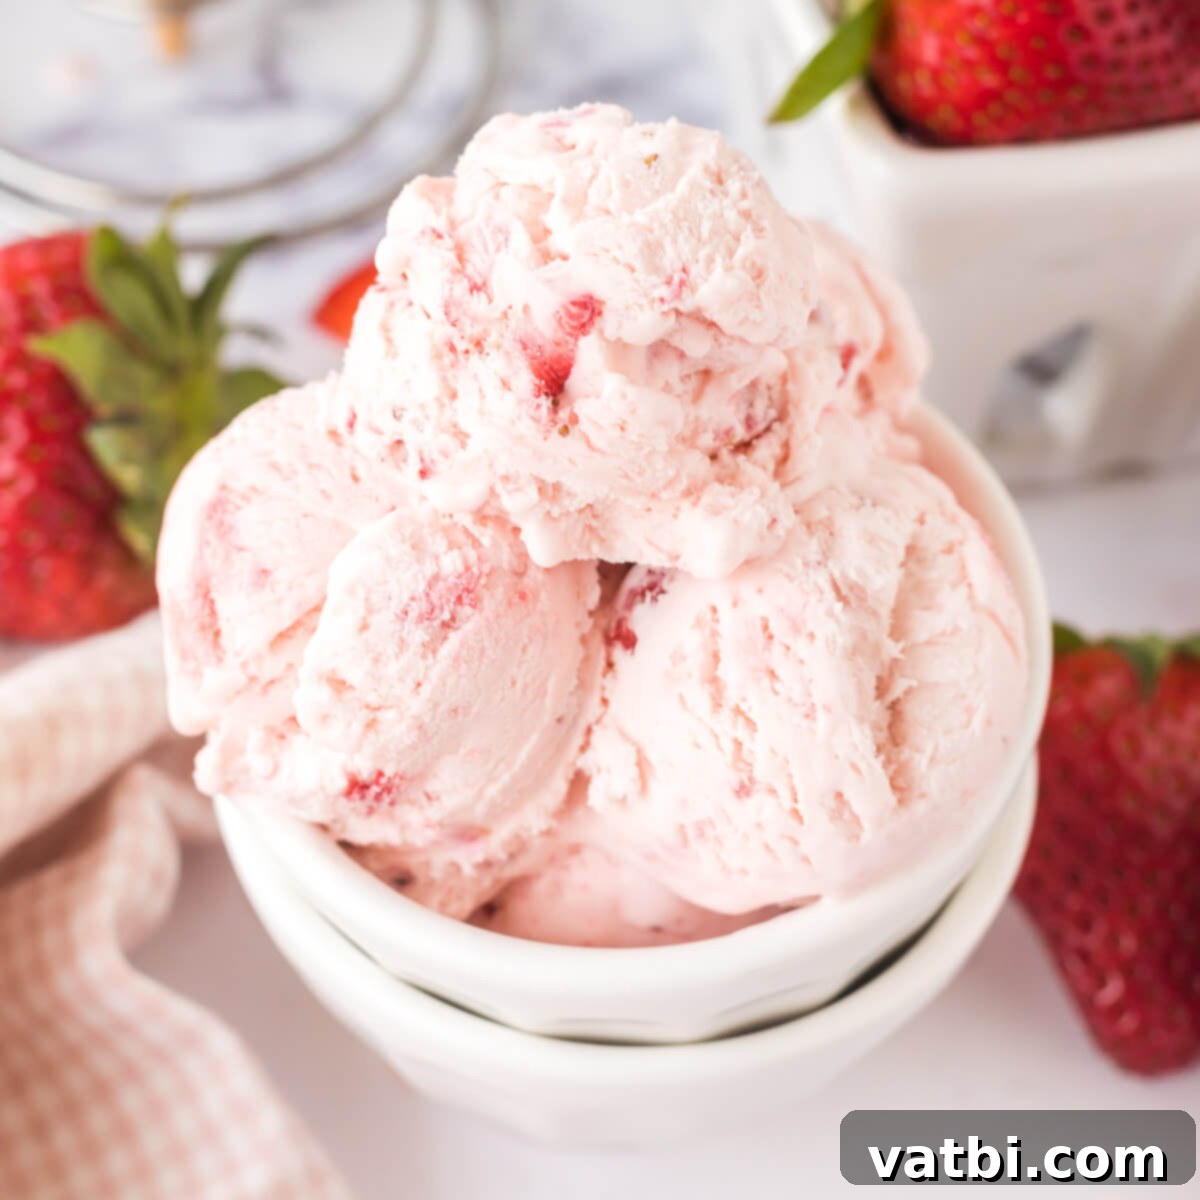
Homemade No-Churn Strawberry Ice Cream: Your Ultimate 5-Ingredient, No Machine Required Recipe for Creamy Bliss
Indulge in the pure delight of homemade ice cream without the hassle of an ice cream maker! This incredibly simple No-Churn Strawberry Ice Cream recipe requires just five basic ingredients and zero special equipment, making it the perfect dessert for any home cook. Packed with vibrant strawberry flavor and boasting an unbelievably creamy texture, this easy treat will quickly become a family favorite. Say goodbye to store-bought pints and hello to a luscious, fruit-filled dessert that’s ready to freeze in minutes!
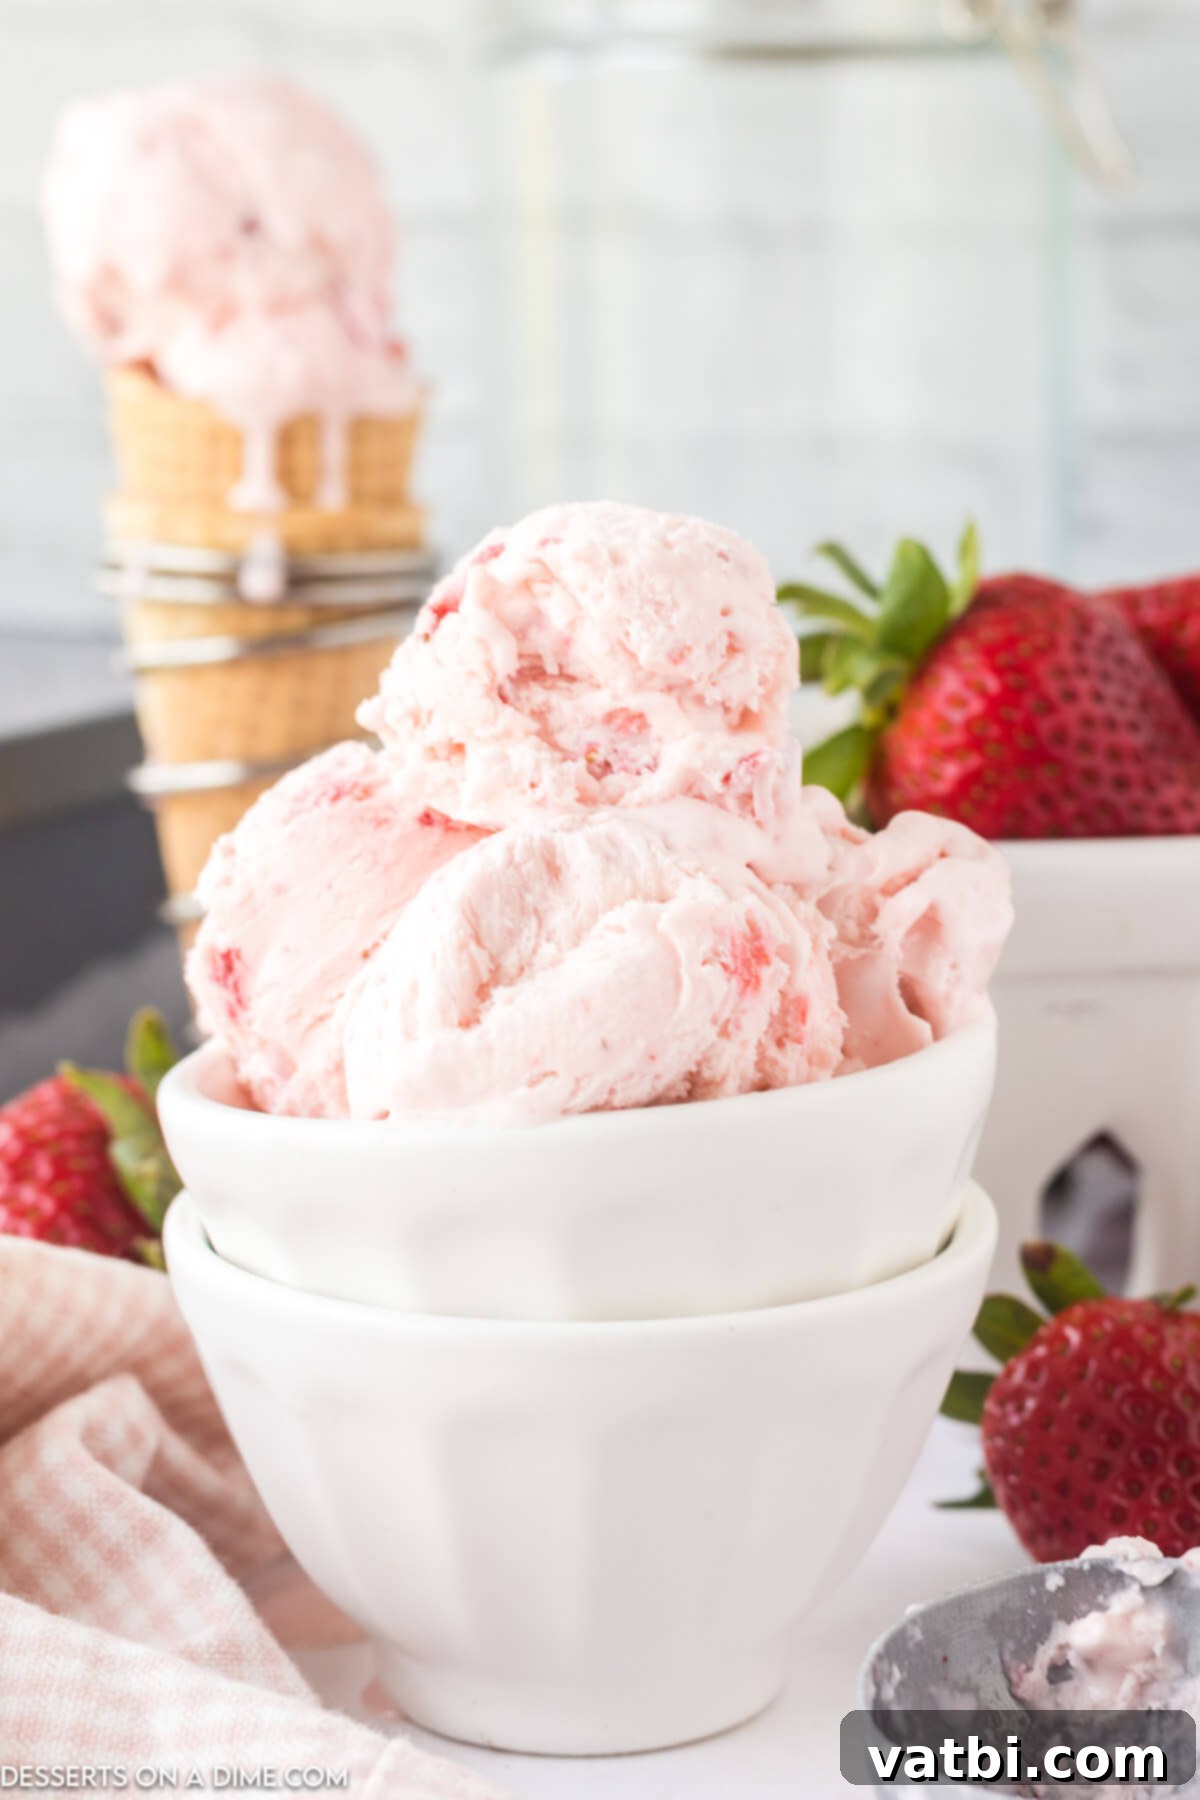
Making delicious homemade ice cream has never been easier thanks to the magic of no-churn recipes. This particular strawberry ice cream masterpiece is incredibly straightforward, featuring only five readily available ingredients. You’ll be amazed at how quickly you can whip up a batch, transforming simple components into a rich, frozen dessert. The best part? There’s no need to haul out a bulky ice cream machine, pre-freeze a bowl, or deal with any churning whatsoever. This recipe truly simplifies the process, allowing you to enjoy the fresh, sweet taste of strawberry ice cream with minimal effort. It’s the ideal solution for satisfying those sudden ice cream cravings, preparing a quick dessert for guests, or simply enjoying a sweet summer day.
If you’re a fan of the convenience and delectable results of no-churn ice cream, you’re in for a real treat! Once you master this classic strawberry version, you might also want to explore other delightful no-churn creations. Why not try your hand at a decadent Strawberry Cheesecake Ice Cream, experiment with a refreshing Mixed Fruit Ice Cream, or create a charming Easy Strawberry Shortcake Ice Cream? The possibilities are endless when you embrace the simplicity of no-churn methods, and each recipe promises a creamy, satisfying outcome.
Table of contents
- Why We Adore This No-Churn Recipe
- Essential Ingredients for Strawberry Ice Cream
- Exciting Variations and Customizations
- Step-by-Step Guide: How to Make No-Churn Strawberry Ice Cream
- Creative Serving Suggestions
- Proper Storage for Lasting Freshness
- Top Tips for Perfect No-Churn Ice Cream
- Discover More Homemade Ice Cream Recipes
Why We Adore This No-Churn Recipe
There are countless reasons to fall in love with this no-churn strawberry ice cream, primarily its incredible simplicity and the consistently delicious results it yields. Unlike traditional ice cream recipes, this method completely eliminates the need for any specialized gadgets or bulky kitchen tools. You won’t have to invest in or store an expensive ice cream machine, nor will you need to deal with the messy clean-up associated with one. This recipe truly liberates you from conventional ice cream-making constraints, making homemade dessert accessible to everyone.
Furthermore, this recipe stands out because it requires no cooking whatsoever. You don’t need to hover over a stove top to prepare a custard base, nor do you need to worry about tempering eggs or precise temperatures. The entire process is a cold assembly, mixing ingredients directly to create a luscious base. This not only saves time but also makes the recipe foolproof, even for novice bakers or those new to making frozen treats. The absence of cooking also means fewer dishes to wash, streamlining your dessert preparation experience.
Another fantastic aspect is the minimal hands-on time involved. Once the simple ingredients are combined, the mixture is poured into a standard loaf pan and left to freeze. There’s no repeated stirring in a machine, no constant monitoring required. It’s a truly set-it-and-forget-it kind of recipe, allowing you to focus on other tasks while your dessert transforms into a frozen delight. The natural aeration from whipping the cream, combined with the magical properties of sweetened condensed milk, ensures a smooth and creamy texture every single time, without any ice crystals. The end result is a surprisingly sophisticated and incredibly satisfying strawberry ice cream that tastes like it came from a gourmet parlor.
Essential Ingredients for Strawberry Ice Cream
Creating this delightful no-churn strawberry ice cream requires just a handful of straightforward ingredients. Each component plays a vital role in achieving that signature creamy texture and bursting strawberry flavor. Here’s a closer look at what you’ll need:
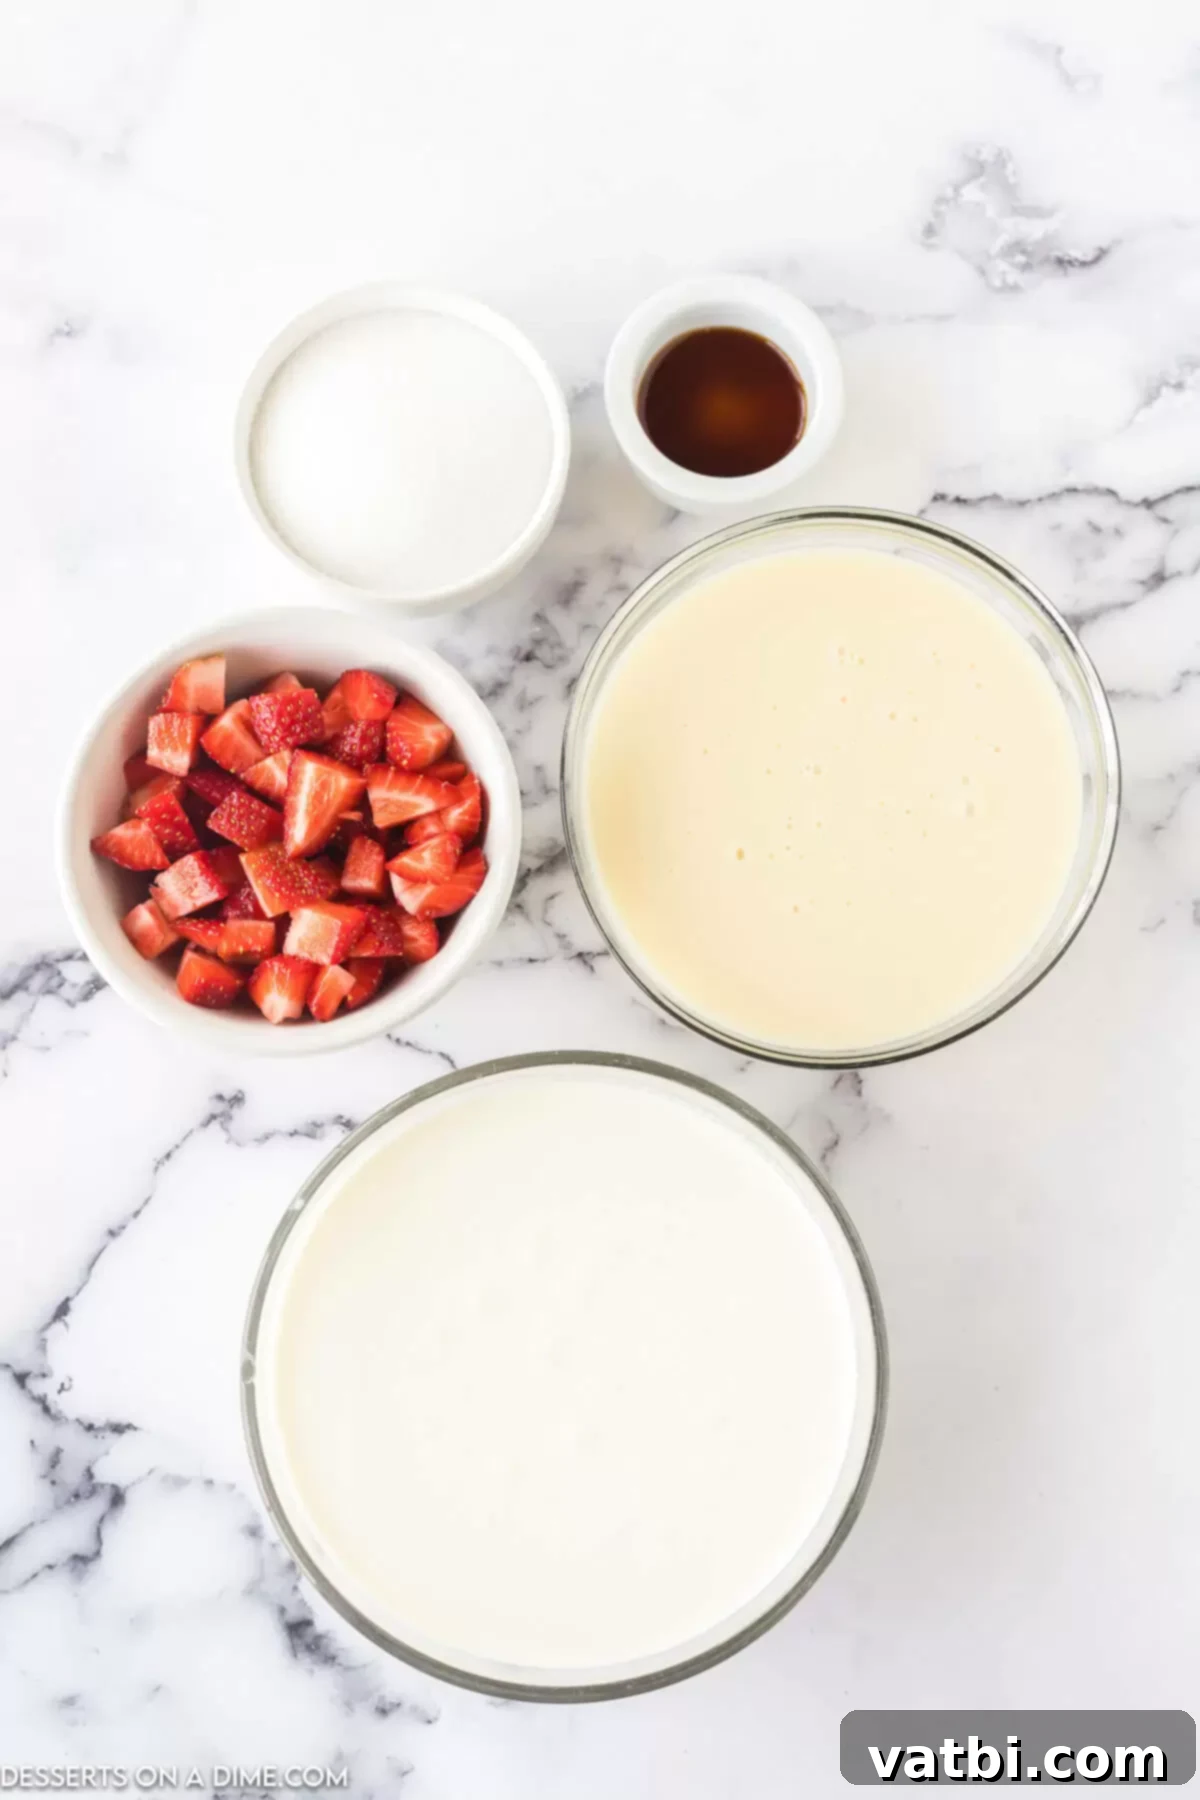
- Heavy whipping cream. This is the backbone of our no-churn ice cream. It needs to be very cold before you start whipping it. When whipped, heavy cream incorporates air, creating the light, airy volume that gives the ice cream its signature creamy texture without the need for churning. Ensure it’s full-fat for the best results, as the fat content is crucial for preventing ice crystal formation and achieving ultimate richness.
- Vanilla extract. A dash of pure vanilla extract elevates the overall flavor profile of the ice cream. It doesn’t just add its own sweet, aromatic notes; it also enhances and complements the natural sweetness and tartness of the strawberries, bringing a depth of flavor that would otherwise be missing. While imitation vanilla can be used, pure vanilla extract offers a superior, more authentic taste.
- Sweetened condensed milk. This ingredient is the unsung hero of no-churn ice cream, serving a dual purpose. Firstly, it provides the perfect amount of sweetness, eliminating the need for additional sugar in the base. Secondly, and most importantly, its thick, syrupy consistency, combined with its high sugar content, is what prevents the mixture from freezing into a solid block of ice. Instead, it creates a wonderfully smooth, rich, and scoopable ice cream texture. Do not confuse this with evaporated milk; they are not interchangeable.
- Diced strawberries. Fresh, ripe strawberries are essential for that authentic, burst-of-fruit flavor. Dicing them into small, consistent pieces ensures that you get a delightful strawberry morsel in every single bite. The smaller the dice, the more evenly distributed the strawberry flavor and texture will be throughout the ice cream. We’ll macerate them with sugar to draw out their natural juices and intensify their flavor before mixing.
- White granulated sugar. While the sweetened condensed milk provides most of the sweetness, a small amount of granulated sugar is used specifically to macerate the diced strawberries. This process draws out the strawberries’ natural juices, creating a syrupy, concentrated strawberry flavor that infuses beautifully into the ice cream base, ensuring an even more intense fruit taste.
You can find the precise measurements and the full recipe card with detailed instructions at the bottom of this page. Gather these simple items, and you’ll be well on your way to enjoying a homemade frozen treat that rivals any gourmet ice cream parlor!
Exciting Variations and Customizations
While our classic No-Churn Strawberry Ice Cream is absolutely divine as is, the beauty of this simple base lies in its versatility. You can easily adapt it to create a myriad of new and exciting flavors. Here are some fantastic variations to inspire your next batch of homemade ice cream:
- Other types of fruit. The creamy, sweet base of this ice cream pairs wonderfully with a wide array of other fruits. Feel free to experiment with seasonal berries like fresh raspberries, blueberries, or blackberries for a vibrant mixed berry flavor. For a tropical twist, try diced mango or pineapple. Stone fruits like peaches or cherries (pitted and diced) also work beautifully. Remember to macerate any fruit with a little sugar first to draw out its juices and concentrate its flavor, just as we do with the strawberries.
- Creative Add-ins. Elevate your strawberry ice cream experience by incorporating a variety of delicious add-ins. A handful of mini chocolate chips (dark, milk, or white) creates a decadent strawberry chocolate combination. Crushed cookies, like vanilla wafers, graham crackers, or even shortbread, add a delightful textural contrast. Chopped nuts such as pecans, walnuts, or slivered almonds contribute a satisfying crunch. A swirl of lemon zest or a sprinkle of shredded coconut can also introduce delightful new dimensions of flavor.
- Boost the Color with Food Coloring. The natural sweetness of the strawberries lends a beautiful, subtle pink hue to this ice cream. However, if you desire a more vibrant, deep pink color for an extra visual pop, you can easily add a few drops of red or pink food coloring. Start with just a drop or two and gradually add more until you achieve your desired shade, mixing gently to ensure even distribution.
- Brighten the Flavor with Lemon Juice. To enhance the fruitiness and provide a lovely counterpoint to the sweetness, a splash of fresh lemon juice can work wonders. Just a teaspoon or two of freshly squeezed lemon juice added to the strawberry mixture will brighten the overall flavor, making the strawberry notes even more pronounced and preventing the ice cream from being overly sweet. This tart-sweet combination is truly irresistible.
- Texture Options: Diced vs. Pureed Strawberries. While we adore the delightful chunks of diced strawberries distributed throughout the ice cream, you have other textural options. For a smoother, more uniformly flavored ice cream, you can puree the macerated strawberries using a food processor or blender until smooth. Alternatively, for a beautiful marbled effect, you could puree half the strawberries and keep the other half diced, then gently swirl the puree into the ice cream base along with the diced fruit before freezing.
Step-by-Step Guide: How to Make No-Churn Strawberry Ice Cream
Making this creamy no-churn strawberry ice cream is incredibly simple. Follow these steps for a perfect frozen treat every time:
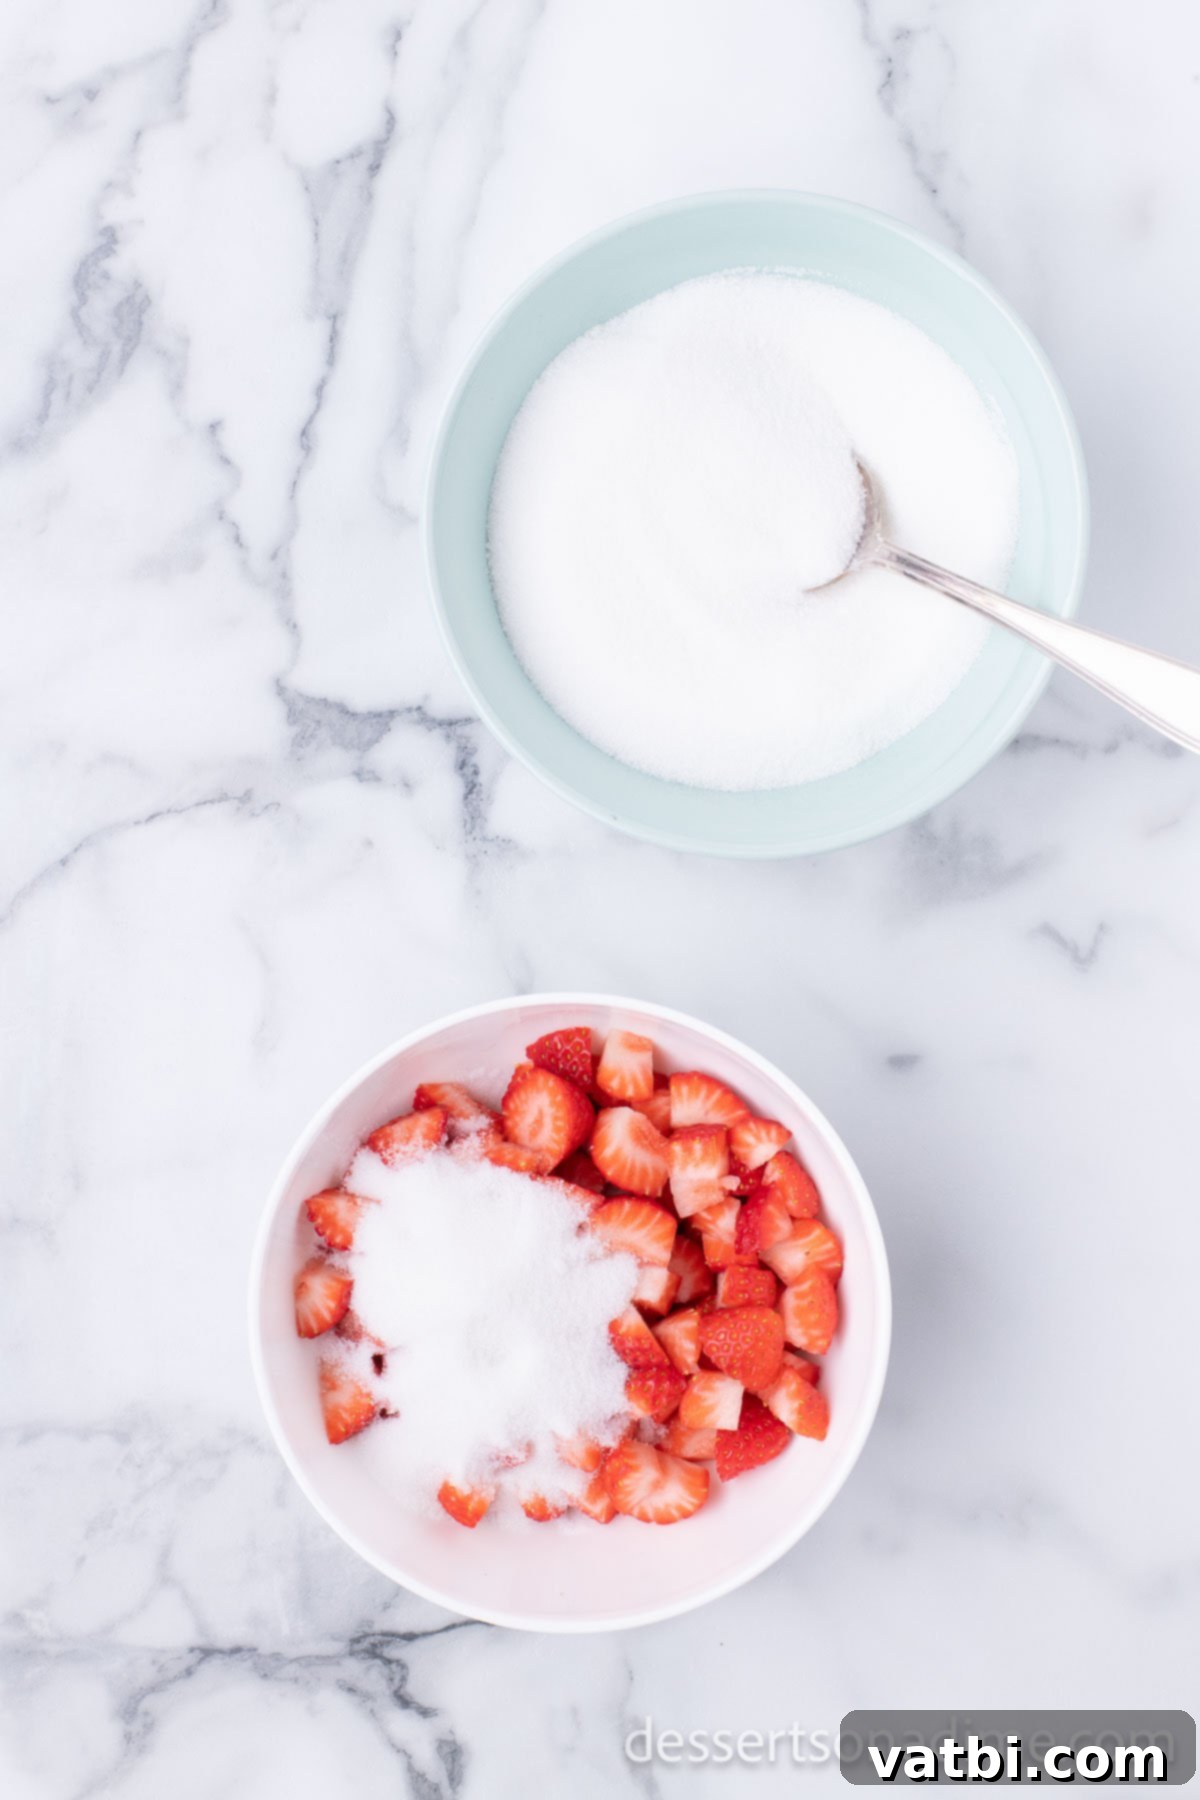
Step 1. Prepare the Strawberries. In a small bowl, combine your freshly diced strawberries with the granulated sugar. Gently toss them together until all the fruit pieces are evenly coated. Allow this mixture to sit undisturbed for about 15 minutes. This crucial “maceration” step helps draw out the natural juices from the strawberries, creating a rich, flavorful syrup and intensifying the strawberry taste that will permeate your ice cream.
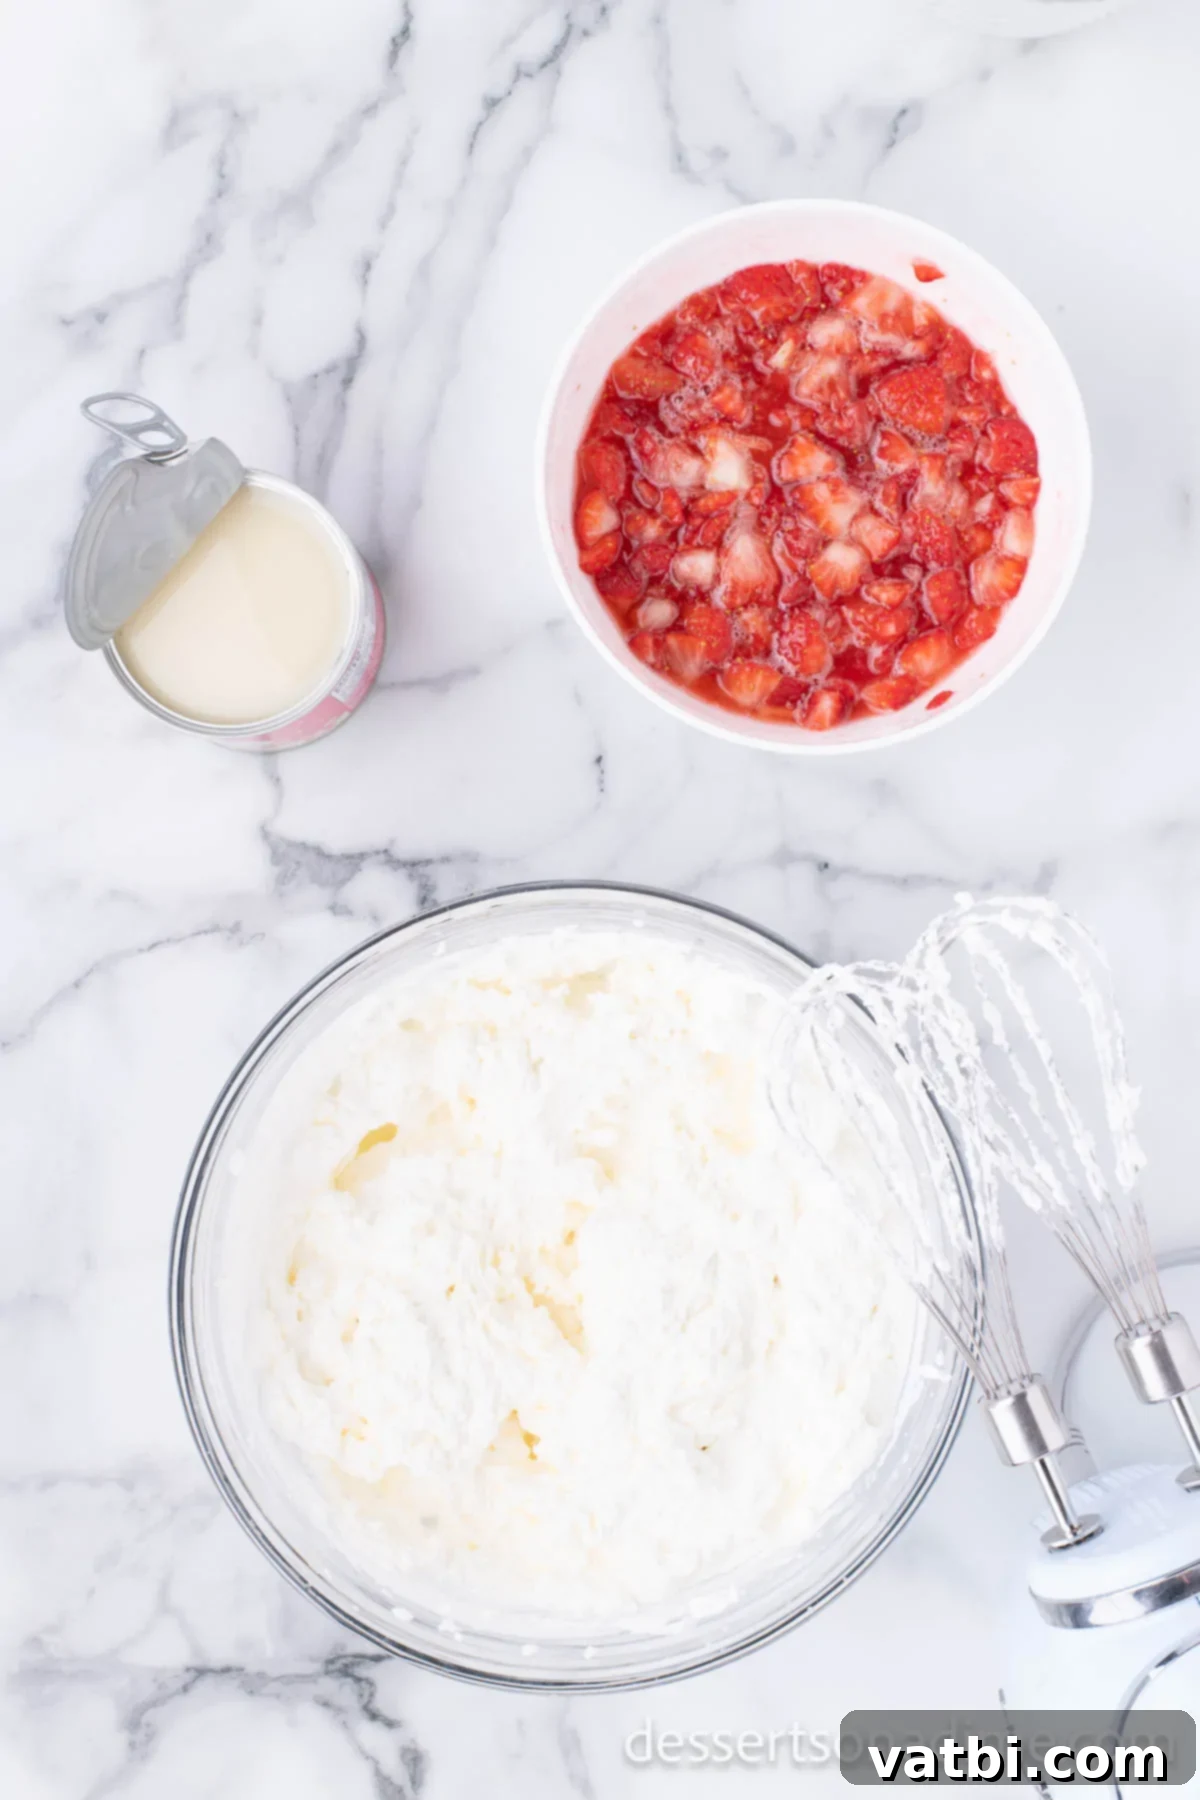
Step 2. Whip the Cream. While the strawberries are macerating, turn your attention to the cream. In a large mixing bowl, combine the very cold heavy whipping cream and the vanilla extract. Using an electric hand mixer or a stand mixer fitted with the whisk attachment, beat the mixture on high speed. Continue beating until stiff peaks form. This means that when you lift the beaters, the cream will hold its shape firmly. This step incorporates essential air, giving your ice cream its light and airy, yet rich, texture.
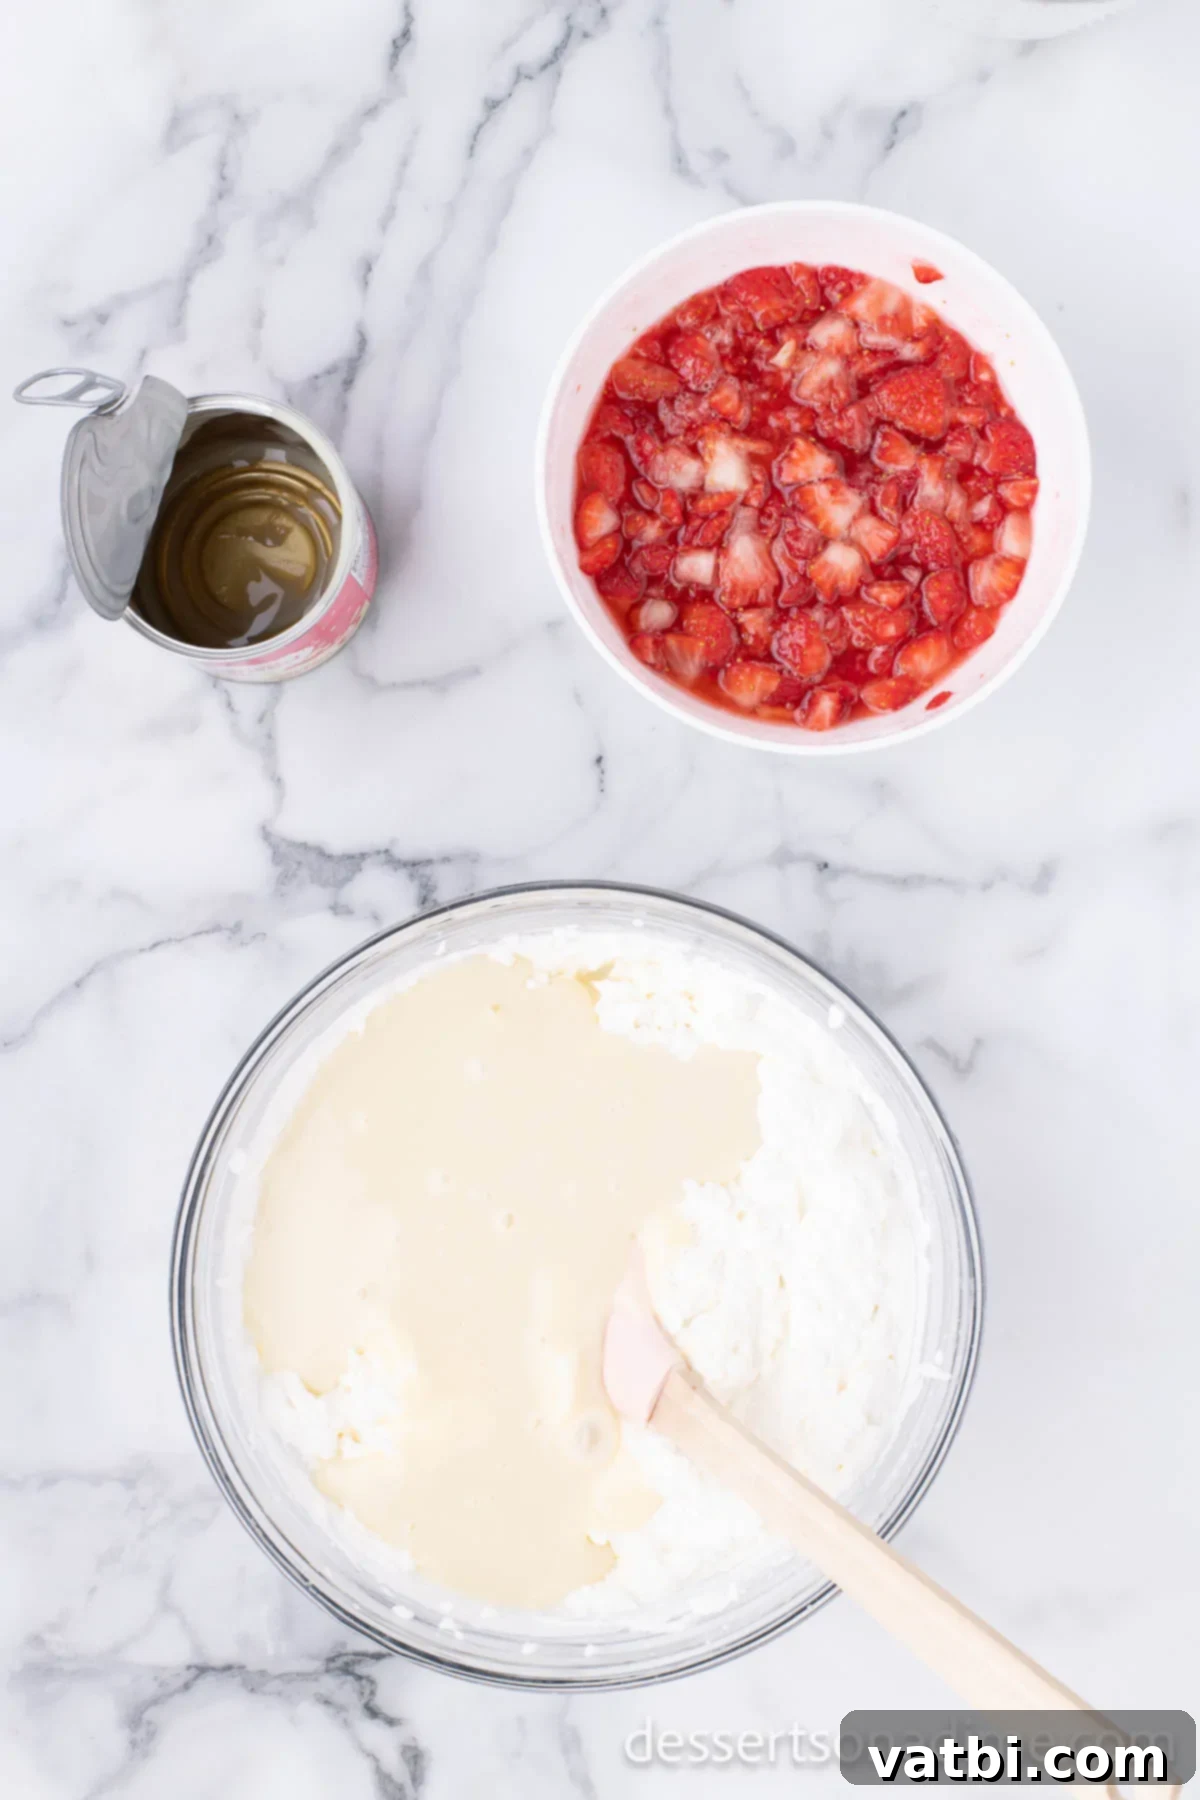
Step 3. Incorporate Condensed Milk. Once your stiff peaks are formed, reduce the speed of your mixer to low. Slowly pour the sweetened condensed milk into the whipped cream mixture. Continue to mix on low speed just until the condensed milk is fully incorporated and the mixture is smooth. Be careful not to overmix, as you want to maintain as much of the air in the whipped cream as possible.
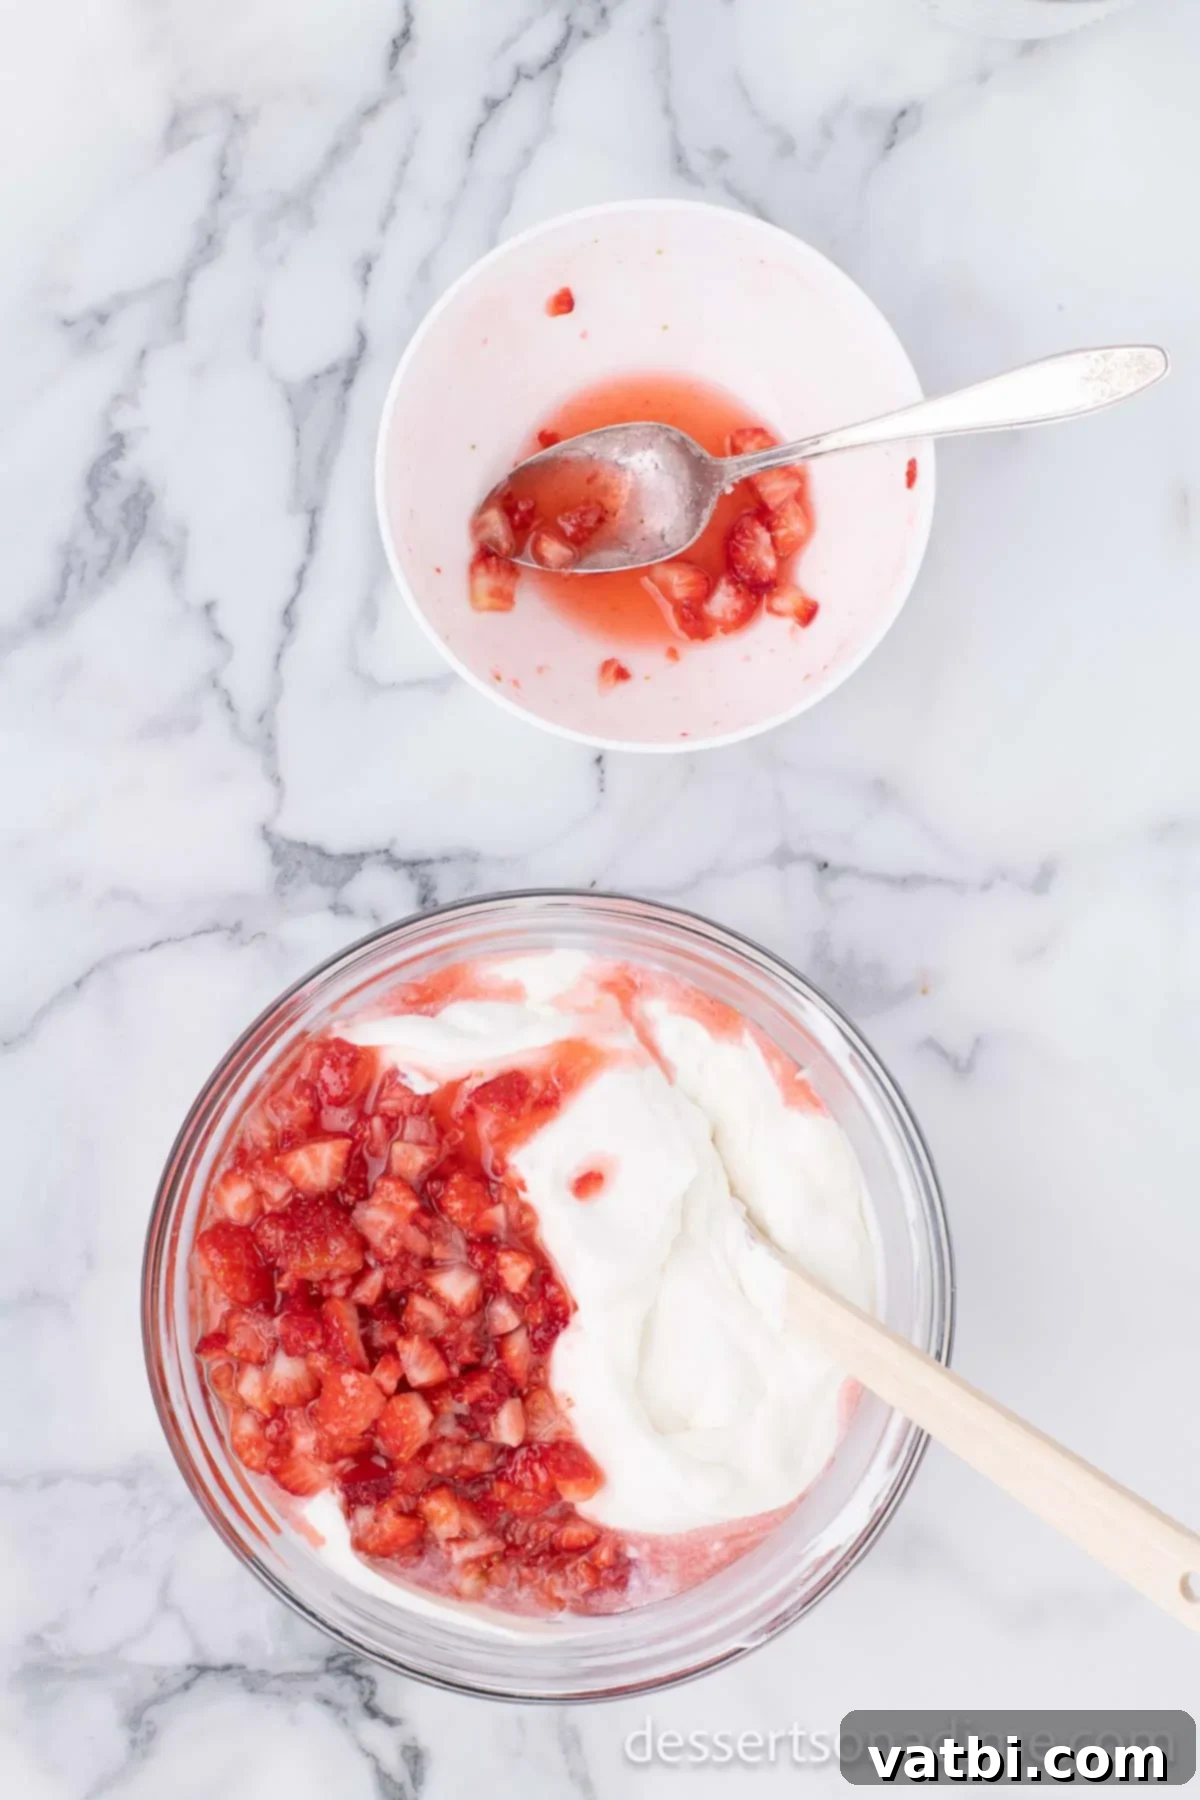
Step 4. Add the Strawberry Mixture. Now it’s time to infuse that wonderful strawberry flavor! Gently add the macerated strawberry mixture, including any accumulated juices, into the creamy base. The juices will help to distribute the flavor evenly and contribute to the beautiful pink color of the ice cream.
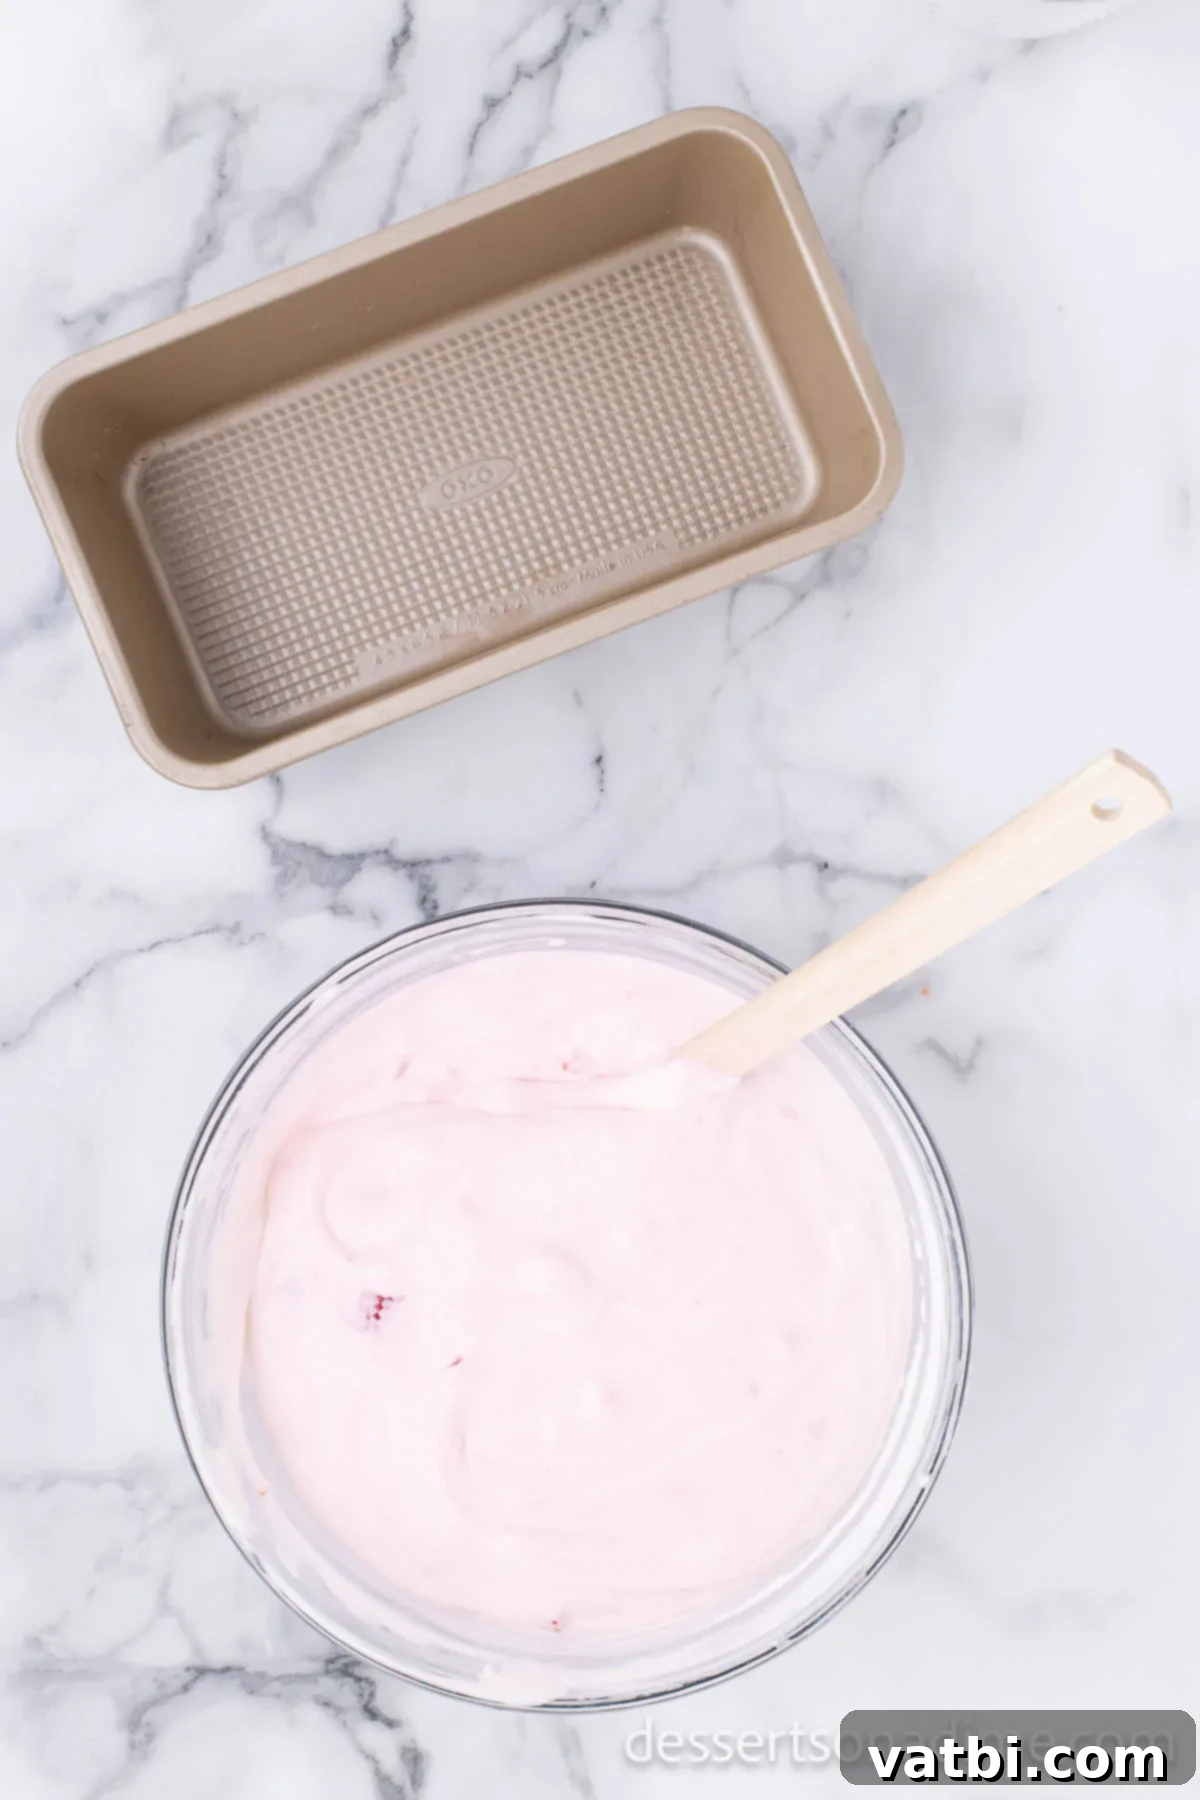
Step 5. Gently Combine. Switch from the electric mixer to a rubber spatula. Gently fold the strawberry mixture into the cream base until it is just combined. Be careful not to deflate the whipped cream by overmixing; gentle folding is key to maintaining the light, airy texture that prevents ice crystals and keeps your ice cream soft and creamy.
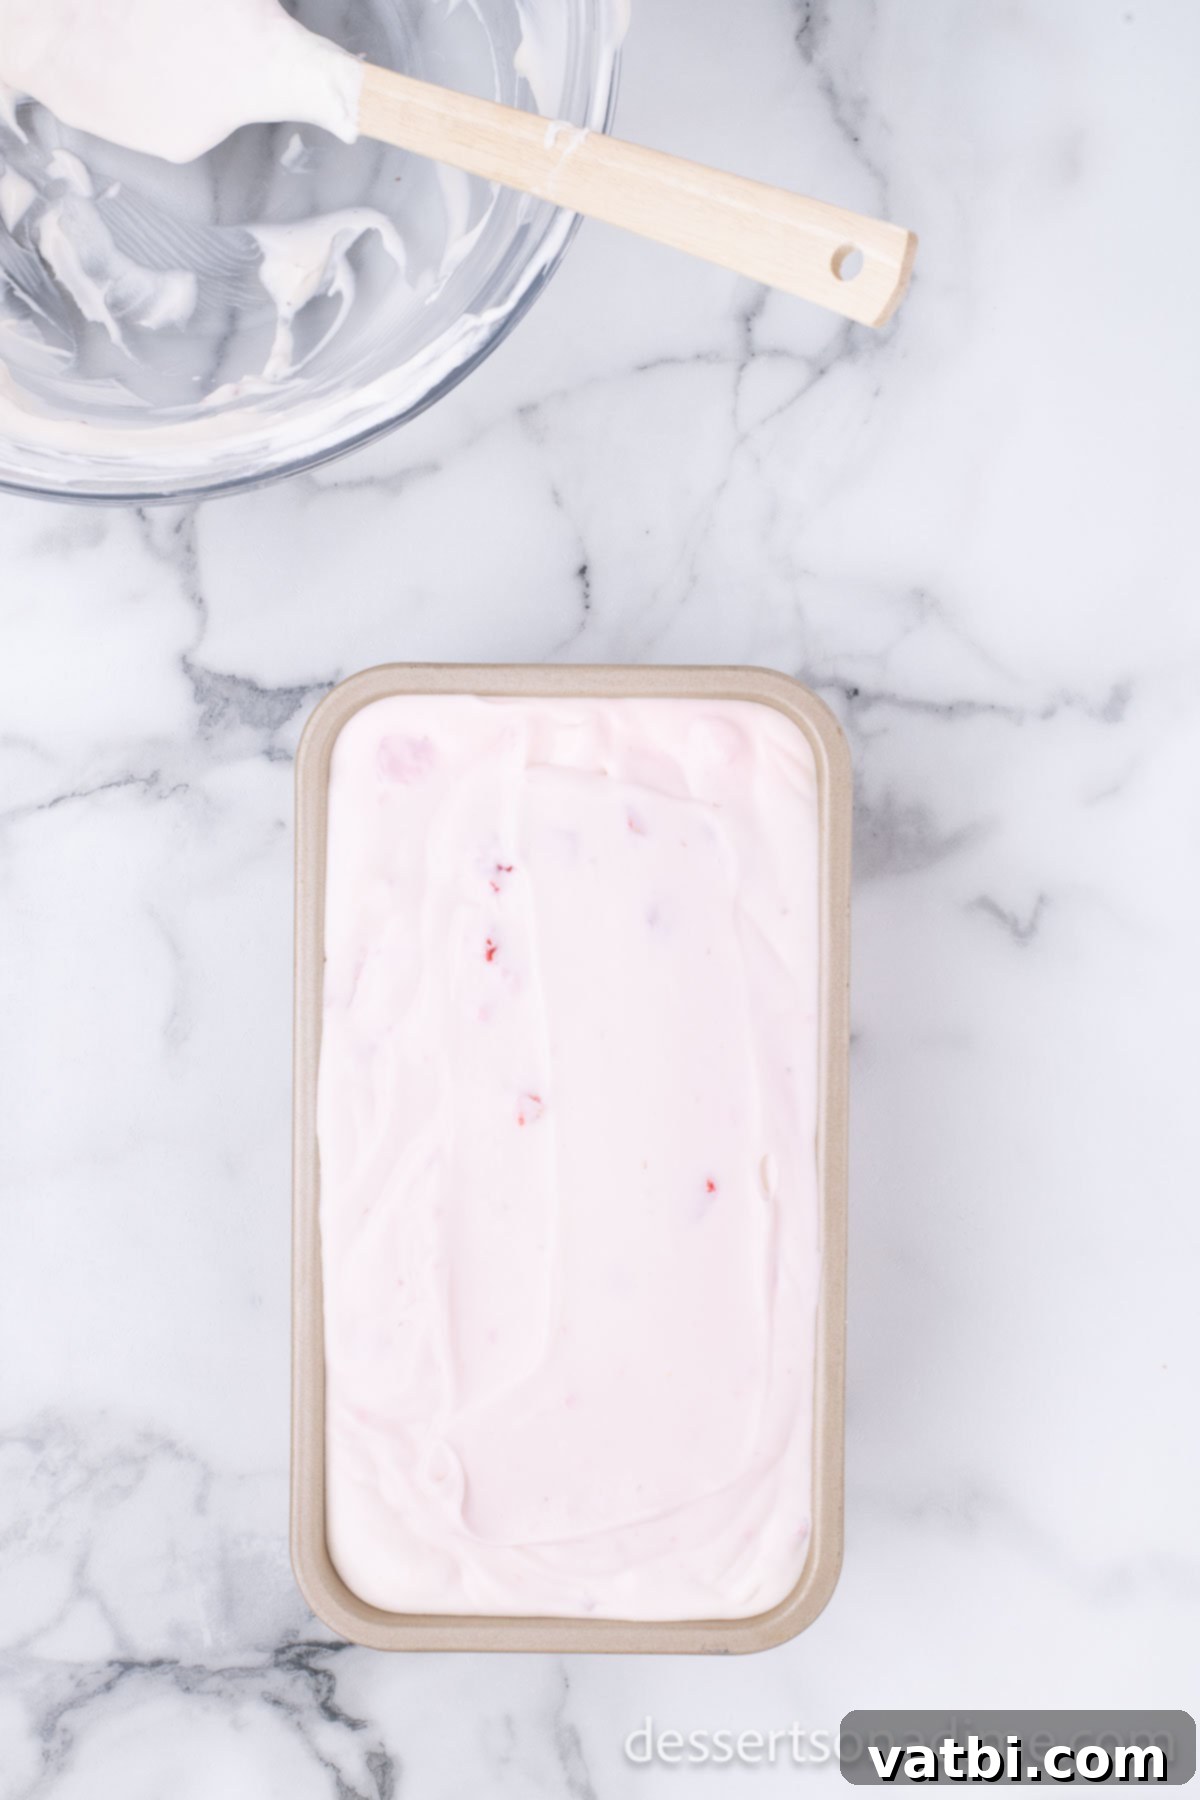
Step 6. Transfer to Pan. Carefully pour or spread the delicious ice cream mixture into a standard 9×5 inch loaf pan. Use your spatula to gently smooth the top. If desired, you can lightly tap the pan on the counter a few times to settle the mixture and release any large air pockets, ensuring a denser, more consistent texture.
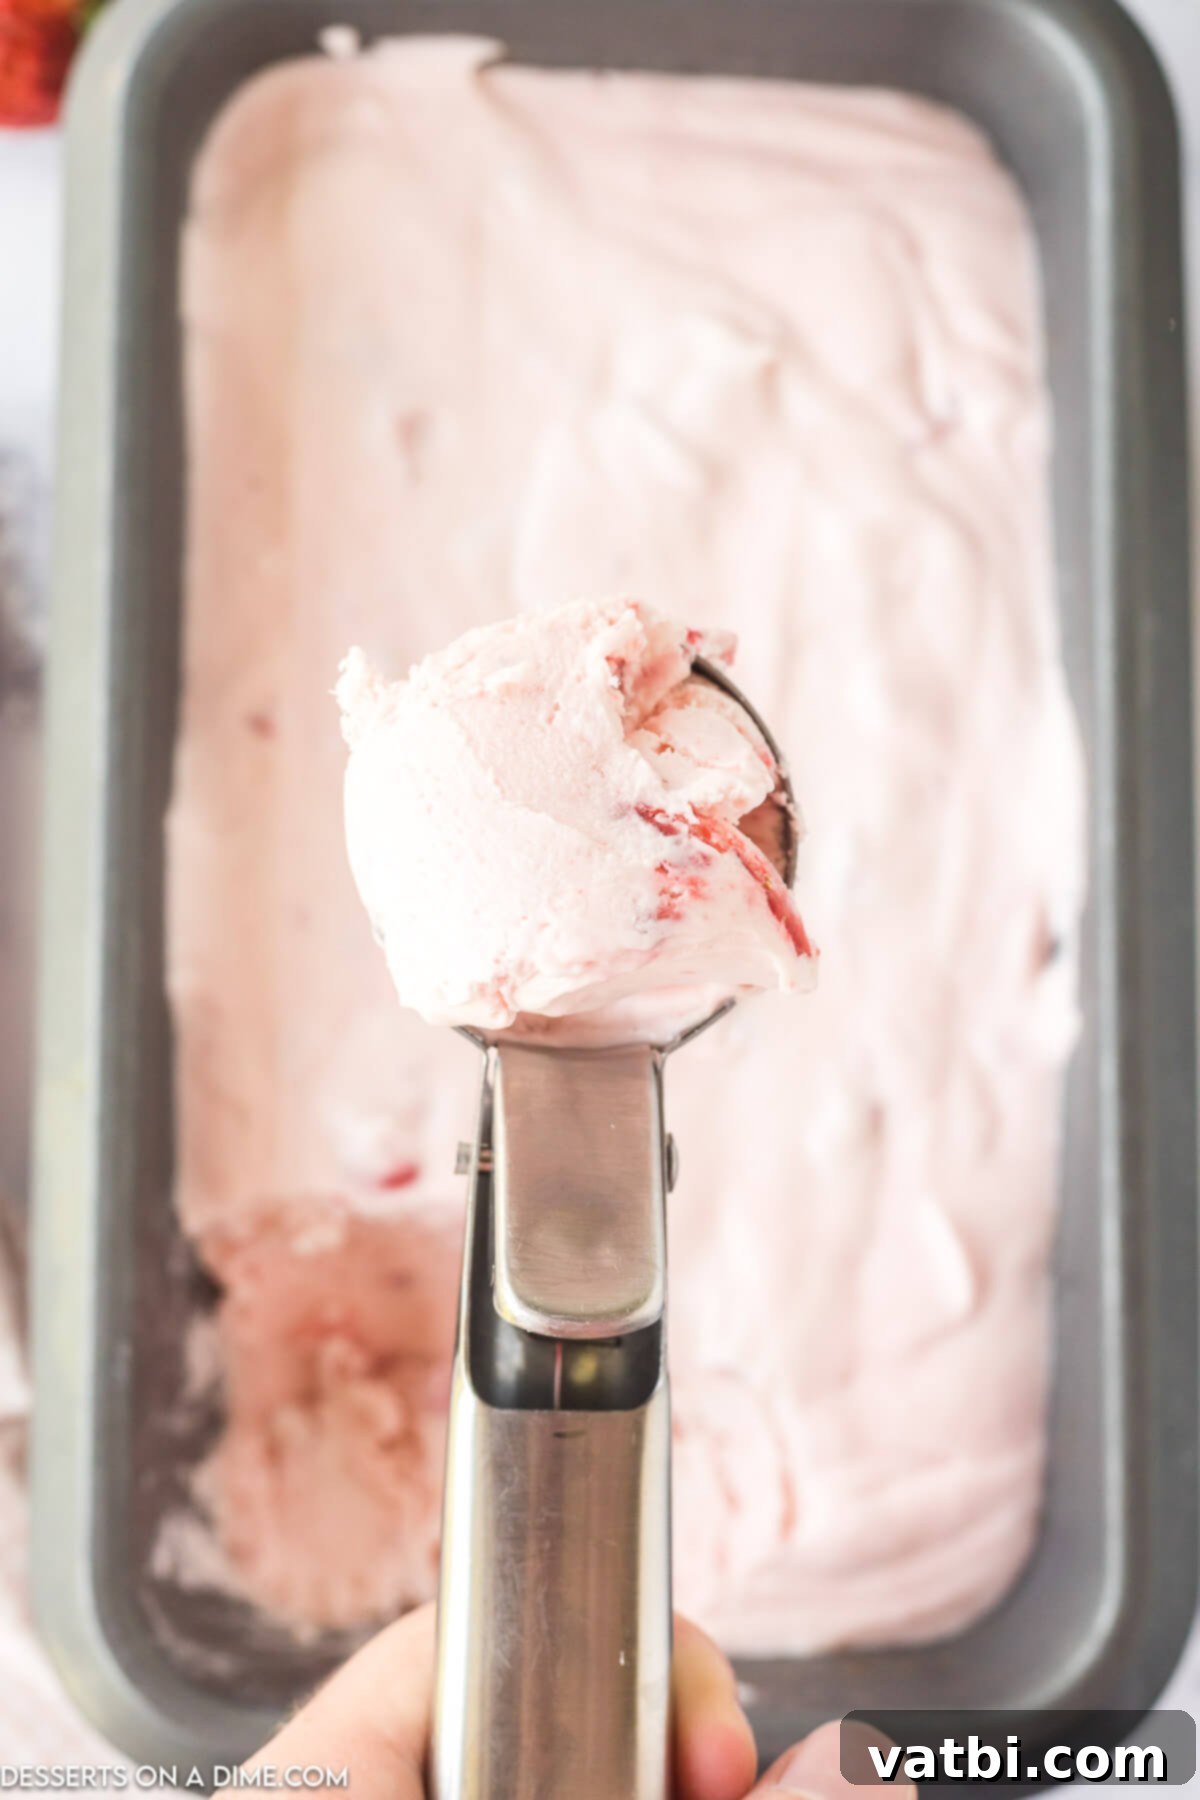
Step 7. Freeze to Perfection. Cover the loaf pan tightly with plastic wrap, ensuring the wrap directly touches the surface of the ice cream to prevent ice crystals from forming. Place the pan in your freezer and allow the ice cream to freeze for a minimum of 5 hours. For the absolute best consistency and firmness, freezing overnight is highly recommended. The longer it freezes, the firmer and more scoopable it will be.
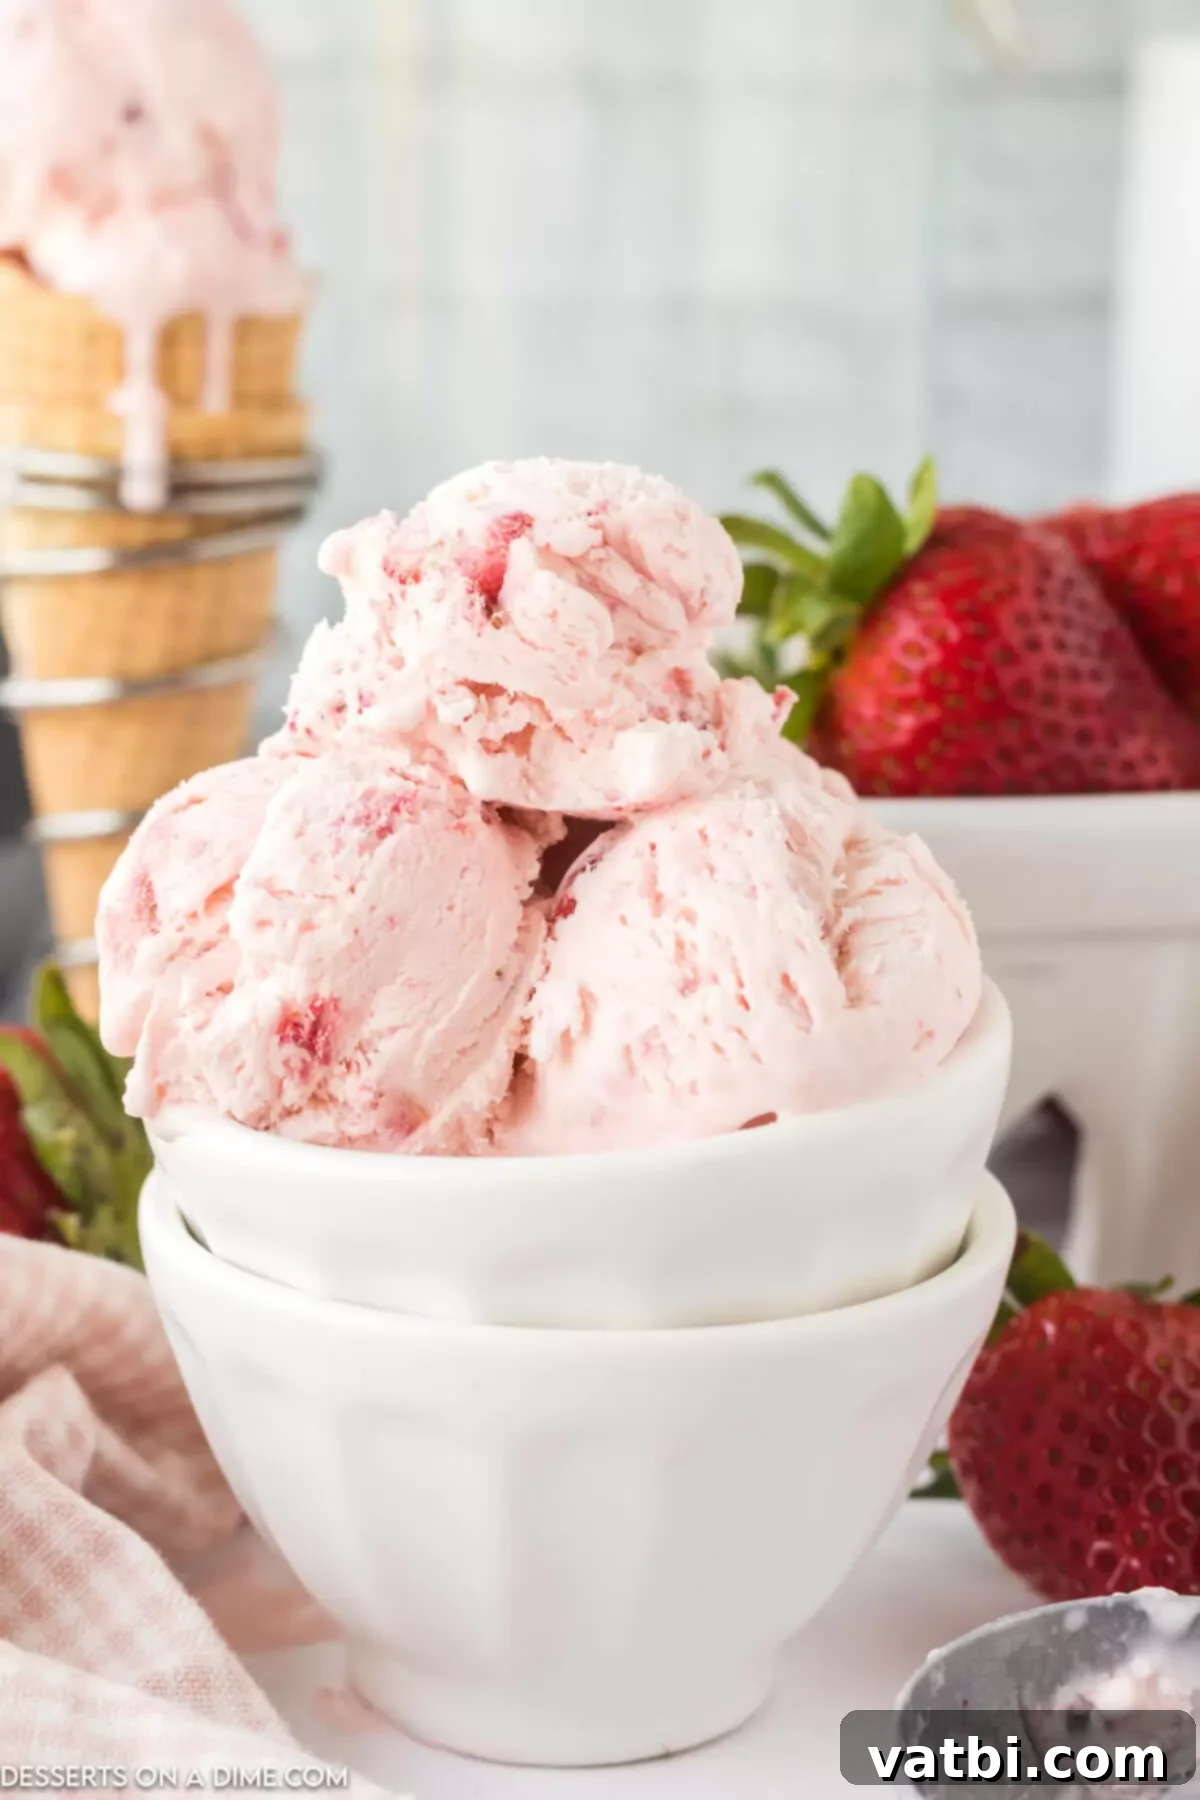
Step 8. Scoop and Savor. Once thoroughly frozen, your homemade no-churn strawberry ice cream is ready! Remove it from the freezer, let it sit for a few minutes to soften slightly if needed, then scoop generously into bowls or cones. You’ll discover it has the most perfect, wonderfully creamy texture, bursting with fresh strawberry flavor. Enjoy every spoonful of your easy homemade delight!
Creative Serving Suggestions
Once your luscious No-Churn Strawberry Ice Cream is perfectly frozen, the fun doesn’t stop there! While it’s utterly delicious on its own, there are many delightful ways to serve and enjoy this homemade treat. Here are some creative serving options to make your dessert experience even more special:
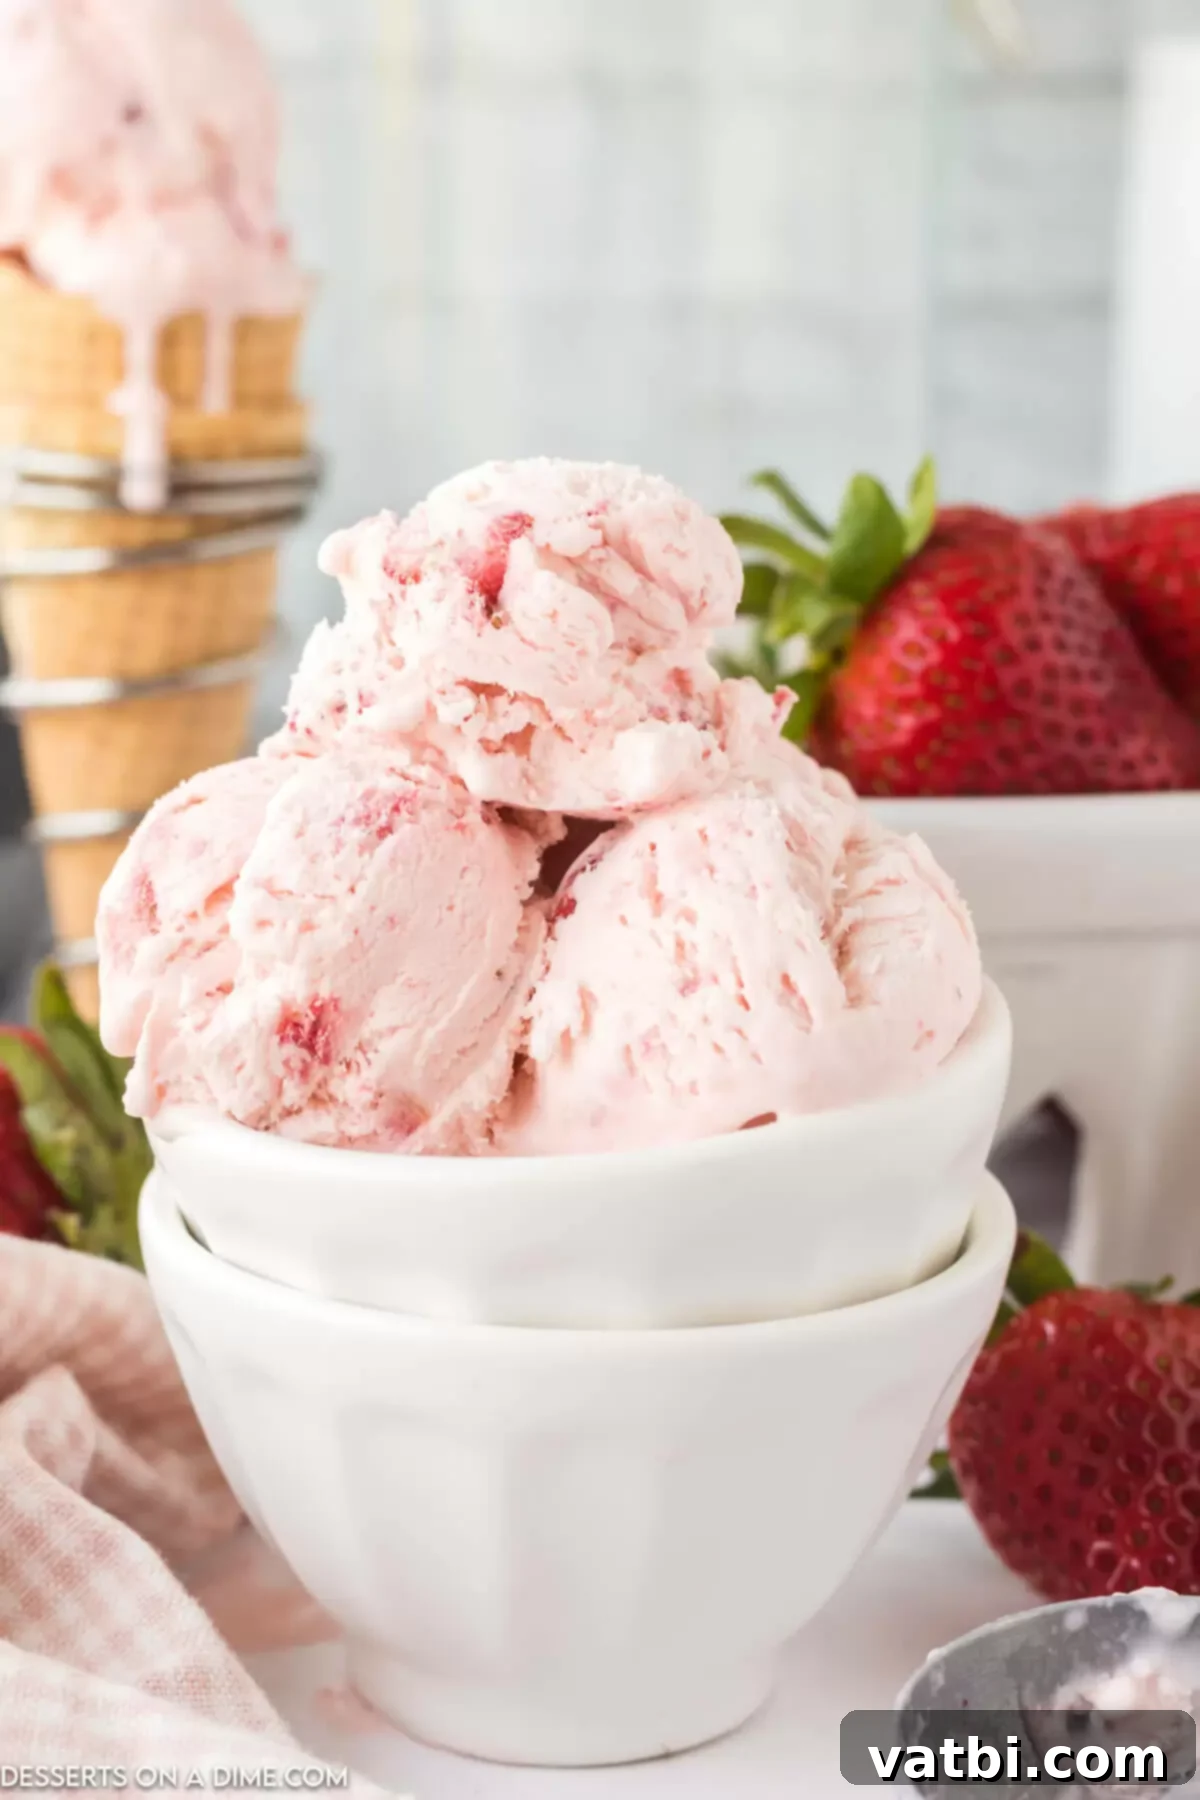
- Classic Cone or Bowl. For a timeless experience, simply scoop your creamy strawberry ice cream into a crispy waffle cone, sugar cone, or a simple dessert bowl. This allows the pure, vibrant flavor of the strawberries to truly shine. It’s a classic for a reason – perfectly refreshing and satisfying on its own!
- Strawberry Delight Sundae. Elevate your serving by creating a mini sundae. Place scoops of ice cream in a bowl and top with even more fresh strawberry slices or a spoonful of strawberry sauce. A generous dollop of Homemade Whipped Cream adds a cloud-like lightness, and a sprinkle of colorful sprinkles or chopped nuts can add a fun texture and visual appeal.
- Banana Split Extravaganza. Homemade strawberry ice cream is an absolute star in a classic banana split. Arrange a sliced banana, add scoops of your strawberry ice cream (and perhaps a complementary flavor like vanilla or chocolate), then drizzle with chocolate syrup, caramel, or hot fudge. Finish with whipped cream, nuts, and a cherry for the ultimate indulgent treat.
- Dessert A La Mode. Pair your strawberry ice cream with other warm desserts. It’s an incredible topping for apple pie, peach cobbler, or a warm brownie, offering a delightful contrast of warm and cold, and rich and fruity flavors.
- Milkshakes and Smoothies. Transform your ice cream into a thick, creamy milkshake! Blend a few scoops with a splash of milk and perhaps a little extra fresh strawberry for an extra fruity boost. It also makes a fantastic base for a quick fruit smoothie.
Proper Storage for Lasting Freshness
To ensure your delicious No-Churn Strawberry Ice Cream remains fresh, creamy, and free of ice crystals for as long as possible, proper storage is key. Following these simple guidelines will help you savor your homemade treat for weeks to come:
Once the ice cream is fully frozen and firm, transfer it from the loaf pan into an airtight freezer-safe container. This could be a specialized ice cream container, a sturdy plastic container with a tight-fitting lid, or even a heavy-duty zip-top freezer bag. The goal is to minimize exposure to air, which is the primary cause of freezer burn and ice crystal formation.
For an extra layer of protection, consider placing a layer of plastic wrap or wax paper directly on the surface of the ice cream before securing the lid. Press the wrap down so it touches the entire surface of the ice cream. This creates an additional barrier against air and moisture, helping to maintain its smooth texture and prevent any unwanted ice crystals from forming on top. This small step can make a significant difference in preserving the quality of your ice cream.
Store the container in the coldest part of your freezer, typically towards the back, where temperatures are more consistent. Properly stored, your homemade no-churn strawberry ice cream can retain its optimal flavor and creamy consistency for up to one month. While it might still be edible beyond that, the quality may start to diminish as ice crystals slowly develop over time.
Top Tips for Perfect No-Churn Ice Cream
Achieving the perfect creamy, dreamy no-churn ice cream is simple, but a few key tips can elevate your results from good to absolutely outstanding. Keep these pointers in mind for your best batch yet:
- Freeze overnight for best results. While 5 hours is the minimum freezing time, allowing your ice cream to freeze overnight (for at least 8-12 hours) is highly recommended. Depending on the efficiency and temperature of your freezer, the actual freezing time can vary. An overnight freeze ensures the ice cream is thoroughly chilled and firm, resulting in a perfectly scoopable and stable consistency that holds up beautifully. It also gives the flavors more time to meld and deepen.
- Utilize a metal container. If you have the option, use a metal loaf pan or a metal freezer-safe container over a glass one for freezing. Metal conducts cold more efficiently than glass, which means your ice cream will freeze faster and more evenly. This can help prevent the formation of larger ice crystals and contribute to a smoother texture.
- Insist on full-fat ingredients. For the absolute best flavor and luxurious consistency, it’s crucial to use full-fat heavy whipping cream and regular sweetened condensed milk. The high fat content in the cream is essential for creating a rich, smooth texture and preventing the formation of ice crystals. Similarly, the specific sugar content and thickness of sweetened condensed milk are critical to the no-churn process. Substituting with low-fat versions or evaporated milk will alter the chemistry and likely result in a less creamy, icier ice cream.
- Fresh fruit is ideal, but frozen works too. Fresh, ripe strawberries will undoubtedly provide the most vibrant, intense flavor and aroma for your ice cream. Their natural sweetness and juicy texture are unparalleled. However, if fresh strawberries are out of season or unavailable, you can certainly use frozen strawberries. If using frozen, be sure to let the fruit thaw completely in the refrigerator before dicing and macerating. Drain any excess liquid that accumulates during thawing to prevent watering down your ice cream base, which could lead to an icier texture.
- Achieve a thicker consistency. For those who love a truly chunky, fruit-filled ice cream, consider adding an extra quarter cup (or even half a cup) of diced strawberries. To prevent them from clumping at the bottom, fold them into the ice cream mixture just before transferring it to the loaf pan, or even swirl them in after it’s already in the pan. You can also mix in some pureed strawberry jam for an even more intense strawberry burst.
- Sweetened Condensed Milk is non-negotiable. This ingredient is the cornerstone of any successful no-churn ice cream recipe. It serves as both the primary sweetener and a crucial thickening agent. When gently folded into the whipped cream, its unique composition prevents the whipped cream from turning into a block of ice and instead helps create that signature smooth, creamy, and scoopable consistency that defines no-churn ice cream. Do not attempt to substitute it.
- Enhance the flavor with quality vanilla. Don’t underestimate the power of good vanilla extract. It doesn’t just add its own delightful fragrance; it actually helps to draw out and amplify the natural sweetness and complex fruity notes of the strawberries, creating a more well-rounded and harmonious flavor profile. Pure vanilla extract is always preferred over imitation for a superior taste.
- Avoid overmixing. Once you add the sweetened condensed milk and especially the strawberry mixture, switch to a rubber spatula and fold gently. Overmixing can deflate the air incorporated into the heavy cream, which is crucial for the light and creamy texture of no-churn ice cream. Gentle folding preserves this air, ensuring a soft, delightful mouthfeel.
- Pre-chill your loaf pan. For an extra boost in freezing efficiency, place your loaf pan in the freezer for 15-30 minutes before pouring in the ice cream mixture. This can help the mixture start freezing more quickly, contributing to a smoother final texture.
Frequently Asked Questions
Absolutely! This recipe can very easily be doubled or even tripled if you’re feeding a crowd or simply want to stock up on this delicious treat. However, it’s important to keep in mind that if you double the recipe, you will need two loaf pans (or similarly sized freezer-safe containers) to freeze the mixture in. Overfilling a single pan will significantly increase the freezing time and could compromise the final texture. Ensure ample space in your freezer for all pans.
Yes, frozen berries are a perfectly acceptable substitute in this recipe, especially if fresh strawberries are not in season or readily available. While we generally recommend fresh strawberries for their enhanced flavor and natural sweetness, frozen ones will still yield a delicious result. The key is to thaw the frozen strawberries completely in the refrigerator before using them. Once thawed, drain any excess moisture thoroughly to prevent watering down the ice cream base, which could lead to an icier texture. Then proceed with dicing and macerating them with sugar as directed.
The delightful softness and creamy texture of no-churn ice cream, even without an ice cream maker, comes down to two main factors: air incorporation and high fat/sugar content.
Typically, an ice cream maker constantly churns the mixture during freezing, which continuously breaks up ice crystals as they form and incorporates air, resulting in a soft and smooth consistency.
In no-churn ice cream, the initial whipping of the heavy cream achieves a similar effect by incorporating a significant amount of air into the mixture before it goes into the freezer. This trapped air prevents the ice cream from freezing into a solid, hard block.
Additionally, the high fat content from the heavy whipping cream and the high sugar content from the sweetened condensed milk play a crucial role. Both fat and sugar lower the freezing point of water and interfere with the formation of large ice crystals. The fat molecules also contribute to a richer mouthfeel. This combination of aeration and specific ingredient properties ensures that no-churn ice cream retains its signature soft, creamy, and scoopable texture.
Discover More Homemade Ice Cream Recipes
If you’ve enjoyed the simplicity and deliciousness of this No-Churn Strawberry Ice Cream, you’re in for a treat! The world of homemade frozen desserts is vast and exciting, offering endless flavors and textures to explore. Here are some more delightful ice cream recipes you might love:
- Decadent Chocolate Caramel Ice Cream
- Authentic Homemade Gelato
- Refreshing Orange Sherbet
- Luscious White Chocolate Raspberry Ice Cream
- Classic Cherry Garcia Ice Cream
- Easy No-Churn Peach Ice Cream Recipe
We hope you’ll give this fantastic No-Churn Strawberry Ice Cream recipe a try today! It’s an incredibly rewarding experience to create such a delicious dessert from scratch with so little effort. Once you’ve made it, please don’t hesitate to leave a comment below and let us know what you thought. We love hearing about your kitchen adventures and how your homemade ice cream turned out!
Pin
No Churn Strawberry Ice Cream
Ingredients
- 2 cups heavy whipping cream (must be very cold)
- 1 teaspoon pure vanilla extract
- 14 ounce sweetened condensed milk
- 1 cup fresh diced strawberries (small dice)
- ½ cup white granulated sugar
Instructions
-
In a small bowl, combine the diced strawberries and granulated sugar. Toss gently until the fruit is evenly coated. Allow the mixture to sit for 15 minutes to allow the strawberries to macerate and release their flavorful juices.
-
While the strawberries are macerating, use an electric hand mixer or a stand mixer with a whisk attachment to whip the cold heavy whipping cream and vanilla extract. Beat on high speed for approximately 4 minutes, or until the mixture forms firm, stiff peaks.
-
Reduce the speed of your hand mixer to low. Slowly pour in the sweetened condensed milk and continue to mix until it is fully incorporated and the mixture is smooth and homogenous with the whipped cream.
-
Gently fold in the macerated strawberry mixture, including all the delicious juices, using a rubber spatula until just combined. Be careful not to overmix, as this can deflate the cream.
-
Transfer the ice cream mixture into a 9×5 inch bread loaf pan. Lightly tap the pan on the counter a few times to evenly distribute the mixture and release any air bubbles. Cover the pan tightly with plastic wrap, ensuring the wrap touches the surface of the ice cream to prevent ice crystal formation. Place in the freezer for at least 5 hours, or ideally overnight for optimal firmness.
-
Once thoroughly frozen, scoop and serve! Enjoy the perfect creamy texture and vibrant strawberry flavor.
Recipe Notes
Fresh, ripe strawberries will impart the most intense and authentic flavor to your ice cream. However, frozen strawberries can be used as a convenient alternative. If using frozen, remember to thaw them completely in the refrigerator and drain any excess liquid before dicing and incorporating them into the recipe.
Sweetened condensed milk is a crucial component in no-churn ice cream. It acts as both a powerful sweetener and a thickening agent, contributing significantly to the smooth, rich, and creamy consistency. When folded into the whipped cream, it ensures the ice cream freezes without forming large ice crystals. The vanilla extract also plays an important role, enhancing the natural sweetness and complex fruit notes of the strawberries.
If you prefer an ice cream with more substantial fruit pieces, you can easily increase the amount of diced strawberries. Consider adding an extra quarter cup to half a cup of diced fruit to the mixture after it has been transferred to the loaf pan, gently swirling them in for an even chunkier texture.
Nutrition Facts
Pin This Now to Remember It Later
Pin Recipe
