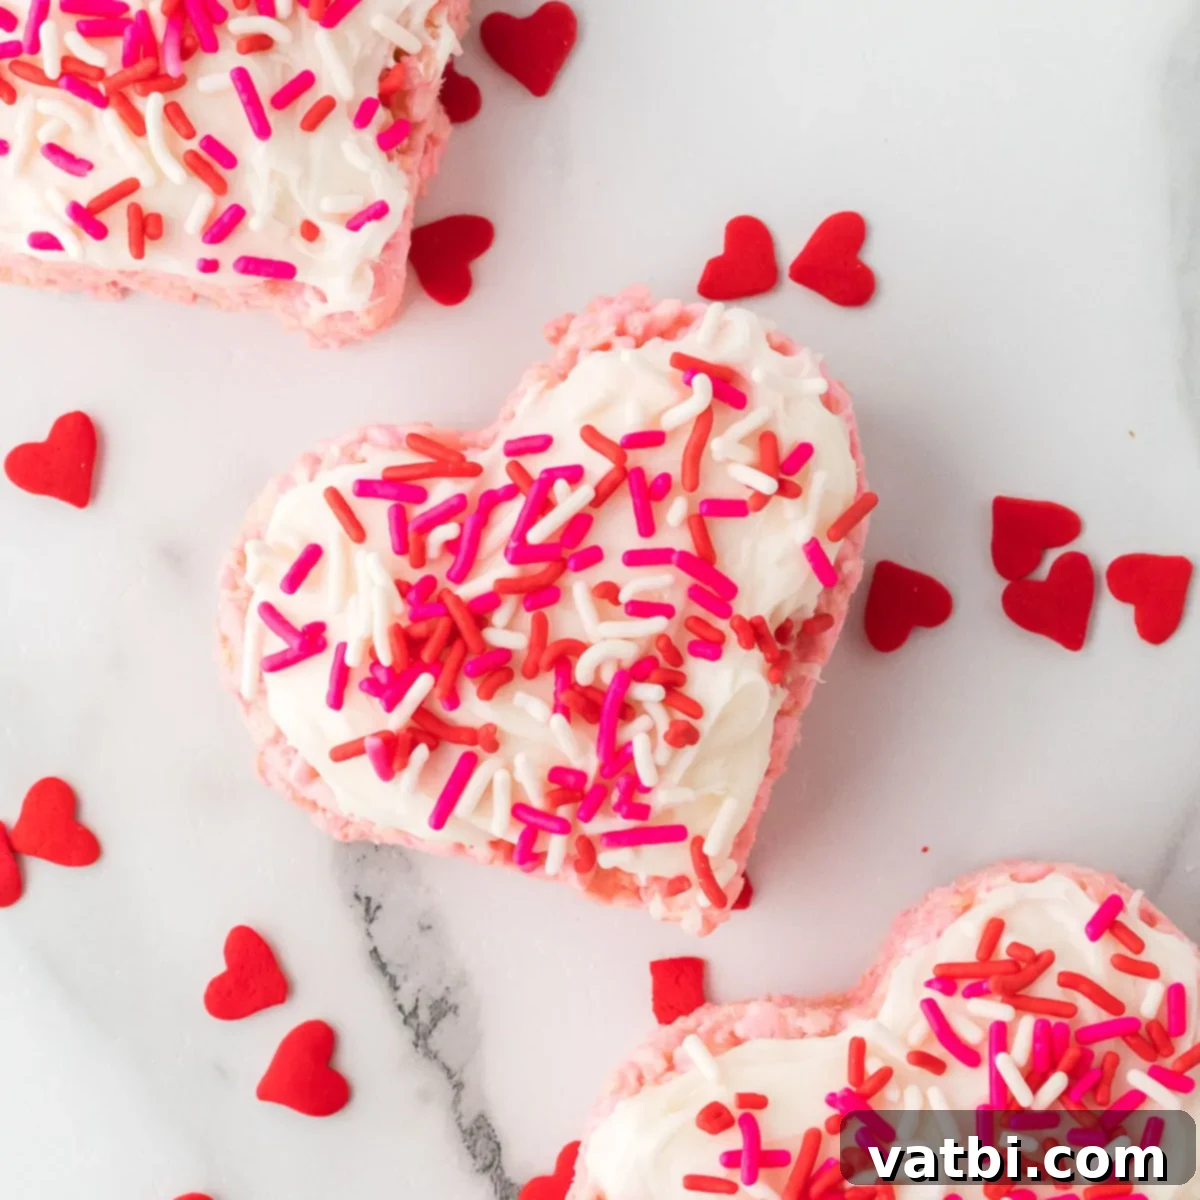
Delightful Valentine’s Day Rice Krispie Treats: Easy Heart-Shaped No-Bake Dessert!
Valentine Rice Krispie treats are an absolutely charming and wonderfully festive way to celebrate the season of love! This incredibly easy recipe promises an irresistible, ooey-gooey treat that will delight everyone who tries it. Perfect for school parties, family gatherings, or a special homemade gift, these heart-shaped delights bring a smile to every face.
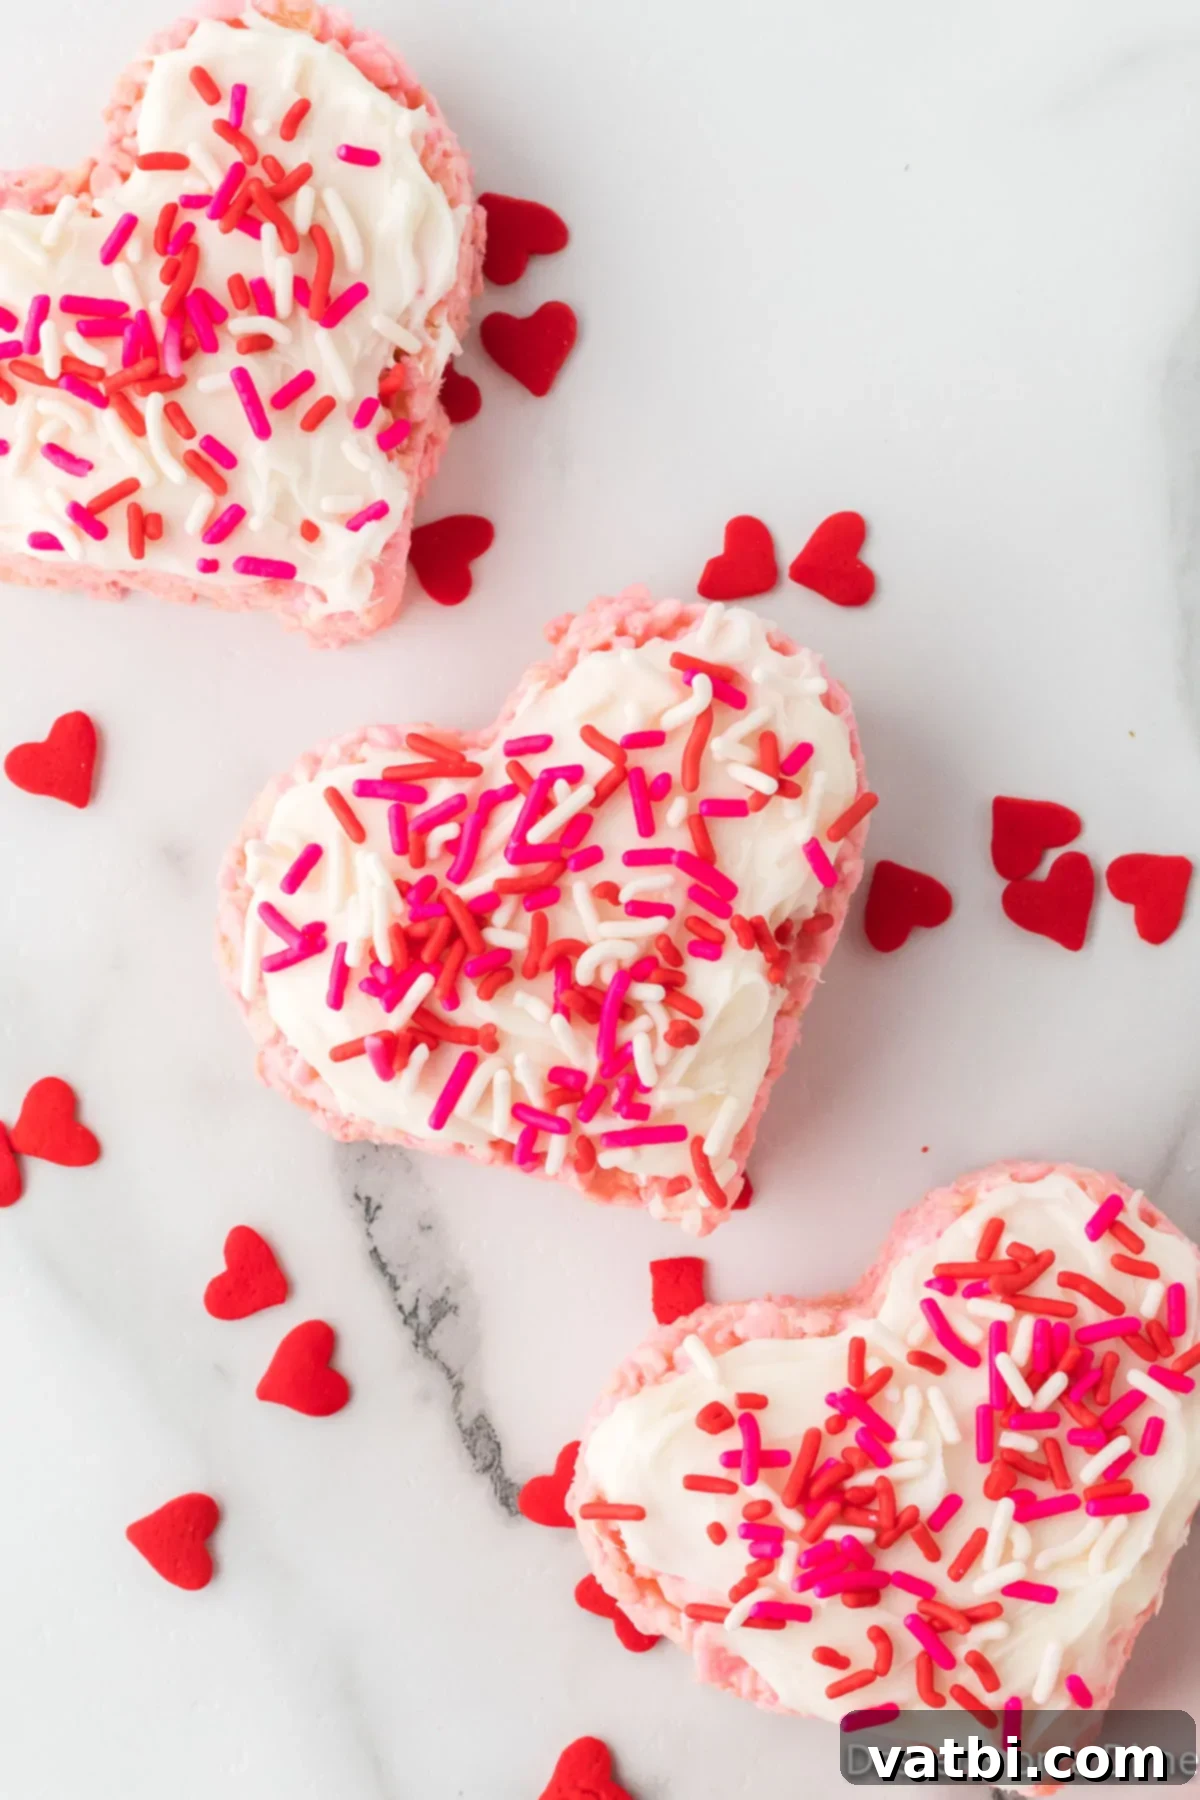
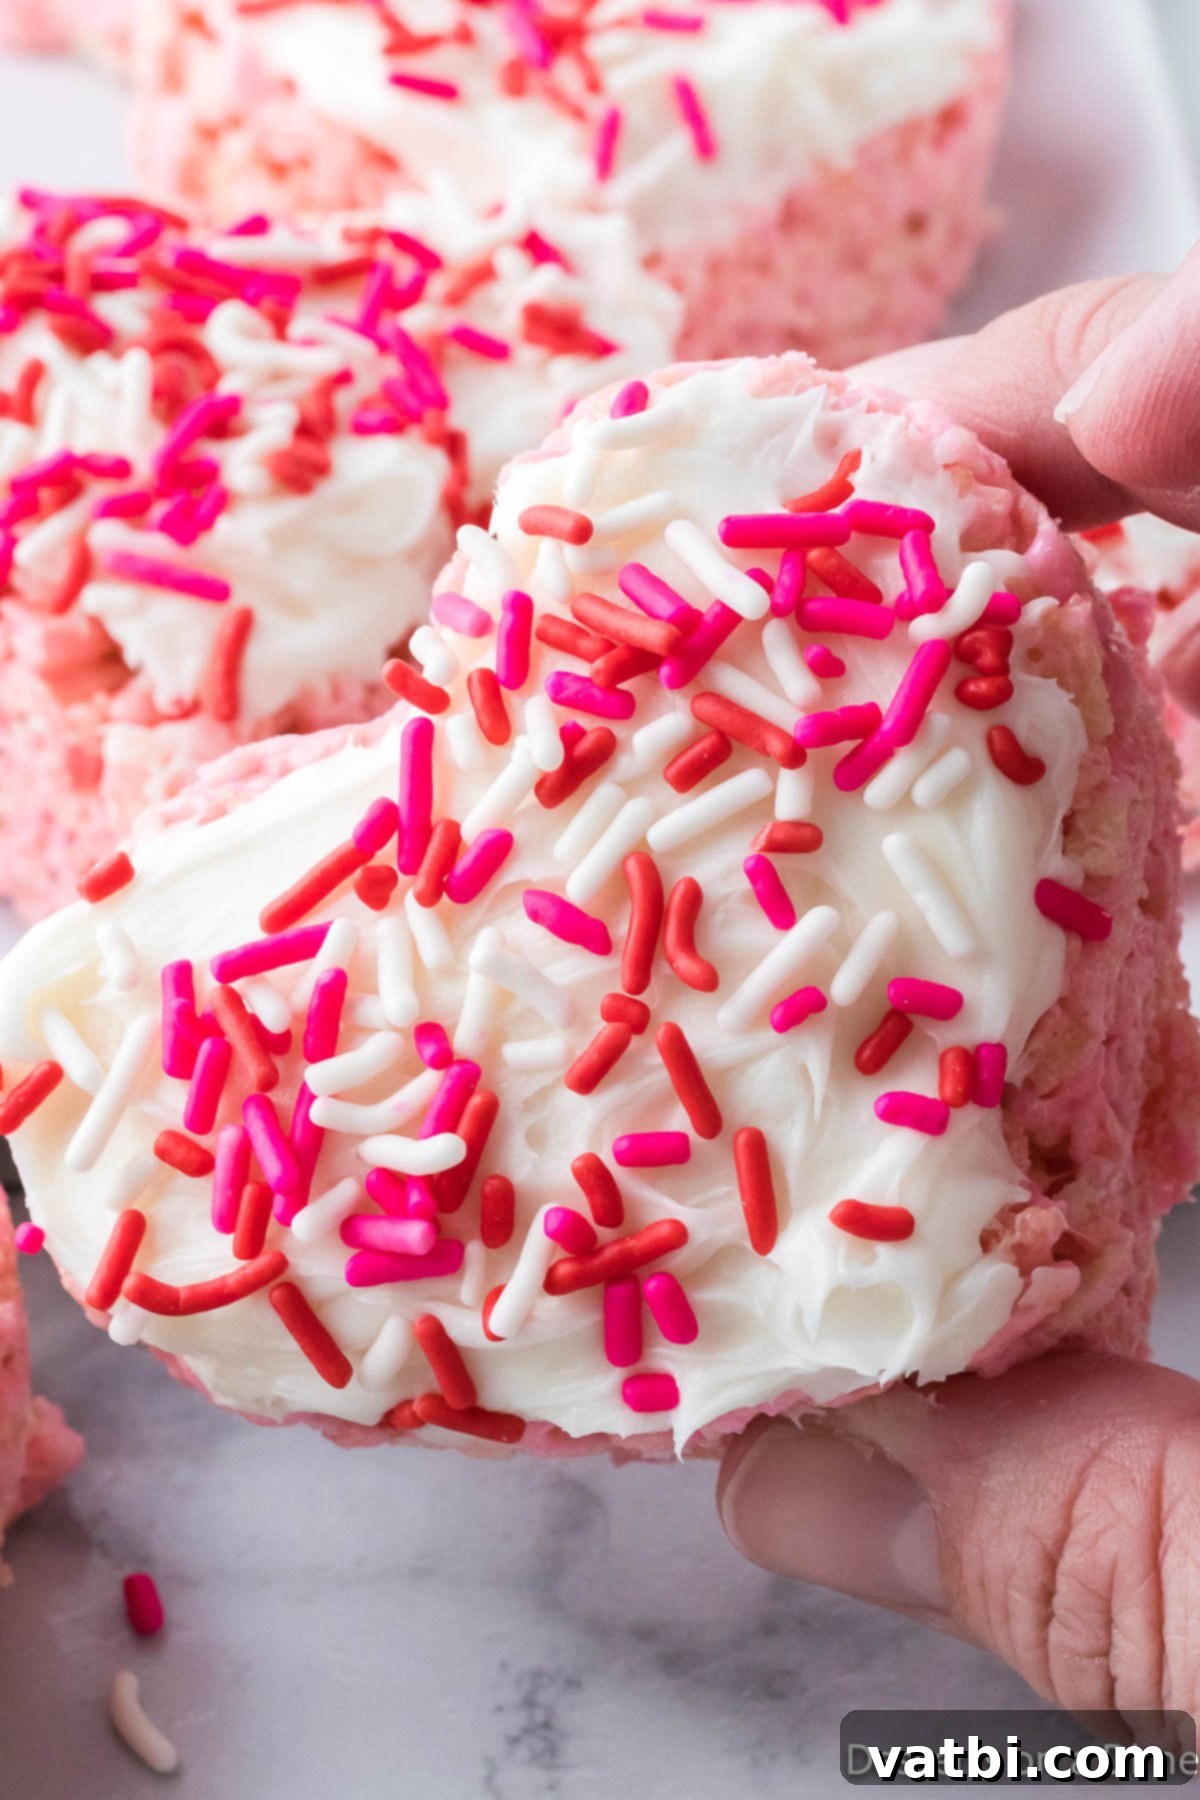
The distinctive heart shape, combined with a sweet icing drizzle and colorful sprinkles, transforms a classic snack into something truly special for Valentine’s Day. It’s hands down one of our favorite no-bake dessert recipes because of its simplicity and the impressive festive presentation it offers. You don’t need to be a baking expert to create these beautiful and delicious treats!
For busy individuals and parents, straightforward recipes are a lifesaver. Beyond these delightful Rice Krispie treats, we also love making Rice Krispies Cookies, which can be easily adapted for Valentine’s Day with a scattering of seasonal sprinkles. Another excellent no-bake option that’s quick to assemble is Valentine Chocolate Covered Pretzels, offering a delicious salty-sweet crunch and making for a fantastic pink dessert or heart-shaped dessert. These Rice Krispie treats, however, hold a special place for their chewy texture and vibrant look!
Table of contents
- Why We Love This Recipe
- Ingredients
- Delicious Variations
- How to Make Valentine Rice Krispie Treats
- Recipe Tips for Perfect Treats
- Storage Tips
- Frequently Asked Questions
- More Valentine’s Day Desserts to Try
- More Rice Krispie Treats
Why We Love This Recipe
There are countless reasons why these Valentine’s Day Rice Krispie Treats have become a cherished tradition in many homes. They offer the nostalgic comfort of classic marshmallow cereal treats, elevated with a touch of holiday magic:
- Effortless Preparation: This is truly a no-fuss recipe. With no baking required, you can whip up a batch in under 15 minutes of active prep time. The simplicity makes it perfect for even novice bakers.
- Budget-Friendly Ingredients: Made with readily available and inexpensive pantry staples like cereal, marshmallows, and butter, these treats are kind to your wallet.
- Kid-Friendly Fun: The process is engaging for children! From stirring the colorful mixture to pressing it into the pan and, of course, cutting out the heart shapes and adding sprinkles, kids will love being involved in every step. It’s a wonderful way to create lasting memories.
- Customizable Creativity: The basic recipe is a fantastic canvas for your imagination. Easily change colors, add different toppings, or experiment with various flavor profiles to suit any preference or occasion.
- Perfect for Gifting and Parties: Their appealing heart shape and vibrant colors make them ideal for school parties, potlucks, or as heartfelt homemade gifts for friends and loved ones. Individually wrapping them makes them easy to share.
- Deliciously Gooey Texture: When made correctly, these treats are perfectly chewy and gooey, just like the classic version, but with an added festive flair.
Ingredients
Gathering your ingredients is the first step to creating these adorable and delicious treats. Most items are likely already in your pantry, making this a spontaneous dessert option!
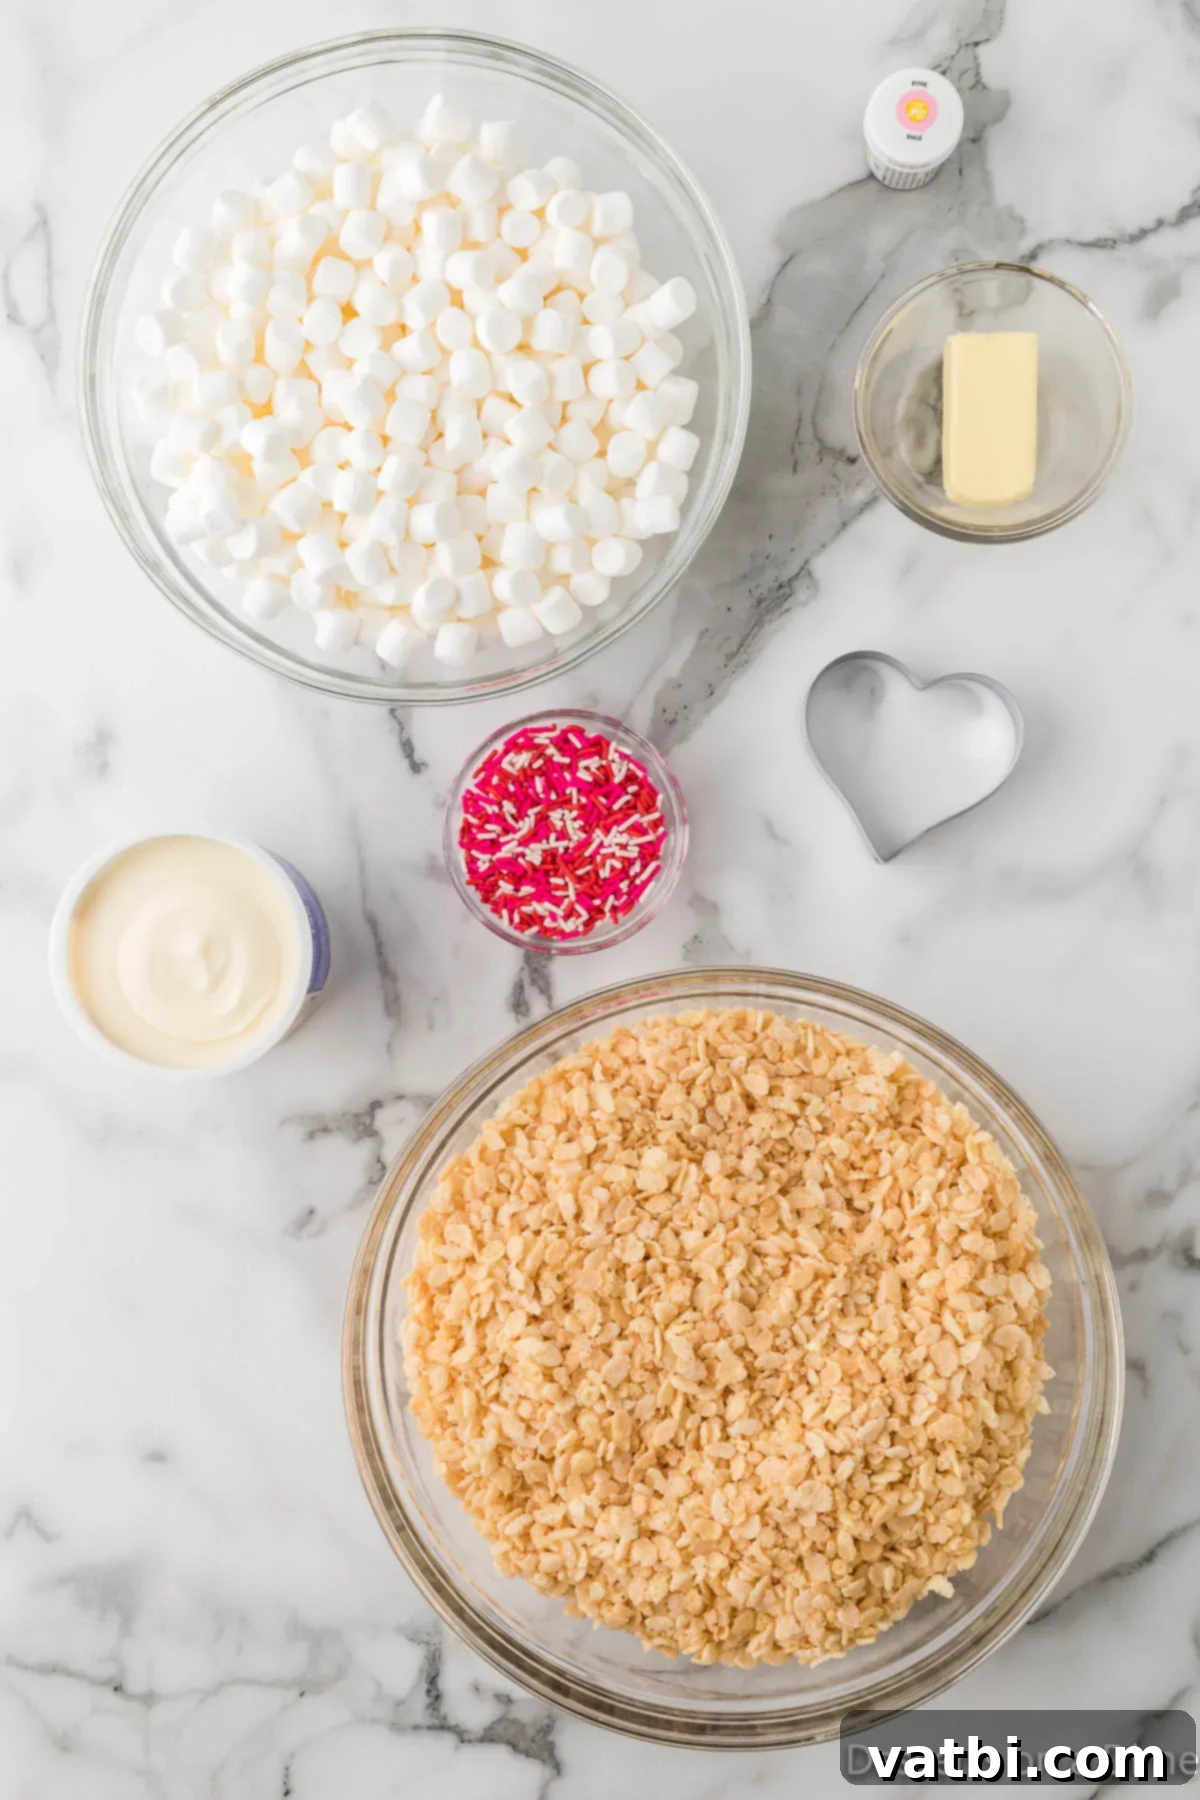
- Rice Krispie Cereal
- Mini Marshmallows
- Red Food Coloring (gel food coloring provides a more vibrant hue!)
- Heart Cookie Cutter (for that perfect festive shape)
- Pre-made Vanilla Frosting (convenient and delicious! You can also make homemade frosting if you prefer for a richer flavor.)
- Red, White, and Pink Sprinkles (or any festive Valentine’s Day mix)
For the full, detailed recipe list with precise measurements, simply scroll down to the bottom of this page where you’ll find our complete recipe card.
Delicious Variations
While the classic Valentine Rice Krispie Treat is fantastic on its own, don’t hesitate to get creative with these delicious variations to make them uniquely yours:
- Experiment with Different Sprinkles: The type of sprinkles you use can dramatically change the look. Beyond the classic red, white, and pink, consider iridescent edible glitter, heart-shaped confetti sprinkles, or even personalized candy letters to spell out sweet messages.
- Use Candy Melts Instead of Icing: For a smoother, more professional finish and a different texture, try drizzling melted white or pink candy melts over the hearts. Simply melt them according to package directions and use a spoon or a piping bag with a tiny hole to create elegant drizzles. You can even dip half the treat in melted candy for a striking look.
- Create Multi-Colored Hearts: For an even more dynamic presentation, divide your Rice Krispie mixture and use different amounts of red food coloring to make some hearts a vibrant red and others a delicate pink. You could even leave a portion white for a lovely tricolor assortment.
- Try Homemade Icing for Enhanced Flavor: While store-bought frosting is convenient, a homemade icing can elevate the taste. Our cream cheese frosting is incredibly rich and pairs wonderfully. A simple vanilla buttercream or even a chocolate frosting would also be absolutely delicious.
- Add More Toppings for Texture and Flavor: Unleash your inner dessert artist! Top the hearts with mini chocolate chips, finely shaved chocolate, or even crushed Valentine M&M’s for extra crunch and chocolatey goodness. Other fantastic ideas include shredded coconut, finely chopped nuts (if no allergies), or crushed peppermint candy for a refreshing twist.
- Dip the Hearts into Melted Chocolate: For a truly decadent treat, dip the entire heart or just half of it into melted semi-sweet, milk, or white chocolate. Be sure to add sprinkles immediately after dipping, before the chocolate sets, for a beautiful finish.
- Make Them Like Cake Pops with a Stick: Insert a lollipop stick into the base of each heart before the treats fully set. This makes them easy to hold and eat, similar to cake pops, and perfect for handing out individually wrapped as party favors or treats.
How to Make Valentine Rice Krispie Treats
Making these adorable Valentine’s Day Rice Krispie Treats is a straightforward process that yields impressive results. Follow these simple steps for perfectly gooey and festive desserts:
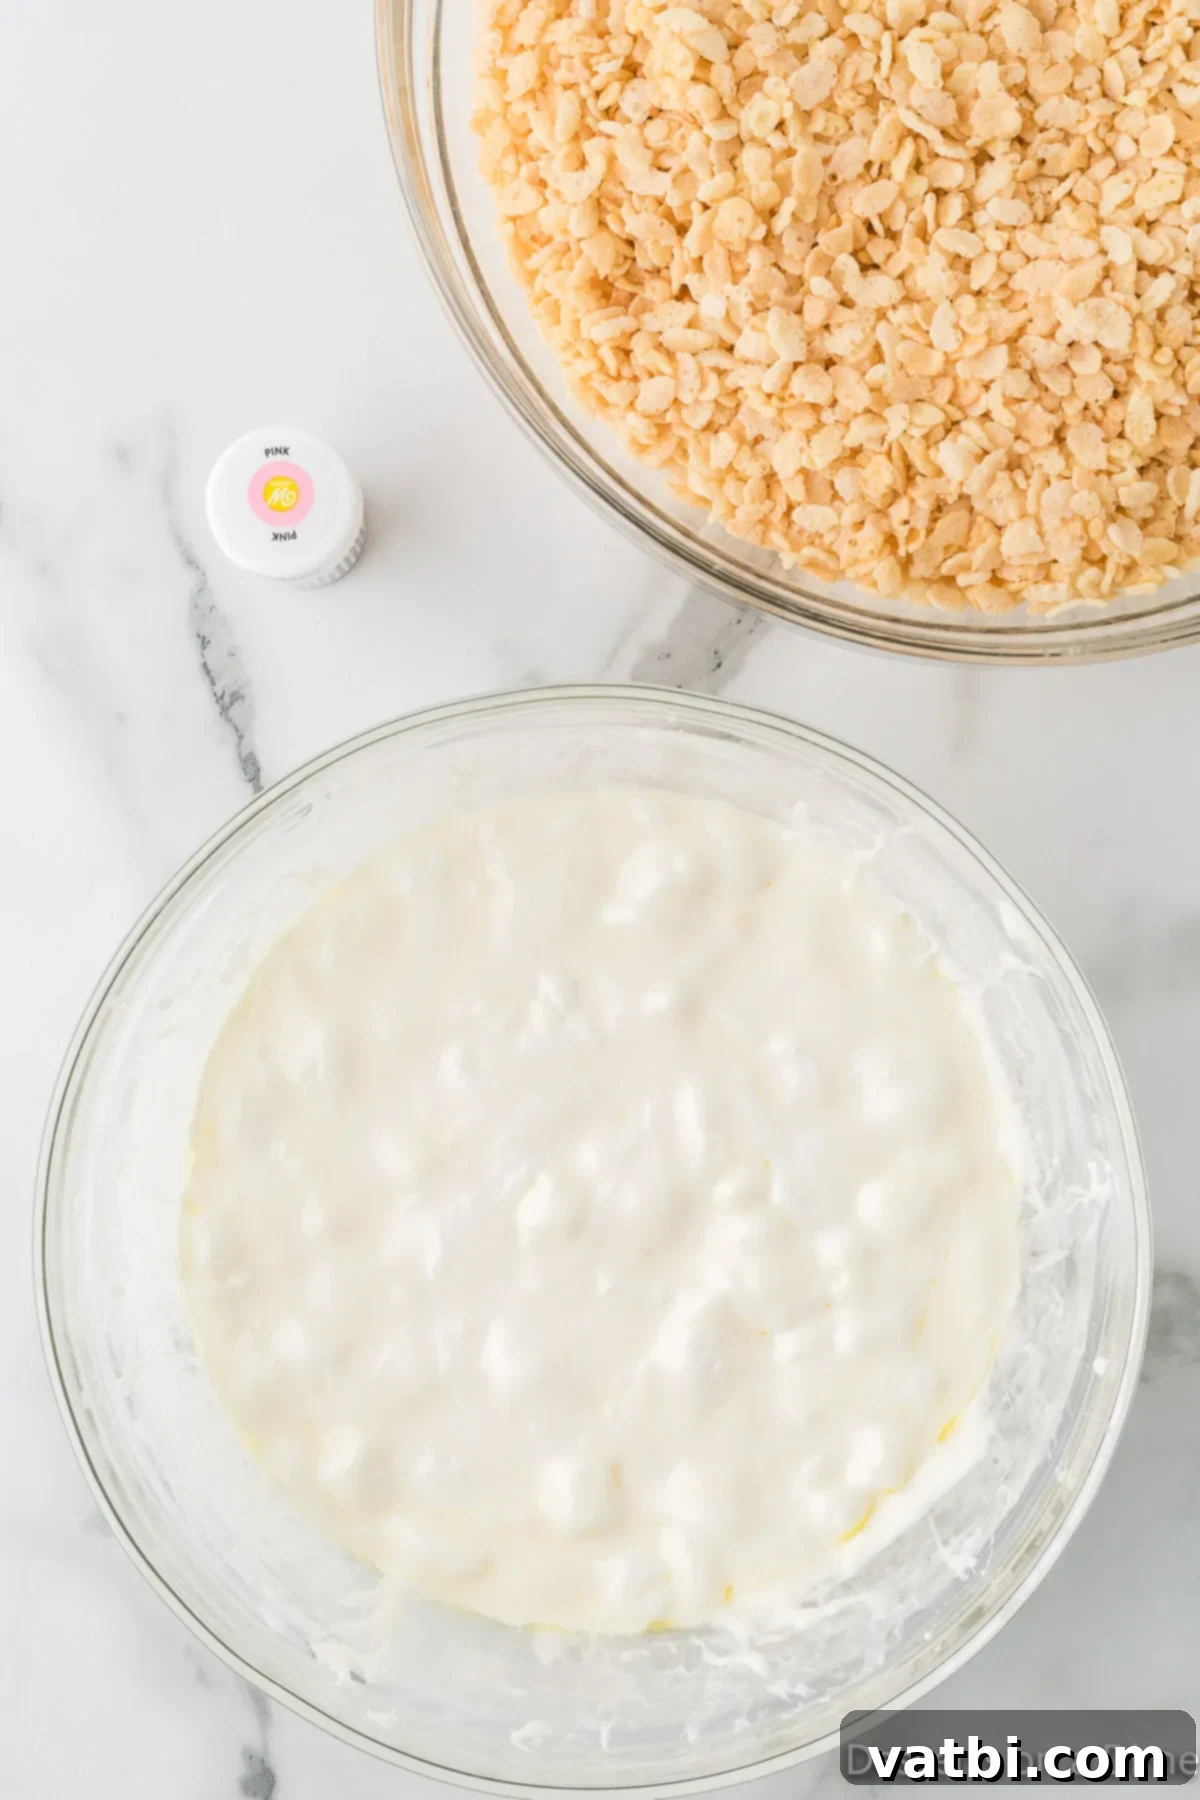
Step 1: Melt the Marshmallows and Butter. Begin by placing the unsalted butter and mini marshmallows into a large, microwave-safe bowl. Heat this mixture in 30-second intervals in the microwave, ensuring you stir thoroughly after each interval. This staggered heating prevents the marshmallows from burning and ensures an even, smooth melt. Continue until the marshmallow and butter mixture is completely melted and beautifully smooth. This typically takes about 3-4 minutes, depending on your microwave’s power. The goal is a perfectly fluid, sticky base for your treats.
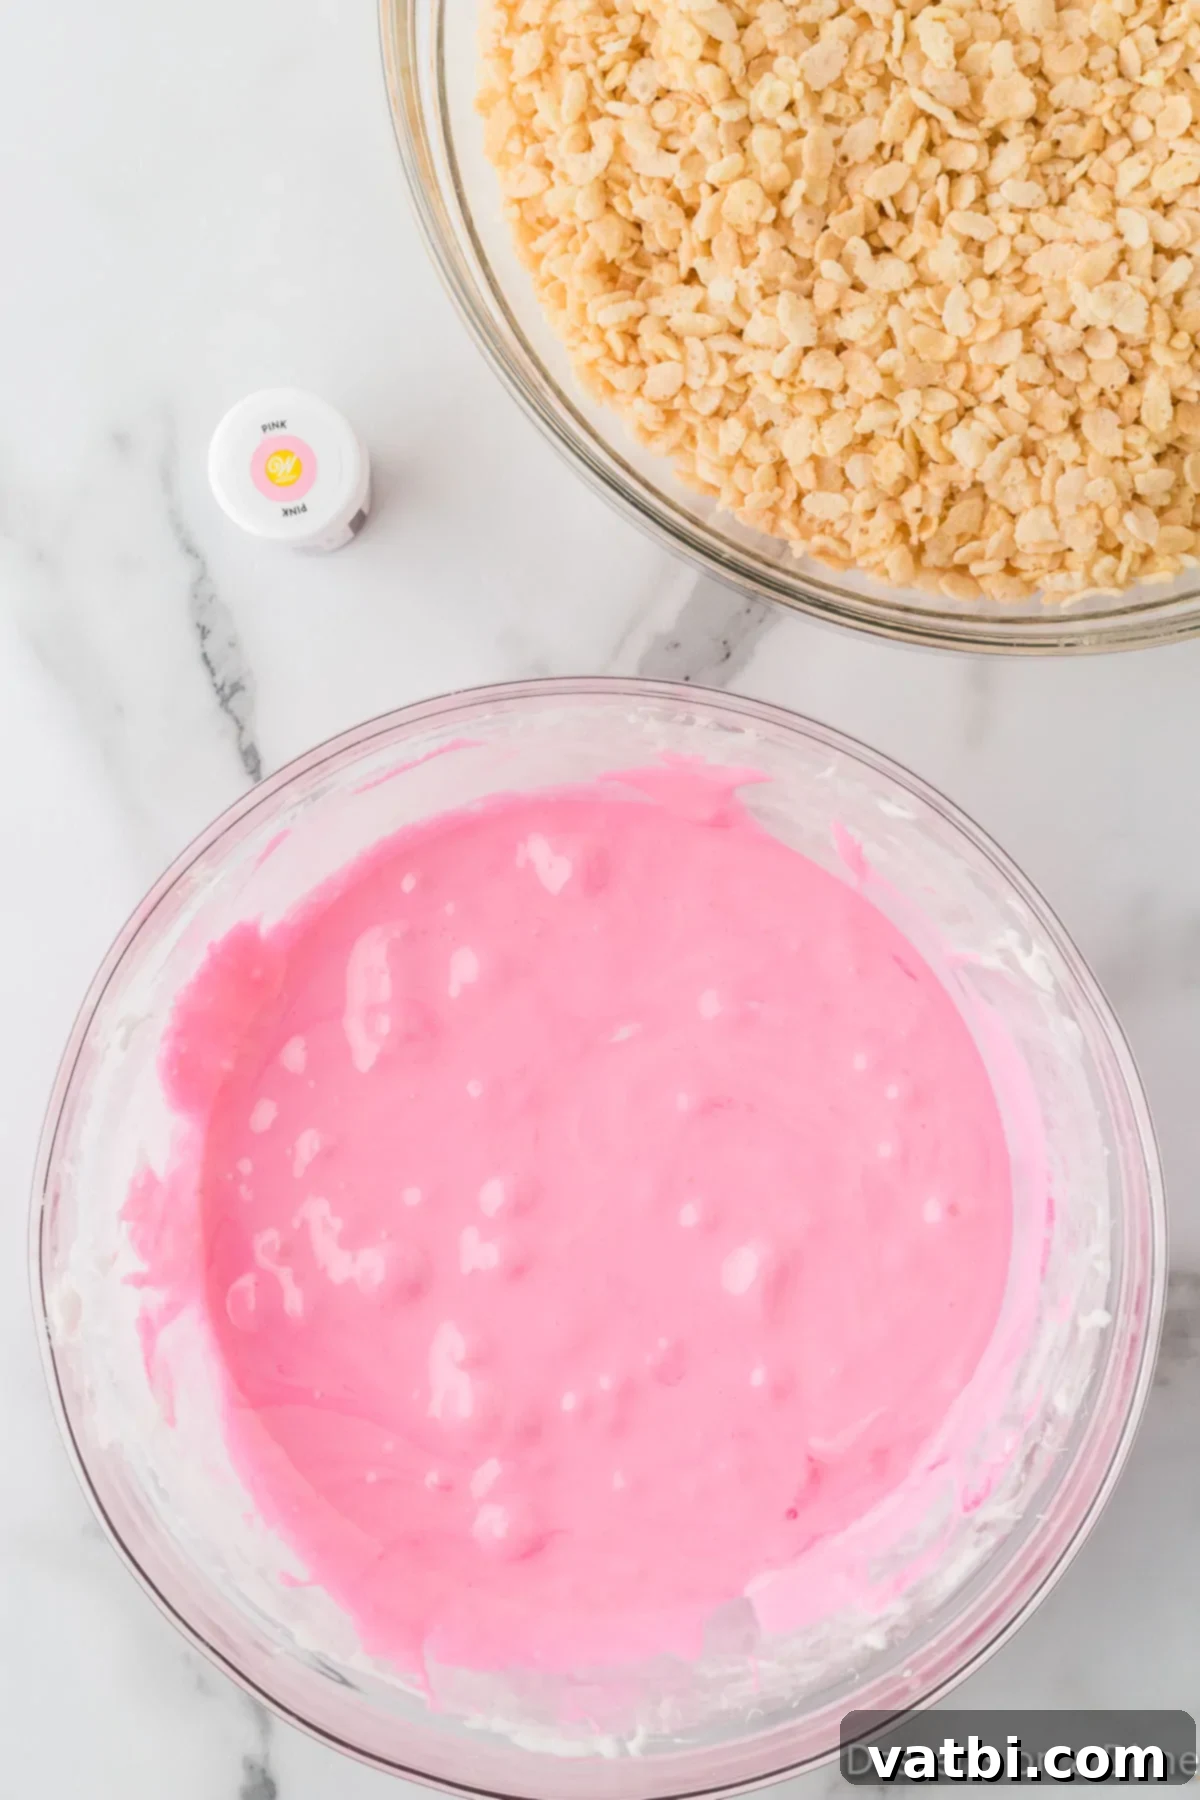
Step 2: Add the Red Food Coloring. Once your marshmallow mixture is fully melted, stir in 3 to 5 drops of red food coloring. Start with fewer drops and add more gradually until you achieve your desired shade of pink. For a more vibrant red, consider using gel food coloring, which provides a much richer hue with less liquid. Stir vigorously to ensure the color is evenly distributed throughout the gooey mixture, giving your treats that signature Valentine’s appeal.
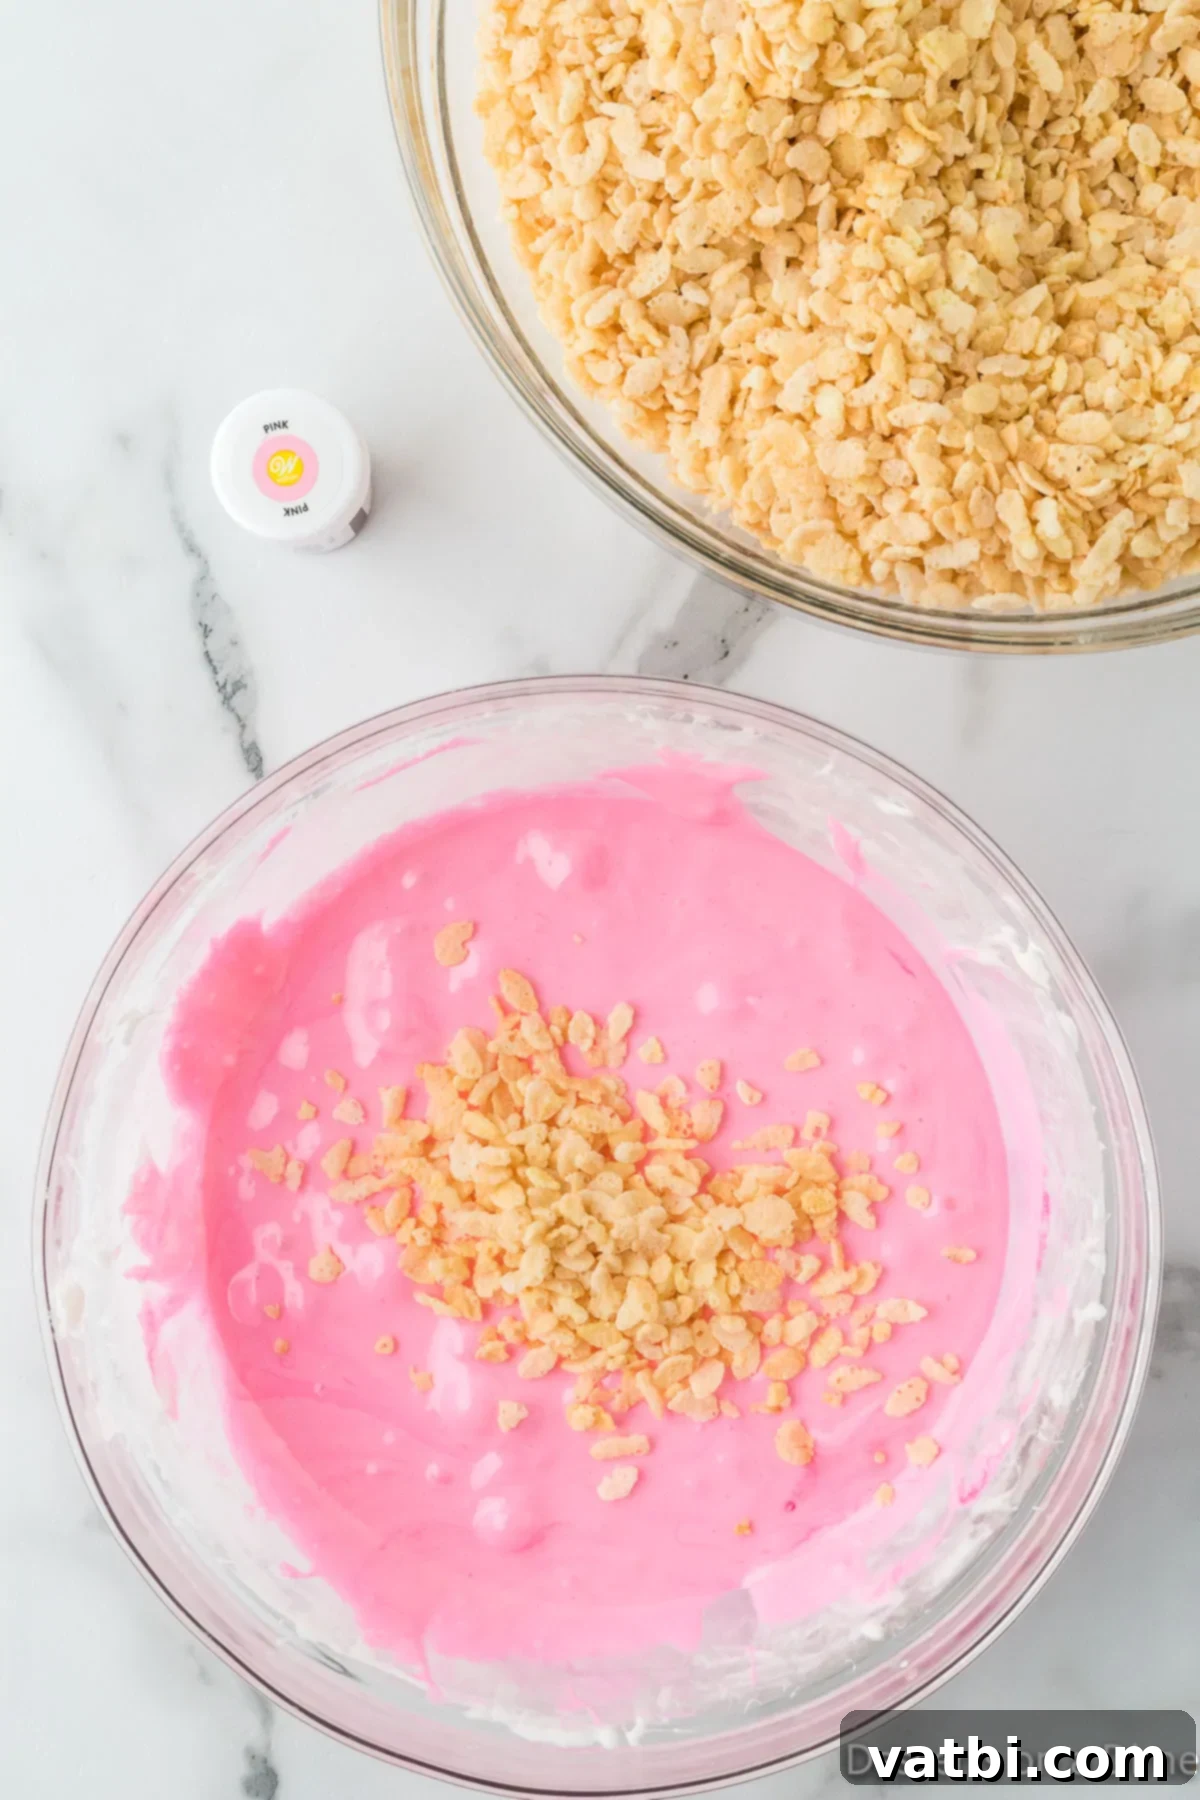
Step 3: Combine with Rice Krispie Cereal. Next, gently but thoroughly stir in the Rice Krispie Cereal into the pink marshmallow mixture. It’s important to use a sturdy spoon (a wooden or silicone spatula works best) as the mixture will become quite thick and sticky. Continue stirring until every piece of cereal is well coated with the marshmallow, ensuring a consistent texture and flavor in every bite.
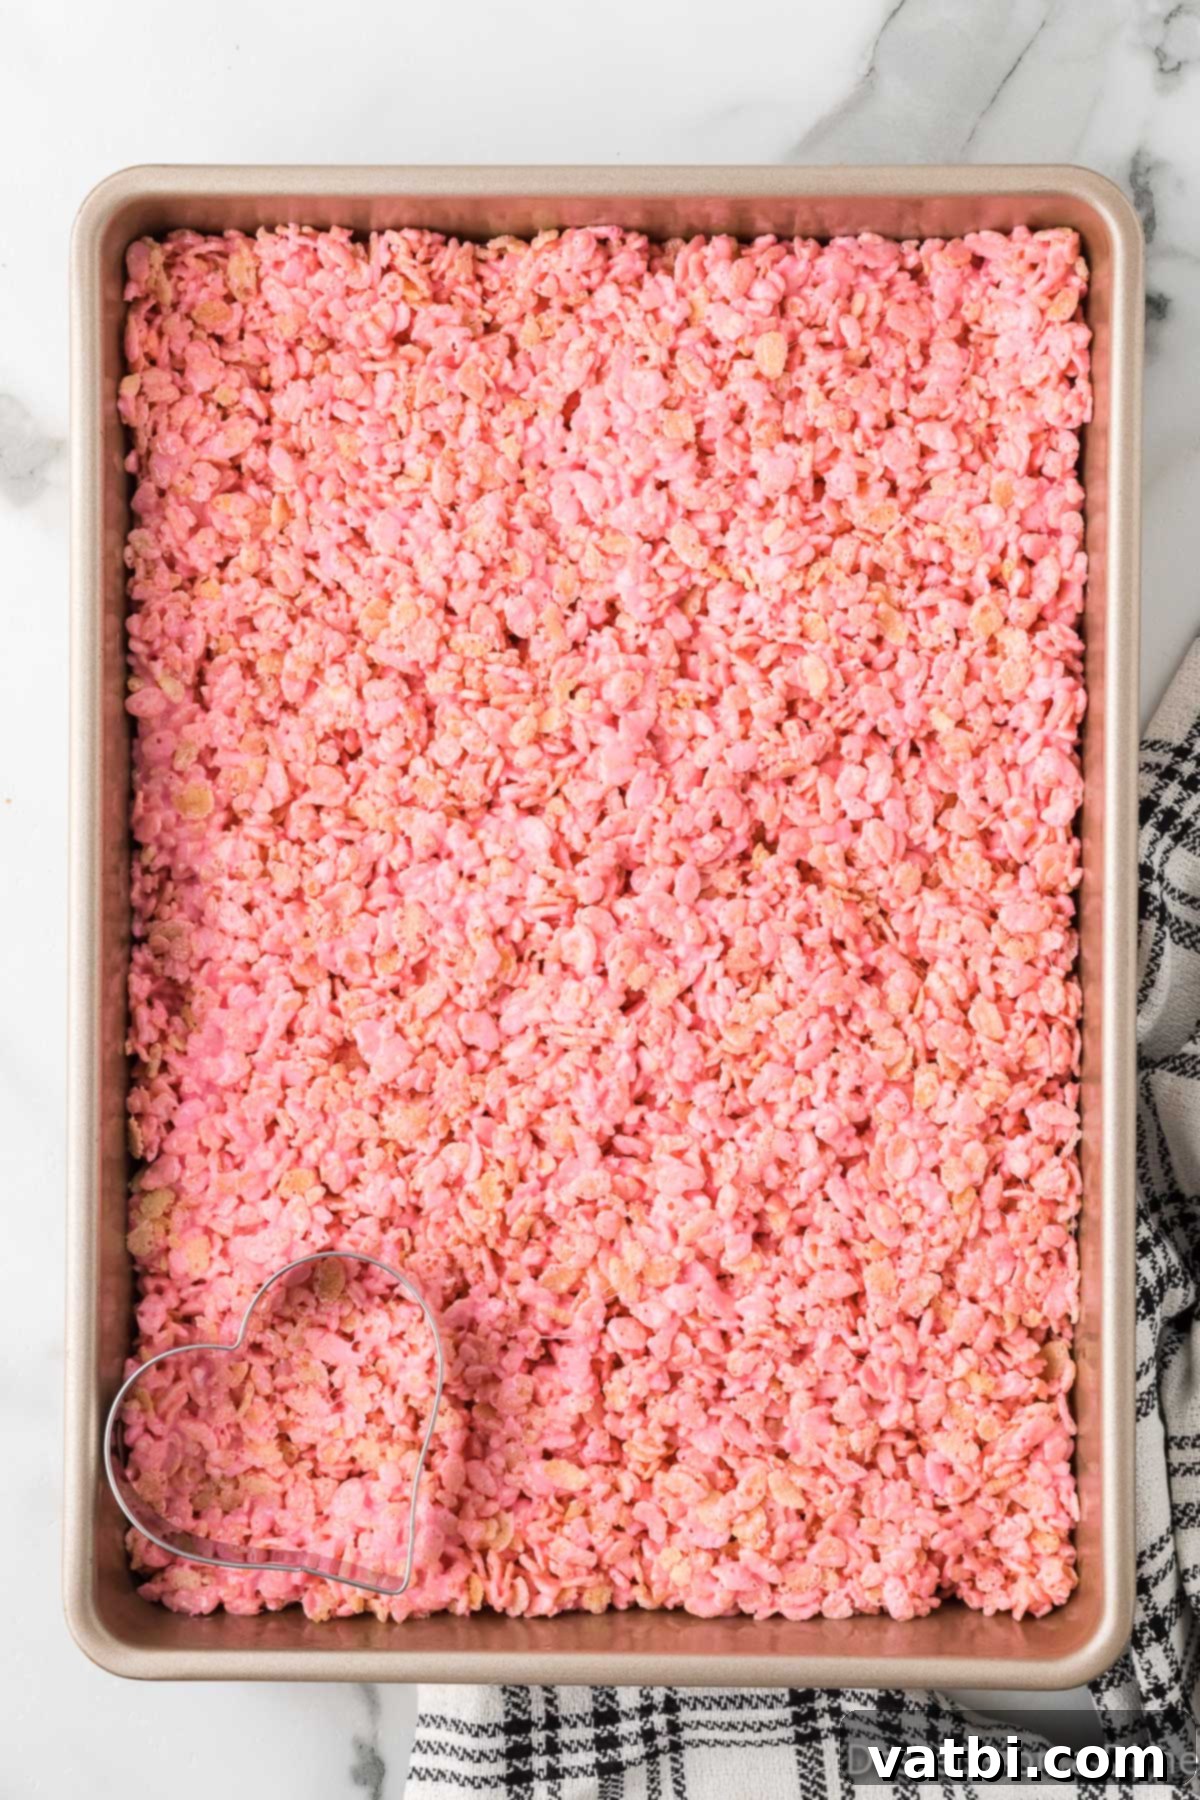
Step 4: Press into Pan and Allow to Set. Prepare a 9×13 baking pan by spraying it generously with non-stick cooking spray. Even better, line it with parchment paper and then spray the parchment paper and your hands or another piece of parchment paper. This will prevent sticking when pressing the mixture. Carefully press the Rice Krispie mixture evenly into the prepared pan. Be gentle, applying even pressure, as over-compressing can lead to hard treats. Allow the mixture to set at room temperature for at least 1 hour, or until firm enough to cut. Do not refrigerate, as this can make them tough.
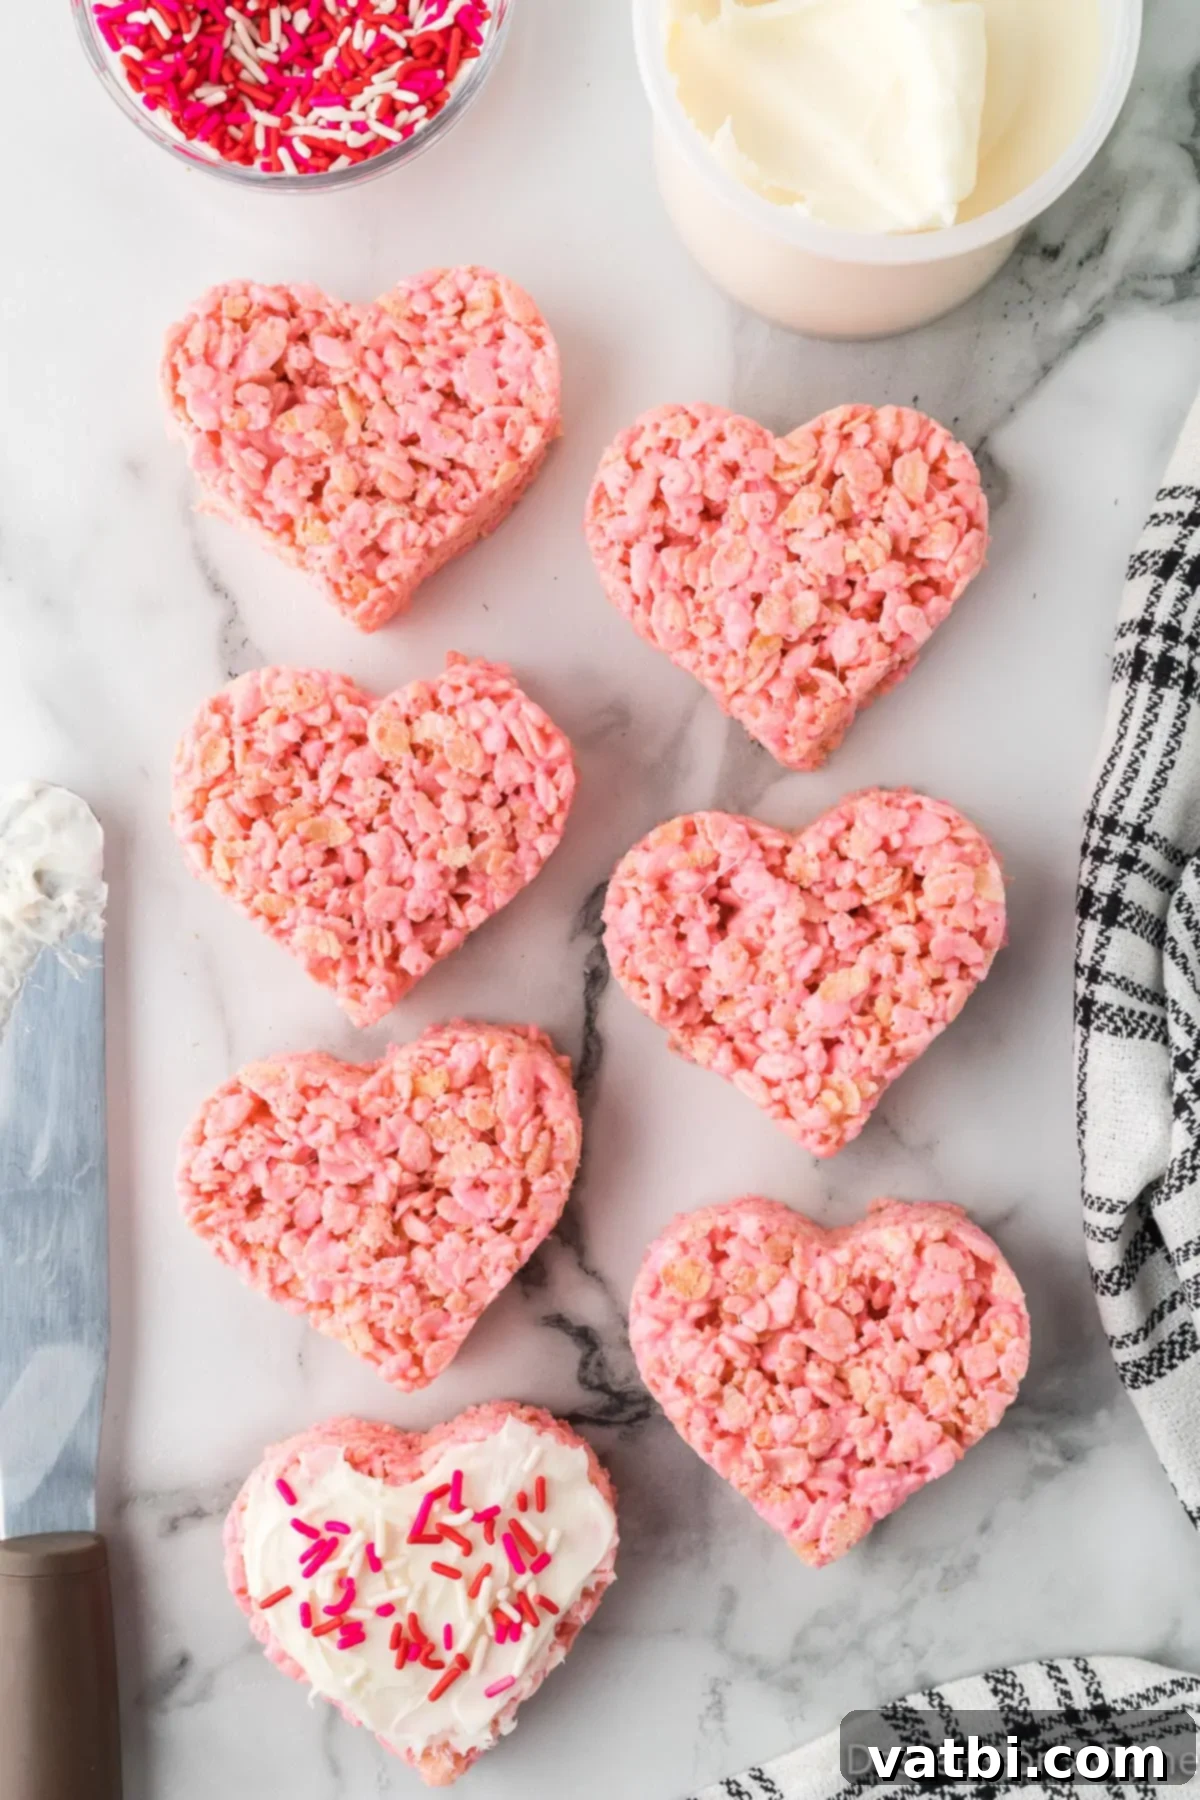
Step 5: Cut and Frost the Hearts. Once the Rice Krispie mixture has set and is firm, retrieve your heart-shaped cookie cutter. For best results and to prevent sticking, lightly spray the cookie cutter with non-stick spray between each cut. Carefully press the cutter into the mixture to create perfect heart shapes. After cutting, gently lift each heart and place it on a serving platter or cooling rack. Now it’s time to add a generous dollop or spread a thin layer of your chosen frosting to each heart. This adds a creamy sweetness and acts as a base for your sprinkles.

Step 6: Add Sprinkles and Serve. The final touch! While the frosting is still wet, generously sprinkle your red, white, and pink sprinkles over each frosted heart. The sprinkles will adhere beautifully, adding vibrant color and a fun texture. You can use a variety of sprinkle types for a whimsical look. Once decorated, your adorable Valentine Rice Krispie Treats are ready to be served and enjoyed! Prepare for smiles and compliments!
Recipe Tips for Perfect Treats
Achieving that perfect, soft, and gooey Rice Krispie treat texture is easy with a few simple tricks:
- Choose the Right Utensil for Mixing: When combining the cereal and marshmallow mixture, it becomes incredibly thick and sticky. Using a sturdy wooden spoon or a robust silicone spatula will make the stirring process much easier and ensure everything is thoroughly coated without bending your utensil.
- Avoid Refrigerating Your Treats: It might be tempting to speed up the setting process by placing the pan in the fridge, but resist the urge! Refrigeration will cause the Rice Krispie treats to harden significantly and lose their signature gooey, chewy texture, making them dry and brittle. Always allow them to set at room temperature.
- Utilize Wax or Parchment Paper for Pressing: To get an even surface and prevent the sticky mixture from adhering to your hands, spray a piece of wax paper or parchment paper with non-stick cooking spray and use it to gently press the Rice Krispie mixture into the pan. This creates a smooth top and ensures uniform thickness without making the treats too dense.
- Don’t Over-Compress the Mixture: When pressing the cereal mixture into the pan, be gentle. Over-compressing or packing it down too tightly will result in hard, dense treats instead of light and chewy ones. A light, even pressure is all you need.
- Use Fresh Marshmallows: The freshness of your marshmallows makes a big difference in the final texture. Older, stale marshmallows tend to produce harder treats. Always opt for fresh, soft marshmallows for the best gooey results.
Storage Tips
Proper storage is key to keeping your Valentine Rice Krispie Treats fresh, soft, and delicious for as long as possible:
Room Temperature Storage: Place the finished Rice Krispie treats inside an airtight container at room temperature. They will maintain their optimal gooey texture and freshness for up to one week. To prevent them from sticking together, especially if frosted, I highly recommend placing a sheet of parchment paper or wax paper between layers of treats within the container.
Freezing for Longer Shelf Life: If you need your treats to last even longer, they can be frozen! Ensure they are completely cooled and individually wrapped tightly in plastic wrap, then placed inside an airtight freezer-safe container or freezer bag. This double layer of protection prevents freezer burn. They can be frozen for up to 3 months. When you’re ready to enjoy them, simply thaw them at room temperature for a few hours. Freezing them before frosting and decorating will also yield better results, adding the festive touches after they’ve thawed.
Frequently Asked Questions
Here are some common questions about making Valentine Rice Krispie Treats:
Can I use large marshmallows instead of mini marshmallows?
Yes, you can! While mini marshmallows melt more quickly and evenly, large marshmallows can certainly be used. For every 10 ounces of mini marshmallows, you’ll need about 40 large marshmallows. Just be sure to cut them into smaller pieces before melting to help them melt faster and more uniformly, preventing any un-melted lumps.
How do I achieve a really vibrant red color for my treats?
For the most vibrant red, we recommend using gel food coloring instead of liquid food coloring. Gel colors are highly concentrated, so you’ll need fewer drops to achieve an intense hue without adding excess moisture to your mixture. Start with a few drops, stir, and add more until your desired shade is reached.
Can I make these treats ahead of time?
Absolutely! These Valentine Rice Krispie Treats are an excellent make-ahead dessert. You can prepare them up to 3-4 days in advance and store them in an airtight container at room temperature. For best results, consider frosting and decorating them closer to the serving time, especially if using delicate sprinkles or intricate designs.
Why are my Rice Krispie Treats hard instead of gooey?
There are a couple of common culprits for hard Rice Krispie Treats:
1. Overcooking the Marshmallows: If marshmallows are heated for too long or at too high a temperature, they can become tough. Melt them slowly in 30-second intervals and stir frequently.
2. Over-Compressing the Mixture: When pressing the cereal mixture into the pan, be gentle. Packing it down too hard crushes the cereal and squeezes out air, resulting in a dense, hard treat. Use light, even pressure.
How many treats does this recipe make?
This recipe, when spread in a 9×13 inch pan and cut with a standard heart-shaped cookie cutter (approximately 2-3 inches wide), typically yields about 20-24 heart-shaped treats. The exact number can vary slightly depending on the size of your cookie cutter and how closely you cut the shapes.
More Valentine’s Day Desserts to Try
- Strawberry Chocolate Bark Recipe
- Valentine’s Day Cake Pops
- Valentine’s Day Dirt Cake Recipe
- Easy Valentines Day Cake Mix Cookies
- Valentine’s Day Cake Balls Recipe
- Heart Shaped Brownies
More Rice Krispie Treats
- Rice Krispie Treats with Marshmallow Fluff
- Peanut Butter Rice Krispie Treats Recipe
- Neapolitan Rice Krispie Treats
- Chocolate Peanut Butter Rice Krispie Treats
These yummy heart-shaped Rice Krispie treats are so simple to make and bring so much joy to any Valentine’s Day celebration. Give this recipe a try today and spread some love with these delightful homemade desserts. We’d love to hear how they turn out!
Pin
Valentine Rice Krispies
Ingredients
- 6 cup Rice Krispie Cereal
- 4 Tbsp Unsalted Butter
- 10 oz Mini Marshmallows
- Red Food Coloring
- Heart Cookie Cutter
- 8 oz pre-made Vanilla Frosting
- Red White and Pink Sprinkles
Instructions
-
Place the butter and marshmallows in a large microwave safe bowl. Heat in 30 second intervals stirring after each interval until it’s fully melted. Mine took 4 minutes to fully melted.
-
Stir in 3-5 drops of the red food coloring until the mixture is the pink color that you prefer.
-
Then stir in the Rice Krispie Cereal. Stir until well coated.
-
Spray an 9X13 baking pan with no stick cooking spray. Press the Rice Krispie mixture into the pan. Use a parchment paper sprayed with non-sticking cooking spray to press the mixture into the pan.
-
Let set at room temperature for at least 1 hour.
-
Use a Heart Cookie Cutter to cut out heart shaped rice Krispie treats.
-
Top each one of them with the frosting and sprinkles. Enjoy!
Nutrition Facts
Pin This Now to Remember It Later
Pin Recipe
