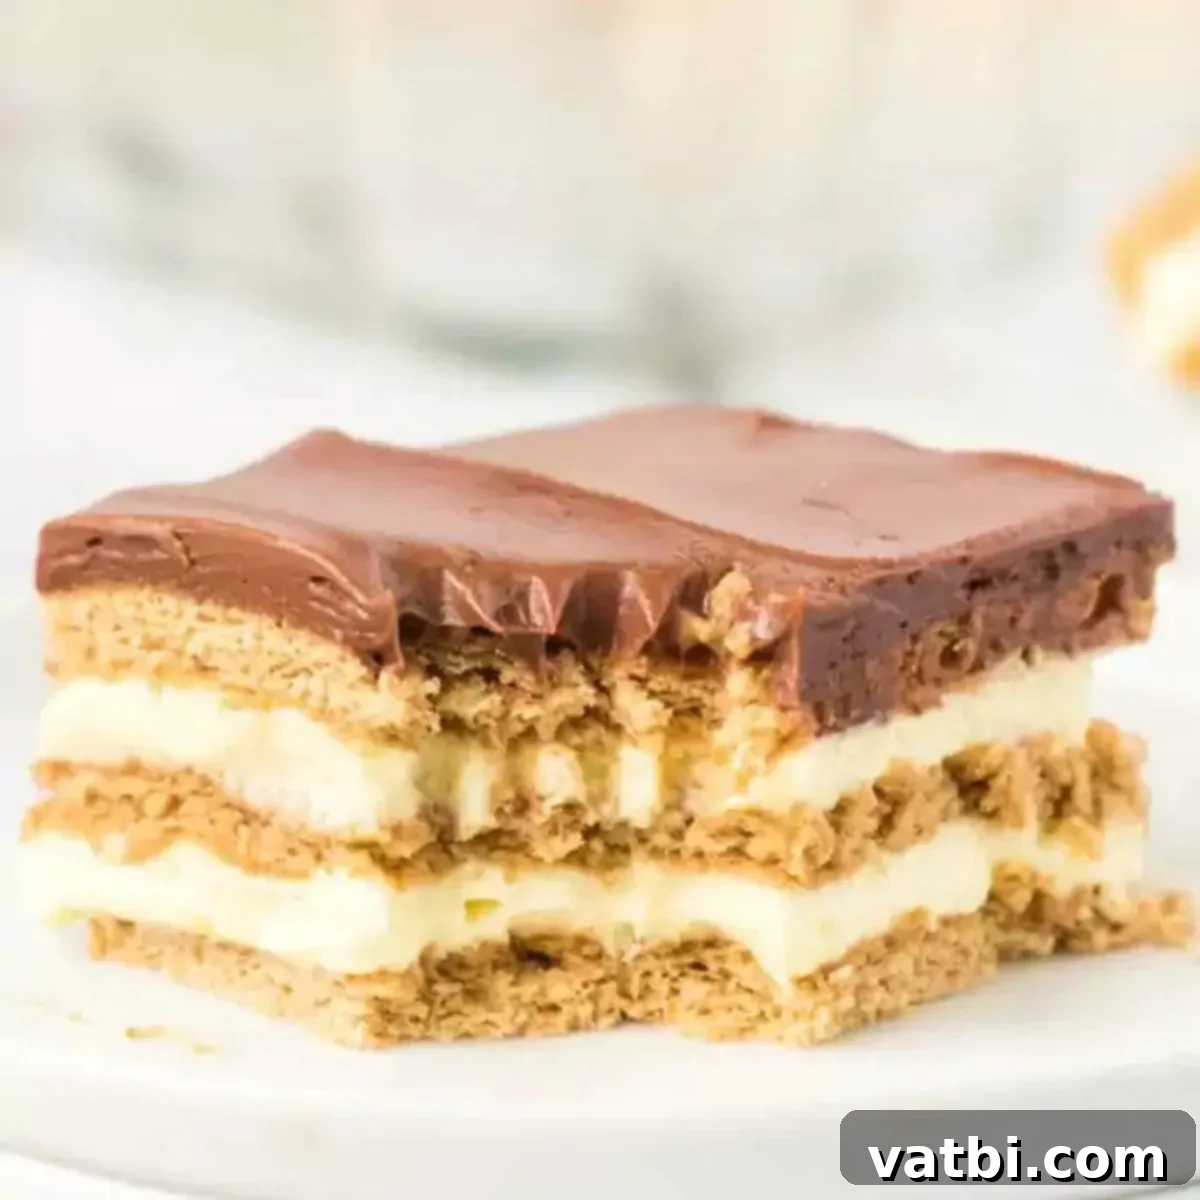
Ultimate No-Bake Eclair Cake: Easy, Decadent, and Perfect Every Time
Discover the magic of a truly effortless dessert with our **No-Bake Eclair Cake Recipe**. This delightful treat is a testament to how simple ingredients can come together to create something incredibly decadent and satisfying. Featuring luxurious layers of creamy pudding, crisp graham crackers, and a rich chocolate topping, this cake offers all the classic flavors of a traditional eclair without any baking required. It’s the perfect solution for busy schedules, warm weather, or simply when you crave a show-stopping dessert that comes together in mere minutes.
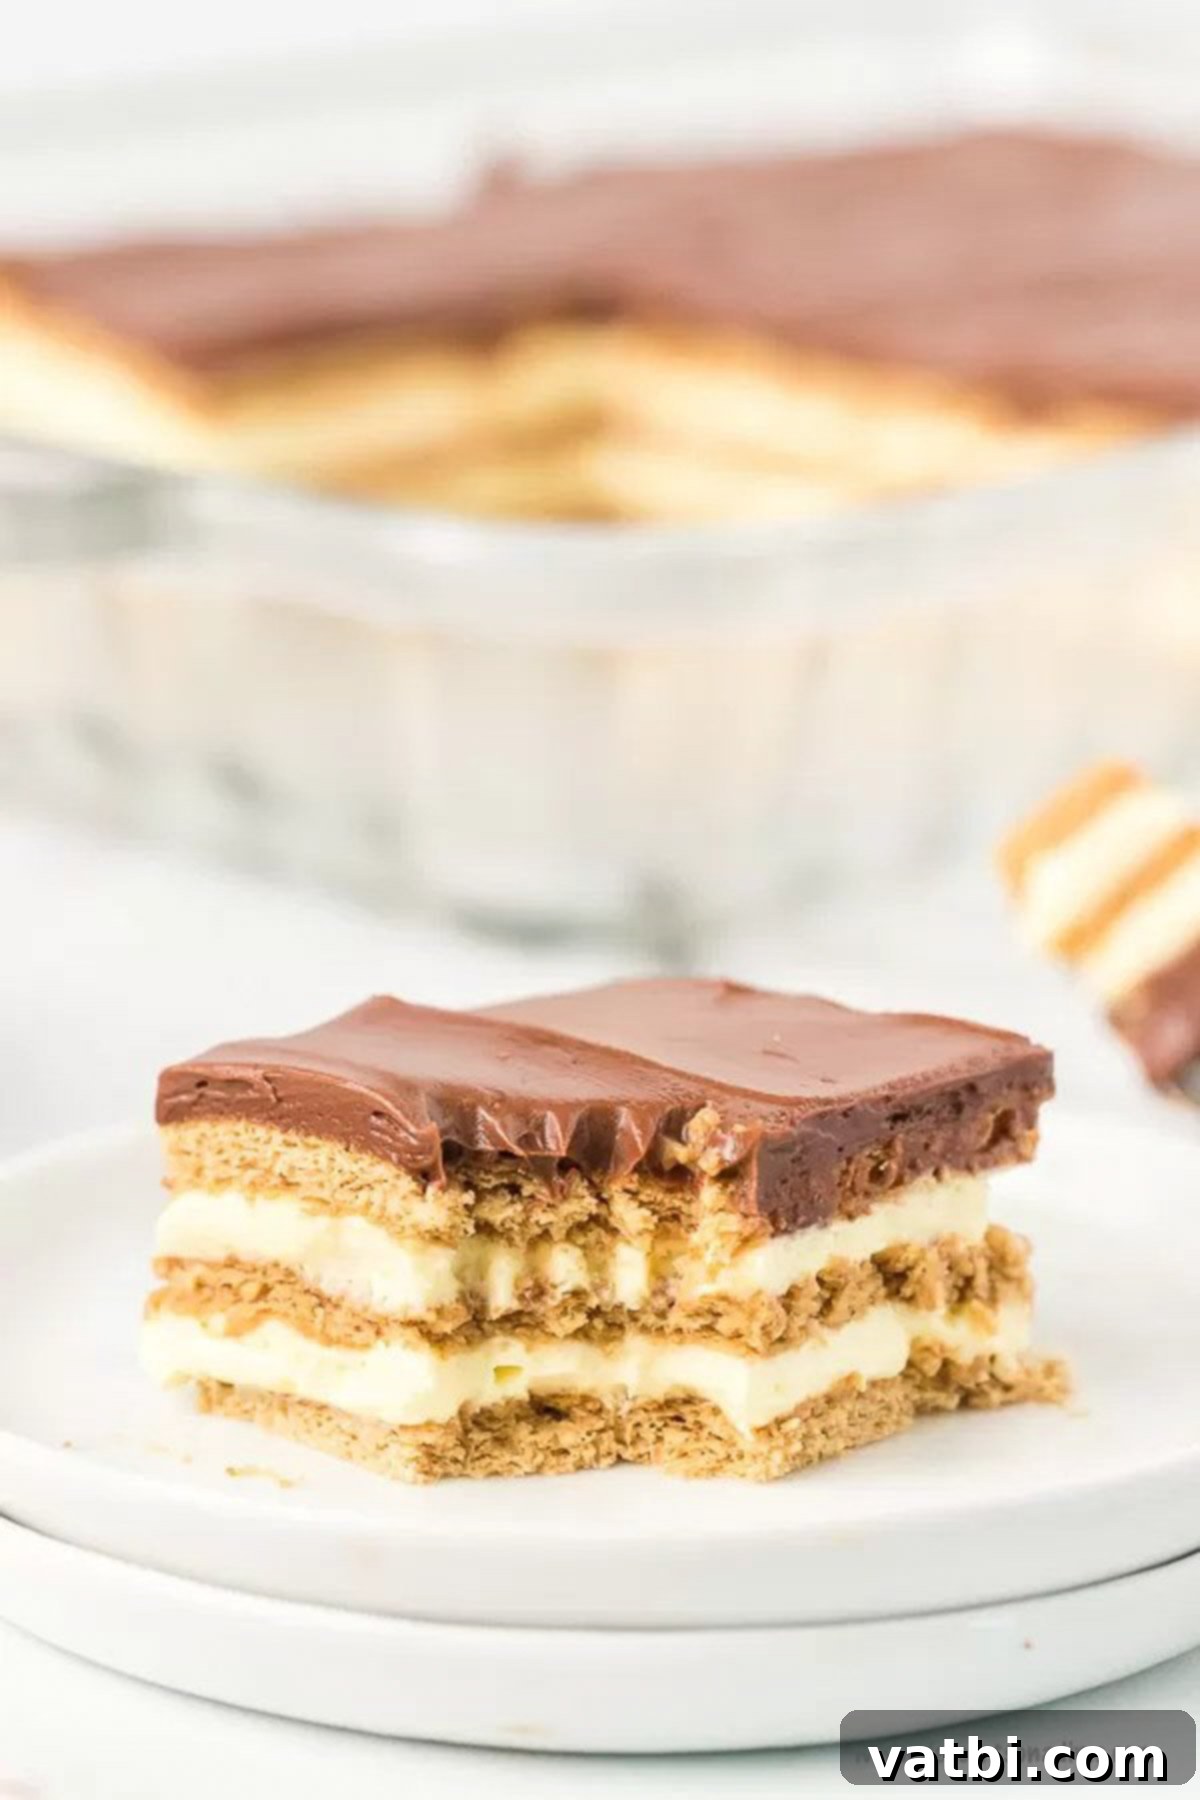
This no-bake dessert recipe delivers on both simplicity and indulgence. The smooth, sweet vanilla pudding beautifully complements the crunchy graham crackers, which soften into a cake-like texture overnight, while a luscious chocolate frosting provides the signature eclair finish. It’s a dessert that consistently impresses and leaves everyone asking for the recipe, proving that you don’t need to spend hours in the kitchen to create something truly extraordinary. Whether you’re a novice baker or a seasoned pro, this Eclair Cake is a must-try for its ease and deliciousness.
Looking for more eclair-inspired treats? You might also enjoy our delightful Eclair Cupcakes and the irresistible Eclair Cookies. These variations offer the same beloved eclair flavors in different formats, making them excellent choices for any occasion, including memorable Graduation Desserts.
Table of Contents
- Why You’ll Adore This No-Bake Eclair Cake
- Simple Ingredients for an Amazing Eclair Cake
- Creative Variations for Your Eclair Cake
- How to Assemble Your Easy Eclair Cake
- Expert Tips for the Best No-Bake Eclair Cake
- Proper Storage for Eclair Cake
- Can You Freeze Eclair Cake?
- Explore More Easy No-Bake Desserts
Why You’ll Adore This No-Bake Eclair Cake
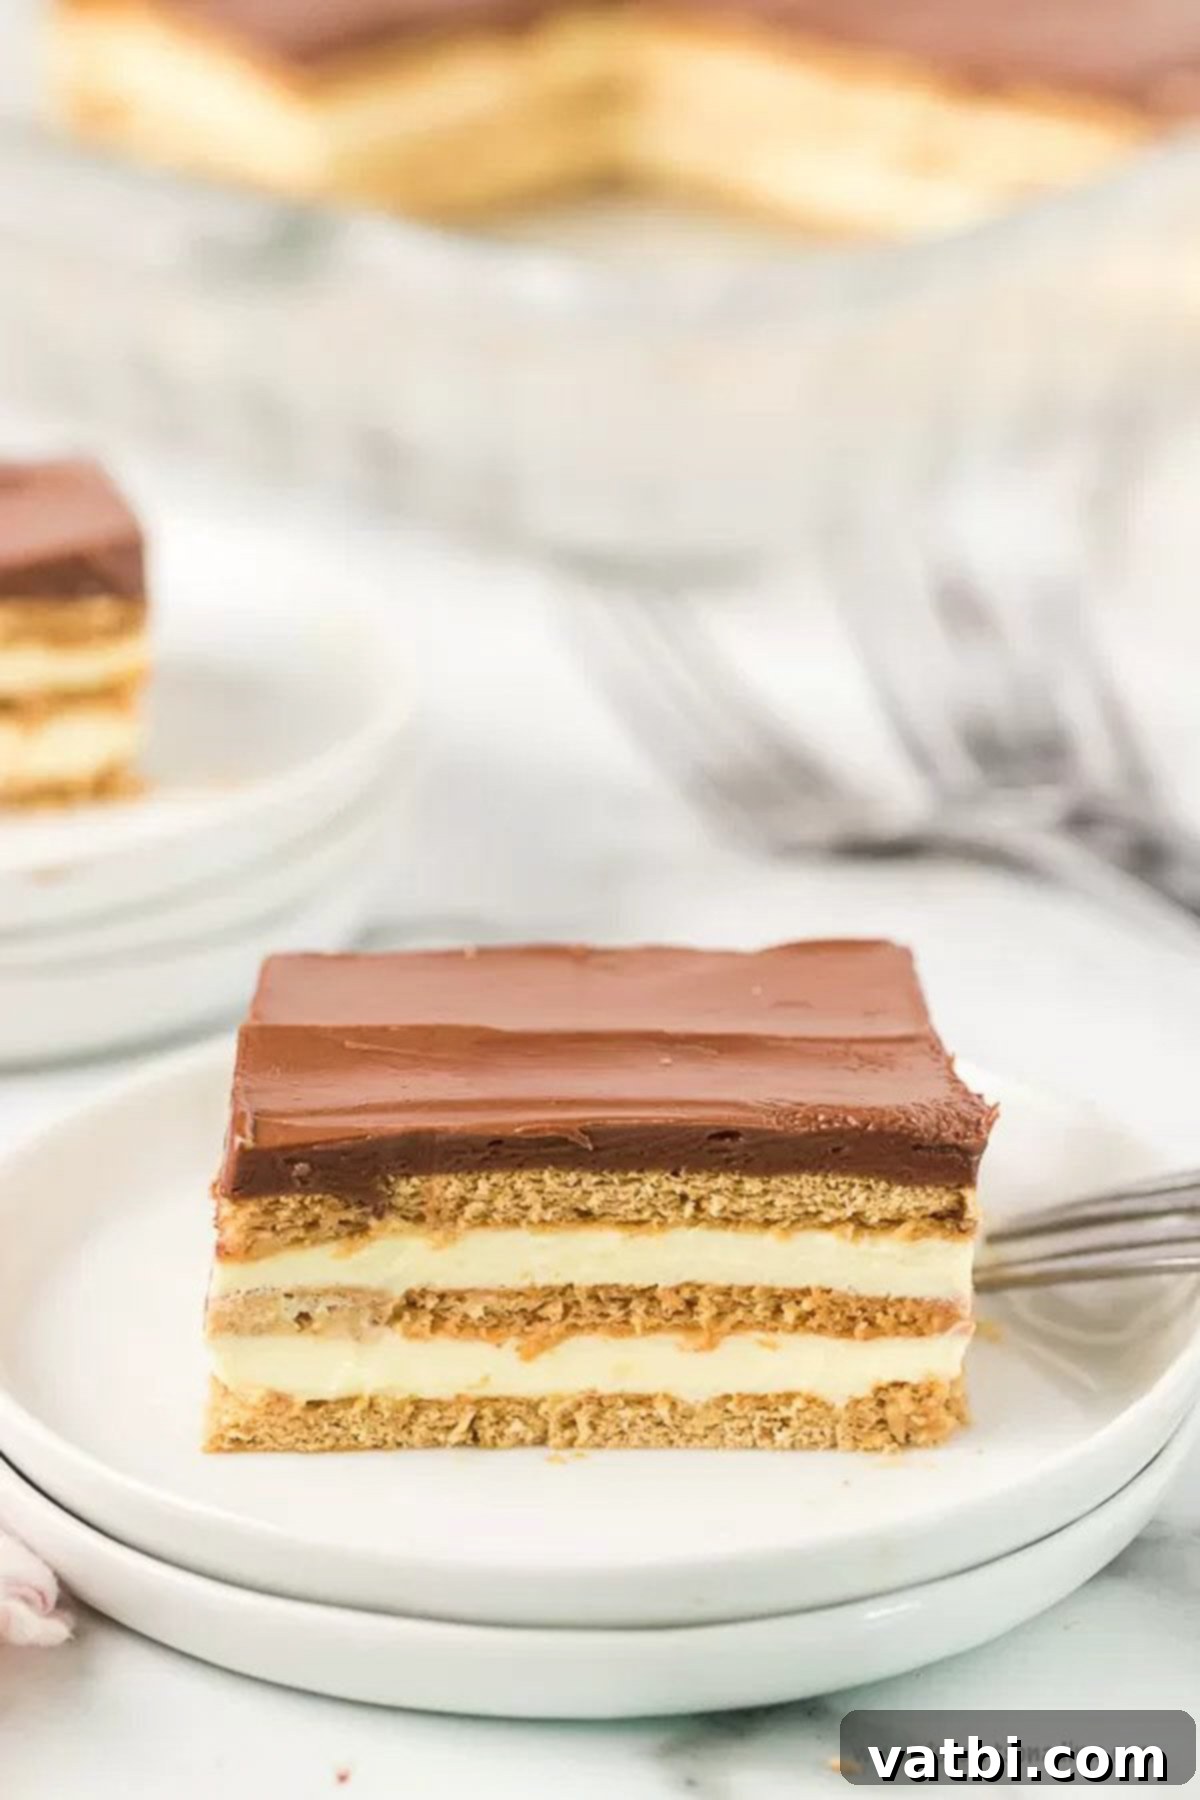
There are countless reasons why this No-Bake Eclair Cake has become a firm family favorite and a go-to for gatherings. First and foremost, its incredible simplicity is unmatched. Requiring just five basic ingredients, it’s a dream for anyone seeking a low-effort, high-reward dessert. Imagine a delectable cake that needs no oven, no complex mixing, and no advanced baking skills! It’s truly a beginner-friendly recipe that yields professional-looking results every single time. The delightful layers of tender graham crackers, creamy instant vanilla pudding, light and airy whipped topping, and a rich, spreadable chocolate frosting create a harmonious blend of textures and flavors that is utterly irresistible. This makes it a perfect dessert for last-minute entertaining or a casual weeknight treat. It’s also incredibly satisfying to serve a dessert that consistently receives rave reviews, especially when you know how little effort went into making it. This cake isn’t just easy; it’s a pure joy to make and even more enjoyable to eat!
Simple Ingredients for an Amazing Eclair Cake
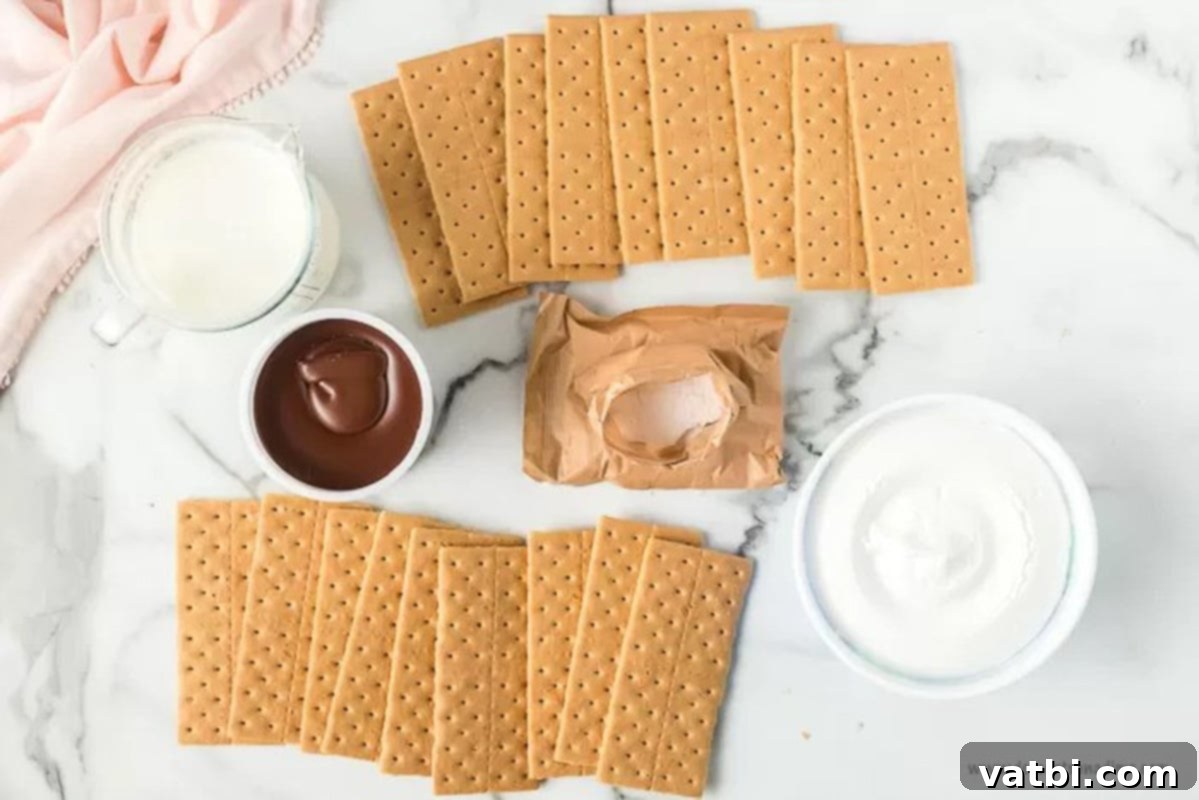
The beauty of this No-Bake Eclair Cake lies in its accessibility. You only need a handful of readily available ingredients to create this show-stopping dessert. Here’s a closer look at what you’ll need and why each component is essential:
- Instant Vanilla Pudding Mix: This forms the creamy, dreamy base of our eclair cake. Instant pudding is key for quick setting without any cooking. While vanilla is traditional, you can explore other flavors for a twist (see variations below). For those who enjoy from-scratch baking, you can also make a Homemade Vanilla Pudding Recipe, just ensure it’s thick enough to hold its shape once cooled.
- Cool Whip: The fluffy whipped topping adds a light, airy texture to the pudding layer, making it truly irresistible. Thaw it completely before mixing for the best consistency. If you prefer, a batch of Homemade Whipped Cream Recipe can also be used, folded gently into the pudding for an even richer taste.
- Milk: Essential for preparing the instant pudding. While any milk will work, I highly recommend using **whole milk** as it contributes to a richer, creamier pudding, enhancing the overall luxurious feel of the cake.
- Graham Cracker Squares: These humble crackers are the structural backbone of our eclair cake, transforming into a tender, cake-like layer once they absorb the moisture from the pudding. **Honey grahams** are the classic choice, offering a subtle sweetness that pairs perfectly with the other flavors. You’ll need enough to create three distinct layers.
- Chocolate Frosting: The crowning glory of this dessert! A good quality, **store-bought chocolate frosting** is ideal for convenience. Look for a brand you enjoy, as it will significantly impact the final flavor. The frosting provides that iconic eclair topping, delivering a smooth, rich chocolatey finish.
You can find the precise quantities for each ingredient in the detailed recipe card at the bottom of this page. These simple components, when layered together, create a dessert that tastes far more complex and indulgent than its preparation suggests.
Creative Variations for Your Eclair Cake
While the classic No-Bake Eclair Cake is undeniably delicious, this recipe is incredibly versatile, inviting you to experiment with different flavors and textures. Don’t be afraid to get creative and customize it to your personal preferences! Here are some exciting variations to try:
- Change the Pudding Flavor: Instead of traditional vanilla, unleash your imagination! Try using **banana pudding** for a fruity twist, or opt for a rich **cheesecake pudding** mix to add a tangy, creamy dimension. **Chocolate pudding** is another popular choice, creating an intensely chocolatey experience when paired with chocolate frosting and graham crackers. Imagine a butterscotch pudding for a caramel-like decadence!
- Experiment with Graham Cracker Flavors: The base can be just as adventurous as the filling. **Cinnamon graham crackers** add a warm, spicy note, while **chocolate graham crackers** are perfect for true chocolate lovers, especially when combined with chocolate pudding for a double chocolate delight. You could even use other types of plain, thin cookies, like digestive biscuits, for a slightly different texture.
- Try Lemon Pudding for a Zesty Kick: If you’re a fan of bright and tangy desserts, **lemon pudding** is an excellent choice. Its refreshing citrus notes would create an amazing contrast with the cool whip and chocolate topping, offering a sophisticated and unique flavor profile.
- Seasonal Flavor Combinations: This cake is perfect for celebrating holidays and seasons. In the fall, delight **pumpkin spice fans** with a **pumpkin-flavored eclair cake** by using pumpkin spice pudding or by gently folding a spoonful of pumpkin puree and pumpkin spice into vanilla pudding. For a summer treat, a **strawberry eclair cake** could be made with strawberry pudding or fresh pureed strawberries mixed into vanilla pudding – it would be incredibly tasty and visually appealing!
- Elevate Your Chocolate Topping with Chocolate Ganache: For a truly gourmet touch, replace the store-bought frosting with a homemade **chocolate ganache**. Simply heat heavy cream and pour it over chopped chocolate, stirring until smooth. This creates a glossy, intensely chocolatey topping that is absolutely divine and adds an extra layer of richness to your eclair cake.
- Add Fruit or Nuts: Sprinkle a layer of sliced bananas, strawberries, or raspberries between the pudding and cracker layers for added freshness and color. Chopped toasted nuts like pecans or walnuts can also add a delightful crunch.
- Coffee or Mocha Twist: Infuse your pudding with a tablespoon of instant coffee or espresso powder for a delicious coffee-flavored eclair cake. This pairs wonderfully with chocolate!
How to Assemble Your Easy Eclair Cake
Creating this delightful No-Bake Eclair Cake is a straightforward process that comes together in a few simple steps. The key is in the layering and allowing ample chill time for the flavors to meld and the graham crackers to soften. Follow these steps for a perfect dessert every time:
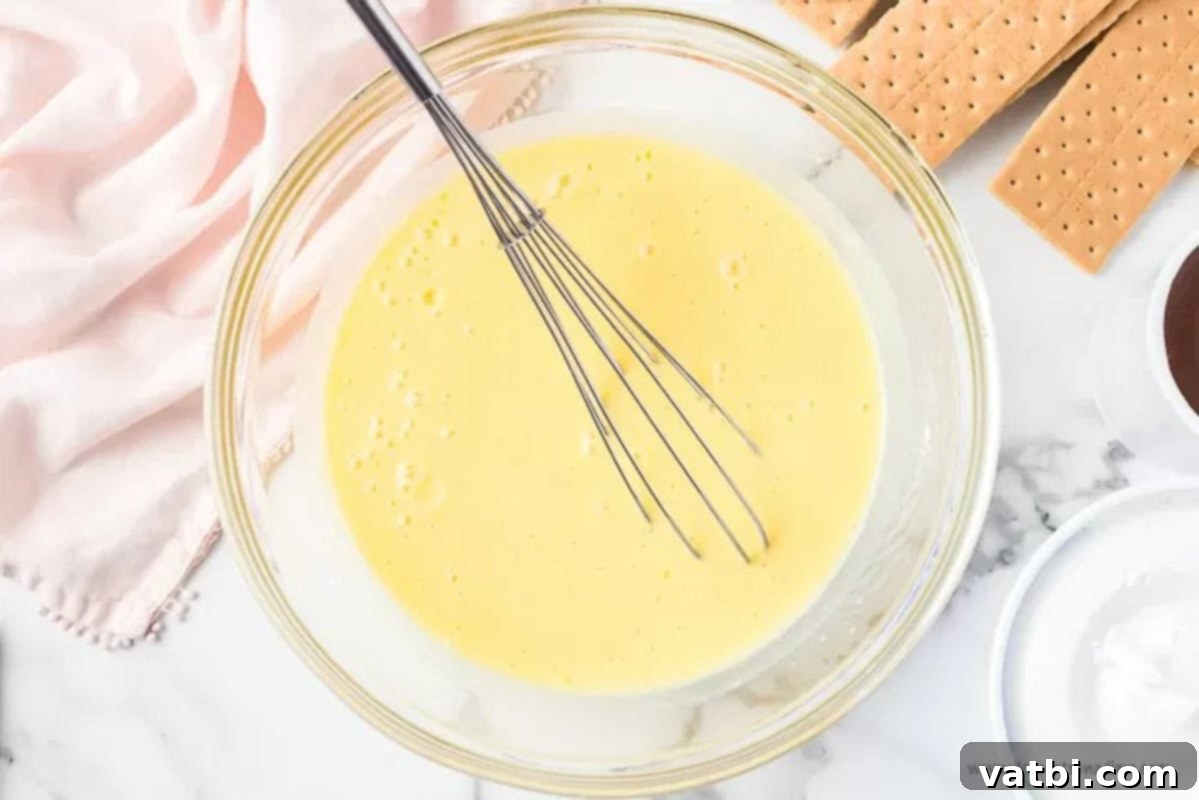
Step 1. Prepare the Pudding Mixture. In a medium-sized mixing bowl, combine the instant vanilla pudding mix with the milk and the thawed Cool Whip. Whisk these ingredients together thoroughly until the mixture is smooth, thick, and well combined. Ensure there are no lumps from the pudding mix. This forms the luscious, creamy filling for your cake.
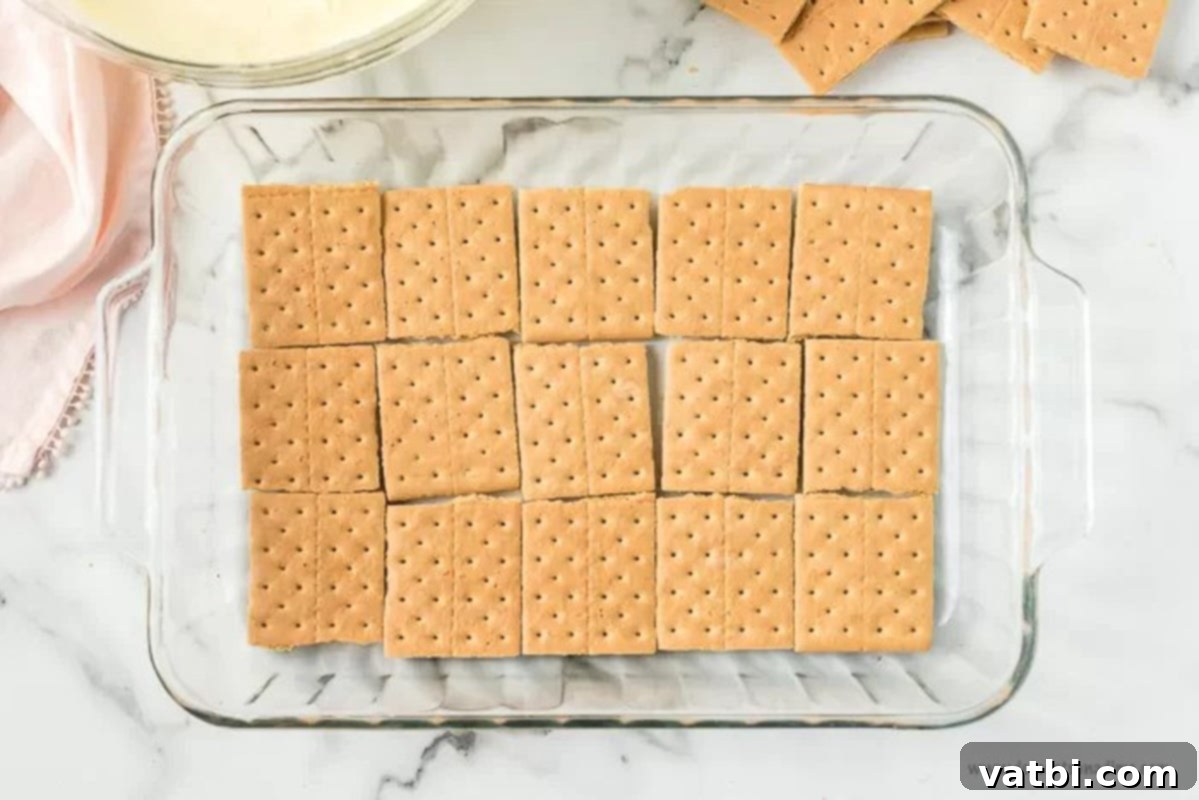
Step 2. Create the First Graham Cracker Layer. Take your 9×13 inch baking dish and arrange a single layer of graham cracker squares neatly across the bottom. Don’t worry if they don’t fit perfectly; you can break some crackers into smaller pieces to fill any gaps and ensure the entire bottom of the dish is covered.
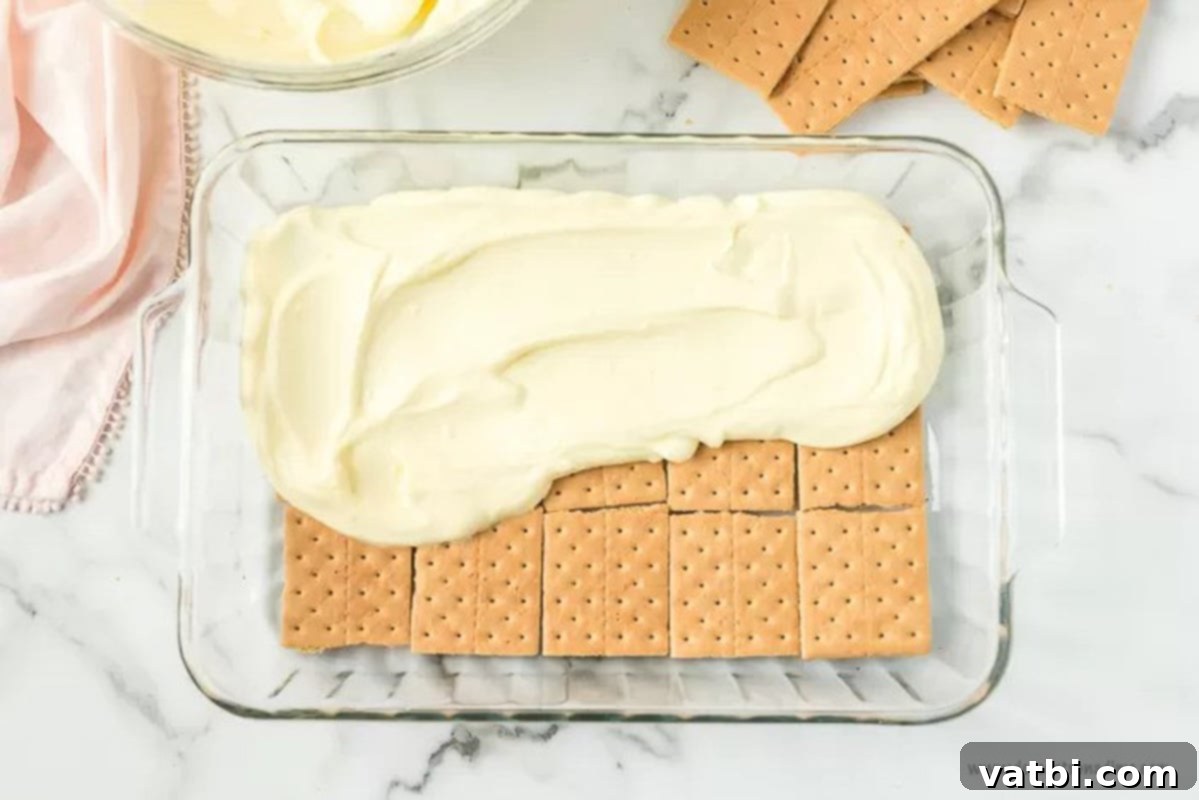
Step 3. Add the First Pudding Layer. Carefully spread half of the prepared pudding mixture evenly over the layer of graham crackers. Use an offset spatula or the back of a spoon to ensure a smooth, consistent layer that covers all the crackers.
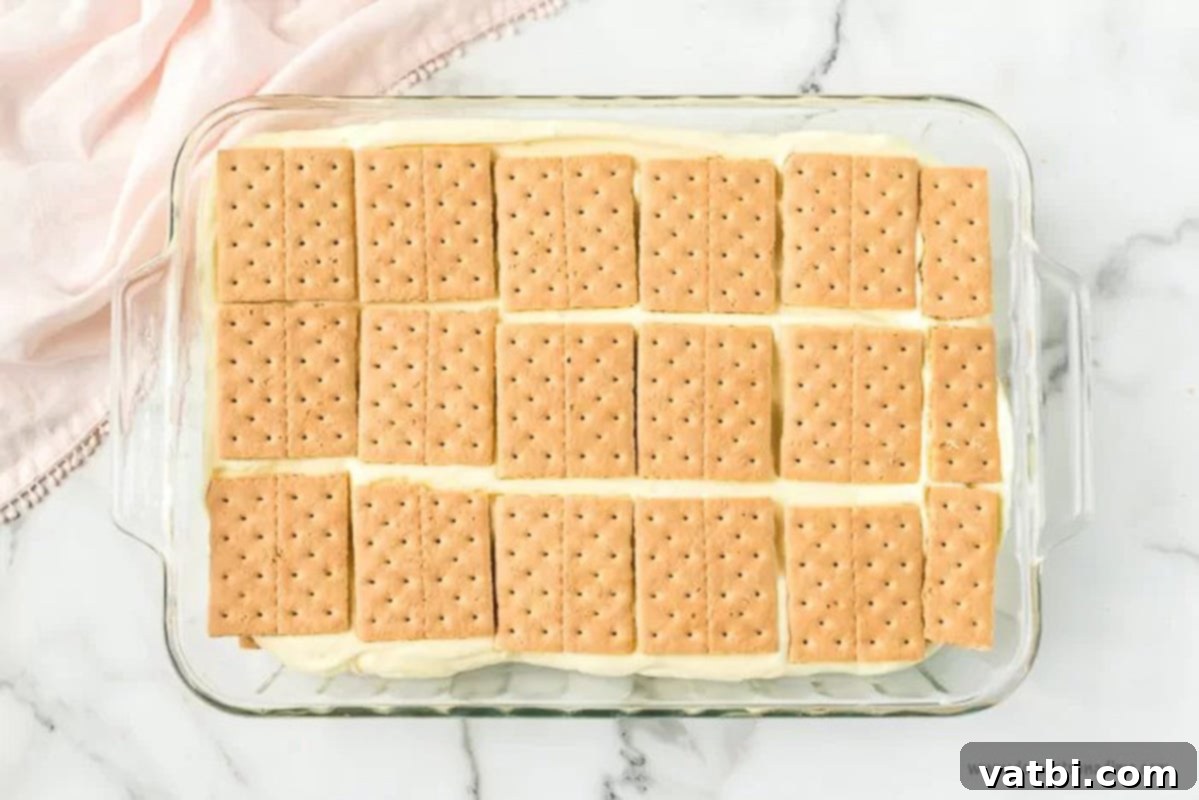
Step 4. Build Additional Layers & Chill. Place another layer of graham crackers over the pudding mixture, breaking them as needed to fit. Spread the remaining half of the pudding mixture on top of this second cracker layer. Finish with a third and final layer of graham crackers. Cover the dish tightly with plastic wrap and refrigerate for at least 30 minutes (or up to an hour) to allow the pudding to firm up and the crackers to begin softening.
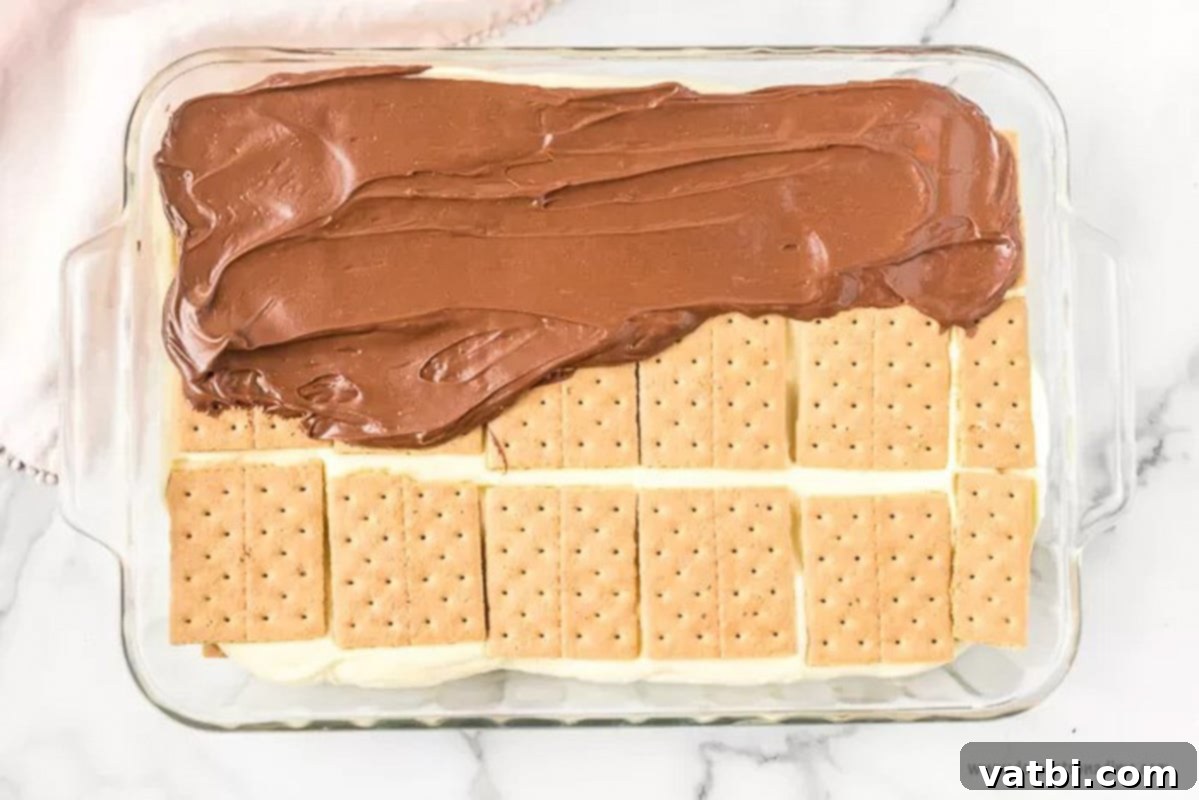
Step 5. Prepare and Apply the Chocolate Frosting. Before applying the frosting, microwave the tub of chocolate frosting for about 15 seconds (without the foil or lid) to soften it slightly. This makes it much easier to spread smoothly. Stir the frosting to ensure it’s a uniform, spreadable consistency. Remove the plastic wrap from your chilled eclair cake and evenly spread the softened chocolate frosting over the entire top layer of graham crackers.
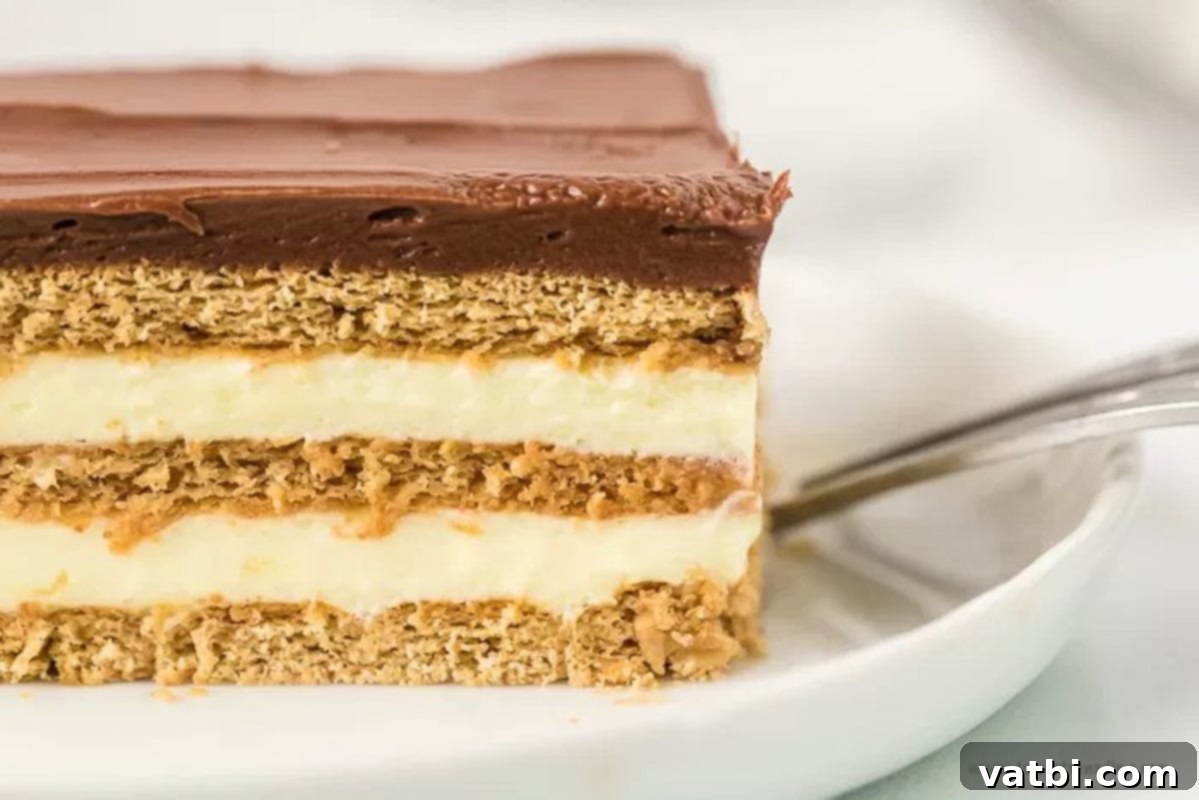
Step 6. Final Refrigeration and Serving. Once the chocolate frosting is applied, cover the dish again with plastic wrap and place it back in the refrigerator. For the best results, chill the completed eclair cake overnight (at least 8 hours). This crucial step allows the graham crackers to fully soften, creating that wonderful cake-like texture, and for all the flavors to meld together beautifully. The longer it chills, the better it tastes! When ready, slice into squares and serve this fantastic dessert.
Expert Tips for the Best No-Bake Eclair Cake
Achieving the perfect No-Bake Eclair Cake is incredibly easy, but a few expert tips can elevate your dessert from great to absolutely phenomenal. Pay attention to these details for a flawless result:
- Melt Frosting for a Smooth Finish: This is a non-negotiable step! You absolutely must melt the store-bought chocolate icing for a few seconds in the microwave (without the foil lid) before attempting to spread it. If you try to spread cold, stiff frosting, it will tear the graham cracker layers and make a huge mess, resulting in an uneven, unsightly topping. A quick zap and a stir will make it wonderfully smooth and easy to spread, giving your cake a professional, glossy finish.
- Consider Homemade Whipped Cream: While Cool Whip is fantastic for convenience, if you have an extra few minutes, try making homemade whipped cream. It’s surprisingly simple to prepare and offers a richer, more natural dairy flavor that can truly enhance the overall taste of your eclair cake. Just be sure to fold it gently into the pudding mixture.
- Prepare in Advance for Optimal Texture: This recipe is a perfect make-ahead dessert! The magic truly happens during the refrigeration period. The graham crackers need ample time (preferably overnight) to soften and absorb moisture from the pudding, transforming into a tender, cake-like consistency. Making it the day before ensures the best possible texture and allows all the flavors to deepen and meld together beautifully.
- Refrigerate Before Frosting: Once you’ve assembled all the pudding and graham cracker layers, it’s crucial to refrigerate the cake for at least 30 minutes before adding the chocolate frosting. This chilling time allows the pudding to set firmly, creating a stable base for the frosting. Trying to spread frosting on unset pudding layers will lead to a messy, uneven result.
- Even Graham Cracker Layers: When laying out your graham crackers, try to make the layers as even as possible, breaking pieces to fill gaps. This ensures that each slice of cake has a consistent texture and that the pudding mixture is evenly distributed.
- Use Good Quality Ingredients: Since there are so few ingredients, the quality of each really shines through. Use your favorite brand of instant pudding, good quality milk, and a chocolate frosting you truly enjoy for the best flavor.
Proper Storage for Eclair Cake
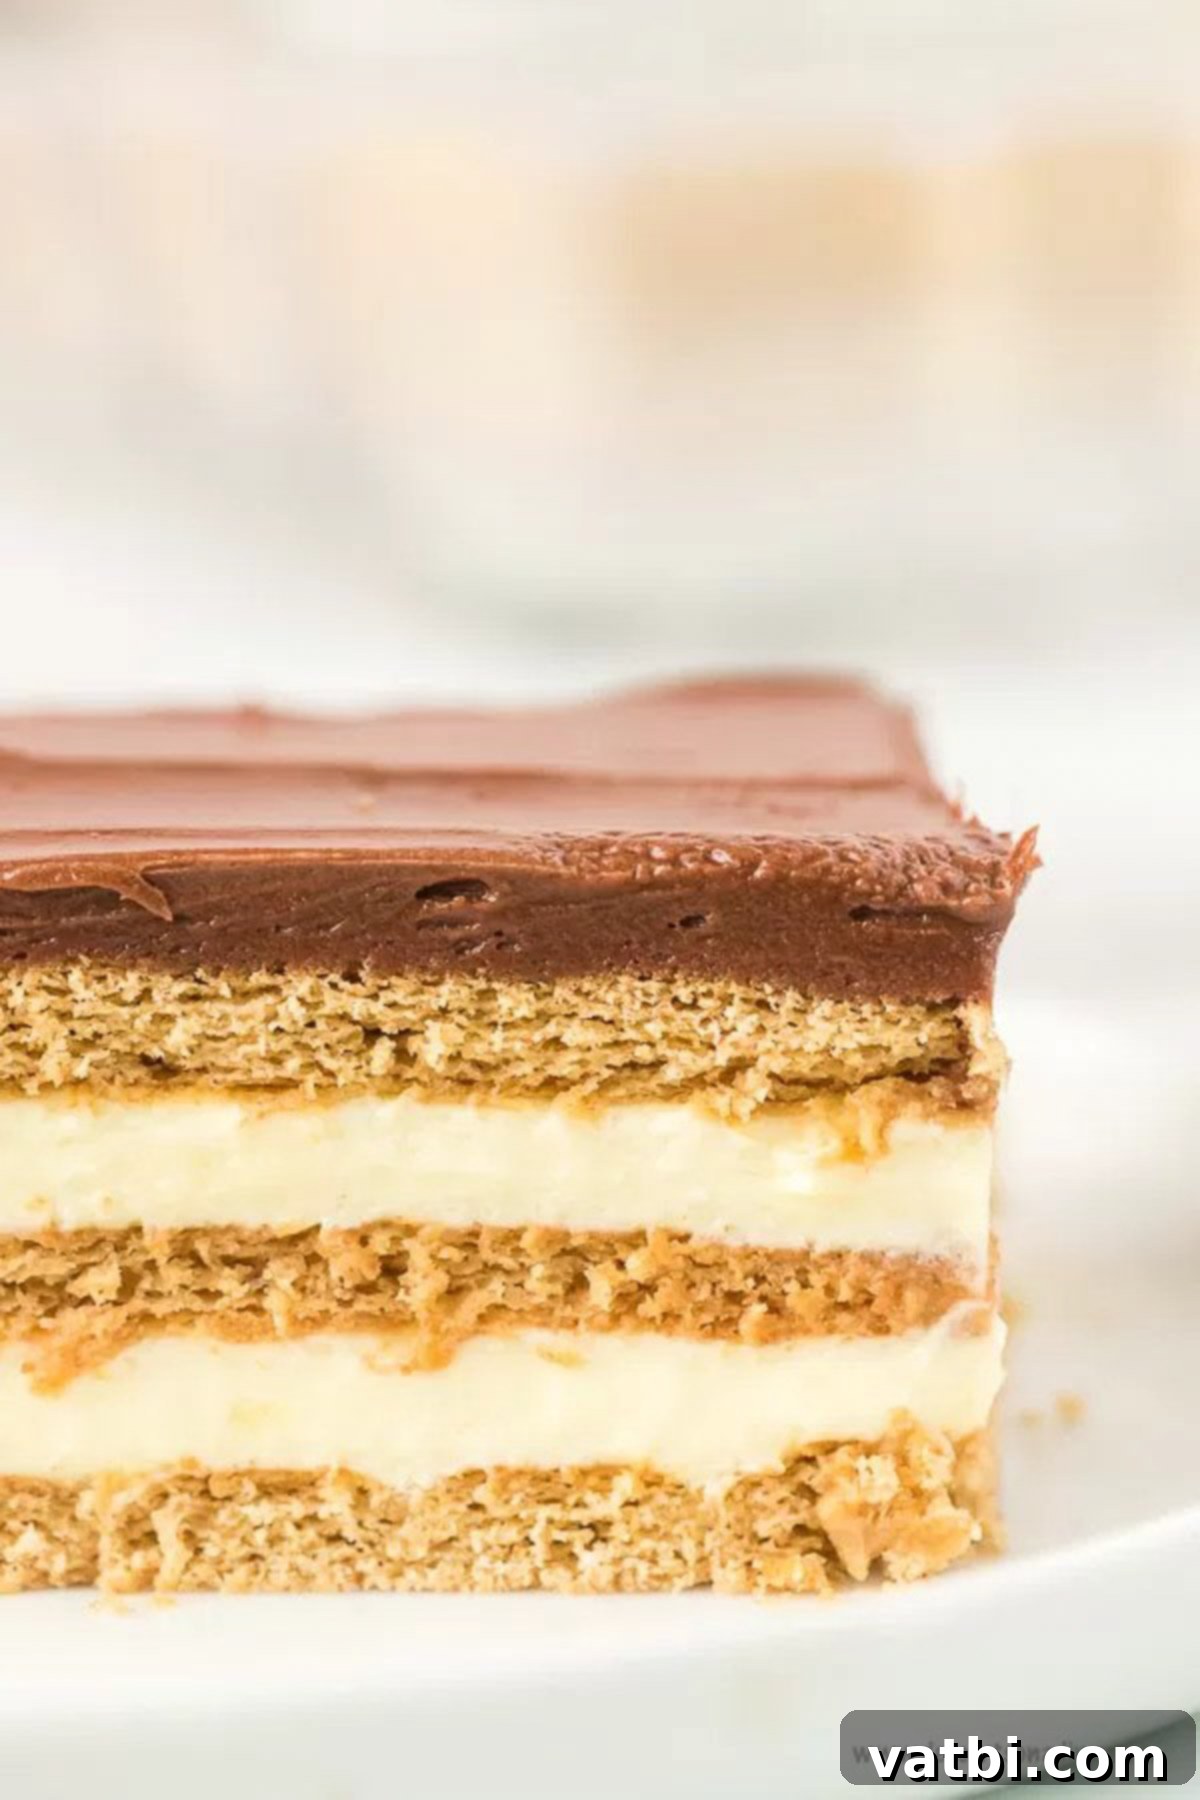
Storing your No-Bake Eclair Cake properly is key to keeping it fresh and delicious. Any leftovers should be kept in the refrigerator, tightly covered with plastic wrap, for 2-3 days. Make sure the plastic wrap is directly touching the surface of the cake to prevent any air from drying it out or forming a crust on the pudding and frosting. In fact, many people, myself included, find that the cake tastes even better the next day! This is because the additional time allows the graham crackers to fully soften and absorb more of the rich flavors from the pudding and chocolate, resulting in an even more cohesive and flavorful dessert experience.
Can You Freeze Eclair Cake?
While some no-bake desserts can be frozen successfully, we generally **do not recommend freezing Eclair Cake**. The primary reason is that freezing significantly alters the delicate texture of the cake. When you freeze it and then thaw it, the pudding layers tend to become watery and the graham crackers turn mushy, losing their pleasant, cake-like consistency. This results in a less appealing texture and a noticeable decline in taste. For the best experience, this No-Bake Eclair Cake is best enjoyed fresh from the refrigerator within a few days of preparation.
Explore More Easy No-Bake Desserts
If you’ve fallen in love with the convenience and deliciousness of this No-Bake Eclair Cake, you’re in for a treat! There’s a whole world of simple, oven-free desserts waiting to be discovered. Here are some of our other favorite no-bake recipes that are just as easy and equally delightful, perfect for any occasion or just a sweet craving:
- Easy No-Bake Cookies: A classic for a reason, these quick chocolate and peanut butter cookies are ready in a flash.
- No-Bake Oreo Pie Recipe: Indulge in layers of creamy filling and crunchy Oreo crust, all without touching the oven.
- No-Bake Twinkie Cake: A fun and nostalgic dessert that transforms classic snack cakes into an easy, layered treat.
- Easy No-Bake Chocolate Peanut Butter Bars: The ultimate combination of chocolate and peanut butter in a convenient bar form.
- No-Bake 4th of July Desserts: A collection of refreshing and patriotic treats perfect for summer celebrations.
This super easy Eclair Cake recipe will undoubtedly become a cherished family favorite. Its effortless preparation and irresistible flavor make it a fantastic dessert choice for any day of the week. Don’t wait – make it today and experience the joy of this simple yet decadent treat!
Pin
No Bake Eclair Cake Recipe
Ingredients
- 2 3.5 oz package of instant vanilla pudding mix
- 1 8 oz container of COOL WHIP, thawed
- 3 cups milk
- 2 sleeves graham cracker squares
- 1 tub chocolate frosting
Instructions
-
In a medium bowl, mix together the pudding mix, milk and Cool Whip.
-
In an 9 x 13 baking dish, arrange a single layer of graham cracker squares on the bottom.
-
Break them up to get enough crackers to cover the bottom of your dish.
-
Spread half of the pudding mixture on top of the crackers.
-
Layer another layer of graham crackers over the pudding mixture.
-
Then layer the other half of the pudding mixture on top of crackers.
-
Top with a final layer of graham crackers.
-
Put plastic wrap over dish and put in fridge for about 30 min to an hour to allow pudding to set.
-
When ready, put the tub of chocolate frosting in the microwave for about 15 seconds to soften without the foil or lid
-
Stir frosting. It should be easily spreadable now.
-
Remove plastic wrap from dish and evenly spread chocolate frosting all over the top layer of graham crackers.
-
Place plastic wrap over top of dish and put back in fridge overnight.
-
This gets better over time. The graham crackers need time to soften up.
-
When ready, slice and serve!
Nutrition Facts
Pin This Now to Remember It Later
Pin Recipe
