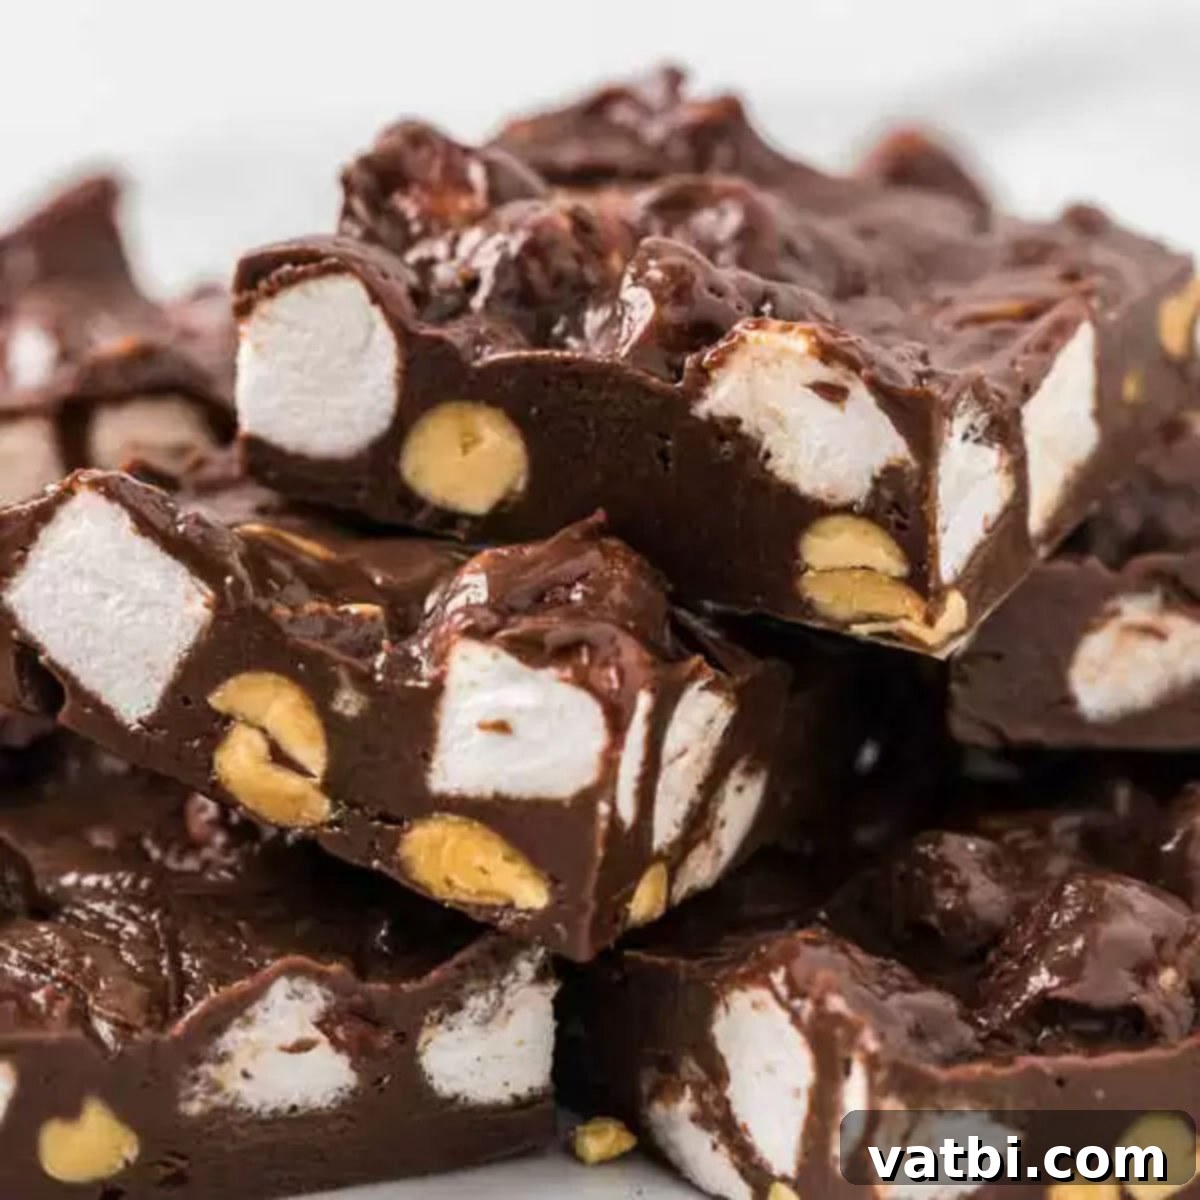
Indulge in Homemade Bliss: The Ultimate 5-Ingredient Easy Rocky Road Fudge Recipe
Prepare to delight your taste buds with this incredibly simple yet utterly decadent Easy Rocky Road Fudge Recipe. Requiring only 5 essential ingredients and minimal effort, this homemade treat delivers a luxurious blend of rich chocolate, fluffy marshmallows, and crunchy peanuts that will transport you straight to fudge heaven. Forget complicated candy thermometers and lengthy prep times – this recipe is designed for ultimate ease, making it perfect for novice bakers and busy dessert enthusiasts alike!
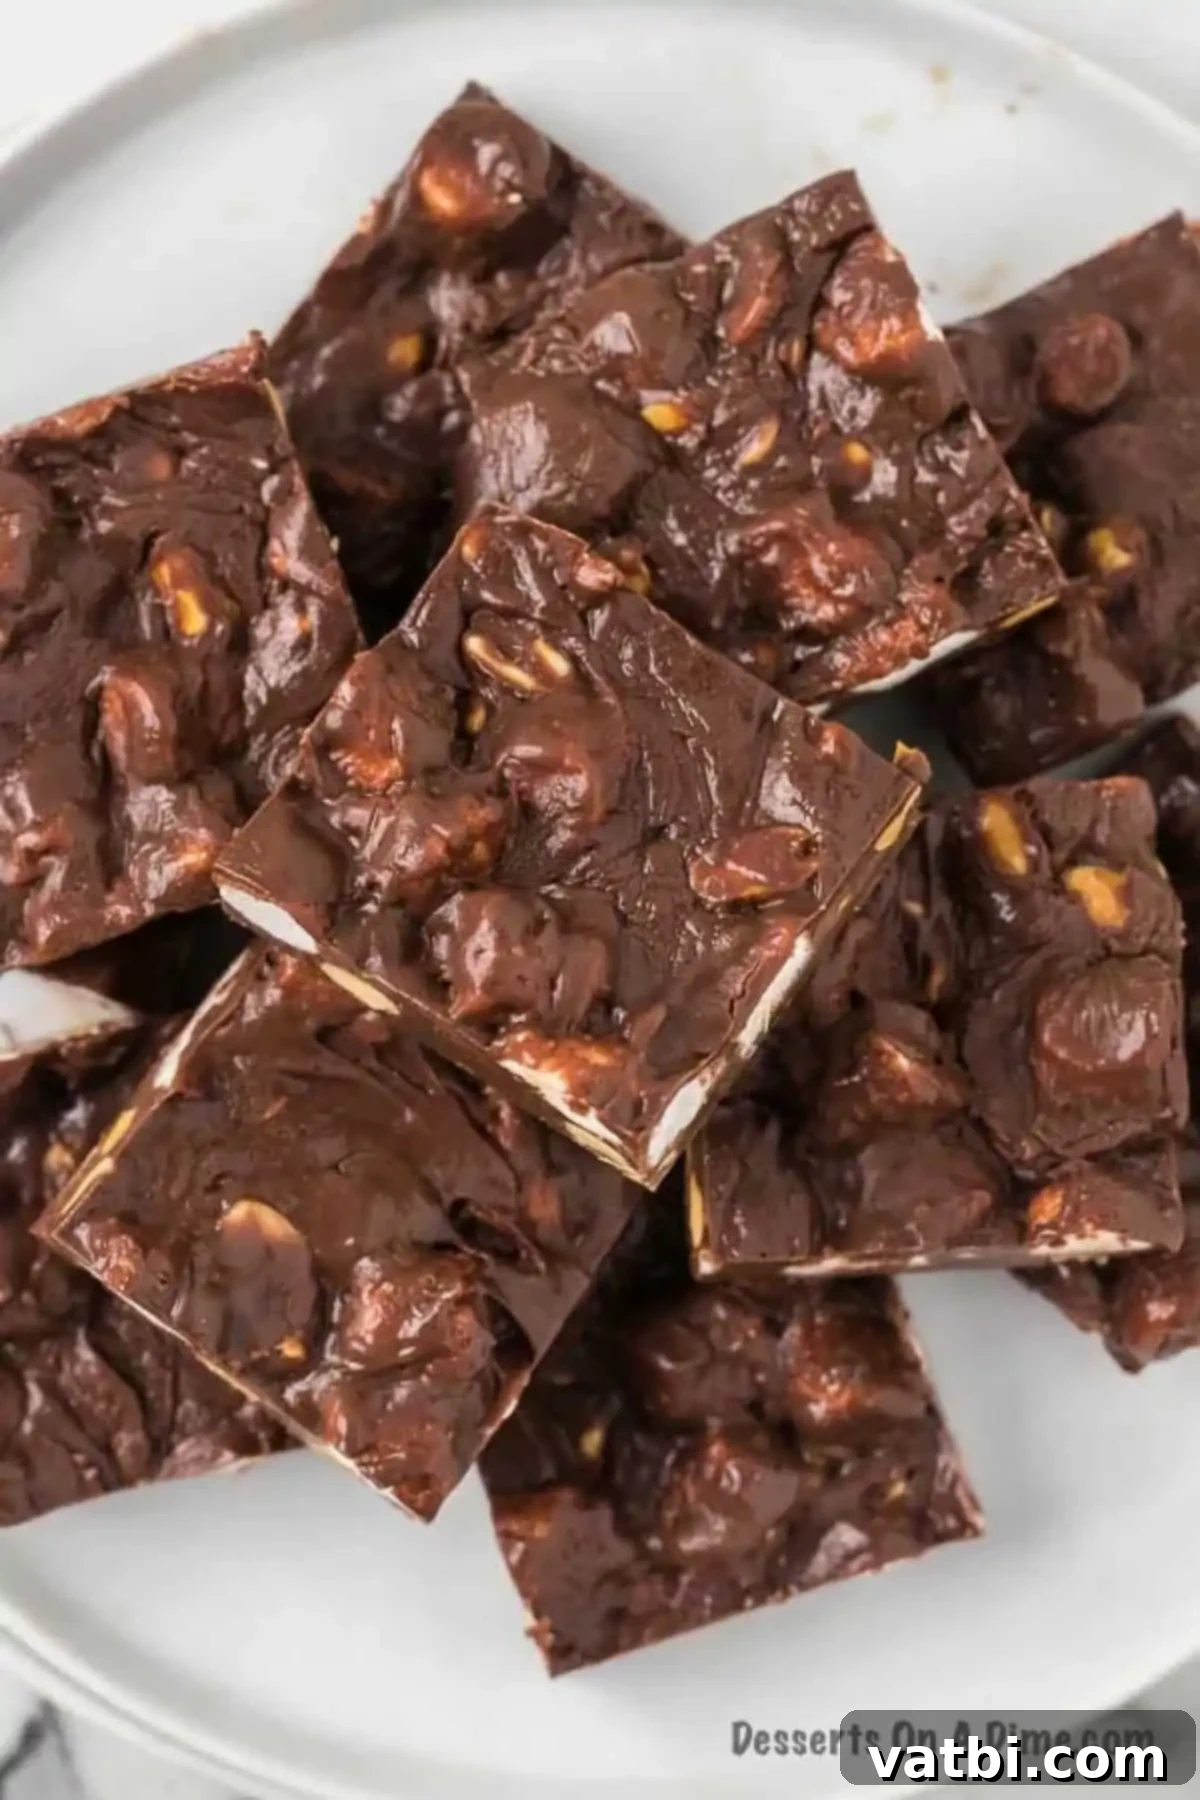
If the mere mention of creamy, intensely chocolatey fudge sends your heart aflutter, then this recipe is an absolute must-try. It boasts the luxurious taste and sophisticated appearance of artisanal fudge you’d typically find in a high-end confectionery shop. However, this easy fudge recipe is remarkably effortless to whip up right in your own kitchen! No more yearning for that perfect fudge slice – now you can create it yourself, faster and simpler than you ever imagined.
This method is not only super quick, requiring mere minutes of active preparation, but it also consistently yields fantastic results. Each bite of this rocky road fudge is a symphony of textures and flavors: the smooth, melt-in-your-mouth chocolate base, the delightful chewiness of miniature marshmallows, and the satisfying crunch of perfectly salted peanuts. It’s a rich, delicious, and utterly irresistible dessert that’s perfect for sharing with loved ones, gifting during holidays, or simply indulging your own sweet cravings. If you’re looking to explore more delightful fudge creations, don’t miss our Homemade Chocolate Fudge Recipe and our delightful Chocolate Peanut Butter Fudge Recipe.
Table of Contents
- Why This Recipe Works So Well
- What Makes Rocky Road So Irresistible?
- The 5 Simple Ingredients You’ll Need
- How to Make Easy Rocky Road Fudge: Step-by-Step Guide
- Expert Pro Tips for Perfect Fudge Every Time
- Frequently Asked Questions About Fudge
- More Irresistible Fudge Recipes to Try
Why This Recipe Works So Well
Many home cooks find the idea of making homemade fudge intimidating, often envisioning complex processes, temperamental candy thermometers, and potential failures. However, this Rocky Road Fudge recipe shatters those preconceptions! It’s genuinely very simple, making it accessible for anyone, regardless of their baking experience or perceived skill level. This recipe works its magic for several key reasons, ensuring consistent success and delicious results:
- **Minimal Ingredients for Maximum Flavor:** With just five core components, you won’t need to scour specialty stores or break the bank. Chances are, most of these staple ingredients are already patiently waiting in your pantry, ready to be transformed.
- **No Candy Thermometer Required:** Traditional fudge making often demands precise temperature control and the use of a candy thermometer, which can be daunting for many. Our microwave method cleverly bypasses this need entirely, relying on simple melting and mixing techniques that guarantee a perfectly set fudge every single time.
- **Effortless Microwave Method:** This is an absolute game-changer! Using the microwave drastically cuts down on active cooking time and significantly simplifies cleanup. It’s a quick, efficient, and mess-free way to achieve perfectly melted chocolate, allowing you to enjoy your homemade treat even faster. While a double boiler offers an alternative, the microwave provides unparalleled convenience.
- **Foolproof Consistency:** The magical combination of sweetened condensed milk and chocolate chips creates a stable, creamy base that sets beautifully without any fuss. This minimizes the risk of common fudge mishaps like grainy texture or an overly soft, unset consistency.
- **Speed and Simplicity Combined:** From gathering your ingredients to having the fudge chilling in the refrigerator, you’ll be amazed at how quickly this delectable dessert comes together. It’s perfect for last-minute treats, thoughtful holiday gifting, or simply satisfying an immediate craving for something sweet and satisfying.
You truly don’t need any fancy gadgets or specialized culinary supplies. Just a few common kitchen tools, readily available ingredients, and the power of your microwave are all you need to create this extraordinary, crowd-pleasing fudge.
What Makes Rocky Road So Irresistible?
The timeless appeal of Rocky Road lies in its delightful medley of textures and its perfectly complementary flavors. At its heart, it’s a celebration of rich, deep chocolate, offering a comforting and satisfying sweetness that forms the luxurious foundation of the treat. What truly elevates Rocky Road and gives it its iconic character is the inclusion of two distinct and wonderfully contrasting additions:
- **Fluffy Miniature Marshmallows:** These soft, pillowy additions provide a delightful chewiness and a gentle burst of sweetness that beautifully contrasts with the intensity of the chocolate. Their airy quality also lightens each bite, preventing the fudge from feeling overly dense or heavy. The miniature size is key for even distribution and ensuring a marshmallow in every spoonful.
- **Crunchy Salted Peanuts:** The peanuts introduce a fantastic textural counterpoint – a satisfying crunch that provides a welcome break from the creamy smoothness of the fudge and the chewiness of the marshmallows. The “salted” aspect is crucial here, as that subtle hint of salt perfectly balances and enhances the overall sweetness of the chocolate and marshmallows. This savory-sweet combination creates a more complex, well-rounded, and utterly addictive flavor profile that keeps you coming back for more.
This classic combination creates a truly harmonious and exciting experience for your palate: the luxurious melt of chocolate, the tender give of marshmallows, and the robust, earthy crunch of nuts. It’s a textural adventure in every bite, making Rocky Road a universally beloved flavor that appeals to almost everyone.
The 5 Simple Ingredients You’ll Need
One of the most appealing aspects of this Easy Rocky Road Fudge recipe is its incredibly minimalist ingredient list. You only need five basic, readily available items to create a truly spectacular dessert. Each ingredient plays a vital and distinct role in achieving that perfect creamy texture and the classic, irresistible rocky road flavor profile.
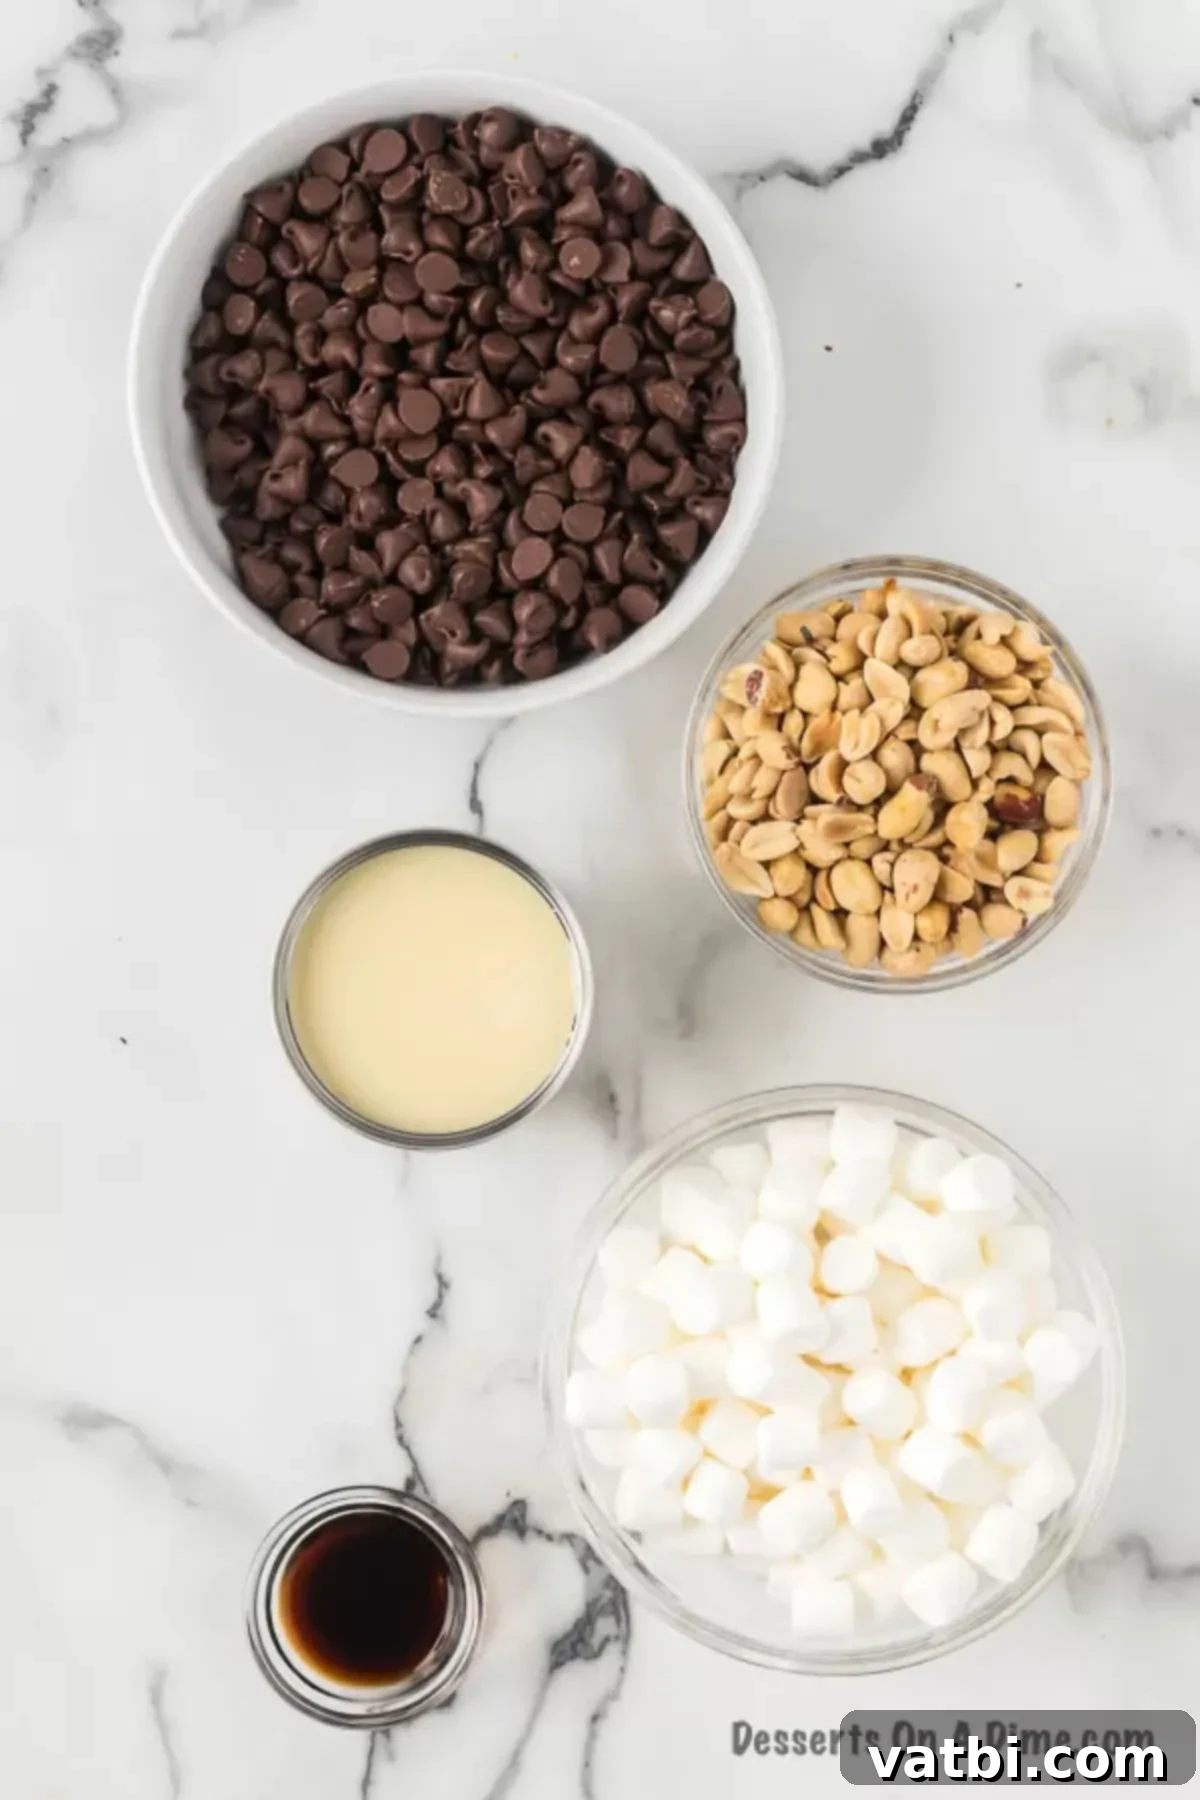
- Semi-sweet chocolate chips: These form the rich, foundational backbone of your fudge. While you can certainly experiment with milk chocolate chips for a sweeter, milder flavor, or dark chocolate for a more intense cocoa experience, semi-sweet offers the perfect, balanced canvas. It provides a deep chocolate base without being overly sugary, allowing the delightful textures and complementary flavors of the marshmallows and peanuts to truly shine. For the best melting consistency and superior flavor, always opt for good quality chocolate chips from a trusted brand.
- Sweetened Condensed Milk: This ingredient is absolutely essential and irreplaceable for achieving that characteristic creamy, smooth, and perfectly set fudge texture. It’s not just for sweetness; its unique thickness, high sugar content, and cooked-down milk solids contribute to the ideal consistency, eliminating the need for a fussy candy thermometer. Do not substitute with evaporated milk without significant additions of sugar and careful liquid reduction, as evaporated milk lacks both the sweetness and the necessary body for this recipe.
- Vanilla Extract: A touch of pure vanilla extract is like a secret weapon; it elevates the overall flavor profile of the chocolate, adding a wonderful depth, warmth, and aromatic complexity. It enhances the natural richness of the cocoa, transforming a good fudge into a truly great one. While imitation vanilla can be used in a pinch, pure vanilla extract offers a superior aroma and taste that truly makes a discernible difference in the final product.
- Miniature Marshmallows: The mini size of these marshmallows is key here! They are perfectly proportioned to distribute evenly throughout the fudge, ensuring you get a delightful pop of soft, chewy sweetness and light texture in every single bite. Larger marshmallows would require chopping and might create uneven pockets or melt too quickly when folded into the warm chocolate mixture, potentially altering the desired texture.
- Salted Peanuts: These robust nuts provide the signature crunch and the crucial savory contrast that defines classic rocky road. The saltiness inherent in the peanuts beautifully cuts through the sweetness of the chocolate and marshmallows, creating a perfectly balanced and utterly addictive flavor profile. If you wish to customize, you can easily substitute with other roasted and preferably salted nuts like walnuts, almonds, or pecans for a different, yet equally delicious, textural and flavor twist.
How to Make Easy Rocky Road Fudge: Step-by-Step Guide
Creating this delicious, homemade rocky road fudge is an incredibly straightforward and rewarding process. Follow these simple, easy-to-understand steps, and you’ll have a batch of perfect fudge ready to chill in no time at all. Preparation truly couldn’t be simpler!
- Step 1: Prepare Your Baking Pan. First things first, you’ll need to prepare your chosen baking dish. We highly recommend using a 9×13-inch size for an ideal fudge thickness, providing ample surface area for serving. However, an 8×8 or 9×9 inch pan can also work if you prefer thicker squares, though you might need to slightly adjust the chilling time. Line the pan generously with aluminum foil or parchment paper, ensuring there’s a substantial overhang on all sides. This overhang is crucial, as it will act as convenient handles, making it incredibly easy to lift the entire block of set fudge out of the pan. After lining, spray the foil or parchment paper thoroughly with a non-stick cooking spray to prevent any sticking whatsoever, guaranteeing perfectly released and pristine squares.
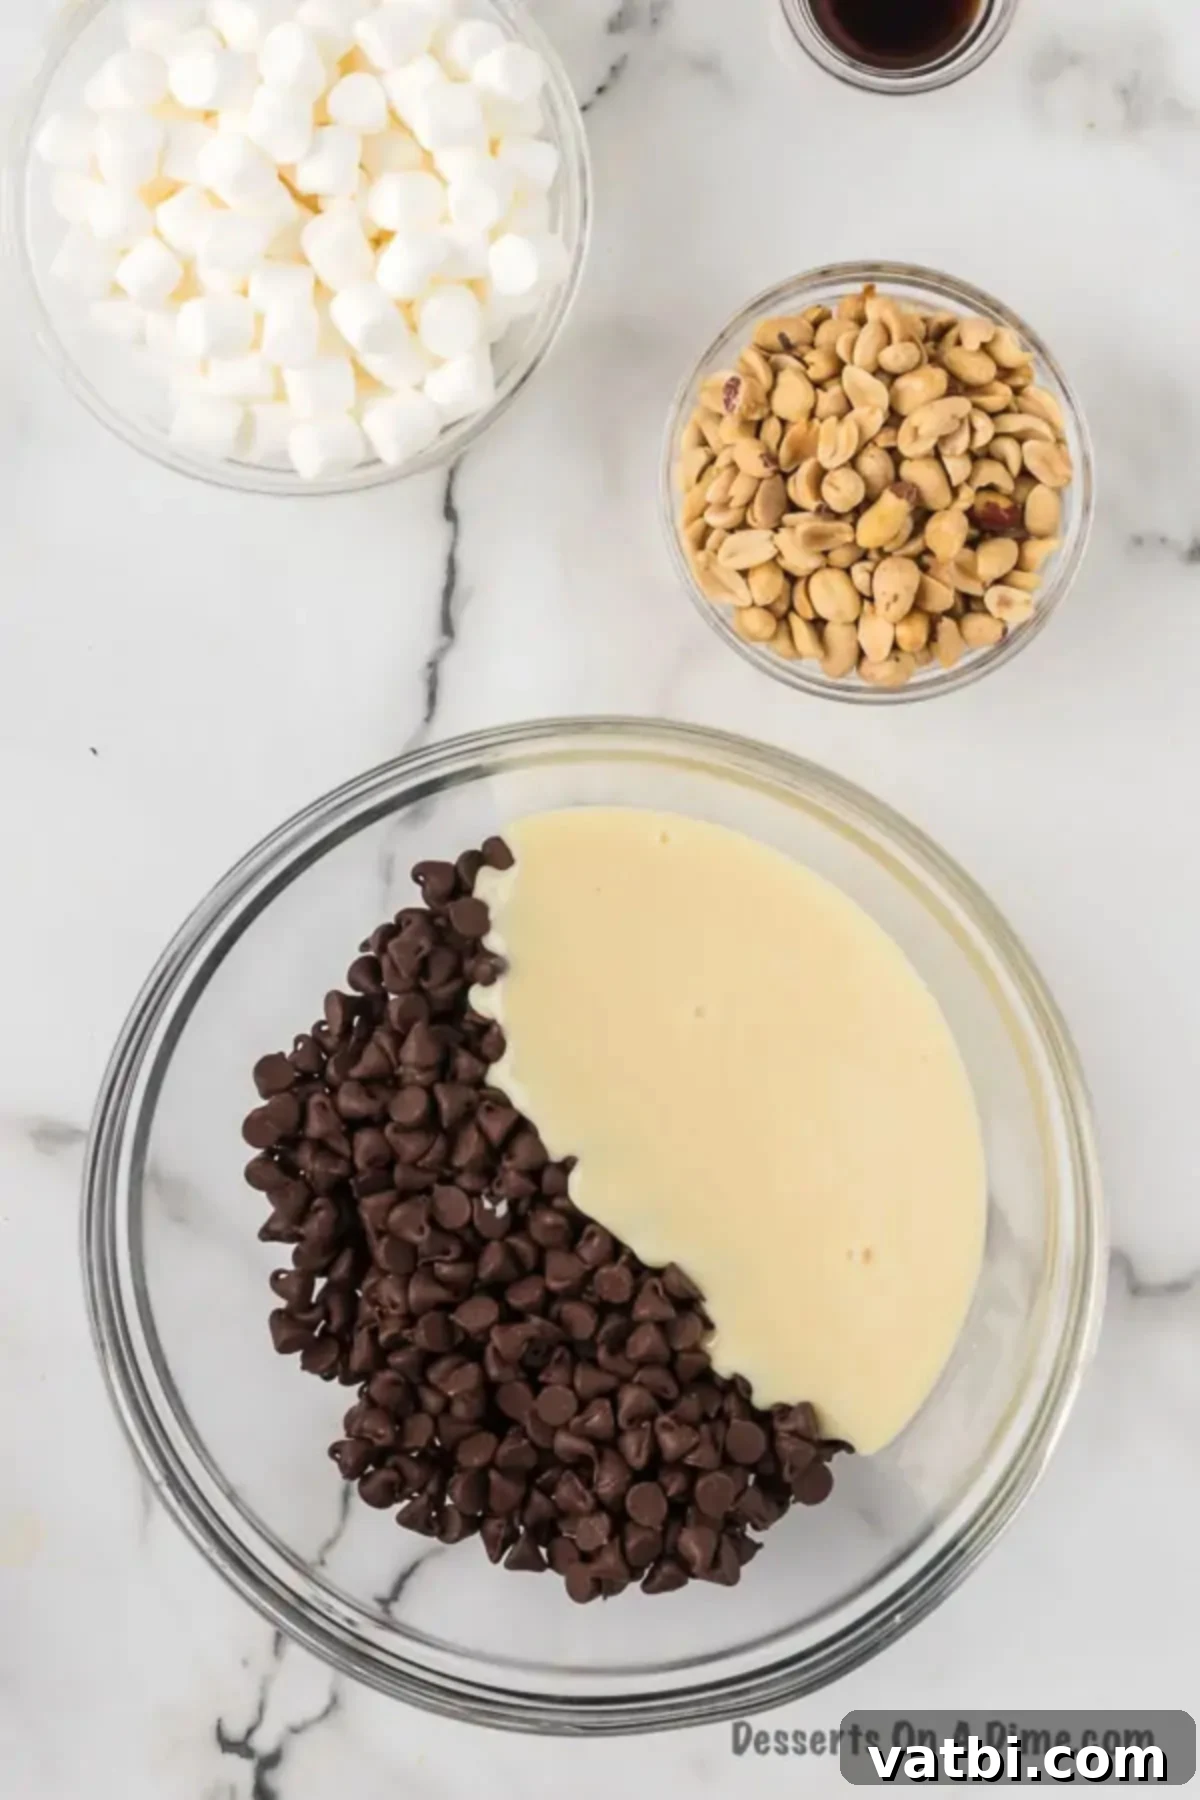
Step 2: Melt the Chocolate and Condensed Milk. Next, carefully add the sweetened condensed milk and your chosen semi-sweet chocolate chips into a large, microwave-safe bowl. This powerful pairing forms the luscious, creamy base of your fudge. While the microwave method is highlighted for its ease, if you prefer, or don’t have access to a microwave, you can also melt this delicious chocolate mixture using a classic double boiler. To do this, place the bowl over a saucepan of simmering water (ensuring the bottom of the bowl does not touch the water itself) and melt over medium heat, stirring constantly with a spatula until completely smooth. However, the microwave method offers unparalleled speed and simplicity.
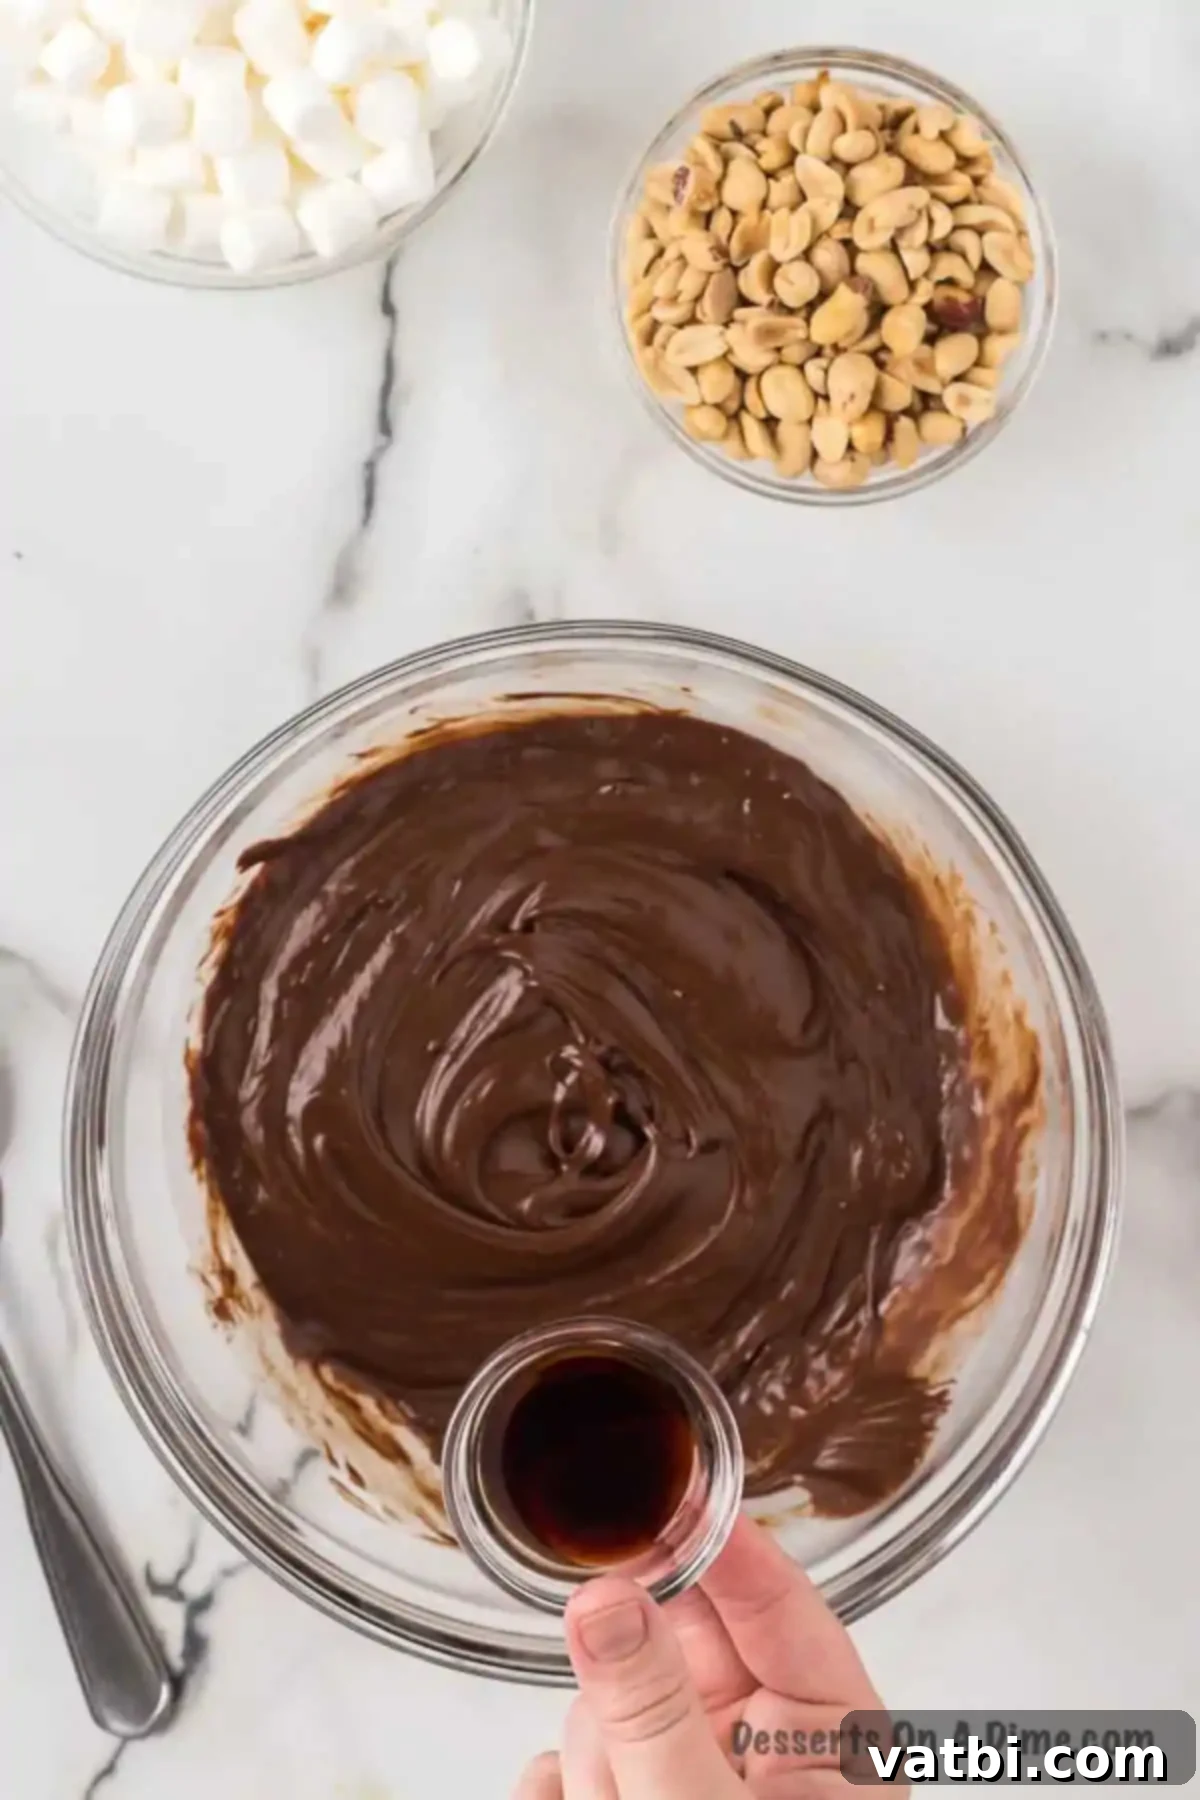
Step 3: Stir in the Vanilla. If you’re using the microwave, heat the chocolate and condensed milk mixture in short, controlled 30-second intervals. After each interval, be sure to remove the bowl and stir the mixture thoroughly with a spatula. Continue this process patiently until the chocolate is completely melted, the mixture is smooth, and all ingredients are well combined. It typically takes approximately 90 seconds to 2 minutes, depending on the power of your microwave. Crucially, avoid overheating, as this can lead to a grainy or crumbly fudge. Once smooth, add the pure vanilla extract and stir it in until it’s fully incorporated, lending a wonderful aroma and deepening the overall flavor.
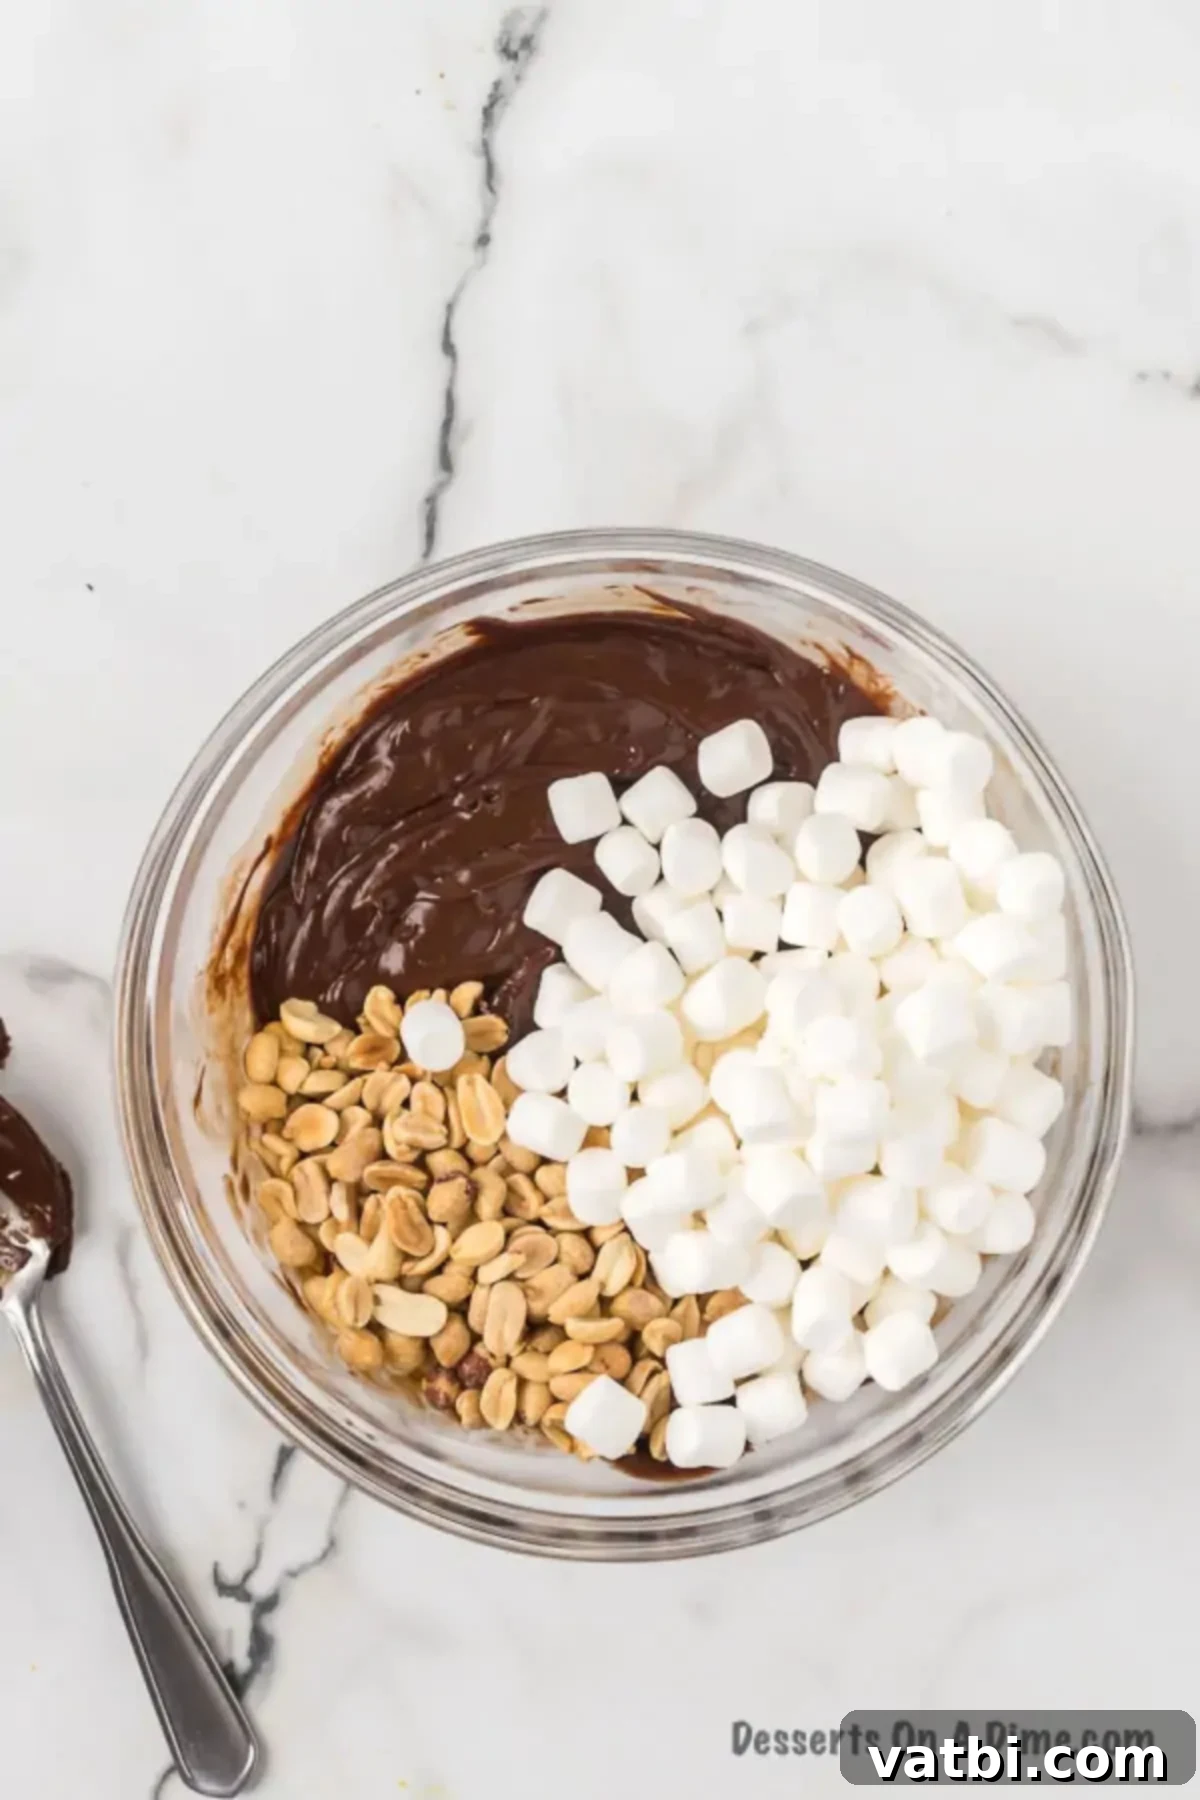
Step 4: Fold in Marshmallows and Nuts. Now comes the exciting part – adding the signature “rocky road” elements! Carefully add the miniature marshmallows and your chosen salted peanuts (or other preferred nuts) into the warm, melted chocolate mixture. It’s important to work relatively quickly at this stage while the chocolate is still warm and pliable, making it easier to incorporate the add-ins.
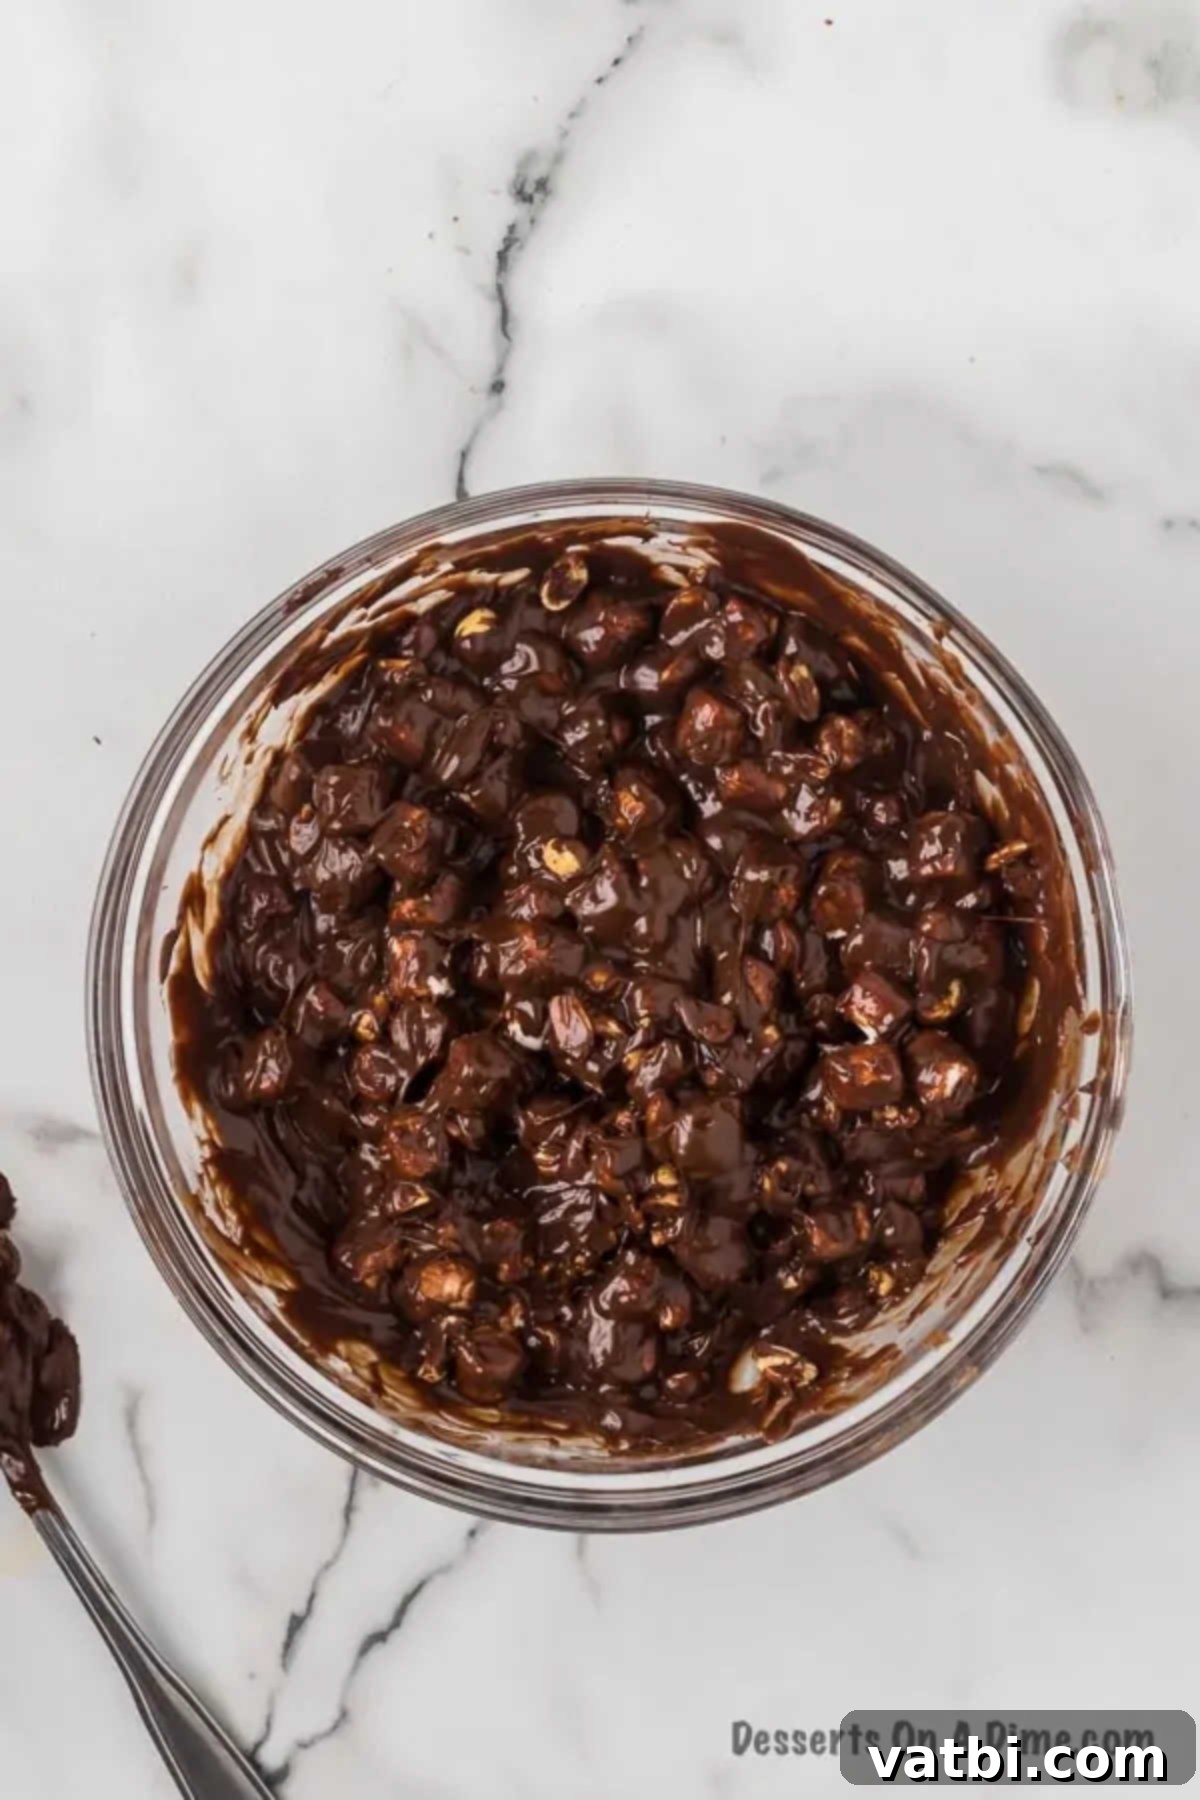
Step 5: Combine Gently. Using a sturdy spatula, gently fold the marshmallows and nuts into the chocolate mixture until they are evenly distributed throughout. The key here is to be gentle and avoid overmixing, as excessive stirring can cause the miniature marshmallows to melt too much and lose their distinct, chewy texture. The goal is to incorporate everything without deflating the marshmallows entirely, ensuring beautiful pockets of softness in every bite.
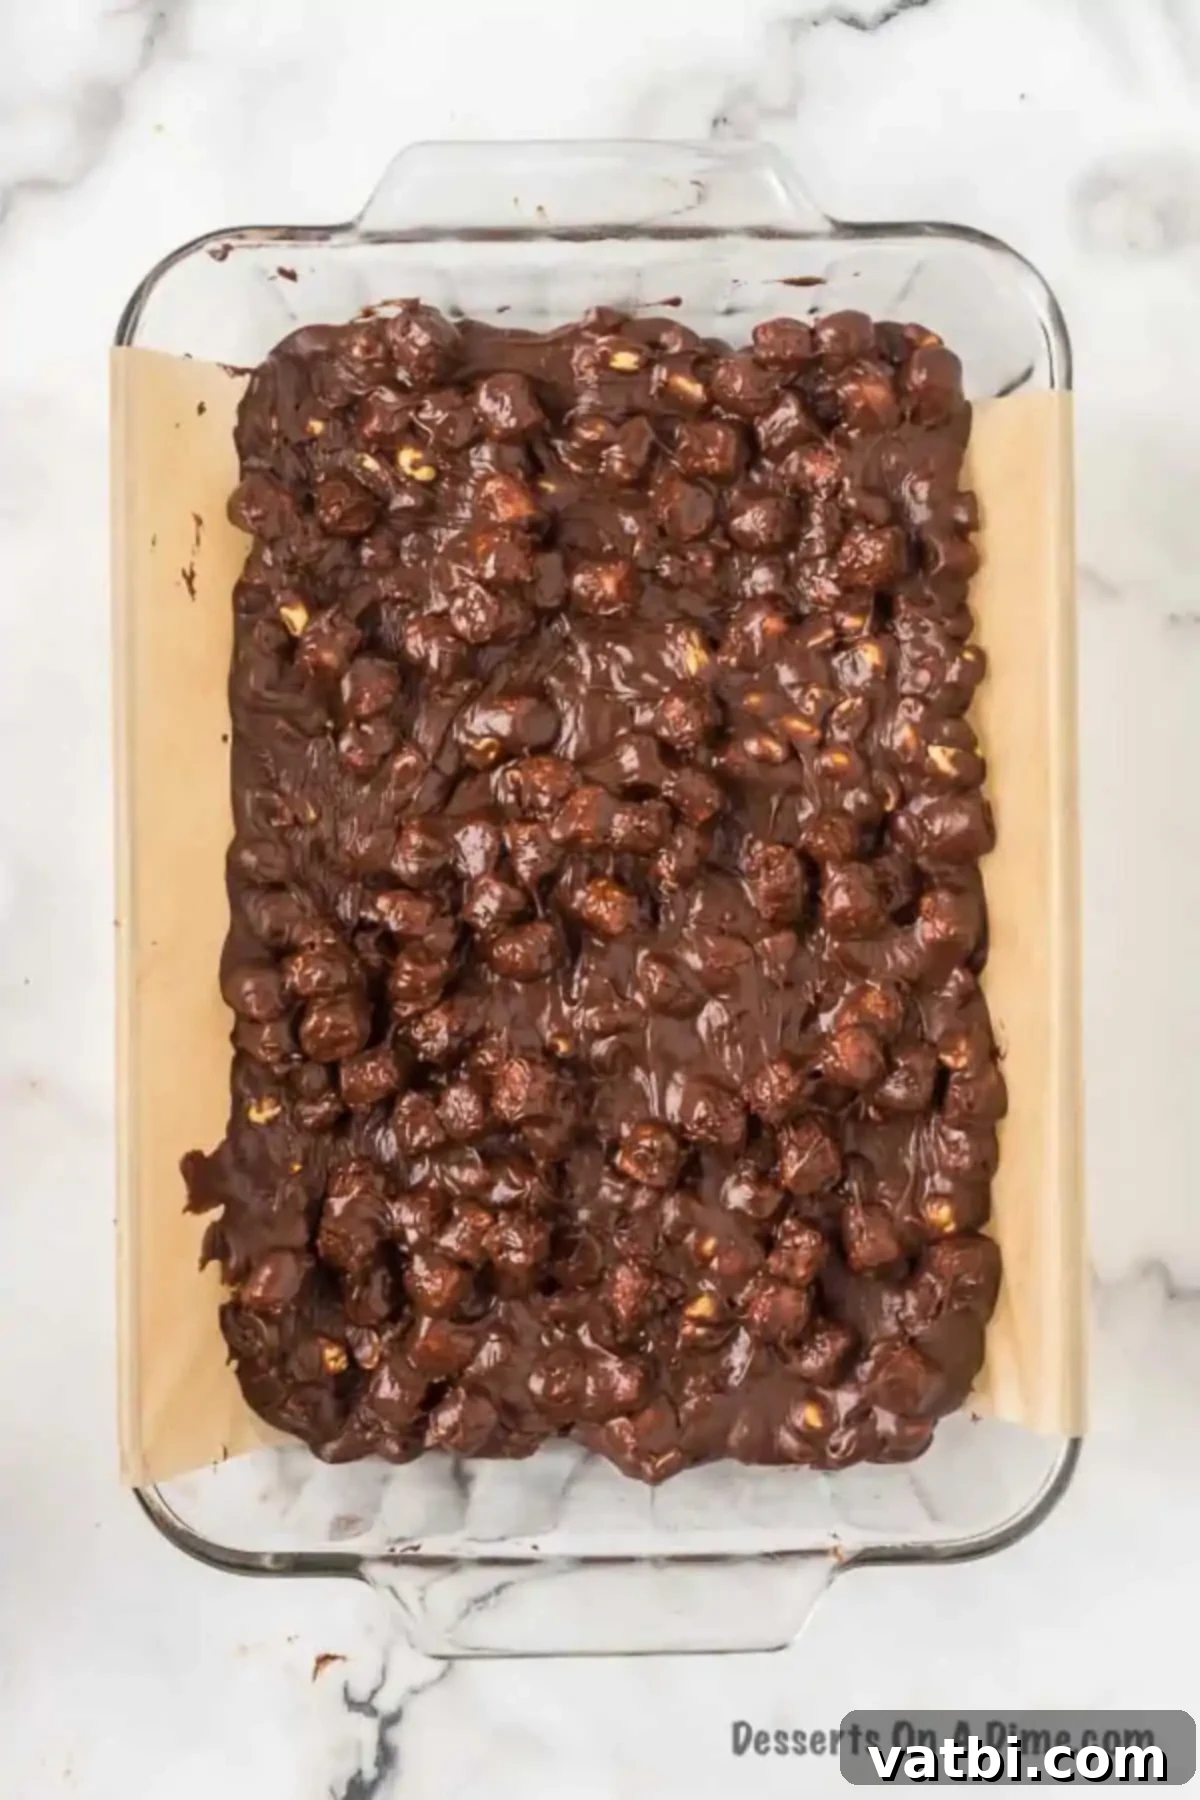
Step 6: Chill to Set. Once all the ingredients are gently combined and the mixture looks enticingly chunky with all the rocky road goodness, pour the fudge evenly into your previously prepared pan. Use your spatula to spread it smoothly into the corners and flatten the top as much as possible for a uniform thickness. Place the entire pan in the refrigerator for at least 2 to 4 hours, or until the fudge is completely firm and solid to the touch. This chilling time is absolutely crucial for allowing the fudge to fully set and develop its perfect sliceable texture.
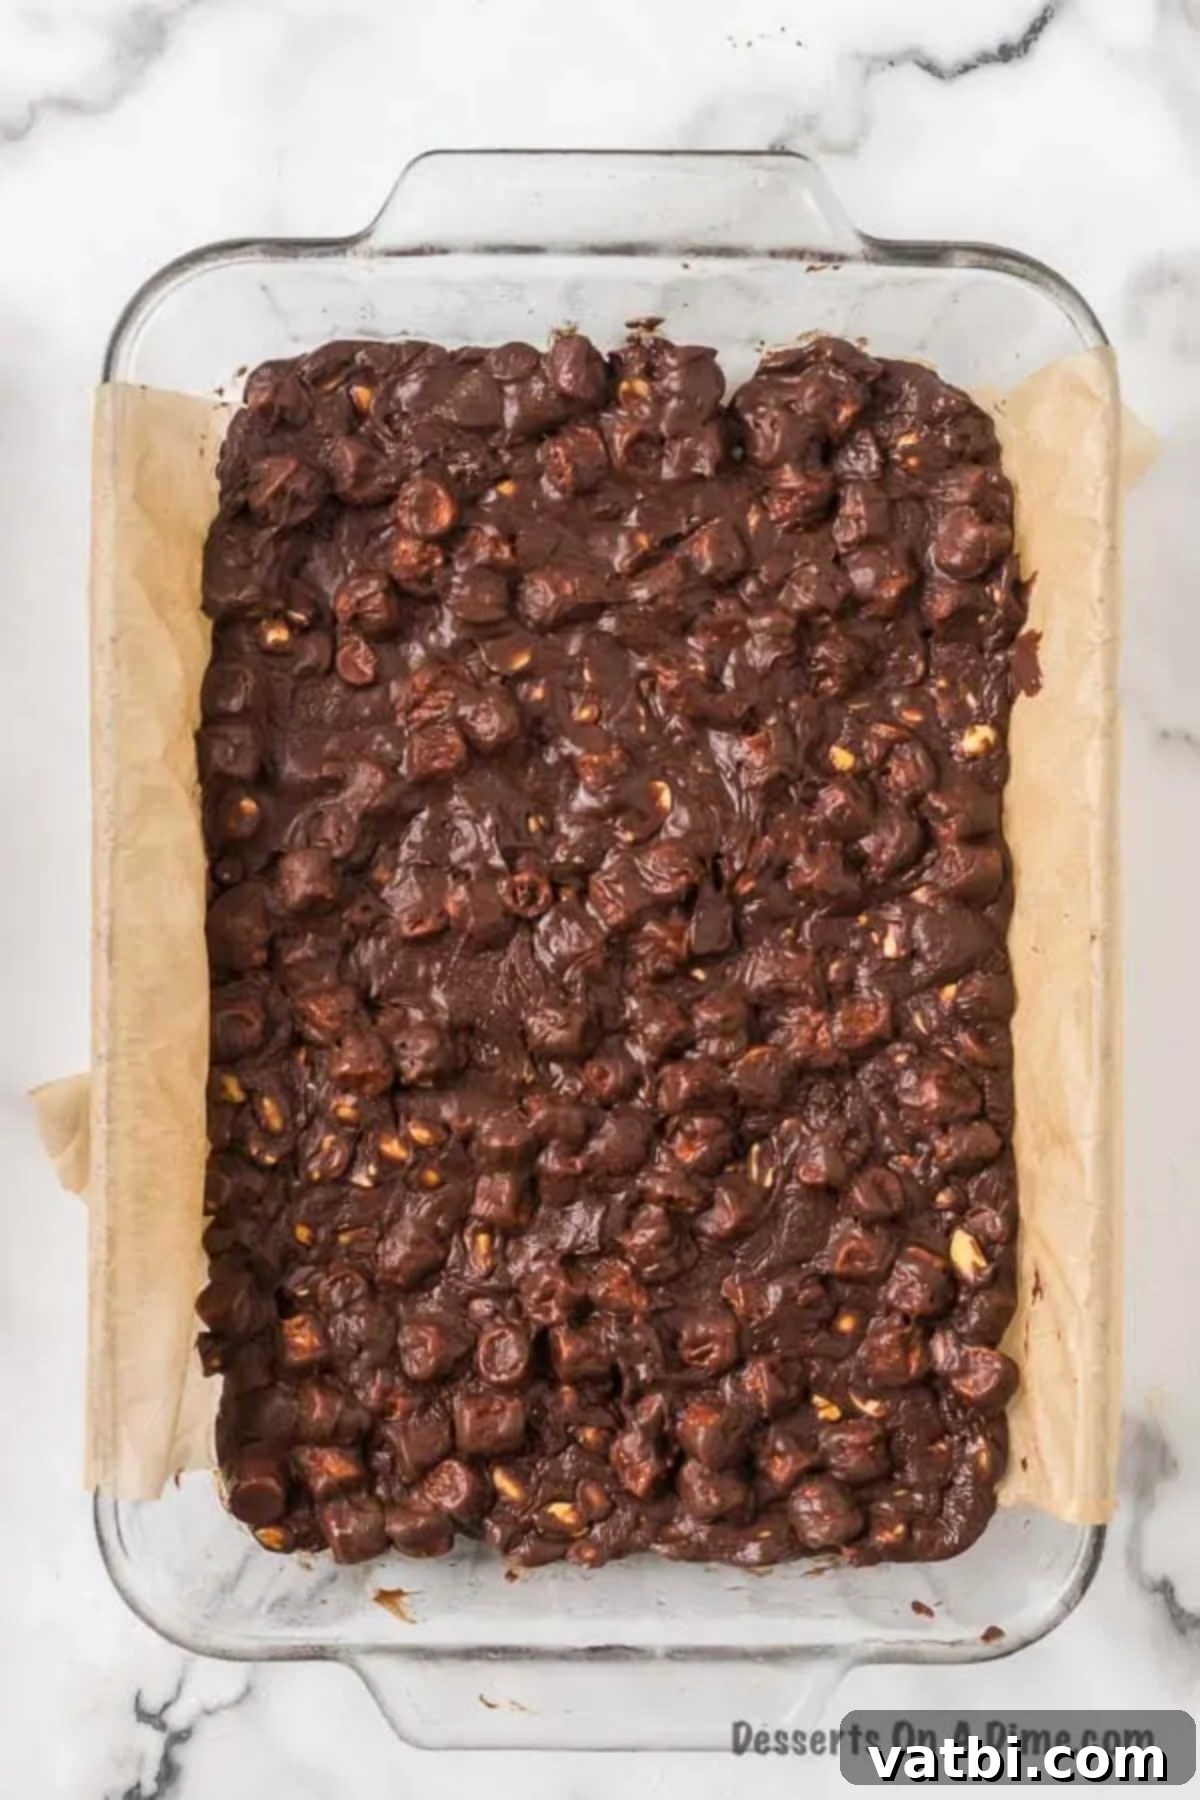
Step 7: Slice and Serve. Once the fudge is thoroughly set and firm, carefully lift the entire block out of the pan using the foil or parchment paper overhangs as convenient handles. Gently peel back the lining paper, and then place the fudge onto a clean cutting board. Use a sharp, lightly greased knife (refer to the pro tips below for easy slicing techniques!) to cut the fudge into your desired squares or rectangles. Now, your heavenly homemade Rocky Road Fudge is officially ready to be enjoyed! For the best flavor and texture, allow it to sit at room temperature for about 15-20 minutes before serving.
Expert Pro Tips for Perfect Fudge Every Time
Even though this Rocky Road Fudge recipe is designed to be incredibly easy and foolproof, a few expert tips can further elevate your creation, ensuring it’s not just delicious, but absolutely unforgettable. Pay attention to these subtle details for the best possible results and a truly professional-looking batch of fudge:
- Opt for High-Quality Chocolate: The quality of your chocolate truly makes a significant difference in the final taste, texture, and overall luxuriousness of your fudge. Higher quality chocolate chips (those with a good percentage of cocoa butter) melt more smoothly, blend more seamlessly, and provide a richer, more nuanced cocoa flavor. You can genuinely taste the difference, so invest in a brand of chocolate chips that you enjoy eating on their own.
- Serve Fudge at Room Temperature for Optimal Flavor: While it sets beautifully in the refrigerator, fudge often tastes best when served slightly closer to room temperature. Take the fudge out of the refrigerator approximately 15 to 20 minutes before you plan to serve it. This allows the chocolate to soften just slightly, enhancing its creamy texture and allowing all the wonderful flavors to fully bloom and express themselves on your palate.
- Do Not Overcook the Chocolate Mixture: This is a crucial tip for avoiding grainy fudge! If you overheat the chocolate and condensed milk mixture, the sugar can crystallize prematurely, resulting in a gritty or crumbly fudge rather than the desired smooth and creamy consistency. Always melt the chocolate and condensed milk in short, controlled 30-second bursts in the microwave, stirring completely and patiently after each interval. Stop heating as soon as the mixture is smooth and fully melted, even if there are still a few tiny lumps that will dissolve with continued stirring off the heat.
- Achieve Perfect, Clean Slices: For clean, professional-looking squares, there are a few simple but effective tricks. First, spray your sharp knife with a non-stick cooking spray before each cut. Alternatively, you can run your knife under hot water, wipe it dry, and then make a cut, repeating this process between slices. This prevents sticking and ensures incredibly smooth, neat edges. For extra precision and perfectly uniform pieces, use a ruler to guide your cuts!
- Don’t Skimp on Lining the Pan: While it might seem like an extra, minor step, lining your baking pan generously with aluminum foil or parchment paper is an absolute lifesaver for easy removal and clean cuts. The overhang created by the lining acts as a convenient sling, allowing you to lift the entire, solid block of fudge out of the pan effortlessly, minimizing mess and frustration.
- Customize Your Mix-Ins for Endless Variations: Rocky Road is wonderfully versatile, inviting creative culinary experimentation! While salted peanuts are the traditional choice, feel free to get creative with other additions. Consider stirring in chopped walnuts, almonds, pecans, or even a delightful mix of several different nuts. You could also experiment with adding dried cranberries, mini chocolate candies, crunchy pretzel pieces for an extra salty-sweet crunch, or even a swirl of peanut butter for a marbled effect.
- A Pinch of Salt Enhances Flavor: For an unexpected but impactful flavor boost, consider sprinkling a tiny pinch of flaky sea salt over the top of the fudge just before it fully sets in the refrigerator. The salt acts as a brilliant flavor enhancer, intensifying the deep chocolate notes and beautifully balancing the overall sweetness of the fudge, creating a more complex and addictive taste experience.
Frequently Asked Questions About Fudge
Here are some common questions about making and storing fudge, with comprehensive answers to help you achieve perfect results every time.
Because sweetened condensed milk and evaporated milk are both concentrated milk products, you might be tempted to substitute them due to their similar names. However, they are fundamentally different and are not directly interchangeable without significant adjustments. While you can technically use evaporated milk for a similar liquid consistency, you will not get the same rich, sweet, and slightly caramelized flavor that sweetened condensed milk provides. Evaporated milk is unsweetened and has a less viscous, thinner texture. If you were to use it, you would need to add a substantial amount of additional sugar and potentially reduce the liquid content through simmering to achieve a fudge-like texture and the desired sweetness, making it a much more complex substitution that would deviate significantly from this simple recipe’s core principles and ease of preparation.
Proper storage is key to keeping your homemade fudge fresh, delicious, and at its optimal texture. Store any rocky road fudge leftovers in an airtight container. For shorter periods, it can be kept at cool room temperature for up to 5 days, maintaining a softer, chewier texture. For longer freshness, store it in the refrigerator for up to 1 week. Storing it in the fridge will make the fudge firmer, so remember our pro tip: allow it to come to room temperature for about 15-20 minutes before serving for the best, most creamy texture and fully developed flavor.
Absolutely! This easy rocky road fudge freezes beautifully, making it an excellent make-ahead dessert, especially ideal for busy holiday seasons or for meal prepping treats. To freeze, ensure the fudge is fully set and has been cut into individual slices. Place the slices in an airtight freezer-safe container. For best results and to prevent the pieces from sticking together, I highly recommend placing small squares of wax paper or parchment paper in between the fudge slices. This also makes it incredibly easy to grab just one or two pieces for a quick, portion-controlled treat. The fudge can be frozen for up to one month without significant loss of quality. Freezing is a fantastic time-saving tip if you’re preparing homemade treats for friends and neighbors, allowing you to have delicious, handcrafted gifts ready at a moment’s notice whenever a craving strikes or an occasion arises.
Grainy fudge is one of the most common issues in fudge making, and it’s almost always a result of either overcooking the chocolate mixture or not stirring it thoroughly enough during the melting process. When sugar crystals form prematurely or the mixture gets too hot too quickly, it can cause a gritty, unpleasant texture. To avoid this, always melt the chocolate and condensed milk in short, controlled 30-second bursts in the microwave, ensuring you stir completely after each interval until it is just smooth. Avoid using high heat settings for too long or prolonged cooking times.
This quick and easy rocky road fudge typically takes approximately 2 to 4 hours to firm up completely in the refrigerator. The exact setting time can vary slightly depending on the thickness of your fudge (which is influenced by the size of the pan you use) and the specific temperature of your refrigerator. For best results and to ensure a perfectly solid and sliceable texture, we recommend allowing it at least 2 hours, but letting it chill for 4 hours or even overnight will guarantee optimal firmness.

More Irresistible Fudge Recipes to Try
Once you master this incredibly easy Rocky Road Fudge, you might find yourself craving more delightful variations! Fudge is a wonderfully versatile treat, and there are endless flavor combinations to explore, each offering its own unique charm. Here are some other fantastic fudge recipes that are sure to become new family favorites and crowd-pleasers:
- Tiger Butter Fudge Recipe
- Vanilla Fudge Recipe
- Oreo Fudge Recipe
- Peanut Butter Chocolate Chip Fudge
- Peppermint Fudge Recipe
- Classic Peanut Butter Fudge Recipe
Making homemade fudge is truly not as daunting or difficult as it may initially seem, especially with modern shortcuts like the microwave method utilized in this recipe. This Easy Rocky Road Fudge proves unequivocally that simple ingredients and minimal effort can indeed yield a supremely delicious, impressive, and utterly satisfying dessert. We wholeheartedly encourage you to try making this sweet treat today and experience the pure joy of creating something so wonderfully decadent yourself. Come back and leave a comment to let us know how much you loved it and share your fudge-making success!
Easy Rocky Road Fudge Recipe
Only 5 ingredients needed to make this incredibly easy and delicious Rocky Road Fudge. A perfect blend of chocolate, marshmallows, and peanuts makes this fudge a heavenly homemade dessert that’s quick to prepare and always a hit!
10 mins
2 mins
24
American
Dessert
184
Carrie Barnard
Ingredients
- 12 oz. Semi-sweet chocolate chips
- 14 oz Sweetened Condensed Milk
- 1 tsp Vanilla Extract
- 2 cups Miniature Marshmallows
- 1 cup Salted Peanuts
Instructions
- Line a 9X13 baking pan with foil or parchment paper, ensuring an overhang on all sides for easy removal, and then spray generously with a non-stick cooking spray.
- Place the sweetened condensed milk and semi-sweet chocolate chips in a large microwave-safe bowl.
- Heat the mixture in the microwave in 30-second intervals, stirring thoroughly after each interval, until the chocolate is completely melted and the mixture is smooth and well combined. This usually takes approximately 90 seconds to 2 minutes, depending on your microwave’s power. Be careful not to overheat to prevent a grainy texture.
- Stir in the vanilla extract until fully incorporated. Then, gently fold in the salted peanuts and miniature marshmallows until they are evenly distributed throughout the chocolate mixture, being careful not to overmix.
- Pour the fudge mixture into the prepared pan and use a spatula to spread it evenly into the corners and flatten the top. Refrigerate for at least 2-4 hours, or until the fudge is completely firm to the touch.
- Once the fudge is thoroughly set, carefully lift the foil or parchment paper out of the pan using the overhangs, and peel it away. Place the fudge onto a cutting board and cut into your desired squares or rectangles using a sharp, lightly greased knife. Serve at room temperature for the best flavor and texture.
Nutrition Facts
Carbohydrates 21g
Protein 4g
Fat 10g
Saturated Fat 4g
Trans Fat 1g
Cholesterol 6mg
Sodium 52mg
Potassium 189mg
Fiber 2g
Sugar 17g
Vitamin A 51IU
Vitamin C 1mg
Calcium 62mg
Iron 1mg
Pin This Now to Remember It Later
Pin Recipe
Want to save this recipe? Just enter your email and we’ll send it right to you, plus great new recipes weekly!
