Festive Reindeer Cake Pops: Your Ultimate Guide to a Magical Christmas Treat
Get ready to add a sprinkle of magic to your holiday festivities with these adorable Reindeer Cake Pops! These delightful bite-sized treats are not just incredibly fun to make, but they also bring a huge smile to everyone’s face, making them the perfect centerpiece for any Christmas party, holiday gathering, or family baking day. Imagine tender cake, mixed with sweet frosting, dipped in rich chocolate, and then transformed into Rudolf and his friends with charming candy antlers, eyes, and a bright red nose. This easy Christmas dessert is guaranteed to be a hit, offering a playful and delicious twist on classic holiday baking. It’s the best bite-sized dessert for spreading holiday cheer!
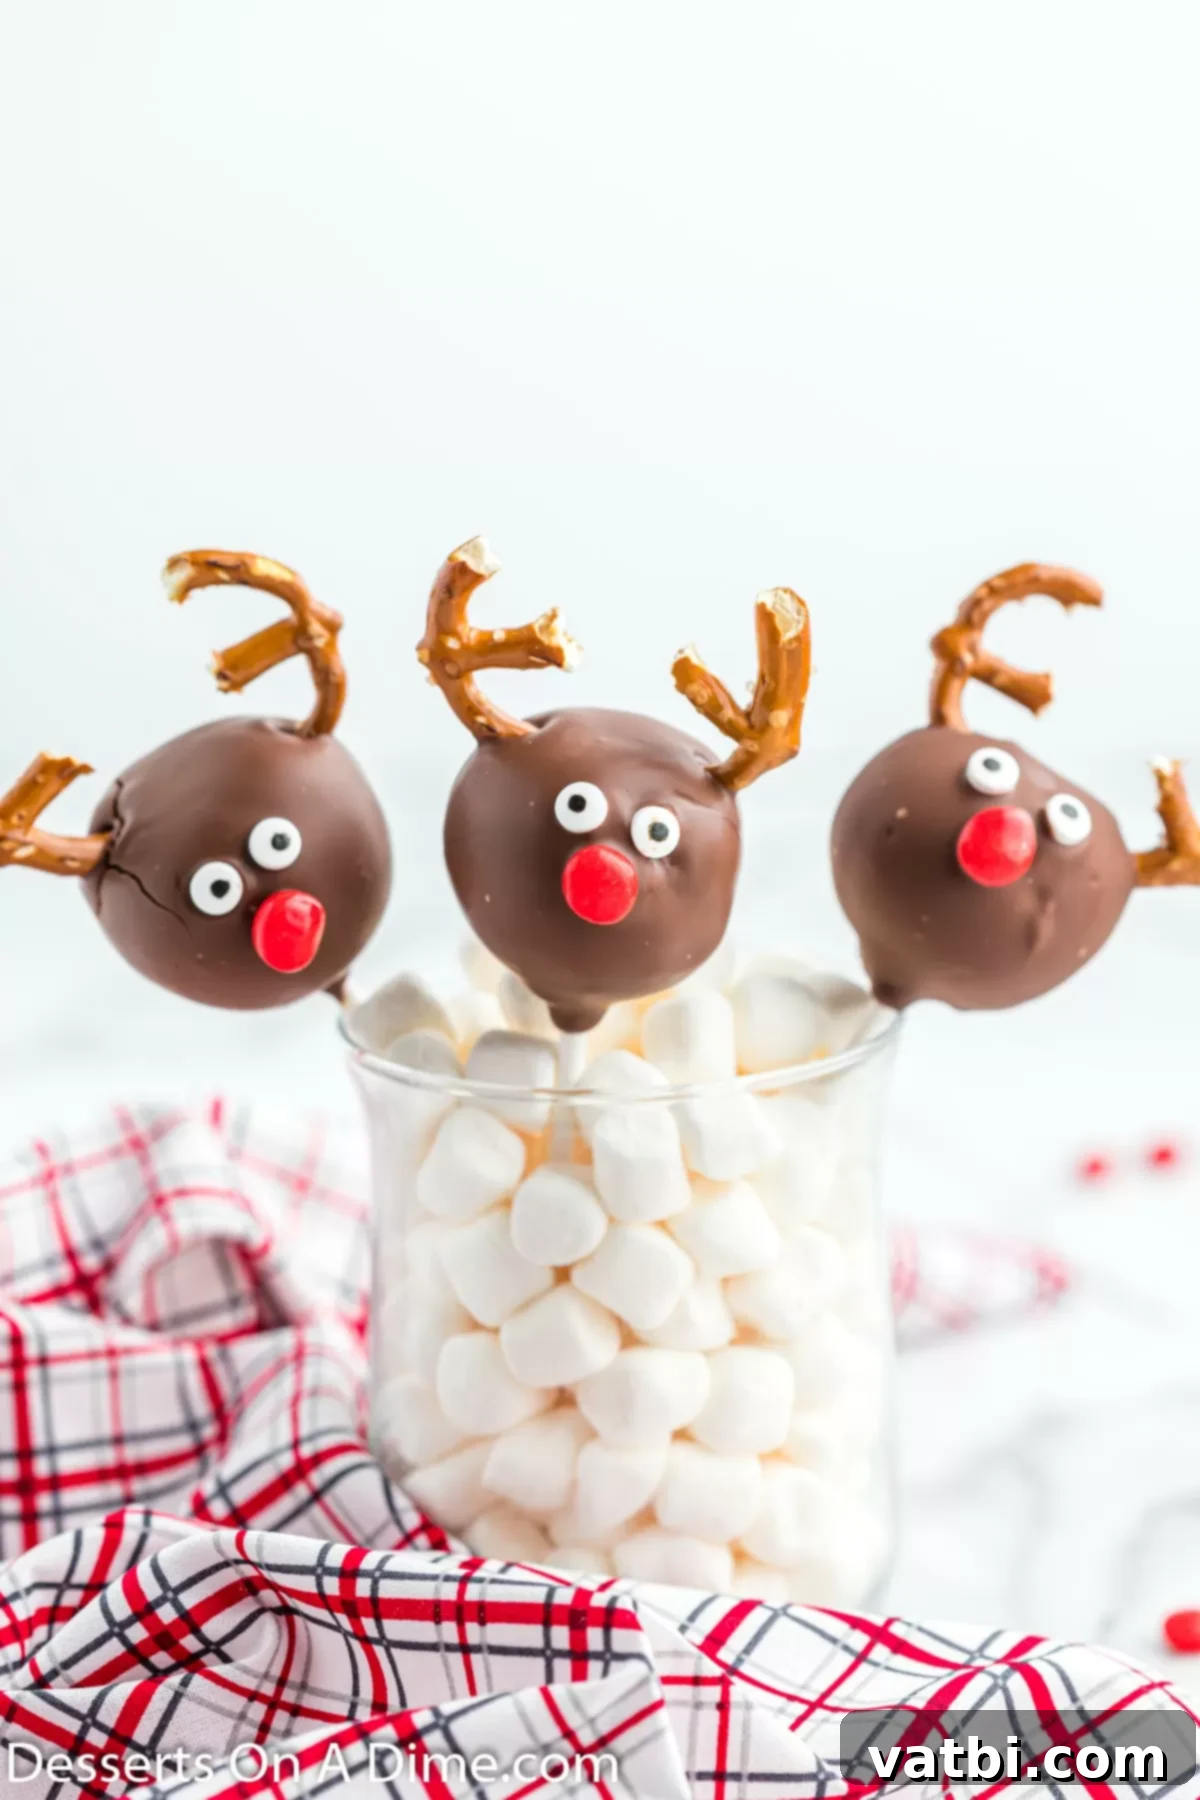
This holiday cake pop recipe is incredibly simple to follow, making it a fantastic activity to do with children. The joy and excitement on their faces as they help create these cute edible reindeer are truly priceless. These cake pops pair perfectly with other festive treats like Nutter Butter Reindeer, classic Reindeer Cookies, and savory-sweet Reindeer Pretzel Rods. For even more enchanting Christmas Desserts, be sure to check out our Reindeer Brownies. Let’s dive into making these delightful reindeer-themed desserts that are sure to be the star of your holiday dessert table!
What’s in this post: Reindeer Cake Pops
- What are Reindeer Cake Pops?
- Ingredients You’ll Need
- Delicious Variations & Customizations
- How to Make Reindeer Cake Pops: Step-by-Step Guide
- Tips for Perfect Reindeer Cake Pops
- Frequently Asked Questions
- More Easy Cake Pops to Try
- More Festive Reindeer Desserts
- Reindeer Cake Pops Recipe Card
What are Reindeer Cake Pops?
Reindeer Cake Pops are essentially miniature cakes, crumbled and mixed with frosting, then rolled into spherical or oval shapes, placed on lollipop sticks, and dipped in melted chocolate or candy coating. The real magic happens with the decoration! Each cake pop is adorned to resemble an adorable reindeer, complete with crunchy pretzel antlers, sweet candy eyes, and a vibrant red hot candy for the iconic nose. They offer a delightful surprise with every bite – a moist, flavorful cake center encased in a smooth, crisp chocolate shell. Beyond their charming appearance, their small size makes them incredibly easy to eat, mess-free, and perfect for parties, gift-giving, or simply enjoying a festive treat at home. They’re a playful and delicious way to celebrate the holiday season.
Ingredients You’ll Need
Creating these charming Reindeer Cake Pops requires just a few simple ingredients, most of which you likely already have in your pantry or can easily find at any grocery store. The beauty of this recipe lies in its simplicity and the ability to customize flavors, but for our classic reindeer, we’ll focus on a delightful vanilla base and chocolate coating. Here’s what you’ll need to gather:
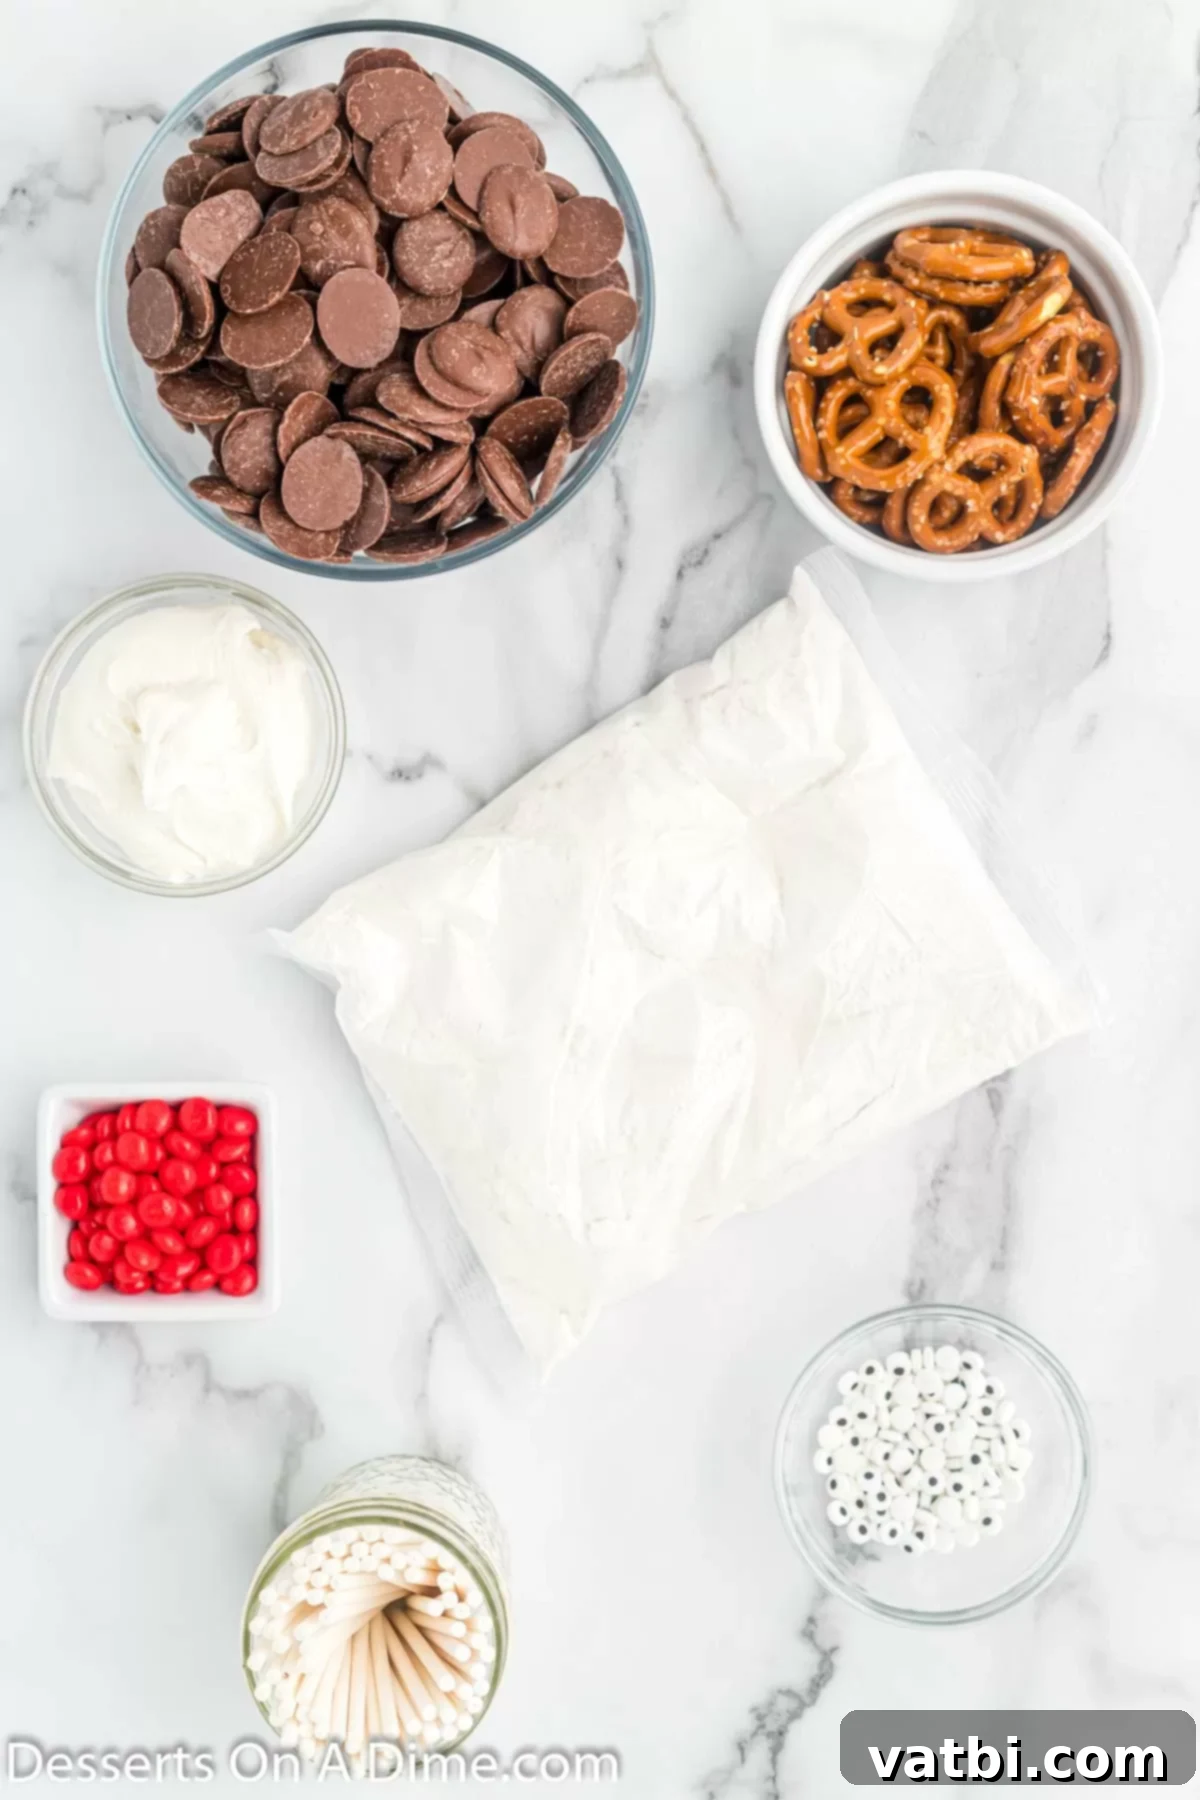
- Vanilla Cake Mix: A standard 15 oz box. This is our foundation for delicious, moist cake pops. You’ll also need the ingredients specified on the back of the box to prepare the cake (e.g., eggs, oil, water).
- Vanilla Frosting: About 1/3 cup of pre-made vanilla frosting helps bind the cake crumbs and adds moisture and sweetness. Using pre-made saves time and effort!
- Chocolate Candy Melts: Approximately 16 oz. These are crucial for the smooth, dippable coating. Chocolate candy melts harden quickly and provide a perfect finish.
- Candy Eyes: Around 40 pieces. These instantly bring your reindeer to life and are available in most baking supply or craft stores.
- Red Hots Candy: Roughly 20 pieces. These fiery little candies make the perfect bright red nose for Rudolph!
- Small Pretzels: About 20 small, twisted pretzels. These will be broken in half to create the iconic reindeer antlers.
- Lollipop Sticks: A pack of sturdy lollipop sticks is essential for holding your cake pops.
The full, detailed ingredient list with exact measurements can be found in the recipe card at the very bottom of this post.
Delicious Variations & Customizations
One of the best things about making cake pops is how versatile they are! While the vanilla cake with chocolate coating is a classic, don’t hesitate to get creative with flavors and decorations to suit your taste or theme. Here are some ideas to inspire your next batch of Reindeer Cake Pops:
- Cake Flavor: Don’t limit yourself to vanilla!
- Chocolate Cake: For a rich, decadent treat, use a chocolate cake mix.
- Red Velvet Cake: The vibrant red color peeking through if the coating cracks would be extra festive.
- Spice Cake: Perfect for a warmer, autumnal holiday feel.
- Funfetti Cake: Add some colorful sprinkles inside for an extra surprise!
- Frosting Flavor: Match your frosting to your cake or create a complementary flavor.
- Chocolate Frosting: Pairs wonderfully with chocolate cake for a double chocolate delight.
- Cream Cheese Frosting: Excellent with red velvet or spice cake.
- Peppermint Frosting: Introduce a minty kick for a true winter wonderland flavor.
- Candy Coating:
- White Chocolate Melts: Use white candy melts and tint them with brown food coloring for a lighter reindeer look, or leave them white for a “snowy” effect with brown decorations.
- Dark Chocolate Melts: For a more intense chocolate flavor.
- Colored Candy Melts: While traditional reindeer are brown, you could experiment with green or red candy melts for a super festive, whimsical look!
- Decorations:
- Noses: Instead of Red Hots, use mini M&Ms (red for Rudolph, brown for other reindeer), a small piece of red gummy candy, or even a mini chocolate chip for a dark nose.
- Antlers: If pretzels aren’t your preference, you can use small chocolate-covered pretzel pieces, or even chocolate-covered sunflower seeds for a more delicate antler.
- Extra Sparkle: Before the chocolate coating sets, sprinkle a little edible glitter or gold dust on the antlers or the entire cake pop for an extra touch of glamour.
- Cheeks: Add tiny pink edible pearls or brush a tiny bit of edible pink dust below the eyes for rosy cheeks.
How to Make Reindeer Cake Pops: Step-by-Step Guide
Making these adorable Reindeer Cake Pops is a process that’s both rewarding and incredibly fun. Follow these simple steps to create your own festive masterpieces:
- Prepare the Cake: Begin by baking your chosen cake mix. Follow the box instructions precisely, baking it in a 9×13-inch pan. Once baked, it’s crucial to let the cake cool completely at room temperature. A warm cake will make the crumbling process messy and the cake ball mixture too soft.
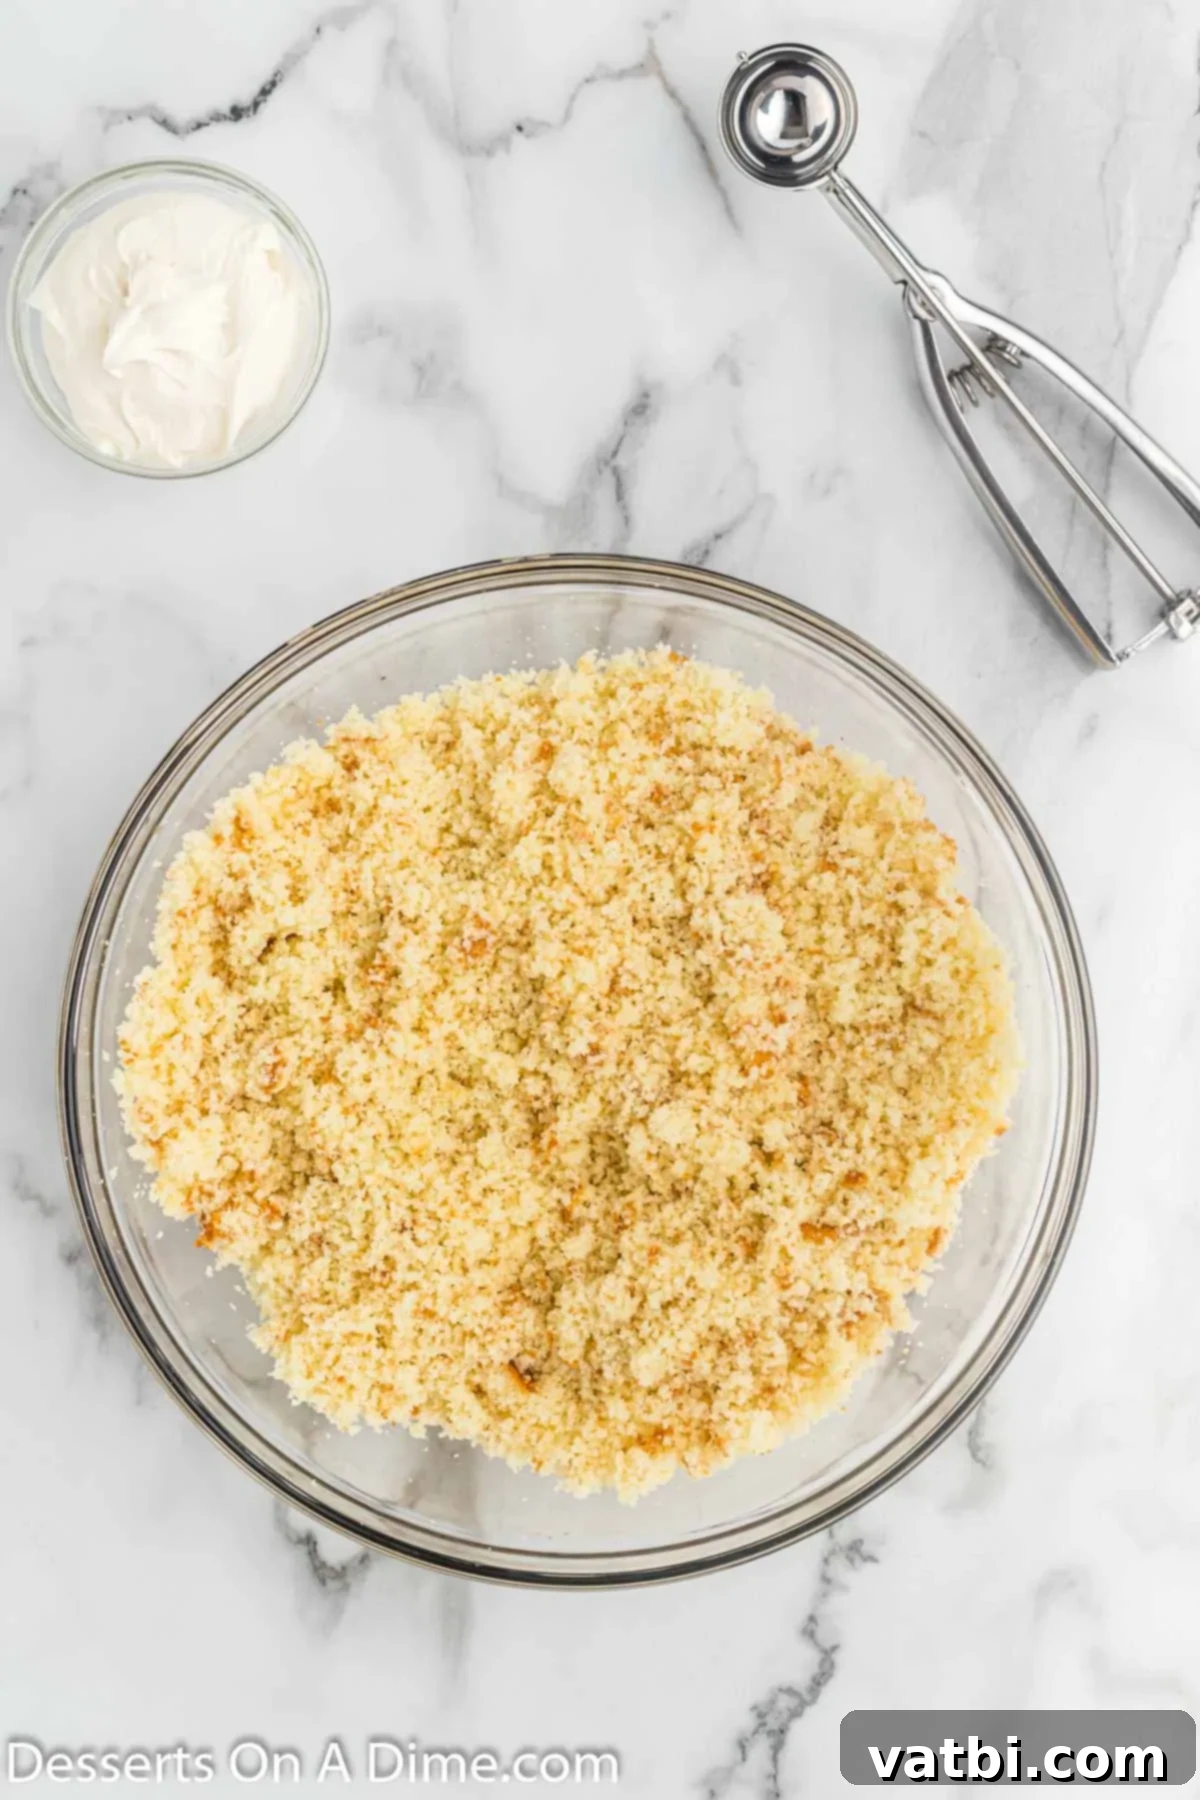
Step 1: Crumble the Cake. Once the cake is fully cooled, remove it from the pan. Carefully discard the slightly drier, darker outside layer from the cake (this ensures a consistently moist cake pop center). Crumble the remaining cake into very fine crumbs. It’s important to get rid of any large lumps so your cake pops are smooth. Place all the fine crumbs into a large mixing bowl.
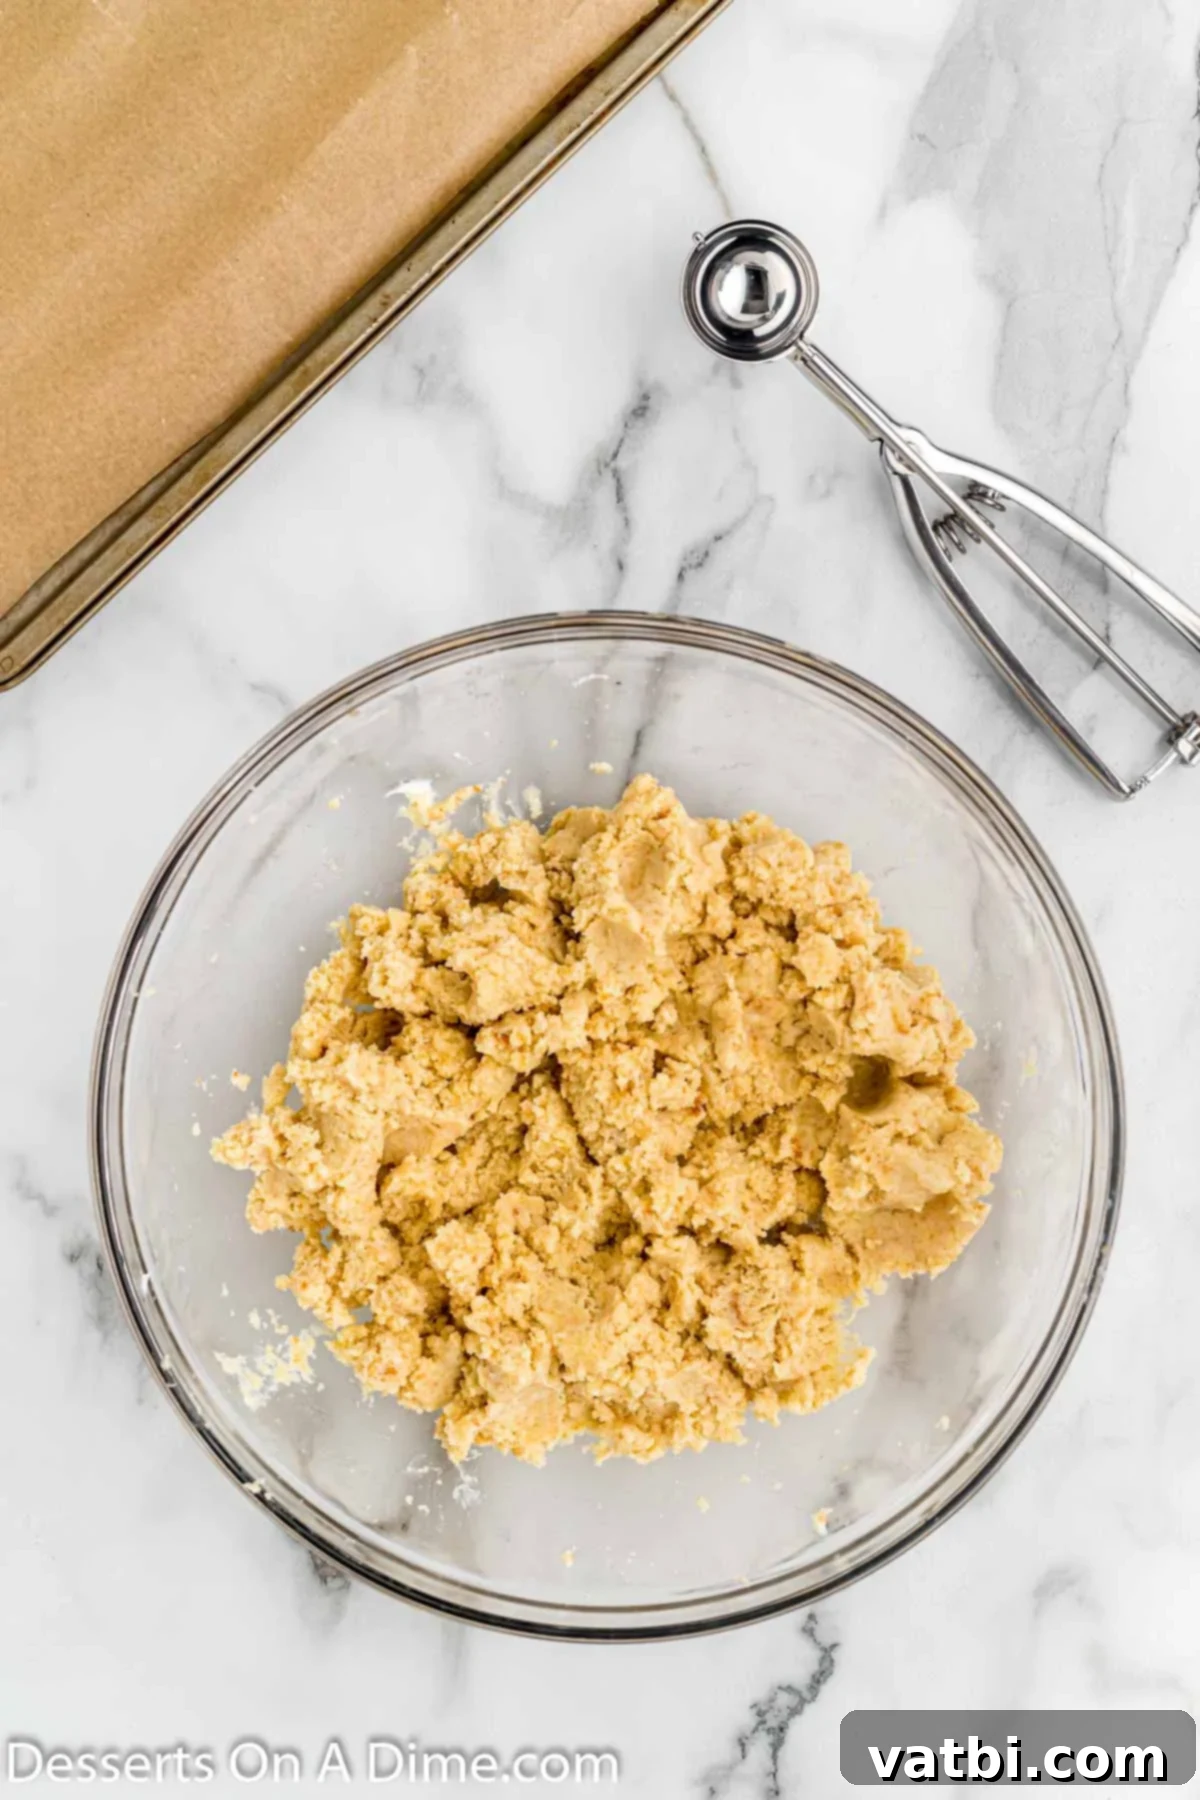
Step 2: Combine Cake and Frosting. Add the vanilla frosting to your crumbled cake. Stir everything together thoroughly until it’s well combined and forms a moist, moldable dough-like consistency. You should be able to press it together without it falling apart. Avoid overmixing; just combine until uniform.
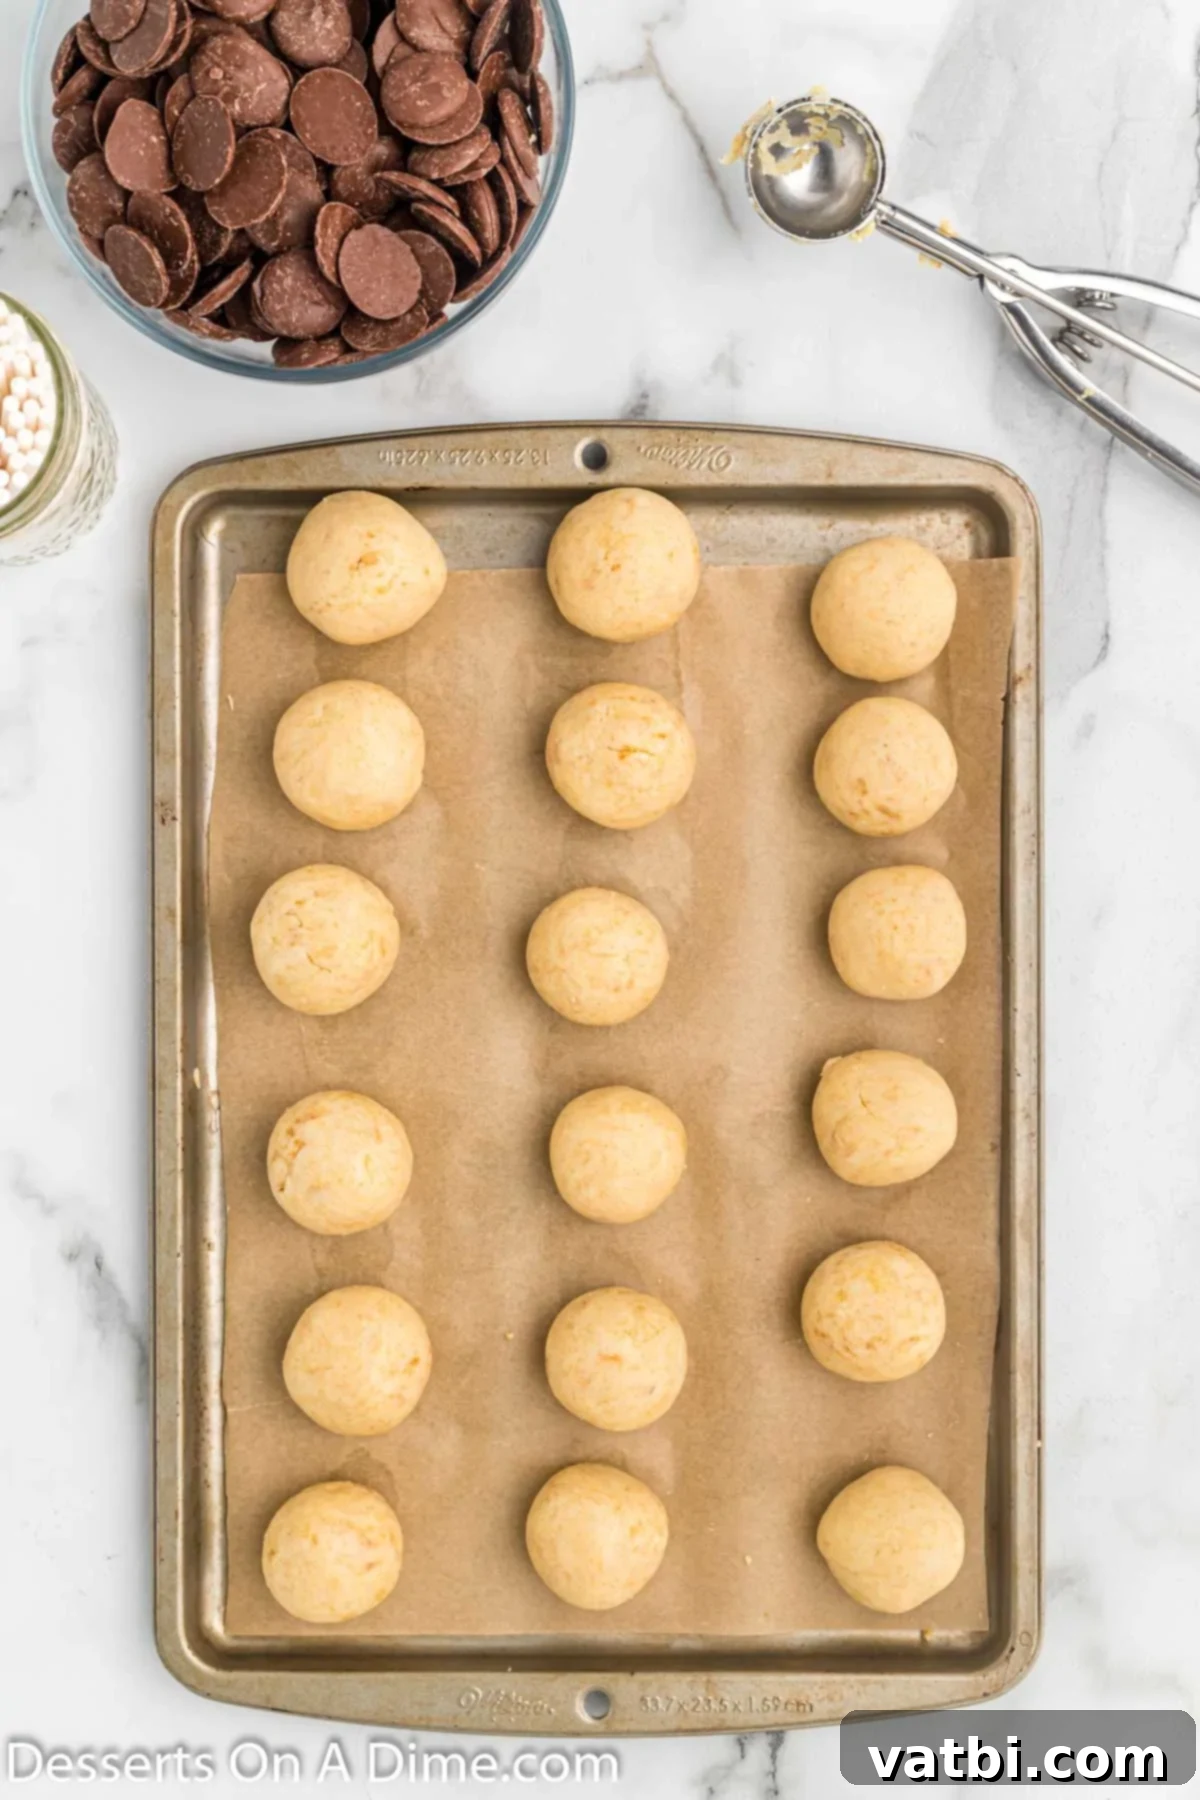
Step 3: Form Cake Balls. Using a cookie scoop (this helps ensure consistent sizing!), scoop portions of the cake mixture and roll them into smooth, round cake balls. Aim for about 24-36 cake balls, depending on your desired size. Place these formed cake balls onto a baking sheet lined with parchment paper or wax paper. This helps prevent sticking and makes them easy to transfer.
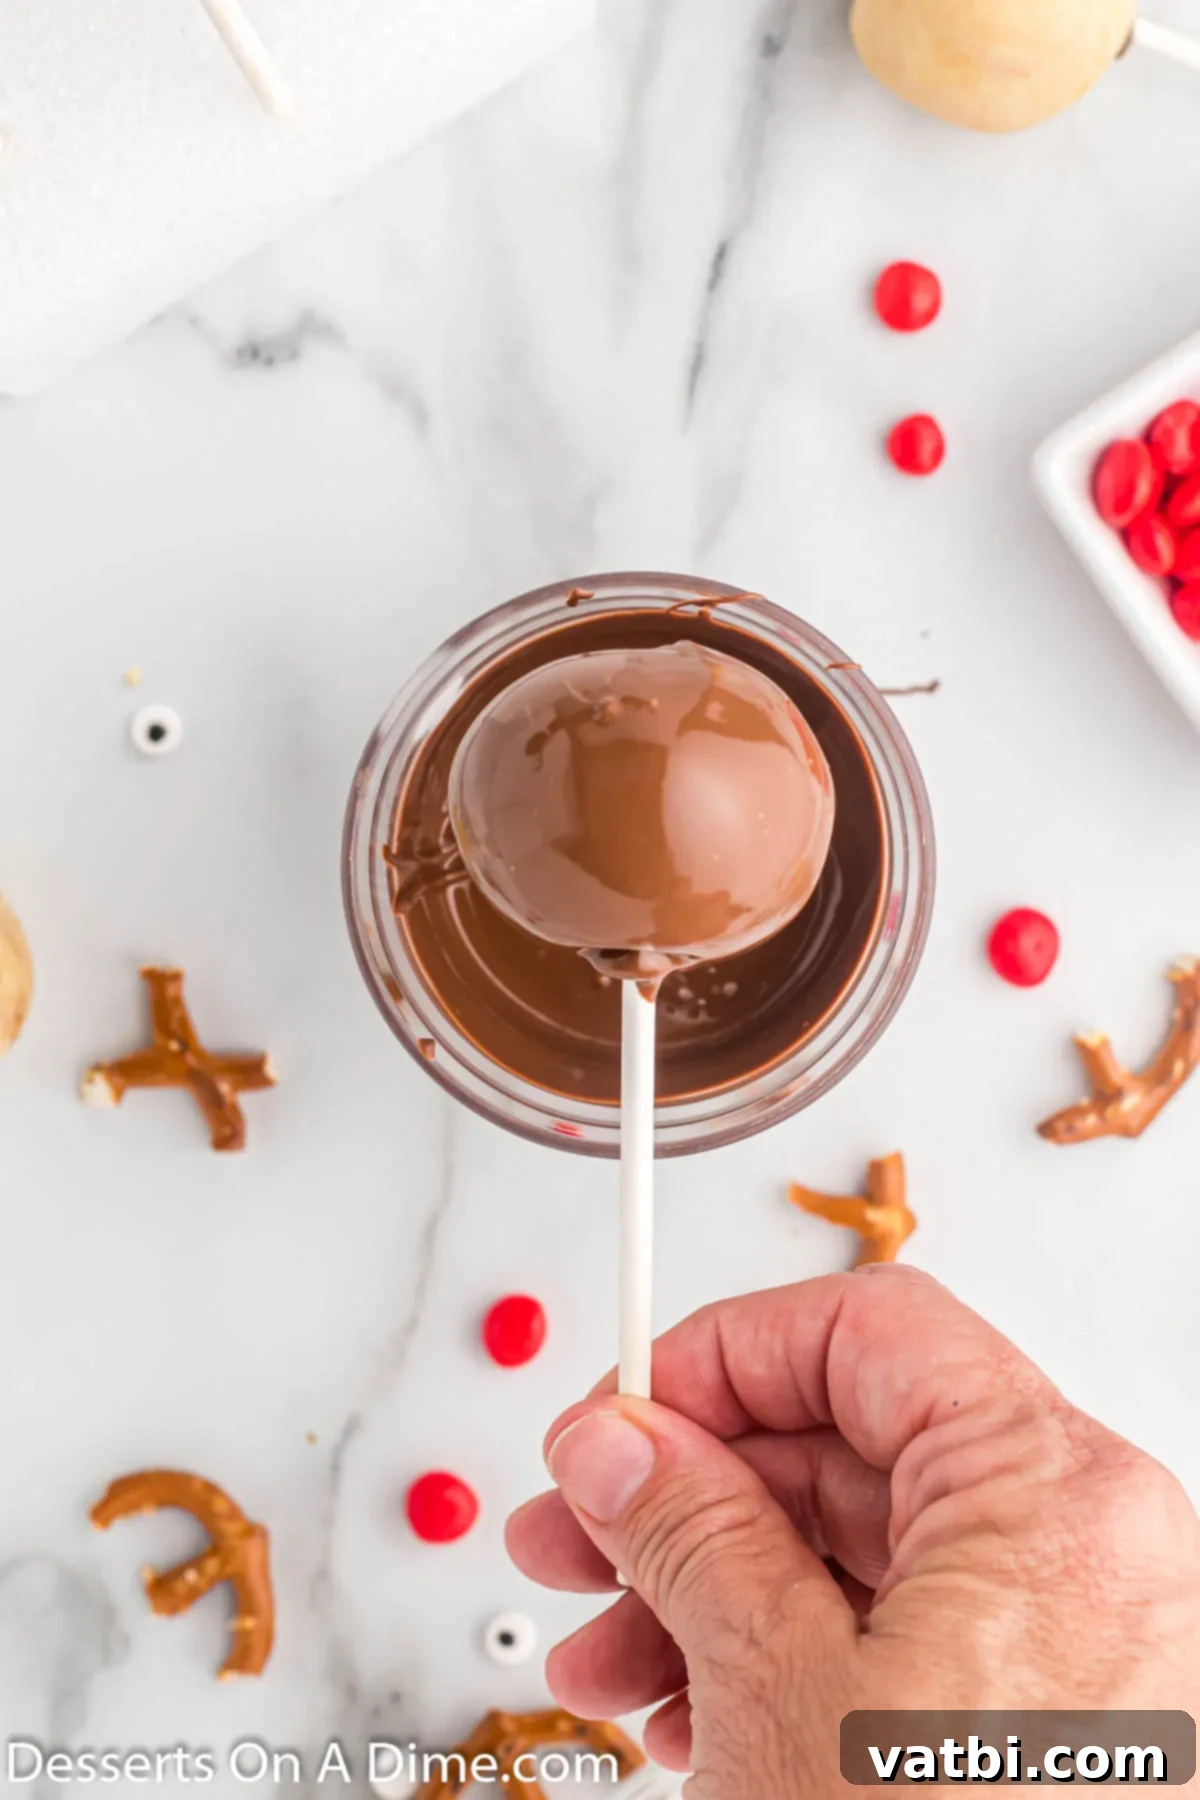
Step 4: Chill and Dip. Melt the chocolate candy melts in a small microwave-safe bowl. Heat for 30-second intervals, stirring well after each, until completely smooth and creamy. Dip the tip of each lollipop stick into the melted candy coating, then insert the stick halfway into each cake ball. This candy acts as “glue.” Freeze the cake balls with sticks for 10-15 minutes (no longer than 15 minutes, or they might crack when dipped). Once chilled, dip each cake pop into the melted chocolate, ensuring it’s fully coated. Gently shake off any excess chocolate by tapping the stick against the edge of the bowl.
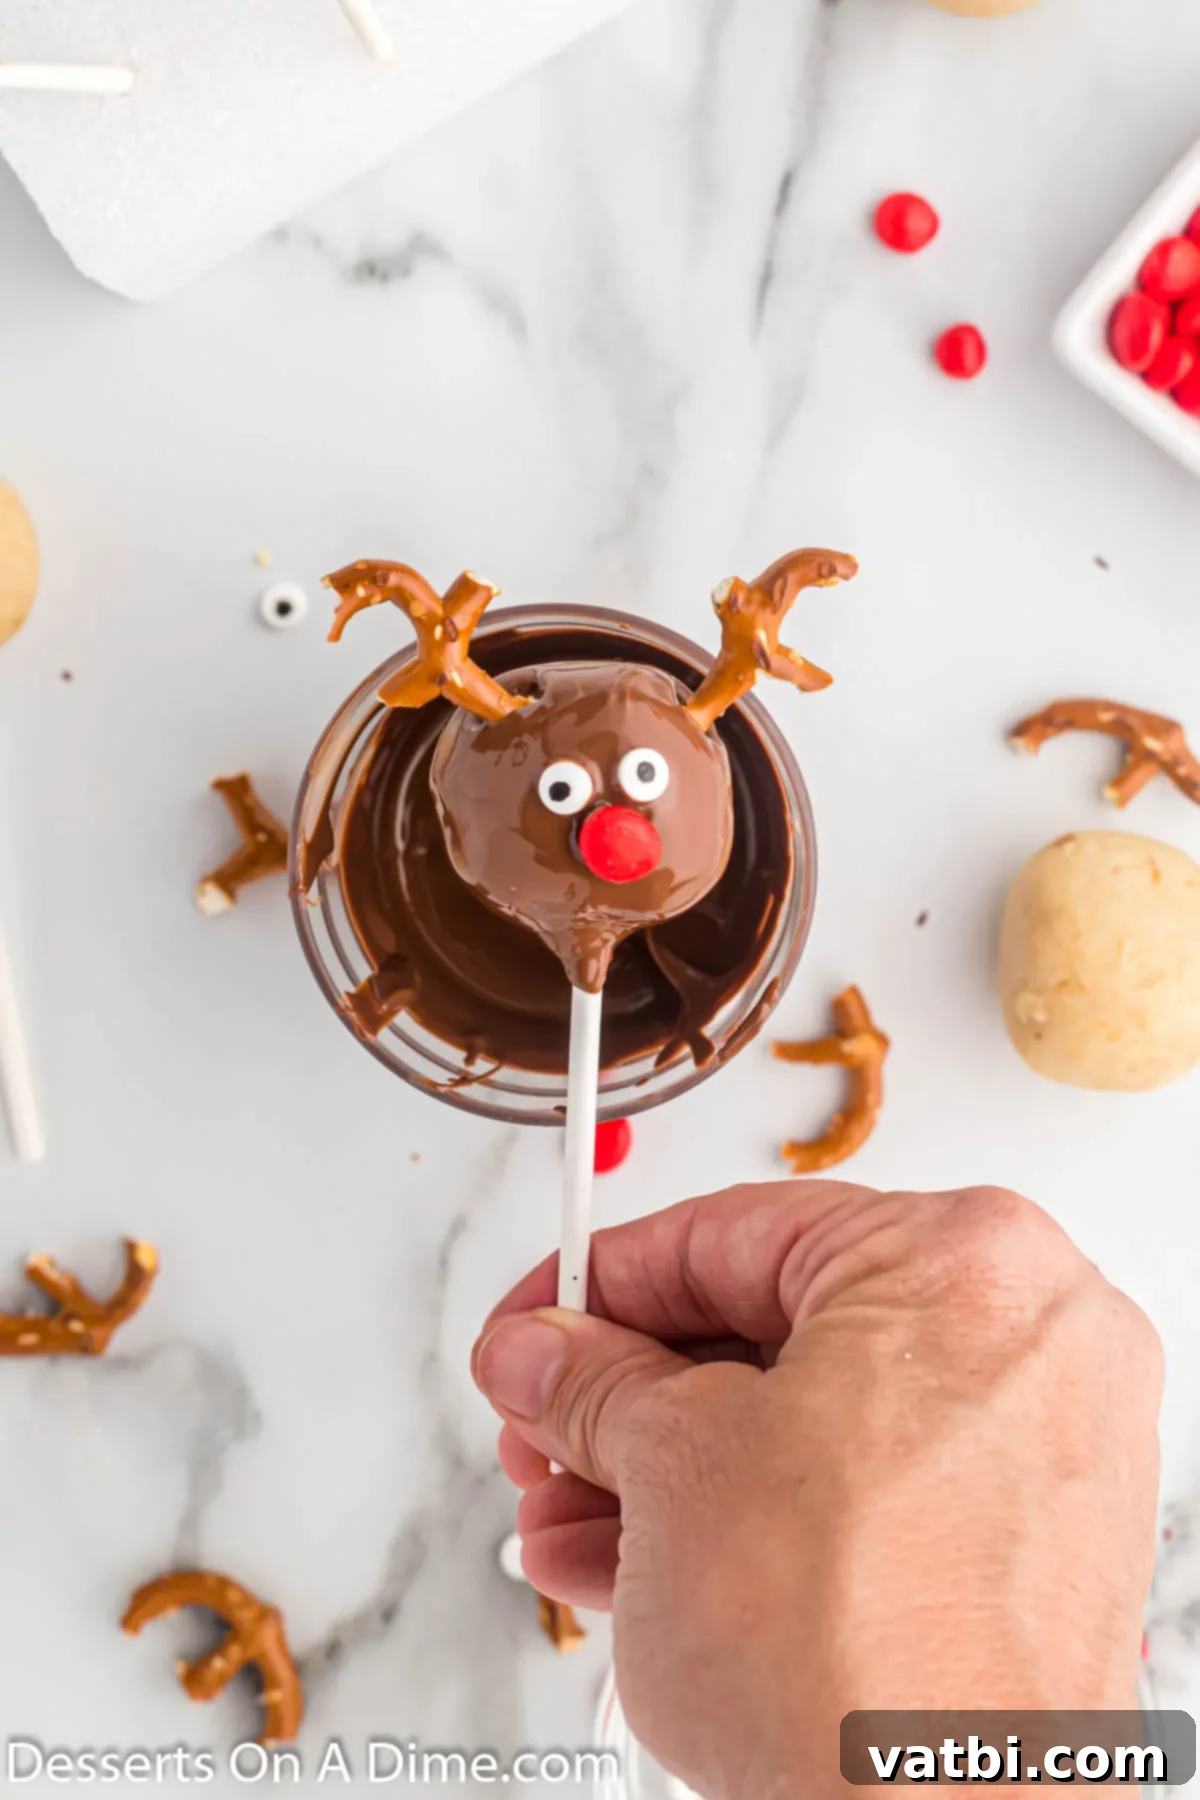
Step 5: Decorate! While the chocolate coating is still wet (work quickly!), it’s time to transform your cake pops into reindeer. Cut the small pretzels in half to form the antlers. Carefully insert two pretzel halves into the top of each cake pop for antlers. Then, attach two candy eyes and one red hot candy for the nose. The wet chocolate will help them adhere. You may need to use a tiny dot of fresh melted chocolate if the coating has already begun to set.
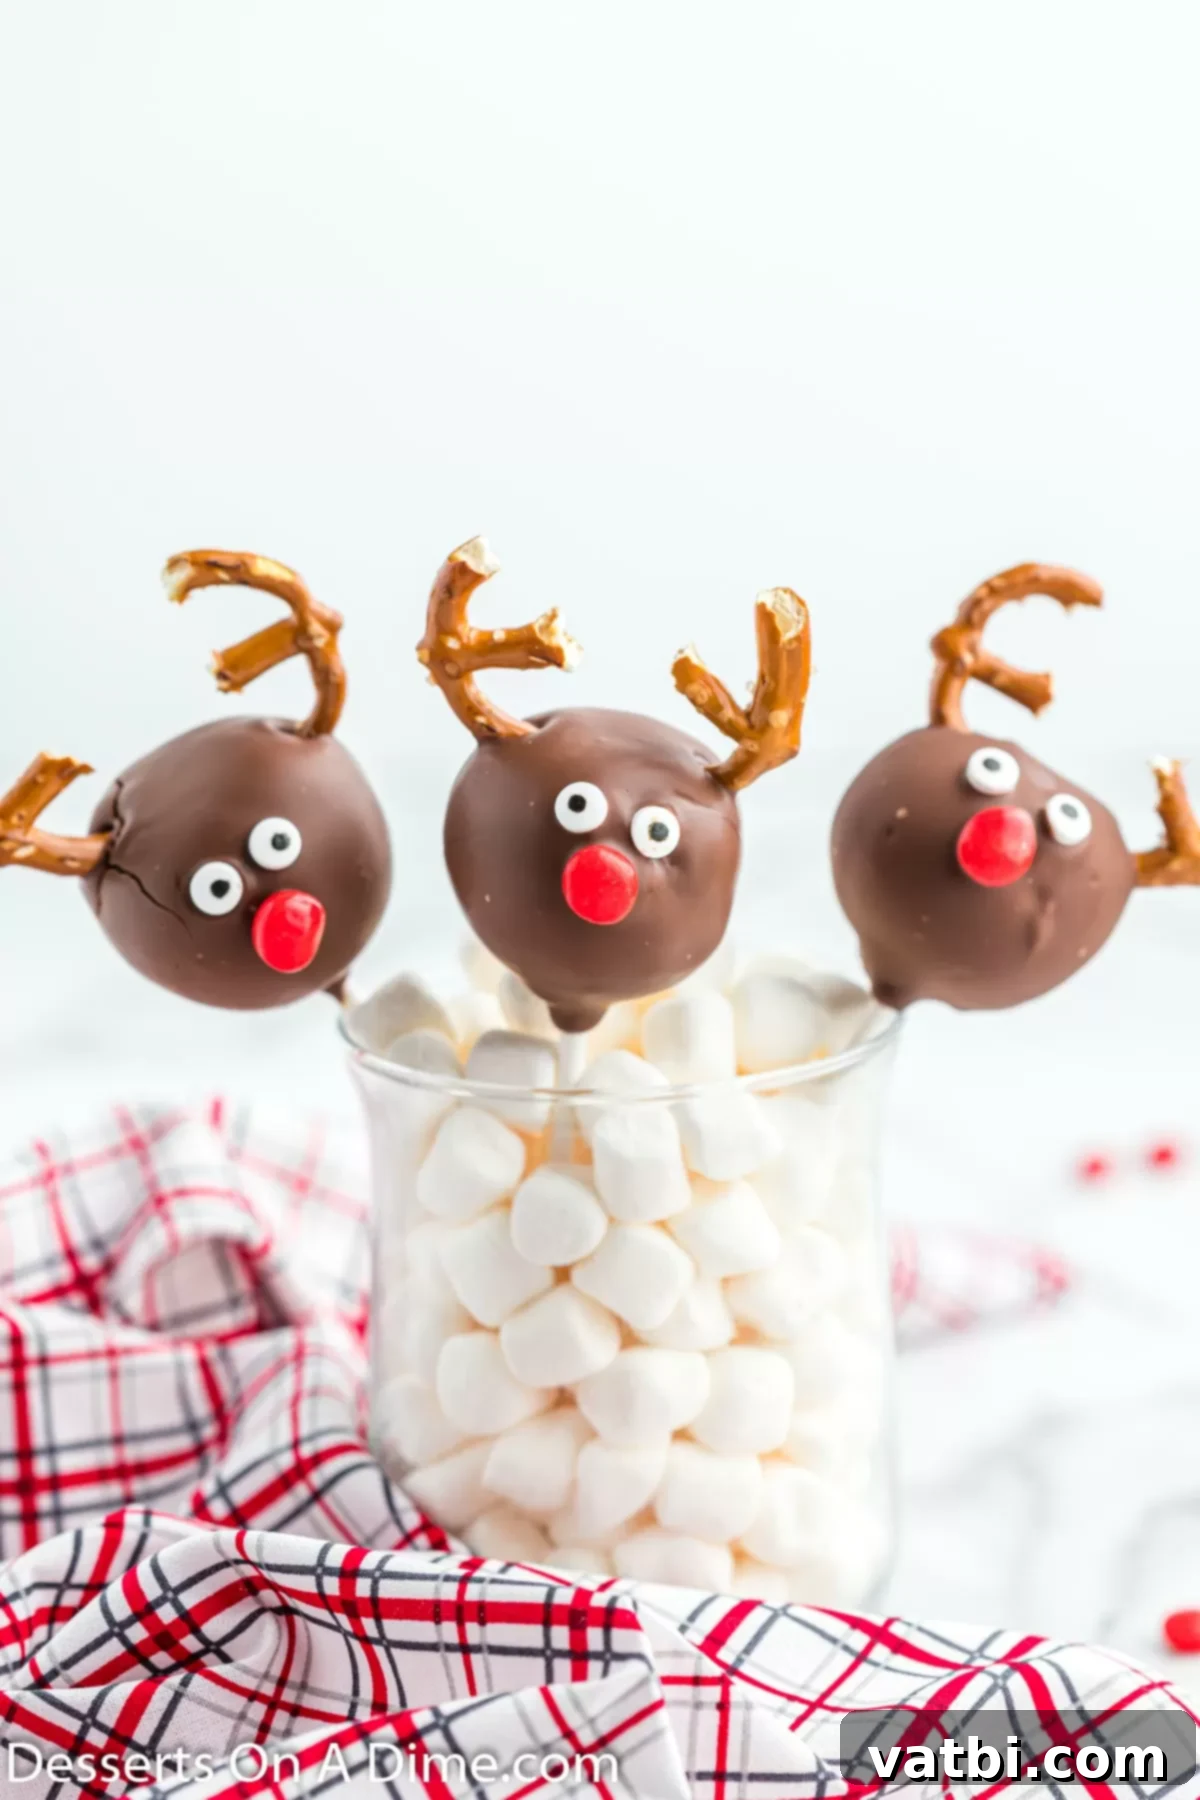
Step 6: Allow to Dry. Once decorated, insert each cake pop upright into a cake pop stand or a block of Styrofoam. This allows the chocolate coating to fully dry and set without smudging your beautiful decorations. Once dry and firm, your festive Reindeer Cake Pops are ready to be served and enjoyed!
Tips for Perfect Reindeer Cake Pops
Achieving bakery-worthy cake pops at home is easier than you think, especially with a few insider tips. Here’s how to ensure your Reindeer Cake Pops are not only delicious but also beautifully presented:
- Don’t Overmix the Cake and Frosting: Once the cake crumbs and frosting are combined, stop mixing as soon as a dough-like consistency is achieved. Overmixing can lead to a tougher, less tender cake pop.
- Chill Thoroughly (But Not Too Long): Chilling the cake balls is essential for them to hold their shape and prevent crumbling when dipped. However, don’t freeze them for more than 15 minutes. If they get too cold, the sudden temperature change when dipping into warm chocolate can cause the coating to crack.
- Melt Candy Melts Properly: Use a microwave-safe bowl and heat in short 30-second bursts, stirring well after each. Overheating can cause the candy melts to seize and become thick or lumpy. If your melted candy coating is too thick, thin it out with a small amount of vegetable oil or coconut oil (start with 1/2 teaspoon and add more slowly until desired consistency).
- Ensure a Smooth Coating: Dip the cake pop straight down into the melted chocolate until it’s fully submerged, then lift it straight up. Gently tap the stick against the edge of the bowl, allowing excess chocolate to drip off. This helps create a smooth, even coating and prevents pooling at the bottom.
- Work Quickly with Decorations: The chocolate coating sets fairly quickly. Have all your decorations (pretzels cut, candy eyes, red hots ready) before you start dipping. Decorate each cake pop immediately after dipping while the chocolate is still wet to ensure everything adheres well.
- Use a Cake Pop Stand or Styrofoam: This is a game-changer for drying. It allows the cake pops to stand upright, preventing flat spots or smudged decorations.
- Temperature Control is Key: Ensure your kitchen isn’t too warm, as this can make the chocolate coating difficult to set and cause the cake pops to sweat. If necessary, briefly refrigerate the finished pops to help the chocolate firm up faster.
- Clean Your Workstation: A clean and organized space makes the process much smoother and more enjoyable. Have all your ingredients and tools prepped before you begin.
Frequently Asked Questions
Store any leftover cake pops in an airtight container at room temperature for up to 1 week. If your home is particularly warm, or for longer freshness, you can store them in the refrigerator, but allow them to come to room temperature for about 15-20 minutes before serving for the best taste and texture.
Yes, you can freeze cake pops, but they are generally best when prepared and served the same day. If you choose to freeze them, place them in a freezer-safe container rather than a bag to prevent the delicate pretzel antlers from breaking. The best method for freezing is to freeze the undecorated cake balls (without sticks or coating). Once ready to serve, thaw the cake balls, insert sticks, dip into candy melts, and then decorate fresh. Learn more in this detailed post about Can You Freeze Cake Pops.
Making the antlers is very simple! You’ll use small, twisted pretzels. Take each pretzel and carefully break or cut it in half. You want to create two distinct “antler” shapes from one pretzel. This is easiest to do using a sharp knife for a clean break, ensuring they snap where you intend them to, giving you perfect little antlers.
Absolutely! Preparing the cake in advance can save you a lot of time on the day you plan to assemble and decorate. We often bake the cake up to 24 hours in advance. Once it’s completely cooled, you can crumble it and mix it with the icing, then cover the mixture and refrigerate it until you’re ready to roll and decorate your cake pops.
Yes, you can easily make these Reindeer Cake Pops gluten-free! Simply substitute the regular cake mix with a gluten-free cake mix of your choice. Ensure that the pretzels you use for the antlers are also certified gluten-free, as many brands offer this option now. All other ingredients are typically naturally gluten-free, but it’s always wise to check labels for any hidden gluten.

More Easy Cake Pops to Try
If you’ve fallen in love with the delightful world of cake pops, you’re in luck! There are endless possibilities for flavors and themes. Once you’ve mastered these festive Reindeer Cake Pops, why not explore some other easy and delicious cake pop recipes? They’re perfect for any occasion!
- Cookie Dough Cake Pop recipe
- Brownie cake pops
- Red Velvet Cake Pops
- Vanilla Cake Balls Recipe
- Oreo Cake Pops
More Festive Reindeer Desserts:
The reindeer theme is a perennial favorite for holiday baking, and these cake pops are just the beginning! If you’re looking to create an entire spread of charming reindeer-themed treats, check out these other delightful recipes that are just as fun and easy to make:
- Reindeer Pretzels
- Nutter Butter Reindeer
- Easy Reindeer Brownies
- Reindeer Cookies
- Delicious Reindeer Cupcakes
We hope you thoroughly enjoy making and sharing this fun Christmas Cake Pops recipe. They’re not just a dessert; they’re an experience that brings joy to the holiday season. Once you’ve whipped up your batch of these enchanting reindeer, please come back and leave a comment to let us know how they turned out! We love hearing from you.
Pin
Reindeer Cake Pops
Ingredients
- 1 box Vanilla Cake Mix 15 oz
- *Plus ingredients to prepare the cake on the back of the box (e.g., eggs, oil, water)
- ⅓ cup Vanilla Frosting I use pre-made
- 16 oz. Chocolate Candy Melts
- 40 Candy Eyes
- 20 Red Hots Candy
- 20 Small Pretzels
- Lollipop Sticks
Instructions
-
Make your preferred cake according to the box instructions, baking it in a 9×13-inch pan. Once baked, allow the cake to cool completely at room temperature before proceeding.
-
Remove the cooled cake from the pan. Discard the slightly firmer outside layer of the cake to ensure a uniform texture. Crumble the remaining cake into very fine crumbs and place them into a large bowl. Ensure no large lumps remain.
-
Add the vanilla frosting to your crumbled cake. Stir everything together until the mixture is well combined and reaches a moist, dough-like consistency that can be easily rolled into balls.
-
Shape the cake mixture into approximately 24-36 uniform cake balls, depending on your desired size. A cookie scoop can help ensure consistent sizing. Place these formed cake balls onto a baking sheet lined with parchment or wax paper.
-
Place the chocolate candy melts in a small, microwave-safe bowl. Microwave for 30 seconds, then stir well. Continue to heat in 30-second intervals, stirring after each, until the candy melts are completely smooth, creamy, and free of lumps.
-
Dip one end of each lollipop stick into the melted candy coating, then insert the candy-dipped end about halfway into each cake ball. This helps secure the stick. Immediately place the cake balls with sticks into the freezer for 10-15 minutes to firm up (do not freeze for longer than 15 minutes).
-
While the cake pops are chilling in the freezer, prepare your antlers. Carefully cut or break the small pretzels in half to create distinct antler shapes for your reindeer.
-
After the cake pops have been chilled, dip each cake pop into the melted candy melts. Ensure the cake pop is completely covered. If the coating has thickened, re-melt it for a few seconds. Allow any excess melted candy to drip off back into the bowl by gently tapping the stick.
-
Immediately after dipping and while the chocolate is still wet, decorate each cake pop. Insert two pretzel halves for antlers, attach two candy eyes, and place one red hot candy for the nose. Work quickly as the chocolate will set.
-
Insert the decorated cake pops into a cake pop stand or a block of styrofoam to hold them upright. Allow them to dry completely and solidify at room temperature. Once the coating is firm, your festive Reindeer Cake Pops are ready to serve and enjoy!
Recipe Notes
*If the melted candy melt appears too thick for dipping, you can thin it out. Add a small amount (start with 1/2 teaspoon) of vegetable oil or coconut oil to the melted chocolate and stir slowly until you reach a smoother, more liquid consistency. Be careful not to add too much at once.
Nutrition Facts
Pin This Now to Remember It Later
Pin Recipe
