Get Spooked! Deliciously Easy Frankenstein Rice Krispie Treats for Your Ultimate Halloween Party
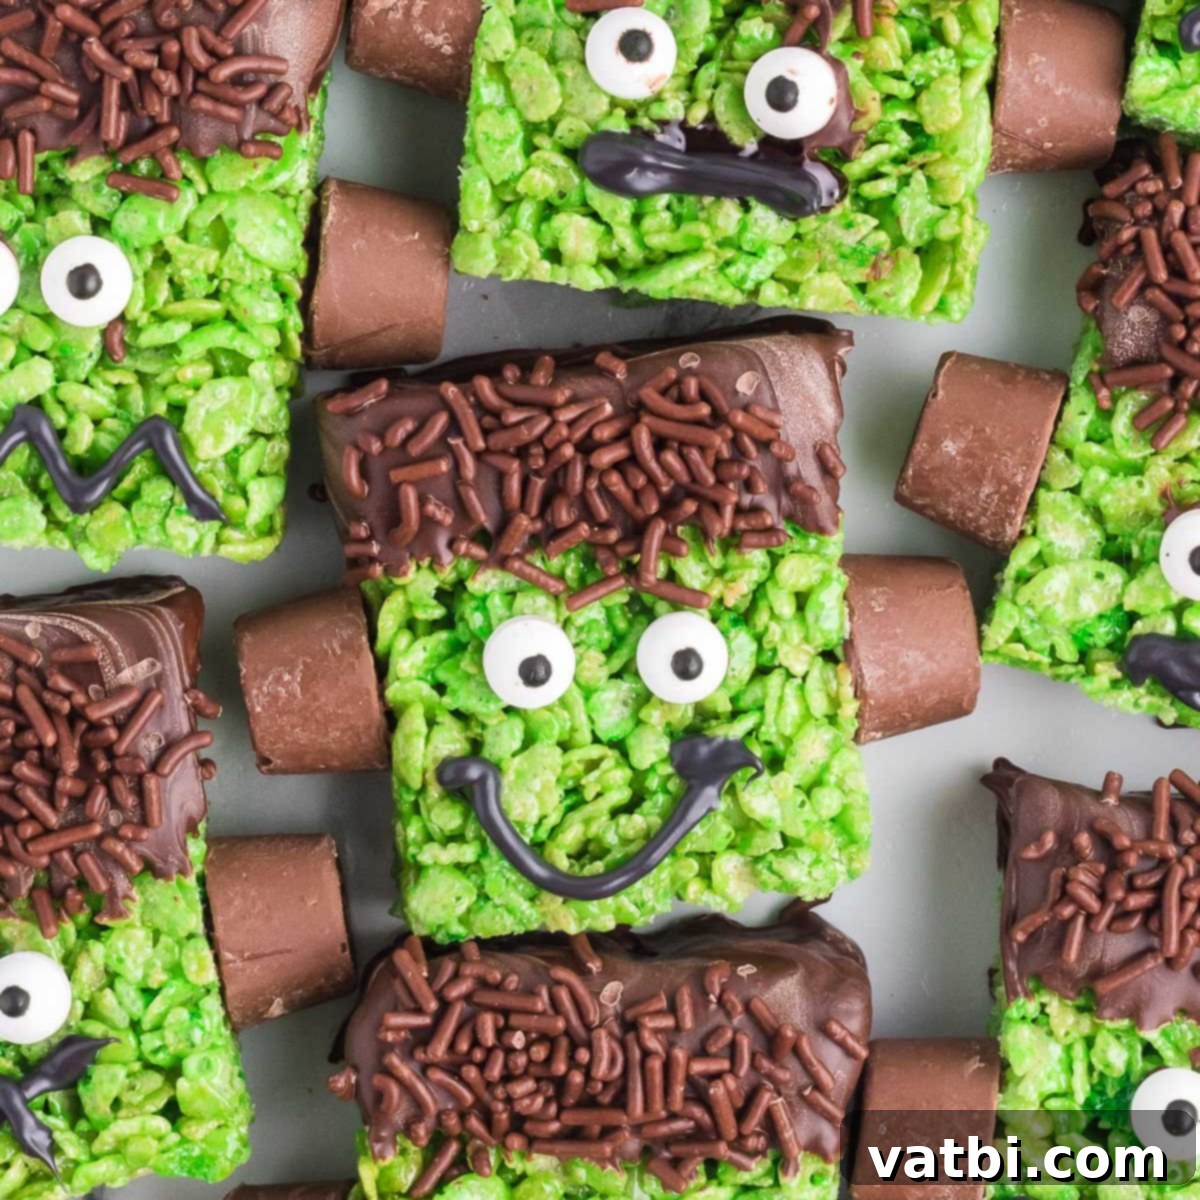
Prepare for a spooktacular celebration with these incredibly easy **Frankenstein Rice Krispie Treats**! This classic, beloved dessert gets a monstrously fun makeover, transforming into a vibrant, festive, and utterly delicious Halloween treat that’s perfect for any party or gathering. Forget complicated baking; these no-bake wonders come together in a flash, making them an ideal choice for busy schedules and budding young chefs alike.
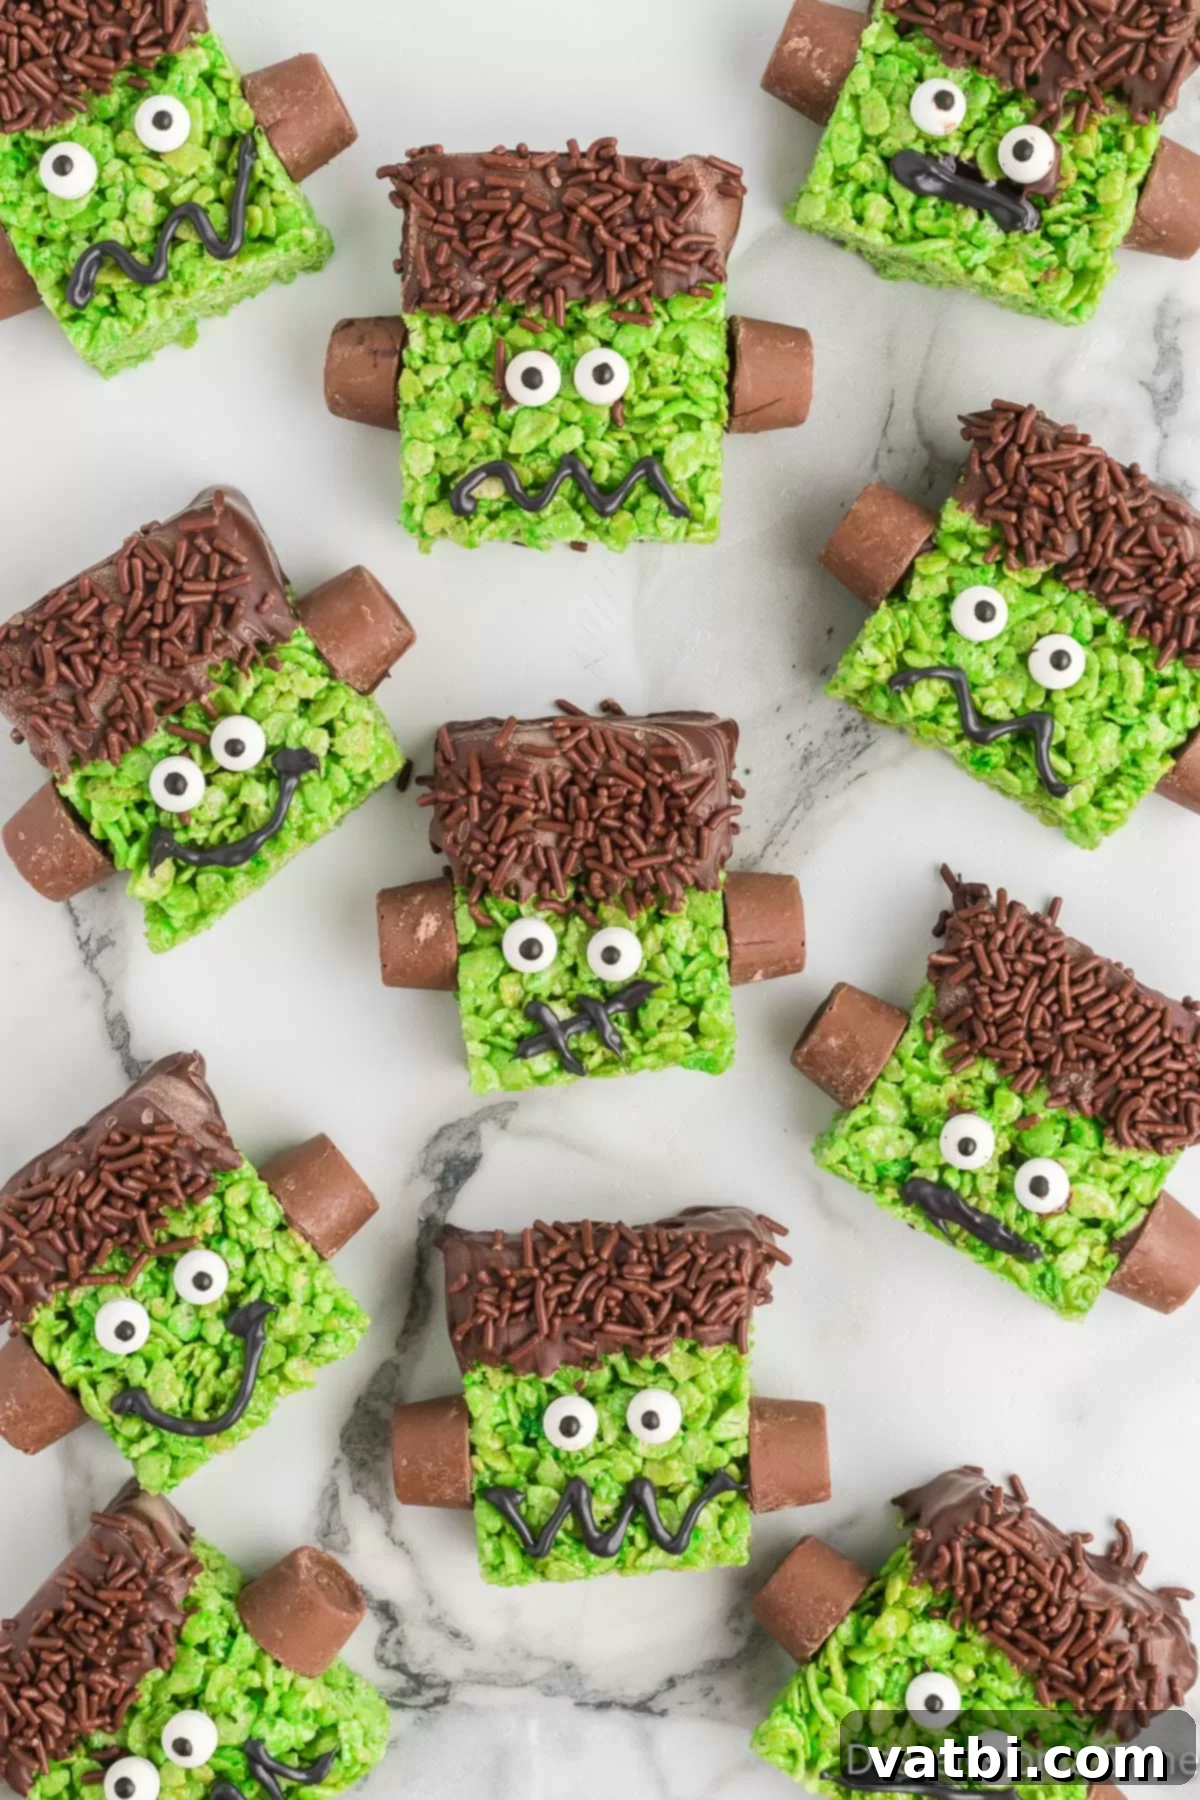
If you’re a fan of homemade rice krispie treats, you’ll find that this festive cereal treat recipe will quickly become the highlight of your Halloween festivities. It’s astonishingly simple to create these captivating Halloween Rice Krispie Treats using just a few basic ingredients that you likely already have in your pantry.
The magic happens when you infuse the gooey marshmallow mixture with vibrant green food coloring, then adorn the crispy squares with a few clever garnishes. Instantly, your ordinary rice krispie treats are reborn as charmingly spooky Frankensteins, ready to delight both kids and adults. For more creative ideas, you could also try making Monster Eye Ball Rice Krispie Treats for another fantastic party snack, or even playful Monster Donuts.
These Frankenstein Rice Krispie Treats are not just easy; they’re a guaranteed crowd-pleaser. Prepare them for Halloween, and watch them vanish faster than a ghost in the night! This recipe is definitely set to be a massive hit, bringing smiles and a touch of spooky fun to your holiday spread.
Table of contents
- Why This Recipe Works
- Ingredients for Frankenstein Rice Krispie Treats
- Creative Variations for Your Frankenstein Treats
- Step By Step Instructions: Crafting Your Monster Treats
- Storage Tips for Freshness
- Expert Tips for Perfect Frankenstein Rice Krispie Treats
- More Delightful Rice Krispie Treat Recipes
- Explore More Easy Halloween Treats
Why This Recipe Works
This Frankenstein Rice Krispie Treat recipe is a true winner for countless reasons, making it an absolute must-try for your next Halloween celebration. Firstly, it falls into the category of a truly simple no-bake dessert, meaning you won’t need to turn on your oven, saving you time and effort. This makes it accessible for anyone, regardless of their baking experience. From novice cooks to seasoned dessert makers, everyone can achieve fantastic results.
Secondly, these Frankenstein Rice Krispies are not only incredibly fun to look at but also taste absolutely amazing. The classic combination of crispy cereal and gooey marshmallow is elevated with a festive touch, creating a treat that’s hard to resist. The sweet, buttery flavor provides the perfect base for the playful decorations that bring Frankenstein to life.
Perhaps one of the biggest advantages is how easy the recipe is to follow, making it a fantastic activity for kids. Involving children in the kitchen can be a memorable experience, and this recipe provides ample opportunities for them to help out, from mixing ingredients to decorating their spooky creations. Imagine the joy on their faces as they craft their own little monsters! This also means it’s a recipe you can revisit year after year, building cherished family traditions around Halloween treat making.
Finally, these treats are incredibly versatile and can be customized to suit any taste or dietary preference (with slight modifications). They’re perfect for school parties, neighborhood gatherings, or simply enjoying at home. The ease of preparation, combined with their festive appearance and delicious taste, makes this recipe an unbeatable choice for anyone looking to add a touch of playful horror to their Halloween menu. For more fun desserts, you might also consider trying a Classic Cake Pop Recipe.
Ingredients for Frankenstein Rice Krispie Treats
Crafting these adorable Frankenstein treats requires just a handful of straightforward ingredients. Here’s a detailed look at what you’ll need, along with some tips for best results:
- Rice Krispie Cereal. The foundation of our treats! For the best texture and flavor, always make sure your rice cereal is fresh. Stale cereal can lead to a less crispy treat.
- Butter. Real butter is highly recommended for its rich flavor and superior texture. It helps create that irresistible gooeyness and prevents the treats from being too sticky.
- Marshmallows. Mini marshmallows are generally preferred because they melt much more quickly and evenly than larger ones, ensuring a smooth, lump-free mixture.
- Green Gel Food Coloring. This is key for achieving that iconic Frankenstein green! Gel food coloring is superior to liquid drops as it provides a much more vibrant color without adding excessive moisture to the marshmallow mixture. Start with a few drops and add more until you reach your desired shade.
- Chocolate Chips. You can use either regular-sized or mini chocolate chips. These are primarily used for dipping the tops of the treats to create Frankenstein’s “hair” and provide a contrasting flavor. Dark or semi-sweet chocolate works wonderfully.
- Candy Eyes. These edible googly eyes bring your Frankensteins to life! They’re readily available in most craft stores or baking sections, adding instant character and a touch of silliness.
- Rolos. These caramel-filled chocolates are absolutely perfect for Frankenstein’s signature neck bolts due to their size and shape. If Rolos aren’t available, small chocolate-covered caramels or even mini chocolate-covered pretzels could work as alternatives.
- Black Writing Gel. A tube of store-bought black writing gel makes drawing the mouths and other facial expressions incredibly easy and precise. It dries quickly and adds that finishing touch of personality to each monster.
You can find the complete list of ingredients with precise measurements at the bottom of the page in the detailed recipe card.
Creative Variations for Your Frankenstein Treats
While the classic Frankenstein Rice Krispie Treat is fantastic, there are many ways to customize and add your personal touch. Here are some fun variations to consider:
- DIY Candy Eyes. If you can’t find pre-made googly eyes or simply want to try a homemade alternative, cut mini marshmallows into thin circles. Gently press them onto the bars where the eyes should be. Then, use the black writing gel to create a small dot in the center of each marshmallow circle, giving the appearance of an eye. This can be a fun activity for kids!
- Try Different Faces. Embrace the individuality of each monster! Give each Frankenstein a unique look by arranging the eyes, mouth, and bolts differently. Some can be surprised, some grumpy, some happy. This adds a playful element and makes decorating even more enjoyable. You can also experiment with black candy melts or green candy melts to create different “hair” effects or other decorative elements. Melted candy melts are excellent for dipping or drizzling.
- Rice Krispie Treat Pops. For an even more party-friendly option, insert lollipop sticks into the rice krispy treats after they’ve cooled and been cut into rectangles. This transforms them into adorable, handheld monster pops. You can then wrap them individually in cellophane and tie with a ribbon, making them perfect as party favors or for a Halloween treat bag.
- Store-Bought Rice Krispy Treats. If you’re incredibly short on time or need a last-minute solution, you can absolutely purchase pre-made Rice Krispy Treats. Simply follow the decorating steps as normal, starting from dipping them in chocolate. This cuts down on preparation time significantly without sacrificing the fun Frankenstein theme.
- Chocolate Rice Krispies Cereal. For a darker, moodier Frankenstein or simply a chocolate lover’s dream, substitute chocolate Rice Krispies cereal in the recipe. If you go this route, you can skip the green food coloring entirely, as the natural color of the chocolate cereal will create a distinct and cool-looking monster. This variation will taste great and offer a slightly different visual appeal.
- Different Toppings and Sprinkles. Beyond brown sprinkles, consider using other Halloween-themed sprinkles! Orange, purple, black, or even ghostly white sprinkles can add another layer of festive flair to your Frankenstein’s “hair.” You could also use small candy eyeballs instead of the larger ones for a different effect.
Step By Step Instructions: Crafting Your Monster Treats
Making these Frankenstein Rice Krispie Treats is a breeze. Follow these simple steps for perfectly spooky and delicious results:
- Step 1. Prepare the pan. Begin by generously spraying a 9×13 inch baking pan with a non-stick cooking spray. This crucial step will prevent your sticky treats from adhering to the pan, ensuring easy removal and clean cuts. Once sprayed, set the pan aside, ready for the mixture.
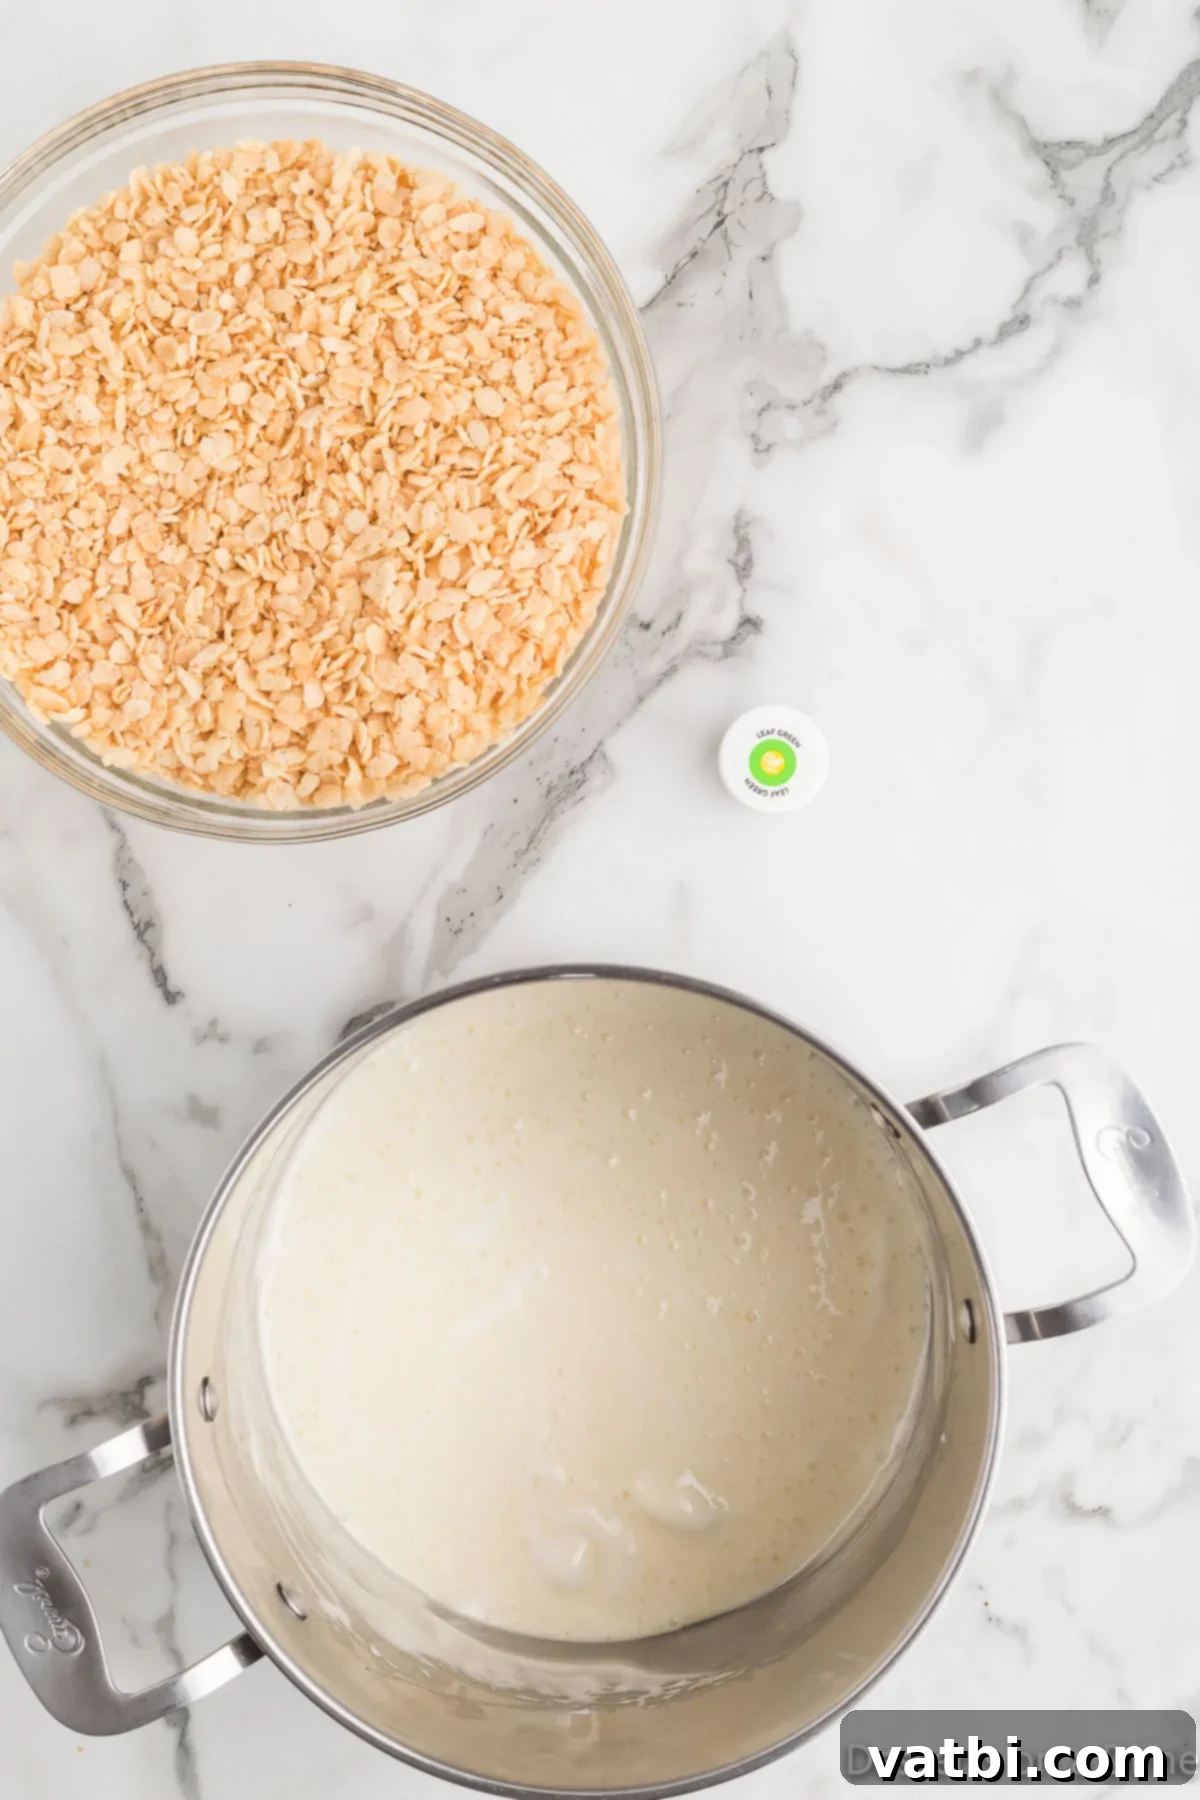
Step 2. Melt the marshmallows and butter. In a large, heavy-bottomed pot, combine the butter and all the marshmallows. Place the pot over low heat. It’s important to keep the heat low to prevent the marshmallows from burning. Stir the mixture frequently and continuously until the butter and marshmallows are completely melted and smoothly combined into a gooey, uniform consistency.
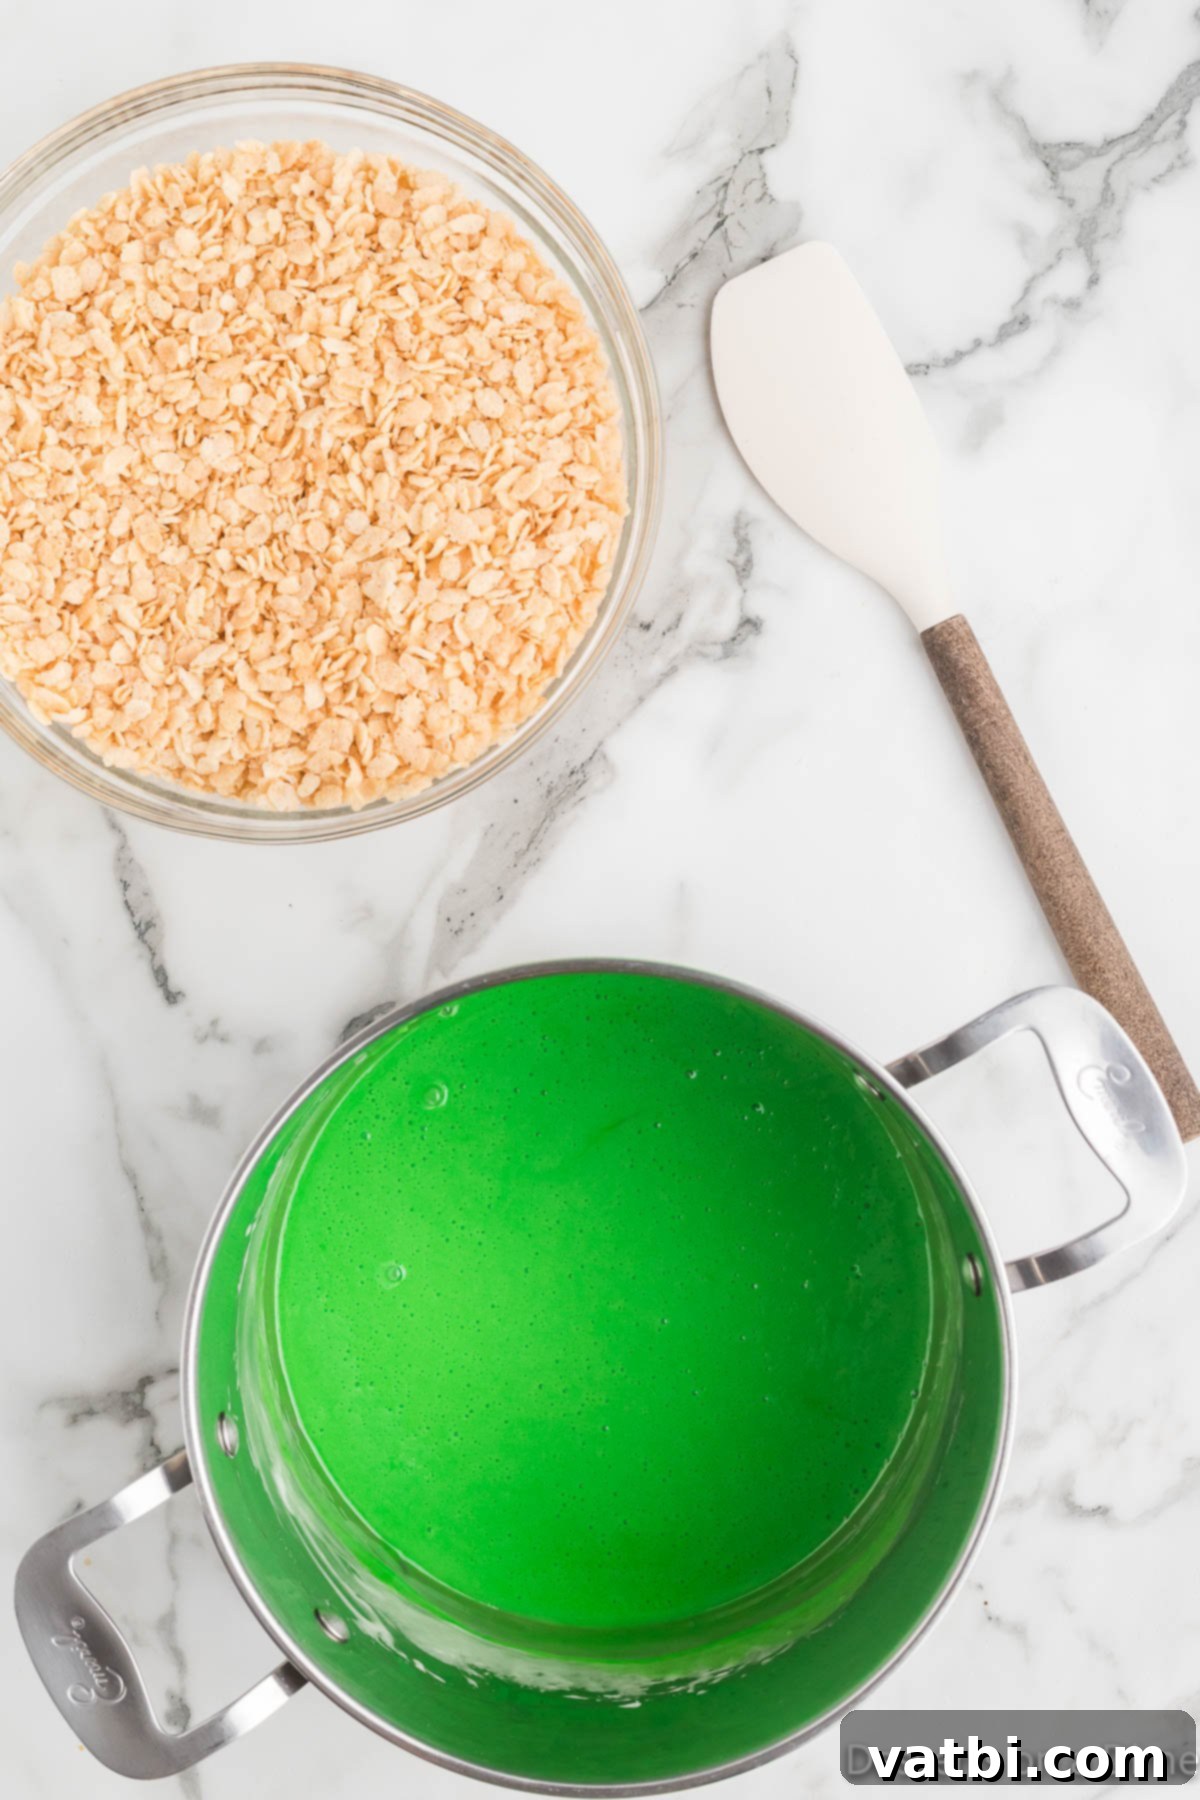
Step 3. Remove the marshmallow mixture from heat and color it. Once the butter and marshmallows have completely melted and are well combined, immediately remove the pot from the heat. Now it’s time to add the green gel food coloring. Start with a few drops and stir it in thoroughly. Continue adding drops of food coloring, one at a time, until the mixture achieves a vibrant, consistent green color reminiscent of Frankenstein’s skin. Gel food coloring will give you the best, most intense color without thinning the mixture.
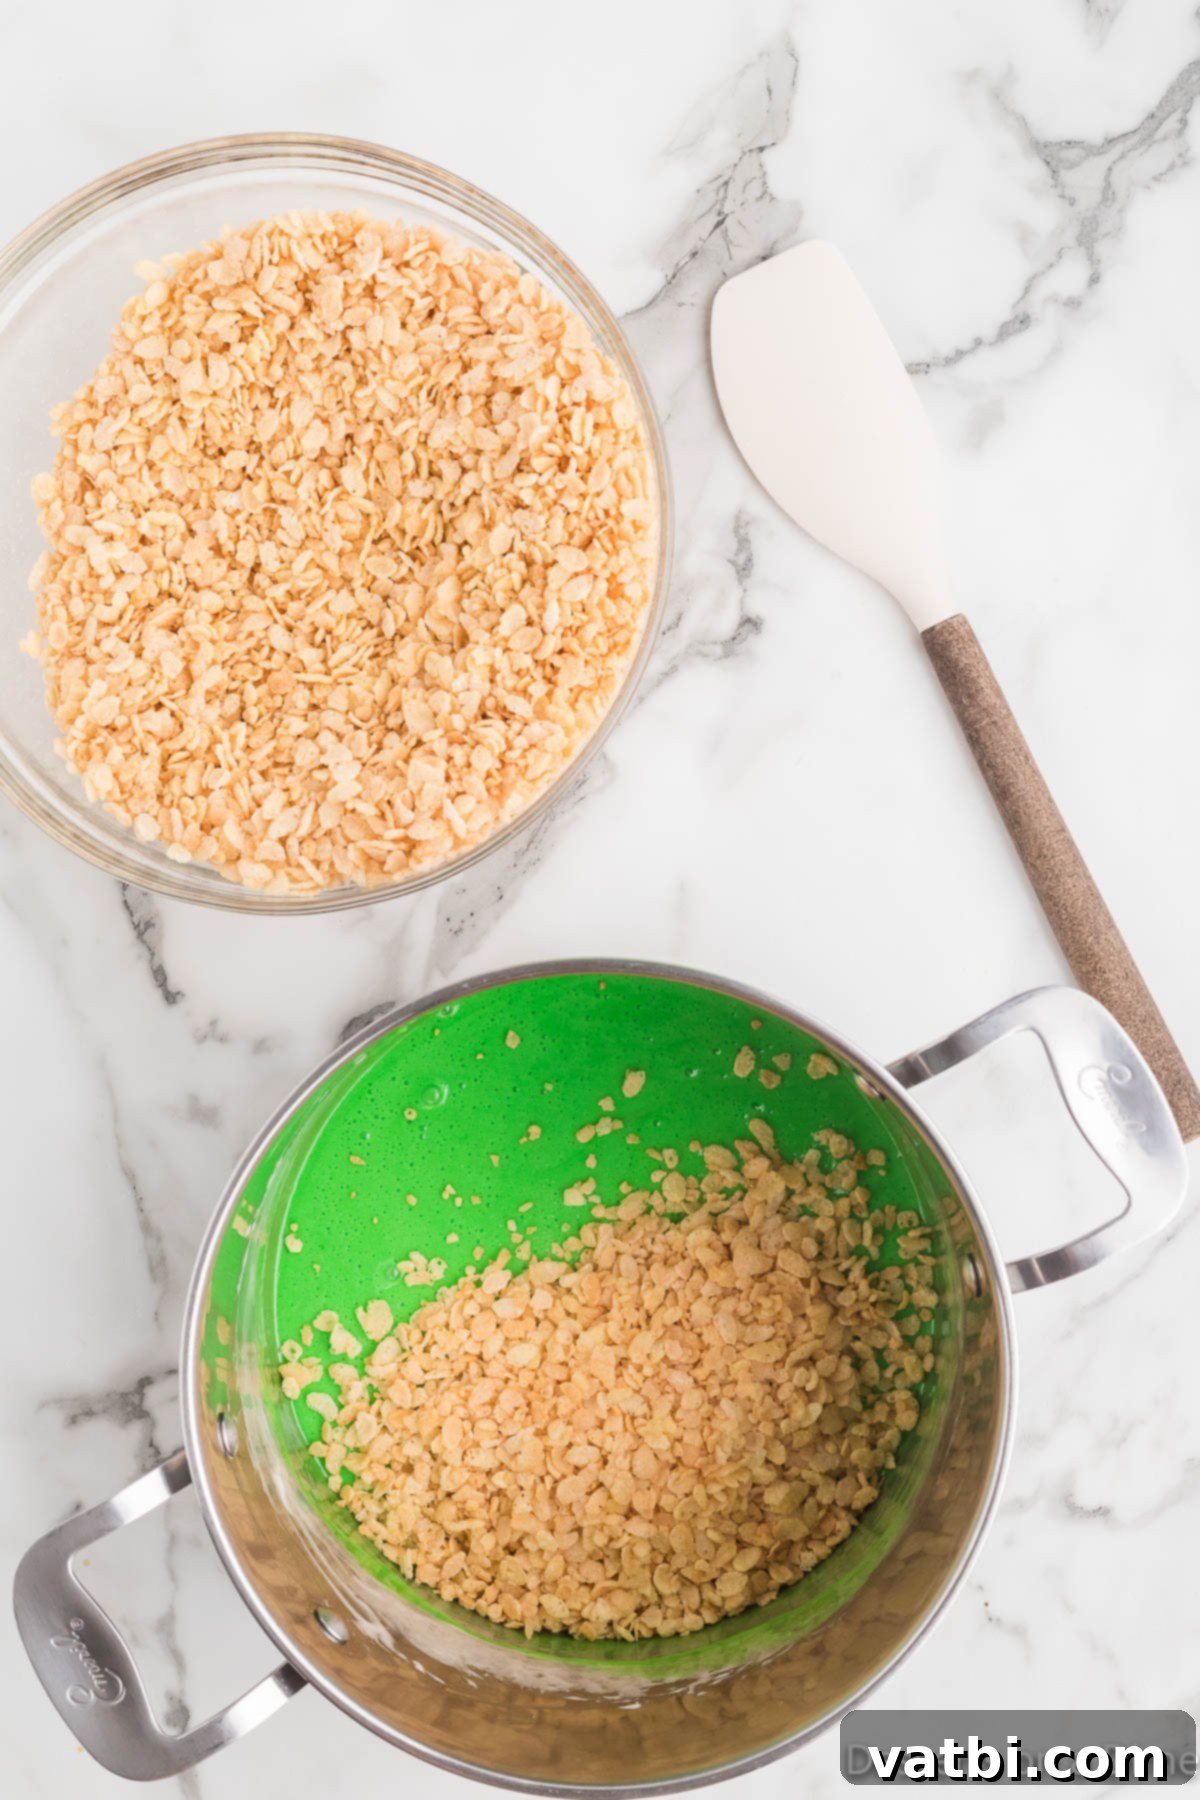
Step 4. Add the cereal. Pour the Rice Krispie Cereal into the pot with the green marshmallow mixture. Using a large spatula or spoon, gradually fold and stir the cereal into the mixture. Keep mixing gently until every piece of cereal is thoroughly coated with the vibrant green marshmallow and butter concoction. Ensure there are no dry spots of cereal remaining.
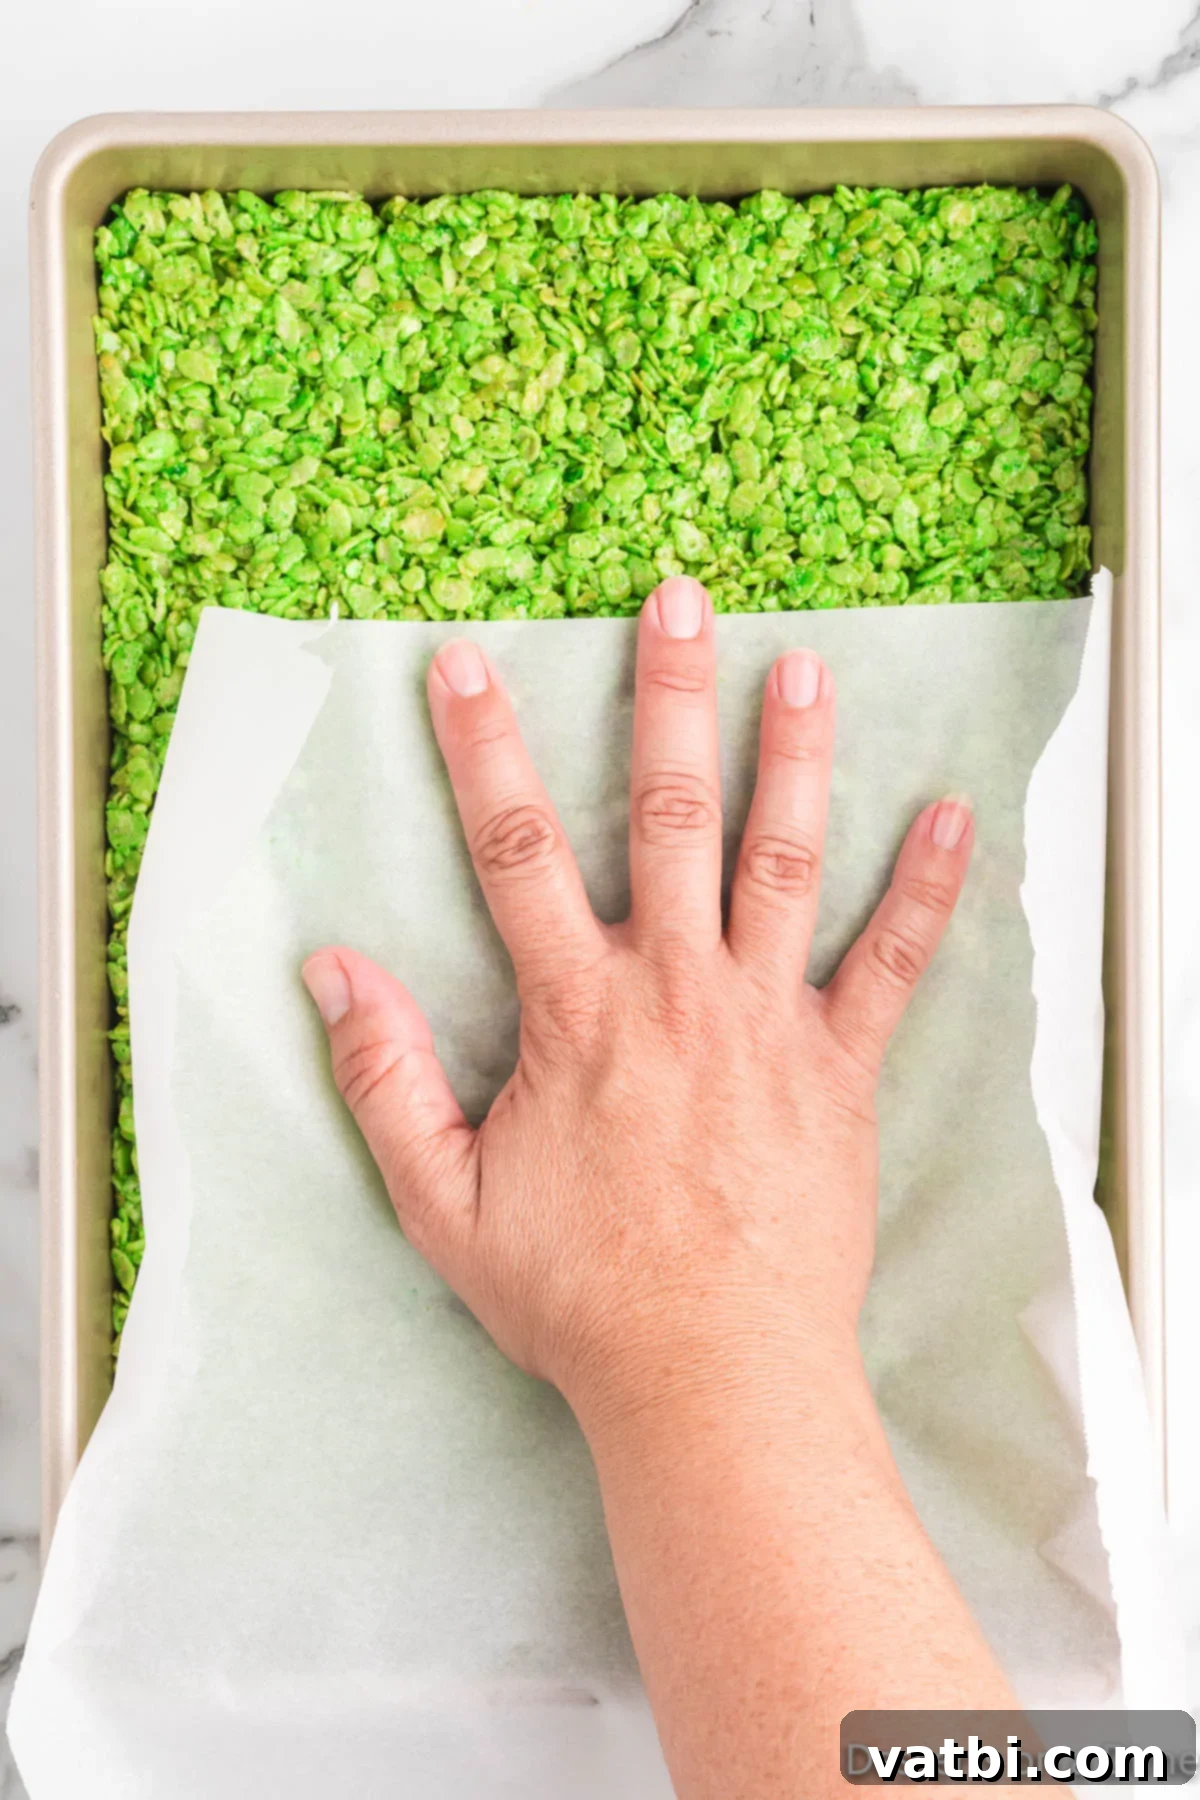
Step 5. Spread the mixture into the baking dish. Immediately transfer the coated cereal mixture into the prepared 9×13 inch pan or onto a baking sheet. Using a piece of parchment paper lightly sprayed with non-stick cooking spray, gently press the mixture down into an even layer. Be careful not to pack it too firmly, as this can result in dense, hard treats. Allow the treats to cool completely at room temperature, which usually takes about 30-60 minutes, before cutting them into desired rectangular shapes.
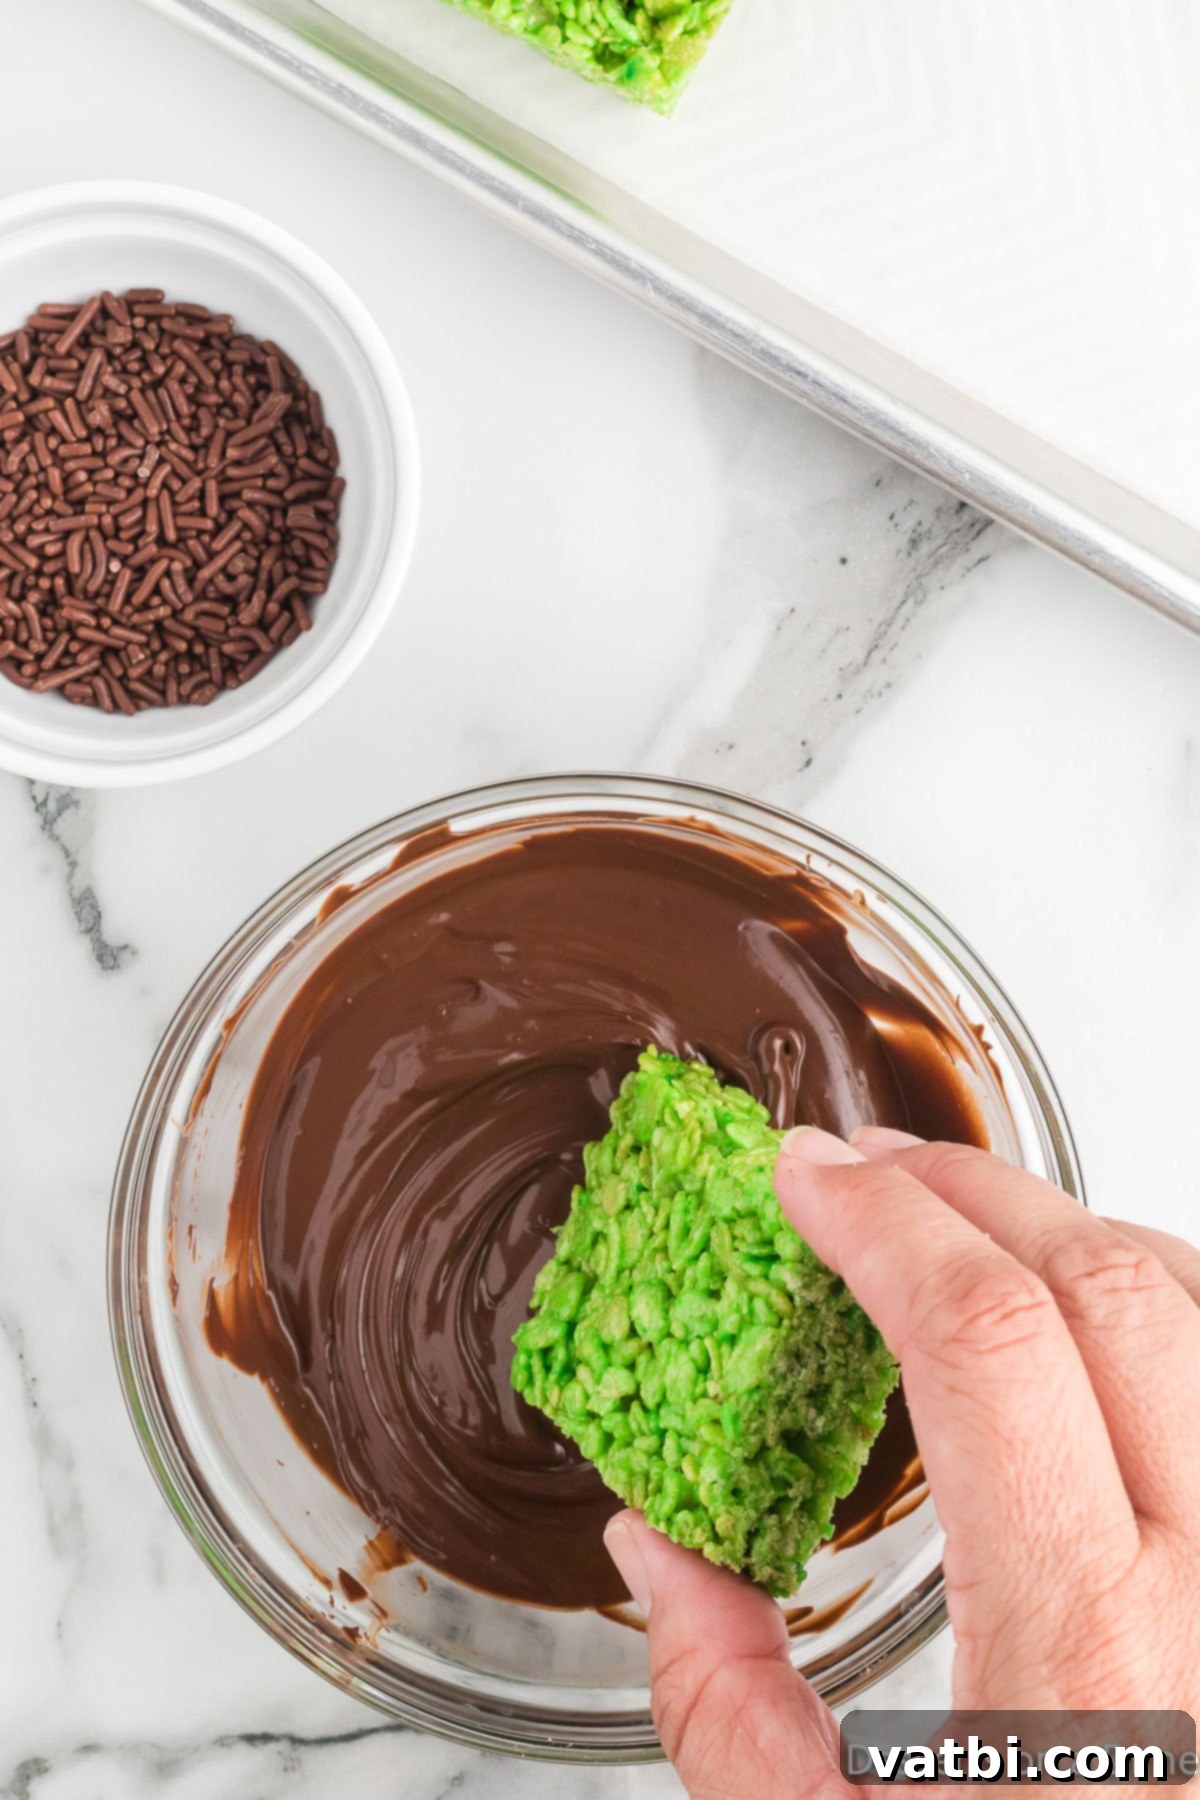
Step 6. Melt the chocolate and dip the treats. Once the treats are cooled and cut, it’s time for the “hair”! Place the chocolate chips in a microwave-safe bowl. Melt the chocolate chips by heating them in 30-second intervals in the microwave. After each interval, stir the chocolate thoroughly. Continue this process until the chocolate is completely smooth and melted, being careful not to overheat it. Dip the top of each rectangular Rice Krispie treat into the melted chocolate, creating a chocolate “hairline” for your Frankenstein monster. Place the dipped treats onto a baking sheet lined with parchment paper.
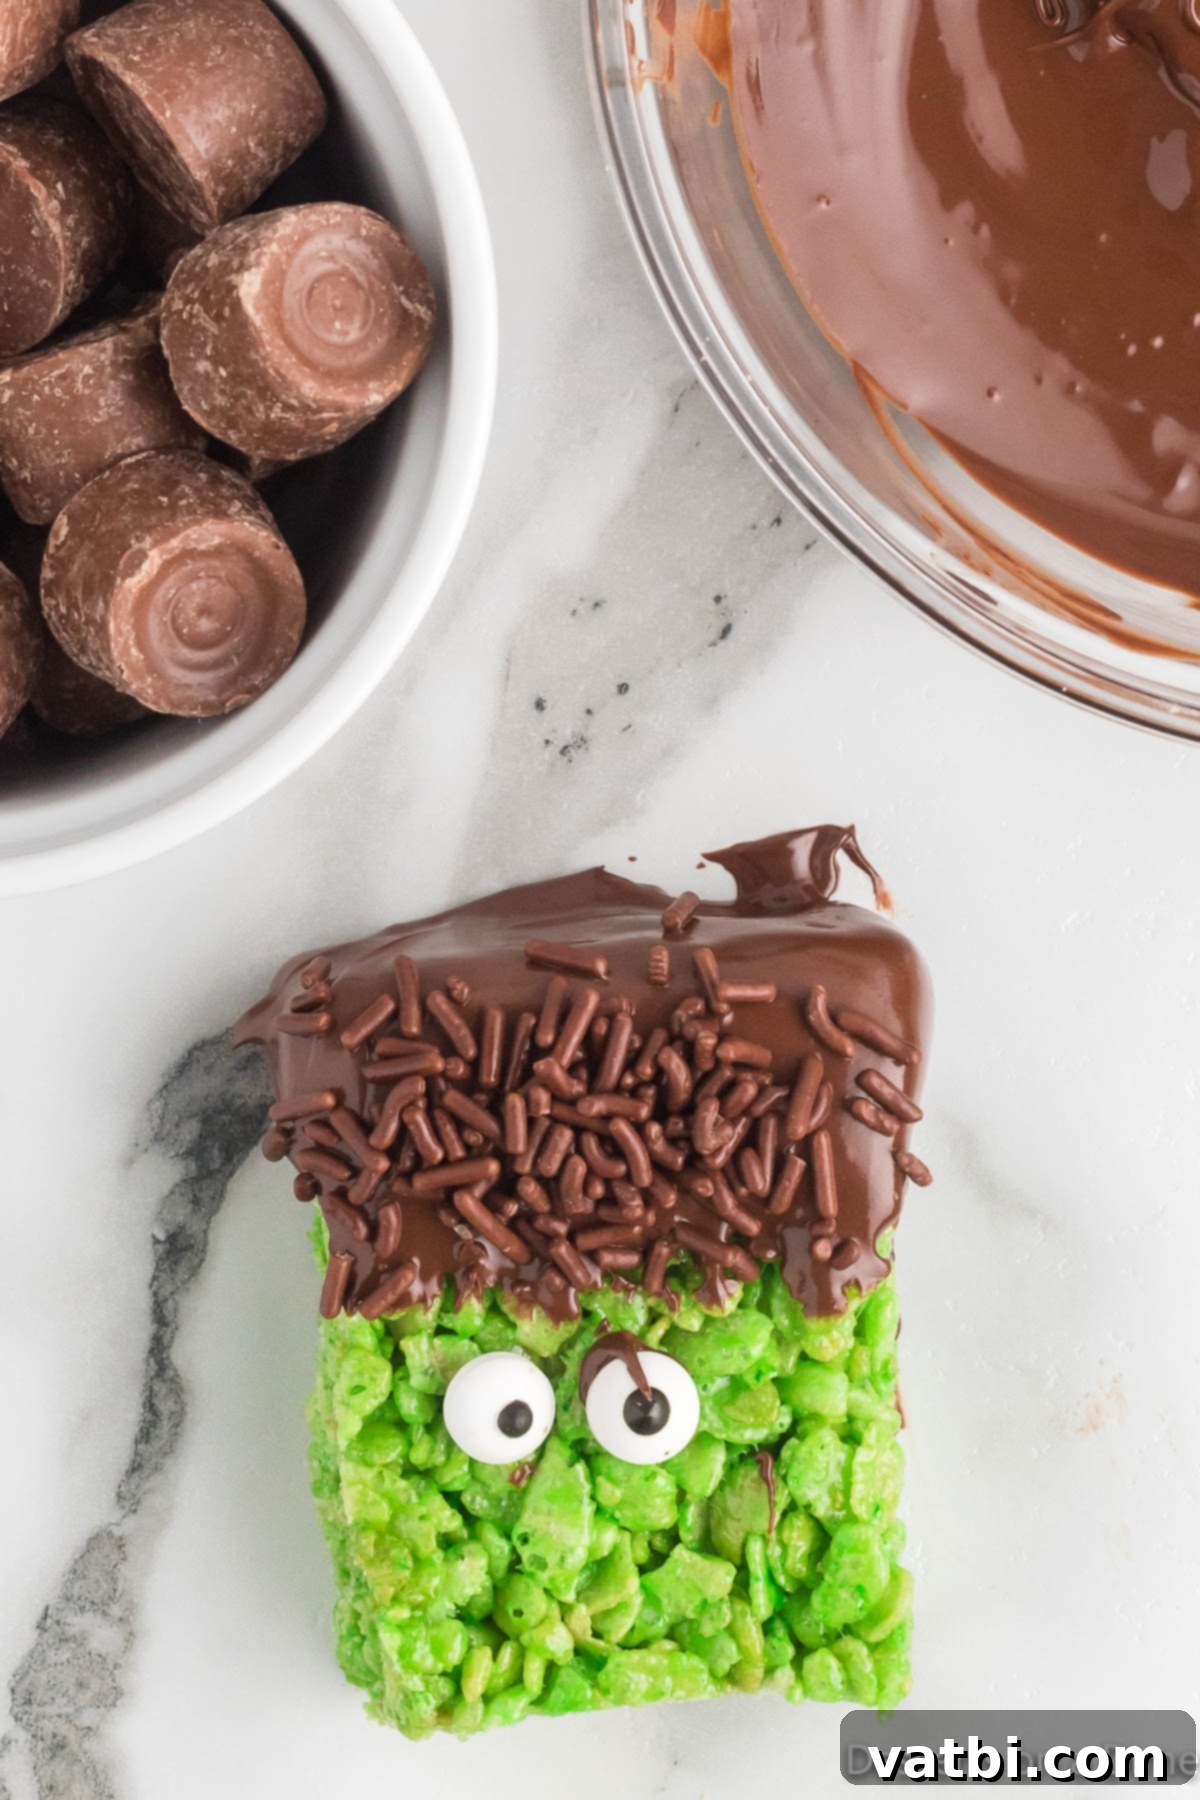
Step 7. Add the sprinkles and eyes. Immediately after dipping, top the melted chocolate on each treat with brown sprinkles (or your preferred Halloween sprinkles) to create the textured “hair.” While the chocolate is still wet, use a dab of the remaining melted chocolate as an edible “glue” to attach two candy eyes and one Rolo (for the neck bolt) on each side of the Frankenstein’s head. Finally, use the black writing gel to draw a spooky or silly mouth on each of your Rice Krispie treats. Allow all the decorations to set completely at room temperature for about 30-60 minutes before serving. This ensures everything is firm and ready to enjoy without making a mess.
Storage Tips for Freshness
Proper storage is key to keeping your Frankenstein Rice Krispie Treats delicious and fresh for as long as possible. Follow these guidelines:
- Room Temperature is Best: Store these treats in an airtight container at room temperature. They will maintain their optimal texture and flavor for up to 3-4 days. An airtight container prevents them from drying out and becoming stale.
- Avoid Refrigeration: It’s important not to refrigerate Rice Krispie treats. The cold temperature can cause them to harden and become dense, changing their delightful soft and chewy texture to an unpleasantly stiff one.
- Freezing for Longer Storage: If you need to store them for a longer period, these treats can be frozen for up to 4 months. Before freezing, ensure the treats have completely set and all chocolate and decorations are firm. To prevent them from sticking together, place pieces of wax paper or parchment paper between each layer when stacking them in an airtight, freezer-safe container. When you’re ready to enjoy them, simply take them out of the freezer and let them thaw at room temperature for an hour or two.
Expert Tips for Perfect Frankenstein Rice Krispie Treats
Achieving the perfect Frankenstein Rice Krispie Treats is simple, especially with a few expert tricks up your sleeve. These tips will help ensure your treats are not only delicious but also visually stunning:
- Allow to Set Completely. Patience is a virtue when it comes to no-bake desserts. After assembling and decorating your treats, let them set at room temperature for at least 30 to 60 minutes. This crucial waiting period allows the chocolate to firm up and ensures that all the candy eyes, Rolos, and sprinkles adhere securely in place. Rushing this step can lead to messy decorations.
- A Little Food Coloring Goes a Long Way. When adding the green gel food coloring, start with just a few drops. Gel food coloring is highly concentrated, so it’s easy to achieve a vibrant color without using too much. Add more drops gradually, stirring well after each addition, until you reach your desired shade of Frankenstein green. You can always add more, but you can’t take it away!
- Press the Cereal Mixture with Parchment Paper. The marshmallow mixture is incredibly sticky. To avoid getting it all over your hands when pressing it into the pan, use a piece of parchment paper. Lightly coat one side of the parchment paper with non-stick cooking spray, then place it spray-side-down over the mixture in the pan. Use your hands to gently press down through the parchment paper. This method helps to distribute the mixture evenly and prevents sticking.
- Be Gentle When Pressing the Mixture into the Pan. It’s tempting to pack the cereal mixture down very firmly, but resist the urge! Over-compressing the mixture will result in dense, hard, and chewy treats. For light, soft, and perfectly gooey Rice Krispie Treats, press the mixture gently and evenly into the pan. You want it to be compact enough to hold its shape but not overly squashed.
- Decorate the Flat Side of the Bars. When you cut your Rice Krispie treats into rectangles, you’ll notice one side is typically flatter and smoother than the other (the side that was pressed into the bottom of the pan). This is the ideal surface for decorating! The icing, melted chocolate, and other toppings will adhere much better to a flat, even surface, resulting in cleaner and more professional-looking Frankenstein faces.
- Melt the Chocolate in Intervals. Chocolate can burn quickly if overheated, becoming grainy and unusable. To prevent this, always melt your chocolate chips in a microwave-safe bowl in short 30-second intervals. After each interval, remove the bowl and stir the chocolate thoroughly, even if it doesn’t look fully melted. The residual heat will continue to melt the chips. Continue this process until the chocolate is smooth and glossy. This ensures you don’t overcook the chocolate, giving you a perfect consistency for dipping and decorating.
More Delightful Rice Krispie Treat Recipes
If you’ve fallen in love with the ease and versatility of Rice Krispie treats, you’re in luck! There’s a whole world of creative variations waiting to be explored. These simple cereal desserts are perfect for any occasion, from holidays to everyday snacks. Here are a few more fantastic Rice Krispie treat recipes to inspire your next kitchen adventure:
- Monster Rice Krispie Treats
- Pumpkin Rice Krispie Treats
- M&M Rice Krispy Treats
- Easy Rice Krispie Treat Pumpkins
- Rice Krispie Treats with Marshmallow Fluff
Explore More Easy Halloween Treats
Halloween is the perfect excuse to get creative in the kitchen, and there’s no shortage of fun, spooky, and delicious treats you can whip up with minimal effort. Beyond Rice Krispie creations, a variety of simple recipes can transform everyday ingredients into festive delights. If you’re looking for more easy Halloween dessert ideas to complement your Frankenstein treats, check out these fantastic options that are sure to be a hit at any ghoulish gathering:
- Halloween Donuts
- Easy Halloween Sugar Cookies
- Halloween Chocolate Covered Oreos Recipe
- Halloween Cake Pops
From the moment they’re served, kids and adults alike will be absolutely delighted by these festive and frightfully fun Frankenstein treats. Their vibrant green color, whimsical decorations, and classic sweet taste make them an irresistible addition to any Halloween celebration. So, gather your ingredients, unleash your inner mad scientist, and give them a try for a truly memorable and festive Halloween treat. Don’t forget to share your creations and leave a comment once you do – we’d love to hear how your monster treats turned out!
Pin
Frankenstein Rice Krispie Treats
Ingredients
- 6 cups Rice Krispie Cereal
- 3 tbsp Butter
- 1 pkg Marshmallows (10 oz)
- Green Gel Food Coloring
- 1 cup Chocolate Chips
- Brown Sprinkles
- 24 Candy Eyes
- 24 Rolos
- Black Writing Gel
Instructions
-
Spray a 9X13 inch pan thoroughly with a non-stick cooking spray, then set it aside.
-
Place the butter and all the marshmallows in a large saucepan. Melt the mixture over low heat, stirring frequently until completely smooth and combined.
-
Once the butter and marshmallows are fully melted and combined, remove the saucepan from the heat. Add in the green gel food coloring, stirring until the mixture reaches a vibrant, consistent green hue.
-
Gradually add the Rice Krispie Cereal into the green marshmallow mixture. Fold and mix gently with a spatula until the cereal is completely coated.
-
Press the cereal mixture evenly into the prepared 9X13 inch pan or onto a baking sheet. For easy pressing without sticking, spray one side of a piece of parchment paper with non-stick spray and use that to press the mixture down.
-
Allow the Rice Krispie treats to cool completely at room temperature, undisturbed, until firm.
-
Once cooled, cut the treats into small, uniform rectangular shapes. Line a clean baking sheet with parchment paper for the next step.
-
Melt the chocolate chips in a microwave-safe bowl. Heat in 30-second intervals, stirring thoroughly after each interval, until the chocolate is fully melted and smooth.
-
Dip the top edge of each Rice Krispie treat into the melted chocolate to create Frankenstein’s “hair.” Place the dipped treats onto the prepared baking sheet. Immediately top the melted chocolate with brown sprinkles.
-
Use a small dab of the remaining melted chocolate as an adhesive to attach two candy eyes and one Rolo (for the neck bolt) on each side of the Rice Krispie treats, forming the monster’s face.
-
Finally, use the black writing gel to draw a mouth and any other desired facial expressions on each of the Frankenstein Rice Krispies treats.
-
Allow the decorated treats to sit at room temperature for 30-60 minutes, or until all the chocolate and gel are completely set and firm. Then, they are ready to serve and enjoy your monstrously delicious creations!
Recipe Notes
Nutrition Facts
Pin This Now to Remember It Later
Pin Recipe
